This guide will explain how Thymesia’s Talent Tree (AKA skill tree) system works, all of the major choices you’ll have to make, and which talents are the most important to take regardless of build.
How Thymesia’s Talent Trees work
Thymesia incorporates Talent Trees into the Souls-like formula as a way for you to customize your playstyle without relying on stat proficiencies. While you can’t change your primary weapon, these Talent Trees allow you to upgrade or augment aspects of gameplay that you find most engaging.
There are 6 Talent Trees overall and each one affects a different aspect of combat:
- Saber
- Deflect
- Dodge
- Claw
- Feather
- Strategies
The Strategies are buffs that don’t directly affect one of Corvus’ other abilities, though many of them remain quite useful.
You are free to add a point to any tree whenever you want, but you’ll only ever get 24 points. That may seem like a lot at first glance, but there are 71 different talents you can spend them on with an additional 26 you’ll get locked out of depending on which path you opt to upgrade take.
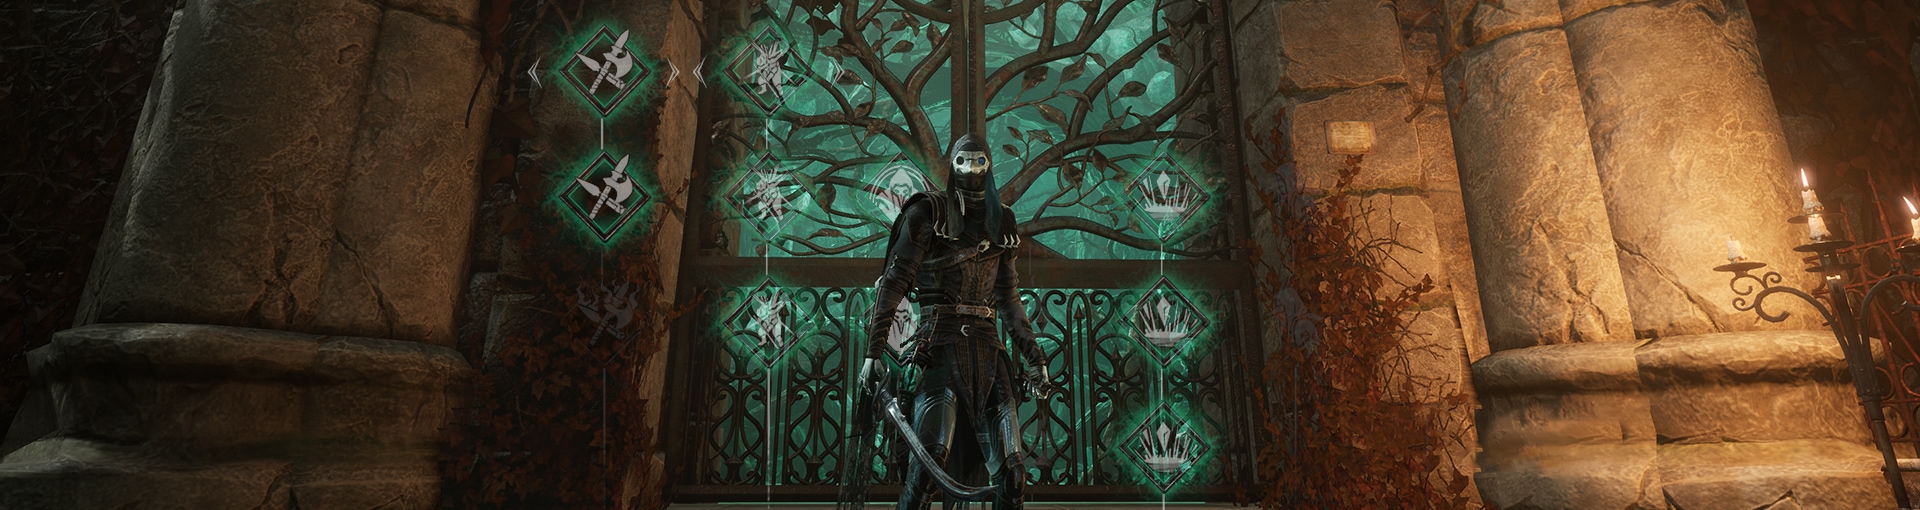
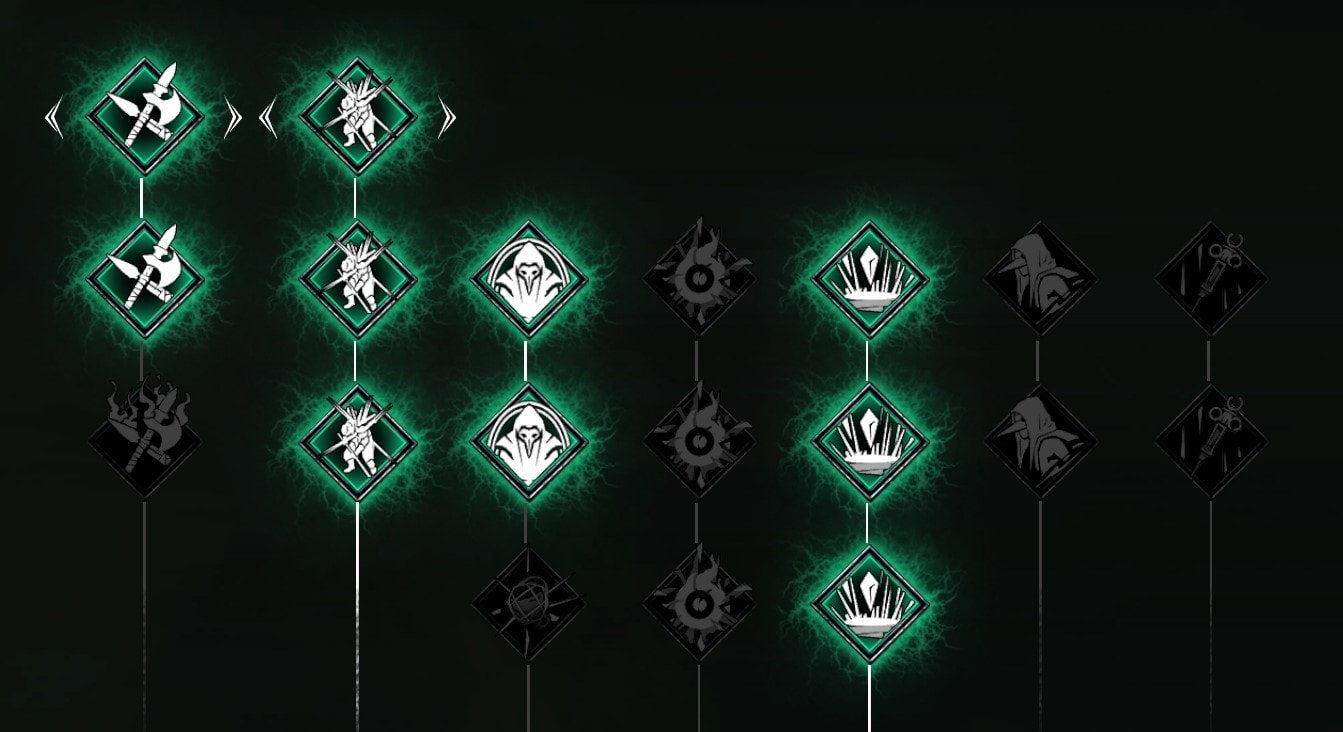
Some choices will force you to specialize by locking you out of other talents. Pictured above, I opted to make the parrying aspect of deflection more powerful in lieu of making parrying easier to time or fully replacing it with a block.
Thymesia’s Talent Trees are different from what some other games do because there’s basically no RNG and the focus is more on expanding or modifying capabilities while only directly strengthening the core mechanics and augmentations.
Rather than letting you spend multiple points on the exact same Talent to increase its effectiveness or likelihood of occurring, all Talents have some sort of dependent upgrade denoted by a white line connecting them. These boosts are frequently weighted such that the deeper down an upgrade path / branch you go, the less essential the boosts become.
In other words, sometimes all you really need is the first or second point. Do not feel obligated to get all the upgrades in a given path, you don’t have enough points and your trees are gonna look ugly no matter what.
It’s clear you’re meant to spend your points according to what you think will be most useful to you given your playstyle and preferences. There isn’t any sort of optimal build like you so often get with skill trees. For example, I found myself barely using the Feather mechanic, so I only invested a single point towards upgrading them.
That said, some of the Talents are more universally valuable than others, especially on the Strategies tree, so I will be sure to point those out.
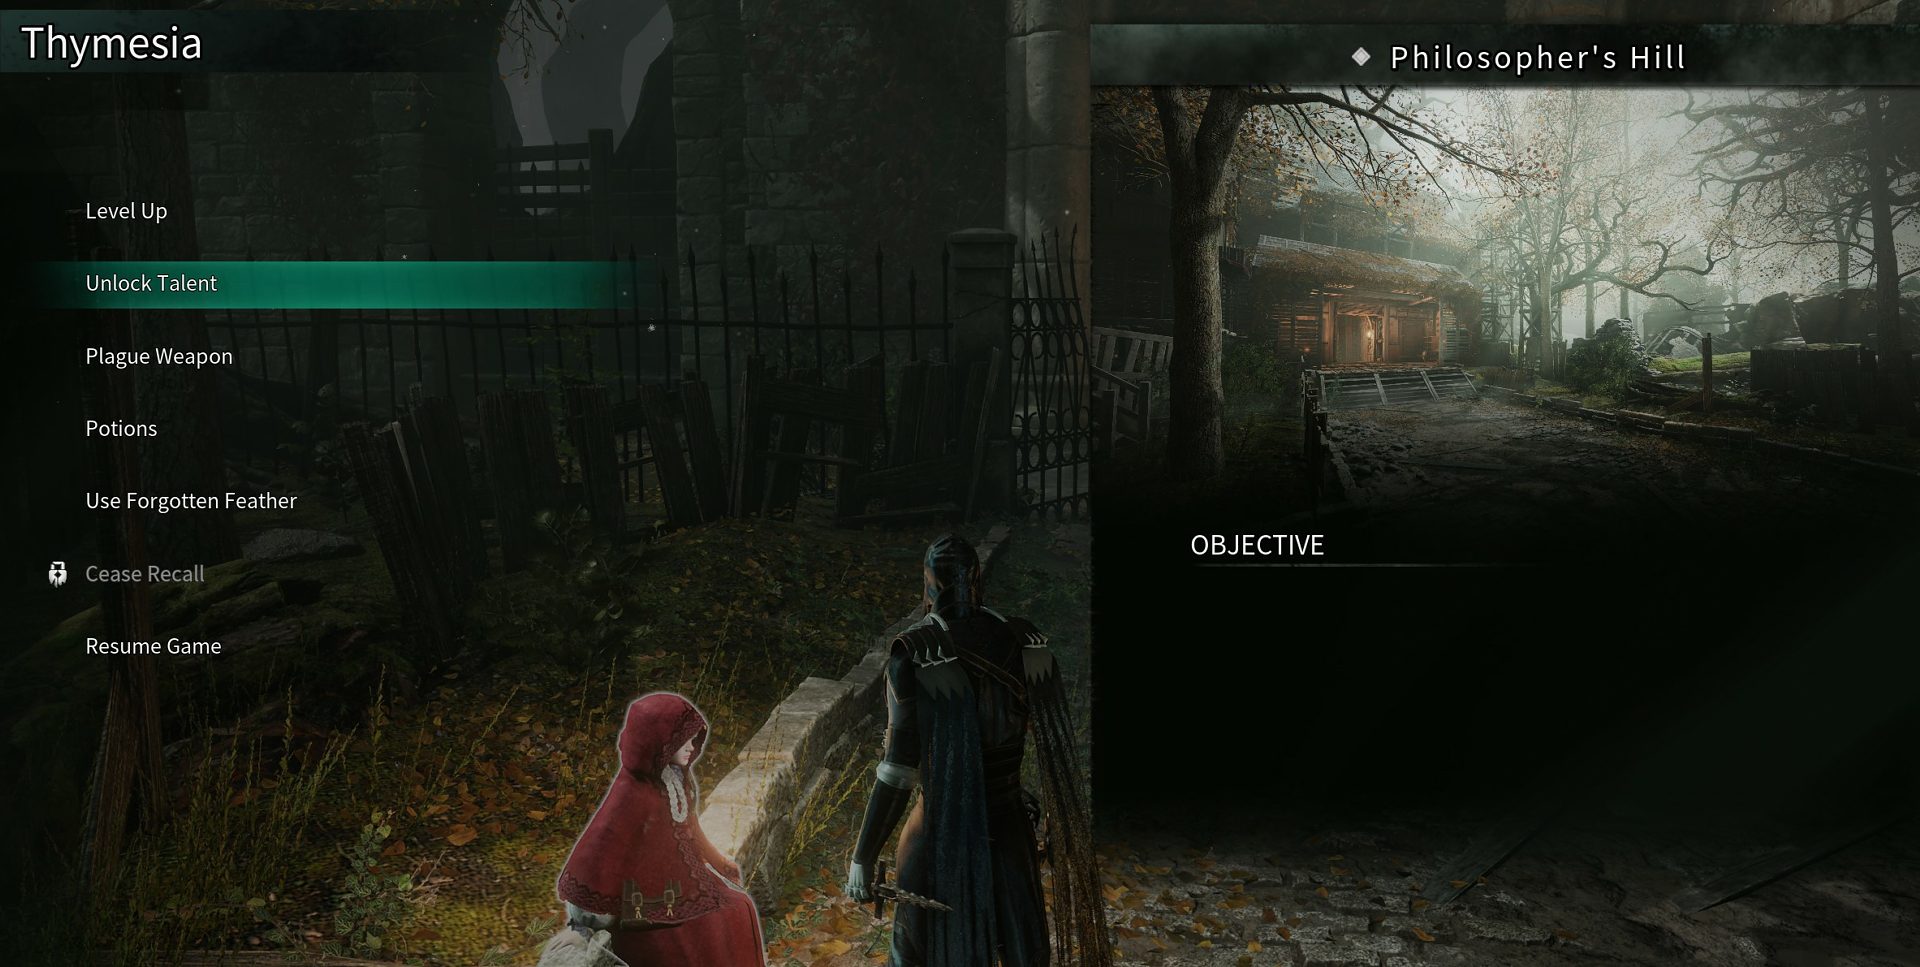
How to get and spend Talent Points
Talent Points are given to you automatically as soon as you level up by boosting one of your attributes (Strength, Vitality, Plague).
There are 24 Talent Points in total, so you will receive a Talent Point every time you level up until you reach level 25. You can spend these talent points while resting at a beacon / chair or speaking with Aisemy.
Need a few tips on how to level up in Thymesia? Check out the dedicated guide I have on the topic.
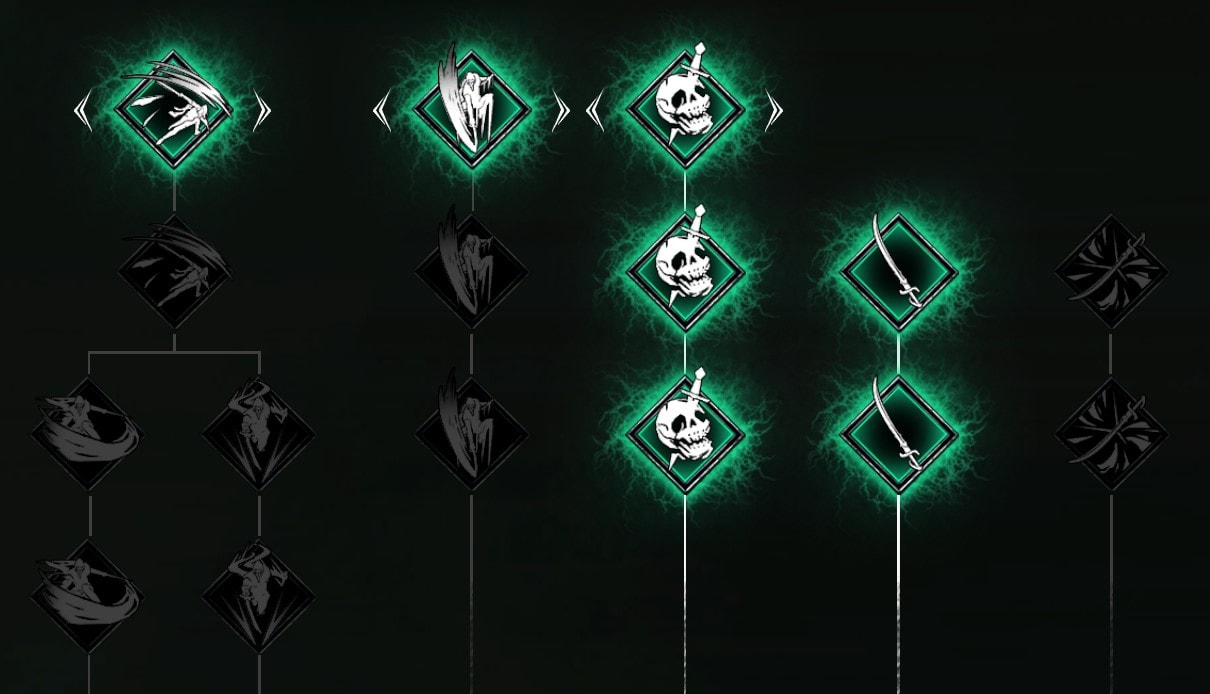
Explaining the Forks in the Trees
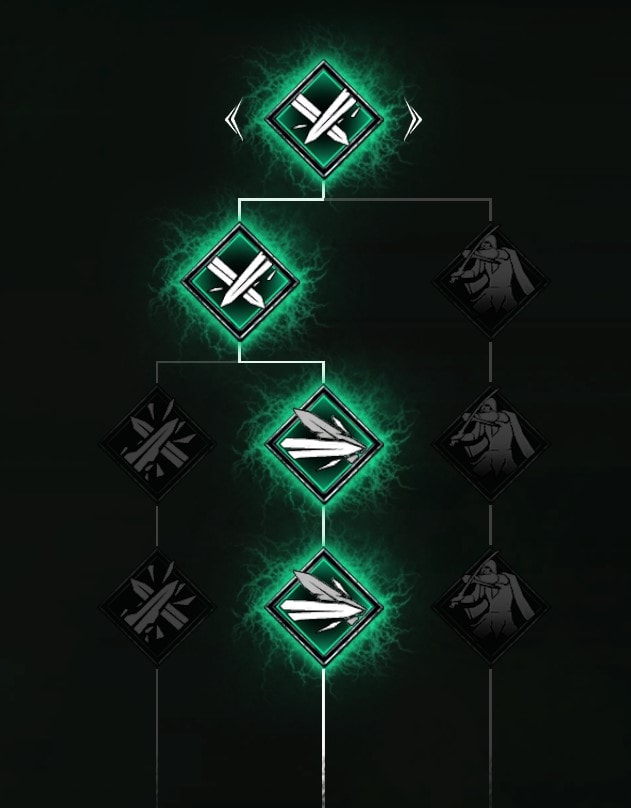
Each of the Talent Trees except for Strategies features a branching path where you can only commit to upgrades along a single path such that you’ll get locked out of the other path(s).
These forks exist because the subsequent upgrades change the functionality of one of Corvus’ abilities in a way that conflicts with what is offered by other paths on the branch.
In other words, one path changes a thing Corvus does to work one way while the other path makes that same thing work a completely different way, so you’d be completely wasting some of those Talent Points if the game let you pick both of them.
In this section, I’ll be going over what each of these branching paths offers to your play style. It is not necessary or even recommended that you pick a path in each of these sections. These Talents aren’t inherently more valuable just because they’re part of a branch.
Claw
The Claw branch lets you specialize your claw attack into a secondary fast attack called Short Claw that can heal you or an expansion of the base Long Claw heavy attack that has some gap-closing functionality.
Short Claw
With Short Claw, you’re really trading in your ability to do considerable Claw damage for extra survivability. It’s nice to have a fairly unlimited source of self-healing, but I don’t think it’s essential. A lot of that healing really only goes toward sustaining you while you slowly whittle down your opponent’s HP.
Since the self-healing only occurs while you have 5 stacks of the offensive buff, you’ll need to play pretty aggressively too so the stacks don’t fall off. You might want to consider pairing it with other Talents or Plague Weapons that can grant Offensive stacks to make them easier to maintain.
Long Claw
Long Claw deals a lot more damage than Short Claw. You’ll have already deleted all of an enemy’s green health by the time you manage to build up 5 stacks of Offensive with Short Claw and then you’ll still have a ways to go. The gap-closing functionality is also pretty nice.
Both Claw paths feel strong and I encourage you to try both out to see which you prefer. I definitely think you can get by without the healing since you’ll just take so much less damage from being able to take out enemies much faster.
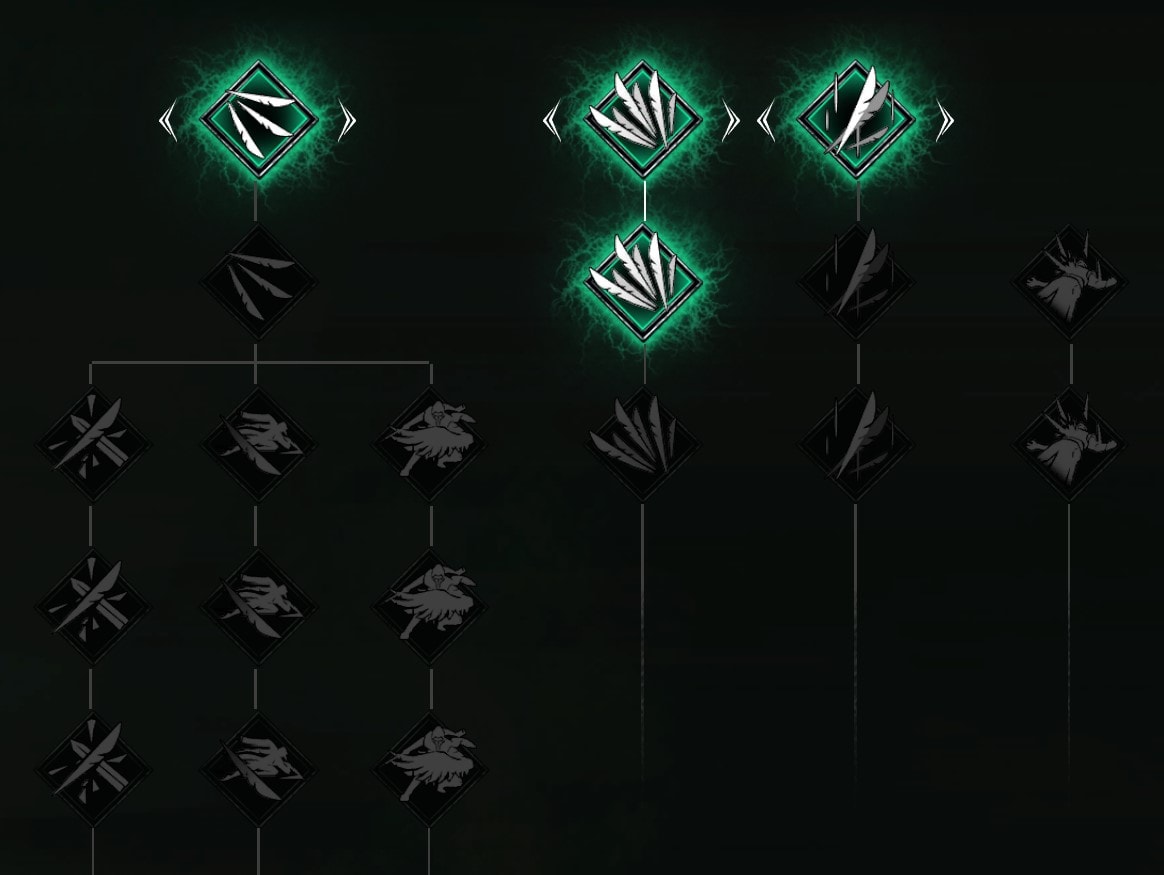
Feather
The Feather branch consists of 3 paths. The one on the left just makes your Feathers more powerful and efficient without really adding or changing the core mechanic. The center path, Feather Dash, gives you access to a nifty gap-closer. After throwing a Feather, you can press the button again to teleport into range. The path on the right replaces your Feathers with a melee attack called Intercept Wing.
Feather Dart
If you enjoy the core functionality of the Feathers, perhaps this path is for you. The buffs are fairly small, but they do make you more effective at range, especially when you manage to interrupt a critical attack.
I personally don’t think these buffs are strong enough for such a situational mechanic except for the one that makes the Feathers inflict more Wound damage (white health bar).
Feather Dash
The center path is most useful for hyper-aggressive playstyles that want to make full use of their buffs because it lets you quickly get from one enemy to the next, so there’s less of a chance that your buffs will fall off. Even outside of that build, the additional functionality helps to make your Feathers more useful more often.
That said, you’ll need to invest a lot of points to make full use of the Feather Dash, and I’m not sure it’s worth it when you could just strengthen or augment other abilities that are already less situational.
Intercept Wing
Let me level with you, this path didn’t make sense to me when I was playing through the game and as I’m writing this guide, it still doesn’t make sense. Intercept Wing seems to take an already situational ability and make it even more situational and harder to use. I have no idea why anyone would want to pick this path.
Intercept Wing takes away the range and reduces the speed of your interrupt. In exchange, you get to deal a fair bit more damage both when you successfully interrupt a critical attack or just use the Intercept Wing on its own offensively.
I don’t think giving up the range and speed is worth it because the point of the Feather is to quickly interrupt critical attacks, many of which do not start in melee range, not deal damage.
Deflect
The Deflection branch is all about letting you customize the difficulty of parrying. You can choose to make parry timing easier at the cost of dealing significantly less damage. Alternatively, you can gain access to a block that you can hold indefinitely just like a shield.
Reckless Deflect
This is the one that makes parrying easier. It’s nice if you’re new to parrying or just want to dip your toes in, but I don’t think you should bother with the training wheels if you actually want to parry frequently. In my opinion, you’re better off just getting used to the standard timing because you’ll have to do that at some point anyway.
I recommend putting a lot of points into Vitality to increase your HP and use the Long-lasting or General health potion while sticking to Precise Deflect if you want to practice parrying.
Precise Deflect
Precise Deflect makes parrying ridiculously strong. If you parry just about everything the boss does, you don’t have to use your regular saber attack like at all and can just focus on doing claw damage. The ability to parry critical attacks is also really nice because it’s kind of hard to mentally switch gears from parrying to interruption in the time you have before the critical attack lands.
Defense Mode
Defense Mode gives you the block. It’s great if you really just don’t want to mess around with parrying and super helpful when fighting the gigantic gimmicky bosses since their attacks are really hard to avoid with parrying and dodging.
Dodge
The Dodge branch lets you pick between a Long and Short dodge, each of which lends itself to making your Dodge more defensive or offensive respectively.
Long Dodge
The Long Dodge is better if you want to use your Dodge defensively to get away from the action. I think it’s pretty essential (and sometimes still insufficient) if you’re using the Long-lasting health potion because you typically need to get far away from the boss to have enough time to inject the potion.
You might also want to consider using the Long Dodge on the gimmicky giant boss fights to make it easier to get out of the way of their huge attacks, especially if you don’t want to take Defense Mode.
Short Dodge
The Short Dodge is great for a more fast and aggressive playstyle that relies more heavily on dealing saber damage as opposed to parrying. You definitely don’t want to use this with the Long-lasting health potion because you’ll have a really hard time getting away from the boss when you need to heal.
Saber
The Saber branch is all about leaning heavily into saber attacks. I don’t think you should spend points in this branch if you plan to boost your deflection because you just won’t be swinging your saber enough to benefit from it and both options are reliant on dodging rather than deflecting to deal damage.
Dodge and Stab allows you to more consistently get through the full 5-attack animation sequence as the counter gauge will build slower, but you won’t be dealing as much damage per hit as you would be with Dodge and Slash.
Dodge and Stab
Dodge and Stab is arguably easier to use because you don’t have to worry about responding to what your opponent is doing as often, though regular enemies will tend to take longer to defeat because they don’t tend to survive long enough to counter in the first place.
Dodge and Slash
Conversely, Dodge and Slash will require you to respond to attacks more frequently, but you won’t fall behind on damage because the damage is effectively more concentrated in a smaller number of hits. I’d consider using Dodge and Stab outside of boss fights and against bosses that don’t do a whole lot of counter-attacks.
Valuable Talents and Creating Builds
These are talents that I find to be pretty universally valuable broken down by tree. I’ll also be mentioning major decisions you should be making as you create your build.
Strategies
Many of the universally valuable points come from Strategies. This makes sense because they’re designed to be more generically useful and not necessarily cater to a specific build.
Plague Weapon
Grants access to a second Plague Weapon slot.
Make sure you get a second Plague Weapon. This is practically free versatility. Consider picking a weapon that offers a distinct benefit from your other Plague Weapon to maximize the value of this talent.
Plague Wounds
Extends the delay before Wounds begin healing
The delay extension is considerable. So long as you remain engaged with your opponent, they’ll basically never regenerate HP. I think it’s helpful because it’s one less thing you have to worry about and it removes the incentive to be aggressive when you don’t want to be.
Yes, you can interrupt healing by throwing a Feather, but sometimes you need to do your own healing and the openings for that are fairly limited so you might have to choose whether to heal yourself or stop them from healing. That’s not a choice you want to make.
Blessing
30% chance to reduce incoming damage taken
This is one of the only RNG-based effects in the game, but it’s the only thing that reduces your incoming damage. Since the game is difficult and healing is largely finite, this helps you to survive longer
Luck
Increases item drop rate
Luck allows you to gather Skill Shards and potion ingredients at a faster rate, making you stronger permanently. Once you have all that you need, you can reallocate those points to something else.
Claw
I think it’s most important to just pick one of the paths on the branch to buff your Claw in some way because there aren’t too many ways to reduce green enemy HP and actually finish things off without Claw attacks. Since you’ll be using them frequently, it makes sense to spend some points upgrading them.
Feather
I don’t think anything is all that essential to buffing the Feather because the only thing they’re really used for is blocking critical hits, which aren’t all that common to begin with. If you’re gonna take something, Feather Dash is probably the most useful along with just enough boosts to the number of Feathers so that you don’t feel like you’re having to wait around for one to become available.
Deflect and Dodge
Pick a path to at least buff Deflect or Dodge. You will have to quickly evade incoming attacks somehow. Determine your default approach and strengthen it fully. Dodging pairs better if you find yourself doing a lot of Saber damage, but it’s less important if you’re deflecting everything. I opted to buff both, but I wouldn’t say that’s essential.
Saber
The Saber Tree contains 2 of the most universally valuable options I’ve mentioned.
Healing Execution
Performing an execution restores some HP and Energy that scales with the difficulty of the enemy
Basically, if you defeat an enemy without stealing their Plague Weapon, you get some health and energy back. This is super helpful in making you less dependent on your health potions, allowing you to explore for longer without having to rest.
Sharp Weapons
Increases Saber Attack damage
Free damage, no strings attached, on your primary attack is useful to everyone. Even builds that primarily deal damage in other ways, like by parrying, will still need to swing their saber sometimes.
You can find more Thymesia Guides here on VULKK.com. Check out these to get you started: