This guide will help you get through the Heist at STAR Labs in Gotham Knights. It will walk you through the entire mission from how and when you get the alert to the meeting with Mr. Freeze to the resolution!
While on patrol you will get an alert for the Heist of STAR Labs. You will find that the heist is planned by Mr. Freeze and his Regulators.
When you go over that you should see that there is a heist going on at STAR Labs. STAR Labs is ofcourse known as the headquarters of The Flash.
You can find the mission on the Southside Burrough of Gotham. It is indicated with an orange marker and you can see the mission details when you go over it:
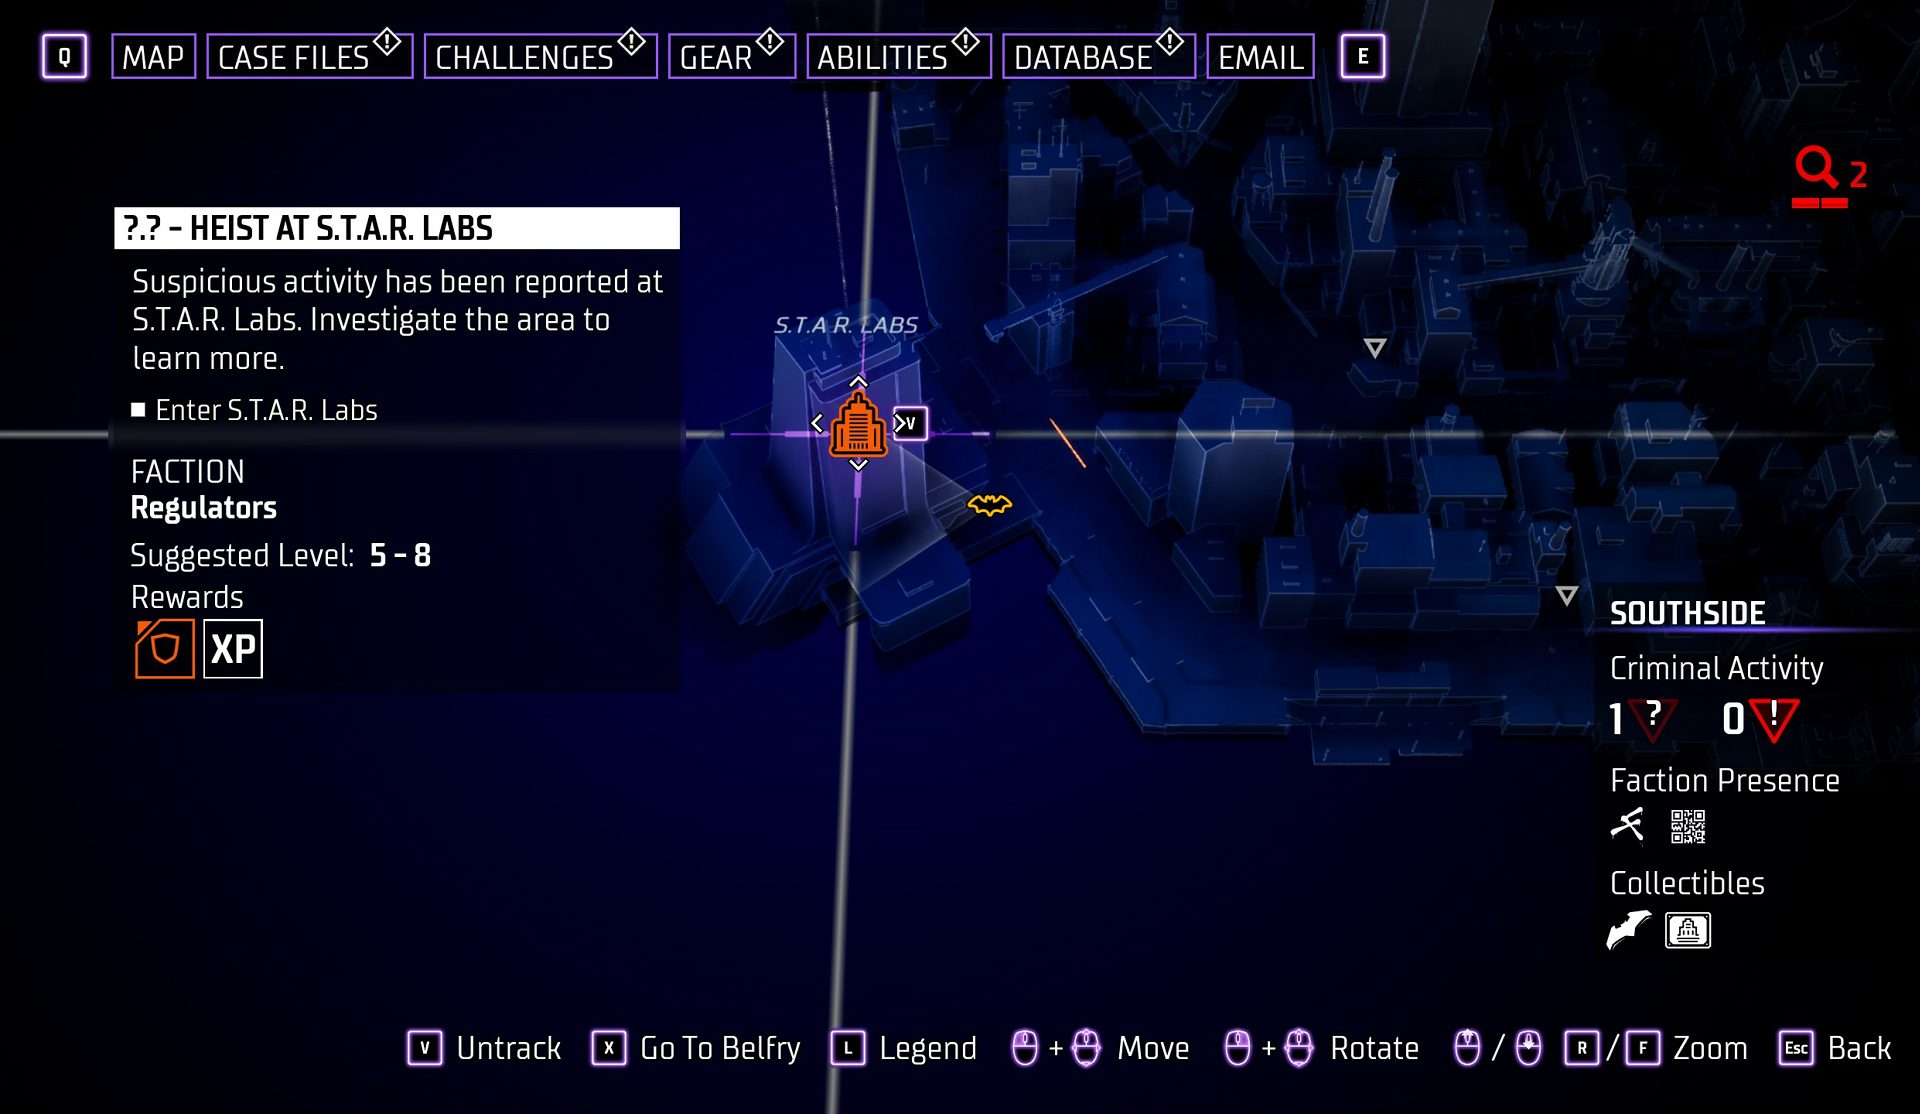
It will read: Suspicious activity has been reported at STAR Labs. Investigate the area to learn more.
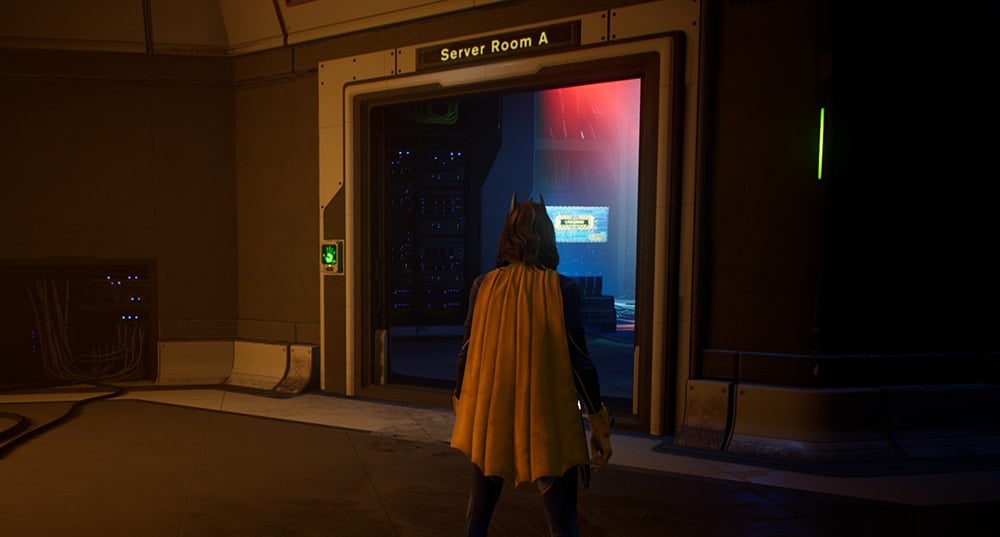
Enter STAR Labs
When you arrive at STAR Labs, the place seems quiet. To find the entrance, all you need to do is look up and grapple. There is only one guard while the rest are inside so the people doing the heist are quite confident. Except they didn’t count on Batgirl.
The entrance is right next to the guard who is now unconscious. Click the icon and enter the building.

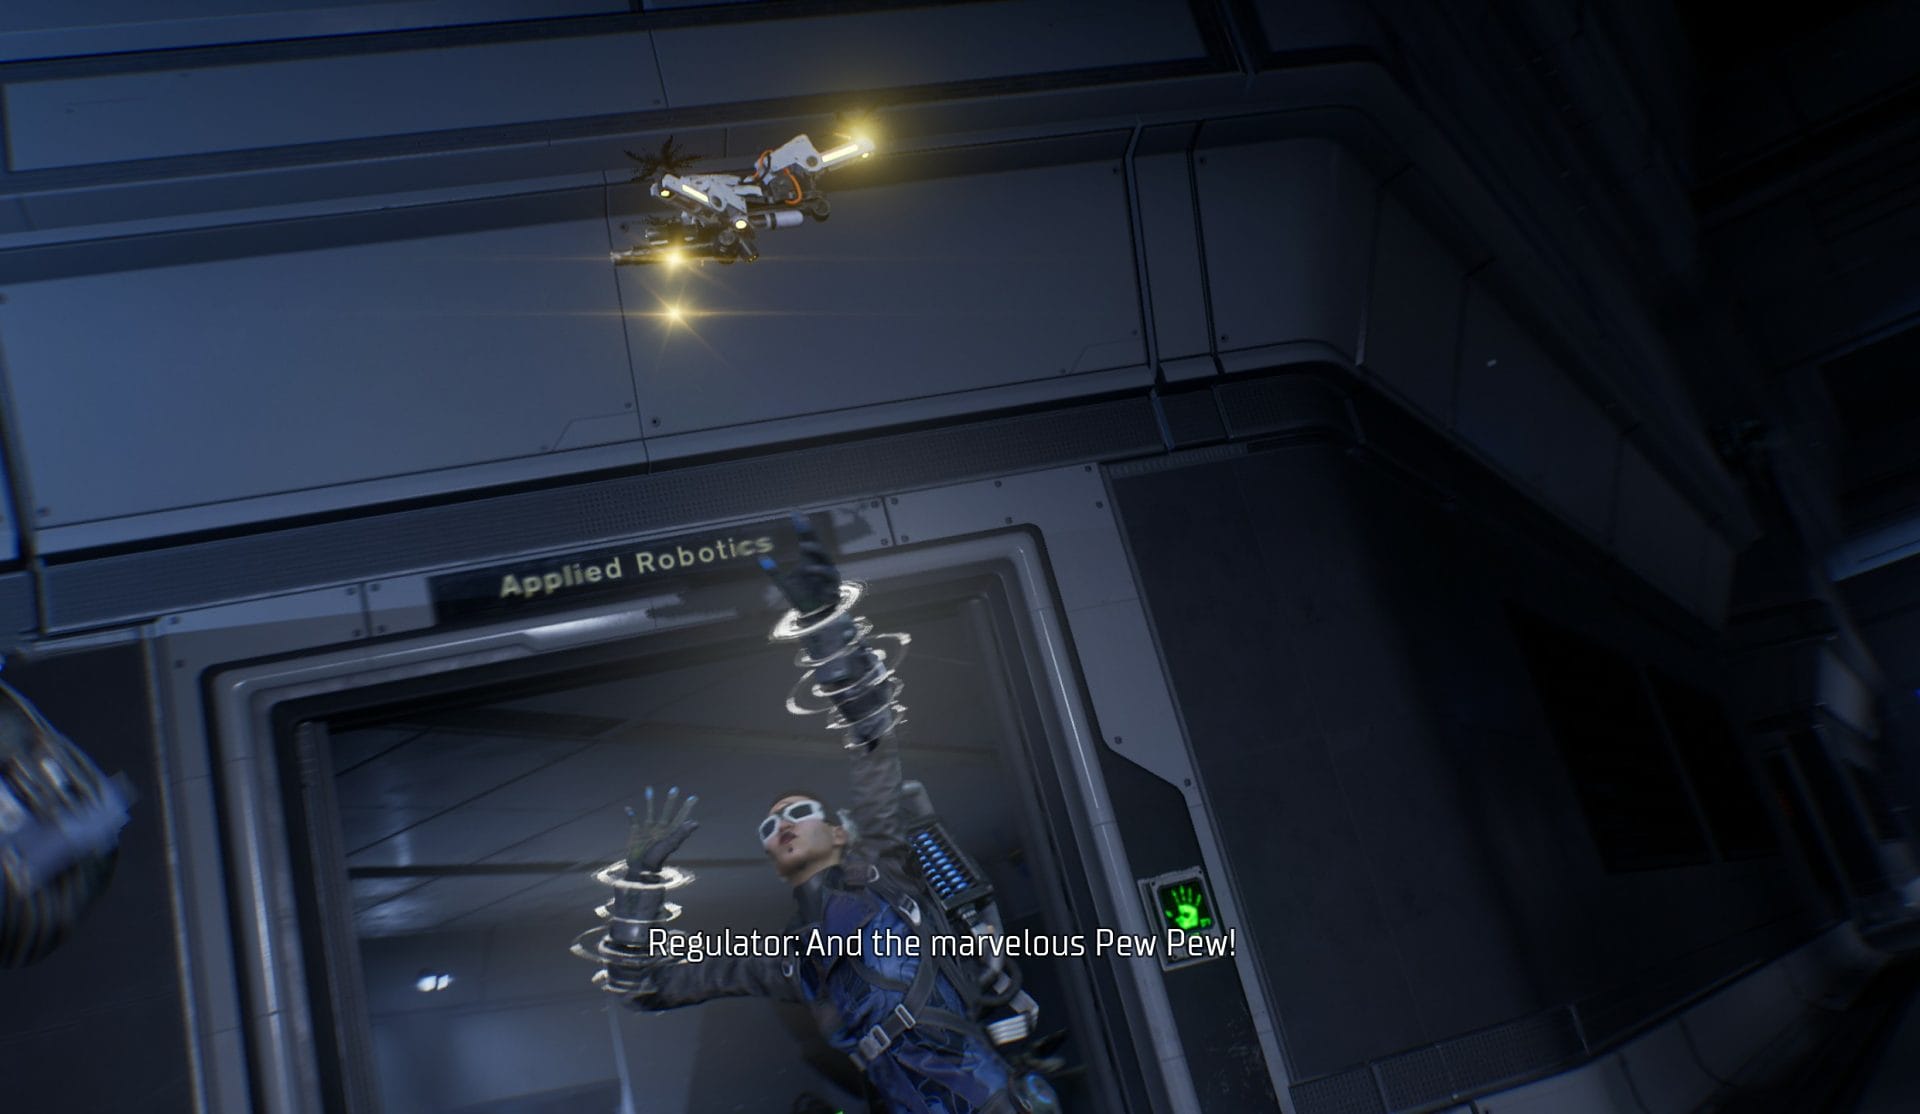
Once you enter the building, you grapple up and go through a vent to find two men talking to someone on a video call. The man is giving them orders but it is unclear what it is about because you come in the middle of the conversation and have no idea what was said before that.
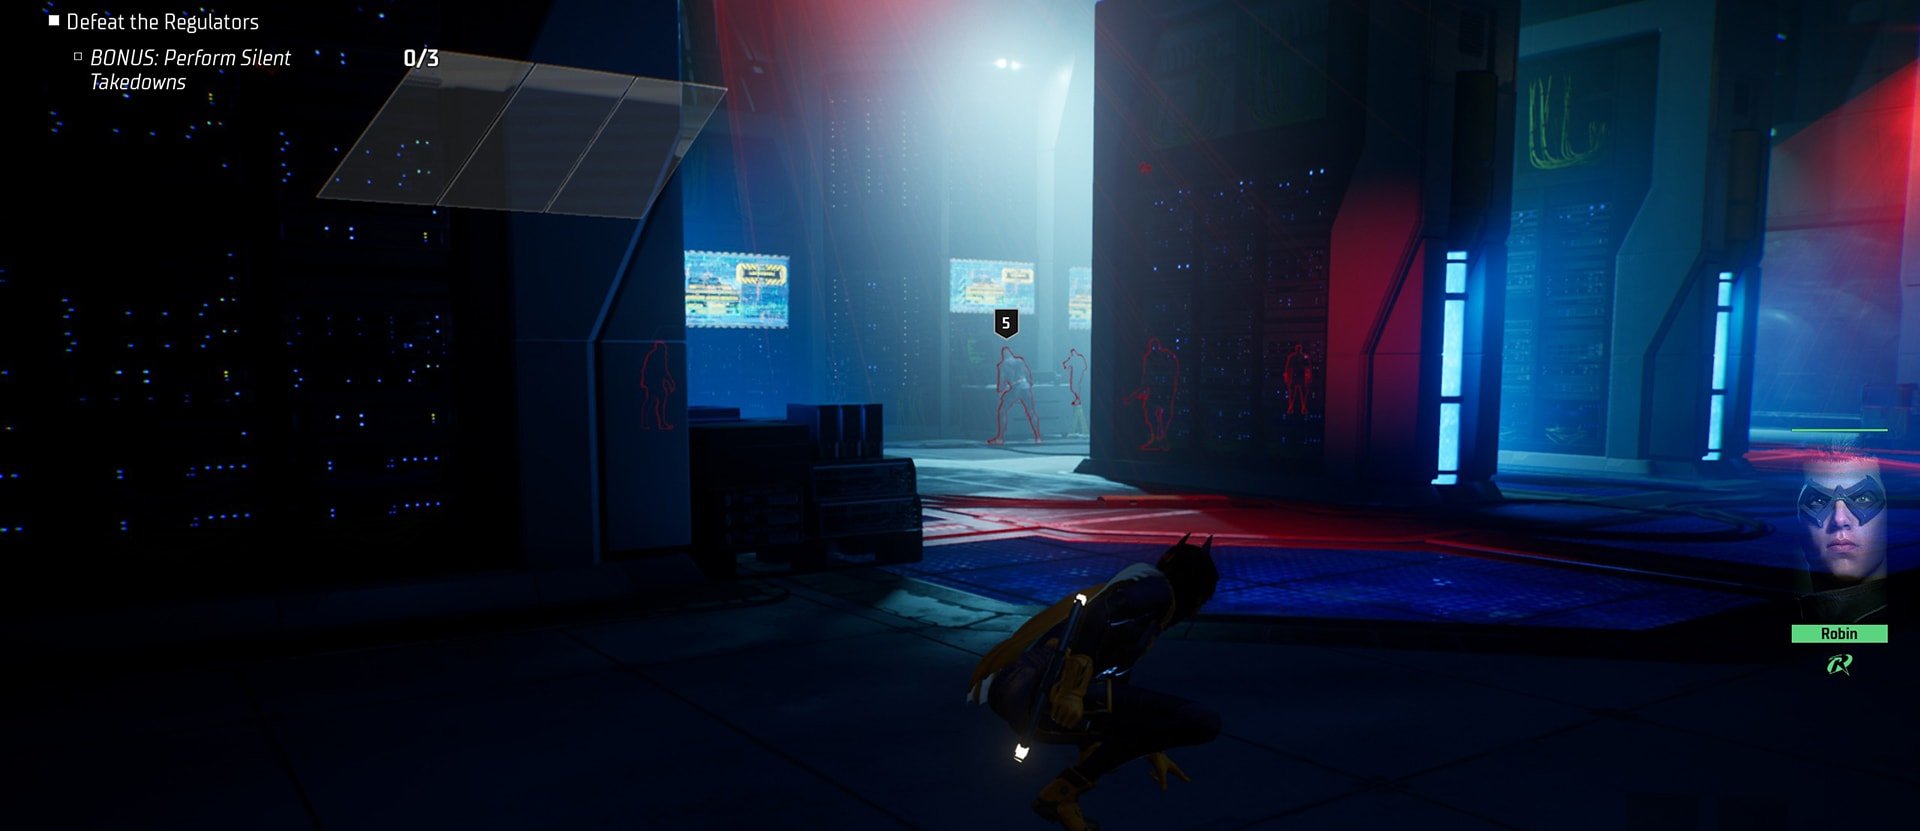
Take down the two men. Do it by either stealth or knock ’em down. And move to the next area, the Server Room.
Scan the Server Room area using your AR Scanner and whatever lights up red are hostile enemies who will kill you on sight. In this case, the AR Scanner lights up 5 hostiles called Regulators and you get a bonus for taking 3 of them down silently.
Once that’s done, you can move to a computer that will open the doors to the next area. You will go through to vents again for the next area of the Server Room.
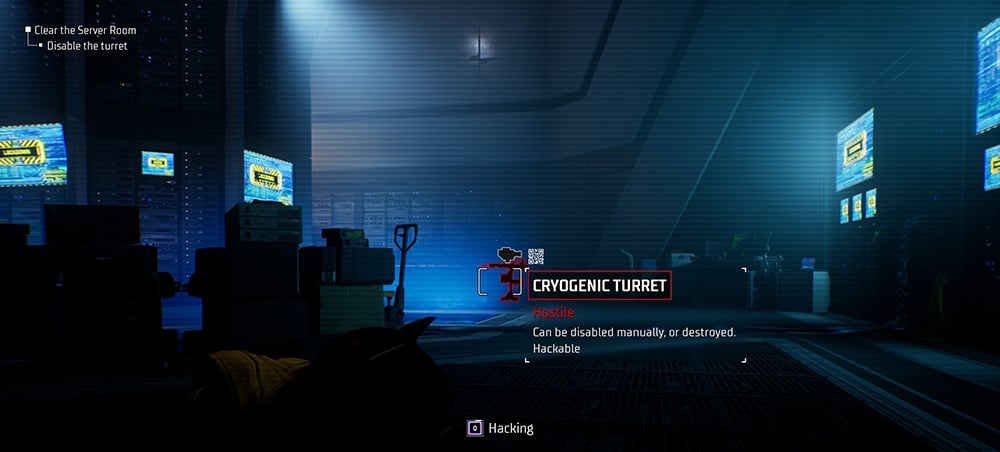
Server Room B, has a new type of enemy come it play. It is a turret that is guided by infrared and it will trigger on sight. So you would do well to stay outside of it’s line of sight.
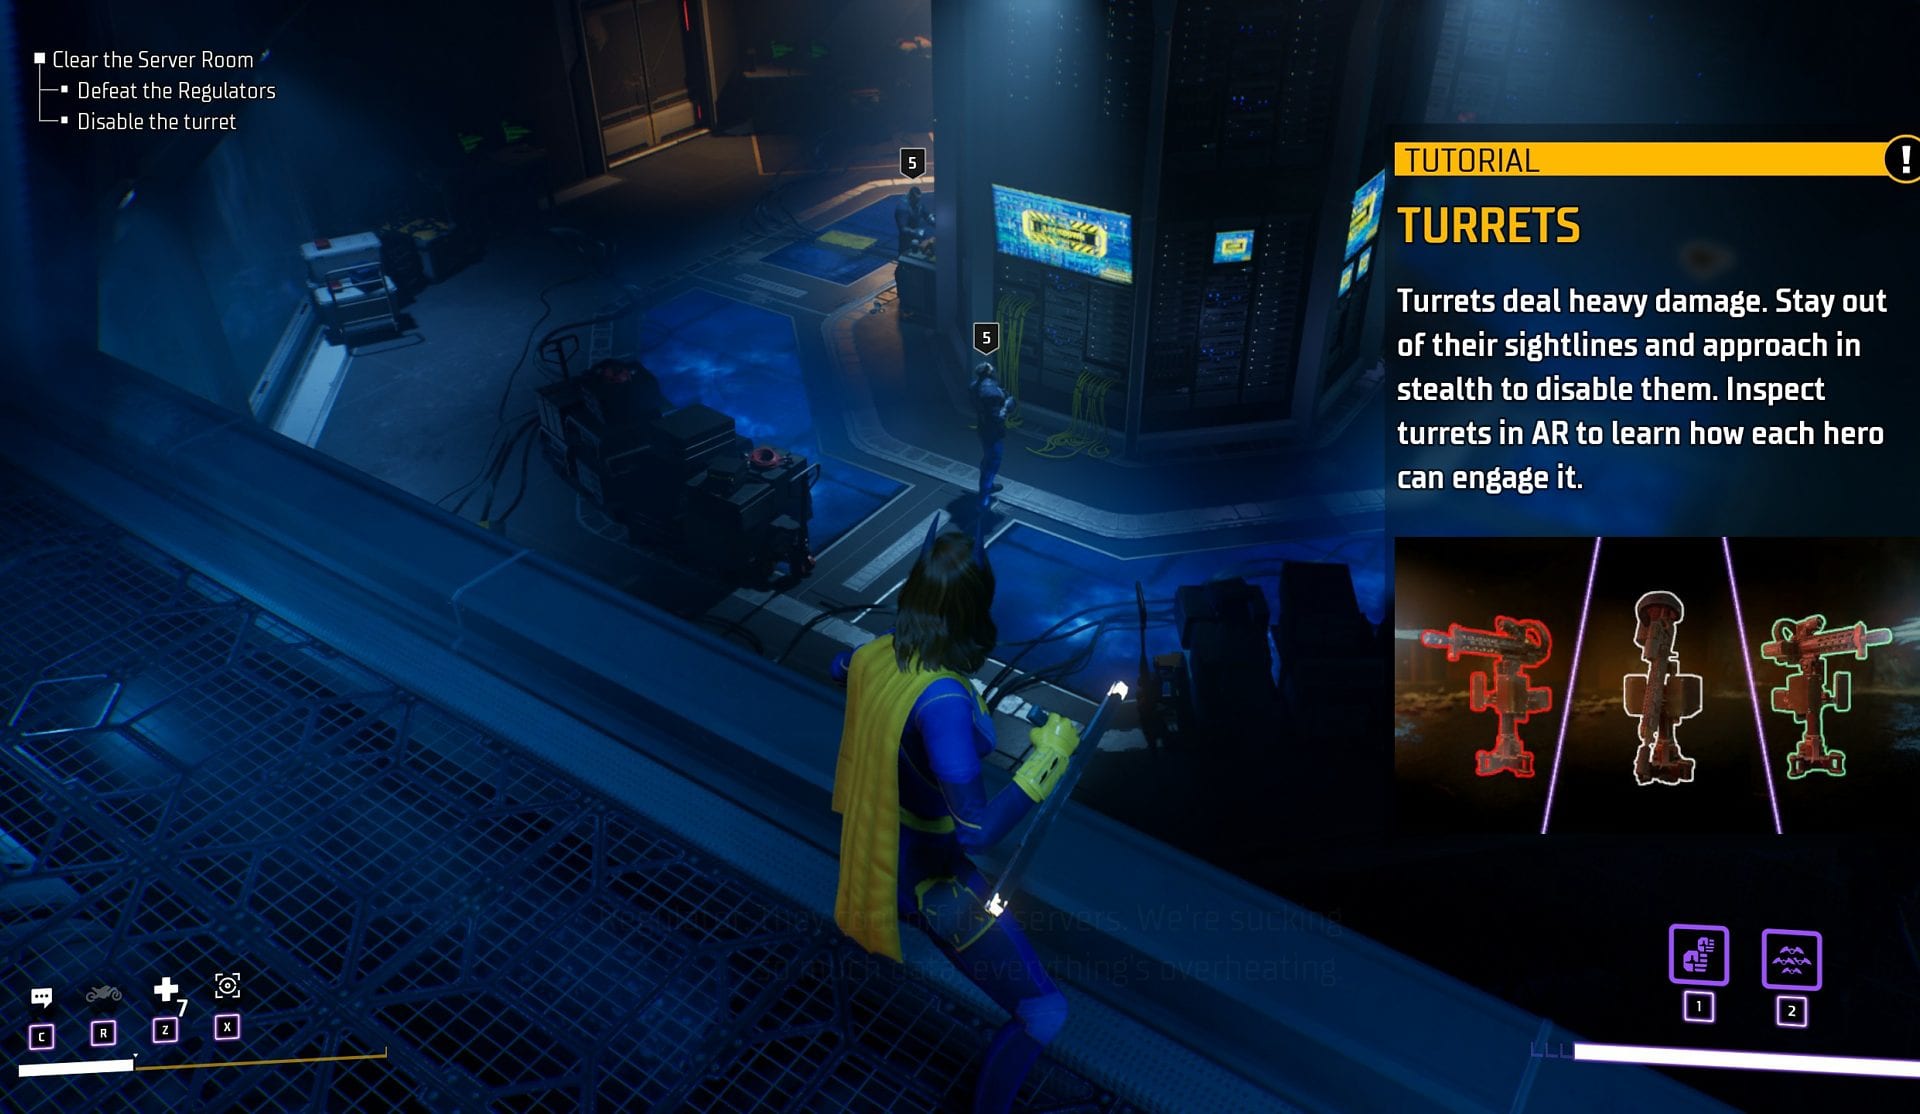
Turrets: Turrets deal heavy damage. Stay out of their sightlines and approach in stealth to disable them. Inspect turrets in AR to learn how each hero can engage it.
If you take Batgirl and have put points in Hacking then you can disable them temporarily. It will buy you about 2 seconds before it goes back on. 2 seconds doesn’t look like much but if you position yourself well then 2 seconds will feel like a lifetime.
After you clear Server Room B, it is time to leave the area and move up using the stairs.
Tracking down Mr. Freeze
Once you have moved up you will end up at the Security Hub. It’s quite a complex area so bear with me as I take you through this.
Clear out the room and do not get detected. If you get detected then you will lose the nice bonus that is attached to this part of the area.
As always start off with the AR Scanner to find out where your enemies are and make a plan. You can stay hidden and pick them off one by one.
Once you are done with that, head over to the main computer and press E. It’s time to find out who is behind the Heist of STAR Labs.

While looking through the surveillance camera footage, you will find out who is behind the heist: Mr. Freeze. It’s time that you set up a meeting. Head over to the reception area.
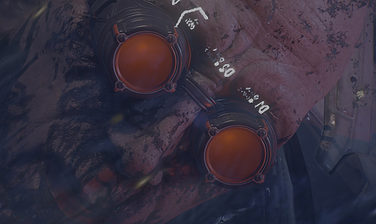
When you reach the area, you will have to take down the Regulators and then use your AR Scanner to pick up the trail Mr. Freeze left as he was leaving the scene. You see a trail from Mr. Freeze and his suit must have gotten ruptured because the AR Scanner picks it up immediately.
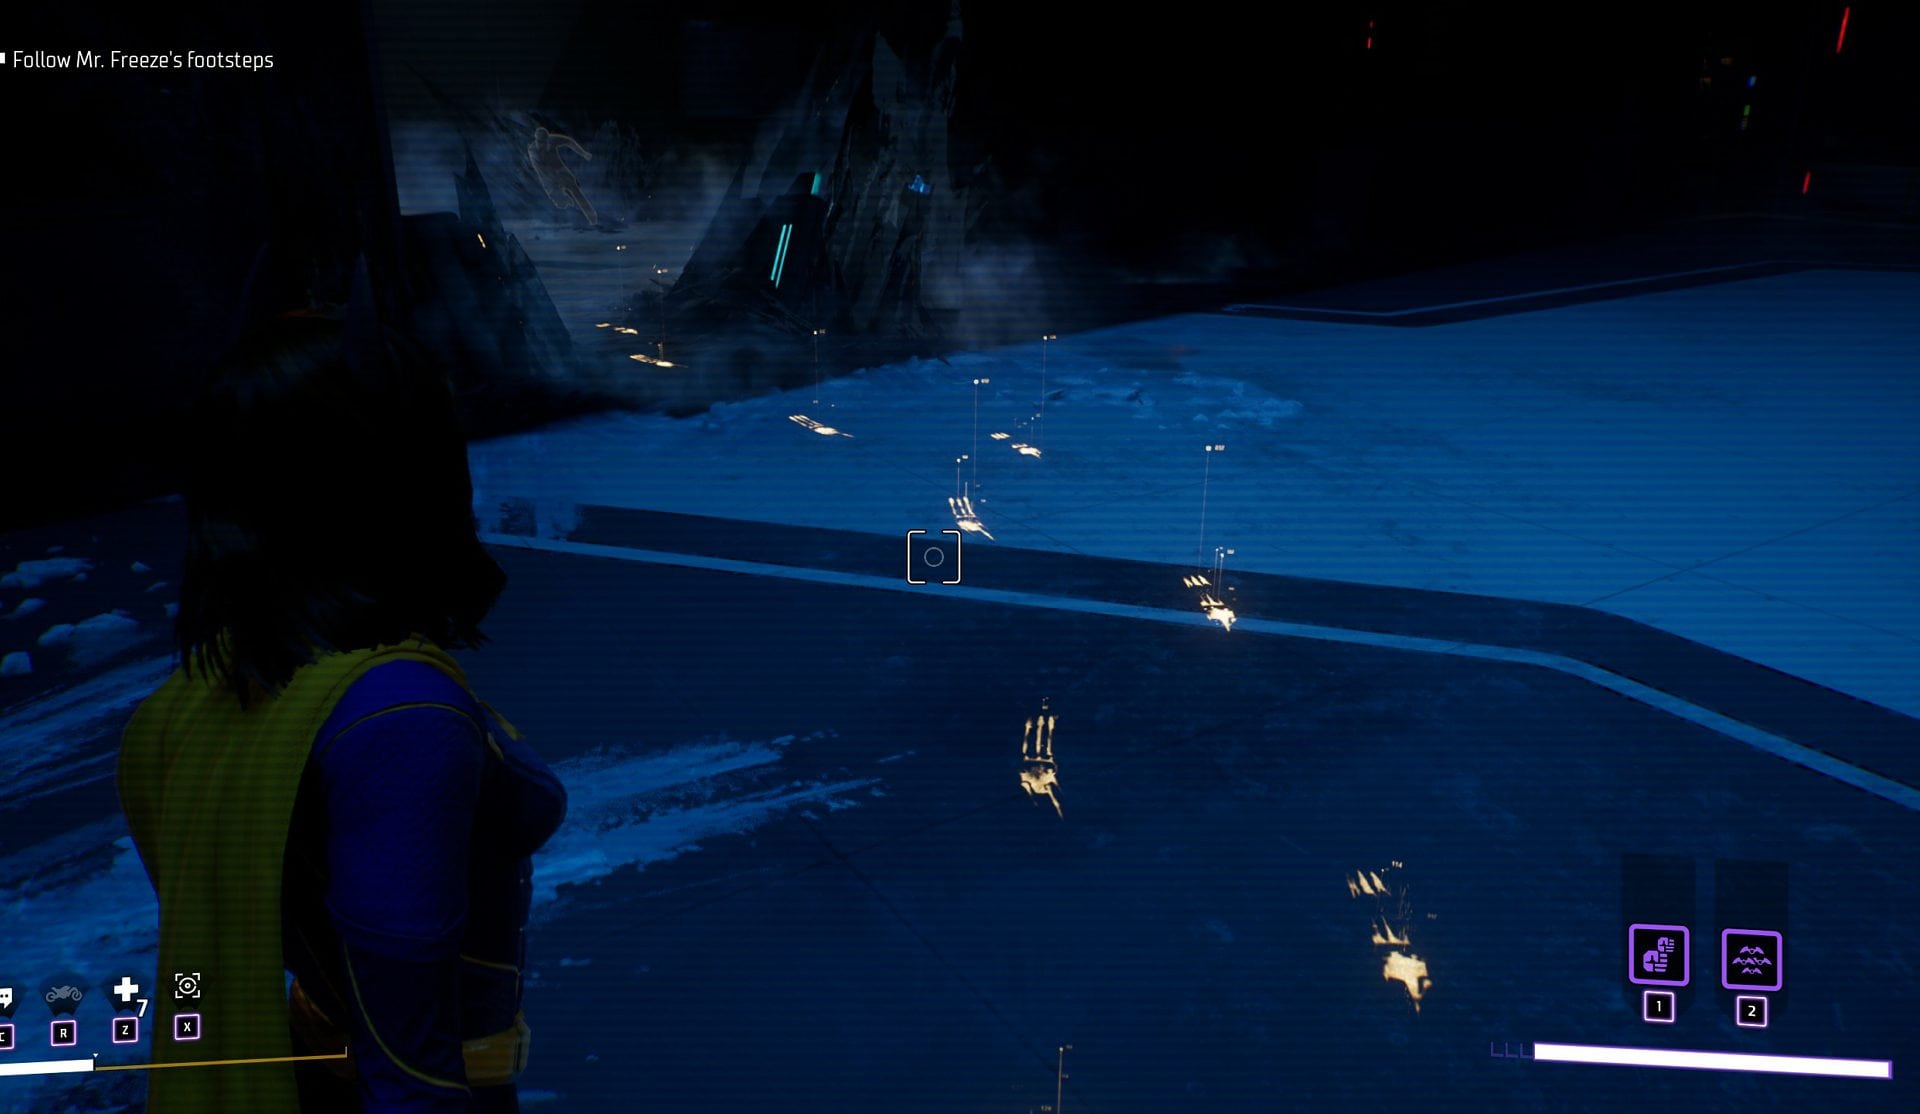
Keep following that trail and you will have to go through the Prospective Technologies section of STAR Labs. You will find a few Regulators and a new enemy that is very tough to handle.
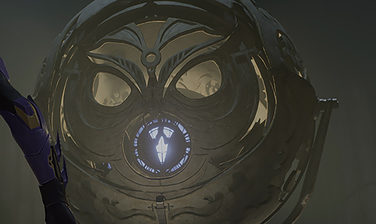
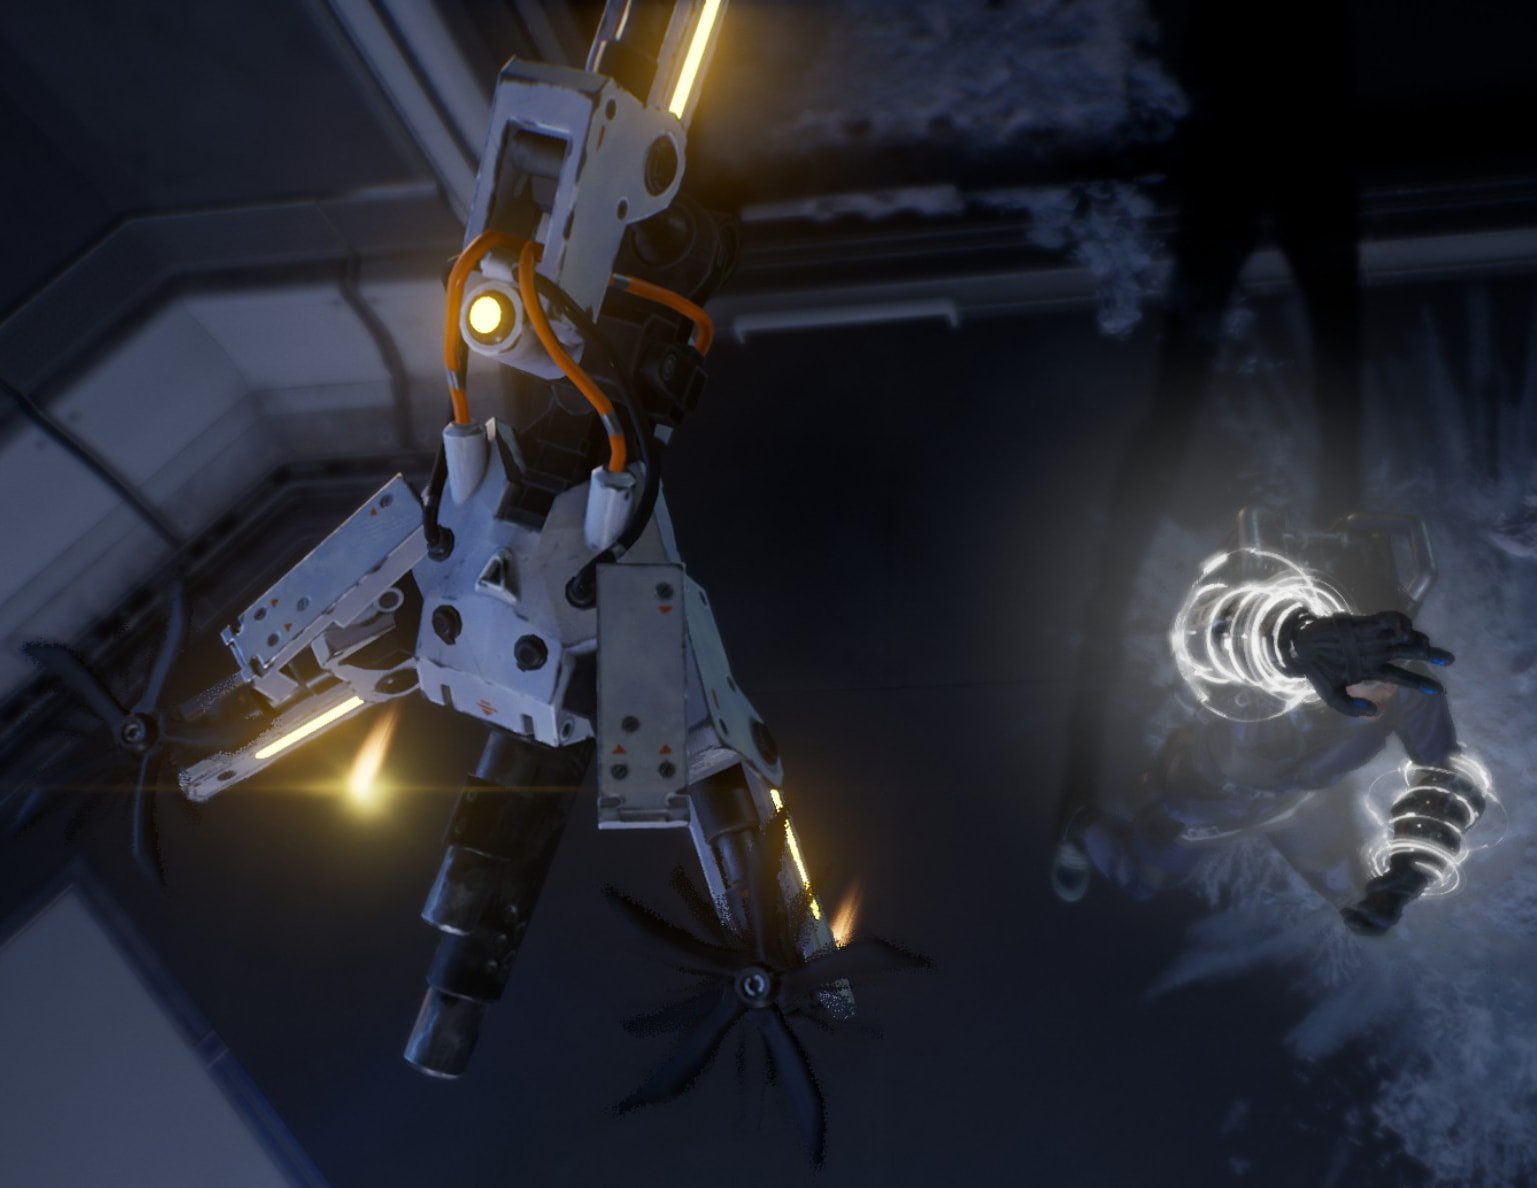
The new enemy is called a Homey Pigeon, a weaponized drone, and it carries frost weapons or bullets. Plus then there is the Regulator that controls it and also wields weapons. On top of that Regulator with guns and a few regular Regulators and you have yourself a party.
Get ready to fight. It is a tough fight, use your perfect evade when you can and your Area of Effect Momentum abilities on cooldown. Use your medpacs wisely, you won’t get new ones unless you either go down in-game or leave the game and restart.
Once you pass the Homey Pigeon and the other Regulators, you will exit the area for the next one. Look at the photo to see the Homey Pigeon from up close. They are powerful tools from the enemy and will kill you on sight.
Cryo Storage area
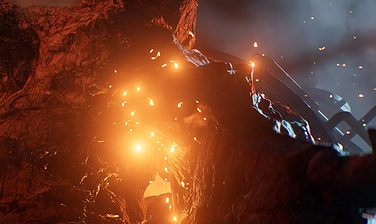
As you continue to follow Mr. Freeze trail, you will head over to the Cryo Storage Area. Grapple up and you will end up on a platform where you will drop down in the area where Mr. Freeze was last seen. Take down the Regulators and just when you see Mr. Freeze he blows up the doors and you will have to figure out a new way to go up.
While you do that you find Cryogel containers on the floor. Mr. Freeze has been stealing the containers, which was probably why he planned the heist of STAR Labs in the first place.

Cryogel Container:
Cryogel is used for a variety of purposes, like suspended animation, preserving biological samples and food, and can reach temparatures as low as -300F
Meeting Mr. Freeze
Once you are up, you will see the security walls go up only to find people in a safety room. Except this room is now abused by Mr. Freeze as he locks in the scientists and tries to get away but not before Batgirl asks him why he planned the heist of STAR Labs.
Batgirl thinks he’s after the STAR Labs data but Mr. Freeze assures her that he is not.
When Batgirl probes him a little more, Mr. Freeze cuts her off and sets off a timer that will freeze the scientists. The only way out is a railgun that can be activated using 3 terminals.
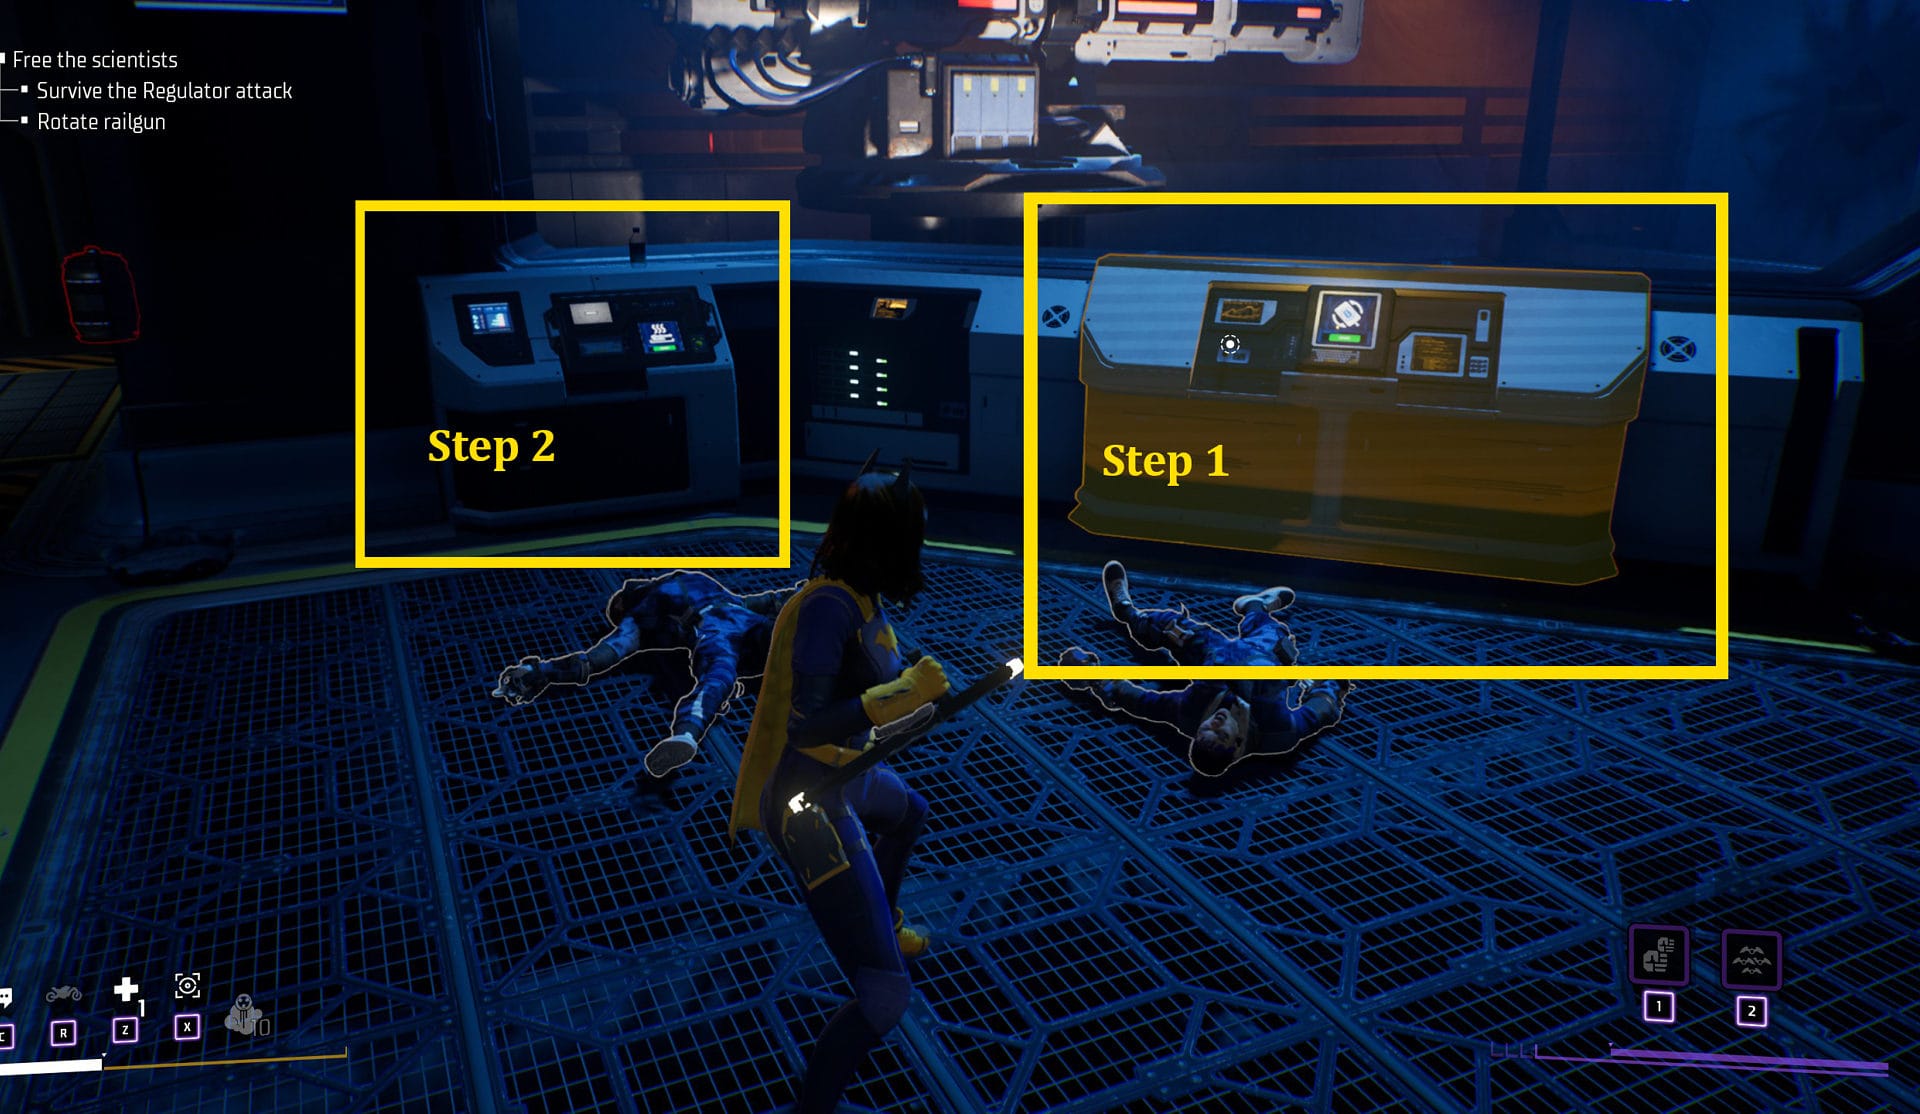
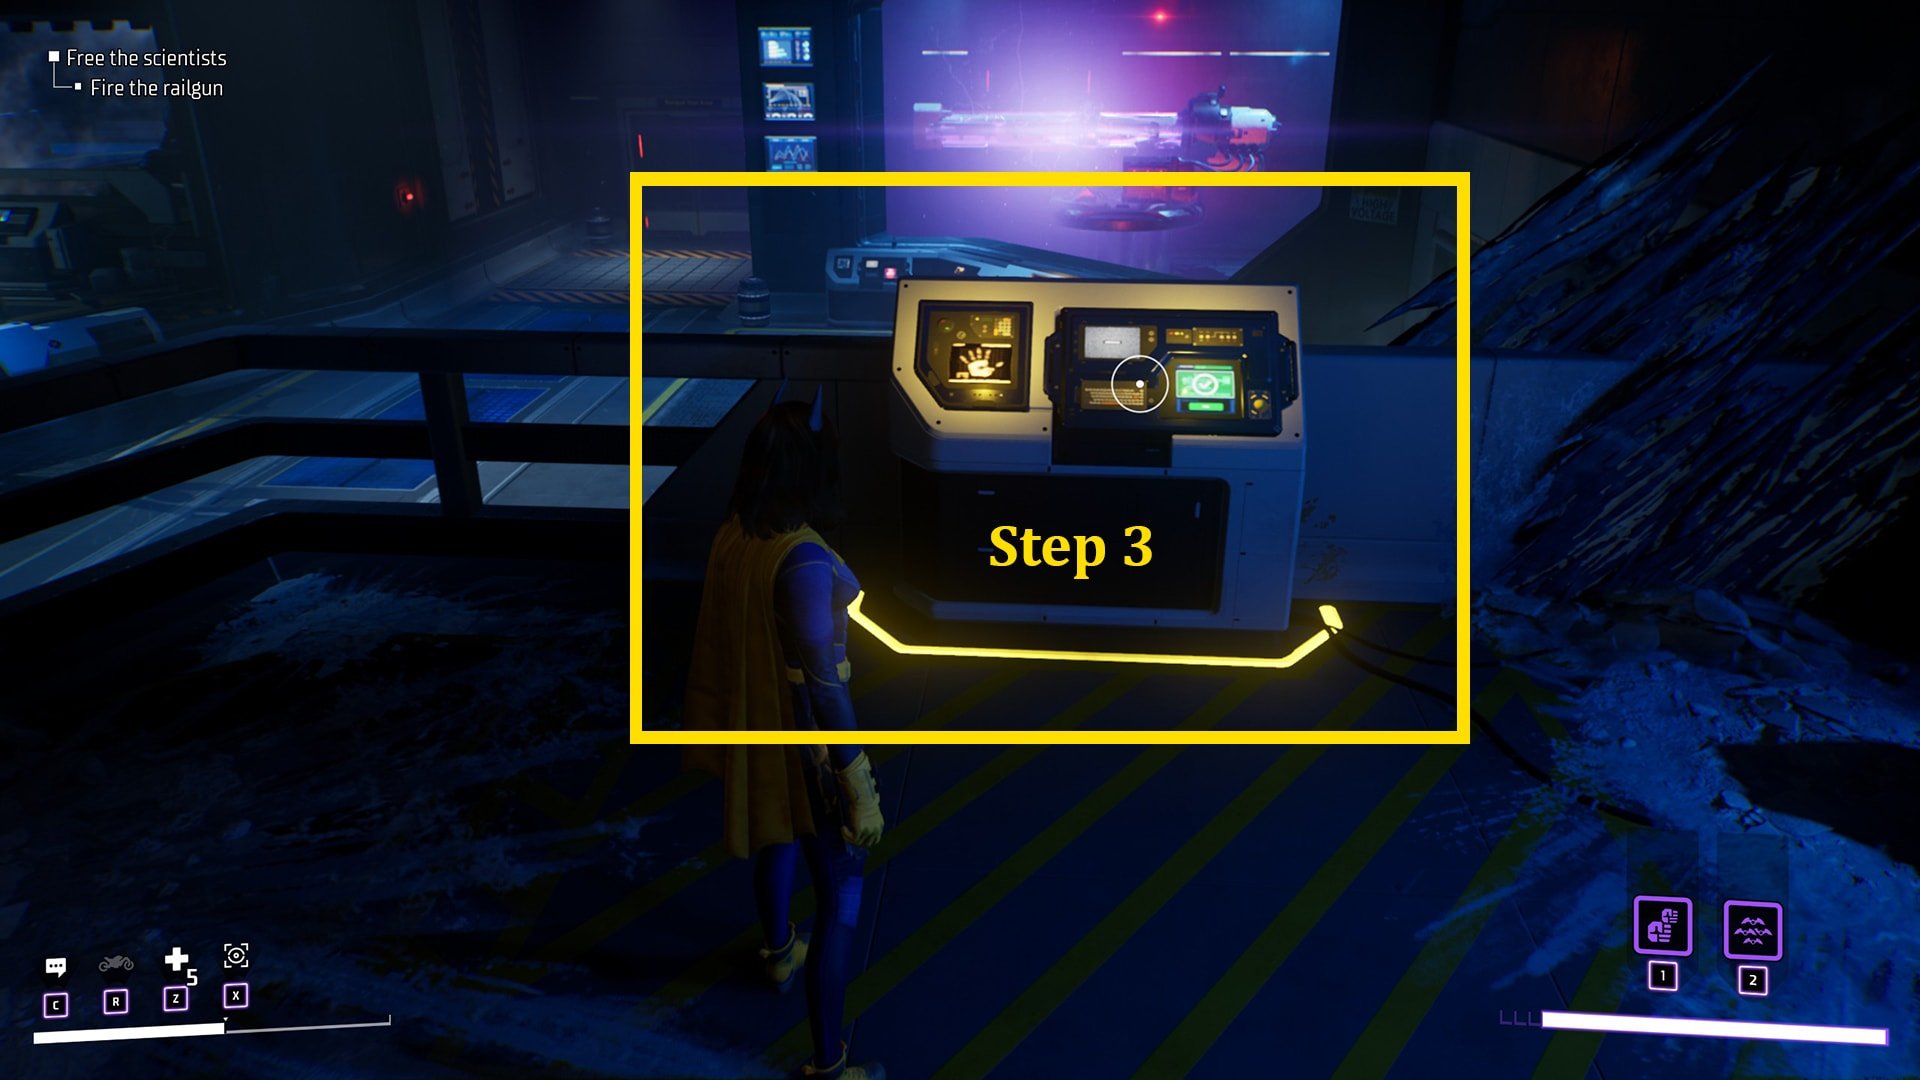
Activate 3 terminals and you should be able to rotate and activate the railgun. But nothing is ever easy. Multiple waves of all kinds of Regulators come in using freeze guns and homey pigeons and more. And this is the part where it gets tricky. Remember when I said to use your medpacs scarcely, this is why.
Before the waves come at you, you will have a small window of opportunity to activate the first terminal and it will load while you hold off the Regulators. But while you are fighting, you will also need to click the second. And while the Regulators keep spawning you will need to head over to the third one. And it has to be done in that particular order. You have no other options.

You will really need to click the terminals or the Regulators will keep spawning. At some point, I fought off my 7th wave because I didn’t click the terminals.
I make it sound easy but fighting off those waves of Regulators is, up until then, the hardest one in the game so far. It took me about 10 mins of button bashing before I died before I figured out that I needed to click the terminals. After I figured that out, it was still a 7 minute fight.
The scientists are safe and you can now move on to the Belfry.
The heist of STAR Labs
When Batgirl returns to the Belfry, she talks to the team about Mr. Freeze’s motives for the heist of STAR Labs.
It turns out that Batman promised Mr. Freeze to help him find a cure for his condition. But help never arrived because Batman passed away. So Mr. Freeze took matters in his own hands.
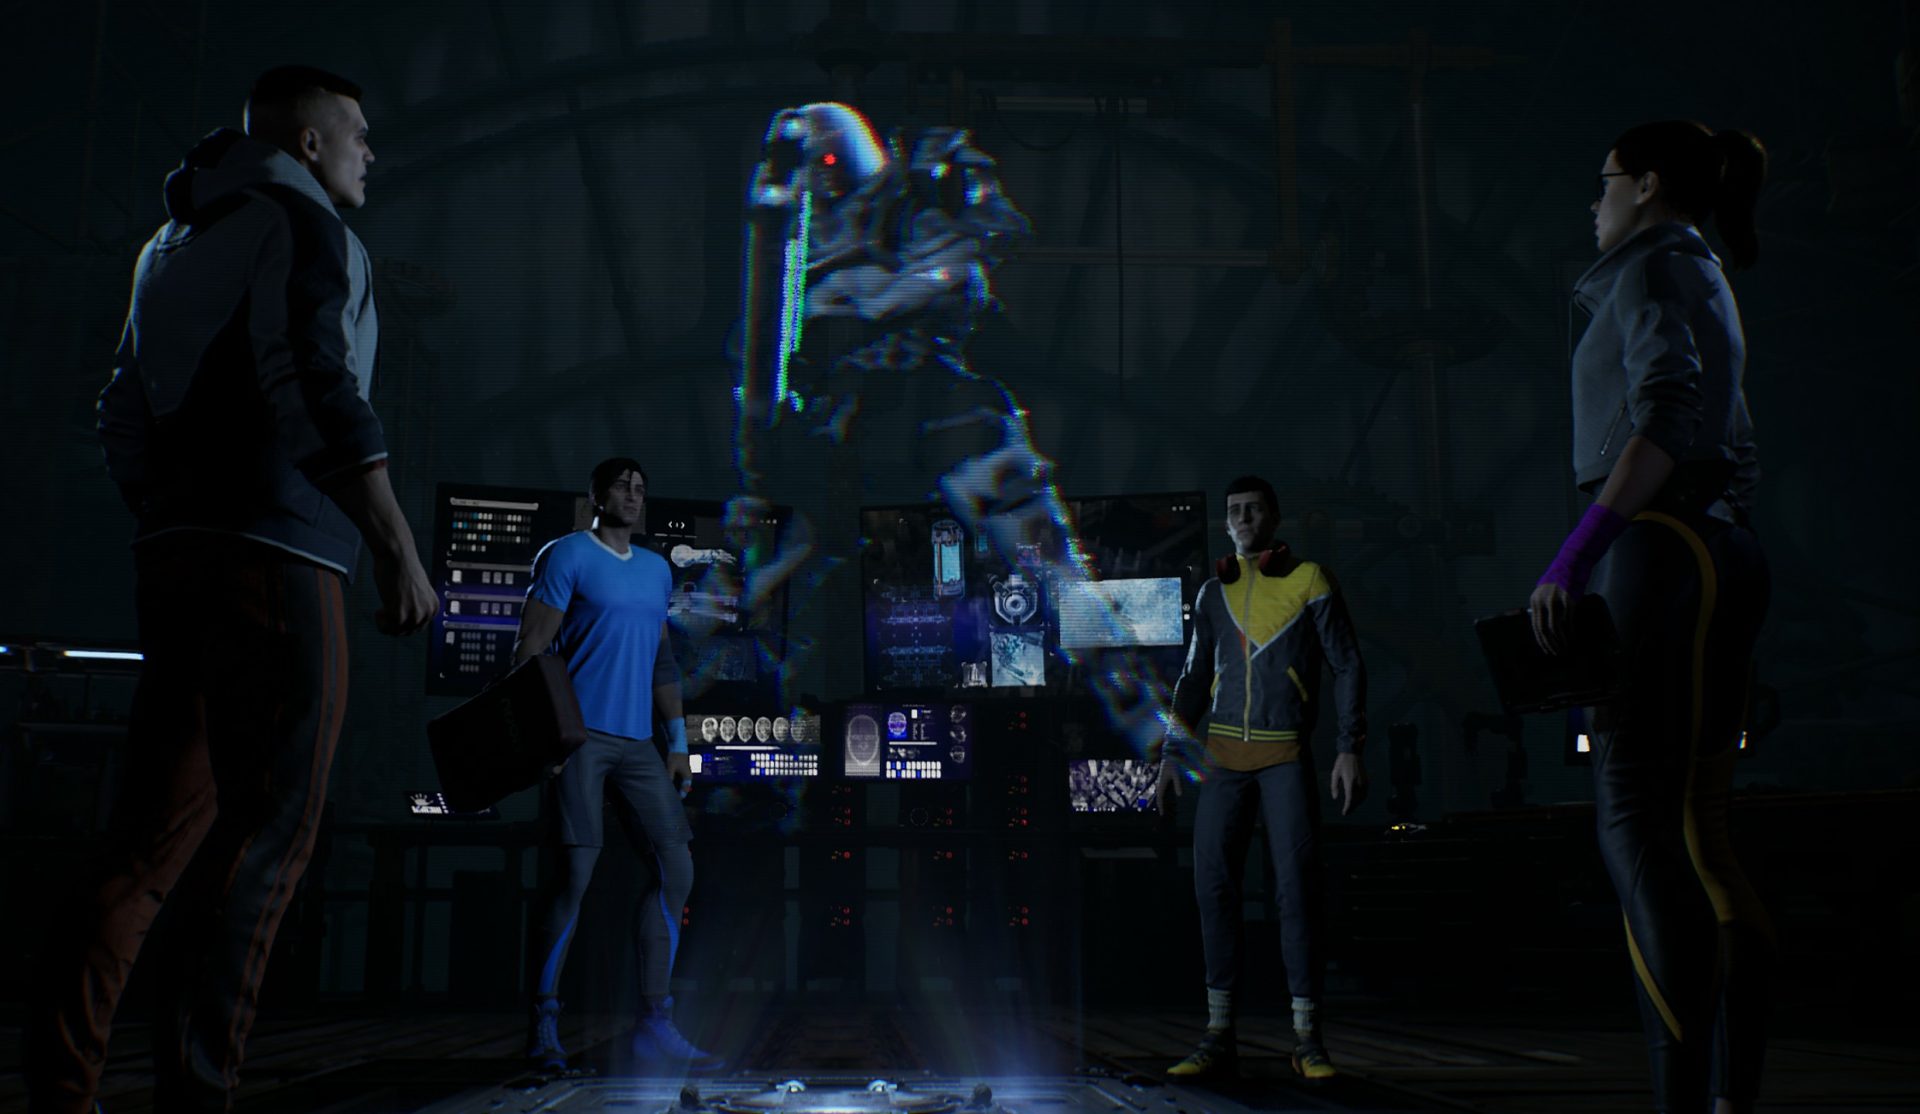
Red Hood wants to go and kick Mr. Freeze’s ass. Nightwing wants to see how this develops further and Robin figures out that with the list of items Mr. Freeze stole he is likely to upgrade his suit. And he has stolen local weather balloon data of Gotham of the past 10 years.