This guide will tell you how to complete Chapter 3: Course Correction of the Dead Space Remake. The guide also includes the side mission available during this chapter!
This guide is for the Dead Space Remake, released in 2023!
Author’s Note: Screenshots used in this guide were taken in a New Game Plus. I’ll have access to upgrades that a fresh game save would not have access to. The text is constructed to aid and help a new player.
For a list of Power Node locations in Chapter 3, use our Power Node Location Guide.
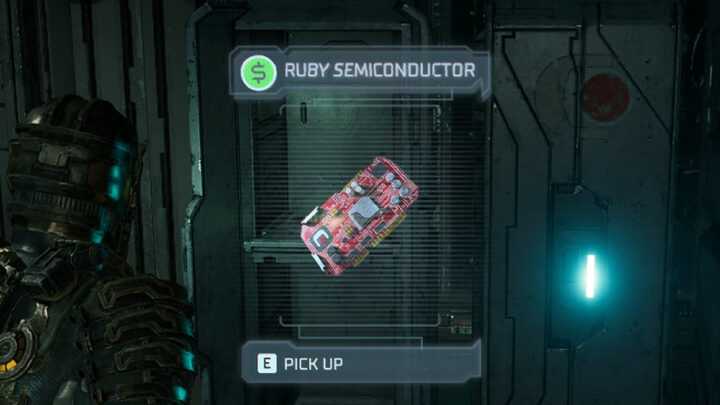
For a list of Semiconductor locations in Chapter 3, use our Semiconductor Location Guide.
Getting to the Engineering Deck
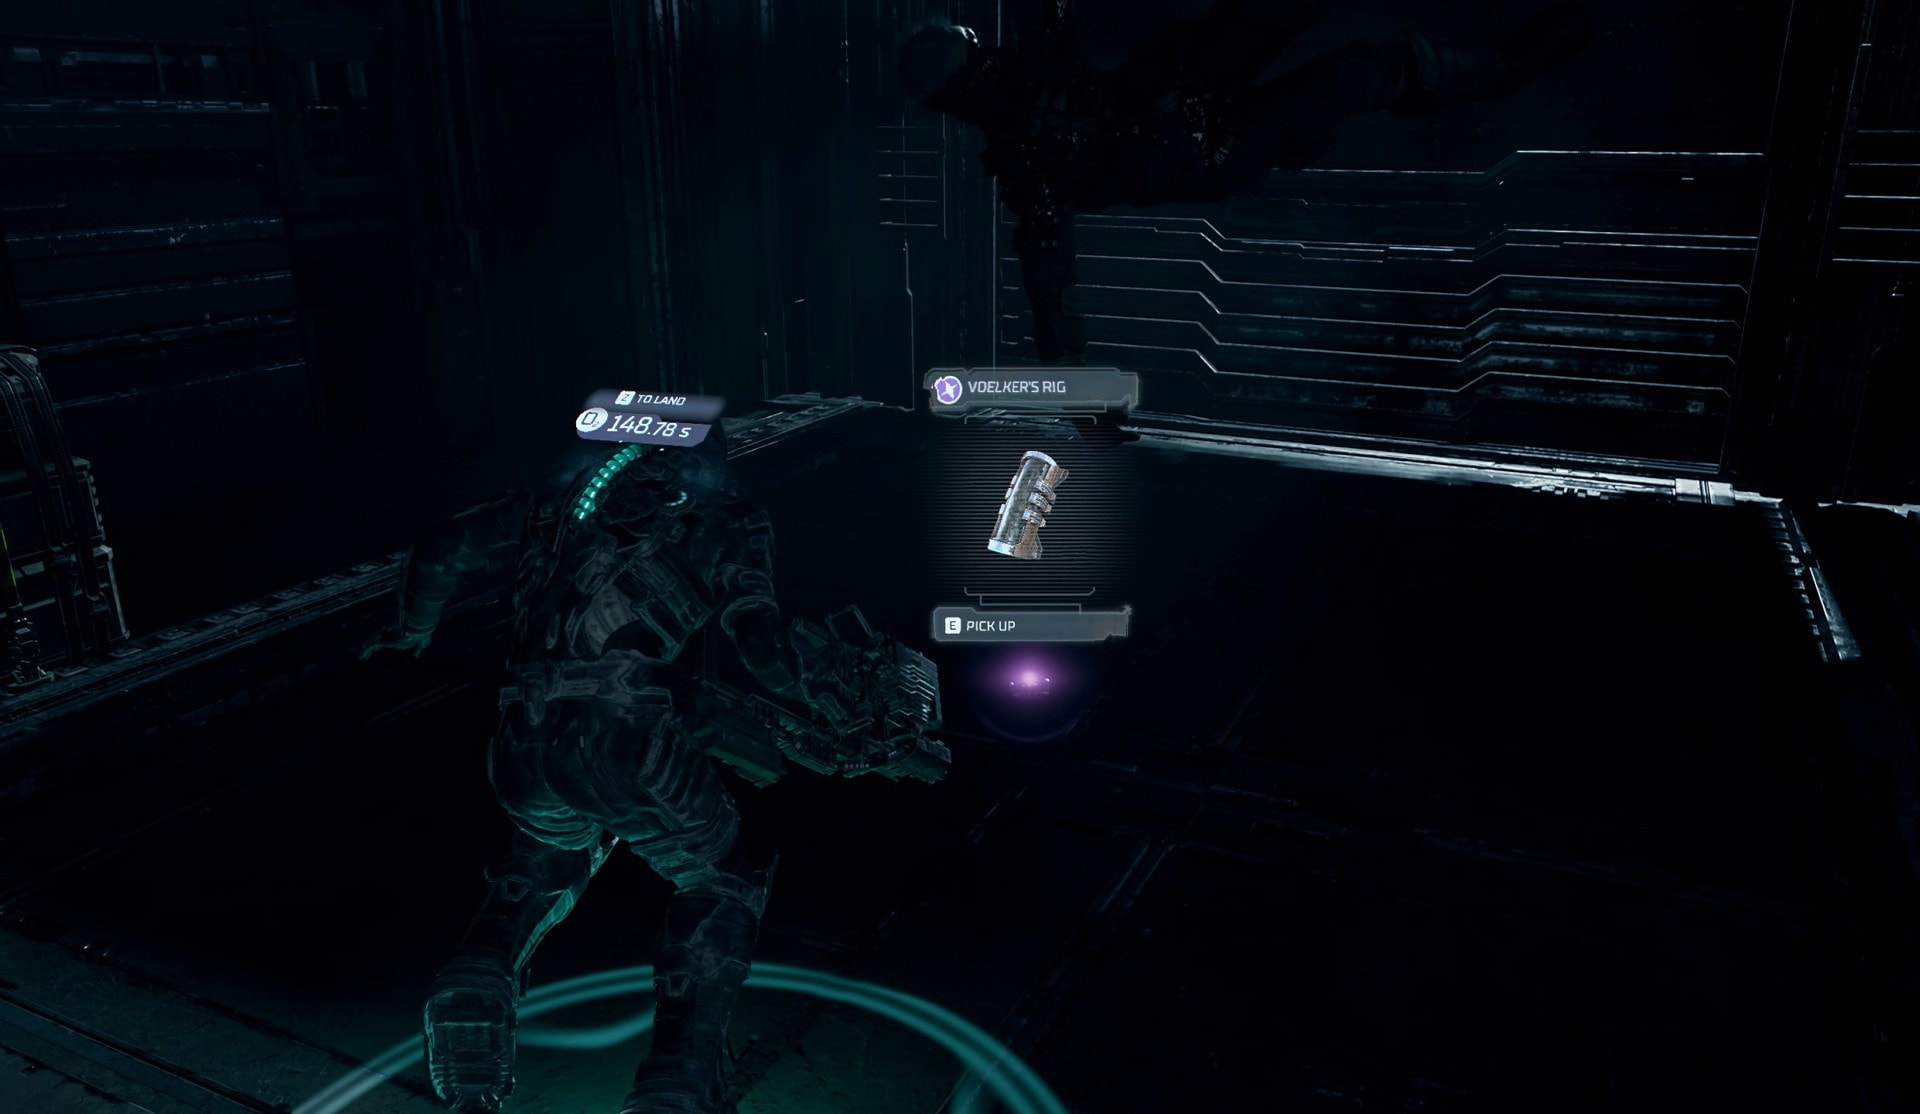
With the Tram Station at the Engineering Deck locked down, you would have made your way to the Flight Deck and gone outside to get to Engineering that way. As you fly out, you’ll encounter Lurkers on the hull outside that you’ll need to fight. While your Locator will tell you to go to the right, head towards the left until you see a purple light.
This is Voelker’s RIG and it would be best to pick this up now. This RIG is actually for a Side Mission you obtain in Chapter 4 but it doesn’t hurt to get a head start now so you don’t have to come back here later.
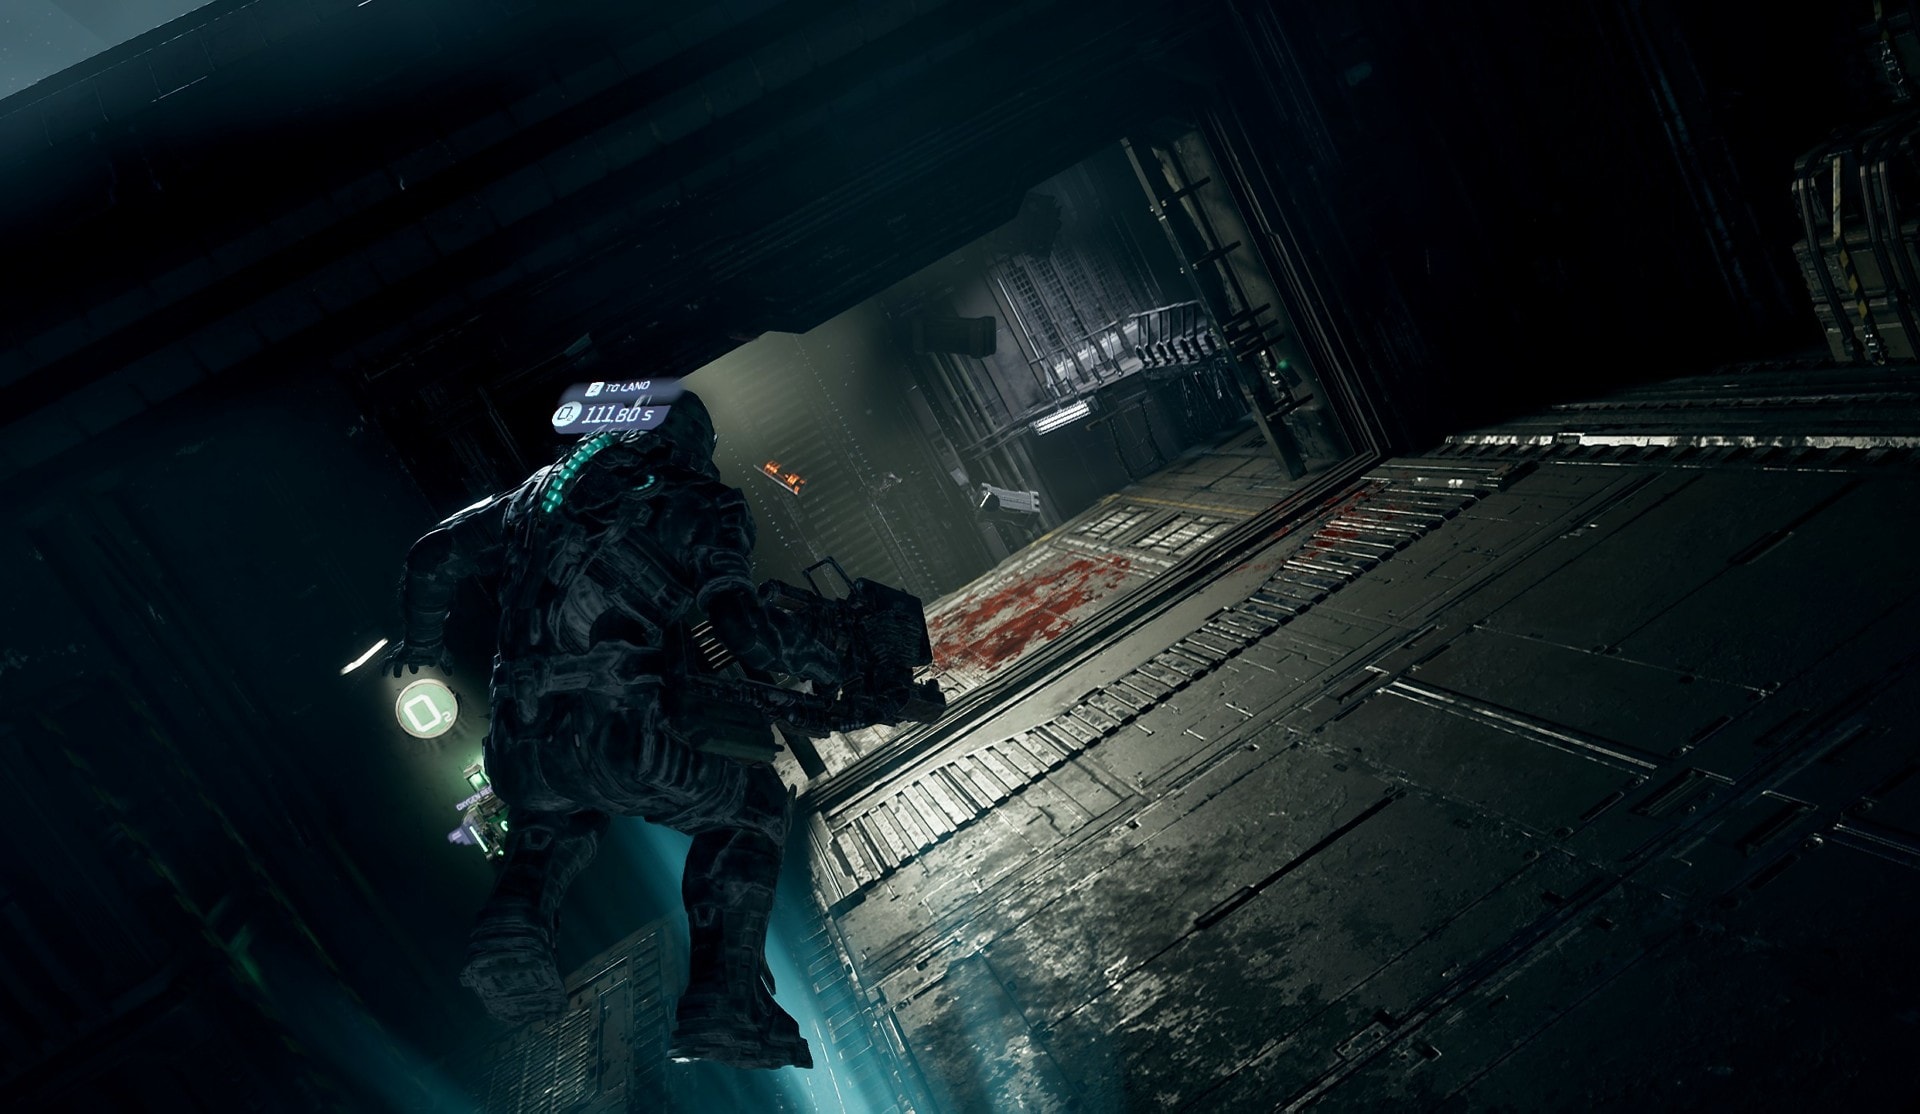
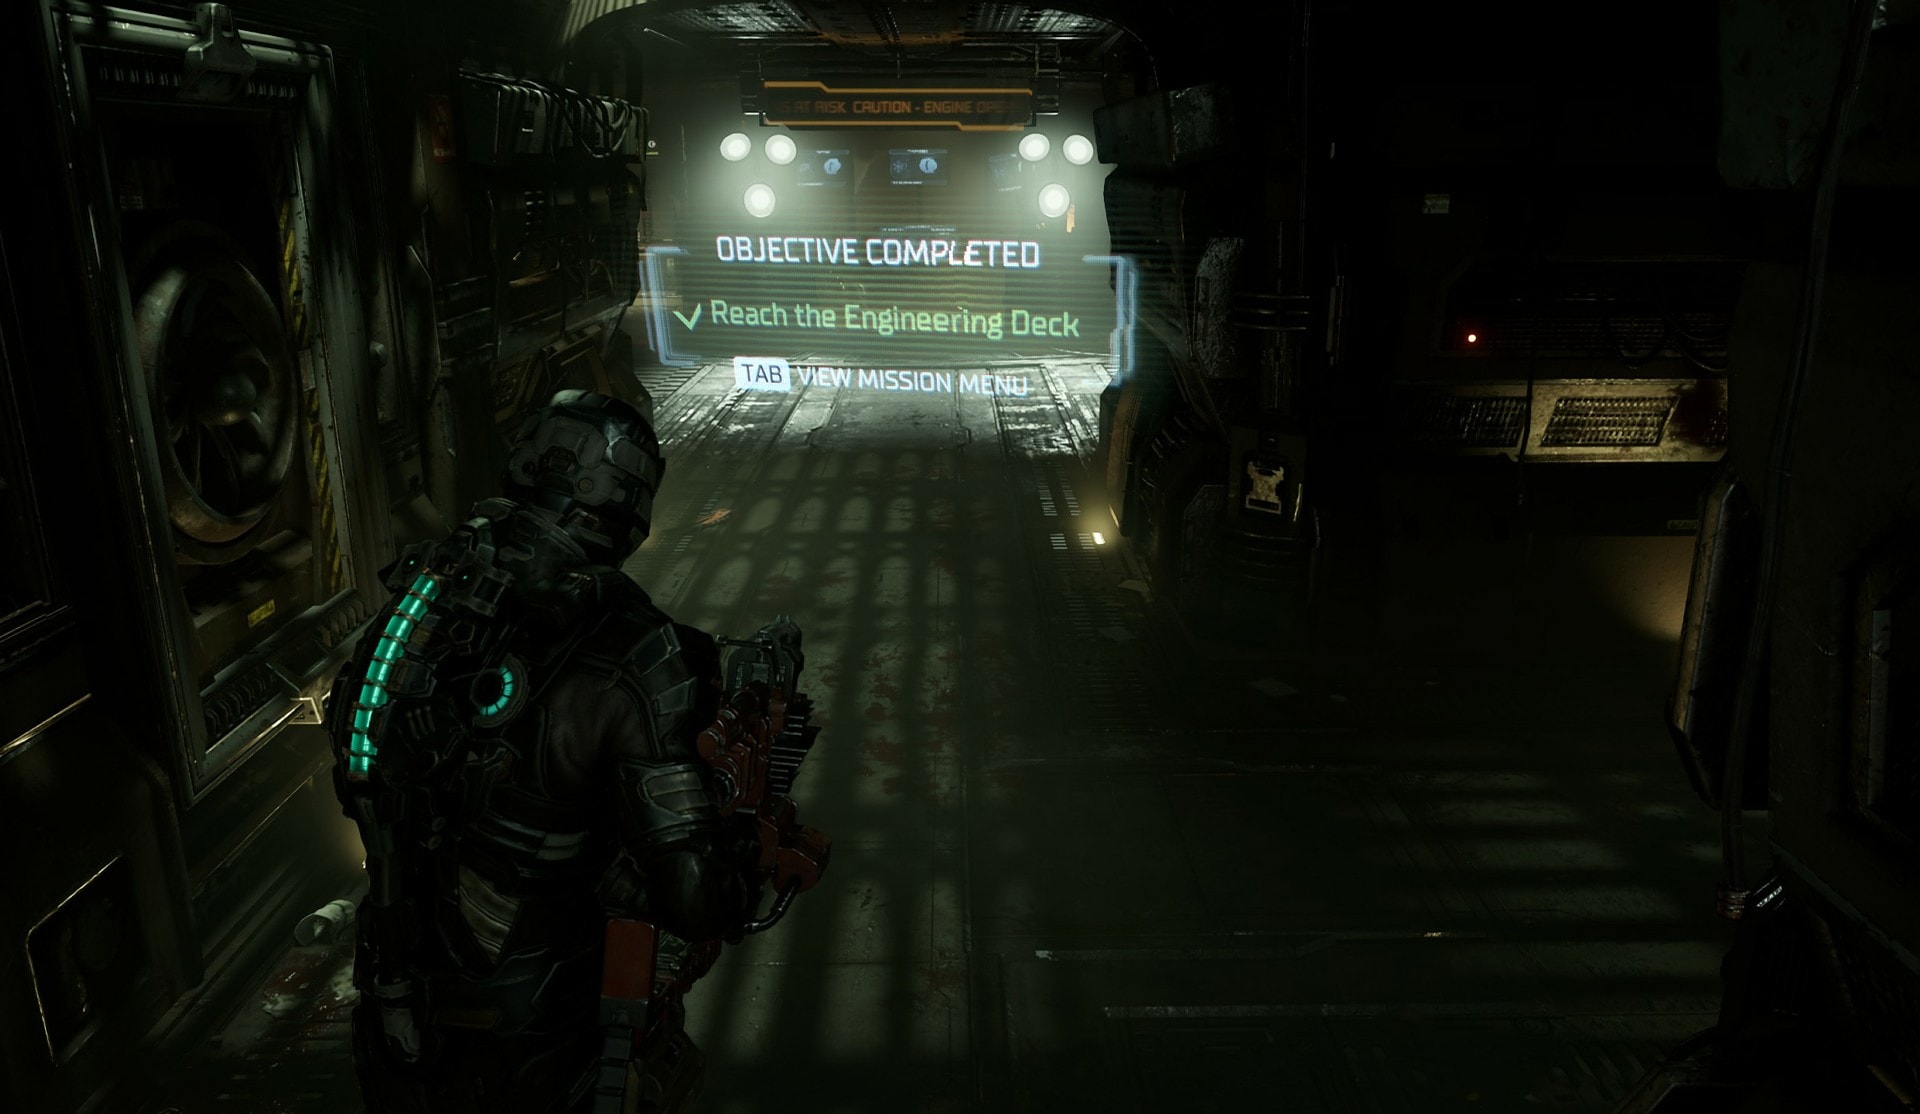
Follow your locator to find the following entrance. This is a defunct cargo lift that would normally allow access to several decks. This is your key to reaching the Engineering Deck. Fly down past the debris until you reach the bottom and get inside the air lock.
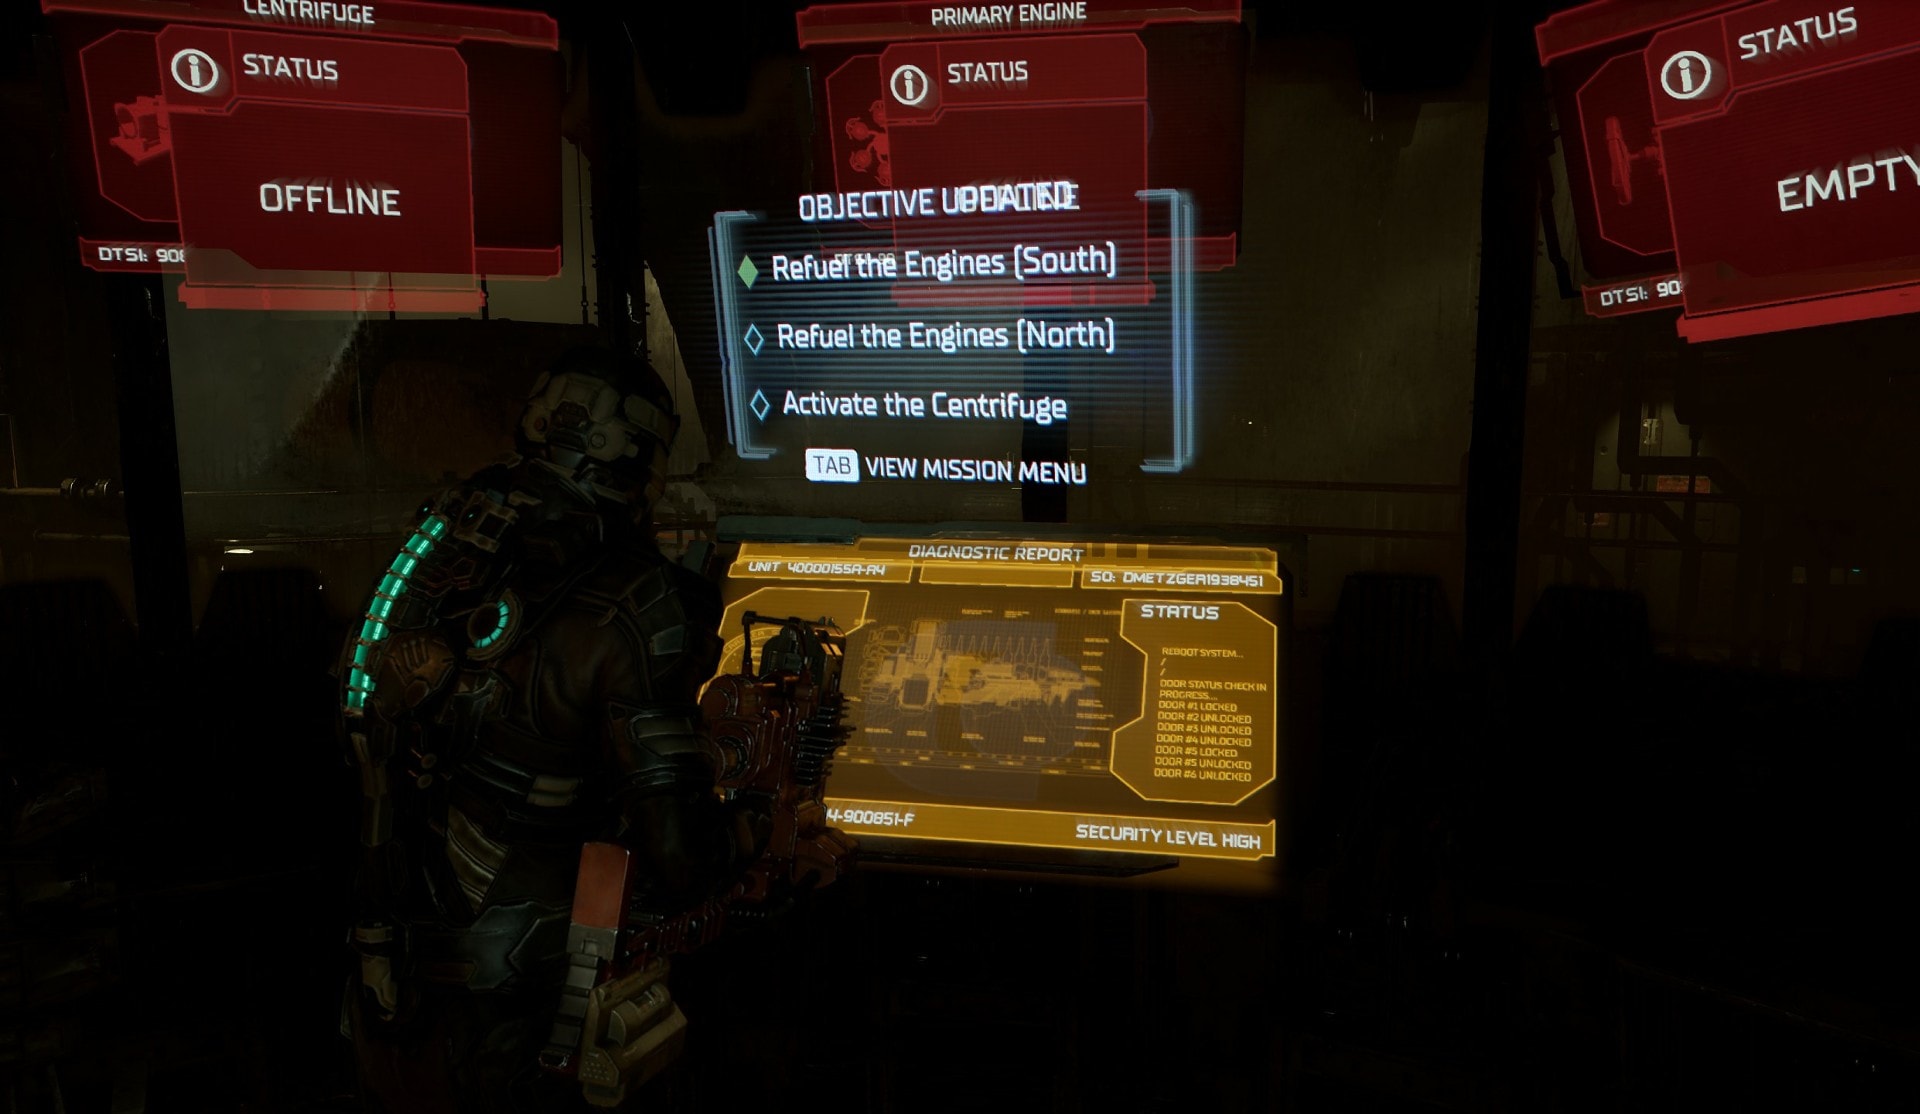
Once inside you’ll make it to the Engineering Deck’s Control Room. Here you’ll be able to access a Store and a Save Station. Go to the control panel in the room with all the consoles and activate it. You’ll need to activate the console to get your next objective.
The panels will indicate that before you can activate the Gravity Centrifuge, you’ll need to refuel the engines. Fortunately, these refueling stations are outside the control room and seem like an easy task.
Refueling the Engines
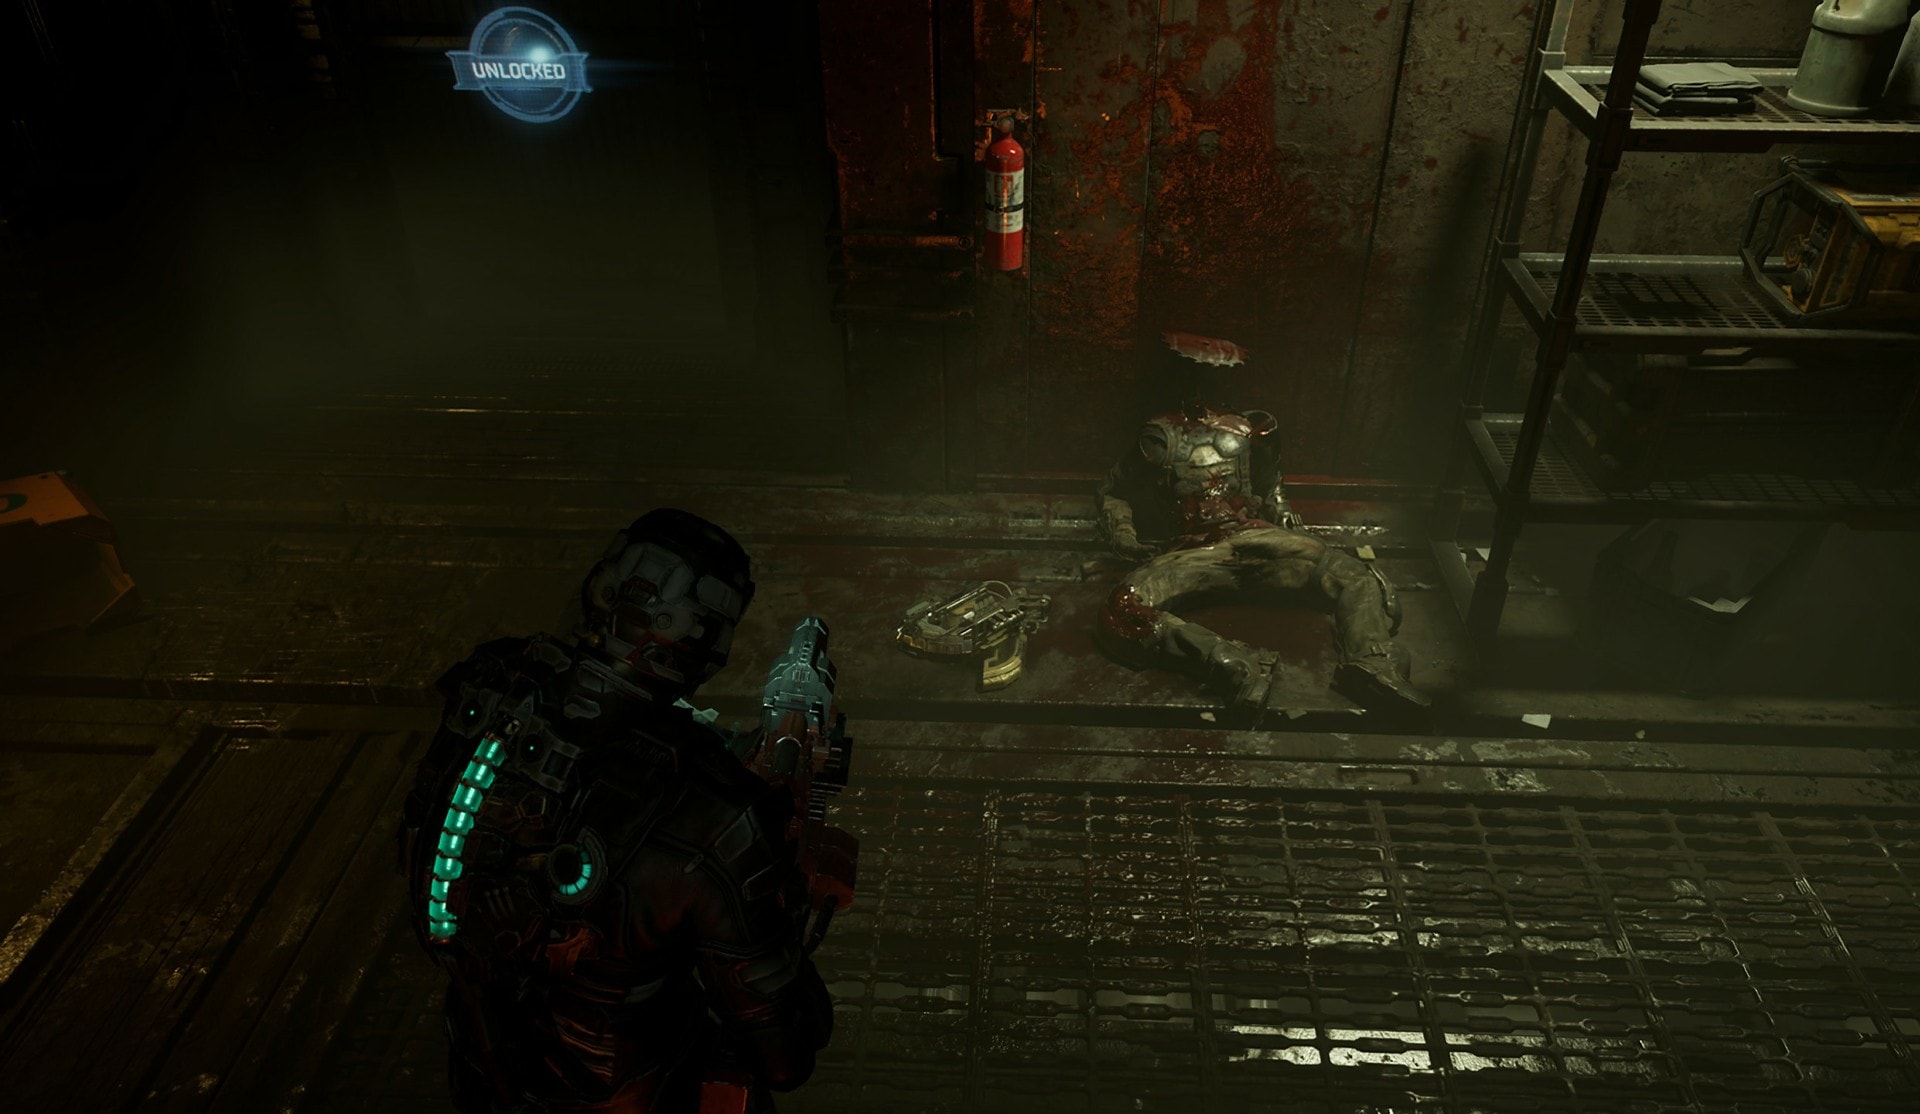
Follow your Locator to make your way to the South Refueling Station. On the way you’ll encounter a corpse with the Ripper. This tool now turned weapon will allow you to use saw blades to attack necromorphs and launched them at high speeds.
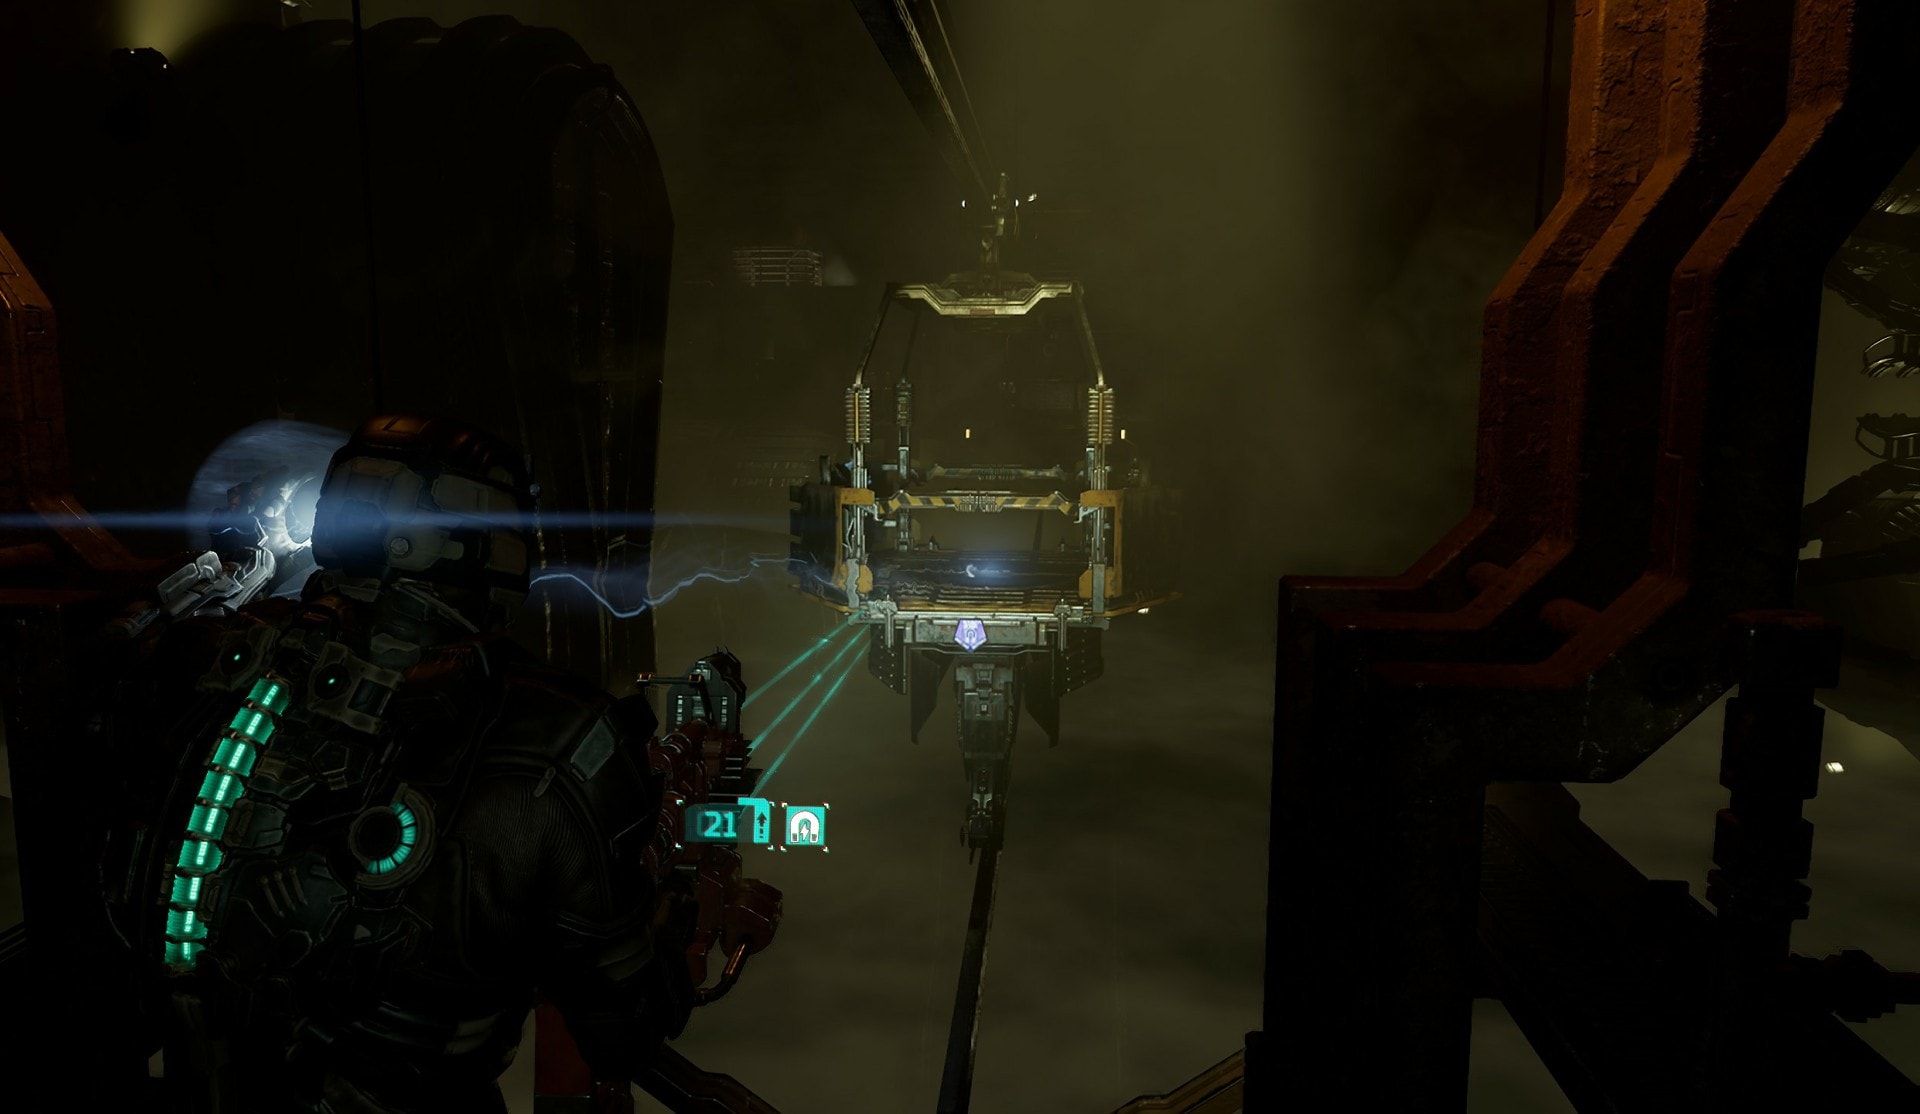
After picking up the Ripper, keep following your Locator’s path. You’ll find a gondola halfway through its tracks that you’ll need to pull towards you with Kinesis. Once it’s pulled to the start of the tracks, get onboard and activate it to reach the other side.
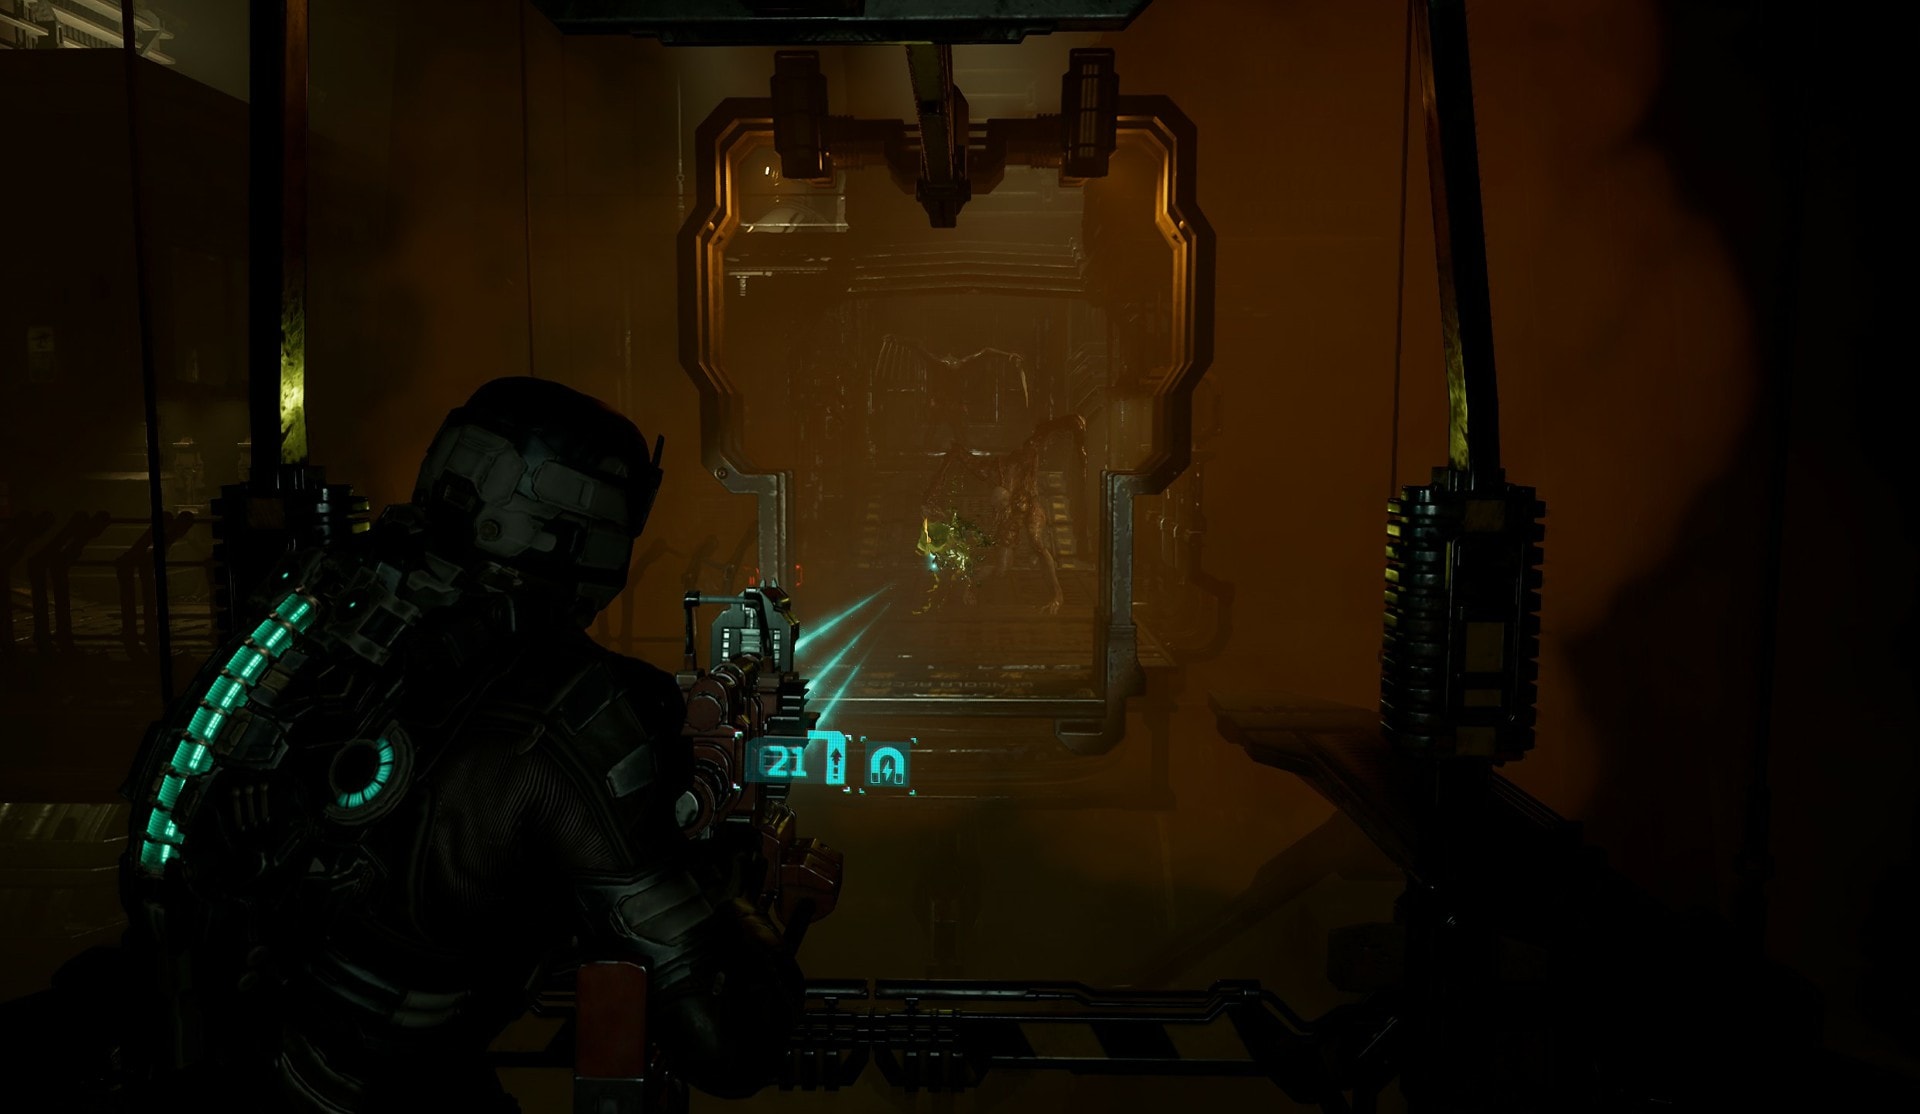
As you draw near, the fog will thicken and you can see some necromorphs gathering up. Some of these are Spitters and will spit acid at you. Try to defeat them while the gondola is still coming towards them and before the gate opens. There are explosive canisters you can shoot or grab with Kinesis to take out multiple necromorphs.
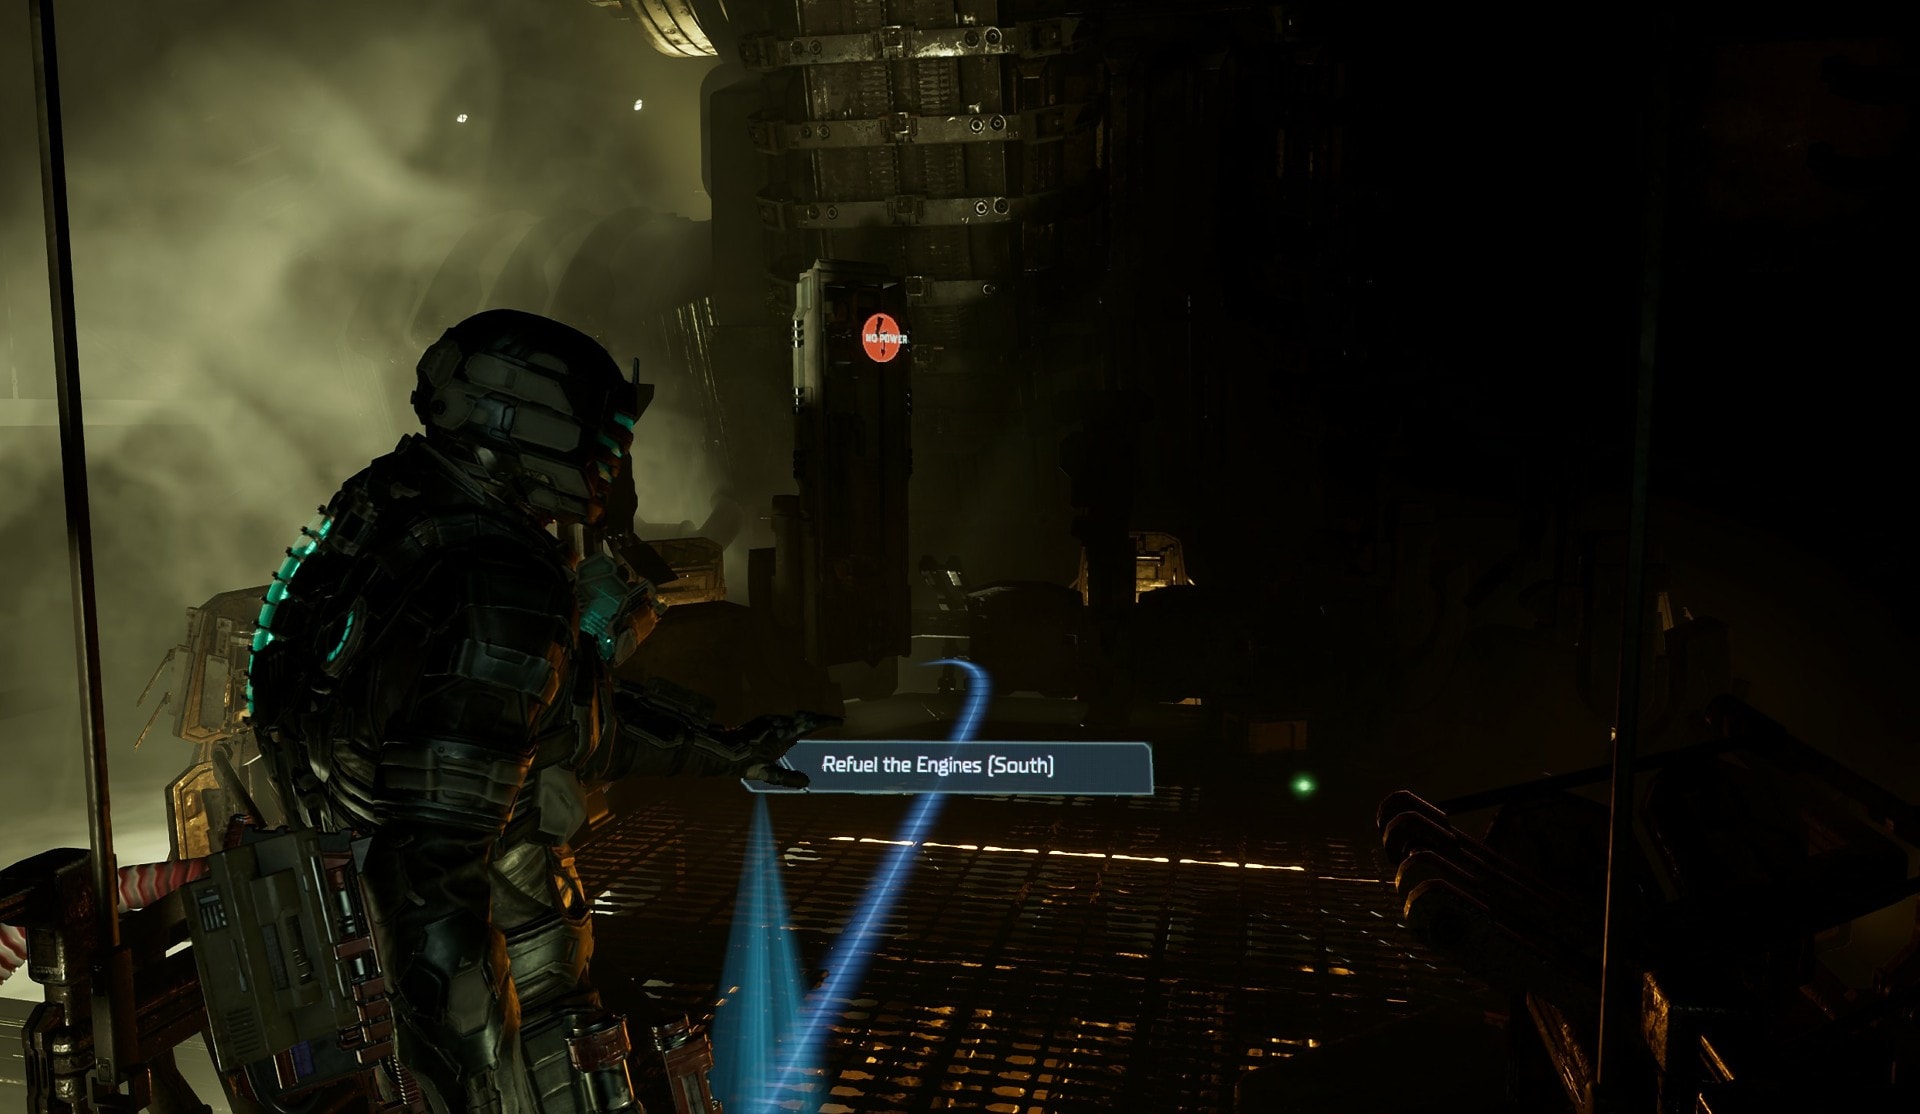
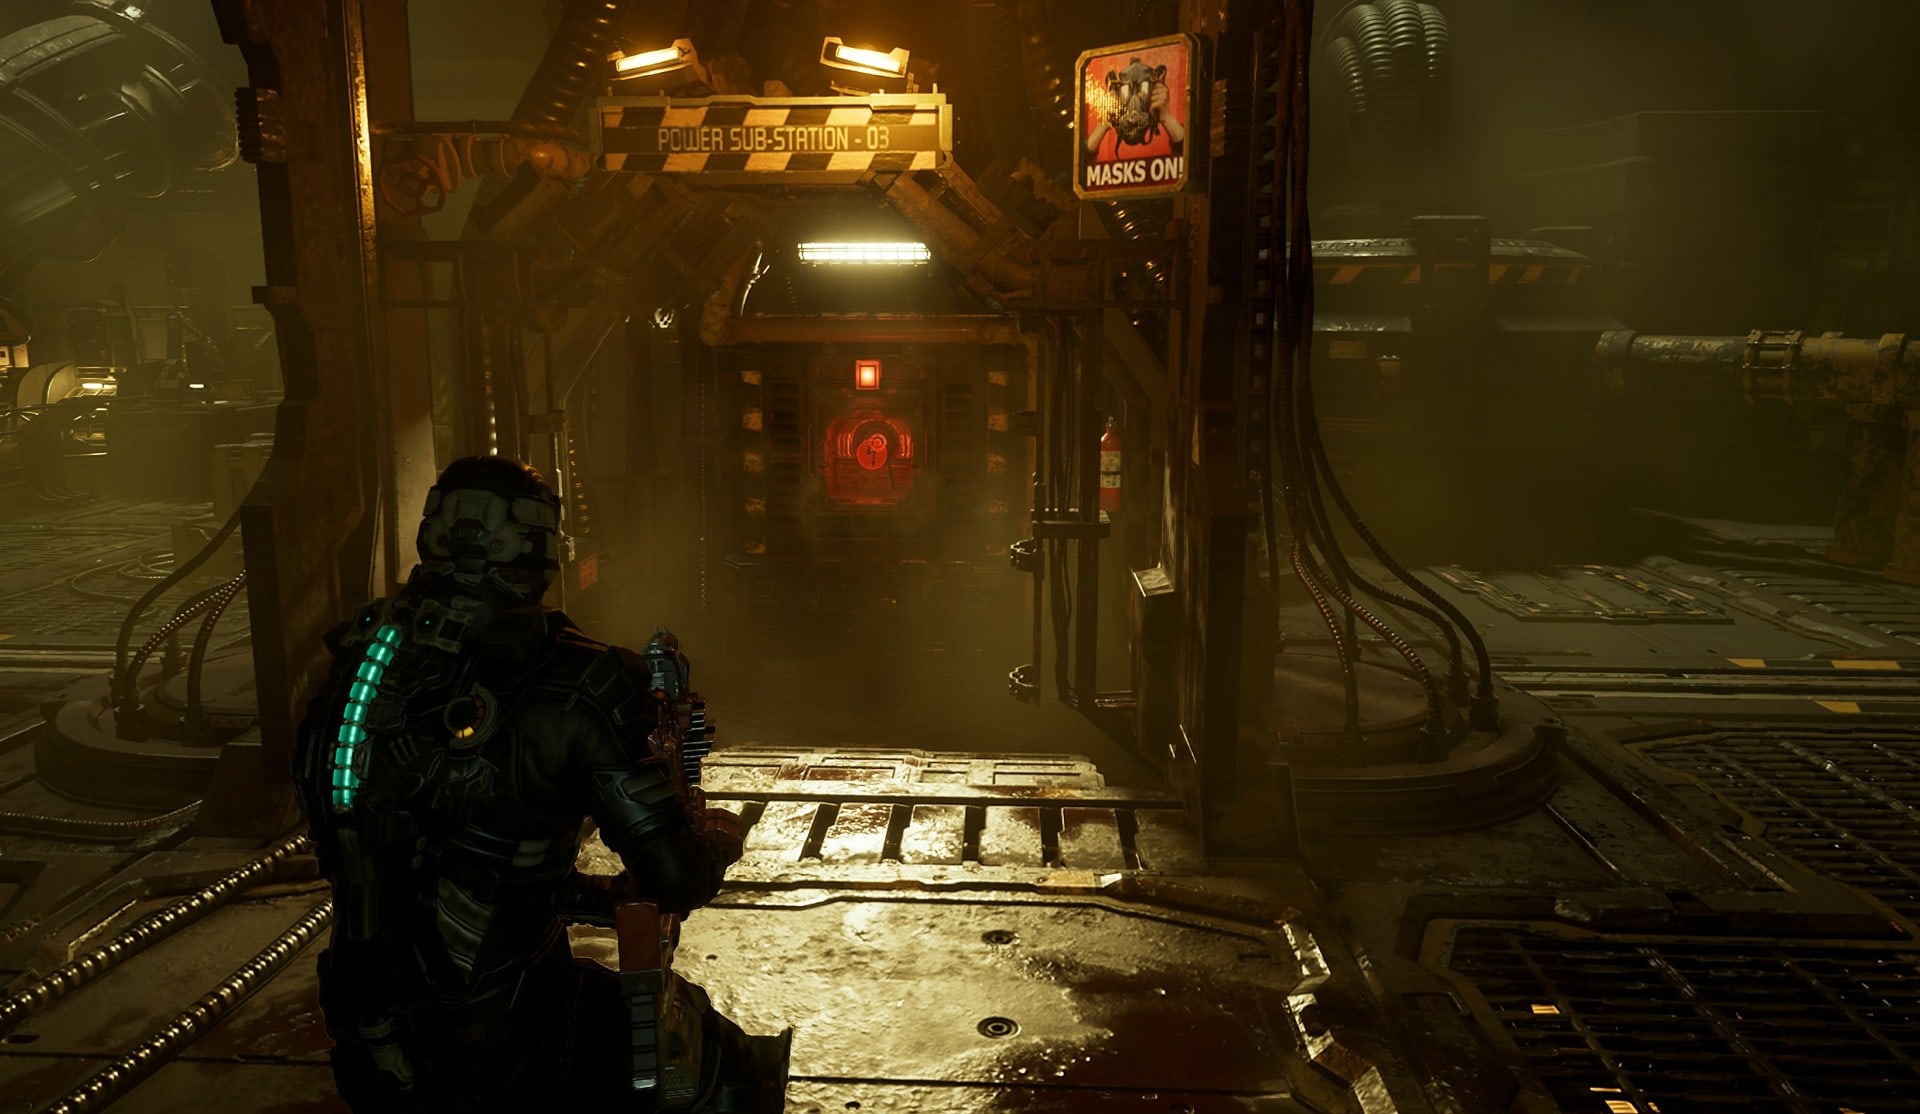
Keep following your locator and you’ll find the South Refueling Station after defeating a pair of necromorphs. Power to the Refueling Station is out so you’ll need to turn on power for it.
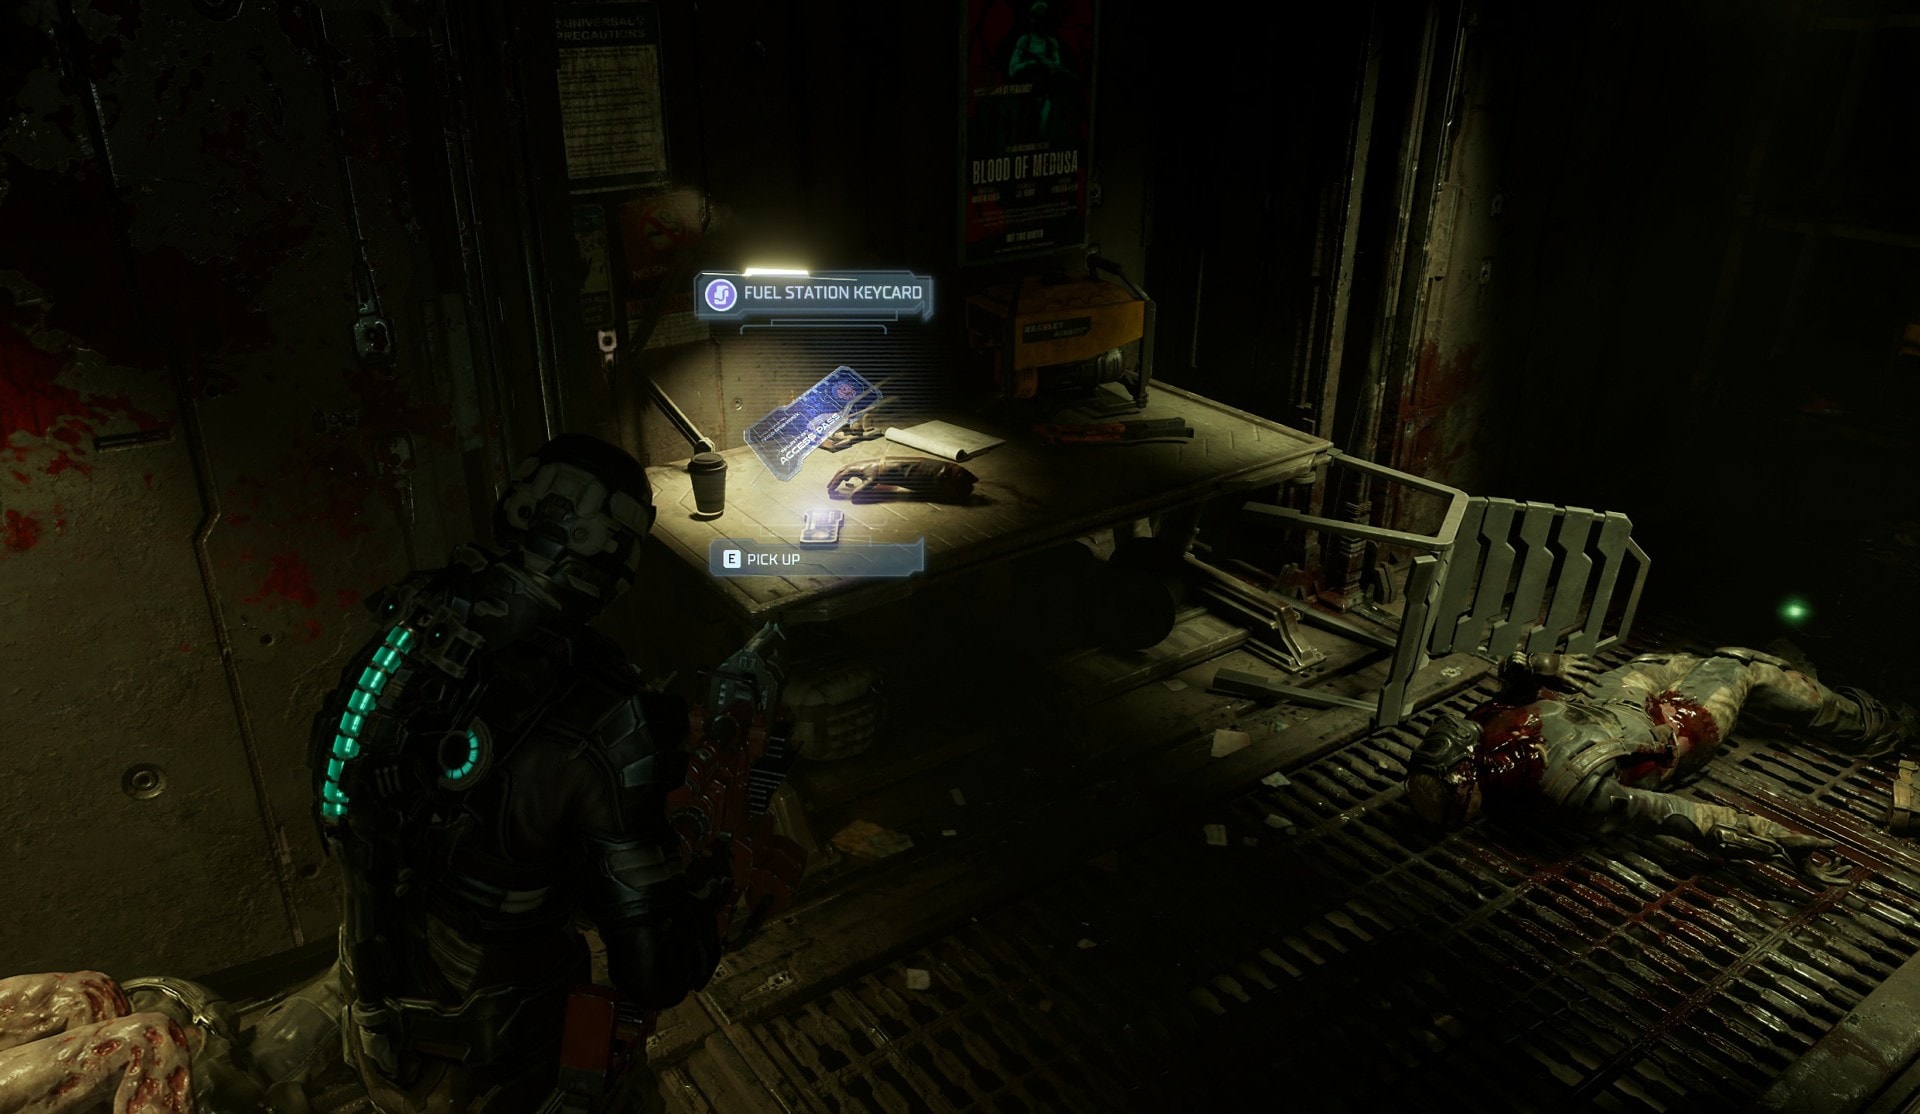
Head back to where those two necromorphs came from and you’ll find a Fuel Station Keycard on a desk. This alone won’t activate the Fuel Stations but it will grant you access to the Fuel Management Room.
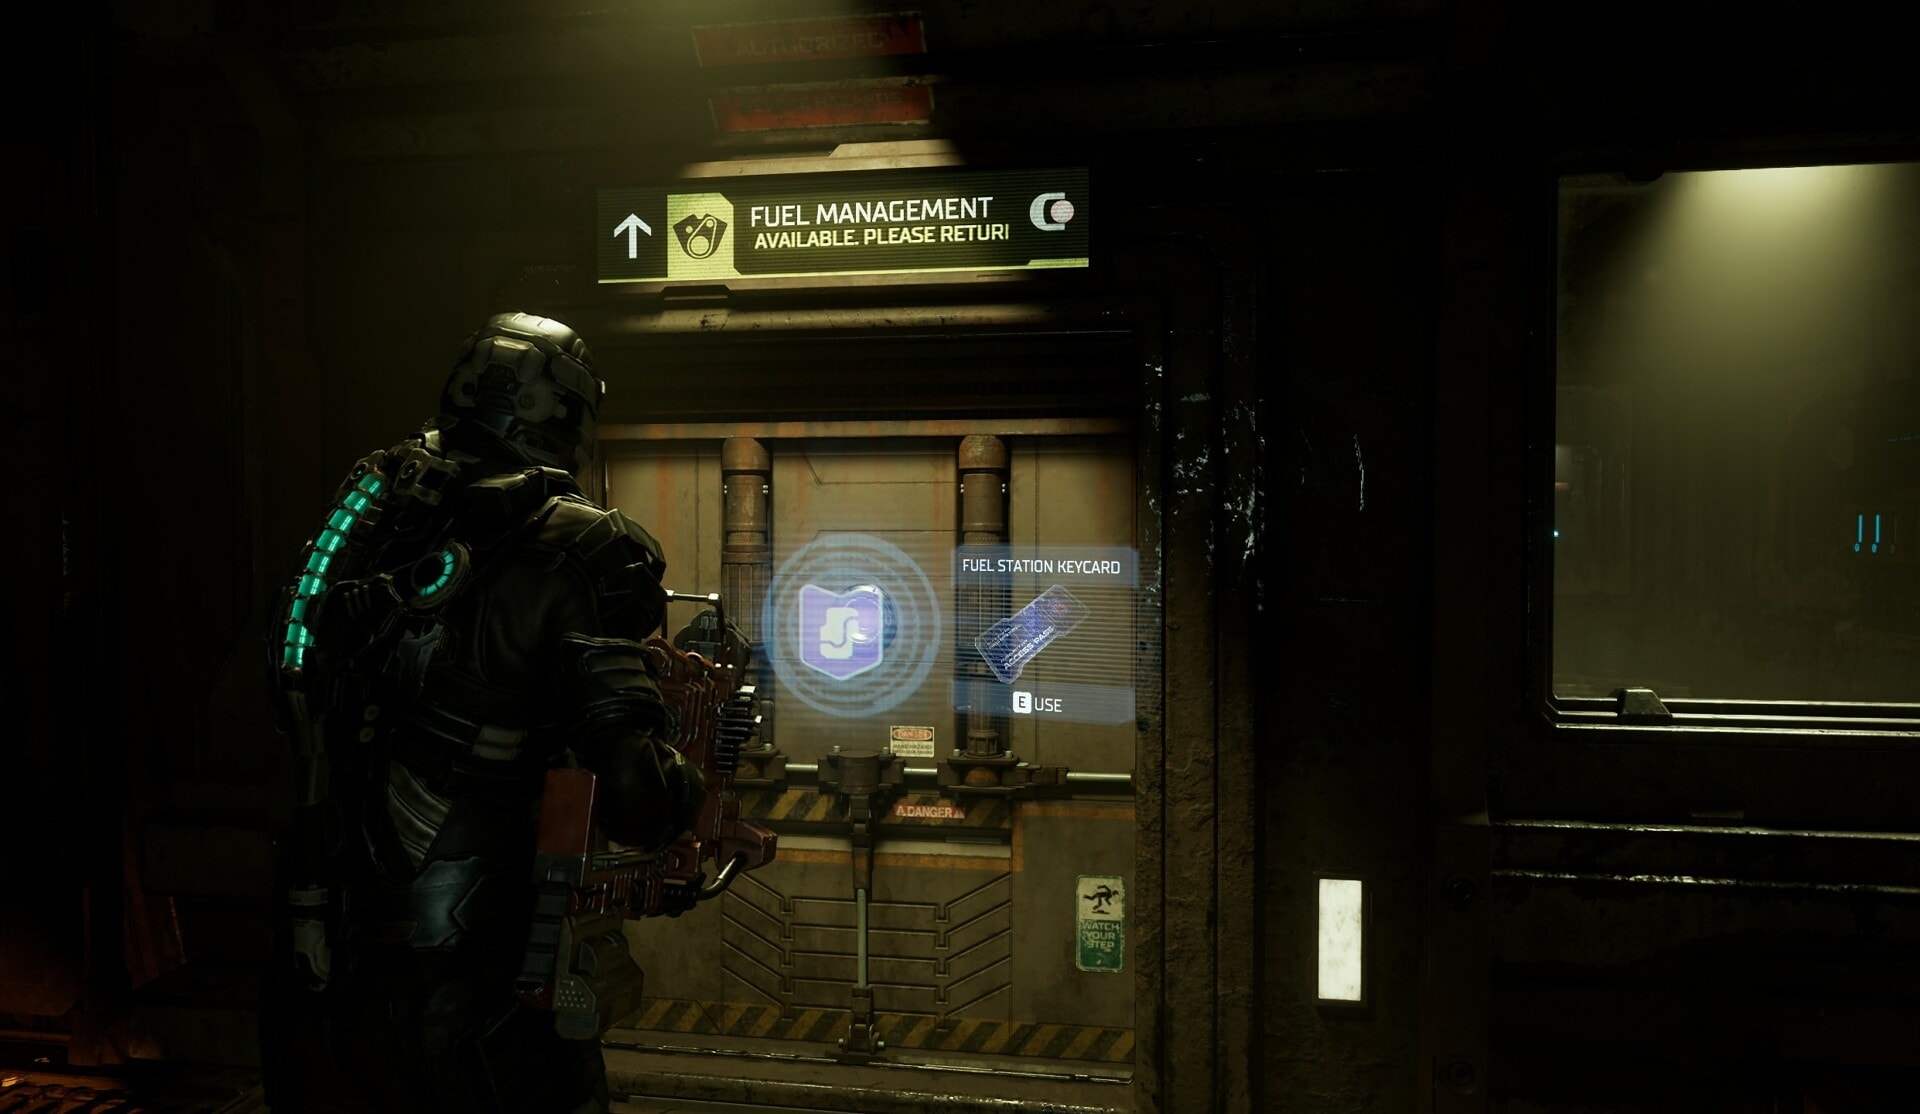
Inside the Fuel Management room, you’ll find a circuit breaker. You’ll have 3 options: Power the Fuel Stations, power the lights, and power the life support system. You only have enough power to pick two of these so this is a “Pick your poison” scenario as you need to power the refueling stations.
The easier option would be to keep life support on and turn off the lights. This way you don’t have to worry about losing air but you’ll have to keep a lookout for any necromorphs in the dark. If you were to turn off life support, there are oxygen refill stations just outside the Fuel Management room and on the opposite end of the gondola track.
Turning off life support will not only take away air, but it also impairs your ability to hear things as everything will be muffled.

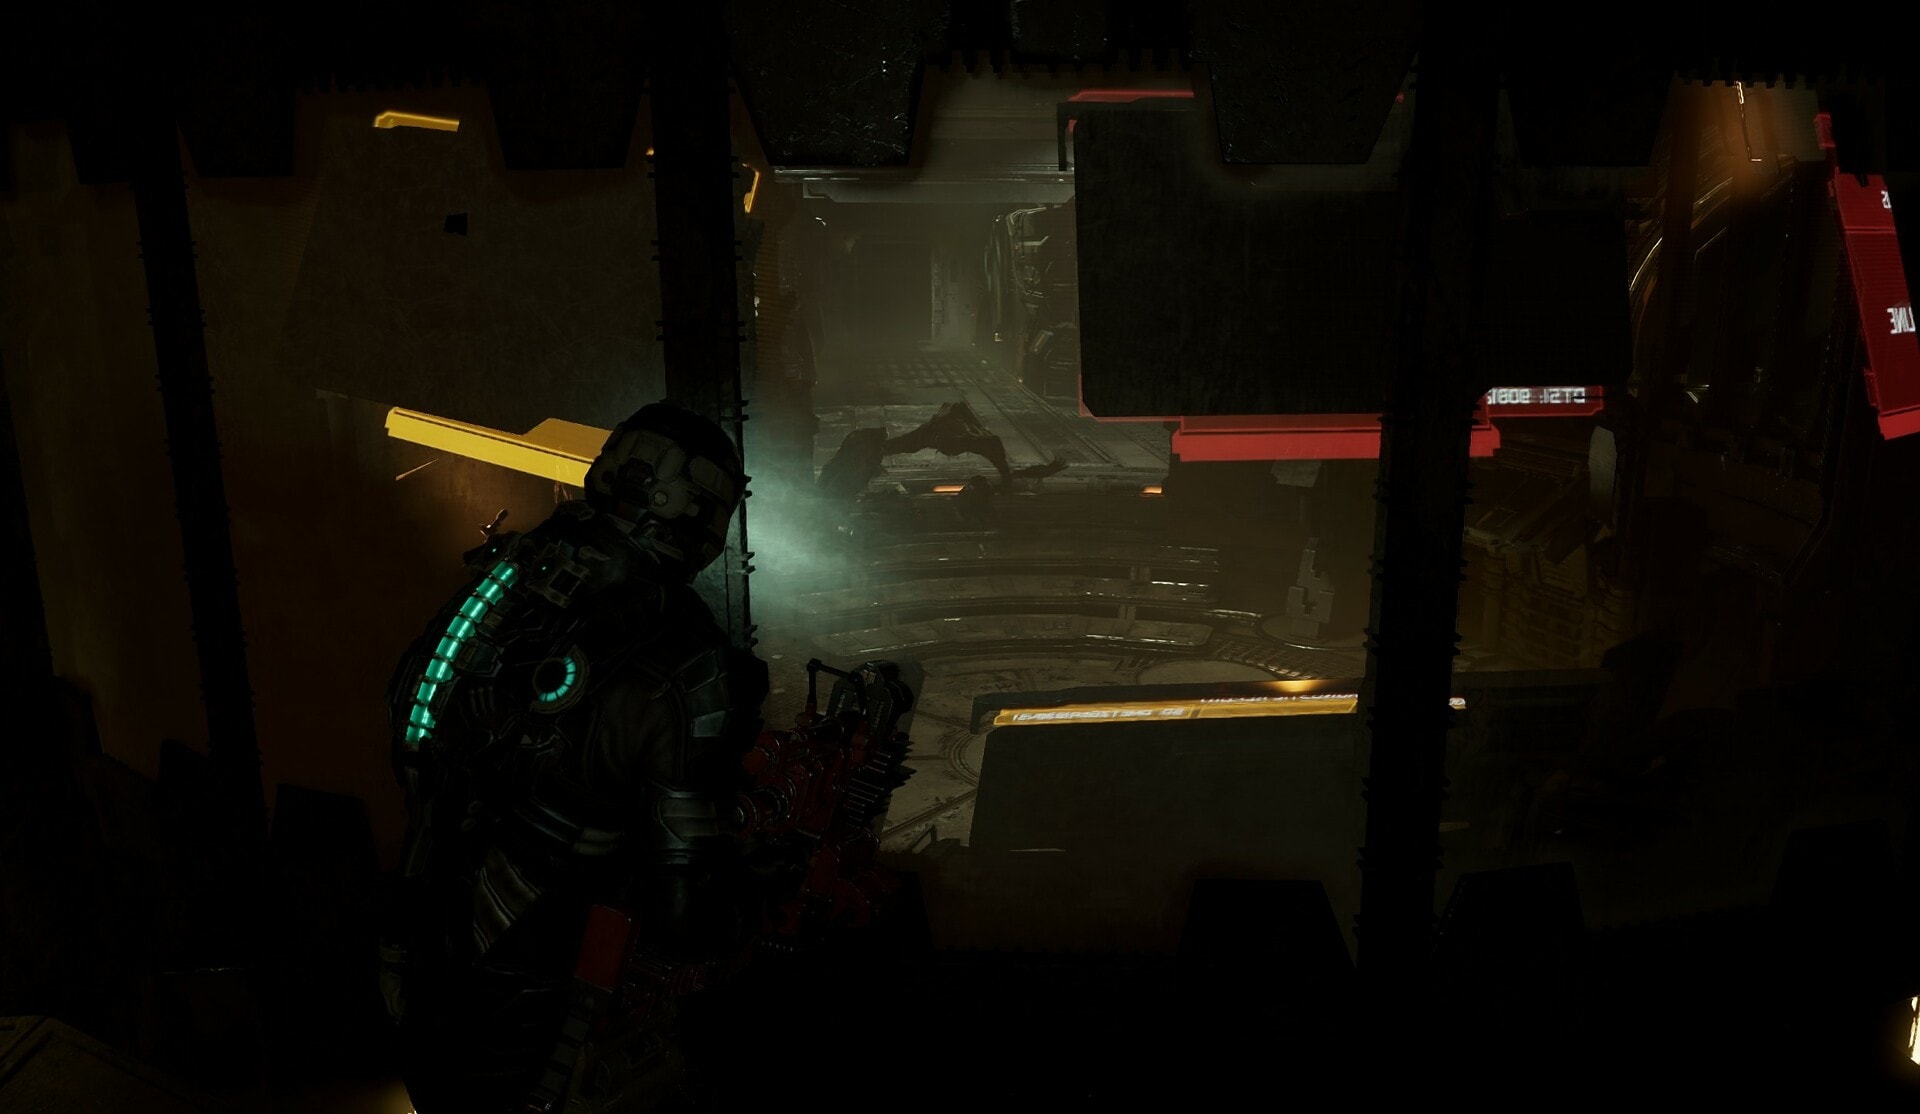
Once you’ve made your decision, use the gondola to get back to the other side and activate the North Fuel Station. Once it’s activated, make your way back to the control room. You’ll see there’s an Infector inside and if you left any bodies there intact, you’ll end up fighting some Slashers.
Defeat the necromorphs inside and follow your Locator to the elevator. You’ll now be on your way to the Gravity Centrifuge.
Activating the Gravity Centrifuge
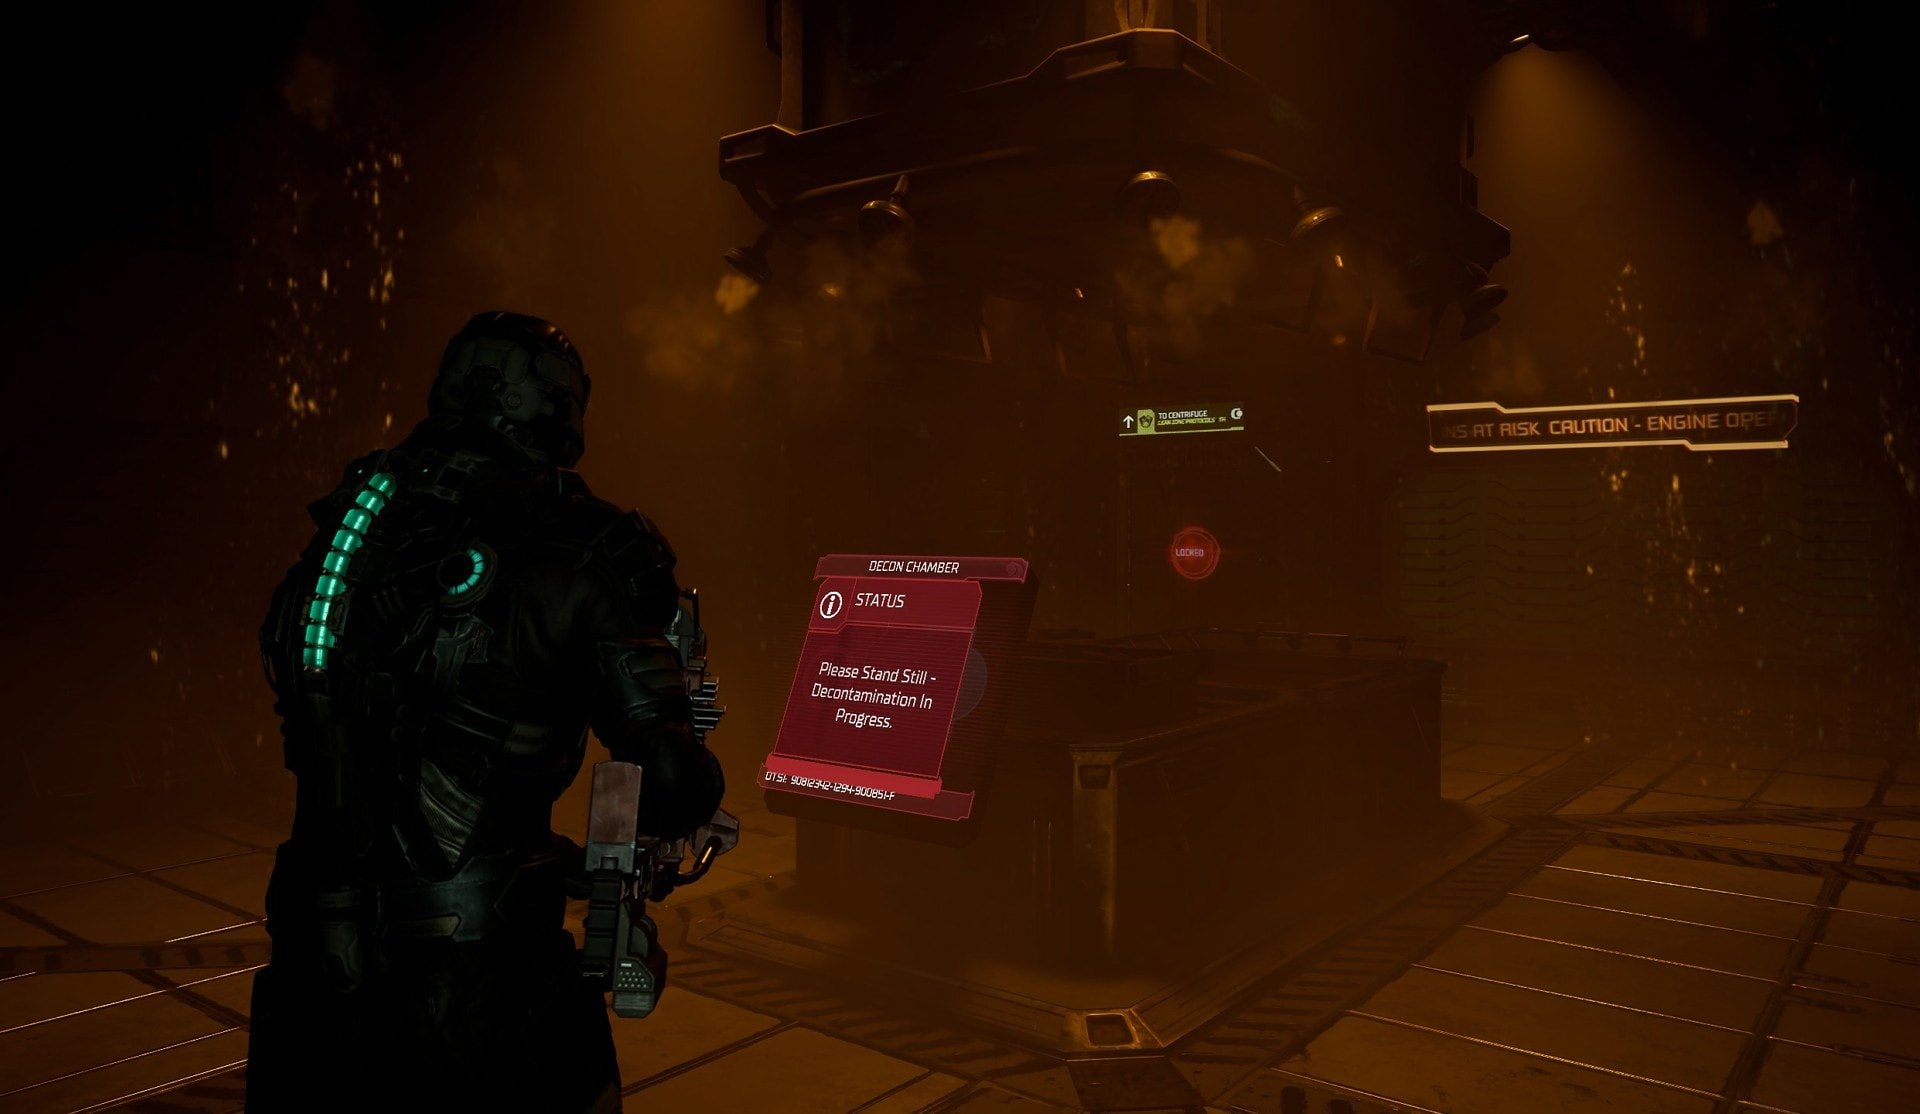
You’ll encounter a hallway leading to a Decontamination Chamber. There are also several Kinesis canisters throughout the hallway as well. Pick up these Stasis canisters and bring them inside the Decontamination Chamber.
Activate the panel in the Decontamination Chamber to proceed. The room will lock down and the noise will attract Lurkers and Slashers. If you brought those Stasis canisters with you, use Kinesis to throw them at the necromorphs. This can be a tough battle as you don’t have a lot of room to move around.
After you defeat the necromorphs, the room will unlock and you’ll be able to proceed. You’ll enter a circular hallway on the way to the Gravity Centrifuge. If you go left first, you’ll find a Power Node at the end of the hall. Going to the right will take you to the Centrifuge.
This guide will provide a brief summary on how to reactivate the Gravity Centrifuge but for a more in-depth look, check out our How to Activate the Centrifuge in Dead Space guide.
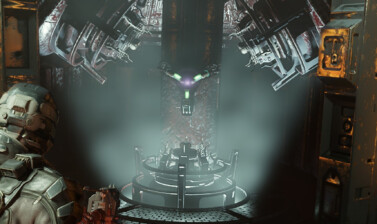
You’ll encounter a couple Leapers in this room that you’ll need to defeat. Fortunately you can get a good angle here using flying controls. Shoot off their tails to immediately end them so you can fix the Centrifuge in peace.
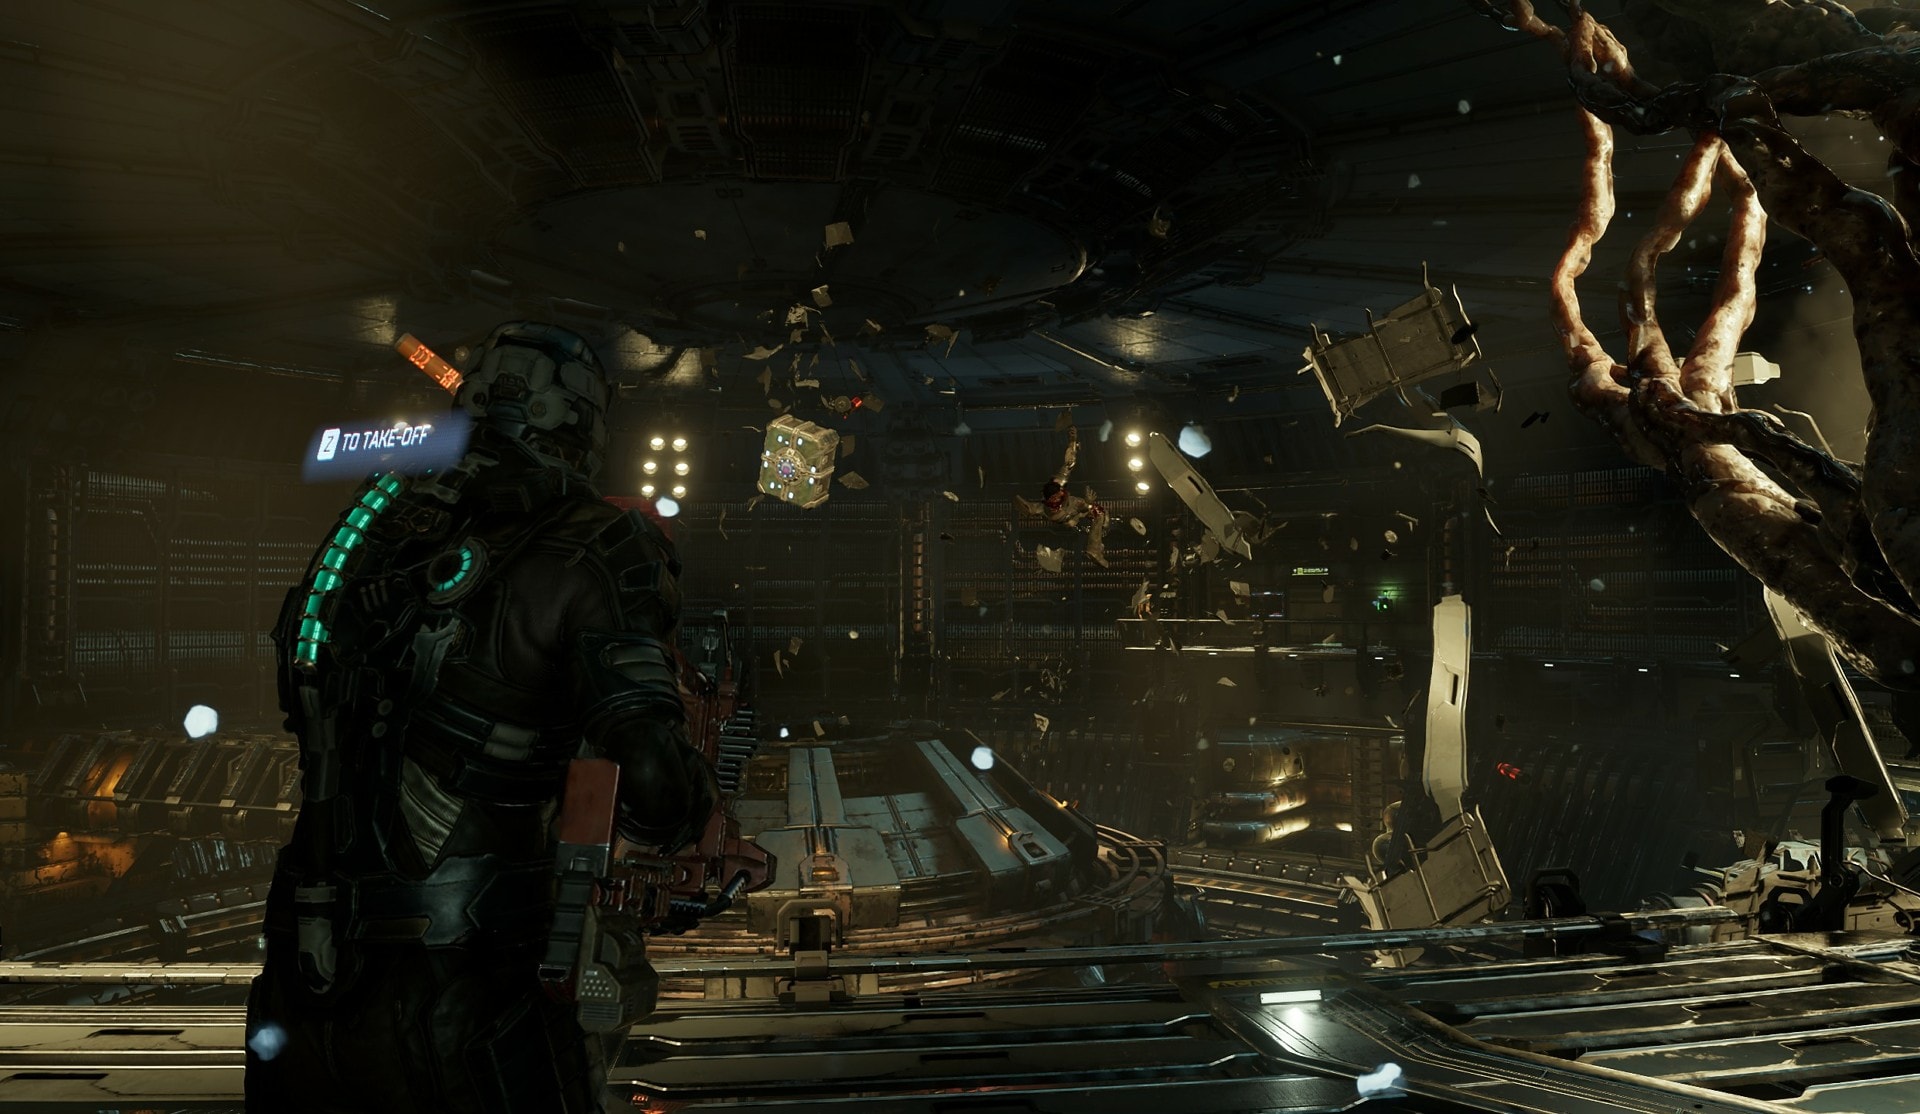
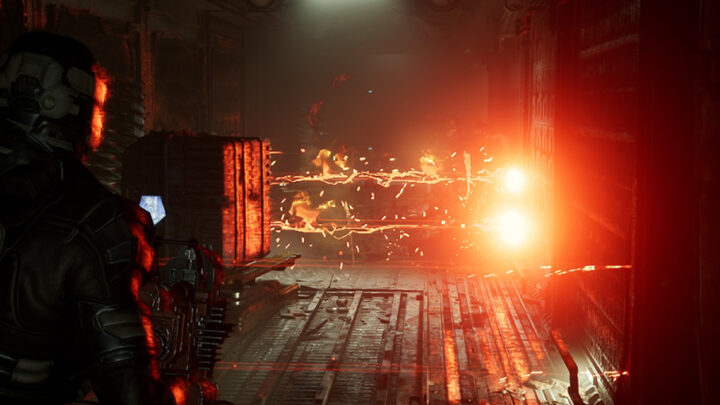
There are two spinning components of the machine that you’ll need to use Stasis on then bring to the core using Kinesis. Once you do this, fly to the controls to restart the Gravity Centrifuge. The bottom level will open itself up to space, sucking out all the air in the room. Go down the cargo lift behind you to get out.
The Centrifuge has an art that spins counter-clockwise. If this hits you, you’ll be turned into a fine red paste. You’ll need to run clockwise and take shelter in the empty spaces along the wall. Be sure to use any oxygen refill stations you find. Once you get to the end you can go up a cargo lift and exit through the air lock.
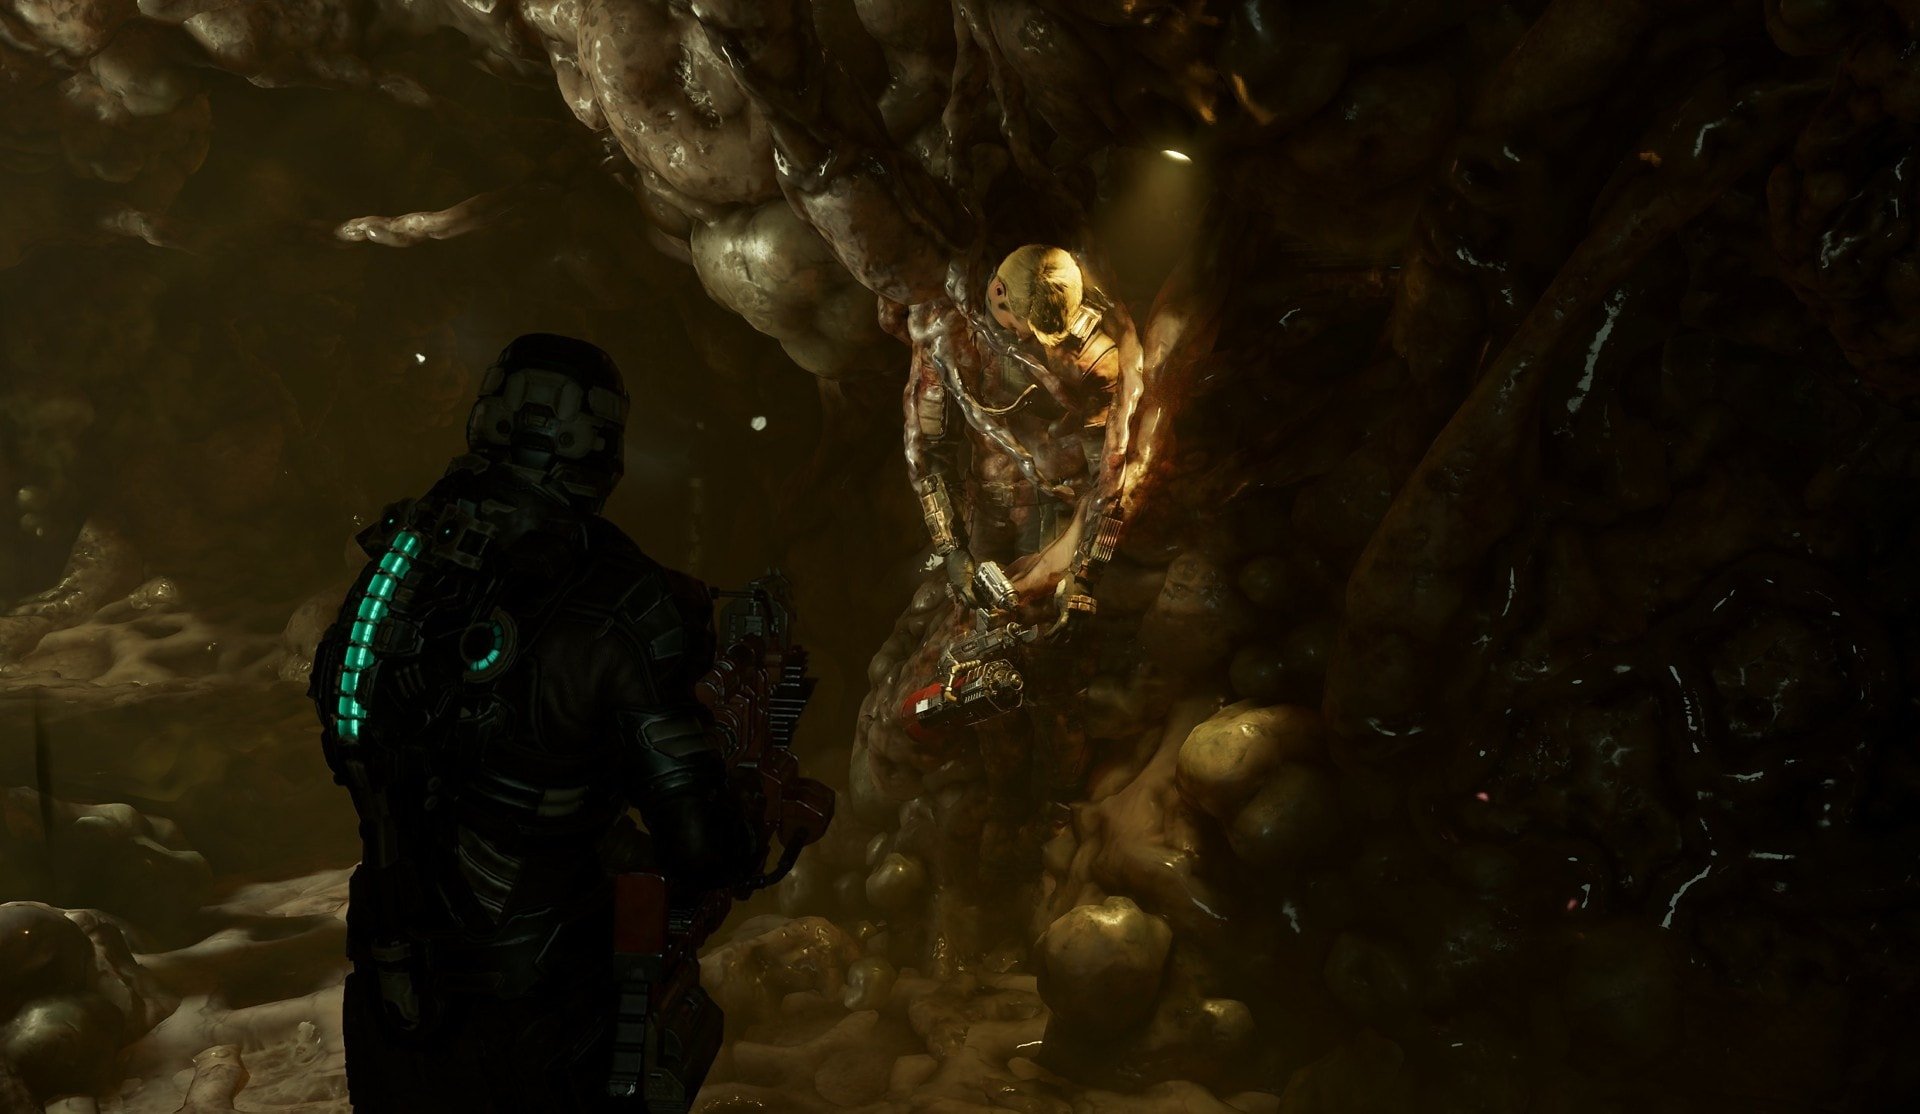
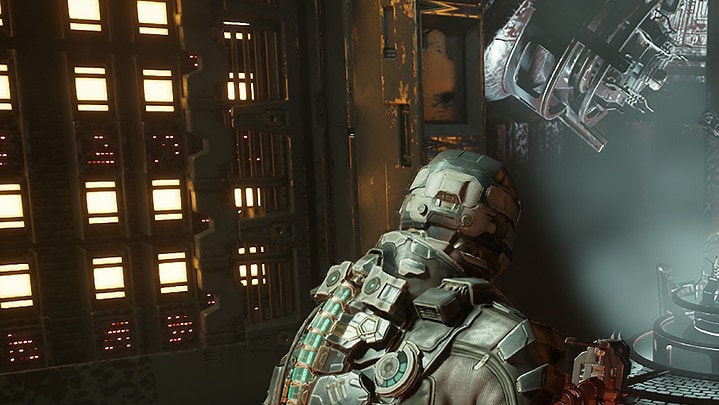
On your way back to the Engineering Control room, you’ll encounter the Tentacle necromorph. These annoying tendrils of death will grab Isaac and slowly drag them to a hole in the wall. If they succeed, Isaac will be crushed in the process. There’s a glowing cluster on the Tentacle, destroying this will free Isaac and force the Tentacle to retreat.

To learn how to defeat every type of necromorph in Dead Space Remake, consult our dedicated guide. It will help you save time, effort and ammo by knowing how to approach each fight.
Turning on the Engines
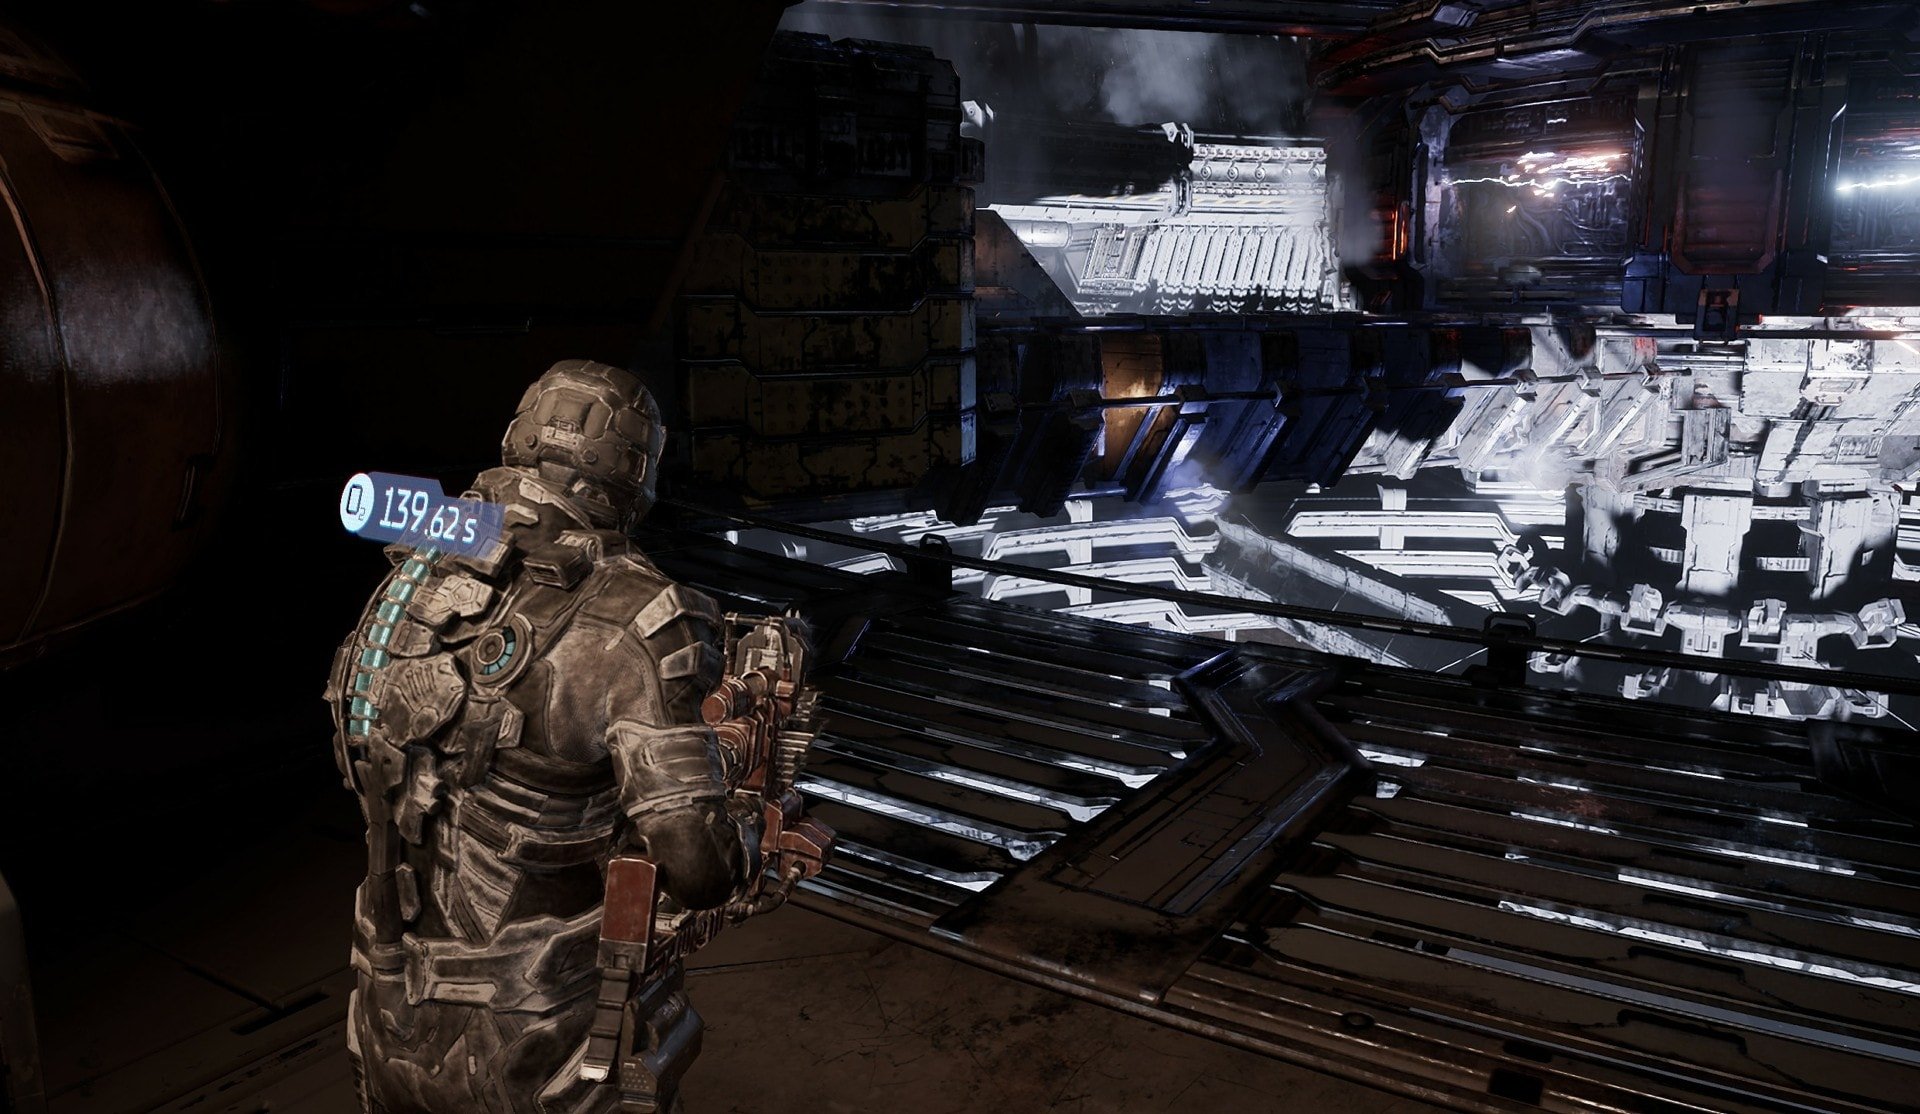
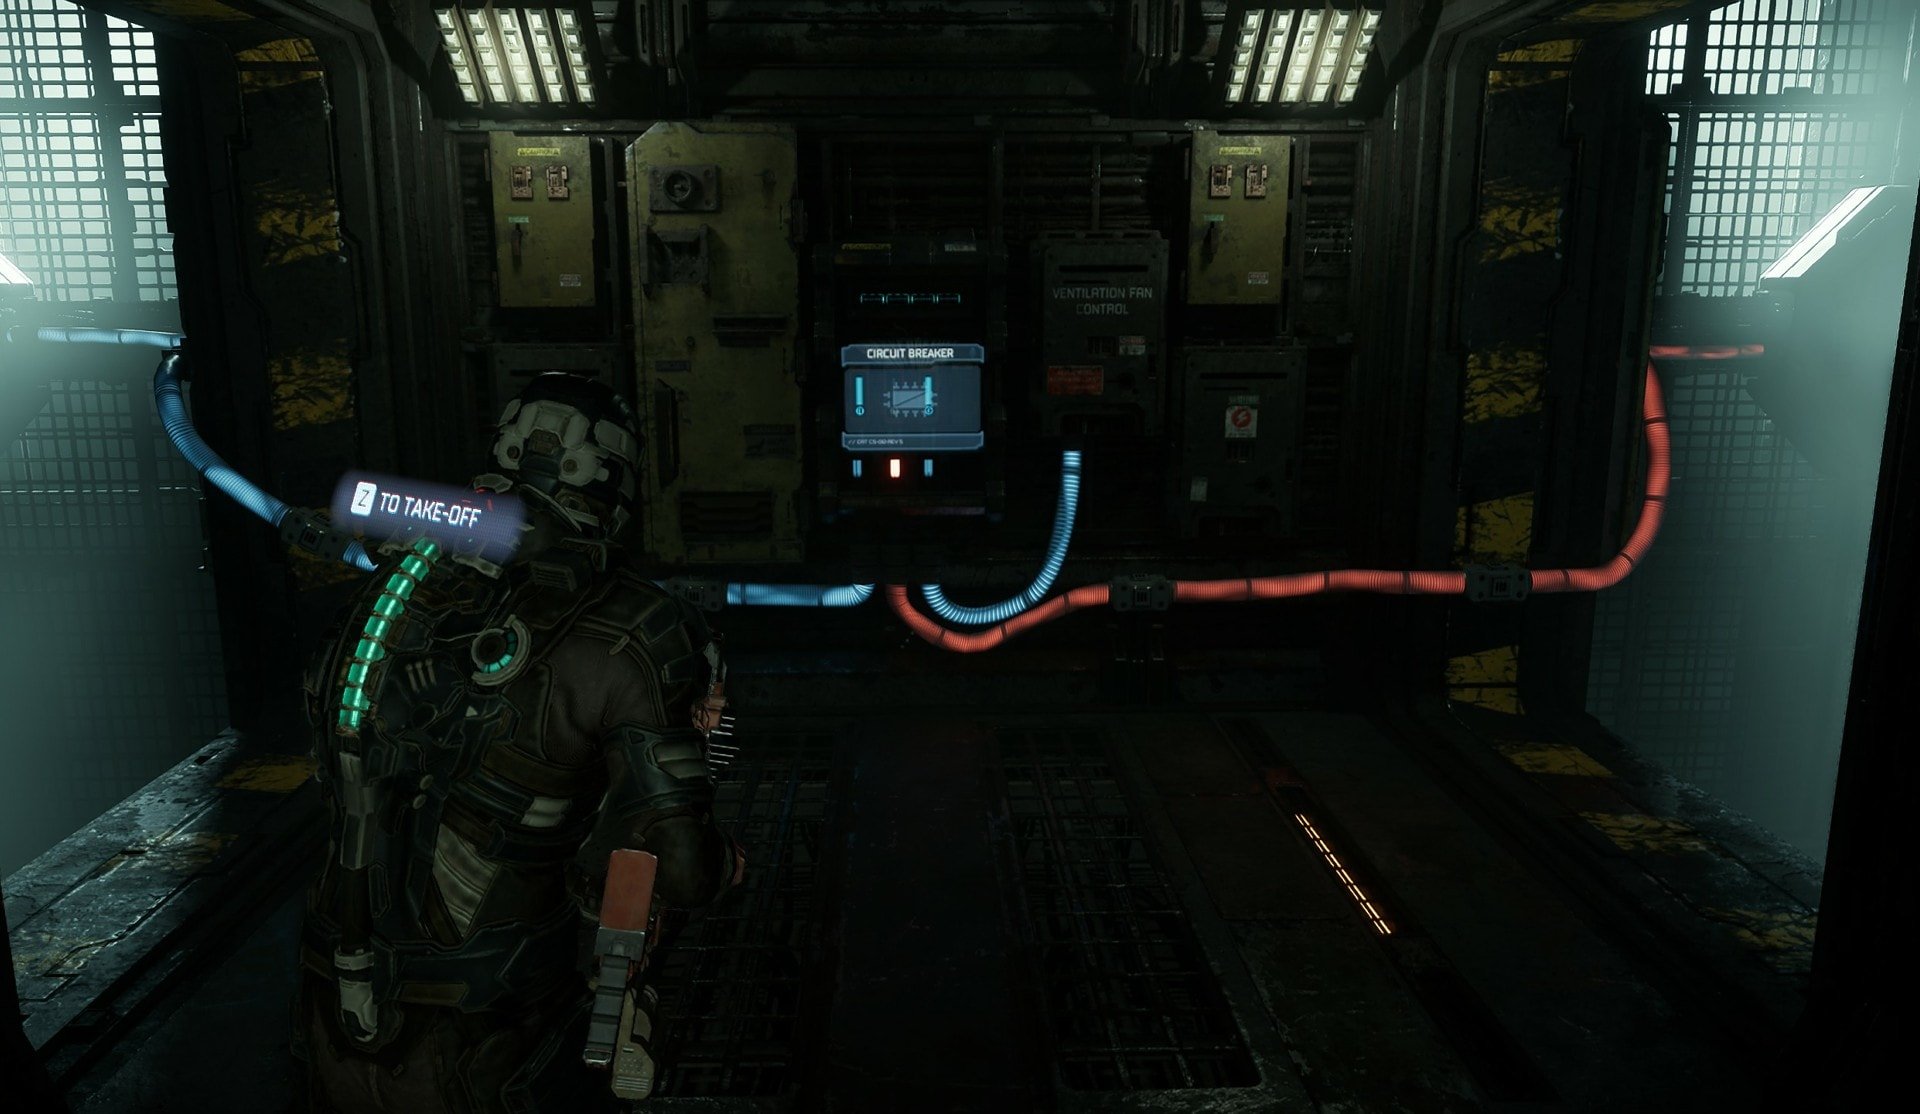
Once you get back to the Control Room, you’ll be going through the air lock door. The next room will have no gravity so you’ll be able to fly around. The door you need to go through has no power so you’ll need to follow the power lines to a circuit breaker. Use Stasis on the fans to get past without being chopped up.
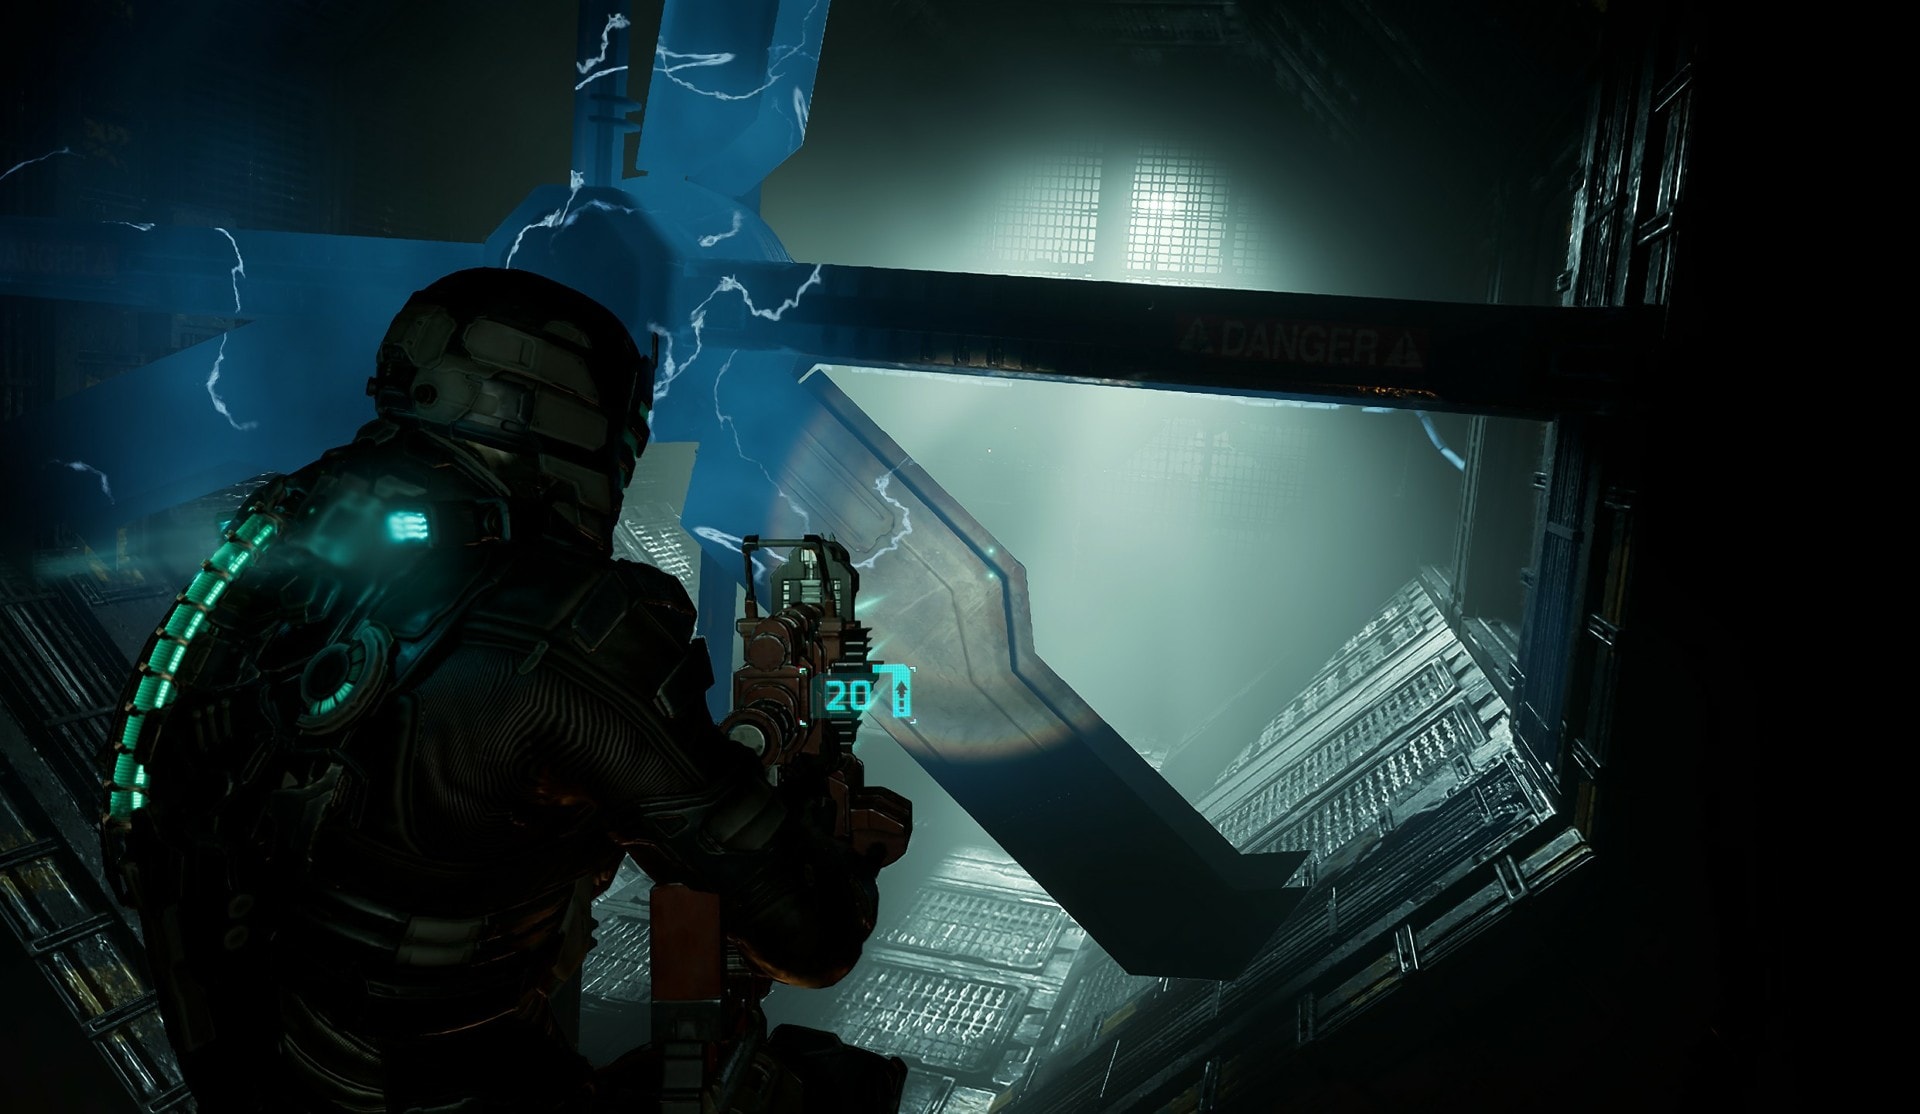
Use the circuit breaker and cut power to the fans and redirect that power to the doors.
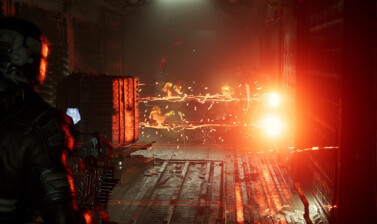
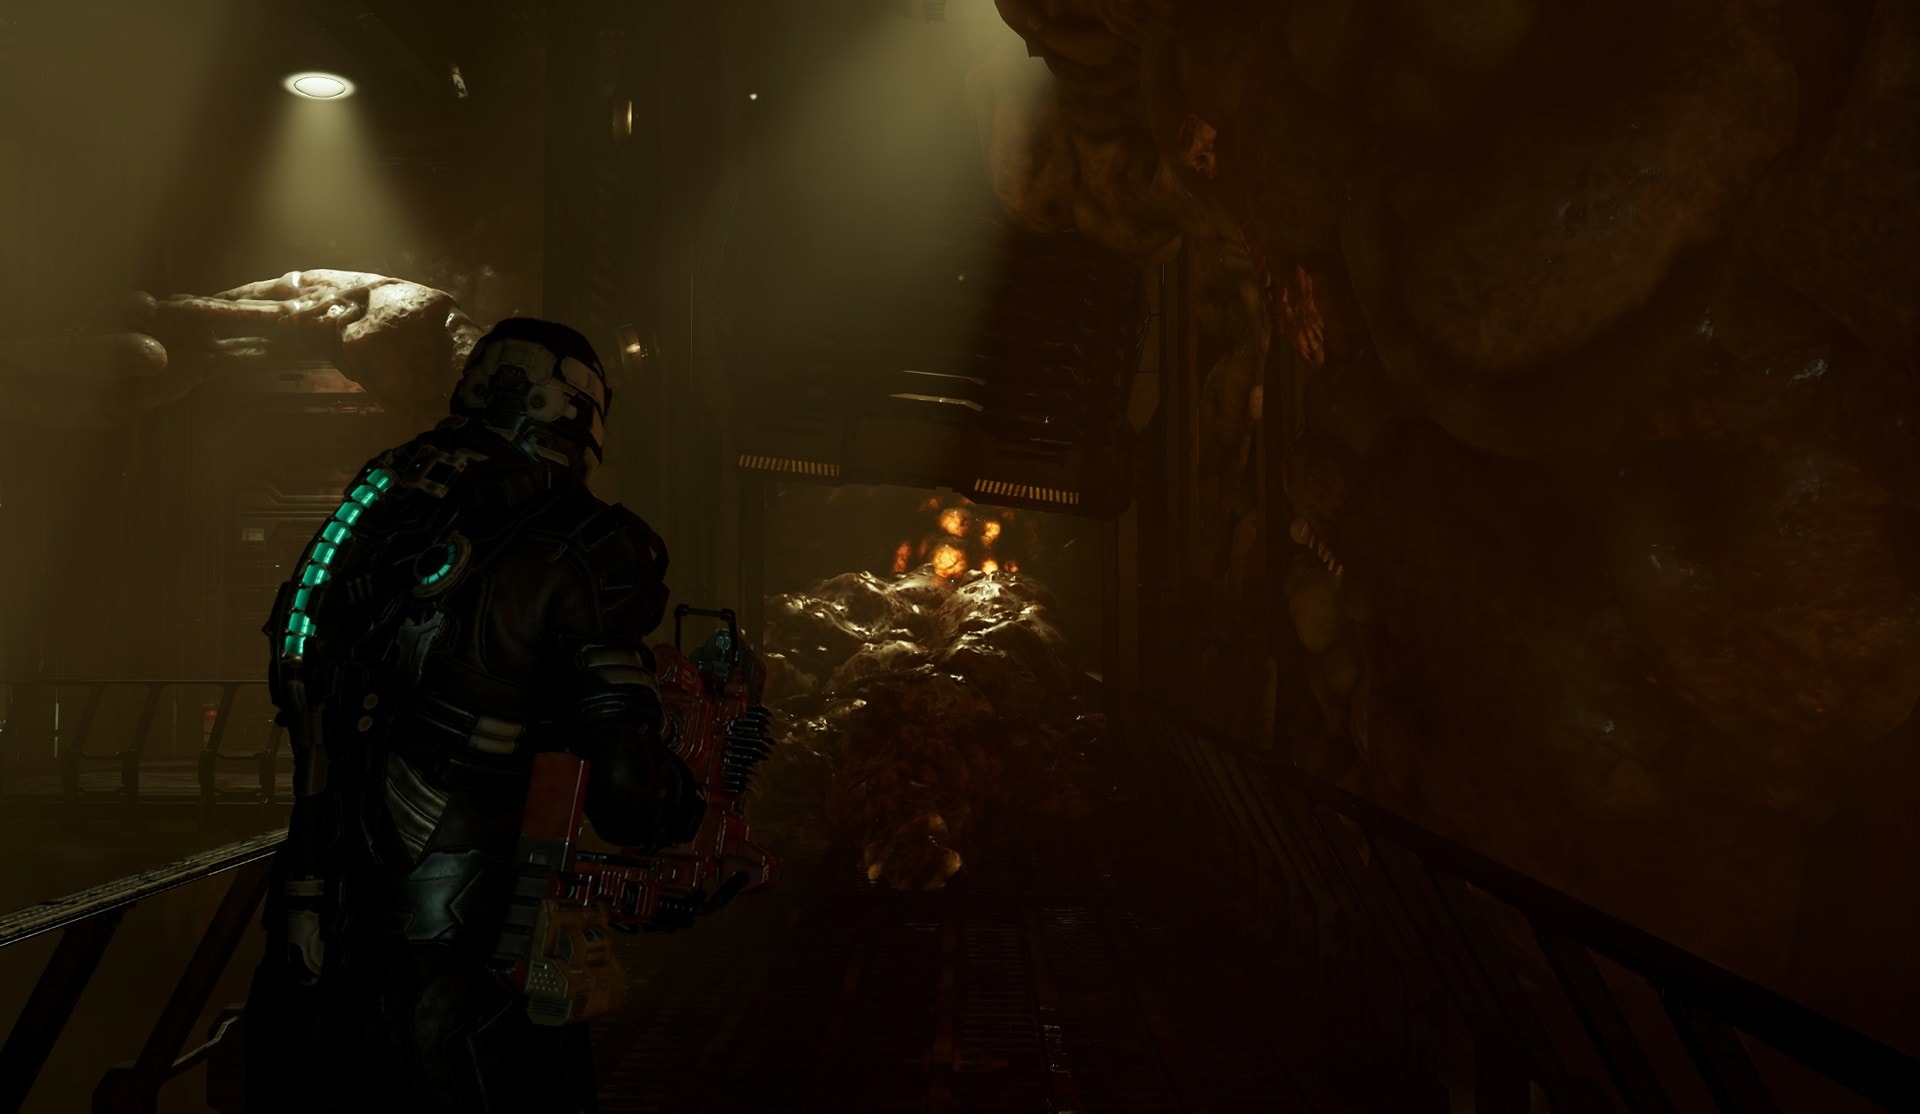
With the door powered, go through and you’ll enter a very noisy room. There’s a fleshy growth blocking the way and you’ll need to destroy the glowing cluster to clear the way.
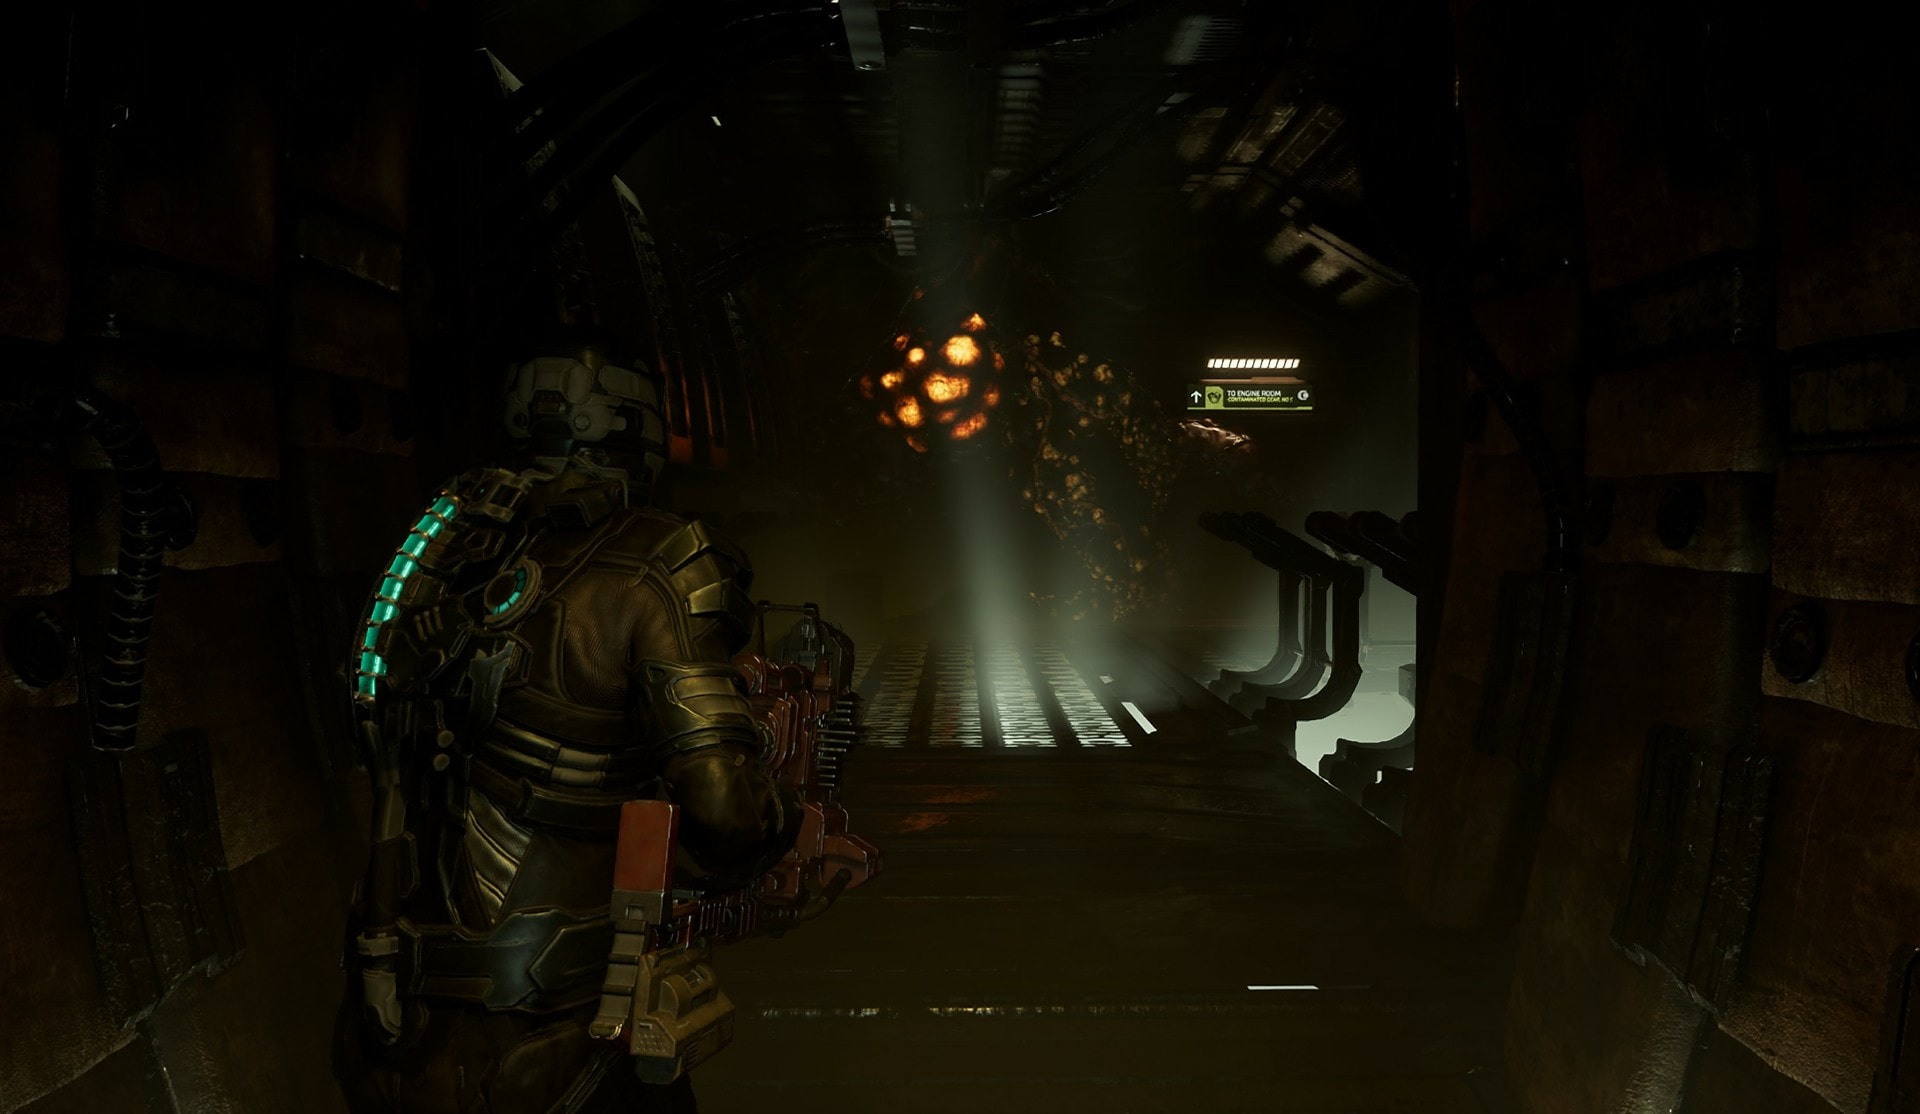
Going past the door will reveal an uncomfortably fleshy hallway. On the flesh wall is a corpse of someone holding the Flamethrower. Pick this weapon up and shimmy through the flesh hall.
You’ll be in a vertical room covered in flesh so you’ll need to find a way down. Look around and to your left you’ll find an elevator. Go down the elevator while destroying any glowing clusters you find along the way. This will clear your path to the other elevator.
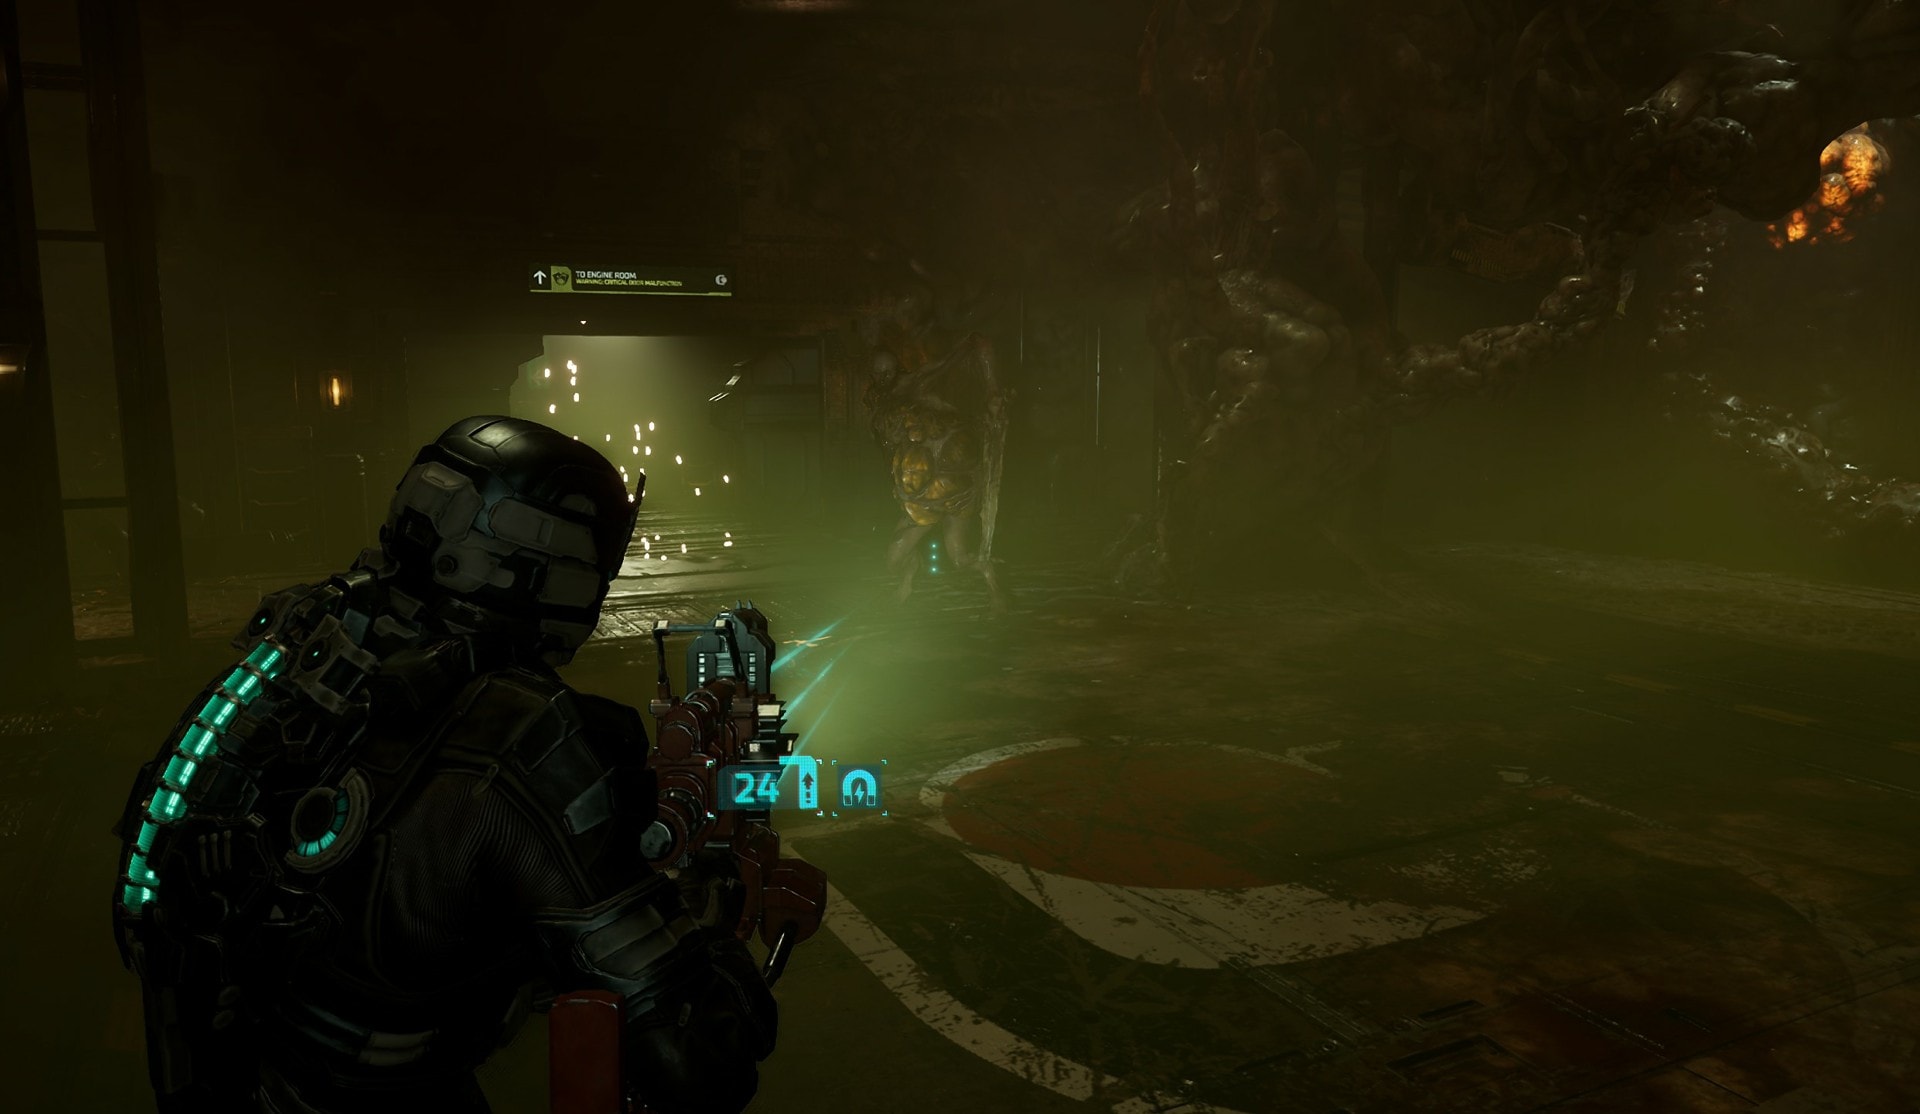
When you reach the bottom level you’ll encounter a new necromorph variant, the Pregnant necromorph. These are visually similar to Slashers but with a bloated torso. Do not shoot that torso as that will cause them to explode releasing Swarmers. Shoot off a leg then the arms to defeat it. Once defeated you actually won’t be able to pop them so you’re safe if you accidently shoot their torso after they’re dead.
Use Stasis on the malfunctioning door to get to the Engine Room. You’ll encounter a lot of Slashers here so brace yourself for a fight. After defeating the necromorphs, if you follow your Locator you’ll end up at a control panel. The station lacks power to restart the engine so you’ll have to head back downstairs to find a power cell slot.
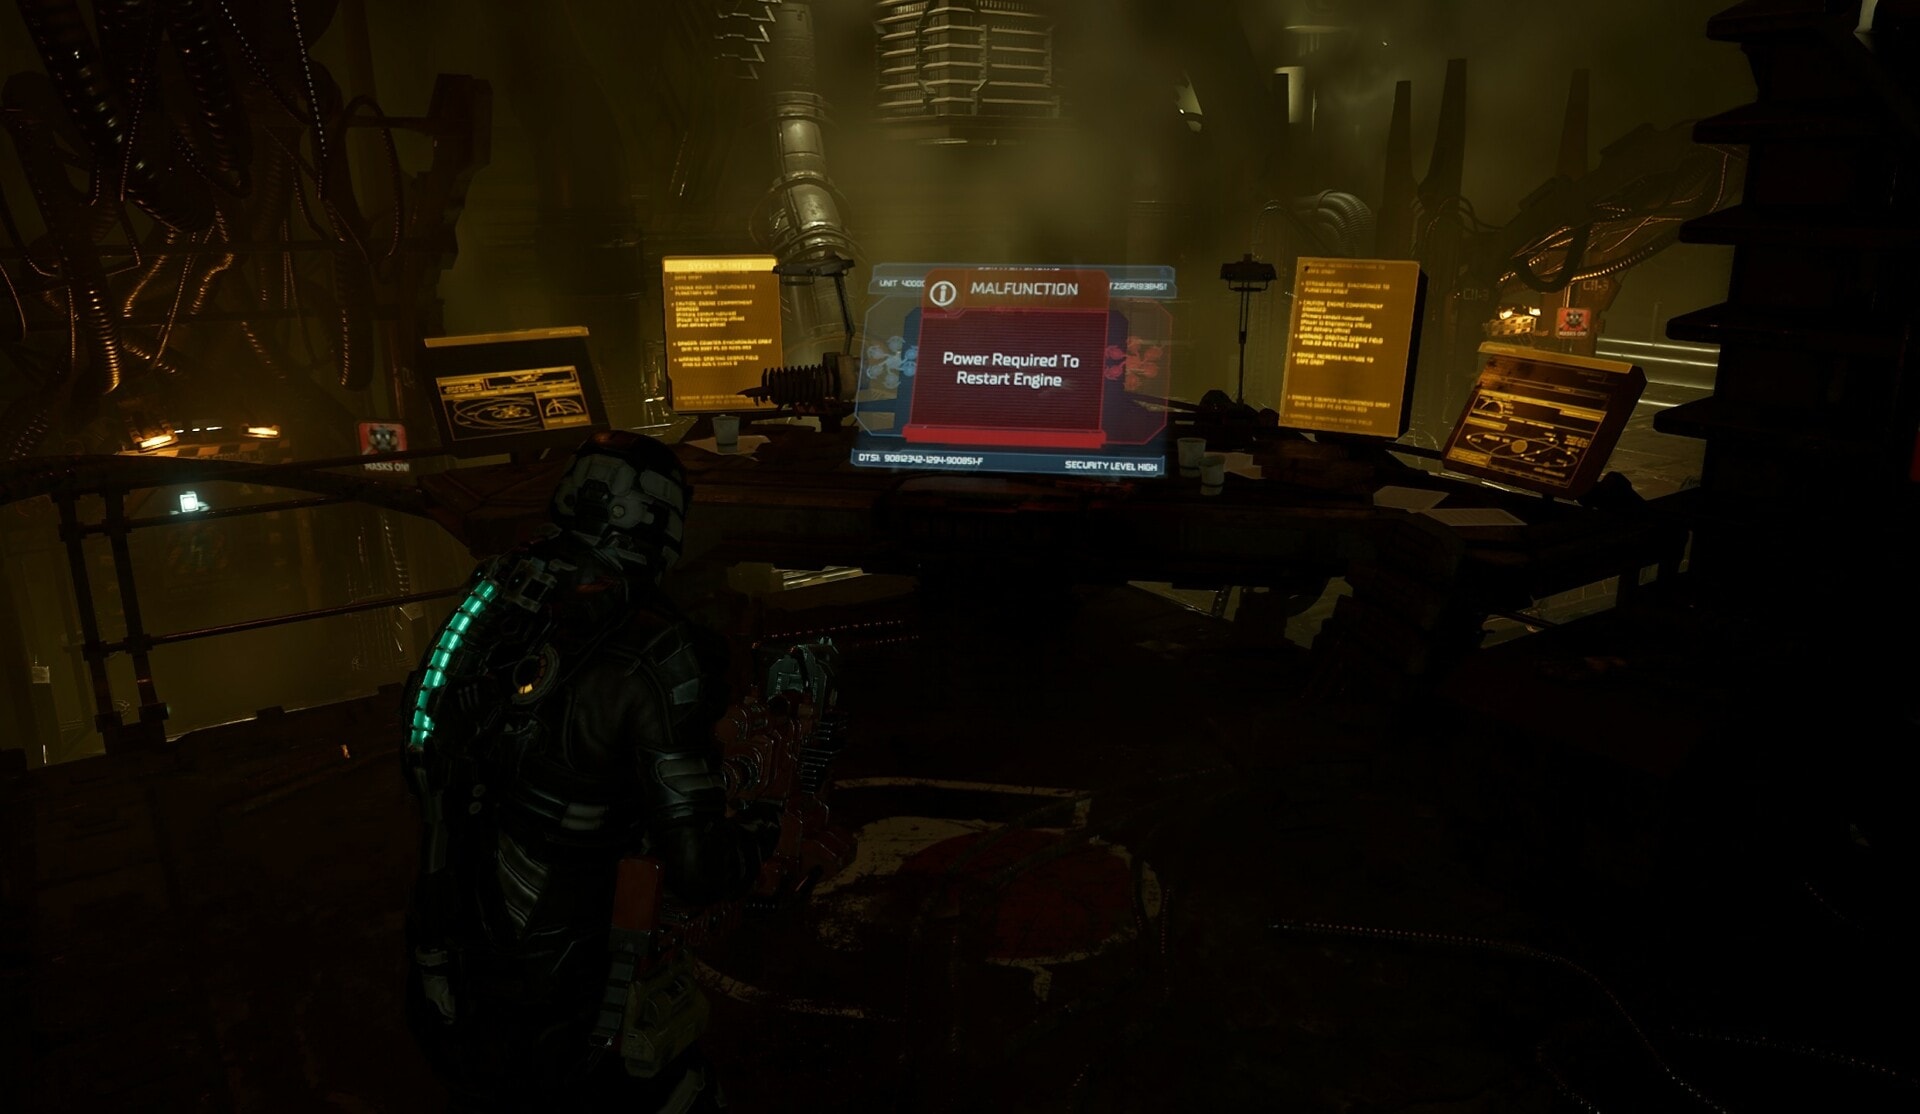
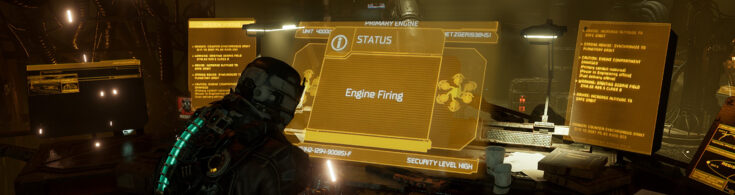
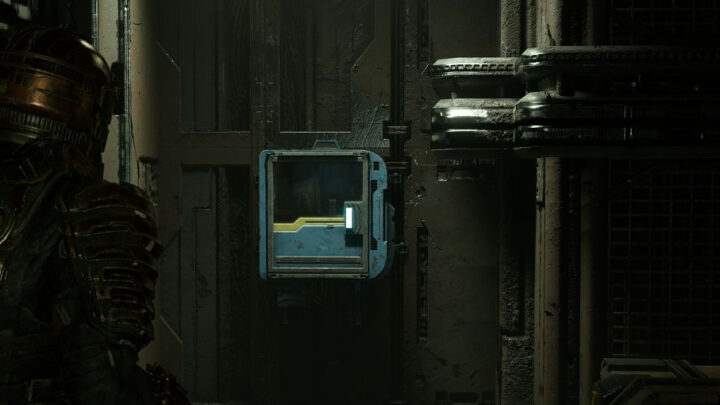
The battery is very close by and you’ll need to go upstairs at the corner of the room to find it. Use Kinesis to insert it into the Power Cell slot and activate the Engine controls. With the engines now active, the Ishimura will no longer be pulled from orbit.
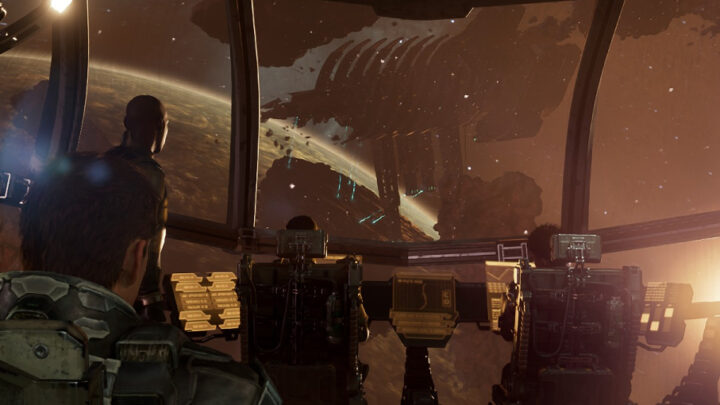
You’ll get a call from Hammond and Kendra where you’ll learn that the Ishimura is heading into an asteroid field. Unfortunately the Asteroid Defense System is down. You’ll need to go to the Bridge of the Ishimura to fix the ADS cannons.
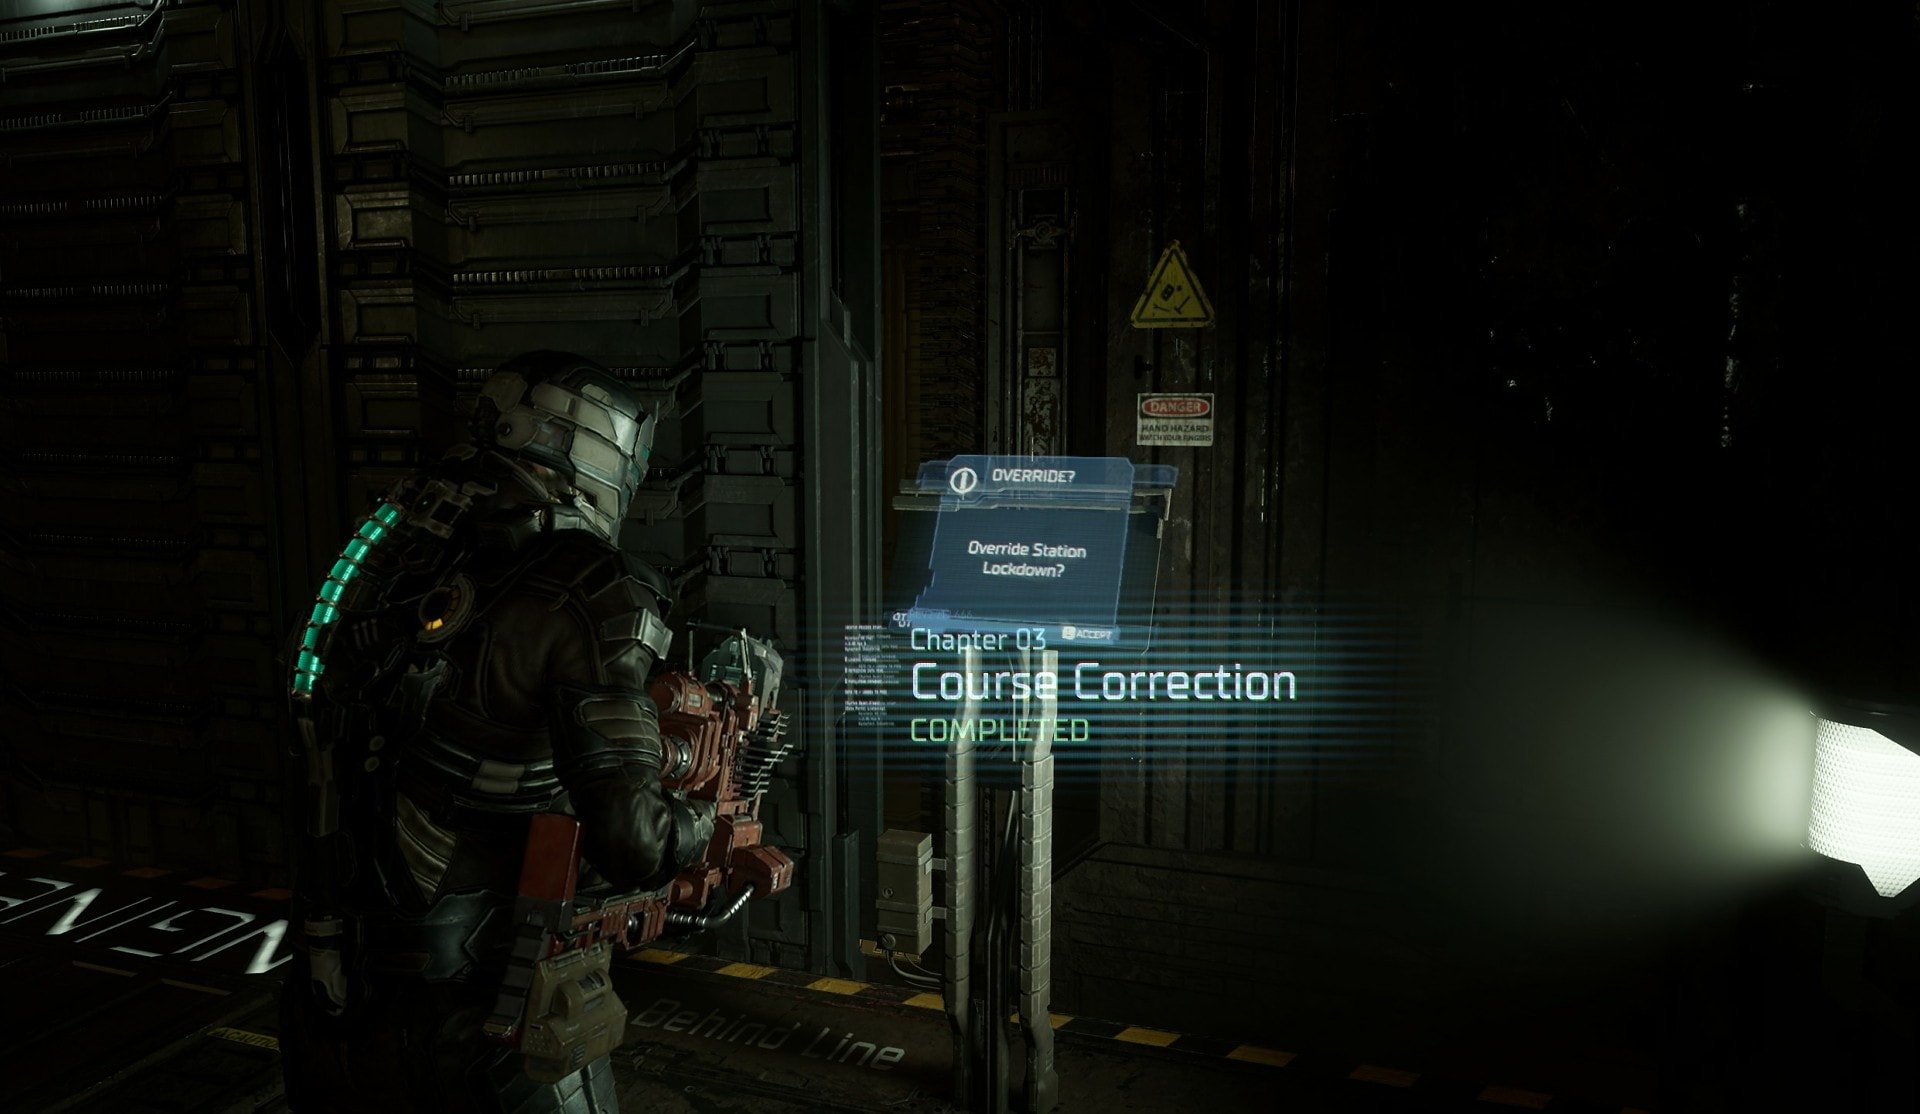
Go back to the Control Room and head to the Tram Station. With that, Chapter 3 is now complete!
Side Mission: Scientific Methods
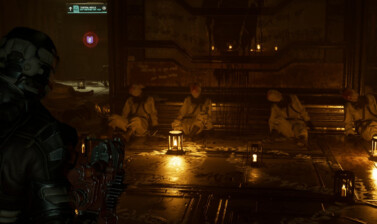
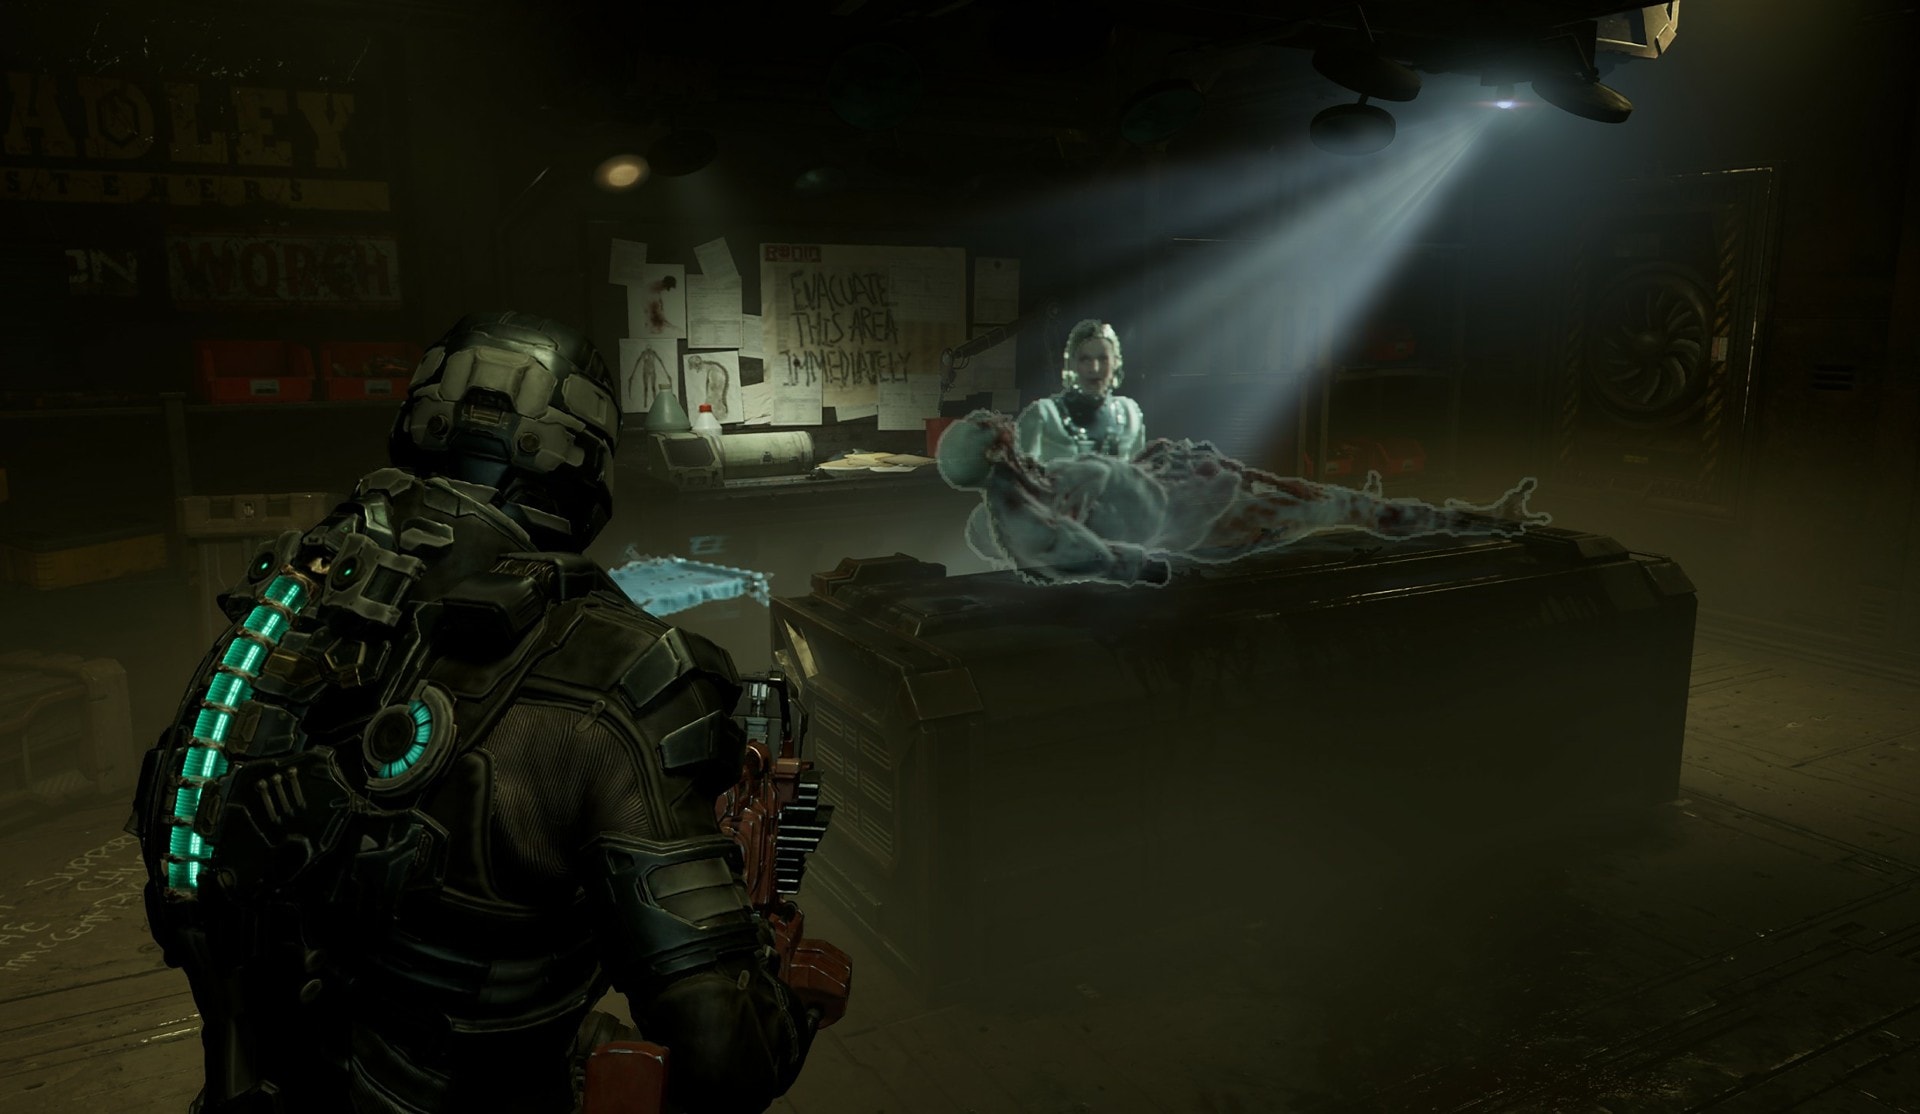
To make progress with the Scientific Methods side mission, head to the room where you found the Ripper. There’s a path that leads to a Bench in the back.
Go through the door near the bench to find the Autopsy location and watch the hologram. Once you do this, you can continue to progress with this in Chapter 7.
You can continue the adventure with our Dead Space Remake Chapter 4 Walkthrough. The guide will help you get through the next part of your exploration of the ship as well as show you how and where to progress the side mission available there.
Dead Space Remake Chapter 3 Walkthrough
This is a step-by-step walkthrough of Dead Space Remake Chapter 3: Course Correction, for a simpler and more concise version for those who prefer it.
Instructions
- Find Voelker's RIG on your way to the Engineering Deck, which will be useful for a side mission later on.
- Find the defunct cargo lift and go inside. It will take you to Engineering Deck's Control Room.
- Refuel the South Refueling Station.
- Activate the North Fuel Station.
- Find a path leading to a Bench in the back. Watch the hologram of Nicole performing an autopsy. This side mission can be further progressed in Chapter 7 later on.
- Go back to the control room, use the console and head to the Gravity Centrifuge.
- Activate the Gravity Centrifuge.
- Go back to the control room and head through the airlock door.
- Use Statis to slow down the fans and get past them to use the Circuit breaker. Redirect power to the doors.
- Pick up the Flamethrower weapon while going through the narrow corridor with the fleshy walls.
- As you enter the vertical room with the monster flesh all over the walls and floors, make your way down to the bottom floor.
- Go into the Engine Room. Use the Control Panel after you have powered it with a Battery Power Cell.
Dead Space Remake Chapter Walkthroughs Collection
Full detailed walkthroughs are available for every one of the twelve chapters of Dead Space Remake. Each guide includes helpful tips on how to get to your next objective, what to do, where to go through and what to pick up. You'll also find instructions on how to start and complete all side missions available on the way.
Dead Space Remake Chapter 1 Walkthrough
This guide will tell you how to complete Chapter 1: New Arrivals of the Dead Space Remake. This is essentially the tutorial level of the game!
Dead Space Remake Chapter 2 Walkthrough
Guide on how to complete Chapter 2: Intensive Care of the Dead Space Remake. The walkthrough also includes the available side mission!
Dead Space Remake Chapter 4 Walkthrough
Guide on how to complete Chapter 4: Obliteration Imminent of the Dead Space Remake. The guide also includes the side mission available here!

Dead Space Remake Chapter 5 Walkthrough
Guide on how to complete Chapter 5: Lethal Devotion of the Dead Space Remake. The walkthrough features the side mission available!

Dead Space Remake Chapter 6 Walkthrough
Guide on how to complete Chapter 6: Environmental Hazard of the Dead Space Remake. Includes the available side mission objectives!
Dead Space Remake Chapter 7 Walkthrough
Guide on how to complete Chapter 7: Into the Void of the Dead Space Remake. Includes the available side mission objectives!

Dead Space Remake Chapter 8 Walkthrough
Guide on how to complete Chapter 8: Search and Rescue of the Dead Space Remake. Includes the available side mission objectives!
Dead Space Remake Chapter 9 Walkthrough
This guide will tell you how to complete Chapter 9: Dead on Arrival of the Dead Space Remake! Follow it to not miss a thing!
Dead Space Remake Chapter 10 Walkthrough
This guide will tell you how to complete Chapter 10: End of Days of the Dead Space Remake. Includes all of the side mission objectives too!

Dead Space Remake Chapter 11 Walkthrough
This guide will tell you everything you need to know to complete Chapter 11: Alternate Solutions of the Dead Space Remake!

Dead Space Remake Chapter 12 Walkthrough
This guide will tell you how to complete Chapter 12: Dead Space of the Dead Space Remake, including the final boss fight!
All Dead Space Power Node Locations Guide
This guide show all Power Nodes locations in the Dead Space Remake. The locations are structured according the areas and based on Chapters!
All Dead Space Semiconductor Locations Guide
Guide on where to find all Semiconductors in Dead Space Remake. The locations are structured according to the areas and based on Chapters!

Dead Space Remake Achievements Guide and List
Complete list of all achievements in Dead Space Remake including secret ones and any additional rewards when you obtain some achievements!