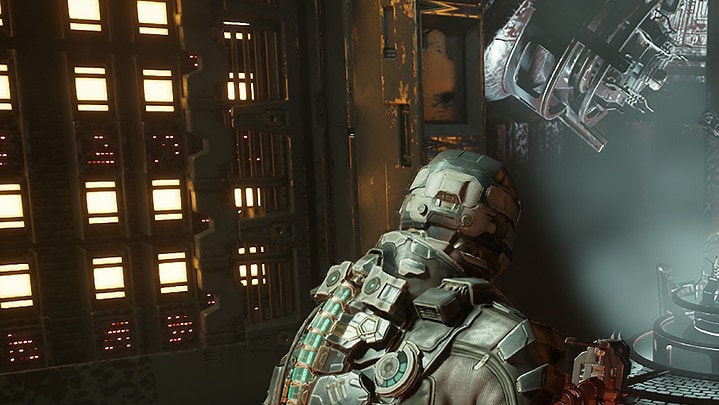
This guide will tell you how to complete Chapter 4: Obliteration Imminent of the Dead Space Remake. The guide also includes the side mission available during this chapter!
This guide is for the Dead Space Remake, released in 2023!
Author’s Note: Screenshots used in this guide were taken in a New Game Plus. I’ll have access to upgrades that a fresh game save would not have access to. The text is constructed to aid and help a new player.
For a list of Power Node locations in Chapter 4, use our Power Node Location Guide.
For a list of Semiconductor locations in Chapter 4, use our Semiconductor Location Guide.
Meeting up with Hammond
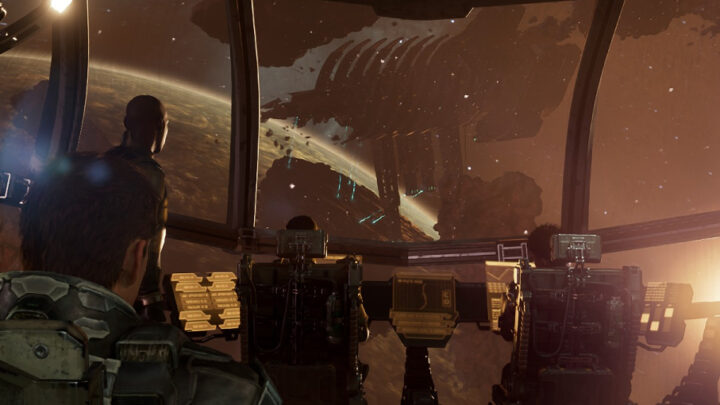
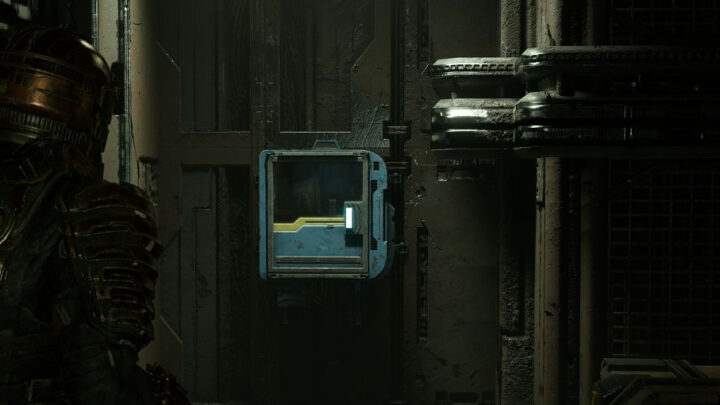
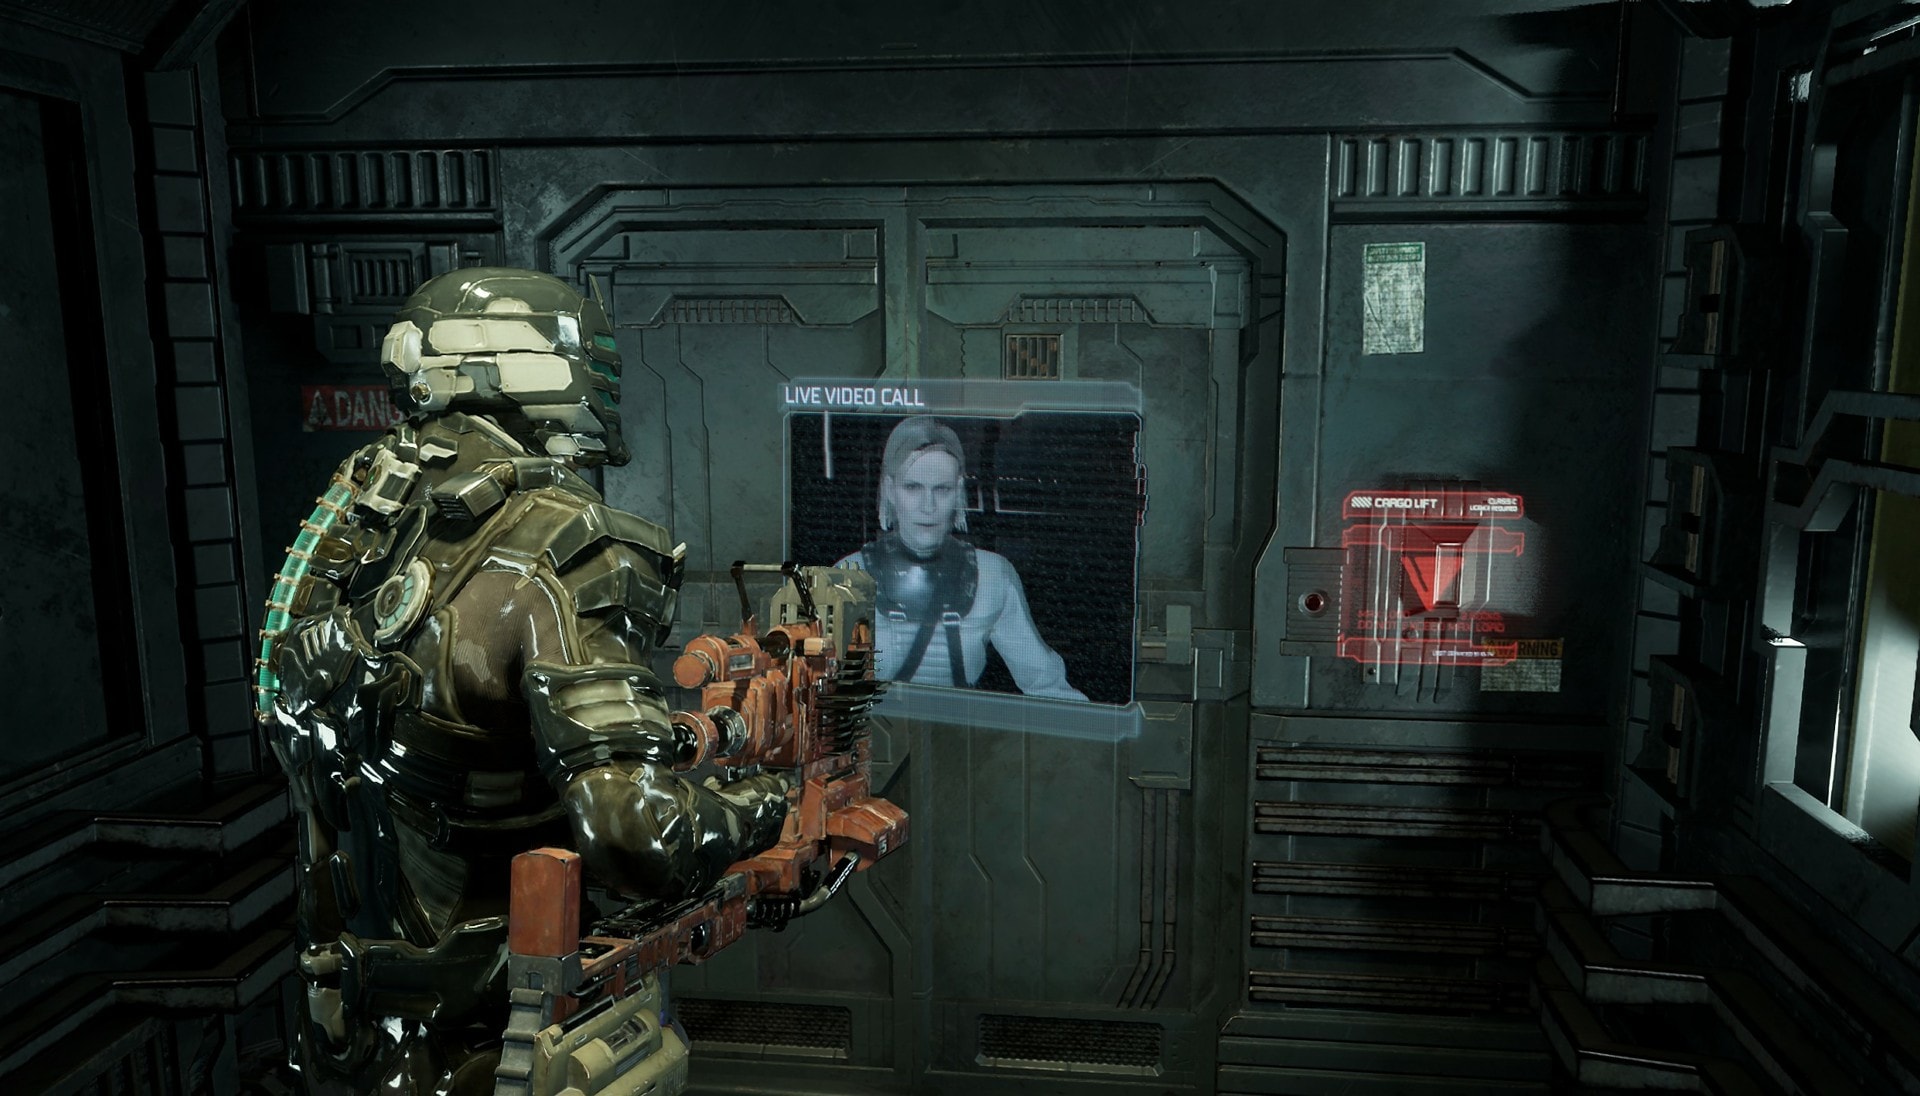
You’ll need to take the Tram Shuttle from Engineering to the Bridge. Once you make it you’ll get a video call from Hammond asking Isaac to meet up with him in the Captain’s Nest. Follow your locator to find a hallway with a Store kiosk at the end of it. When you’re halfway through an arm will punch through the window with the creature’s head soon after.
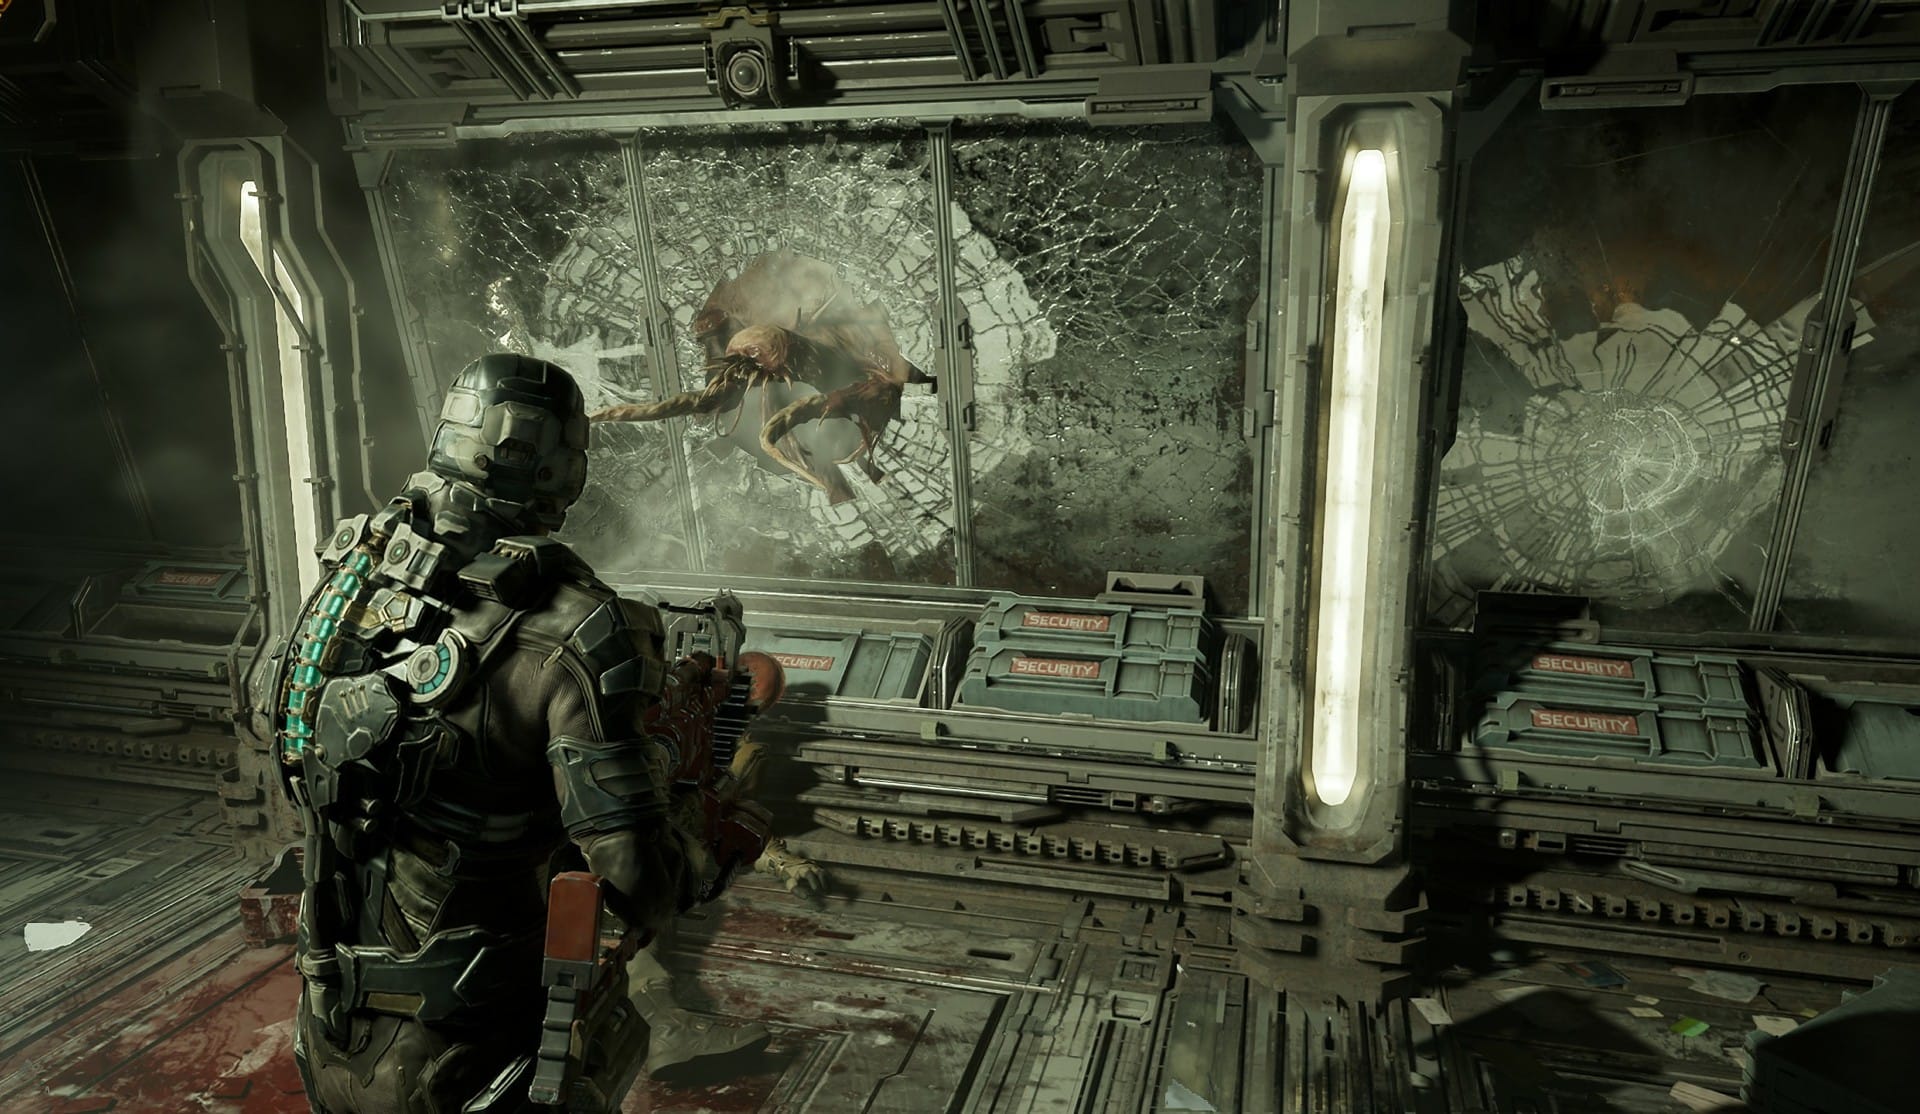
The necromorph will give up trying to get you through here and take off. If you need to replenish supplies, now would be a good time to do so at the Store. When you enter the Bridge, you’ll see a pile of crates with some credits on the floor.
Before walking forward, pick up those crates with Kinesis. When you walk into the Bridge, an asteroid will punch through the roof and the vacuum will suck up the crates.
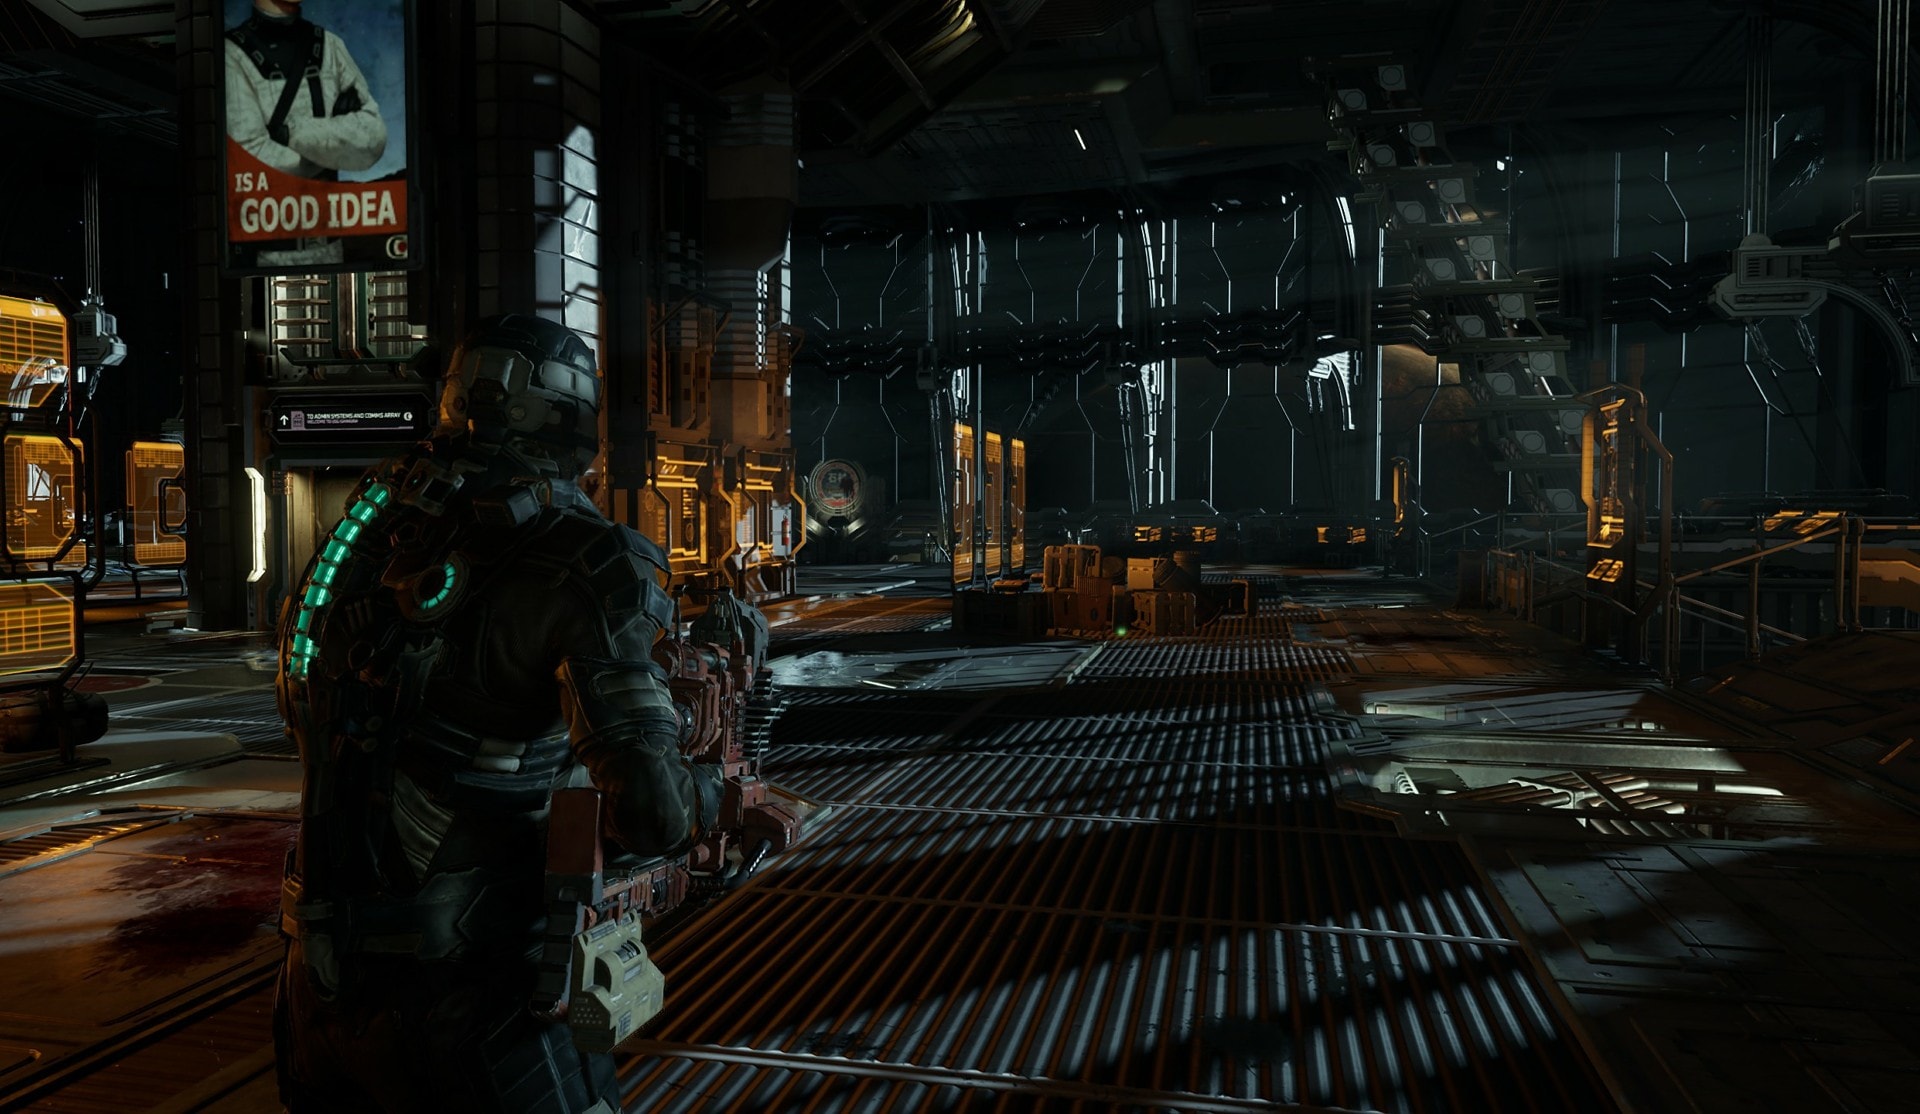
Fortunately the hole gets sealed up so you’ll still have oxygen in the room. Head towards the end of the room to where you see the USG Ishimura emblem. There will be an elevator that leads down to the Captain’s Nest.
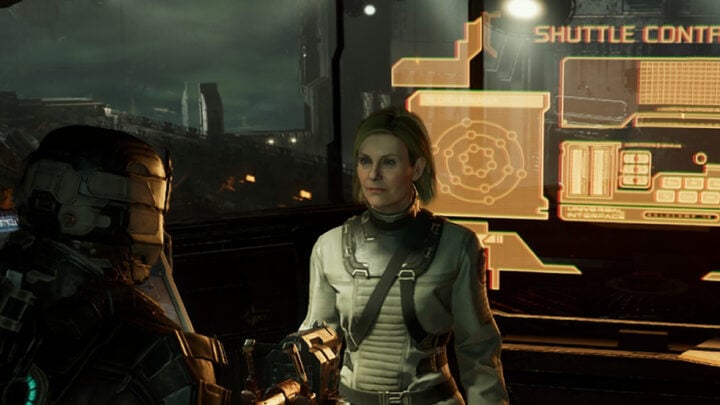
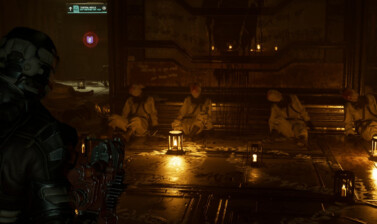
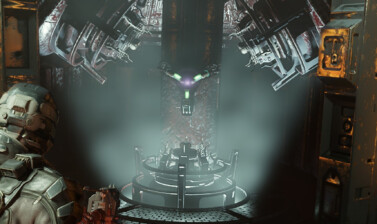
Here you’ll find Hammond and he’ll mention how Chen attacked him. Chen is now sealed in an escape pod which Hammond jettisons into space.
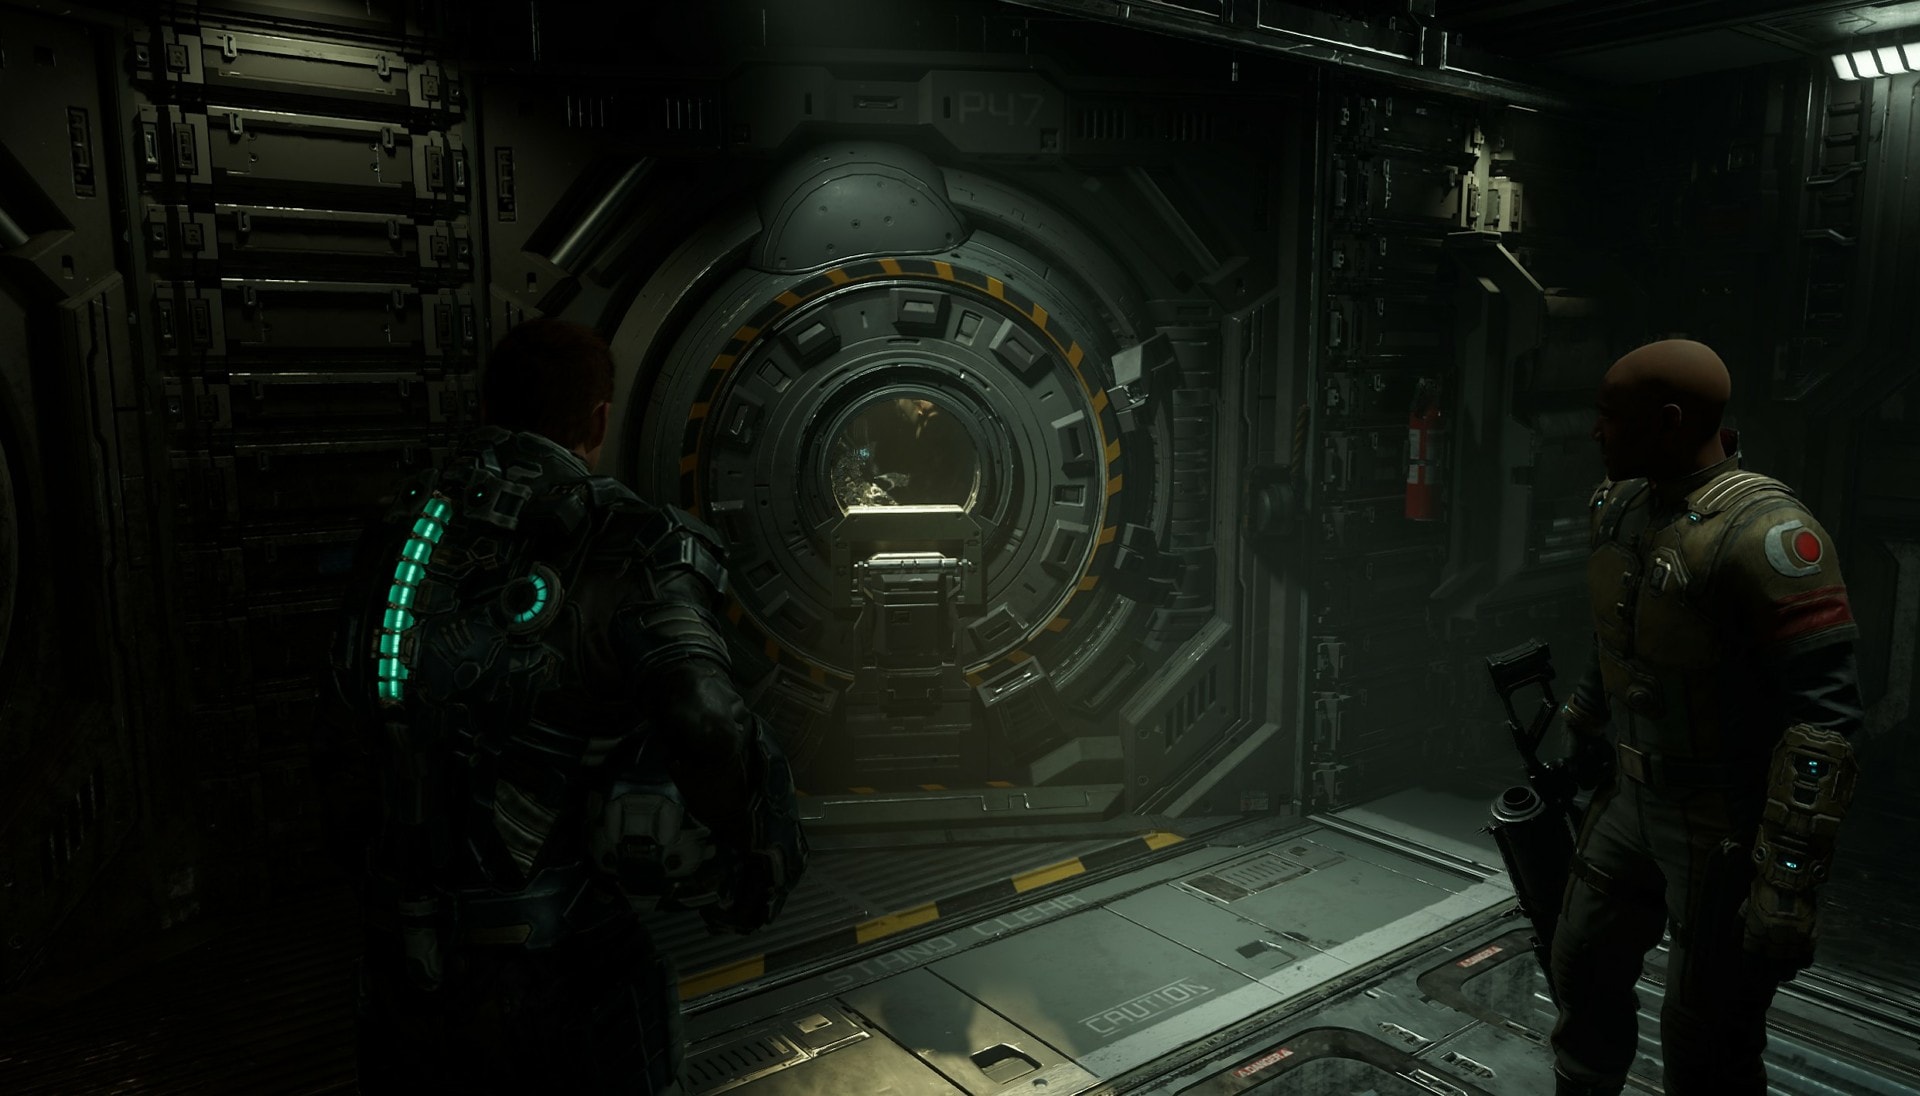
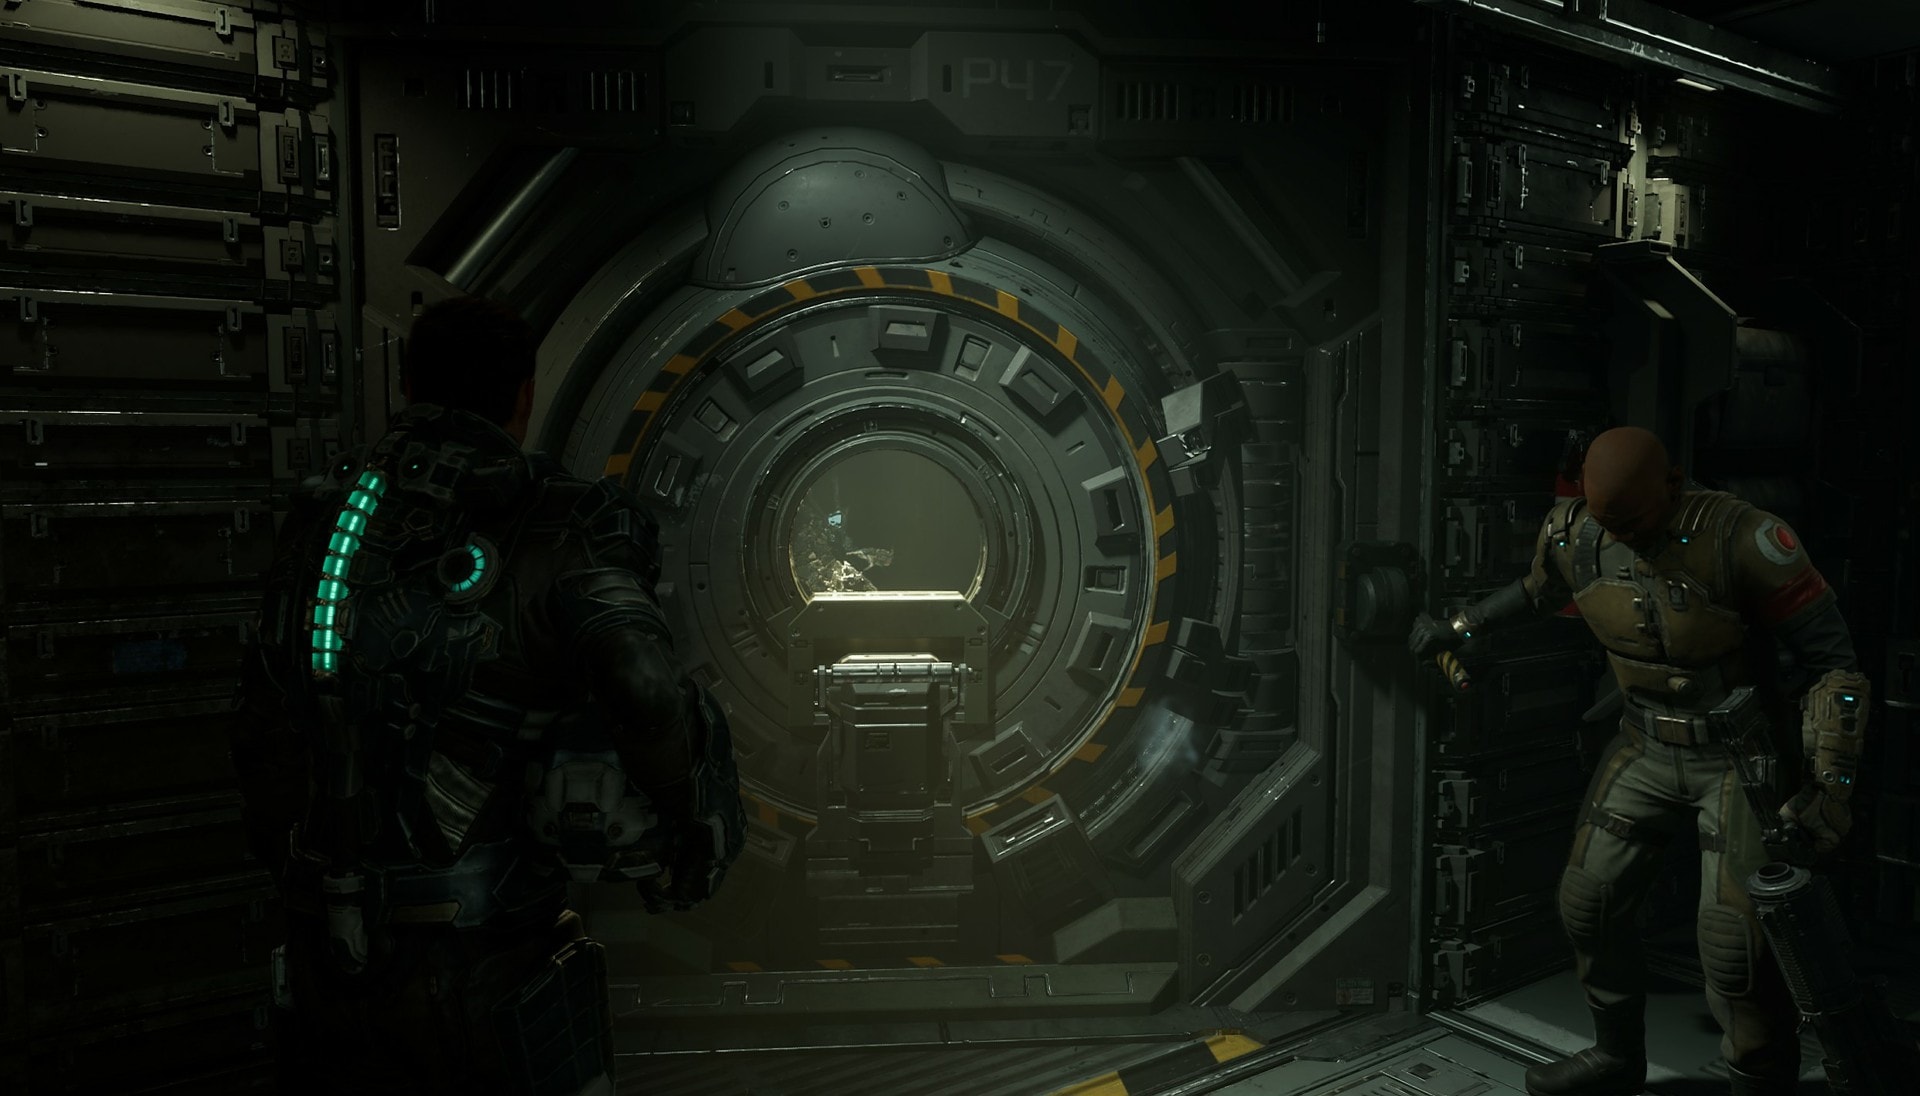
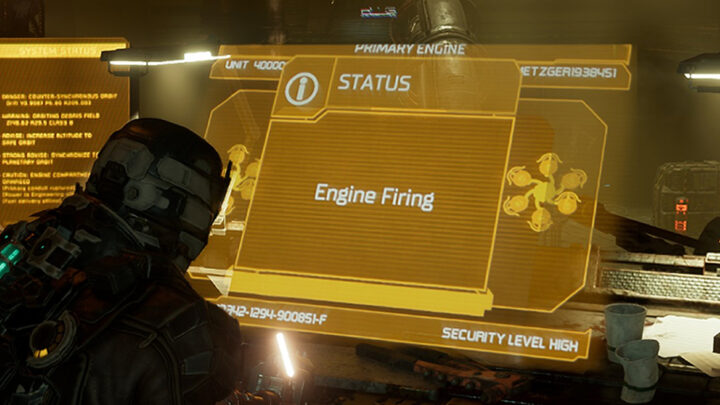
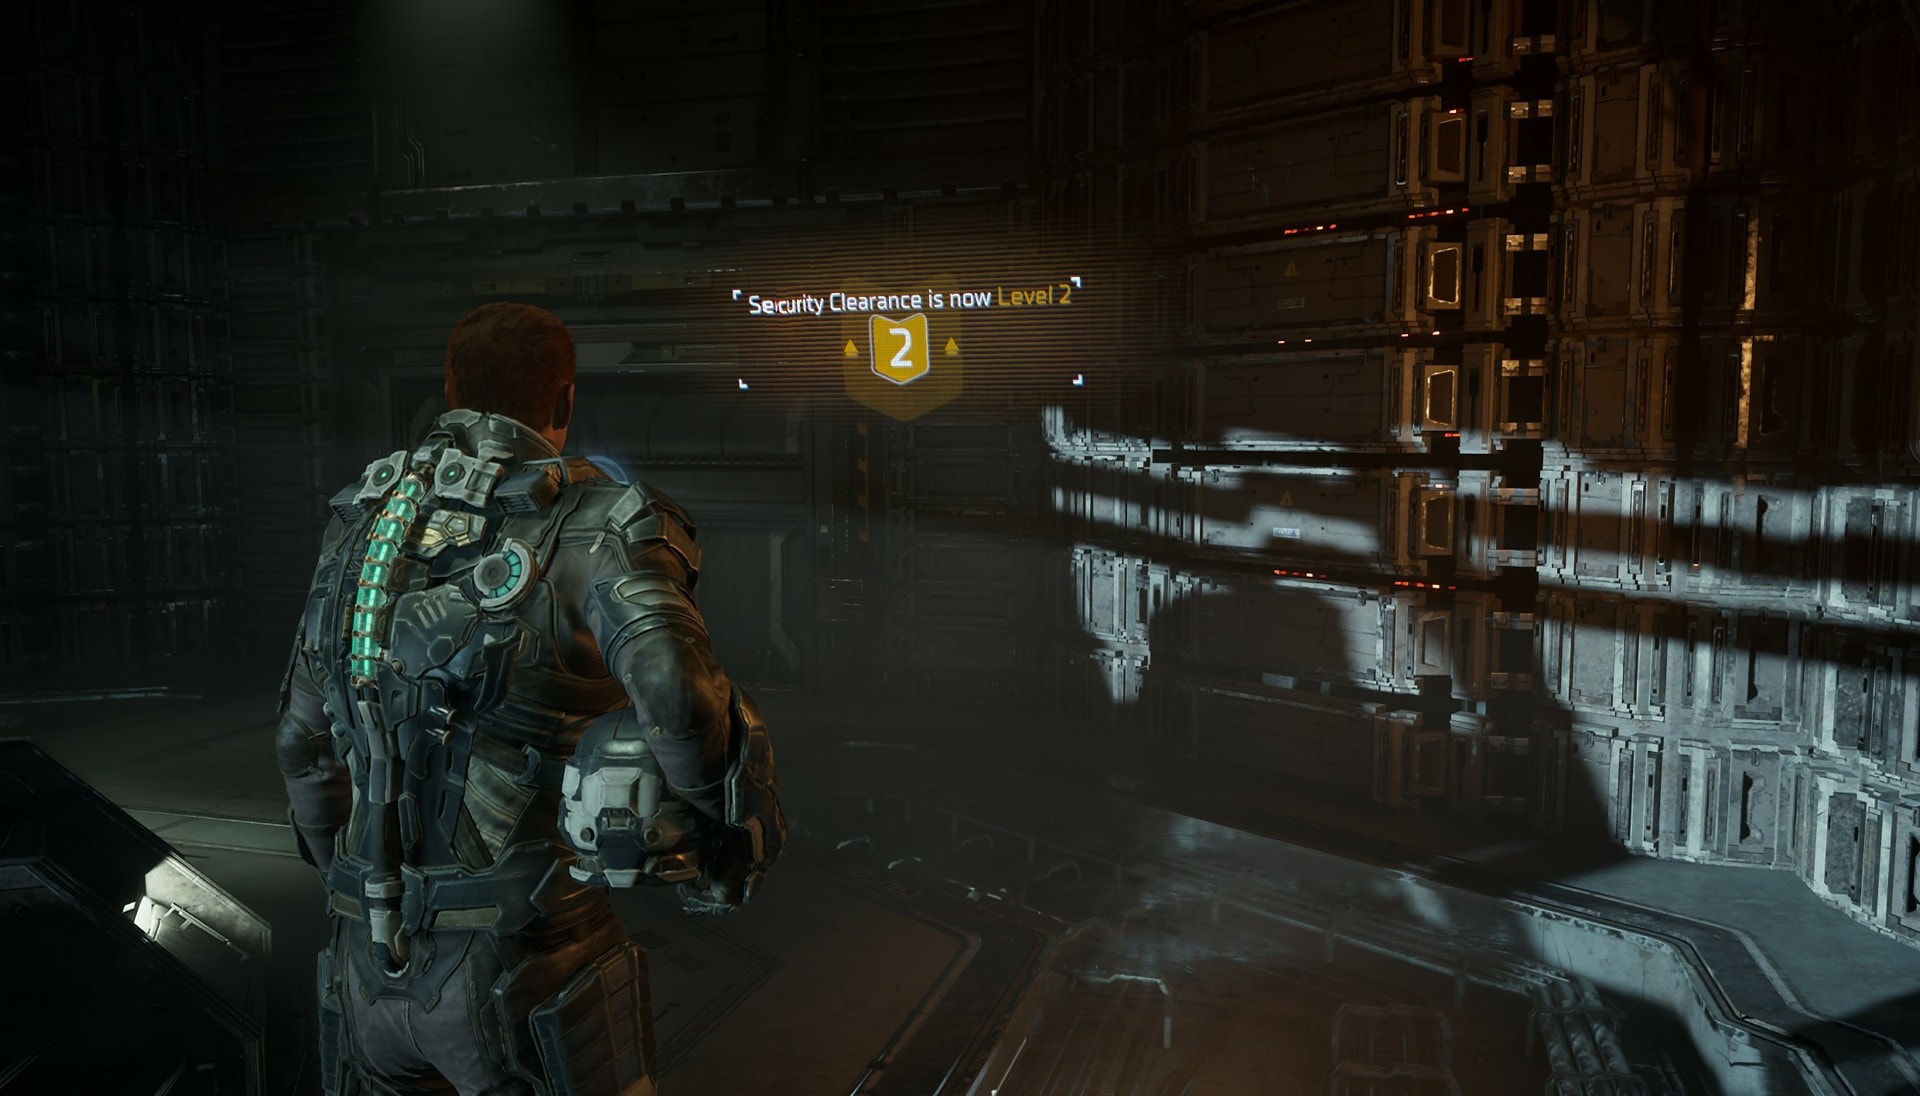
Hammond will take you to the Captain’s Nest to explain the situation with the ADS Cannons. He and Isaac develop a plan to reroute power from non-essential systems to the ADS Cannons to bring them back online. Afterwards Isaac will be granted Level 2 Clearance.
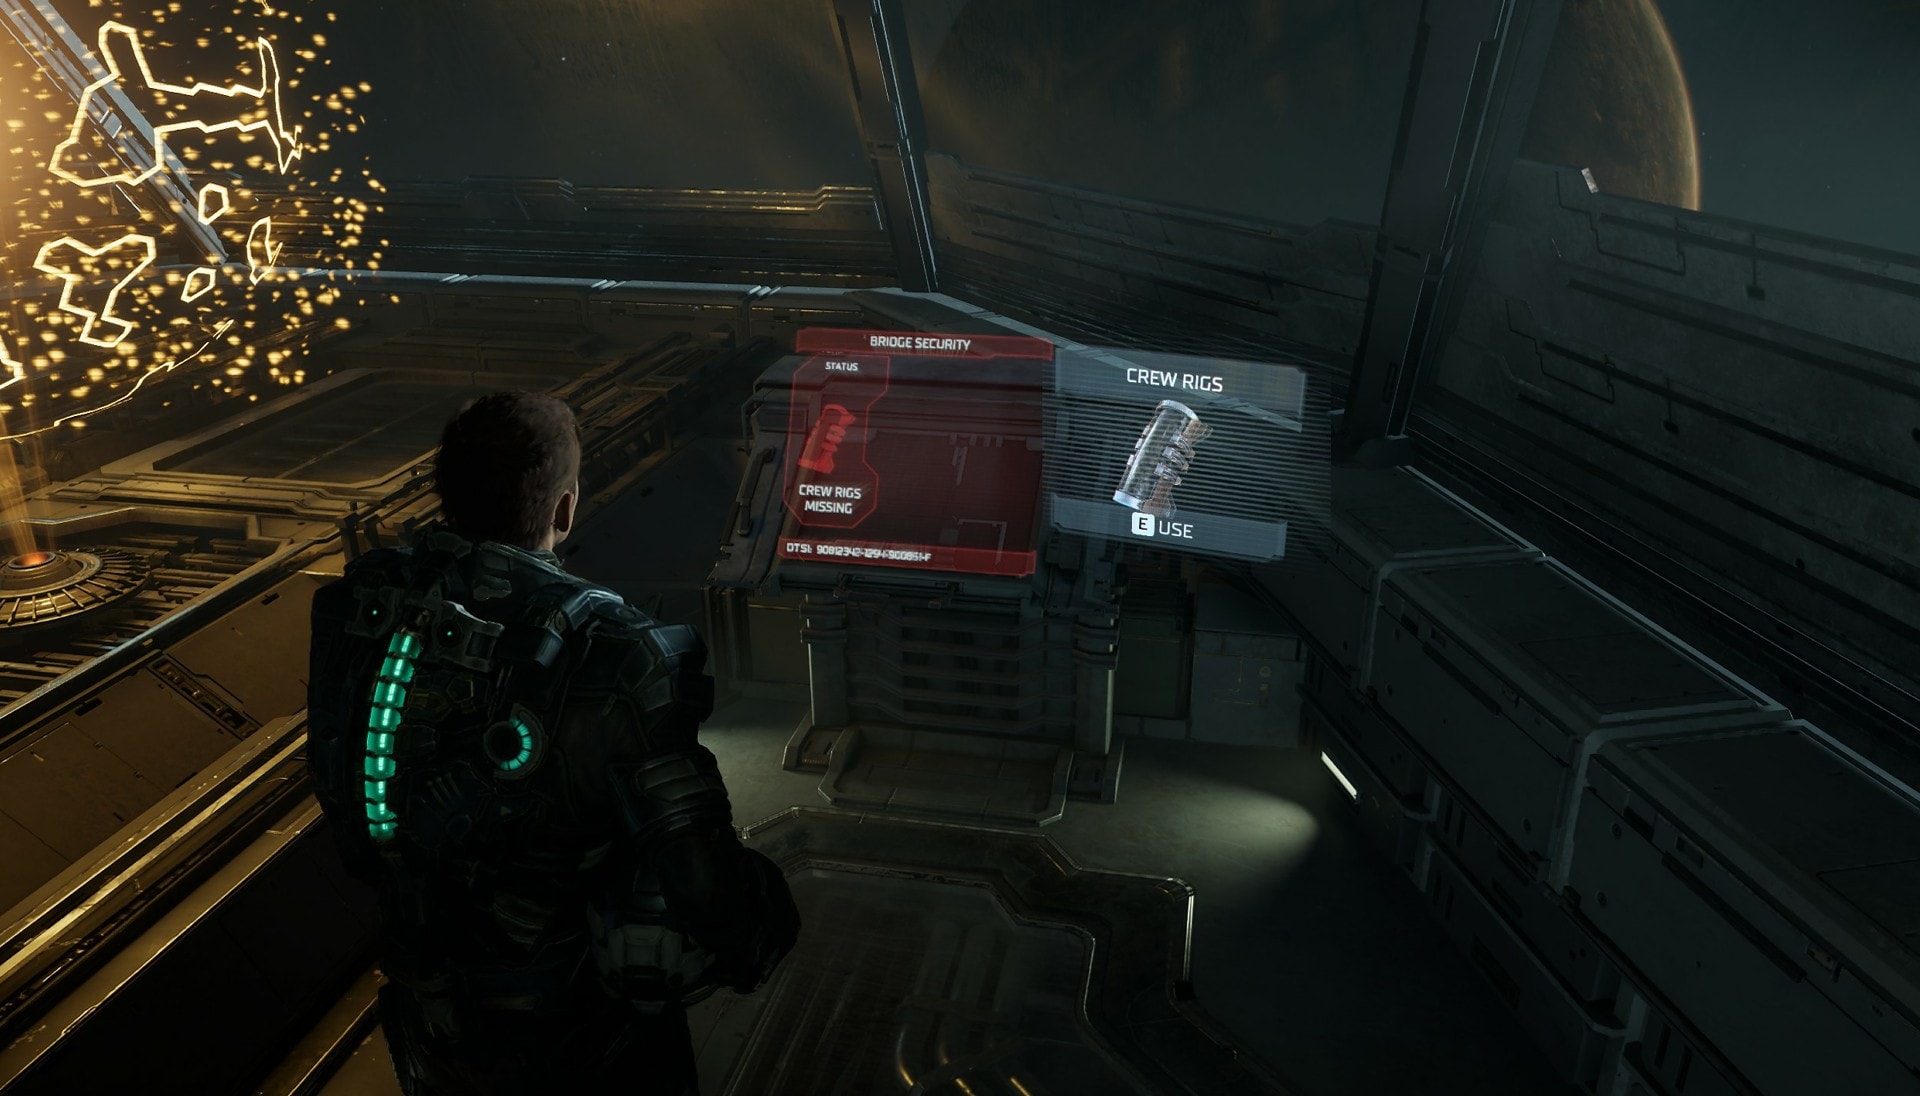
Before you leave the Captain’s Nest, there’s a console with a RIG icon on it. Interact with it to gain a new side mission, “You Are Not Authorized”. This side mission requires you to find the RIGs of all senior staff throughout the ship.
If you followed my instructions at the start of Chapter 3, you would have obtained Voelker’s RIG outside the Flight Deck. If not you’ll have to go back out there later to get it.
Activating the Elevators
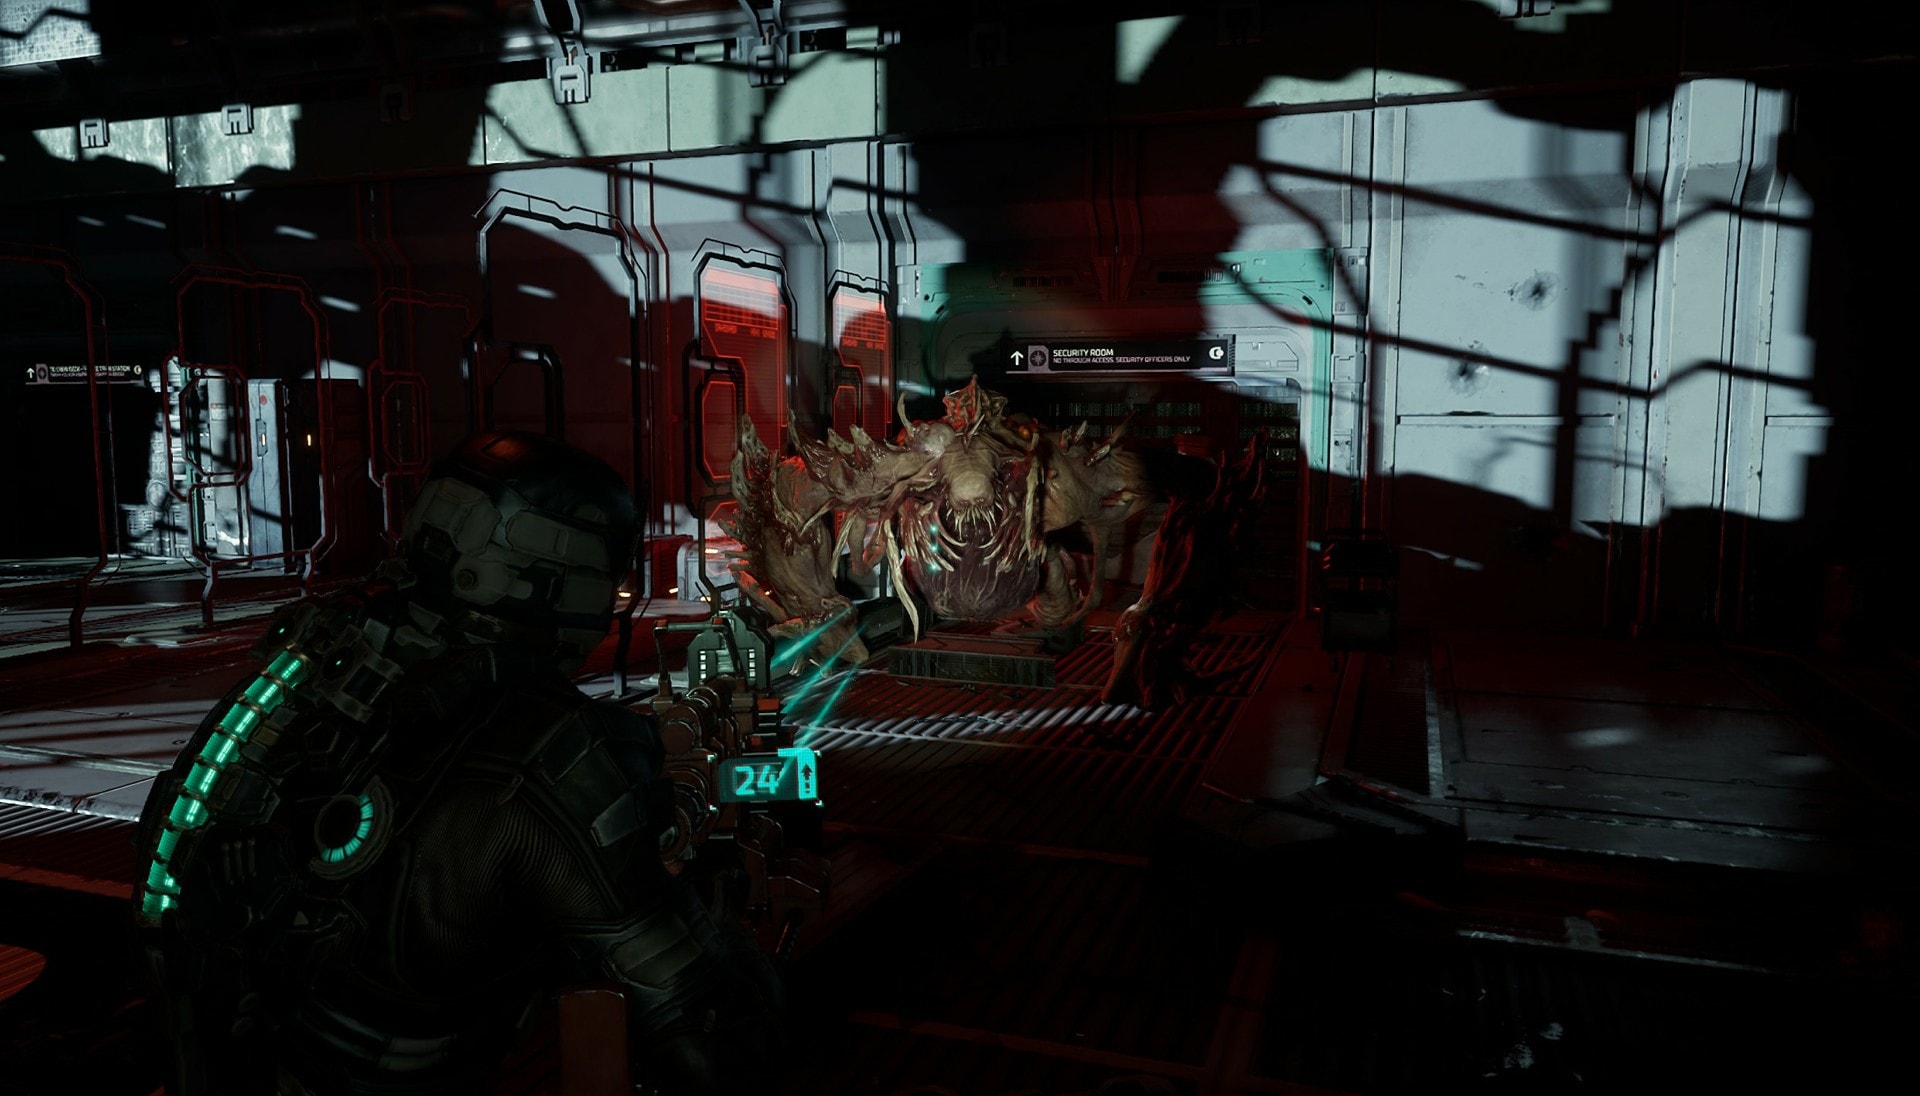
Head back up the elevator and walk to the Level 2 Clearance door in the Main Atrium. As you walk towards it, something from behind will dent it and break through. This is the Brute necromorph, these enemies function as mini bosses in chapters. They are very tough and will pack a nasty punch so don’t let them get near.
The best way to fight a Brute is to use Stasis on it and shoot the glowing pustules at its joints. As always it’s best to shoot off the legs first to limit mobility. Once you take off enough limbs you will defeat it and get a Power Node for your efforts.
With the Brute out of the way, head through the destroyed door and activate the elevator via the console inside. You can also find a Bench here if you need to perform any upgrades to your equipment.
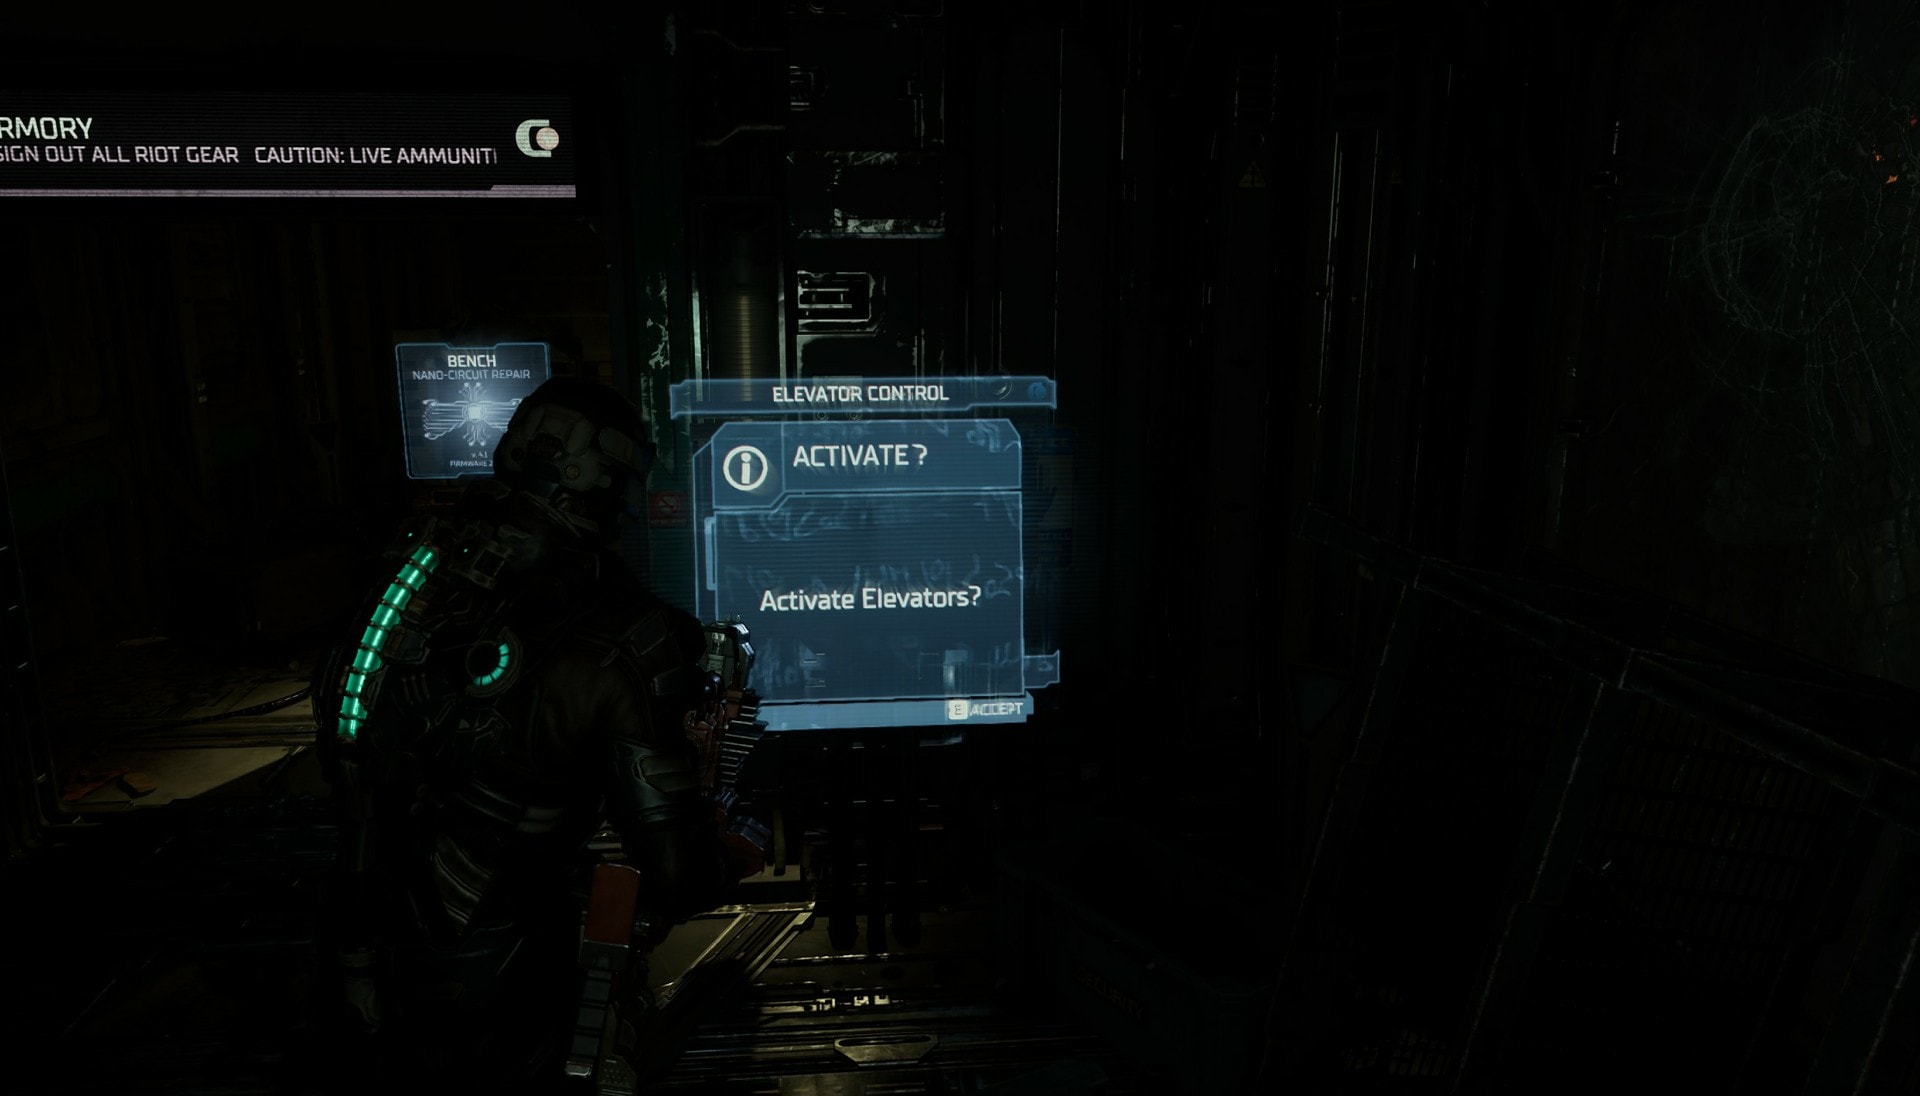
Follow your Locator to find the elevator you need to go to. You’ll be given 3 floors as options to choose from, choose the one with the green diamond as that’s the floor your objective is on. Your first destination is to make it to Mining Administration.
Rerouting Power to the ADS Cannons
You’ll encounter a hallway without oxygen but there’s no real threat in here outside of staying in there too long. Just keep walking forward to get into a room with air. You’ll find a Level 2 Clearance room you can open, the Records Office. Go inside to find a body with the Contact Beam. Use this weapon sparingly for now as you won’t be able to buy the ammo until later.
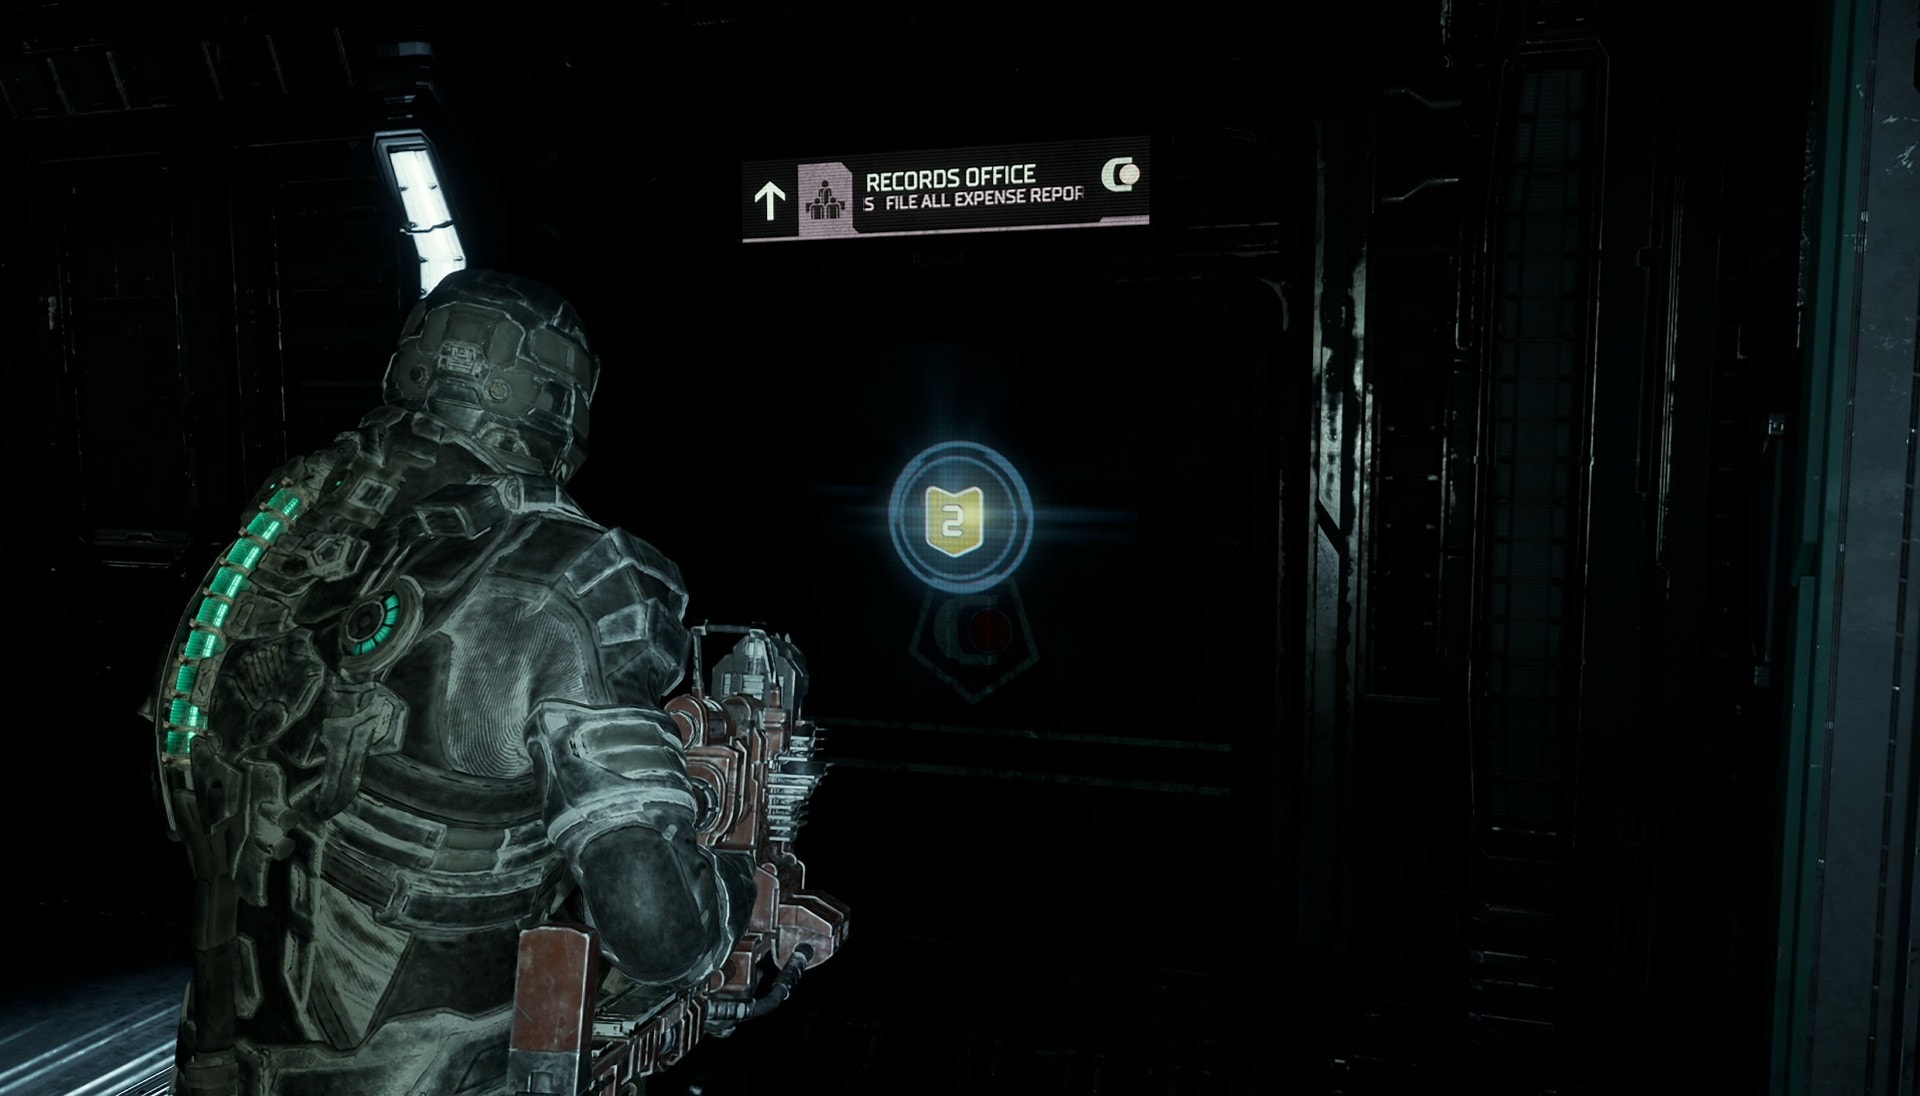
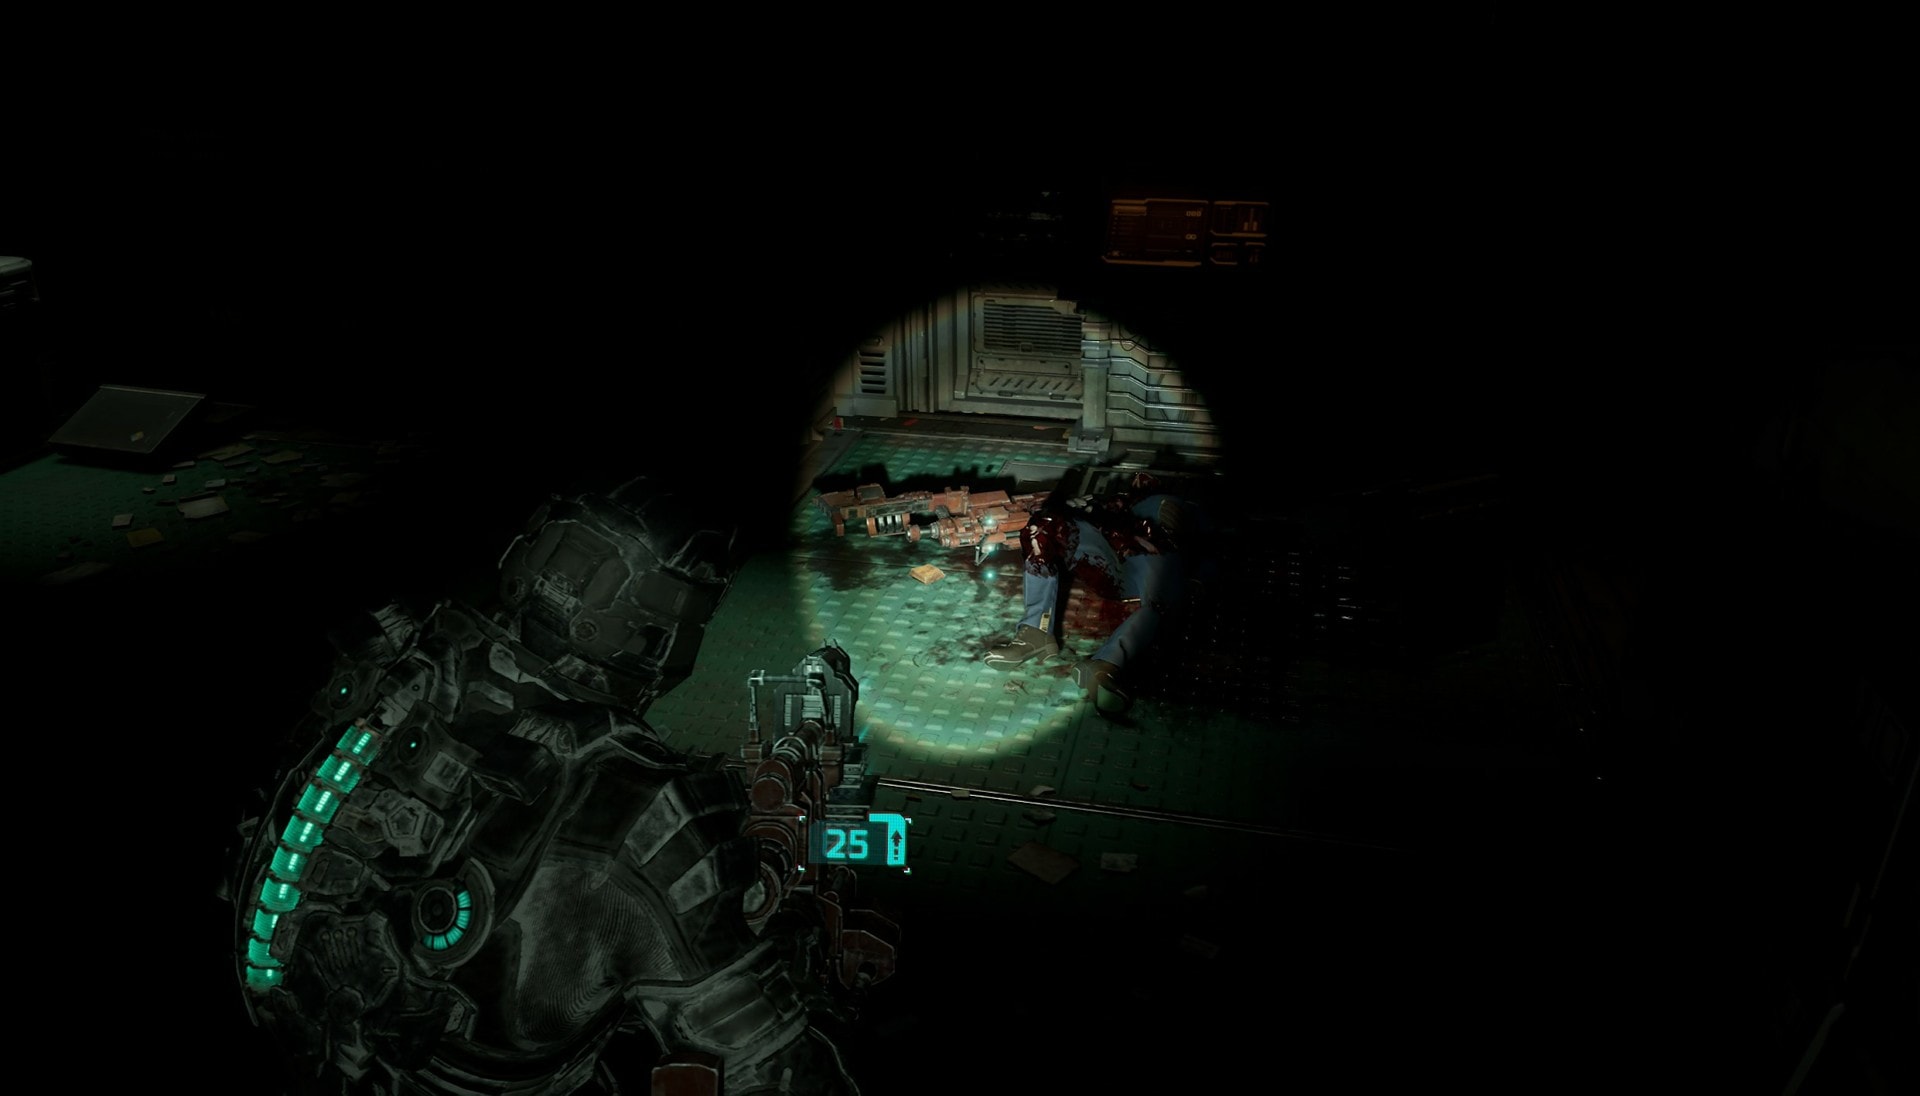
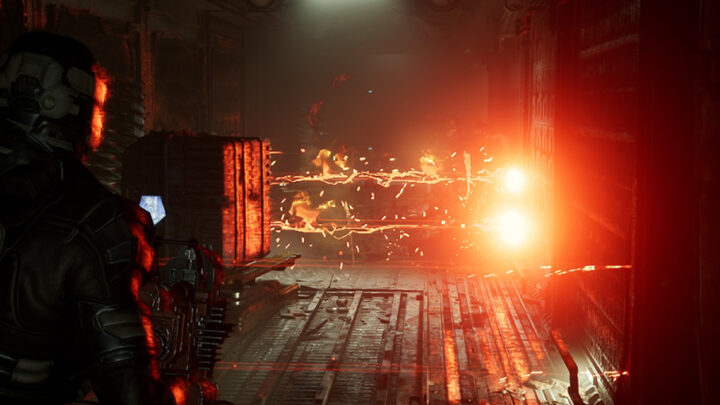
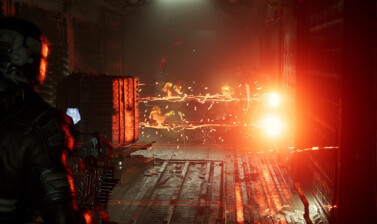
When you open the door to Mining Administration, you’ll encounter two Enhanced Slashers. These Slashers are stronger than their regular counterpart and will take more hits and deal more damage to you. Take them out and proceed into the room. Watch out for the floor panels shooting up electricity into the ceiling.
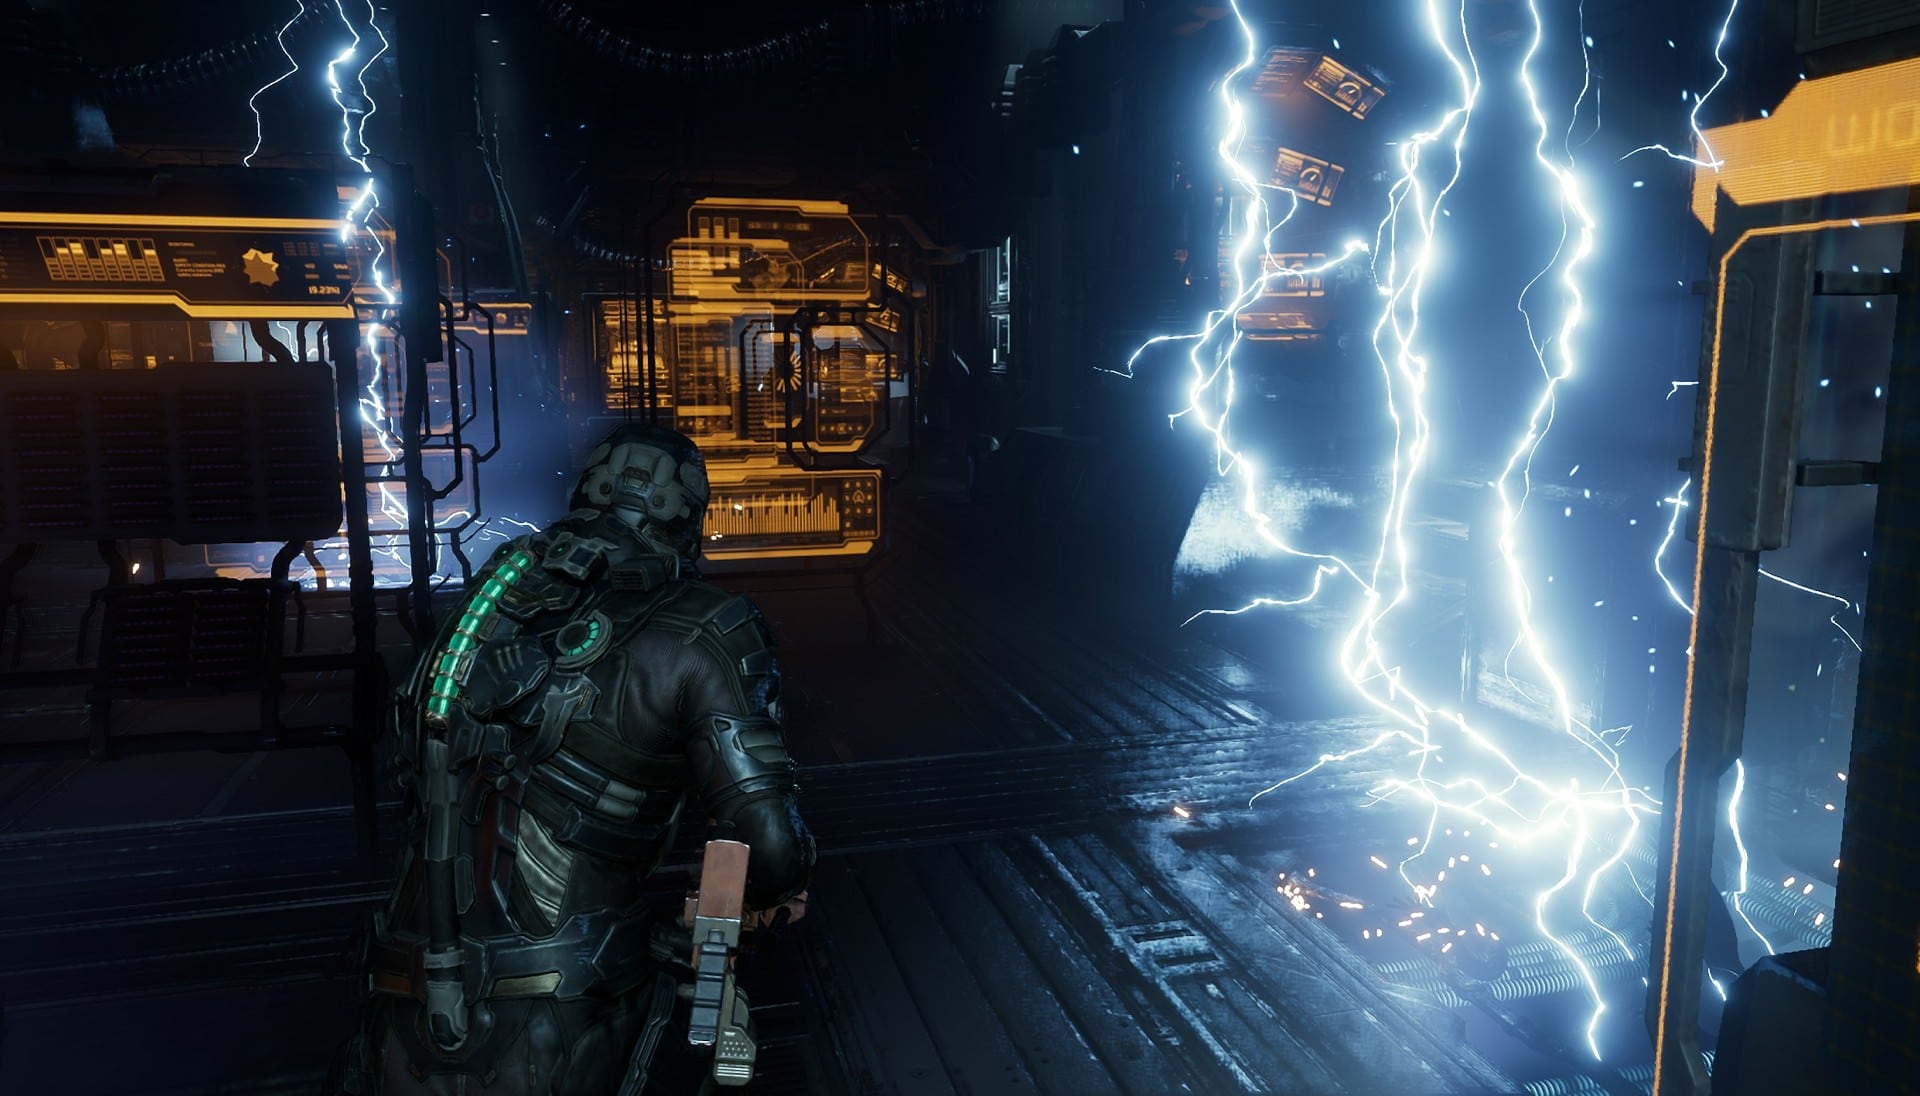
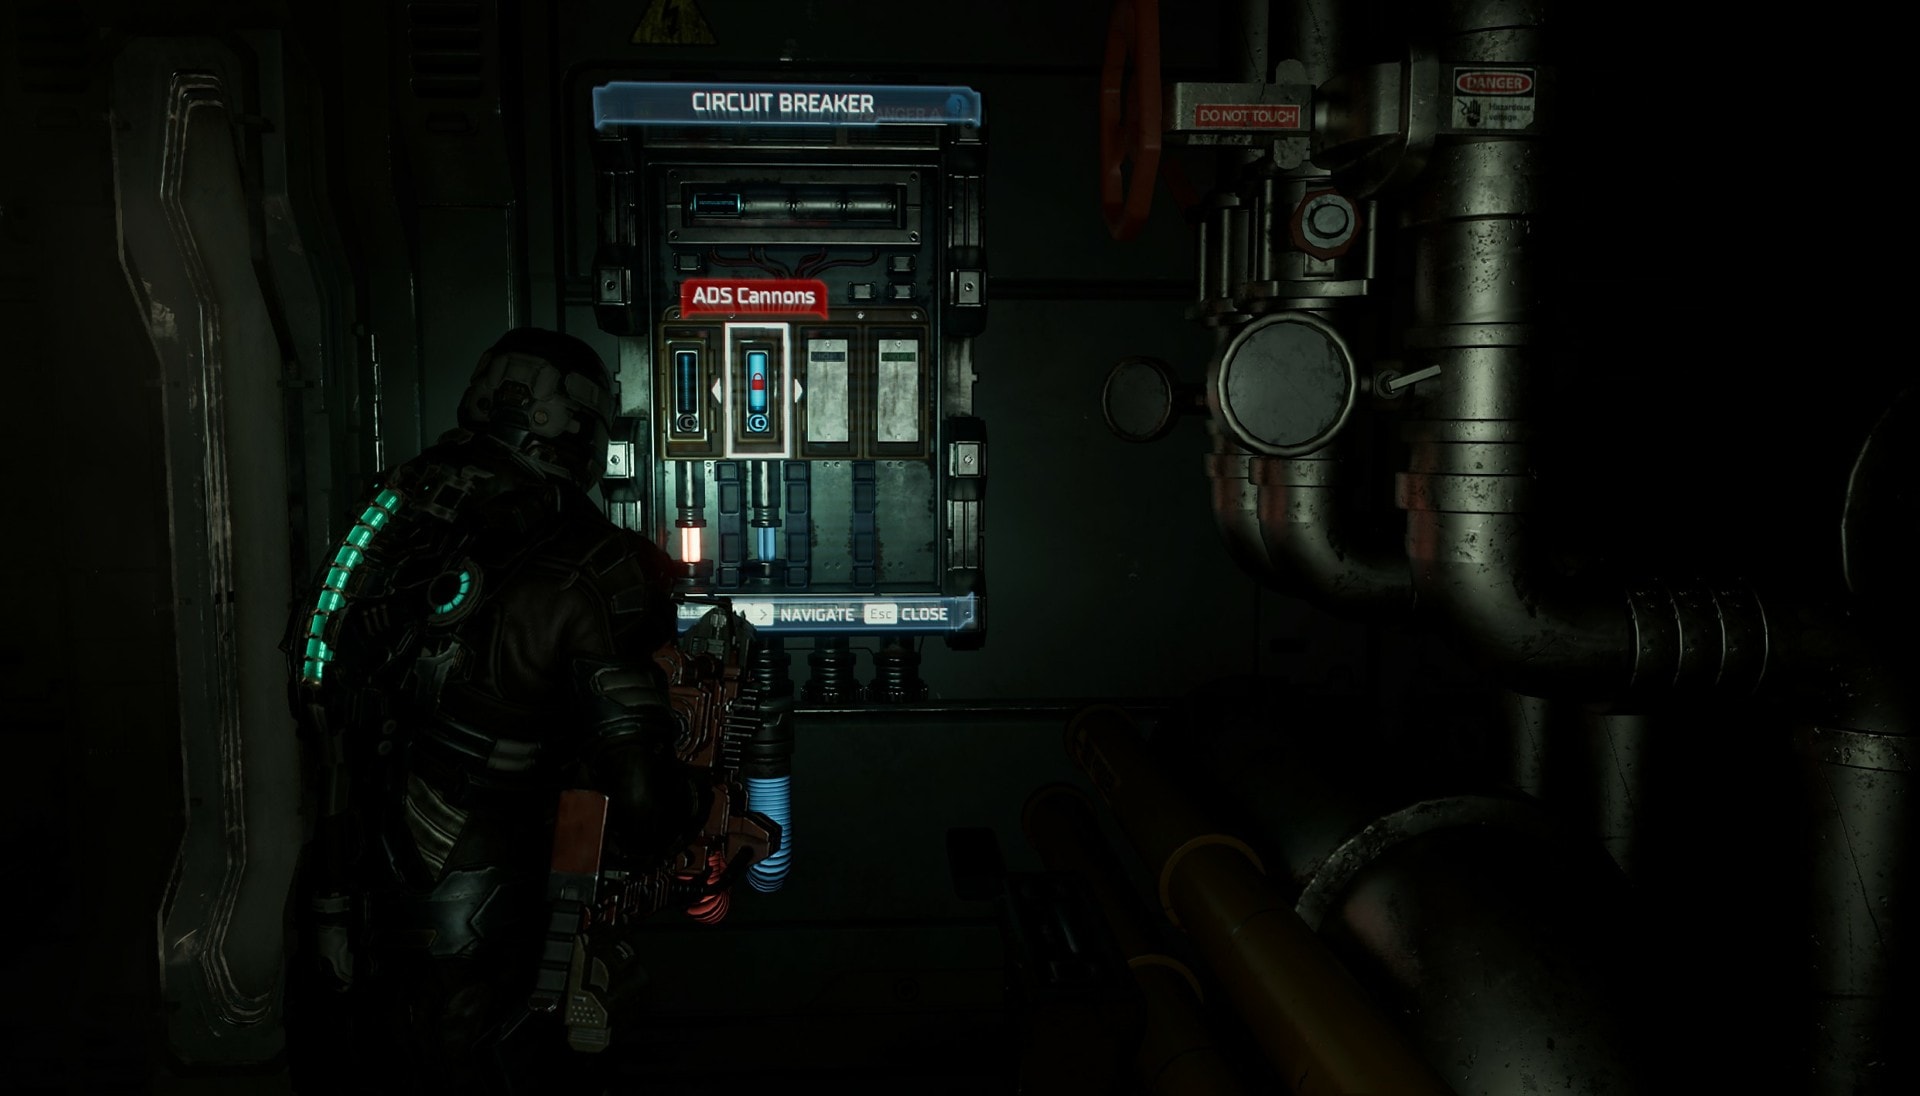
When you get towards the end, you’ll fight some Lurkers and access the circuit board. Reroute power from Mining Administration to the ADS Cannons. Once you do this, you’ll be unable to change power here again as it will be locked into the ADS Cannons.
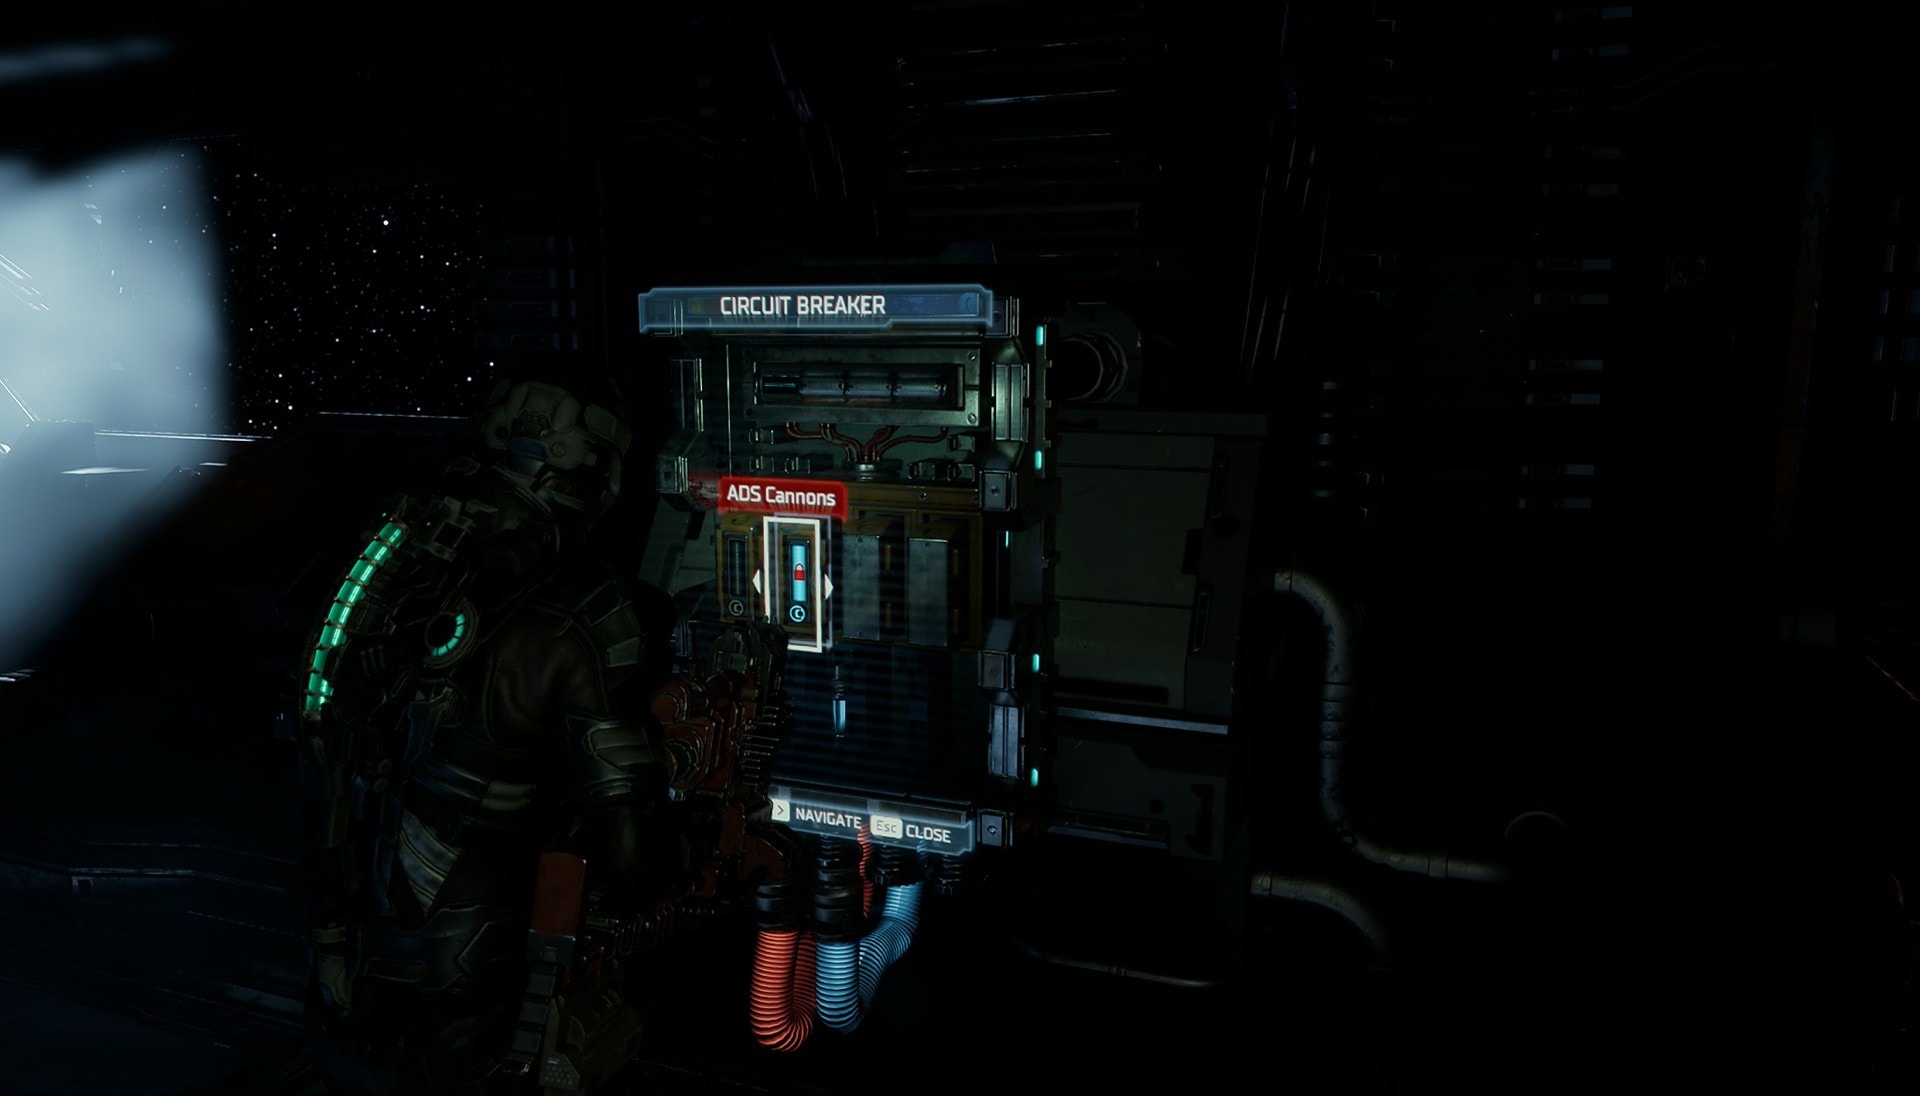
Once you do, Slashers will come into the room along with Infectors. Defeat the Infectors first before they make more Slashers then defeat the remaining necromorphs. Go back to the elevator and head to Floor 3.
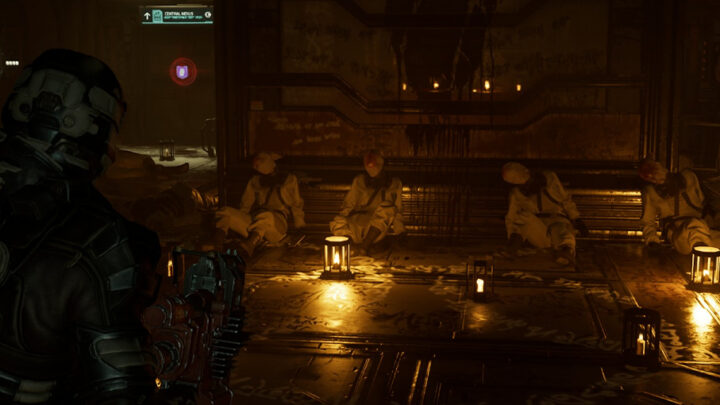
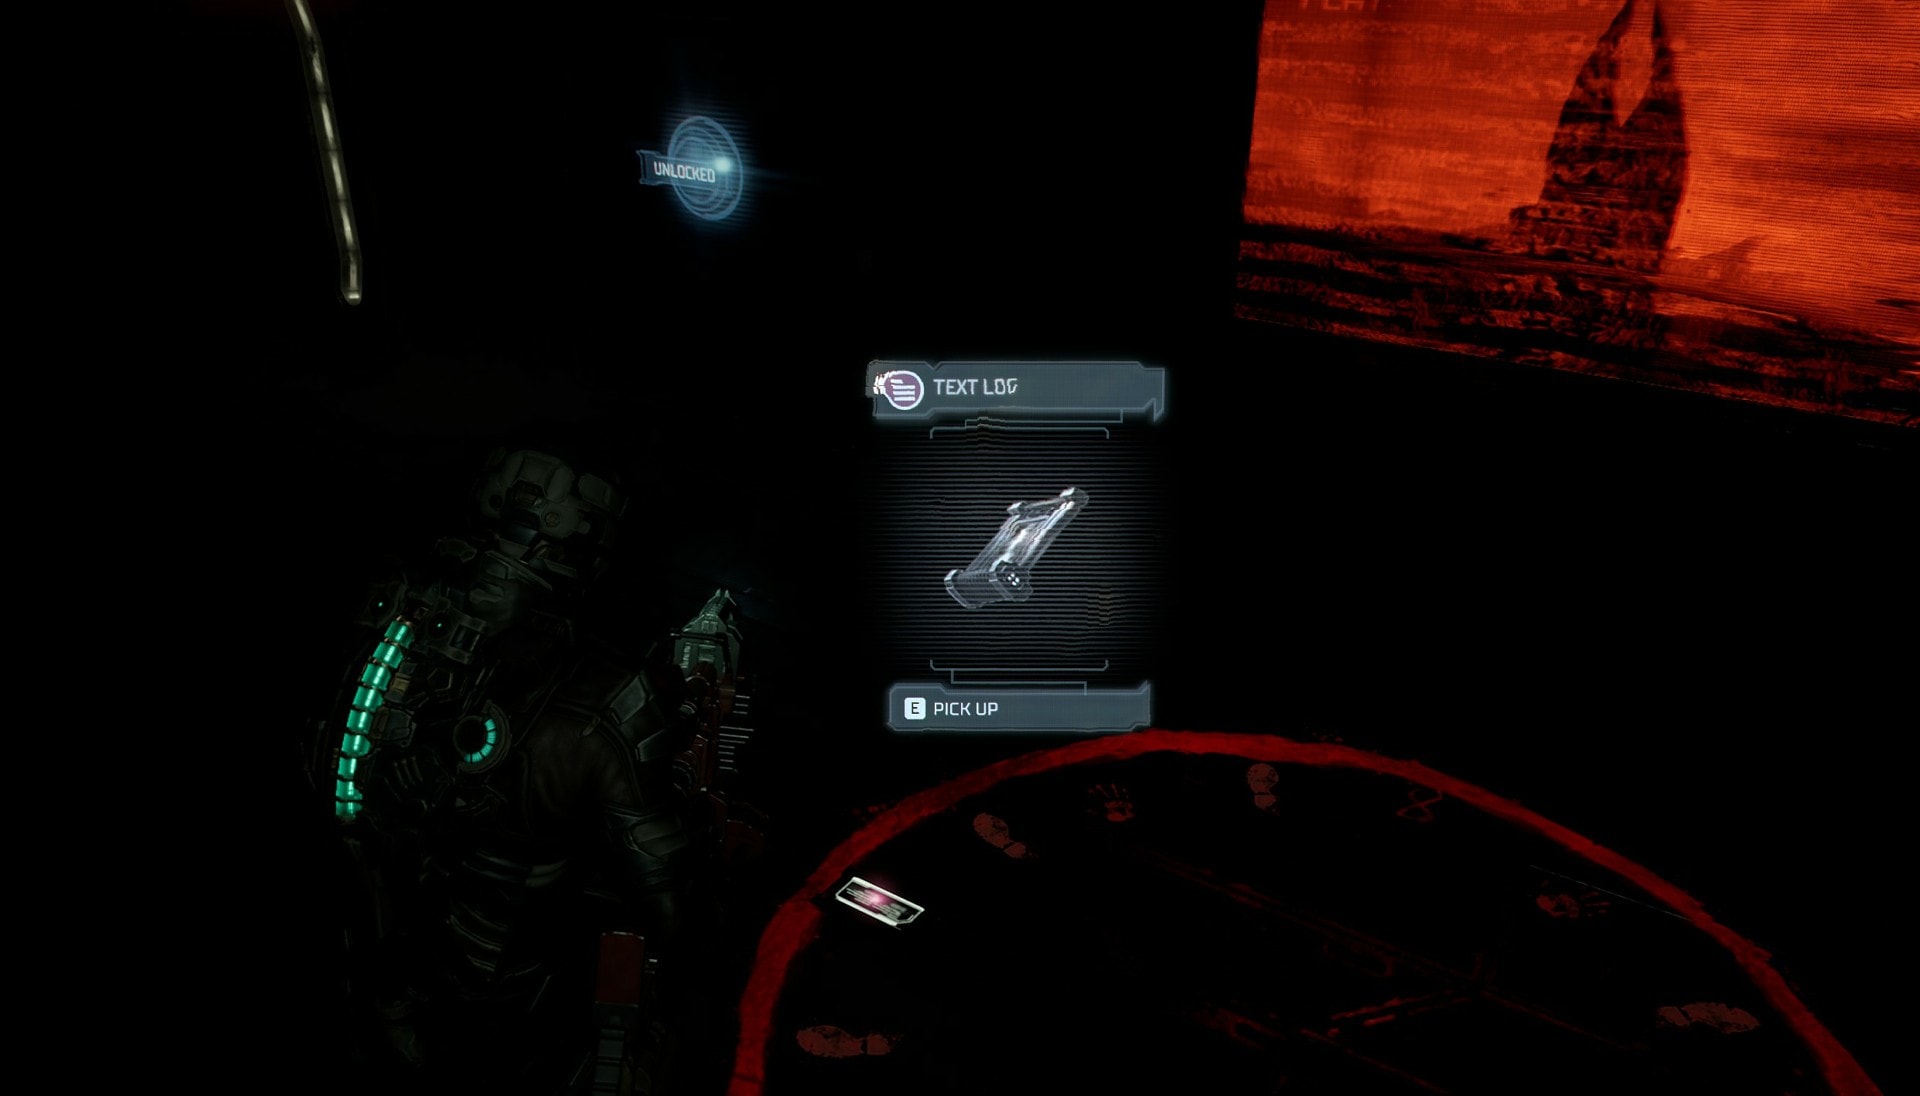
On the way to your next objective, you’ll find the Break Room. I suggest you go inside and take a look around. You’ll find a video about the history of the Marker along with a red circle containing foot and hand markings.
Starting from the Marker symbol going clockwise, follow this pattern with punching and stomping while inside the circle. You might be surprised.
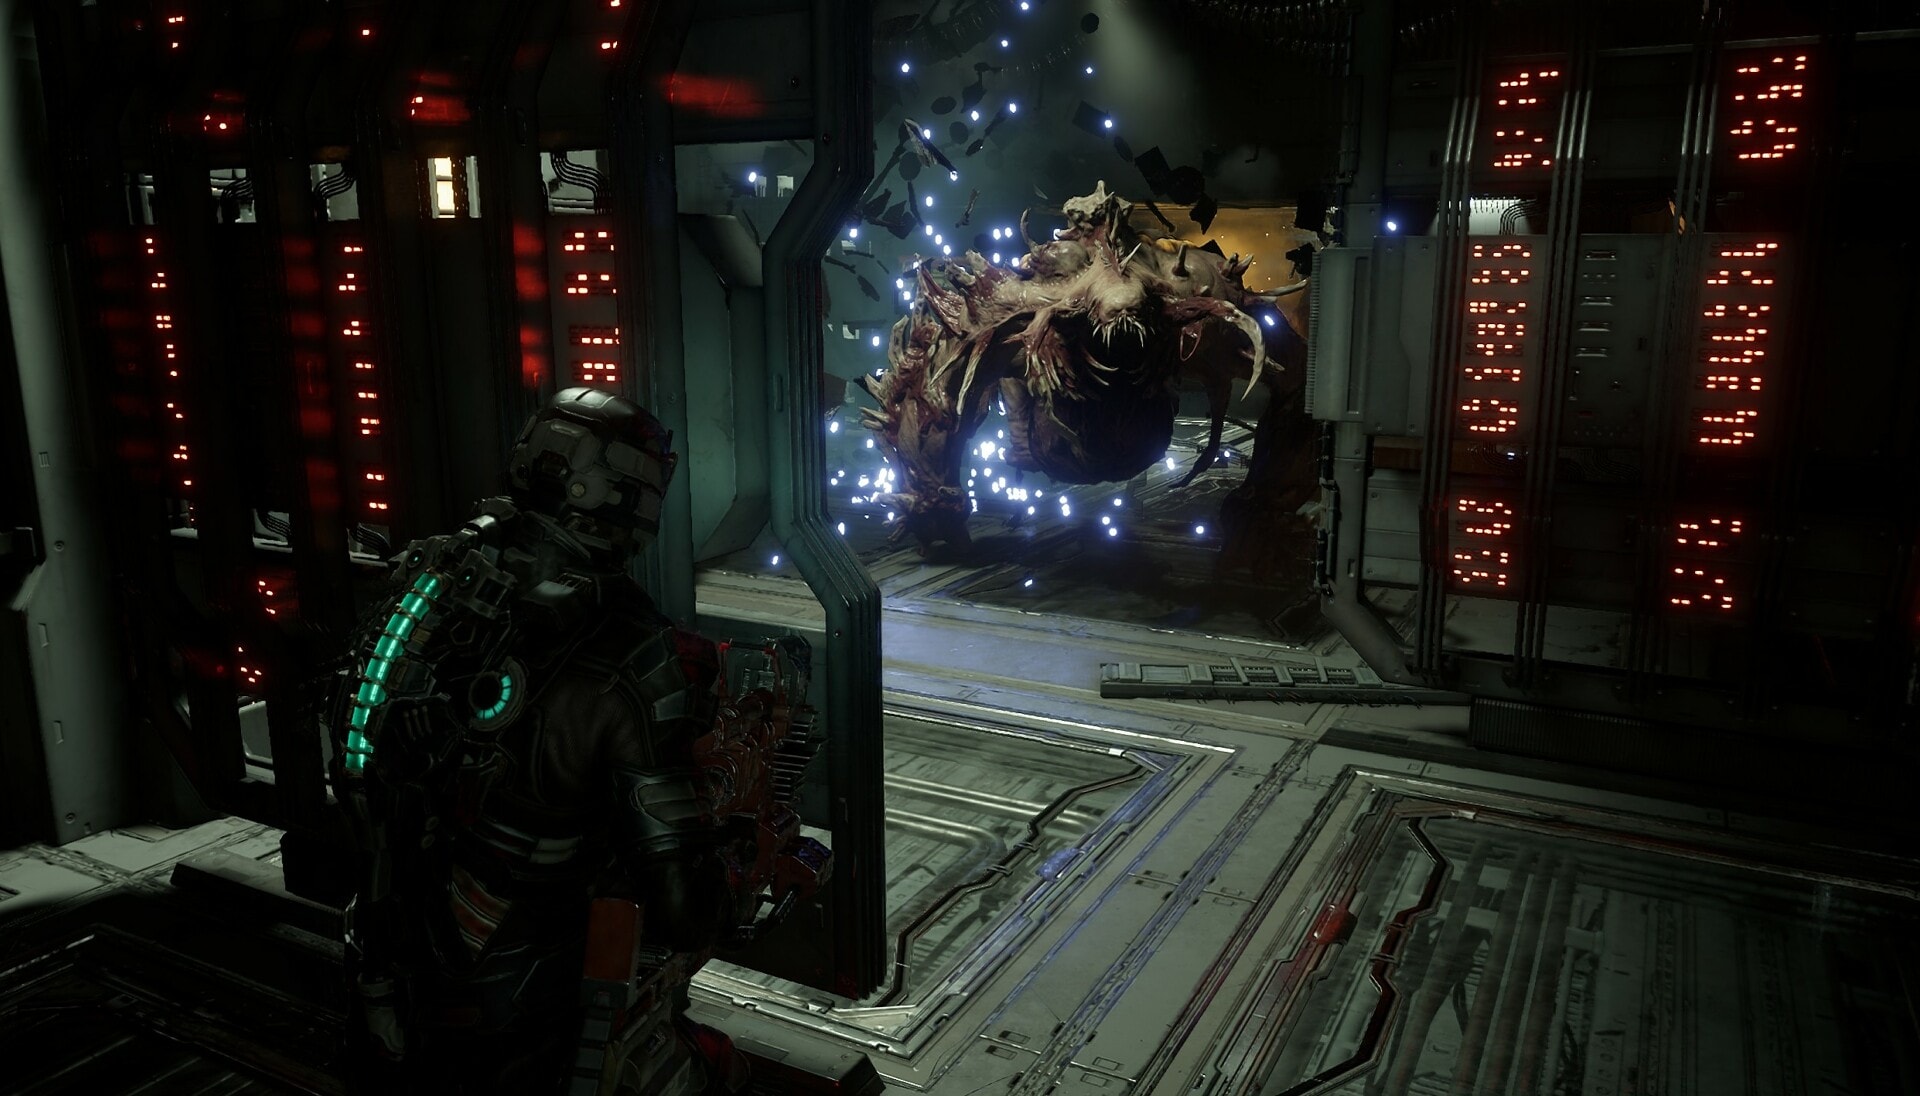
Follow your locator to find a room filled with panels that block the way. There will be malfunctioning floor panels shooting electricity every so often so one wrong step can do some serious damage to you. Make your way through this room and you’ll be greeted by another Brute! This fight can be more challenging than the last as you’ll have a lot less room to move around.
If you need more Stasis, there’s a Stasis Recharge Station on the wall nearby. Defeat the Brute and pick up the Power Node it drops.
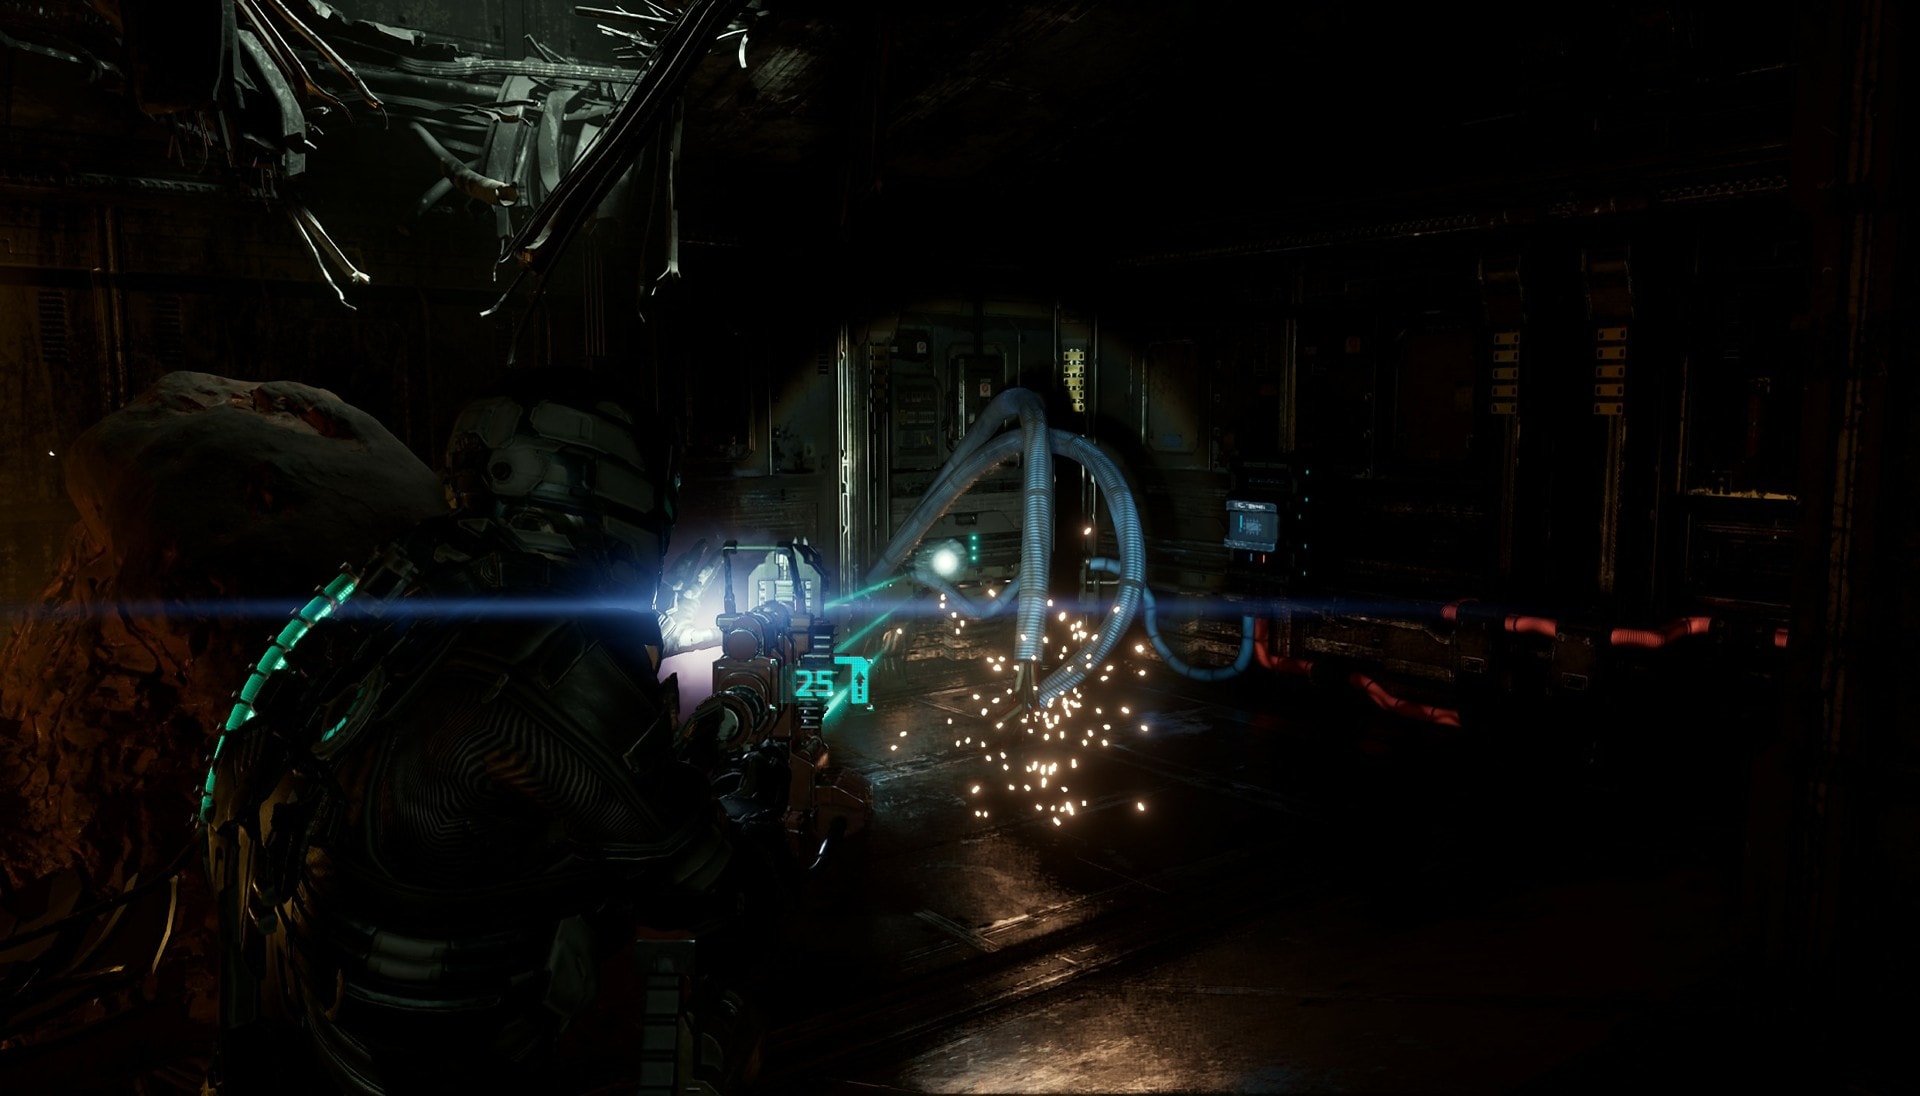
At the end of the room you’ll see severed power cables wiggling about wildly. Getting near this will damage you so you need to use Stasis on them to slow them down. While they are under the effects of your Stasis, head to the circuit breaker and reroute power from the Electrical Systems to the ADS Cannons.
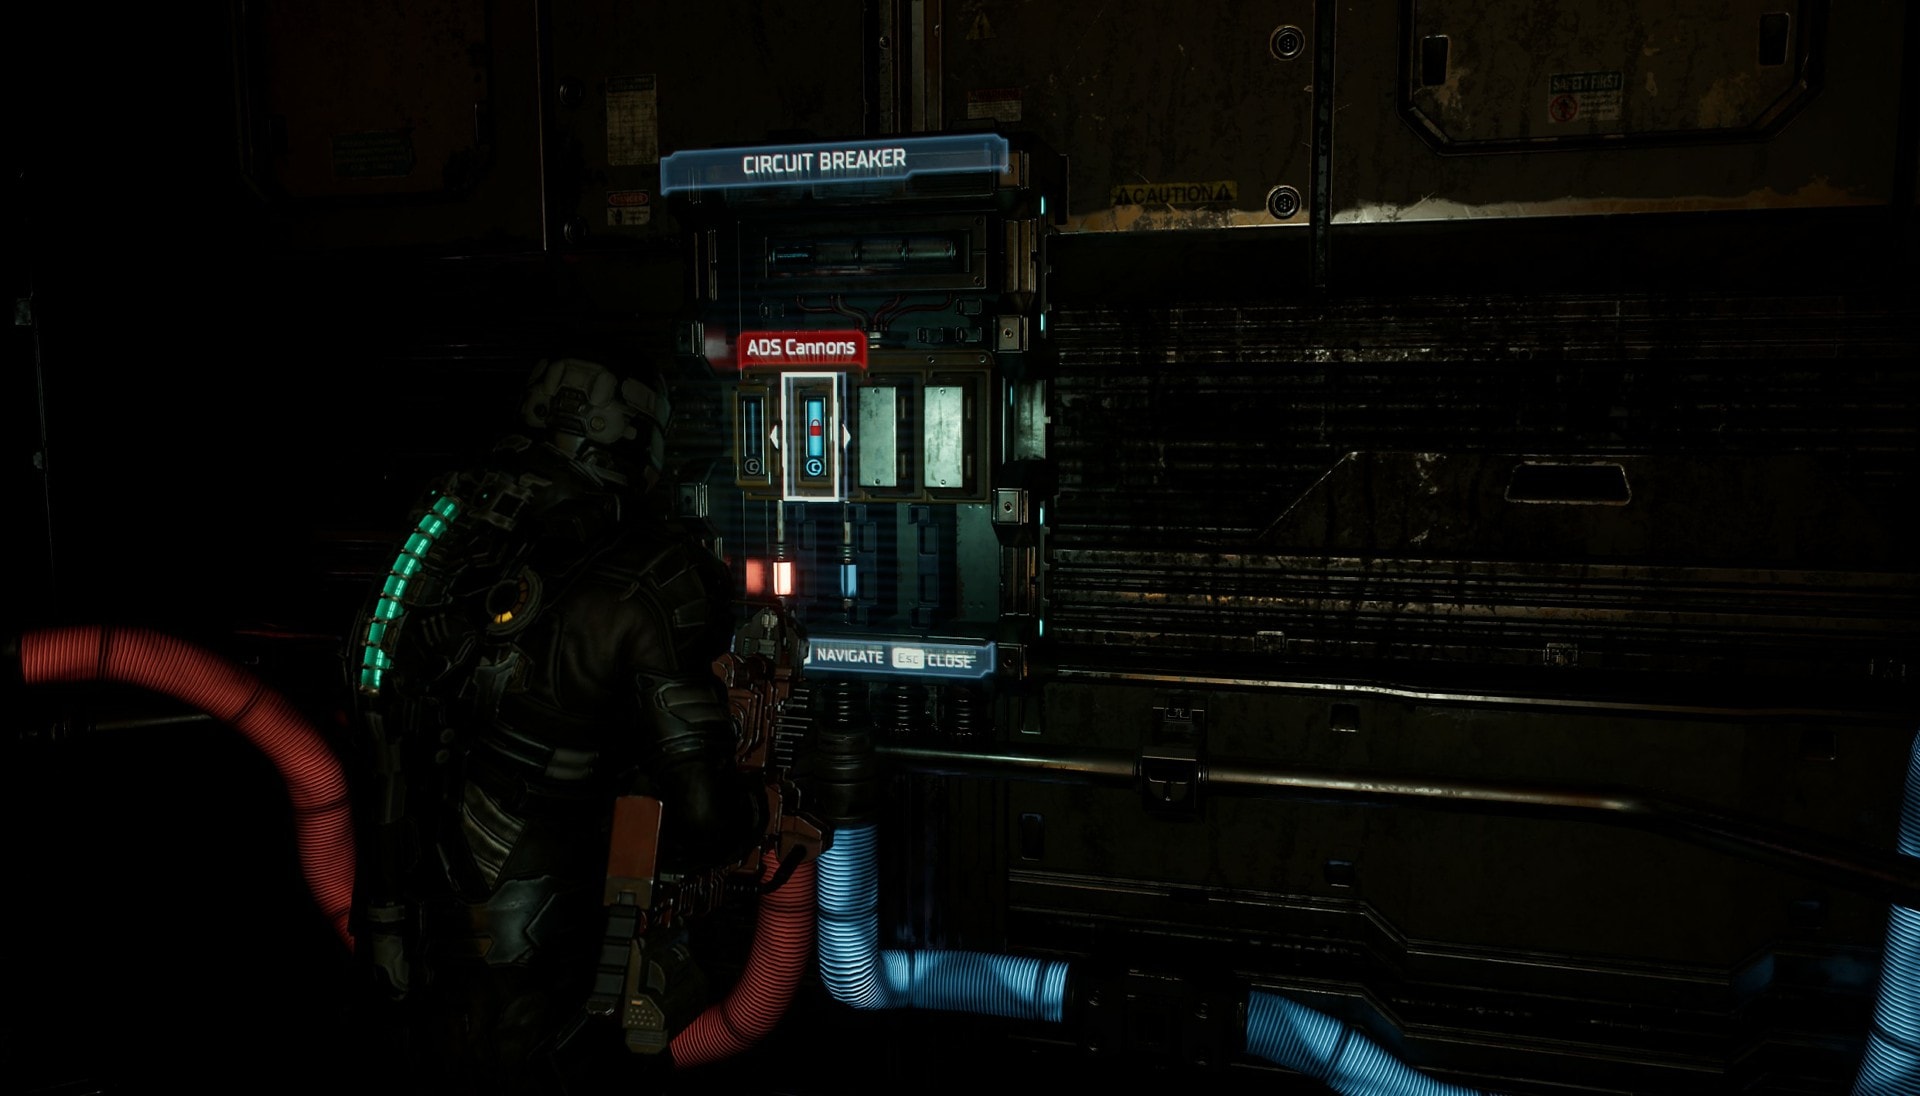
Go back to the Main Atrium and go down the other elevator. On your way to the final circuit breaker, you’ll encounter a Slasher and a Pregnant necromorph. Defeat them and reroute power from Water Purification to the ADS Cannons.
Calibrating the ADS Cannons
Despite the ADS Cannons being powered, they are unable to function as they have lost their calibration data. Isaac will volunteer to manually recalibrate the ADS Cannons by going outside while being exposed to incoming asteroids. Hammond opens access to the exterior of the ship and this will be your next destination.
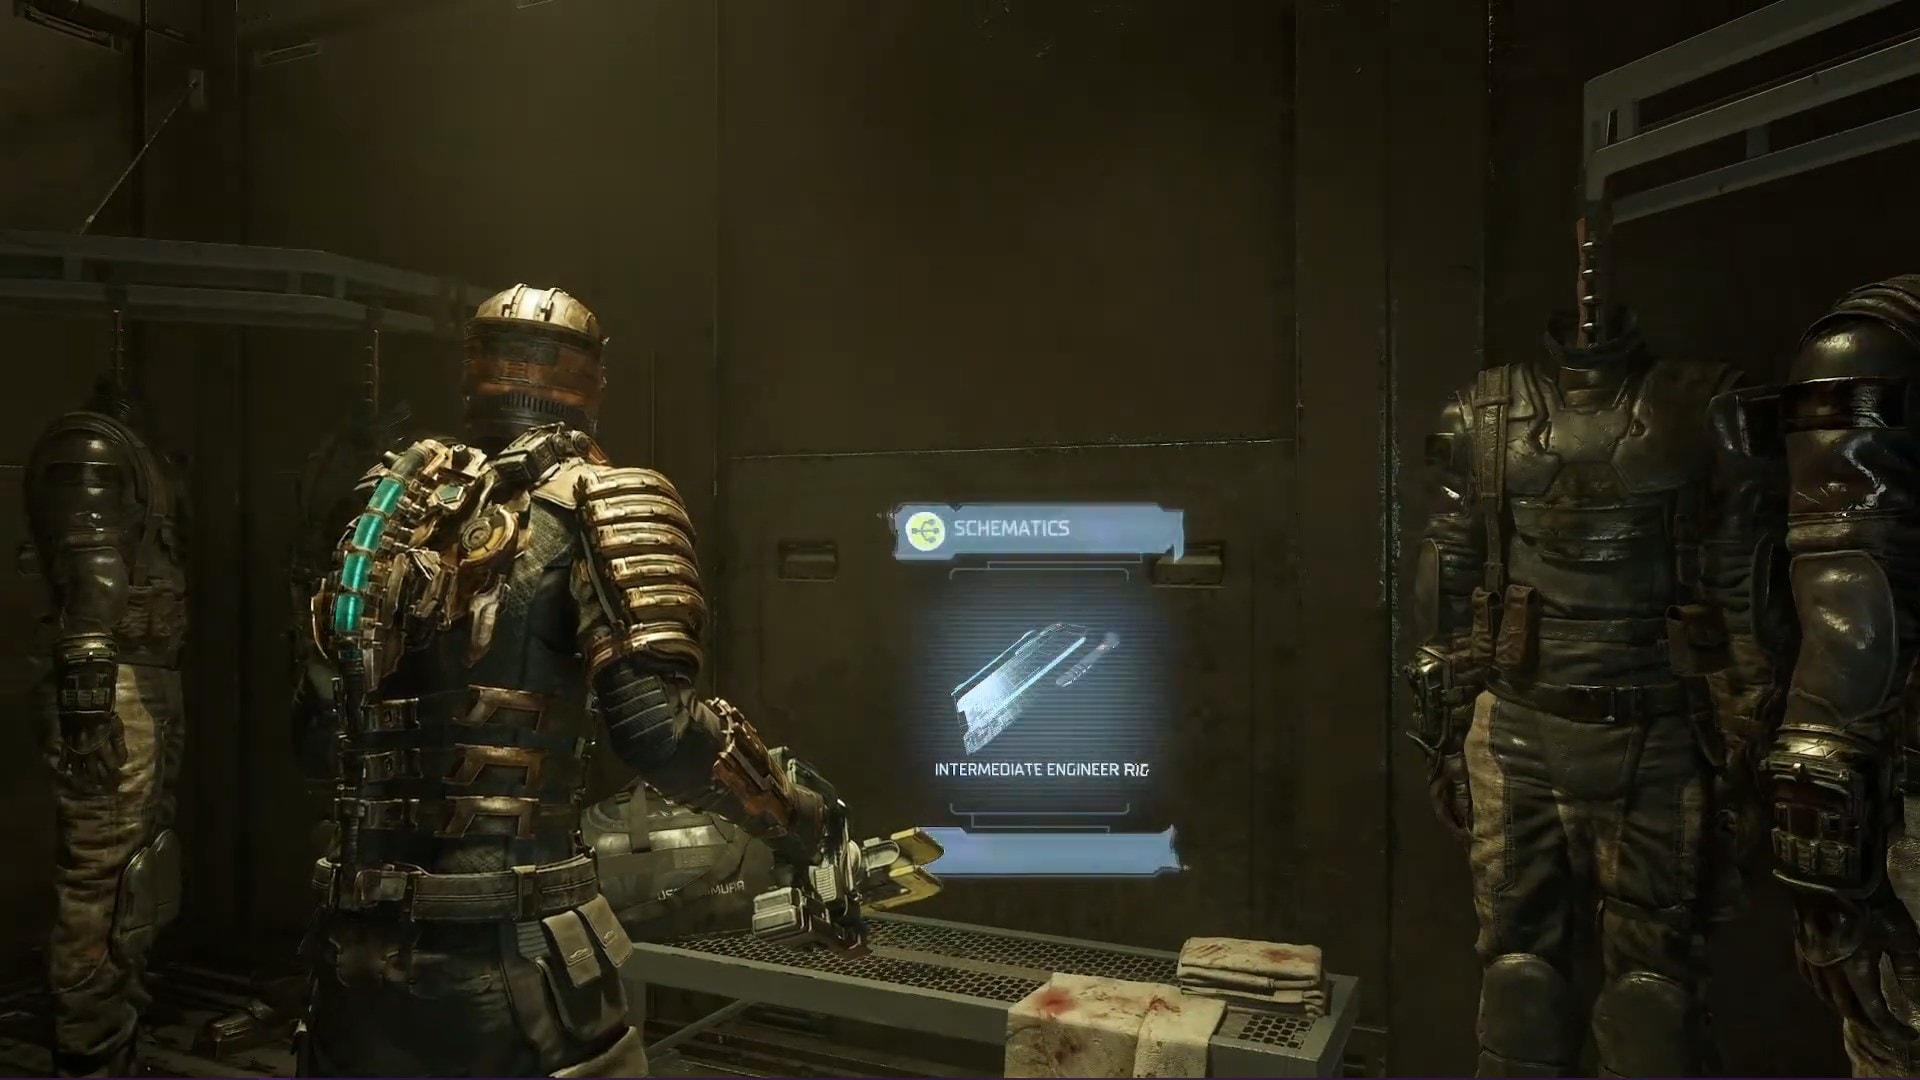
On your way to the exterior, you’ll find the EVA Prep Room. Go inside and you’ll find the Intermediate Engineer RIG schematic. Pick this up so you can use it at the Store later. When you reach the airlock, go outside and you’ll find the ADS Cannons and the asteroids.
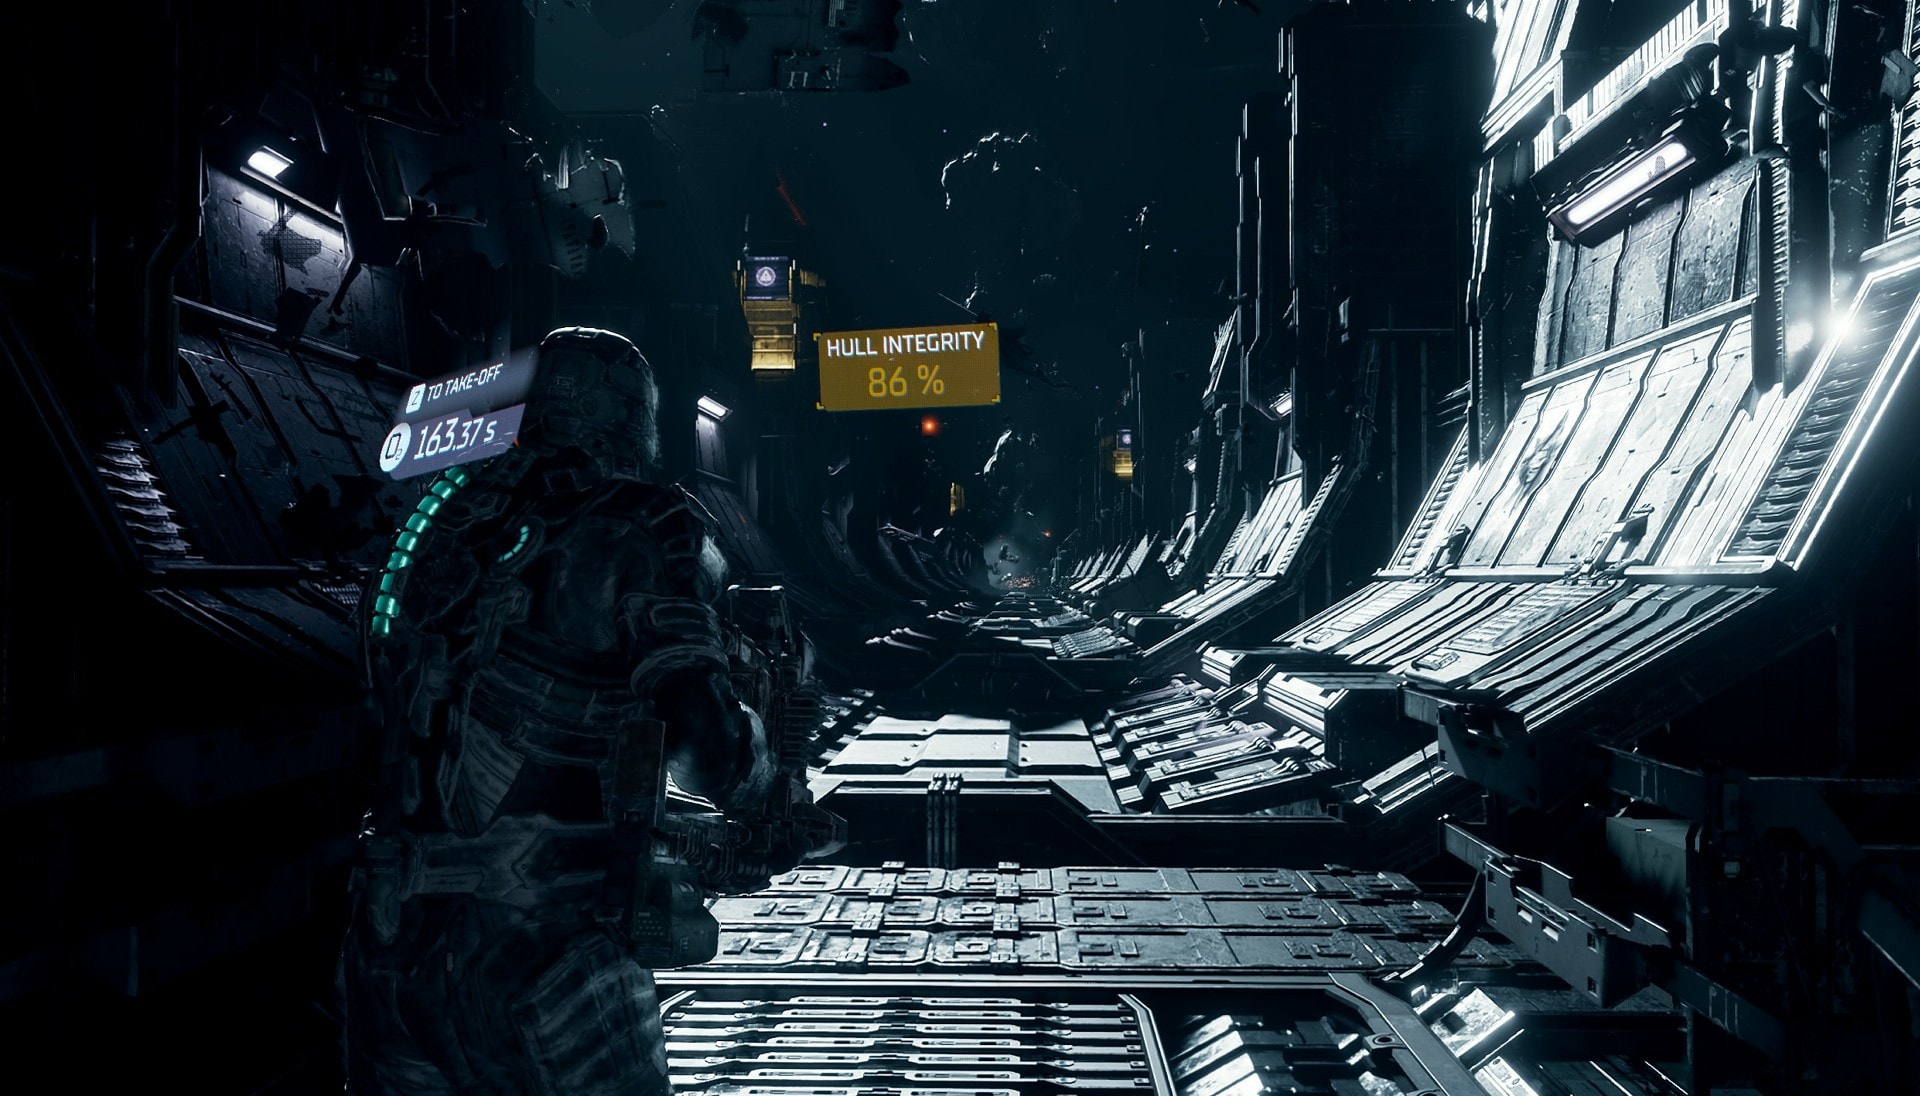
I’ll be providing brief instructions on how to complete this segment but if you would like an in-depth description, check out our How to Calibrate the ADS Cannons in Dead Space Remake guide.
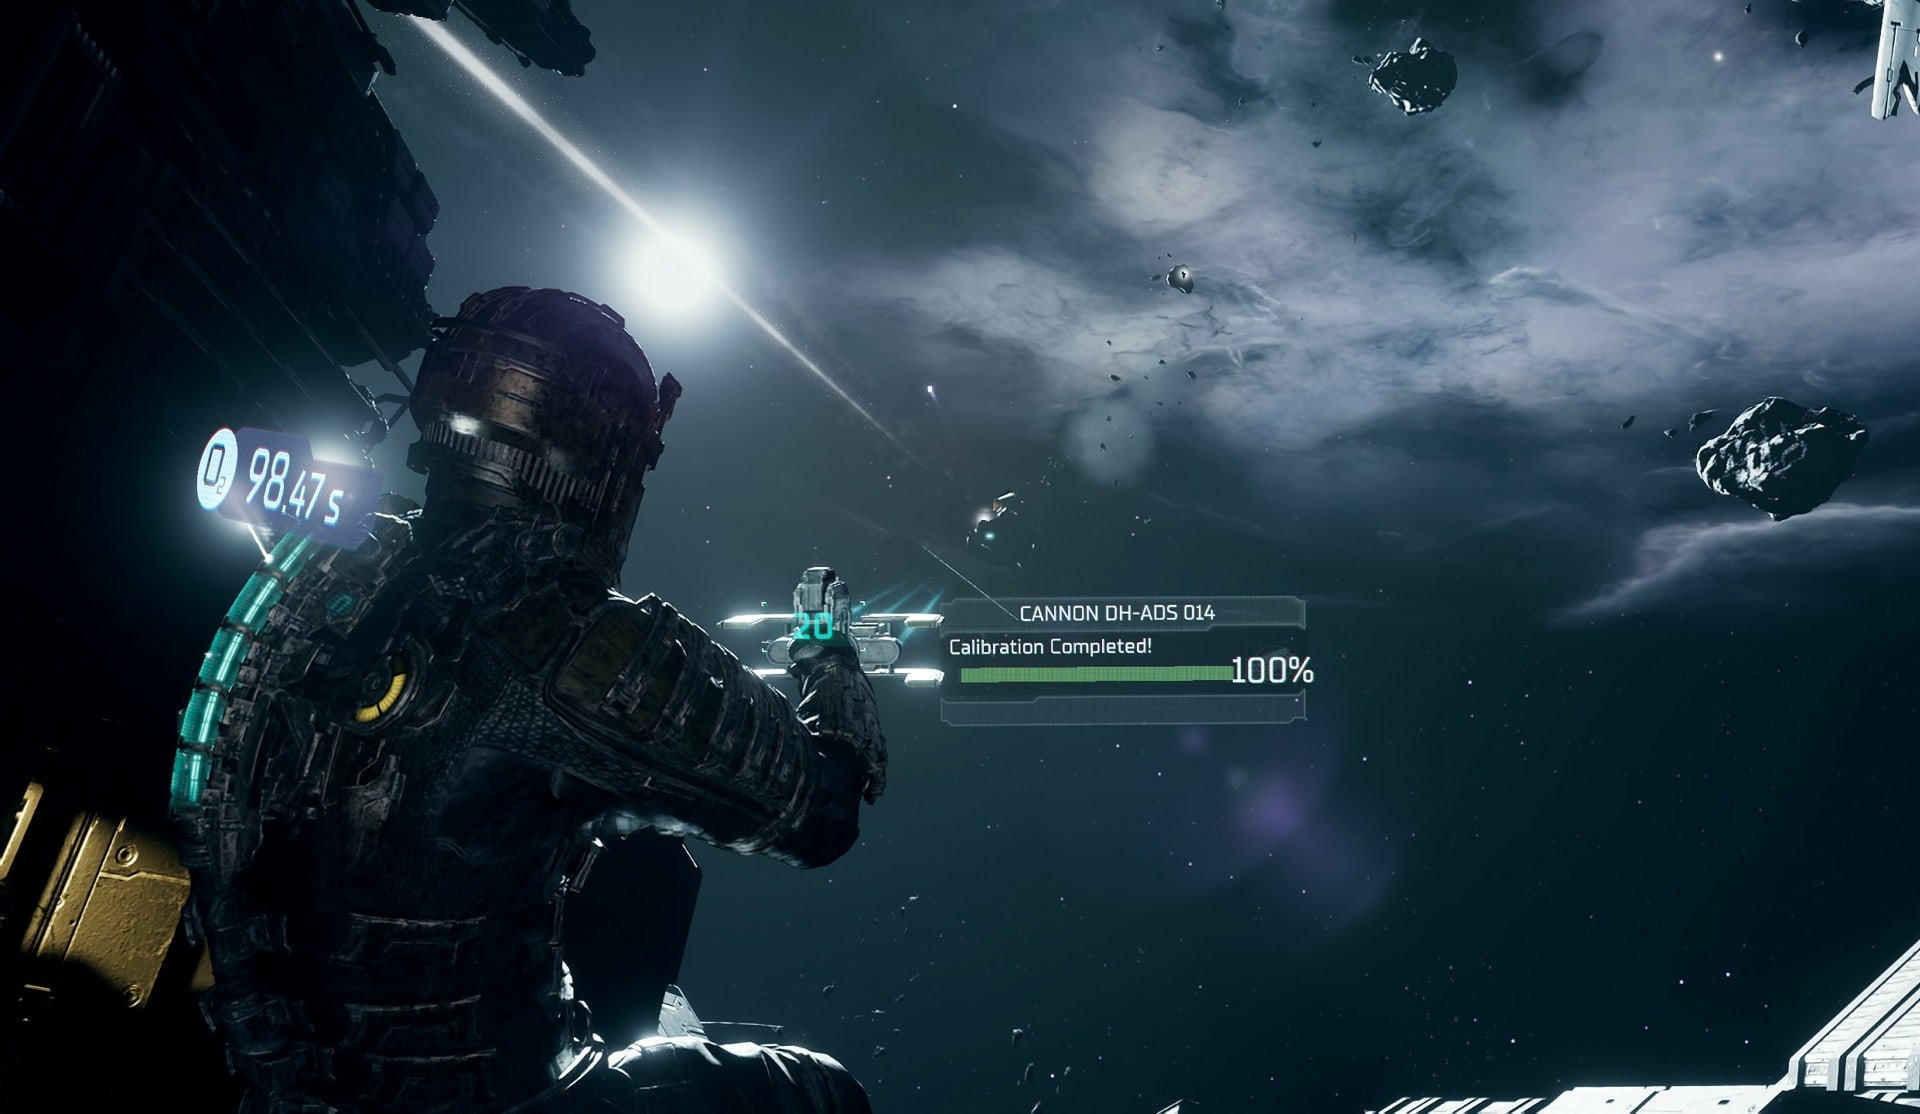
Look for the yellow lights throughout this area to easily find the ADS Cannon controls. Interact with them to activate them and manually calibrate the cannons.
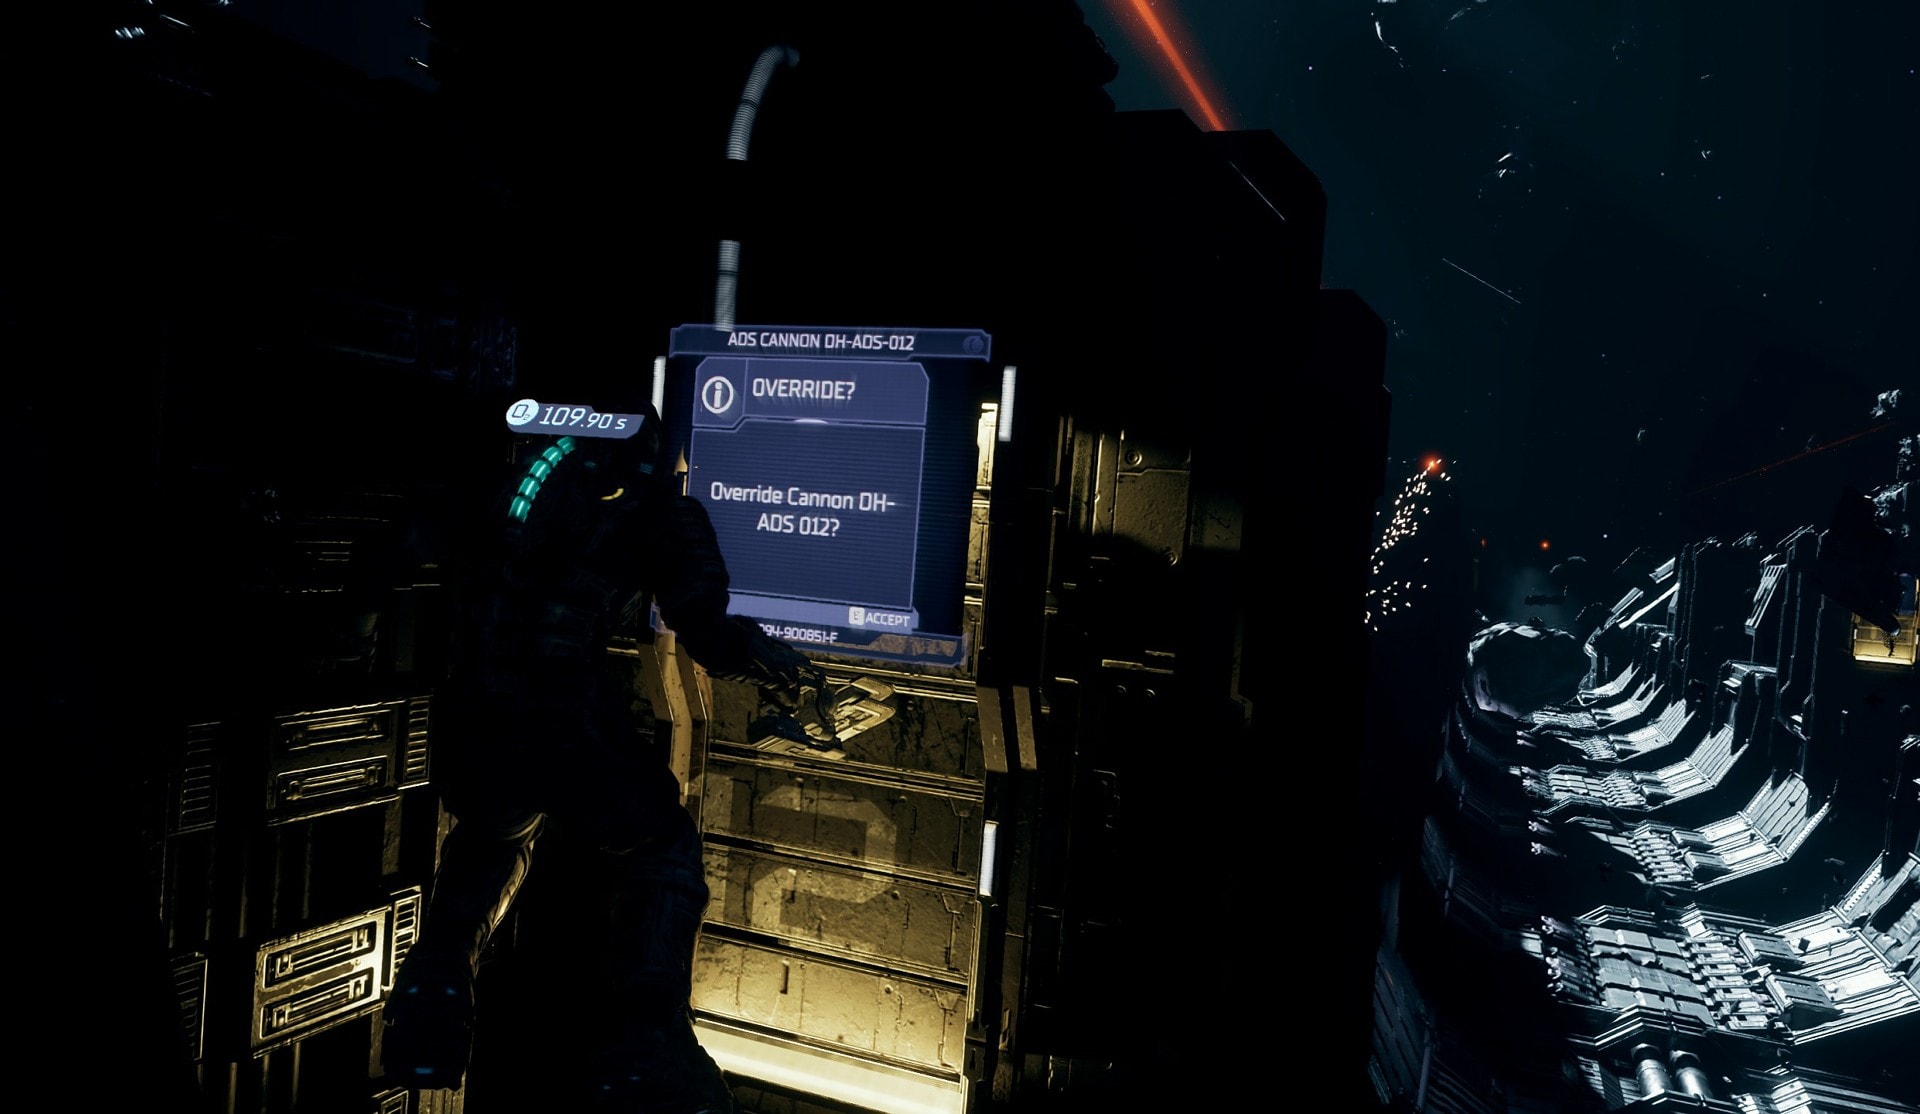
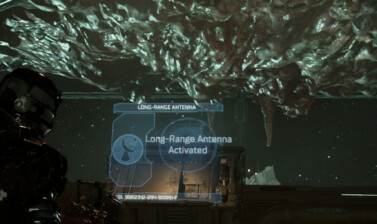
To calibrate the cannons, enter aim more and use the Activate button while the cannon aims at an asteroid. Do this 5 times to calibrate the cannon so it will begin to fire automatically. Repeat this process for the remaining 2 cannons. You can find Oxygen Refill Stations on the opposite sides of the ADS Cannon Controls.
Head back inside and you’ll receive a transmission from Nicole. This is not a direct line but a broadcasted one that numerous people could access. In the message she’s telling any remaining survivors to head to the Medical Deck as it’s a sanctuary. Since Isaac is looking for Nicole, he’ll want to go to the Medical Deck to find her.
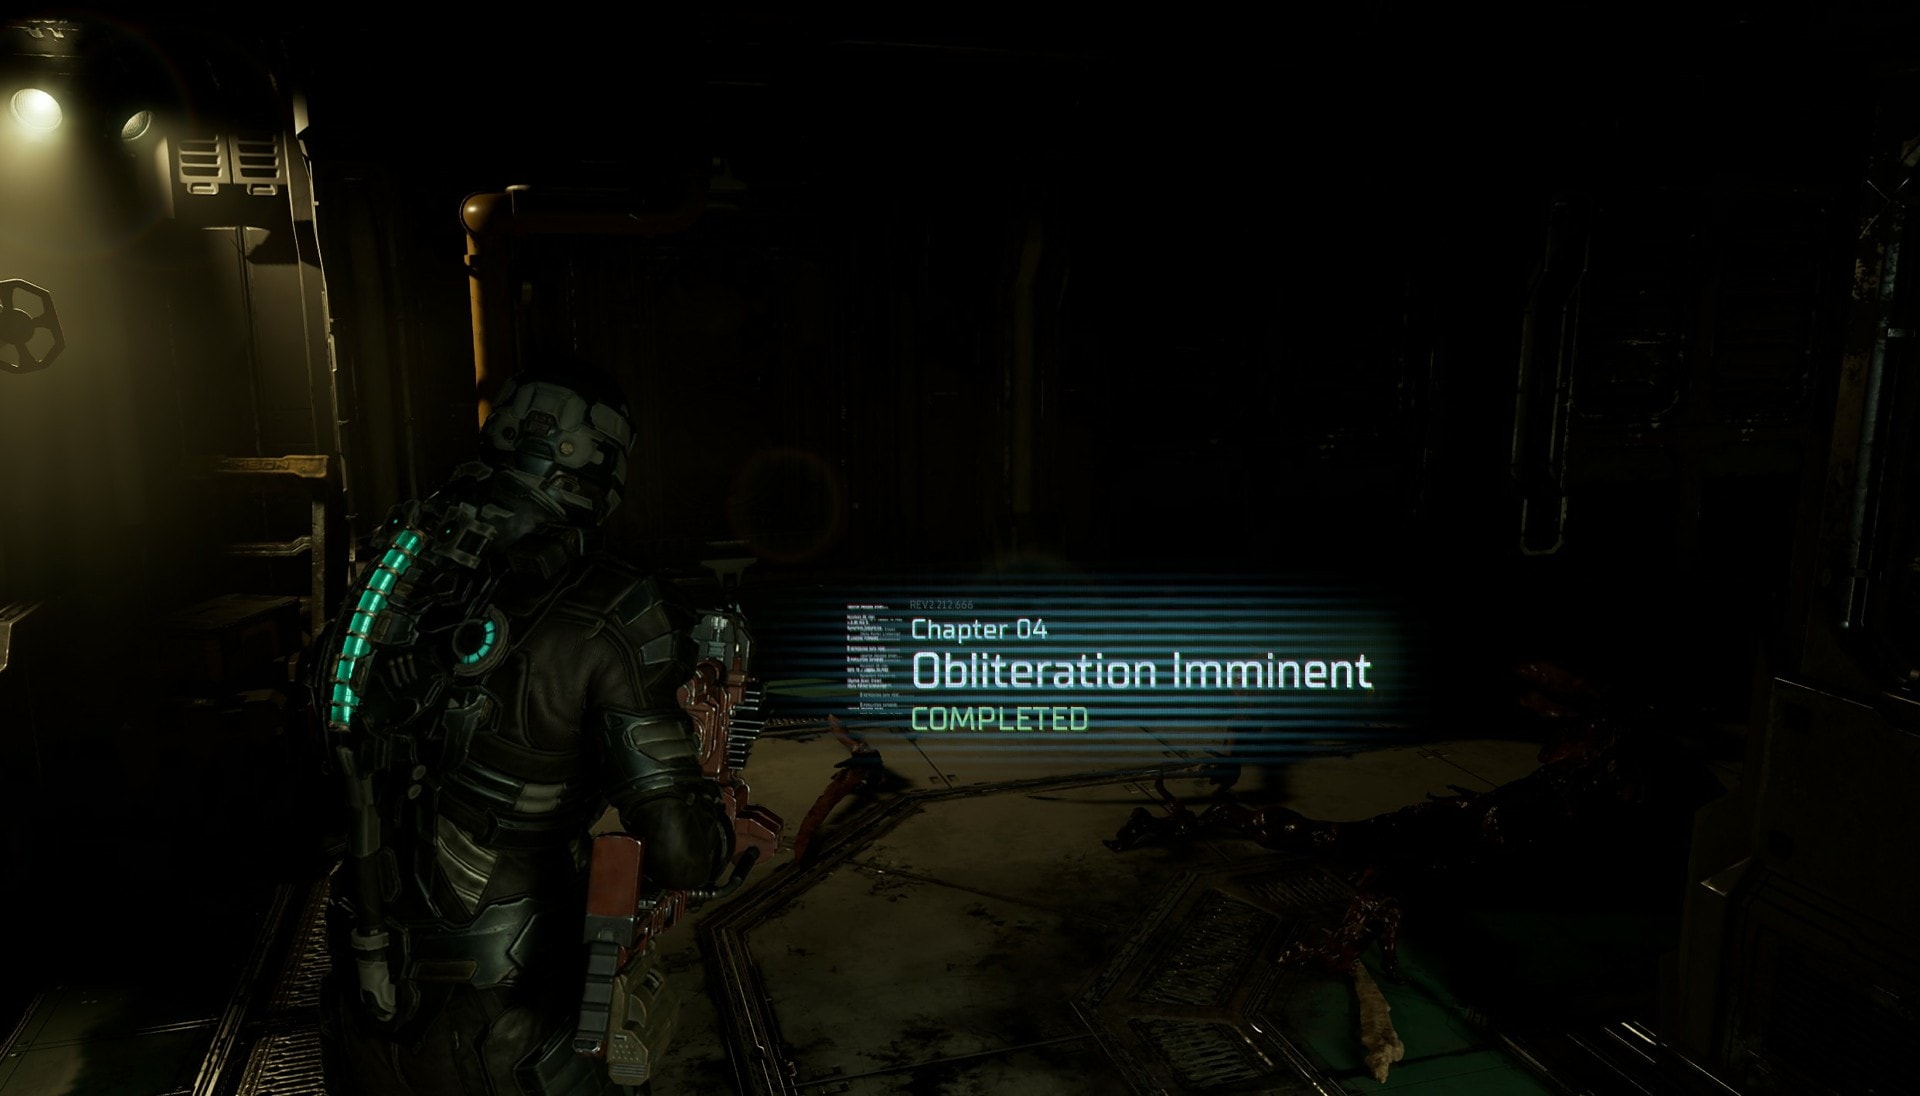
This concludes Chapter 4: Obliteration Imminent.
Side Mission: You Are Not Authorized
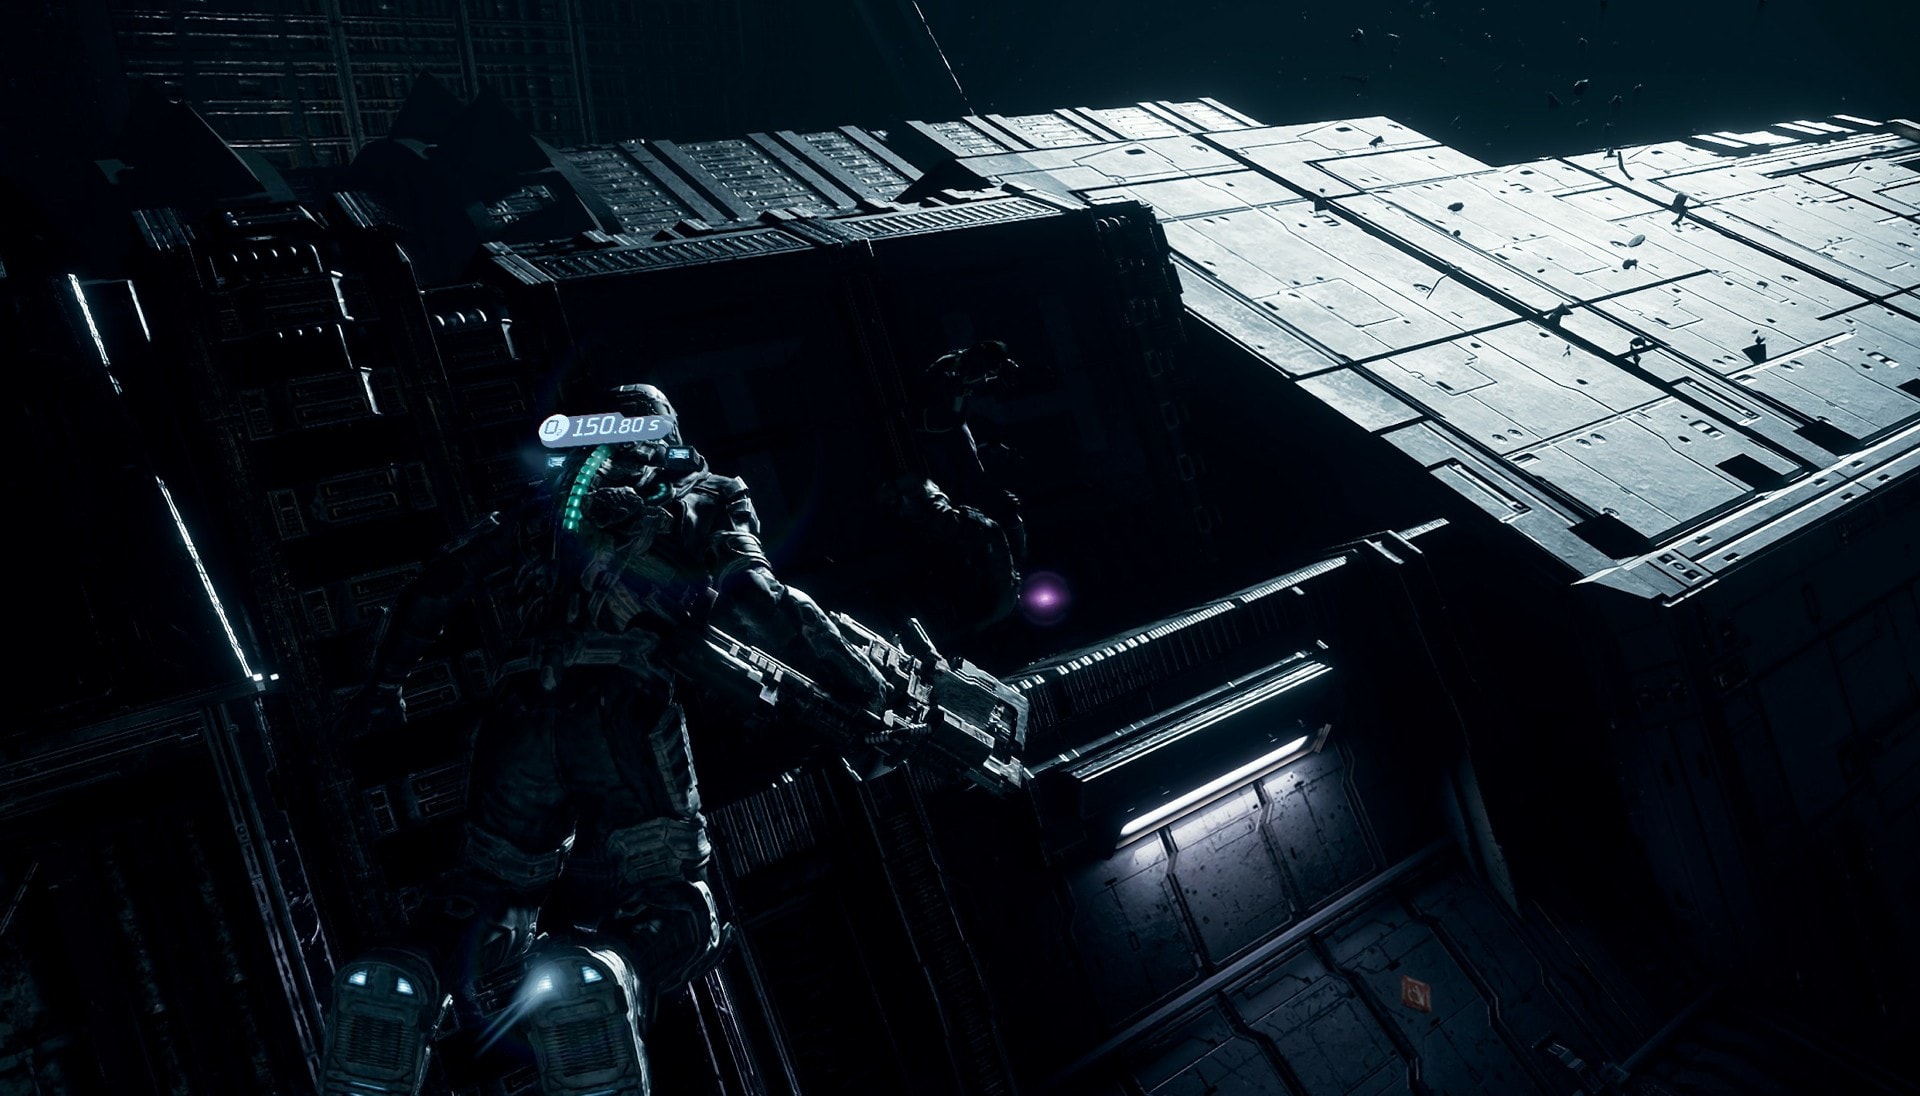
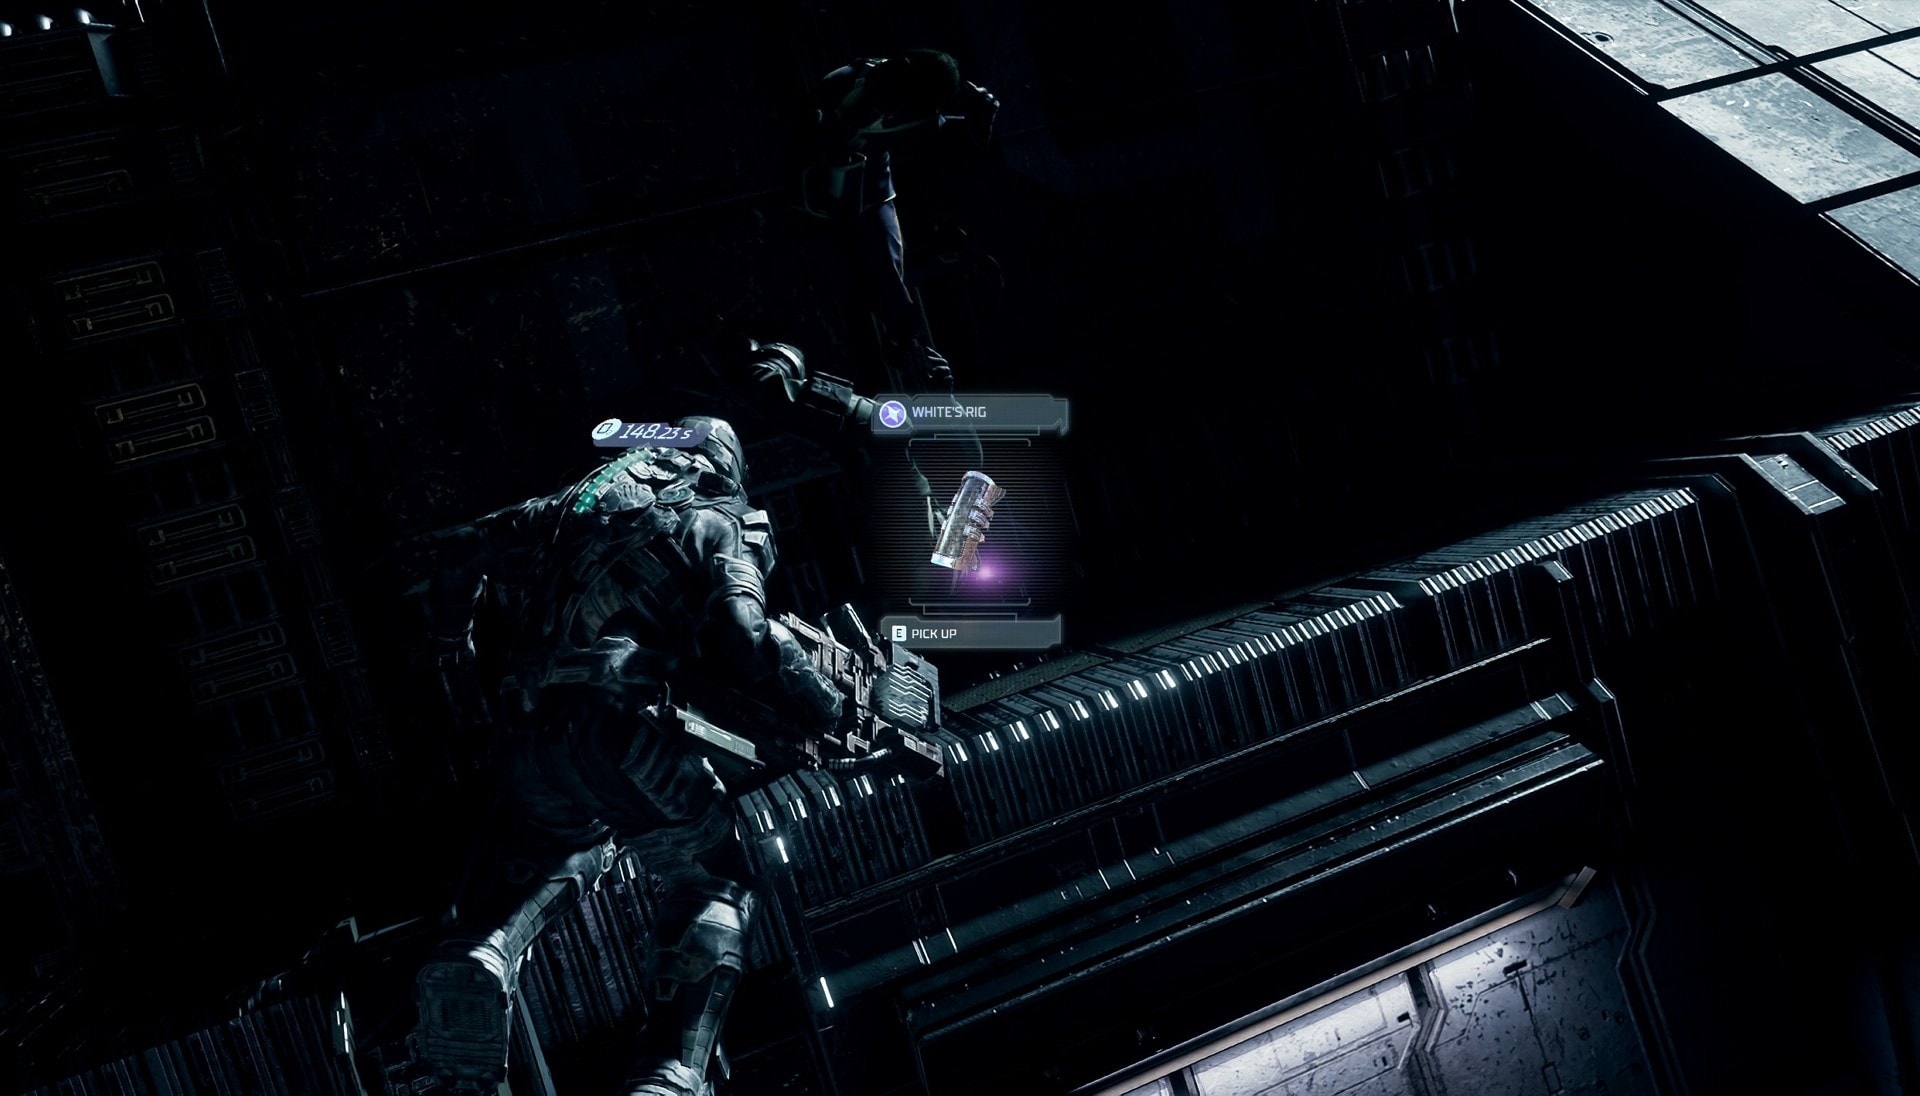
While you’re outside and after you recalibrate the Cannons, fly past the third cannon to see a purple light. Here you’ll find White’s RIG so you’ll need to go grab it if you want to complete that mission’s objective.
You can continue your journey through Ishimura by following our Dead Space Remake Chapter 5 Walkthrough. The guide will show you how to complete all objectives, including the side mission available in this chapter.
Dead Space Remake Chapter 4 Walkthrough

This is a step-by-step walkthrough of Dead Space Remake Chapter 4: Obliteration Imminent, for a simpler and more concise version for those who prefer it.
Instructions
- Get to the Main Atrium of the Bridge and meet Hammond in the Captain's Nest
- After gaining Level 2 Clearance, go back to the Main Atrium and defeat the Brute.
- Go to the Security Room to activate the elevators.
- Follow your Locator to Mining Administration.
- Go to Mining Administration and reroute power to the ADS Cannons.
- Follow your Locator to Electrical Systems
- Defeat the Brute on your way to Electrical Systems.
- Use Stasis on the severed powered lines to access the circuit breaker.
- Reroute power from the Electrical Systems to the ADS Cannons.
- Follow your Locator to reach Water Purification and reroute power to the ADS Cannons.
- Go into the EVA Prep Room to get the Intermediate Engineer RIG Schematics
- Go outside and interact with one of the ADS Cannons to manually calibrate it.
- In aim mode, aim the cannon at an asteroid and activate it. Do this 5 times to calibrate the cannon.
- Repeat this process with the other 2 cannons.
- Go back inside and make your way towards the Medical Deck.
Dead Space Remake Chapter Walkthroughs Collection
Full detailed walkthroughs are available for every one of the twelve chapters of Dead Space Remake. Each guide includes helpful tips on how to get to your next objective, what to do, where to go through and what to pick up. You'll also find instructions on how to start and complete all side missions available on the way.
Dead Space Remake Chapter 1 Walkthrough
This guide will tell you how to complete Chapter 1: New Arrivals of the Dead Space Remake. This is essentially the tutorial level of the game!
Dead Space Remake Chapter 2 Walkthrough
Guide on how to complete Chapter 2: Intensive Care of the Dead Space Remake. The walkthrough also includes the available side mission!
Dead Space Remake Chapter 3 Walkthrough
Guide on how to complete Chapter 3: Course Correction of the Dead Space Remake. The guide also includes the side mission available here!
Dead Space Remake Chapter 5 Walkthrough
Guide on how to complete Chapter 5: Lethal Devotion of the Dead Space Remake. The walkthrough features the side mission available!
Dead Space Remake Chapter 6 Walkthrough
Guide on how to complete Chapter 6: Environmental Hazard of the Dead Space Remake. Includes the available side mission objectives!
Dead Space Remake Chapter 7 Walkthrough
Guide on how to complete Chapter 7: Into the Void of the Dead Space Remake. Includes the available side mission objectives!
Dead Space Remake Chapter 8 Walkthrough
Guide on how to complete Chapter 8: Search and Rescue of the Dead Space Remake. Includes the available side mission objectives!
Dead Space Remake Chapter 9 Walkthrough
This guide will tell you how to complete Chapter 9: Dead on Arrival of the Dead Space Remake! Follow it to not miss a thing!
Dead Space Remake Chapter 10 Walkthrough
This guide will tell you how to complete Chapter 10: End of Days of the Dead Space Remake. Includes all of the side mission objectives too!
Dead Space Remake Chapter 11 Walkthrough
This guide will tell you everything you need to know to complete Chapter 11: Alternate Solutions of the Dead Space Remake!
Dead Space Remake Chapter 12 Walkthrough
This guide will tell you how to complete Chapter 12: Dead Space of the Dead Space Remake, including the final boss fight!
All Dead Space Power Node Locations Guide
This guide show all Power Nodes locations in the Dead Space Remake. The locations are structured according the areas and based on Chapters!
All Dead Space Semiconductor Locations Guide
Guide on where to find all Semiconductors in Dead Space Remake. The locations are structured according to the areas and based on Chapters!
Dead Space Remake Achievements Guide and List
Complete list of all achievements in Dead Space Remake including secret ones and any additional rewards when you obtain some achievements!

