This guide will tell you how to complete Chapter 5: Lethal Devotion of the Dead Space Remake. This is seen by many as one of the harder chapters so pay close attention to the guide!
This guide is for the Dead Space Remake, released in 2023!
Author’s Note: Screenshots used in this guide were taken in a New Game Plus. I’ll have access to upgrades that a fresh game save would not have access to. The text is constructed to aid and help a new player.
For a list of Power Node locations in Chapter 5, use our Power Node Location Guide.
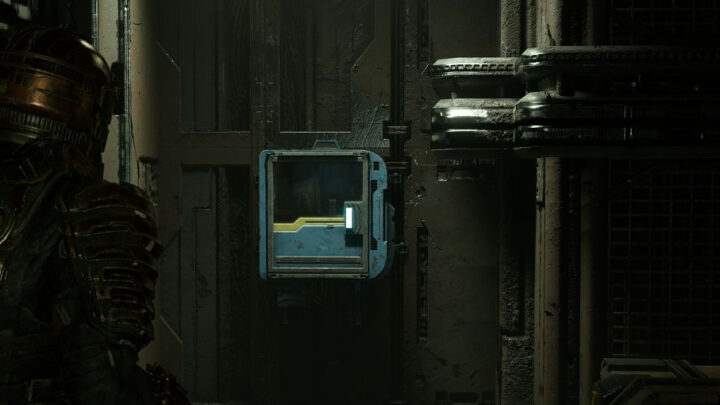
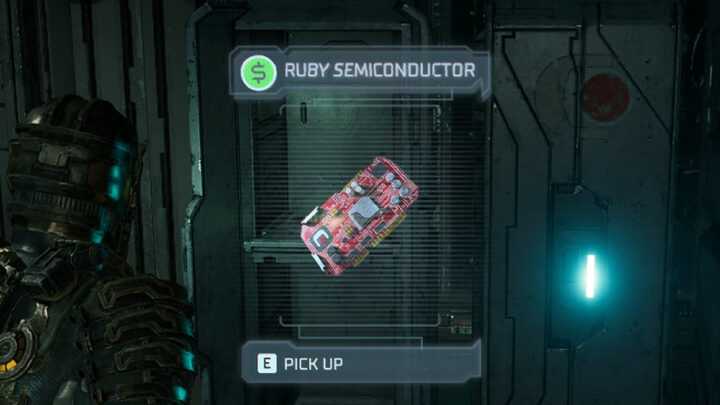
For a list of Semiconductor locations in Chapter 5, use our Semiconductor Location Guide.
Find the Source of the Broadcast
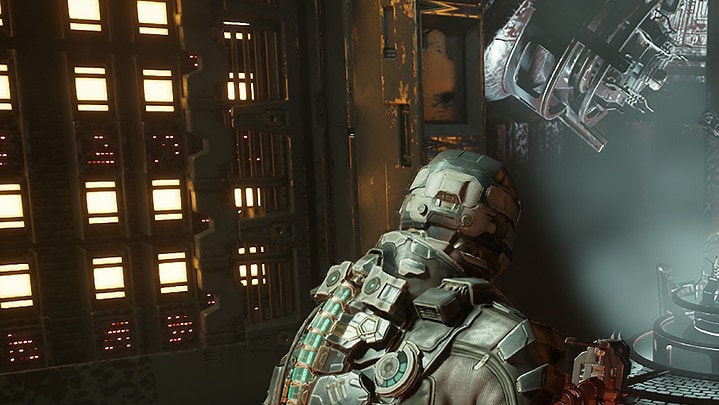
After using the Tram to get to the Medical Deck, make your way to the Security Checkpoint. The doors will be locked and Isaac will have a conversation with someone through the speakers. This individual is a Unitologist and Doctor, Challus Mercer.
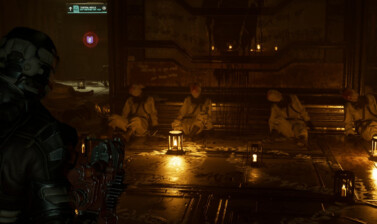
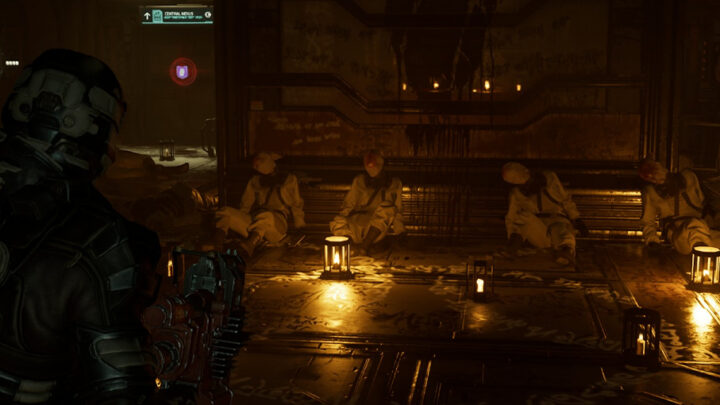
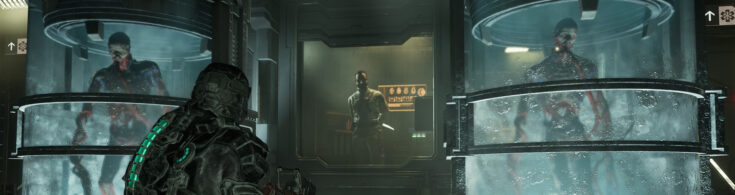
After the conversation, the only unlocked door will lead to Imaging Diagnostics. When you get inside you’ll find Dr. Mercer’s patients writhing in pain. Unfortunately you can’t do anything to help them so you’ll just have to move on.

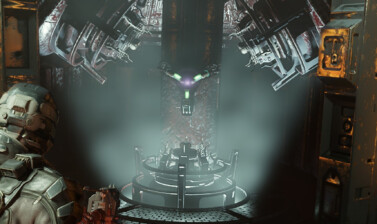
If you recall where that scanning tube was when you were here before, you’ll find that it is missing. Instead there is a fleshy growth in its place with a glowing cluster. Shoot this cluster to clear the path ahead. There will be 3 more in this room you’ll have to destroy on the upper level.
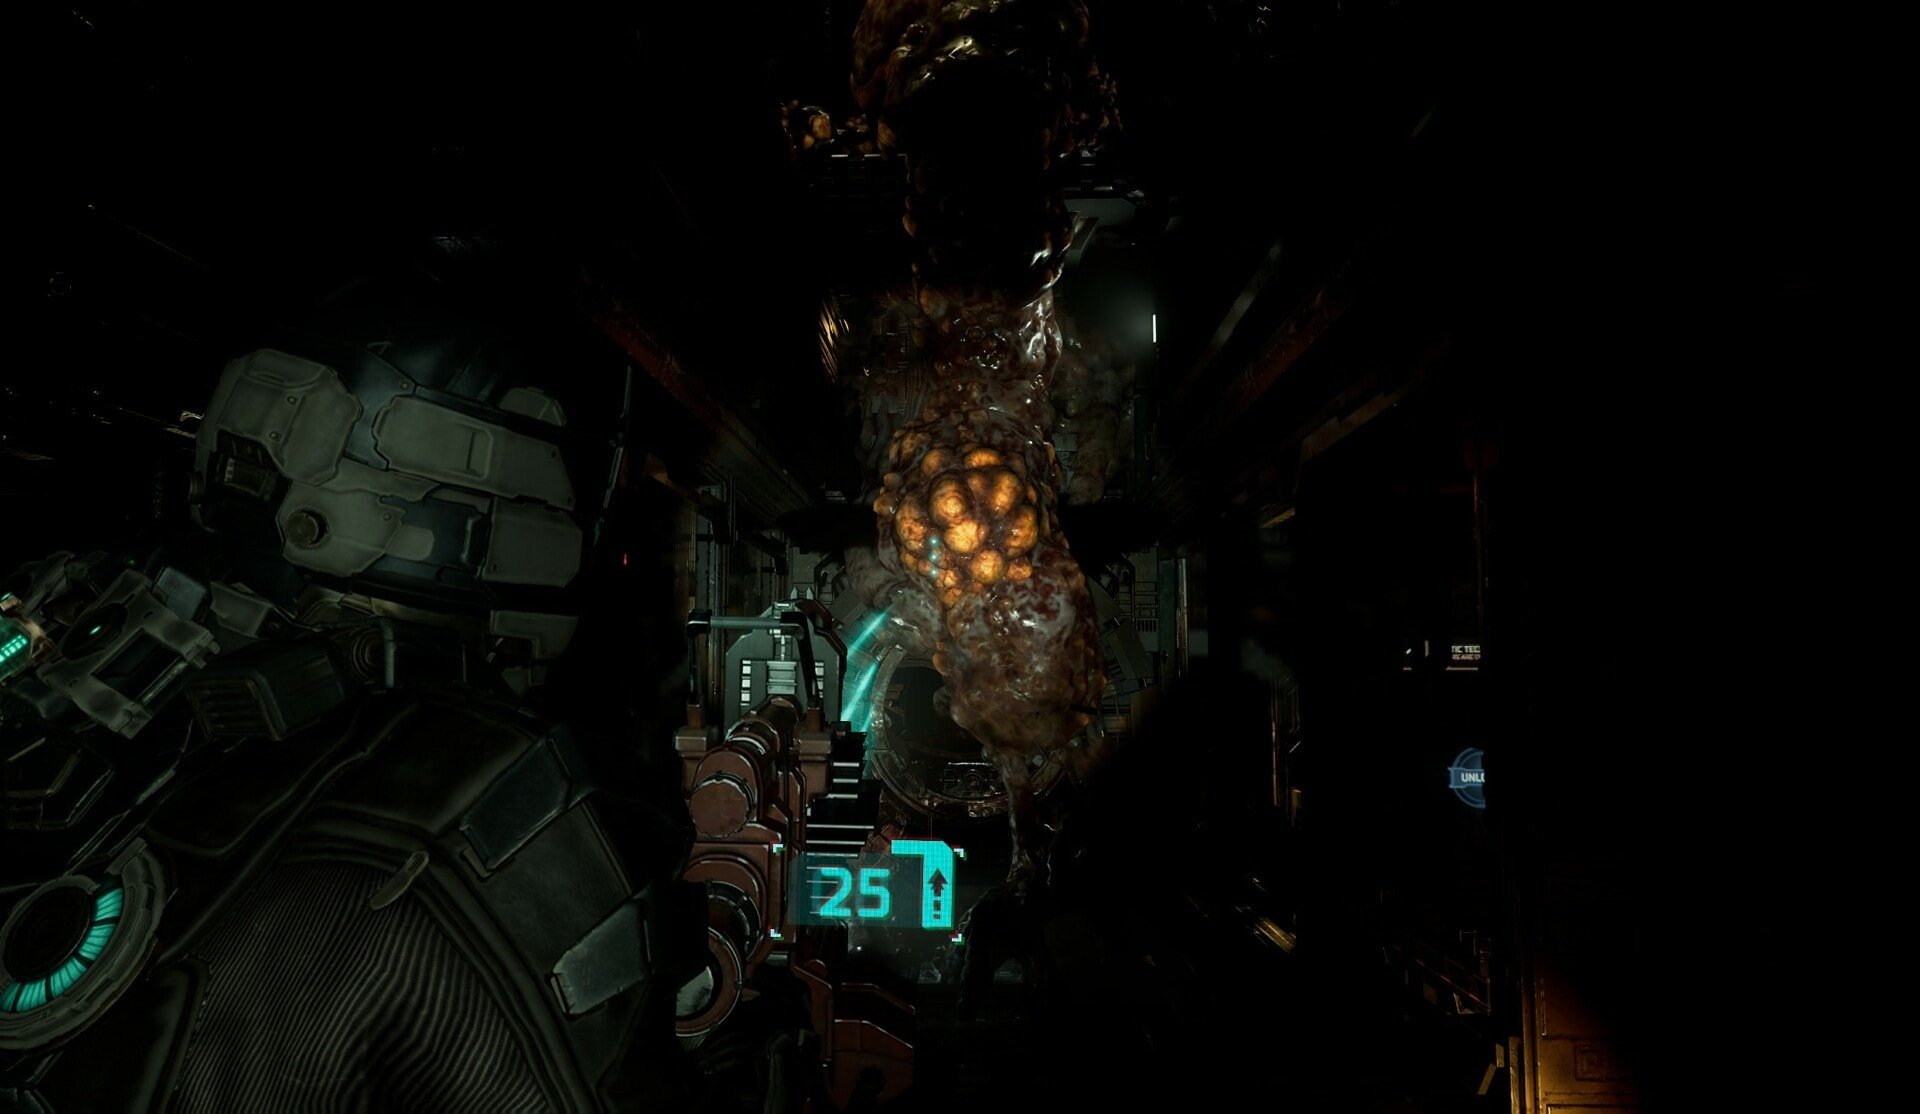
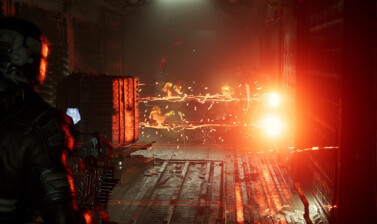
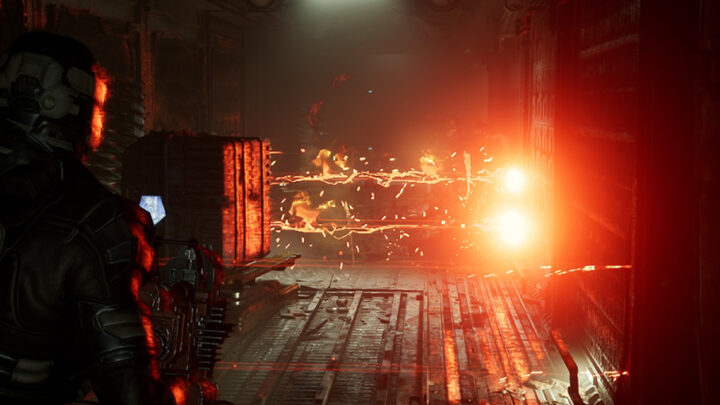
As you head towards the elevator, you’ll encounter a new necromorph, the Guardian. These necromorphs are stationary and are unable to move from their position. This can provide a false sense of security as they can one-shot you if you get too close. You’ll have to fight them from a distance.
Every so often, they’ll shoot out a Pod which will pop out a tentacle to shoot projectiles at you. Shoot off the pod’s tentacles to defeat it. Alone they pose little threat but they can be dangerous if you leave them unchecked and they grow in numbers.
To defeat the Guardian, sever its tentacles by shooting the orange ends of its tentacles. The Guardian will occasionally retract and reposition these tentacles so you’ll need to be patient. Severing all the tentacles will defeat the Guardian.
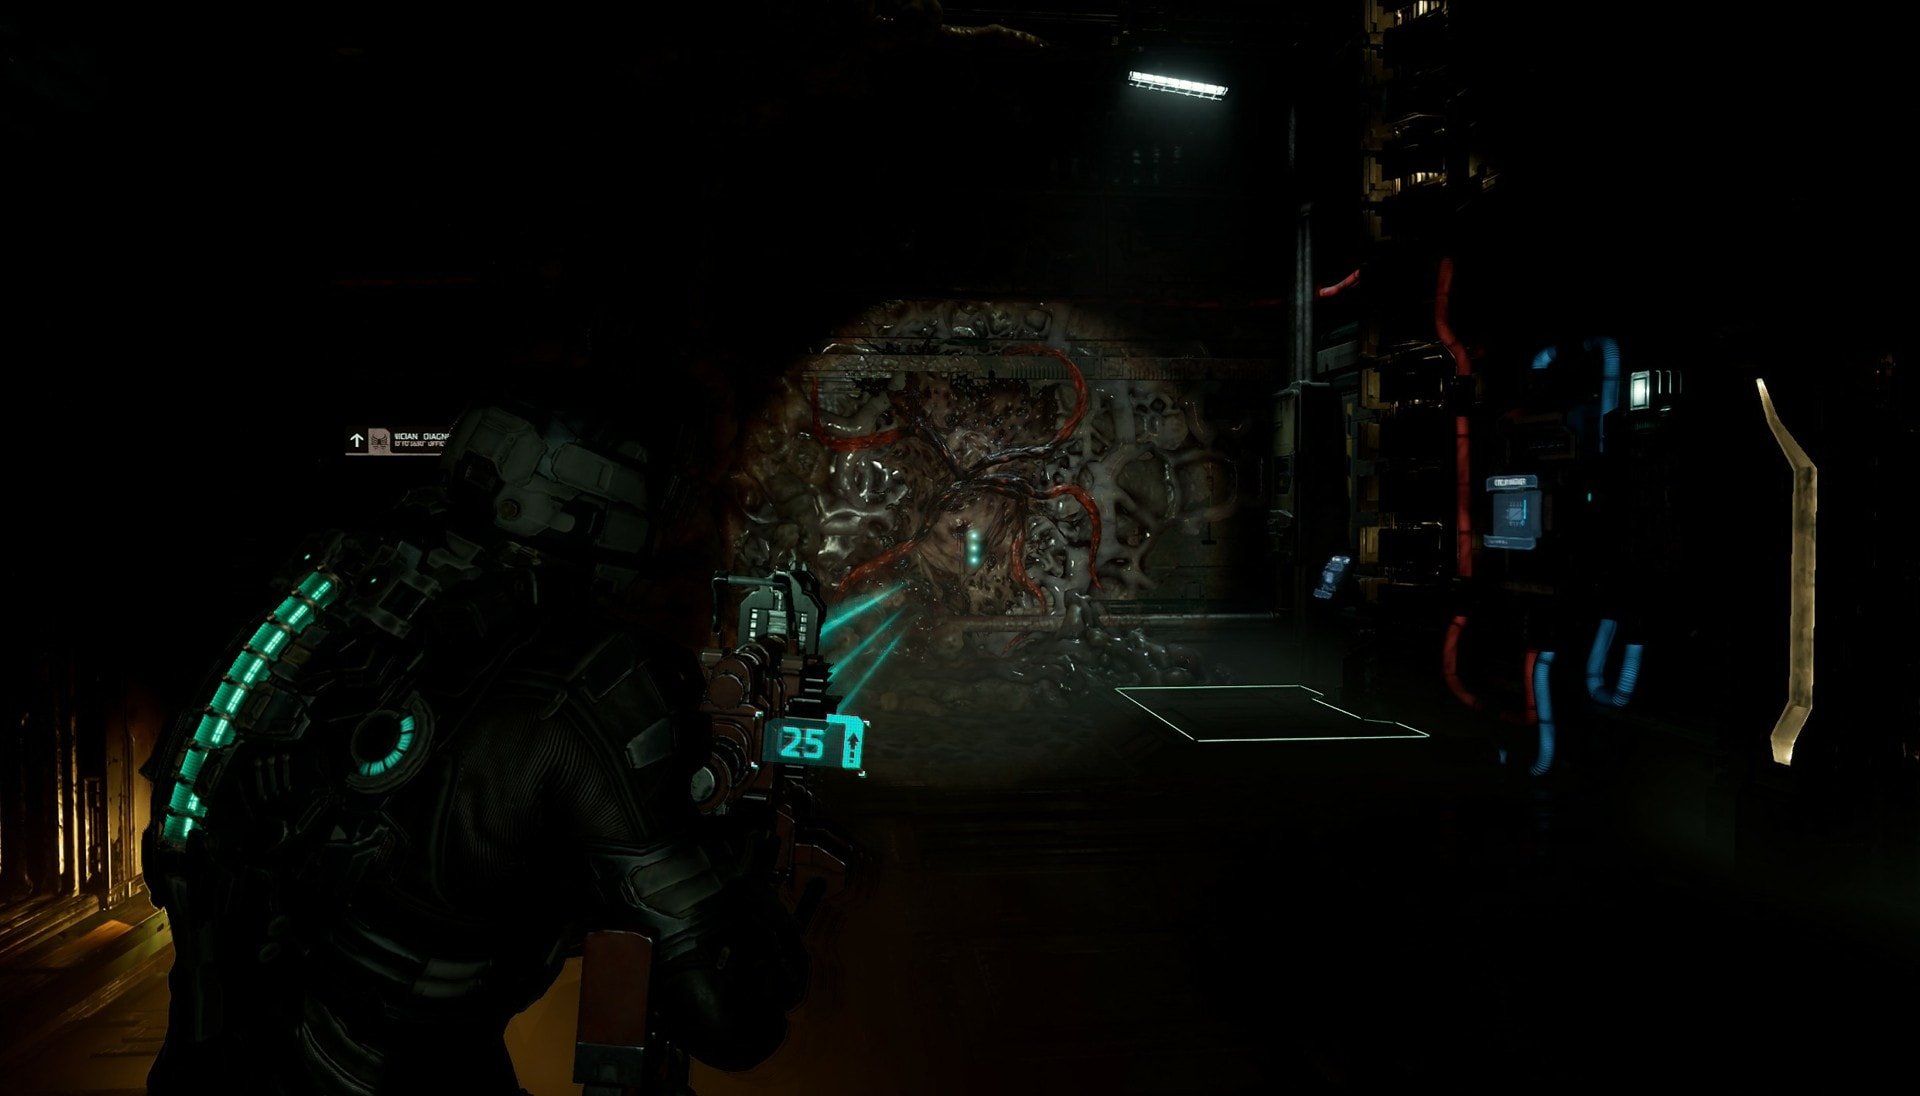
When the Guardian is defeated, use the elevator to access the upper level. Find and destroy the 3 remaining clusters up here to clear the path forward. Once you do, follow your locator until you get to the Chemical Lab.
Upon reaching the Chemical Lab, you’ll find a hologram of Nicole that was making the broadcast. Go to the console where the hologram is and deactivate the broadcast. Isaac will then see another hologram of Nicole and will be shot by Mercer’s Stasis Module.
While Mercer makes his speech complaining about convergence not happening, you’re probably going to be thinking “Why isn’t my Stasis this good?”. Don’t get too lost in thought as when Mercer leaves you’ll encounter everyone’s favorite necromorph, the Hunter.
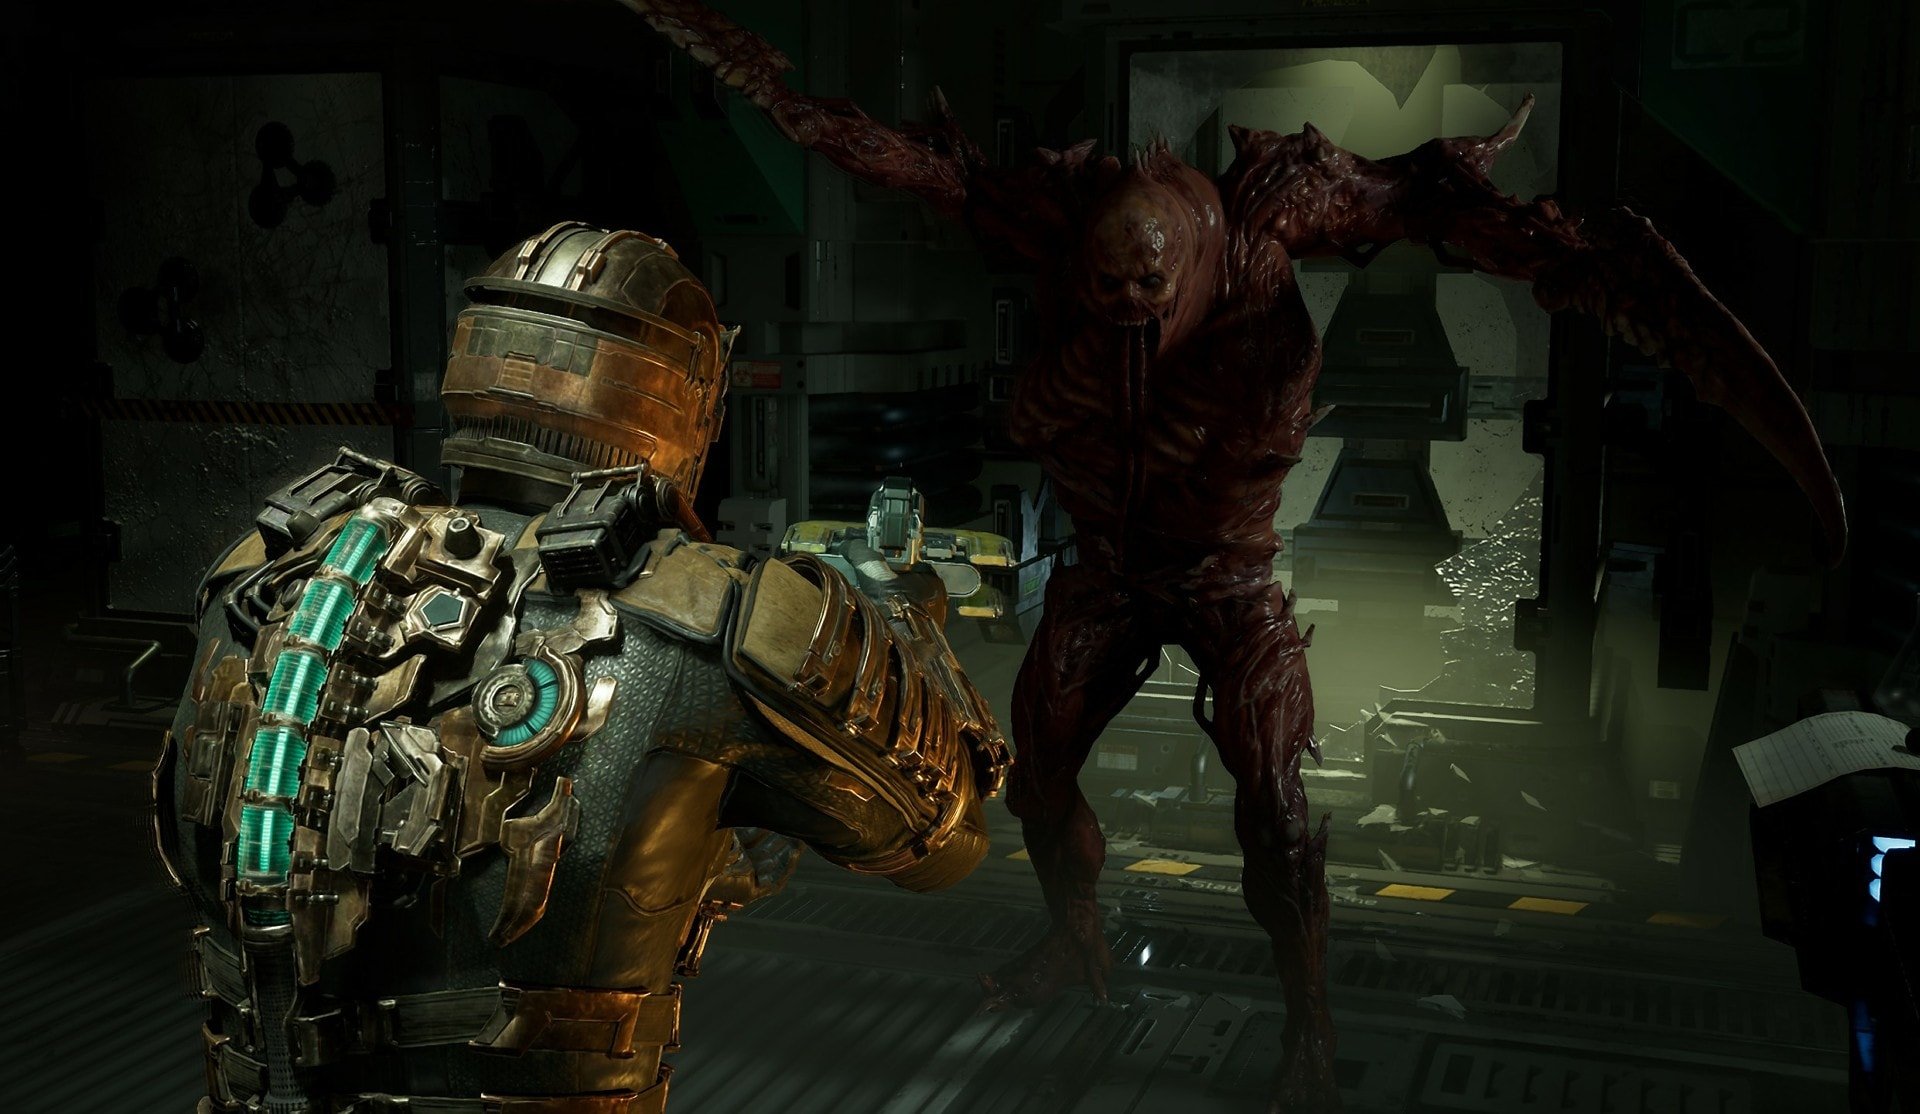
The Hunter appears to be a beefed up version of the Slasher but he’s so much worse. Once you shoot off his limbs, he’ll begin to regenerate them. To make matters worse, you’re locked in here with him. Kendra will open the doors for you so you’ll need to run out and get to the Emergency Room.
Override the Lockdown
The whole deck will be on lockdown so you’ll be unable to leave until you fix this. You’ll need to find Dr. Mercer’s Office to override the lockdown to escape. After making your way to the Emergency Room from the Chemical Lab, you’re going to be attacked by a bunch of necromorphs including the Hunter.
When the Hunter begins regenerating, use Stasis on him to slow down the regeneration process. This is extremely useful in this room as you’ll need to find a battery to power the door that leads to the ER Hallway. It’s not too far from where you last put it so just pop it back in with Kinesis and get into the Hallway.
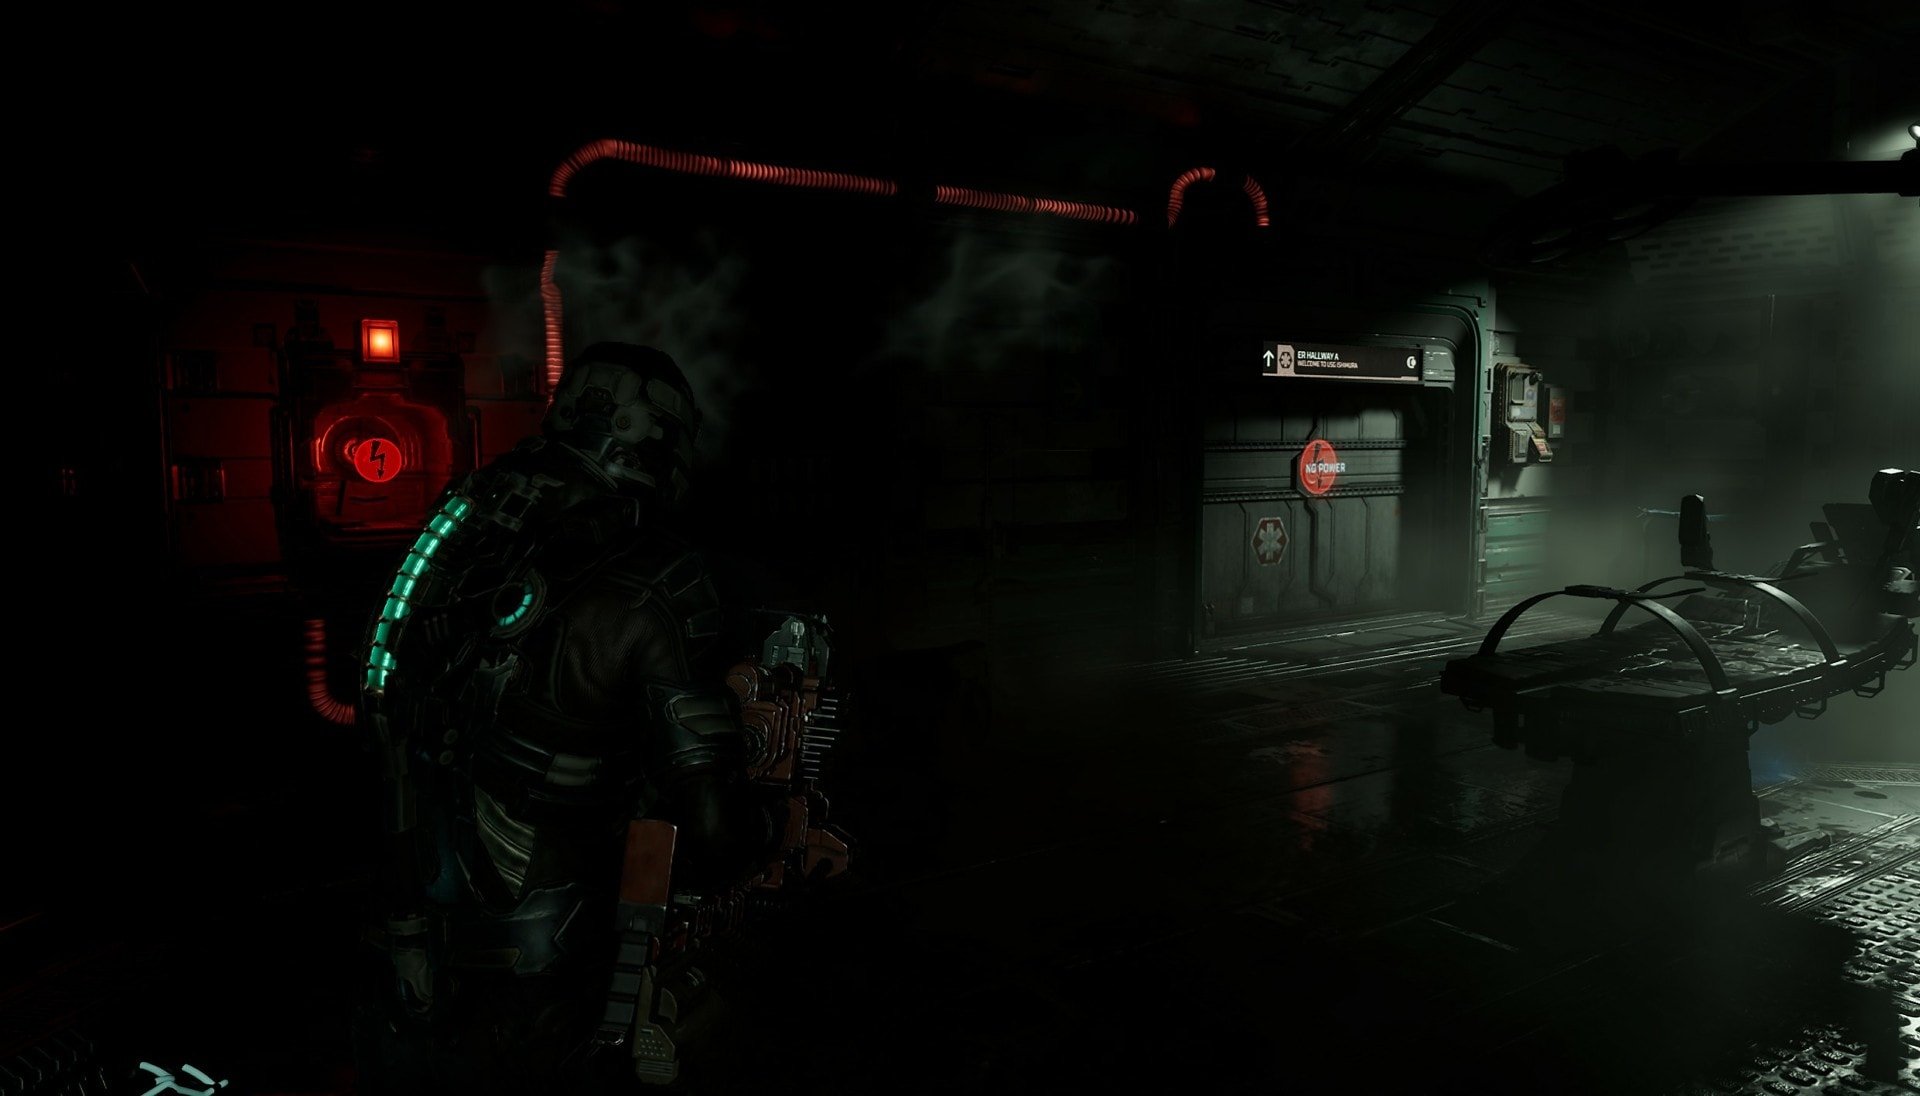
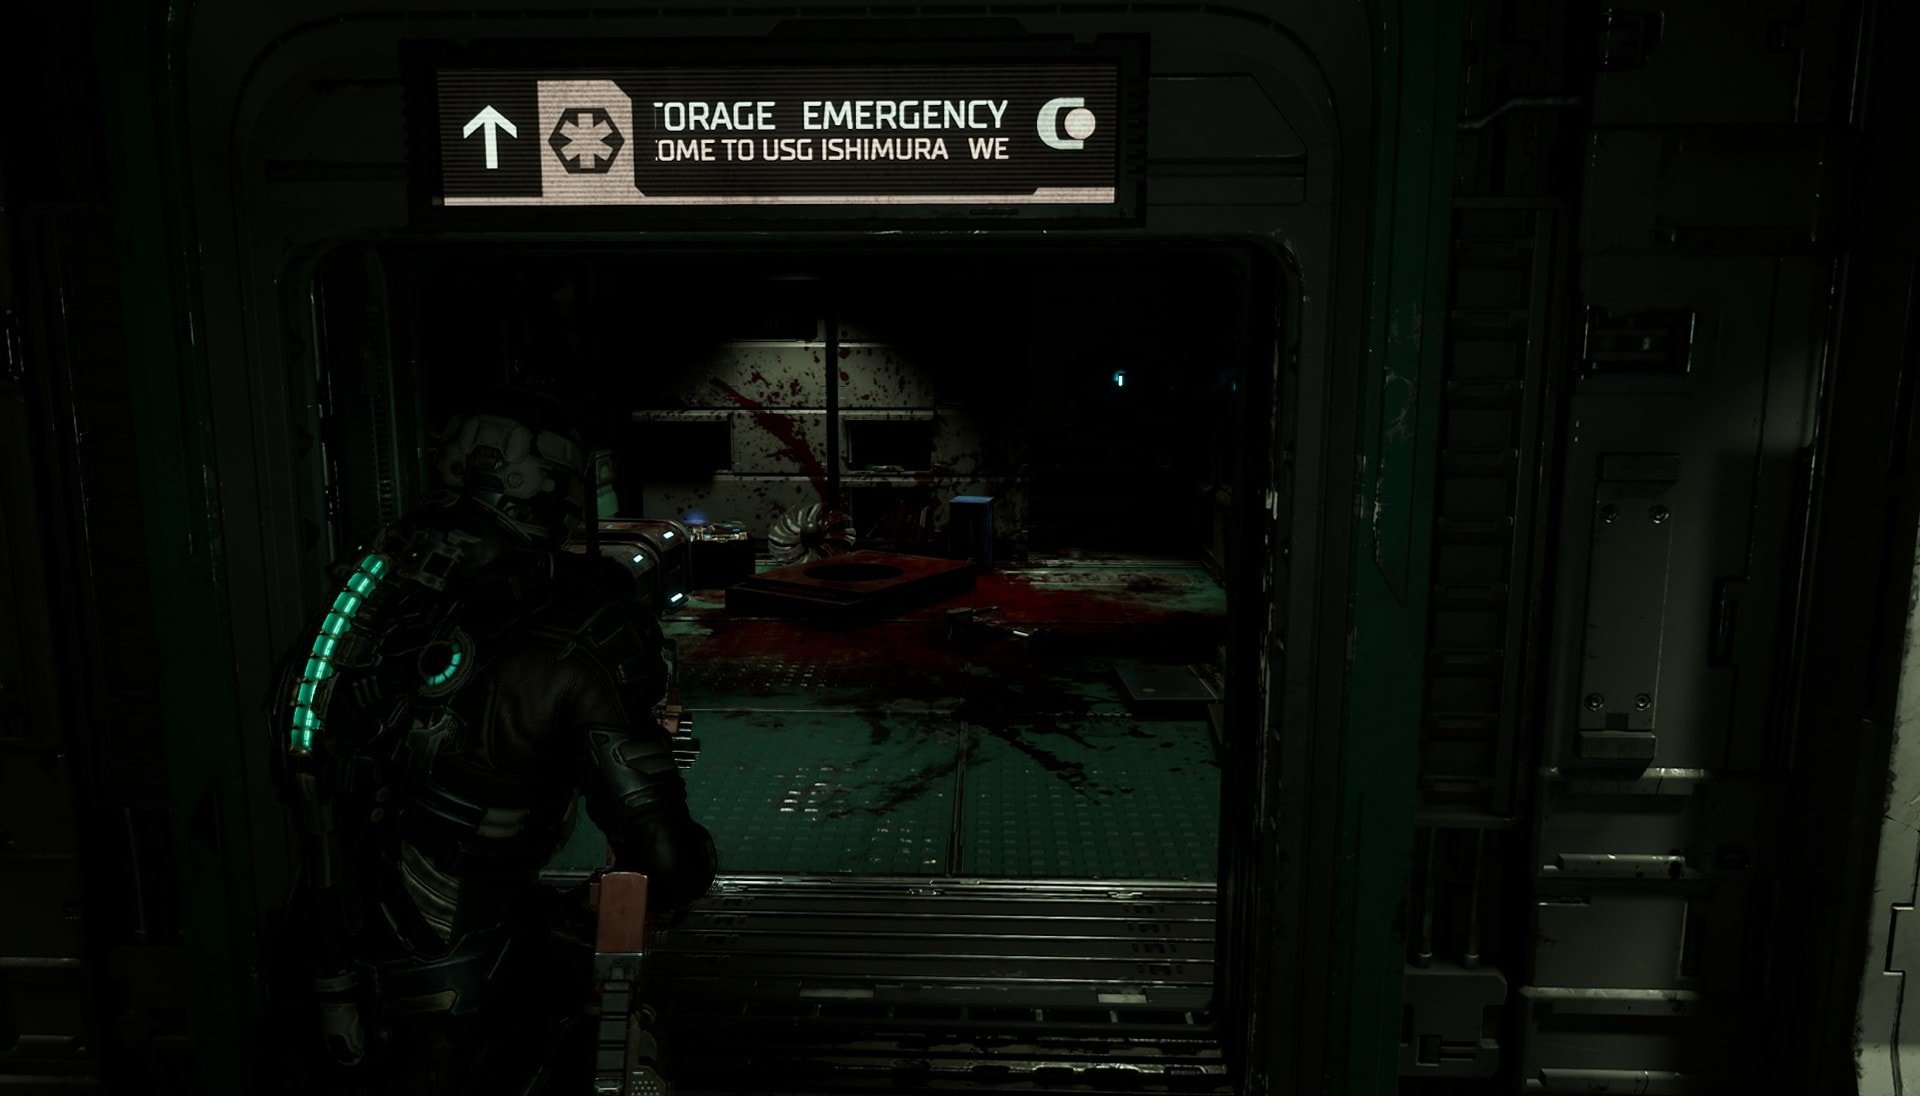
While running through the hallway, you’re going to encounter the Emergency Medical Storage room. It’s the room that requires Level 2 Clearance to unlock. Go inside there first to find the Line Gun. This gun will make dismemberment SO much easier and will allow you to pull off some fun shenanigans.
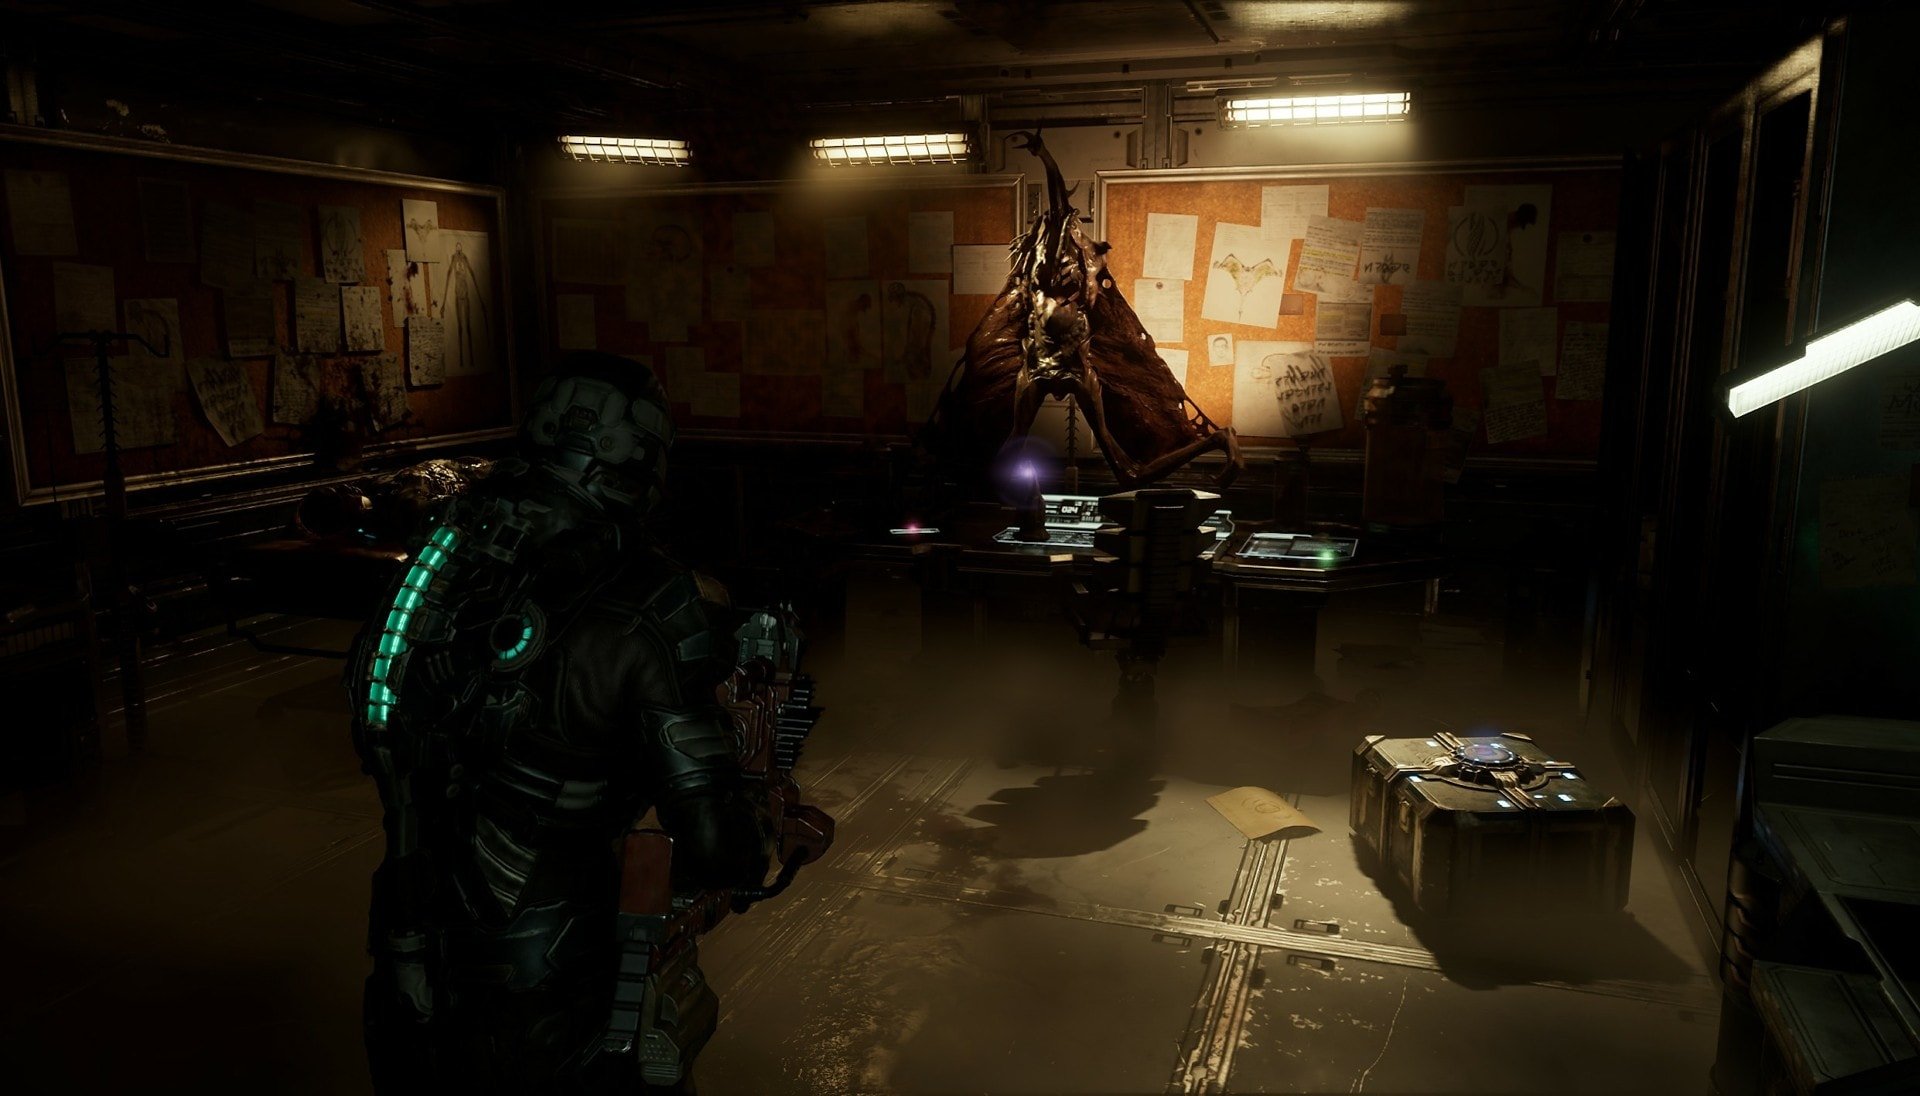
After getting the Line Gun, follow your Locator to reach Dr. Mercer’s Office. It’s an unsettling site with numerous diagrams of necromorphs and a taxidermied Infector. There will be a console to the left that you can use to override the lockdown. Interact with it to unlock the doors on the Medical Deck.
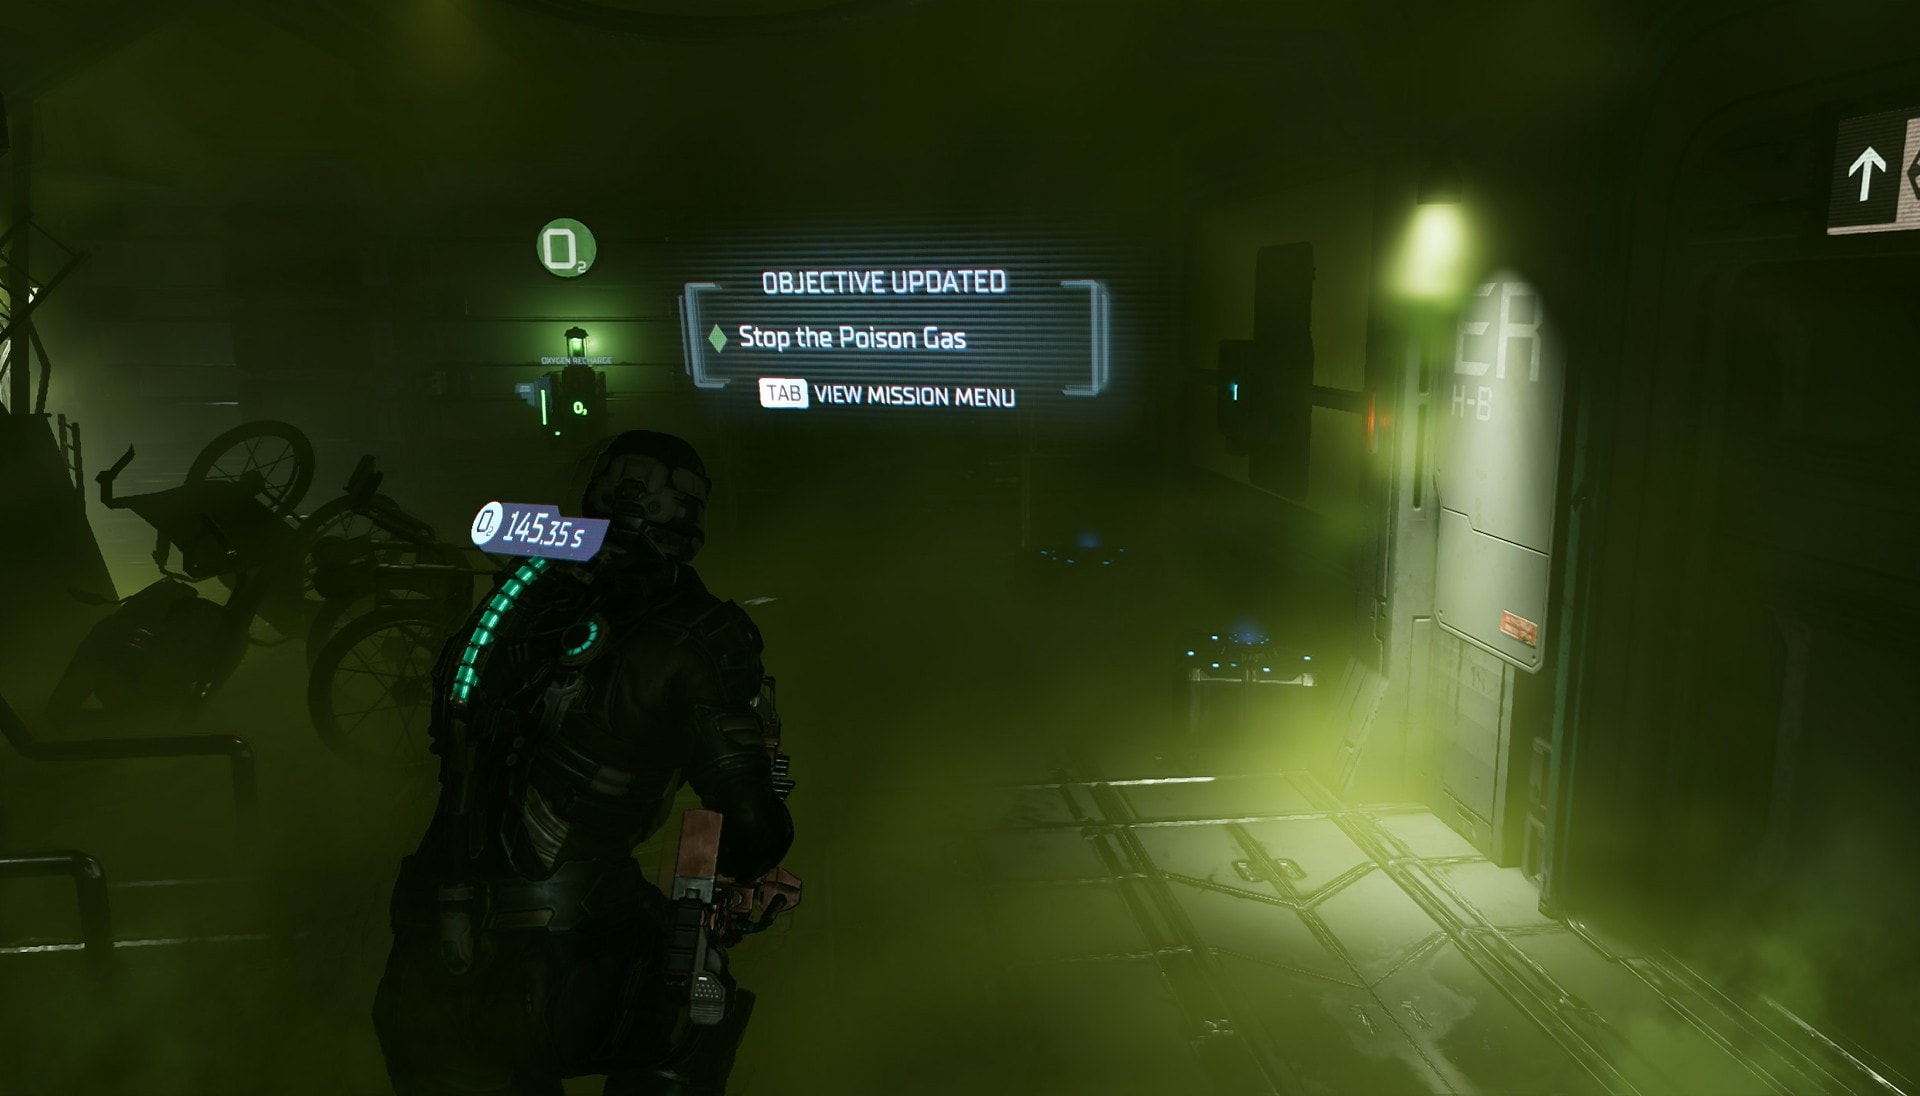
Stop the Poison Gas
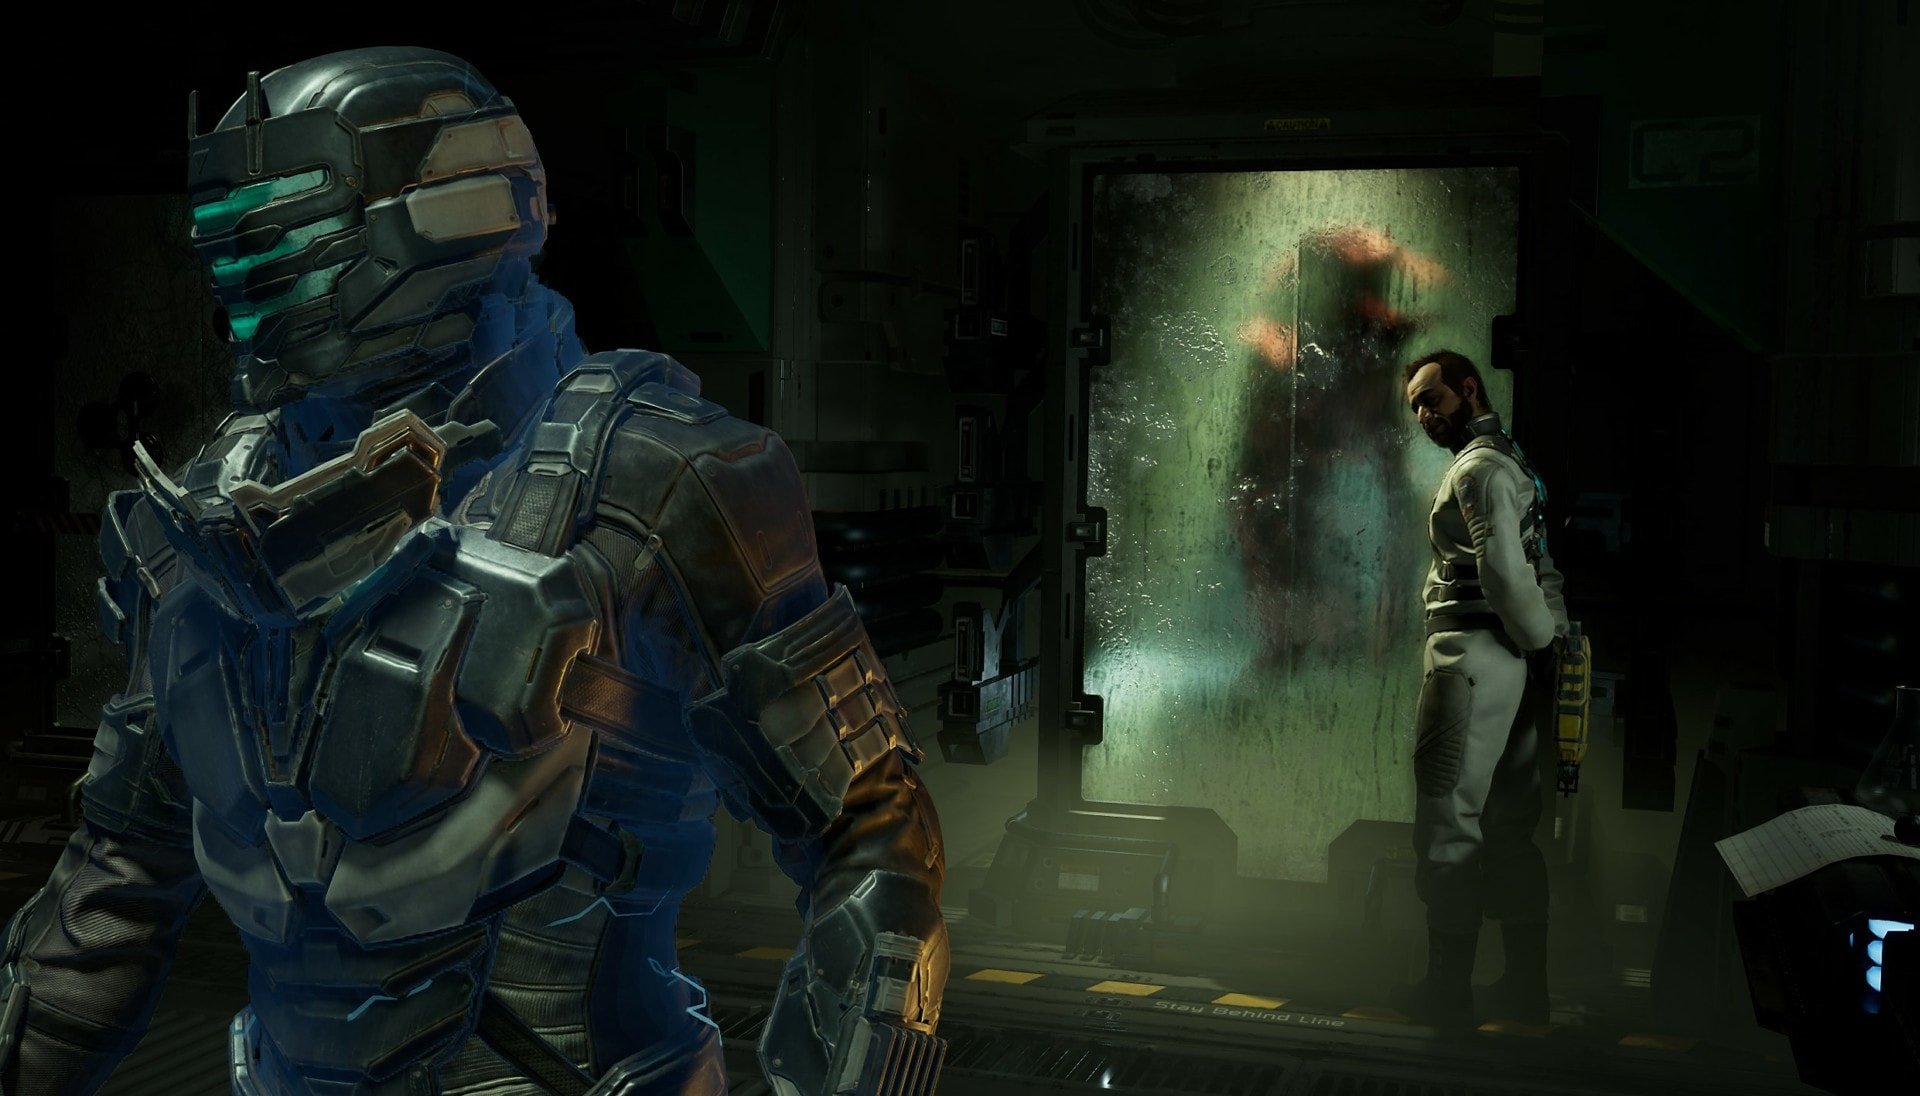
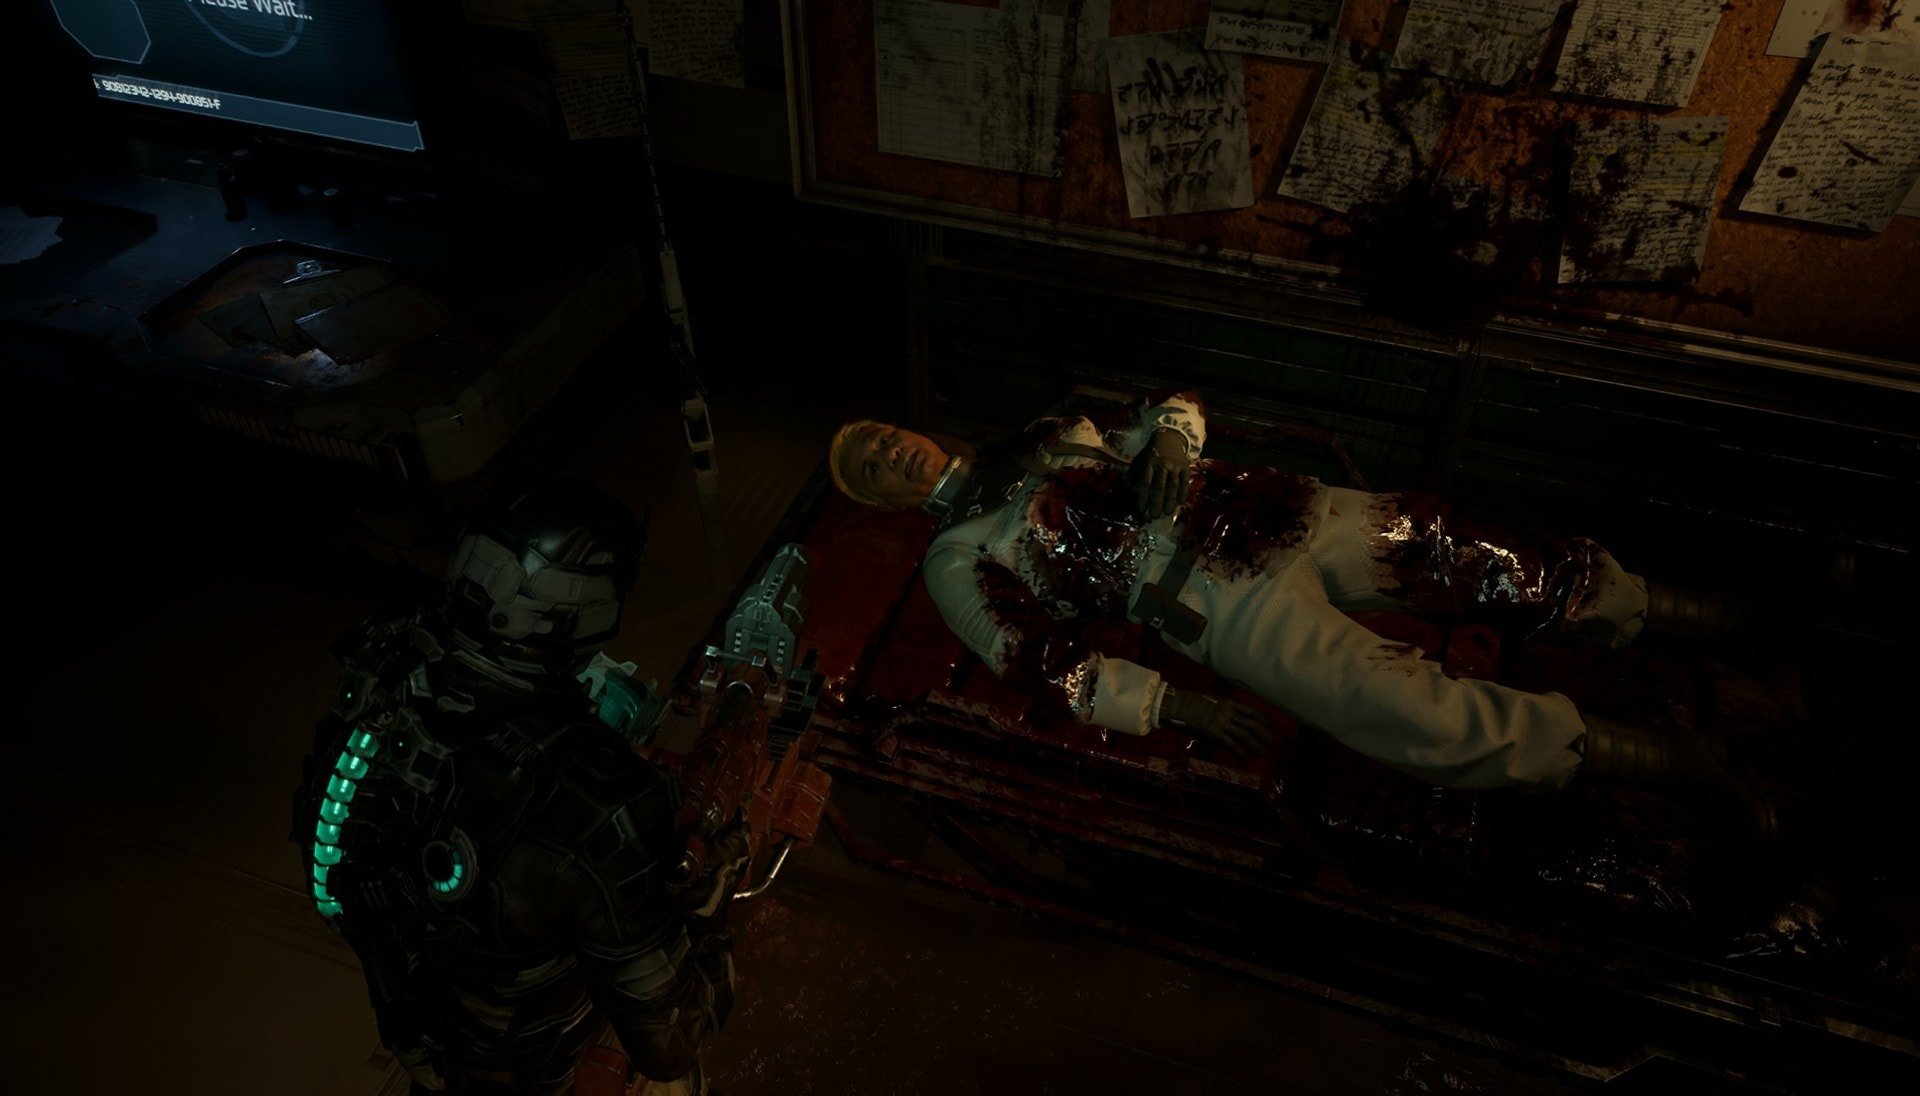
After you unlock the Medical Deck, the patient in Dr. Mercer’s Office will ask for your help. You’ll learn that the air is being poisoned and you need to save Hydroponics. You’ll need to find Liquid Nitrogen so “she” can finish her enzyme. Who “she” is we’ll learn soon enough.
When you exit the office, the Medical Deck will be filled with poison gas by Dr. Mercer. You’ll have limited time to complete this objective so start running. Make your way back to ER Hallway B and make a left. You’ll encounter a Pregnant necromorph, defeat it and keep running down that hallway. There will be an oxygen refill station here if you need it.
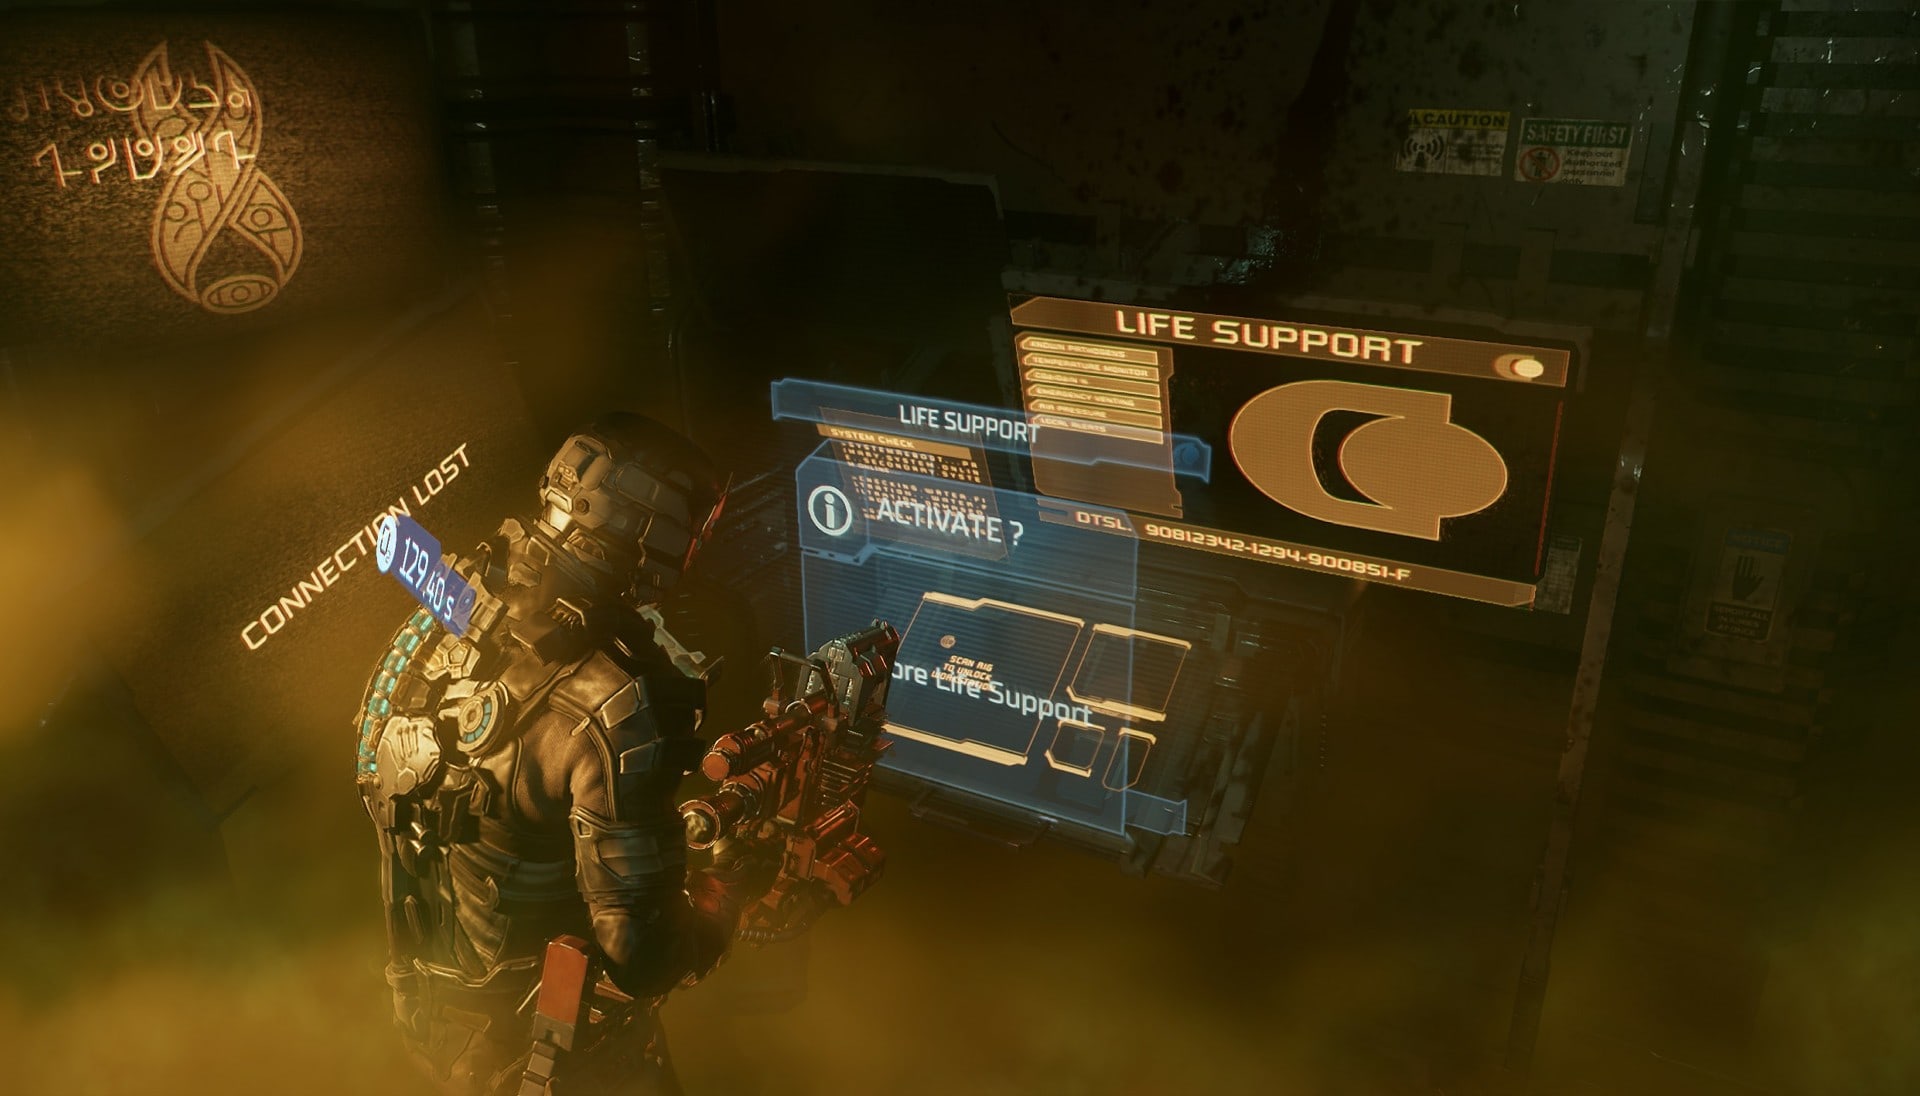
There’s a door at the end of this hallway that will take you to the Emergency Room. Dismember and Stasis the Hunter in here and just keep running, ignore any other necromorphs. Get to the Security Checkpoint and use the consoles there to filter out the poison gas.
Find the Liquid Nitrogen
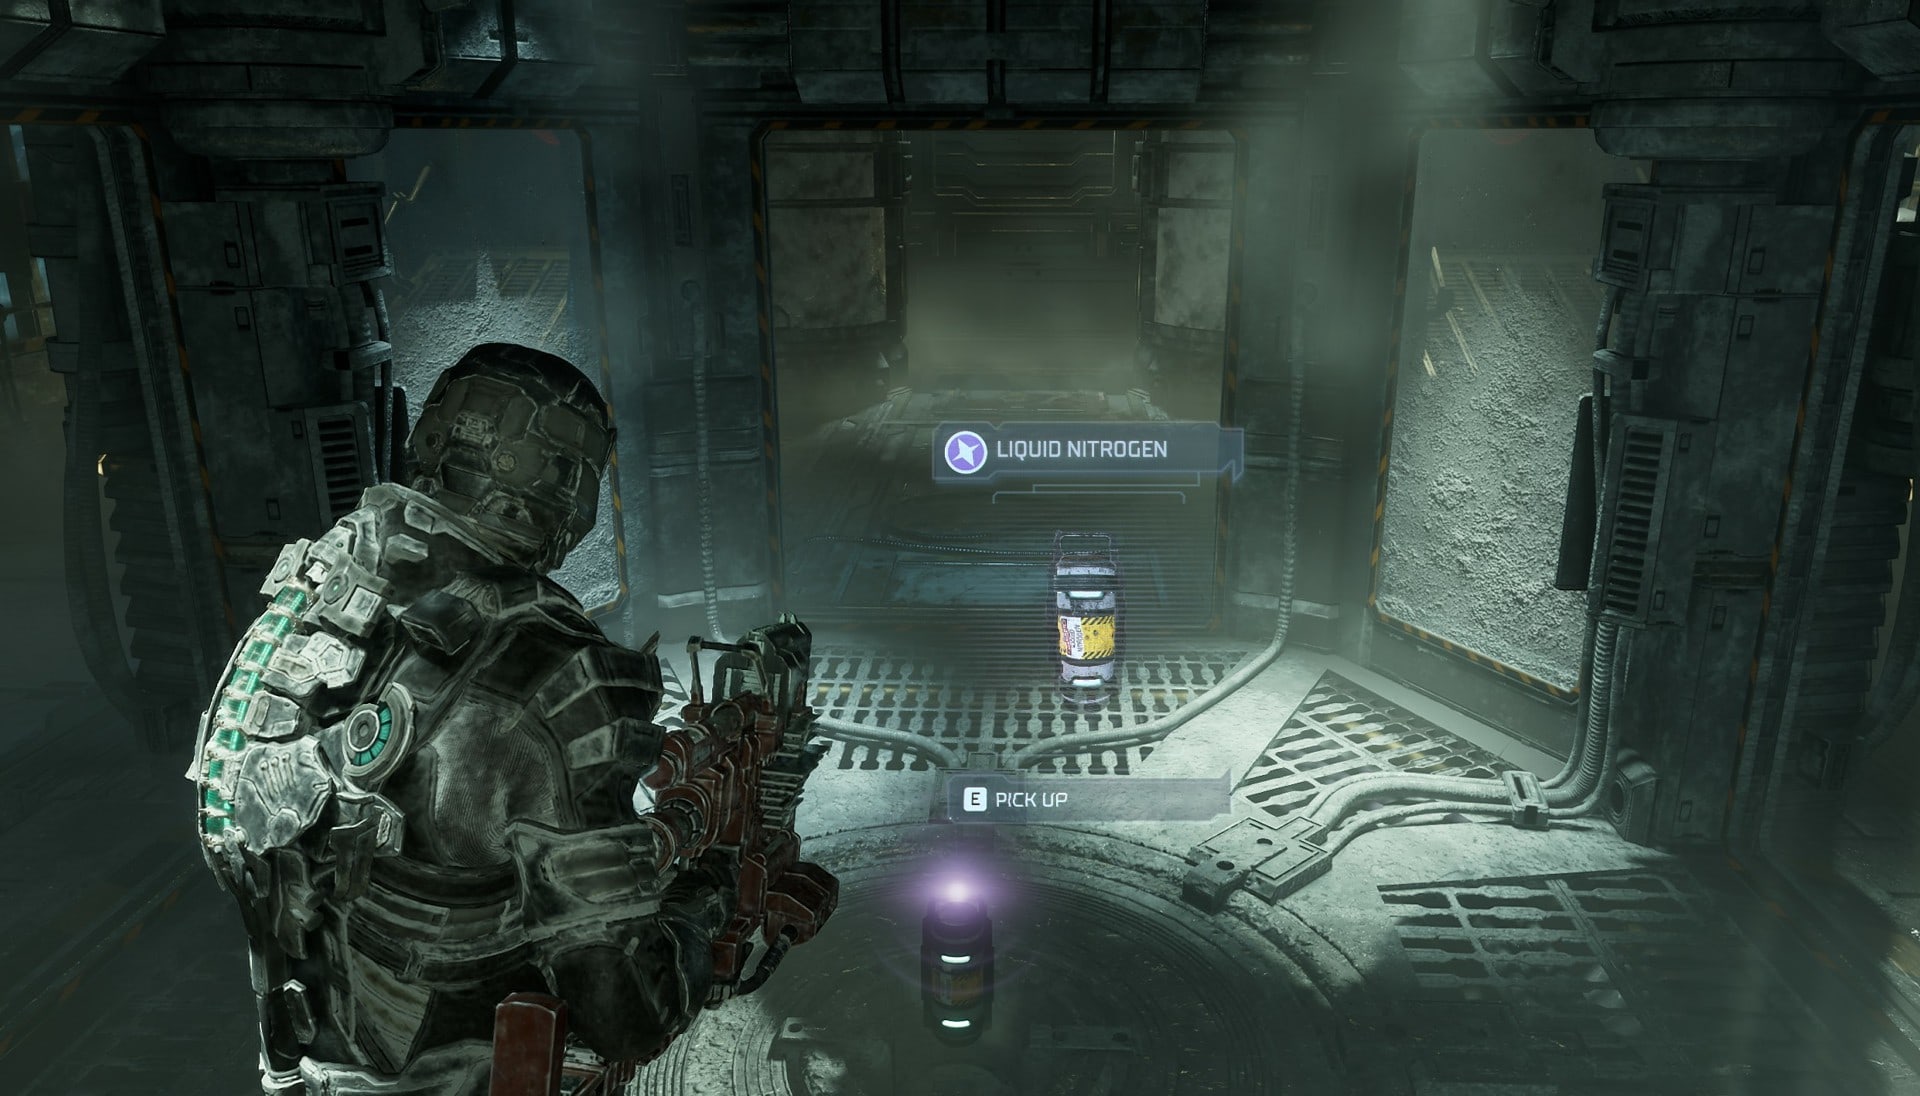
With the poison gone, you can now focus on finding the Liquid Nitrogen. You’ll need to make your way to the Cryogenics Lab so prepare yourself by shopping at the Store if you need to.
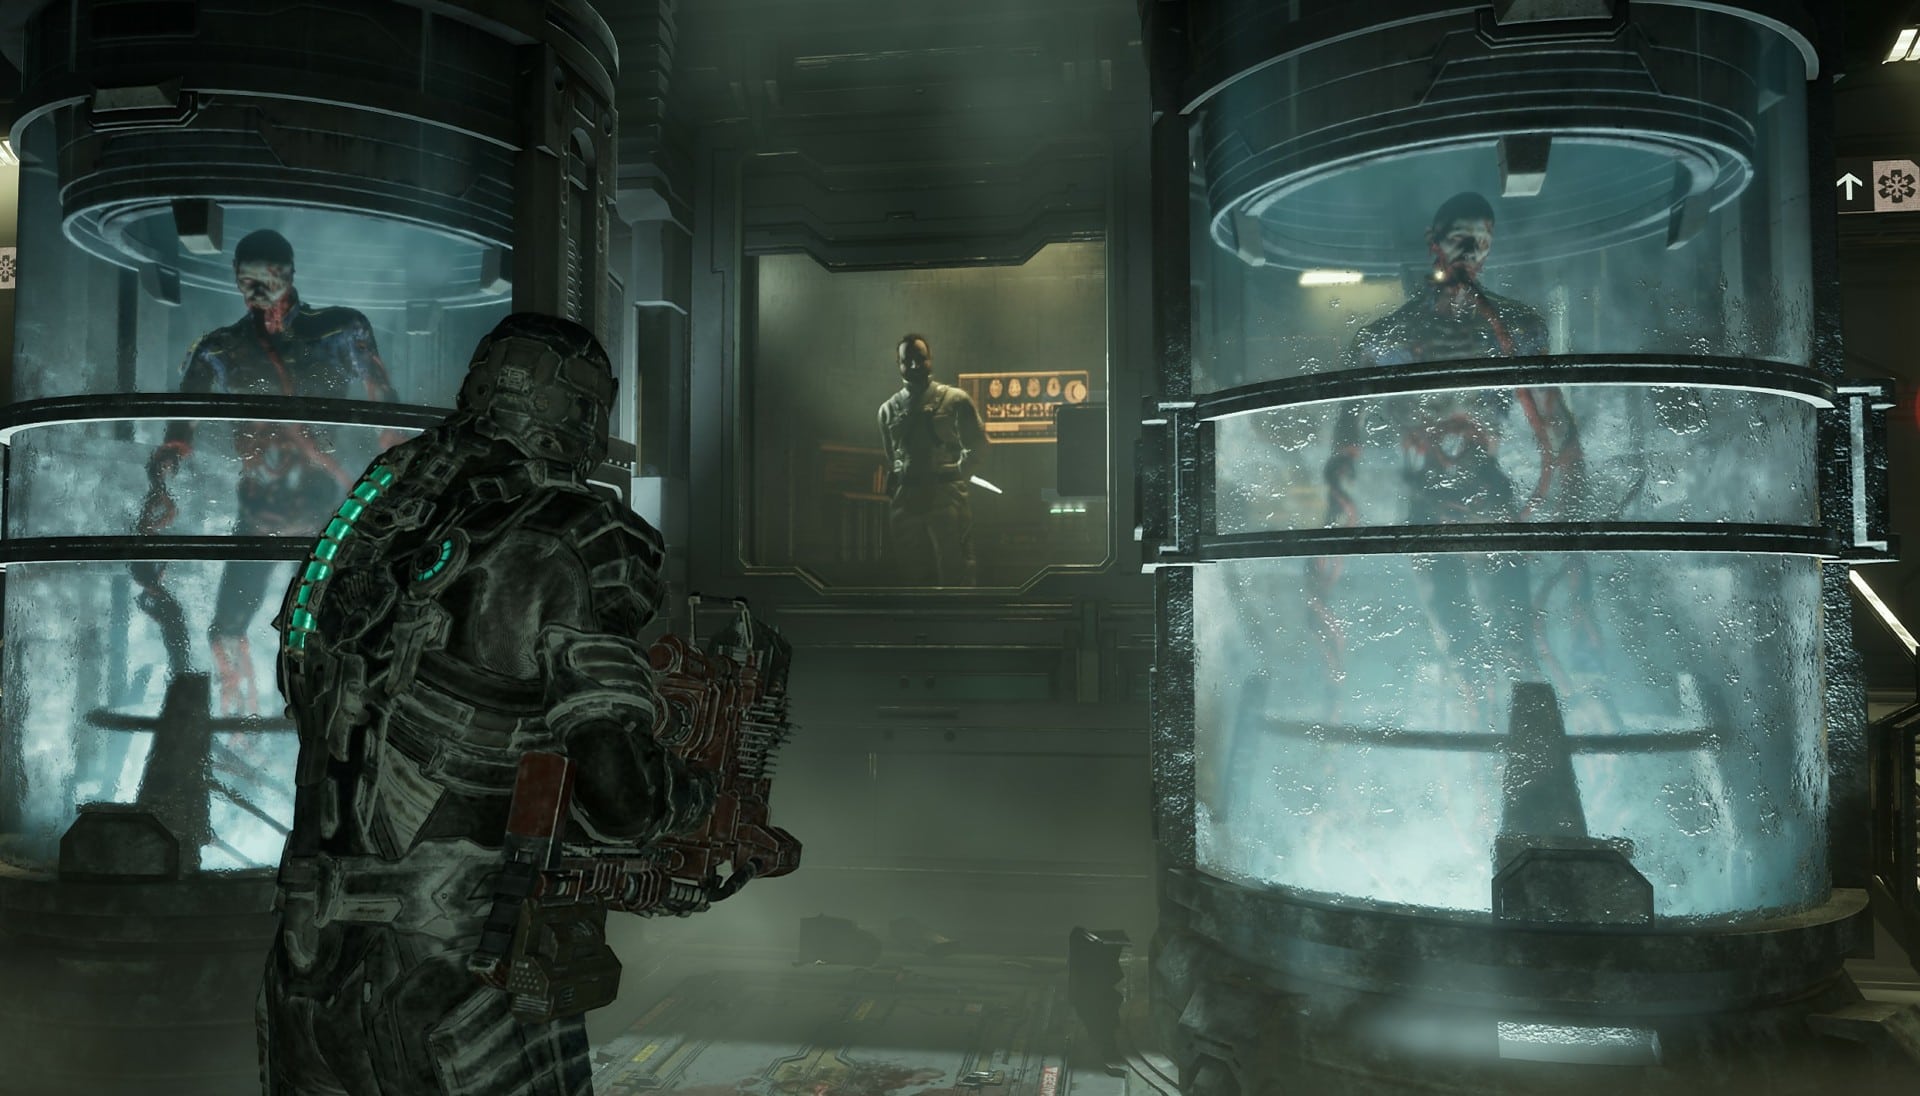
Follow your Locator towards Imaging Diagnostics and go back through the door that leads to the Chemistry Lab. You can now go through the door Dr. Mercer went through and this path will lead you to the Cryogenics Lab. There will be a central chamber that has the Liquid Nitrogen in it.
After picking this up, you’ll have another conversation with Dr. Mercer. He has plans to use these frozen necromorphs to bring Convergence to Earth. In short, he wants to spread the infection to Earth and wipe out the non-believers to allow Unitologists to transcend and become “whole”.
The Hunter will find its way into the Cryogenics Lab and start chasing you. To make matters worse, Lurker will begin popping out of the vents. Don’t panic and recharge your Stasis with the Stasis Recharge Stations around the room if you need to.
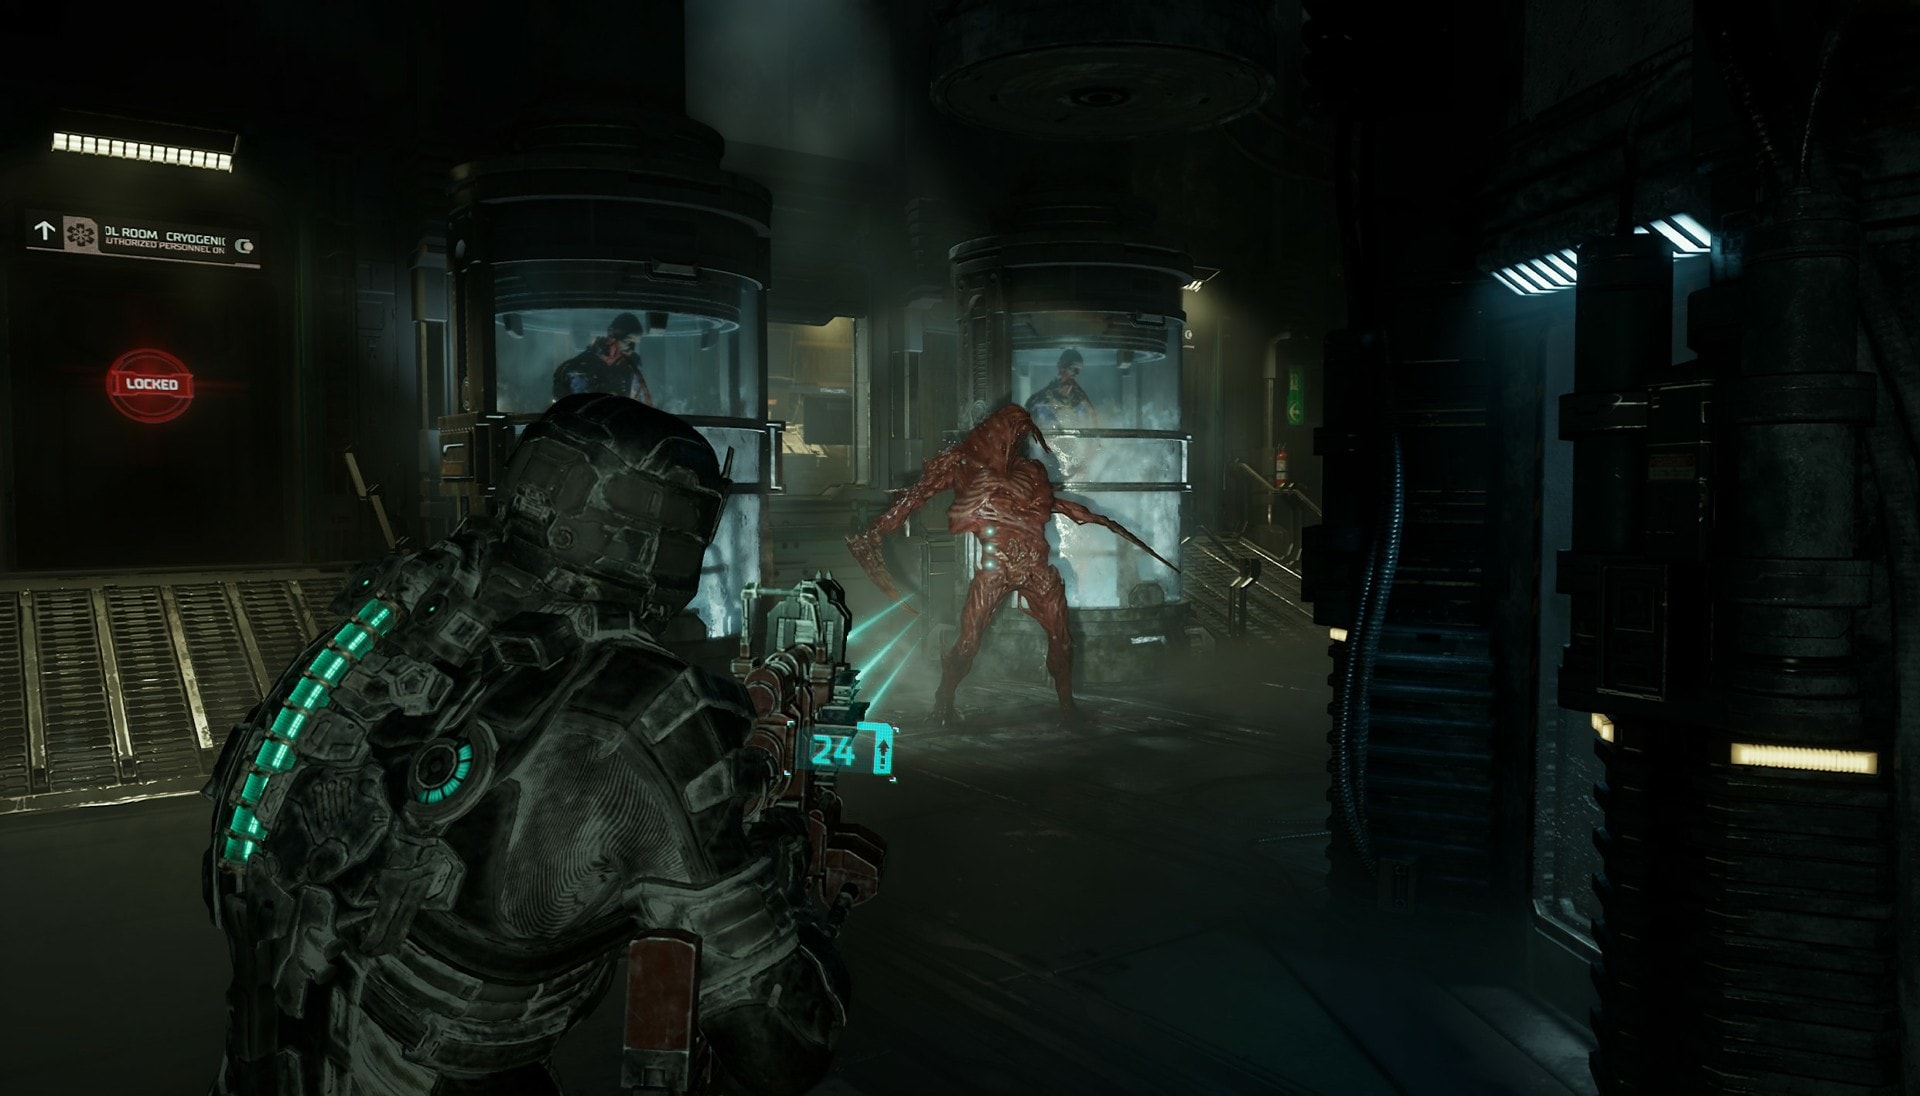
Shoot off one of the Hunter’s legs so he’ll be reduced to a crawl. Have him follow you into the central chamber and shoot off all of his limbs to force him to regenerate. The moment he starts regenerating, use Stasis on him and run into the area where Dr. Mercer was. There will be a console you can use to turn on the Cryogenics Chamber that will freeze the Hunter.
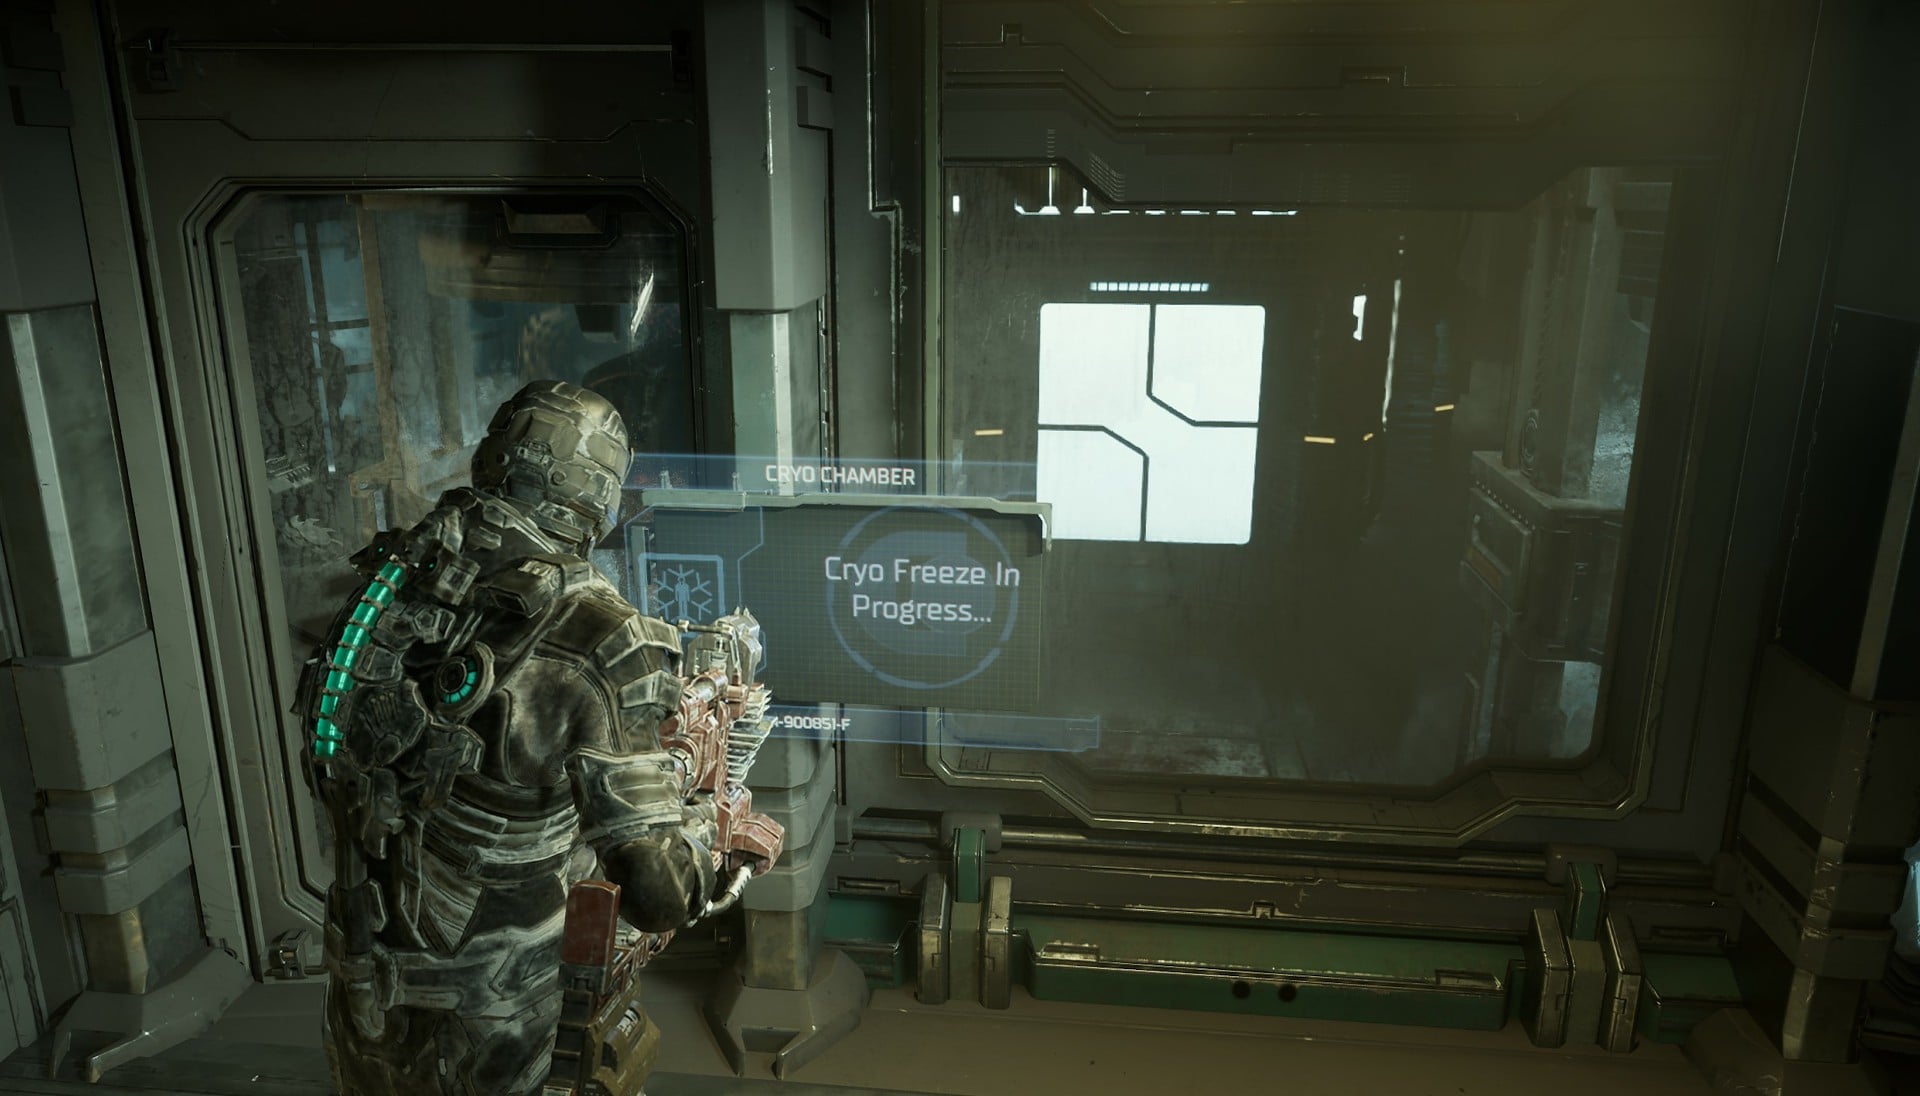
The Hunter will be shipped away and you can now breathe. Deal with any remaining necromorphs and go back into the Cryogenics Lab. You’ll get a call from Kendra and this will end Chapter 5.
Side Mission: Premeditated Malpractice
While technically part of Chapter 6, I’ll be adding this to the Chapter 5 guide since this mission has some objectives in the Medical Deck. It would be best to take care of this now while you’re here.
After the Hunter was shipped off, you’ll find something in the Cryogenics Chamber. It will be a Tissue Sample from the Hunter. Picking this up will start the side mission, “Premeditated Malpractice”. Pick up the Tissue Sample and you’ll learn that you’ll need to get this scanned.
Go to your missions tab and make this side mission your current objective. Follow your Locator to the Main Lab to find a DNA Scanner on the lower level. When you do, you’ll learn that the Hunter’s DNA matches that of a Brant Harris, a miner who worked on the colony of Aegis VII.
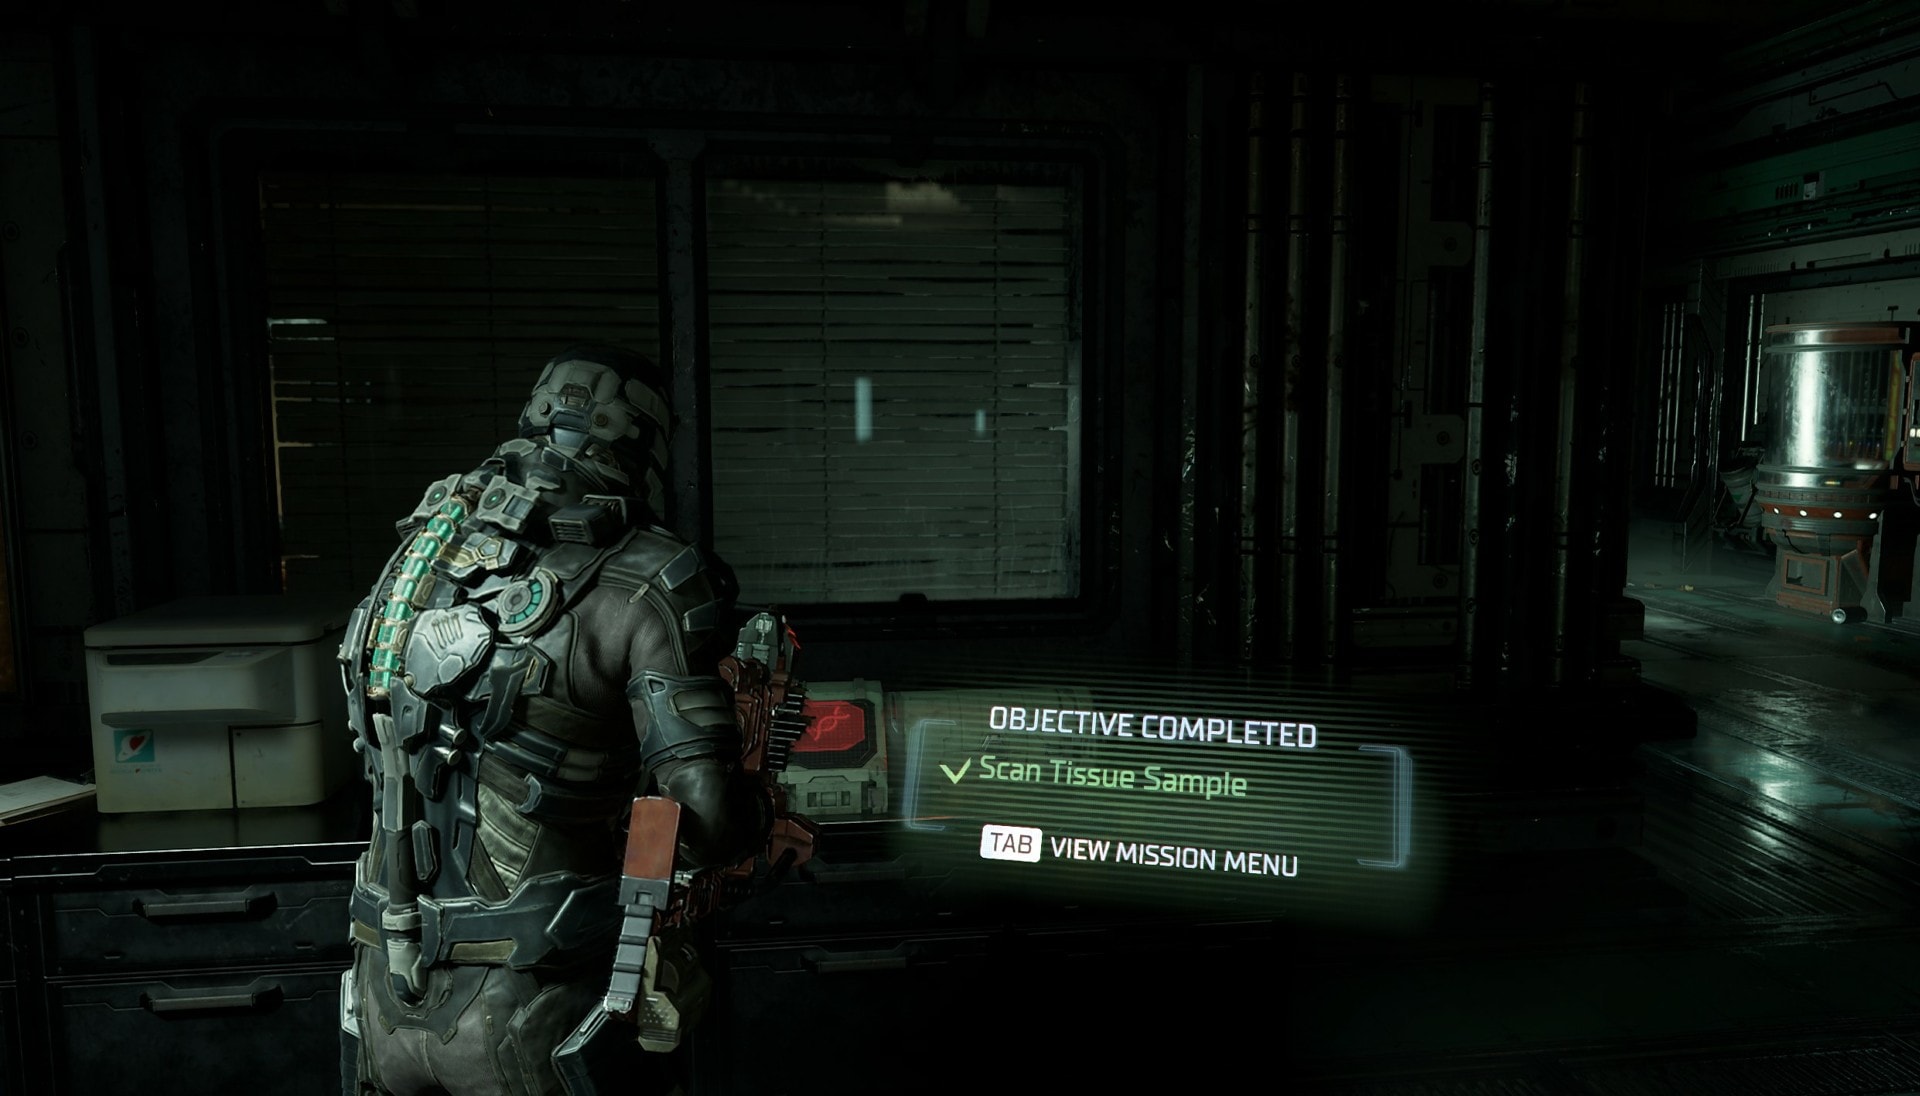
After scanning the tissue sample, you’ll have one more objective for this mission that you can complete for now. Follow your Locator and head towards the Emergency Room. Go through ER Hallway B and go into the Intensive Care Unit.
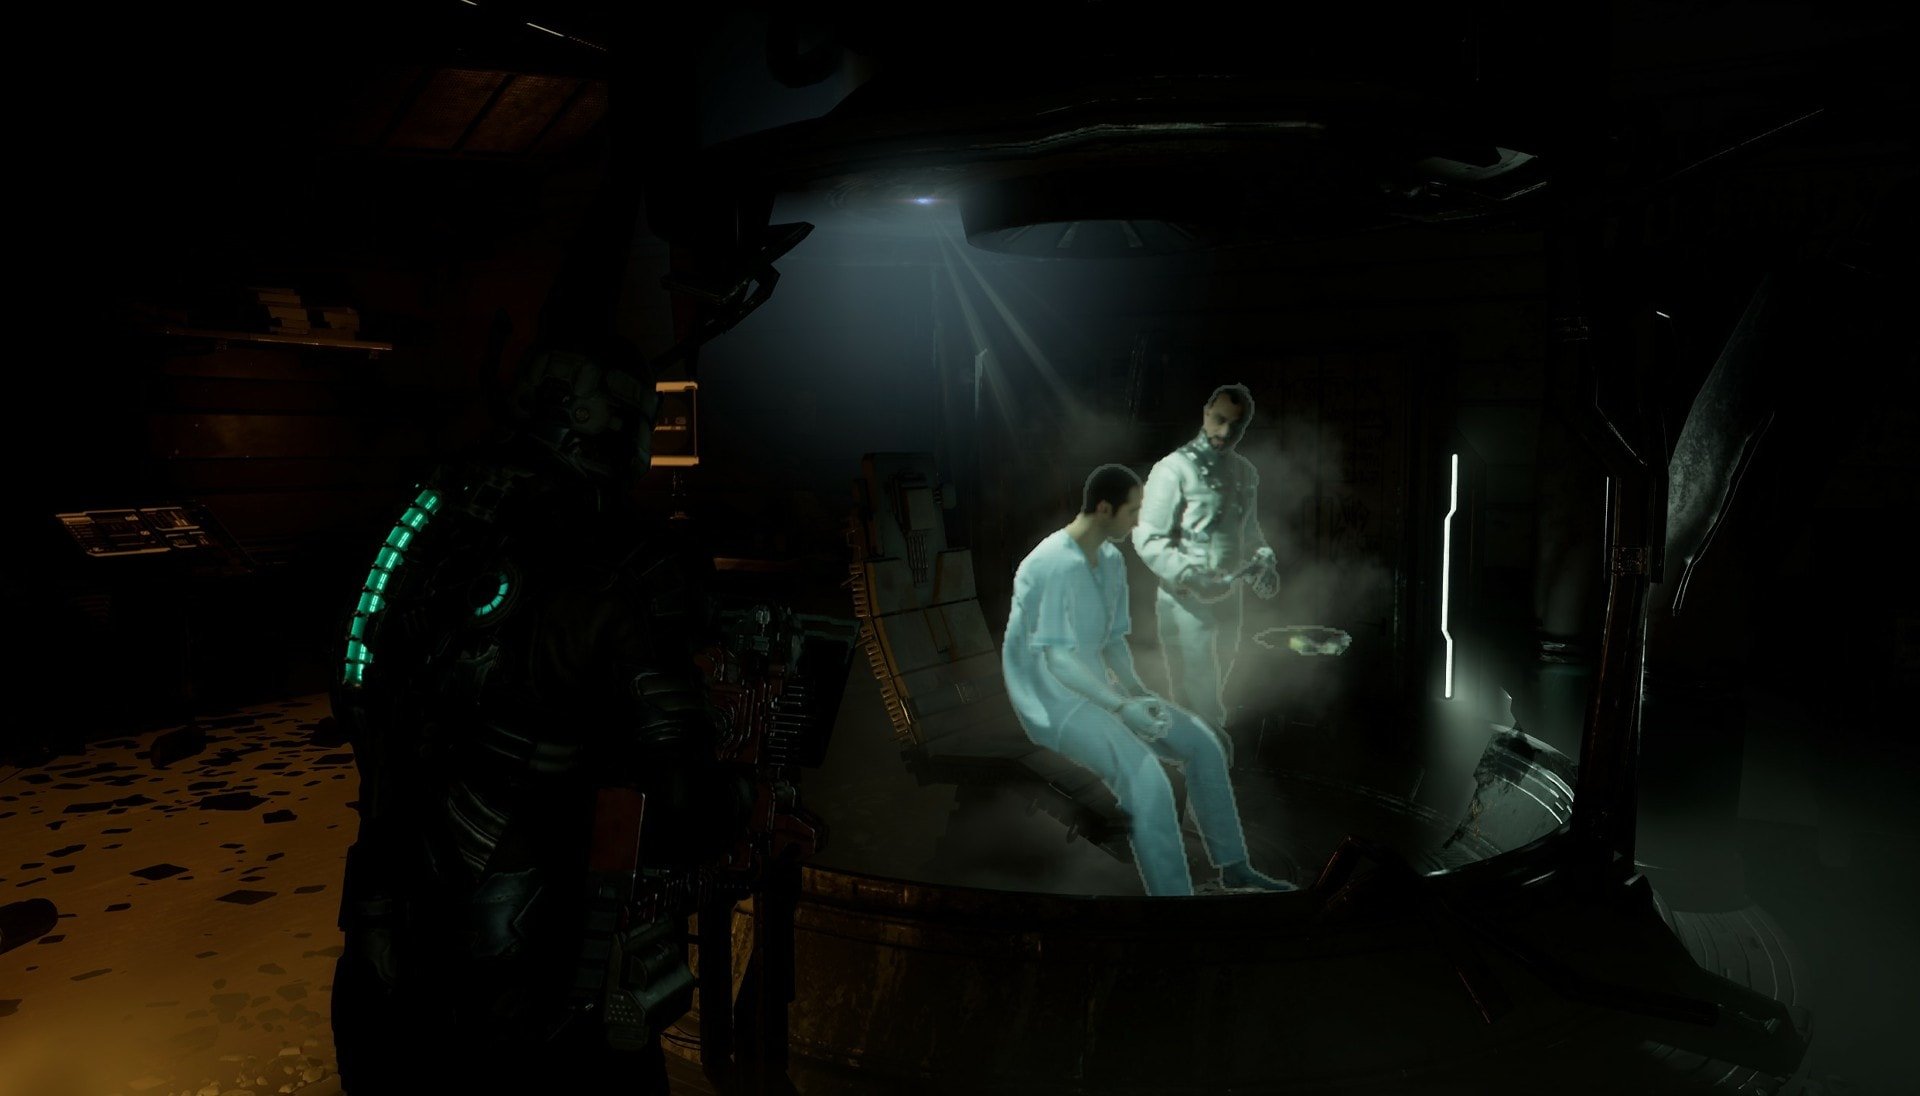
You’ll find one at the end of the room where you can play a hologram of Dr. Mercer with Brant Harris. Watch the hologram to complete what you can for now with this side mission. You can make more progress with this in Chapter 7.
Next up, read our Dead Space Remake Chapter 6 walkthrough to get through hydroponics and deal with the next batch of challenges (both mandatory and optional) that the game throws at you.
Dead Space Remake Chapter Walkthroughs Collection
Full detailed walkthroughs are available for every one of the twelve chapters of Dead Space Remake. Each guide includes helpful tips on how to get to your next objective, what to do, where to go through and what to pick up. You'll also find instructions on how to start and complete all side missions available on the way.
Dead Space Remake Chapter 1 Walkthrough
This guide will tell you how to complete Chapter 1: New Arrivals of the Dead Space Remake. This is essentially the tutorial level of the game!
Dead Space Remake Chapter 2 Walkthrough
Guide on how to complete Chapter 2: Intensive Care of the Dead Space Remake. The walkthrough also includes the available side mission!
Dead Space Remake Chapter 3 Walkthrough
Guide on how to complete Chapter 3: Course Correction of the Dead Space Remake. The guide also includes the side mission available here!
Dead Space Remake Chapter 4 Walkthrough
Guide on how to complete Chapter 4: Obliteration Imminent of the Dead Space Remake. The guide also includes the side mission available here!

Dead Space Remake Chapter 6 Walkthrough
Guide on how to complete Chapter 6: Environmental Hazard of the Dead Space Remake. Includes the available side mission objectives!
Dead Space Remake Chapter 7 Walkthrough
Guide on how to complete Chapter 7: Into the Void of the Dead Space Remake. Includes the available side mission objectives!

Dead Space Remake Chapter 8 Walkthrough
Guide on how to complete Chapter 8: Search and Rescue of the Dead Space Remake. Includes the available side mission objectives!
Dead Space Remake Chapter 9 Walkthrough
This guide will tell you how to complete Chapter 9: Dead on Arrival of the Dead Space Remake! Follow it to not miss a thing!
Dead Space Remake Chapter 10 Walkthrough
This guide will tell you how to complete Chapter 10: End of Days of the Dead Space Remake. Includes all of the side mission objectives too!

Dead Space Remake Chapter 11 Walkthrough
This guide will tell you everything you need to know to complete Chapter 11: Alternate Solutions of the Dead Space Remake!
Dead Space Remake Chapter 12 Walkthrough
This guide will tell you how to complete Chapter 12: Dead Space of the Dead Space Remake, including the final boss fight!
All Dead Space Power Node Locations Guide
This guide show all Power Nodes locations in the Dead Space Remake. The locations are structured according the areas and based on Chapters!
All Dead Space Semiconductor Locations Guide
Guide on where to find all Semiconductors in Dead Space Remake. The locations are structured according to the areas and based on Chapters!

Dead Space Remake Achievements Guide and List
Complete list of all achievements in Dead Space Remake including secret ones and any additional rewards when you obtain some achievements!
Dead Space Chapter 5 Walkthrough
This guide will tell you how to complete Chapter 5: Lethal Devotion of the Dead Space Remake. The includes primary and side objectives!
Instructions
- After getting to the Medical Deck, go to Imaging Diagnostics.
- Destroy clusters to clear the way and go to the Chemical Lab.
- After the cutscene with Mercer, get out of the Chemical Lab and into the Emergency Room.
- Place the battery into the slot that leads to the ER Hallway.
- Unlock the Emergency Medical Storage and get the Line Gun.
- Go to Dr. Mercer's Office and override the lockdown.
- When you exit the office, poison gas will fill the Medical Deck. Run to the left of ER Hallway B past the Pregnant necromorph.
- Go through the Emergency Room and get to the Security Checkpoint to filter out the gas.
- Go back to Imaging Diagnostics and use the shortcut you used earlier to get back to the Chemical Lab.
- Go through the other door in the Chemical Lab to access the Cryogenics Lab.
- Pick up the Liquid Nitrogen in the Cryogenics Chamber.
- Lure the Hunter into the Cryogenics Chamber, dismember and stasis him in the chamber.
- Run up to the consoles in the observation room to freeze the Hunter.
- Pick up the Tissue Sample in the Cryogenics Chamber and head to the Main Lab.
- Scan the Tissue Sample in the Main Lab and make your way to the Intensive Care Unit.
- Watch the hologram at ICU to complete what you can of the side mission for this chapter.