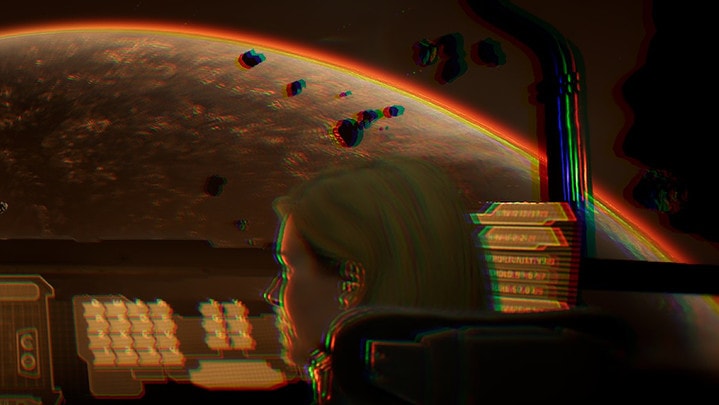
This guide will tell you how to complete Chapter 10: End of Days of the Dead Space Remake! The guide includes the side mission objectives along the main mission progress.
This guide is for the Dead Space Remake, released in 2023!
List of Power Node locations in Chapter 10: Power Node Location Guide.
List of Semiconductor locations in Chapter 10: Semiconductor Location Guide.
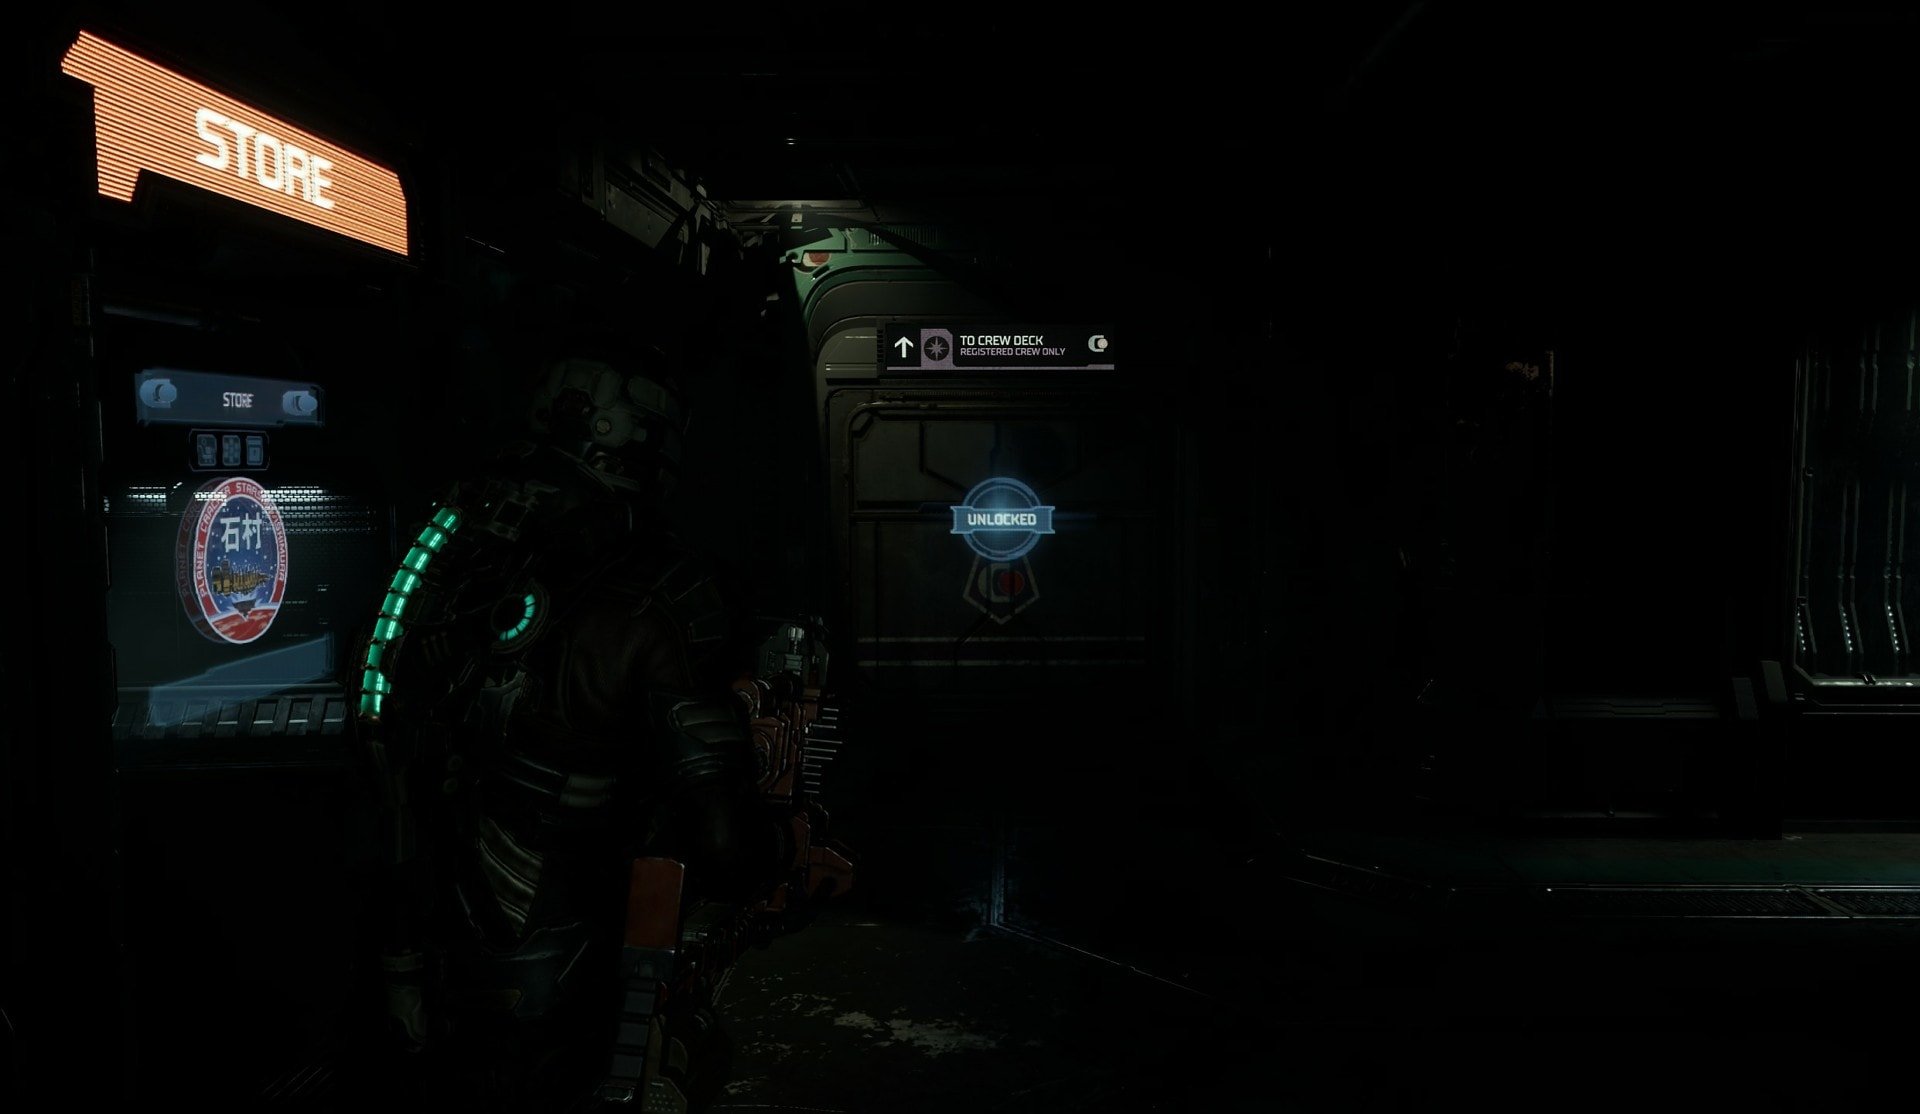
Get to the Crew Deck
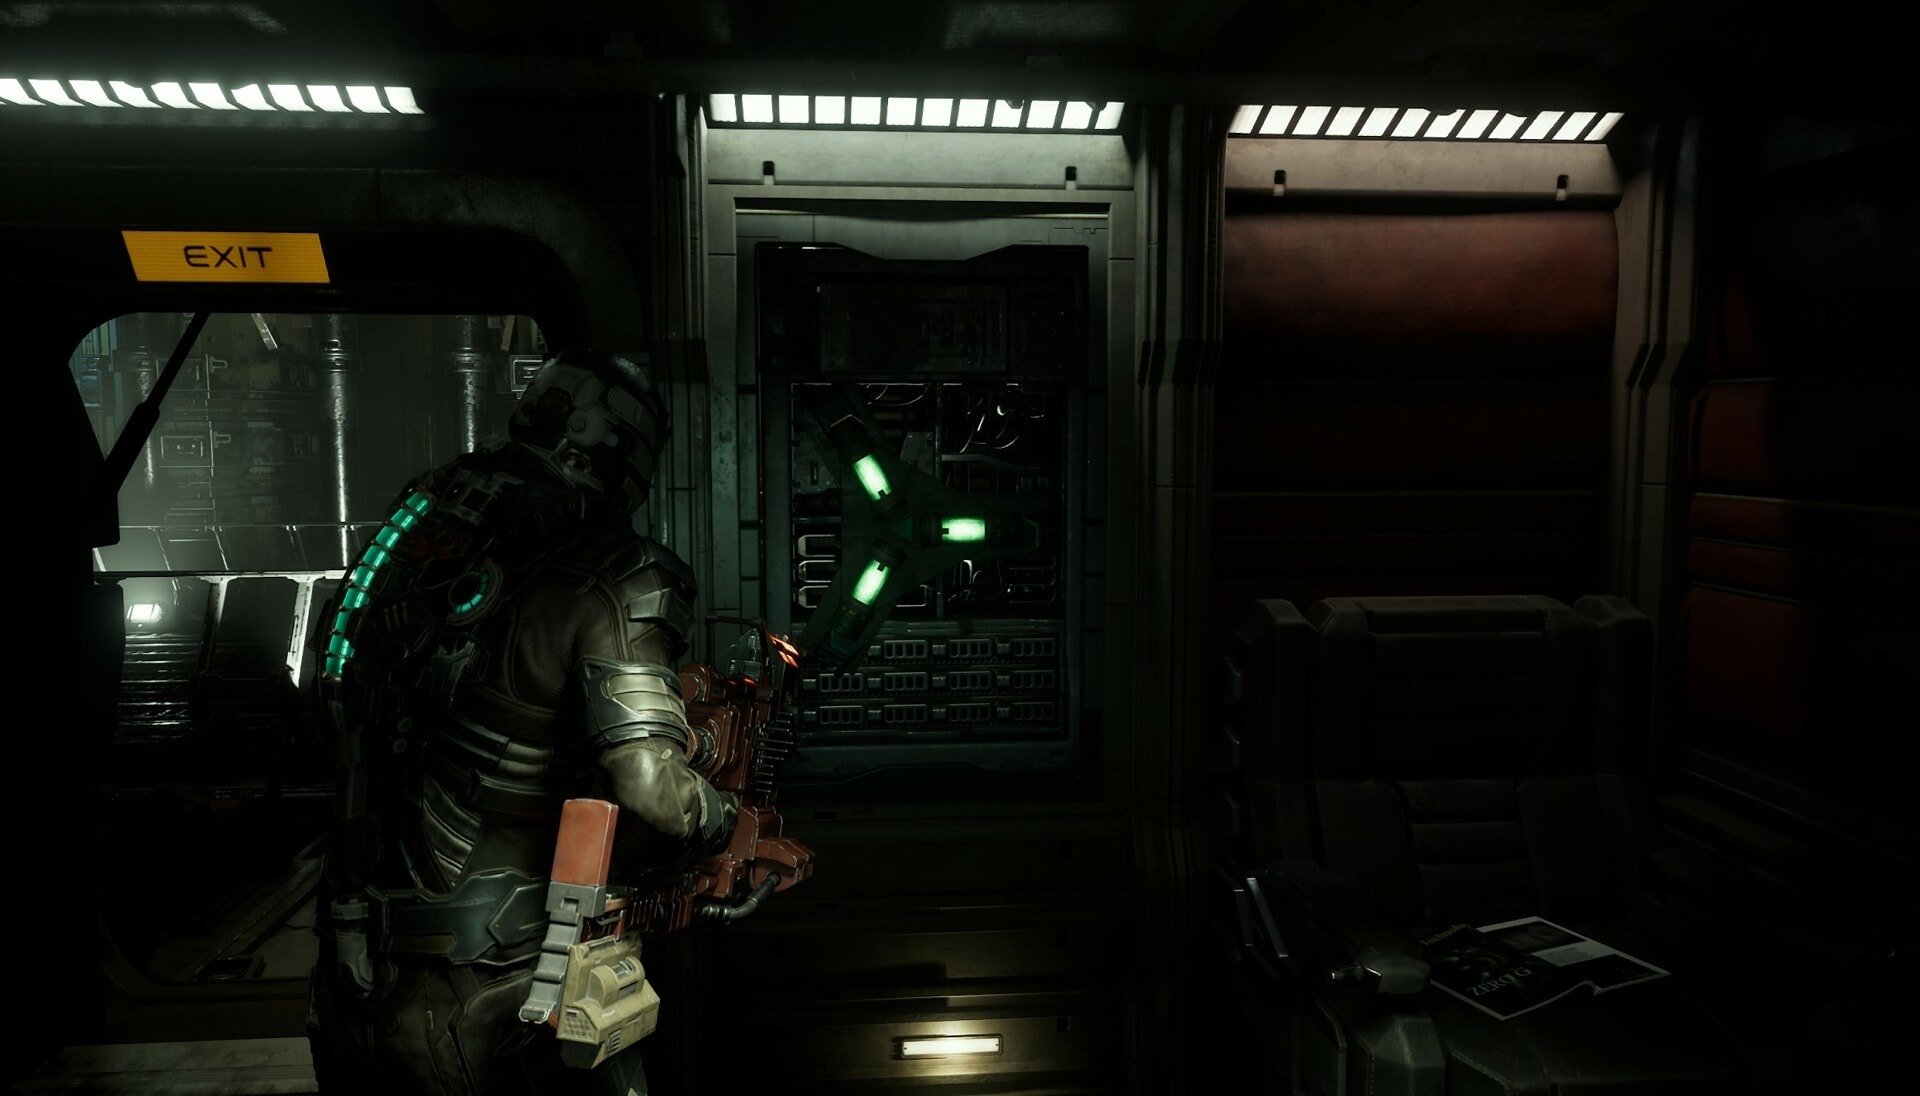
After escaping the USM Valor, you’ll need to find the Shuttle that’s within the Crew Deck. Make your way to the Bridge’s Main Atrium and go to the Store Kiosk. The door that leads to the Crew Deck is now open.
Go through this door and follow the path as it will lead you into the Tram Tunnels below. You’ll find a door that leads to the Crew Deck Tram Station. Go through this door and make your way to the Tram Station.
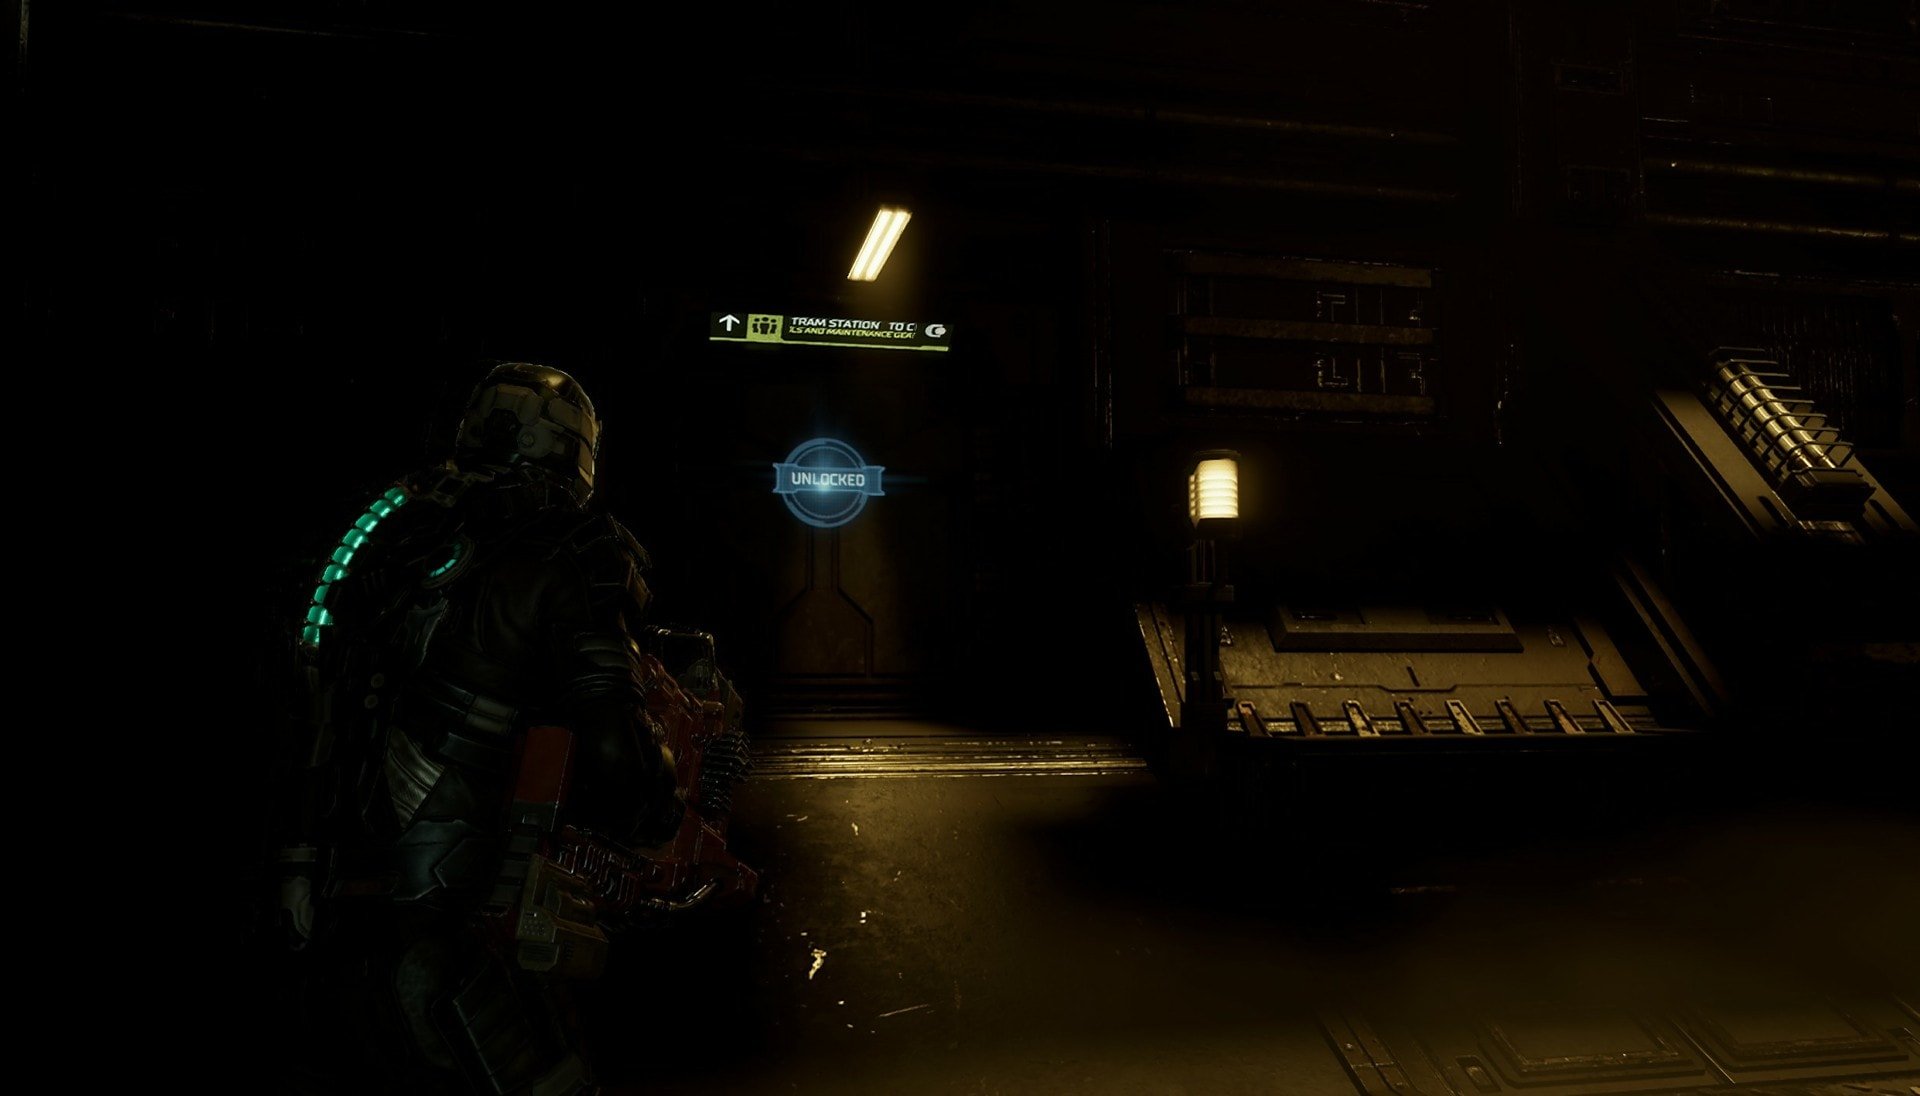
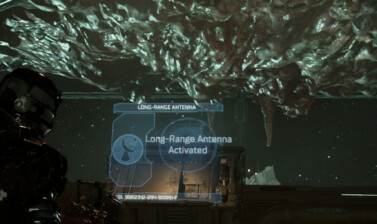
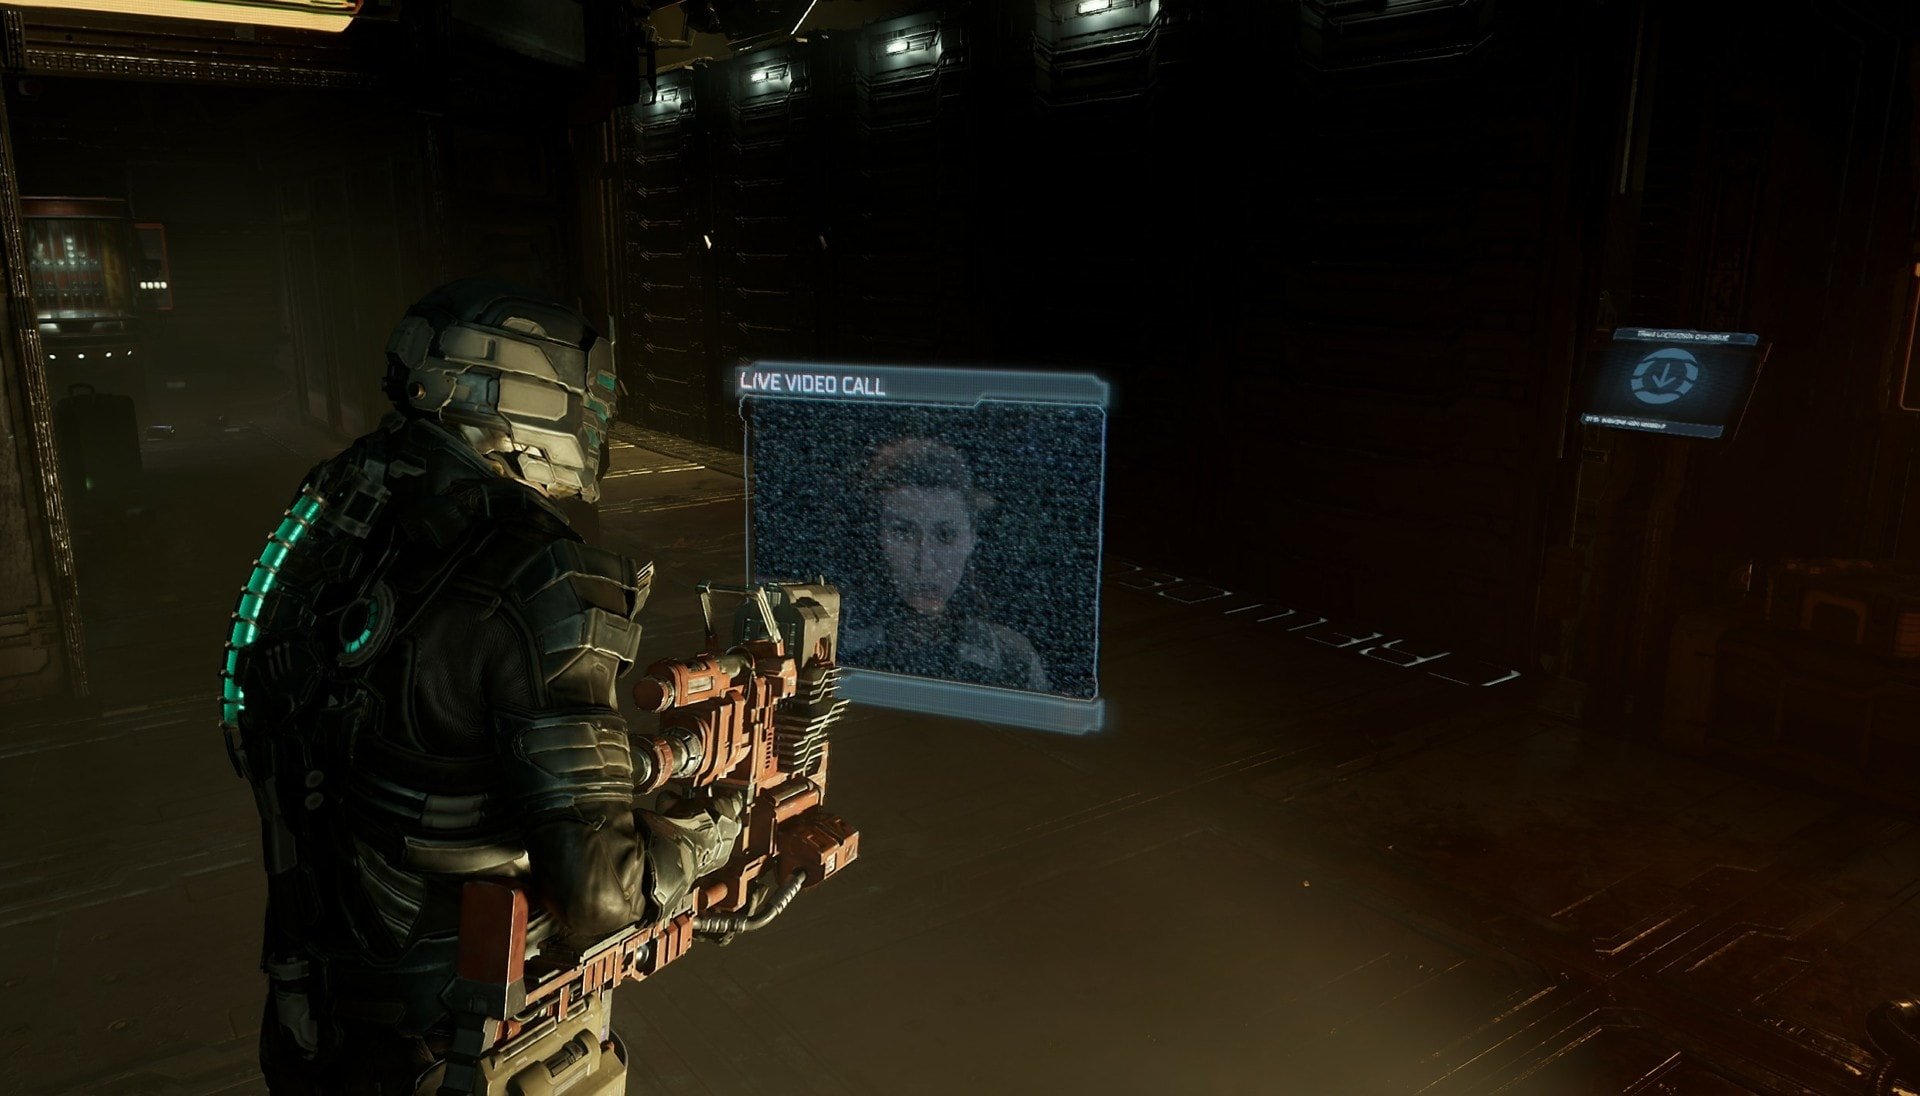
When you reach the Tram Station, you’ll get a call from Kendra. While you’re here, override this Tram Station so you will have unlocked all Tram Stations on the Ishimura.
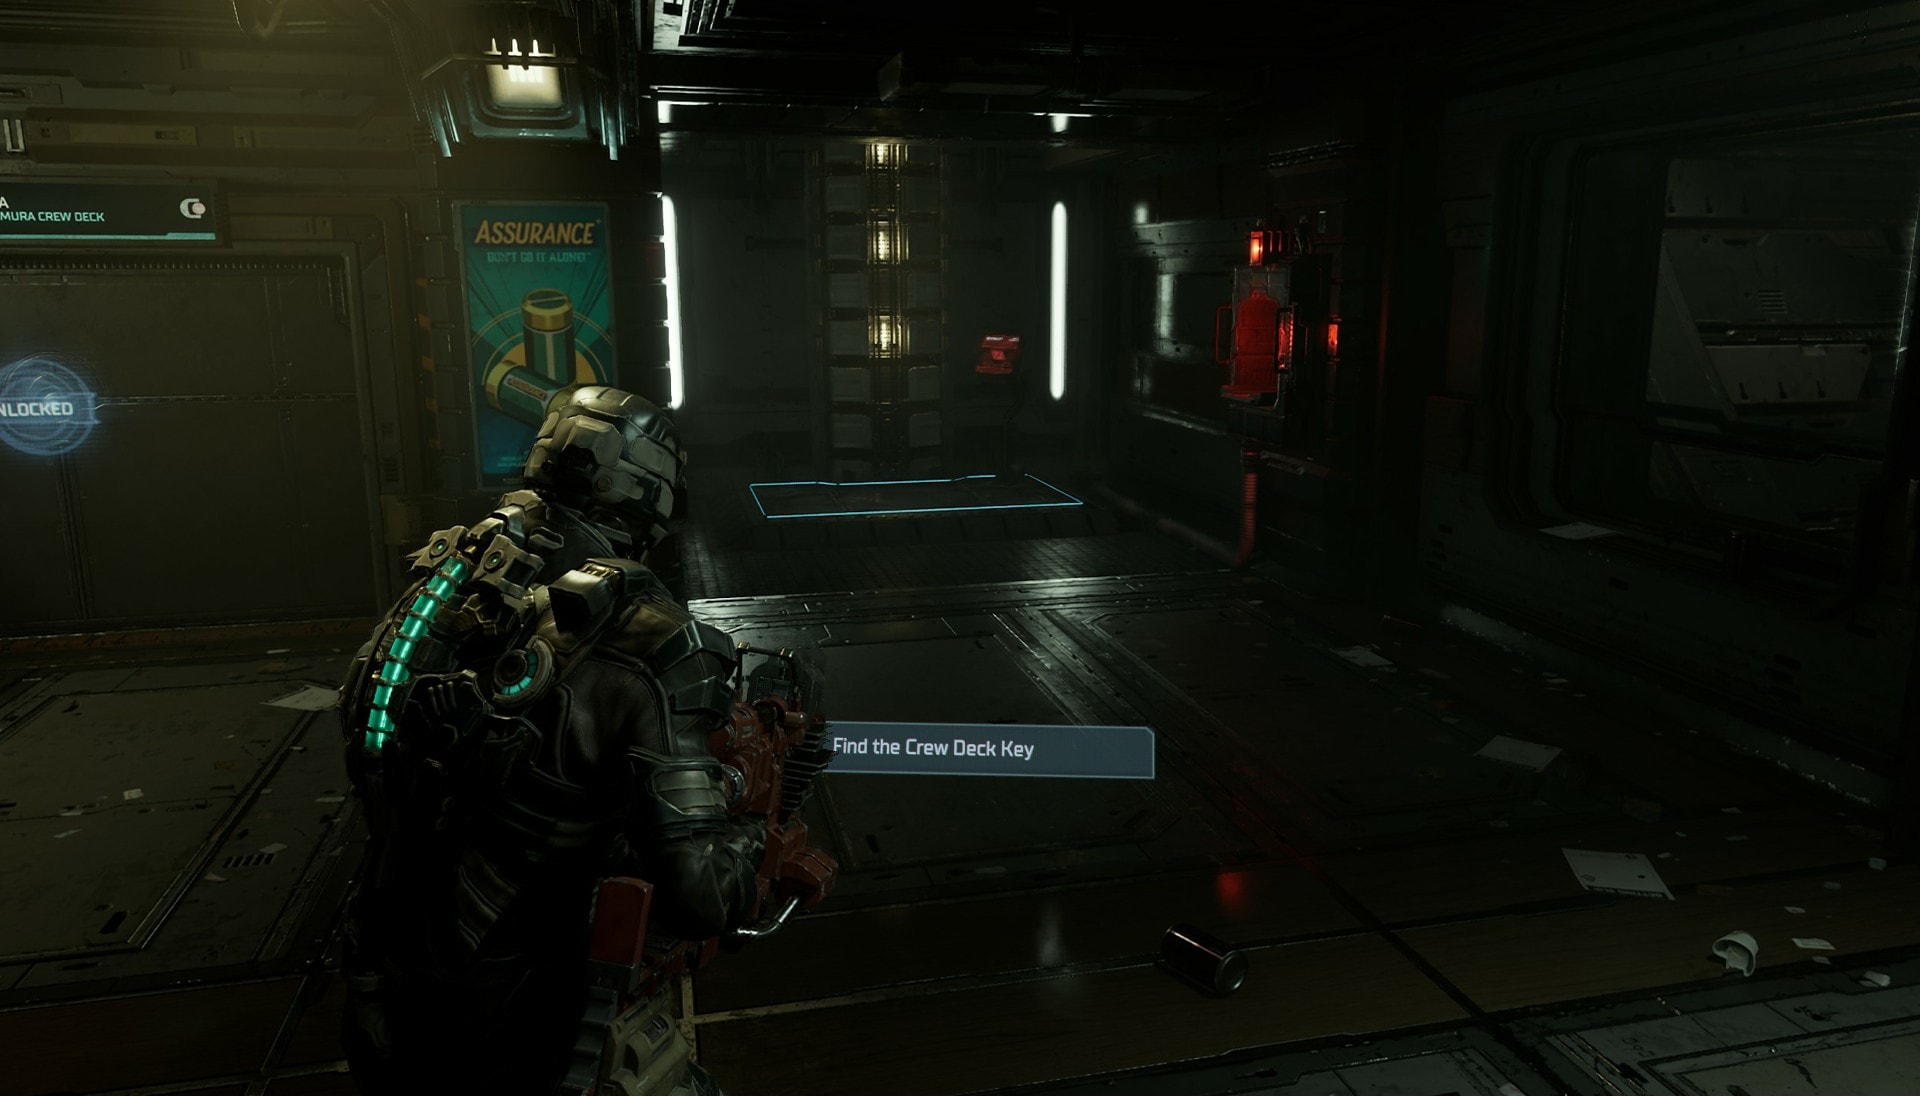
Find the Crew Deck Keycard
After the call, go to the Crew Deck and you’ll be greeted by a room filled with dead Unitologists! If you haven’t learned this already then I’ll point it out again, stomp ALL the bodies in a room if there’s a lot of them lying around. Look in all corners of the room to make sure you stomp all the bodies.

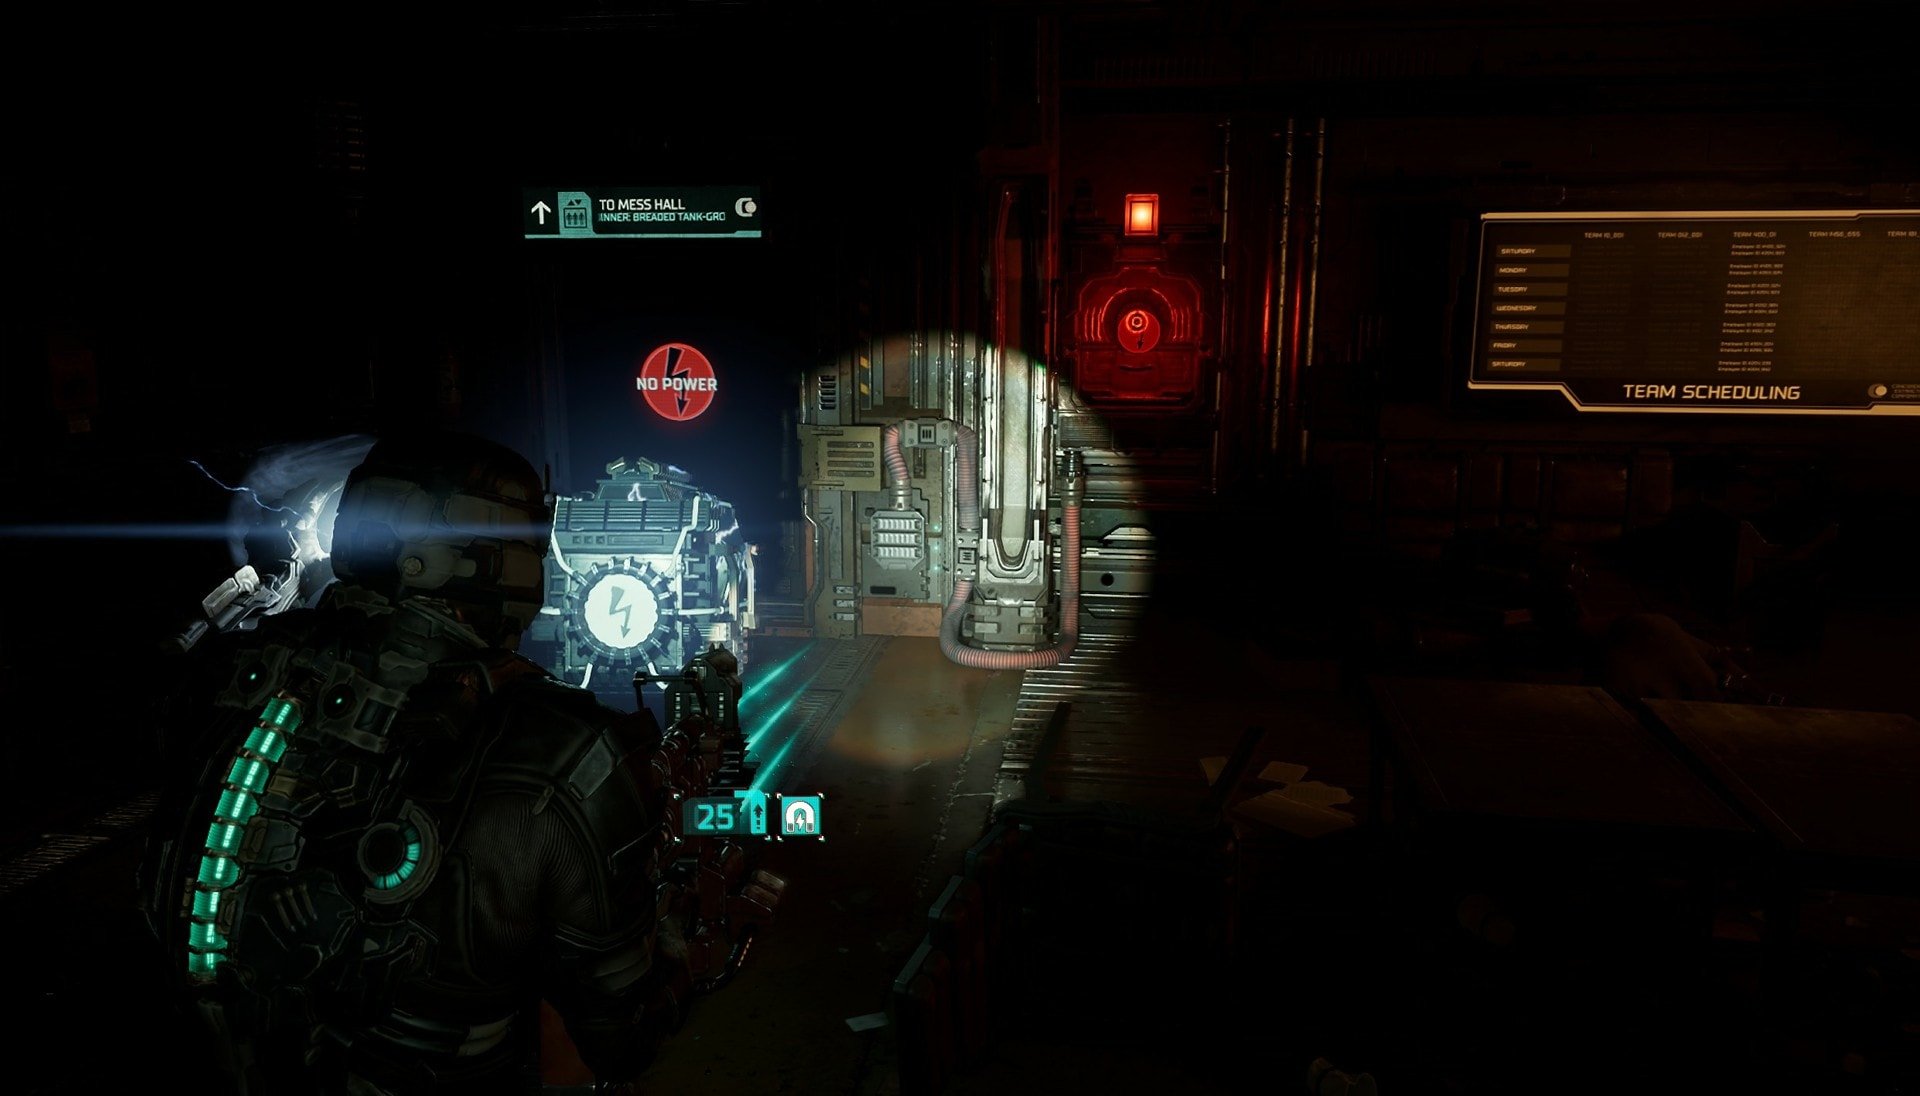
The elevator in this room is locked down and requires the Crew Deck Keycard to access. Follow your Locator and it will lead you towards the Gymnasium. There’s an unpowered elevator that you’ll need to find a battery for.
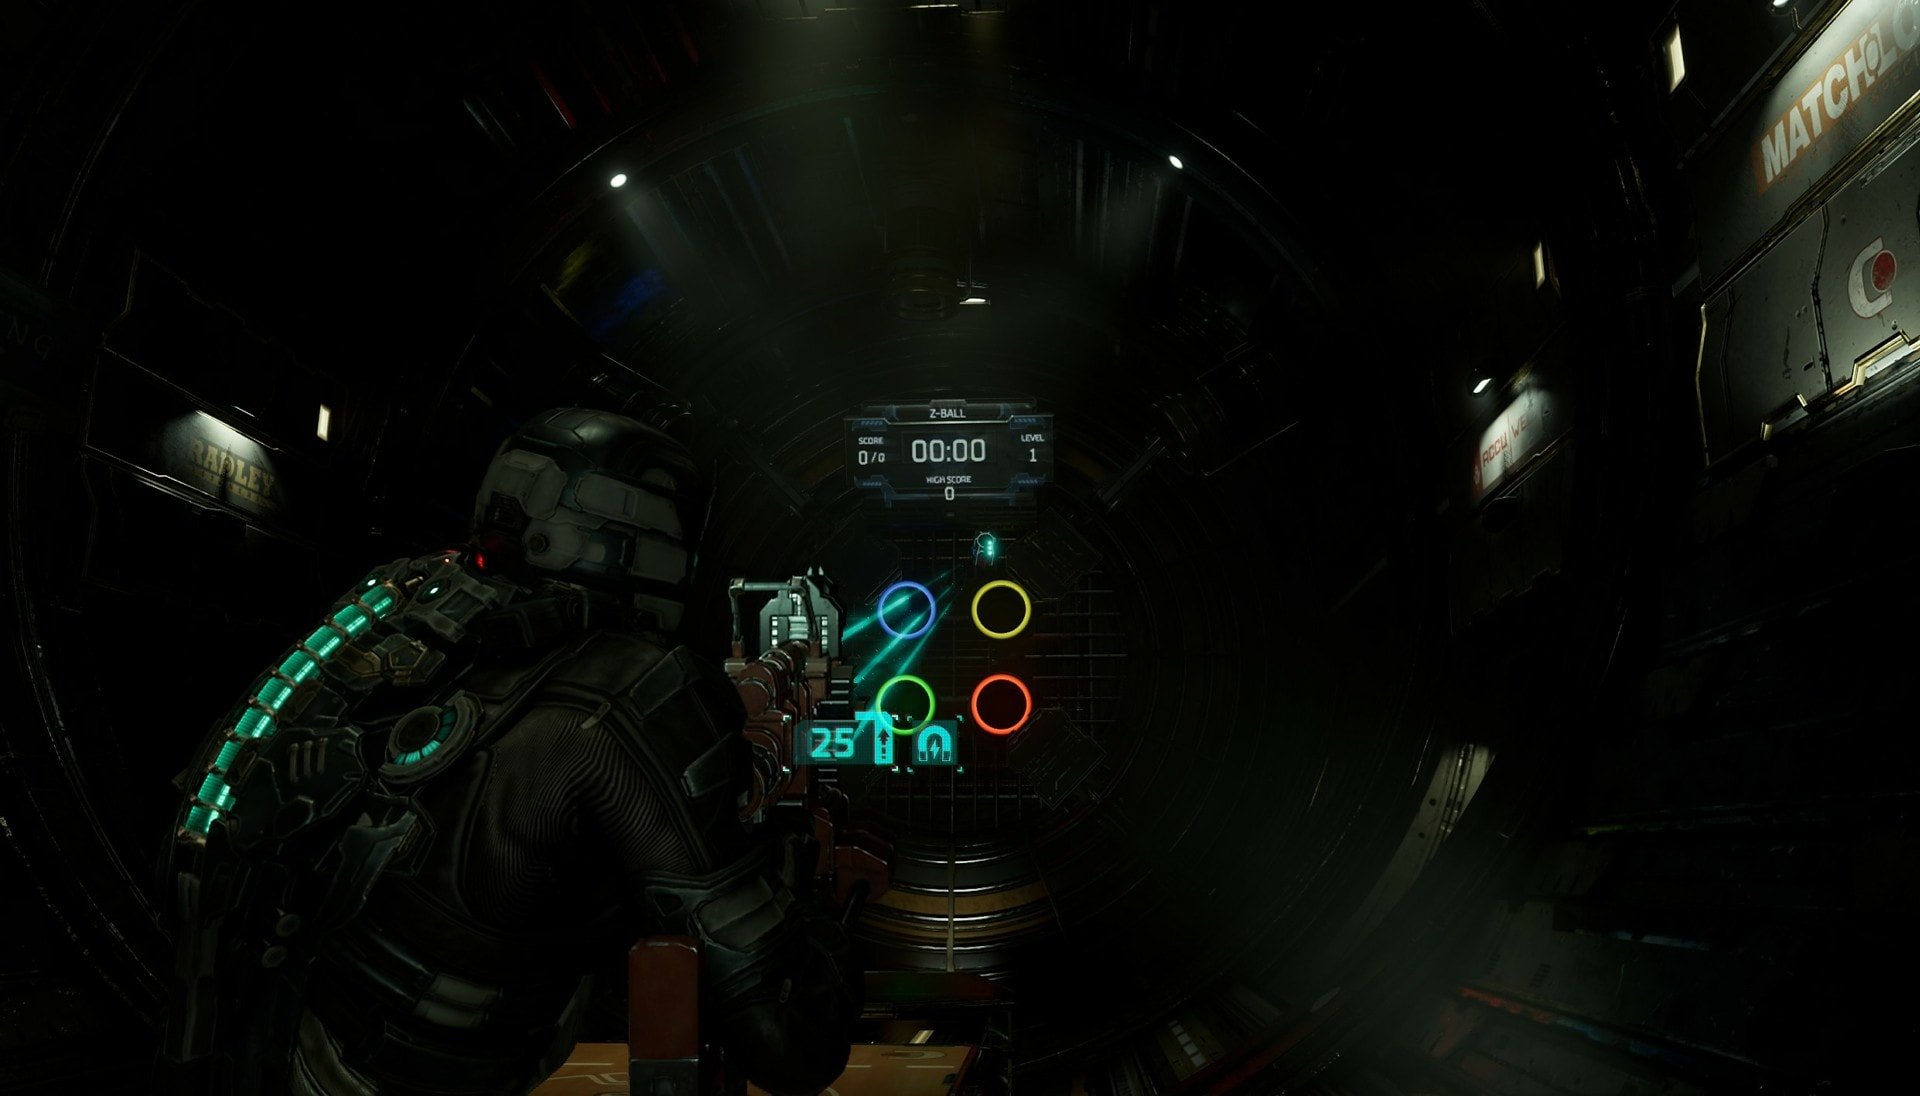
You can find the battery inside the Zero-G Basketball court. Use Kinesis to insert the battery into the slot to power the elevator. But before going up the elevator, I would recommend playing some Z-Ball! This mini-game requires you to use Kinesis to launch the basketball through the colored holes. If you get beat Level 6 you’ll get some goodies from the lockers!
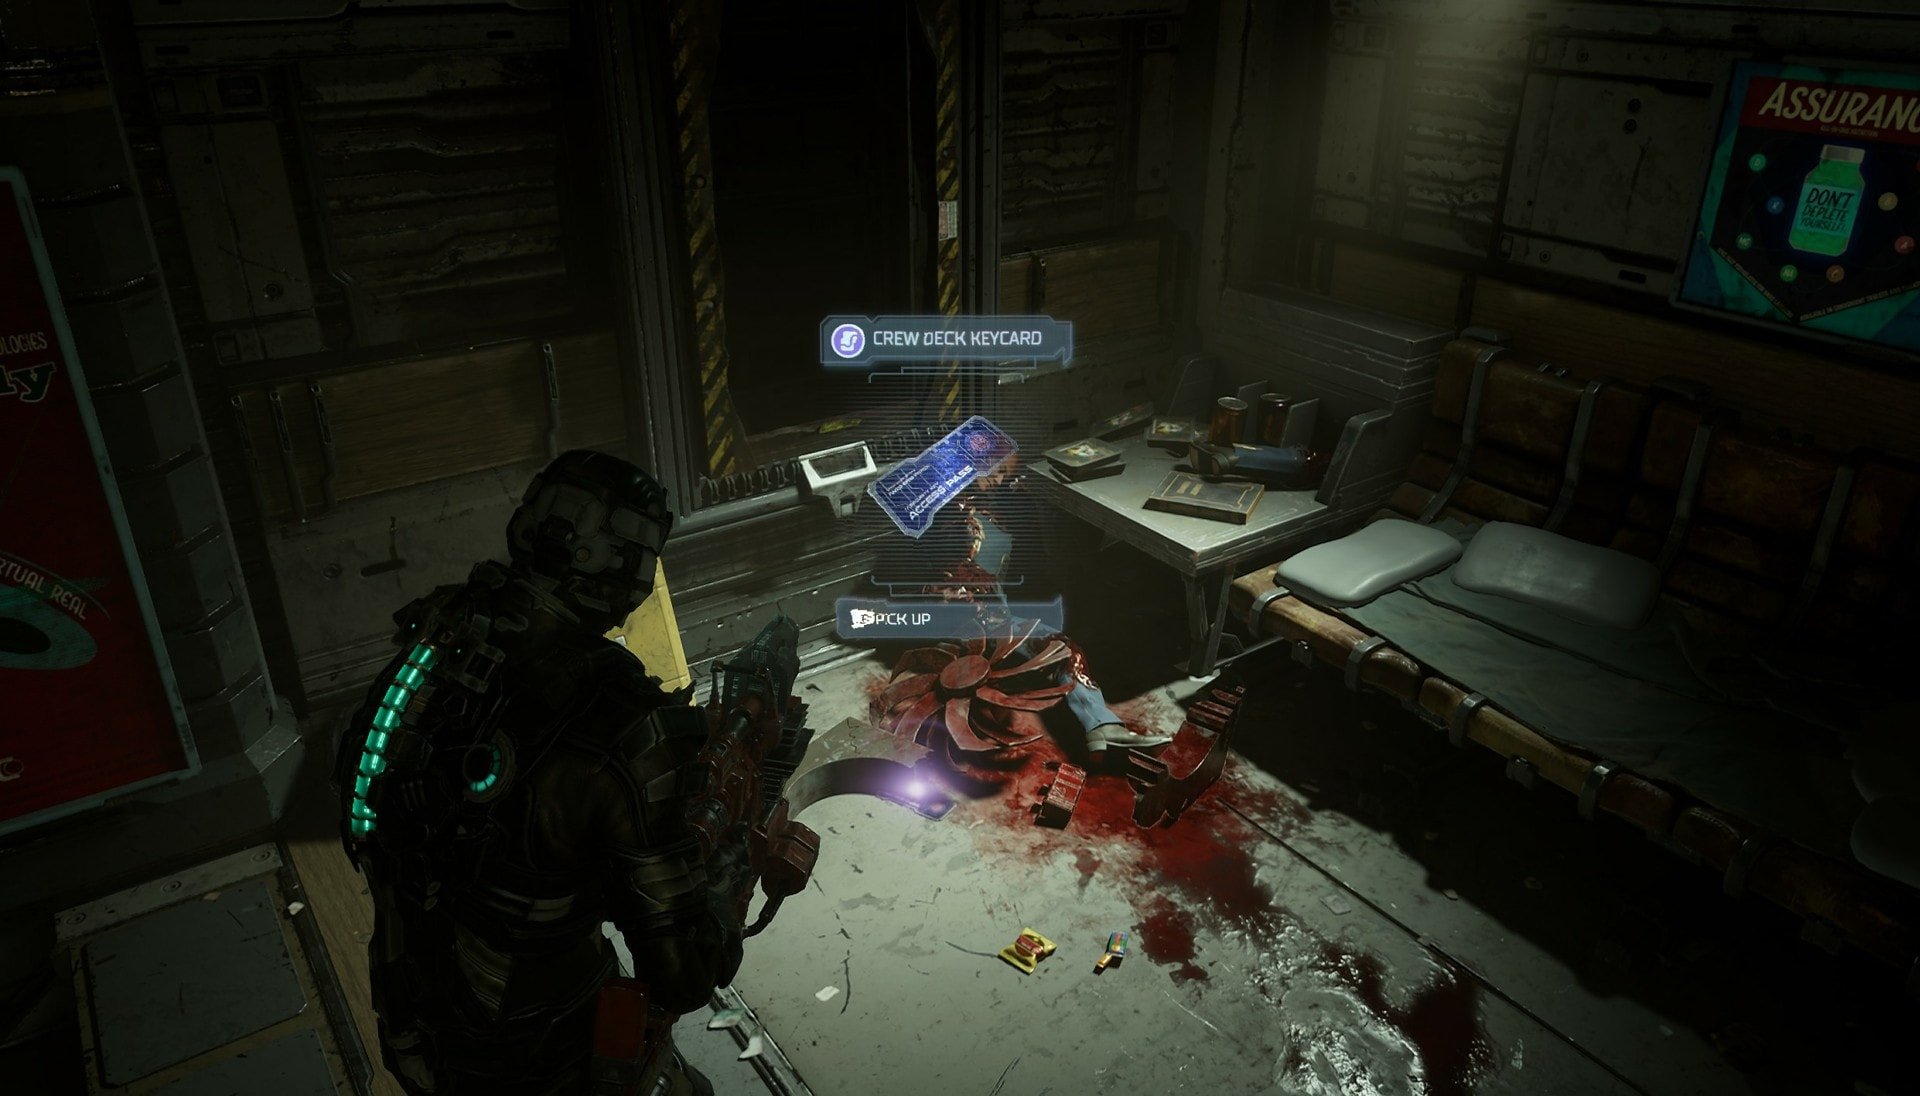
Go up the elevator and you’ll find the Crew Deck Keycard on the upper level. Go back to the Common Room and use the Keycard to unlock the elevator. Go to Floor 1 on the elevator to reach the Crew Quarters level.
Destroy the Clusters
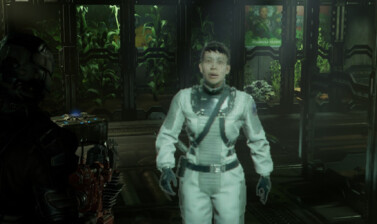
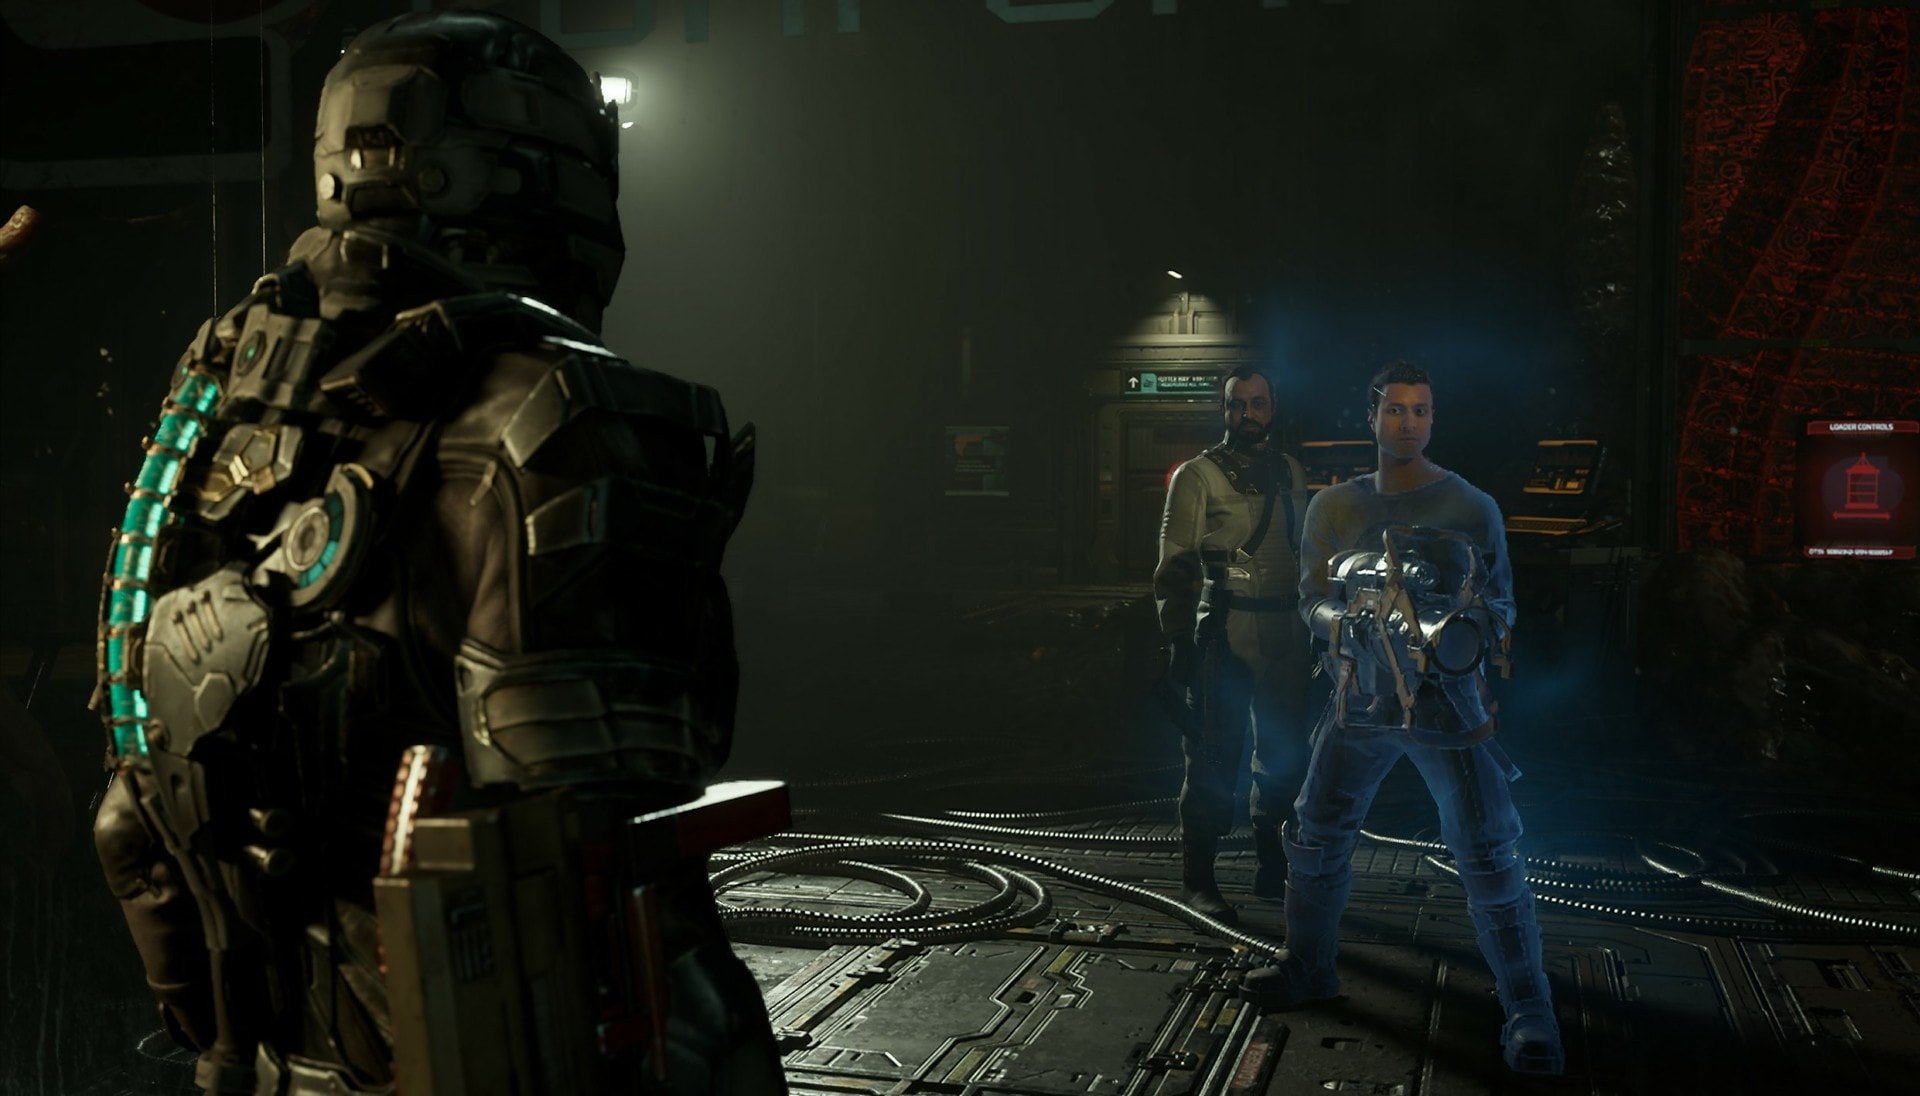
When you get to this level a cutscene will play where Jacob Temple confronts Dr. Mercer. You might recall Jacob as being Dr. Elizabeth Cross’s partner and who she was looking for. Things… don’t go well here and they are about to get even worse as Harris (The Hunter) is back!
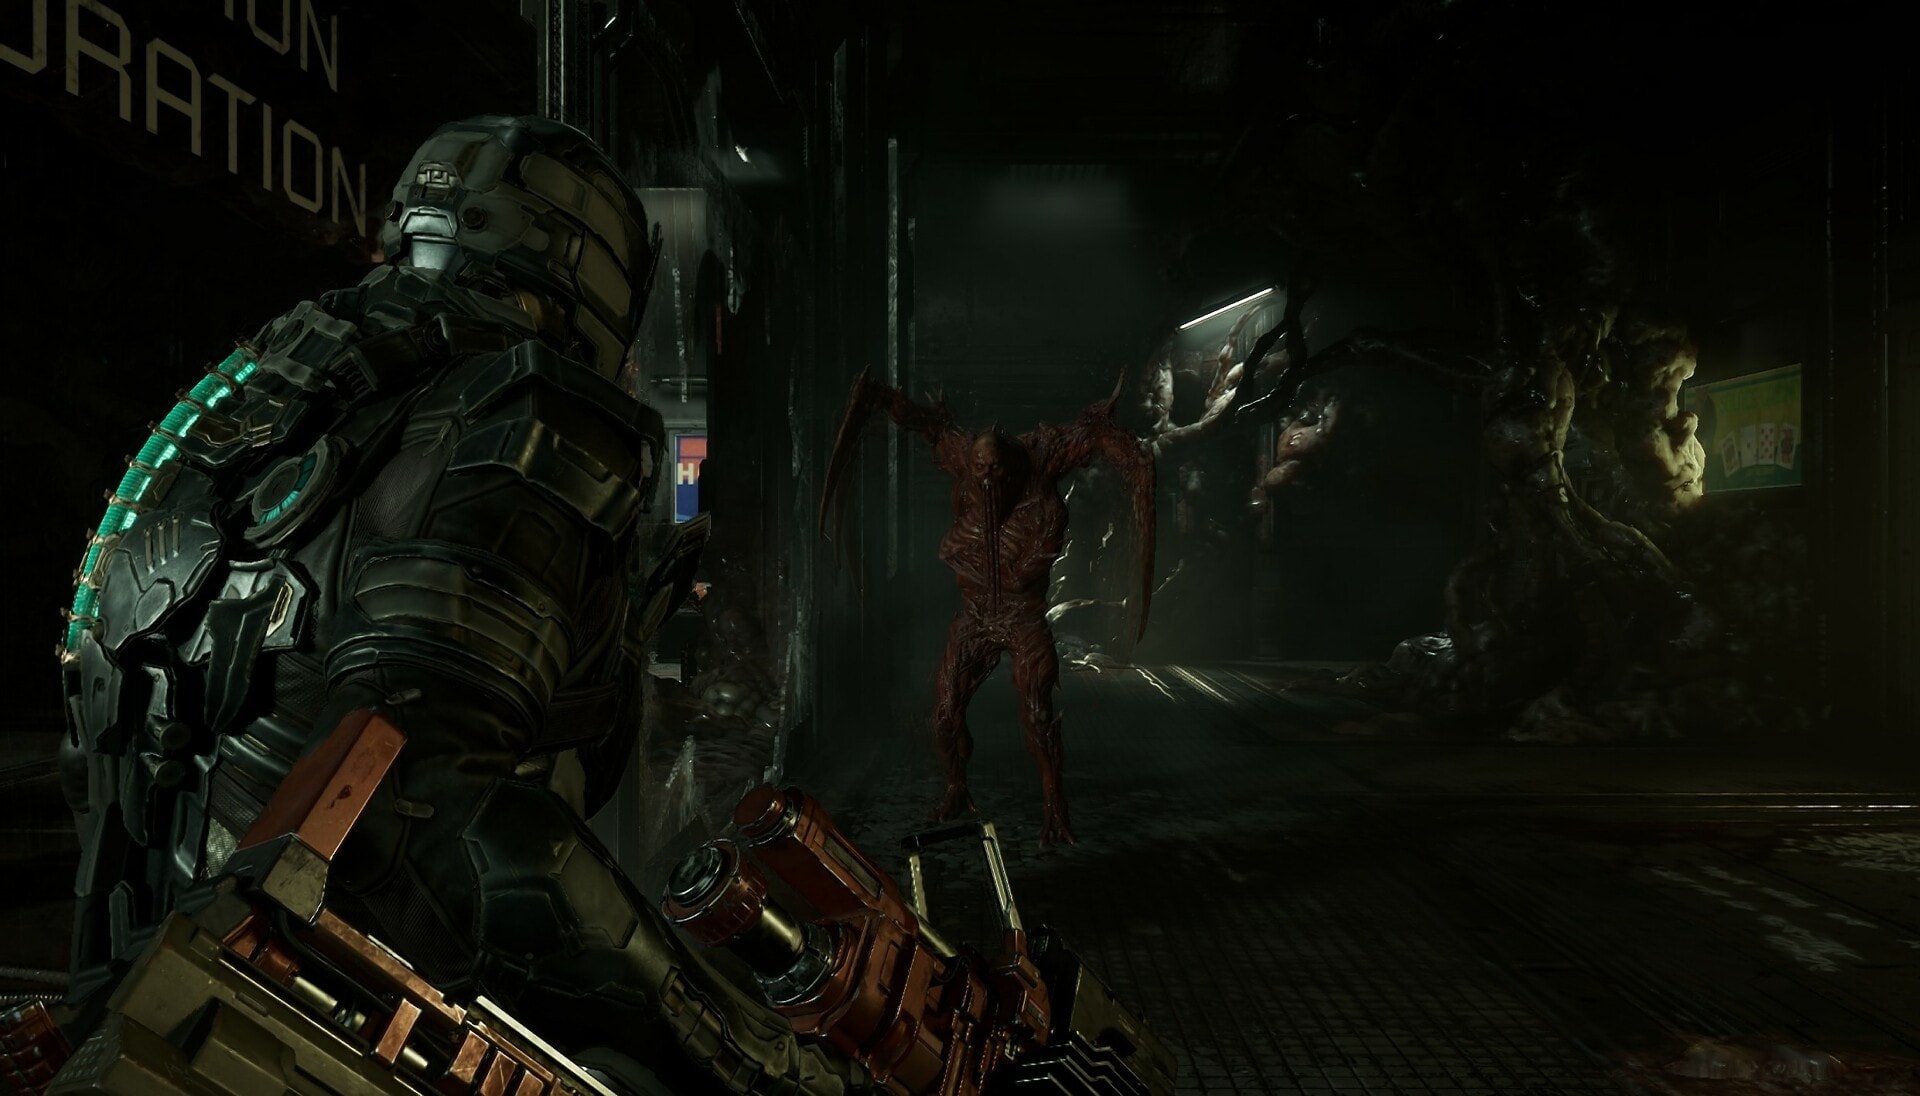
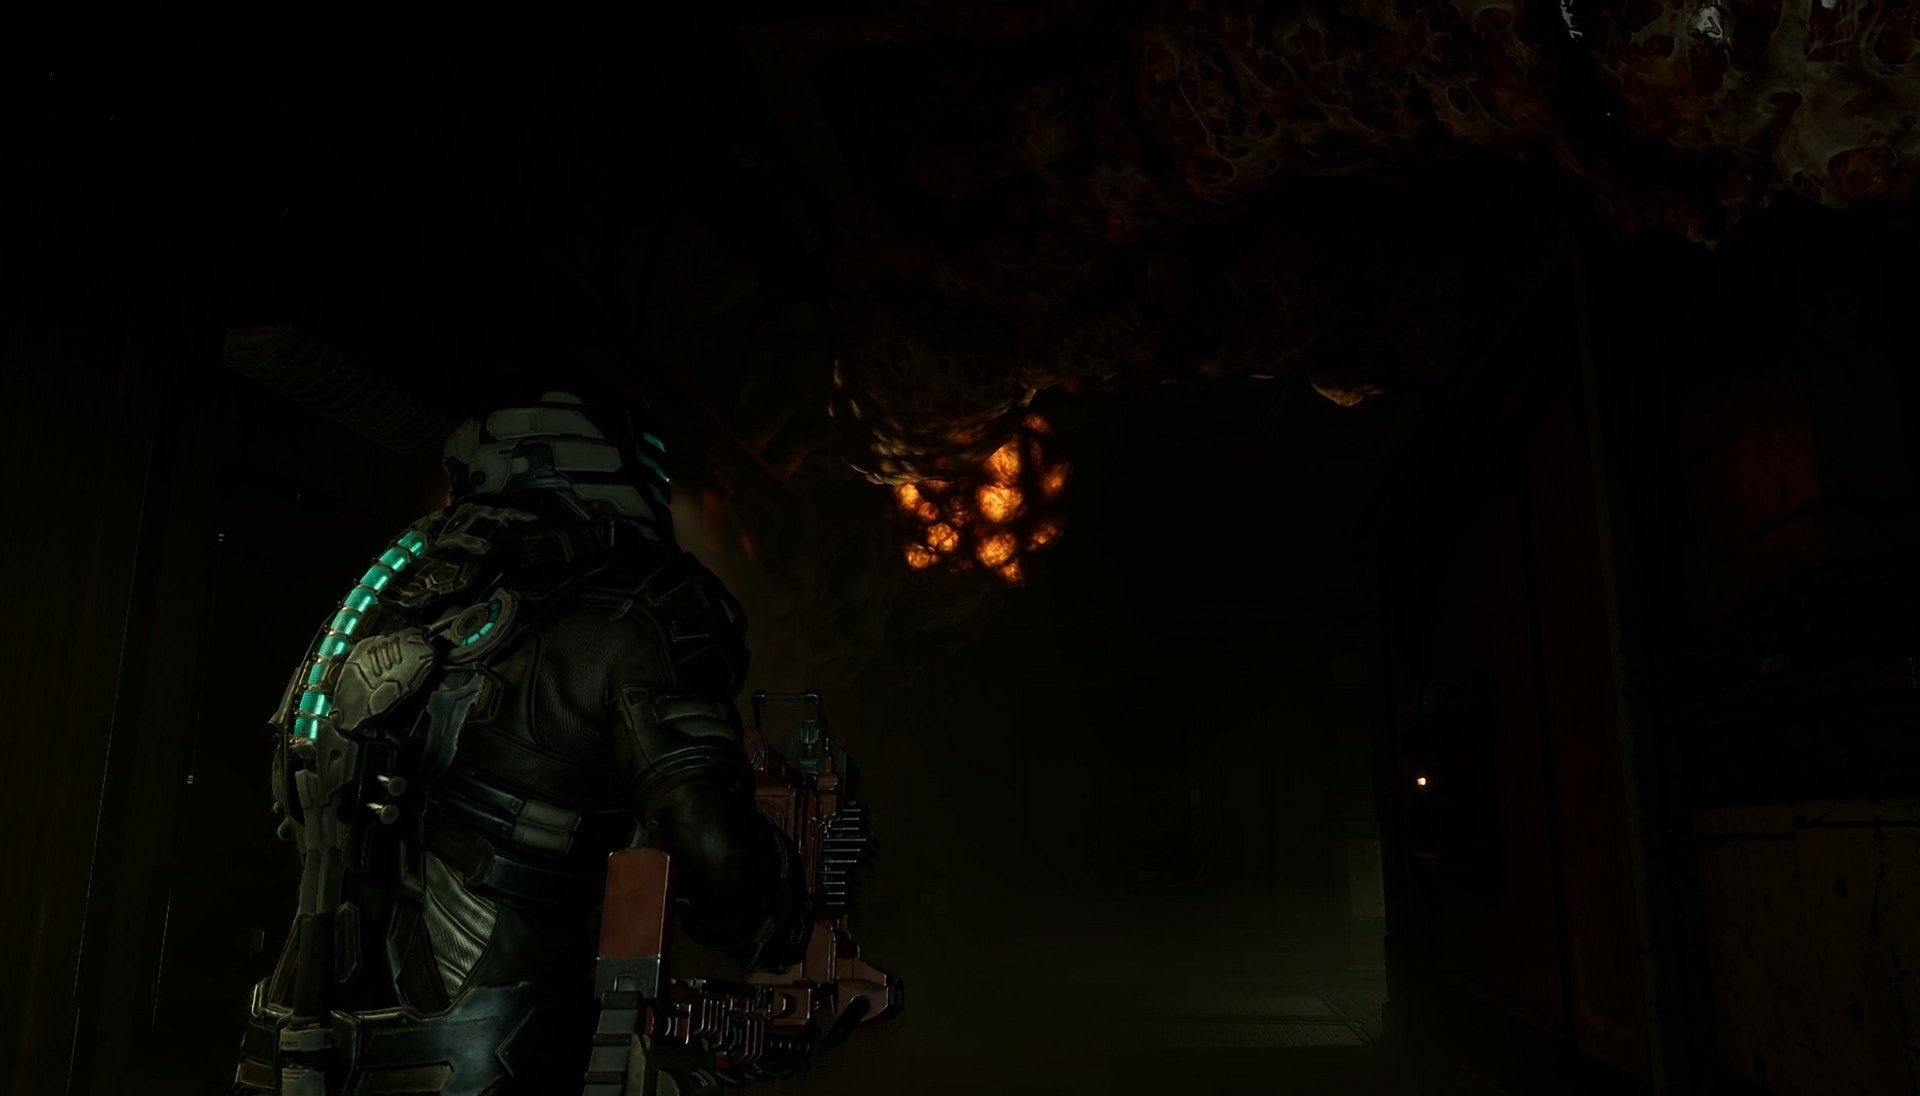
Dismember the Hunter and use Stasis on him. Go past the broken glass and look for the cluster in this room. Shoot it to open access to the Mess Hall and go into the Mess Hall.
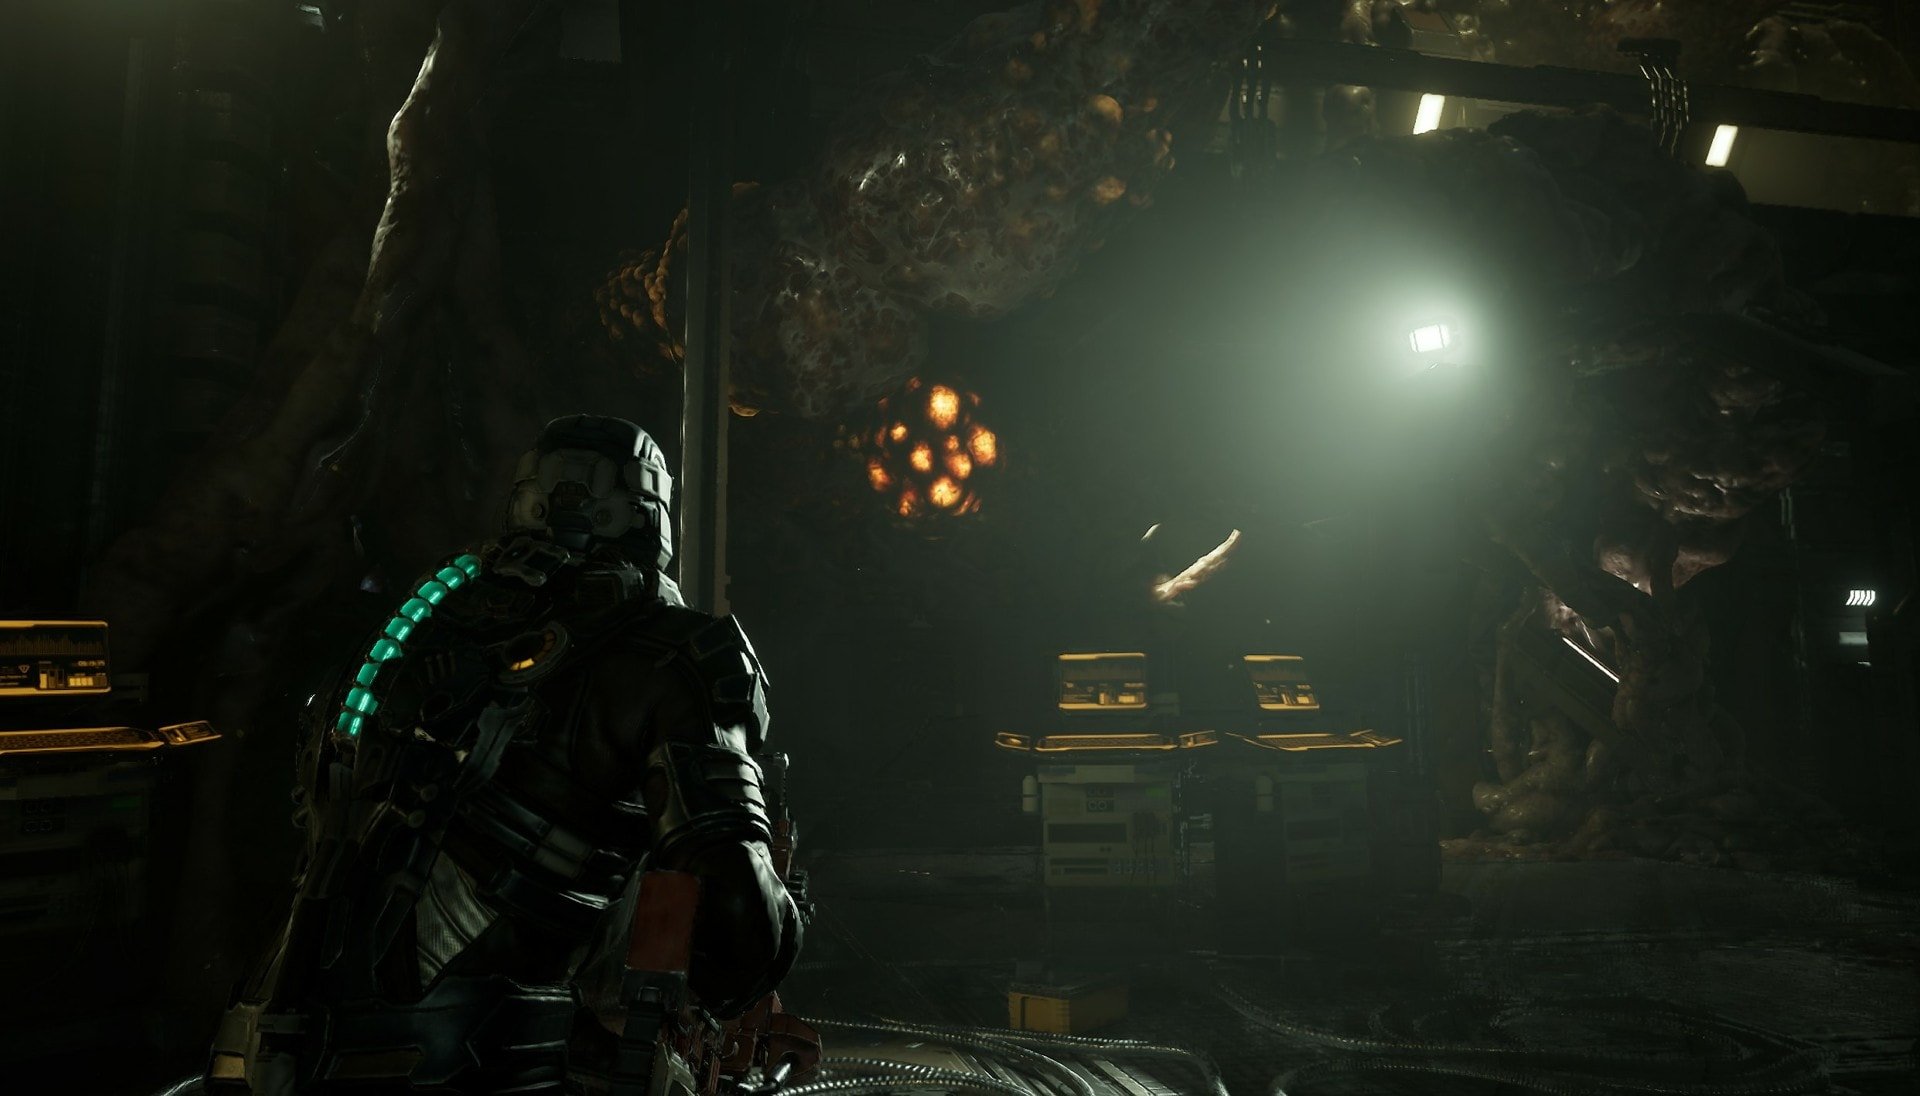
The Mess Hall is quite the mess but you must push forward regardless. When you get down the elevator you’ll encounter 2 Dividers. Defeat them and make your way to the Standard Quarters.
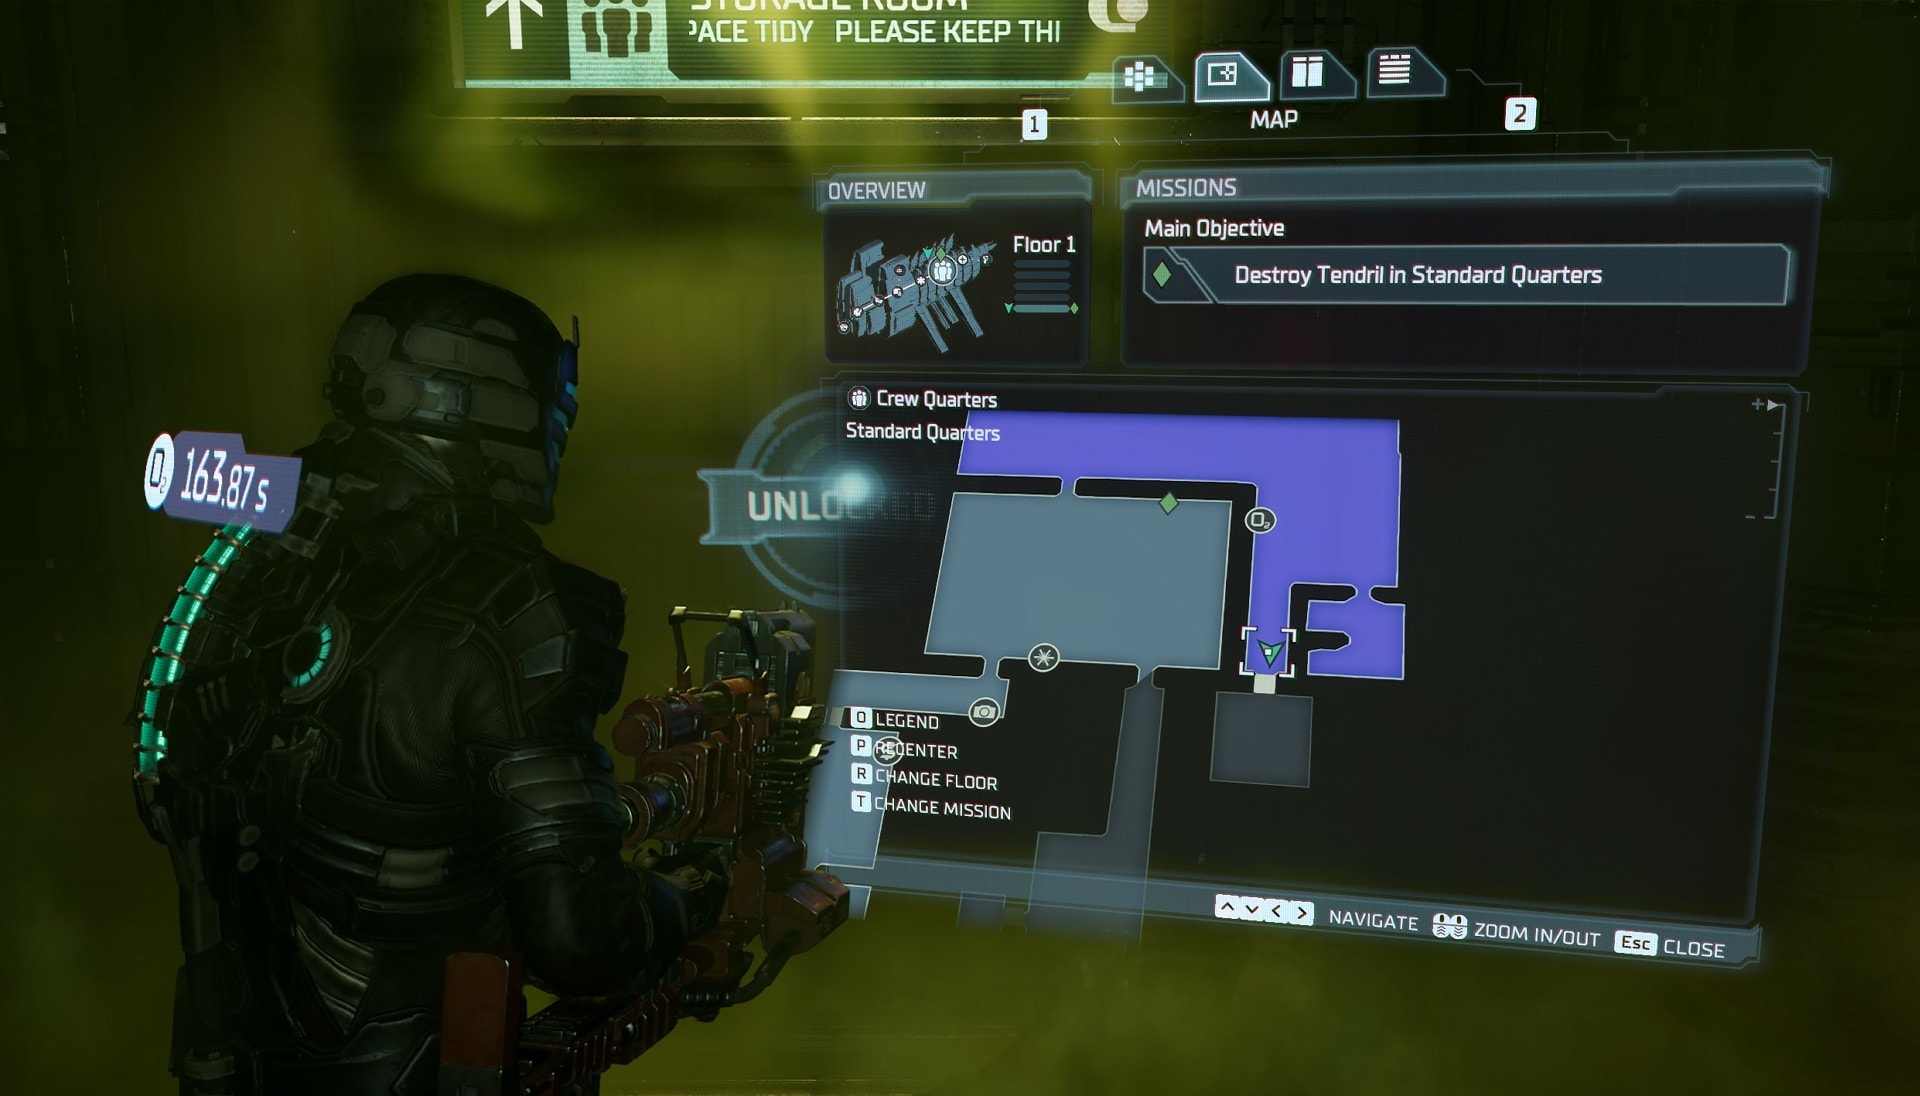
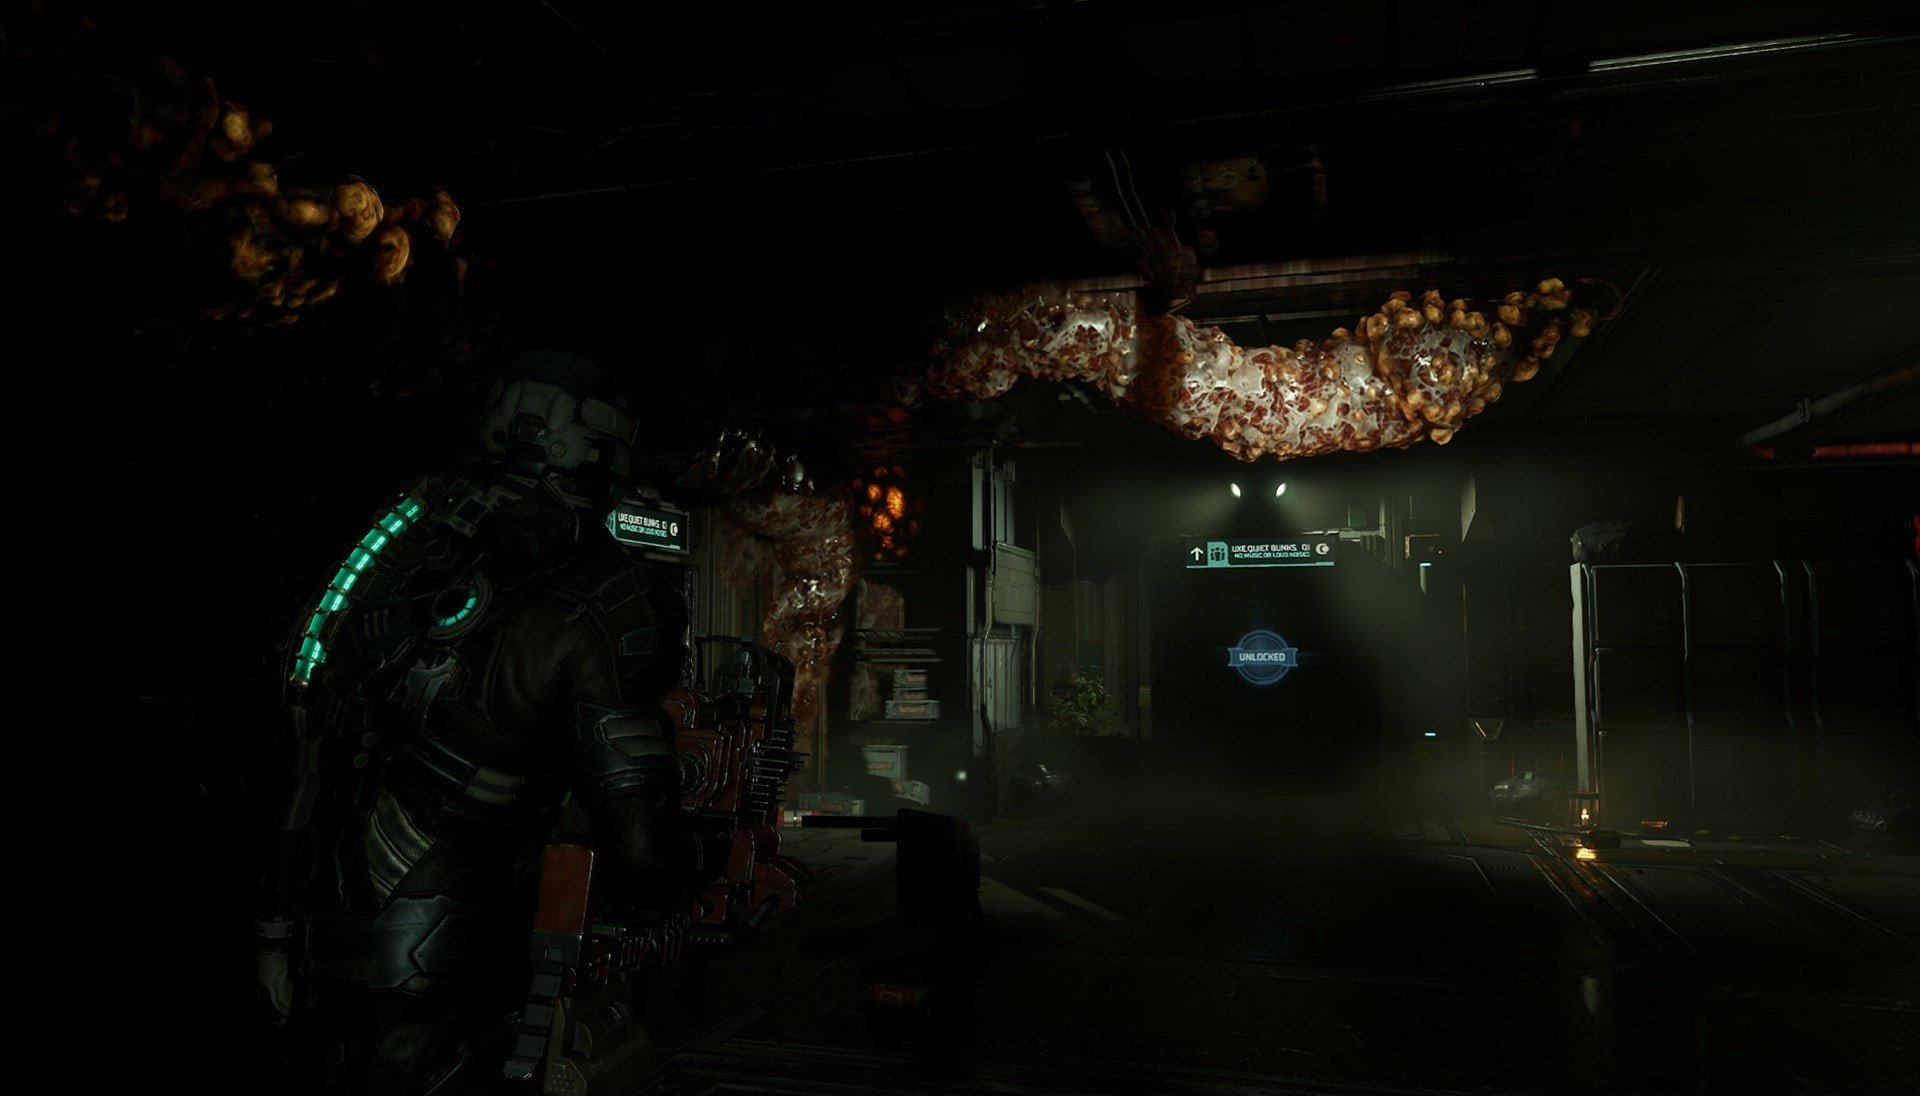
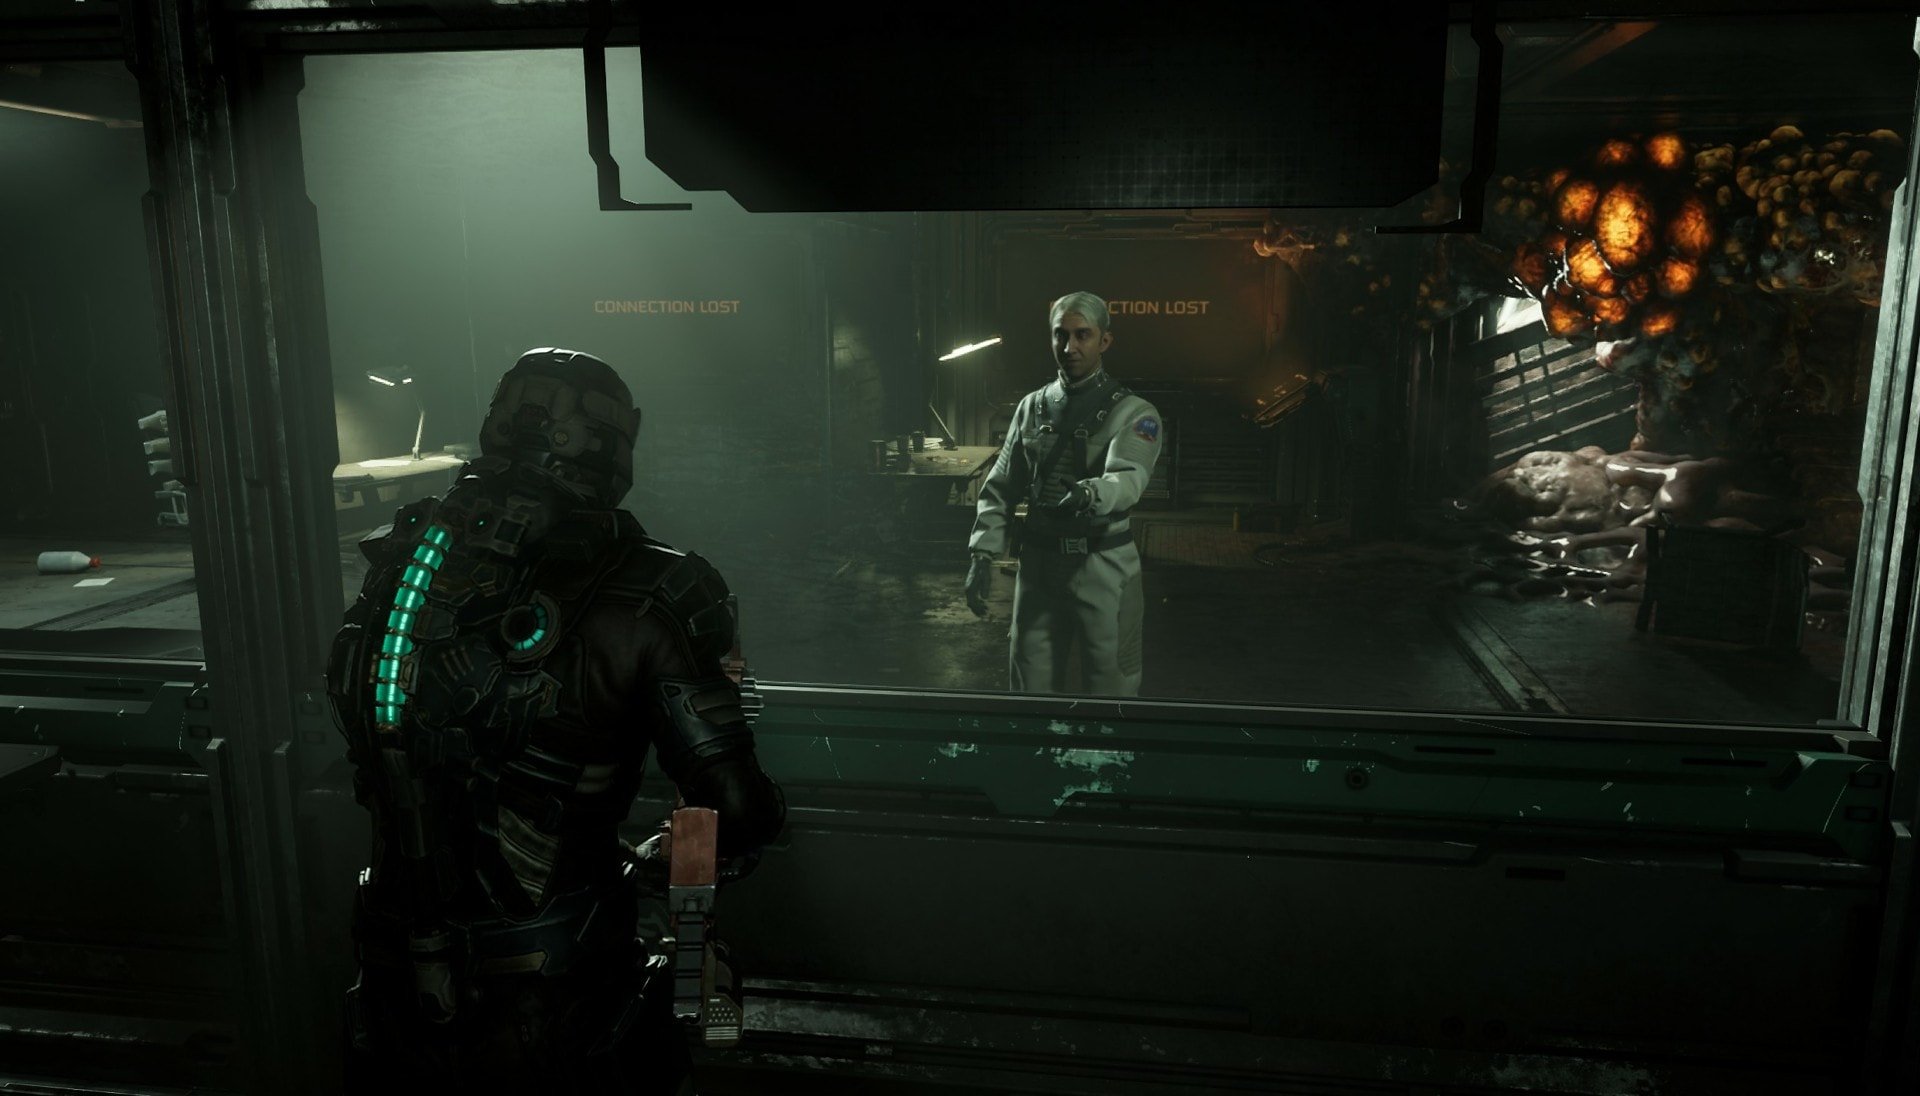
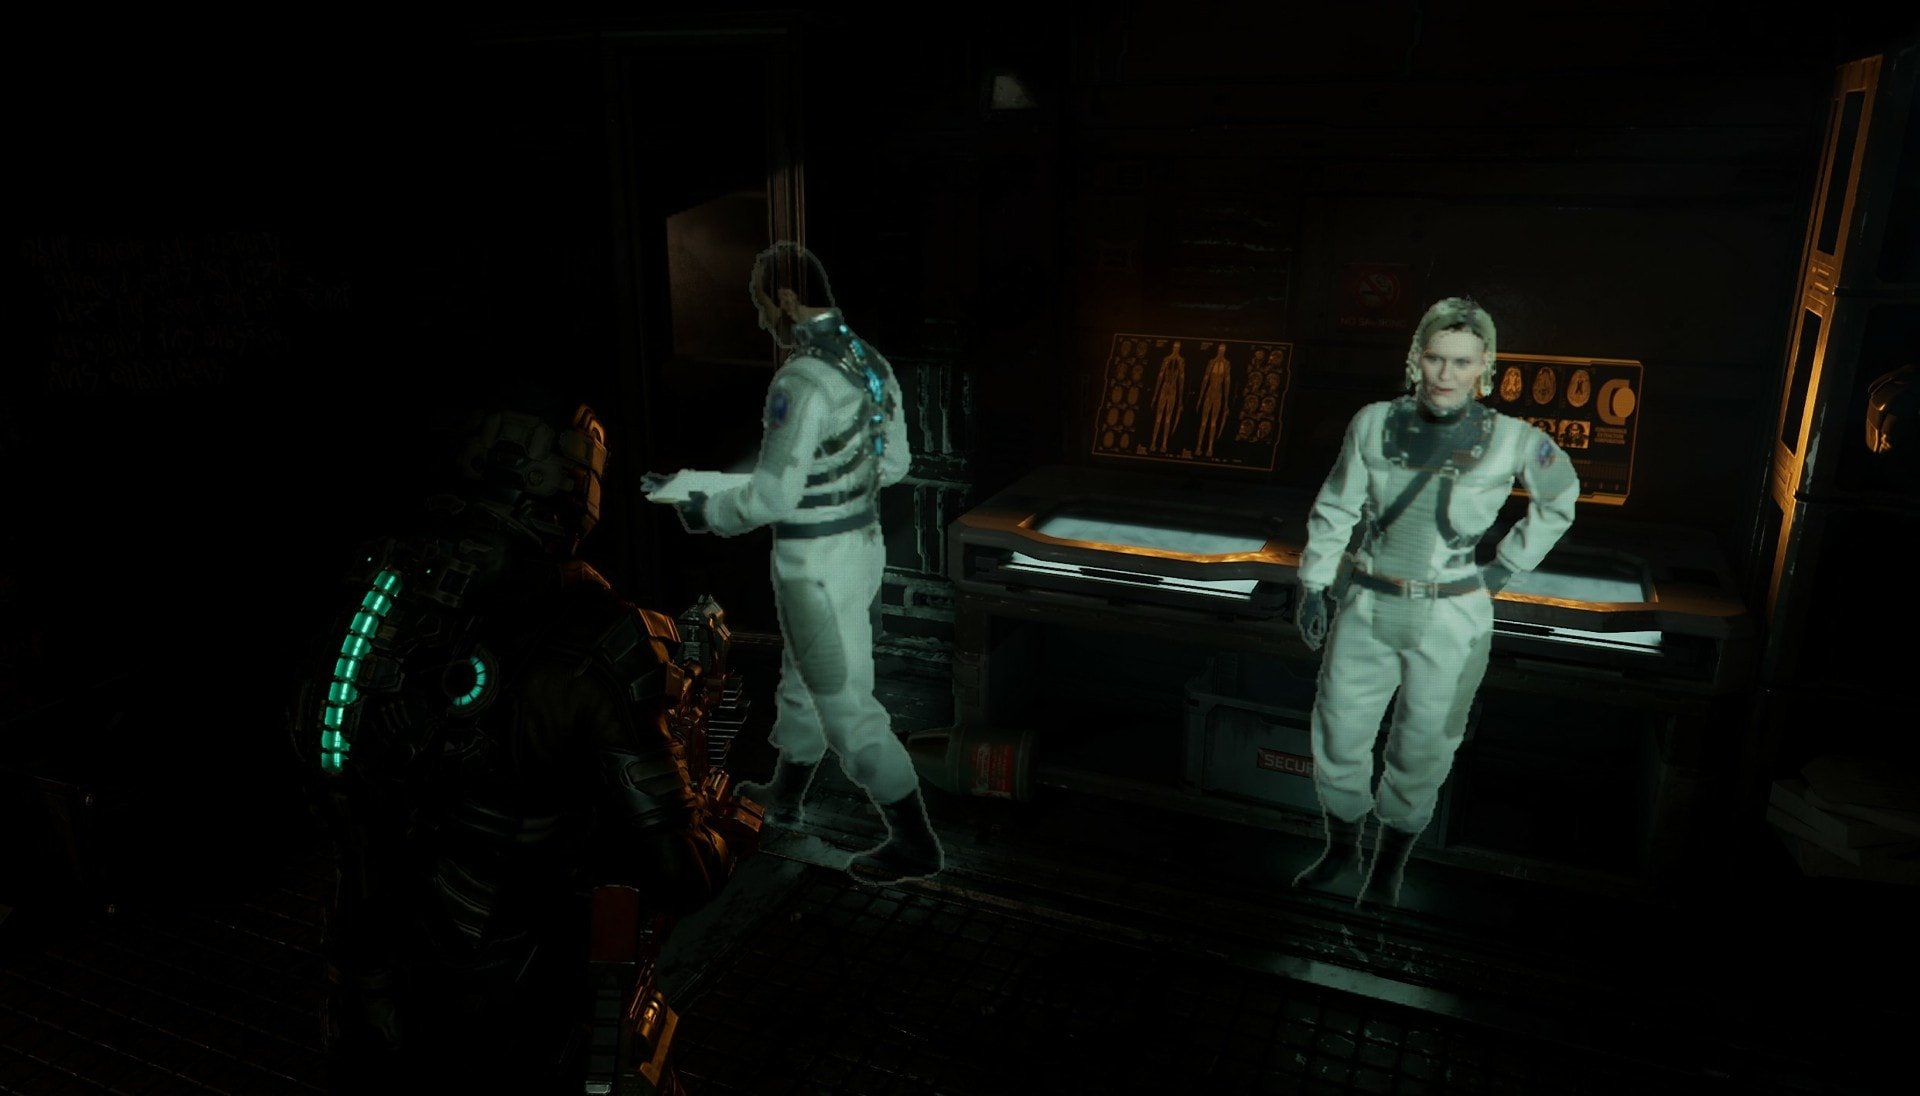
When you’re in the Standard Quarters you’ll find a hologram of Dr. Mercer talking about more Unitology nonsense. Follow your Locator through one of the doors and you’ll be in a room filled with toxic gas. There are two things you’ll need to find, a cluster and a battery.
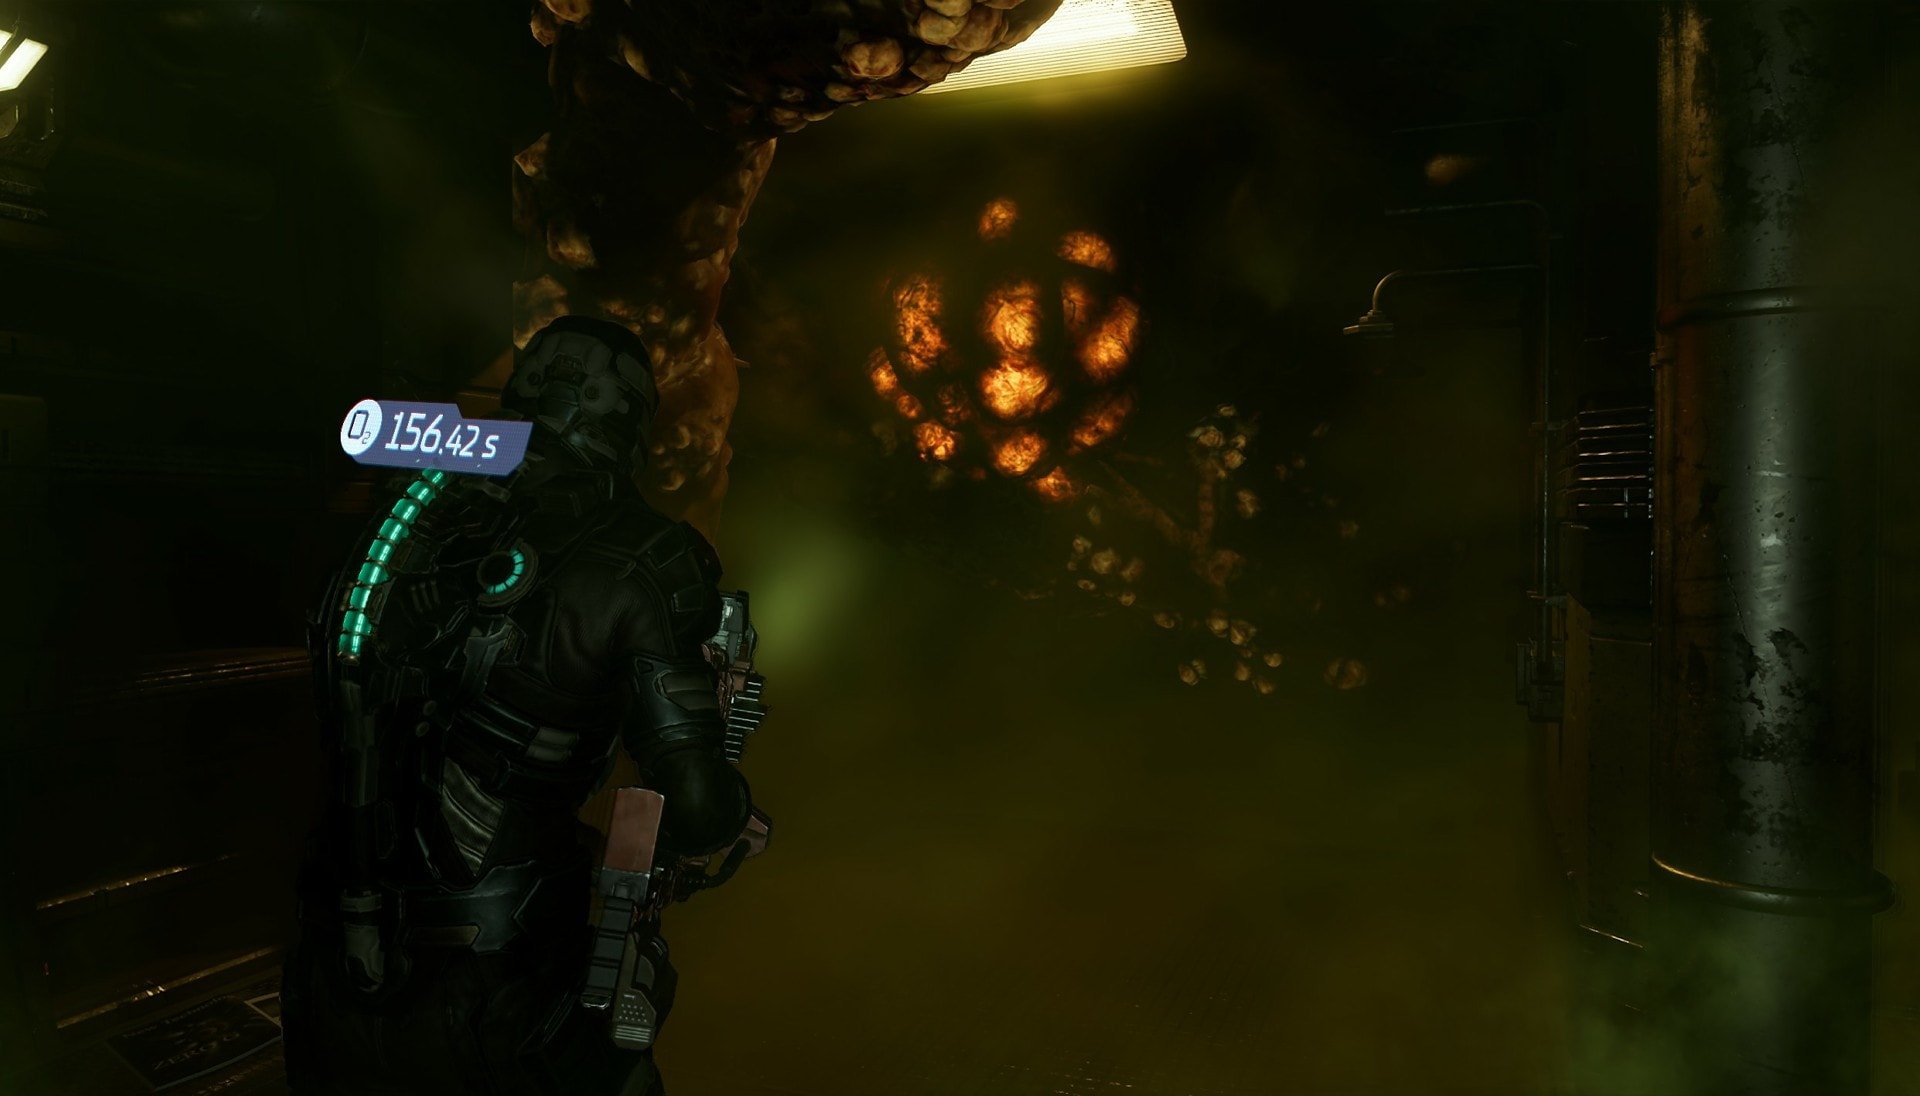
The cluster will be behind some walls towards the end of the room, destroy this to open access to the Deluxe Quarters in the Central Nexus. While you’re here, the battery you need to access the Mess Hall elevator is right around the corner. It will be in the Storage Room.
Bring the battery with you to power the elevator that leads to the Mess Hall and get back to the Central Nexus.
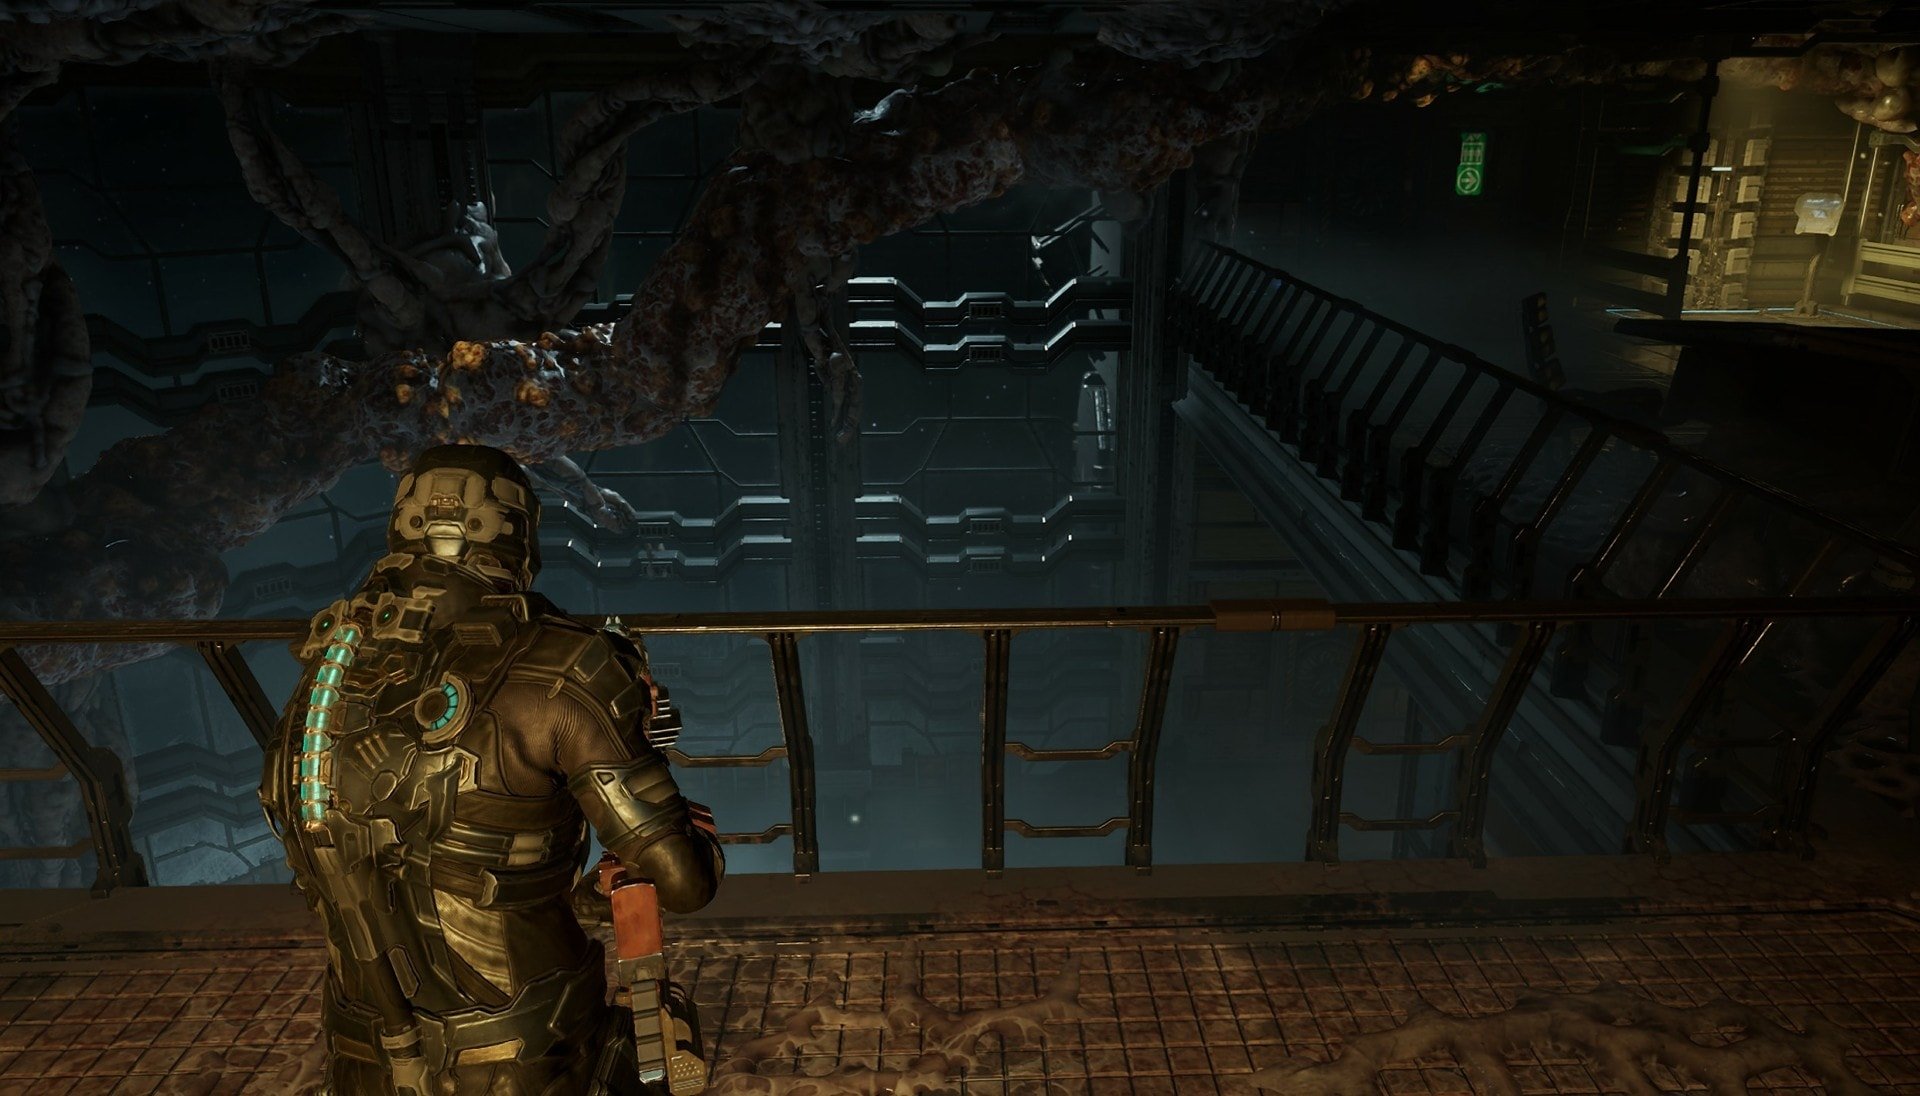
When you reach the Central Nexus, an elevator that was previously blocked will be functional. Use it to go to the upper level and start making your way to the Deluxe Quarters.
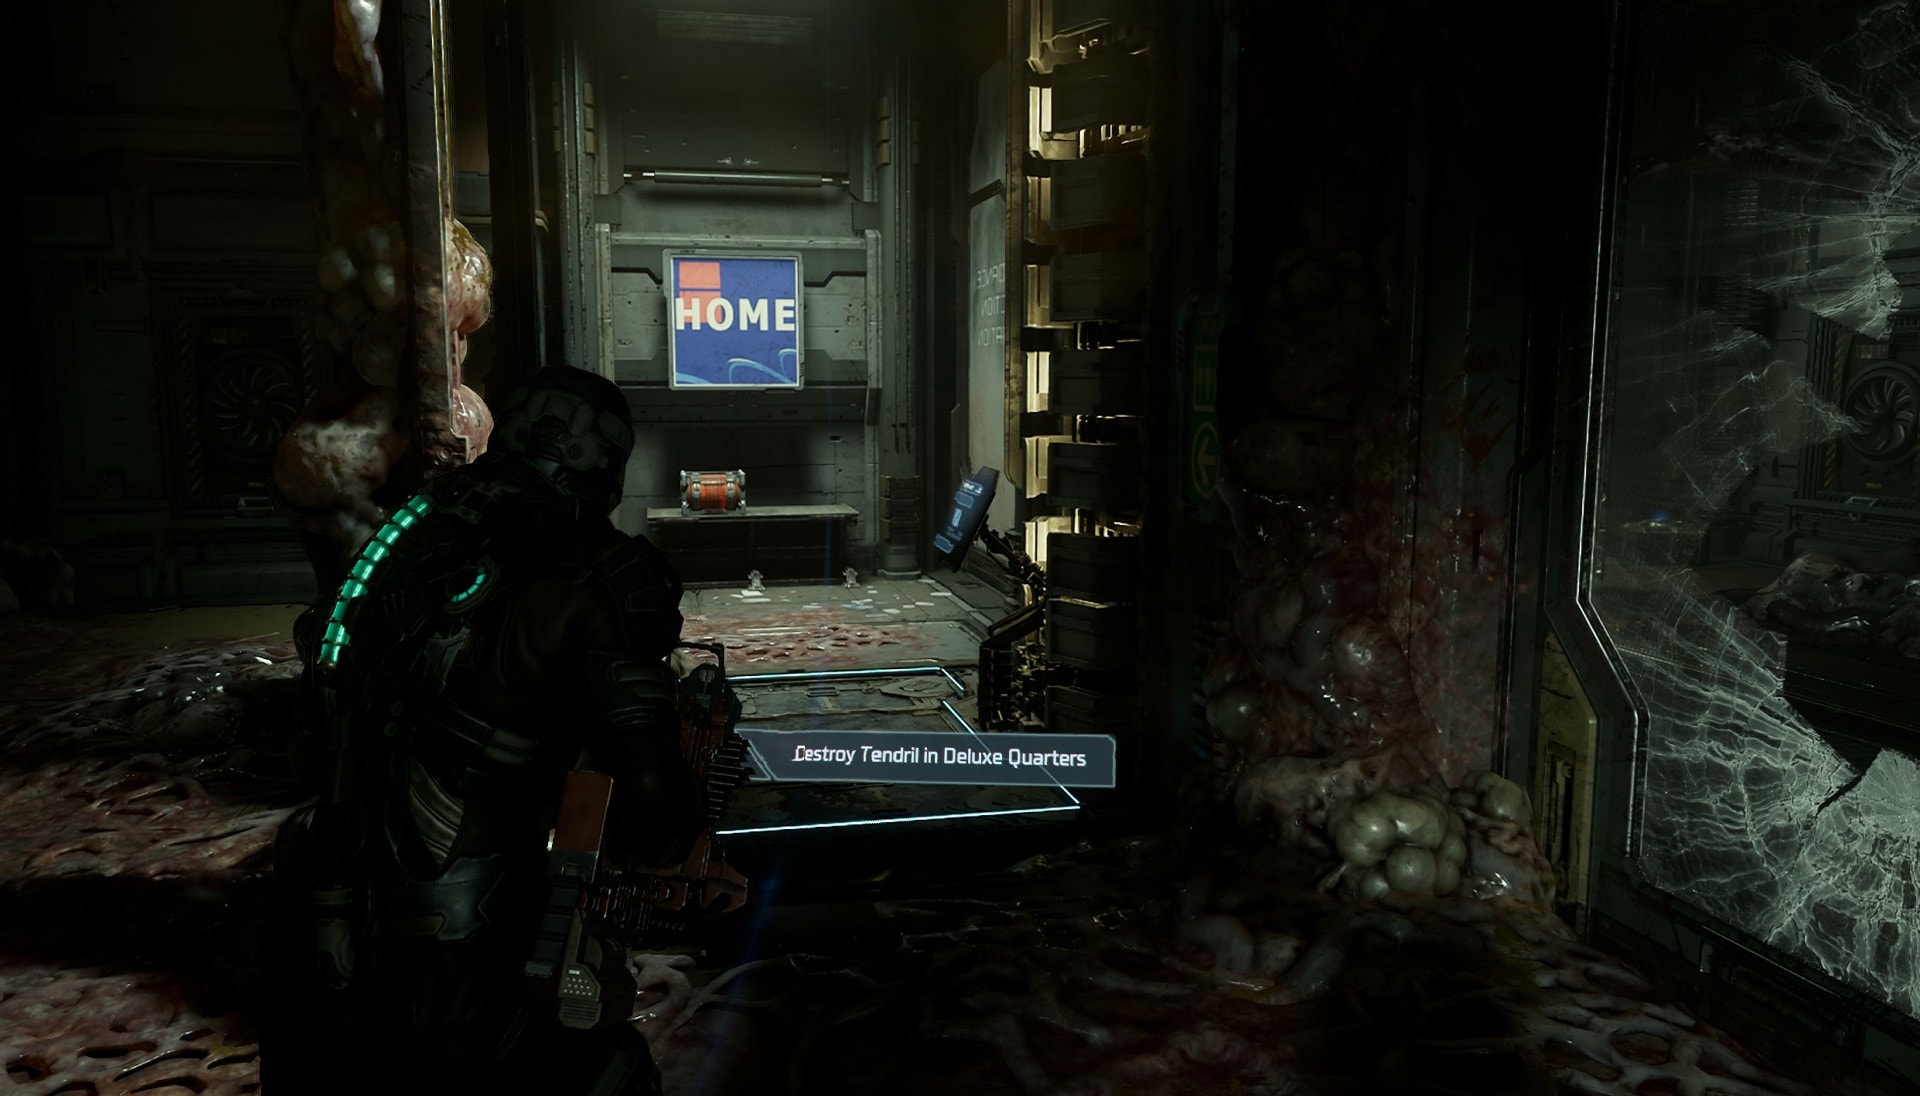
The Deluxe Quarters will have an L shaped hallway that leads to various rooms. The cluster you’re looking for is on the corner of the hall. Destroy this and head back to the Central Nexus.
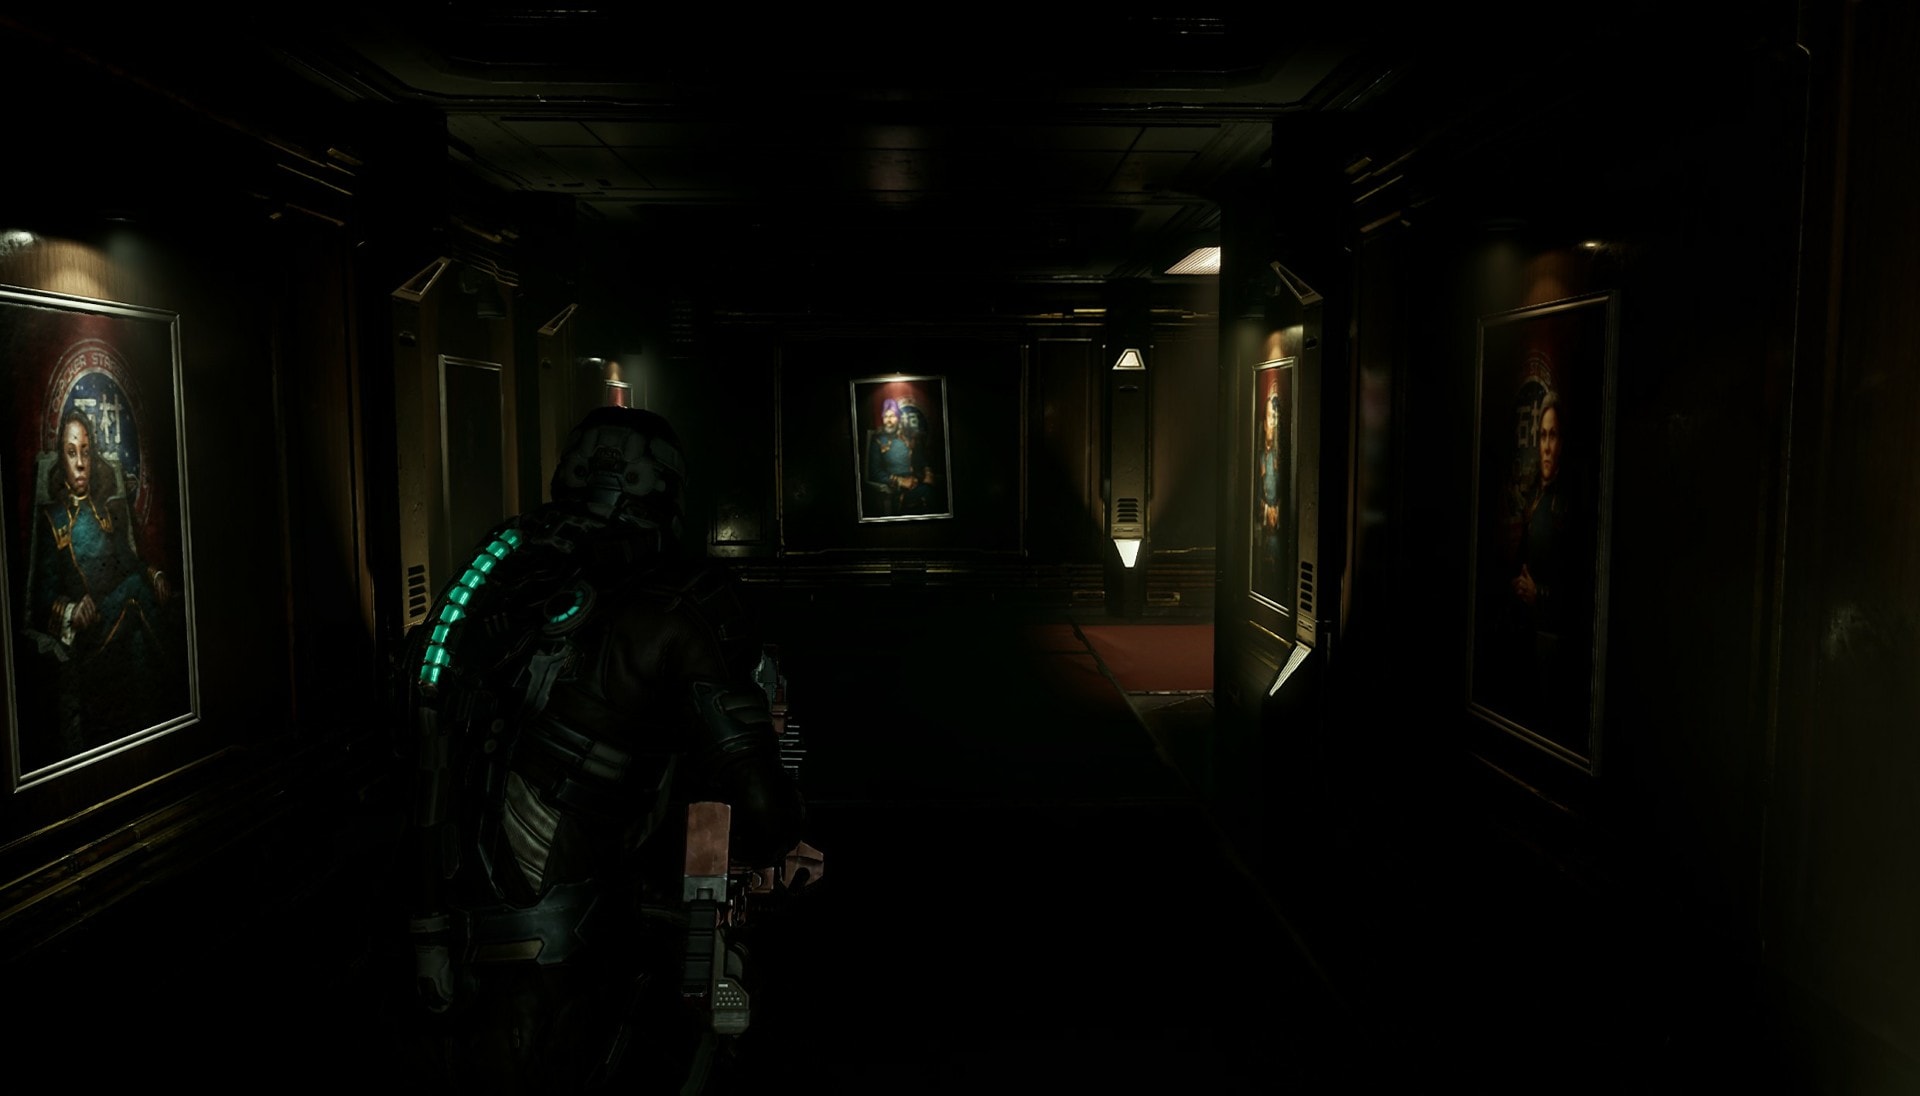
Now you’ll need to get to the Executive Quarters. On your way you’ll encounter a nice looking hallway containing portraits of all the previous captains of the Ishimura.
When you enter the Executive Quarters, just keep going forward and enter the room on the other side to find this area’s cluster.
When you go back into the Executive Quarters Common Room, there will be a quarantine lockdown. Fight off the necromorphs to lift the lockdown and go back to the Central Nexus.
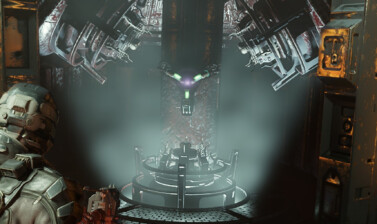
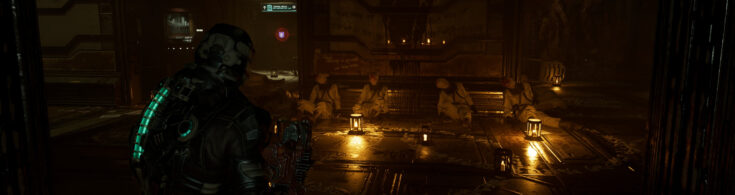
You’ll have one more cluster to destroy and that will be found in the Steward’s Offices. Keep following your Locator and you’ll eventually find Dr. Kyne. He will explain to Isaac that removing the Marker released something known as the “Hive Mind” and that they need to use the shuttle to bring the Marker back to Aegis VII to stop the outbreak.
Isaac agrees with the plan and Dr. Kyne goes off to distract Dr. Mercer. When Dr. Kyne leaves you’ll have access to the room behind him and can destroy the final cluster.
Prepare the Shuttle for Launch
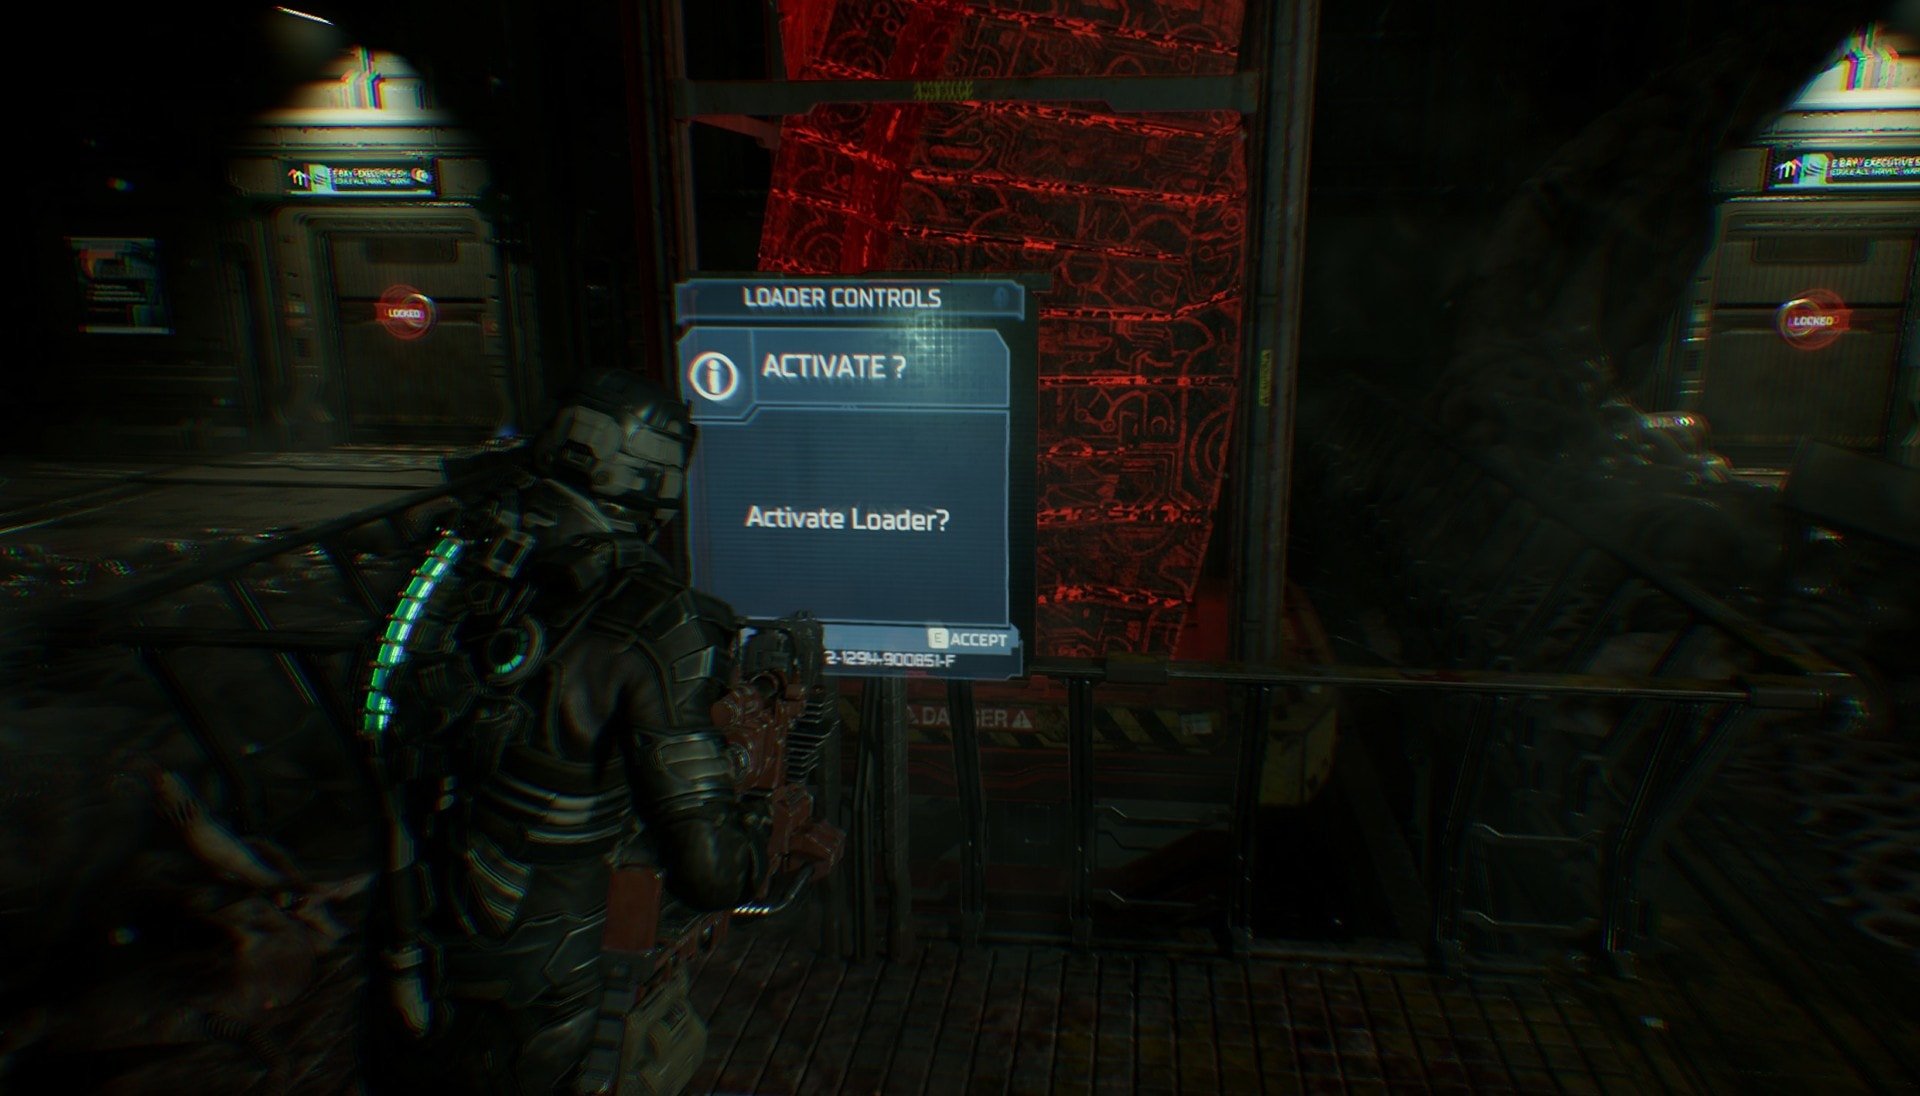
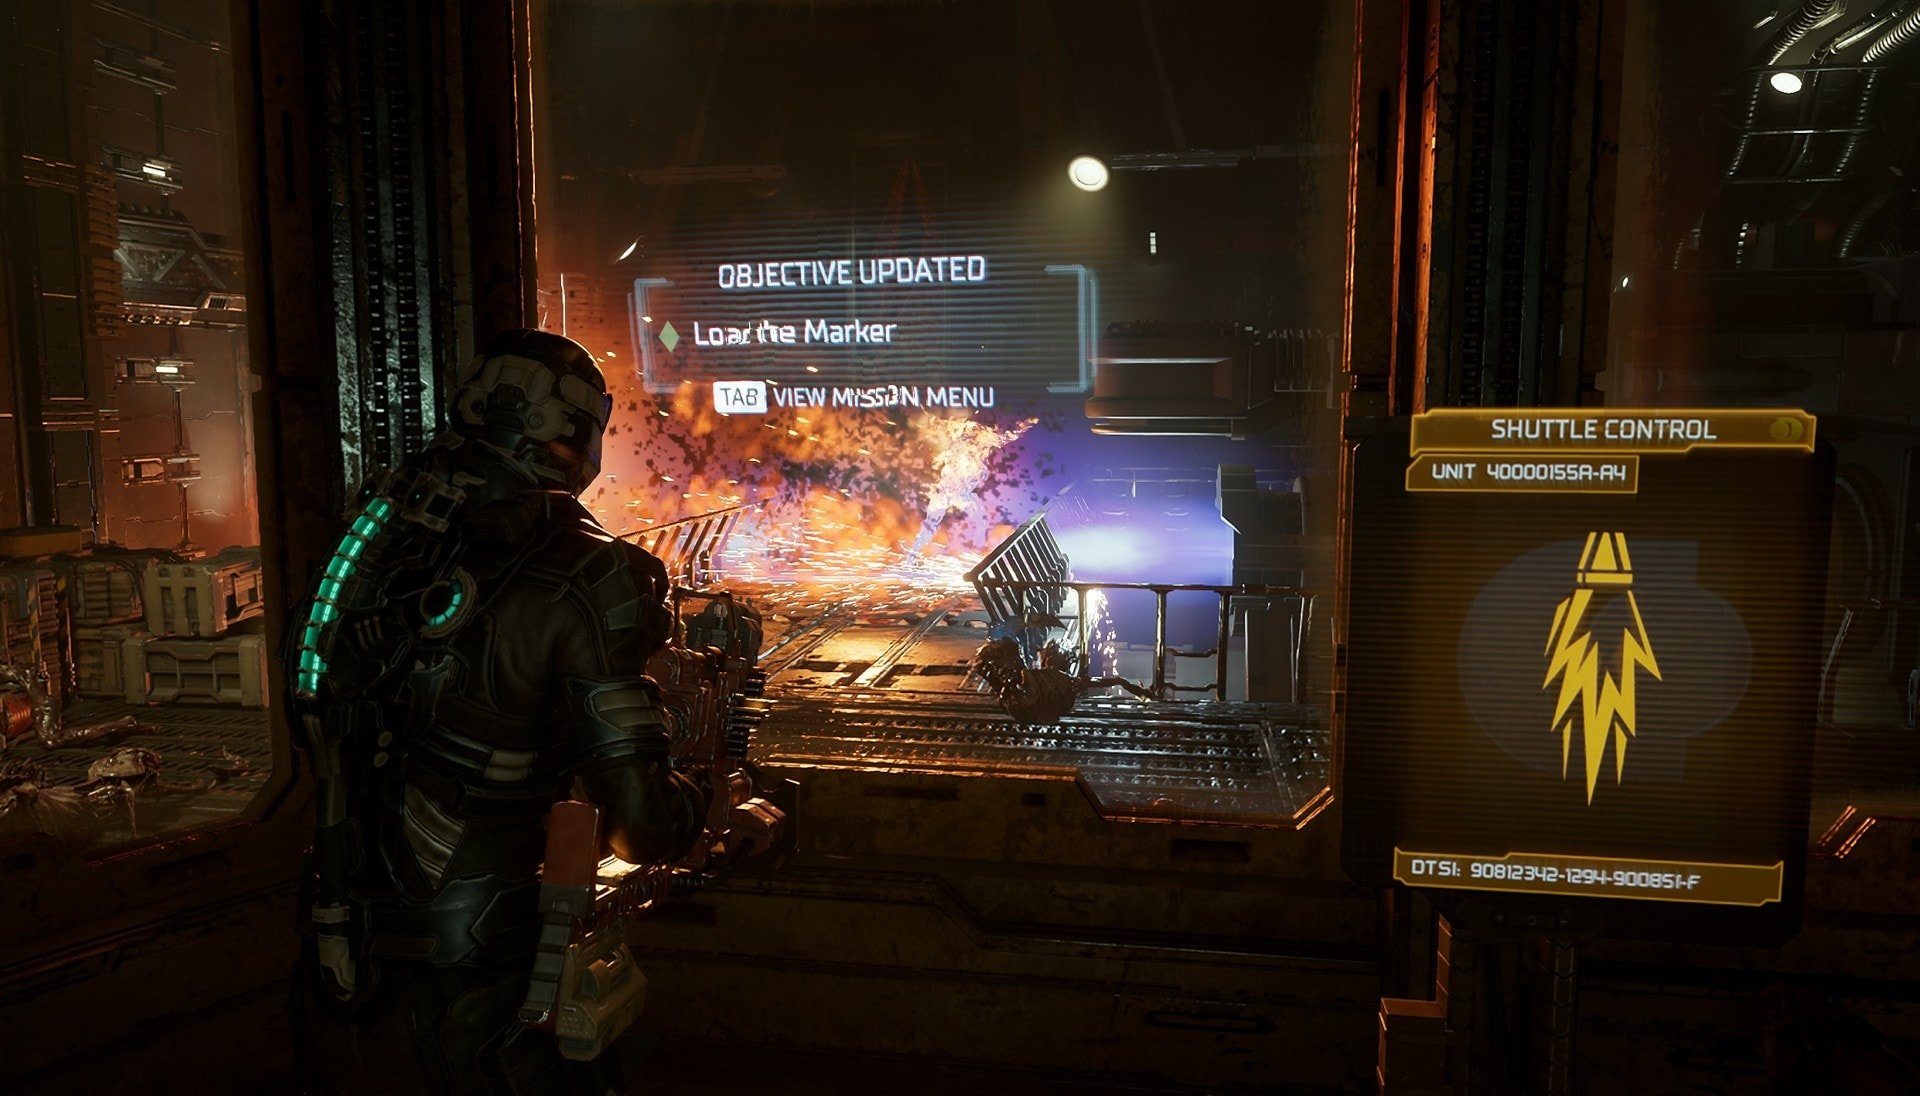
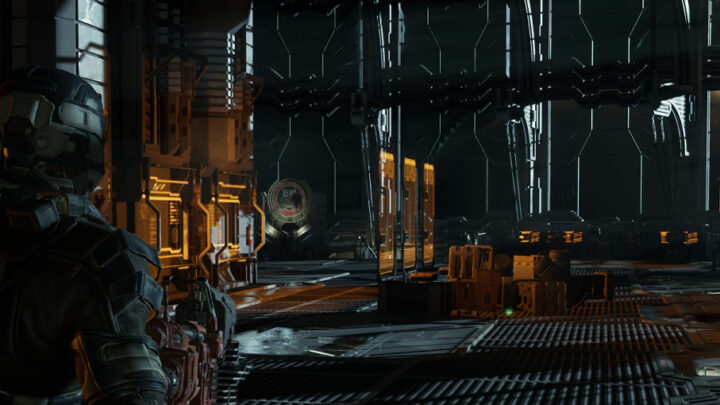
After destroying the final cluster, make your way back to the Central Nexus. Go down the elevator and another quarantine lockdown will occur. Defeat the necromorphs then activate the panel in front of the Marker to send it forward.
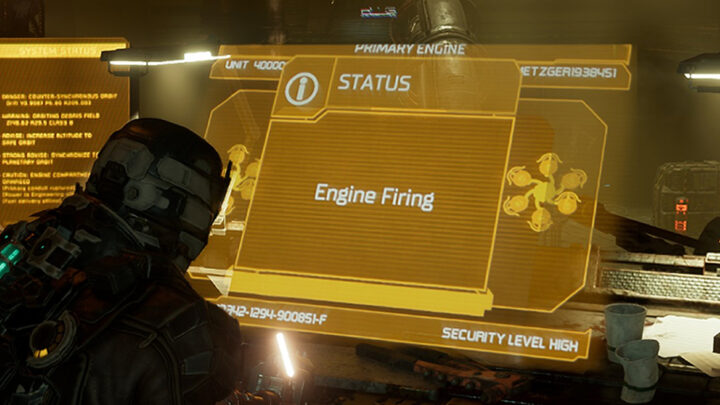
Head into the Executive Shuttlebay and you’ll find the shuttle you’ve been looking for. Go inside the shuttle and install the Singularity Core.
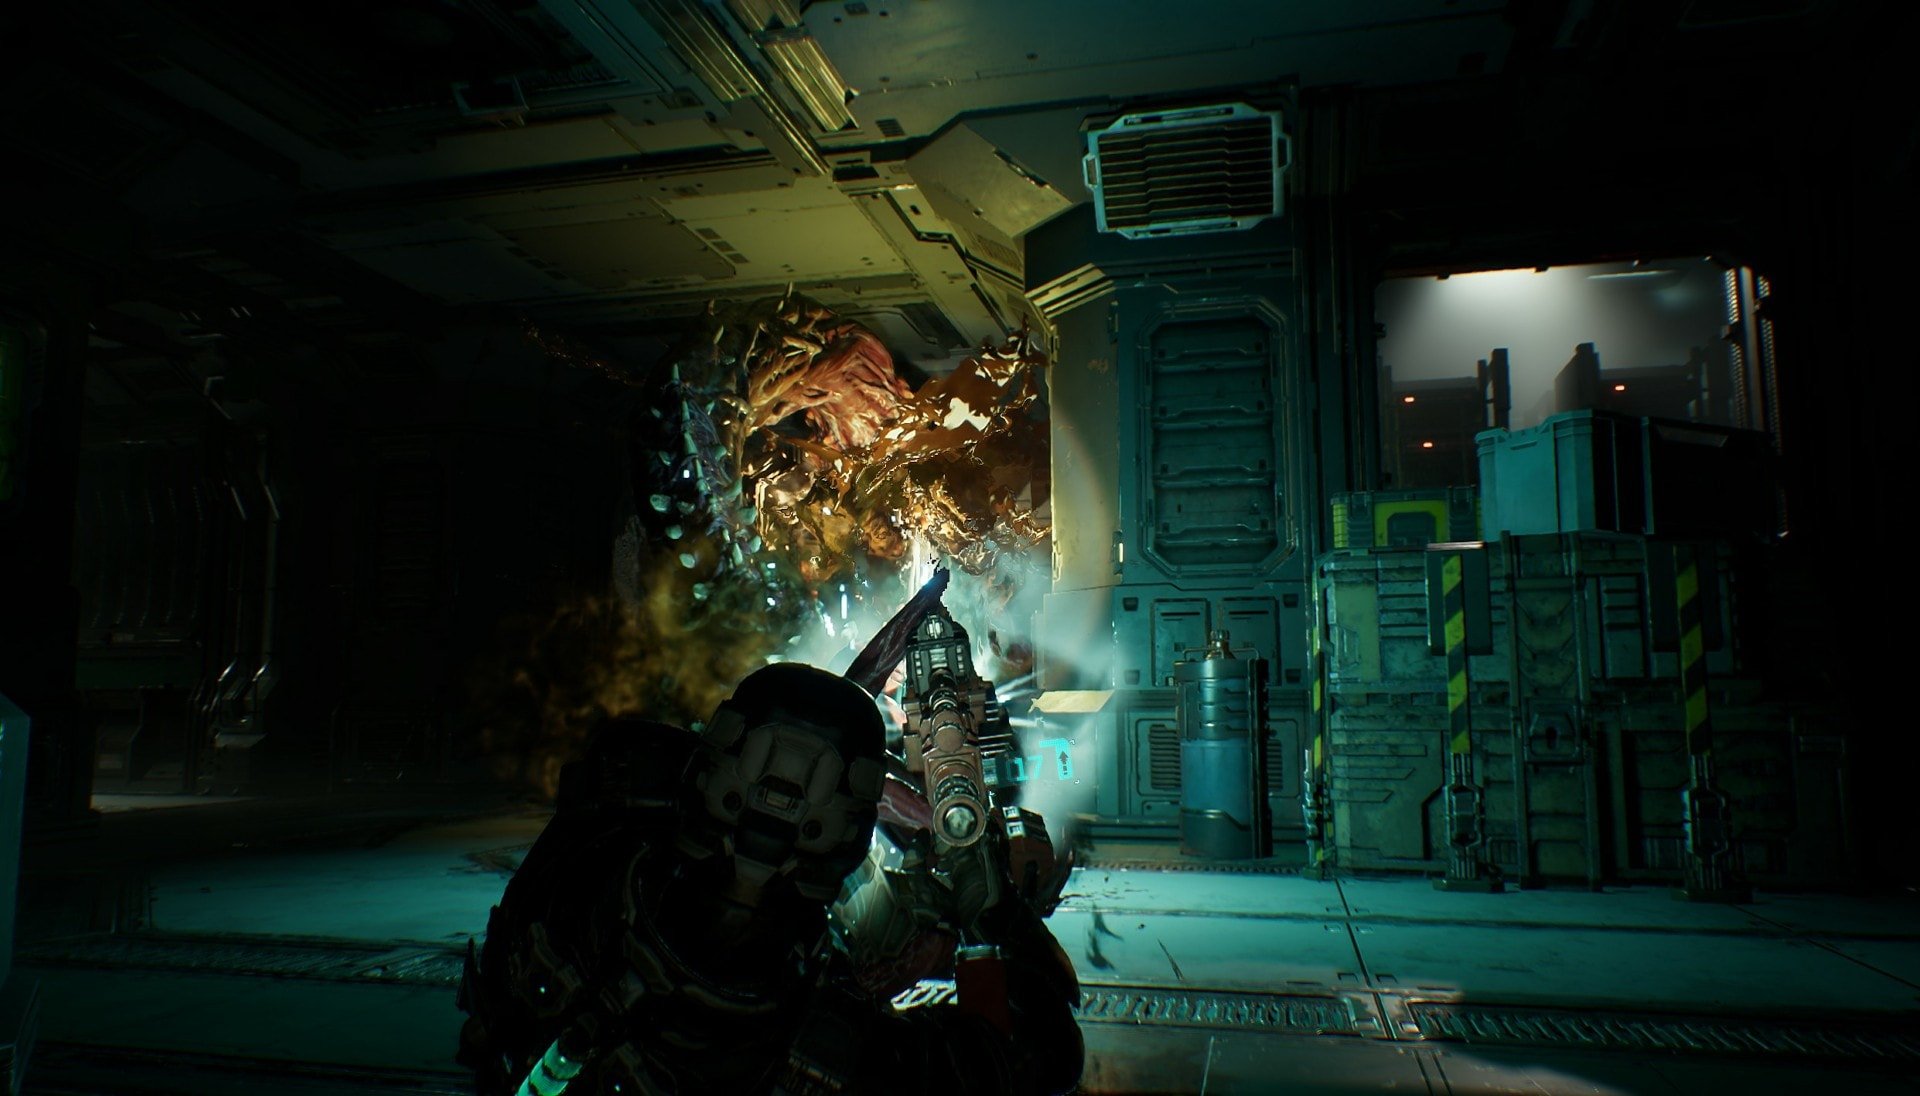
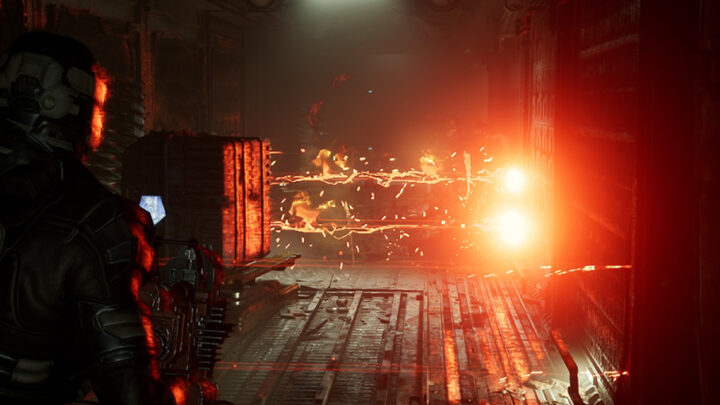
There’s a control room to the starboard side of the shuttle. Go inside here to fond a console where you can test fire the engines. After firing the engines, the Hunter will pop out behind you and attack. Dismember him and run outside where you’ll have to fight even more necromorphs.

It’s time to finally end this so lure the Hunter to the back of the shuttle right behind the engines. Dismember him here and use Stasis on him as he’s regenerating. When he’s under the effects of Stasis, run back to the control room and run the Test Fire again to burn the Hunter to a crisp. You’ll never have to deal with him ever again.
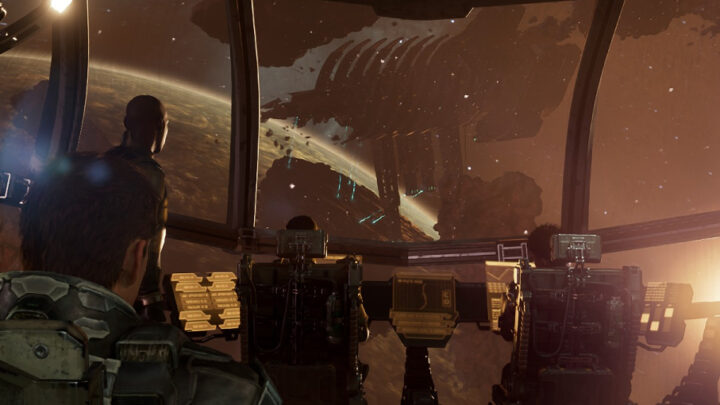
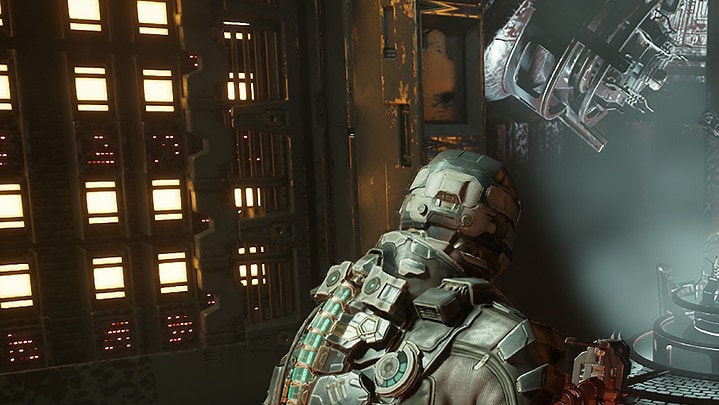
When you exit the room you’ll be grabbed by a Tentacle and a cutscene will ensue. Dr. Mercer is rather upset with the current situation and another Tentacle brings both him and the Marker to another level. Meanwhile the Tentacle that’s grabbing you is trying to pull you in to your demise. Defeat the Tentacle to break yourself free.
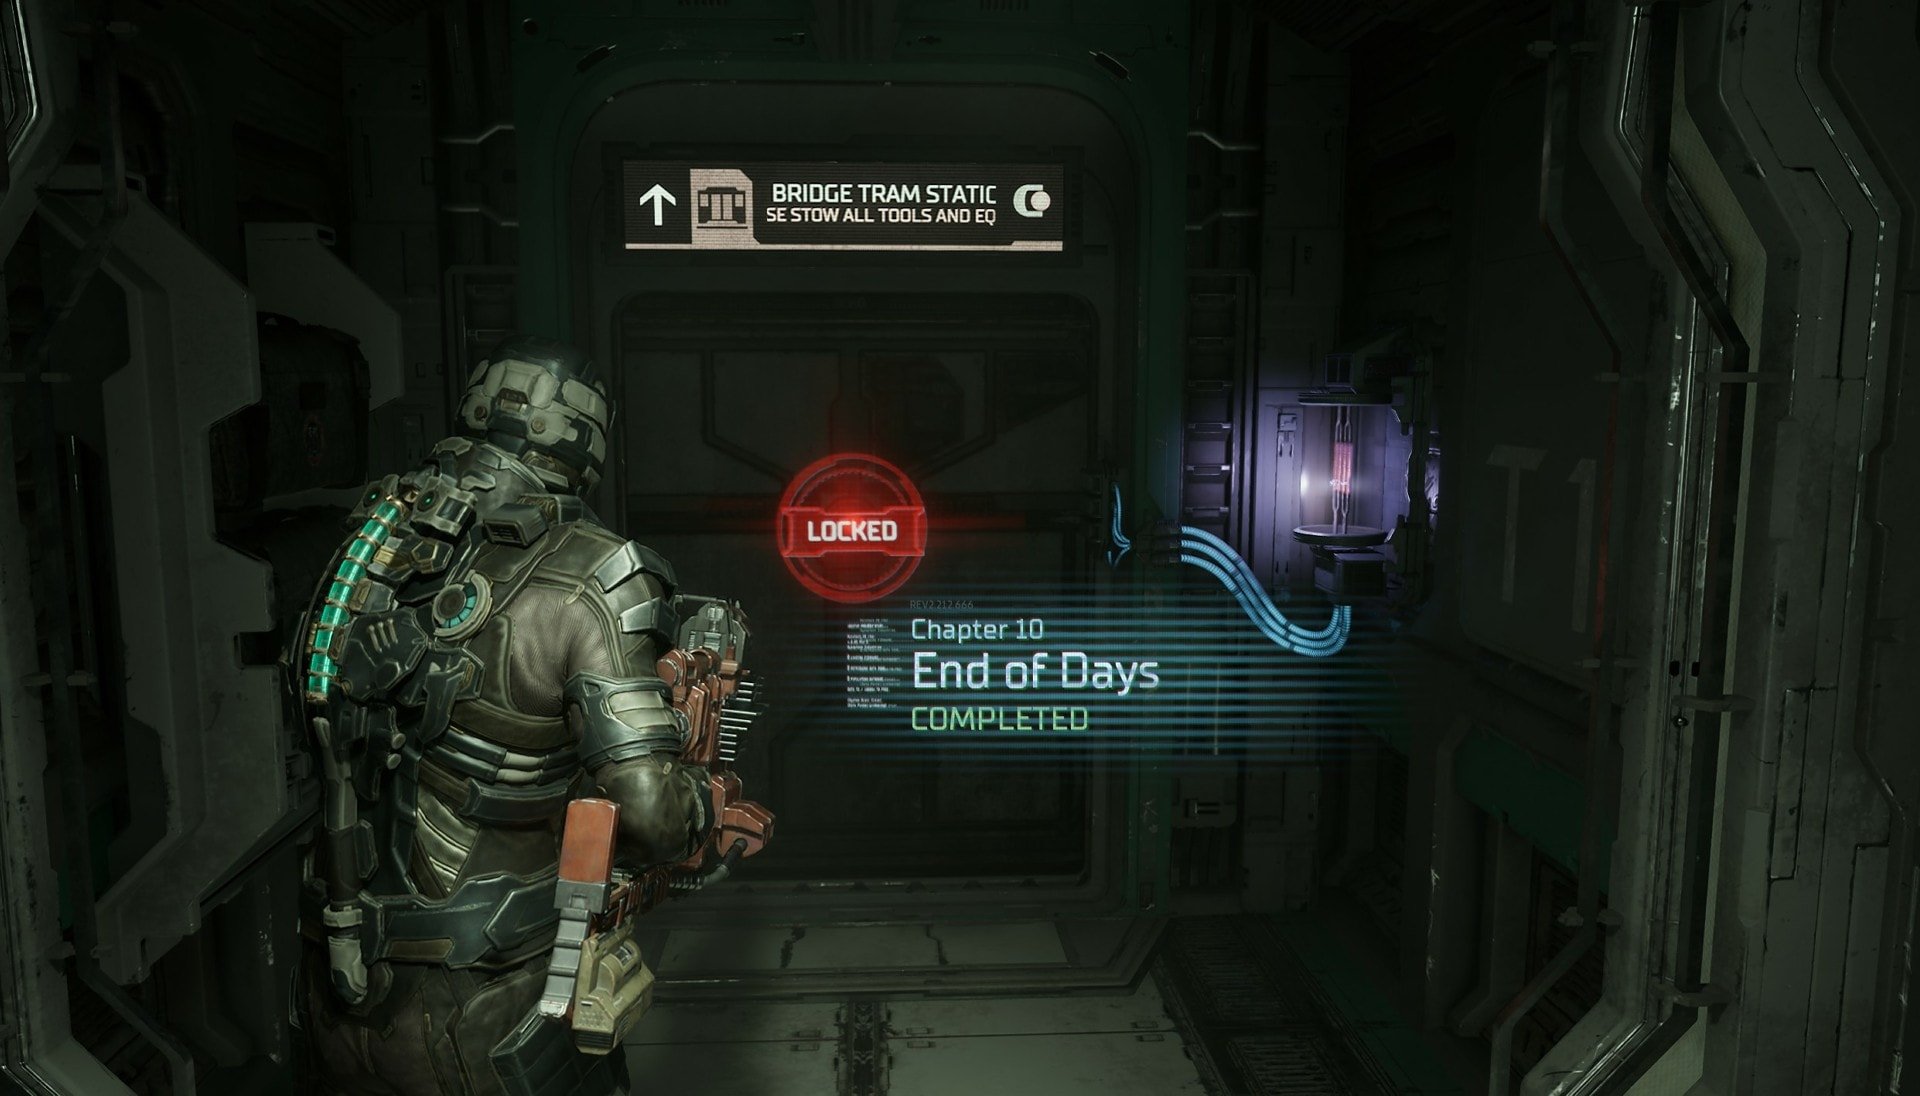
You’ll get a call from Dr. Kyne and Kendra and you’ll learn that the Marker was brought down to the Cargo Bay. With your next destination in mind, start making your way back to the Tram Station. This concludes Chapter 10 of Dead Space.
Side Mission: You Are Not Authorized
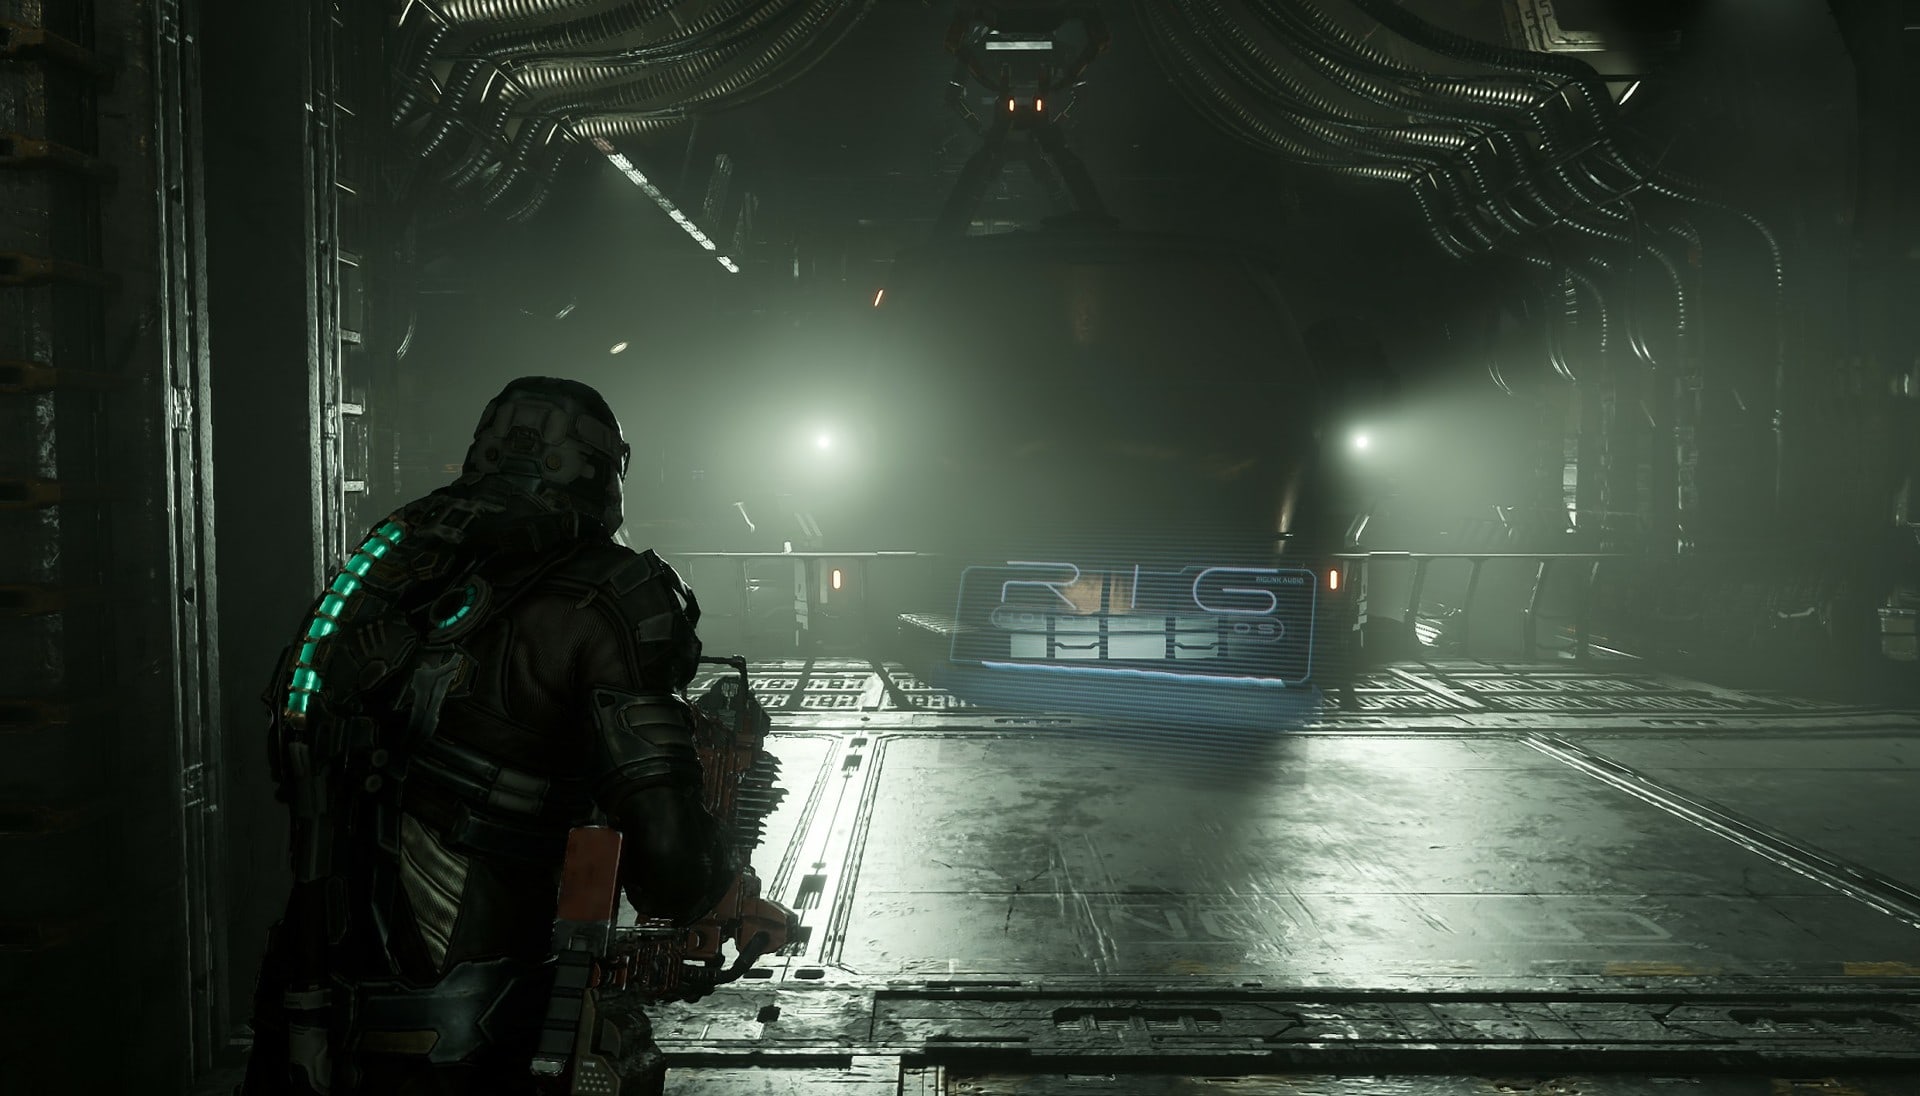
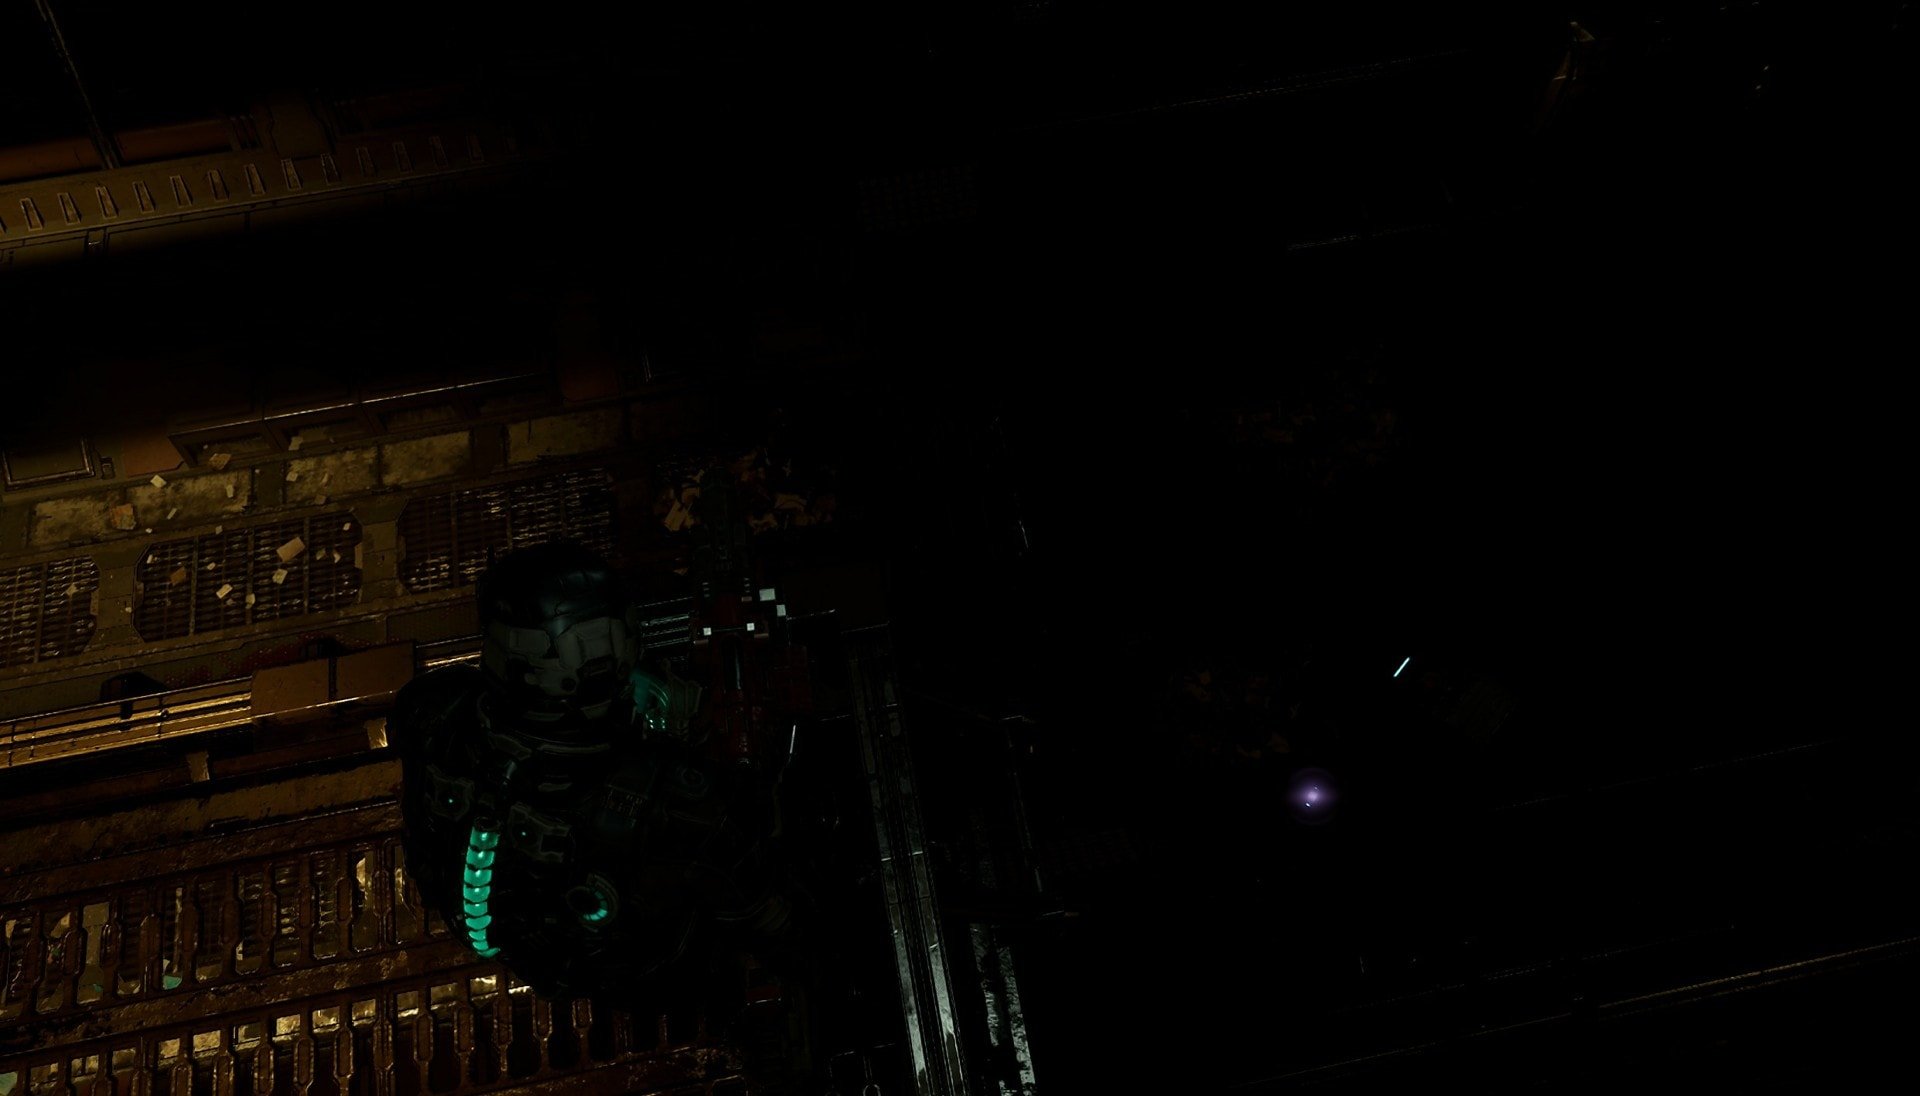
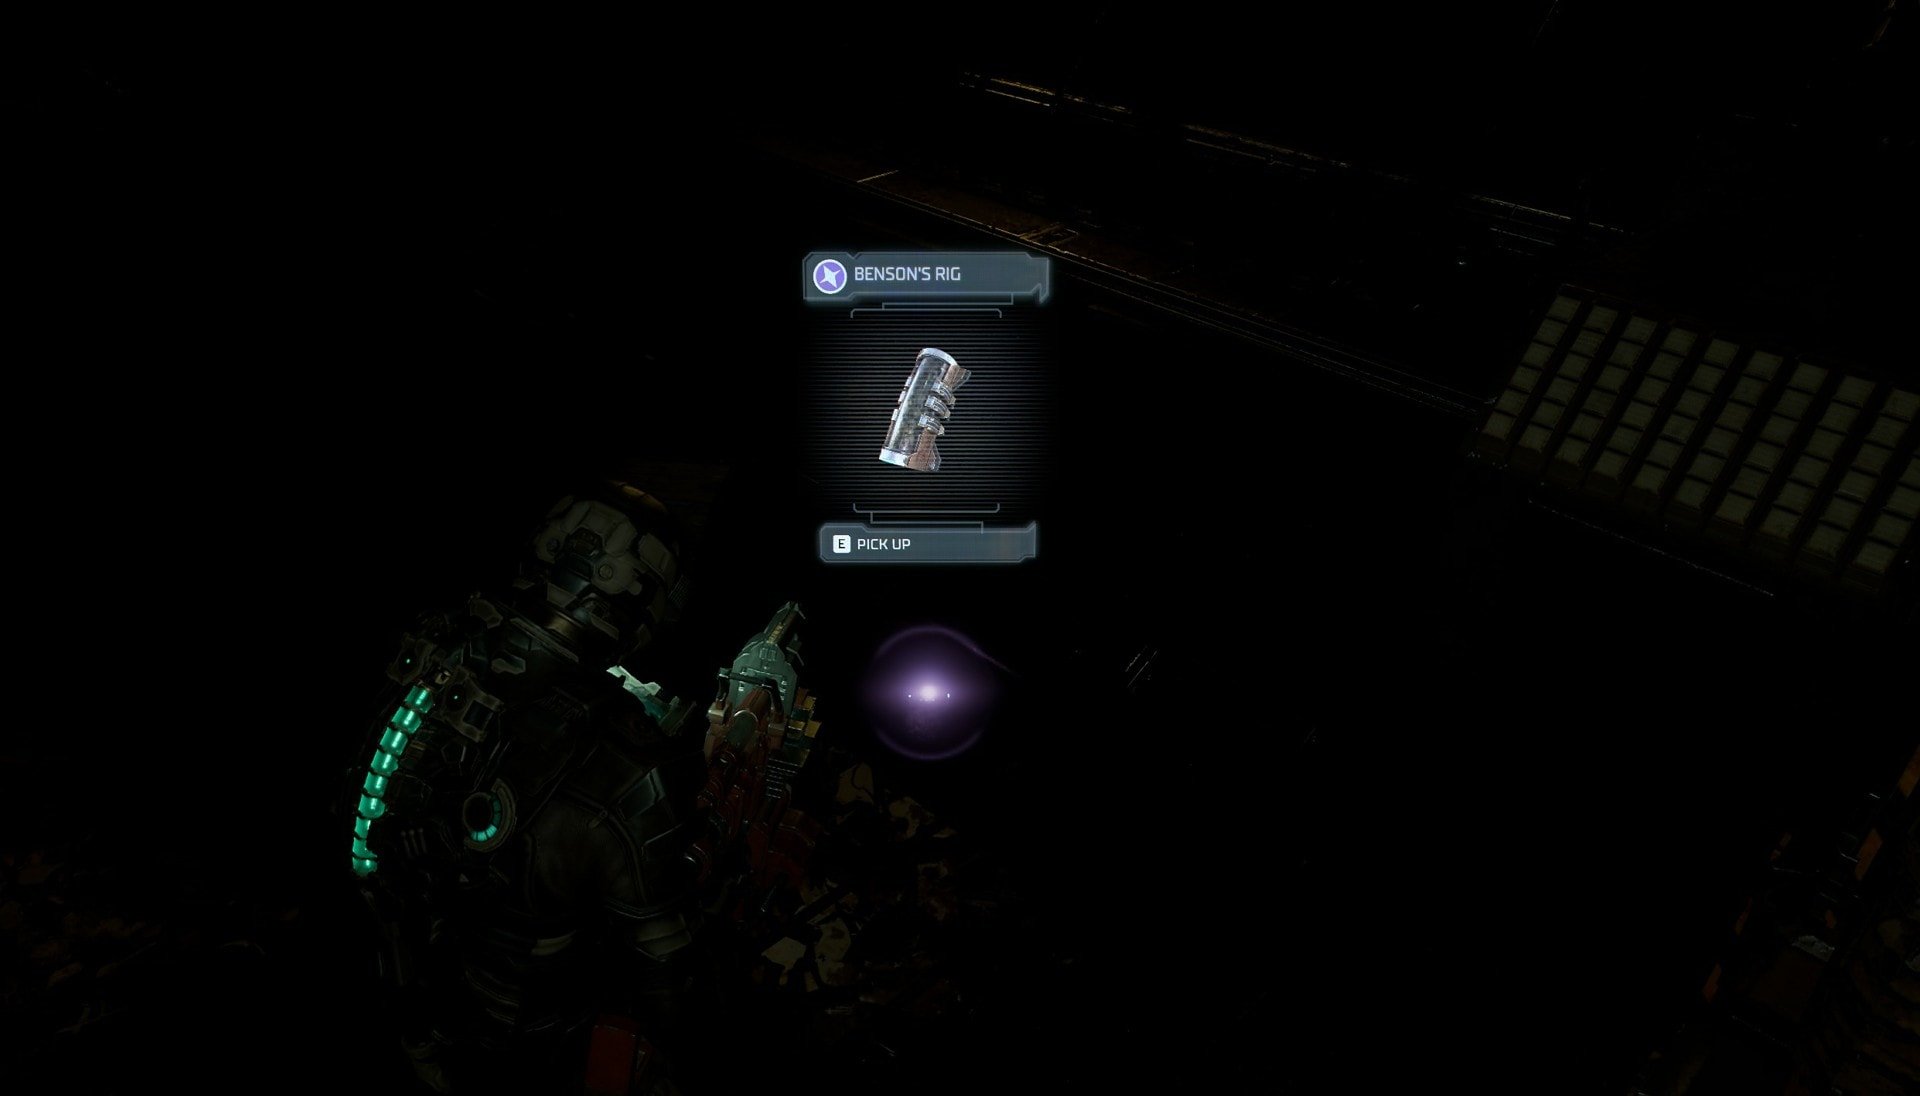
When you go through the door near the Bridge Atrium that leads to the Crew Deck via the Tram Tunnels, you might have noticed a purple light in the darkness. This is the final RIG you’ll need to pick up. Make your way downstairs and pick up Benson’s RIG.
With the final RIG, return to the Captain’s Nest on the Bridge and return to the console that originally started the quest. If you have all the RIGs at this point, you’ll be granted Master Clearance.
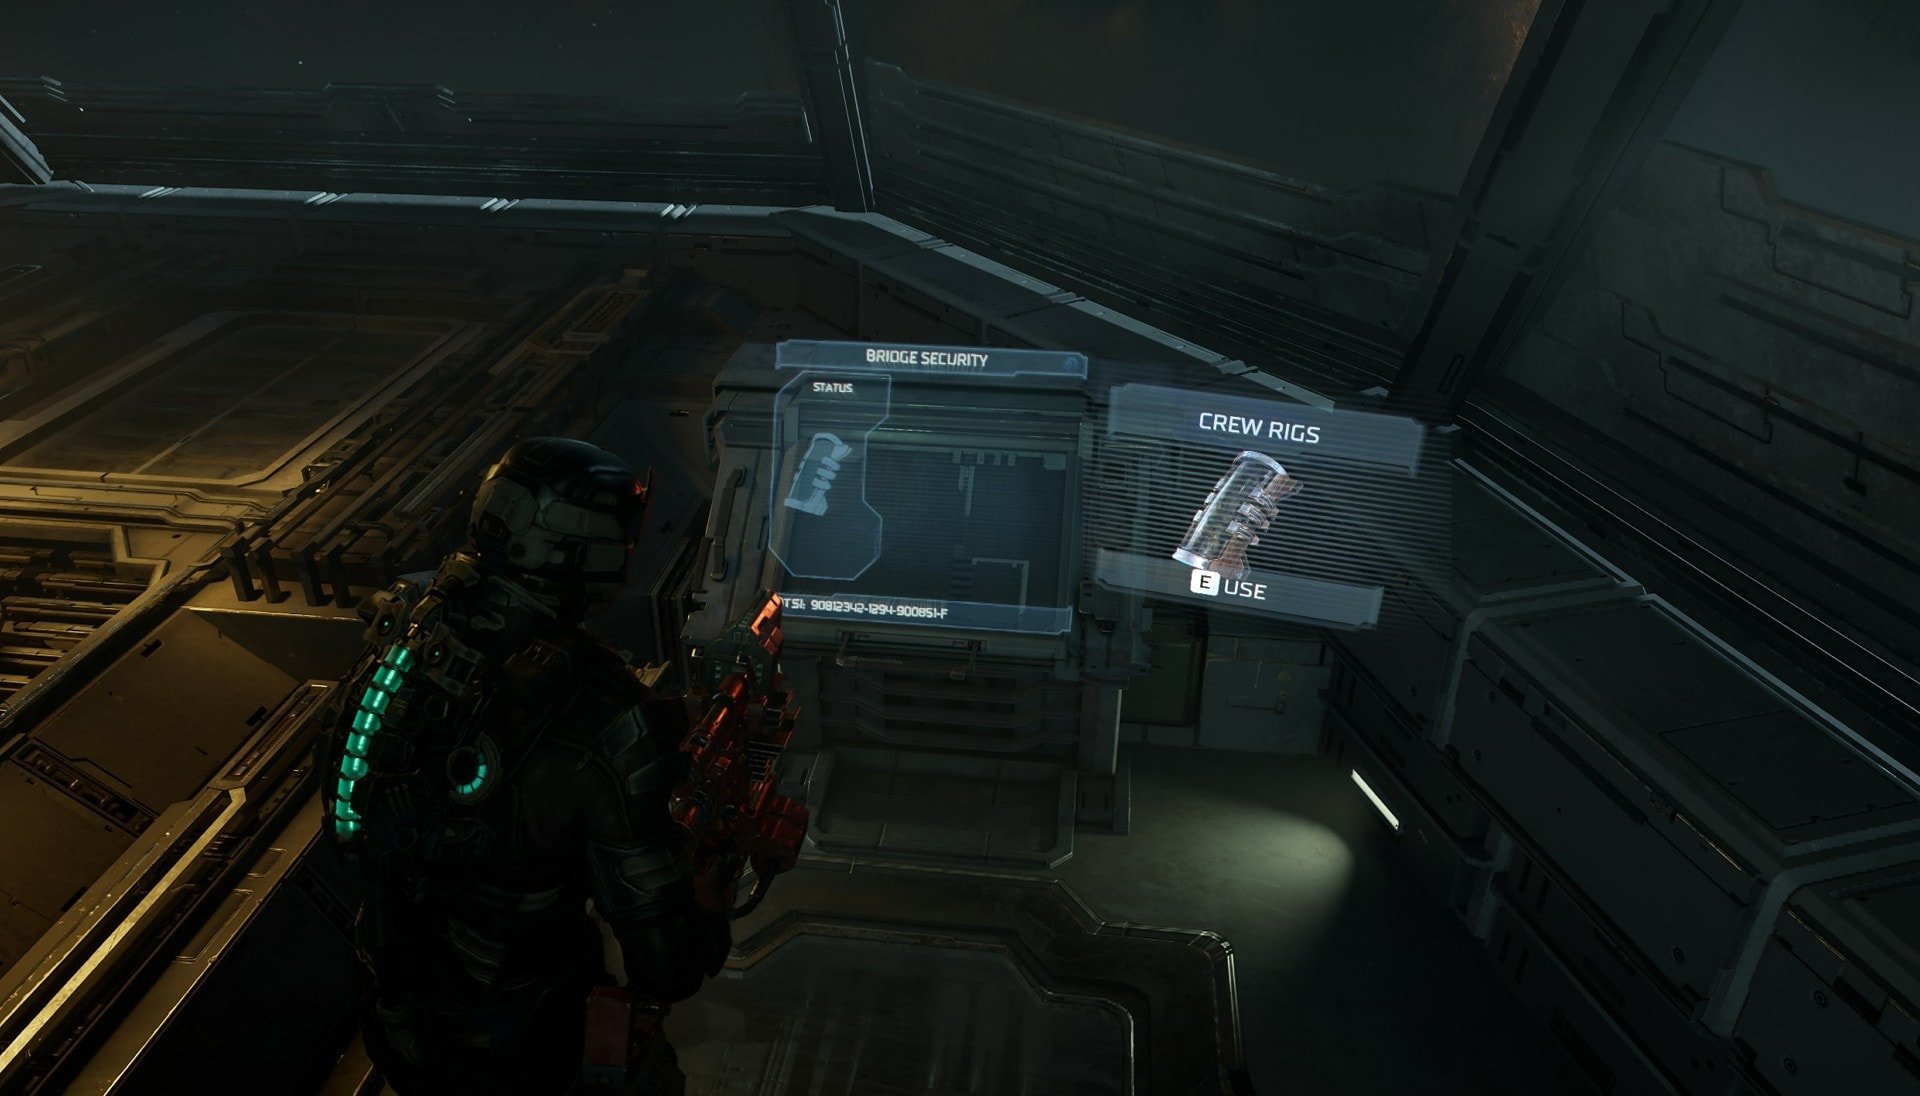
This Clearance Level will allow you to unlock Master Chests and Doors with the Star Icon throughout the Ishimura. You can find them here:
- Engineering – You can find a Master Clearance Chest in the Machine Shop. This is right outside the room where you find the autopsy location with the Nicole hologram.
- Mining – Go to Mining Operations to find the crates you can move with Kinesis. Get them out of the way to expose the Master Clearance door.
- Cargo Bay – When you reach the Cargo Bay in Chapter 11, you’ll find a Guardian on the wall protecting a Master Clearance chest. Defeat the Guardian to safely access the chest.
- Hydroponics – The Master Clearance chest can be found right outside the starting area where you made the Enzyme. It’s the shortcut that leads to Engineering you used earlier in the game.
- Crew Quarters – There are two Master Chests located here. The first can be found in the Deluxe Quarters where you’ll need to reroute power with the circuit breaker to access.
The second can be found in the Executive Quarters in Holt’s Room. You’ll need to find the Executive Quarters Keycard to access this chest but it’s in the room where you blew up the cluster. - Bridge – Go to the 5th Floor and access the Water Purification Storage with your Master Clearance.
- Aegis VII – This is accessible in Chapter 12 and will be protected by two Guardians. Defeat them both to access the final Master Chest.
Side Mission: Scientific Methods
The final portion of this side mission can be found in the Deluxe Quarters of the Crew Deck. Find Dr. Mercer’s Quarters and on the way there Isaac will have a visual hallucination. It would be a video call he made to Nicole previously that didn’t quite go so well as Isaac was projecting his anger onto Nicole.
After this experience, go to Mercer’s Quarters and watch the hologram where Nicole and Dr. Mercer discuss the Marker. Here you can also find a Force Gun upgrade in this room and this concludes this side mission!
Read the Dead Space Remake Chapter 11 Walkthrough to get through the objectives as smoothly as possible. The end is near, you don’t want to miss a thing preparing for the ultimate challenge of… surviving.
Dead Space Remake Chapter 10 Walkthrough
This guide will tell you how to complete Chapter 10: End of Days of the Dead Space Remake. Includes all of the side mission objectives too!
Instructions
- Go through the Crew Deck access door on the Bridge and head into the Tram Tunnels.
- Pick up Benson's RIG and return to the Captain's Nest in the Bridge.
- Activate the console to grant yourself Master Clearance and return to the Tram Tunnels.
- Enter the Crew Deck Tram Station and override the lockdown. Head into the Crew Deck and go to the Gymnasium.
- Insert the battery in the Z-Ball court into the elevator to pick up the Crew Deck Keycard.
- Activate the elevator in the Common Room with the Keycard and head to the first floor.
- Avoid the Hunter and destroy the cluster that's blocking off the Mess Hall.
- Go to the Mess Hall and make your way to the Standard Quarters.
- Destroy the Standard Quarters cluster in the toxic gas room and get the battery out of storage here.
- Bring the battery to the Mess Hall elevator and return to the Central Nexus.
- Go up the elevator in the Central Nexus and towards the Deluxe Quarters.
- Destroy the cluster in the Deluxe Quarters and find Dr. Mercer's Quarters. Play the hologram here to end the Scientific Methods side mission.
- Go back to the Central Nexus.
- Go to the Executive Quarters and destroy the cluster there.
- Survive the quarantine lockdown and return to the Central Nexus.
- Go to the Steward's Offices, talk to Dr. Kyne and destroy the last cluster.
- Go back to the Central Nexus, down the elevator and survive the quarantine lockdown.
- Activate the panel to move the Marker and go into the Executive Shuttlebay.
- Install the Singularity Core in the shuttle and test fire the engine.
- Dismember and Stasis the hunter behind the shuttle's engines and perform a test fire.
- Escape the Tentacle and make your way to the Cargo Bay.
Dead Space Remake Chapter Walkthroughs Collection
Full detailed walkthroughs are available for every one of the twelve chapters of Dead Space Remake. Each guide includes helpful tips on how to get to your next objective, what to do, where to go through and what to pick up. You'll also find instructions on how to start and complete all side missions available on the way.
Dead Space Remake Chapter 1 Walkthrough
This guide will tell you how to complete Chapter 1: New Arrivals of the Dead Space Remake. This is essentially the tutorial level of the game!
Dead Space Remake Chapter 2 Walkthrough
Guide on how to complete Chapter 2: Intensive Care of the Dead Space Remake. The walkthrough also includes the available side mission!
Dead Space Remake Chapter 3 Walkthrough
Guide on how to complete Chapter 3: Course Correction of the Dead Space Remake. The guide also includes the side mission available here!
Dead Space Remake Chapter 4 Walkthrough
Guide on how to complete Chapter 4: Obliteration Imminent of the Dead Space Remake. The guide also includes the side mission available here!

Dead Space Remake Chapter 5 Walkthrough
Guide on how to complete Chapter 5: Lethal Devotion of the Dead Space Remake. The walkthrough features the side mission available!

Dead Space Remake Chapter 6 Walkthrough
Guide on how to complete Chapter 6: Environmental Hazard of the Dead Space Remake. Includes the available side mission objectives!
Dead Space Remake Chapter 7 Walkthrough
Guide on how to complete Chapter 7: Into the Void of the Dead Space Remake. Includes the available side mission objectives!

Dead Space Remake Chapter 8 Walkthrough
Guide on how to complete Chapter 8: Search and Rescue of the Dead Space Remake. Includes the available side mission objectives!
Dead Space Remake Chapter 9 Walkthrough
This guide will tell you how to complete Chapter 9: Dead on Arrival of the Dead Space Remake! Follow it to not miss a thing!

Dead Space Remake Chapter 11 Walkthrough
This guide will tell you everything you need to know to complete Chapter 11: Alternate Solutions of the Dead Space Remake!
Dead Space Remake Chapter 12 Walkthrough
This guide will tell you how to complete Chapter 12: Dead Space of the Dead Space Remake, including the final boss fight!
All Dead Space Power Node Locations Guide
This guide show all Power Nodes locations in the Dead Space Remake. The locations are structured according the areas and based on Chapters!
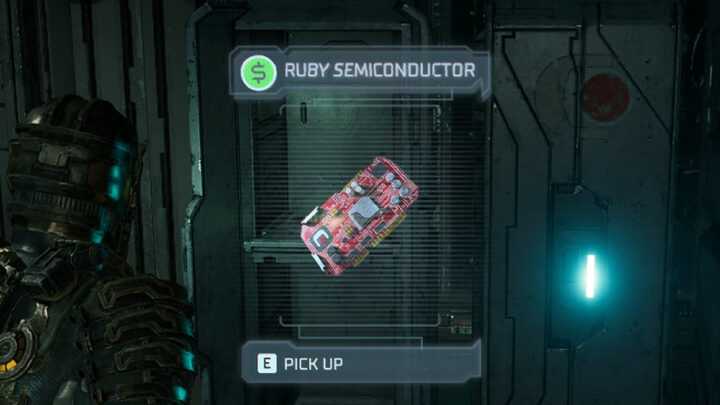
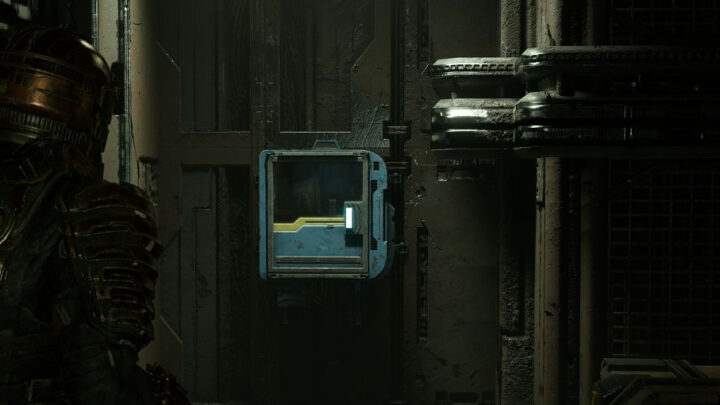
All Dead Space Semiconductor Locations Guide
Guide on where to find all Semiconductors in Dead Space Remake. The locations are structured according to the areas and based on Chapters!

Dead Space Remake Achievements Guide and List
Complete list of all achievements in Dead Space Remake including secret ones and any additional rewards when you obtain some achievements!