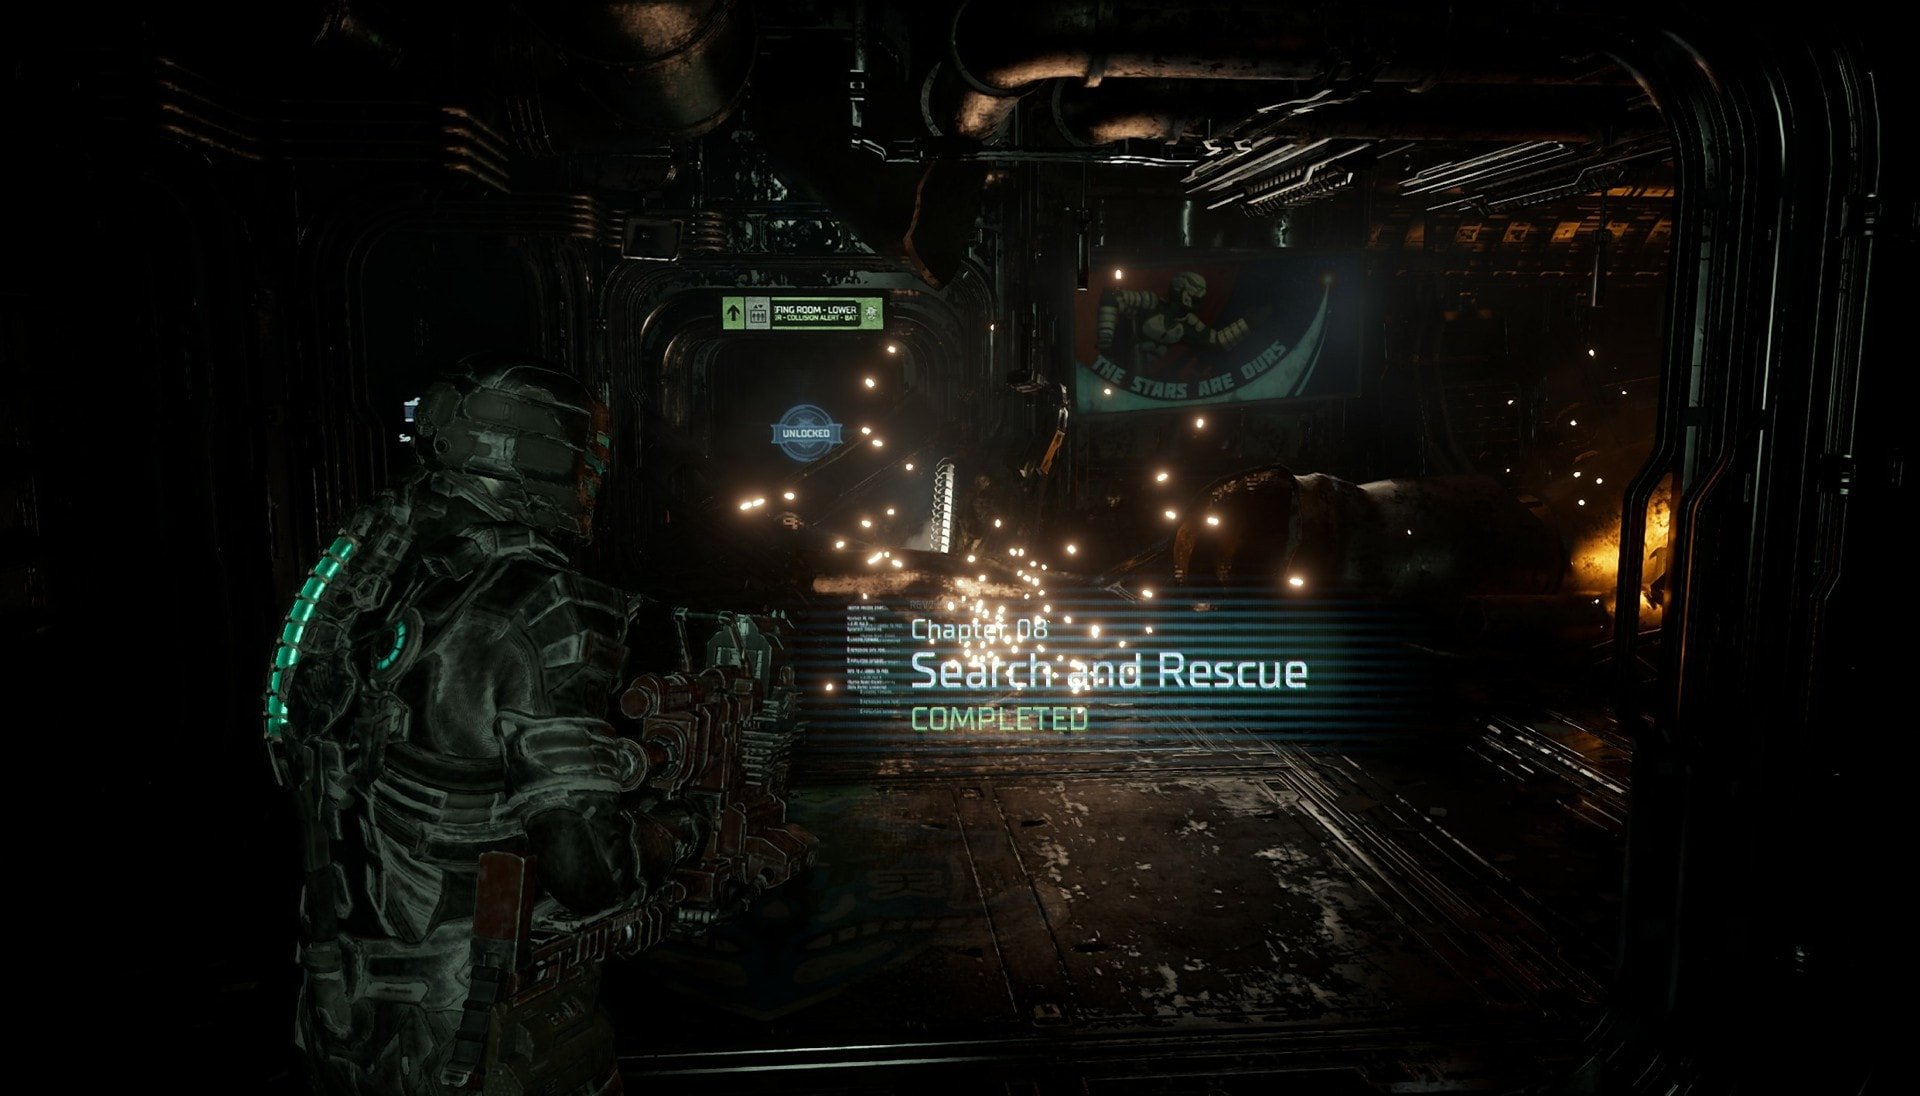
This guide will tell you how to complete Chapter 8: Search and Rescue of the Dead Space Remake. The walkthrough also includes the available side mission objectives!
This guide is for the Dead Space Remake, released in 2023!
List of Power Node locations in Chapter 8: Power Node Location Guide.
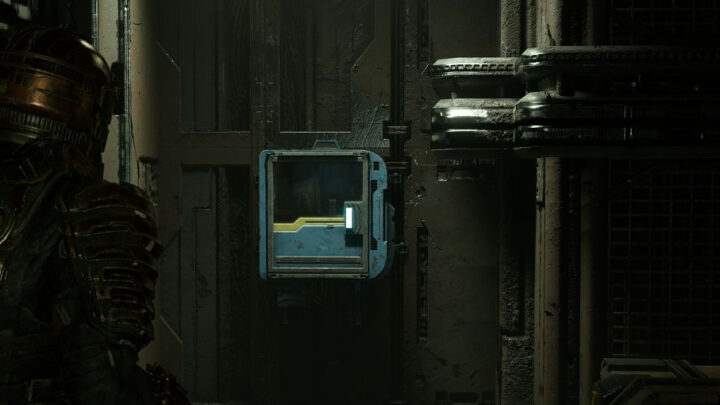
List of Semiconductor locations in Chapter 8: Semiconductor Location Guide.
Get to the Bridge
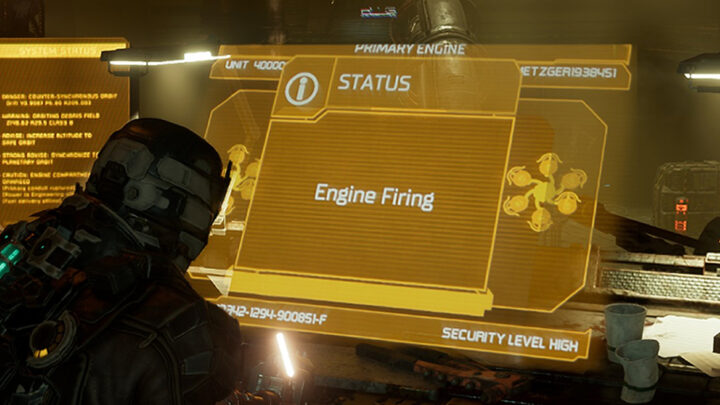
After you’ve completed sending out the SOS Beacon in Engineering, you need to fix Ishimura’s Communication Systems. Head to the Tram Station and make your way to the Bridge. When you get to the Bridge you’ll get a call from Kendra and learn that the USM Valor, an Earth Defense Force vessel, has arrived.
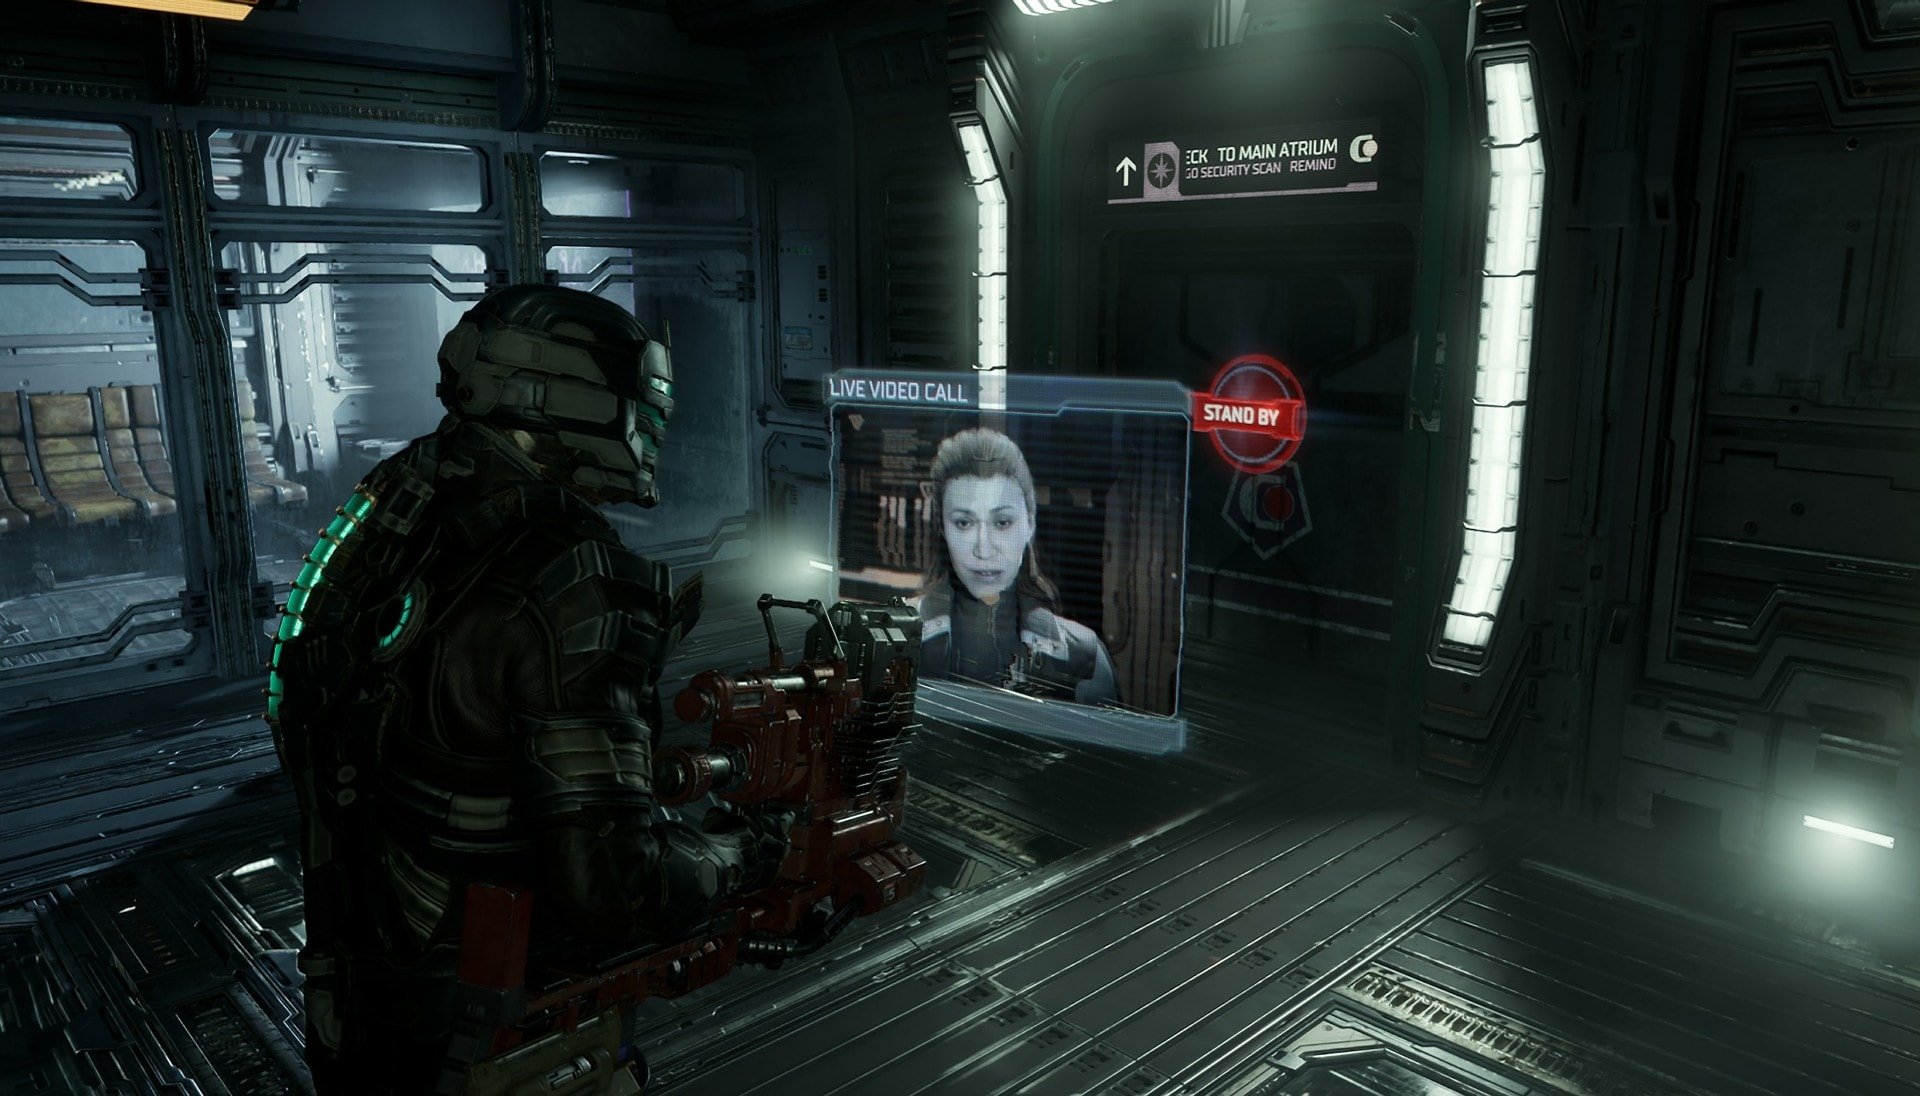
Though with the Comms down, you are unable to receive or send out messages. Follow your Locator to the Main Atrium so you can access the elevator that leads to the Communications Hub.
Get to the Communications Array
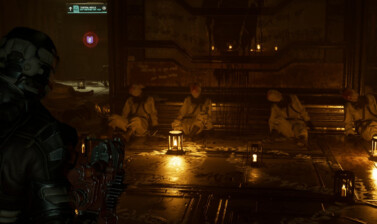
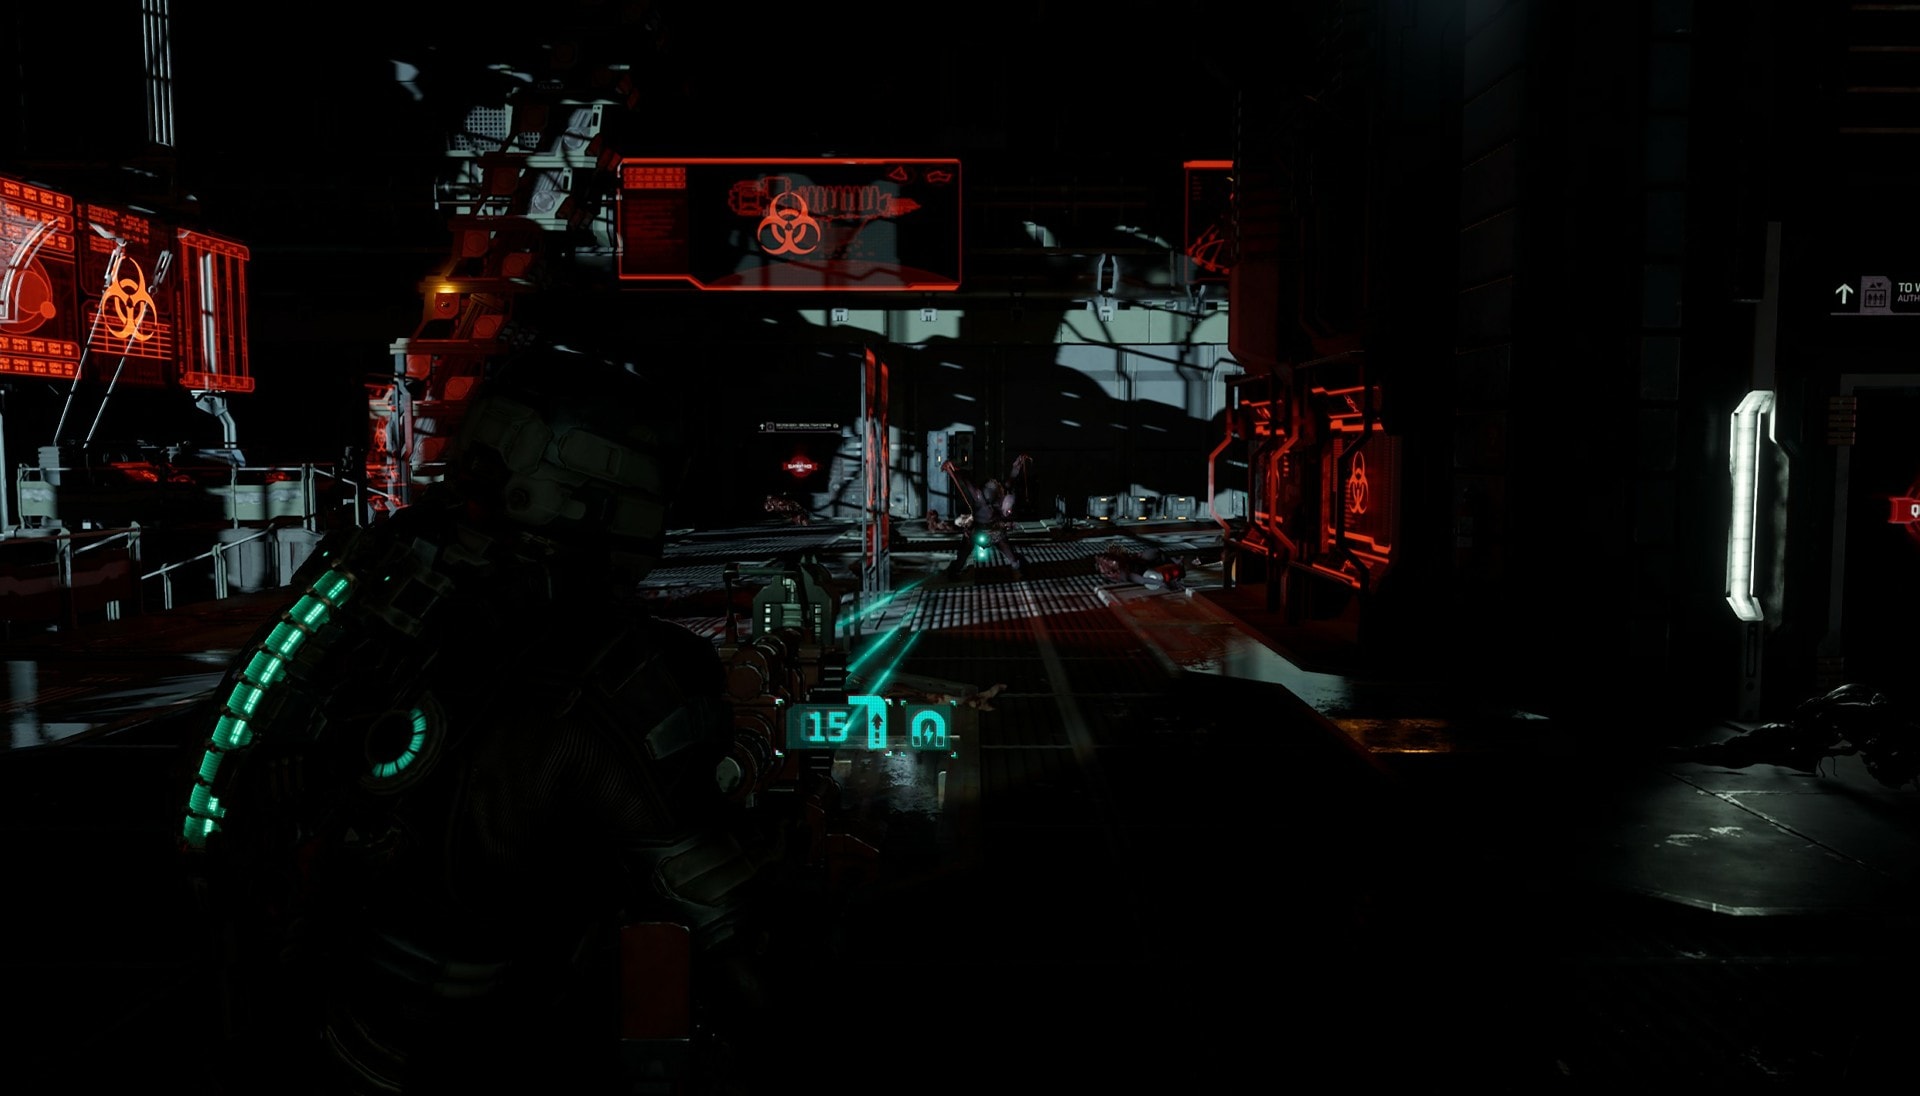
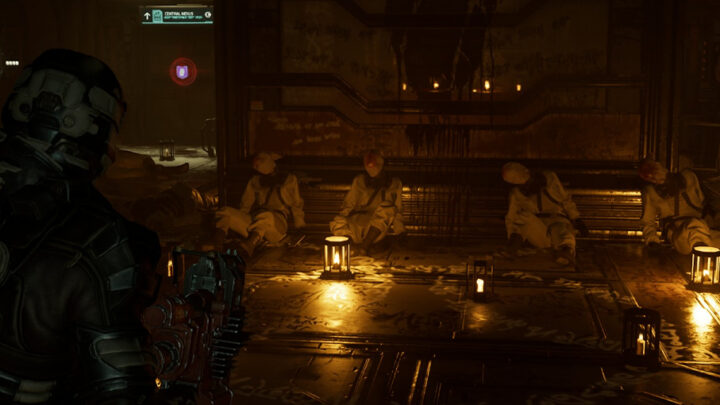
When you enter the Main Atrium, the room will lock down due to a quarantine. You’re going to fight a lot of Slashers and Exploders so watch your sides and back for Exploders. Use the explosive canisters and severed Exploder arms to take out groups of necromorphs.
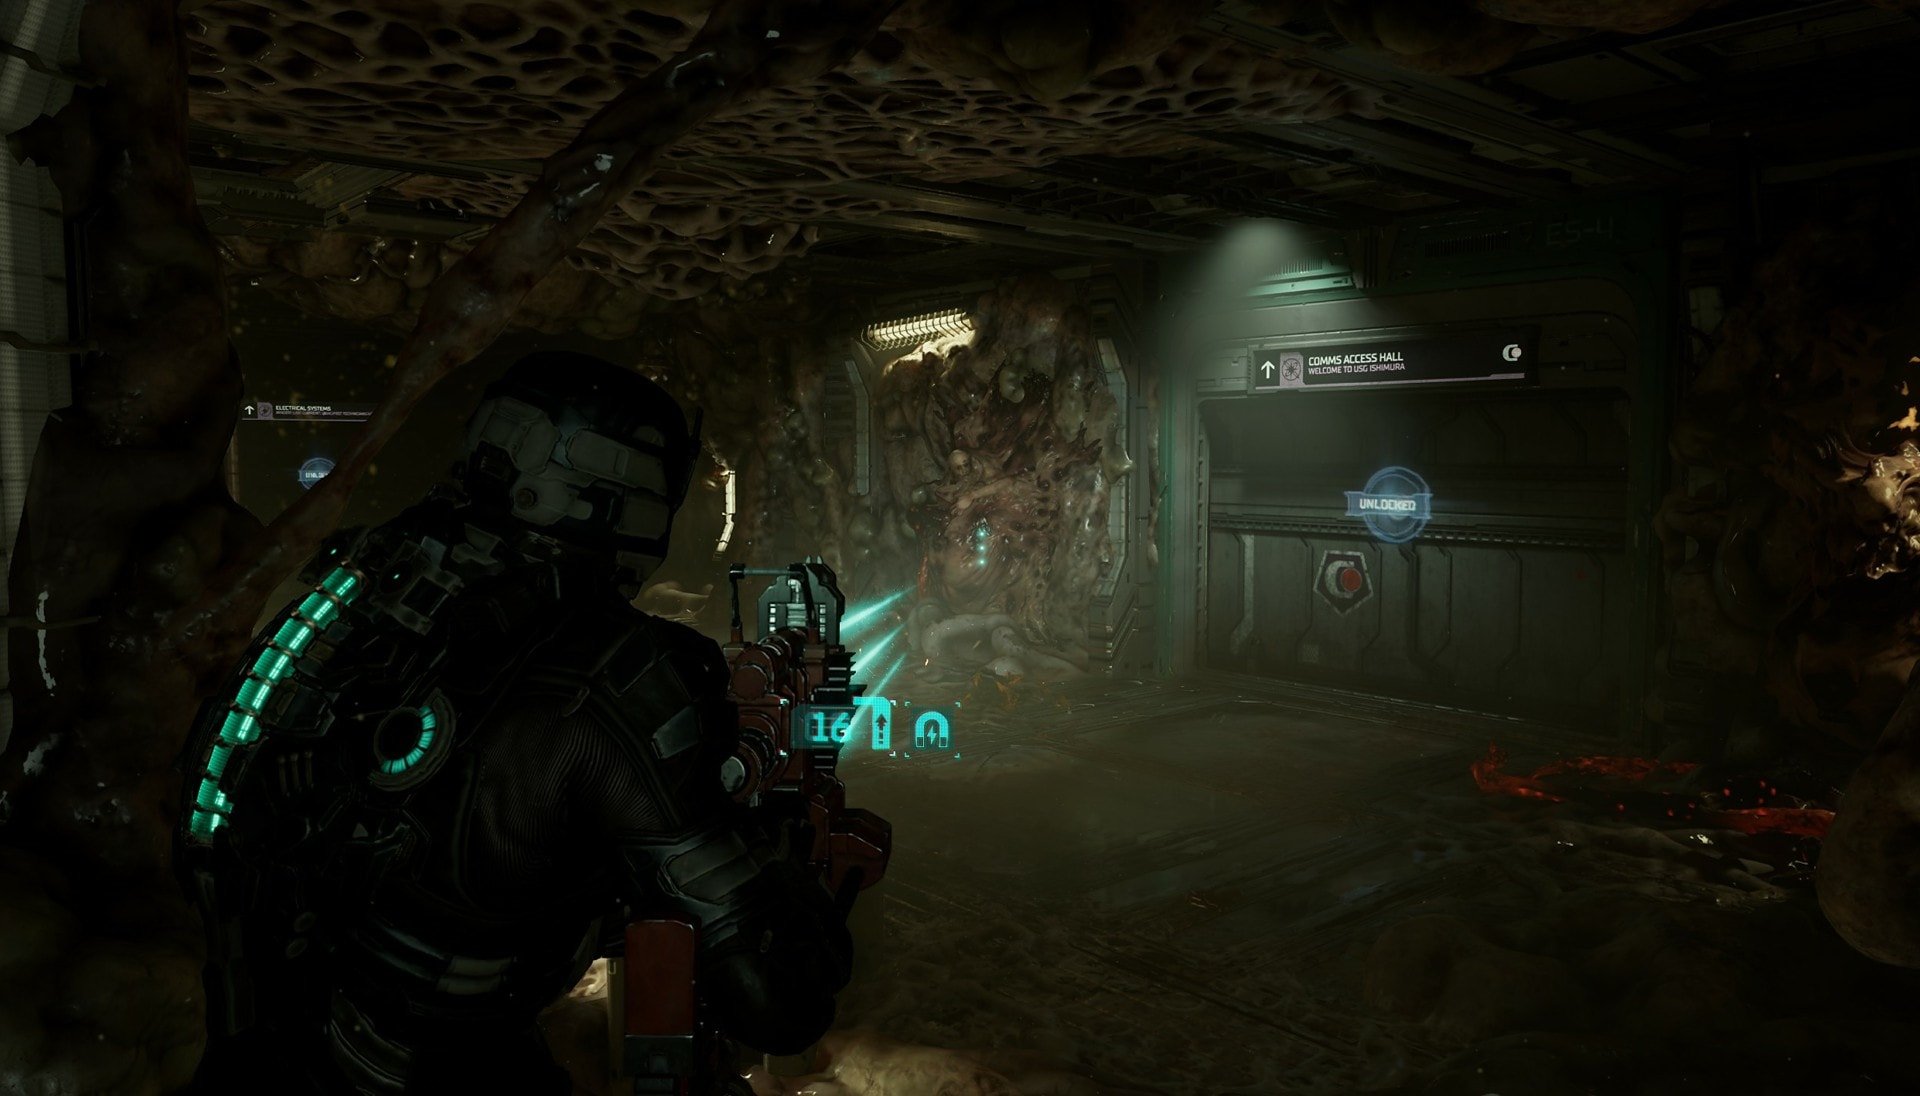
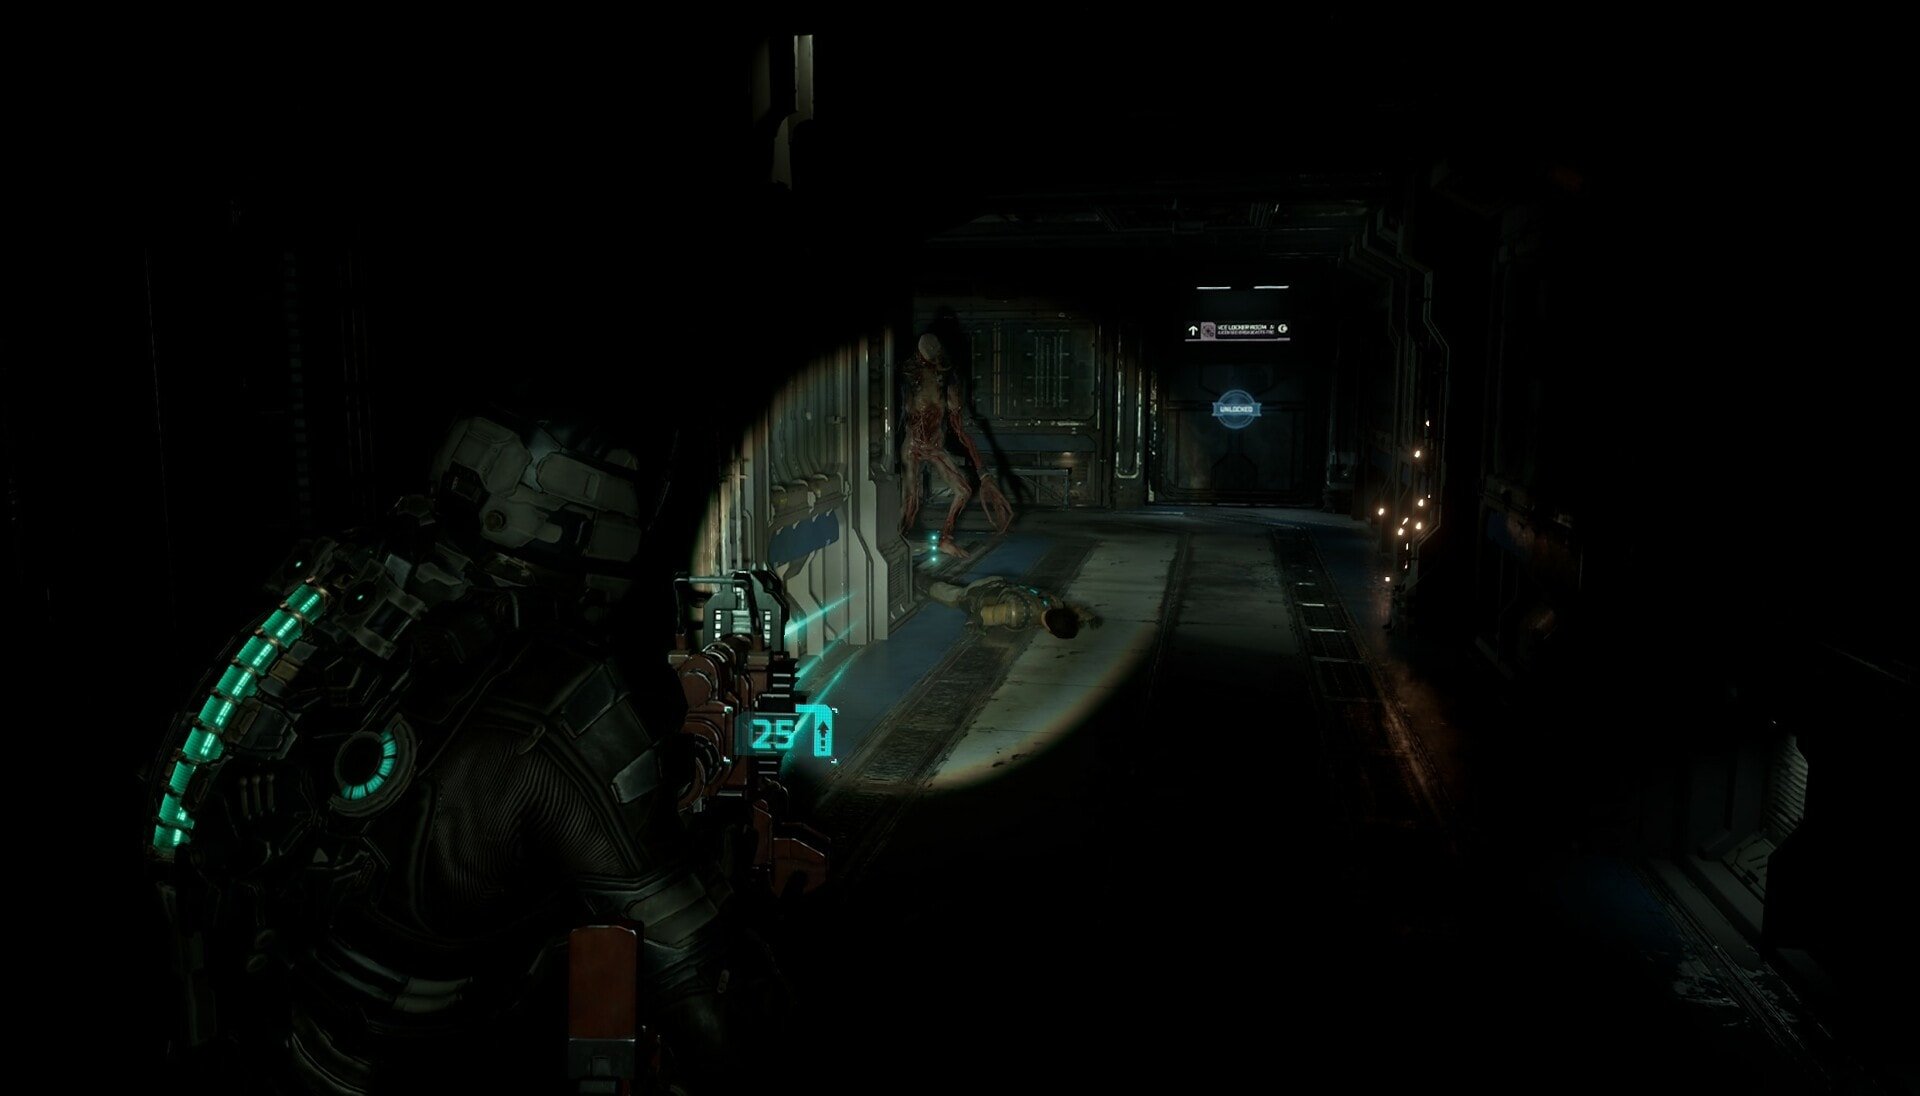
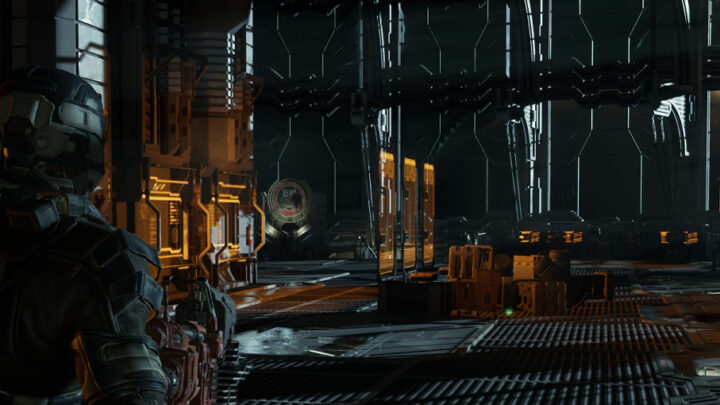
After the necromorphs are dealt with, follow your Locator to find which elevator you need to take and go to Floor 3. When you exit, you’re going to find this area is now covered in flesh with 2 Guardians protecting the door leading to the Comms Access Hall. Defeat the Guardians and go through the door between them.
Make your way down the Comms Access Hall and enter the Comms Control Room. At the very end of the room you’ll find a console however you’ll be unable to interact with it with the Comms System being unpowered. You will need to align and power the Comms Array in order to use this console.
Repair the Communications Array
I will be providing a brief summary on how to solve this puzzle but if you would like an in-depth version with the solution at the end, you can use our How to Fix the Comms Array in Dead Space guide!
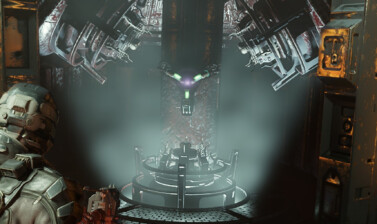
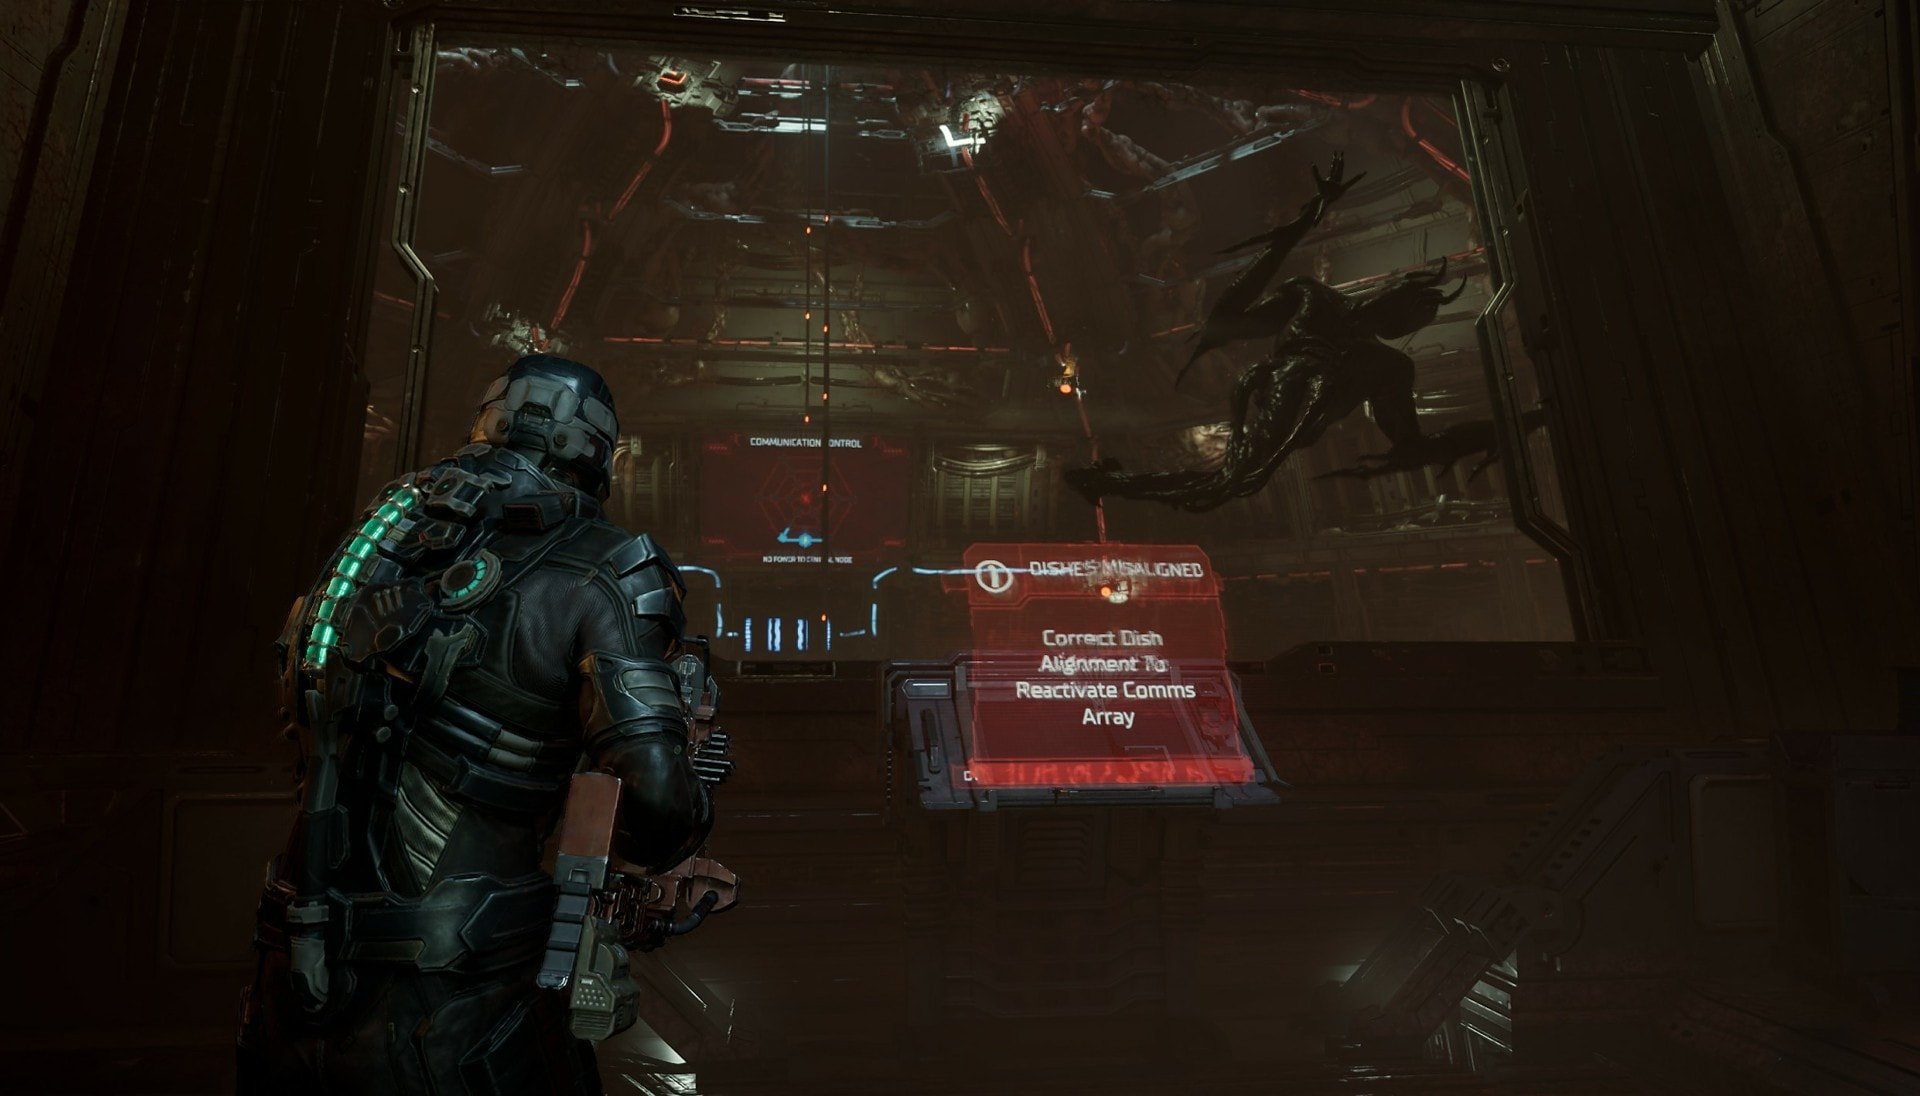
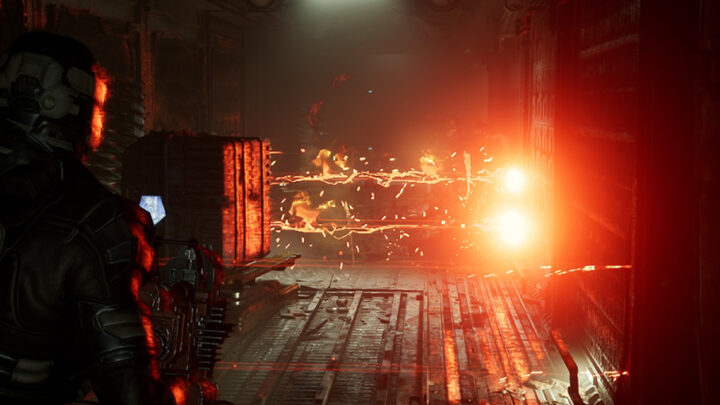
Enter the Comms Array and fight the two Leapers and Lurkers in here before attempting to fix the Comms Array. On one side of the room, you’ll see this large panel that displays the current status of the Communications Control. At the bottom it states “NO POWER TO CENTRAL NODE”.
This is your first clue in what you need to do. You’ll have to redirect power from the power source below this panel and redirect it to the Central Node at the top of the ceiling.
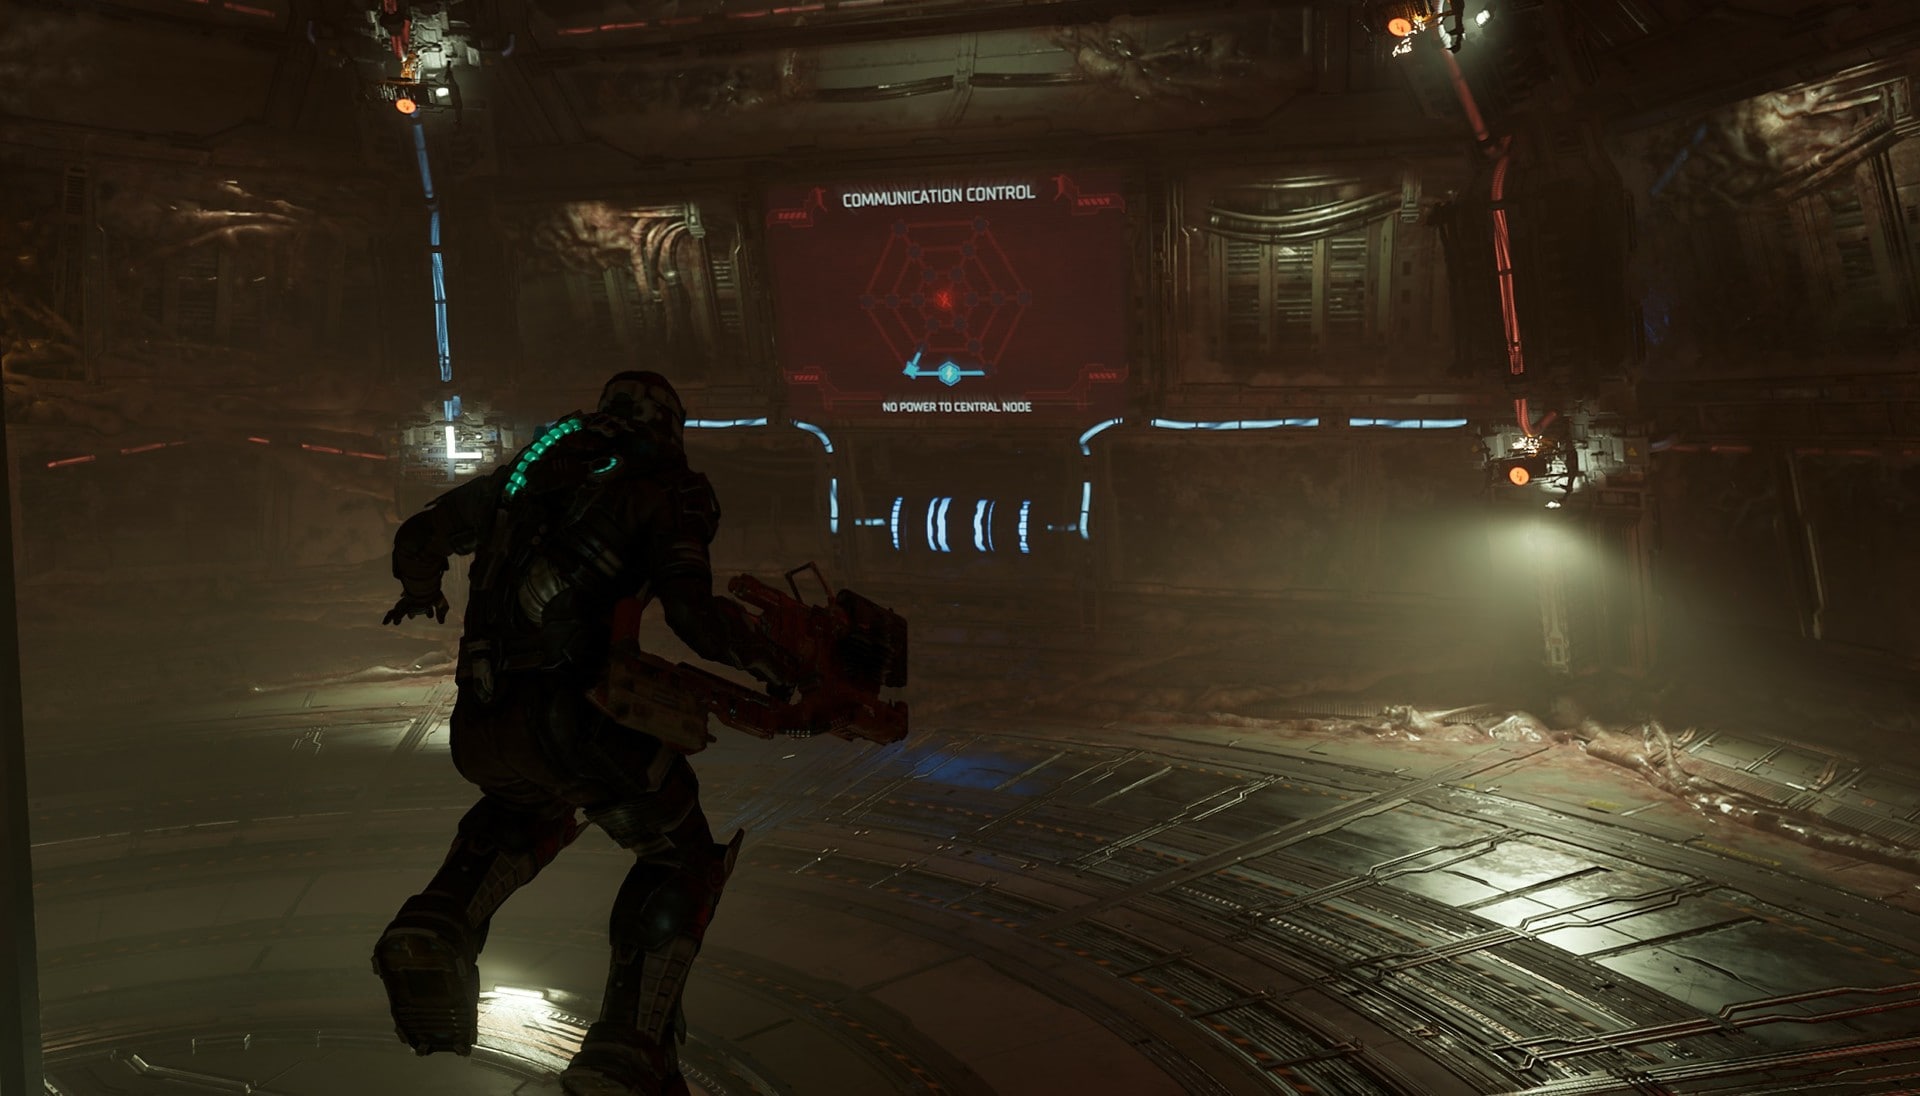
You’ll find various Communication Dishes around the room. If they have a red light, these are damaged and unable to be used. Instead, look for the dishes with the glowing white lines. These lines indicate what direction they direct power when placed into a socket. Arrange these in a way that the power reaches the Central Node on top.
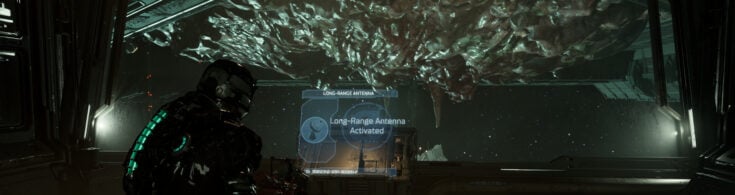
After solving the puzzle or following our in-depth guide on the topic, you would have repaired the Comms Array enough to send out short range communications. Return to the Comms Control Room and activate the panel. You’ll receive a looping transmission from the USM Valor stating that they have obtained the escape pod launched by the Ishimura.
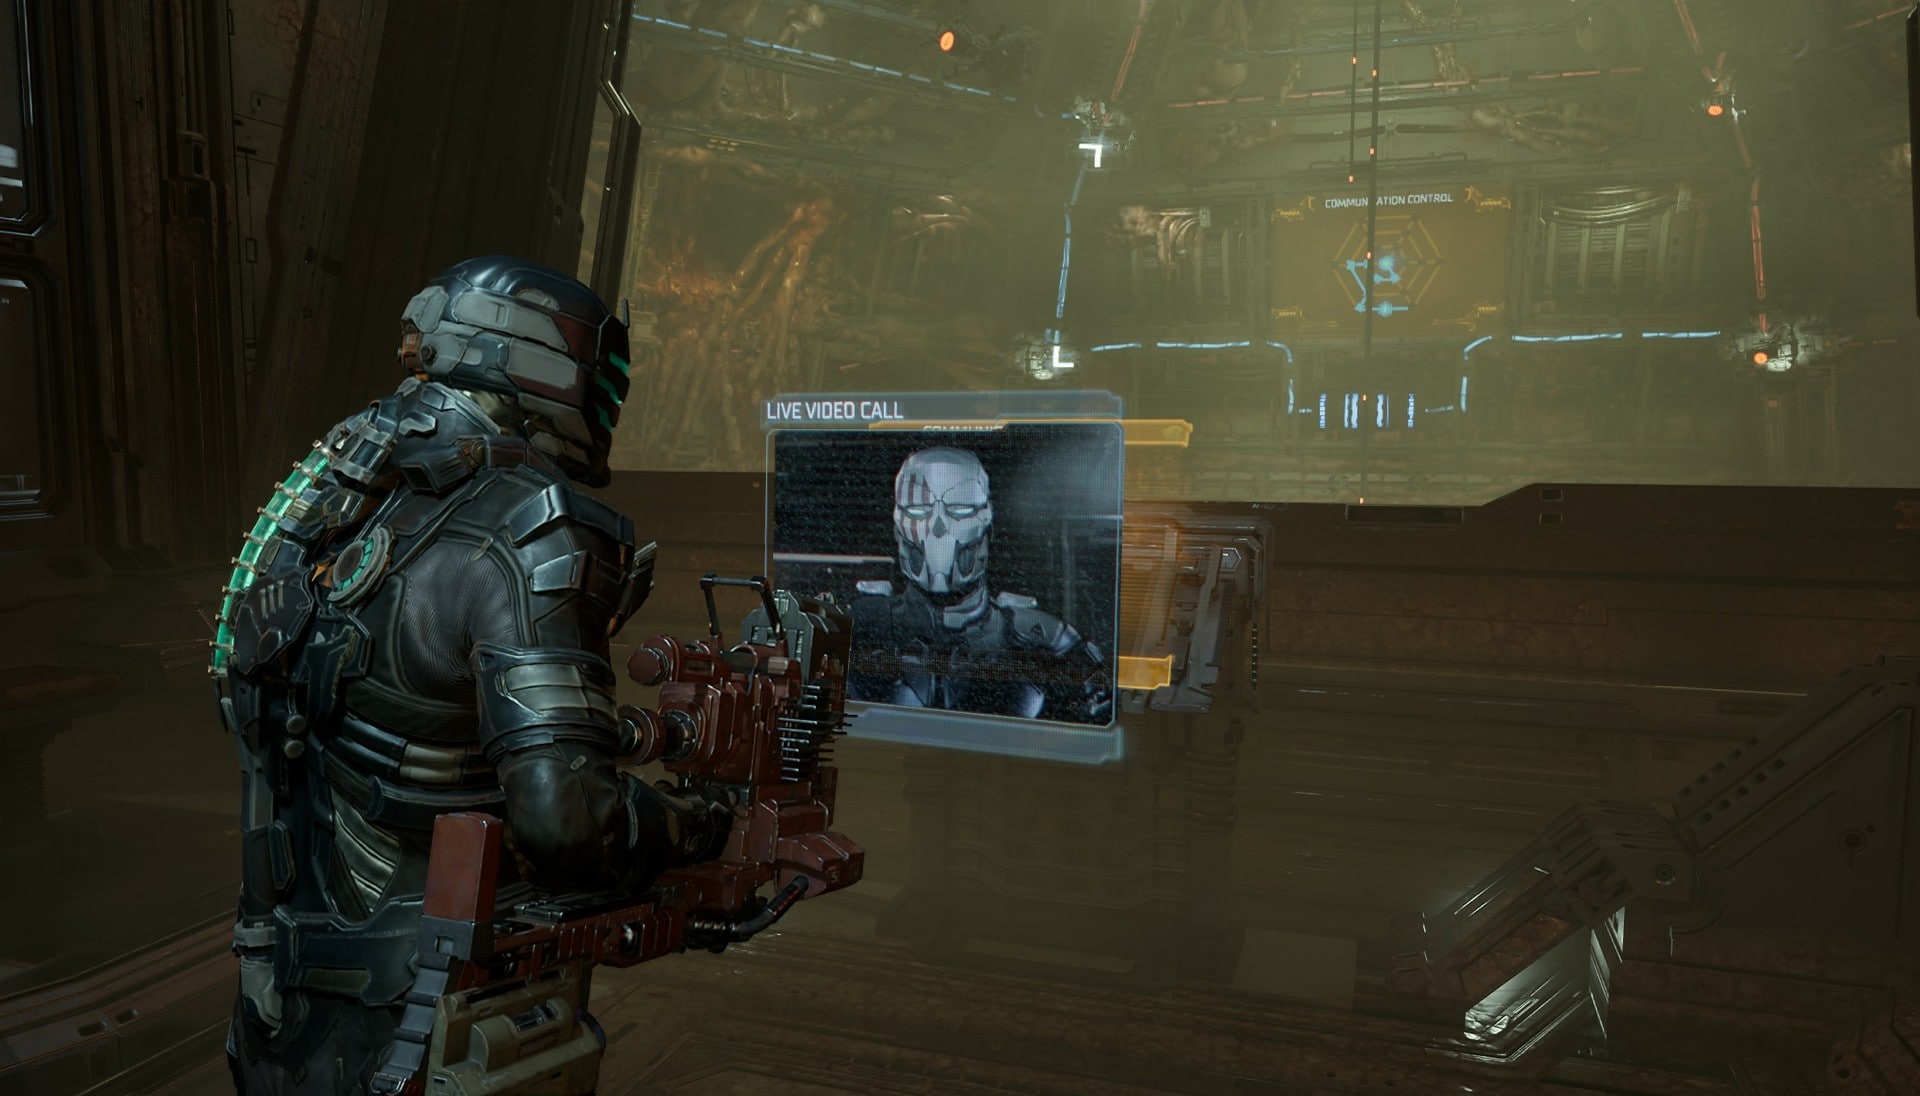
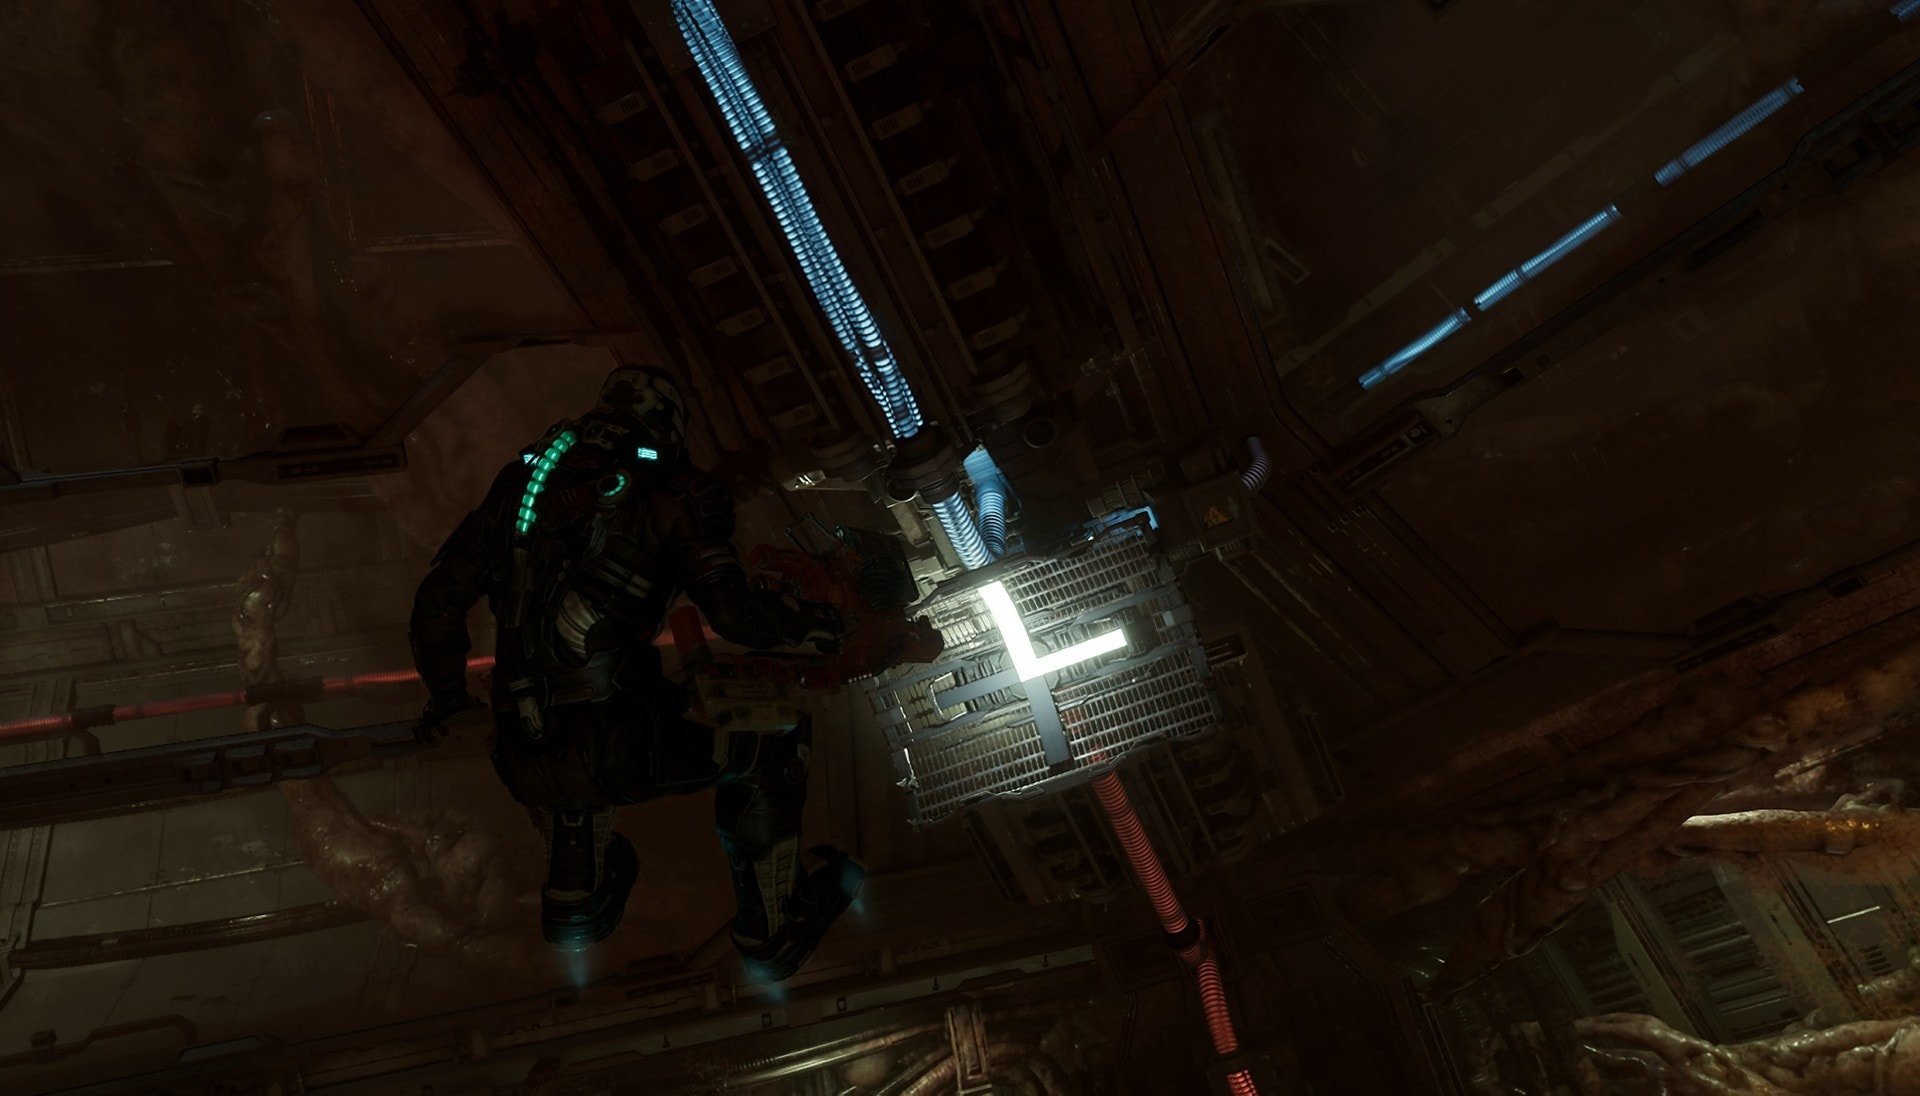
Isaac and Kendra begin to panic as this is the same escape pod that contained Chen. That’s right, Chen’s coming back! However you are still unable to send out communications so you’ll need to extend the Comms Antenna.
Get to Comms Maintenance
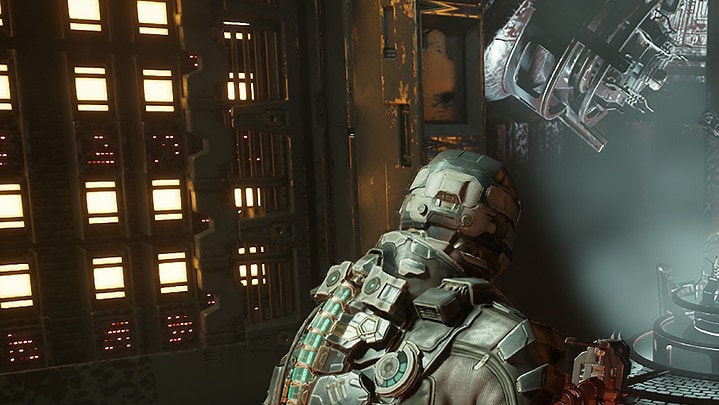
Follow your Locator to reach the Maintenance Gondola and use the gondola to get to the other side of the hall. You’ll find a Bench at the end of this hall so perform any upgrades you need there (I would recommend an Air upgrade if you’re able to).
When you enter the room past the Maintenance Gondola, you’ll find a survivor who’s crawling on the ground before collapsing. Behind them is the Divider necromorph! These necromorphs have no specific weaknesses and when damaged enough, they’ll divide into tendrils and a head with tendrils.
You’ve seen these individual components on your travels before but here they’re intact! When it divides, aim for the head first as that piece poses the largest threat. Using a Flamethrower on the Divider is great as the pieces will continue to burn ever after dividing. That and it’s much easier to hit them with a Flamethrower than a higher precision weapon.
Keep going through the Communications Hub until you reach Comms Maintenance. Use the panel inside and it will open the blast shields of the room’s canopy. The Leviathan is back as a fragment of it clung onto the Ishimura’s Comms Antenna! So before you can extend the antenna, you’ll need to get the Leviathan Fragment off it. To do this, you’ll have to go outside and fight it with the ADS Cannons.
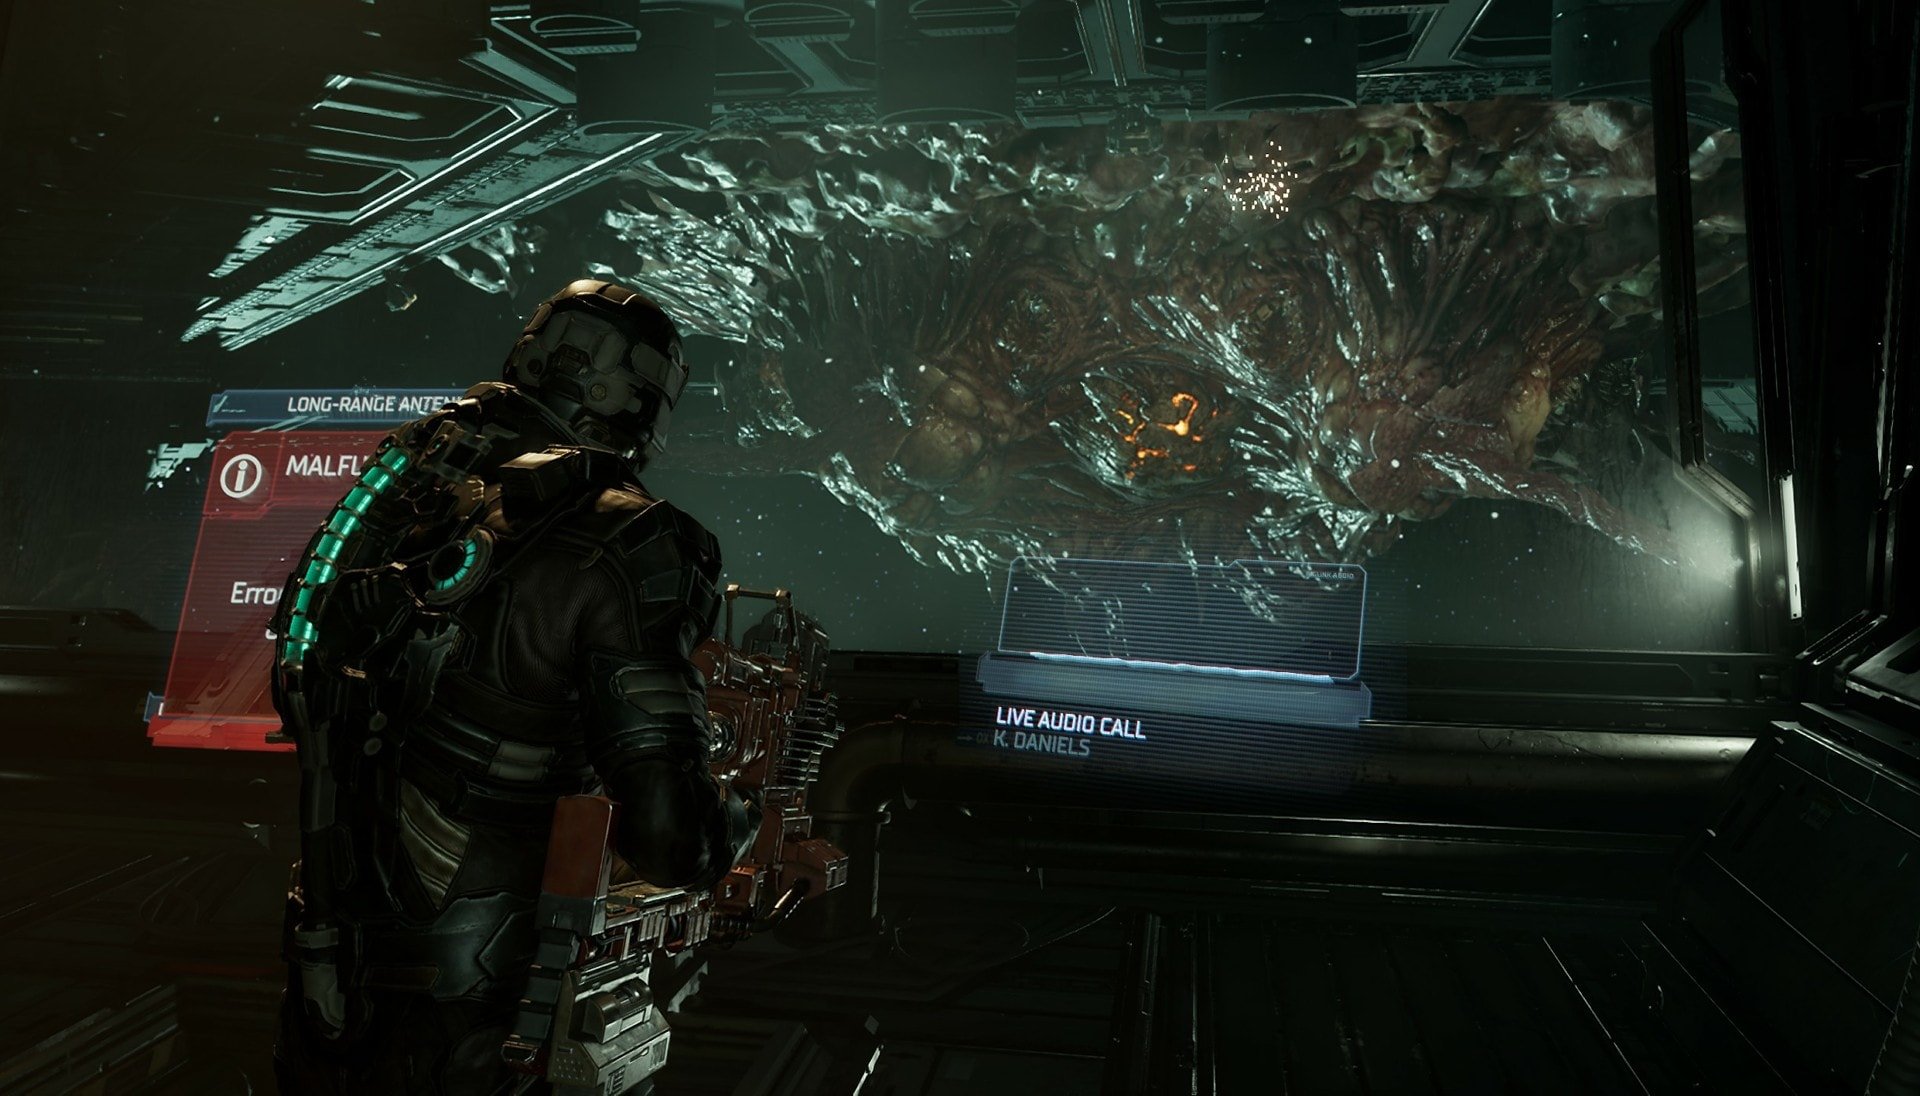
Defeat the Leviathan Fragment
We have an in-depth version for this fight here with our How to defeat the Leviathan in Dead Space Remake guide, though I’ll also be providing a condensed version here.
When you get outside, there will be 3 ADS Cannons, one to the left, right, and center. The left cannon is covered in a fleshy growth that you’ll need to shoot its cluster to access the cannon. On the far left and right walls, you’ll find Oxygen Refills. The far right Oxygen Refill is covered in flesh so shoot its cluster to access it.
This fight will be like the time you used the ADS Cannons in Chapter 4. Fly up to an ADS Cannon, activate it and use it to blow up the rocky formations on the Leviathan Fragment. When you’ve shot this part enough, it will expose the cluster inside that you can shoot with either the ADS Cannon or your handheld weapon.
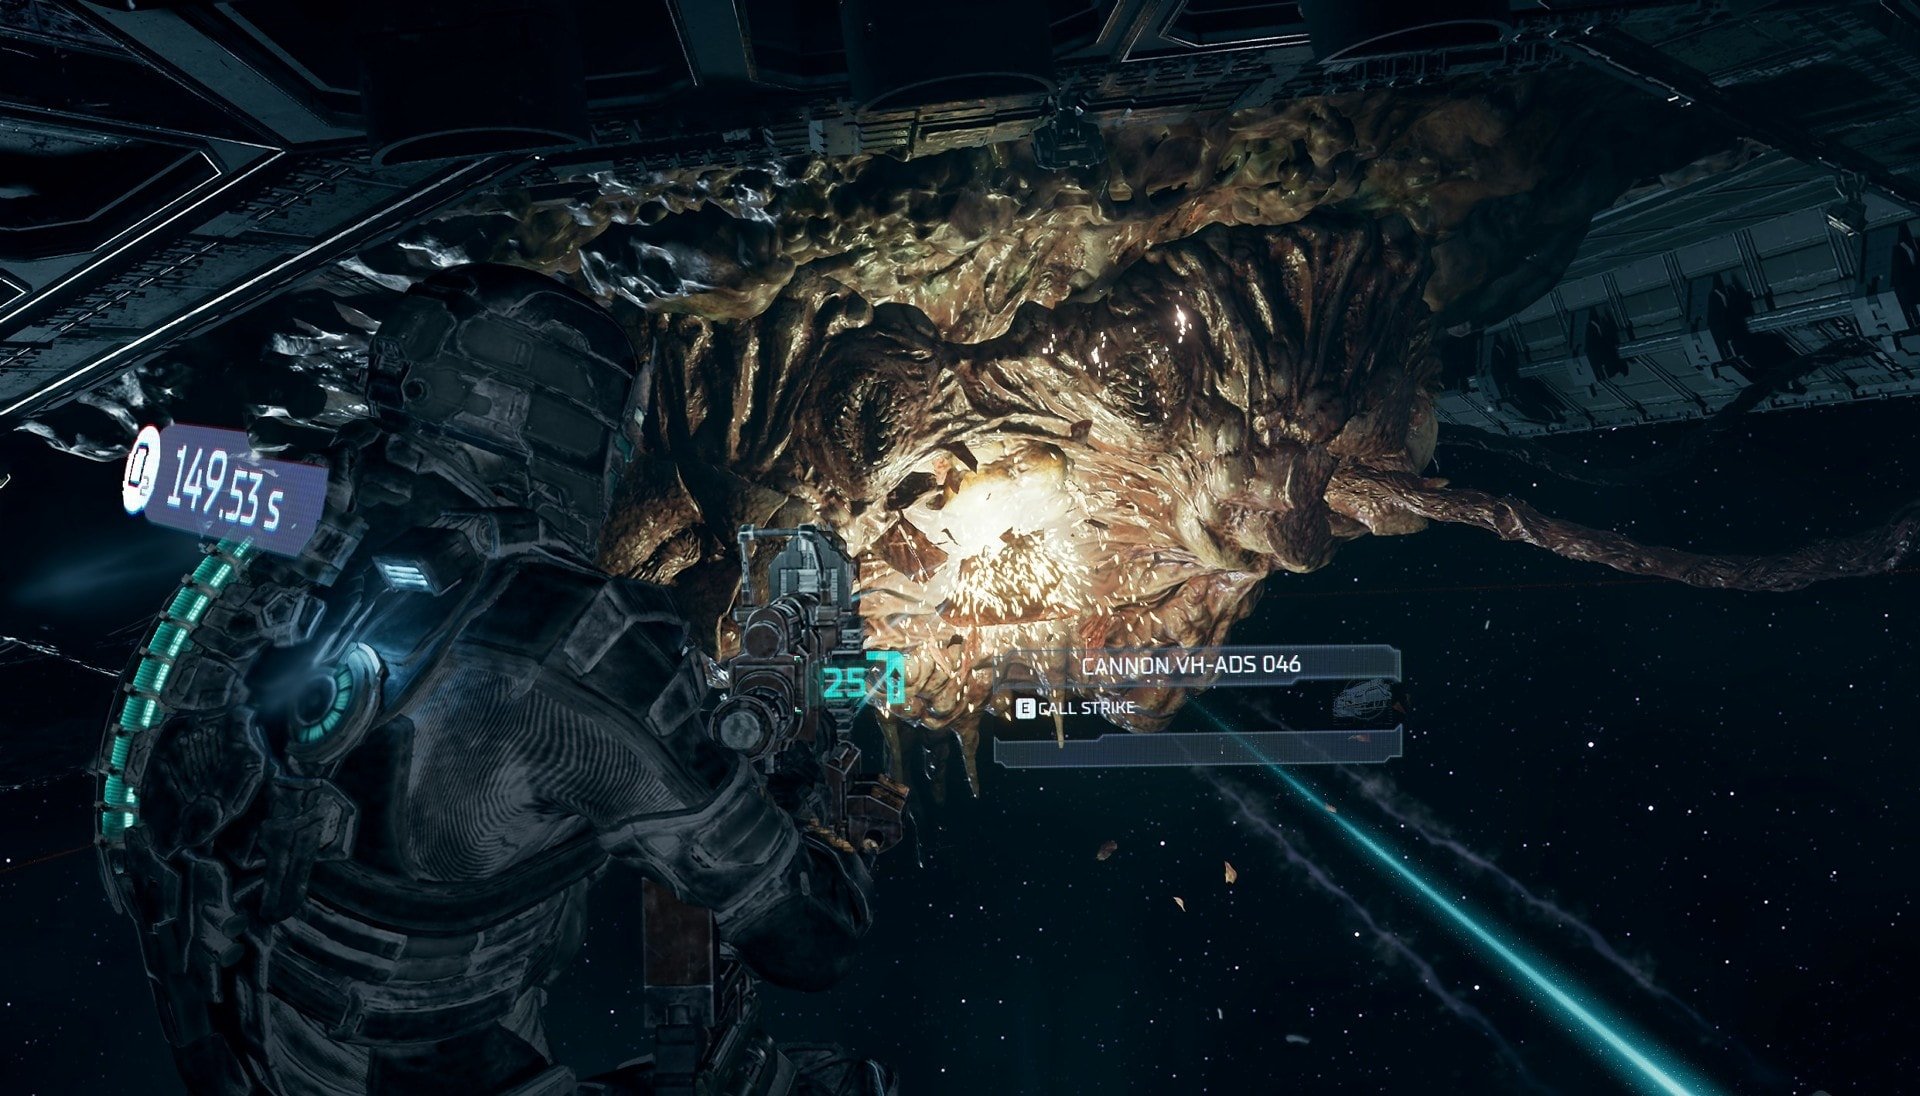
There is no specific order of cannons to do this in, so pick any cannon and go to the next after that side’s cluster is destroyed. The Leviathan Fragment will either launch its tentacles directly at you or perform a sweeping attack with them so do your best to dodge them.
When you enter the third phase, the Leviathan Fragment will launch a bunch of explosive clusters with tendrils sticking out of them. Stay away from these as they act as mines. After blowing up the 3rd cluster, the Leviathan Fragment will be defeated. Go back inside to the Comms Maintenance room and extend the antenna.
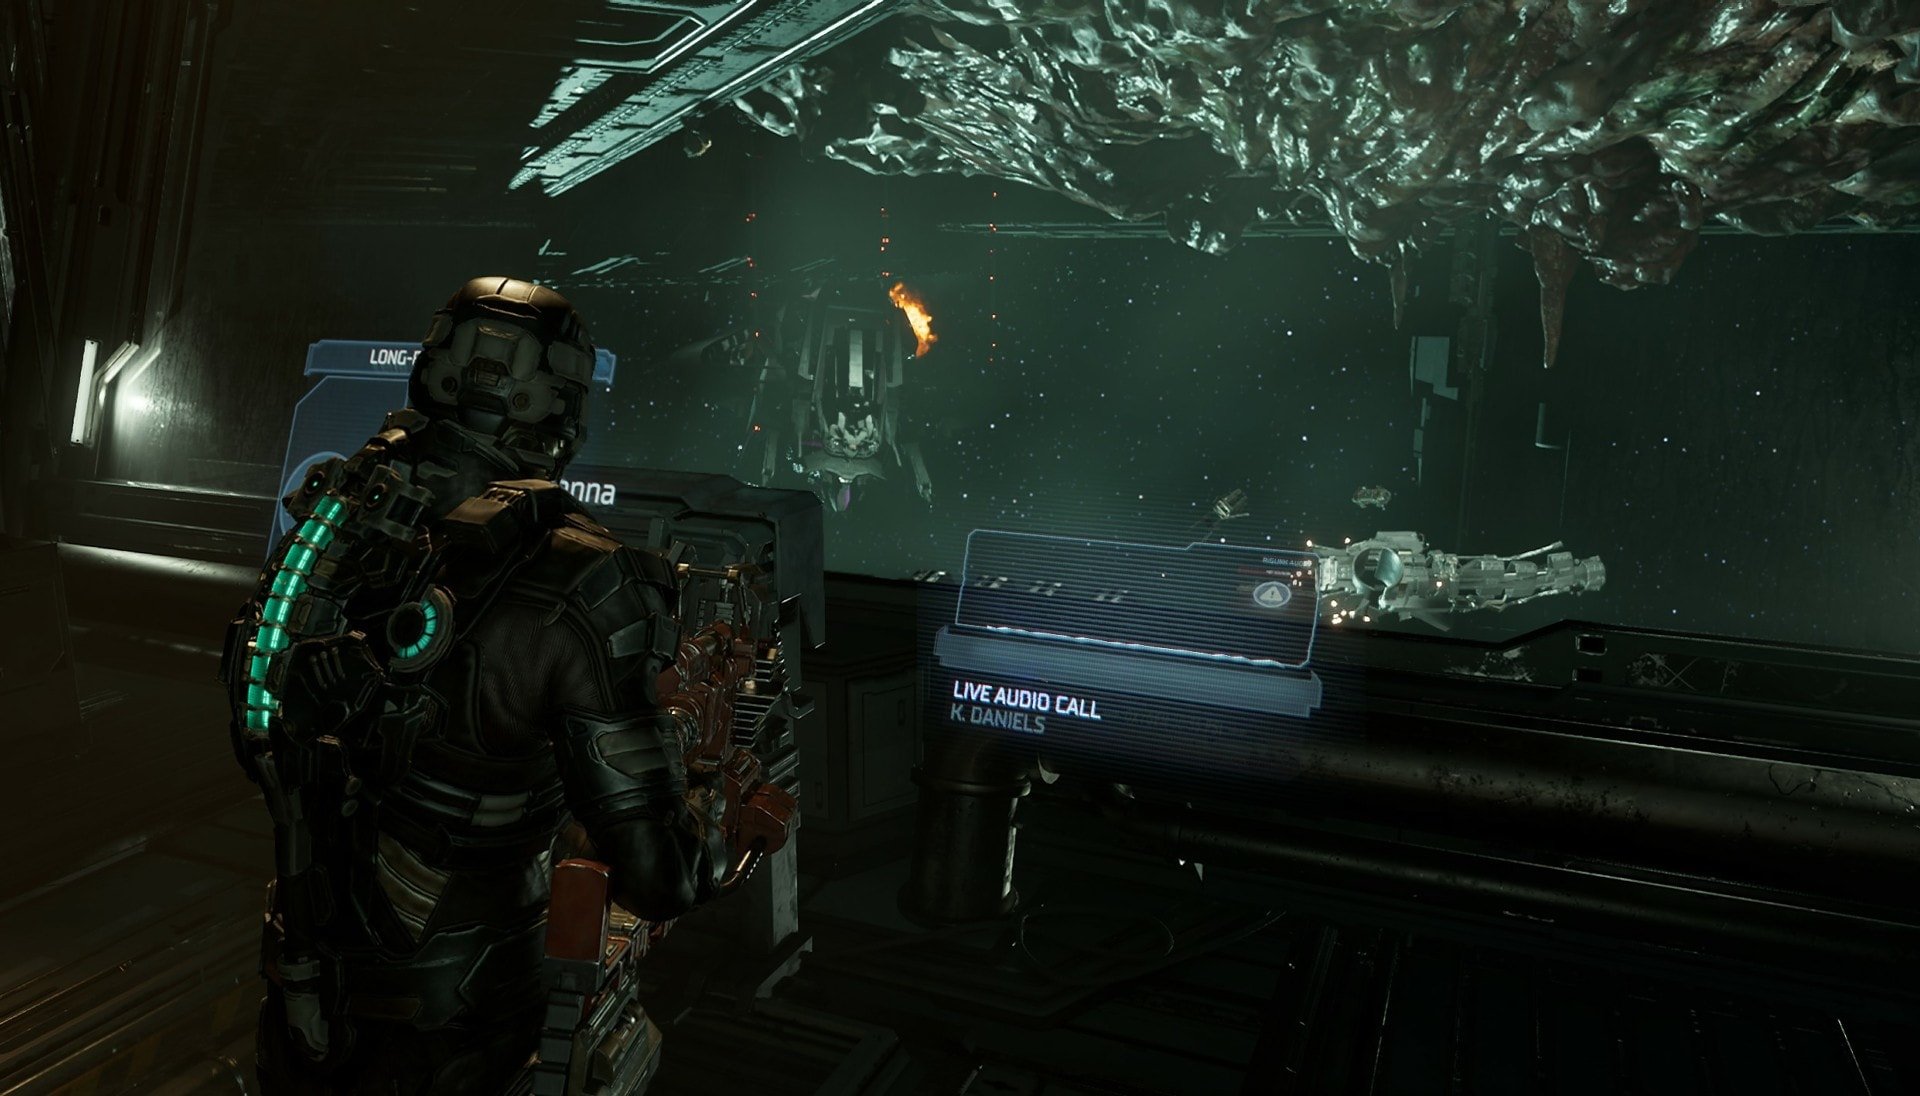
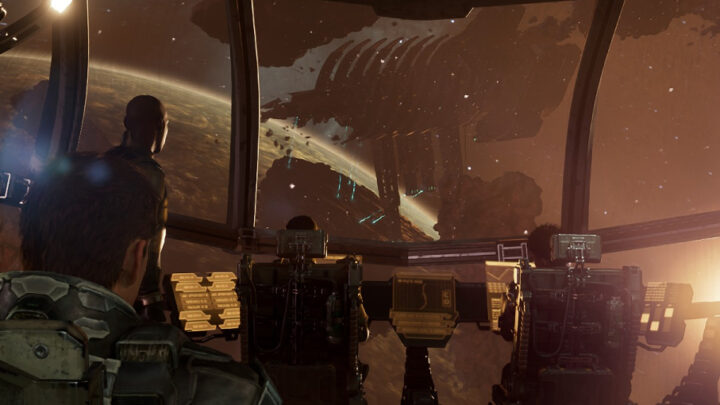
Unfortunately, the damage was done to the USM Valor and it’s on a direct course for the Ishimura. The Valor will crash and Isaac comes up with the idea to salvage the Valor’s Singularity Core to use it in a shuttle to get the team out of there. Hammond will board the Valor as well to help Isaac.
Board the USM Valor
Exit the air lock again and fly towards the USM Valor. When you board, you will have completed Chapter 8.
Side Mission: Premeditated Malpractice
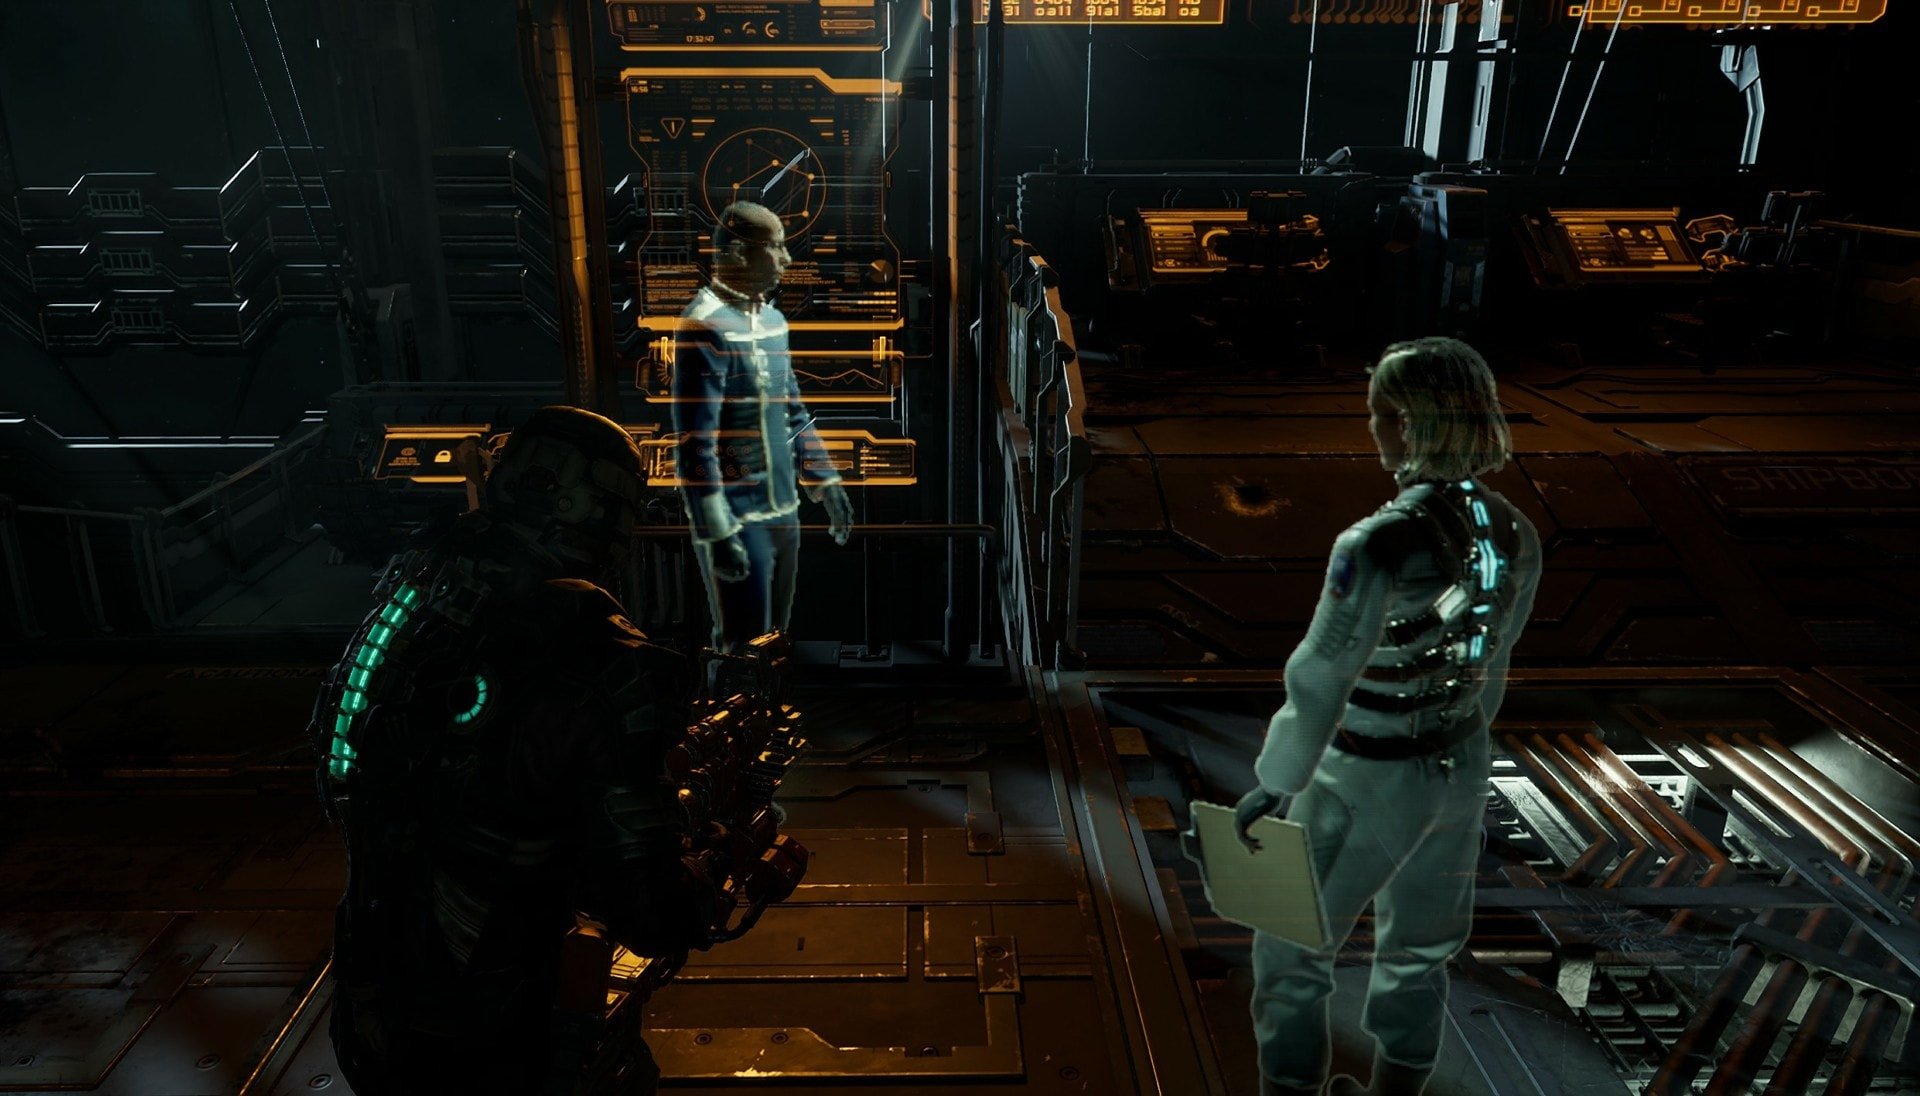
When you’re in the Main Atrium, there’s a panel on the right side of the room that has a hologram recording you can play. This contains a hologram of Nicole making a complain about Dr. Mercer to Captain Mathias. She doesn’t make much progress but you learn that Dr. Mercer has been going to the Hydroponics Deck.
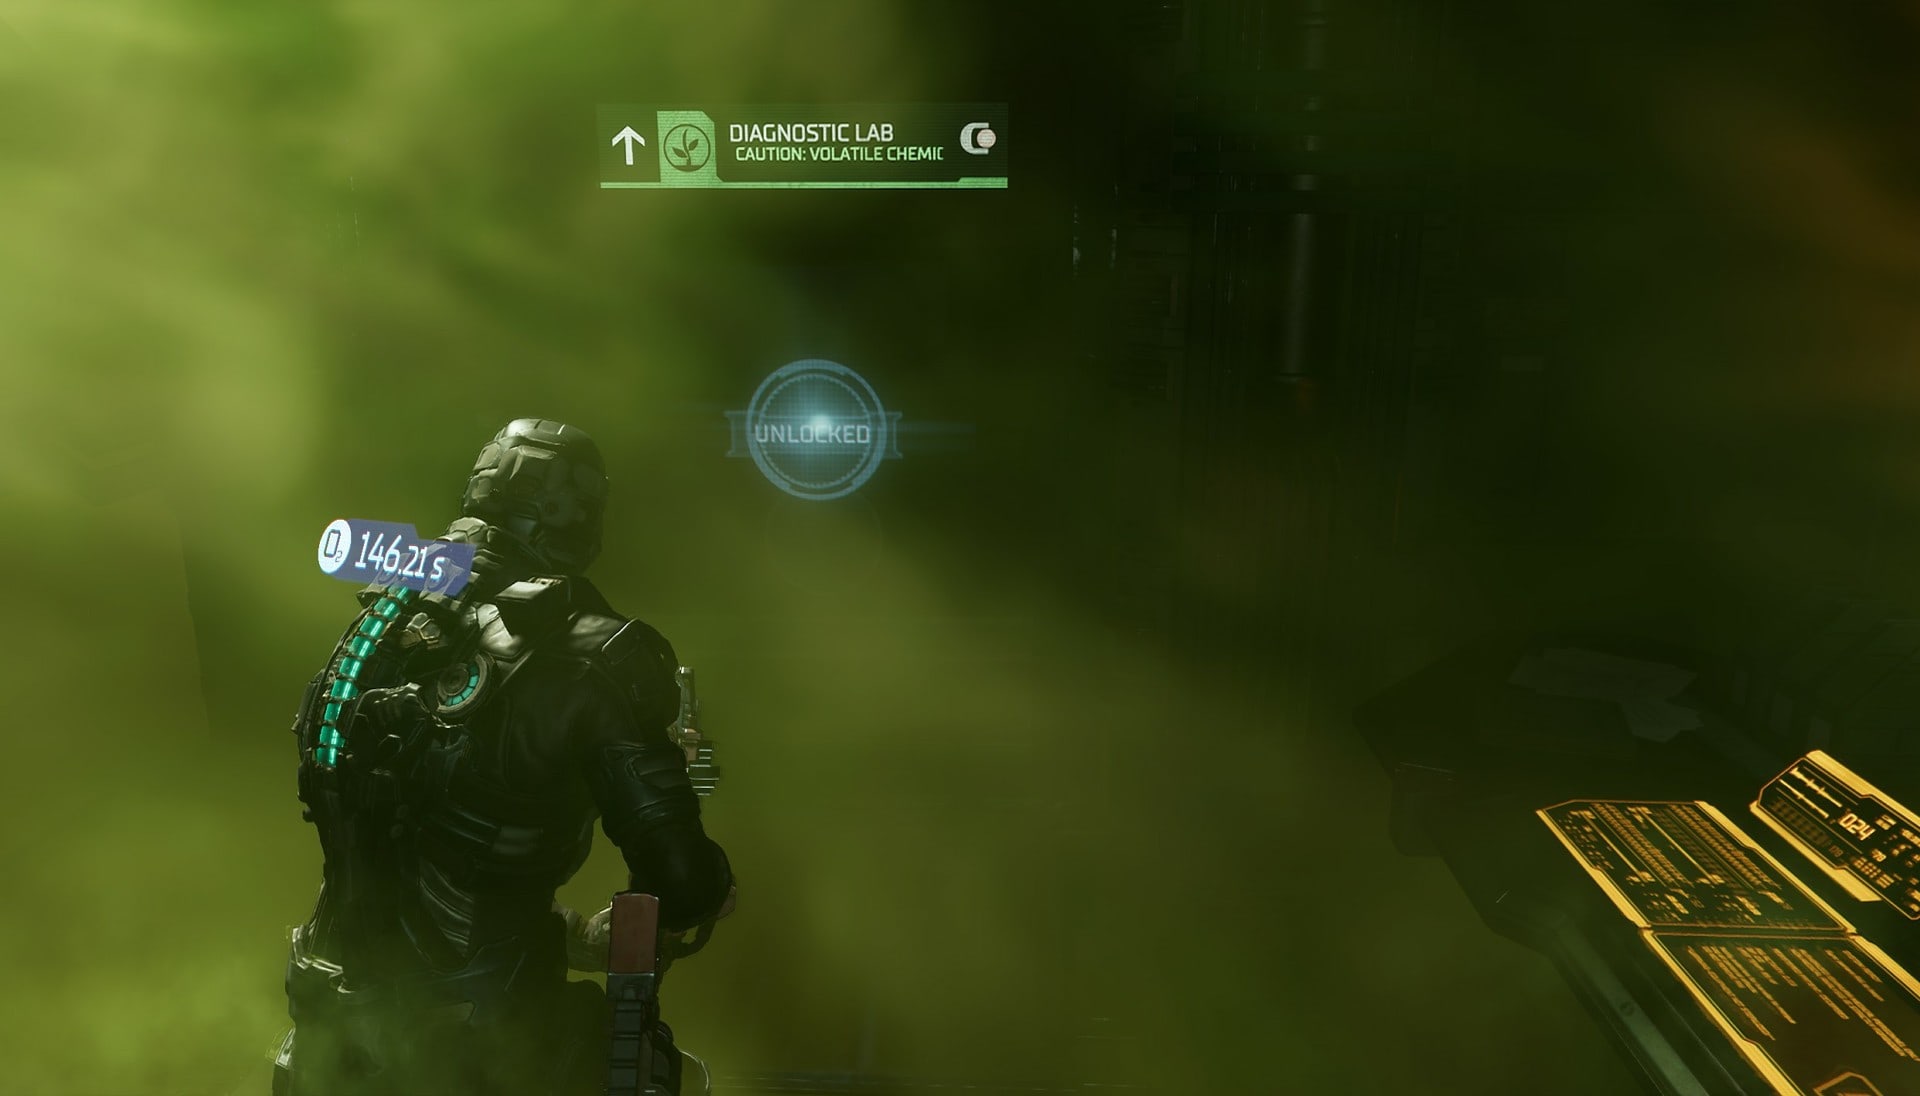
Your next destination is to go to Hydroponics. Go to the West Tower and use the elevator to get to Floor 2. Follow your Locator to the Diagnostics Lab. On your way there, rooms leading to the Lab will be filled with toxic gas.
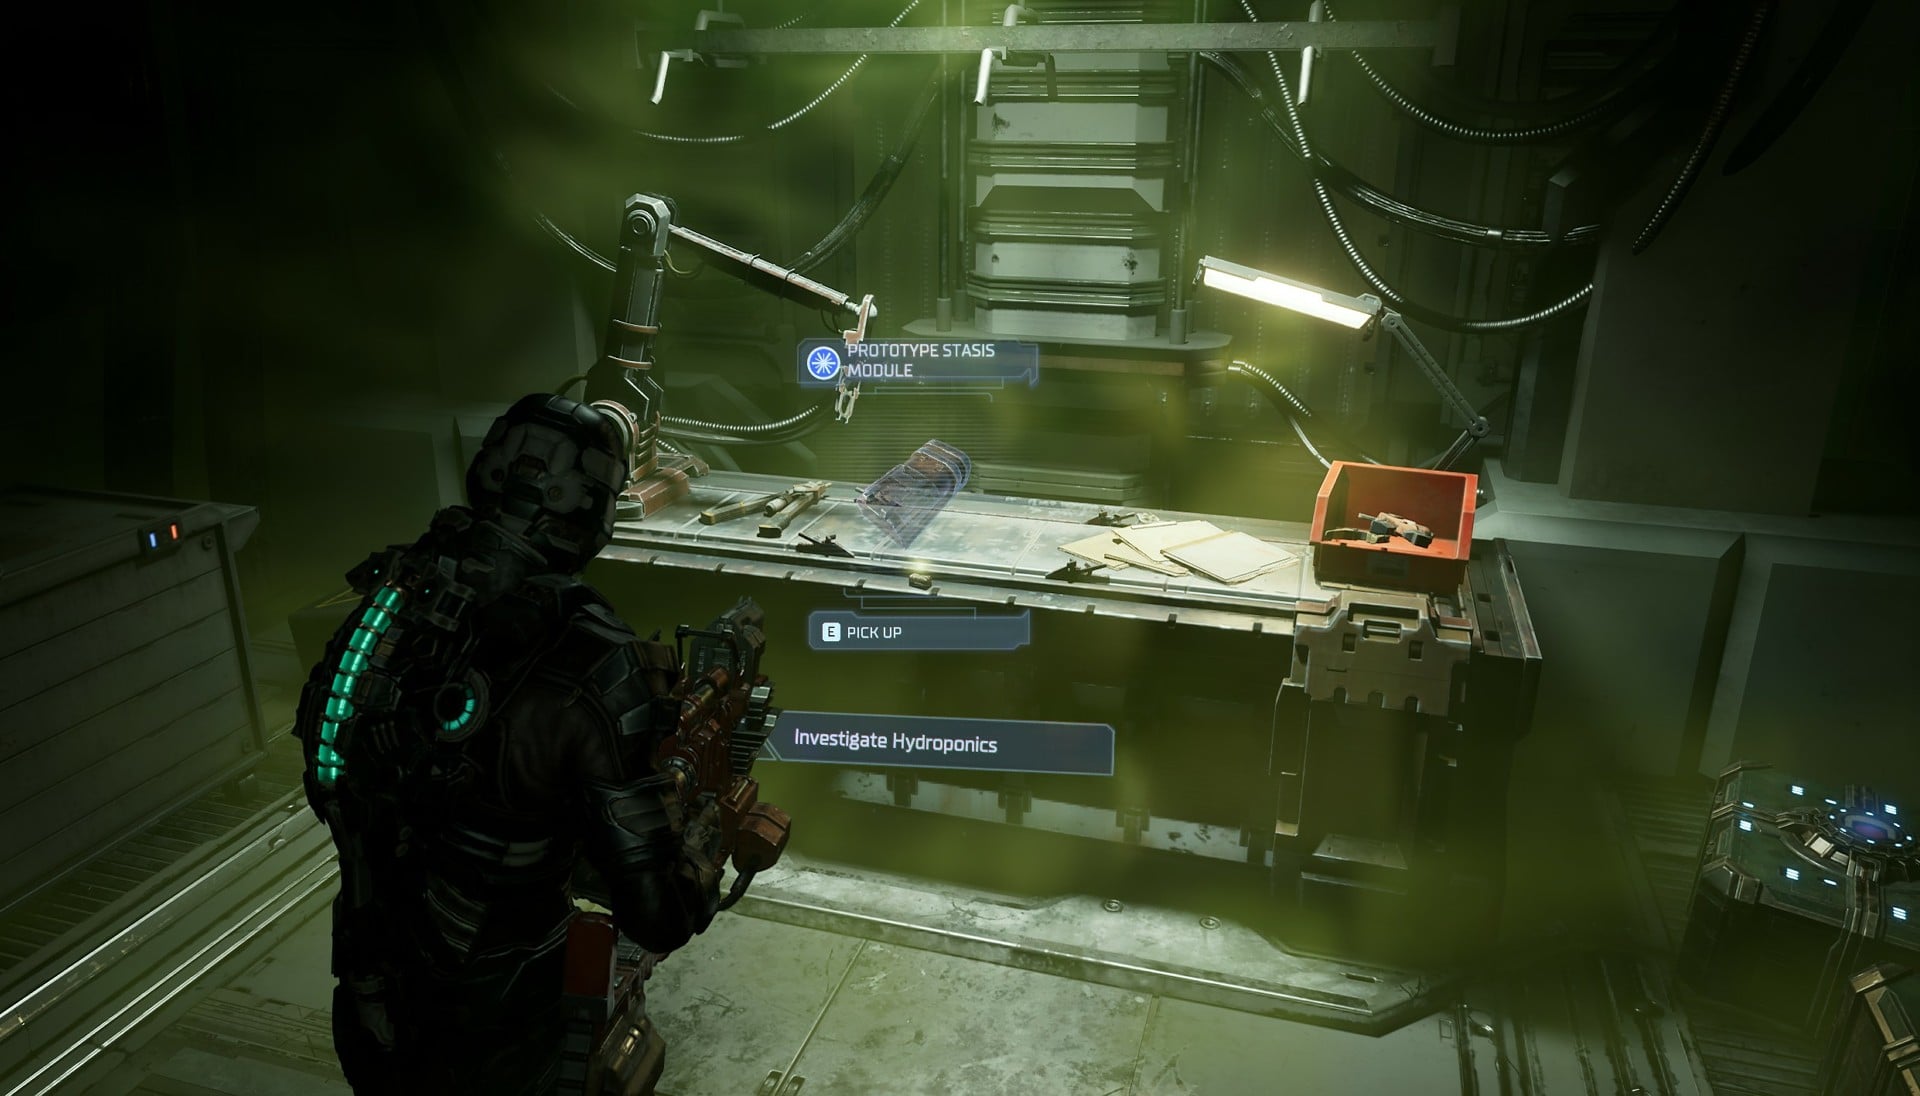
When you reach the Diagnostics Lab, you’ll find the final audio log that will end the mission when picked up. On a desk at the end of the room you’ll find one of Dr. Mercer’s Prototype Stasis Modules.
This Stasis Module will upgrade yours as it will slow enemies even moreso and damage them over time. It will actually melt the clothes and flesh off necromorphs making them very vulnerable to attacks. And with that, you’ll have completed the Premeditated Malpractice side mission!
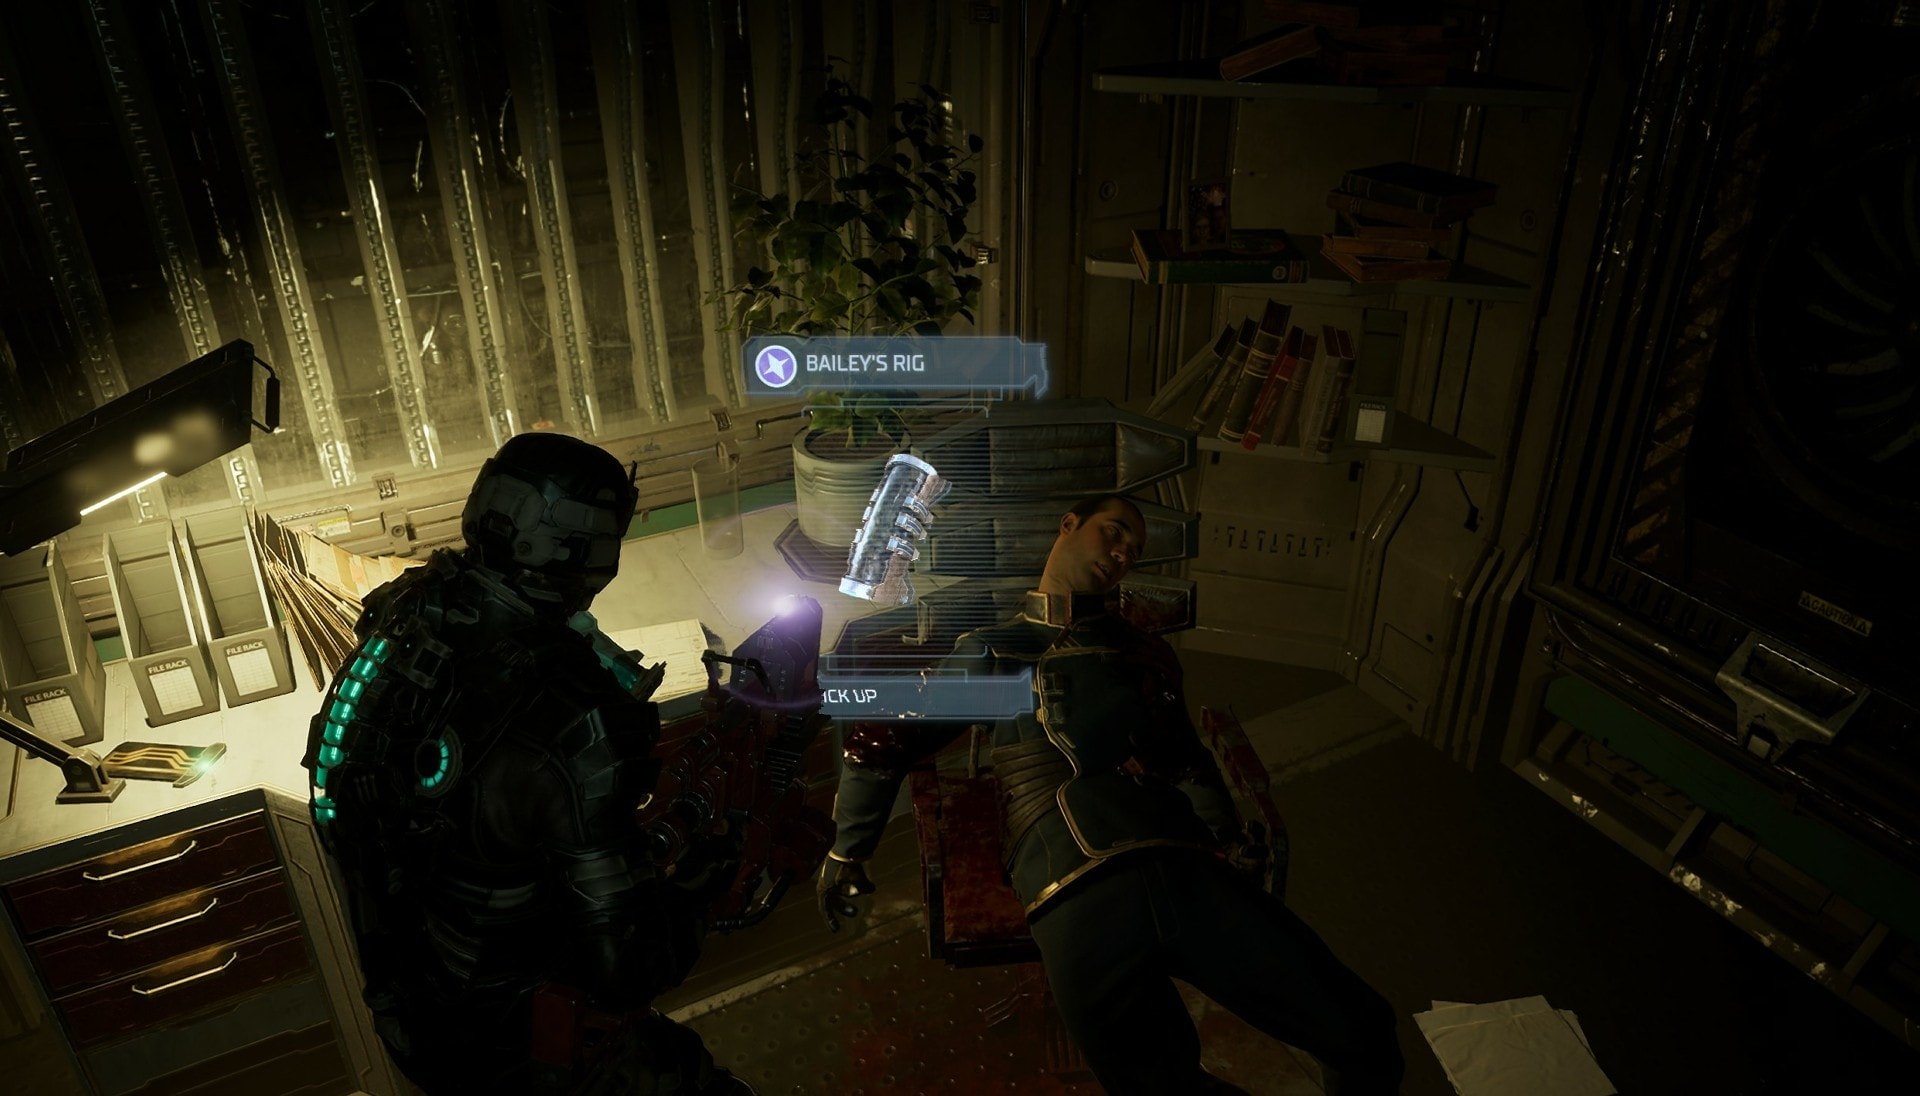
Side Mission: You Are Not Authorized
You can find one of the RIGs needed for this side mission when you’re at the Communications Array puzzle. There’s a room very close to the Comms Array off to the side where you can find Officer Bailey, his RIG, and his last audio log. Pick up the RIG to complete what you can of this mission for now.
If you need some help with navigation and instructions when you board USM Valor, read our Walkthrough of Dead Space Remake Chapter 9: Dead on Arrival.
Dead Space Remake Chapter 8 Walkthrough
This guide will tell you how to complete Chapter 8: Search and Rescue of the Dead Space Remake. The walkthrough also includes the available optional objectives!
Instructions
- Take the Tram from Mining to the Bridge.
- Go to the Main Atrium and fight the necromorphs to lift the Quarantine.
- Activate the panel on the right side of the room to view the hologram of Nicole and Captain Mathias.
- Use the Tram to go to Hydroponics and go the the Diagnostic's Lab.
- Pick up Dr. Mercer's audio log and the Prototype Stasis Module.
- Return to the Bridge and go to the Comms Control Room past the 2 Guardians.
- Get Officer Bailey's RIG near the Communications Array.
- Repair the Communications Array.
- Go to the Maintenance Gondola and use the gondola to get to the other side of the hall.
- Get to Comms Maintenance and activate the panel.
- Defeat the Leviathan Fragment by using the ADS Cannons to expose its weak points.
- Extend the Antenna.
- Board the USM Valor.
Dead Space Remake Chapter Walkthroughs Collection
Full detailed walkthroughs are available for every one of the twelve chapters of Dead Space Remake. Each guide includes helpful tips on how to get to your next objective, what to do, where to go through and what to pick up. You'll also find instructions on how to start and complete all side missions available on the way.
Dead Space Remake Chapter 1 Walkthrough
This guide will tell you how to complete Chapter 1: New Arrivals of the Dead Space Remake. This is essentially the tutorial level of the game!
Dead Space Remake Chapter 2 Walkthrough
Guide on how to complete Chapter 2: Intensive Care of the Dead Space Remake. The walkthrough also includes the available side mission!
Dead Space Remake Chapter 3 Walkthrough
Guide on how to complete Chapter 3: Course Correction of the Dead Space Remake. The guide also includes the side mission available here!
Dead Space Remake Chapter 4 Walkthrough
Guide on how to complete Chapter 4: Obliteration Imminent of the Dead Space Remake. The guide also includes the side mission available here!

Dead Space Remake Chapter 5 Walkthrough
Guide on how to complete Chapter 5: Lethal Devotion of the Dead Space Remake. The walkthrough features the side mission available!

Dead Space Remake Chapter 6 Walkthrough
Guide on how to complete Chapter 6: Environmental Hazard of the Dead Space Remake. Includes the available side mission objectives!
Dead Space Remake Chapter 7 Walkthrough
Guide on how to complete Chapter 7: Into the Void of the Dead Space Remake. Includes the available side mission objectives!
Dead Space Remake Chapter 9 Walkthrough
This guide will tell you how to complete Chapter 9: Dead on Arrival of the Dead Space Remake! Follow it to not miss a thing!
Dead Space Remake Chapter 10 Walkthrough
This guide will tell you how to complete Chapter 10: End of Days of the Dead Space Remake. Includes all of the side mission objectives too!

Dead Space Remake Chapter 11 Walkthrough
This guide will tell you everything you need to know to complete Chapter 11: Alternate Solutions of the Dead Space Remake!

Dead Space Remake Chapter 12 Walkthrough
This guide will tell you how to complete Chapter 12: Dead Space of the Dead Space Remake, including the final boss fight!
All Dead Space Power Node Locations Guide
This guide show all Power Nodes locations in the Dead Space Remake. The locations are structured according the areas and based on Chapters!
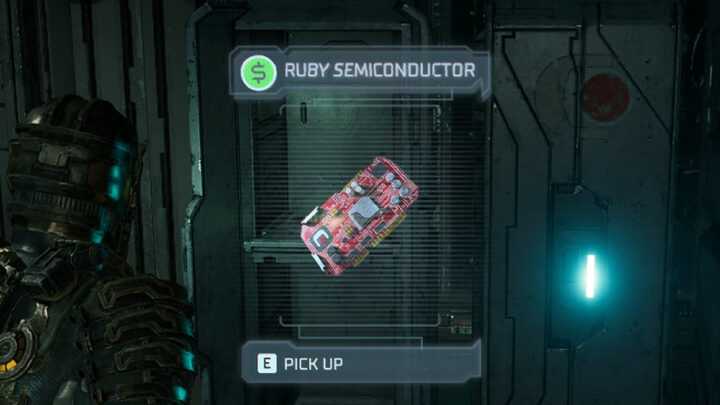
All Dead Space Semiconductor Locations Guide
Guide on where to find all Semiconductors in Dead Space Remake. The locations are structured according to the areas and based on Chapters!

Dead Space Remake Achievements Guide and List
Complete list of all achievements in Dead Space Remake including secret ones and any additional rewards when you obtain some achievements!