This walkthrough covers the first chapter of Castti Florenz’s story in Octopath Traveler 2. We’ll be covering useful Path Actions available, skill and equipment recommendations for the chapter, as well as boss Strategies.
This walkthrough is written such that Castti is your first and only traveler. As such, additional Path Actions from other travelers will not be present. As a guide for the Main Story, story spoilers will be present in this guide.
Set Adrift
Castti’s story starts as a flashback to just a few days prior to the present day. Castti, unconscious, is being loaded onto a skiff by an unknown individual. While doing so, this individual repeatedly mentions that she has to live, and only she can save them.
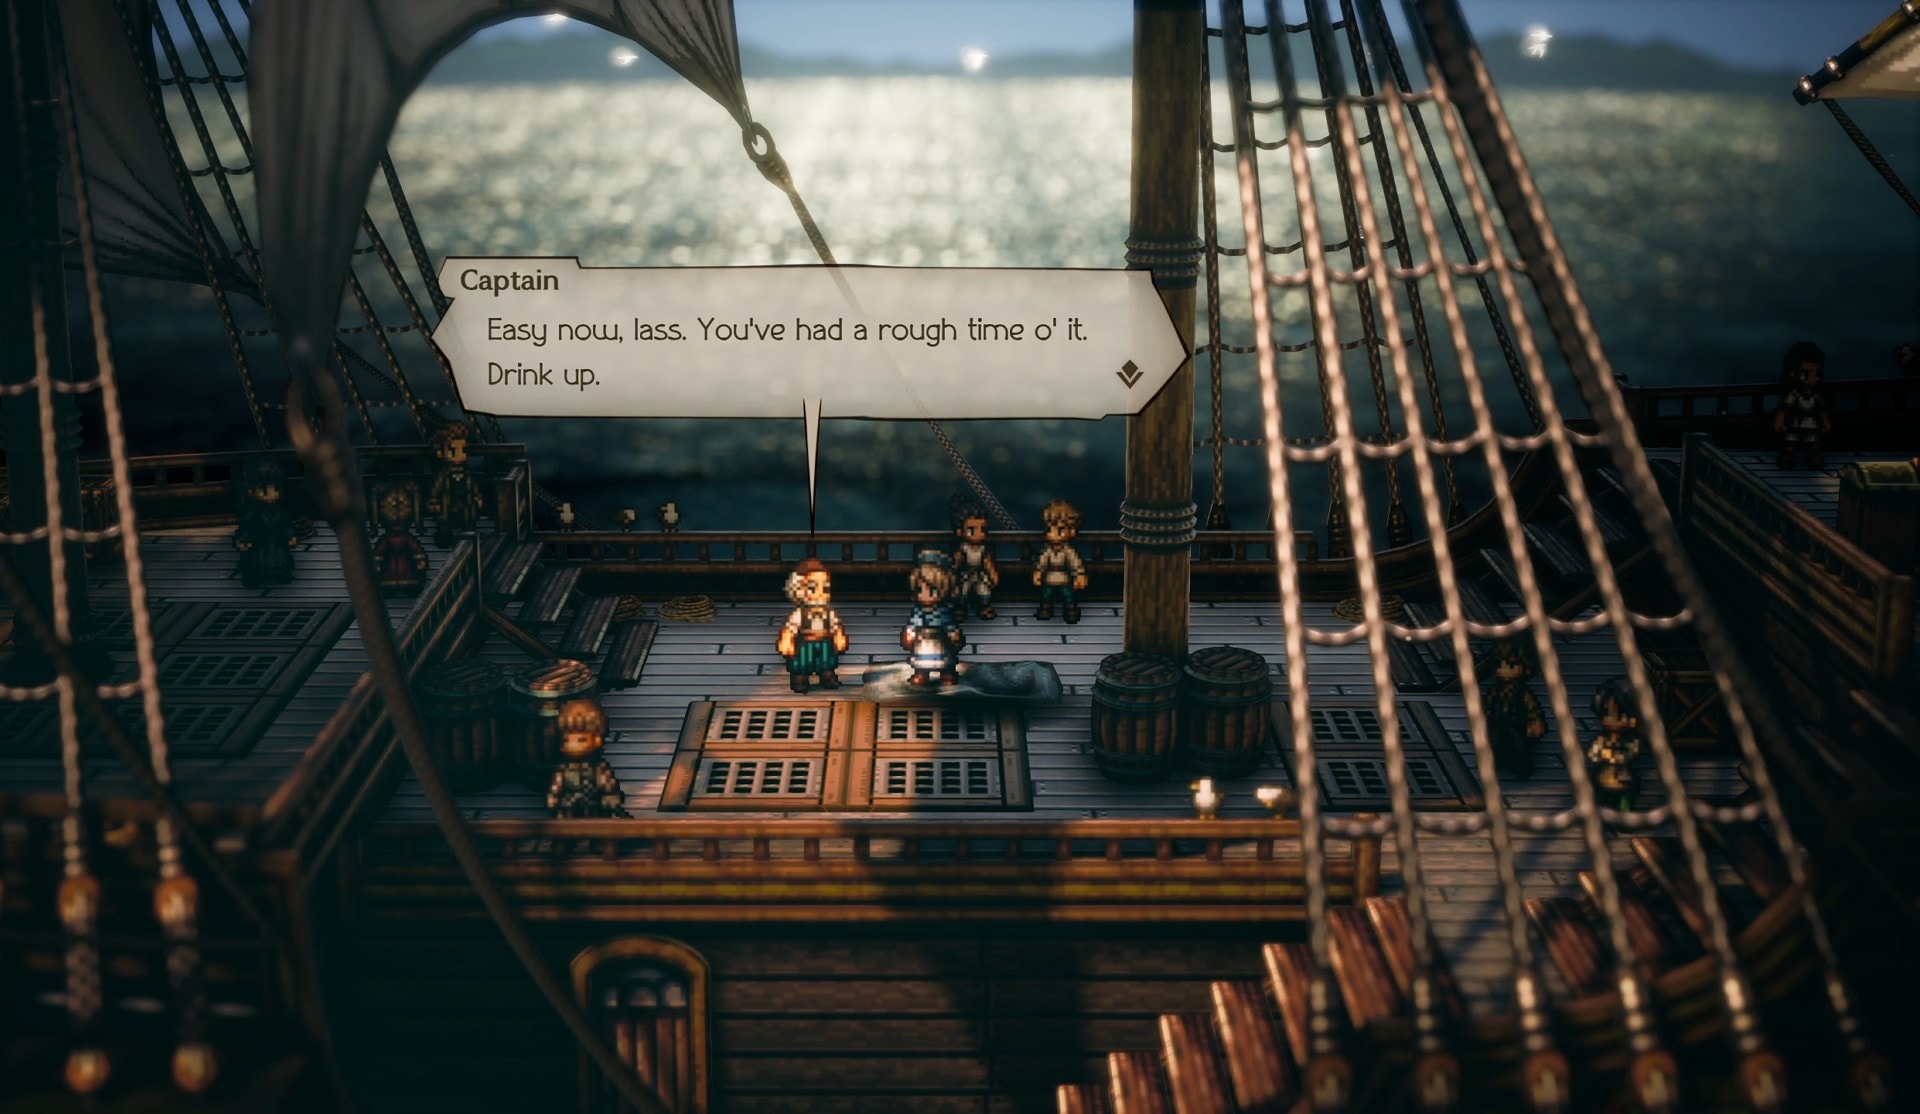
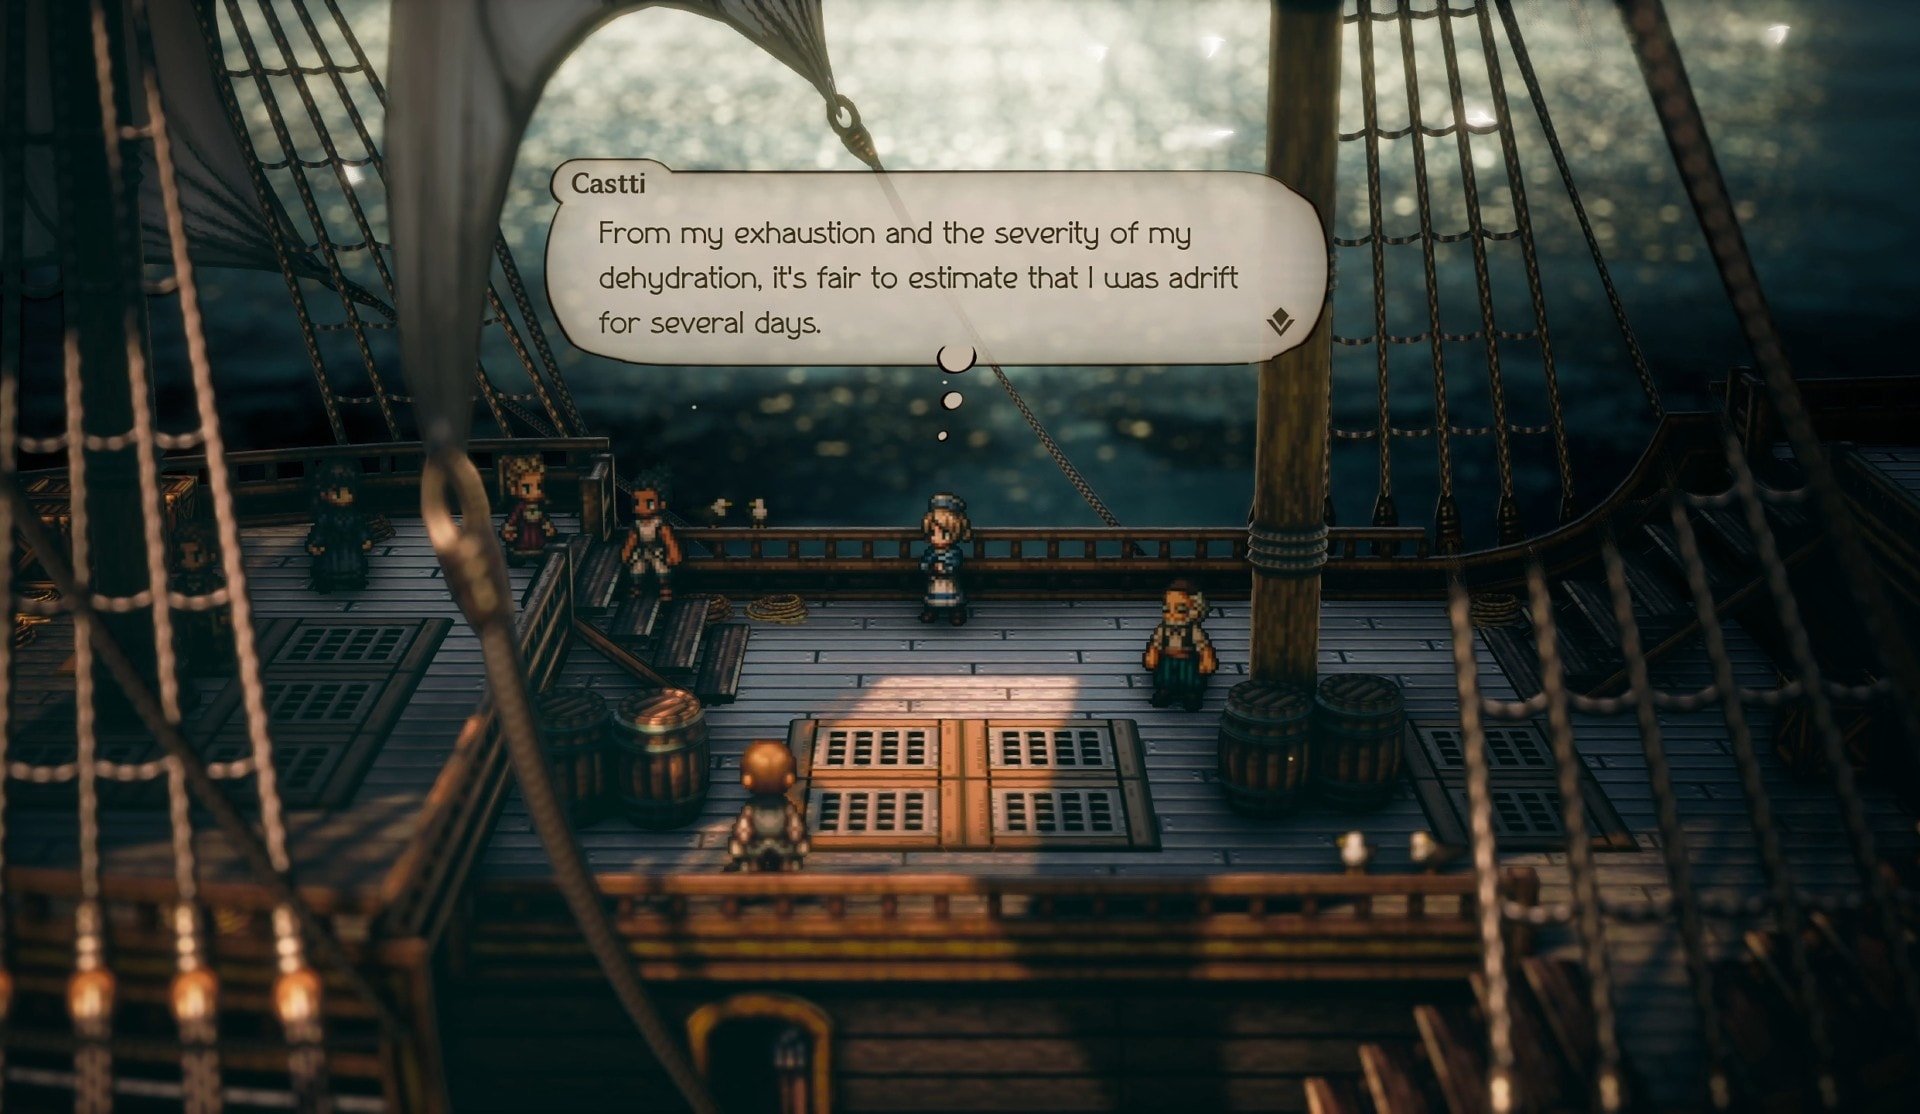
Once in the skiff, the unknown individual sets her adrift. Days later, she’s spotted by a sailor on a ship and the crew bring her aboard for rescue. As she regains consciousness, the captain of the ship helps her to her feet and gives her a drink to help with dehydration.
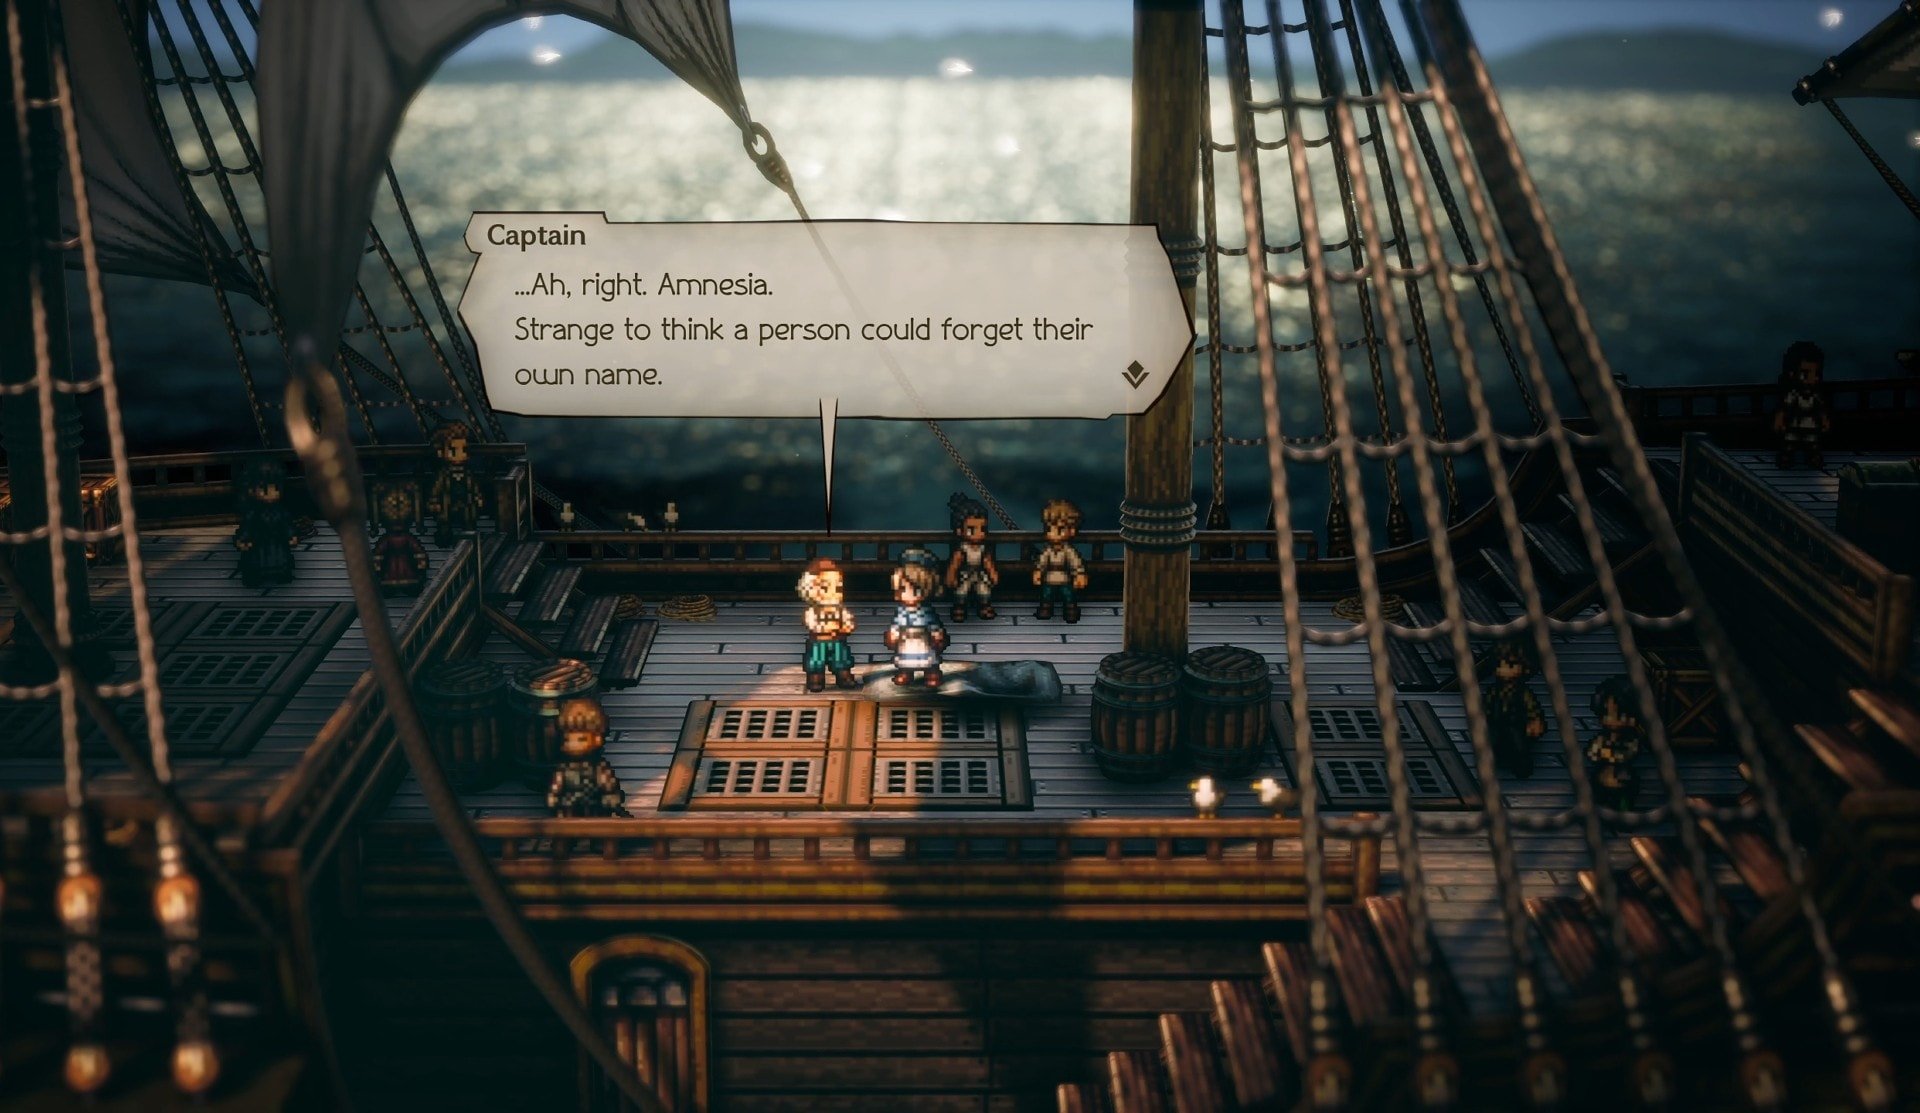
The captain begins to ask her questions, like how she ended up on the skiff. Castti explains she can’t remember anything, not even her own name. The captain then points out her name is Castti, which is stitched into her uniform.
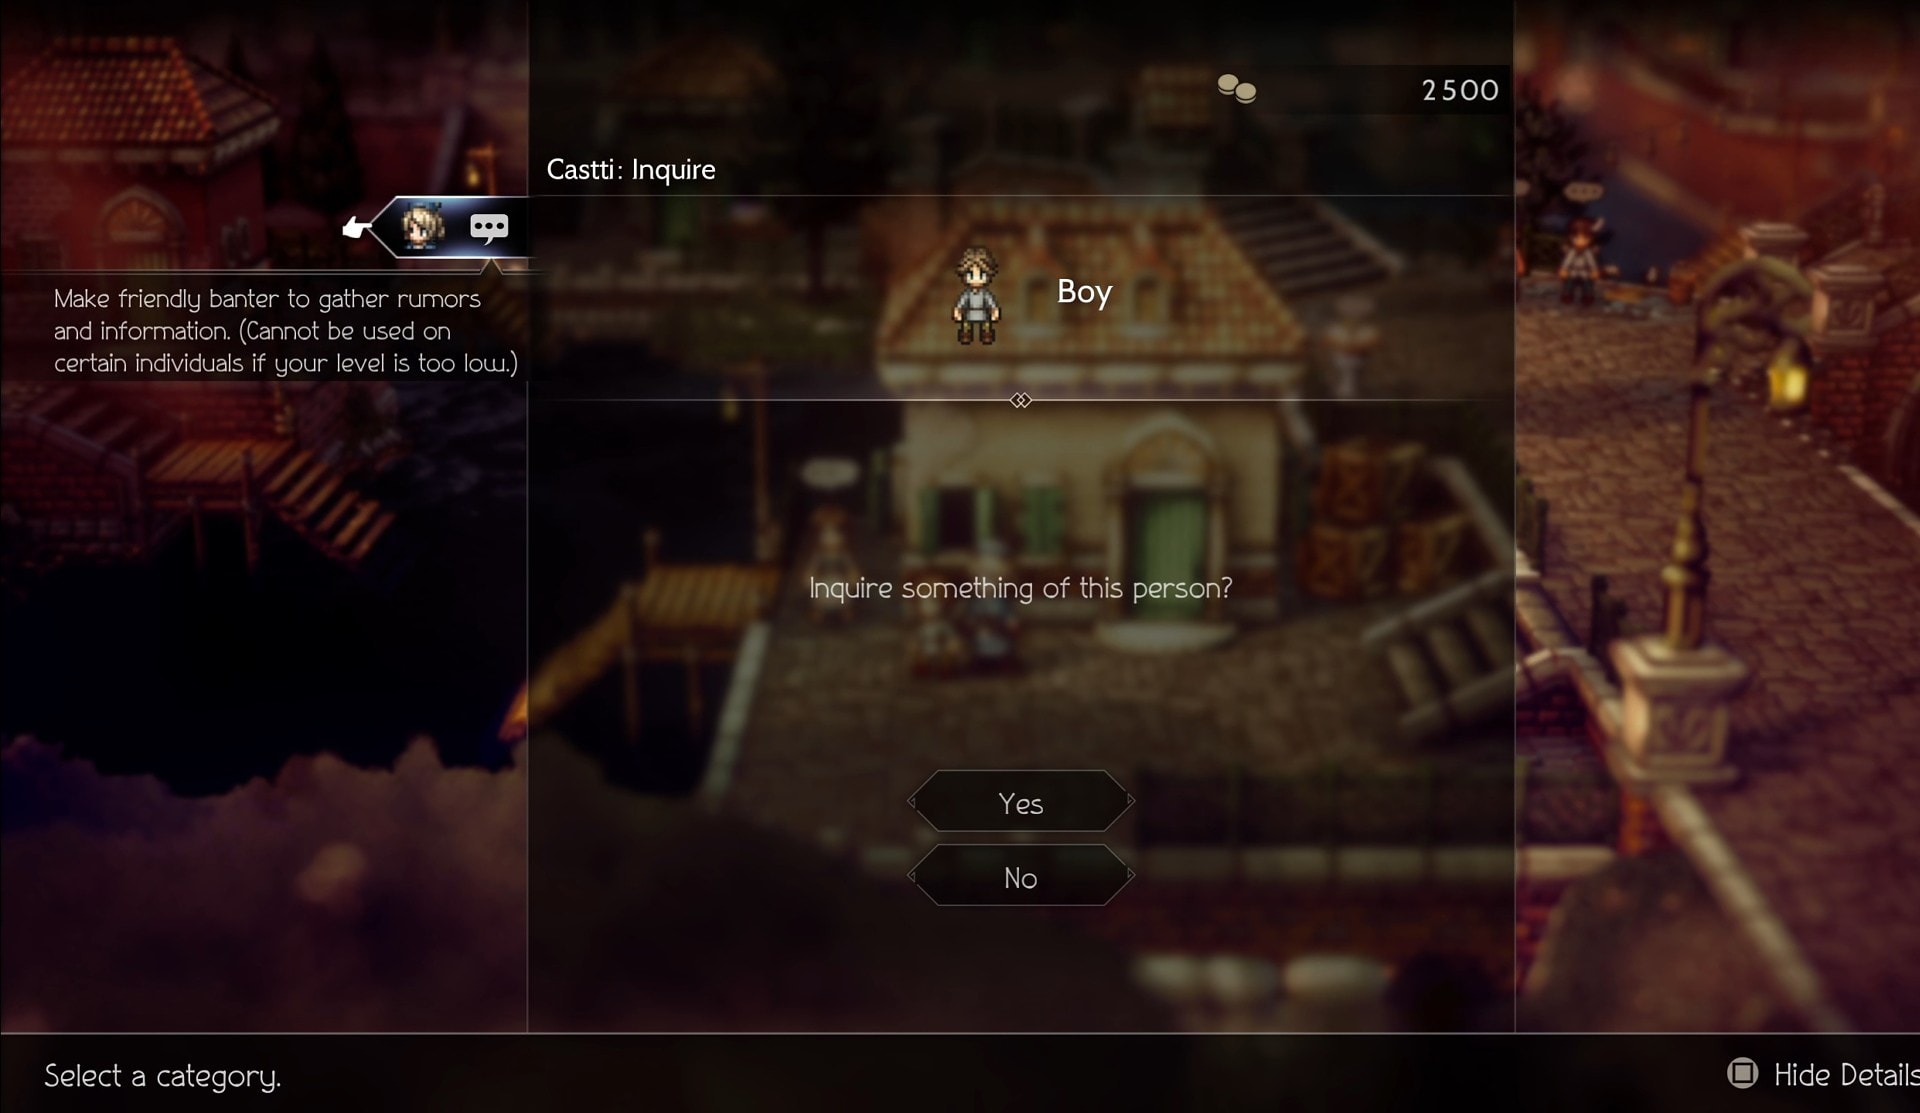
The Captain starts to ask more questions, before remembering she has amnesia. Castti thinks to herself, before deciding to ask the crew about her rescue for information, which introduces the Inquire Path Action.
You can inquire from most of the NPCs here, however, the NPCs with the green interaction bubble will be the ones you’ll need to Inquire to progress. Afterward, Castti will find herself in an incredibly deep monologue about her circumstance. Immediately followed by confusion as to how she’s able to figure all of this out.
She also remembers that the sailor brought her belonging to the passenger cabin on the lower deck. Head down the stairs, and through the door to find the Apothecary’s Satchel key item.
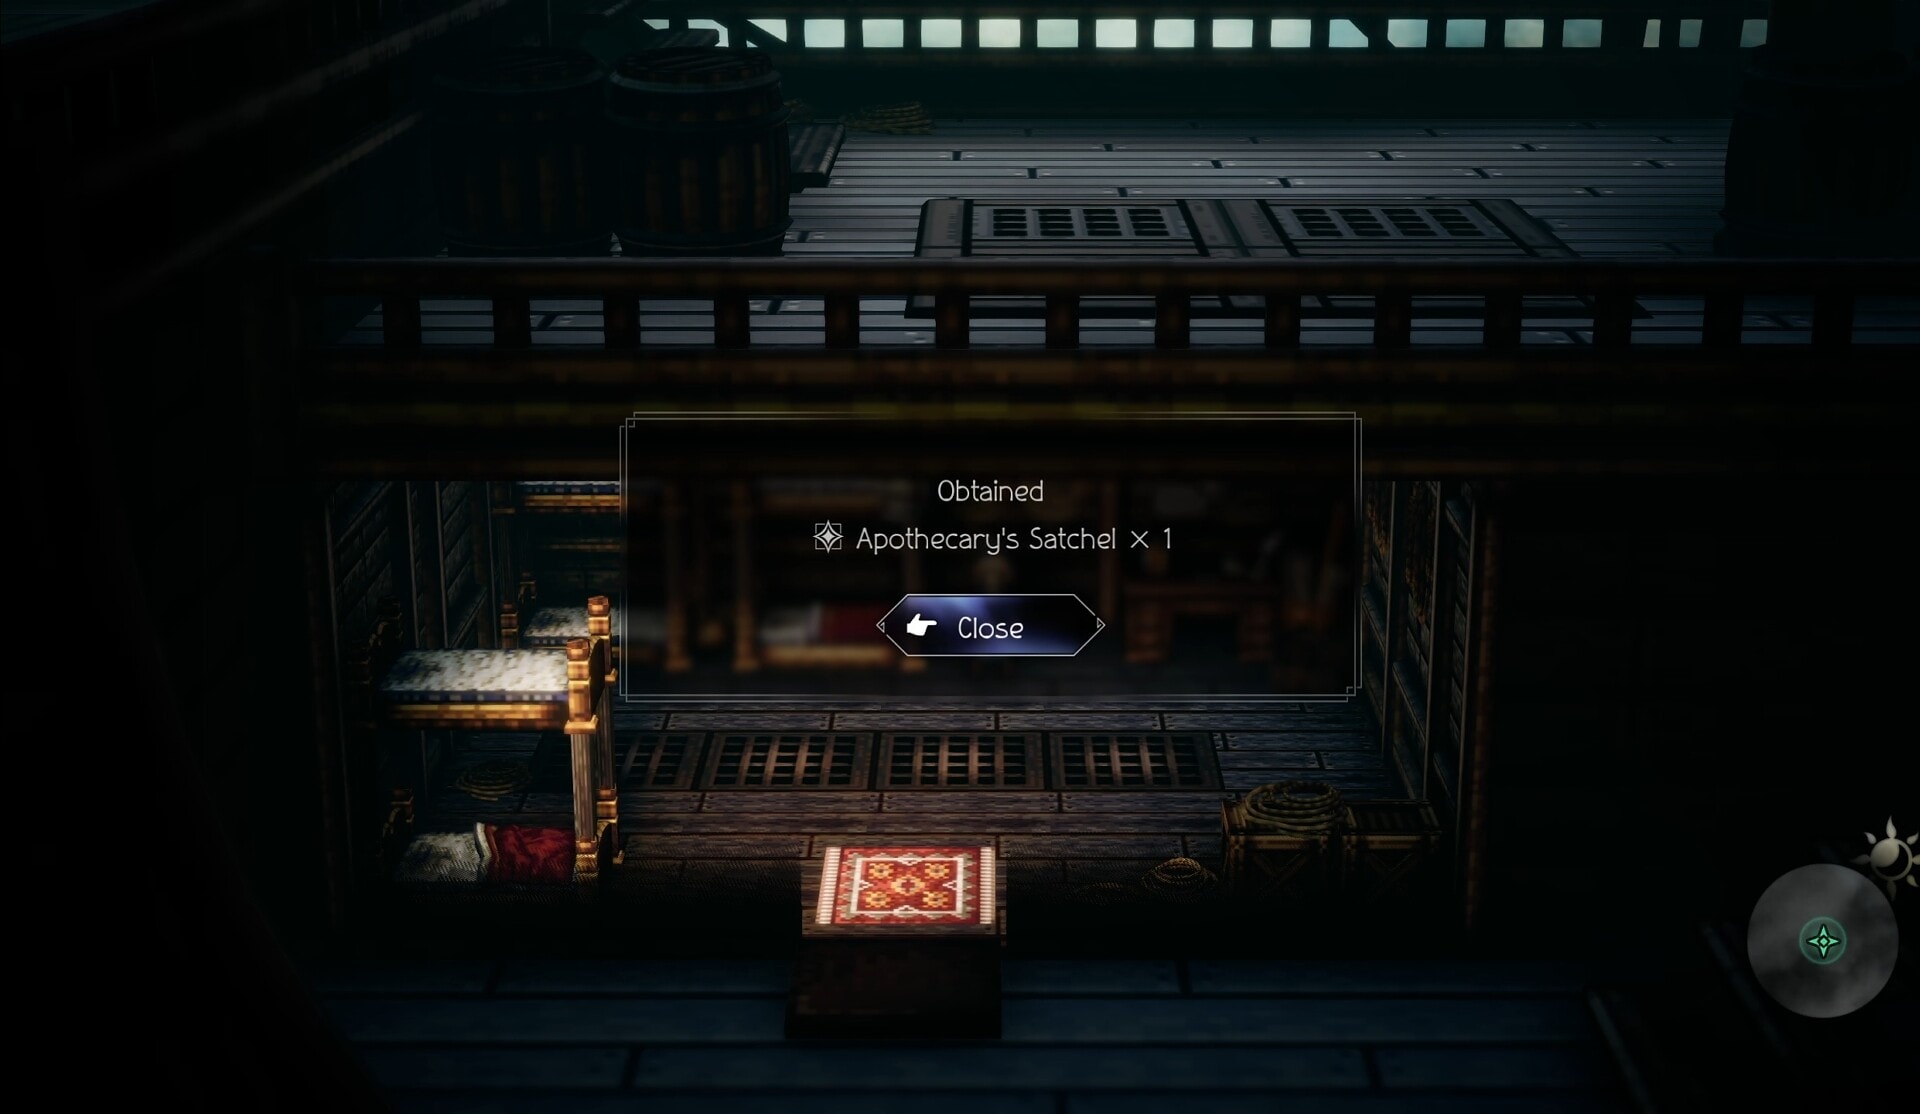
A cutscene begins where Castti examines the satchel and its contents, recalling the satchel as hers. She deduces from the content that she is, or was, an apothecary. She discovers a mysterious white flower, shortly before the Captain call out they’re about to land.
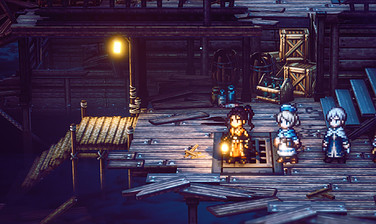
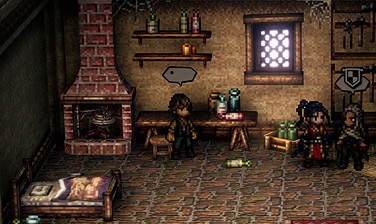
The Town of Canalbrine
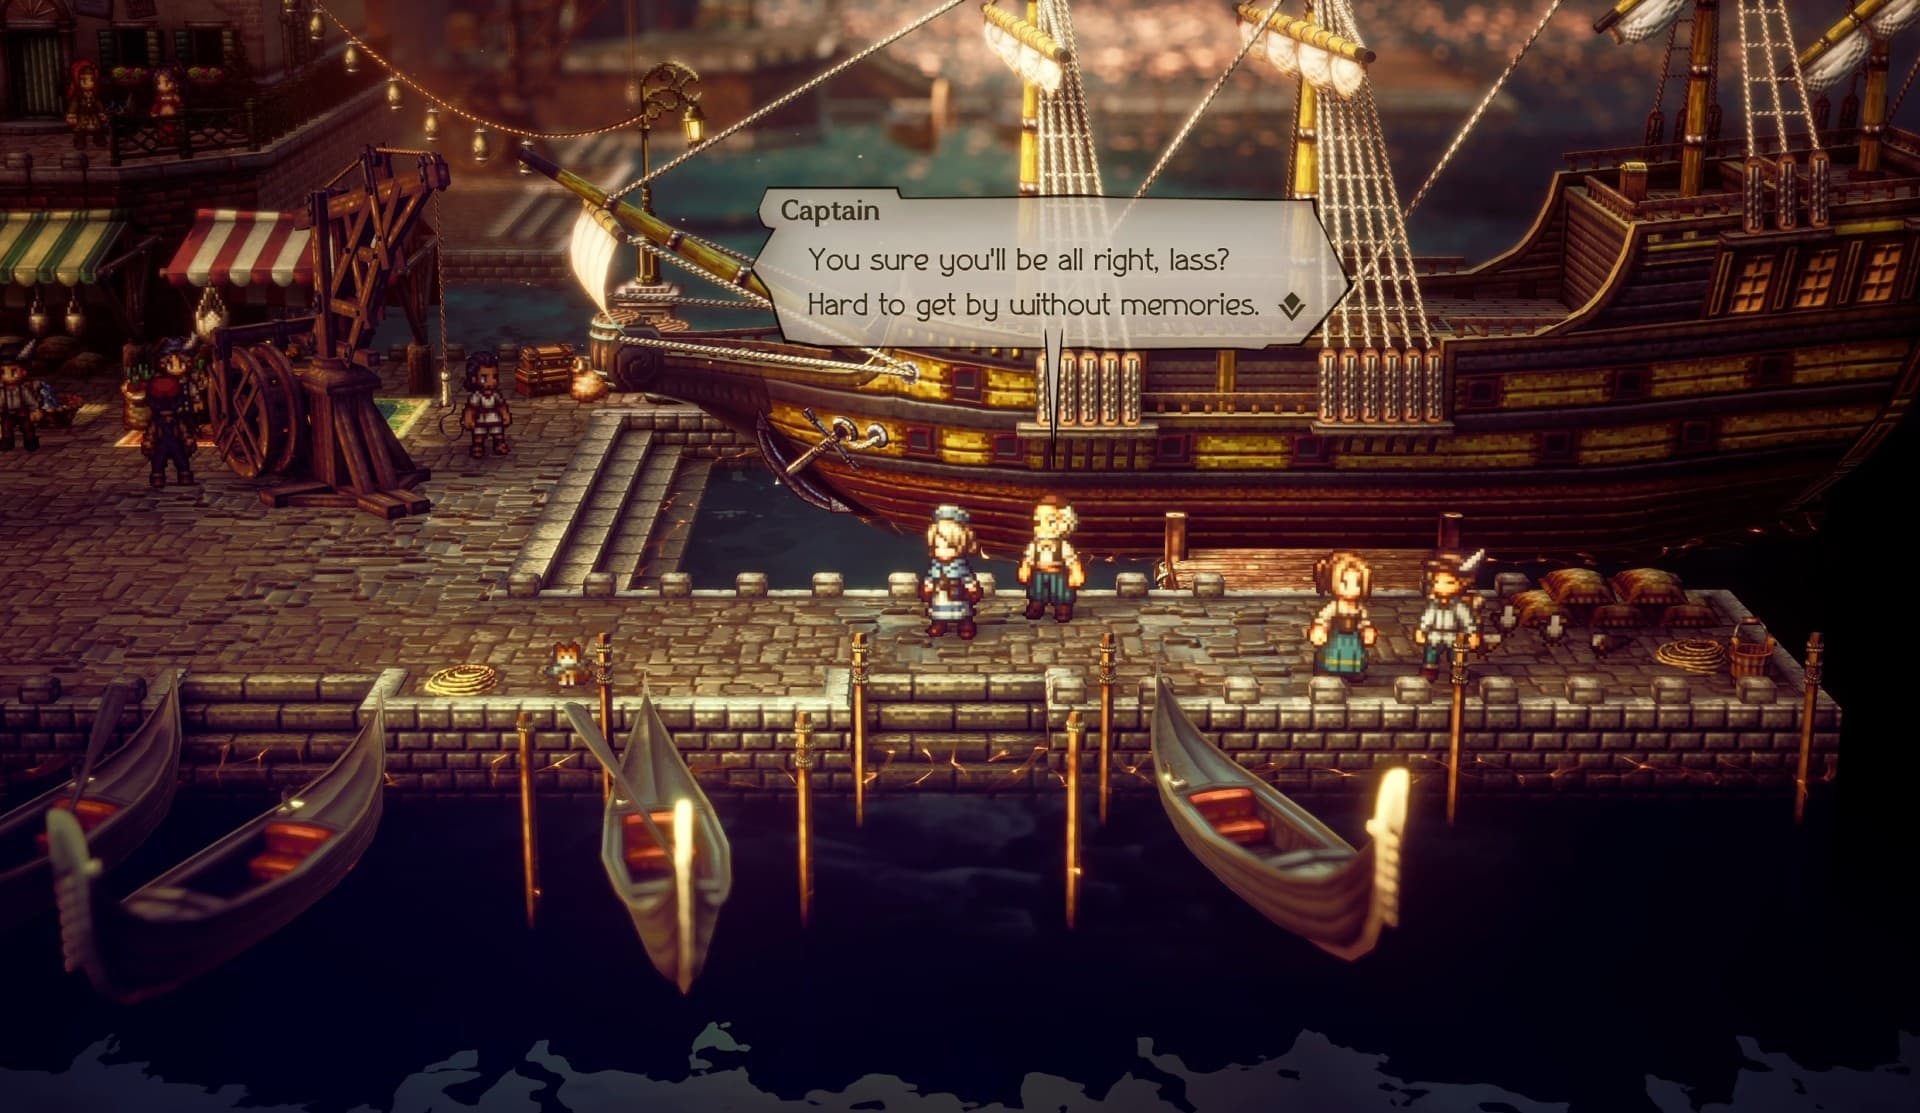
Once docked, you’ll disembark the ship. The ship’s captain stops you briefly, asking if you’ll be fine, on account of her amnesia. Castti’s says she remembers that she was an apothecary, and that she’ll get by.
As Castti looks over the town, she get shunned by three townsfolk. They refer to her as “one of them” before walking away into town. Castti is confused by this, wondering why she’s being treated in such a manner.
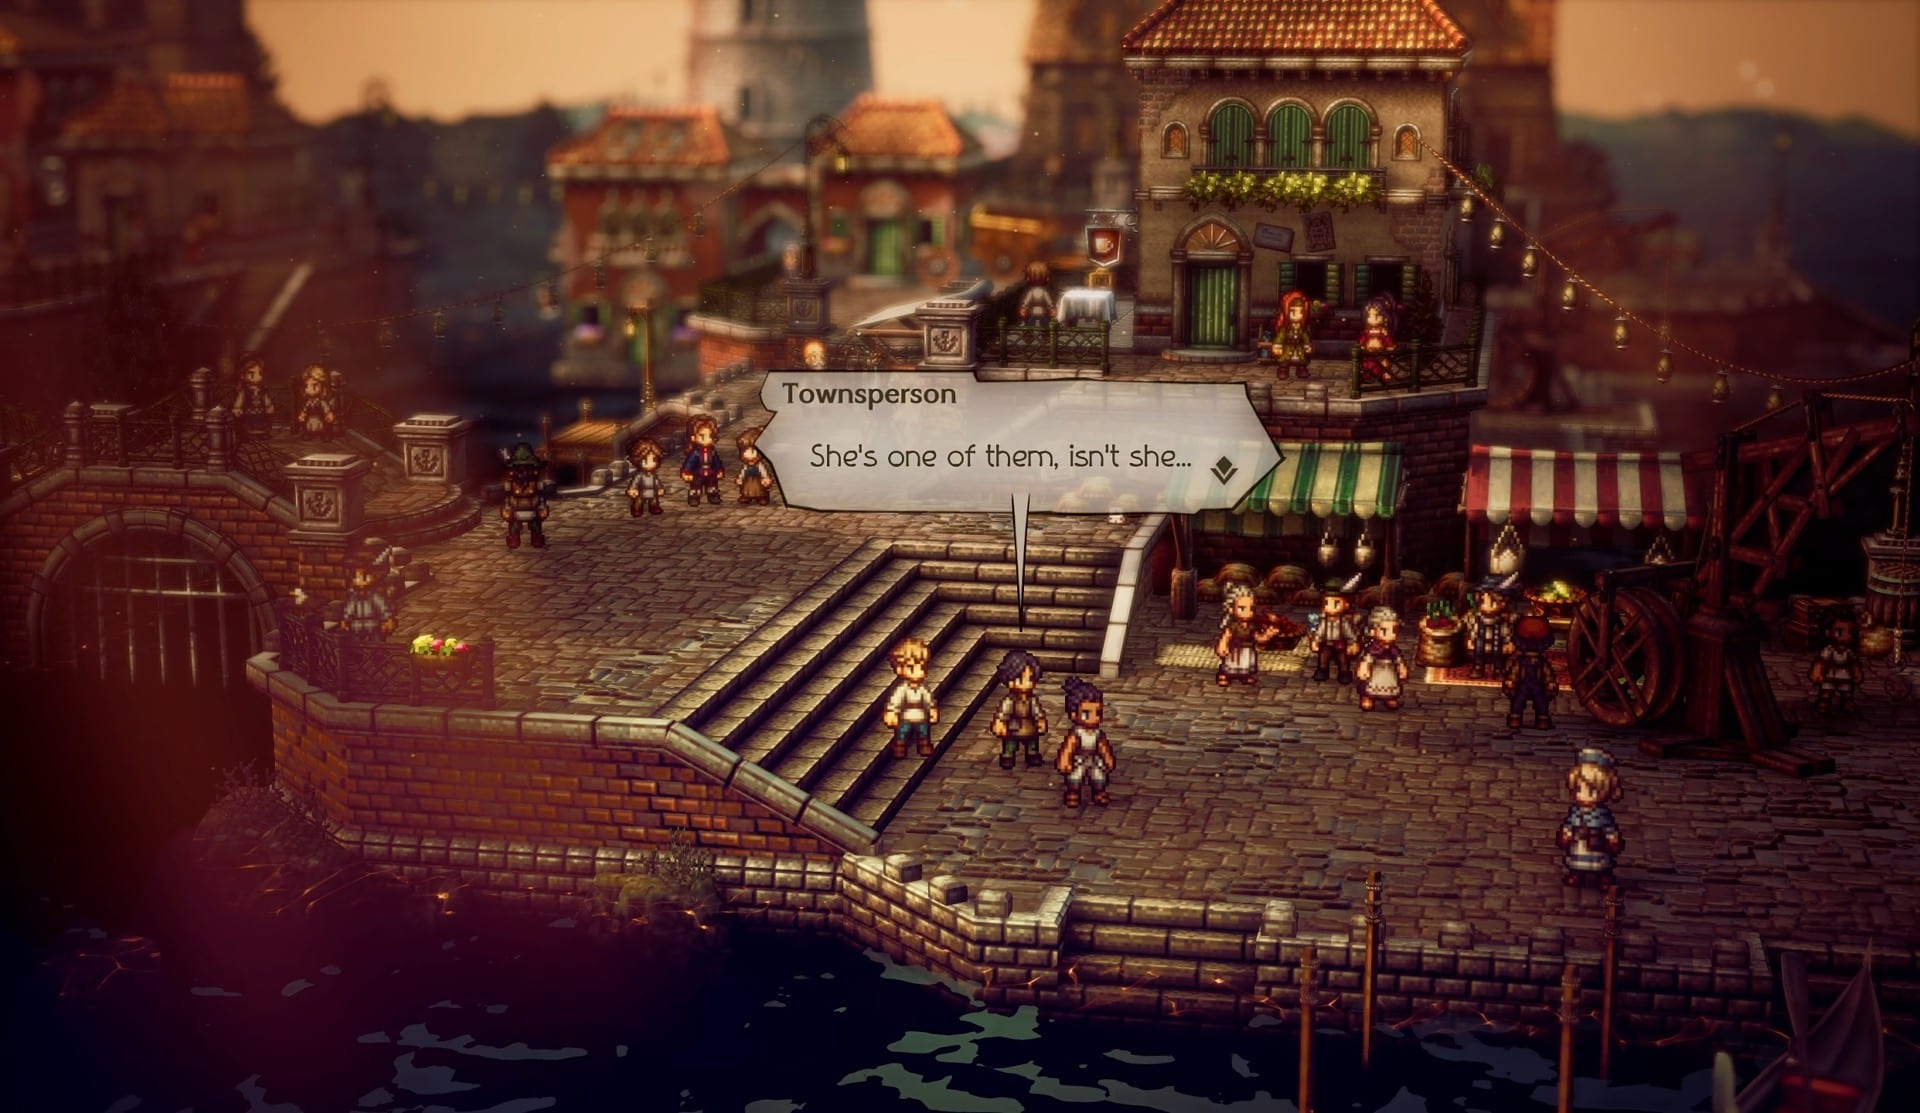
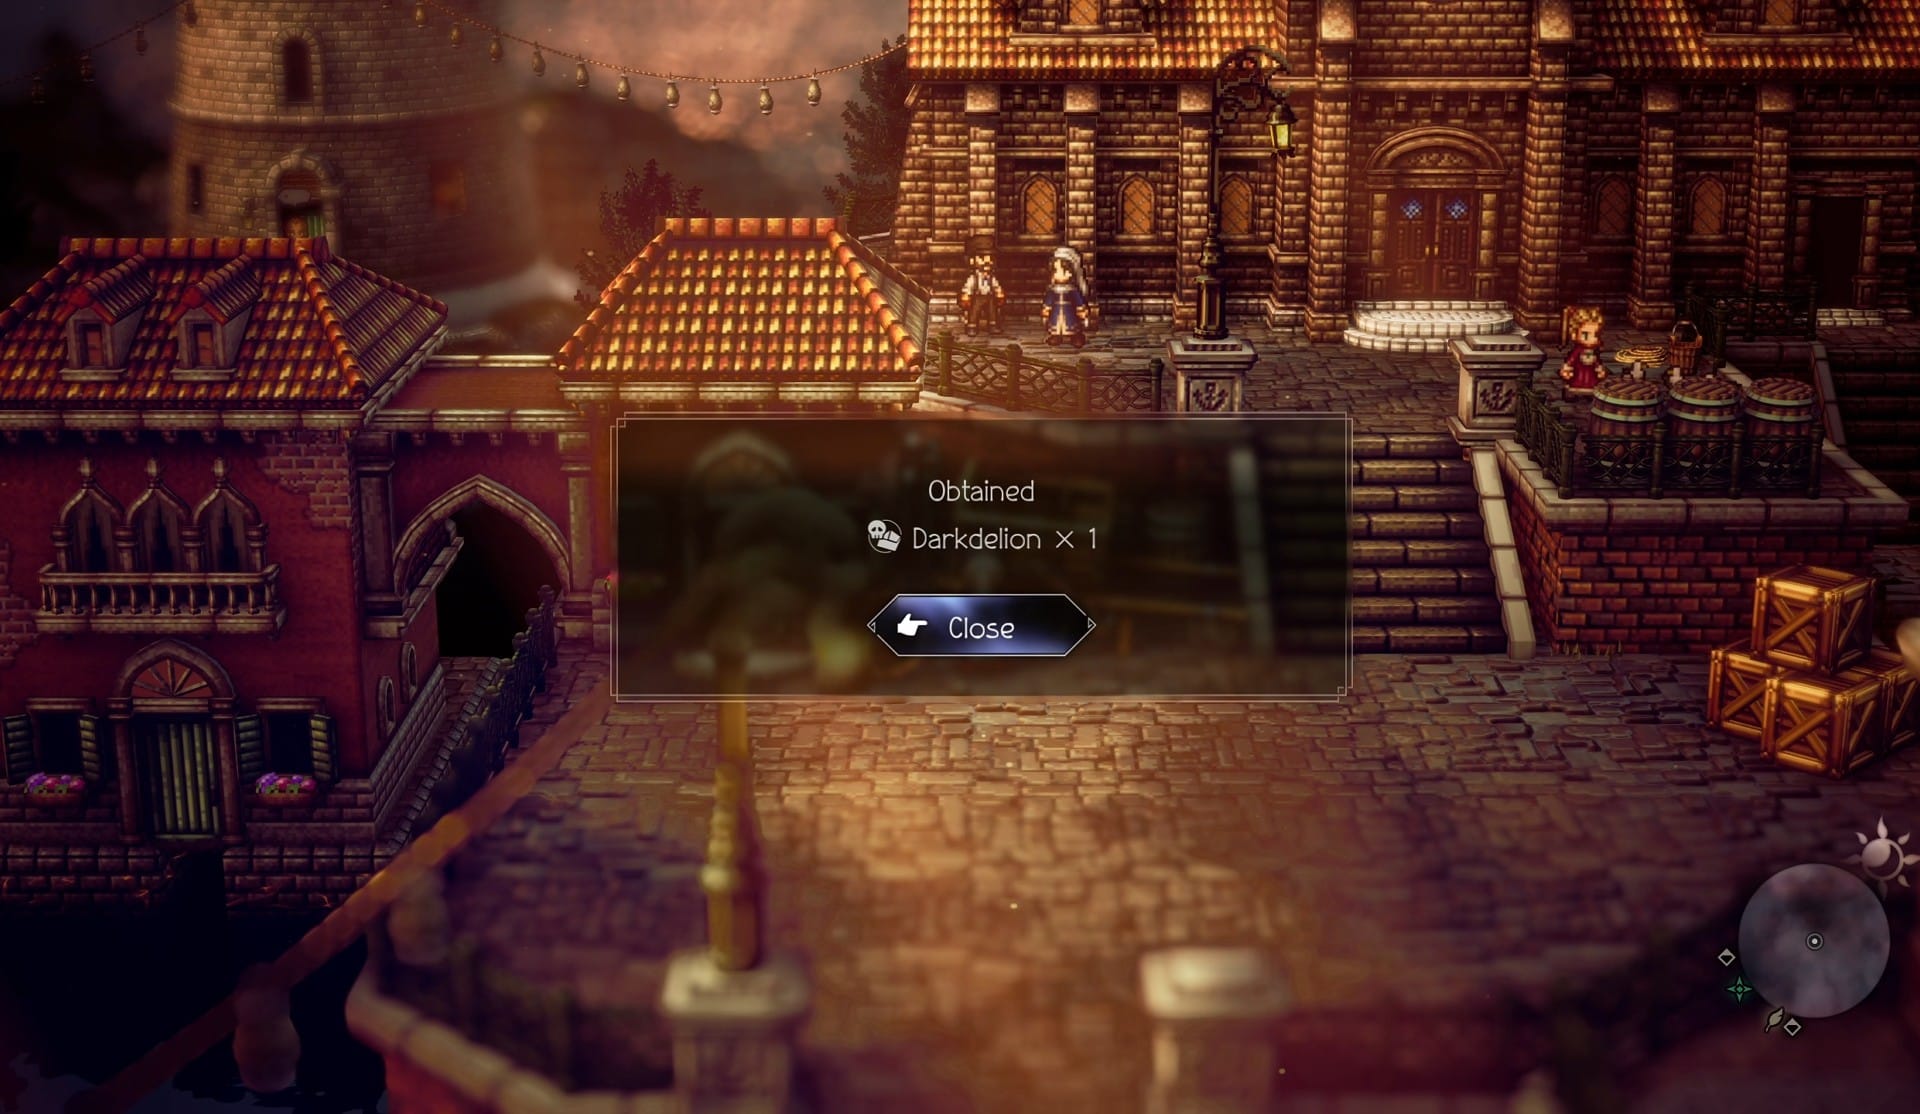
Following this you’ll regain control of Castti and be allowed to wander and Inquire NPCs. You’ll be able to use Inquire on the Fisherman right near you on the dock.
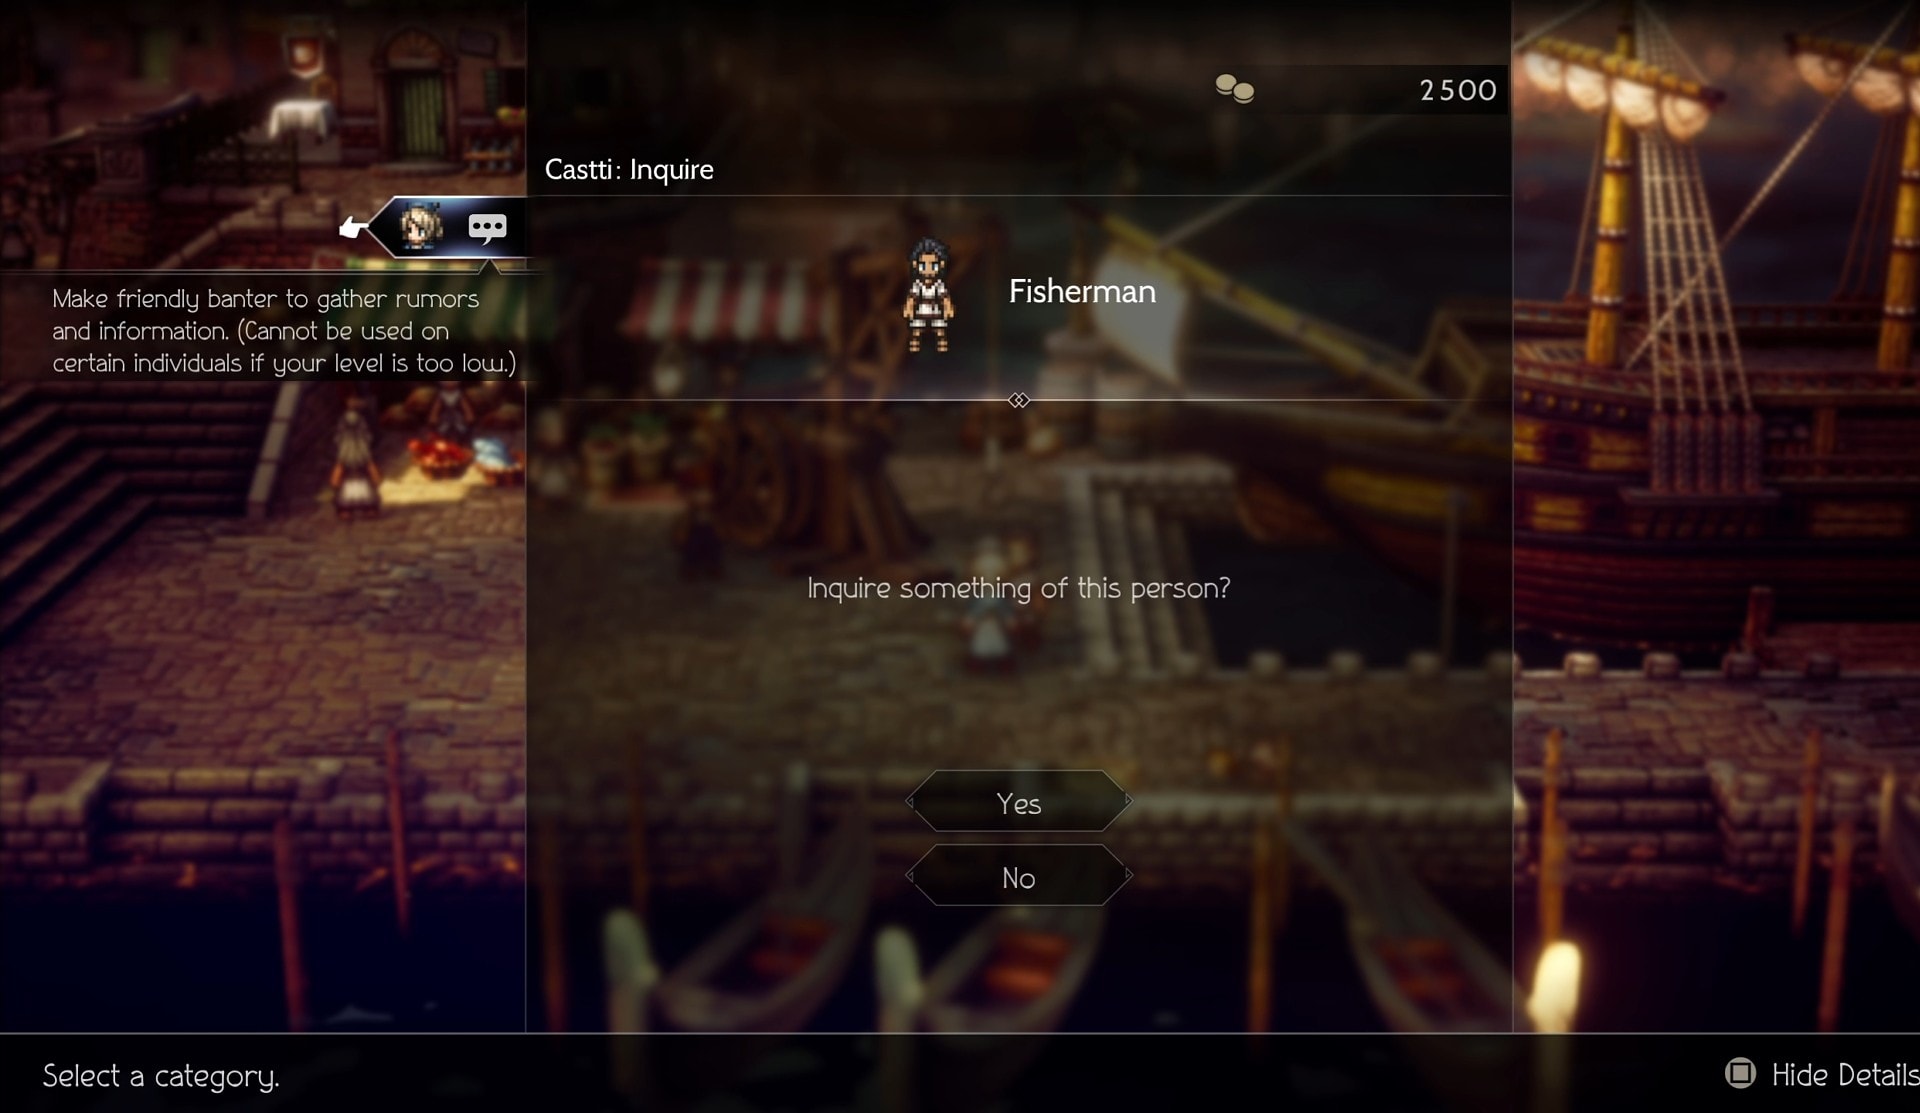
This reveals a hidden Darkdelion to the north, an item that can be used with Castti’s Concoct battle action to deal dark-based damage.
You’ll also be able to Inquire the sailor in the middle of town that is conversing with a merchant for another hidden item.
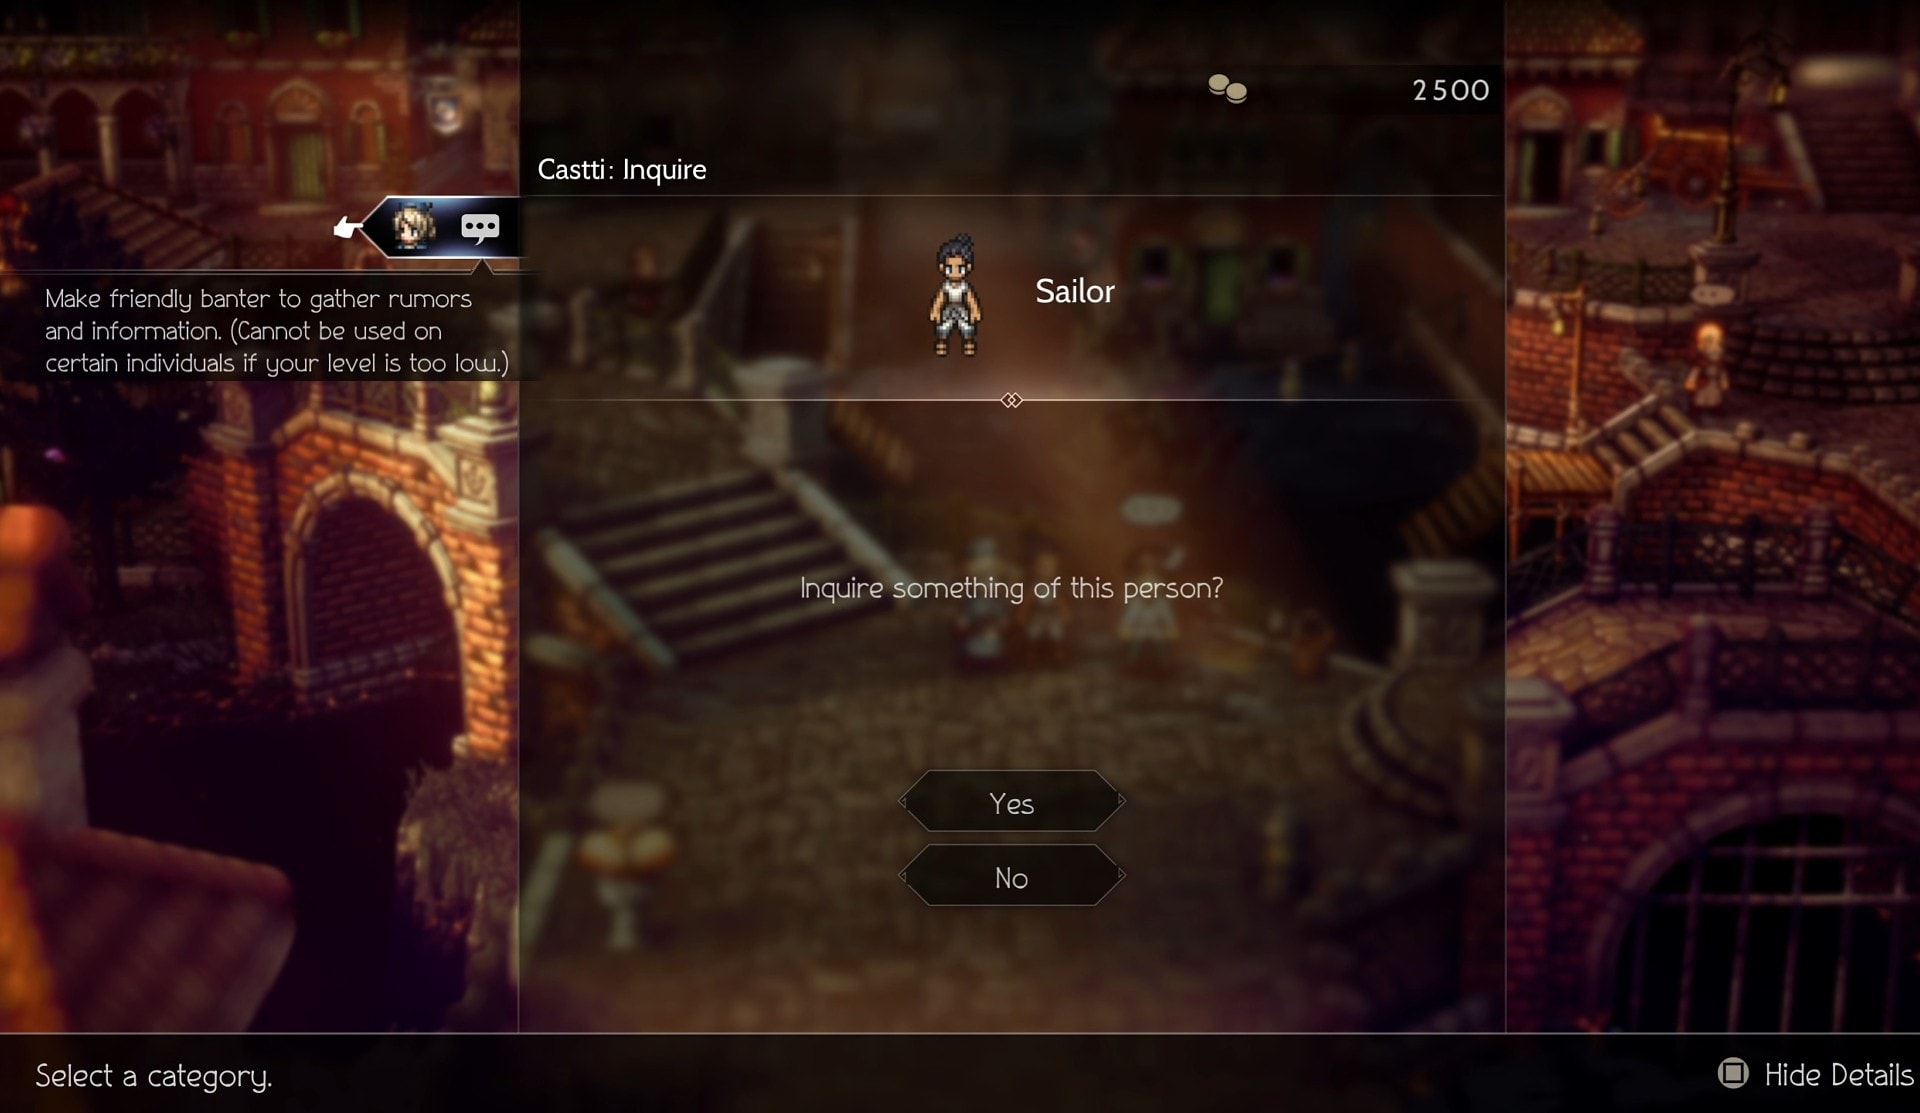
This time, it’s a Grape Leaf that appears next to him, another Concoct ingredient that restores HP to allies.
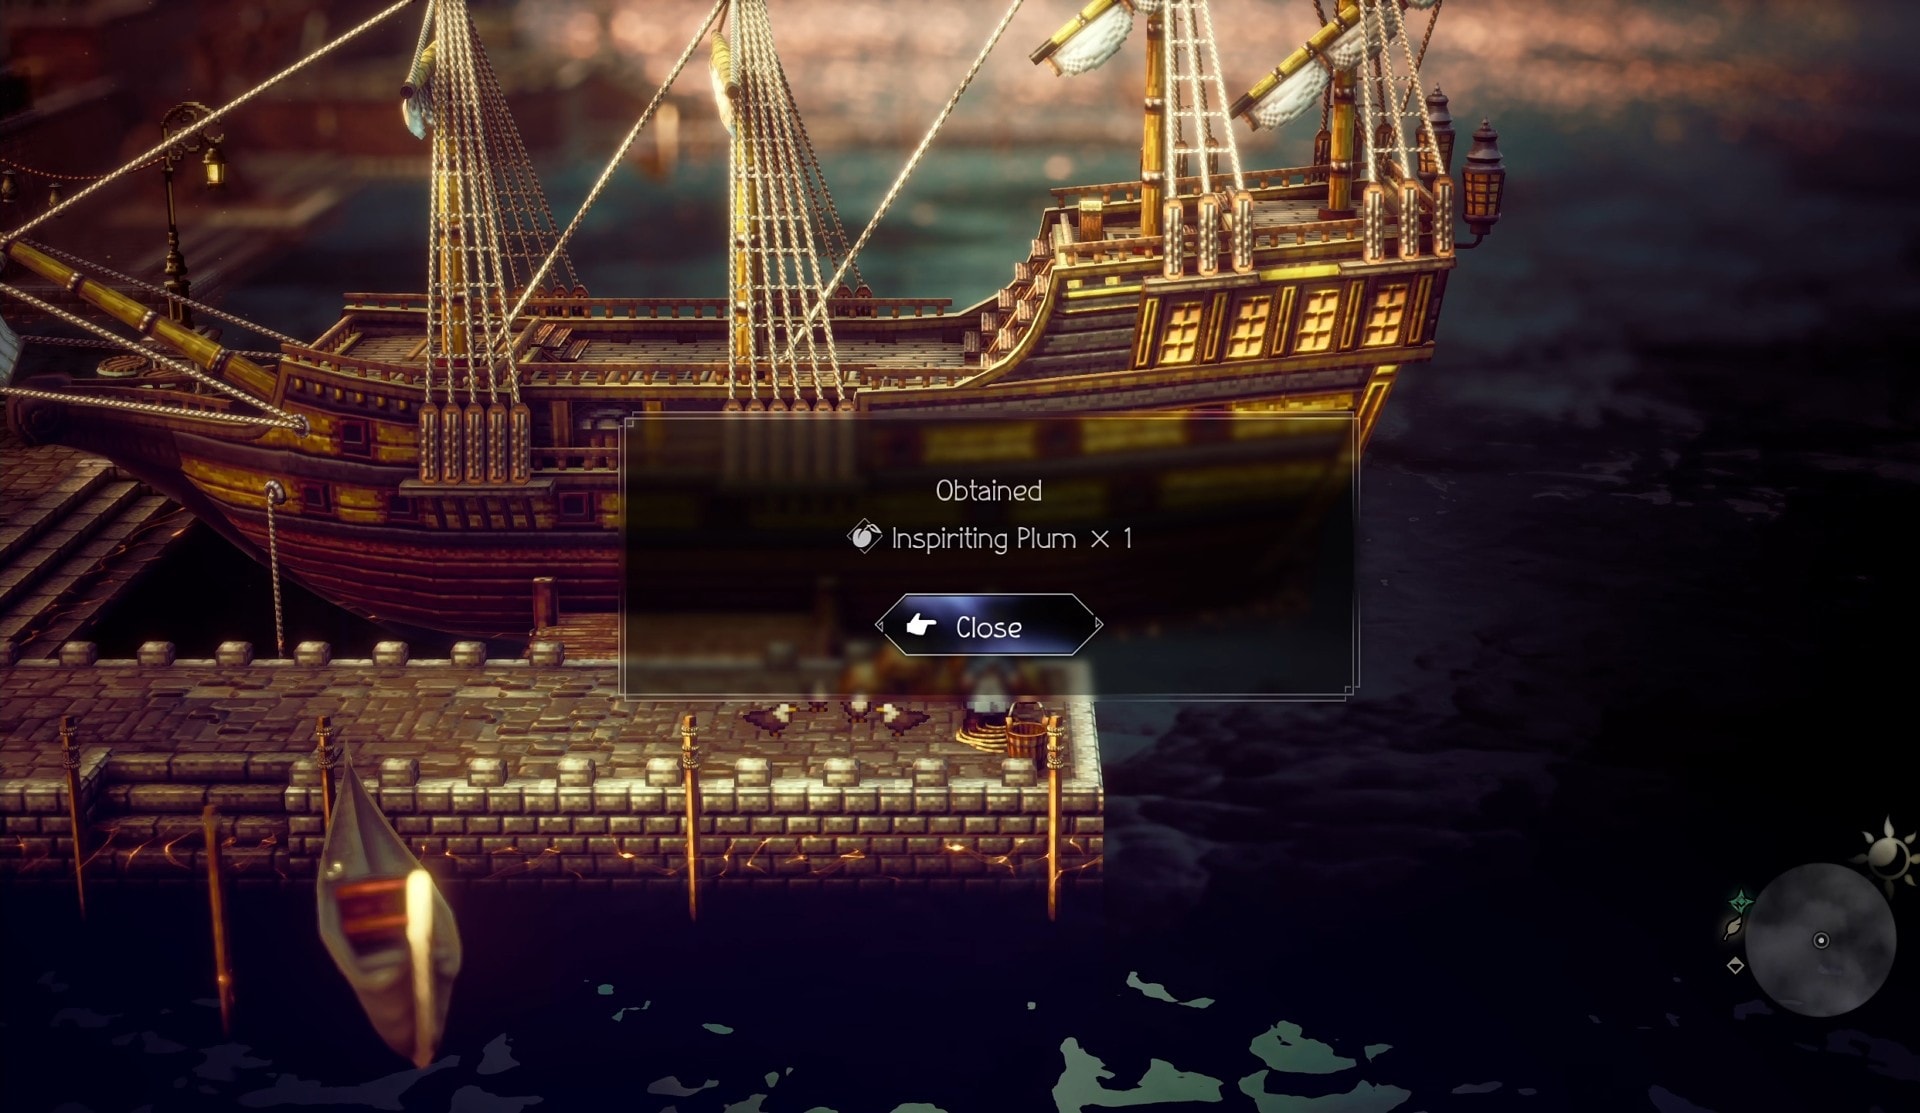
You can head south and Inquire the Boy near his mother for yet another hidden item.
This will reveal an Inspriting Plum, which gets placed on the very far end of the dock.
Heading North over the bridge will trigger the next cutscene, which opens with more townsfolk running away from Castti. Shortly after, a man named Senah will collapse in front of Castti and she runs up to check on him. Another character will also show up to check on the man.
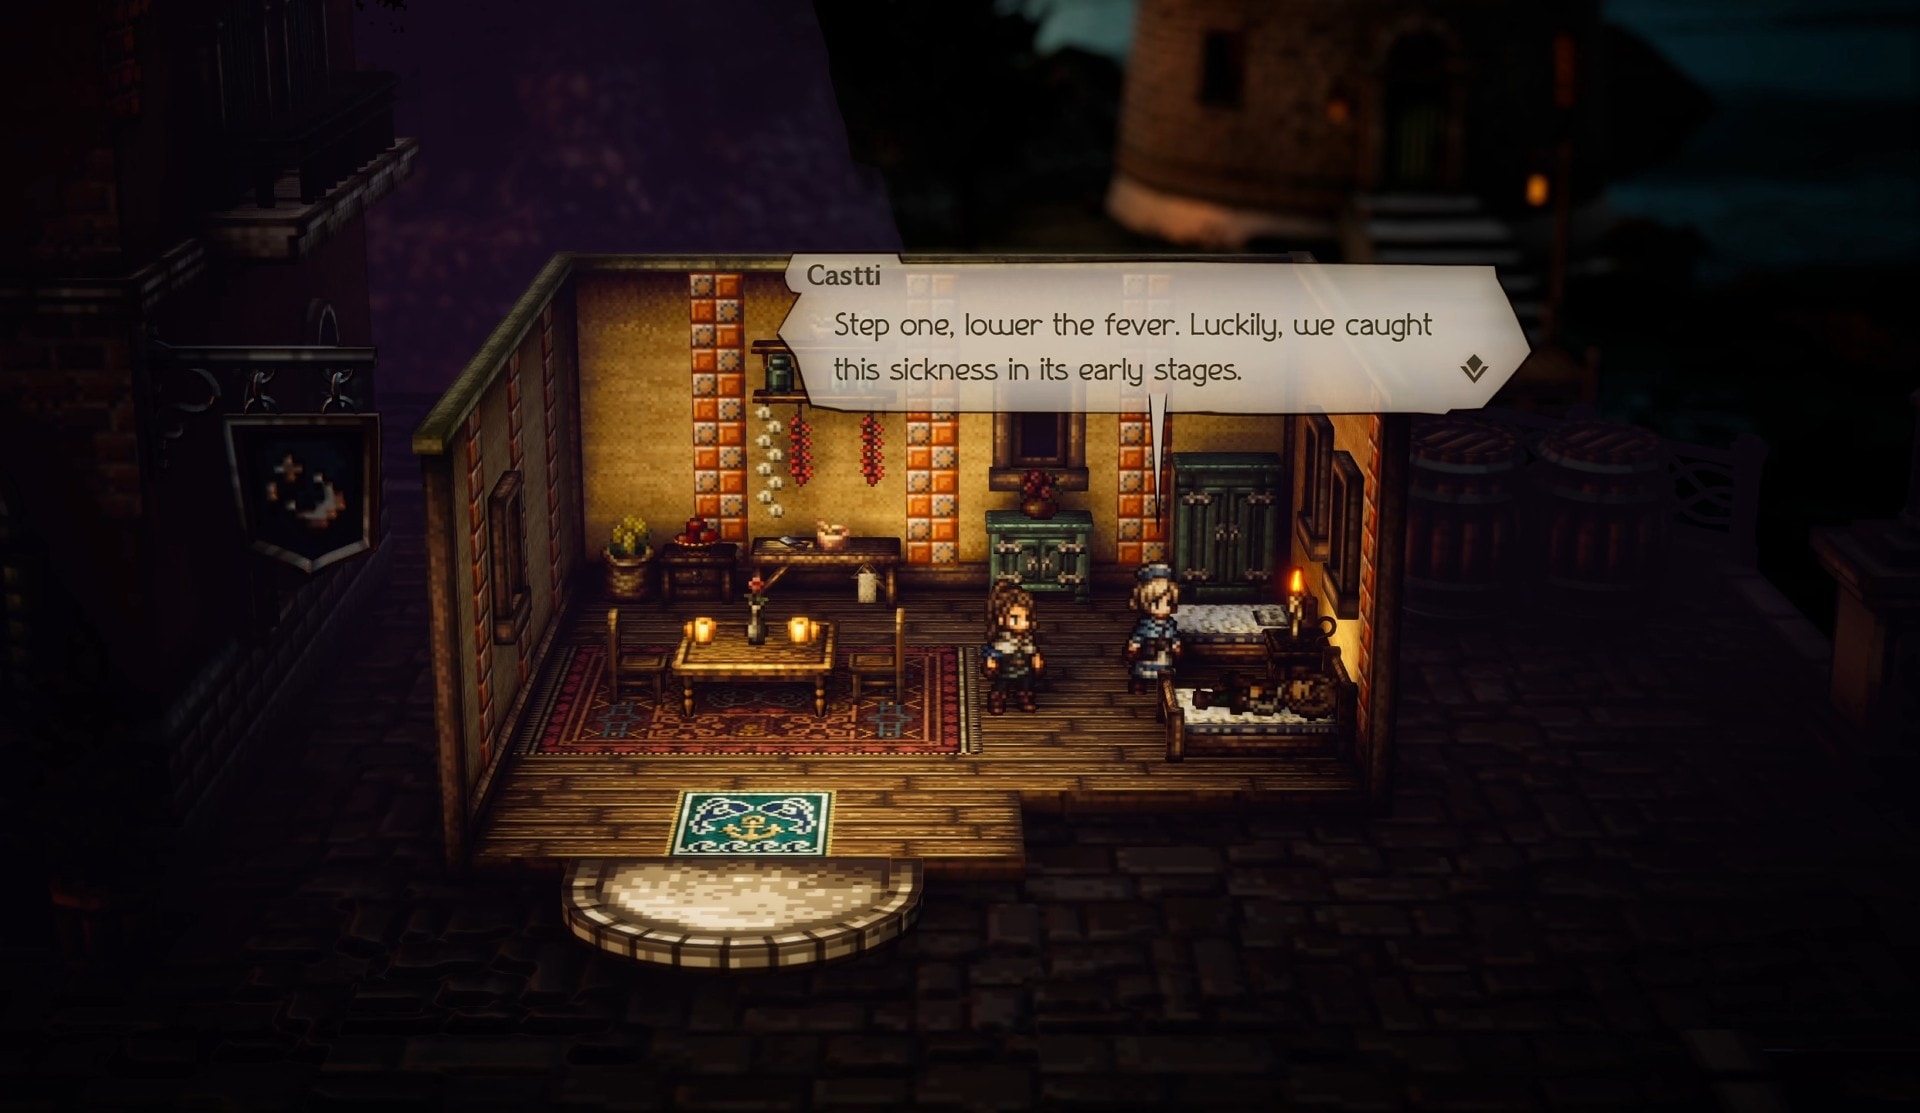
Castti will state that he has a fever and needs to be taken inside, which the other NPC assists with. Once inside they examine him, noting he has a rash and vomiting on top of his fever. Castti believes it to be the onset of some type of poison and that she can treat it.

You’ll now be given access to the Soothe Path Action. This action allows Castti to use medicinal herbs to Soothe NPCs, which puts them to sleep. You’ll have to Soothe Senah to continue.
The cutscene will continue, showing that despite her amnesia she still remembers her craft. Time jumps forward slightly, with Castti noting that the fever has receded and Senah will be able to sleep soundly.
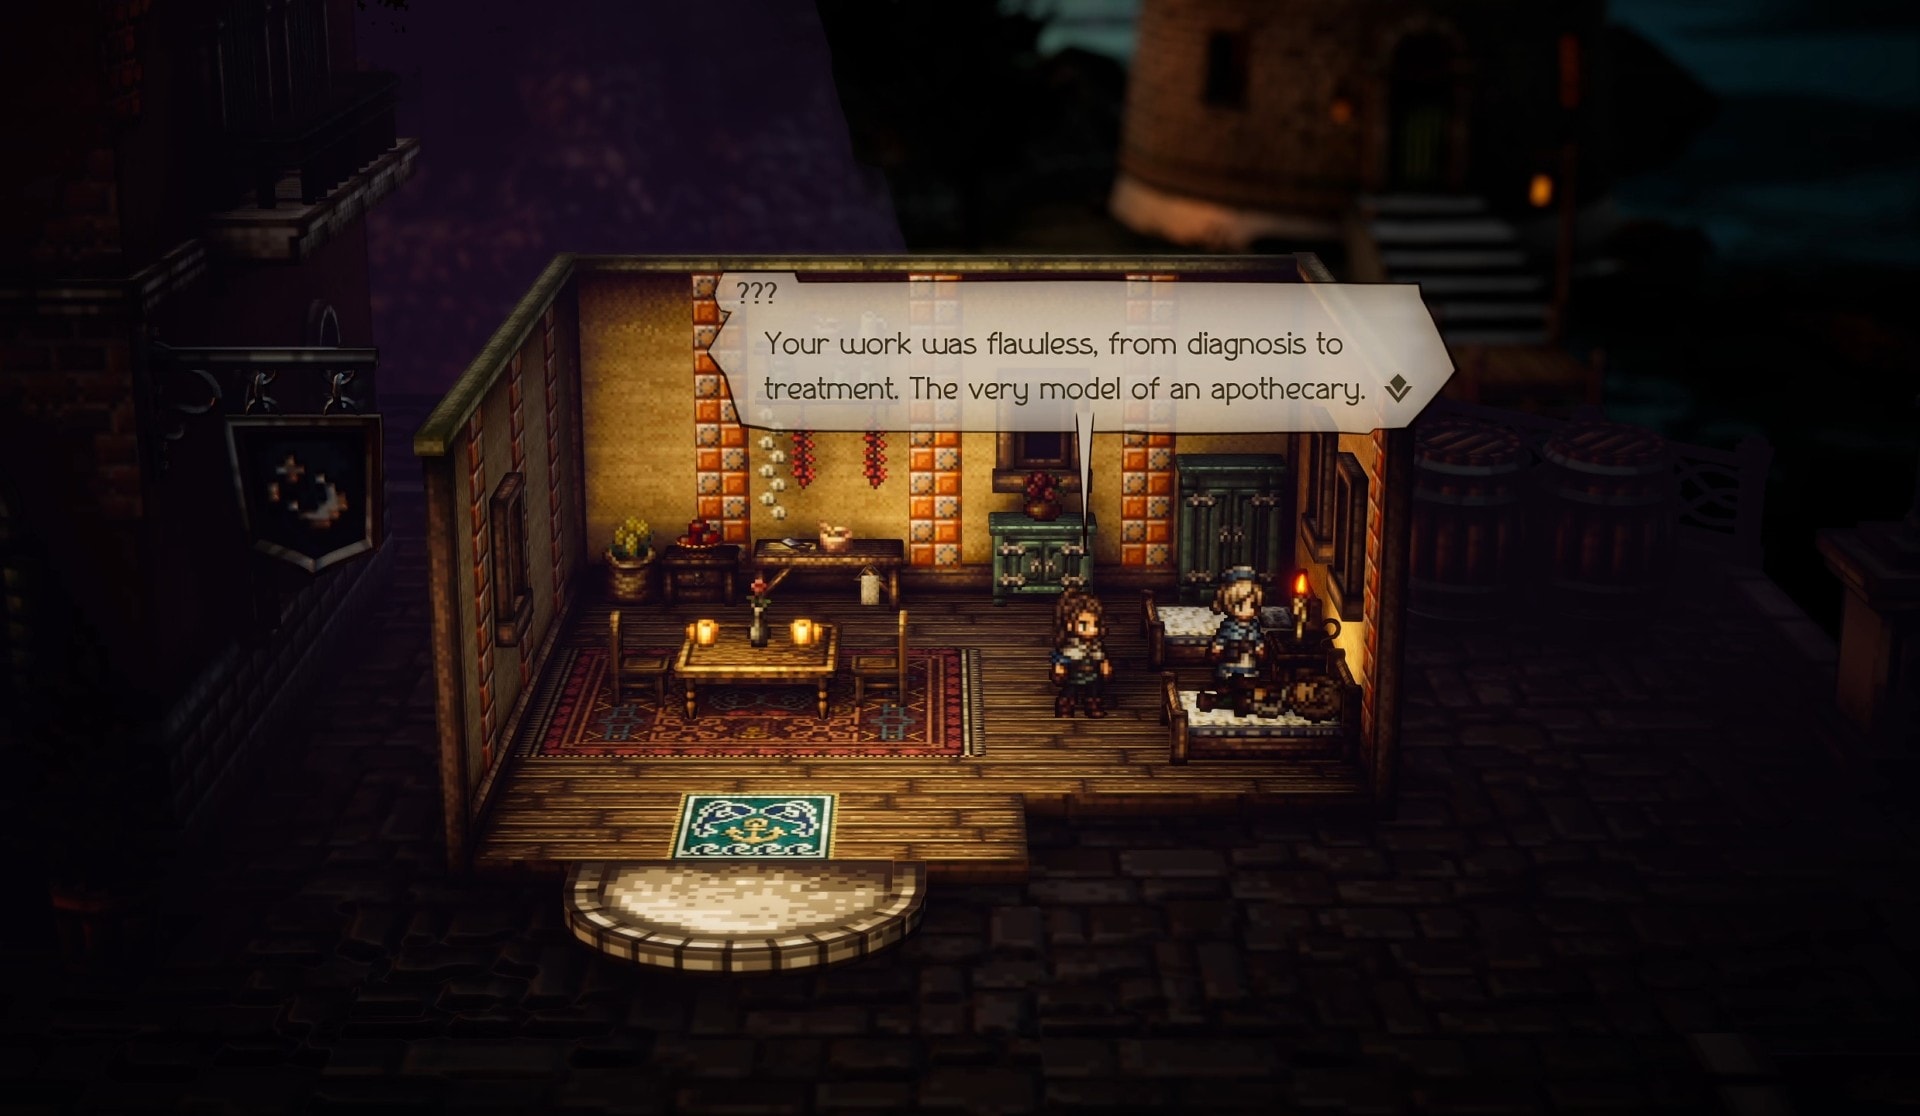
This is followed by praise from the NPC that helped us, saying Castti is the very model of an apothecary. She is then introduced as Malaya, a traveling apothecary.
Castti reveals that she had amnesia, only remembering that she’s an apothecary. Malaya seems surprised by this asking how she was able to diagnose and treat Senah. Castti remarks that her hands still remember the craft.
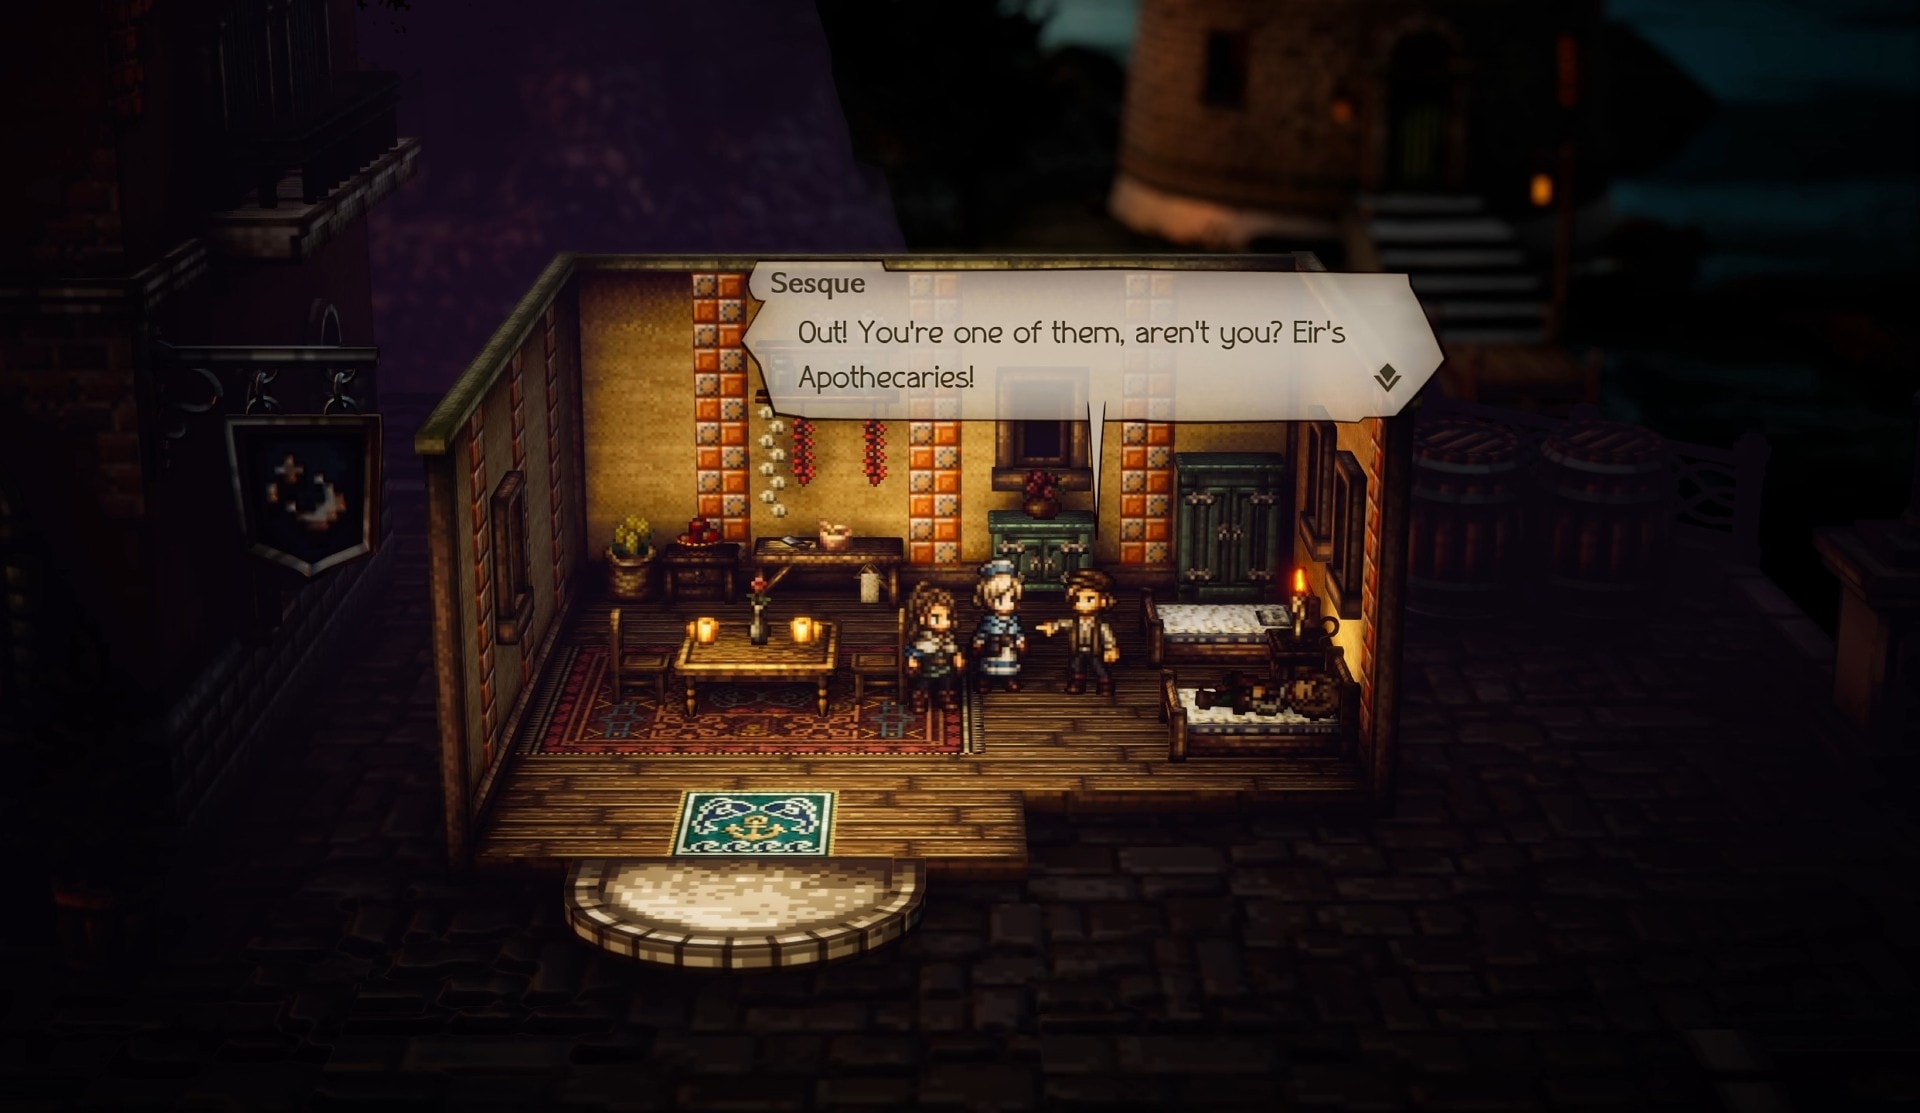
Shortly after Senah’s Brother, Sesque, comes marching into the house. He sees Castti’s uniform and immediately orders Castti away from Senah. Malaya tries to de-escalate the situation, to no avail.
Sesque continues to order them out, claiming Castti to be one of Eir’s Apothecaries. Castti inquires, confused about the name. Sesque points towards her uniform and the sigil it bears marking her as such. He then refer to Eir’s Apothecaries as “pestilence-mongers”.
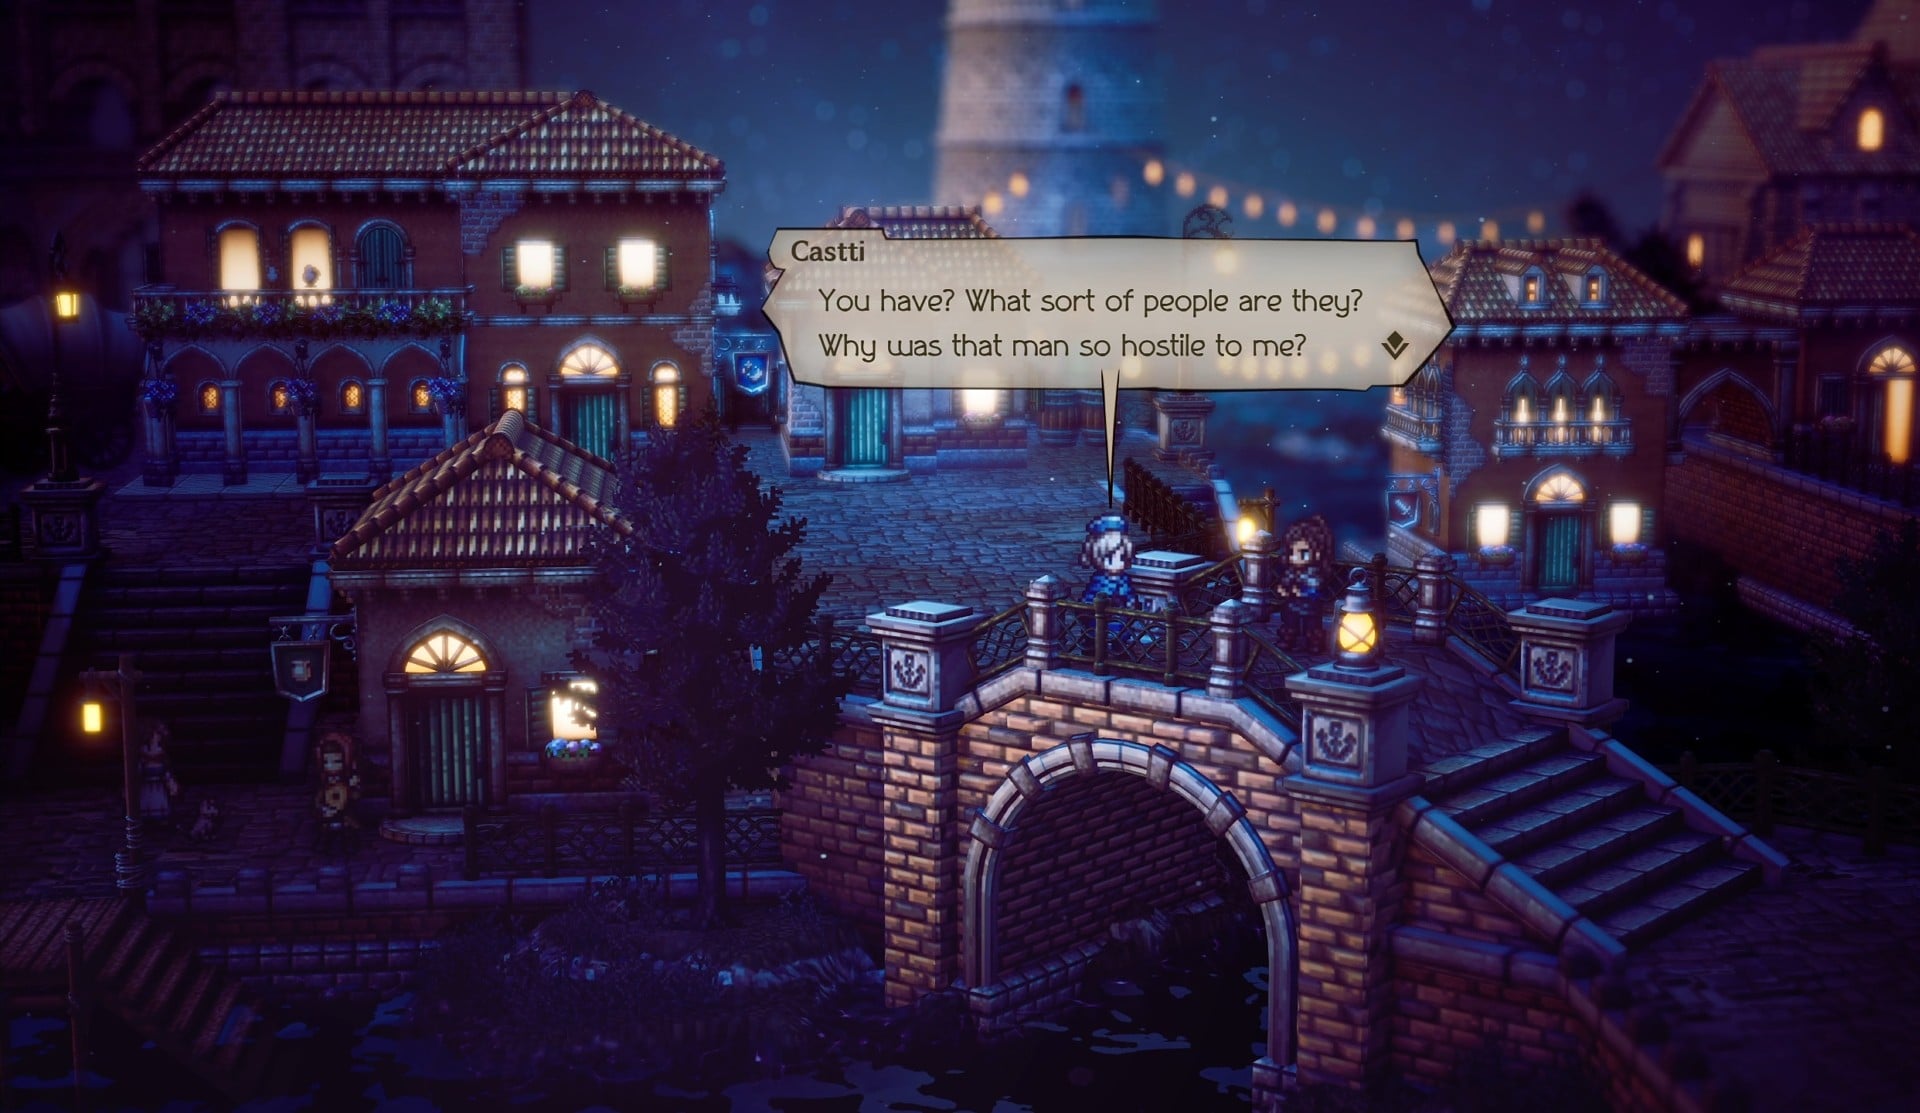
Castti and Malaya leave the house and head outside to the bridge. Castti wonders what Eir’s Apthicaries are, before Mayala says she’s heard the name before. Castti asks what she knows of them and if that’s why people are acting hostile towards her.
Castti decides it’s best to focus on the problem at hand, rather than her missing memories. Thus she looks to find the root of the sickness, to prevent it from spreading through the town.
Malaya inquires why she’d help after the way she’s been treated. Castti then says it doesn’t matter to her who she is, or how she’s treated; she’d rather help the sick.
Before long, the two are approached by more townsfolk, who also seem to think Castti is an Eir’s Apothecary. Castti, still unaware of her possible past inquires who these Eir’s Apothecaries are.
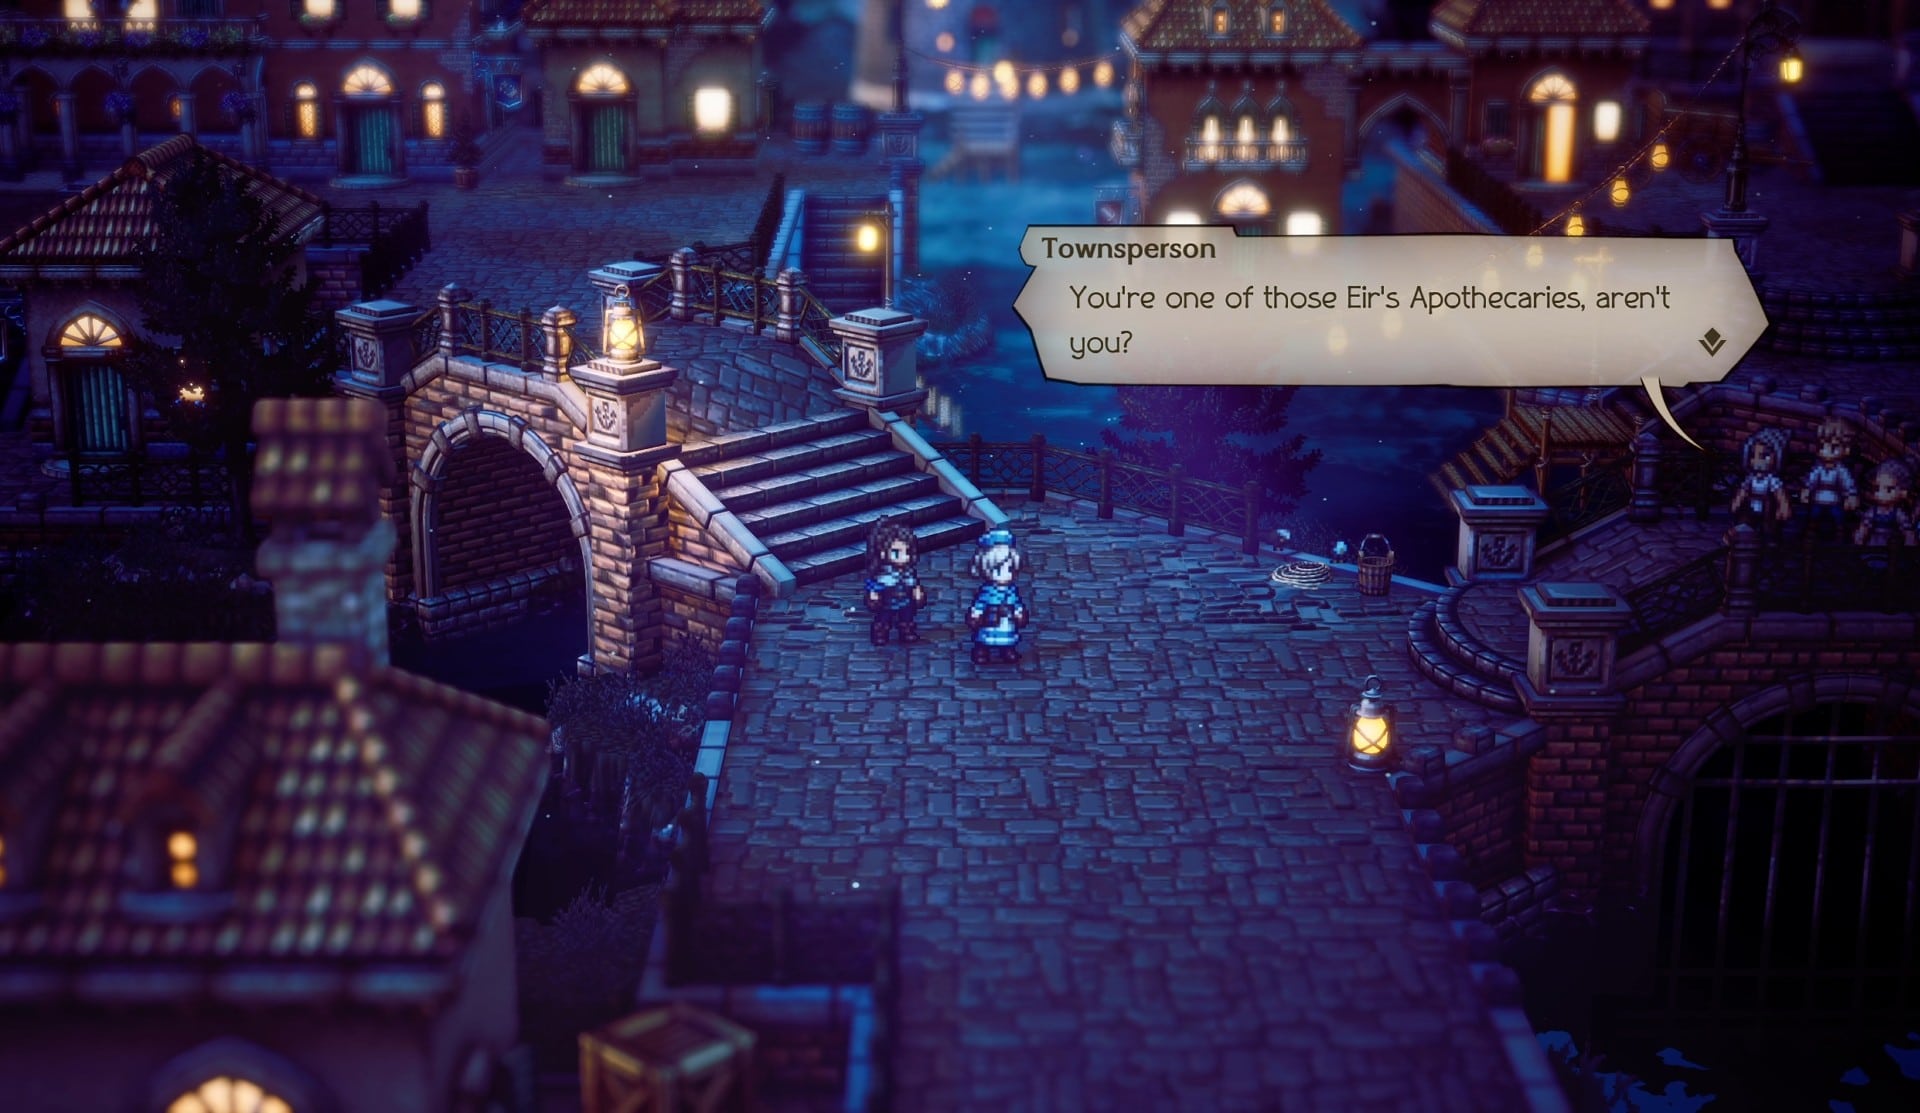
One of the townsfolk thinks she playing dumb, but explains that Eir’s Apothecaries are apothecaries from the east that charge little for their services but poison more than they cure. They are untrusting of Castti, being a recently arrived Apothecary after hearing rumors of an Eir’s Apothecary being here.
In the middle of this outrage, one of the townsfolk of the group collapse. They run to check on him, before Castti orders them to step away, as he may be contagious.
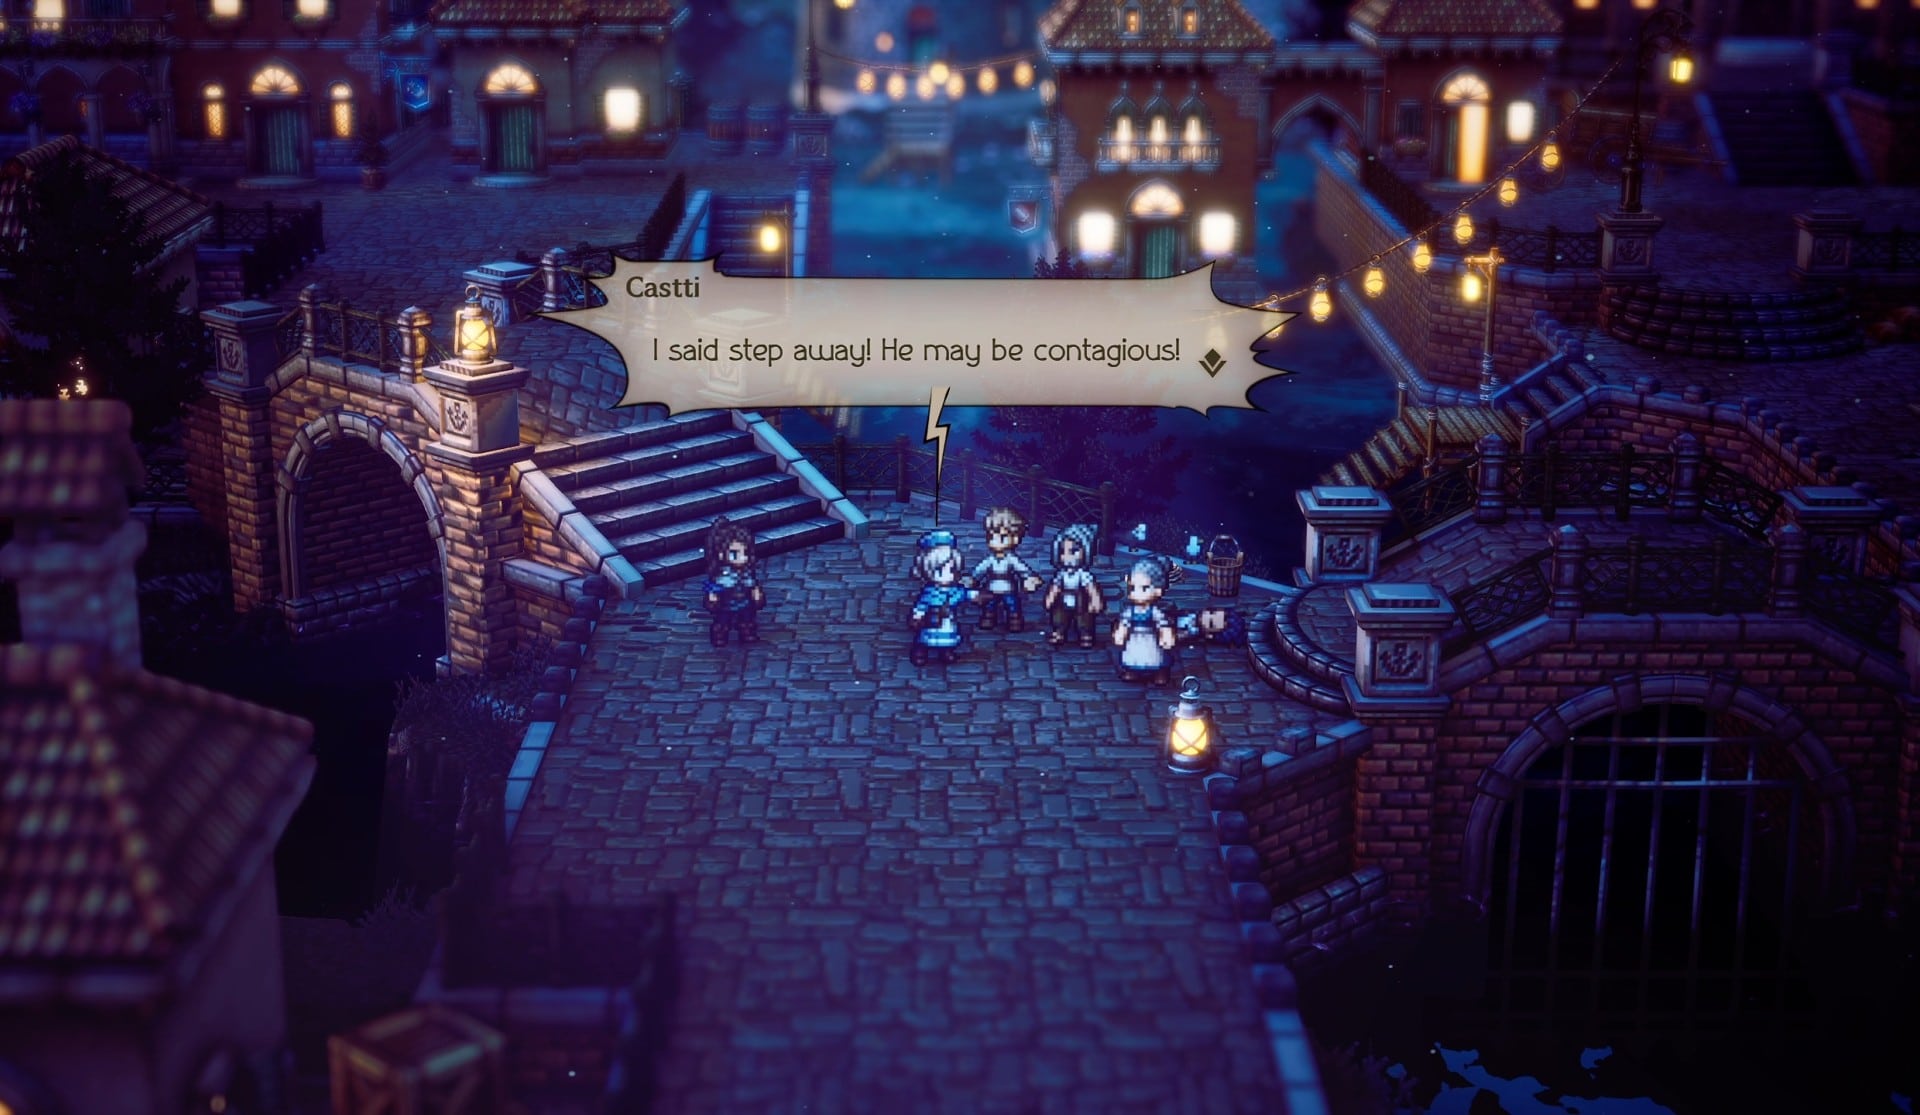
The townsfolk process to back away, as Castti approaches to check his condition. She discovers the same symptoms as Senah, and gets to work immediately. Soon after another townsperson comes running over the bridge, exclaiming people are fainting from a strange fever.
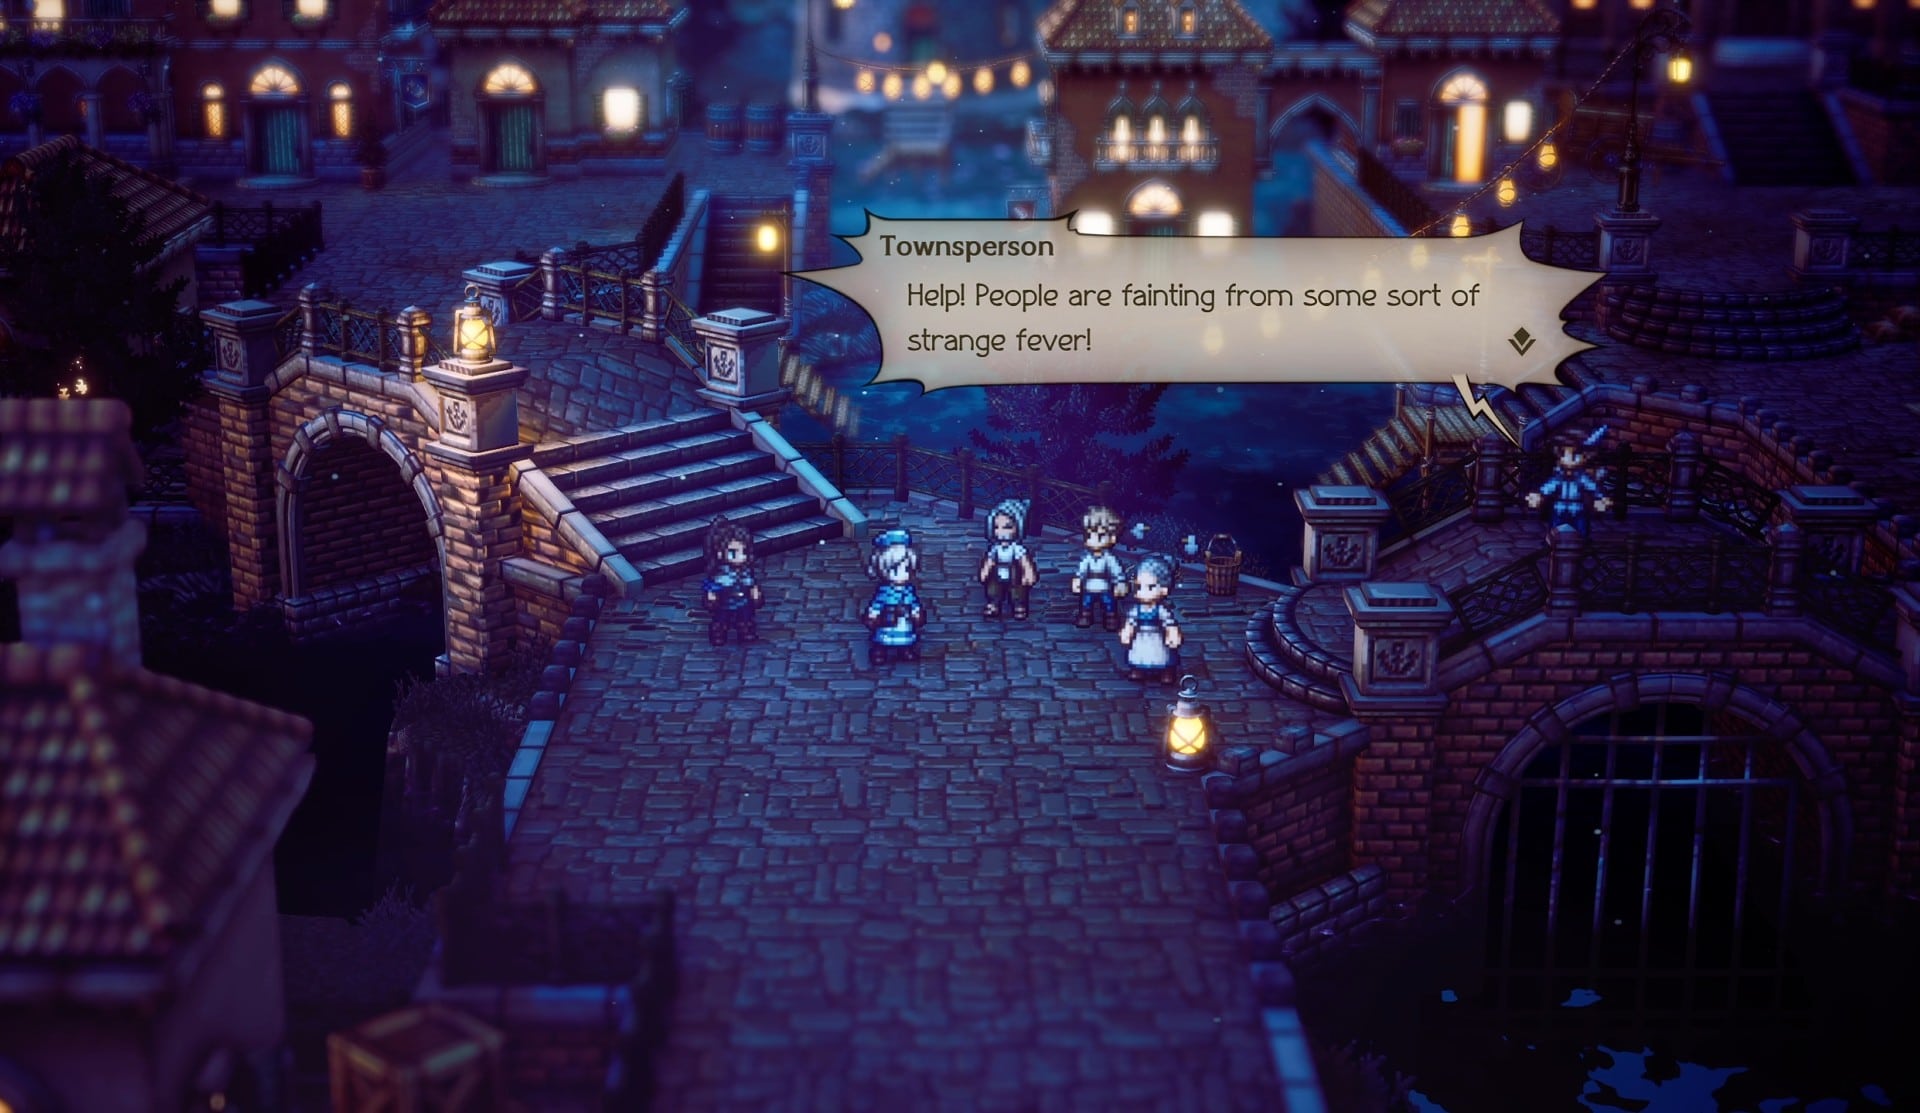
Castti will offer to treat the afflicted townsfolk, and you’ll regain control of Castti once again. The are is locked to nighttime, but you will have access to some additional areas. However, we’ll head out to help folks first.
The first patient is directly to the south, in the house. You’ll be treating the mother of the boy who we got the Inspiriting Plum from earlier. She’ll thank you and you can move on to the next one.
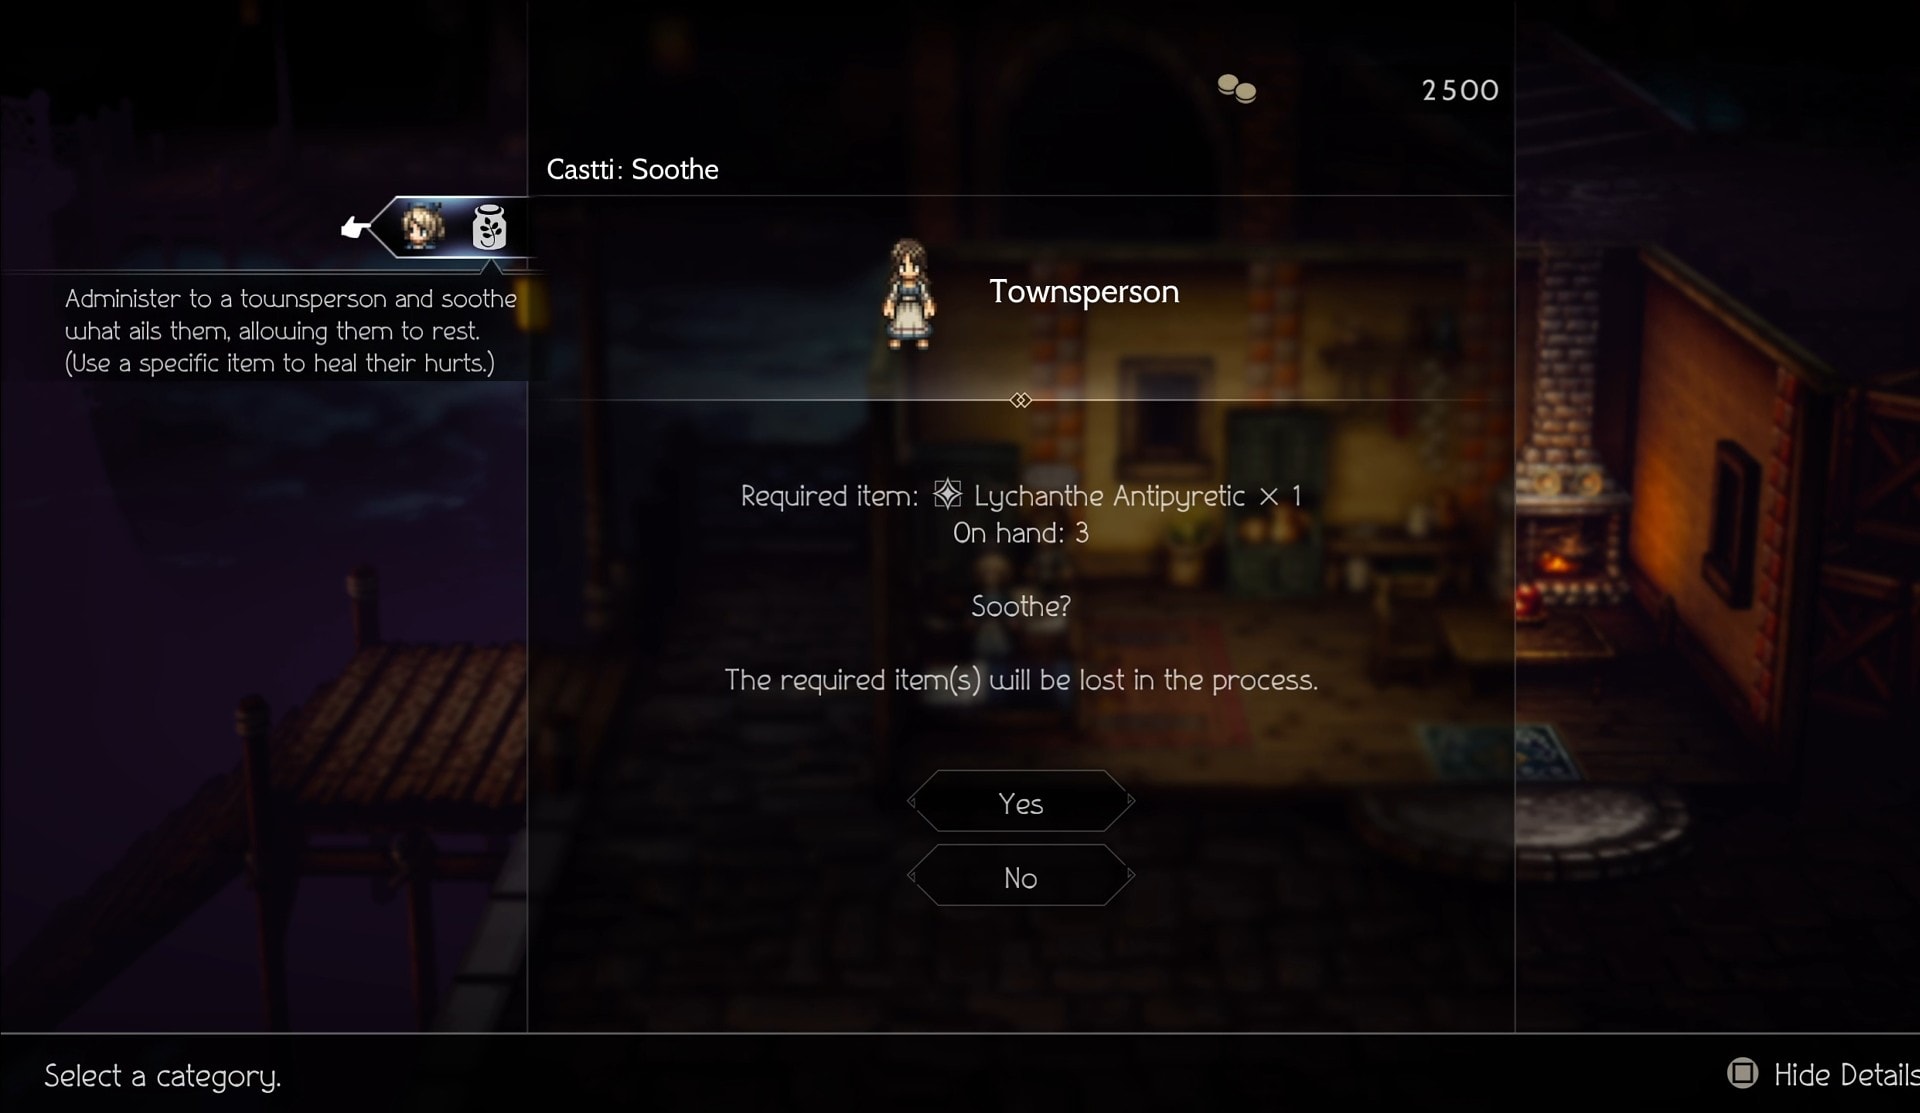
Our next patient is to the East, over the bridge and near the docks. Talking to her reveals she was looking for help for her grandfather when she got sick. Soothe her and she will also thank you before you can move on.

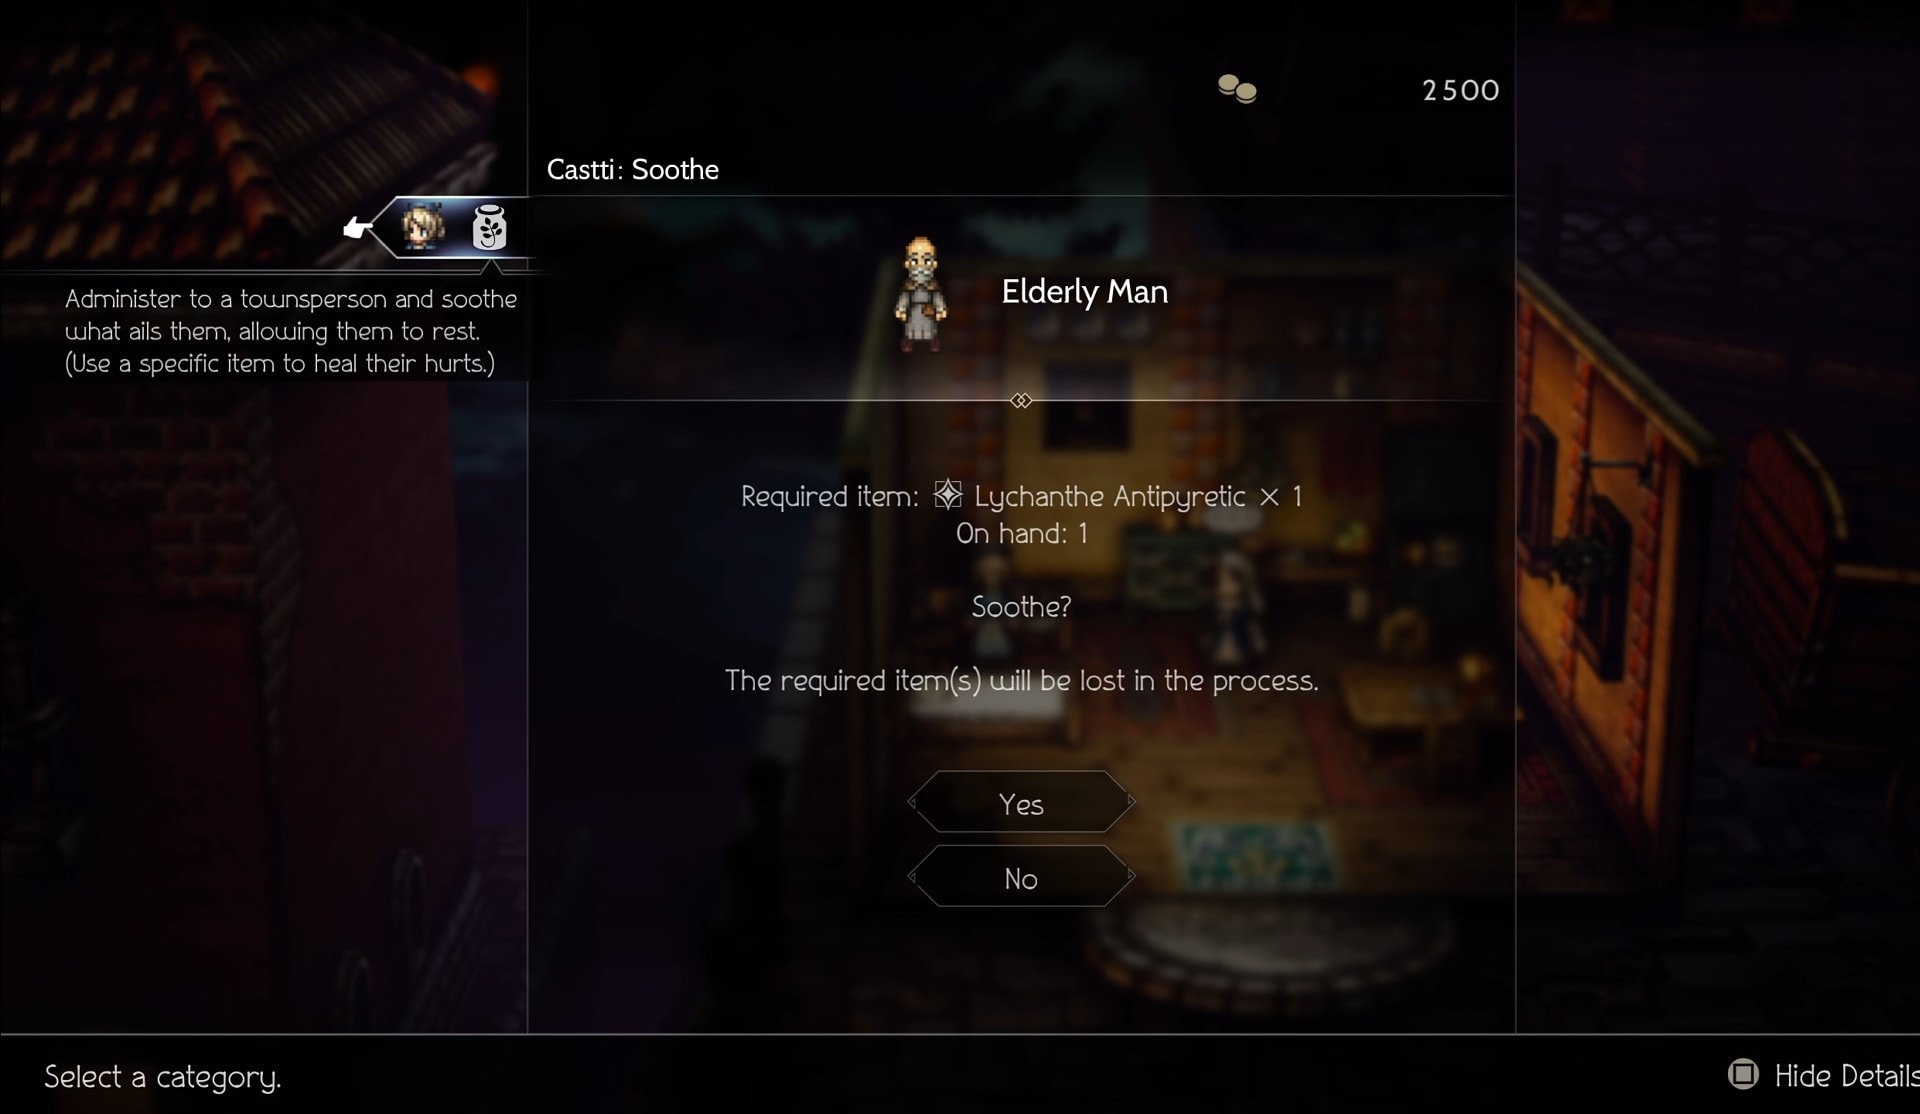
The final patient will be the Elderly Man in his house to the North, the grandfather of the girl you just helped. He’ll also thank you for helping him.
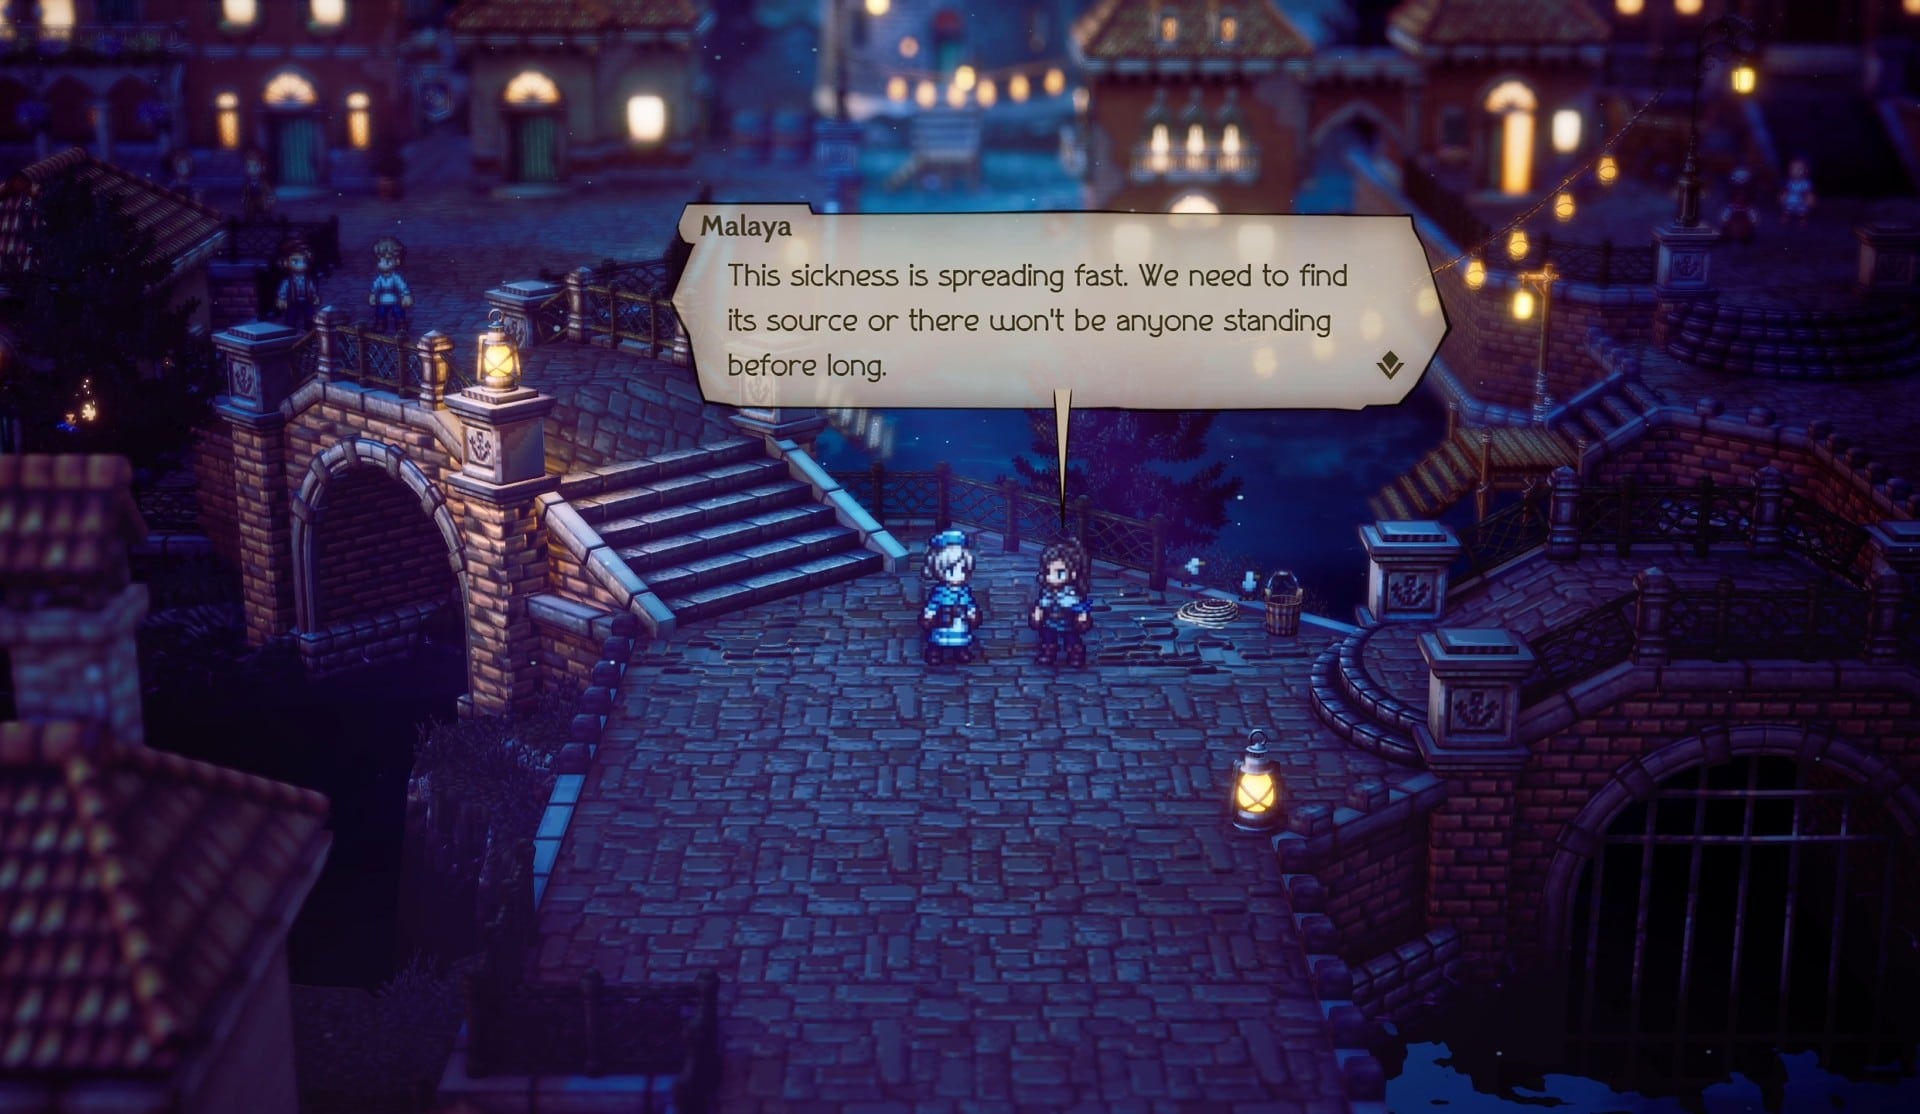
You’ll then be dropped into a cutscene with Castti and Malaya. Malaya will note that the sickness is spreading fast, and they need to find the source before everyone in the town succumbs to the disease.
The townsfolk from before will approach Castti and Malaya as they’re talking. They’ll ask if the others are okay and apologize for their actions earlier. Sesque will ask that you save the town and help his friends. Castti agrees, requesting information from the townsfolk to locate a possible source of the contagion.
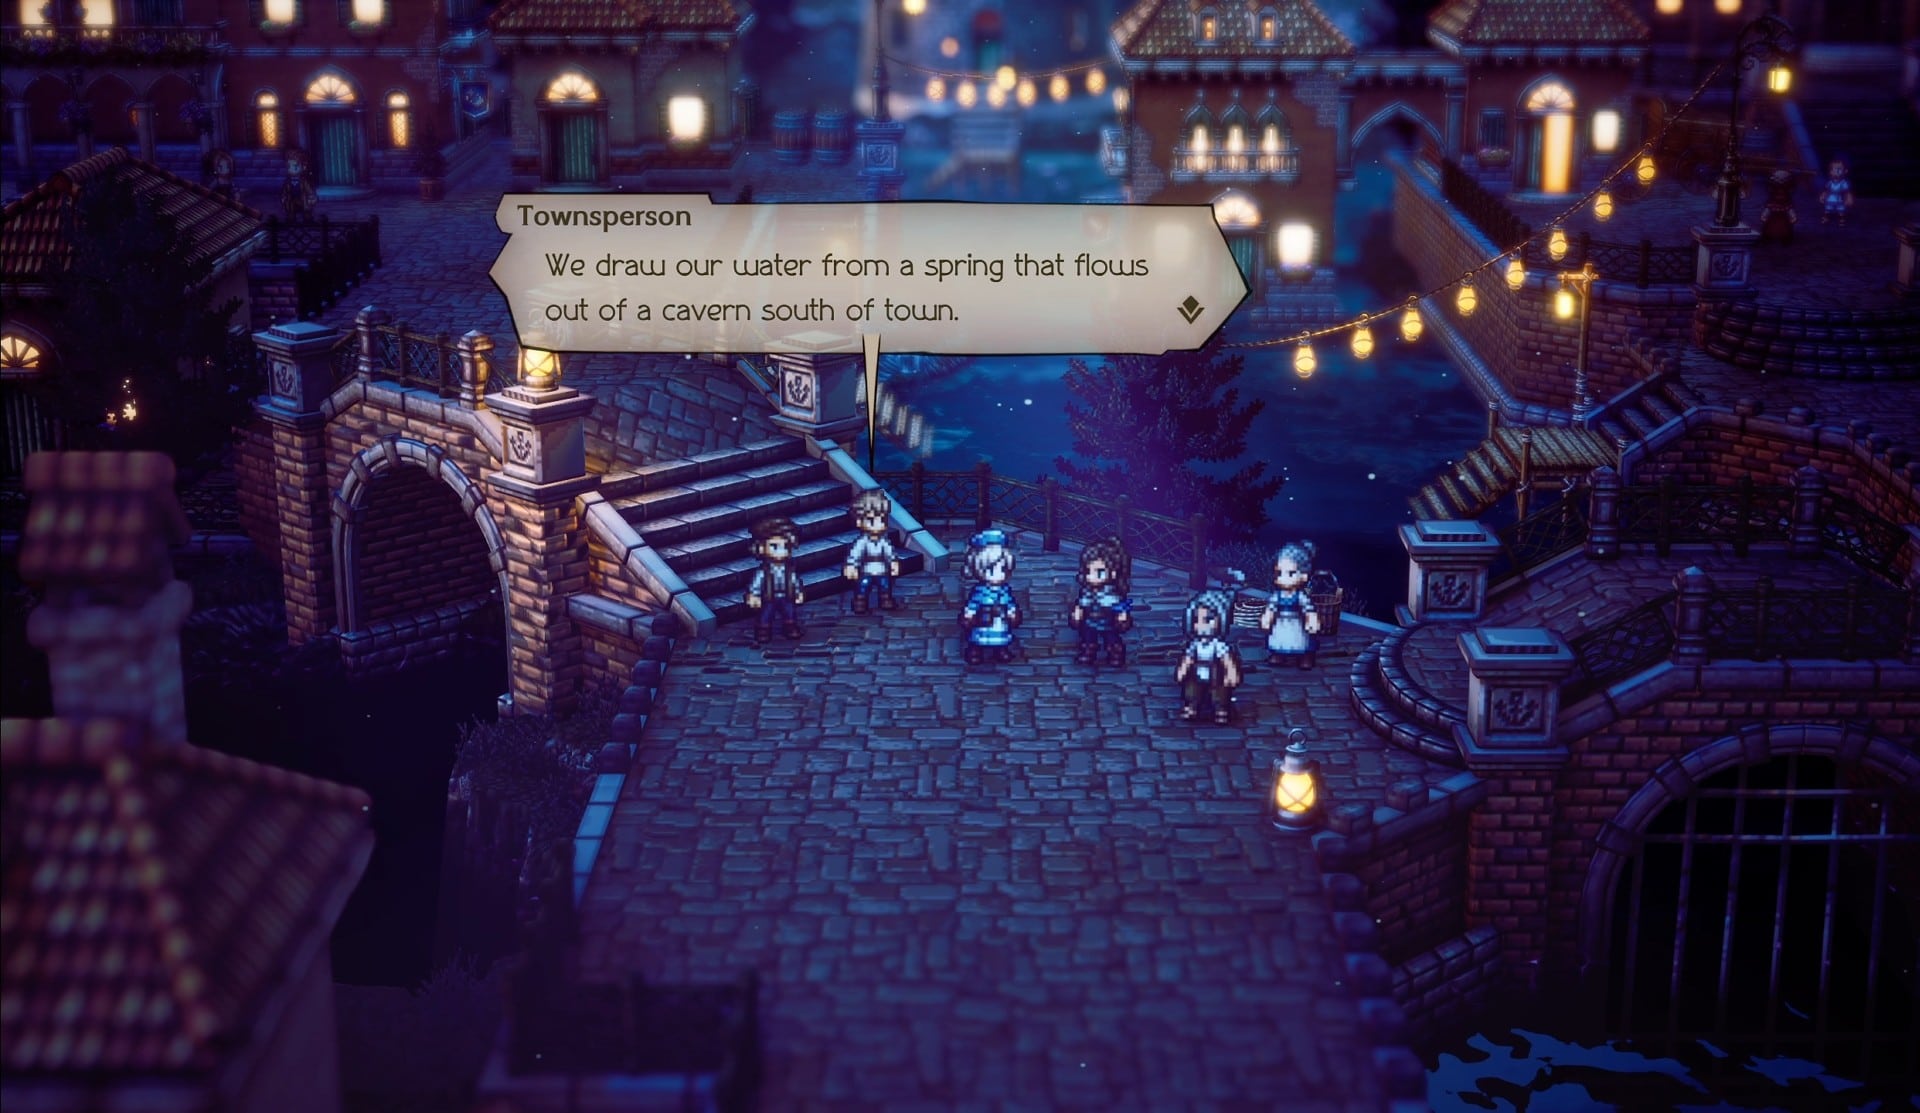
Sesque will not that Senah said the water tasted funny earlier, with another of the townsfolk hearing a similar remark. One remarks they boiled the water and suffered no ill effects. This leaves Castti to conclude that the water is the source.
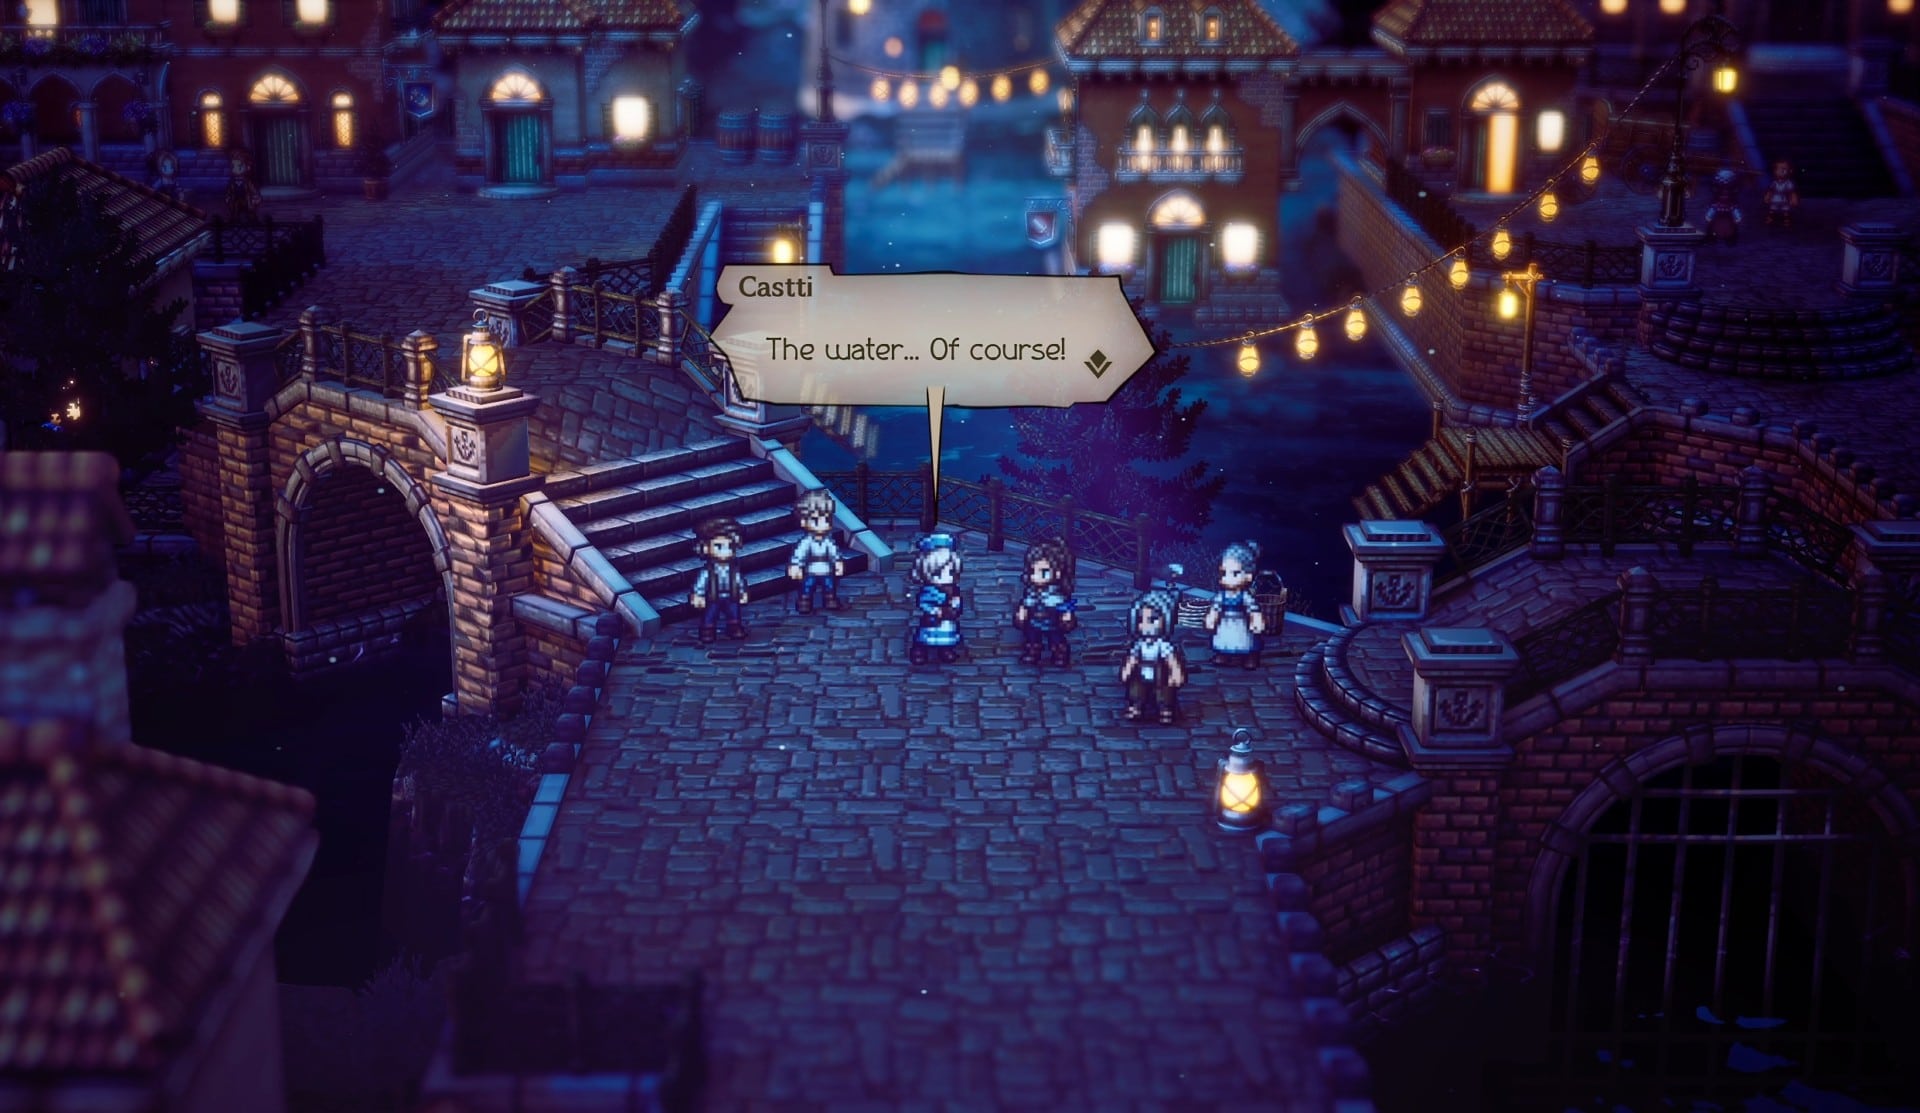
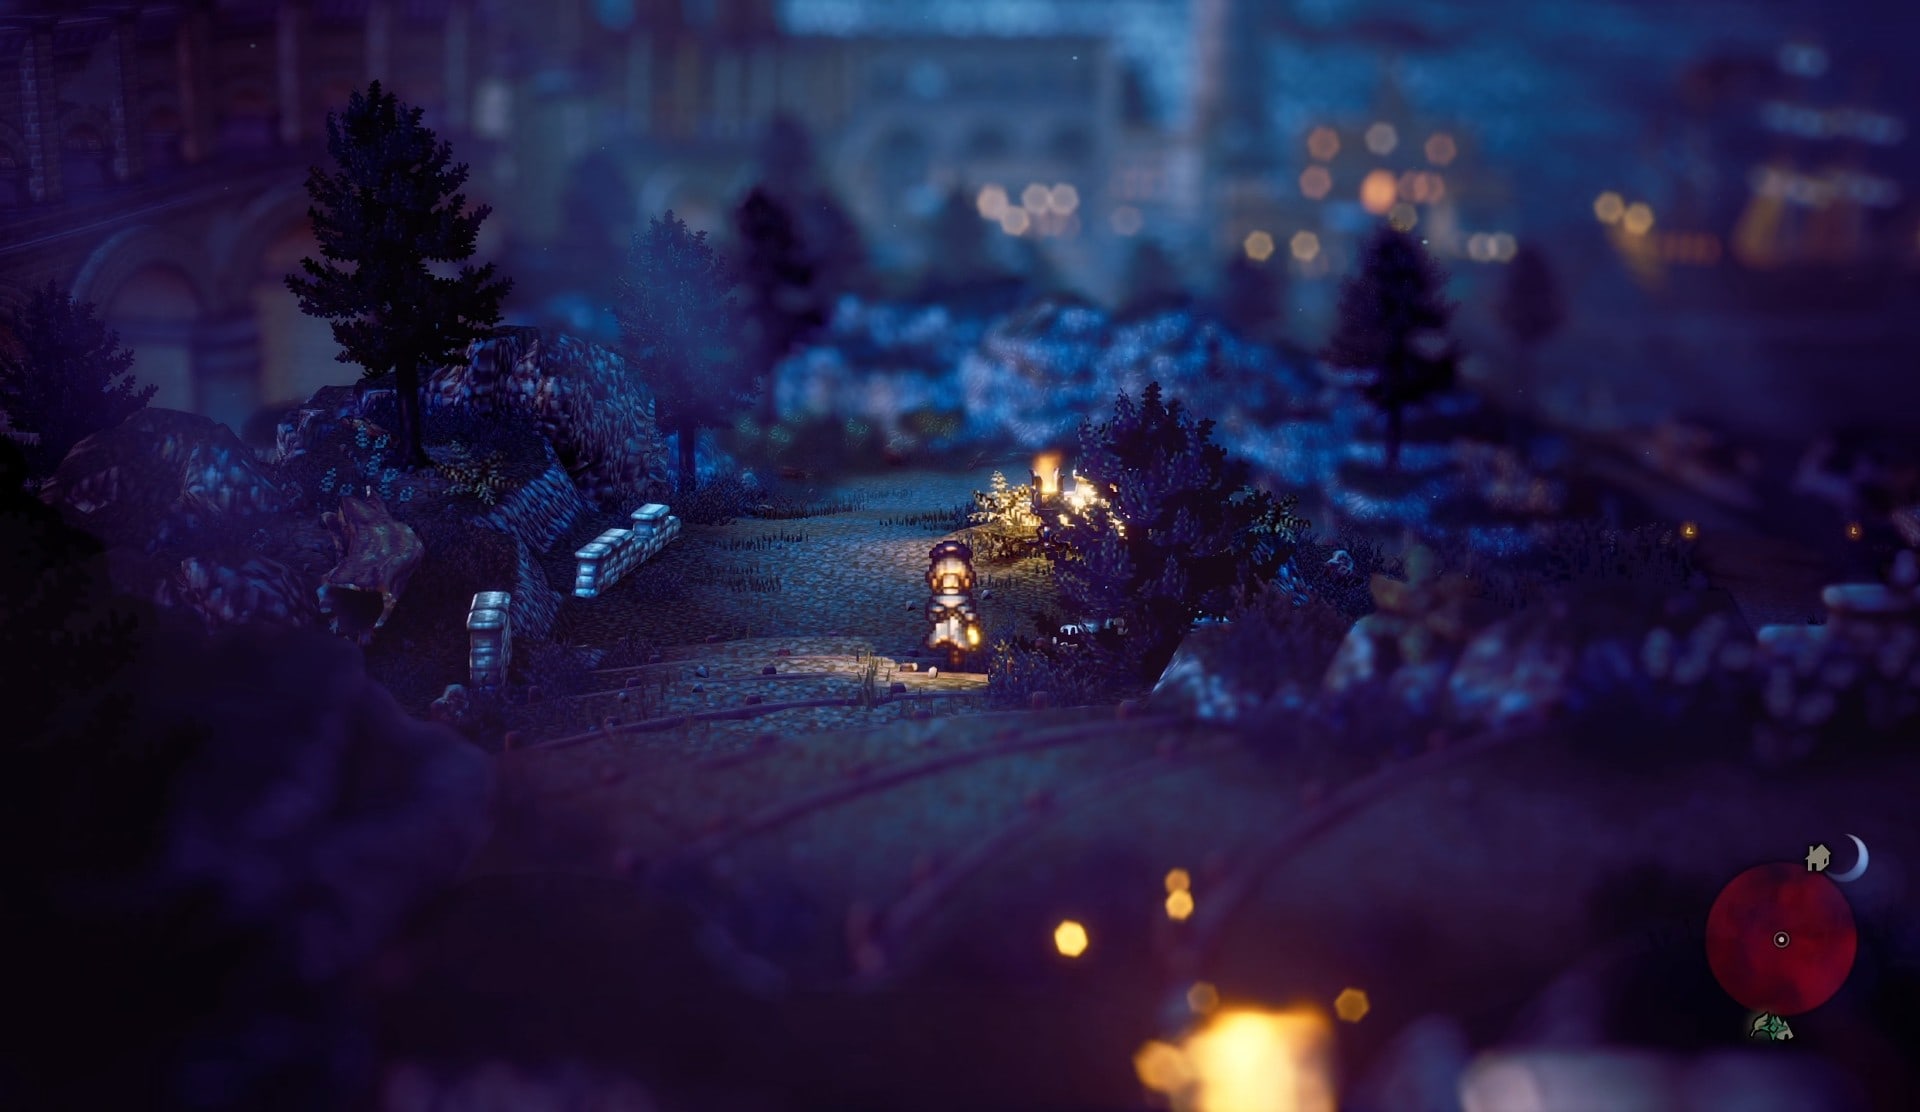
A townsperson will note that they draw their water from the spring to the south of town. Castti says she will head to the spring to cleanse it of disease. The townspeople offer to join, but Castti declines, saying it’d be too dangerous. Then we set off.
Before we head out of town, there are a couple of useful things we can do before leaving. First, with nothing blocking the way anymore, we can head to the Equipment Shop. Hop into your canoe and paddle over.
There’s nothing here for weapons or armor that are worth grabbing, but we can pick up a Traveler’s Charm to for a small HP increase and some extra Physical Defense. This is entirely optional, as we cna pick up a better HP-increasing accessory as we make our way to the Water Source.

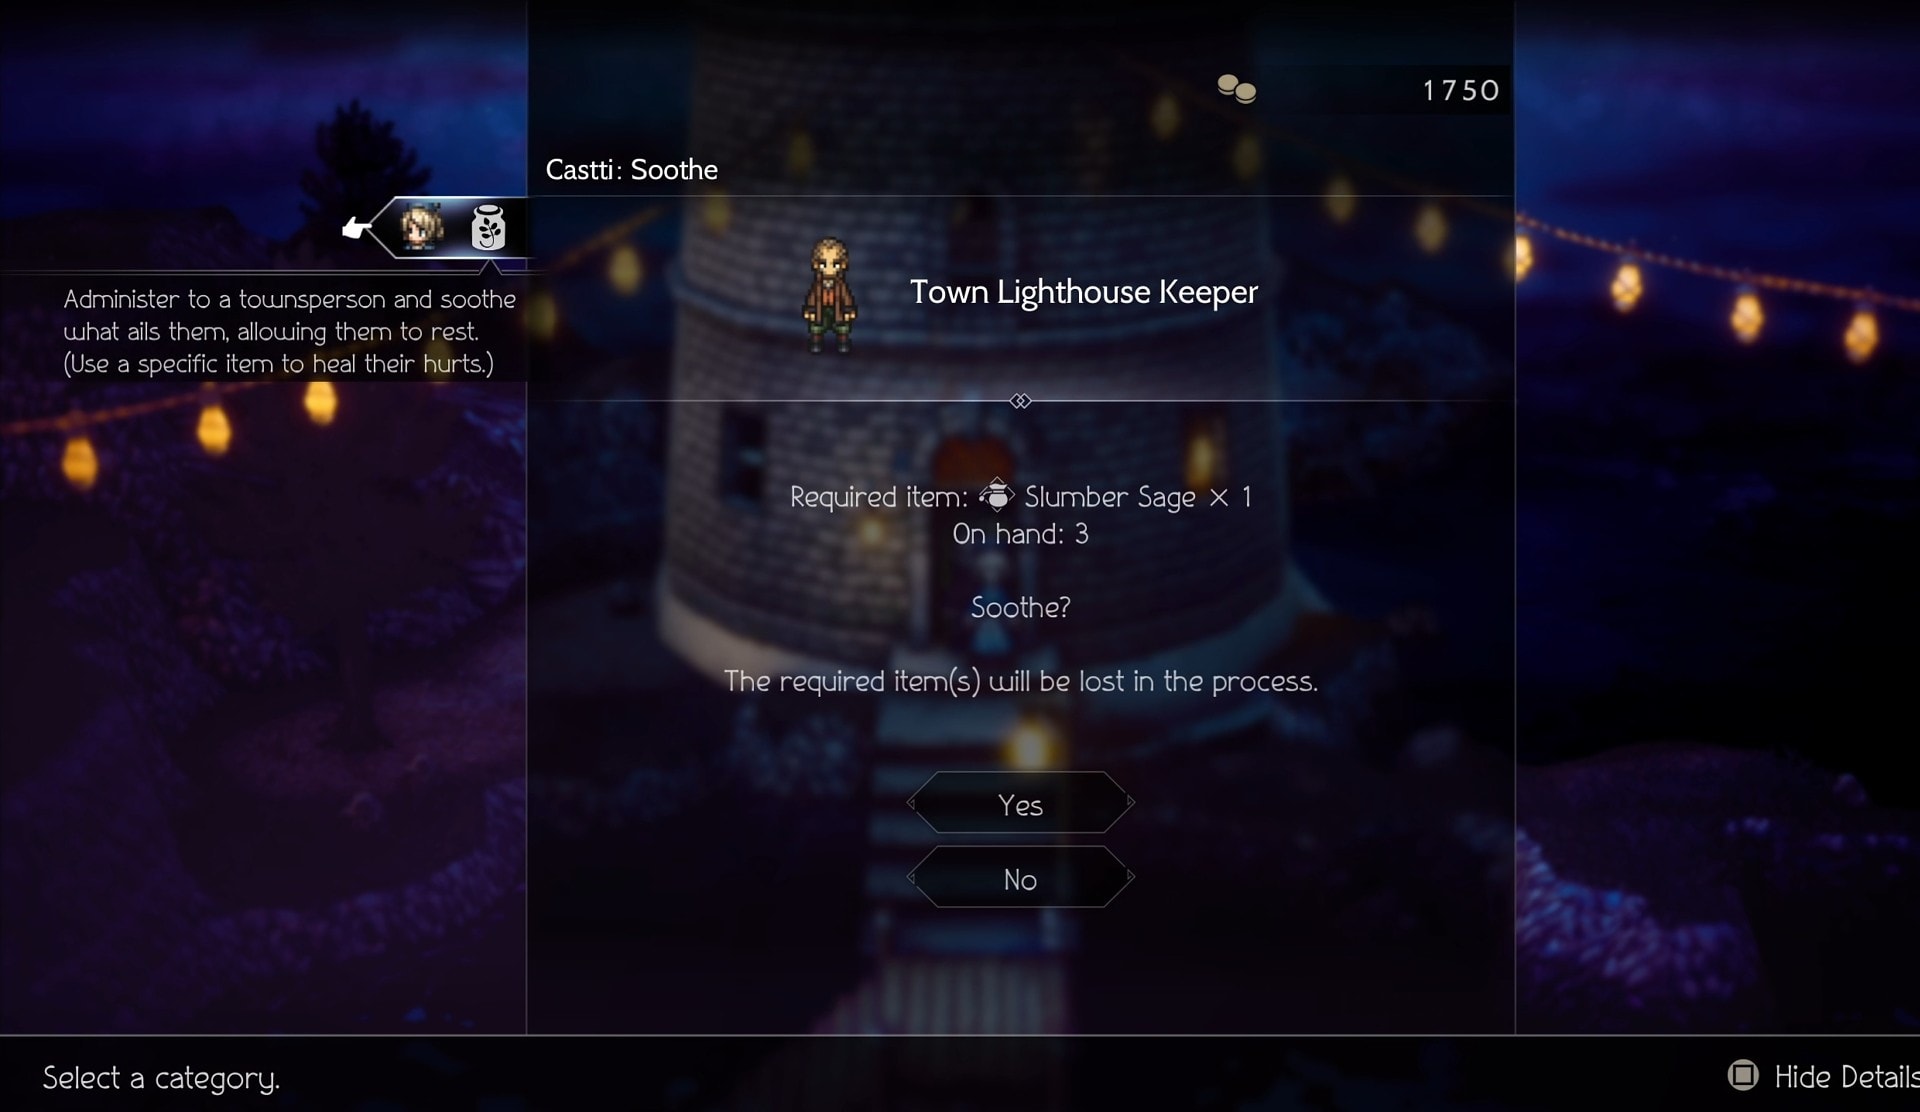
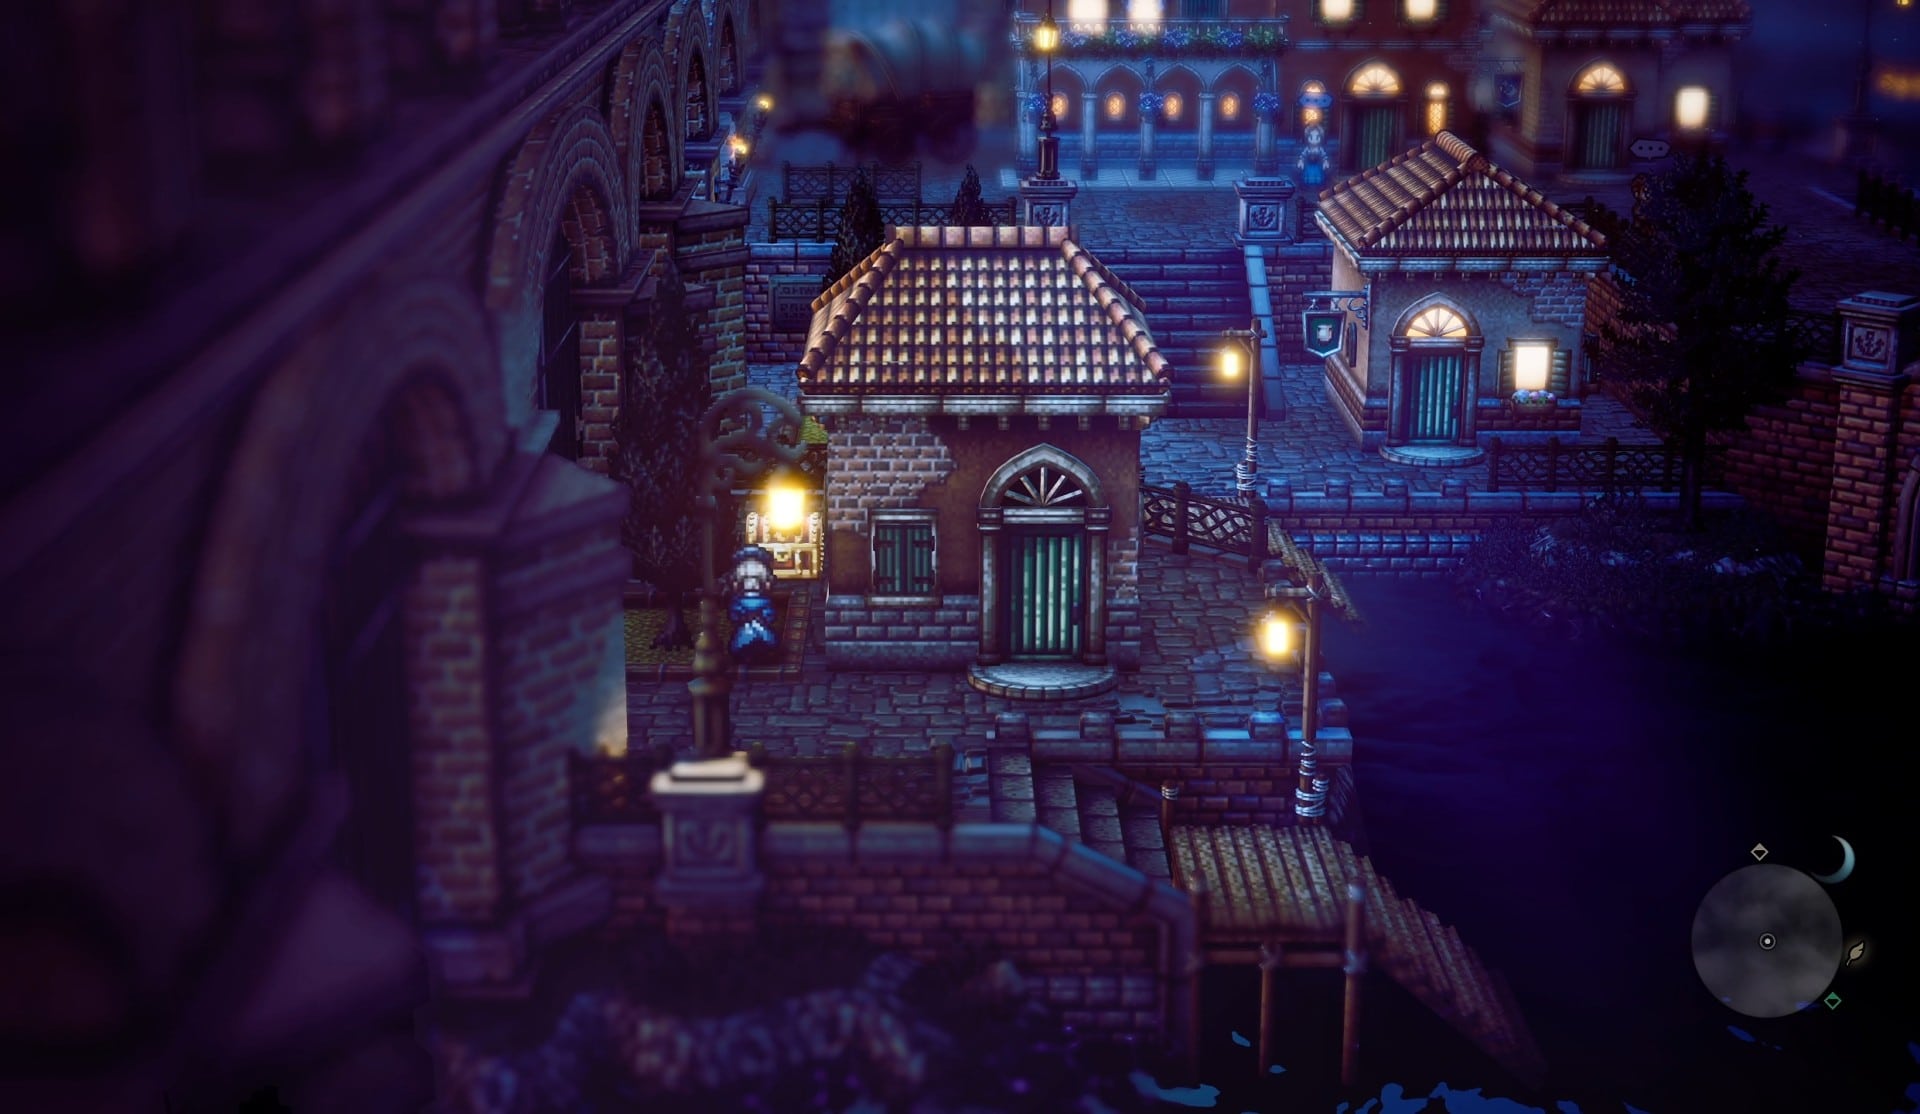
After leaving the shop we’ll want to take the canoe farther north up to the lighthouse. It seems unnecessary at first, but Soothe the Town Lighthouse Keeper blocking the door.
Once you climb up the ladder of the lighthouse, there will be a chest up top that contains the Woodcutter’s Great Axe. While it’s a purely physical weapon, it will allow us to demolish upcoming foes much easier and is better than anything we can currently buy.

This is the only NPC we get any value out of here with the Soothe Path Action. There’s one last chest to grab, which is next to a build on the west side of town accessible by water.
This Chest contains a Resistant Nut. This item will permanently boost the Elemental Defense of a Character.
Exploring the Path to the Source
Like many of the other low level areas, there are just a handful of enemies here. You’ll primarily see Ocean Lizardman 1, who are weak to Axe Attacks and Wind.
Occasionally, you will come across Hermit Conch, these are also weak to Axe but have 2 shield points as well as high physical defense as well as means to boost their defenses.
As you continue down the path, take a right at the torch shown below to take a hidden path that leads to a chest. This chest contains an Empowering Ring. If you didn’t pick up earlier, this is a stronger version of the Traveler’s Charm. It has no defenses but packs more health, 200 in fact compared to the 50 of the Charm.
The path splits further up the hill, we’ll need to head left to continue. However to the right is a Herb of Healing. Grab it and continue on to the Aqueduct.
Once we get onto the aqueduct, enemy variety will change a bit, adding Flying Fish, which are vulnerable to ice.
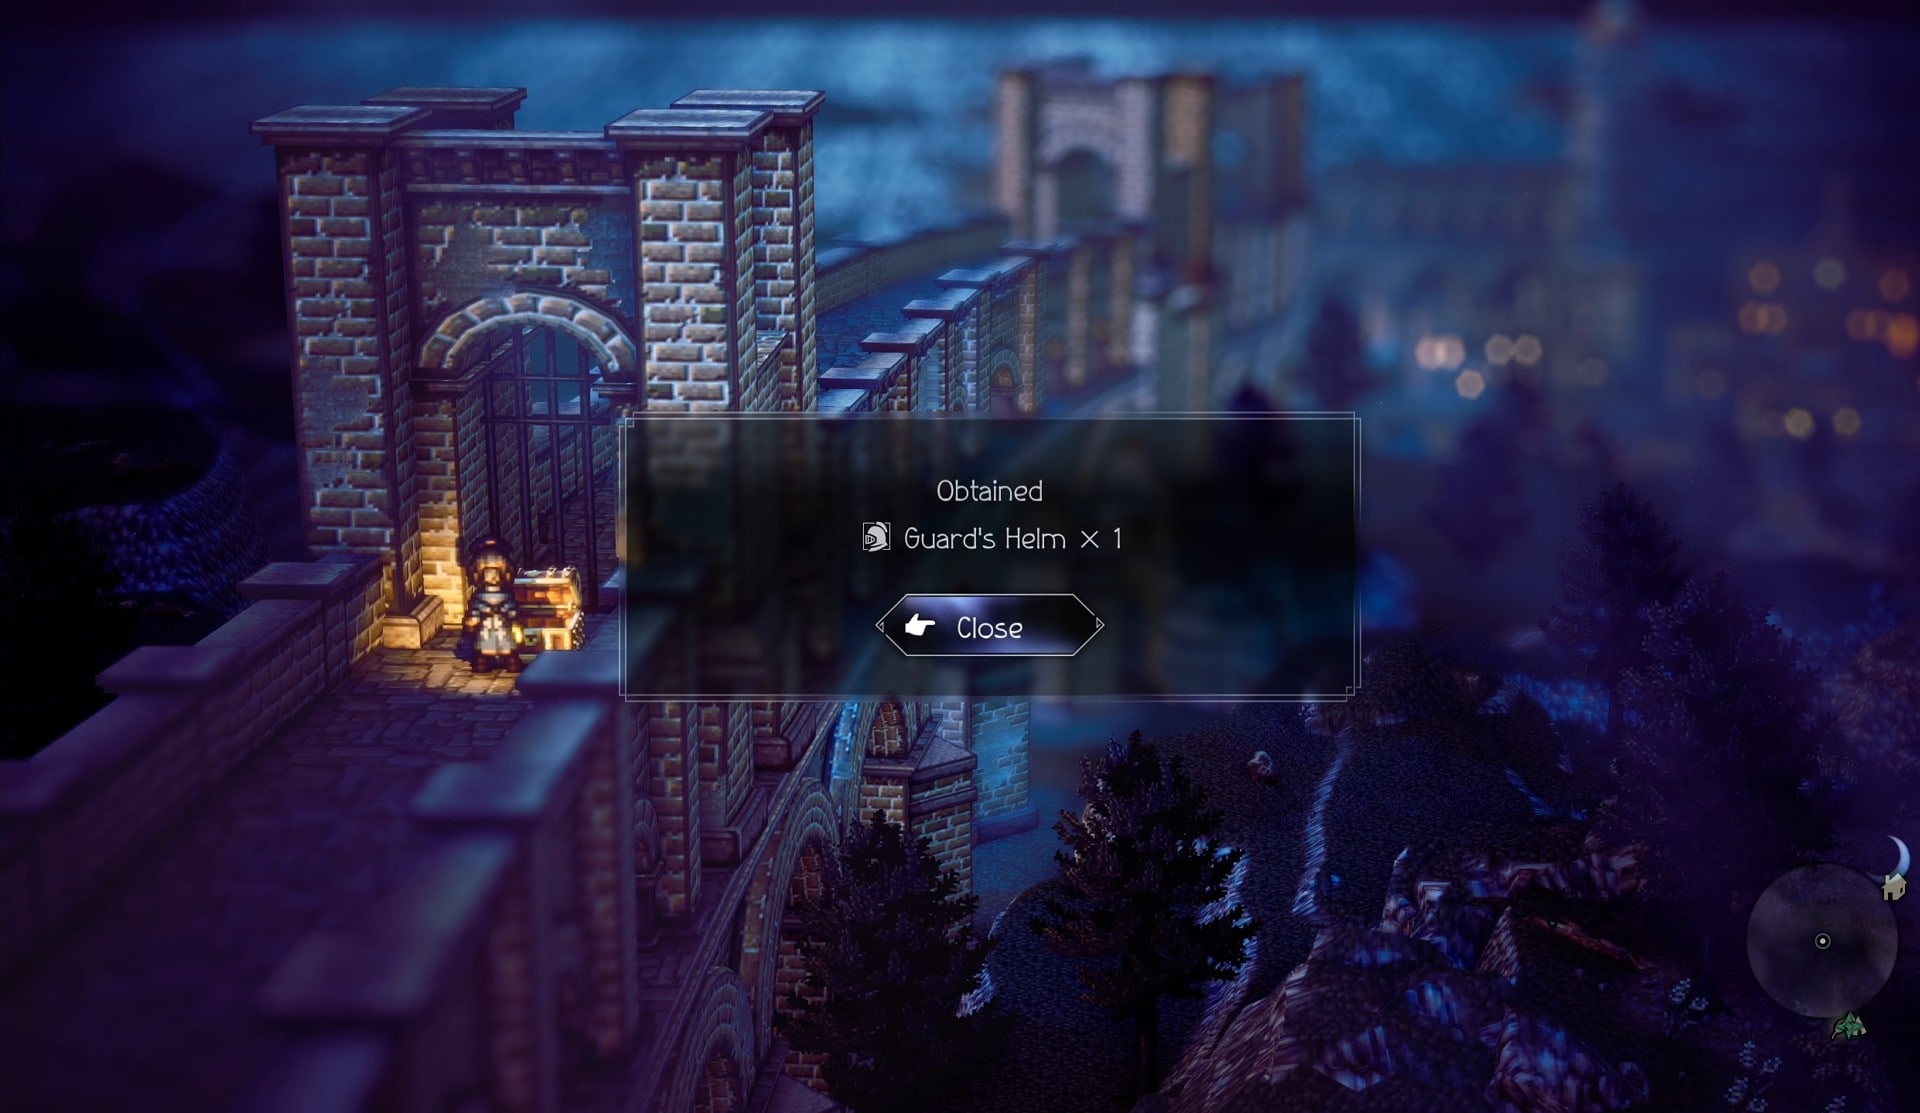
As we get on the aqueduct, there’s an item chest directly north. This contains a Guard’s Helm, a pretty good upgrade to our armor.
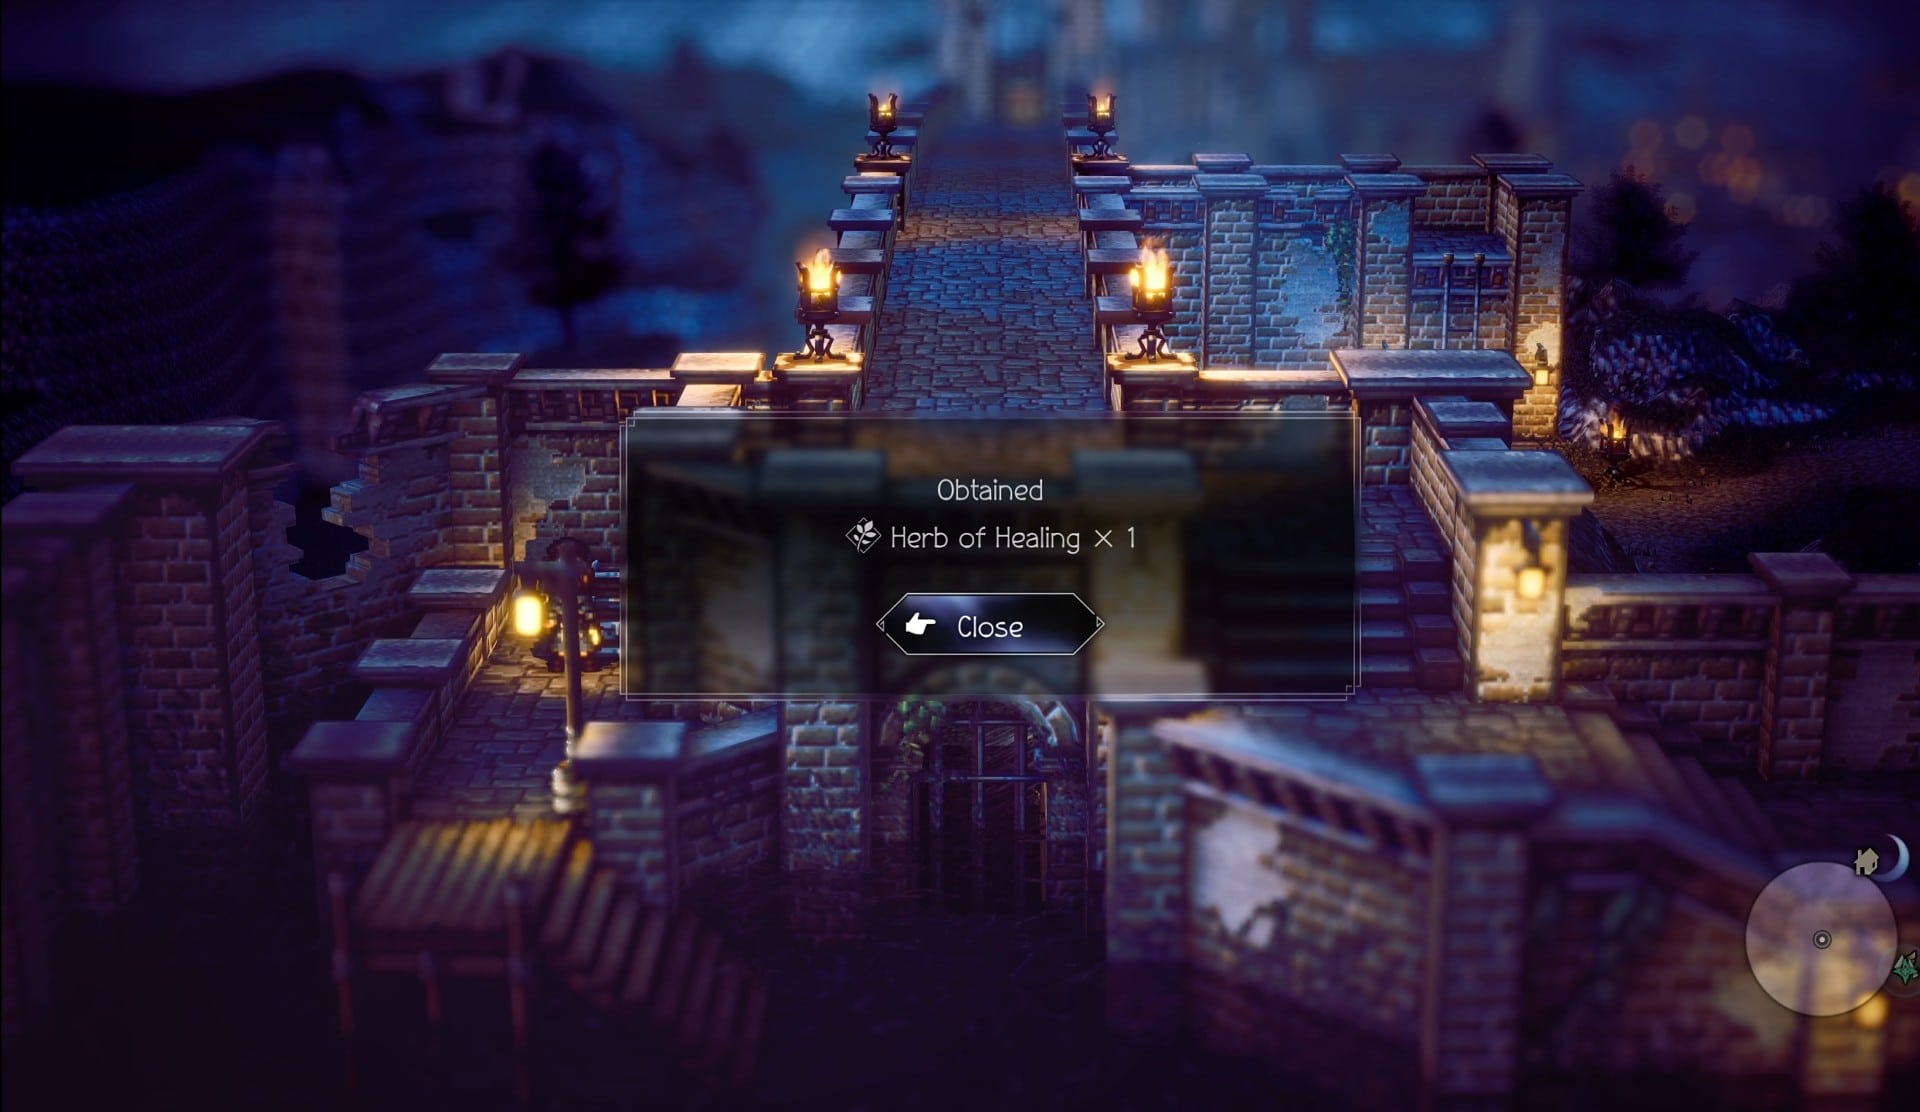
As we reach the water, we need to go right for the story, but there’s a chest to our left that’s also accessible via the water. Canoe over and collect your Herb of Healing. It’ll be useful shortly.
With that, head into the Canalbrine Water Source.
Exploring the Canalbrine Water Source
This is a quick area, but there are a few detours for extra items that can be worth doing.
There’s another change in enemies here, including the Barnacle Crab , who is weak to our Axe attacks. The Ocean Lizardman 1s from earlier will also be back again.
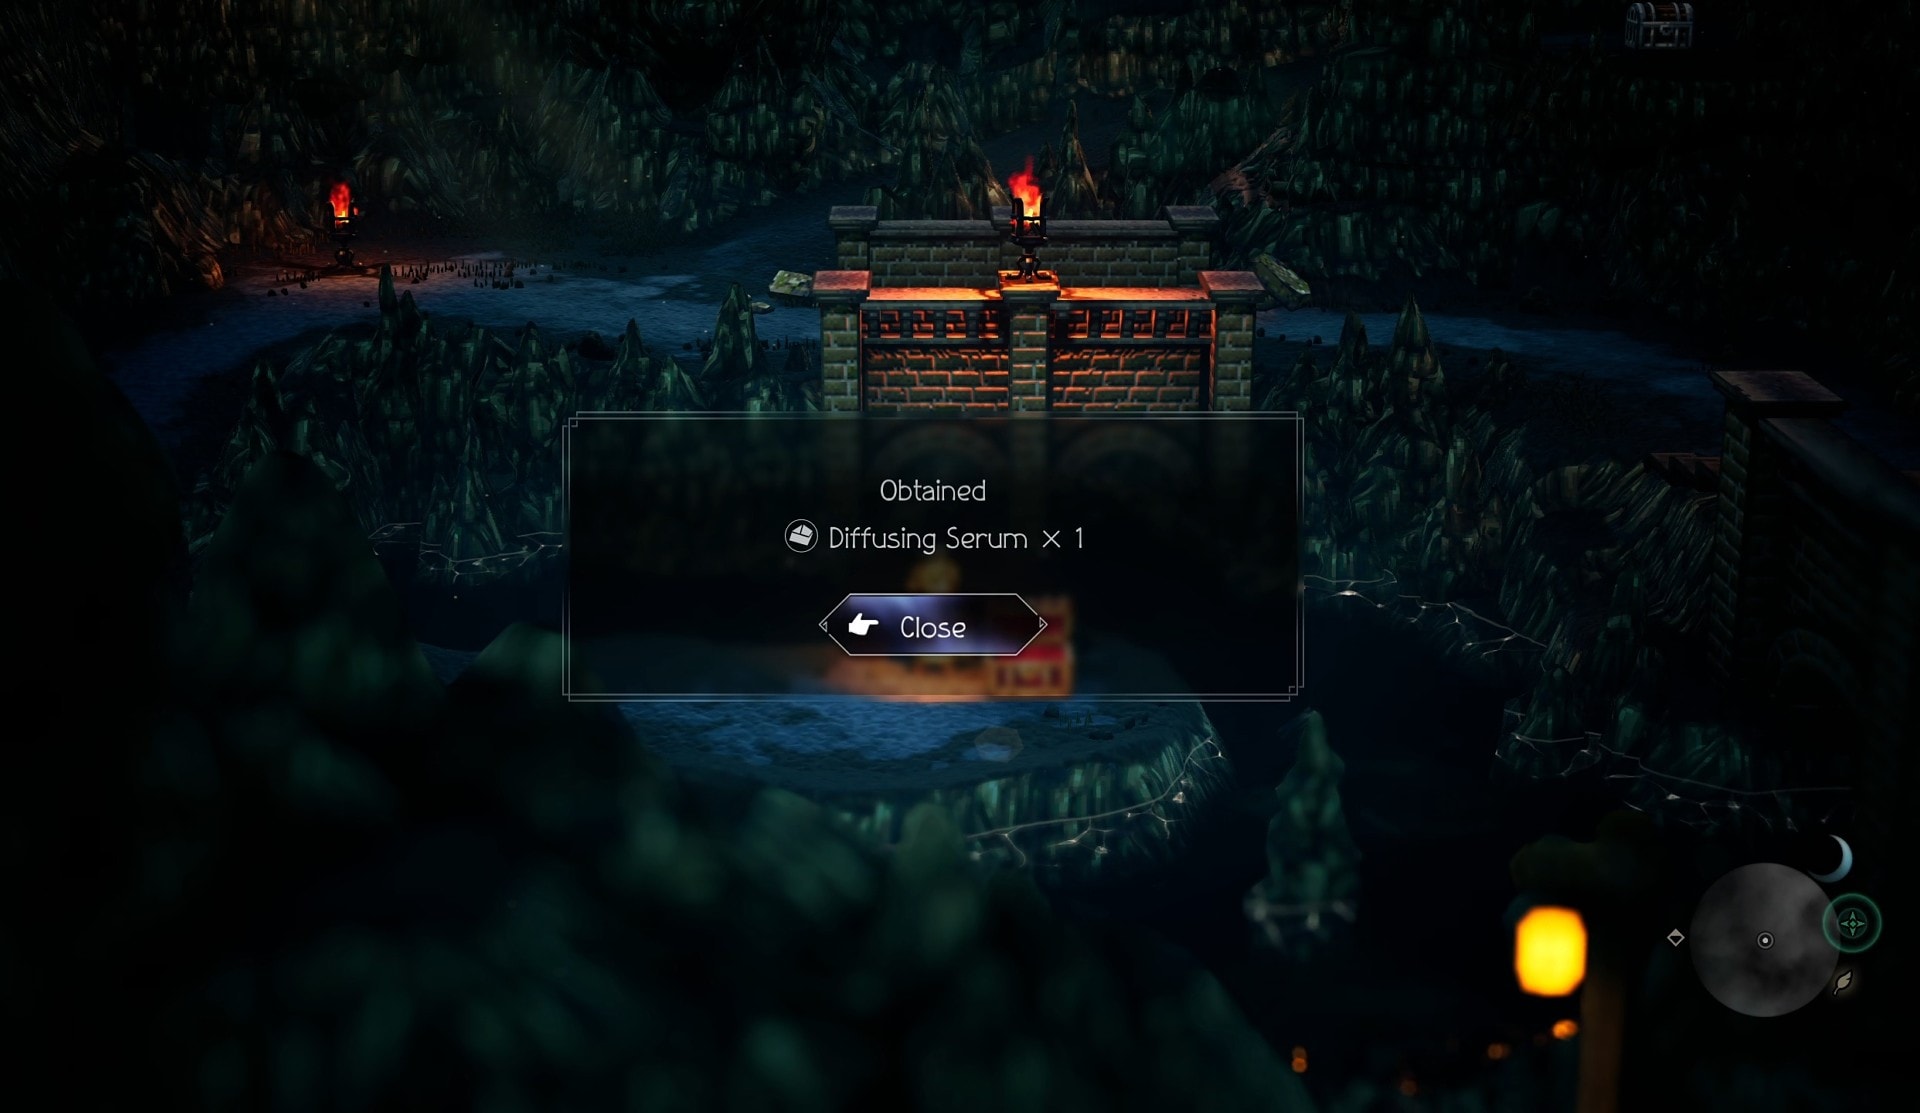
As we follow the path, on the path that continues straight, and you’ll reach a chest. This chest contains a Diffusing Serum. This will allow your to make the effects of any concoct affect all foes, or all allies.
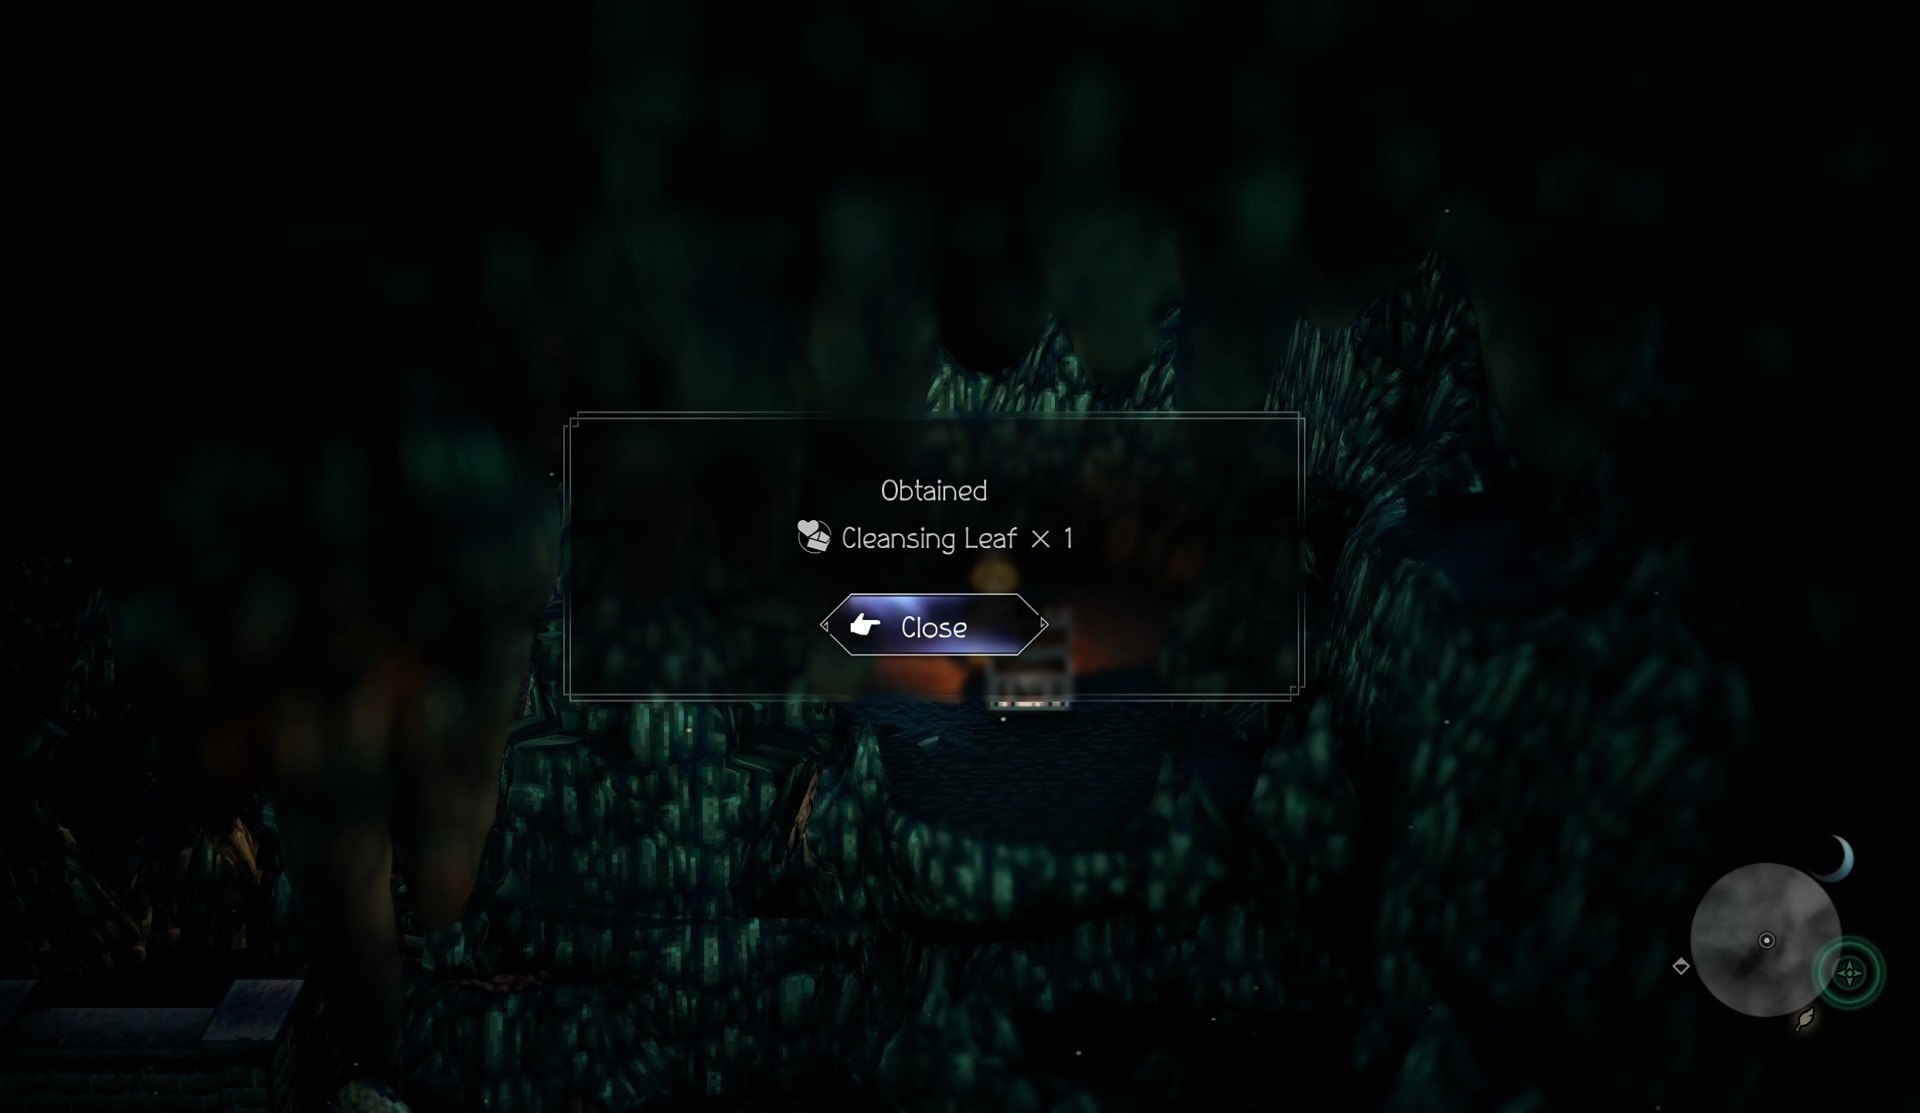
From this chest, we can see the next chest we’re headed to. So head back a bit and follow the path that goes above the bridge to claim a Cleansing Leaf. This is another medicinal component that can cleanse negative status effects when used to Concoct.
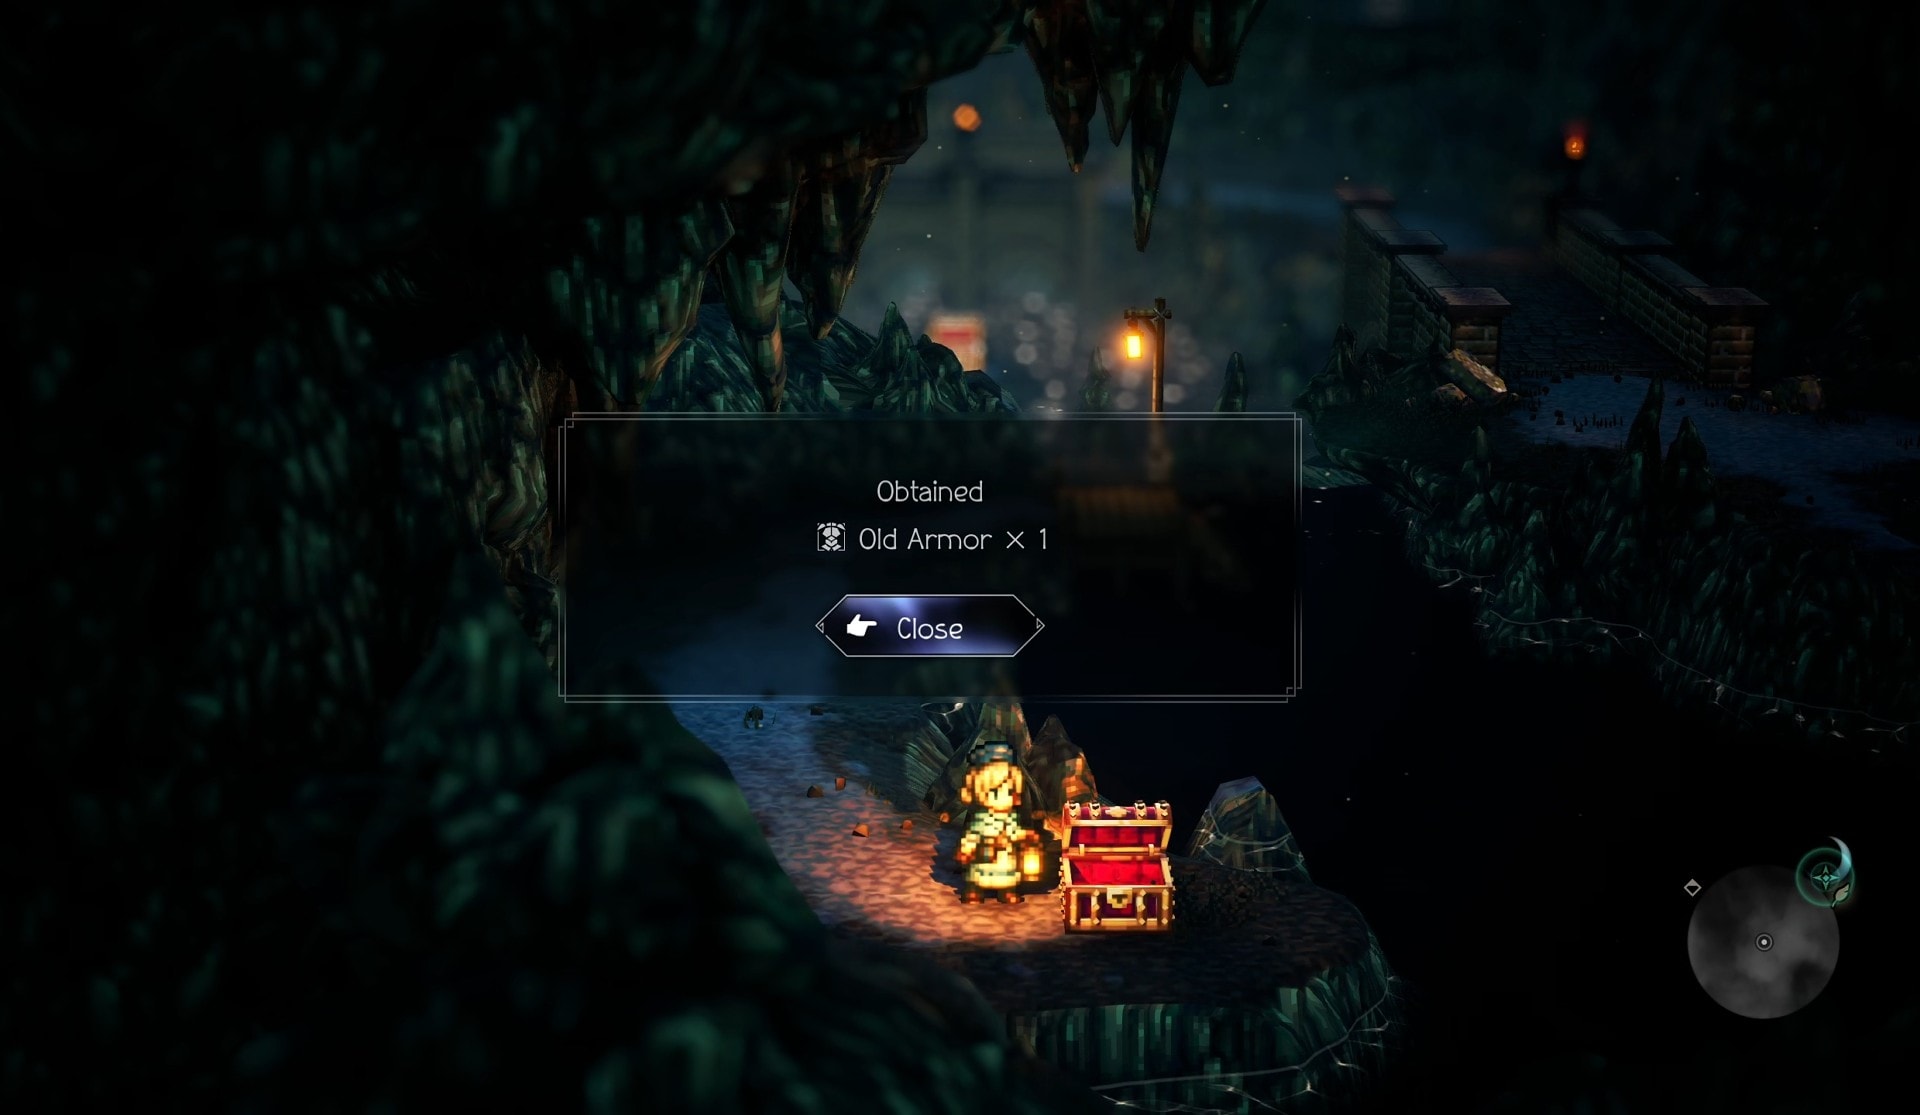
After crossing the bridge and following the path, we come to another fork in the road. Head down and into the water to grab the chest to the east. This contains Old Armor which is a nice little defensive upgrade right before the boss.
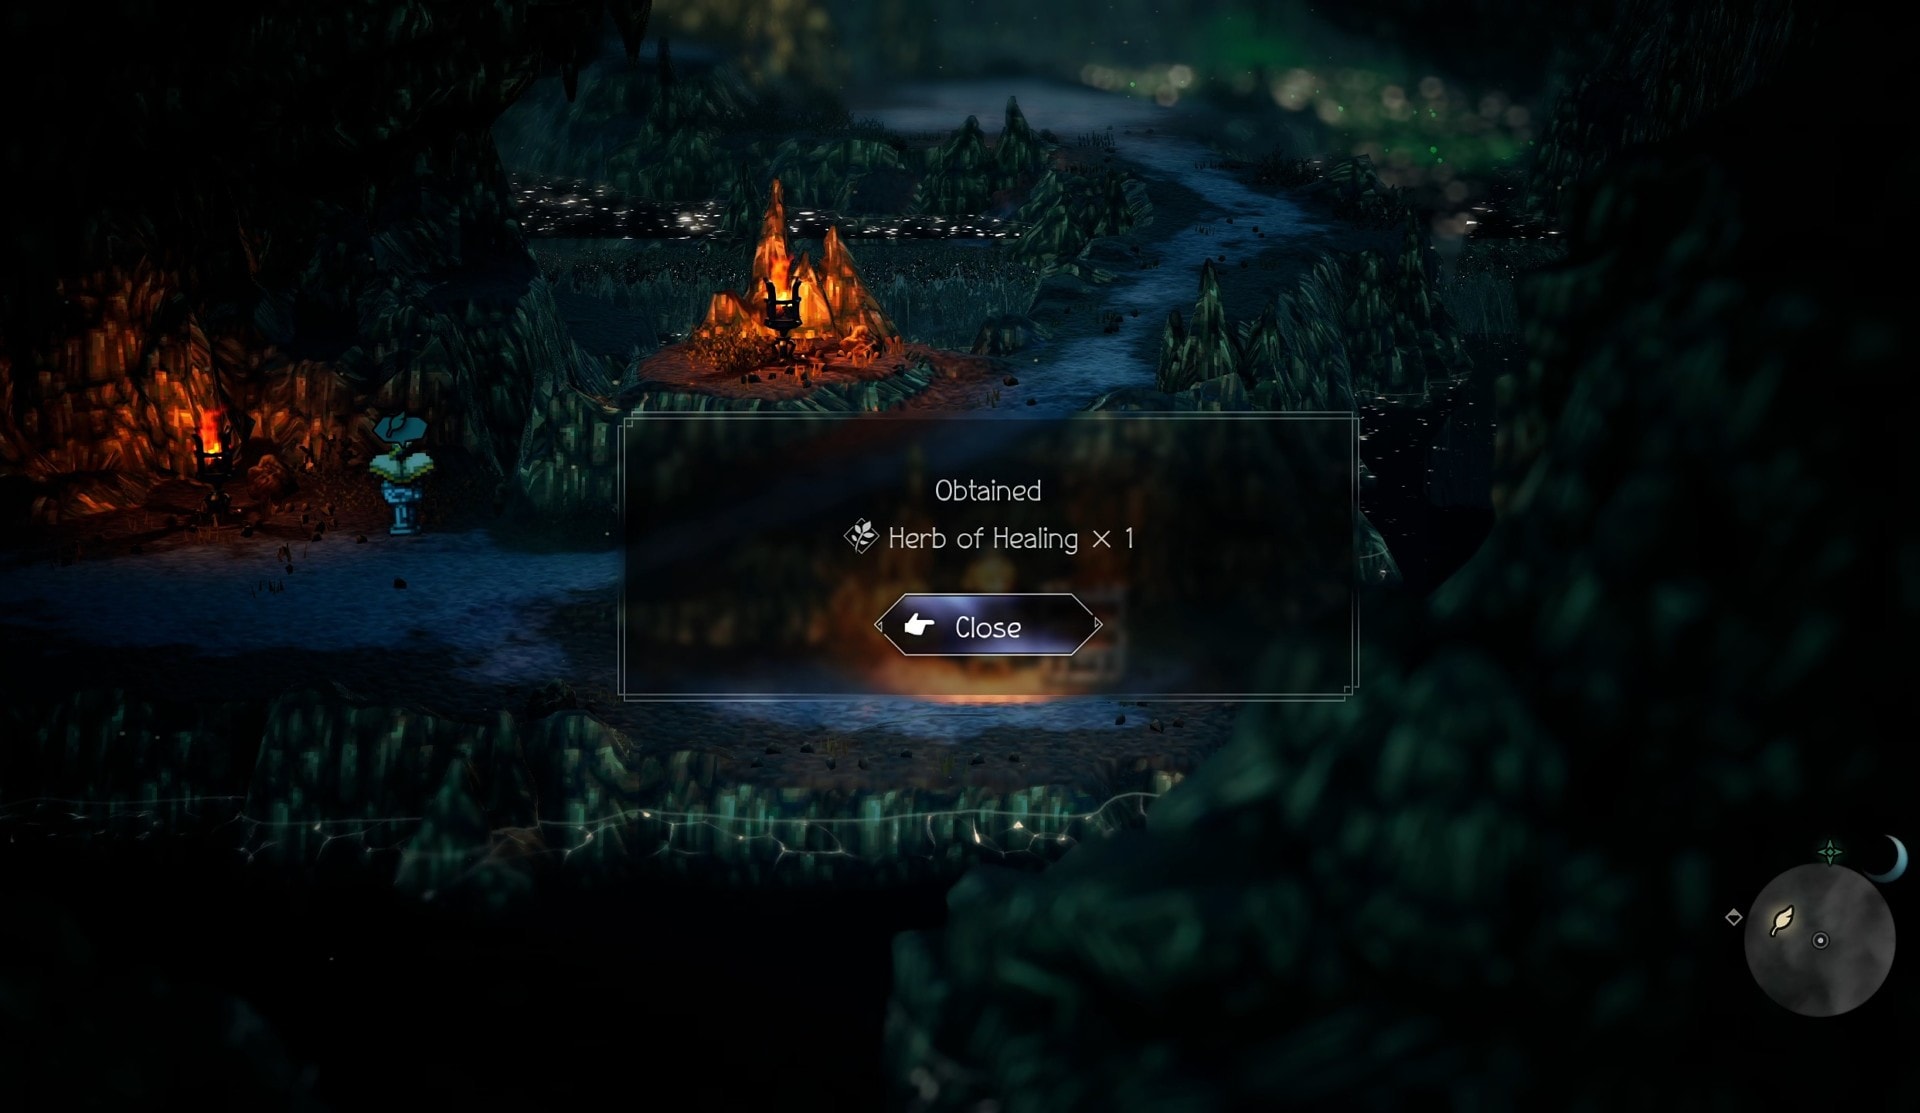
As we go forward, there’s a merchant where you can pick up some healing items, as well as a save point. To the east of the save point is the final chest of the area. This contains another Herb of Healing.
Now is a good time to check your gear and pick up a third skill if you’ve defeated enough enemies on the way here. I personally recommend taking Rehabilitate for this fight, as Status effects are applied fairly often.
Sweeping Cleave is another option, though requires you to break both foes at the same time to maximize its value. However, this will also mean you’ll have to use Concoct with a Diffuse Serum to get the job done.
Poison Axe is also another great choice, since its a stronger hit than Sweeping Cleave and can also poison. Only one of the upcoming bosses are weak to Axe, so being able to deal more burst damage to them is better.
Make sure you equip the Woodcutter’s Great Axe, Old Armor, and Empowering Ring you got from chests, if you got them.
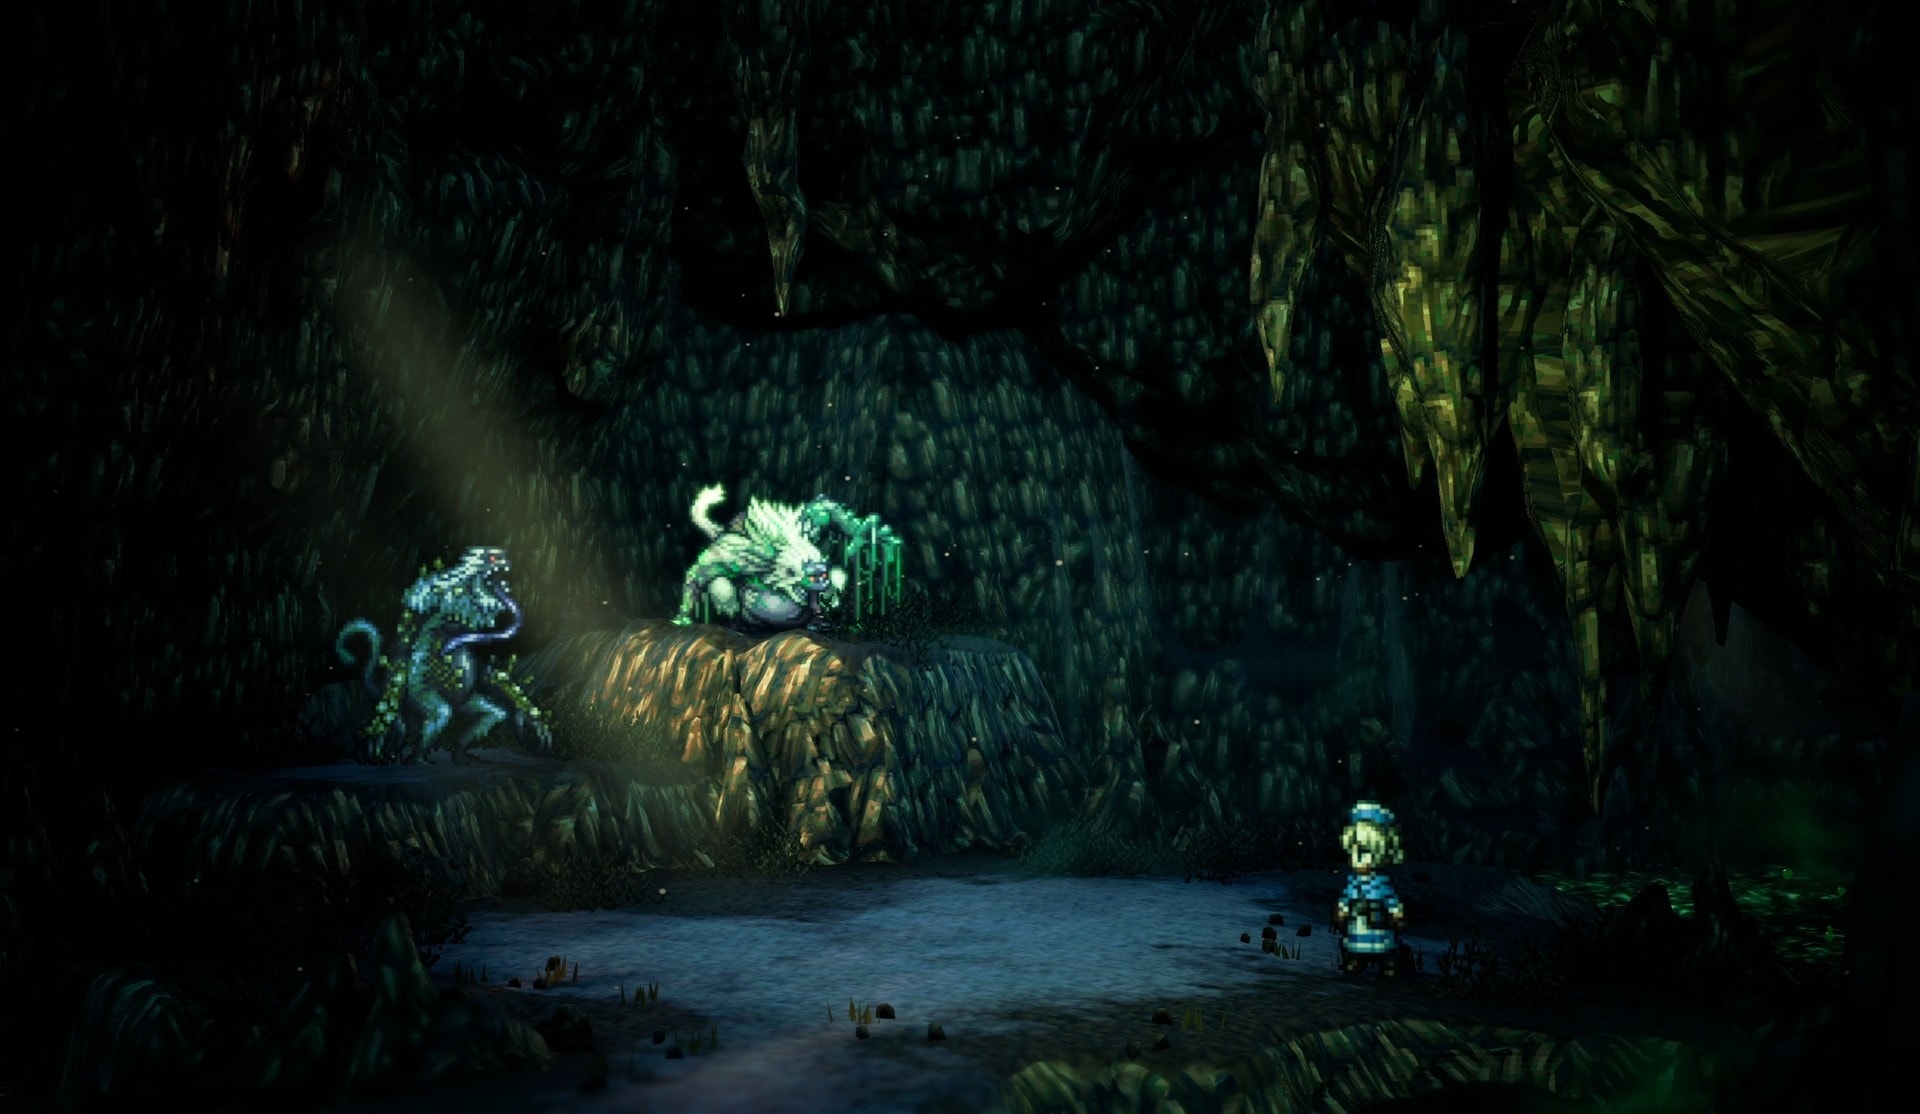
Save and approach the area of contaminated water. Castti will comment on needing to find the source of contamination. Following this, she’ll be attacked by a pair of infected monsters.
How to Defeat Doron and Veron
With this being a two-on-one fight, this fight can be a little tricky to manage. However, using the gear we’ve gotten from chests makes it way more manageable.
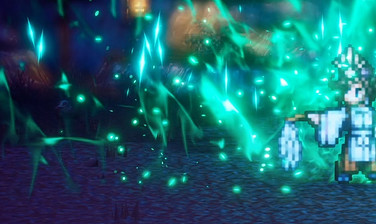
Doron is the slender creature, he tends to be the one throwing out debuffs and doing a lot of the damage. Thankfully he only has two Shield Points, making breaking him much quicker
Doron is weak to Ice and Dark. This means he has no physical weakness, making him deceptively hard to break.
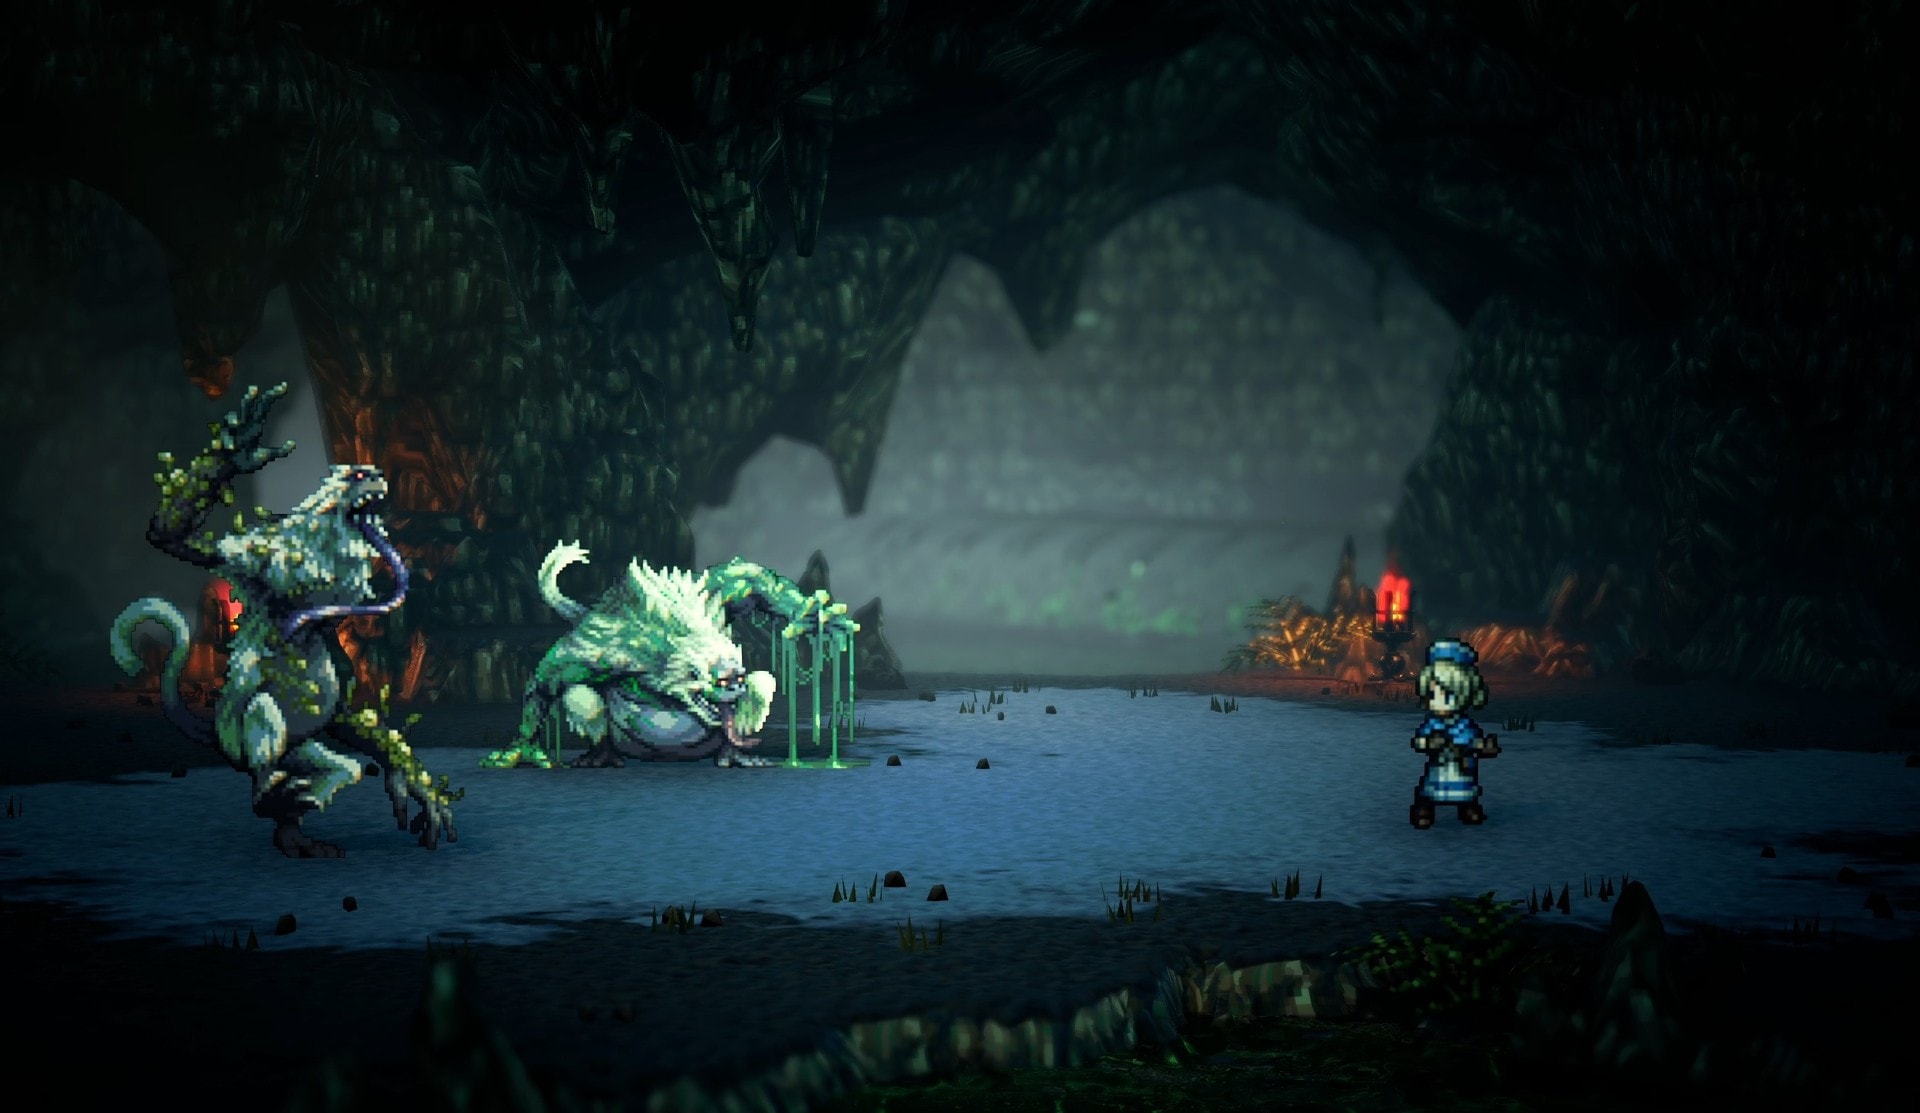
Veron is the much bulkier creature, who tends to apply plenty of Poison to you. He has a whopping 4 Shield Points, which can take a bit to get through. This makes him a huge threat
Veron is weak to Axe, Wind and Dark. Despite his larger Shields, he breaks much easier since we’ll never be without our Axe attacks.
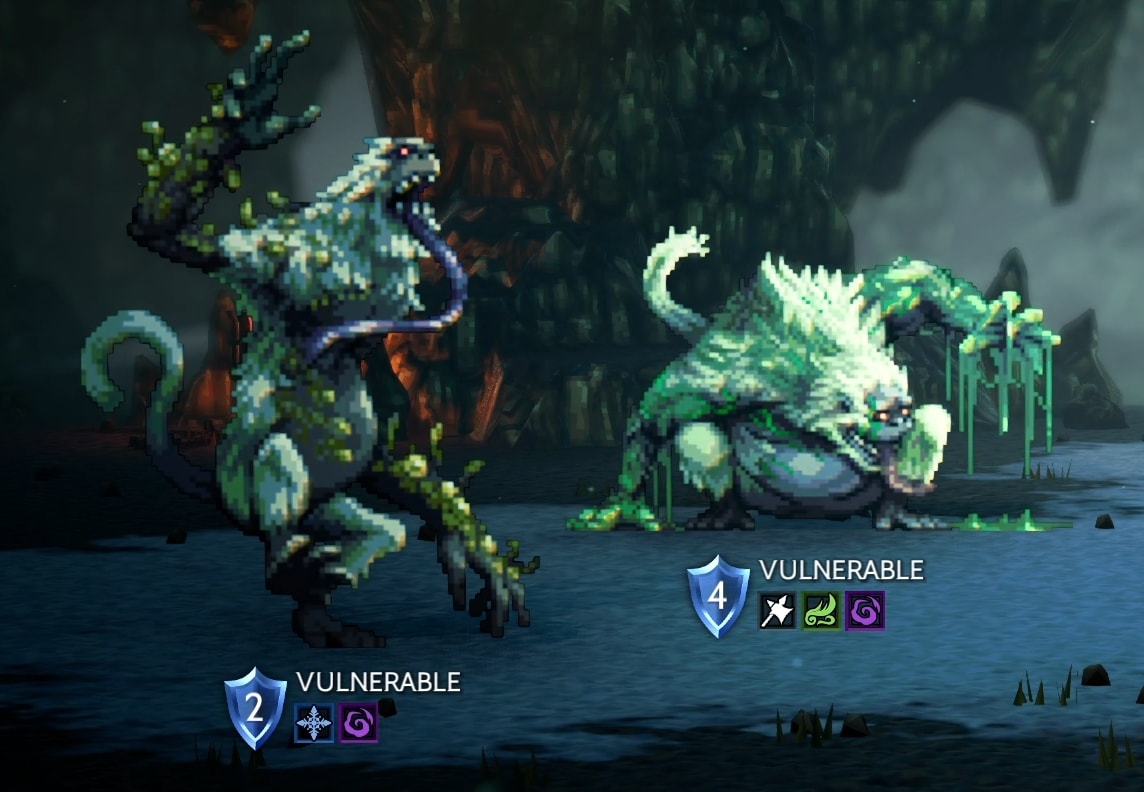
Despite being bosses, these two are balanced so they don’t overwhelm you with damage too quickly, only dealing 25 with basic attacks and 50 with skills. Poison is what often makes this fight dangerous, but you’ll always have a way to get rid of it.
For this fight, you should put focus on Veron as much as possible if you took Rehabilitate. The sooner you can save SP from not having to use Rehabilitate, save Concoct ingredients, or stop taking Poison damage, the better.
You’ll still want to get what damage you can on to Doron, but I recommend doing that after you get hit by Doron’s Sludge and your physical attacks are weaker. You’ll still be able to deal a fair bit of damage with Icicle.
If you opted for Poison Axe or didn’t get a third skill at all, it’ll be overall better to focus Doron first. While you’ll still need to deal with poison, your axe is much stronger physically and Poison Axe will also deal a good amount of damage to Veron.
The main reason you’ll want to focus on one or the other is due to their special gimmick. When one of the pair is defeated or low, the other will consume them. This restores a bit of health, though not much as well as provide the remaining one with 9 turns of increased Physical Attack.

Once you get your Latent Power, its use will depend on which foe remains, as you’ll only get it after one has been eaten.
If you have Poison Axe, and your foe is Veron, use it to help you break him with the free use of Darkdelions and follow up with a fully charged Poison Axe. This will end up dealing significantly more damage than a full set of Darkdelions.
Without Poison Axe against Veron, you’ll just want to dump 5 Darkdelions in with a full boost. Since they won’t be consumed, they’ll be some of your best burst.
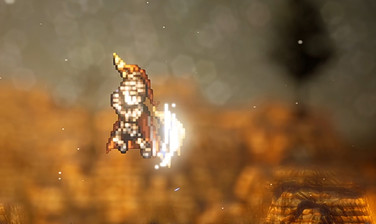
If Doron remains, you’ll want to use use it for a quick and free break when you have enough BP to fully charge Icicle. There’s no real point in doing Darkelion spam against him, as he’s quite fragile, to begin with.
Alterntaively, you can also use it as a means to quickly restore HP and SP with a Concoct, or add the single BP if you also need a free Cleanse.
With the two creatures defeated, Castti will resume the process of cleansing the wellspring by liberally spreading purebalm leaves. After doing so, she’ll return to town to share the news.
Return to Canalbrine
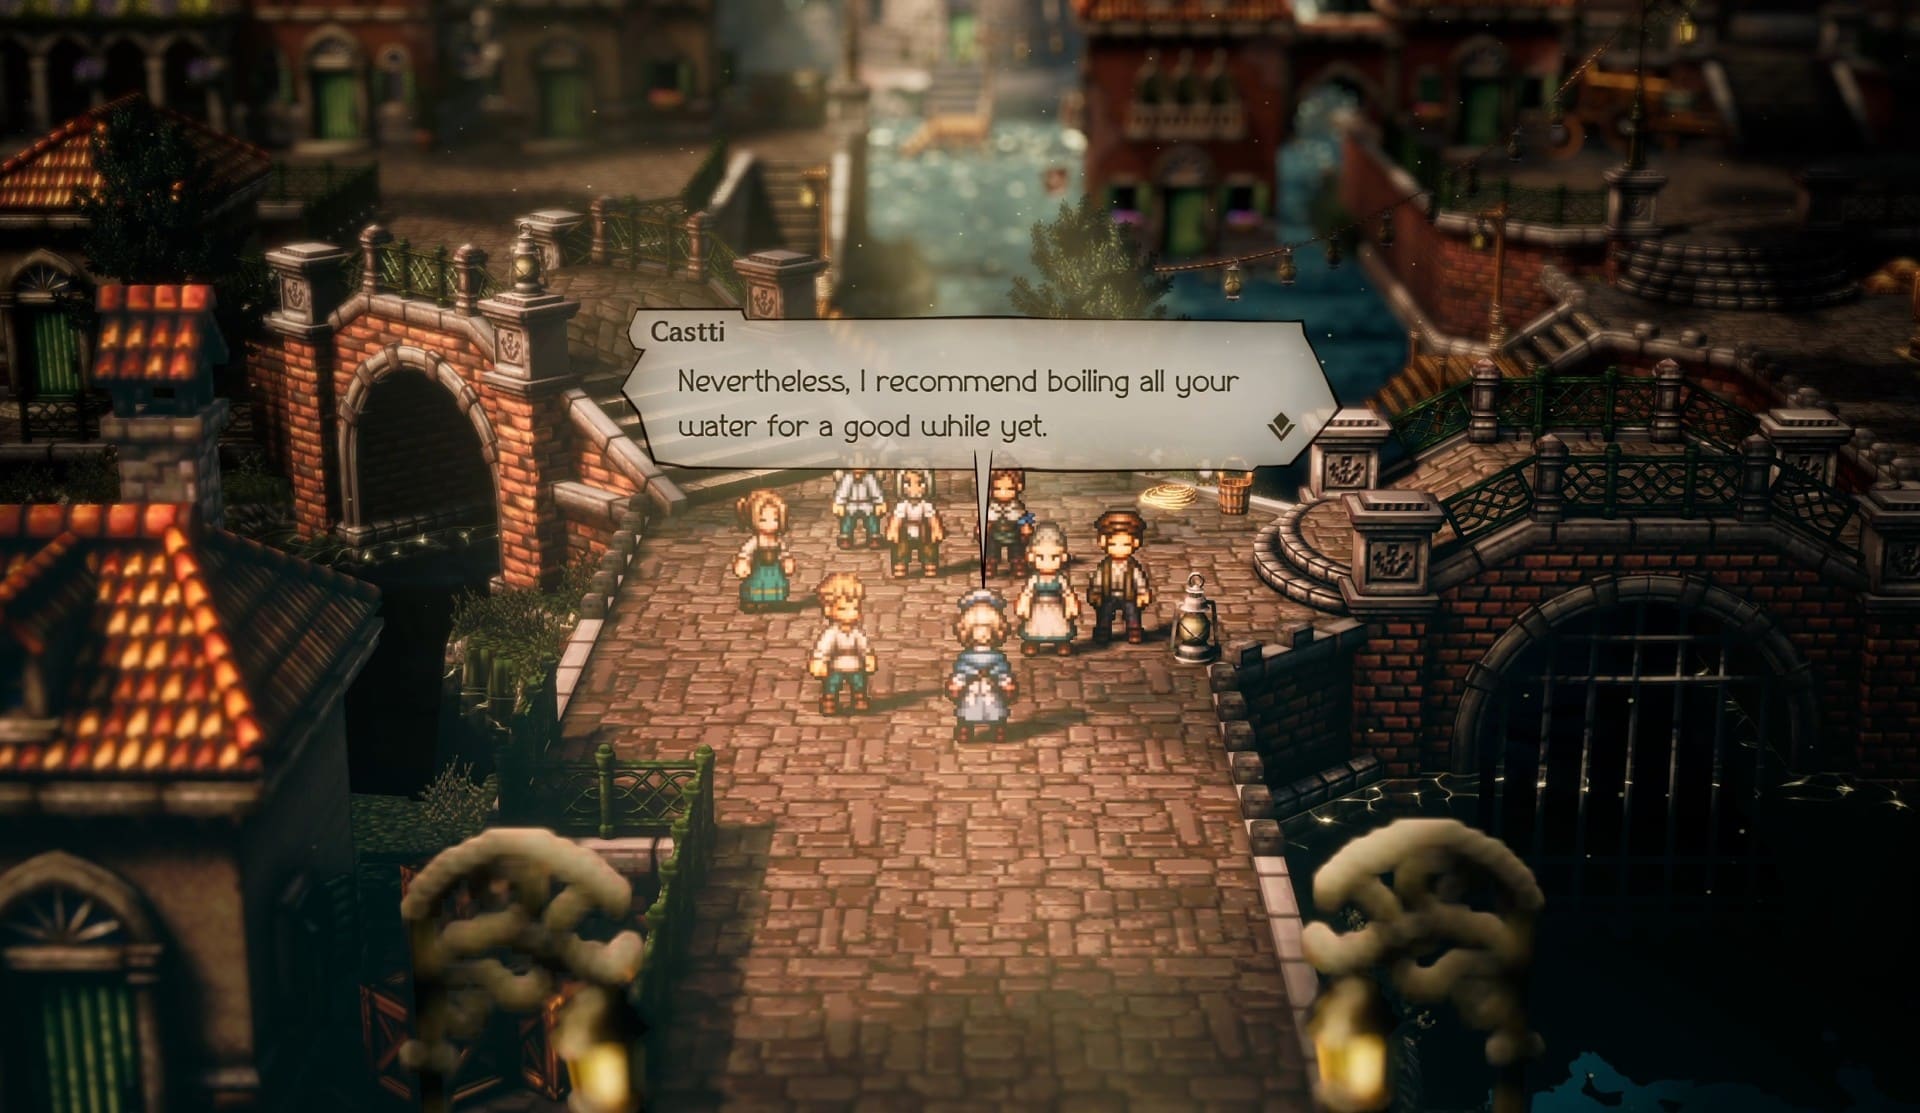
Upon her return to Canalbrine, the townsfolk will be awaiting Castti’s return. She’ll inform them that the source of infection has been cleared, but that they should continue to boil their water for a while, while it dissipates.
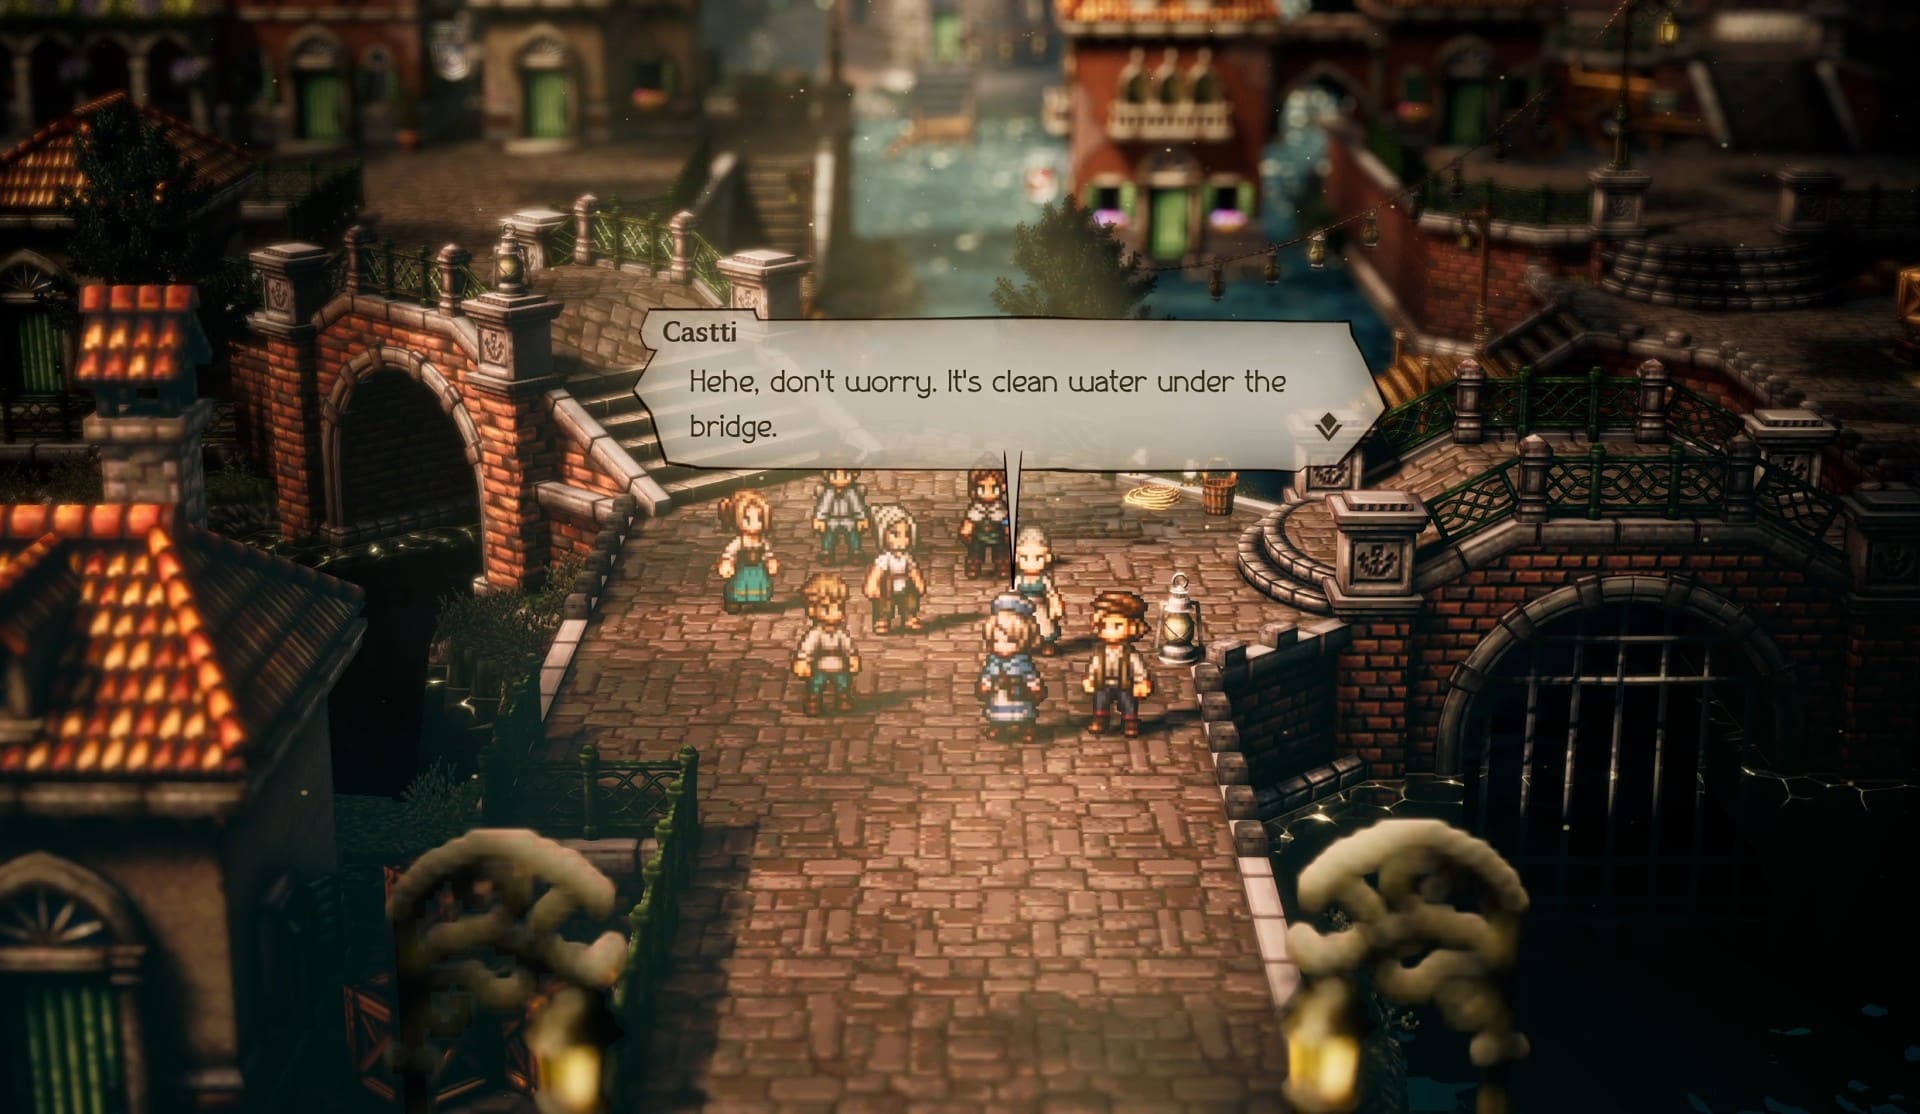
Once again the grateful townsfolk apologize for treating her horribly and ask if there’s anything they could do to make it up to her. She simply states “It’s clean water under the bridge”, as to say all is forgiven while also making a slight joke of the situation.
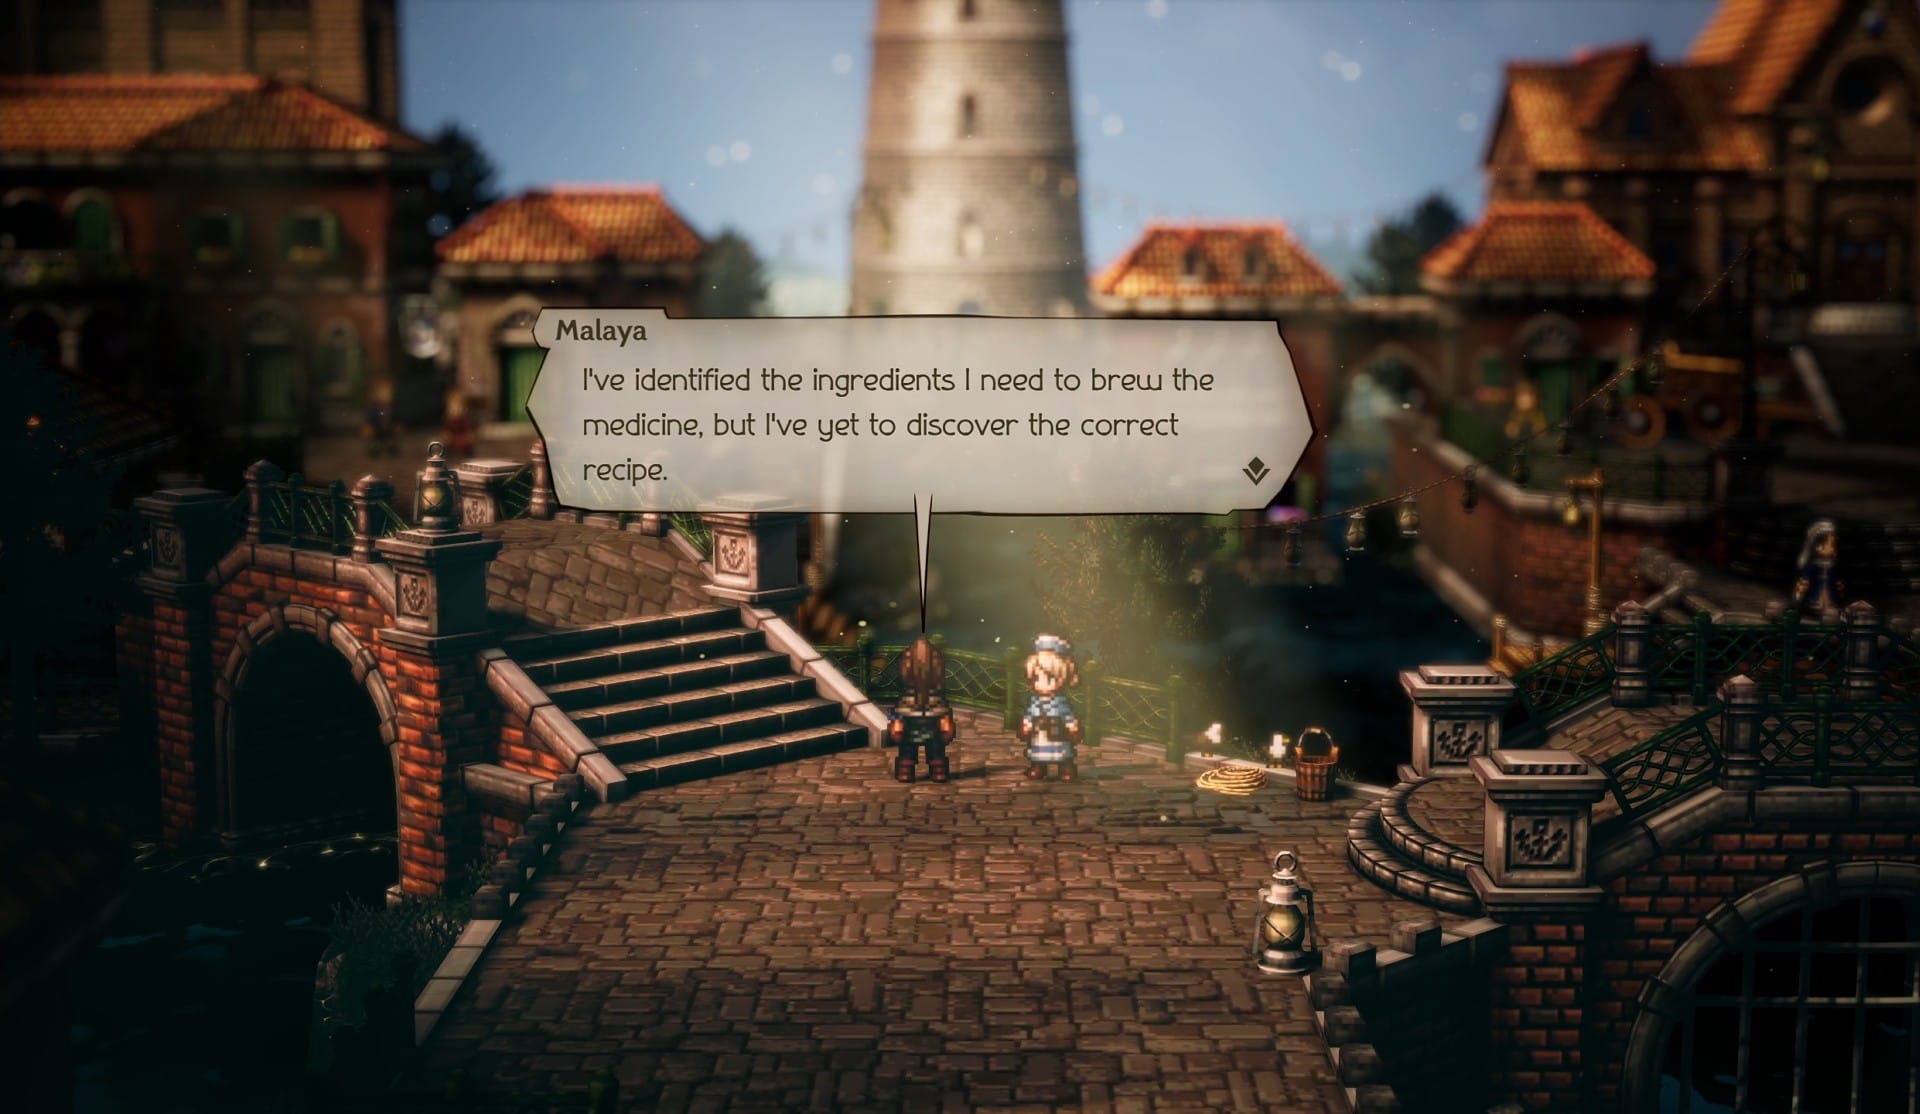
After a short time skip, Castti will be by herself in the middle of town. Malaya approaches her once again. Malaya will be thankful for their meeting, but says she’s heading out of town as well.
Castti curiously asks what compels Malaya to travel. Mayala responds that she’s searching for a cure for a terrible disease. She’s found the ingredients she needs, but is yet to discover the proper recipe. Malaya says she travels as she works, saving as many lives as she can in the process.
Castti offers to help, but Malaya suggests she focuses on her own woes, like her memory; Malaya declines. Then Castti askes Malaya if she know’s anything about Eir’s Apothecaries.
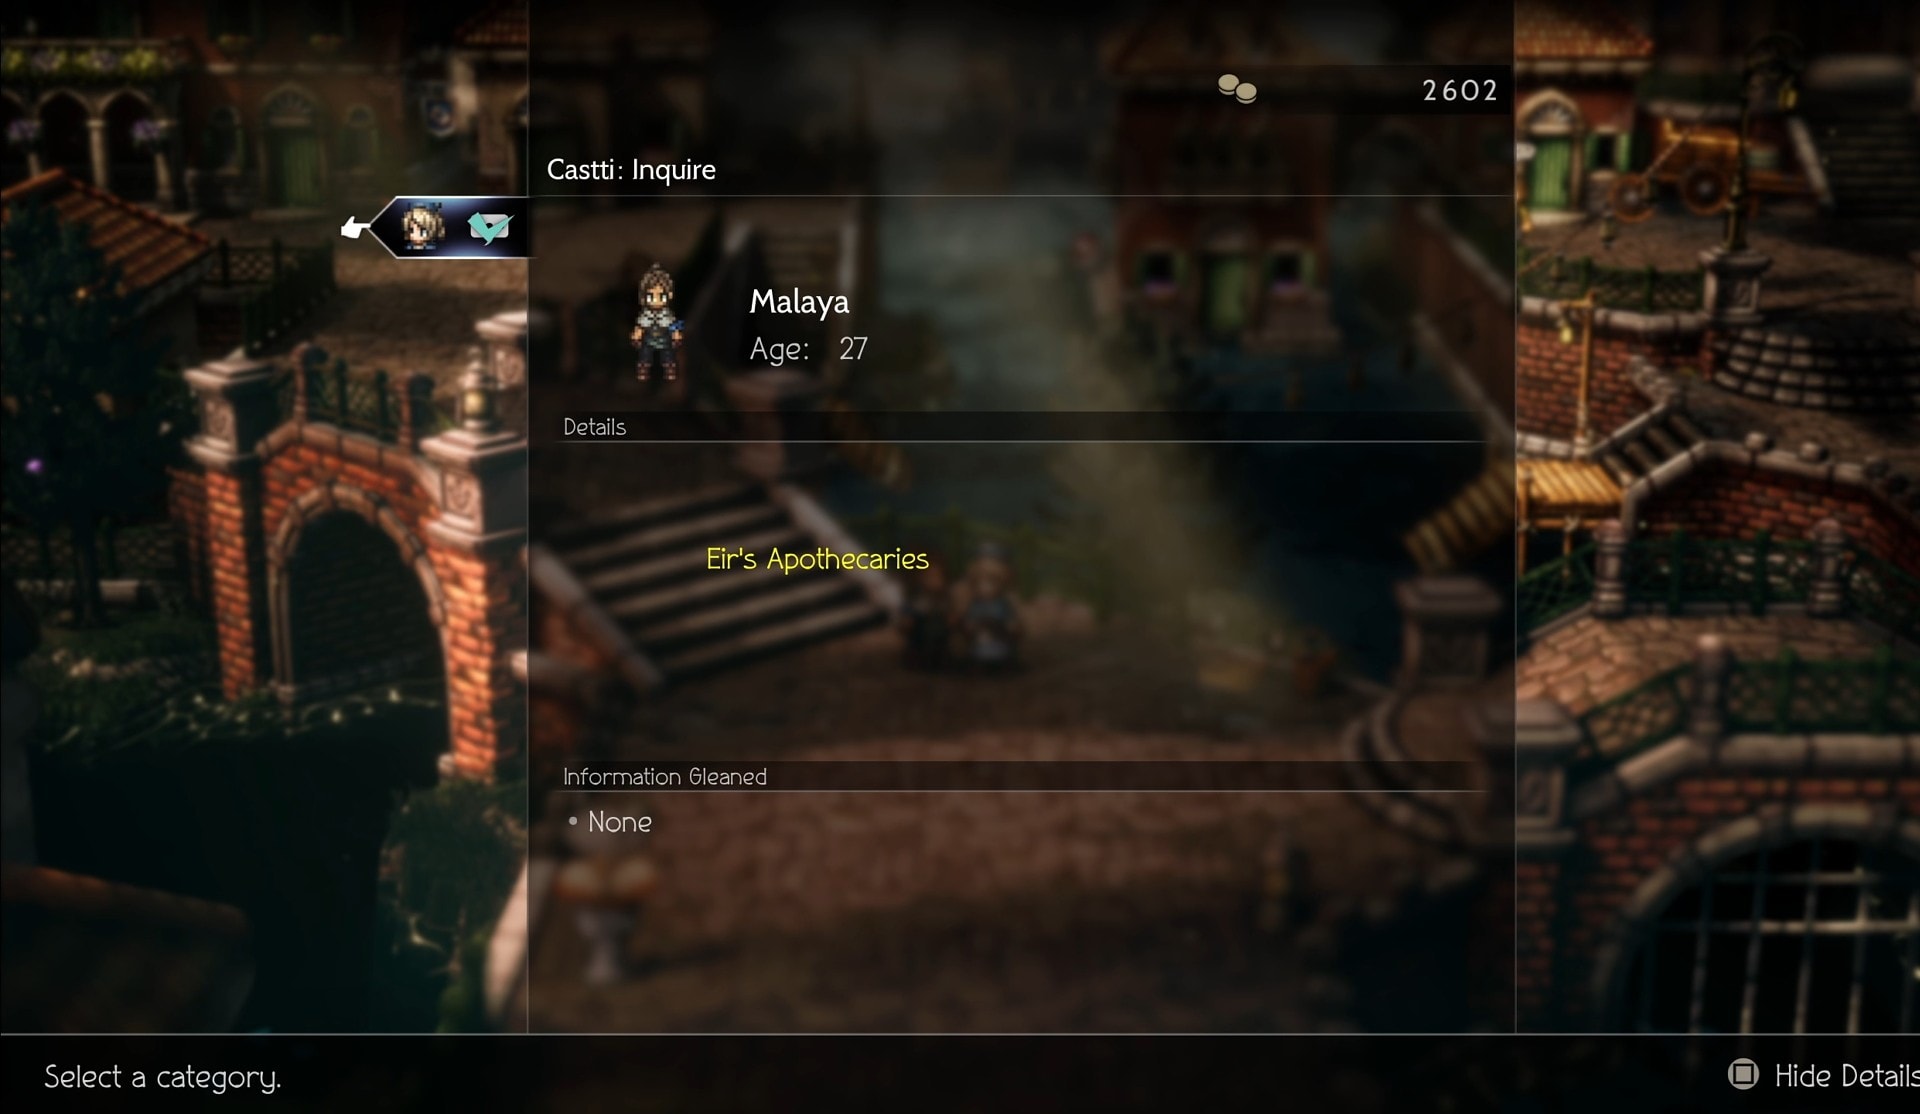
Malaya will be silent for a moment, but you’ll soon be given control of Castti and you’ll be able to Inquire Malaya about them. The Inquire will suggest she still refuses to say anything.
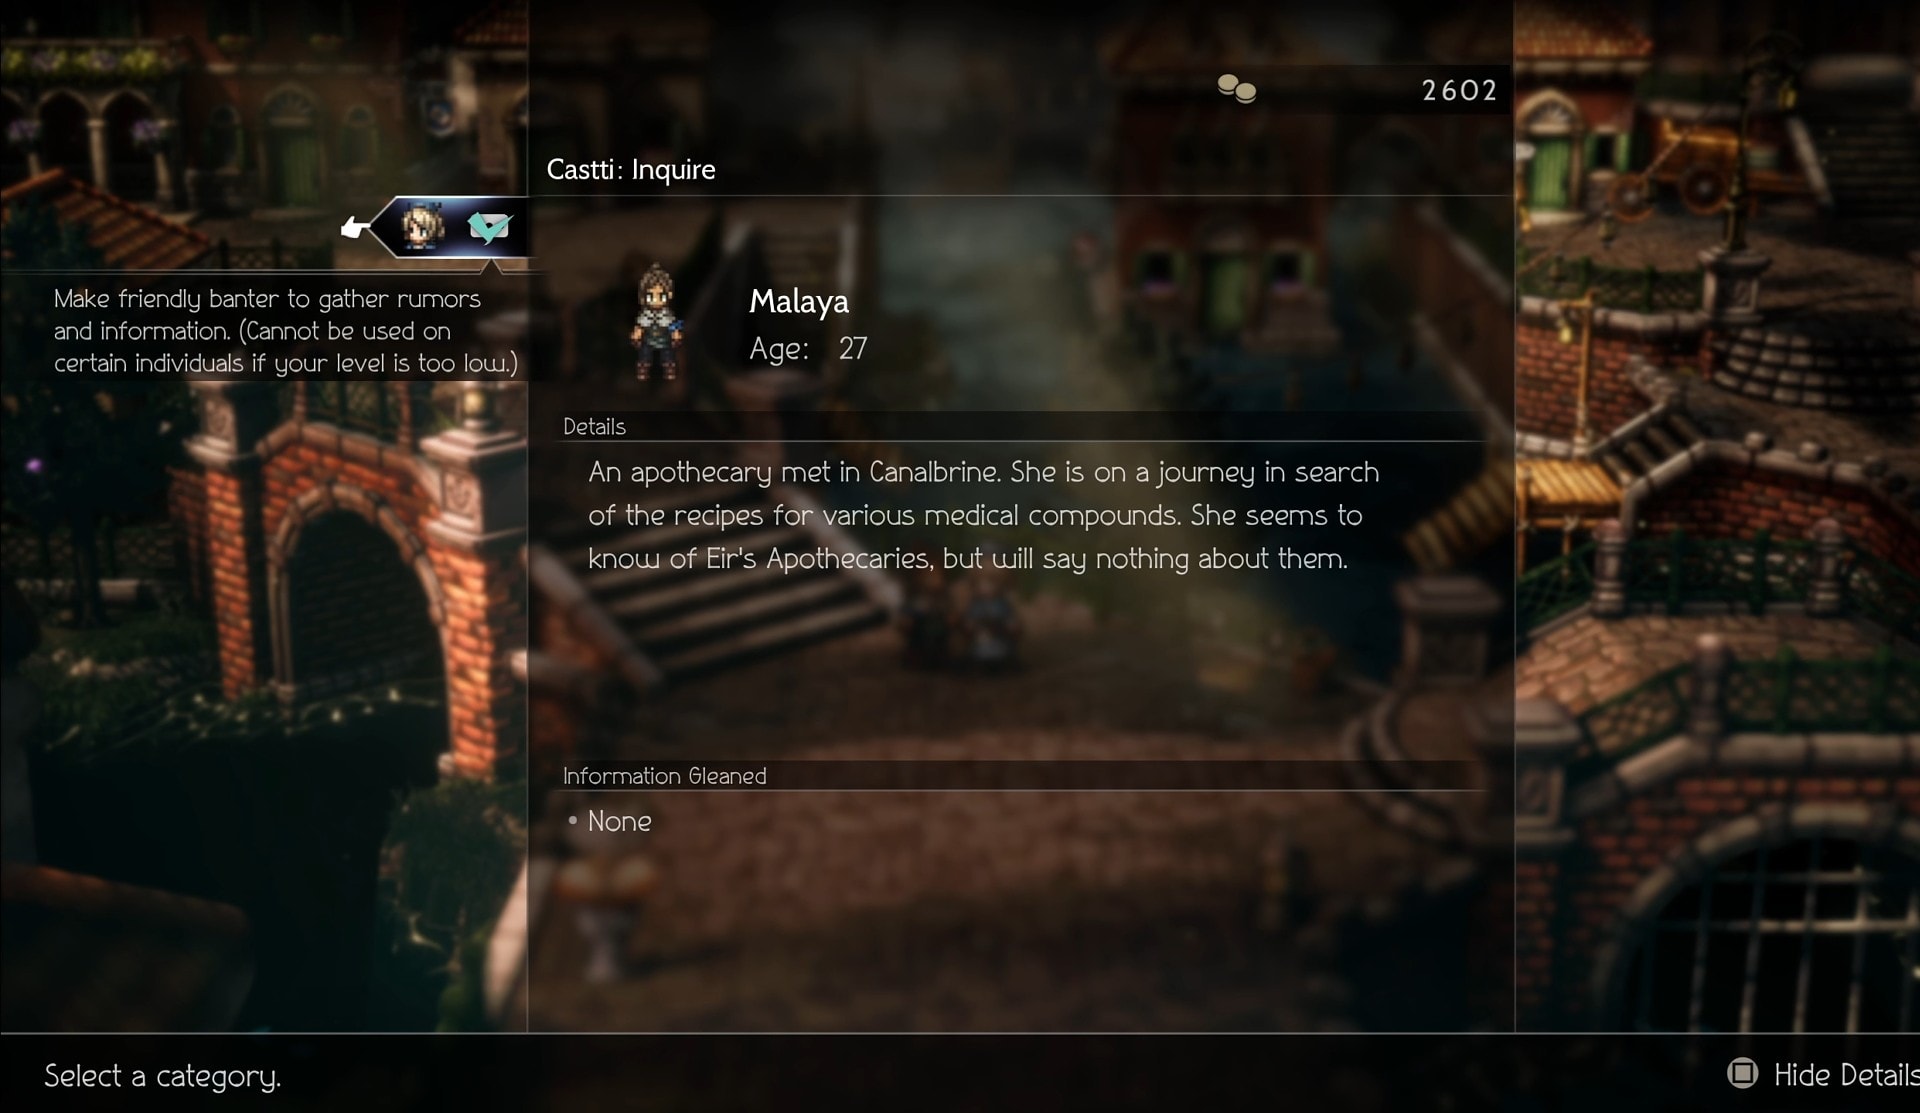
When you go to leave the Inquire screen it’ll, stay for a few moments, before most of the text disappears, leaving only Eir’s Apothcaries in yellow in the Details section.
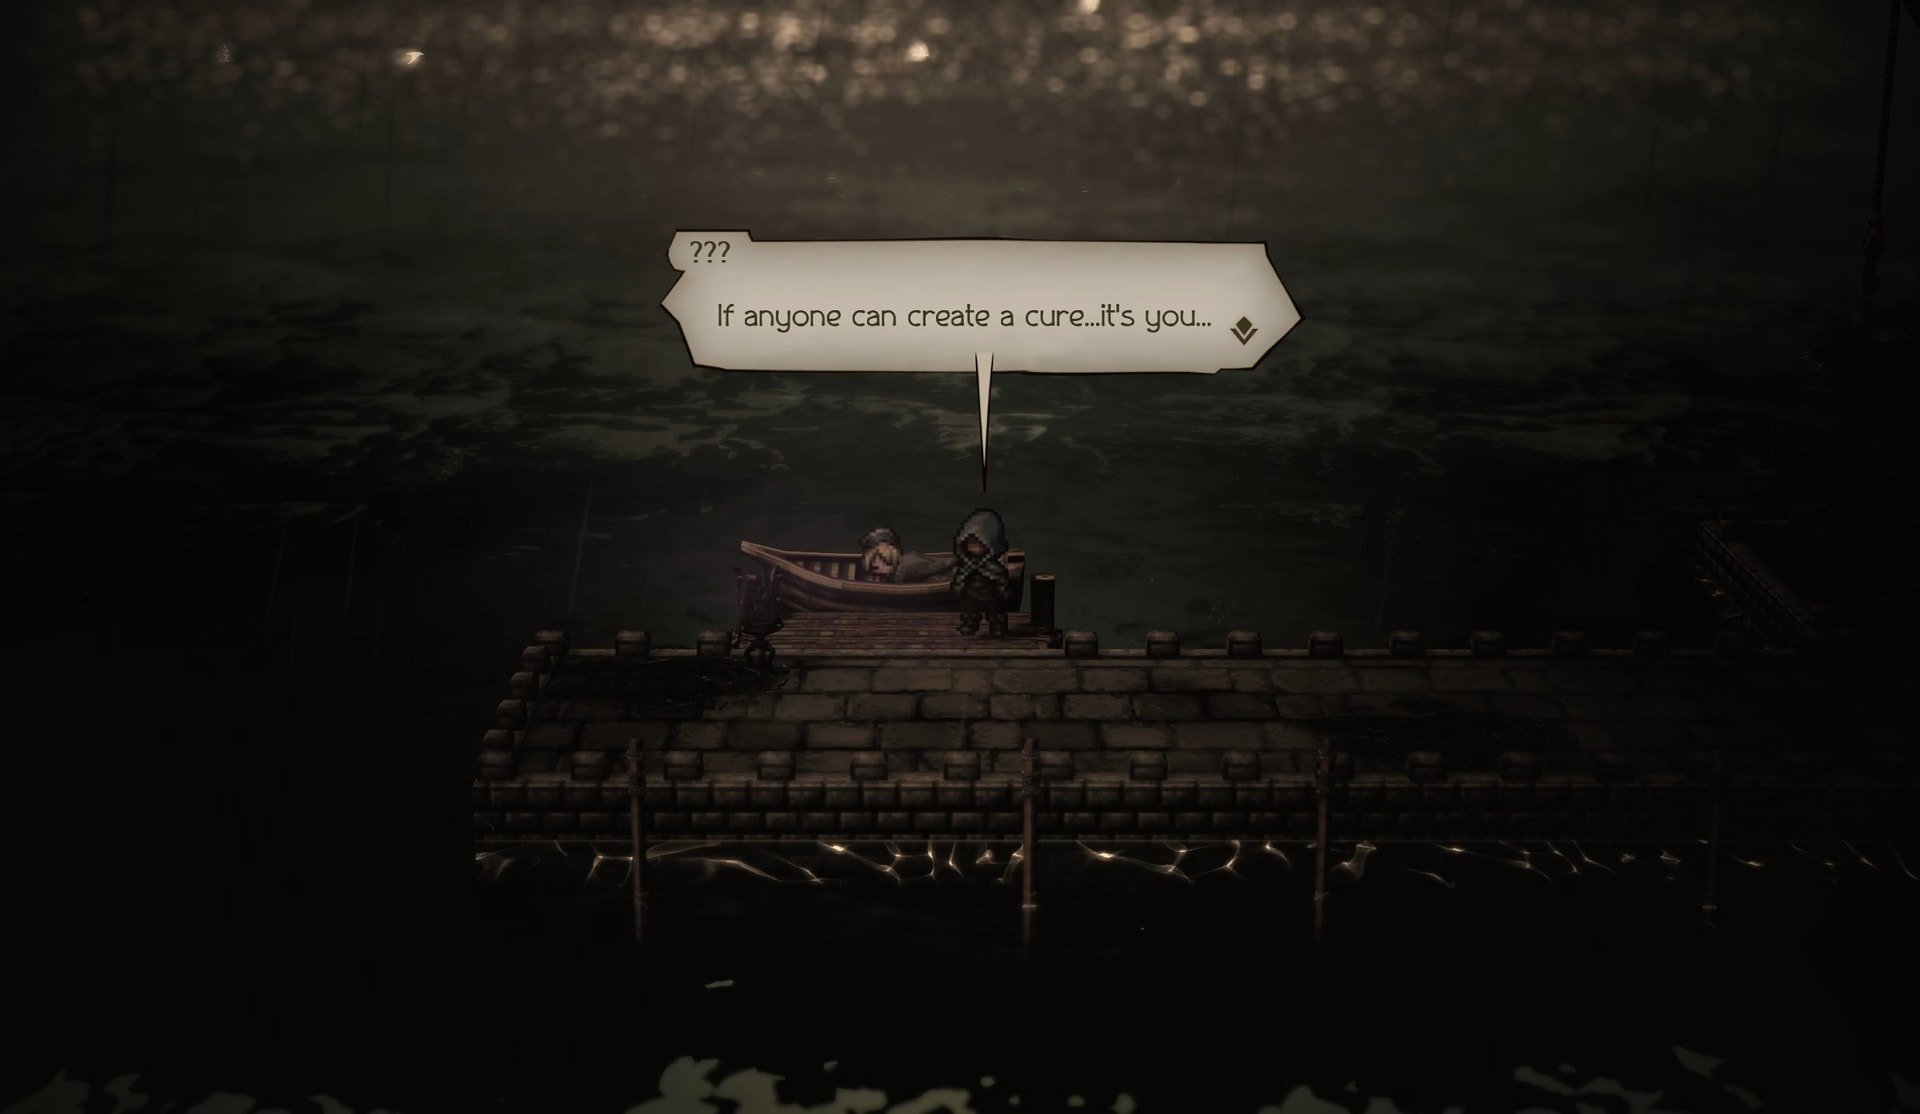
This will fade out and begin a flashback, the same one from the start of her story. Only this time, the mysterious figure before is replaced by Malaya. It was her that loaded you on to that skiff. The flashback will shift focus over to Malaya, who remarks there’s someone you have to save.
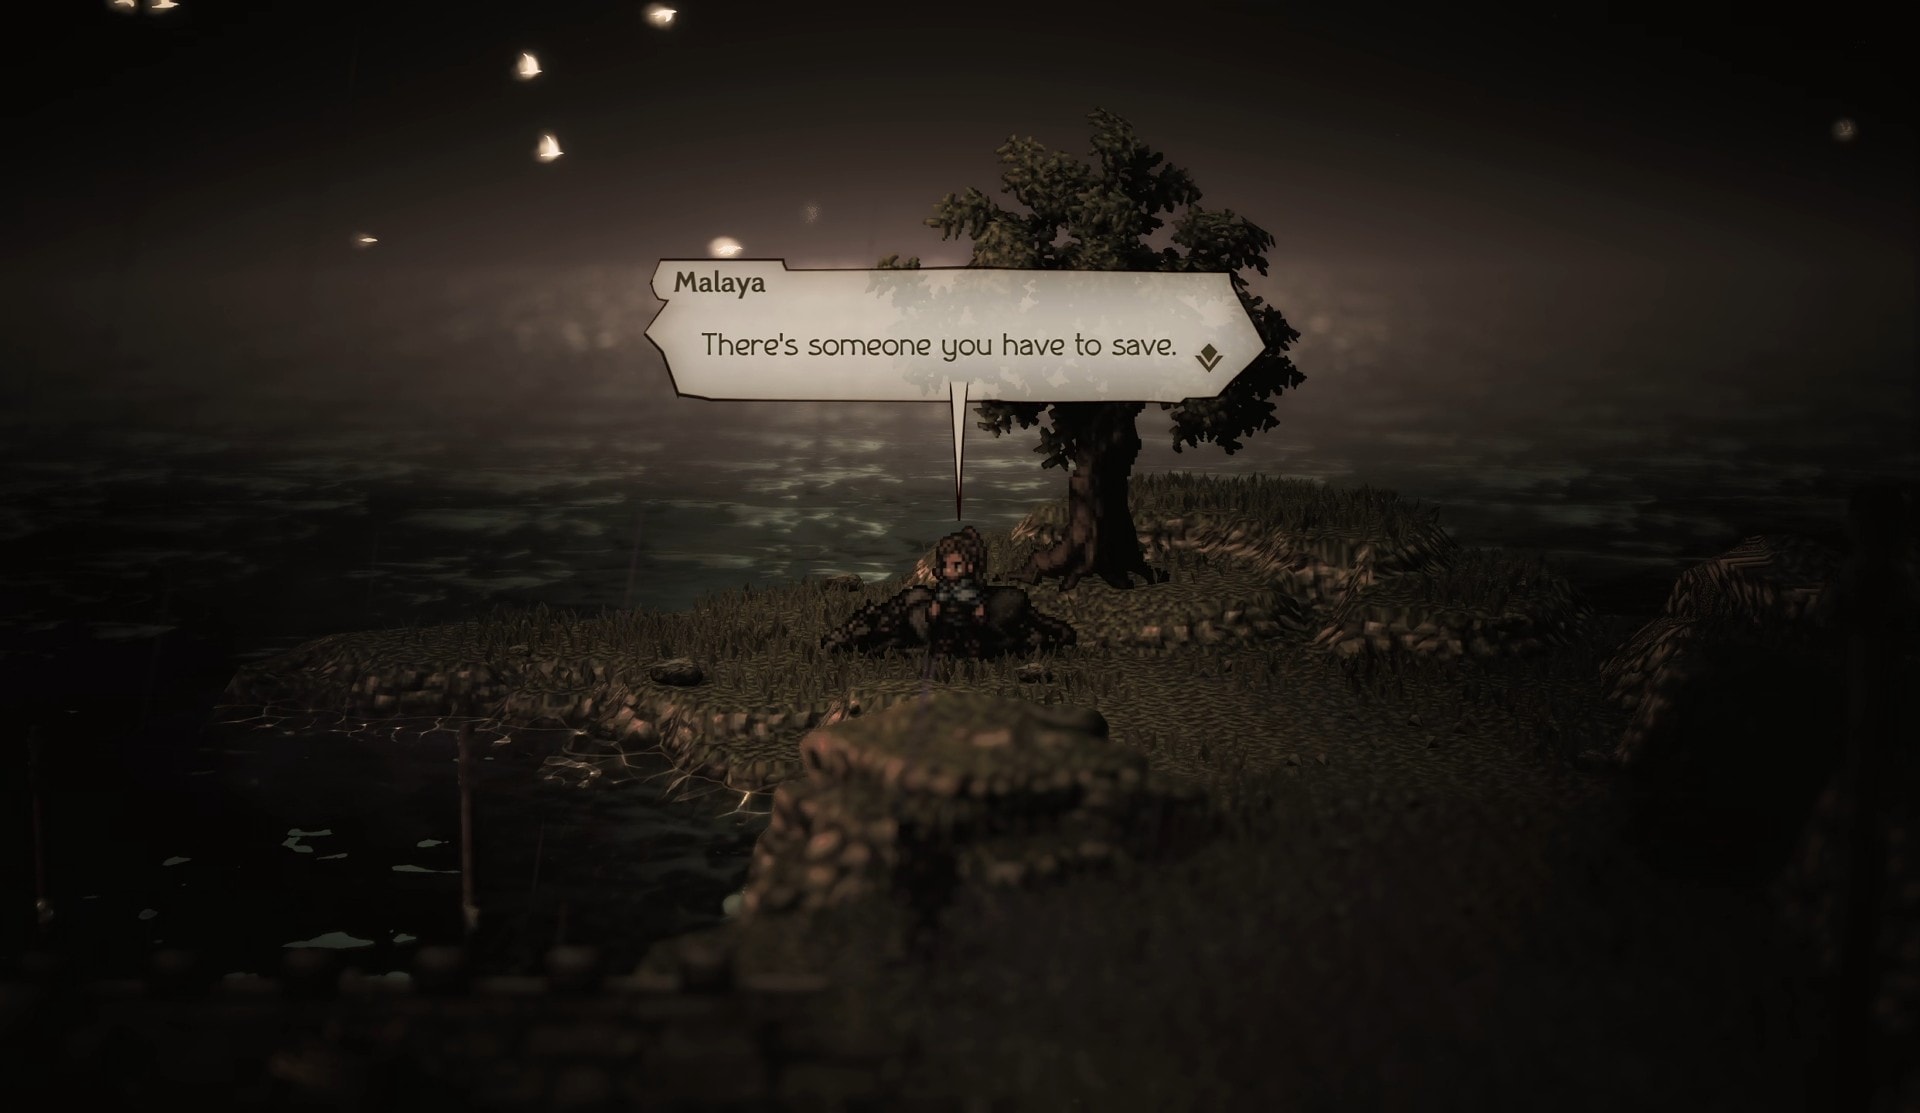
Afterwards, you’re back in the present. Castti will be surprised by the memory that just came back, only for Malaya to pray her memories return before leaving town. Castti tries to stop her, but seems to be stopped and in pain from something the memory brought back.
This time, the flashback was a vision, and she figures out that Malaya is the one that sent her off. Castti remains confused, struggling to think of why Malaya might pretend to have not known her.
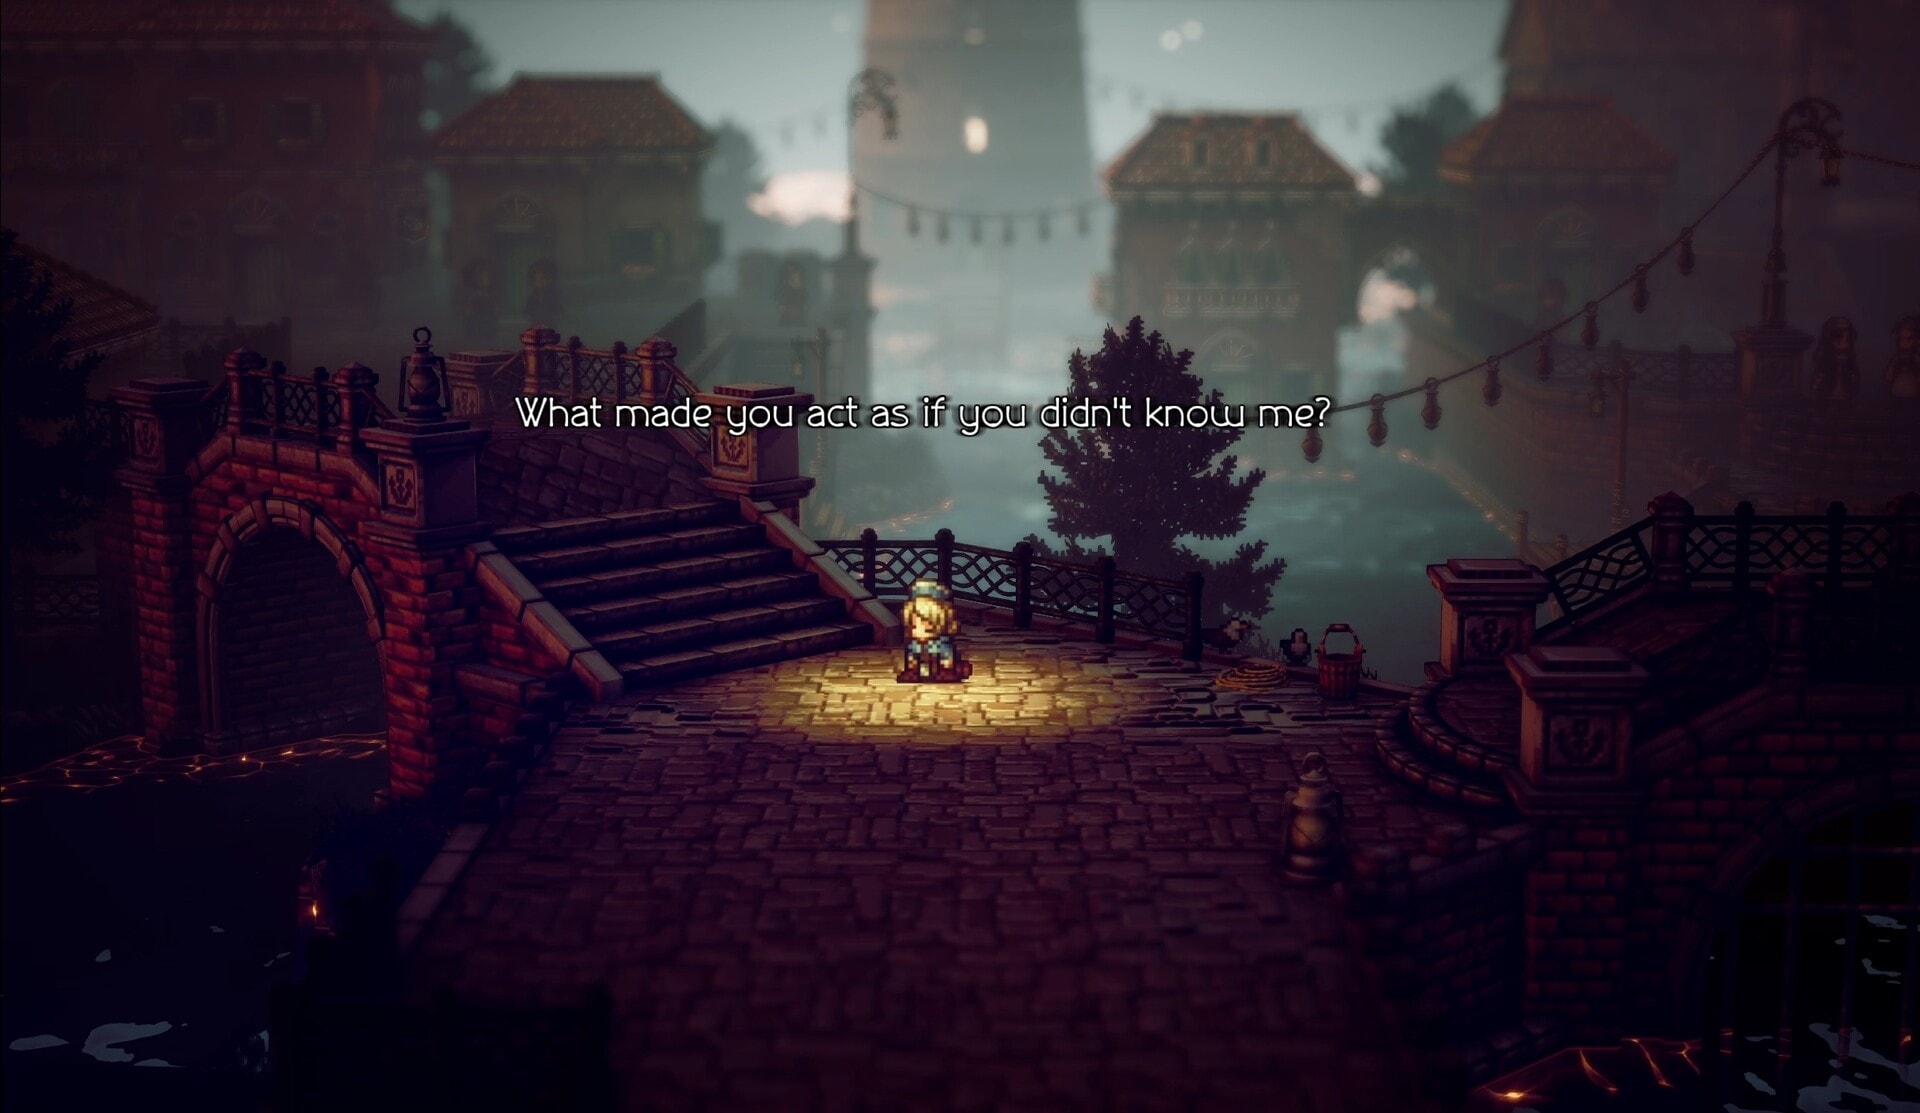
Castti wonders who, or what, they might be running from. After pondering for a bit and searching her satchel, she discovers a hidden pocket. This contains her treatment log. Within it, it mentions two towns; Sai and Winterbloom, with her stating the latter is more prominent by far.
As she continues, she finds the rest of the pages are smeared with blood and impossible to read. With what she gleans from the journal she decides to set off on a journey to Sai and Winterbloom, ending the chapter.
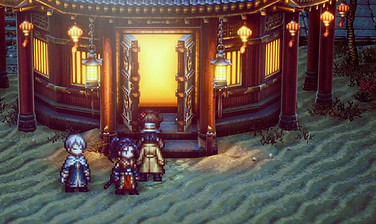
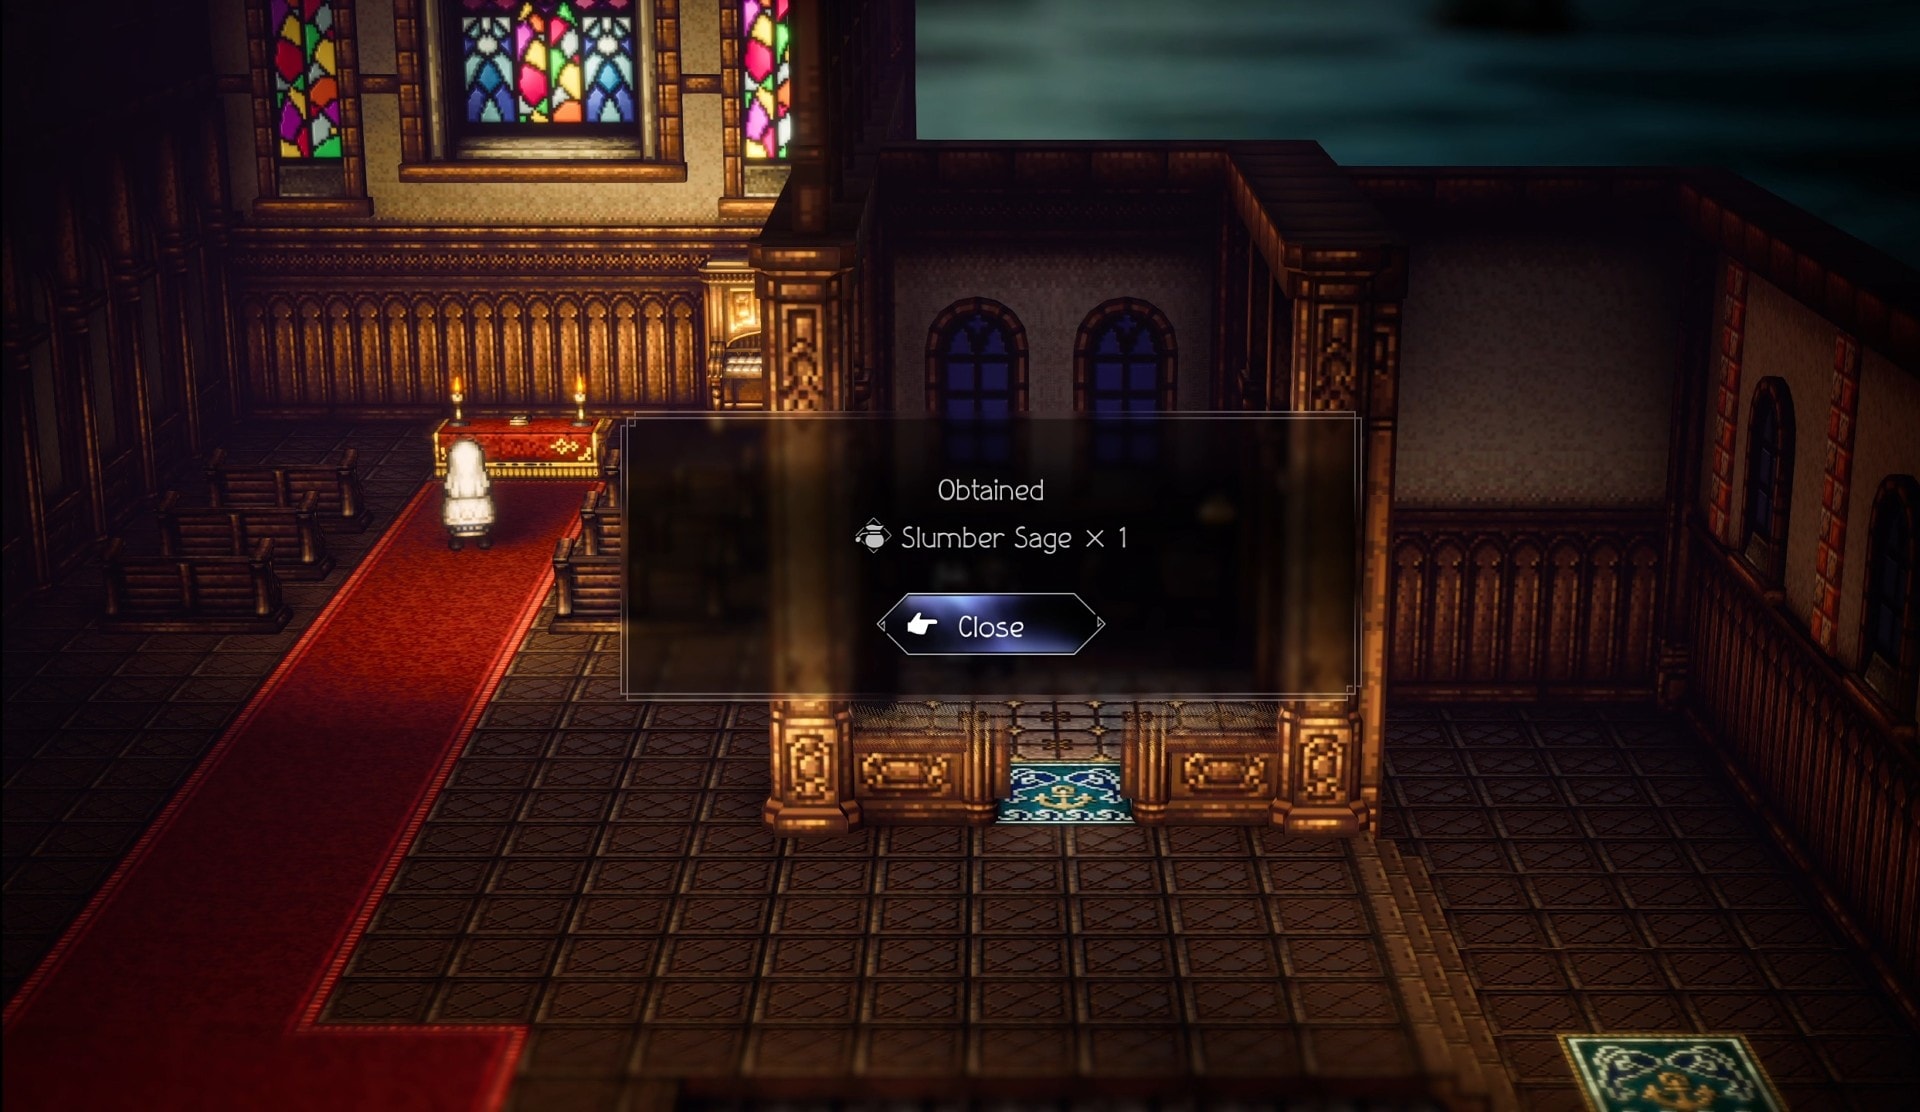
Before you set off, the church in town is also now open, which has a chest you can grab for a Slumber Sage. This will give you an additional use of Castti’s Soothe Path Action.
That covers everything available for the first chapter of Castti’s Story in Octopath Traveler 2.
Now that you have completed the first chapter, take a look into the Castti Character Guide and the Apothecary Job Guide.
Here on VULKK.com we have a selection of guides to help you on your path. From Beginner Guides to get you started, to Character Guides and their unique talents and abilities to the individual Job Guides and which characters and jobs best synergize with each other.