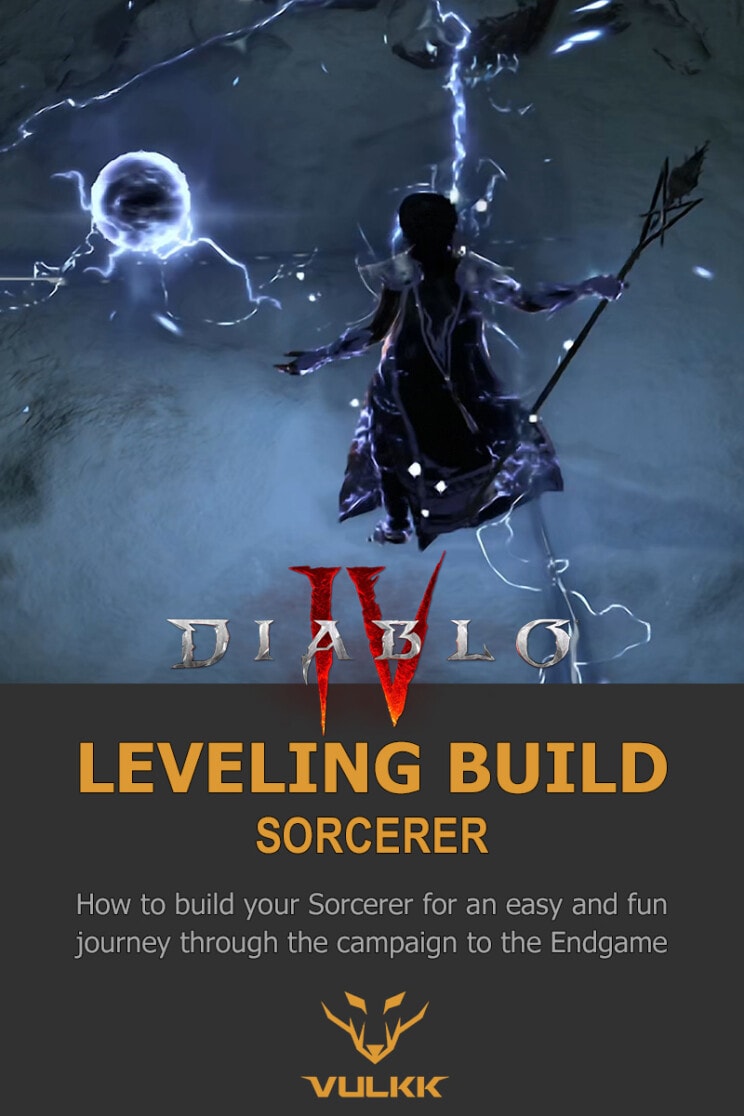
This leveling build for the Sorcerer in Diablo 4 focuses on the early game progression of the class, all the way through the campaign’s completion. We’ll guide you through the leveling process, including Skill Order and notable Aspect from dungeons.
This guide is updated for Diablo IV Season 6 and Patch 2.0.
Check our Diablo IV Builds List of uniquely crafted builds for each class.
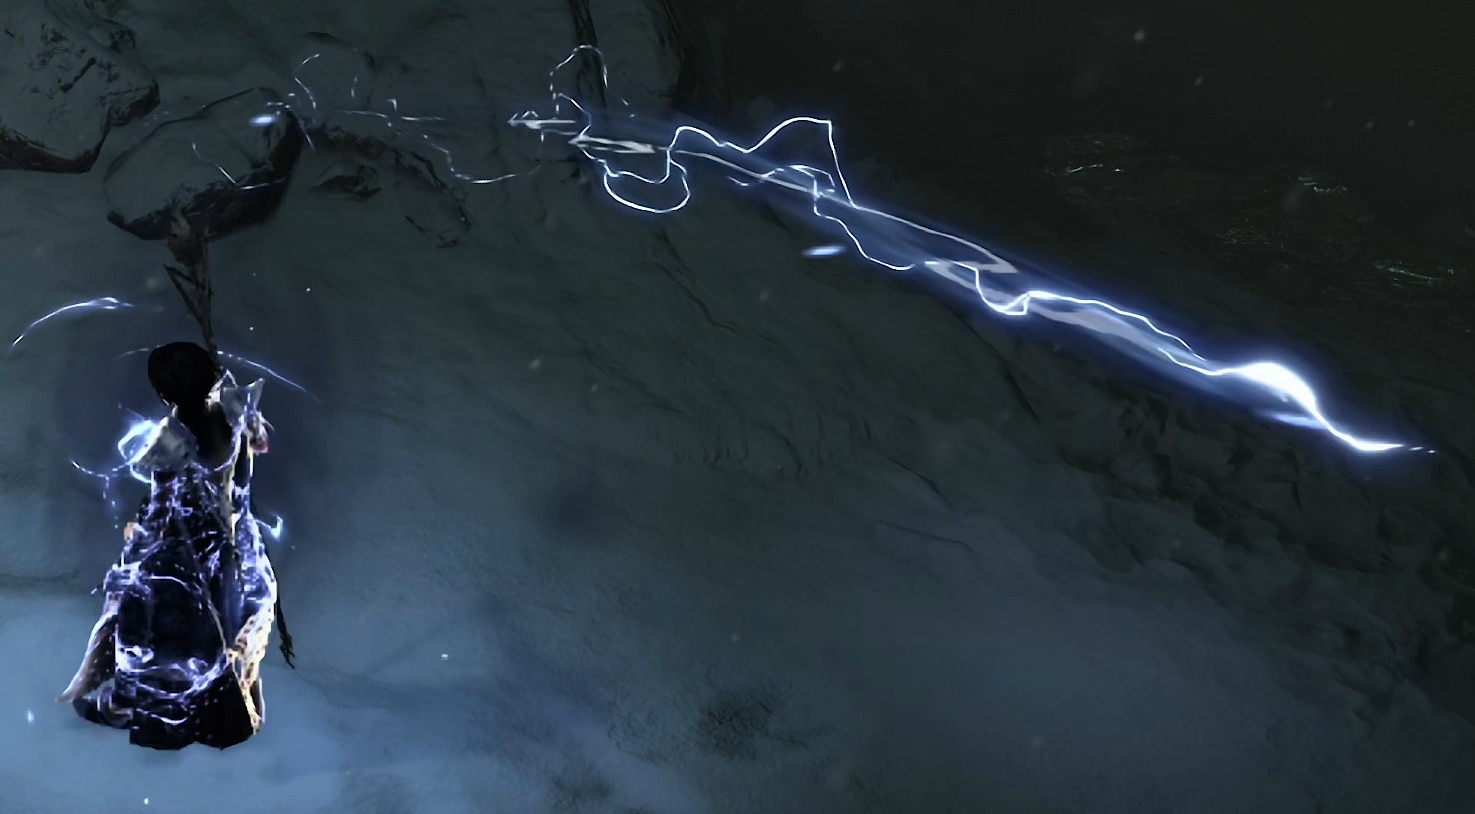
Sorcerer is a very well-balanced class, offering very stable power progression throughout the Campaign. Our Unstable Arcs Leveling Build is a Lightning-Focused build centered around Unstable Currents and Lightning Spear.
This build will assume you’re starting out fresh from Level 1. This means we’re not going to account for the Skill Points from Altars of Lilith or anything else that could possibly come from another character.

To learn more about the available Classes in Diablo 4, read our beginner guide. It will give you more than enough information on each one and show you the advantages and disadvantages of each one.
Build Overview
While this build focuses on the Unstable Currents Ultimate of the Sorcerer, it’ll take a bit to get to a point where it’s in full effect. Thankfully, we’ll have good enough mobbing and single-target power to make do until it does.
Our main Damage sources will be Chain Lighting and Lightning Spears. Between these two we’ll have great mobbing and single target damage. As we get later into the leveling process, we’ll also be critically striking with these fairly often, which will help clear speed even more.
We’ll have Teleport to help us get around faster, as well as break out of any Crowd control. Paired with Ice Armor for an on-demand Barrier, we’ll be set for a while defensively.
Skills and Passives Breakdown
In this section, we’ll be talking about each skill we use. This is the whys and hows of how the build works, and then we’ll cover the general leveling order.
Important Skills
These are our main skills for the build, which we’ll be taking as we level our character.
 Arc Lash
Arc Lash is one of the best leveling skills the Sorc has. It’s Strong, AoE, and spammable since it’s a Basic Skill. It’ll make up the bulk of our damage in most situations. We’ll upgrade it to Flickering Arc Lash early on for the added mana sustain. This could be substituted for Glinting Spark if you prefer to stay at range or want more Critical Strike Chance.

Chain Lightning
Chain Lightning will not only help with mobbing, but also provide excellent damage in 1v1s against bosses. This will mainly be due to the effect of Greater Chain Lightning, but even without this upgrade, it’ll still hit a single target up to multiple times as it bounces off you.

Teleport
Teleport is both our mobility skill, and early on our only way of breaking Crowd Control. This combination of effects makes it quite powerful and hard to pass up on in the early game. If that wasn’t already enough, we also take Shimmering Teleport for the added Damage reduction, allowing us to use it offensively more often.

Ice Armor
Ice Armor is great for the on-demand Barrier it provides. Since it scales with both Life and the damage we deal, it remains very strong throughout our journey. We’ll only be taking it to Enhanced Ice Armor, for the utility of added Mana regeneration, but we’ll also be getting an Aspect that will also make it another way of getting our of Crowd Control.

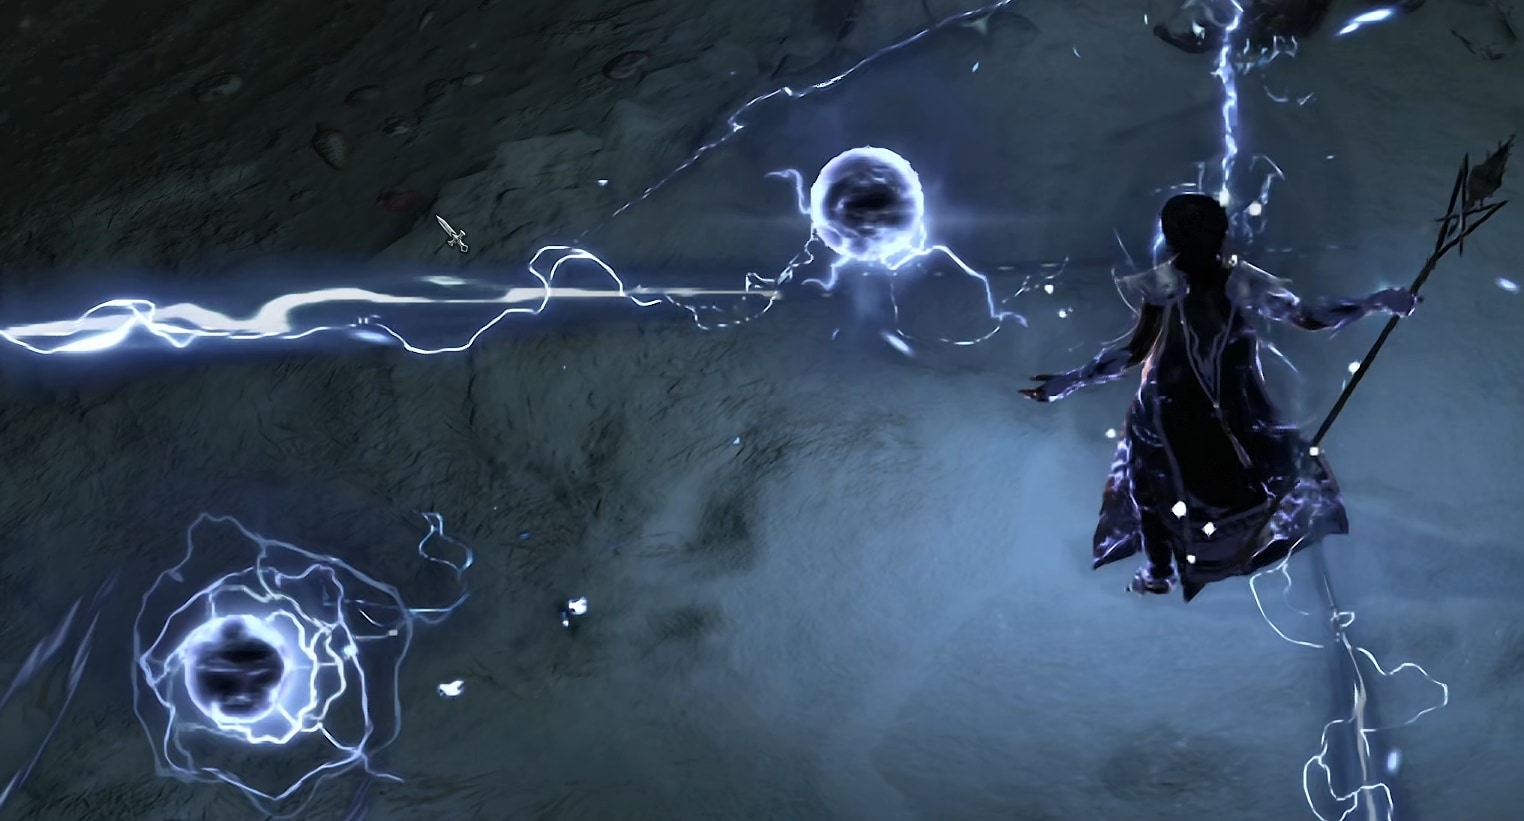
Lightning Spear
Lightning Spear is the star of this build with the changes made to the Aspect of Splintering Energy and the changes the skill itself has received over time. It’s now our main source of Vulnerable and we can even opt to drop Chain Lightning to focus more heavily on this as out main skill once we get out Legendary Temper Manuals.
Unstable Currents
Unstable Currents is honestly the best DPS Ultimate. When you pair it with a couple of other aspects, it has insane potential to go crazy and just melt Elites and Bosses alike. Once we get it to Supreme Unstable Currents, it’ll also feed into our Crackling Energy, adding more AoE to its already high AoE.
Passives
Here we’re only going to talk about the main passives we absolutely want as well as our Key Passive.
 Key Passive – Overflowing Energy
This Key Passive is what really lets this build shine. This allows us to drastically reduce our cooldowns for everything but our defensive skills.
Glass Cannon
Glass Cannon is pretty straightforward, it’s an unconditional damage increase so we take it. We’ll be taking Ice Armor as well as another passive to offset the extra incoming damage.
Conjuration Mastery
We don’t take Conjuration Mastery until late in the build, but it’s an extra damage boost we can get by frequently casting Lightning Spear, as each instance of it will boost our damage. It will really put in work during Unstable Currents, where we’ll have lots of spears flying around.
Static Discharge
Static Discharge ends up working in combination with Coursing Currents and Precision Magic to allow us to consistently generate more Crackling Energy. This in turn helps boost our overall damage by shortening cooldowns thanks to Overflowing Energy
Invigorating Conduit
This a passive we pick up after we get Static Discharge going. Since we don’t have a ton of Mana sustain, this helps with that, allowing us to consistently have mana so long as we have Crackling Energy available. We can drop this if we opt to drop Chain Lightning as we’ll no longe be spending any Mana.
Coursing Currents
Coursing Currents really helps to enable the build by guaranteeing crits fairly often. With most of our skills hitting multiple targets or multiple times, this gives us a significant power boost when we get to it.
Electrocution
Electrocution is a passive we pick up at the end of our leveling, and will help to consistently offset the downside of Glass Cannon. Any time we land a Critical Strike, our foe will deal less damage, which with Coursing Currents will be often enough that we have high uptime against the enemies we really need it for.
Leveling Order: Where to Assign Your Skill Points
We’ll start be picking up Flicking Arc Lash, for the Mana sustain it offers. Then we can Grab Greater Chain Lightning as out main DPS Skill.
Moving to Defensive Skills, we’ll grab Shimmering Teleport and Enhanced Ice Armor. This gives us Mobility, Damage Reduction, and on-demand Barrier. This helps us get around faster and take less damage.
Next, we’ll Grab Invoked Lightning, as this will provide us with consistent Vulnerable as well as Stuns later on. We can also Pick up Fireball for use as an Enchantment to get some more AoE into our build. Then we’ll max Chain Lightning to increase its damage.
After that, we’ll max Glass Cannon for the extra damage. Then we take a single point in Elemental Attunement to allow for occasional resets of Teleport or Ice Armor. We now have enough points for our Ultimate Skill, so we’ll pick up Supreme Unstable Currents.
With Unstable Currents, we’ll grab passives that help bring the build together and make a few existing pieces more consistent. We’ll max Coursing Currents, Electrocution, and Static Discharge. This allows us to more consistently get Critical Strikes, make those Critical Strikes reduce incoming damage, and generate Crackling Energy.
This gets us enough to be able to grab our Key passive, Overflowing Energy. After this, we’ll grab Fire Bolt to fill our second Enchantment Slot. Now we’ll mostly focus on passive to boost our damage and defenses.
We’ll go for more defenses first by maxing Align the Elements for damage reduction against Elites. Max Protection for a Barrier each time we use a Cooldown. Then max Mana Shield for Damage Reduction when spending Mana.
Now for the damage passives, but we’ll first need to take a point into Invigorating Conduit and Inner Flames. After this, we’ll max Elemental Dominance for increased damage above 50 Mana. Max Devouring Blaze for Critical Strike Damage against Burning Enemies. Max Conjuration Mastery for more Damage during Unstable Currents where we have more Lightning Spears. Then max Elemental Synergies because we use only Shock Skills for a huge damage boost.
Now we have just a few passives left to grab. We’ll max Evocation to reduce our cooldowns. Then we’ll max Energy Focus to consistently generate barriers as long as we avoid damage. Then we’ll max Dampen Layer to improve both Energy Focus, Ice Armor, and Protection’s Barriers.
Finally, we’ll drop a couple of points we don’t need anymore. In this case we’ll drop the Flicking upgrade from Arc Lash and reduce Ice Armor to its base effect. We’ll take these points and the few extra we have to max Unstable Currents and lower its cooldown to finish the build.
Sorcerer Leveling Progress Summary
This section sums up the Leveling Process in an easier-to-reference format.
| Levels | Icon | Skill | Purpose |
|---|---|---|---|
| 2-4 |  | Arc Lash | Flickering Arc Lash for early Mana Generation, swap to Glinting later. |
| 5-7 |  | Chain Lightning | Greater Chain Lightning for better single-target DPS. |
| 8-10 |  | Teleport | Shimmering Teleport for Damage Reduction. |
| 11-12 |  | Ice Armor | Enhanced Ice Armor for Barrier and Mana Regeneration. |
| 13-15 |  | Lightning Spear | Invoked Lightning Spear for easy Vulnerable and consistent Crowd Contol later. |
| 16 |  | Fireball | Complete Legacy of the Magi and use as Enchantment for AoE. |
| 17-20 | | Chain Lightning | Max out to increase single target damage. |
| 21-23 |  | Glass Cannon | Unconditional damage boost. |
| 24 |  | Elemental Attunement | Chance to reset Teleport or Ice Armor Cooldowns. |
| 25-27 |  | Unstable Currents | Upgrade to Supreme for use with Overflowing Energy. |
| 28-30 |  | Coursing Currents | Consistent Critical Strikes. |
| 31-33 |  | Electrocution | Damage Reduction from Critical Strikes |
| 34-36 |  | Static Discharge | Crackling Energy from Critical Strikes |
| 37 |  | Overflowing Energy | Key Passive that provides Cooldown Reduction |
| 38 |  | Fire Bolt | Second Enchantment Slot, Applies Burning. |
| 39-41 |  | Align the Elements | Provides a fairly strong defensive bonus and allows Protection to be taken as well. |
| 42-44 |  | Protection | Barrier from Cooldowns. |
| 45-47 |  | Mana Shield | Damage Reduction by Spending Mana |
| 48 |  | Invigorating Conduit | Taken for Mana sustain from Crackling Energy. |
| 49 |  | Inner Flames | Taken to reach Devouring Blaze |
| 50-52 |  | Elemental Dominance | Increased Damage with Chain Lightning while over 50 Mana. |
| 53-55 |  | Devouring Blaze | Extra Critical Strike Damage, enabled by Fire Bolt Enchantment |
| 56-58 |  | Conjuration Mastery | Damage, Movement Speed and Mana Regeneration from |
| 59-R1 | Elemental Synergies | Huge damage increase for running | |
| R2-R4 | Evocation | Cooldown Reduction. | |
| R5-7 | Energy Focus | Barrier generation while not taking damage. | |
| R8-R10 | Dampen Layer | Damage Reduction while we have Barrier. | |
| Respec | | Arc Lash / Ice Armor | Arc Lash goes to Enhanced, Ice Armor has no upgrades. |
| Respec -R12 | | Unstable Currents | Reduces the Cooldown of our Ultimate. |
Gearing and Stats
In this section, we’ll cover all the things you’d want to keep an eye out for to enhance the final build. This includes our Recommended Weapons, Enchantments, Aspects, and of course, Uniques.
Recommended Weapons
This build uses a Wand and Focus as its weapons of choice. Wands give us a nice boost to our Vulnerable damage, while the Focus grants us some Lucky Hit Chance to trigger our effects more often.
We could opt for using a Staff, dropping one of our Offensive Aspects to massively boost the Aspect of Splintering Energy instead. However, this isn’t recommended unless you swap to the Fractured Winterglass version of the build as we get more damage with the extra Aspect slot.
Ideal Stats
The table below details the ideal stats for our gear, be on the lookout for gear that matches at least two of the three rolls below. We’ve also included Aspects here for easier viewing, refer to the Aspects section for additional details on why these are selected.
Affixes that are CAPITALIZED are the Ideal Affixes to get as a Greater Affix. These are not required but are a good way to push the build further. Affixes in Bold are the ideal Affixes to boost with Masterworking.
In cases where multiple Affixes are listed, the secondary option is for when another stat reaches its cap. This is most common with Armor, where you’d take Maximum Life after reaching the Armor cap.
Affix 1
CRITICAL STRIKE DAMAGE
Affix 2
Intelligence
Affix 3
Maximum Life
Tempered Affix 1
Chance for a Second Lightning Spear
Sorcerer – Conjuration Augments (Weapon)
Tempered Affix 2
Critical Strike Damage
Shared – Worldly Finesse (Offensive)
Legendary Aspect
Aspect of Shredding Blades
Affix 1
Maximum Life
Affix 2
CRITICAL STRIKE CHANCE
Affix 3
Cooldown Reduction
Tempered Affix 1
Chance for a Second Lightning Spear
Sorcerer – Conjuration Augments (Weapon)
Tempered Affix 2
Critical Strike Damage
Shared – Worldly Finesse (Offensive)
Legendary Aspect
Rapid Aspect
Affix 1
COOLDOWN REDUCTION
Affix 2
Maximum Life
Affix 3
Intelligence
Tempered Affix 1
Barrier Generation
Shared – Natural Schemes (Utility)
Tempered Affix 2
Ranks to Warmth
Sorcerer – Pyromancy Endurance (Defensive)
Legendary Aspect
Aspect of the Orange Herald
Affix 1
MAXIMUM LIFE
Affix 2
Armor
Affix 3
Intelligence
Tempered Affix 1
Barrier Generation
Shared – Natural Schemes (Utility)
Tempered Affix 2
Ranks to Warmth
Sorcerer – Pyromancy Endurance (Defensive)
Legendary Aspect
Aspect of Might
Affix 1
MAXIMUM LIFE
Affix 2
Armor
Affix 3
Intelligence
Tempered Affix 1
Chance to Freeze
Shared – Worldly Fortune (Utility)
Tempered Affix 2
Ranks to Warmth
Sorcerer – Pyromancy Endurance (Defensive)
Legendary Aspect
Aspect of Concentration
Affix 1
CRITICAL STRIKE CHANCE
Affix 2
Critical Strike Damage
Affix 3
Attack Speed
Tempered Affix 1
Chance to Freeze
Shared – Worldly Fortune (Utility)
Tempered Affix 2
Critical Strike Damage
Shared – Worldly Finesse (Offensive)
Legendary Aspect
Aspet of Overwhelming Currents
Affix 1
MOVEMENT SPEED
Affix 2
Maximum Life
Affix 3
Intelligence
Tempered Affix 1
Evade Cooldown Reduction
Shared – Natual Motion (Mobility)
Tempered Affix 2
Barrier Generation
Shared – Natural Schemes (Utility)
Legendary Aspect
Hectic Aspect
Affix 1
CRITICAL STRIKE CHANCE
Affix 2
Critical Strike Damage
Affix 3
Attack Speed
Tempered Affix 1
Critical Strike Damage
Shared – Worldly Finesse (Offensive)
Tempered Affix 2
Unstable Currents Cooldown Reduction
Sorcerer – Ultimate Efficiency (Resource)
Legendary Aspect
Conceited Aspect
Affix 1
CRITICAL STRIKE CHANCE
Affix 2
Critical Strike Damage
Affix 3
Attack Speed
Tempered Affix 1
Critical Strike Damage
Shared – Worldly Finesse (Offensive)
Tempered Affix 2
Unstable Currents Cooldown Reduction
Sorcerer – Ultimate Efficiency (Resource)
Legendary Aspect
Storm Swell Aspect
Affix 1
Cooldown Reduction
Affix 2
Ranks to Devouring Blaze
Affix 3
RANKS TO CONJURATION MASTERY
Tempered Affix 1
Critical Strike Damage
Shared – Worldly Finesse (Offensive)
Tempered Affix 2
Unstable Currents Cooldown Reduction
Sorcerer – Ultimate Efficiency (Resource)
Legendary Aspect
Aspect of Splintering Energy
Gems an Runewords
This build uses Emeralds in our Weapons, Topaz in our Armor, and Skulls in Jewelry.
We opt for Emeralds in our Weapons as the Aspect of Splinterign Energy will be doing most of our damage and we can scale it through Critical Strike Damage.
We use Topaz in our Armor, as Intelligence increases our Damage even more. Amethysts can be an optional choice in the endgame, to give us stronger barriers.
We go with Skulls for Our Jewelry as Armor is harder to come by for Sorcerer. This helps to mitigate Physical Damage an reach the Armor cap.
Enchantments
Our Primary Enchantments of choice are Fire Bolt and Teleport. Fireball and Ice Blades are also great enchantments, depending on the content.
Fire Bolt Enchantment enables us to use Devouring Blaze to scale our Critical Strike Damage. It will also trigger the Warmth passive we get from Tempered Affixes to provide reliable sustain for us.
Teleport Enchantment is a very strong mobility option for us. Paired with the Evade Cooldown Reduction Temper on our Boots and having Boots with Attacks Reduce Evade Cooldown, we’ll be able to cast this frequently. Sadly, we’ll only trigger Shimmering Teleport and nothing else, but hey, free Damage reduction is still pretty good.
Fireball Enchantment is a great early option, since most Shock Skills lack AoE. Once we get enough Critical Strike Chance, the Aspect of Splintering Energy will do more than enough AoE for us.
Ice Blades Enchantment is a great swap in over Teleport Enchantment for harder content where speed isn’t important. if we invest the points for Summoned Ice Blades, it will also contribute towards rapidly lowering our cooldowns.
Aspects
 Rapid Aspect
Rapid Aspect works really well for this build, as not only does it make Arc Lash feel even better to use, but it also works well in combination with Unstable Currents. Having rapid-fire spells going off is just so satisfying.
Aspect of Splintering Energy
With it’s update in Season 4, the Aspect of Splitering Energy will make Lightning Spears deal AoE Damage and can carry the damage of this build pretty handily.
Storm Swell Aspect
Storm Swell gives us a nice multiplier to our Vulnerable Damage, so long as we have a Barrier up. Thanks to Protection and Ice Armor, we’ll have one up more often than not.
Recharging Aspect*
Recharging Aspect is great at reducing the cost of Chain Lightning when it comes to bossing. This will generally recoup around 50% of the base cost, without any investment in Mana Cost Reduction or Mana Generation. We’ll drop this if we stop using Chain Lightning.
Aspect of Might
The Aspect of Might is an easy-to-maintain defensive bonus that we get by simply using our Basic Skill. If we drop Chain Lightning this becomes a super reliable bonus that we’ll have 100% uptime on.
Aspect of the Orange Herald
With a lot of our focus being on Unstable Currents, this Aspect will put in a ton of work to help cut its cooldown and will result in very high uptime for it. Even though we don’t heavily invest into Lucky Hit Chance
Aspect of Overwhelming Currents
The Aspect of Overwhelming Currents pushes more damage out of Unstable Currents, but honestly doesn’t add a ton to the build overall. While you’ll occasionally cast an additional spell when triggering it, it’ll be hard to notice.
Accelerating Aspect*
The Accelerating Aspect is much like the Rapid Aspect, but is a way more conditional Attack Speed boost that applies to all skills. Thankfully, getting Critical Strikes with our Core Skill, Chain Lightning, is very easy to do and can really boost how much damage we do overall with Unstable Currents and the Stable Aspect. We can drop this Aspect when we drop Chain Lightning
Conceited Aspect
The Conceited Aspect is a nice damage boost we can pick up. Between Protection and Ice Armor, we’re not without a Barrier for long. Since the build often wants to use Ice Armor in conjunction with Unstable Currents to just focus on DPS, this works very well.
Aspect of the Unbroken Tether*
This pairs exceptionally well with the Recharging Aspect. With enough Mana Cost Reduction and Resource Generation on gear, we can use Chain Lightning without having to ever really build mana as it will sustain itself. We’ll also drop this if we drop Chain Lightning
Aspect of Shredding Blades
While we don’t use Ice Blades in this build, the multiplier for our Vulnerable Damage is still a fantastic boost. We could technically fit them in to use as an Enchantment if we wanted, it just means a slightly longer cooldown on Teleport.
Hectic Aspect
The Hectic Aspect is the Vampiric Power of Season 2, but in Aspect form. This makes it so that every 5th time we cast a Basic Skill, we reduce a random Cooldown by a couple seconds.
Aspect of Concentration
This reworked Aspect fits our build quite well, especially if we fully lean into Lightning Spear. This gives us a huge amount of Damage reduction for a short time after we cast Lightning Spear or any Conjuration Skill.
Unique Items
We will only talk about the few that offer the most substantial effects on the build. While others help, these are the ones you really want to slot into your build if you get the chance.
Tal Rasha’s Iridescent Loop
This Unique Ring will provide a ton of damage for the build thanks to our Enchantments adding a second damage type for us. Its stats are perfect for the build giving us everything we need including Cooldown Reduction and Resource Generation.
Esu’s Heirloom
Esu’s Heirloom is a pair of Unique Boots that can give us a ton of additional Critical Strike Chance, Critical Strike Damage, and Movement speed. They’re a great fit for the build though, as we primarily scale through Critical Strike Damage.
Fractured Winterglass
This Unique Amulet would require another respec to use, but vastly improves our ability to lean on Lightning Spears as our main damage. On top of summoning them manually, they’ll occasionally pop out of our Frozen Orb explosions, allowing us to have many up at a time.
Paragon Boards and Glyphs
Paragon Boards and Glyphs are a feature that becomes available at level 60. Below are our recommended Paragon Boards and Glyph Choices. These are listed in the order we recommend them as well as their pathing.
With the abundance of Paragon Points we can earn, we’ve split the pathing into Initial Pathing and Additional Pathing. Initial Pathing is the clusters we pick up while pathing through the board, while Additional Pathing are ones we come back for later for additional stats once we’ve gotten all of our Glyphs socketed.
Starter Board
Starter Boards offer a lot of generic offensive and defensive stats. In this case, Damage, Elite Damage, Armor, and Maximum Life are worth picking up.
Initial Pathing
- Elementalist
- Glyph Socket
- Studied
- Upper Gate
Additional Pathing
- Elemental Balance
- Resilience
- Dexterity for Glyph
This board offers a lot of accessible Dexterity, so we’ll socket Invocation here to take advantage of this.
This Glyph grants Critical Strike Damage for our invocations Per 5 Dexterity allocated in range. With 25 Dexterity allocated, our Conjurations will apply a stacking debuff on enemies, reducing their damage. At Glyph Level 45, it also grants a multiplicative bonus to Conjuration Damage.
Fundamental Release
Fundamental Release applies a stacking debuff on enemies each time we apply Vulnerable, Burning, or Critically Strike them; increasing the damage we deal to them. Additionally, this paragon Board offers us a good mix of offensive and defensive stats focused on Critical Strikes, Vulnerable, and Burning.
We Rotate this Paragon Board so that the Glyph Socket is near the Upper Side on the Paragon Board.
Initial Pathing
- Suffused Resilience
- Fundamental Release
- Elemental Balance
- Glyph Socket
- Lightning Cutter
- Overdrive
- Left Gate
Additional Pathing
- Electromagnetism
- Right Gate
- Kindling
- Willpower for Glyph
This board offers a lot of accessible Willpower, so we’ll socket Torch here to take advantage of this.
This Glyph grants Increased Burning Damage Per 5 Willpower allocated in range. With 25 Willpower allocated, it grants increased damage for each nearby Burning enemy. At Glyph Level 45, it also grants a multiplicative bonus to Damage.
Static Surge
Static Surge will make our next cast of Chain Lightning apply Vulnerable and restore Mana after spending 100 Mana. Additionally, this Paragon Board offers Lightning Damage and Critical Strike Damage as well as some defensive bonuses.
We Rotate this Paragon Board so that Static Surge is located near the Upper Side of the Paragon Board.
Initial Pathing
- Incapacitate
- Glpyh Socket
- Electro
- Static Surge
- Restorative (Max Life only)
- Upper Gate
Additional Pathing
- Blessing
- Dexterity for Glyph
- Lightning Resilience
This board offers a lot of accessible Dexterity, so we’ll socket Control here to take advantage of this.
This Glyph grants Increased Damage against Crowd-Controlled enemies Per 5 Dexterity allocated in range. With 25 Dexterity allocated, it grants bonus damage against slowed or Chilled enemies, doubled against Stunned or Frozen enemies. At Glyph Level 45, it also grants a multiplicative bonus to Damage against Crowd-Controlled Enemies..
Enchantment Master
Enchantment Master will decrease the cooldown of the Teleport Enchantment, giving us more mobility. This Paragon Board offers us plenty of Non-Physical damage and defenses.
We rotate this paragon board so that Enchantment Master is in the Upper Left of the Paragon Board.
Initial Pathing
- Glyph Node
- Elemental Balance
- Toughened
- Suffused REsilience
- Enchantment Master
Additional Pathing
- Tactical
- Ruinous
This board has strong Rare Nodes, so we’ll socket Elmentalist here to take advantage of this.
This Glyph boosts Rare Nodes allocated in range, granting additional Non-Physical Damage and Elite Damage in this case. With 40 Intelligene allocated, it grants a stacking damage bonus for each element of damage we deal to an enemy. At Glyph Level 45, it also grants a multiplicative bonus to Non-Physical Damage.
Elemental Summoner
Elemental Summoner Reduces the cooldown or Mana COst of our Conjurations skills as well as grants them a portion of our total Cold, Fire, and Lightning Damage. Additionally, this Paragon Board offers us a lot of Conjuration bonuses and more Non-Physical Damage.
Initial Pathing
- Conjurer
- Glpyh Socket
- Keeper of Elements
- REservoir
- Elemental Summoner
Additional Pathing
- Swift Conjurer
- Intelligence for Glyph
This board offers a lot of accessible Intelligence, so we’ll socket Conjurer here to take advantage of this.
This Glyph grants Conjuration Damage Per 5 Intelligence allocated in range. With 40 Intelligence allocated, it grants extends our Conjuration duration. At Glyph Level 45, it also grants a multiplicative bonus to Conjuration Damage.
Sorcerer Leveling Build Video Gameplay
The video below contains three clips with gameplay, two from Act 2 and one from Act 6. They are from the main story, but are standard mob fights. No spoilers.
This concludes our guide to the optimal Sorcerer Leveling Build in Diablo 4. Check out more Diablo 4 Builds here on VULKK.com.
If you enjoy this class, we have a full endgame version of the Shock build as well as Frost Build and Fire Build available, which focuses on the Ice Shard Skill. It is great for post-campaign gameplay, but also contains a leveling segment near the end in case you want to play it from level 1.