
This leveling build for the Barbarian in Diablo 4 focuses on the early game progression of the class, all the way through the campaign’s completion. We’ll guide you through the leveling process, including Skill Order and notable Aspect from dungeons.
This guide is updated for Diablo IV Season 6 and Patch 2.0.
Check our Diablo IV Builds List of uniquely crafted builds for each class.
This Barbarian builds focuses around Bleed. We’ll make use of effects like Vulnerable to boost our damage even further.
This build will assume you’re starting fresh from Level 1. We will include the possible skill points that could be acquired through Zone Reputation and Altars of Lilith to provide a full build, except for the Paragon Board.
To learn more about the available Classes in Diablo 4, read our beginner guide. It will give you more than enough information on each one and show you the advantages and disadvantages of each one.
Table of contents
Build Overview
Being a Bleed Focus build, We’ll deal plenty of damage. The only thing is that our damage is dealt over time, and not instantly most of the time. Rupture will solve this later, but you’ll need to play carefully early on to manage this.
For our defenses, we’ll be making use of Challenging Shout for a huge boost to damage reduction when we really need it.
We’ll be able to use Charge to be able to quickly get in or out of battle and also break Crowd Control.
We’ll also be making good use of the Arsenal System, our Class Mechanic, to gain select bonuses from the system that help the build along.
It’ll also be used to ensure our Flays are fast, while Rend and Rupture are strong.
Skill and Passive Breakdown
In this section, we’ll be talking about each skill we use. This is the whys and hows of how the build works, and then we’ll cover the general leveling order.
Skills
These are our main skills for the build, which we’ll be taking as we level our character.
 Flay
Flay
Flay is a great starter skill, and while it only hits a single target, the Bleeding effect makes it the strongest to start with. Additionally, it’ll occasionally provide Vulnerable as well as additional Damage Reduction with its upgrades.
We’ll be setting this to our Dual-Wield weapons to start with, with Swords being the preferable option for the bonus Fury generation later on.
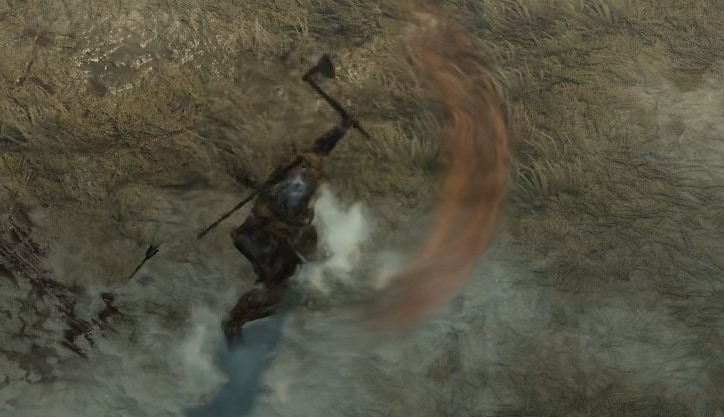
 Rend
Rend
Rend is our Main Damage Skill, a wide AoE slash that inflicts Bleeding. The Bleeding effect of Rend is one of the few damage skills that goes over 100% damage ratio, which means it’ll apply some hefty bleeds. As it gets upgraded it’ll be able to extend the Vulnerable applied by Flay as well as refund some of it’s Fury cost.
We’ll want to have this assigned to a Two-Handed Sword both for higher damage on the skill but also for the enhanced Bleeding damage from Two-handed Sword Expertise.

 Challenging Shout
Challenging Shout is a great Defensive skill, offering a ton of added Damage reduction for a short time. Once upgraded, it’ll boost our Max Life as well as grant additional Fury Generation if we get hit.
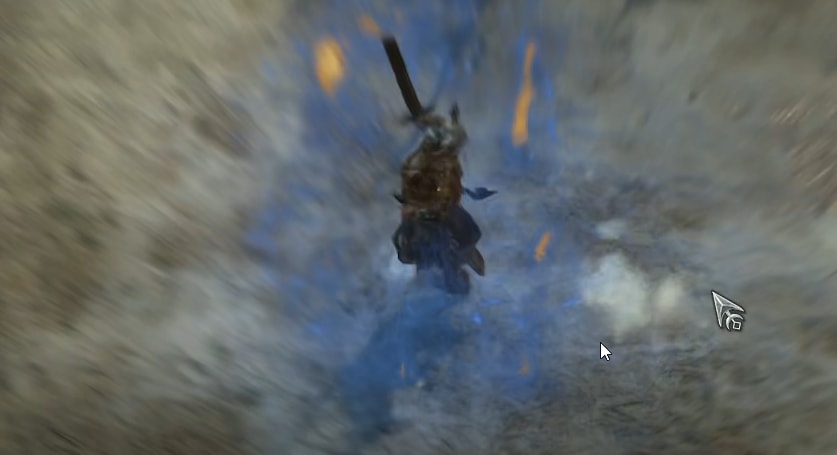
Charge
Charge is our mobility skill of choice. Usually, Leap is preferable, but since we deal Damage over time, it’s safer to have it as an option to get out. Once upgraded, it’ll be a great way to start and leave encounters. With the buffs it got in Season 3, it’s a much stronger option and have more use in combat with Power Charge only requiring hits.
This will be preferable to have assigned to our Dual-wielded weapons, just for the extra attack speed to make it faster. If we don’t mind it being slightly slower, we can take advantage of the damage of a 2H weapon as well.
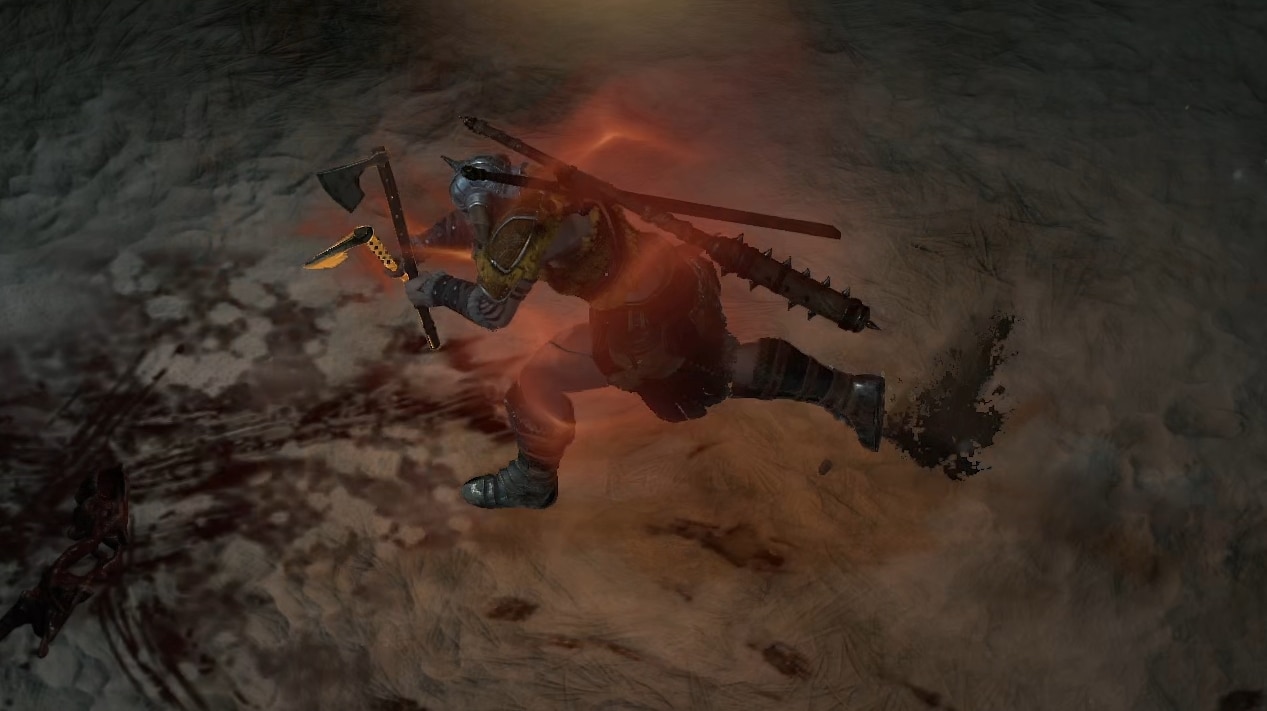
Rupture
Rupture is our burst skill, as it purges the bleeds we apply, dealing their damage instantly. We’ll only want to use this when we get a good amount of bleeding built up, or a fight mechanic will make it impossible to do further damage.
Like Rend, Rupture will be assigned to our Two-handed Sword. We’ll still want the added bonuses to bleed.
 Steel Grasp
Steel Grasp does a lot of things for us, not only does it group enemies in front of us for huge Rends, but it will also make them Vulnerable without any reliance on luck. Overall, just a very strong utility skill for the build that’s hard to pass up.
Alternatively, you could opt for Call of the Ancients instead, which is strong in its own right. However, we do plenty of damage on our own and the added bonuses from the upgrades don’t offer all too much.
Passives
Here we’re only going to talk about the main passives we absolutely want as well as our Key passive. There are unfortunately a couple we will need to take to get access to these though.
 Key Passive – Gushing Wounds
Gushing Wounds is a great Key Passive for scaling our damage with Rend, effectively allowing our Bleeding to Critically Strike. The secondary effect has no real use though, outside of applying additional bleeding in an AoE.
Pressure Point
While Flay can apply Vulnerable decently well on its own, allowing Rend to also have a chance to apply it is also a good thing to have. We can even opt to swap to Violent Rend to take further advantage of this after we have decent Fury Generation.
Imposing Presence
Imposing Presence grants us a decent amount of extra Life. This helps us survive in all encounters, which is never a bad thing. It also gives us access to Martial Vigor. It’s lower in priority to get unless you find yourself needing it.
Martial Vigor
Extra damage reduction for Elites is a very useful effect. This makes Martial Vigor a great pick-up since boss encounters can end up being drawn out a bit due to the DoT heavy playstyle. Unconditional damage resistance in the tougher encounters is honestly hard to pass up in general.
Cut to the Bone
Can’t go wrong picking up more Bleeding damage to Vulnerable enemies in a build that uses both. It’s a great damage booster in general and very worth the points.
Pit Fighter
As an entirely Melee build, more damage to close enemies and damage reduction from distant enemies is a great combination of effects. It’s free damage, while also reducing the damage of ranged enemies until we can get to them.
No Mercy
The only decent source of Critical Strike Chance we get on the tree. Since we need to pick up Hamstring to get to Cut to the Bone anyways, we’ll pretty much always have this bonus active by inflicting Bleeding.
Heavy Handed
The only source of Critical Damage we can get on the Skill Tree. Since our main skills will be using our Two-Handed Sword, this will also apply for Gushing Wounds.
Leveling Order: Where to Assign Your Skill Points
We’ll start by picking up Enhanced Flay. This gets us to our Core Skills, where we’ll pick up Furious Rend. Then we can go back and upgrade to Battle Flay for more damage with both skills.
Now that we have access to our defensive Skills, we can pick up Tactical Challenging Shout to allow it to generate a bit of extra fury in these early levels, in addition to its damage reduction.
Next, we’ll pick up and max Pressure Point, to also give Rend a chance to apply Vulnerable as well. This gives us access to our Brawling Skills, which we’ll take Power Charge for the Unstoppable effect and mobility.
We’ll max Imposing Presence here to unlock our Weapon Mastery Skills and get some extra Life. Now that we have access to our Weapon Mastery Skills, we’ll take Fighter’s Rupture for the added healing.
Next, we’ll grab Warrior’s Steel Grasp for the additional charge. This lets us more readily group enemies together. You could opt for the Fighter’s upgrade instead for a bit more power behind Rend, but it’s a short duration bonus that doesn’t feel worth it.
On to rounding things out! First things first, we max our Rend. Then we’ll take a point in Hamstring, so we can pick up and max Cut to the Bone. We’ll max out Martial Vigor to have an easier time dealing with Bosses and Elites and have access to our Key passive.
Now that we can access it, we’ll grab Gushing Wounds. Now it’ll all be about passives here. We’ll pick up and max Pit Fighter, as well as max out No Mercy for the damage, boosts they provide.
Then we’ll pick up and max out Heavy Handed. Next, we can pick up and max Duelist for a bit of extra speed with Flay, which helps generate Fury quicker. Then, we’ll max Belligerence for more damage after using Flay.
Now, we’ll max Challenging Shout for extra Damage Reduction. Then we can max Warpath to get more damage after using Rupture.
With our extra passive from Renown, we’ll Level Rupture to 4/5 to reduce its cooldown. to round things off, we’ll put on point into Thick Skin to access the rest of the passives here. Then we’ll max Defensive Stance and Counteroffensive, then put the remaining points into Power War Cry, for use with Runewords later into progression.
As an alternative for those without Vessel of Hatred, take Rupture to 5/5 and pick up Irrepressible instead. Without Runewords, we won’t have a reliable mean to cast War Cry.
Barbarian Leveling Progress Summary
This section sums up the Leveling Process in an easier-to-reference format.
| Levels | Icon | Skill Name | Purpose | |
|---|---|---|---|---|
| 2-3 | Flay | Upgrade to Enhanced for Vulnerable chance | ||
| 4-6 |  | Rend | Upgrade to Furious Rend for Fury refund | |
| 7 | Battle Flay | Increases damage of both skills. Set Flay to Dual-Wield and Rend to 2H. | ||
| 8-10 |  | Challenging Shout | Upgrade to Tactical Challenging Shout. Grants bonus Damage Reduction, Max Life, and Fury Generation | |
| 11-13 |  | Pressure Point | Apply Vulnerable with Rend | |
| 14-16 |  | Charge | Upgrade to Power Charge for cooldown reduction | |
| 17-19 |  | Imposing Presence | Extra Max Life | |
| 20-22 |  | Rupture | Upgrade to Fighter’s Rupture for sustain. | |
| 23-25 |  | Steel Grasp | Upgrade to Warrior’s Steel Grasp for additional uses | |
| 26-29 | | Rend | Maxing out Main Damage Skill | |
| 30 |  | Hamstring | Applies Slow to Healthy enemies we inflict Bleed on, needed to reach Cut to the Bone | |
| 31-33 |  | Cut to the Bone | Bonus Bleeding Damage on Vulnerable targets. | |
| 34-36 |  | Martial Vigor | Damage Reduction against Elites and Bosses | |
| 37 |  | Gushing Wounds | Our Key Passive, allows our Bleeds to stack up faster. | |
| 38-40 |  | Pit Fighter | Increases damage to Close Enemies, Damage Reduction from Distant Enemies | |
| 41-43 |  | No Mercy | Critical Strike Chance against Slowed enemies, triggered by Hamstring | |
| 44-46 |  | Heavy Handed | Increased Critical Damage for Rend, used for Gushing Wounds | |
| 47-49 |  | Duelist | Faster Flays for faster Fury Generation. | |
| 50-52 | Belligerence | Damage Boost after using Flay. | ||
| 53-56 | | Challenging Shout | More Damage Reduction. | |
| 57-59 | Warpath | Damage Boost after using Rupture. | ||
| R1-R3 | | Rupture | Lower Cooldown. | |
| R4 |  | Thick Skin | Taken to reach other passive, small amount of Forify. | |
| R5-R7 |  | Counteroffensive | Great Damage boost for maintaining Fortify. | |
| R8-R10 |  | Defensive Stance | Makes Fortify much stronger, bringing above 20% Damage reduction. | |
| R11-R13 | Power War Cry | Taken for use with RuneWords |
Gearing and Stats
In this section, we’ll cover all the things you’d want to keep an eye out for to enhance the final build. This includes our Recommended Weapons, Arsenal, Aspects, and of course, Uniques.
Recommended Weapons
For the Dual-Wield and 2H Slashing Slots we want Swords. They come with inherent Crit Damage, which makes them exceptionally strong for improving our scaling with Gushing Wounds.
Our 2H Bludgeoning is always a 2H Mace. While we never use this, it does provide a nice bonus to Overpower Damage and indirectly affects Rupture’s strength.
Ideal Stats
The table below details the ideal stats for our gear, be on the lookout for gear that matches at least two of the three rolls below. We’ve also included Aspects here for easier viewing, refer to the Aspects section for additional details on why these are selected.
Affixes that are CAPITALIZED are the Ideal Affixes to get as a Greater Affix. These are not required but are a good way to push the build further. Affixes in Bold are the ideal Affixes to boost with Masterworking.
In cases where multiple Affixes are listed, the secondary option is for when another stat reaches its cap. This is most common with Armor, where you’d take Maximum Life after reaching the Armor cap.
Unique Item Option
Fields of Crimson – 2H Slash
Affix 1
Strength
Affix 2
CRITICAL STRIKE DAMAGE
Affix 3
Maximum Life
Tempered Affix 1
Rend Size OR Rupture Size
Barbarian – Bleed Augments (Weapon)
Tempered Affix 2
Critical Strike Damage
Shared – Worldly Finesse
Legendary Aspects
Skullbreaker’s Aspect – 2H Bludgeon
Aspect of Encroaching Wrath – 2H Slash
Affix 1
Strength
Affix 2
CRITICAL STRIKE DAMAGE
Affix 3
Maximum Life
Tempered Affix 1
Rend Size OR Rupture Size
Barbarian – Bleed Augments (Weapon)
Tempered Affix 2
Critical Strike Damage OR Vulnerable Damage
Shared – Worldly Finesse
Legendary Aspects
Rapid Aspect
AND
Accelerating Aspect
Affix 1
MAXIMUM LIFE
Affix 2
Armor or Cooldown Reduction
Affix 3
Ranks to Rupture
Tempered Affix 1
Maximum Life OR Total Armor
Shared – Worldly Endurance (Defensive)
OR
Challenging Shout Cooldown Reduction
Barbarian – Barbarian Strategy (Defensive)
Tempered Affix 2
Steel Grasp Stun
Barbarian – Barbarian Control (Utility)
Legendary Aspect
Aspect of Might
Unique Item Option
Rage of Harrogath
Affix 1
MAXIMUM LIFE
Affix 2
Armor or Resistance
Affix 3
Ranks to Challenging Shout
Tempered Affix 1
Maximum Life OR Total Armor
Shared – Worldly Endurance (Defensive)
OR
Challenging Shout Cooldown Reduction
Barbarian – Barbarian Strategy (Defensive)
Tempered Affix 2
Chance to Stun
Shared – Wordly Fortune (Utility)
Legendary Aspect
Iron Blood Aspect
Affix 1
MAXIMUM LIFE
Affix 2
Armor or Resistance
Affix 3
Ranks to Flay
Tempered Affix 1
Maximum Life OR Total Armor
Shared – Worldly Endurance (Defensive)
OR
Challenging Shout Cooldown Reduction
Barbarian – Barbarian Strategy (Defensive)
Tempered Affix 2
Chance to Stun
Shared – Worldly Fortune (Utility)
Legendary Aspect
Aspect of the Fortress
Affix 1
Maximum Life
Affix 2
CRITICAL STRIKE CHANCE
Affix 3
Ranks of Rend
Tempered Affix 1
Critical Strike Damage
Shared – Worldly Finesse (Offensive)
Tempered Affix 2
Chance to Immobilize
Shared – Worldly Fortune (Utility)
Legendary Aspect
Aspect of Inevitable Fate
Affix 1
MOVEMENT SPEED
Affix 2
Maximum Life
Affix 3
Armor or Resistance
Tempered Affix 1
Movement Speed
Shared – Natural Motion (Mobility)
Tempered Affix 2
Chance to Freeze
Shared – Worldly Fortune (Utility)
Legendary Aspect
Aspect of Anemia
Unique Item Option
Ring of the Ravenous
Affix 1
Maximum Life
Affix 2
CRITICAL STRIKE CHANCE
Affix 3
Vulnerable Damage
Tempered Affix 1
Weapon Mastery Cooldown Reduction
Barbarian – Weapon Mastery Efficiency (Resource)
Tempered Affix 2
Critical Strike Damage
Shared – Worldly Finesse (Offensive)
Legendary Aspect
Aspect of Vocalized Empowerment
Affix 1
Maximum Life
Affix 2
CRITICAL STRIKE CHANCE
Affix 3
Vulnerable Damage
Tempered Affix 1
Weapon Mastery Cooldown Reduction
Barbarian – Weapon Mastery Efficiency (Resource)
Tempered Affix 2
Critical Strike Damage
Shared – Worldly Finesse (Offensive)
Legendary Aspect
Slaking Aspect
Affix 1
Critical Strike Chance
Affix 2
RANKS TO HEAVY HANDED
Affix 3
Ranks to Cut to the Bone
Tempered Affix 1
Weapon Mastery Cooldown Reduction
Barbarian – Weapon Mastery Efficiency (Resource)
Tempered Affix 2
Critical Strike Damage
Shared – Worldly Finesse (Offensive)
Legendary Aspect
Aspect of Creeping Death
Gems and Runewords
This build uses Emeralds in our Weapons, Rubies in our Armor, and Diamonds in Jewelry.
We opt for Emeralds in our Weapons as Critical Strike Damage increases the effect of Gushing Wounds. Before getting Gushing Wounds, Sapphires are better for the Vulnerable damage.
We use Rubies in our Armor, as Strength is the most valuable option for Barbarians.
We go with Diamonds for Our Jewelry as Resistance is worth capping out on, giving us an effective 70%+ damage reduction to all elemental damage. We can swap these to specific resistance gems as we cap them with gear or paragon.
For Runewords, we’ll opt for Tam-Ohm and Bac-Lac. Tam-Ohm will cast War Cry for us when casting Rend, boosting our damage in combat. Bac-Lac will automate our Challenging Shout for us as we move, helping us stay at high Fury.
Arsenal System
The Arsenal System allows us to assign our skills to different weapons. In the case of this build, we’ll want Flay and Charge on Dual-wield while Rend and Rupture are on our 2H Sword. This allows Flay and Charge to be used faster and with less delay, while allowing Rend and Rupture to deal maximum damage.
For our choice of what we use as a free perk in the Arsenal System, we have two different options, 2H Axe or 2H Sword.
2H Sword will allow us to build up bleed faster, which makes Rupture hit harder. But since we’ll generally be using our 2H Sword for our main Skill Rend, It will be generally less impactful.
2H Axe increases our damage to Vulnerable enemies. This remains a consistent and impactful bonus through leveling and into the endgame, so we’ll opt for this as our gear progresses.
Aspects and Uniques
In this section, we’ll cover the Aspects you’ll want to grab from dungeons as you can, as well as ones to keep an out for to help the build along. We’ll also talk about the uniques that can help the build out in a few ways, though these will be fairly rare compared to the aspects.
 Slaking Aspect
The Slaking Aspect grants a chance for Rend to refund Fury when damaging Bleeding Enemies. This in combination with Furious Rend can allow you to get multiple extra Rends off from full Fury.
Aspect of Anemia
While this Aspect on its own isn’t super good, it will still trigger often enough to help provide additional safety against non-bosses or stagger against bosses. Its real strength comes from pairing it with the Skullbreaker’s Aspect.
Rapid Aspect
This aspect is great at helping with our early Fury Generation. It’ll also make it easier to quickly apply Vulnerable with Flay until we have better options to do so.
Brawler’s Aspect
Like Aspect of Anemia, this is also intended to be paired with the Skullbreaker’s Aspect. With Charge being able to trigger a guaranteed Stun, this combination lets you group enemies together, Rend them a couple of times, then Charge them into a wall and make them all explode, then explode again if they are defeated.
Aspect of Might
The Aspect of Might is great for builds like this one that will use their Basic Skills often. It grants a hefty chunk of Damage Reduction, helping us take hits more easily.
Iron Blood Aspect
This is a niche defensive aspect, but one that works incredibly well or this starter build. This one will grant us increased Damage reduction for each nearby bleeding enemy. This makes playing around the Damage over Time style of the build much easier.
Skullbreaker’s Aspect
Skullbeaker’s Aspect deals a large portion of the enemy’s total Bleeding Damage as physical damage when they are stunned. Between Charge, the Aspect of Anemia, and Weapon Master’s Aspect, we’ll be able to stun enemies fairly often.
Weapon Master’s Aspect
This most importantly gives us a second charge of Rupture, as well as another charge for Steel Grasp. Additionally, it can also allow Rupture to trigger a stun, which adds a bit of safety if you use it at the wrong time.
Wanton Rupture Aspect
This Aspect will allow us to periodically use Rupture without consuming the Bleed. This pairs well with the Weapon Master’s Aspect and can lead to huge bursts of damage. Slotted on a 2H Weapon allows this to reach a minimum cooldown of 7 seconds
Aspect of Vocalized Empowerment
Vocalized Empowerment gives us extra Fury Generation any time we have a Shout Active. This helps us sustain fury, especially later in the game when we can get Runewords to automate our shouts.
Aspect of the Fortress
Aspect of the Fortress is quite a powerful defensive Aspect which grant ramping Damage reduction the lower your Life is. For a build that’s mostly relying on DoT, this helps you stay alive in more prolonged encounters.
Unique Items
We’re only going to talk about the few that offer the strongest effects on the build. While others help, these are the ones you want to slot into your build if you get the chance. Some of these can drop in World Tiers 1 and 2, with all of them available by World Tier 4.
Fields of Crimson
This is a Unique Two-handed Sword that allows Rupture to create Blood Pools that deal additional Bleeding damage over time, as well as increase the damage of all of our Bleeding. It’s made just for this type of build. It got a significant buff in Season 5, which makes it a strong option.
Rage of Harrogath
Rage of Harrogath is a Unique Chest Armor that fits into the build extremely well. It grants us a good amount of extra Life and some very nice damage reduction against bleeding enemies. It’s Unique effect even allows us to lower our cooldowns as we apply Bleeds. It also received a buff in Season 5.
Ring of the Ravenous
Added with Season 3, This Unique Ring will allow Charge to apply Rend’s Bleed while also increasing the Bleed duration of Rend. It’s a great option for really stacking up bleeds. This Ring also comes with some fantastic affixes, including Ranks to Rend as well as our Charge.
Check out our dedicated guide to learn how to maximize your damage in Diablo 4. It breaks down all the ways to scale your Damage, including getting the biggest numbers possible, and what factors play into achieving that.
Paragon Boards and Glyphs
Paragon Boards and Glyphs are a feature that becomes available at level 60. Below are our recommended Paragon Boards and Glyph Choices. These are listed in the order we recommend them as well as their pathing.
With the abundance of Paragon Points we can earn, we’ve split the pathing into Initial Pathing and Additional Pathing. Initial Pathing is the clusters we pick up while pathing through the board, while Additional Pathing are ones we come back for later for additional stats once we’ve gotten all of our Glyphs socketed.
Starter Board
Starter Boards offer a lot of generic offensive and defensive stats. In this case, Damage, Elite Damage, Armor, and Maximum Life are worth picking up.
Initial Pathing
- Brawn (Max Life Only)
- Glyph Socket
- Iron Strength (Elite Damage Only)
- Upper Gate
Additional Pathing
- Tenacity
- Strength for Glyph
- Raw Might
This board offers a lot of accessible Strength, so we’ll socket Seething here to take advantage of this.
This Glyph grants Increased Damage with Swords Per 5 Strength allocated in range. With 40 Strength allocated, it grants 5 Fury each time we defeat an enemy with a Sword. At Glyph Level 45, it also grants a multiplicative bonus to Damage.
Hemorrhage
Hemorrhage Increases our Bleeding Damage by a portion of our Vulnerable Damage. Additionally, this Paragon Board offers us a lot of Vulnerable Damage and Physical Damage over Time bonuses.
This Paragon Board is rotated so that the Glyph Socket is in the Lower Right of the Paragon Board.
Initial Pathing
- Flayer
- Glyph Socket
- Butcher
- Right Gate
Additional Pathing
- Bloodbathed
- Hemorrhage
- Lacerator
- Willpower for Glyph
This board offers a lot of accessible Willpower, so we’ll socket Disembowel here to take advantage of this.
This Glyph grants Increased Bleeding Damage Per Willpwoer allocated in range. With 25 Willpower allocated, it grants Defeating Bleeding Enemies has a chance to lower our cooldowns. At Glyph Level 45, it also grants a multiplicative bonus to Damage.
Blood Rage
Blood Rage gives us a chance to enter the Berserkign State when defeating a Bleeding Enemy. Additionally, Our damage is increased by a portion of our Damage while Berserking bonus. This Paragon Board also offers a lot of Damage while Berserking and bonuses to Bleeding Damage.
This Paragon board is rotated so that the Rare Node Craving is in the Upper Left of the Paragon Board.
Initial Pathing
- Glyph Socket
- Wrath
- Revel
- Upper Gate
Additional Pathing
- Craving (Berserking Damage Only)
- REstorative (Max Life Only)
- Blood Rage
- Grit
- Fire Conditioned
This board offers a lot of accessible Strength, so we’ll socket Ire here to take advantage of this.
This Glyph grants Increased Damage while Berserking Per 5 Strength allocated in range. With 40 Strength allocated, it grants Damage Reduction from Elites while Berserking. At Glyph Level 45, it also grants a multiplicative bonus to Damage against Close Enemies.
Decimator
Decimator increases our Damage against an enemy we make Vulnerable or Overpower a Vulnerable enemy. Additionally, this Paragon Board offers a ton of Vulnerable Damage and Max Life.
This Paragon Board is rotated so that Decimator is located toward the right side of the paragon board.
Initial Pathing
- Demolish
- Glyph Socket
- Decimator
- Restorative
- Right Gate
Additional Pathing
- Brawn
- Arrogance
- Pillage
- Destroyer
- Willpower for Glyph
This board offers a lot of accessible Willpower, so we’ll socket Undaunted here to take advantage of this.
This Glyph grants Increased Damage while Fortifed Per 5 Willpower allocated in range. With 25 Willpower allocated, it grants Increased Damage Reduction based on our Fortify. At Glyph Level 45, it also grants a multiplicative bonus to Damage.
Carnage
Carnage increases your Attack Speed when we Critically Strike while Berserking. Additionally, this Paragon Board a ton for Critical Strike Damage and Damage while Berserking.
This Paragon Board is rotated so that Carnage is located near the left side of the Paragon Board.
Initial Pathing
- Brash
- Carnage
- Fierce
- Glyph Socket
- Berserker (Berserk Damage Only)
Additional Pathing
- Enraged
- Recuperate (Max Life Only)
- Cold Conditioned
- Dexterity for Glyph
This board offers a lot of accessible Dexterity, so we’ll socket Wrath here to take advantage of this.
This Glyph grants Increased Critical Strike Damage Per 5 Dexterity allocated in range. With 25 Dexterity allocated, it grants Skills that Critally Strike will generate Fury. At Glyph Level 45, it also grants a multiplicative bonus to Critical Strike Damage.
This concludes our guide to the optimal Barbarian Leveling Build in Diablo 4. If you enjoy this class, we have a full Endgame Berserking Barbarian Build Guide focusing on the Leap Skill. It is great for post-campaign gameplay, but also contains a leveling segment near the end in case you want to play it from level 1.
Check out more Diablo 4 Builds here on VULKK.com.


