This guide for the Sorcerer in Diablo 4 focuses on a post-campaign Endgame Ice Shard build that you can get going very easily, even without all the necessary Aspects you’d need to actually complete the build!
This guide is up-to-date for Season 4 and Patch 1.4.0.
Check our Diablo 4 Builds Catalog of uniquely crafted builds for each class.
The Sorcerer is a very powerful caster class with a lot of builds to offer. In this guide, we’ll be taking a look at an Ice-focused Sorcerer that is built around the Ice Shards Skill.
While this build is also a fantastic leveling build, we’ll be diving into the ideal endgame setup for it. This means we’ll be accounting for having completed enough Renown tasks to at least have gotten the 10 additional Skill Points available.
If you want a great build to level with, try our Sorcerer Leveling Build: Crackling Arcs – a Lightning-focused build that works exceptionally well for leveling all the way to the campaign’s end.
Build Overview
This potent Ice-focused Sorcerer uses Ice Shards as its primary source of damage, using other skills for protection as well as further enabling Ice Shards. We’ll also have Frost Bolt contributing some damage, but its main purpose is Mana Generation.
On the Defensive side of things, we have Teleport, Ice Armor, and Frost Nova. Teleport is our guaranteed way to break out of Crowd Control or avoid Damage and Crowd Control altogether outside of Evading. Ice Armor is a great on-demand barrier that will also help with Mana Sustain.
Frost Nova is great Crowd Control for us to use defensively, but its main purpose is to enable Ice Shards by triggering the Ice Shards Enchantment, which will send Ice Shard to frozen enemies. Is this interaction that makes this build an exceptionally strong mobbing build, while Ice Shard themselves deal enough single-target damage to hand bosses.
Skill and Passive Breakdown
In this section, we’ll be talking about each skill we use. This is the whys and hows of how the build works, and then we’ll cover the general leveling order.
Skills
These are the main skills for the build. We’ll explain what purpose each serves and how they fit the build.
 Frost Bolt
Frost Bolt is useful for its Chilling effect which will eventually stack up and Freeze enemies well. Combined with Blizzard, you stack this faster to freeze and launch free Ice Shards at foes.
We’ll be upgrading this to Glinting Frost Bolt, as this generates an extra 4 Mana each time we hit an enemy. When those enemies are Chilled for Frozen, we can also set off a small explosion from Enhanced Ice Bolts which will also trigger this passive for huge Mana sustain in combination with our passives.
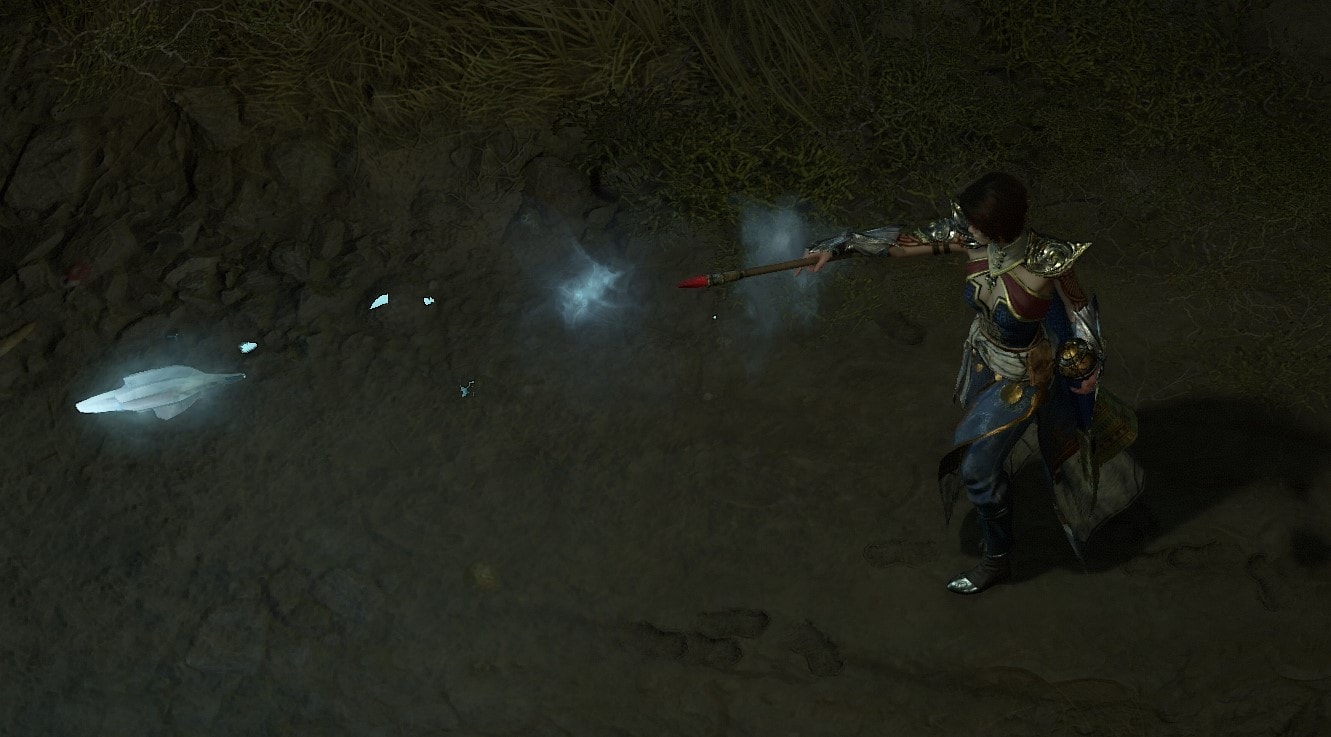
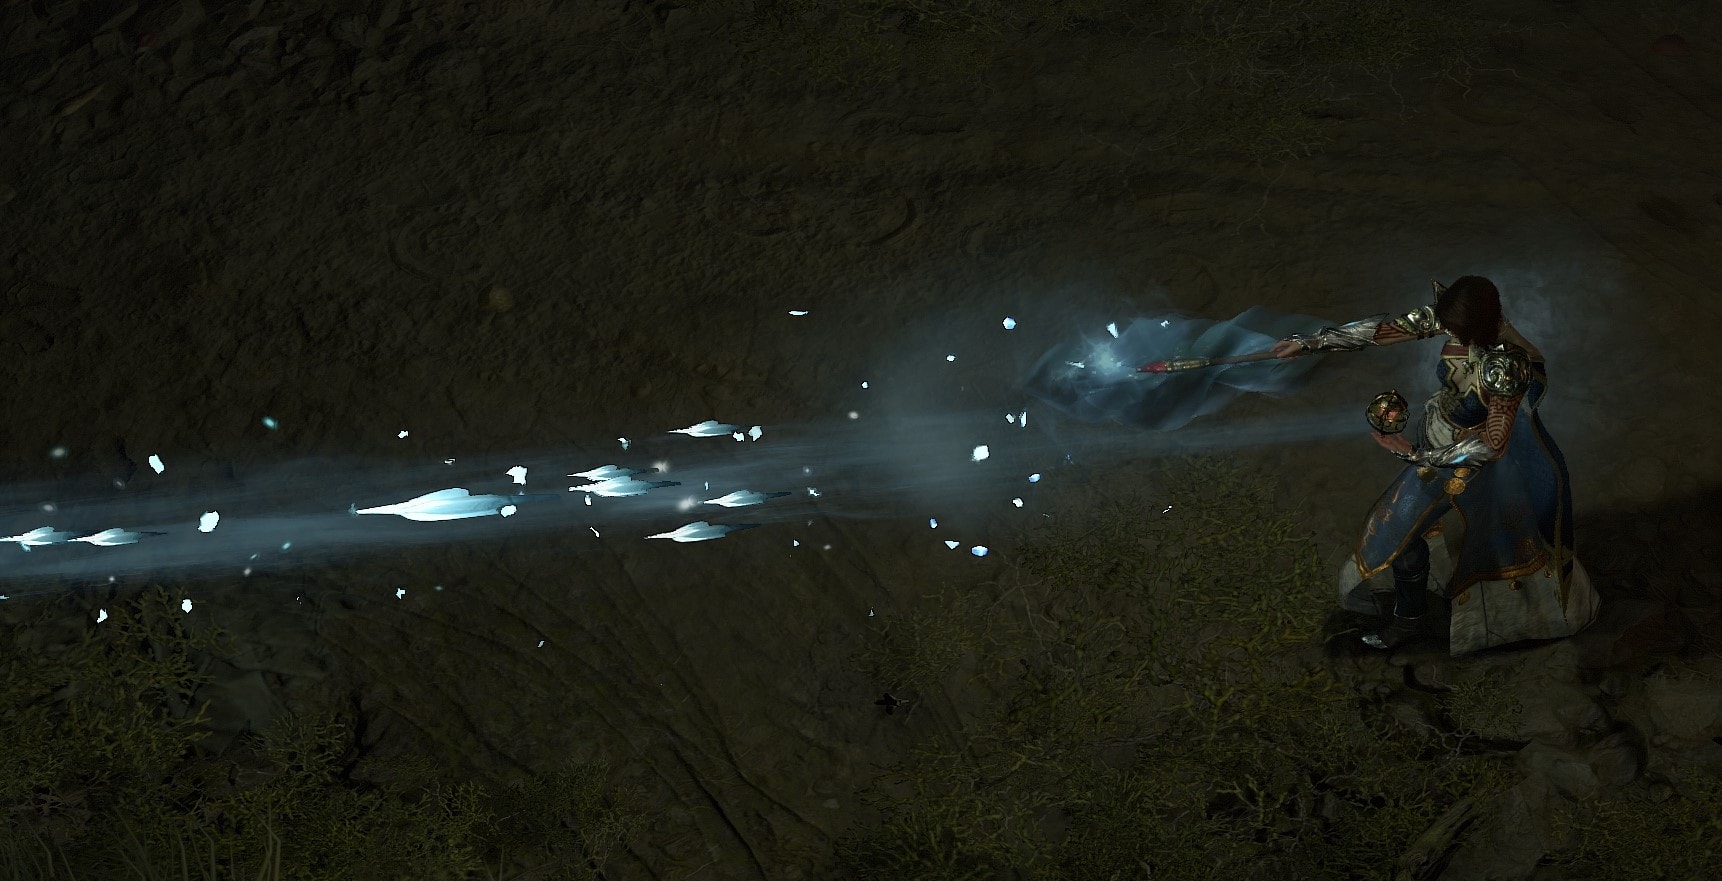
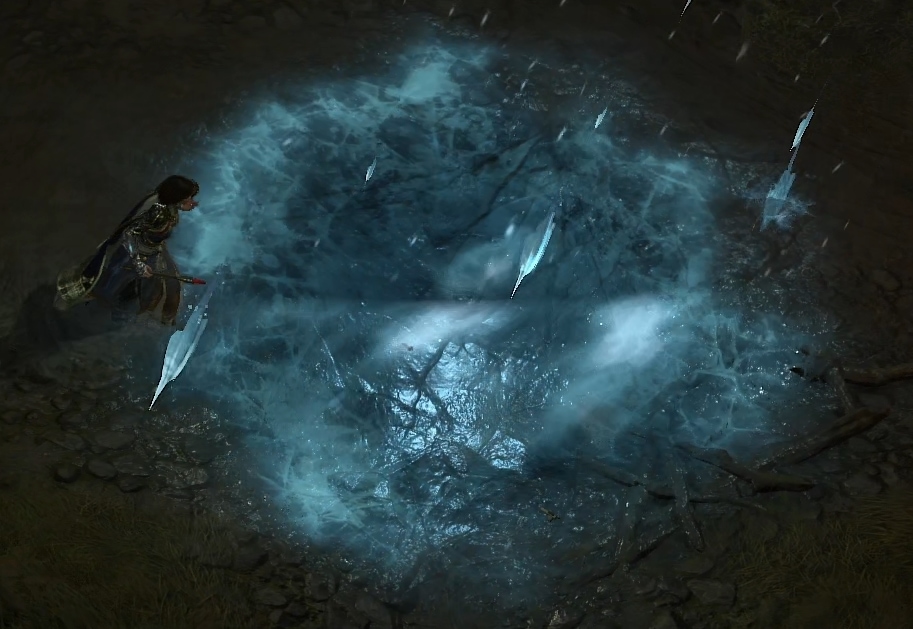
Ice Shards
Ice Shards are our main DPS skill, These deal increased damage to frozen targets, meaning the sooner were get to Frost Nova the stronger they get.
We’ll be upgrading Ice Shards to Greater Ice Shards to they will ricochet off frozen enemies, or all enemies when we’re shielded.
Teleport
Teleport is a great mobility Skill for us, as well as a consistent way to get Unstoppable to break Crowd Control on us.
We’ll be upgrading it to Shimmering Teleport to be able to use it to dive into packs and safely Frost Nova them with added Damage Reduction.

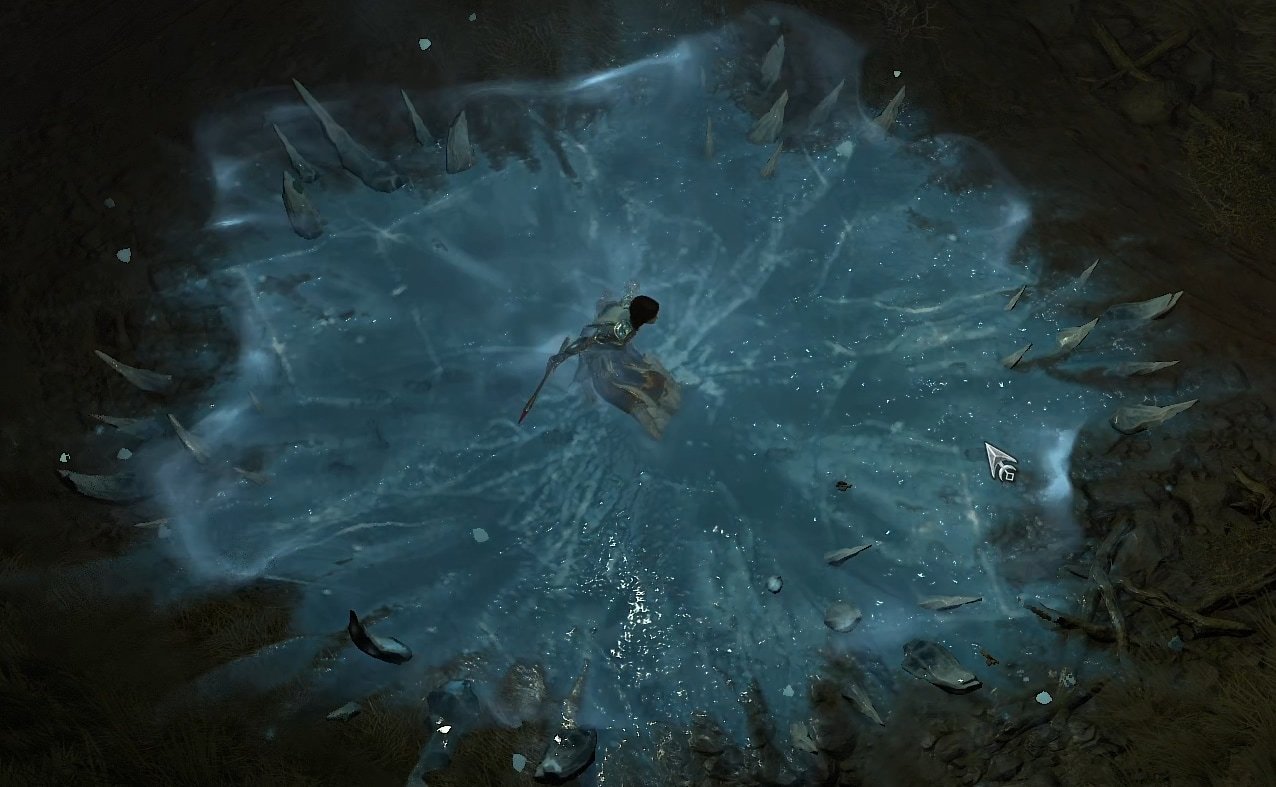
Frost Nova
Frost Nova is a basically second damage skill for us. When it Freezes enemies, it’ll end up making them Vulnerable as the Ice Shards Enchantment deals damage to them.
We’ll be upgrading this to Mystical Frost Nova do the enemies that get popped by Ice Shards reduce its cooldown and it will consistently apply Vulnerable for us.
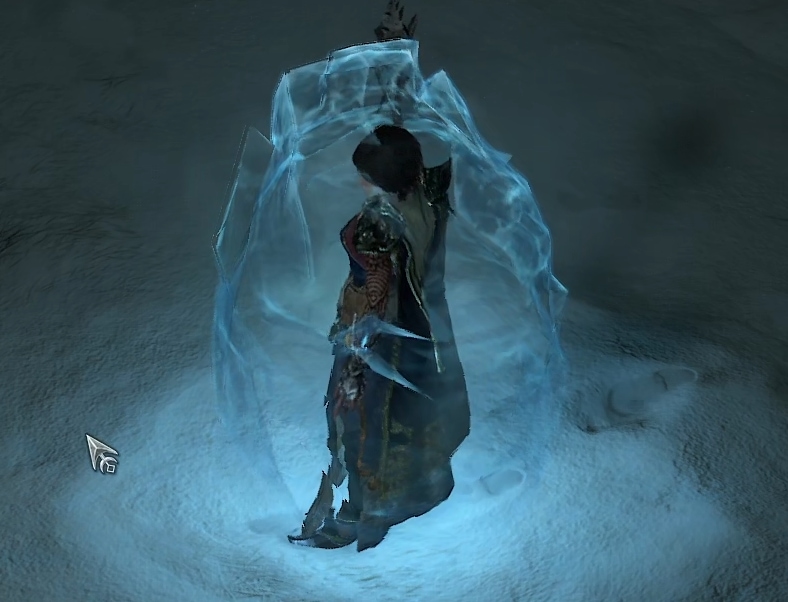
Ice Armor
Ice Armor is a great on-demand Shield that we’ll get very early on. It’s made even better by our damage increasing its value. This can essentially double our health for up to 6 seconds at a time.
We really only need Enhanced Ice Barrier for the extra mana sustain, if you wanted to take a further upgrade, Mystical would be the way to go with Frost Nova applying Vulnerable.
Flame Shield
Flame Shield is nearly mandatory after the 1.1 Update, and the Sorcerer’s already low defenses got even worse.
Passives
Here we’re only going to talk about the main passives we absolutely want as well as our Key passive. There are unfortunately a couple we will need to take to get access to these though.
 Glass Cannon
Glass Cannon is a great damage passive and one of the earliest we pick up in the build. While it comes with the downside of taking additional damage, we mitigate that with tons of barriers and Crowd Control.
Precision Magic
We don’t take Precision Magic until super late, but it does help trigger some useful Lucky Hit Effects, including our Key Passive.
Protection
Protection is a passive we grab before Glass Cannon. Not only does it provide a Barrier for Greater Ice Shards to work off of, we’ll have plenty of cooldowns to keep it active all the time.
Devouring Blaze
Devouring Blaze allows us to use the Fire Bolt Enchantment to get a sizable boost to our Critical Strike Damage. Without the Fire Bolt Enchantment, this will not work, so we end up picking it up very late.
Cold Front
Cold Front helps us to build up Chill faster, and therefore Freeze faster. Any freeze we get using Blizzard or Frost Bolt will trigger the Ice Shards Enchantment for extra damage.
Permafrost
Permafrost is a strong damage passive that will increase our damage against Elites and Bosses. Since we’re a pure Ice build, this will affect all of our damage.
Hoarfrost
Hoarfrost increases our damage against Chilled and Frozen targets. Everything we deal damage to will be affected by one of these, so it’s a strong passive here.
Icy Touch
Icy Touch Increases our damage to Vulnerable enemies. Since Frost Nova Will consistently be applying Vulnerable, this is another easy damage increase.
Fiery Surge
Fiery Surge uses the Fire Bolt Enchantment to increase our Mana Regeneration while mobbing. We’ll be taking it later after we pick up all of your damage bonuses.
Key Passive – Avalanche
Avalanche requires some investment into Lucky Hit Chance to work well but is a great Key passive for us. It’ll be capable of empowering our main damage skill and holds up well in both mobbing and bossing stations. While Shatter only works for mobbing.
| Icon | Skill Name | Skill Tree | Points |
|---|---|---|---|
 | Frost Bolt | Basic | 1 |
| Enhanced Frost Bolt | Basic | 1 |
| Glinting Frost Bolt | Basic | 1 |
 | Fire Bolt | Basic | 1 |
 | Ice Shards | Core | 5 |
| Enhanced Ice Shards | Core | 1 |
| Greater Ice Shards | Core | 1 |
 | Teleport | Defensive | 1 |
| Enhanced Teleport | Defensive | 1 |
| Shimmering Teleport | Defensive | 1 |
 | Frost Nova | Defensive | 1 |
| Enhanced Ice Nova | Defensive | 1 |
| Mystical Ice Nova | Defensive | 1 |
 | Ice Armor | Defensive | 1 |
| Enhanced Ice Armor | Defensive | 1 |
 | Glass Cannon | Defensive | 3 |
 | Align the Elements | Conjuration | 3 |
 | Protection | Conjuration | 3 |
 | Precision Magic | Conjuration | 3 |
 | Flame Shield | Mastery | 1 |
| Enhanced Flame Shield | Mastery | 1 |
| Shimmering Flame Shield | Mastery | 1 |
 | Icy Veil | Mastery | 1 |
 | Cold Front | Mastery | 3 |
 | Inner Flames | Mastery | 1 |
 | Devouring Blaze | Mastery | 3 |
 | Permafrost | Ultimate | 3 |
 | Hoarfrost | Ultimate | 3 |
 | Icy Touch | Ultimate | 3 |
 | Frigid Breeze | Ultimate | 3 |
 | Fiery Surge | Ultimate | 3 |
 | Avalanche | Key Passive | 1 |
Gearing and Stats
In this section, we’ll cover all the things you’d want to keep an eye out for to enhance the build. This includes Recommended Weapons, Enchantments, Aspects, and Uniques.
Recommended Weapons
For this build, we highly recommend using a Wand or Dagger, alongside a Focus. The main reason for this is that the Focus offers a stat that would otherwise only be accessible via Helms or Amulets, Cooldown Reduction.
With Frost Nova being a huge part of the build and a lot of its mobbing potential, it’s important to get this cooldown as low as possible. This is to help offset the effects of the Frostblitz Aspect which will be increasing its cooldown in exchange for a second charge.
Using a one-handed weapon also offers a high base Attack Speed, which allows Frost Bolt to generate Mana at a faster rate. This is very useful for the build as it can consume Mana very quickly if you’re not triggering Avalanche
There is a case to be made for a 2H Staff as well, as while it is slower and does not offer the same Cooldown Reduction, it can be used to increase the power of an offensive Aspect, which in our case we’d slot in the Aspect of Control if we find it.
Ideal Stats
This table includes the majority of the stats you’d want on gear. While there are others available, these are the most effective for both damage and keeping the build alive.
Due to the width of this table, we recommend mobile users rotate their phones for viewing.
| Gear | Stat 1 | Stat 2 | Stat 3 | Stat 4 |
|---|---|---|---|---|
| Main-hand | Vulnerable Damage | Critical Strike Damage | Damage to Frozen | Resistance |
| Off-hand | Cooldown Reduction | Mana Cost Reduction | Critical Strike Chance | Lucky Hit Chance |
| Helm | Cooldown Reduction | Maximum Life | Lucky Hit With Barrier | Total Armor |
| Chest | Maximum Life | Damage Reduction | Damage Reduction from Burning | Close Damage Reduction |
| Gloves | Critical Strike Chance | Ranks to Ice Shards | Critical Strike Damage | Lucky Hit Chance |
| Pants | Maximum Life | Damage Reduction | Damage Reduction from Burning | Resistance |
| Boots | Movement Speed | Ranks to Frost Nova | Mana Cost Reduction | Resistance |
| Rings | Critical Strike Chance | Critical Strike Damage | Vulnerable Damage | Lucky Hit Chance |
| Amulet | Ranks to Hoarfrost | Cooldown Reduction | Mana Cost Reduction | Damage Reduction |
Recommended Gems
For this build, we recommend Emeralds in Weapons, Topaz in Armor, and Diamonds in Jewelry.
Emeralds in our Weapons are the best choice for this build. While Crowd Control is something we do plenty of, Vulnerable is something we’ll be able to make more consistent use of, even against bosses.
We use Topaz in our Armor as Teleport is our only Unstoppable. This makes it so if we get caught in Crowd Control during the short window of Teleport’s Cooldown, we’ll take much less damage.
Diamonds in Jewelry are great for the extra Resistances. With their Season 2 changes, they heavily reduce a ton of the incoming damage you take from elemental attacks. These can be swapped out later with other resistance gems to fill out any gaps left by your gear.
Vampiric Powers
During the Season of Blood, we’ll have access to Vampiric Powers, which allow us to slot up to five unique powers into our Sanguine Circle to increase the power of the build. We’ll include more than the maximum in the selection below to offer alternatives, but they will be listed in order of their relative strength.
| Name | Effect | Reason |
|---|---|---|
| Ravenous | Attacks have a chance to Increase Attack Speed based on Total Movement Speed. | We stack Lucky Hit Chance quite a bit and the build feels better with high Attack Speed. |
| Undying | Heal when casting skills. Healing is doubled under 50% Maximum Life. | We cast Ice Shards fairly often, meaning this provides a good amount of sustain. |
| Accursed Touch | Chance to apply Vampiric Curse on hit. Vampiric Curse can spread between enemies. Accursed Souls deal increased damage. | Pairs with Prey on the Weak for more regular access to Vulnerable. |
| Prey on the Weak | Increases Vulnerable Damage. Enemies afflicted with Vampiric Curse are also Vulnerable. | Pairs with Accursed Touch for more regular access to Vulnerable. |
| Domination | Increases damage against enemies afflicted with Stun, Frozen, Immobilize, or Fear. Injured Non-Elites are executed instead. | We’ll regularly be freezing and stunning enemies, and this makes clearing harder content much quicker. |
| Resilience | Increases Damage Reduction based on Missing Maximum Life. | Great boost of survivability in harder content. |
| Infection | Hitting enemies inflicts a stack of Pox. At 8 stacks, Pox detonates and deals Poison Damage. | Since Ice Shards hit rapidly, we can stack this effect very quickly. |
Enchantments
Enchantments are the Sorcerer’s Class Mechanic and can offer a variety of options to many builds. Below are the Enchantments we recommend.
Ice Shard Enchantment is the go-to option for the build. This makes it so any time you freeze an enemy, Ice Shards will be cast at those enemies. Paired with Frost Novae this gives the build fairly reason AoE.
Fire Bolt Enchantment is a strong option for increasing damage. Not only do we get access to powerful passives like Devouing Blaze, it also works nicely in the late game when paired with Tal Rasha’s Iridescent Loop for an easy way to stack and maintain its bonus.
Teleport Enchantment is an alternative option in place of Ice Shard Enchantment and its main purpose would be to enable the use of Tibault’s Will. This would give you a damage boost and restore a huge portion of Mana with every Evade or normal Teleport use.
Aspects
We’ll cover the Aspects that are recommended for maximizing the potential of the build. We’ll also suggest which gear slot you should look to place them in.
 Aspect of Piercing Cold
The Aspect of Piercing Cold enables your Ice Shard to pierce its initial target and up to a maximum of 4 targets in total. While damage is reduced for the hits that pierce, it’s a great AoE boost for an otherwise single target skill.
Thankfully, this Aspect is available in your Codex of Power if you complete the Dead Man’s Dredge dungeon in Fractured Peaks. This makes it highly accessible and since we’ll be opting to put the Aspect of Piercing Cold on our Gloves, we can easily keep this on us at all times.
Aspect of Frozen Memories
The Aspect of Frozen Memories will significantly boost our damage, enabling our Key Passive to allow for two free casts instead of just one when it triggers. With each of the free casts dealing significantly more damage, this is a great endgame choice.
As it’s a rare Aspect, we’ll place the Aspect of Frozen Memories on one of our Rings, which gets replaced less often.
Storm Swell Aspect
The Storm Swell Aspect is a solid fit for our build thanks to the Protection passive, granting us a shield when we use any Cooldown, which includes Frost Nova. It’s not the biggest damage increase out there but has a very easy-to-fulfill condition.
We’ll be placing the Storm Swell Aspect on either our Main-hand or Off-hand weapon slots. We don’t need any higher bonus than what it grants at base, so there’s no point in placing it on our Amulet. It’s also easy to replace, being available in the Codex of Power after completion of the Onyx Hold dungeon in Dry Steppes.
Aspect of Control
The Aspect of Control increases our damage against enemies that are Frozen, Stunned, or Immobilized. Since we’ll be freezing enemies often to do our damage, this is a very strong bonus to fit into our build.
We’ll be slotting the Aspect of Control into our Amulet, so it grants the maximum bonus that it can. However, if you wanted to use 2H weapon, or prefer it over the recommended Setup, slot in there instead and drop Storm Swell.
Conceited Aspect
The Conceited Aspect increases our damage while we have a barrier active. We’ll have high uptime on our barriers, which means a high uptime for this bonus.
We’ll be slotting this in our Main-hand or Off-hand Weapon Slots, whichever is not occupied by Storm Swell. If you’re going the 2H route with Aspect of Control, slot this in your Amulet instead.
Prodigy’s Aspect
Prodigy’s Aspect allows us to recover a chunk of Mana by using a cooldown. Between this and Avalanche, we should rarely ever have Mana issues.
The Prodigy’s Aspect will be occupying our second Ring slot. Even though it’s available in our Codex of Power after completing the Witchwater dungeon in Hawezar, Rings are one of the only slots we can place Resource Aspects.
Aspect of Frostblitz
The Aspect of Frostblitz gives us a second use of Frost Nova, but lengthens it’s base cooldown. With one Frost Nova generally being enough to clear a pack, this is a fair trade off.
With our goal to eventually use Iceheart Brais in our Pants slot, the Apsect of Frostblitz will be slotted in either our Helm or Chest instead.
Aspect of the Protector
While we have fairly high barrier uptime already, this helps us by gaining us a much larger barrier at the start of an Elite or Boss encounter. This allows us to save our Ice Armor for more critical situations where we need an on-demand Barrier.
The Aspect of the Protector will be placed in our Helm or Chest, whichever is not occupied by the Frostblitz Aspect. Should we need to replace either slot, this Aspect is available in the Codex of Power after completing the Lost Archives dungeon in Fractured Peaks, making it easily accessible and replaceable.
Exploiter’s Aspect
 Exploiter’s Aspect
Explioiter’s Aspect is a great way to help the build, as if an enemy becomes unstoppable, our damage falls off super hard as we’ll no longer be able to Chill, Freeze, or increase out damage with anything other than Vulnerable.
Exploiter’s Aspect will be placed in our Boots, as it’s our last remaining slot that’s open and can hold this type of aspect.
As alternative aspect options for boots, you could use Bounding Conduit or Ghostwalker to get more mobility from Teleport, or the Aspect of Fortune to increase Lucky Hit Chance while Ice Armor is up.
Unique Items
We’re only going to talk about the few that offer the strongest effects on the build. While there are others that help, these are the ones you really want to slot into your build if you get the chance. These won’t drop until Tier 3 content, but decent upgrades for the build once you get them.
Iceheart Brais
Iceheart Brais is a Unique pair of Pants that causes Frozen Enemies to unleash an Ice Nova on Death. For our build, this means constant reapplication of Vulnerable though Frost Nova’s Upgrades, but additional chances to re-freeze enemies and lower Frost Nova’s cooldown as well.
In addition, it offers a bonus to Freeze Duration as well as damage against Frozen enemies. It also has a much larger bonus to damage against Injured Enemies, which can help finish enemies off and ensure they explode.
Raiment of the Infinite
Raiment of the Infinite is a bit of a risky option, but fantastic when you’re not pushing high Nightmare Dungeons. It allows Teleport to group enemies closer to us and Stun them. We can then follow this with Frost Nova to easily delete packs without fear of accidentally missing a couple unless they’re very spread out.
It’s a risk as our Chest is easily one of our best defensive slots, much like our Pants. However, having both slots occupied by unique items is basically a death sentence, which you’d want to avoid. Use this or Iceheart Brais, but not both.
Tibault’s Will
Tibault Will is a pair of Unique Pants that grant us a damage bonus and restore some Mana when we gain Unstoppable. Since we’ll be able to frequently use Teleport for mobility as well as its Unstoppable effect, this adds a ton of extra utility to the build, giving us a secondary way to recover Mana without needing to use our Basic Skill.
Tal Rasha’s Iridescent Loop
Tal Rasha’s Iridescent Loop is a Unique Ring that increases our damage for each element of damage dealt and refreshes all stacks when dealing elemental damage. This is a great ring to pair with Tibault’s Will in the late game, as the effect of Tibault’s Will can easily replace Aspect of the Umbral.
Paragon Boards and Glyphs
These two endgame options are part of the Paragon System which is available starting at level 50.
Paragon Boards
Paragon Boards are a feature that becomes available at level 50. These boards allow us to spend the Paragon points we earn for leveling and Renown to strengthen our character. Each of these has a single Glyph Slot to place a glyph of our Choice.
Starter Board
We have no choice but to get through this one first, thankfully it’s pretty small compared to others that come after. We recommend pathing up the right side to start, then crossing over to the left after grabbing the Glyph Slot.
This gets us both of the Rare damage nodes from the tree. Since you’ll need to eventually spend some points to use the Glyph Slot anyways, pathing towards the other Rare nodes from the middle isn’t a bad idea later, but for now, we want to get to the Gate Node and our second Board ASAP.
Frigid Fate
This Paragon Board offers us a lot of extra Vulnerable Damage from Magic and Rare Nodes, in addition to the Legendary Node Increasing our Lucky Hit Chance against Vulnerable enemies.
Rotate this board so that Guarded is the closest node to the entry point. From our gate at the bottom, head straight up to Frigid Fate before heading to the right and picking up Weakness. Then we’ll head up to our Glyph Node. From here, we’ll split our path and head straight to the right-hand gate, as well as up to Oppressive and its nearby gate.
Burning Instinct
With this board, we’re not super interested in the Legendary Node and skip it entirely. We’re mainly here for the Glyph Slot, Damage vs Burning, and Elite Damage.
Rotate this board so that Smoldering Embers is the closest node. We’re going to head straight to our Glyph Node from the left hand gate, then pick up both Smoldering Embers and Cinders. After this, we can head down to grab Kindling before connecting to the upper gate from the top.
Enchantment Master
Enchantment Master does nothing for us as a Legendary Node, but its board is a great pass-through board that offers a lot of Non-Physical Damage bonuses and Damage to Elites.
Rotate this board so that Elemental Balance is the nearest node to the bottom gate. Head straight to Elemental Balance, then up to our Glyph Node. From here we’ll head straight up to Ruinous, then head left from our Glyph to grab Elementalist before exiting out the right side. We’ll come back later to grab Erudite to activate our Glyph’s bonus here.
Icefall
This Paragon Board offers us a lot of Cold Damage and gives us even more Barrier to work with while mobbing thanks to Icefall granting a Barrier when we defeat Frozen Enemies.
We’ll want to rotate this board so our Legendary Node is closest to our left hand gate. Connecting from Burning Instinct, we’ll head up and grab Polar Prime before heading to grab Frosts and our Glyph Node. Connecting from Enchantment Master, we’ll grab Cryomancy and head straight to Icefall.
Glyphs
Each of our Paragon Boards has a Glyph Slot, where we can socket one of our Glyphs. These Glyphs provide powerful bonuses that can be leveled up by completing Nightmare Dungeons to increase their power. Below are the Glyphs we recommend and what board to place them on.
Control
Control increases the damage we deal to Crowd Controlled target for every 5 Dexterity allocated in range. With 25 Dexterity allocated in range, we dealing increased damage to Stunned or Frozen targets.
Control will go in our Starter Board. We have access to enough Dexterity in its radius that we can activate the bonus effect right away if we choose.
Territorial
Territorial grants us increased damage toward Close Enemies, which we’ll mostly be in close range, with majority of enemies being melee. With 25 Dexterity allocated in range, we get bonus Damage Resistance against Close Enemies.
We’ll place this in Frigid Fate, as it can easily meet the required Dexterity with minimal Paragon Point investment.
Exploit
Exploit increases our damage toward Vulnerable enemies for every 5 Dexteirty in range. With 25 Dexterity allocated in range, we’ll get a stacking damage bonus against Vulnerable targets.
We’ll place this in Burning Instincts, as it can very easily meet the requirement, and give the highest bonus here with little Paragon Point investment.
Elementalist
Elementalist increases the power of all Non-Physical Damage and Damage Reduction Bonuses in range. With 40 intelligence allocated in range, it also grants a stacking buff for each type of elemental damage we deal to an enemy.
We’ll place this in Enchantment Master, as it has a nice grouping of Non-Elemental Damage nodes near it, while having plenty of accessible Intelligence nearby.
Destruction
Destruction increases the Critical Strike Damage of our Core Skills (Ice Shard) for every 5 Dexterity in range. With 25 Dexterity in range, Critical Strikes grant a stacking damage buff against enemies.
We’ll place this in Icefall, as has plenty of accessible Dexterity in range.
Leveling Order
If you want to play this build from level 1, the next two segments of this build guide are for you. Below you will see the exact leveling order in which you should acquire your skills and passives to maximize damage and overall performance.
To Start off, we’ll take Frost Bolt and upgrade it directly to Glinting Frost Bolt for the Extra Mana sustain it provides. Then we can take Ice Shards and upgrade them to Greater Ice Shards. This gets us to our Defensive Skills.
Here we’ll take Teleport first for the Unstoppable effect as well as mobility. Next we’ll grab Frost Nova and upgrade it to Mystical Frost Nova to apply Vulnerable and reduce its cooldown when we defeat enemies frozen by it. Then we’ll take Ice Armor for the on-demand Barrier.
Next we’ll take a point in Align the Elements which gives us some passive Damage Reduction against Elites. We take it primarily to be able to pick up Protection, which we’ll max out for a strong, consistent Barrier without relying on Ice Armor.
Now we’ll go back and upgrade Teleport to Shimmering Teleport. This lets us use it to dive into packs to catch as many enemies in Frost Nova as possible, thanks to the upgrades giving Cooldown Reduction and Damage Reduction.
Next we grab Blizzard and upgrade it to Wizard’s Blizzard. This gives us reduced cost for our Ice Shards as well as provides a consistent chill which helps with staggering bosses. Then we’ll upgrade Ice Armor to Enhanced Ice Armor for extra Mana Generation.
Now we’ll start really boosting our damage, stating by maxing Ice Shards to increase its damage. Then we’ll grab and max Glass Cannon for the Increase damage, now that we have plenty of damage to boost and defense to mitigate its downside.
Since we’re at the level where we get a second Enchantment, we’ll take a point in Fire Bolt to fill that Enchantment slot. This enables a lot of our later passives to work, so don’t skip it!
Next we’ll grab and max Permafrost, followed by maxing Hoarfrost. Permafrost boosts our damage to Elites, while Hoarfrost boosts our damage toward Chilled or Frozen Enemies.
Then we grab our Key Passive, Avalanche. This will help alleviate some of our Mana issues if we get it to trigger consistently. It’ll also offer us a more consistent damage increase against targets we cannot freeze compared to Shatter.
Back to the passive extravaganza! Up next is maxing Frigid Breeze, which is a Lucky Hit effect that can also help with mana sustain. Then we take Icy Touch and max it for more damage to Vulnerable Enemies. Then we’ll take a point in Icy Veil to reach and max Cold Front, which helps us to Chill and Freeze faster with Blizzard and Frost Bolt.
Thanks to the Firebolt Enchantment, we’ll want to take and max Fiery Surge to help with mana sustain. Then, we can take a point in Inner Flames to reach Devouring Blaze so we can max that for the Critical Strike Damage.
Then we can round the build off by maxing Precision Magic to assist Avalanche and Frigid Breeze with activating more often. And we can fully level Align the Elements so it provides more consistent defense during Elite and Boss encounters.
The table below shows the recommended order to spend your skill in an easy-to-understand and follow format if leveling from level 1.
| Levels | Icon | Skill | Purpose |
|---|---|---|---|
| 2-4 | | Frost Bolt | Upgrade to Glinting Frost Bolt for Mana Sustain |
| 5-7 | | Ice Shards | Upgrade to Greater Ice Shards so it ricochets off Frozen and and while we’re shielded |
| 8 | | Teleport | Mobility Skill. |
| 9-11 | | Frost Nova | Upgrade to Mystical Frost Nova for Cooldown reduction and Vulnerable. |
| 12 | | Ice Armor | On-demand barrier for defense and triggering Greater Ice Shards. |
| 13 | | Align the Elements | Needed to reach Protection. |
| 14-16 | | Protection | Early defensive passive which also gives us more barriers to work with. Enable Ice Shard Enchantment at 15. |
| 17-18 | | Shimmering Teleport | Upgrade to Shimmering for Damage Reduction. |
| 19-21 |  | Blizzard | Upgrade to Wizard’s Blizzard for reduced cost on Ice Shards while its active. Swap to Flame Shield once you have fewer mana issues. |
| 22 | | Enhanced Ice Armor | Enhanced Ice Armor for more Mana sustain. |
| 23-26 | | Ice Shards | Fully leveling our damage skill. |
| 27-29 | | Glass Cannon | Great damage passive, now that we have plenty of defenses. |
| 30 | | Fire Bolt | Use as second Enchantment only. |
| 31-33 | | Permafrost | More damage against Elites. |
| 34-36 | | Hoarfrost | More damage against Chilled and Frozen enemies. |
| 37 | | Avalanche | Key Passive, chance for Free Frost Skills that deal increased Damage |
| 38-40 | | Frigid Breeze | Chance of Mana recovery when hitting Vulnerable targets. |
| 41-43 | | Icy Touch | More damage to Vulnerable enemies. |
| 44 | | Icy Veil | Used to reach Cold Front. |
| 45-47 | | Cold Front | Increases Chill stacking rate for quicker freezes. |
| 48-50 | | Fiery Surge | Mana Regeneration enabled by Fire Bolt Enchantment. |
| Renown | | Inner Flames | Used to reach Devouring Blaze. |
| Renown | | Devouring Blaze | Maxed to increase Critical Damage by using Fire Bolt Enchant. |
| Renown | | Precision Magic | Increases Lucky Hit Chance, to trigger Frigid Breeze more often |
| Renown | | Align the Elements | Increases Ramp up rate of the effect, making it consistently provide more damage reduction. |
Frost Sorcerer Gameplay Video
The video below contains clips with gameplay so you can get a better impression of what it looks and feels to play a Frost Sorcerer Build in Diablo 4.
This concludes our Frost Sorcerer Build focusing on the Ice Shard skill. You can find more leveling and endgame Diablo 4 builds here on VULKK.com to try new things with your characters and spice up your gameplay.