This guide for the Combo Point Rogue in Diablo 4 focuses on a post-campaign Endgame Flurry build that functions without too many Aspects, but becomes much more potent with the completed build!
This guide is up-to-date for Season 4 and Patch 1.4.0.
Check our Diablo 4 Builds Catalog of uniquely crafted builds for each class.
Rogue is a fairly strong and flexible class, offering both ranged and melee options. This build offers a hybrid build that utilizes the Close Quarters Combat Key Passive with the Combo Points Specialization to create a quick and flashy build that’s fun to play.
This Combo Point build guide assumes you’re at least level 50 and have completed enough of your Renown to have gained the 10 additional Skill Points available.
If you want an excellent leveling build to reach this point, try our Rogue Leveling Build. This build is the endgame version of that same build.
Build Overview
The Combo Point build is made to deal consistently high DPS, through both raw damage and Poison. We’ll be utilizing Puncture and its upgrade for consistent Vulnerable applications, as well as quickly stacking up Combo Points. We’re then able to use Flurry alongside Poison Imbument and Poison Trap to deal high poison damage. If the Aspect of Bursting Venoms Triggers, we’ll have a window of high burst where we can very quickly apply a ton of poison.
For our Defenses, we’ll be relying on Damage Reduction primarily. We’ll also be frequently triggering Siphoning Strikes for additional healing. Finally, we’ll have a good amount of crowd control between Daze and Knockdowns from Trick Attacks and the Mangler’s Aspect which will very often just disable most enemies near us.
Skill and Passive Breakdown
In this section, we’ll be talking about each skill we use. This is the whys and hows of how the build works, and then we’ll cover the skill point distribution.
Skills
These are the main skills for the build. We’ll explain what purpose each serves and how they fit the build
 Puncture
Puncture will be our main source of Energy recovery since we’ll be using it plenty often to trigger Close Quarters Combat’s bonus. It also lets us consistently maintain vulnerable at close range.
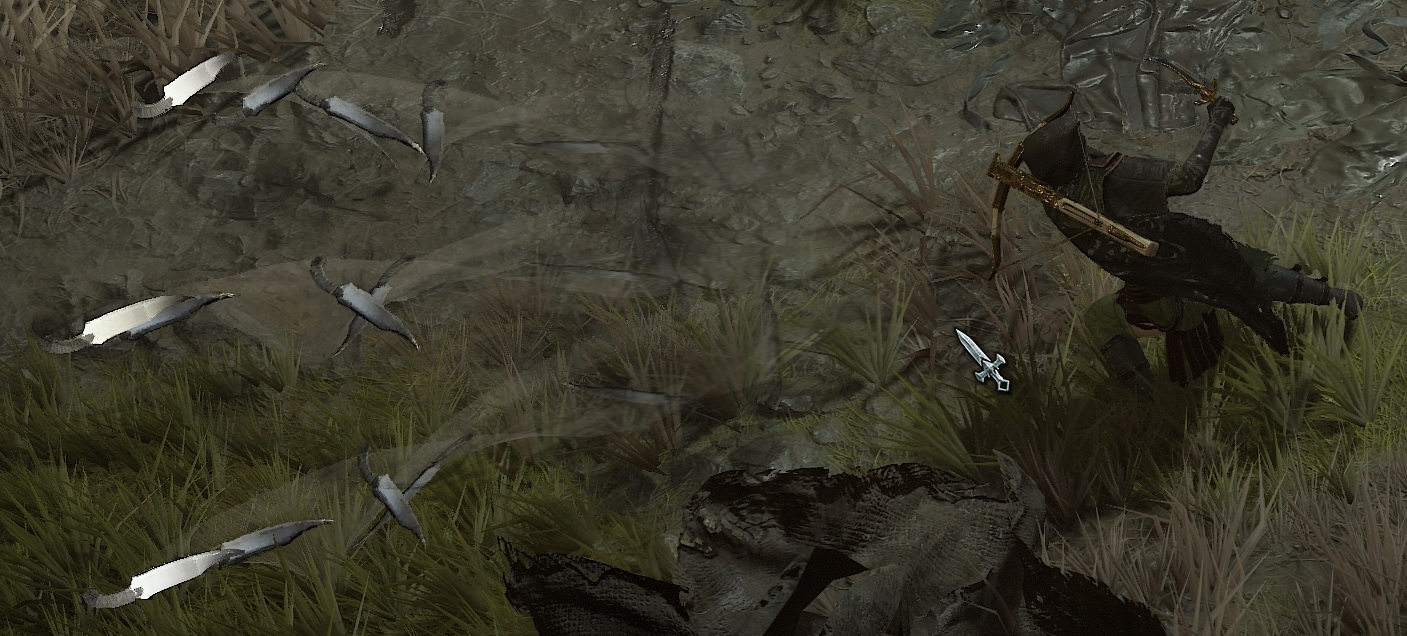
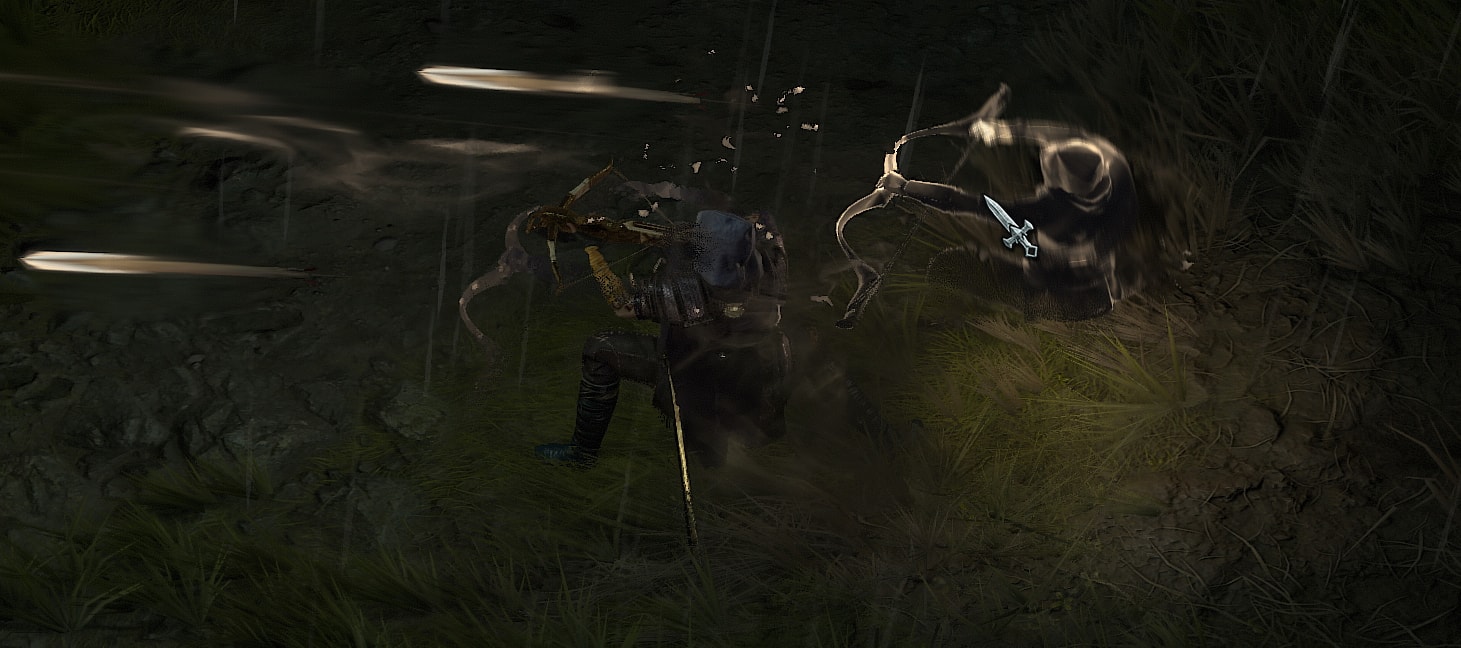
Flurry
Flurry is our main damage, and supported by the Aspect of Encircling Blades makes it a great AoE skill. With the Combo Points Specialization, it’ll also be consistently boosting our Attack Speed. Thanks to upgrades, it’ll also spread the Vulnerable created from Puncture.

Shadow Step
Shadow Step is our main mobility tool and a way to break out of Crowd Control. It’ll be used to reposition often so we can damage as many targets at once with Flurry.
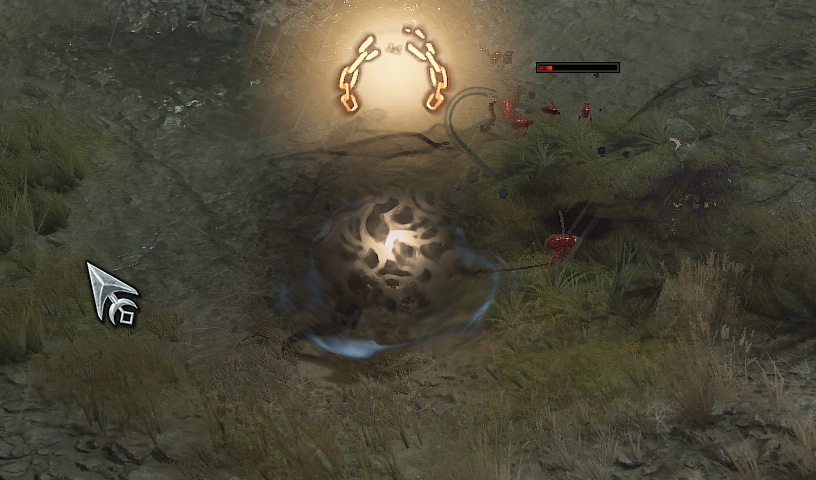
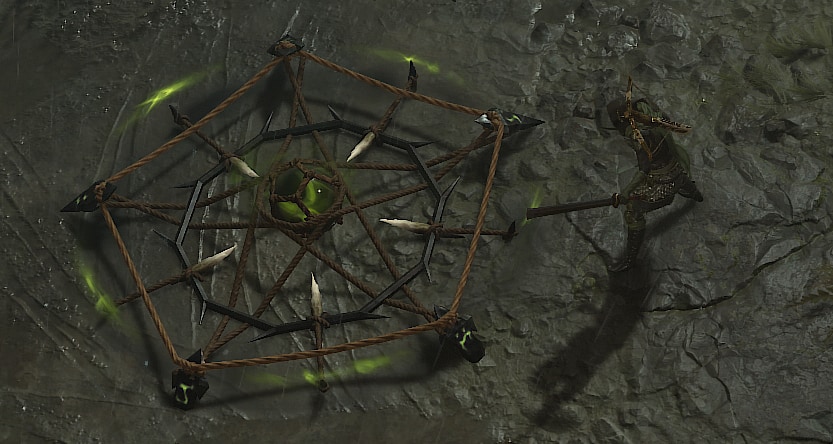
Poison Trap
Poison Trap is here mostly for its utility, however it does fantastic damage as well. This will be our main way of potentially resetting Poison Imbuement when Aspect of Bursting Venoms isn’t active.
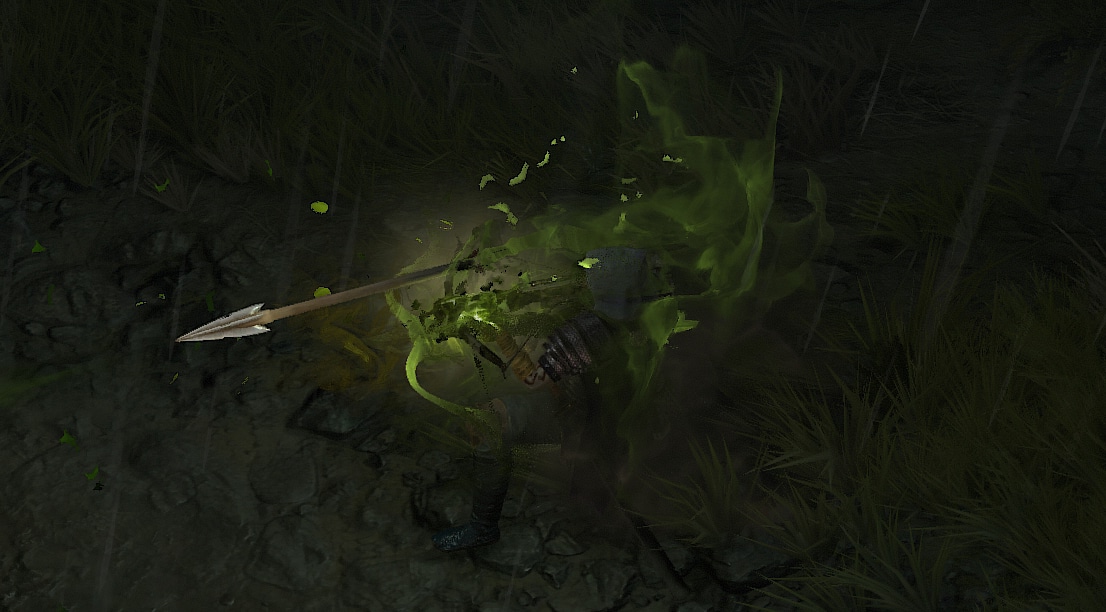
Poison Imbuement
Since Flurry tends to lack a bit of single-target damage, this helps to shore that up. Through the use of Combo Points, we can make this fairly potent as it scale off Flurry’s damage.
Shadow Clone
Shadow Clone is easily one of the best Ultimates for the Rogue. Not only will this increase our damage, but it’ll also provide additional chances to trigger the Aspect of Bursting Venom with the help of the Aspect of Imitated Imbuement.
Passives
Here we’re only going to talk about the main passives we absolutely want as well as our Key passive.
 Key Passive – Close Quarters Combat
Close Quarters Combat gives us solid boost of Attack Speed, while also granting Increased damage toward Crowd Controlled Enemies. Combo Points heavily rely on Attack Speed to be good, and this helps a lot with that.
Sturdy
As a primarily melee build, Sturdy helps us survive when we’re diving into the thick of things, limiting how much damage we take from melee enemies.
Siphoning Strikes
Since our main skill is AoE and can trigger multiple Critical Strikes per use, Siphoning Strikes are an amazing sustain option. We’ll be able to use it more often than not which makes it incredibly reliable.
Reactive Defense
Reactive Defense helps to cover us should we get crowd controlled and not have Shadow Step available. It’s a pretty significant bonus that helps take care of the Rogue’s few weaknesses.
Concussive
Concussive isn’t something we’ll be able to trigger immediately, as we’ll need both the Mangler’s Aspect and Trick Attacks to activate it. However once we can, its a very readily available boost to Critical Strike Chance.
Weapon Mastery
Regardless of what melee weapon we use, we’ll get plenty of benefits out of the damage options provided by Weapon Mastery.
Exploit
Exploit is a pretty solid bonus for bossing, helping with initial Burst and finishing off our foes. Sadly it’s not active in any way during the middle section of a foe’s health.
Malice
Malice is a great bonus as we’ll consistently be applying Vulnerable with Puncture and spreading it with Flurry. This makes any bonus to Vulnerable damage very valuable.
Precision Imbuement
While we only have just Poison Imbuement, this can really pull its weight when we trigger Aspect of Bursting Venoms. This in general is just free Critical Strike Chance
Deadly Venom
We have two abilities that deal Poisoning Damage, so boosting that even a little makes a pretty big difference.
Alchemical Advantage
Alchemical Advantage is a nice bonus to our Attack Speed, which especially helps with clearing packs. We’ll be able to make use of it often enough thanks to Poison Trap.
Trap Mastery
Since we can petty quickly drop Poison Traps while we’re fighting, and most things we’re fighting will be crowd-controlled, this results in a fairly consistent Critical Strike Chance increase.
Skill Point Distribution: Where to Assign Your Skill Points
This is an easy-to-reference table for where we’ll be placing all of our Skill points. These are listed in the order they appear on the skill tree.
| Icon | Skill Name | Skill Tree | Points |
|---|---|---|---|
 | Puncture | Basic | 1 |
| Enhanced Puncture | Basic | 1 |
| Fundamental Puncture | Basic | 1 |
 | Flurry | Core | 5 |
| Enhanced Flurry | Core | 1 |
| Improved Flurry | Core | 1 |
 | Sturdy | Core | 3 |
 | Siphoning Strikes | Core | 3 |
 | Shadow Step | Agility | 1 |
| Enhanced Shadow Step | Agility | 1 |
| Disciplined Shadow Step | Agility | 1 |
 | Rugged | Agility | 1 |
 | Reactive Defense | Agility | 3 |
 | Concussive | Agility | 3 |
 | Trick Attacks | Agility | 1 |
 | Weapon Mastery | Agility | 3 |
 | Poison Trap | Subterfuge | 1 |
| Enhanced Poison Trap | Subterfuge | 1 |
| Countering Poison Trap | Subterfuge | 1 |
 | Exploit | Subterfuge | 3 |
 | Malice | Subterfuge | 3 |
 | Poison Imbuement | Imbuement | 1 |
| Enhanced Poison Imbuement | Imbuement | 1 |
| Blended Poison Imbuement | Imbuement | 1 |
 | Precision Imbuement | Imbuement | 3 |
 | Deadly Venom | Imbuement | 3 |
 | Alchemical Advantage | Imbuement | 3 |
 | Shadow Clone | Ultimate | 1 |
| Prime Shadow Clone | Ultimate | 1 |
| Supreme Shadow Clone | Ultimate | 1 |
 | Trap Mastery | Ultimate | 3 |
 | Close Quarters Combat | Key Passive | 1 |
Gearing and Stats
In this section, we’ll cover all the things you’d want to keep an eye out for to enhance the final build. This includes our Recommended Weapons, Specilization, Aspects, and of course, Uniques.
Recommended Weapons
Thanks to Weapon Mastery, this can be a tricky choice. The only weapons that matter our the melee weapon we choose. We can opt for Swords for consistent damage, or Dagger for stronger burst for clearing packs.
We recommend using a Pair of Daggers as our main weapons. We already deal enough consistent damage in many encounters. This makes the added burst potential much more valuable to the build, as its burst is otherwise low.
Ideal Stats
The table below details the ideal stats for our gear, be on the lookout for gear that matches at least three of the four rolls below.
Due to the width of the table, we highly recommend mobile users rotate their devices to view it properly.
| Slot | Stat 1 | Stat 2 | Stat 3 | Stat 4 |
|---|---|---|---|---|
| Melee Weapons | Critical Strike Damage | Vulnerable Damage | Critical Strike Damage with Imbued Skills | Damage to Poisoned |
| Ranged Weapon | Core Skill Damage | Critical Strike Damage | Critical Strike Damage with Imbued Skills | Vulnerable Damage |
| Helm | Cooldown Reduction | Maximum Life | Ranks to Poison Imbuement | Dexterity |
| Chest | Maximum Life | Damage Reduction | Damage Reduction from Poisoned | Damage Reduction From Close |
| Gloves | Critical Strike Chance | Ranks to Flurry | Attack Speed | Critical Strike Dmaage with Imbued Skills |
| Pants | Maximum Life | Damage Reduction | Damage Reduction from Poisoned | Damage Reduction from Close |
| Boots | Movement Speed | Ranks to Shadow Step | Damage Reduction While Injured | Dexterity |
| Amulet | Cooldown Reduction | Ranks to Weapon Mastery | Imbuement Skill Cooldown Reduction | Movement Speed |
| Rings | Critical Strike Chance | Critical Strike Damage | Vulnerable Damage | Lucky Hit Chance |
Recommended Gems
This build uses Emeralds in our Weapons, Rubies in our Armor, and Diamonds in our Jewelry.
We use Emeralds in our Weapons as we’ll be applying Vulnerable constantly. This allows Vulnerable to also boost our Critical Strike Damage.
We use Rubies in our Armor as we only have a single source of Unstoppable. Without Topaz in our Armor, one poorly timed used can easily get us taken out.
As with most builds, we use Diamonds in our Jewelry as Resistances are easier to stack up and are a great defensive layer. We can swap these out for more specific gems as needed.
Vampiric Powers
During the Season of Blood, we’ll have access to Vampiric Powers, which allow us to slot up to five unique powers into our Sanguine Circle to increase the power of the build. We’ll include more than the maximum in the selection below to offer alternatives, but they will be listed in order of their relative strength.
| Name | Effect | Reason |
|---|---|---|
| Ravenous | Chance to increase Attack Speed by a percentage of Total Movement Speed. | Aloow us to very easily cap Attack Speed with little investment. |
| Hectic | Every 5 Basic Skills, slightly reduces and active cooldown. | As a Combo Points build, we Basic Attack often. |
| Undying | Heal for a small percentage of Max Life when casting a skill. Effect is doubled under 50% Life. | We attack very quickly thanks to Combo Points, making this great sustain. |
| Anticipation | Reduces Ultimate Skill Cooldown. Additionally increases Ultimate Skill Damage for every enemy nearby affected by a DoT. | Having more uptime on Shadow Clone is great. We can even boost its damage with Poison Imbuement and Poison Trap. |
| Sanguine Brace | Defeating enemies grants Fortify. While Fotify is greater than 50% Maximum Life, gain Critical Strike Chance. | This allows us to have Fortify as another defensive layer while also letting us Critically Strike more often. |
| Prey on the Weak | Increased Vulnerable Damage. Enemies afflicted with Vampiric Curse are also Vulnerable. | Nice increase in damage since we can apply Vulnerable easily. |
| Flowing Veins | Increases DoT Dmage to enemies that are moving or afflicted with Vampiric Curse. | Increases the damage of Poison Imbued Skills and Poison Trap. |
Specialization
This build uses Combo Points as its Specialization. While it has the potential to also use Inner Sight, it ends up falling a little short as we’re built around the Close Quarters Combat (CQC) Key passive, which will still require us to use Puncture often to maintain.
Combo Points Synergizes well here, boosting our skill damage, and by extension Poison Imbuement’s Damage. Since we use Flurry as a Core Skill, this also means we’ll get a pretty consistent Attack Speed bonus. When paired with CQC, we’ll be able to deal high DPS despite the lack of outright burst.
Aspects
We’ll cover the Aspects recommended for maximizing the build’s potential. We’ll also suggest which gear slot you should look to place them in.
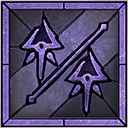
 Aspect of Encircling Blades
The Aspect of Encircling Blades is used mainly so Flurry is less directional, instead making it a full AoE around you.
Since it doesn’t need to be boosted and is easy to replace, we’ll place this in one of our melee weapons slots.
Aspect of Bursting Venoms
The Aspect of Bursting Venoms is great for our build focused around Poison, allowing Poison Imbuement to be used more often, constantly if we’re lucky.
As this aspect can be harder to find and replace, we’ll want to place this on our Gloves, as they will often take longer to replace. We can eventually move this to one of our melee weapons or ring if we luck into the Grasp of Shadow Unique Gloves.
Vengeful Aspect
The Vengeful Aspect grants us a chance to increase our Critical Strike Chance when we apply Vulnerable. With how Flurry works, this means we’ll be able to do this often.
We’ll place this on our Amulet to increase the odds of the effect triggering, but we don’t need it insanely high.
Aspect of Imitated Imbuement
The Aspect of Imitated Imbuement allows our Shadow Clone to use our Imbuements. This means more Poison, especially if Bursting Venom triggers before or during Shadow Clone.
We’ll place this in one of our Rings as we don’t need its effect to be boosted. We can drop this in favor of X’Fal’s Corroded Signet if we happen to find one.
Aspect of the Expectant
Aspect of the Expectant works well to increase our overall damage, as we’ll always use at least one Puncture between uses of Flurry. Ideally, we use three to fully stack combo points and this Aspect.
We’ll place this Aspect on our Bow, as we’re only using it for stats. This doubles the strength of the effect, and as our strongest damage-boosting aspect, this is what we need most.
Aspect of Pestilent Points
The Aspect of Pestilent Points is a great addition to our build that was added in Update 1.1.0. This aspect makes every 3rd use of Puncture apply poison Imbuement with greater potency. This also provide more consistent opportunities to trigger Aspect of Bursting Venoms.
This Aspect will be placed in our remaining 1H weapon, as we don’t need it to be boosted.
Aspect of the Umbral
Since we’ll very frequently be applying Crowd Control, the Aspect on the Umbral is a great way to get a bit of extra Energy without a heavy investment of skill points.
As a Resource Aspect, we’ll place it in our remaining Ring Slot.
Mangler’s Aspect
Mangler’s Aspect grants us a chance to Daze when hitting Vulnerable enemies. This in turn allows us to knock them down with crits and enable a ton of bonuses used by the build.
We’ll place this aspect in our Helm, as our Gloves and boots are both occupied with other aspects or possibly Unique in the case of Gloves.
Aspect of Disobedience
Aspect of Disobedience is a great defensive Aspect for us since a lot of our damage is dealt by Poison. This helps to both quickly stack as well as maintain the effects of this Aspect.
We’ll place this Aspect in our Chest or Pants, as those are the only remaining slots to place a Defensive Aspect.
Aspect of the Protector
Aspect of the Protector is a great effect to have when dealing with Elites and Bosses, as it effectively increases our total life. It gives us a great window to get in and stack our poison without risking damage.
We’ll place this Aspect in our Chest or Pants, as those are the only remaining slots to place a Defensive Aspect.
Ravager’s Aspect
The Ravager’s Aspect grants us a second charge of Shadow Step and that’s really all we need it for. The cooldown refund when we take out an enemy with it is also nice for mobility, but unless it capable of one-shotting, this won’t come up all too often.
As a Mobility Aspect, this will be placed in our Boots.
Unique Items
We’re only going to talk about the few that offer the strongest effects on the build. While there are others that help, these are the ones you really want to slot into your build if you get the chance. These will drop starting in Tier 3 content, but decent upgrades for the build once you get them.
Cowl of the Nameless
Cowl of the Nameless is a Unique Helm that grants us a nice mix of stats that benefit the build, most notably Cooldown Reduction and Crowd Control Duration. However we’re really after it’s unique effect, which grants us increased Lucky Hit Chance against Crowd Controlled Enemies. This helps make effects like Aspect of Bursting Venoms more consistent.
Grasp of Shadow
Grasp of Shadow are a pair of Unique Gloves that allows both Puncture and Flurry to be repeated by a Shadow Clone when hitting a Vulnerable enemy, applying extra damage. These come with a great mix of very usable stats, including more damage for our Shadow Clone in general.
X’Fal’s Corroded Signet
X’Fal’s Corrded Signet is a powerful unique ring that has a chance to deal a burst of damage of the same element as any DoT effect applied to an enemy. This makes Poison Imbuement and Poison Trap much stronger granting them a ton of additional damage.
Flickerstep
Flickerstep are a pair of Unique Boots that reduce the Cooldown of our Ultimate Skill when we Evade though enemies. Since we don’t have too many great aspects to place in our boots, this can be a great effect to pick up.
Tibault’s Will
Tibault’s Will is a pair of Unique Pants that increase our damage for a short time and restore Energy when we become Unstoppable. This improves the utility of both Shadow Step and our Shadow Clone significantly, as both grant Unstoppable.
Paragon Boards and Glyphs
These two endgame options are part of the Paragon System which is available starting at level 50.
Paragon Boards
Paragon Boards are a feature that becomes available at level 50. These boards allow us to spend the Paragon points we earn for leveling and Renown to strengthen our character. Each of these has a single Glyph Slot to place a glyph of our Choice.
Starter Board
Like all starter boards, this only offers us generic damage and defenses.
Path up the right side through Prime up to our Glyph Node, then Skillful to exit out the top. We can grab Lawless and Resilience later for more defenses.
Tricks of the Trade
Tricks of the trade helps to boost our main damage sources, and works well with switching between Marksman and Cutthroat skills by increasing the damage of one, when we use the other.
Roate this board so that Havoc is in the lower right. We’ll path up to Focused, then grab our Glyph Node, and path through Lawless to reach Tricks of the Trade. From here, we can head to the upper right to grab Brawler, before heading down to our Glyph to grab Havoc then exit out the right side.
Cunning Stratagem
Cunning Stratagem offers us stronger benefits from using 3 Combo Points at a time as well as significant boosts to our Basic and Core Skill damage, which are both used frequently.
Rotate this board so Cunning Strategem is closest to the gate we enter from. We’ll path to Slayer, before heading down to grab Cunning Stratagem. From Slayer, we’ll continue up toward our Glyph Node, picking up Fundamentals and Dominant along the way. Then we can grab Finisher and head out to the right side of this board.
Exploit Weakness
Exploit Weakness is a great board for boosting our Vulnerable damage, but it’s our last board as it has a weird layout that makes it harder to use earlier. Exploit Weakness itself will really only help with Bossing.
For this Board, we’ll be rotating it so the Glyph is closest to our starting gate. We’ll path up to Hunter Killer, then make out way down to our Glyph Node. From here we’ll grab Artifice before making our way over to Exploit. Then from Exploit or Hunter Killer, we can path to Exploit Weakness. Which side you take really depends on the defensive bonus you want to open up later.
Glyphs
Each of our Paragon Boards has a Glyph Slot, where we can socket one of our Glyphs. These Glyphs provide powerful bonuses that can be leveled up by completing Nightmare Dungeons to increase their power. Below are the Glyphs we recommend and what board to place them on.
Closer
Closer grants us more damghe for Cutthroat Skills for every 5 Dexterity in range, which boosts Flurry quite well. With 40 Dexterity in range, we’ll also gain Damage Reduction while using a melee weapon.
This gets slotted in our Starter Board, as we can easily fill the Dexterity requirements and have a ton of Dexterity available for minimal investment.
Bane
Bane grants us increased Poison Damage for every 5 Strength in range. With 25 Strength allocated, we also gain a chance to double the effect of our Poison.
We’ll place this in Tricks of the Trade, as the way we path through it allows us to very easily meet the requirement for the bonus.
Exploit
Exploit increases our damage to Vulnerable enemies for every 5 Strength in range. With 25 Strength in range, we’ll also be able to apply a free short duration Vulnerable to anything we hit
This will be placed in our Cunning Stratagem Board, as it has plenty of excess Strength in range to easily get the bonus effect and high value out of the main effect.
Combat
Combat increases the Critical Strike Damage of our Core Skills for every 5 Intelligence in range. If we allocate 40 Intelligence, we’ll also be partially reduced the cost of Flurry when we Critically Strike.
This gets placed in Exploit Weakness, as we’re very easily able to meet the bonus requirements with this board, though we’re really only after the main effect.
This concludes our Diablo 4 Combo Point Rogue Build focusing on the Flurry skill. You can find more leveling and endgame Diablo 4 builds here on VULKK.com to try new things with your characters and spice up your gameplay.
If you want to try something different for the Rogue, check out one of our other Diablo 4 Builds.