This guide for the Barbarian in Diablo 4 focuses on a post-campaign Endgame Double Swing build that functions without too many Aspects, but becomes much more potent with the completed build!
This guide is up-to-date for Season 4 and Patch 1.4.0.
Check our Diablo 4 Builds Catalog of uniquely crafted builds for each class.
While the Barbarian is almost exclusively melee-ranged, this build makes use of multiple aspects to give them a bit of additional range and AoE, while using a less common skill in Double Swing.
This Barbarian Double Swing build guide assumes you’re at least level 50 and have completed enough of your Renown to have gained the 10 additional Skill Points available.
If you want a great leveling build to reach this point with, try our Barbarian Leveling Build – A Damage over Time-focused build with high burst potential. If you want to level up as Barbarian, at the end of this guide, we have a leveling section showing you how to develop a new character from level 1 with this build.
Build Overview
This build uses Double Swing and its ability to recoup its fury cost incredibly quickly against stunned or knocked-down enemies combined with Berserking and other bonuses to very rapidly generate Dust Devils. We’ll supplement this with Frenzy and its bonuses, which we cna maintain for more attack speed.
Overall, the build is fairly safe, using both Iron Skin and Rallying Cry as sources of Unstoppable. Additionally, we’ll be able to build Fortify very quickly as another defensive later. Our main goal of stunning and knocking down enemies to set up Double Swing also contributes to our defenses.
Skill and Passive Breakdown
In this section, we’ll be talking about each skill we use. This is the whys and hows of how the build works, and then we’ll cover the skill point distribution.
Skills
These are the main skills for the build. We’ll explain what purpose each serves and how they fit the build.
 Frenzy
This is our basic skill, which we’ll be trying to use every so often to maintain its attack speed stacks to carry over to other skills. We have other means of generating Fury, so we won’t need it for that purpose all too often.

 Double Swing
Double Strike is used for its speed and other bonuses compared to other attacks. It allows us to very easily maintain Berserking, in addition to quickly applying Vulnerable and Stuns, as well as maintaining its own Fury Cost well enough with help.
 Ground Stomp
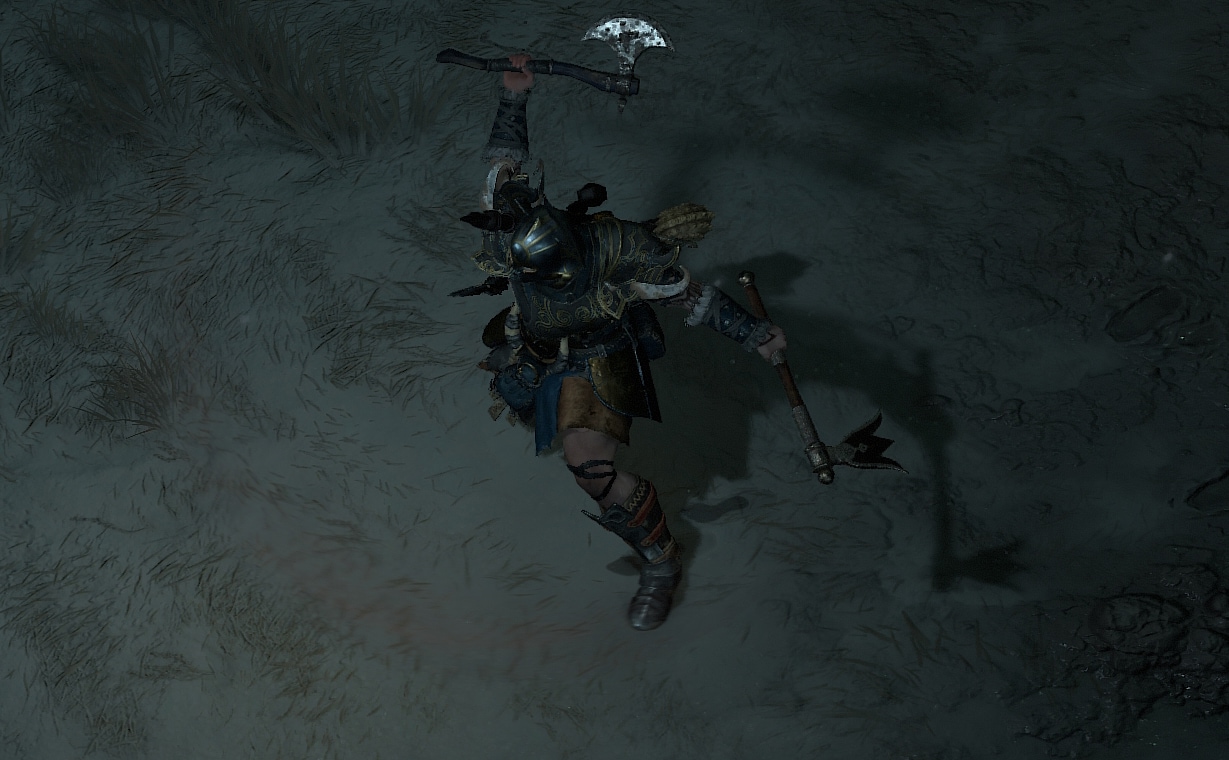
This is an on-demand stun that we get and will use regularly to start off encounters from low Fury. It’ll give a good Fury boost to start us off and set up Stun for Double Swing to do it’s thing without relying on any RNG to do so.
 Rallying Cry
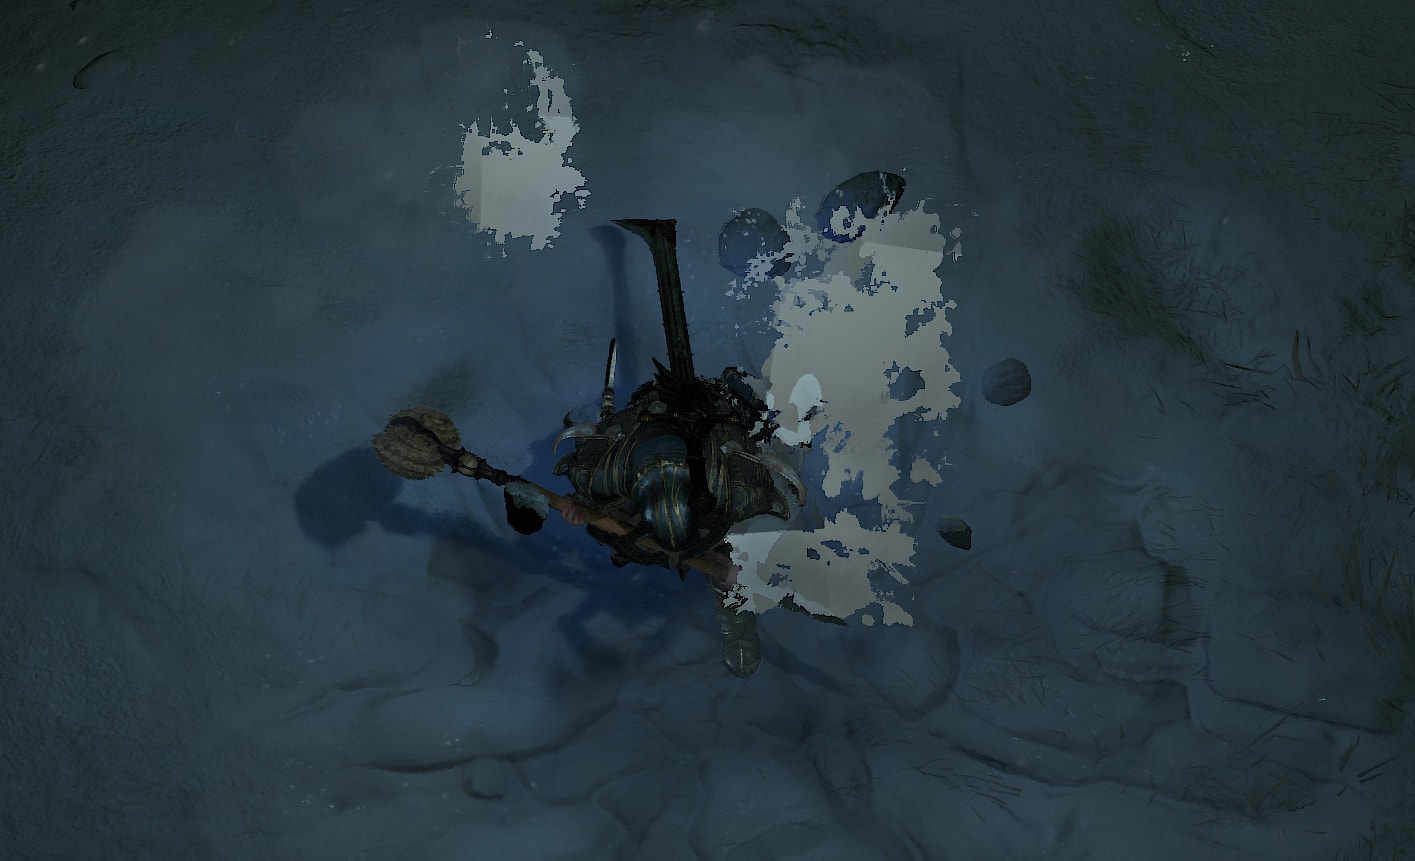
We’re mostly after the Fury Generation here, as every bit we can get speeds up how often we’ll be able to create Dust Devils with the Devilish Aspect. Additionally, it gives us a short duration of Unstoppable letting us break Crowd Control and some Movement Speed.
 Iron Skin
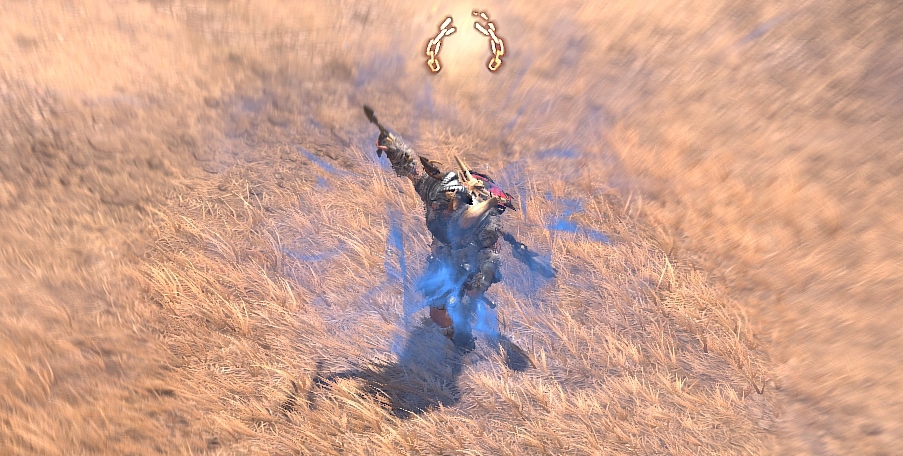
Iron Skin is a great defensive tool, providing a great panic button if you drop too low. Additionally between upgrades and Aspects, it’ll provide some healing and be another source of Unstoppable
 Wrath of the Berserker
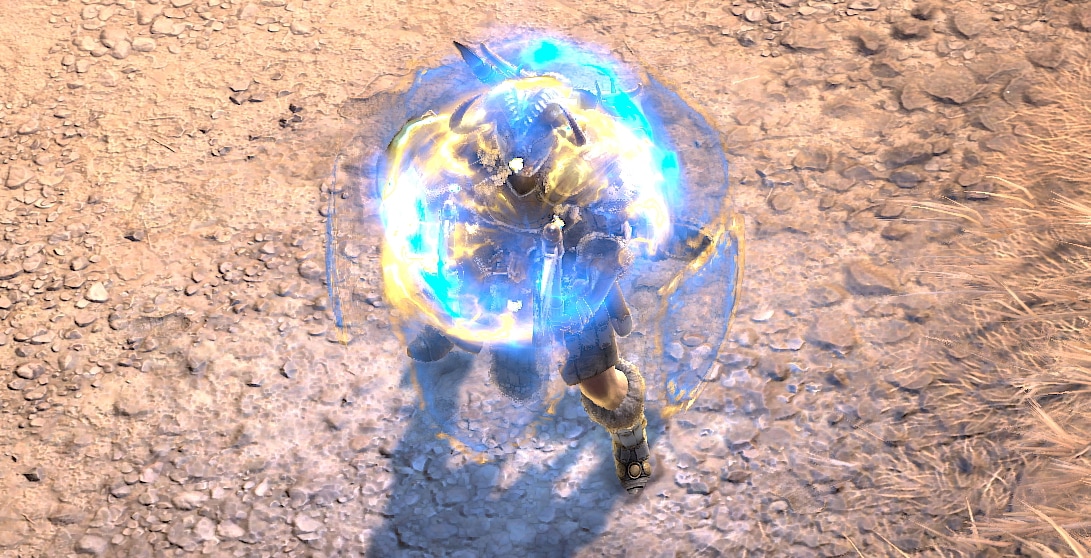
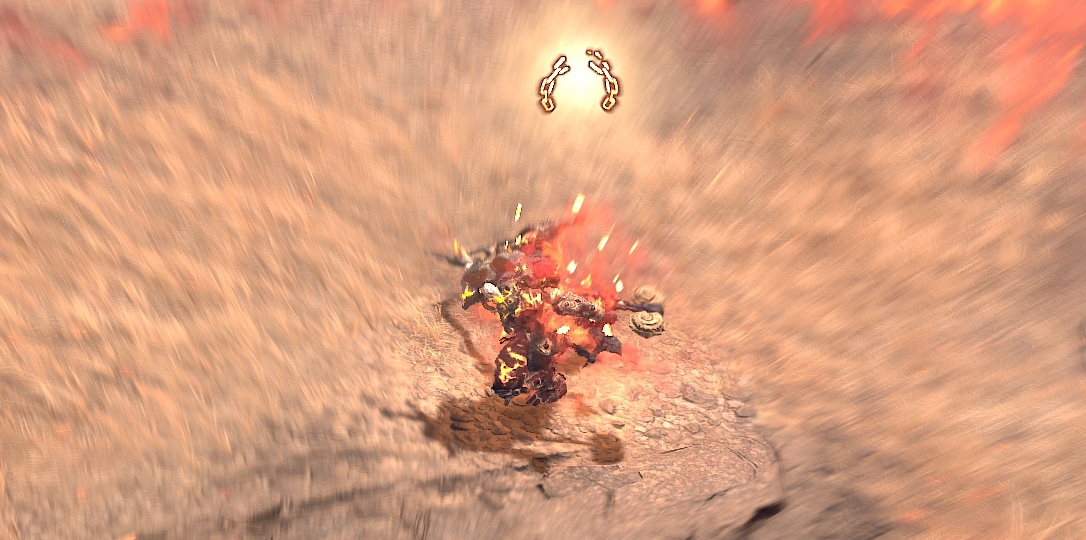
With a build that very heavily leaning into berserking for all of its bonuses, Wrath of the Berserker us more of everything we want. Damage, Movement, Unstoppable, and even Fury generation to boot.
Passives
Here we’re only going to talk about the main passives we absolutely want as well as our Key passive. There are unfortunately a couple we will need to take to get access to these though.
 Key Passive – Unconstrained
While Unbridled Rage is usually a go-to for most builds that use a Core Skill, it won’t affect our Dust Devils. So we opt for Unconstrained instead for the increased damage as well as prolonging the effects of Berserk.
 Pressure Point
Pressure Point is a fairly reliable way to grab Vulnerable without relying solely on Paragon Glyphs, we’ll be hiting fast enough for it to be up often.
 Prolific Fury
Since we’re going to be near permanently Berserk, this helps Double Swing recoup its cost even with Unbridled Rage increasing it.
 Swiftness
Movement speed is already great, and since we need to be in melee range, it helps a ton to be more mobile.
 Pit Fighter
Pit FIghter is a great passive that both grants us extra damage as well as helps to protect us from ranged enemies.
 No Mercy
With Stun being out most common Crowd Control effect, No Mercy is a great way to boost our Critical Strike Chance.
 Counteroffensive
Once we get deeper into Paragon, we’ll be fortified pretty regularly. This gives us a bit of extra damage so long as at least half our health is fortified.
 Duelist
Since our main skill is Dual-Wield exclusive, we’ll take this just for the extra attack Speed. More Attack Speed means more Dust Devils.
 Wallop
Almost everything we hit will be Stunned or Vulnerable. This is a great pick up for the extra damage.
 Concussion
This is one of our main ways of stunning targets outside of Aspects. We need to be able to Stun often to really put out consistent damage.
Skill Point Distribution: Where to Assign Your Skill Points
This is an easy-to-reference table for where we’ll be placing all of our Skill points. These are listed in the order they appear on the skill tree.
| Icon | Skill Name | Skill Tree | Points |
|---|---|---|---|
 | Frenzy | Basic | 1 |
 | Enhanced Frenzy | Basic | 1 |
 | Battle Frenzy | Basic | 1 |
 | Double Swing | Core | 1 |
 | Enhanced Double Swing | Core | 1 |
 | Furious Double Swing | Core | 1 |
 | Pressure Point | Core | 3 |
 | Ground Stomp | Defensive | 5 |
 | Enhanced Ground Stomp | Defensive | 1 |
 | Tactical Ground Stomp | Defensive | 1 |
 | Rallying Cry | Defensive | 5 |
 | Enhanced Rallying Cry | Defensive | 1 |
 | Tactical Rallying Cry | Defensive | 1 |
 | Iron Skin | Defensive | 1 |
 | Enhanced Iron Skin | Defensive | 1 |
 | Tactical Iron Skin | Defensive | 1 |
 | Aggressive Resistance | Brawling | 1 |
 | Prolific Fury | Brawling | 3 |
 | Swiftness | Brawling | 3 |
 | Pit Fighter | Weapon Mastery | 3 |
 | No Mercy | Weapon Mastery | 3 |
 | Thick Skin | Weapon Mastery | 1 |
 | Counteroffensive | Weapon Mastery | 3 |
 | Wrath of the Berserker | Ultimate | 1 |
 | Prime Wrath of the Berserker | Ultimate | 1 |
 | Supreme Wrath of the Berserker | Ultimate | 1 |
 | Duelist | Ultimate | 3 |
 | Tempered Fury | Ultimate | 1 |
 | Invigorating Fury | Ultimate | 1 |
 | Wallop | Ultimate | 3 |
 | Concussion | Ultimate | 3 |
 | Unconstrained | Key Passive | 1 |
Gearing and Stats
In this section, we’ll cover all the things you’d want to keep an eye out for to enhance the final build. This includes our Recommended Weapons, (Class Mechanic), Aspects, and of course, Uniques.
Recommended Weapons
For this build, the main weapons we’ll need to focus on are our 1H Weapons. Since Double Swing will always use those for its damage, the extra boost always helps. Though a lot of our power will come from higher item levels on the Devilish and Wind Lasher Aspects.
We’ll also want at least one of these weapons to be a Mace, so we can use Concussion. Both can be Maces for extra damage, but the other 1H options are okay as well for expertise bonuses like 1H Swords chance to recover a small amount of Fury.
Ideal Stats
The table below details the ideal stats for our gear, be on the lookout for gear that matches at least three of the four rolls below.
Due to the width of the table, we highly recommend mobile users rotate their devices to view it properly.
| Slot | Stat 1 | Stat 2 | Stat 3 | Stat 4 |
|---|---|---|---|---|
| Weapons | Critical Strike Damage | Vulnerable Damage | Damage while Berserking | Core Skill Damage |
| Helm | Cooldown Reduction | Maximum Life | Total Armor | Resistance |
| Chest | Maximum Life | Damage Reduction | Total Armor | Resistance |
| Gloves | Critical Strike Chance | Ranks to Double Swing | Lucky Hit Chance | Attack Speed |
| Pants | Maximum Life | Damage Reduction | Total Armor | Resistance |
| Boots | Movement Speed | All Stats | Resistance | Resistance |
| Amulet | Cooldown Reduction | Ranks to Counteroffensive | Damage Reduction | Damage Reduction from Close |
| Rings | Critical Strike Chance | Critical Strike Damage | Vulnerable Damage | Lucky Hit Chance |
Recommended Gems
This build uses Emeralds in our Weapons, Sapphires in our Armor, and Diamonds in Jewelry.
We opt for Emeralds in our Weapons as we’ll frequently make enemies vulnerable, including bosses, so this helps our damage in all situations.
We use Sapphires in our Armor, as we have plenty of Unstoppable options to break out of and prevent Crowd Control. Sapphires make Fortify a strong mechanic defensively.
We go with Diamonds for Our Jewelry as Resistances cut the majority of incoming damage down significantly. You may want to swap these for more specific gems to round out and cap the resistances granted by armor affixes, especially against certain bosses.
Vampiric Powers
During the Season of Blood, we’ll have access to Vampiric Powers, which allow us to slot up to five unique powers into our Sanguine Circle to increase the power of the build. We’ll include more than the maximum in the selection below to offer alternatives, but they will be listed in order of their relative strength.
| Name | Effect | Reason |
|---|---|---|
| Ravenous | Chance to increase Attack Speed by a percentage of Total Movement Speed. | Attack Speed improves our DPS heavily, as it allows us to spawn more Dust Devils buit also generate resource faster, as needed. |
| Undying | Heals for a small percentage of Maximum Life when we cast any skill. The Effect is doubled under 50% Max Life. | We’re focused on quick attacks, which makes this exceptionally good sustain. |
| Sanguine Bracer | Defeating enemies Fortifies you. While more than 50% of Max Life is Fortifed, gain Critical Strike Chance. | We also Fortify ourselves decently well, this just makes it easier to maintain and grants us bonus Critical Strike Chance. |
| Resilience | Gain Damage Reduction based on missing Maximum Life. | This help us to more more easily take hits, especially in cases where we want to stand still and DPS. |
| Anticipation | Reduces Ultimate Skill Cooldown. Ultimate Skill deals increased damage for every nearby enemy afflicted by a DoT. | The Cooldown Reduction is huge for Wrath of the Berserker, being a relatively long cooldown compared to other Ultimates. |
| Domination | Increases damage dealt to Stunned, Immobilized, Frozen, or Feared enemies. Injured Non-elite enemies are Executed. | We can apply Stun fairly quickly with this build, which helps us to quickly and easily clean up weaker enemies with the added Execute. |
| Metamorphosis | Evading turns you into a cloud of bats, dealing Physical damage and applying Vampiric Curse to enemies you pass through. | This is just an optional source of mobility and Unstoppable. It pairs really nicely with Tibault’s Will if we use them. |
Arsenal System
Since we can only set Frenzy and Double Swing’s weapon and they’re both locked to Dual-wield weapons, we have no choice but to use Dual-Wield. However we still have our choice of weapons, where we’ll prefer two 1H Maces for maximum damage, but we can also make use of a 1H Sword for additional Fury Generation if needed.
We’ll set 2H Axes as our Expertise bonus, to get that nice bonus to Vulnerable damage. This improves are damage a fair bit overall and worth taking over other options.
Aspects
We’ll cover the Aspects that are recommended for maximizing the potential of the build. We’ll also suggest which gear slot you should look to place them in.
 Windlasher Aspect
Windlasher allows us to create a Dust Devil every time we use Double Swing twice within 1.5 seconds. This will be the Dust Devil we get most often due to Double Swing being our main attack.
We’ll want this one one of our 2H Weapons, so it can deal as much damage as possible.
 Devilish Aspect
Similar to Windlasher, this creates Dust Devil. Unlike Windlasher though, it only requires us to generate 100 Fury and use any Core skill.
We’ll want this one one of our 2H Weapons, so it can deal as much damage as possible.
 Accelerating Aspect
Accelerating Aspect is great, because the faster we can attack, the faster we can create Dust Devils. This also increases how often we use Double Swing and end up benefiting from Enhanced Double Swing’s effect.
We’ll place this on our Amulet, since it’s great for the build, but we don’t need to boost it super high.
 Aspect of Limitless Rage
Aspect of Limitless Rage is a great way to increase our damage, as with enough Fury Cost Reduction, we’ll often be recouping more than we spend against stunned enemies, granting a boost for every attack.
We’ll place this in our Gloves or one of our 1H Weapons. This is because we don’t need to boost it beyond its base effect.
 Aspect of Retribution
The Aspect of Retribution increases our damage against stunned targets, which will apply fairly often against non-bosses.
We’ll place this on our Gloves or either 1H weapon, as we need the base effect and have no need to put it anywhere else.
 Aspect of Berserk Ripping
This Aspect allows us to forgo the 2H Sword Expertise, but still be able to benefit from the extra damage and additional effects we can trigger with Bleed.
We’ll place this on our Gloves or either 1H weapon, as we need the base effect and have no need to put it anywhere else.
 Aspect of Anemia
Since we’re using Aspect of Berserk Ripping, this will help by providing another avenue to stun enemies making the build overall more consistent.
We’ll place this on our Helmet until we get Tibault’s Will, were we’ll drop it in favor of keeping the Aspect of Numbing Wrath.
 Aspect of Unrelenting Fury
With the changes to this Aspect to allow the effect to trigger when hitting bosses, it’s now one of our best ways to deal consistent damage to bosses, as getting a large portion of our skill’s cost refunded and contributed to Devilish Aspect helps trigger it much more often.
We’ll place this in one of our Rings, as only Rings can hold Resource Aspects.
 Aspect of Berserk Fury
We’ll be Berserk almost constantly, so having our Fury slowly generate over time will only add to how often we can use the Devilish Aspect. Combined with increased Resource Generation, this also helps to reduce any Fury issues we may have against enemies we can’t Stun or Knock Down.
We’ll place this in one of our Rings, as only Rings can hold Resource Aspects.
 Aspect of Iron Warrior
Iron Warrior is a nice bit of utility, granting Unstoppable and additional Damage Reduction while Iron Skin is active. This just makes Iron Skin way more reliable and helps it last longer.
We’ll place this in our Chest, as out Helm and Pants will carry different aspects.
 Aspect of Numbing Wrath
Aspect of the Numbing Wrath makes it so we’re less reliant on Paragon Board effects to gain Fortify, and makes it much easier to maintain high levels of it.
 Ghostwalker Aspect
Staying fairly mobile on Barbarian is important, and with three different sources of Unstoppable, we should have this bonus up nearly 100% of the time.
We’ll place this effect on our Boots.
Unique Items
We’re only going to talk about the few that offer the strongest effects on the build. While there are others that help, these are the ones you really want to slot into your build if you get the chance. However, we recommend not using more than 2-3 at a time. These will drop starting in Tier 3 content, but decent upgrades for the build once you get them.
Tuskhelm of Joritz the Mighty
The Tuskhelm of Joritz the Mighty is a Unique Helmet that grants us a chance to become Enraged while Berserking, granting increased damage, additional Fury per second, and Cooldown Reduction.
This is a good way to add a lot of power to the build, with the only downside being the lack of Maximum Life you’d normally get from a Helmet. It boosts Aggressive Resistance which can easily make up for the lack of other defensive rolls.
Tibault’s Will
Tibault’s Will is a pair of Unique pants that grant us additional damage while Unstoppable, and each time we first enter Unstoppable also recovers a huge chunk of Fury for us. Since three of our four cooldowns can provide Unstoppable, this gives us a great way to recover Fury without relying on our Aspects or Basic Skill nearly as much.
These do however mean we need to stack up defenses elsewhere as we lose a Defensive Aspect slot and a lot of defenses. So It’s best to not pair this with a unique Chest.
Rage of Harrogath
This sacrifices a lot of potential defense, by taking our Chest Slot. However, the Unique effect that reduces our cooldown when we inflict Bleed on Elites can be valuable to have higher uptime on Iron Skin and Rallying Cry.
Ultimately it’s not usually worth it, as we’re giving up one of our two Defensive Aspects to do it, and we don’t have much room to shuffle Asecpts to get it back.
Battle Trance
Battle Trance is an Amulet that boost Frenzy’s stack limit and comes with additional Attack Speed on top of that. More Attack Speed would mean more Dust Devils at a much quicker rate.
After the change to add Cooldown REduction to this amulet, it’s a viable option. While we lose ranks to a passive skill of choice, we still get everything else in addition to heaps of Attack Speed if we maintain Frenzy stacks.
Godslayer Crown
The Godslayer Crown is a unique helmet that works well with the build. Since we’ll stun fairly often while mobbing, this will pull additional enemies into the path of our Dust Devils while giving us an increase in damage towards them. The only thing we really lose by using this helmet is potential Armor or Resistances.
Paragon Boards and Glyphs
These two endgame options are part of the Paragon System which is available starting at level 50.
Paragon Boards
Paragon Boards are a feature that becomes available at level 50. These boards allow us to spend the Paragon points we earn for leveling and Renown to strengthen our character. Each of these has a single Glyph Slot to place a glyph of our Choice.
Starter Board
Like all starter boards, this one offers generic damage and defenses.
As usual, we’ll path up the right side through Brawn to our Glyph Node, then continue up the left side through Raw Power and head to the next board. We’ll eventually want to pick up enough Dexterity here to activate our glyph.
Warbringer
Warbringer brings more generic damage and defenses. The Warbringer passive itself will be another source of Fortify, granting a portion of Max Life as Fortify for every 75 Fury we spend.
We’ll rotate this board so Raw Power and our Glyph Slot are nearest to our entry gate. Initially we’ll quickly pass through this board, grabbing only Raw Power and the Glyph Slot before exiting out the right side gate. We’ll wrap back around to it much later to grab Guarded Advance and Warbringer.
Blood Rage
Blood Rage grants a lot of bonuses against Bleeding Enemies and Elites, with a tiny bit of Berserking. Blood Rage itself isn’t what we’re after, but does grant a chance to enter Berserk after defeating a Bleeding enemy while also boosting our damage based on our Damage while Berserking stat.
We’ll rotate this board so that Craving is in the top left. We’ll path straight to our Glyph Node, picking up both Revel and Grit in the process. Then we can quickly wrap around from Grit to grab Blood Rage. We’ll exit out the top side, after making a detour for Craving. We can also come back way later for Enraged, but for now, it delays everything else far too much.
Flawless Technique
Flawless Technique grants a lot of bonuses to 1H weapons, which are the focus of our build. Flawless Technique itself grants additional Critical Strike Chance.
We’ll rotate this board so that our Glyph Node is closest to our entry point. We’ll path straight to that Glyph Node along the left side. We’ll grab Heavy Blows and Brash to help activate the Glyph we’re placing here much easier. From Heavy Blows, we’ll head up to Havoc before heading to out next board via the left gate. We’ll come back later for Flawless Technique, but it;s not worth delaying the next board for just yet.
Carnage
Carnage offers a lot of Berserking bonuses, as well as some Elite Damage. Carnage itself is pretty useful, giving us a nice little bump of Attack Speed for Critical Strikes during Berserking.
We’ll rotate this board so that Cold Conditioned is closest to our entry point. From the gate we’ll head straight to our Glyph Node, picking up Fierce and its Damage While Berserking nodes along the way. Next we’ll grab Brash and all of the other strength nodes here for our Glyph. Then we’ll head up and grab both Berserker and Carnage. Then we”ll head back to our Glyph, and head straight down to the bottom gate to wrap back to Warbringer. We can also grab the Brash and Enraged clusters as we desire later.
Glyphs
Each of our Paragon Boards has a Glyph Slot, where we can socket one of our Glyphs. These Glyphs provide powerful bonuses that can be leveled up by completing Nightmare Dungeons to increase their power. Below are the Glyphs we recommend and what board to place them on.
Territorial
Territorial increases our damage to Close enemies for every 5 Dexterity in Range. With 25 Dexterity in range, it’ll also grant us Damage Reduction against Close as well.
This gets placed in our Starter Board, as we’re able to very easily activate the bonus there.
Exploit
Exploit Increases our Vulnerable Damage for every 5 Dexterity in Range. With 25 Dexterity in range, it’ll apply Vulnerable on the first hit to an enemy.
We’ll place this on Warbringer. Between our quick path though here initially and the Dexterity in the Raw Power cluster, we get more than enough Dexteirty for the bonus without too many extra Paragon points.
Wrath
Wrath increases our Critical Strike Damage for every 5 Dexterity in range. With 25 Dexterity in range, our Critical Strikes will also generate a small amount of Fury.
We’ll place this in Blood Rage as our pathing and the Revel cluster can easily fulfill the bonus.
Twister
Twister increases our damage with Dust Devils for every 5 Strength in range. With 40 Strength in range, we gain a multiplicative damage bonus for a short time after creating a Dust Devil.
We’ll place this in Carnage, as it offer the most Strength out of all the boards we use to get a much of a boost as possible out of it, netting nearly a 600% damage bonus when maxed.
Ire
Ire increases our damage while Berserking for every 5 Strength in range. With 40 Strength in range, we also take 10% less damage from Elites while Berserk.
We’ll place this in Flawless Technique, as our pathing to the Glyph Node as well as the nearby rare nodes makes it easy to meet its bonus requirement.
Leveling Order
If you want to play this build from level 1, the next segment of this build guide is for you. Below you will see the exact leveling order in which you should acquire your skills and passives to maximize damage and overall performance.
| Levels | Icon | Skill | Purpose |
|---|---|---|---|
| 2-4 | Frenzy | Upgrade to Battle Frenzy for bonus Attack Speed | |
| 5-7 | Double Swing | Upgrade to Furious Double Swing for later | |
| 8-10 | Ground Stomp | Upgrade to Tactical Ground Stomp to burst of Fury and set up for Enhanced Double Swing | |
| 11-13 | Rallying Cry | Upgrade to Tactical Rallying cry for Additional Fury Generation and Unstoppable | |
| 14-16 | Iron Skin | Upgrade to Tactical Iron Skin for added healing. | |
| 17-19 | Pressure Point | Grants a chance to apply Vulnerable with Double Swing | |
| 20-22 | Pit Fighter | Good boost of offense and defense | |
| 23-25 | No Mercy | Nice Critical Strike boost. | |
| 26-28 | Wrath of the Berserker | Fully upgraded | |
| 29-31 | Wallop | Increased damage against Stunned or Vulnerable | |
| 32-34 | Concussion | Allows for more frequent Stuns | |
| 35 | Unconstrained | Key passive that helps Berserking a ton | |
| 36-38 | Duelist | More Attack Speed | |
| 39 | Thick Skin | One point to reach Counteroffensive | |
| 40-42 | Counteroffensive | Solid Damage boost for maintaining Fortify | |
| 43-46 | Rallying Cry | Max for Increased Fury Generation | |
| 47 | Tempered Fury | One point to reach Invigorating Fury | |
| 48 | Invigorating Fury | Fairly good sustain option for one point | |
| 49 | Aggressive Resistance | One Point to reach Prolific Fury | |
| Renown | Prolific Fury | More Fury Generation | |
| Renown | Swiftness | More Movement Speed | |
| Renown | Ground Stomp | Reduced cooldown for on-demand Stun |
This concludes our Diablo 4 Barbarian Build focusing on the Double Swing skill. You can find more leveling and endgame Diablo 4 builds here on VULKK.com to try new things with your characters and spice up your gameplay.
To learn how to maximize your damage in Diablo 4, consult with our guide on that topic. Learning how to deal the highest possible damage with your build is crucial to succeeding in the Endgame and highest tiers.


