
This Druid Fleshrender build for Diablo 4 combines the consistent damage and protections that come with Poison, with the potent burst of the Werewolf form.
This guide is up-to-date for Season 4 and Patch 1.4.0.
Check our Diablo 4 Builds Catalog of uniquely crafted builds for each class.
Table of contents
This Druid build guide assumes you’re at least level 50 and have completed enough of your Renown to have gained the 10 additional Skill Points available.
If you want a great leveling build to reach this point with, try our Friends of the Forest Druid Leveling Build – A Companion-focused Druid with a safe and stable early game. If you want to level up as Druid, at the end of this guide, we have a leveling section showing you how to develop a new character from level 1 with this build.
Build Overview
This build is set up around the Fleshrender Unique Mace, which allows us to turn Bloodhowl and Debilitating Roar into Damage skills against Poisoned enemies.
We employ various means of spreading Poison. We use Aspect of the Alpha to get Werewolf Companions that will spread it passively, use Rabies to directly apply it ourselves, as well as the Toxic Claws Passive to allow Shred to also apply Poison.
Defensively we’ll be using Mad Wolf’s Glee to keep us in Werewolf form, to give us a good chunk of Damage Reduction from the Vigorous Aspect. With Poison being a good means of stacking Aspect of Disobedience, we’ll use that as another defensive layer to help make up for our chest lacking additional defensive affixes.
Skill and Passive Breakdown
In this section, we’ll be talking about each skill we use. This is the whys and hows of how the build works, and then we’ll cover the skill point distribution.
Skills
These are the main skills for the build. We’ll explain what purpose each serves and how they fit the build
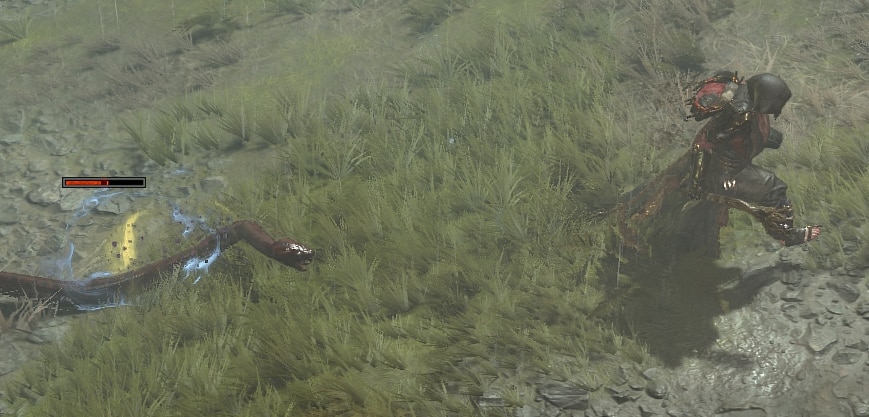
 Shred
Shred
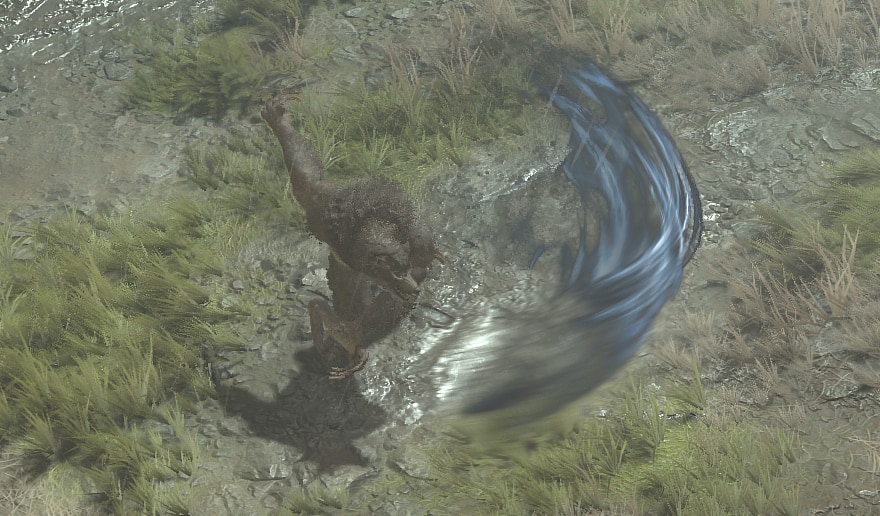
Shred is going to be the bulk of our DPS. While we still need to inflict poisons, this allows us to take the poisons we do inflict, and deal extra damage with the Aspect of the Blurred Beast.
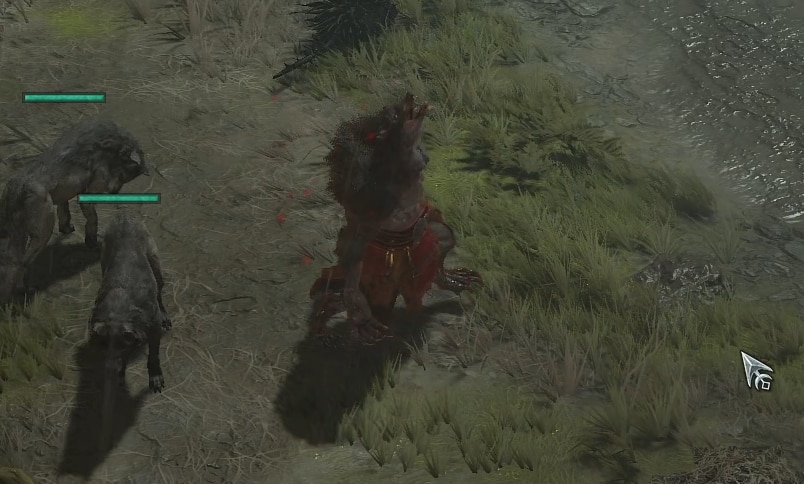
Wolves

Wolves are a great fit for the build as not only do they provide a decent secondary damage skill, but with the Aspect of the Alpha, they’ll also passive spread Rabies for us.
Blood Howl
Blood Howl is going to be the skill we trigger Fleshrender with the most. With our lowered cooldowns, we’ll be able to use it very frequently around large packs. Additionally, it will heal us, increase our Attack Speed, and also trigger the Starlight Aspect frequently for Spirit recovery.
Debilitating Roar
Debilitating Roar is an insanely powerful defensive tool for us, as it’ll debuff enemies and make them deal 70% less damage, while also Fortifying and Healing us over time. While we lack a lot of raw defensive power with a Unique Chest, this helps to make up for it quite well.
Rabies
Rabies is our on-demand Poison, which we also upgraded so the Rabies applied by our Werewolves is more effective as well. We’re not worried about giving it higher damage, so we opt to increase the rate it spreads through packs. While the faster DoT seems appealing, it also reduces the window of time it’s applied which gives us less time to benefit from it.
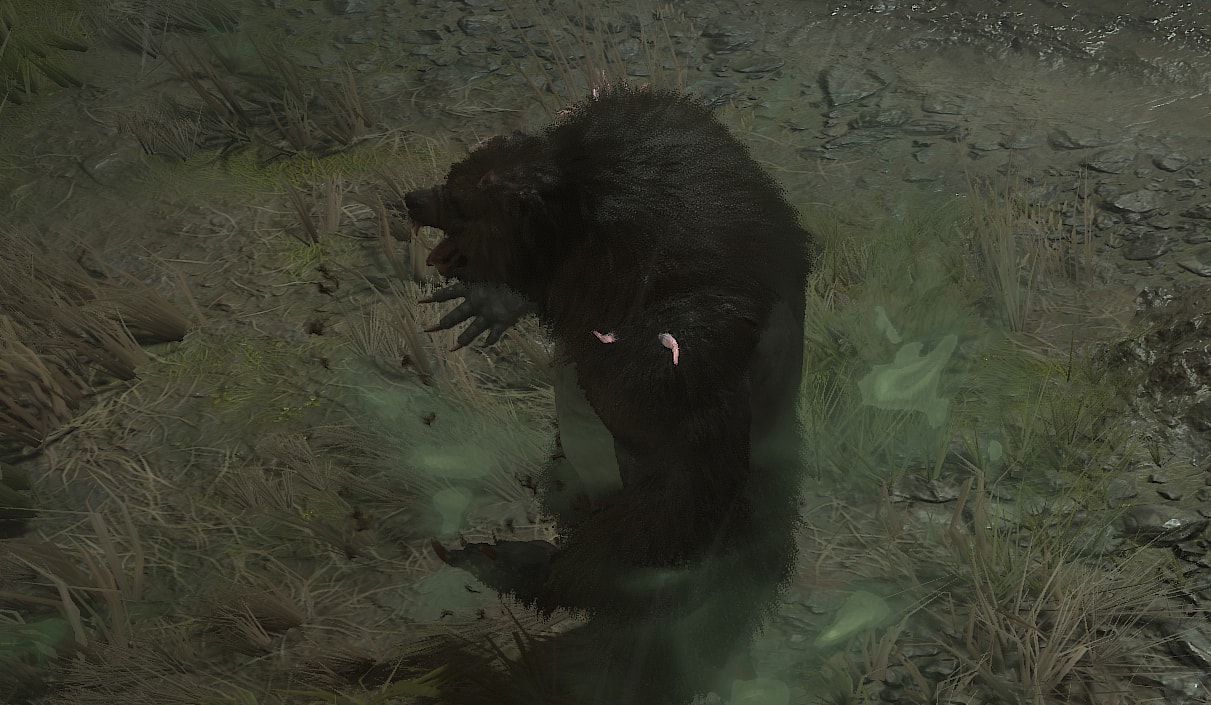
Grizzly Rage
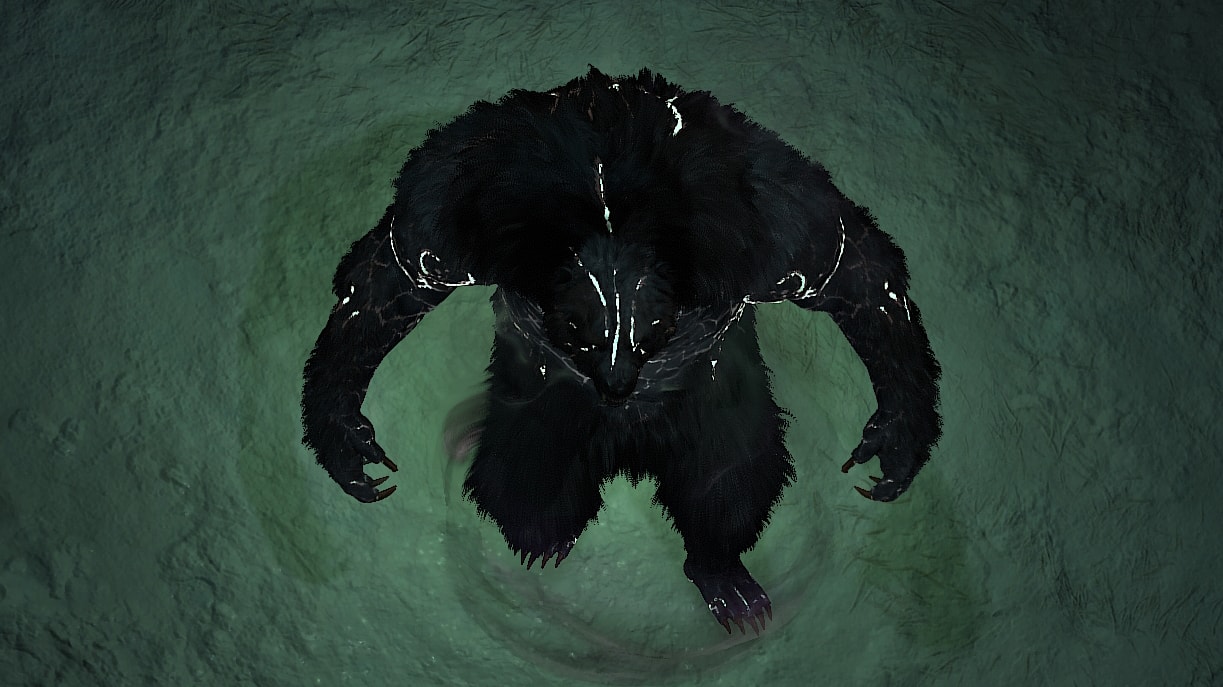
We use the Dire Wolf’s Aspect to be able to use this without exiting Werewolf form. This grants a huge Movement Speed Buff, Spirit Cost Reduction, Additonal Healing, as well as plenty of Damage and Critical Strike Damage scaling thanks to the Aspect of the Rampaging Werebeast.
Passives
Here we’re only going to talk about the main passives we want as well as our Key passive. There are unfortunately a couple we will need to take to get access to these though.
 Key Passive – Bestial Rampage
With Mad Wolf’s Glee and the Aspect of the Dark Howl, we’ll always be in Werewolf regardless of what we do. This gives us a permanent 25% Attack Speed as a result.
Alternatively, if we want to lean more into triggering Fleshrender as often as possible, we can also opt for Nature’s Fury Instead, and pair it with the Aspect of Nature’s Savagery and the Symbiotic Aspect, which would Blood Howl and Debilitating Roar to trigger each other every so often, while also reducing each other’s cooldowns
Predatory Instinct
This build is primarily a close-range build, making this free Critical Strike Chance.
Digitigrade Gait
Since we’ll permanently be in Werewolf Form, this gives us permanent movement speed.
Ancestral Fortitude
Since much of our Damage scaling comes from Grizzly Rage, we opt to take more defensive passives like this one. While Resistances aren’t super strong currently, it does help to mitigate various DoT effects.
Vigilance
Since we’ll be using Blood Howl and Debilitating Roar off cooldown, we’ll have 100% uptime on this additional damage reduction.
Envenom
Envenom is great for our build, giving us some extra Critical Strike Damage for free. We’ll even boost it through our Amulet making it more effective.
Toxic Claws
While we only take a single point in this, it’s important to mention that this allows Shred to Poison enemies, in addition to our other sources.
Skill Point Distribution: Where to Assign Your Skill Points
This is an easy-to-reference table for where we’ll be placing all of our Skill points. These are listed in the order they appear on the skill tree.
| Icon | Skill Name | Skill Tree | Points |
|---|---|---|---|
 | Claw | Basic | 2 |
 | Shred | Core | 5 |
| Enhanced Shred | Core | 1 |
| Primal Shred | Core | 1 |
 | Predatory Instincts | Core | 3 |
 | Digitigrade Gait | Core | 3 |
 | Blood Howl | Defensive | 5 |
| Enhanced Blood Howl | Defensive | 1 |
| Preserving Blood Howl | Defensive | 1 |
 | Debilitating Roar | Defensive | 5 |
| Enhanced Debilitating Roar | Defensive | 1 |
| Preserving Debilitating Roar | Defensive | 1 |
 | Ancestral Fortitude | Defensive | 3 |
 | Vigiliance | Defensive | 3 |
 | Wolves | Companion | 5 |
| Enhanced Wolves | Companion | 1 |
| Brutal Wolves | Companion | 1 |
 | Rabies | Wrath | 5 |
| Enhanced Rabies | Wrath | 1 |
| Natural Rabies | Wrath | 1 |
 | Neurotoxin | Wrath | 1 |
 | Envenom | Wrath | 3 |
 | Toxic Claws | Wrath | 1 |
 | Grizzly Rage | Ultimate | 1 |
| Prime Grizzly Rage | Ultimate | 1 |
| Supreme Grizzly Rage | Ultimate | 1 |
 | Bestial Rampage | Key Passive | 1 |
Gearing and Stats
In this section, we’ll cover all the things you’d want to keep an eye out for to enhance the final build. This includes our Recommended Weapons, Spirit Boons, Aspects, and of course, Uniques.
Recommended Weapons
This Build uses the Fleshrender Unique Mace and a Totem. Fleshrender is what allows Blood Howl and Debilitating Roar to deal damage to poisoned Enemies, providing solid burst damage with a well-rolled Fleshrender. Additionally, it provides skill ranks for both skills
Ideal Stats
The table below details the ideal stats for our gear, be on the lookout for gear that matches at least three of the four rolls below.
Due to the width of the table, we highly recommend mobile users rotate their devices to view it properly.
| Slot | Stat 1 | Stat 2 | Stat 3 | Stat 4 |
|---|---|---|---|---|
| Off-hand | Cooldown Reduction | Lucky Hit Chance | Critical Strike Chance | Spirit Cost Reduction |
| Helm | Cooldown Reduction | Maximum Life | Resistance | Total Armor |
| Chest (before Mad Wolf) | Maximum Life | Damage Reduction | Damage Reduction from Poisoned | Ranks to Debilitating Roar |
| Gloves | Critical Strike Chance | Ranks to Shred | Lucky Hit Chance | Attack Speed |
| Pants | Maximum Life | Damage Reduction | Damage Reduction from Poison | Resistance |
| Boots | Movement Speed | Resource Cost Reduction | Resistance | Total Armor in Werewolf Form |
| Amulet | Cooldown Reduction | Ranks to Envenom | Ranks to All Defensive Skills | Spirit Cost Reduction (Or Damage Reduction) |
| Rings | Critical Strike Chance | Maximum Life | Critical Strike Damage | Lucky Hit Chance |
Recommended Gems
This build uses Amethysts in our Weapons, Topaz in our Armor, and Diamonds in our Jewelry.
We opt for Amethysts in our Weapons as we poison everything constantly. This also gives us a reliable improvement in damage thanks to the Aspect of the Blurred Beast.
We use Topaz in our Armor, as we have very few options to break Crowd Control, outside of a fresh cast of Grizzly Rage. This makes it so the rare Crowd COntrol we do get hit with doesn’t guarantee our death.
We go with Diamonds for Our Jewelry for the resistances they provide. You should swap to more specific resistance gems to fill any gaps not covered by your gear.
Vampiric Powers
During the Season of Blood, we’ll have access to Vampiric Powers, which allow us to slot up to five unique powers into our Sanguine Circle to increase the power of the build. We’ll include more than the maximum in the selection below to offer alternatives, but they will be listed in order of their relative strength.
| Name | Effect | Reason |
|---|---|---|
| Flowing Veins | Increases DoT effects against enemies that are moving or afflicted with Vampiric Curse. | Almost all of our damage is DoT and benefits from this. |
| Anticipation | Increases Ultimate Skill Cooldown. Additionally increased Ultimate Skill Damage for every nearby enemy afflicted with a DoT. | We only use this for the cooldown, as having more uptime on Grizzly Rage is very helpful. |
| Resilience | Grants Damage Reduction based missing Life. | This adds a ton of additional survivability to the build. |
| Sanguine Brace | Defeating enemies grants Fortify. While Fortify is greater than 50% Maximum Life, gain Critical Strike Chance. | This helps generate Fortify easier as well as grant some bonus Critical Strike Chance |
| Metamorphosis | Evading deals Physical Damage and applies Vampiric Curse to enemies you pass through. Additionally you are Unstoppable during and for 4 second after this skill. | This grants us a very high uptime Unstoppable, making it much harder to be locked down by any Crowd Control. |
| Hemomancy | Deals Physical damage equal to a percentage of Maximum Heal to nearby enemies. Heal for each enemy hit by this attack. 4 second cooldown. | Since almost all of our damage is dealt over time, this means this effect will trigger off cooldown. |
| Prey on the Weak | Increased Vulnerable Damage. Enemies afflicted with Vampiric Curse are also Vulnerable. | This pairs well with Metamorphosis as well as the Exploit Glyph. |
Spirit Boons
Spirit Boons help the build out a lot, letting us choose up to 5 bonuses from different Animal Spirits. This build uses Wariness, Scythe Talons, Avian Wrath, Calamity, and Masochistic.
Wariness is the only decent option available from the Deer Spirit. Elites often hit hard, so reducing their damage passive is great.
We take both Scythe Talons and Avian Wrath from the Eagle, as we’re fairly low on Crit Chance and also want to improve Critical Strike Damage.
Calamity from the Wolf extends the duration of Grizzly Rage, allowing us to stay in the form longer and ramp up our Damage over a much longer period of time.
Masochist from the Snake gives us a chance to Recover Life any time we Critically Strike with Shred or the effects of Fleshrender.
Aspects
We’ll cover the Aspects that are recommended for maximizing the potential of the build. We’ll also suggest which gear slot you should look to place them in.
 Aspect of the Alpha
Aspect of the Alpha turns out wolves into Werewolves and allows them to Poison enemies by applying Rabies. This gives us a nice passive Poison Application.
We’ll place this in any Offensive Aspect slot that isn’t our Amulet. We really only need the base effect.
Aspect of the Blurred Beast
Aspect of the Blurred beast allows us to scale the Damage of Shred through our Poison effects. With various bonuses we’re able to significantly improve its DPS for single-targets where we need it the most.
We’ll place this in any Offensive Aspect slot that isn’t our Amulet. We really only need the base effect.
Dire Wolf’s Aspect
Dire Wolf’s Aspect lets us not worry a ton about having to pick up a lot of Spirit Cost Reduction early on. It provides a good chuck of it, as well as additional healing on kill.
We’ll place this in our Amulet, as doing so gives us even more Movement Speed and reduces our Spirit Costs further.
Aspect of the Rampaging Werebeast
Aspect of the Rampaging Werebeast heavily scales up our Critical Strike Damage while we keep Grizzly Rage active. It makes up for the lack of it on our gear, which is super nice for a single Aspect slot.
We’ll place this in any Offensive Aspect slot that isn’t our Amulet. We really only need the base effect.
Starlight Aspect
With all of our Healing we have access to, Starlight is a great aspect for Spirit Generation. With multiple sources of healing, we’ll be able to trigger it frequently.
As a Resource Aspect, it’s required for this to be placed on one of our Rings.
Aspect of the Dark Howl
Aspect of the Dark Howl mainly lets us use Debiltating Roar while in Grizzly Rage, as we’d be locked out of non-Werewolf Skills. It does Immobilize Poisoned enemies, which is a nice additional effect for the build.
We’ll place this in our Boots, as we don’t have the need for another Movement Speed modifier that would go here instead.
Aspect of Disobedience
With Poison being a large part of the build, it’ll be hard to not be at max stacks of Disobedience. This makes it an exceptionally strong Defensive aspect for us.
We’ll place this in our Helmet or Pants, as our Chest is occupied by a Unique Item.
Vigorous Aspect
This aspect grants us additional Damage Reduction in Werewolf Form. With Mad Wolf’s Glee, we’ll never leave Werewolf form, even while idle, giving us free Damage Reduction.
We’ll place this in our Helmet or Pants, as our Chest is occupied by a Unique Item.
Unique Items
We’re only going to talk about the few that offer the strongest effects on the build. While others help, these are the ones you want to slot into your build if you get the chance. These will drop starting in Tier 3 content, but decent upgrades for the build once you get them.
Fleshrender
The whole build is built around this unique, and is required for the build to function at its peak. This allows both Blood Howl and Debilitating Roar to damage nearby Poisoned Enemies, making them a hybrid of a Defensive and Offensive Skill.
X’Fal’s Corroded Signet
X’Fal’s Corroded Signet is a Unique Ring that allows our DoT effects to explode, dealing additional damage. This adds a good amount extra damage to the build. Though this also usually means dropping the Starlight Aspect, which can hurt our overall Spirit sustain.
Mad Wolf’s Glee
This is a bit more optional but does a lot for the build. We get extra Movement Speed, Poison Damage, and Damage Reduction vs. Poisoned enemies. Its Unique effect however is also fantastic, making it so we’re always in Werewolf Form and all of our Werewolf Skills gain 3 Ranks. With our Aspects, this makes the +3 effect apply to all of our skills, except Wolves, unfortunately.
Paragon Boards and Glyphs
These two endgame options are part of the Paragon System which is available starting at level 50.
Paragon Boards
Paragon Boards are a feature that becomes available at level 50. These boards allow us to spend the Paragon points we earn for leveling and Renown to strengthen our character. Each of these has a single Glyph Slot to place a glyph of our Choice.
Starter Board
Like all starter boards, this one offers generic damage and defenses.
As usual, we’ll path up the right side through Prime to our Glyph Node, then continue up the left side through Impel and grab the Resolve cluster and the Dexterity leading up to it for our glyph before heading to the next board.
Heightened Malice
Heightened Malice has a lot of value for this build, granting us Poison Damage, Elite Damage, Damage to Poisoned Enemies, and Damage Reduction against Poisoned Enemies. Heightened Malic is also one of two Legendary nodes we can use, so we take that as well.
We rotate this board so that the Glyph Node is in the lower left. We’ll head straight to our Glpyh Node, taking both Sinking Fangs and Nature-born to fill the requirement of the glyph we place here before getting access to our left gate.
From the glyph area, we’ll head to Overturn, then up to Toxic Bane, taking both clusters. Then we’ll head over and connect to our right side gate before grabbing Poison Resilience as well as Heightened Malice.
Ancestral Guidance
Ancestral Guidance is a pass-through board, but we can pick up a Glpyh and some Core Skill Damage as we make our way through.
We’ll rotate the board so the glyph is in the upper left. We path straight to our Glyph Node from the left gate of Heightened Malice, picking up the Harmony Cluster and a couple of extra Intelligence nodes for our glyph. We’ll also grab the Non-Physical Resistance from the Resolve cluster then we’ll exit via the upper gate.
Lust for Carnage
Lust For Carnage is home to the second Legendary Node we can make use of, which restores a small bit of Spirit on Critical Strikes with most of our skills. Additionally, we get plenty of Werewolf Skill Damage to go along with it.
We’ll rotate this board so that Recuperate is I’m the bottom right. We’ll path straight to Feral, taking the whole cluster before moving up to our Glyph Node. We’ll quickly grab Regenerative before heading right to pick up extra Willpower as we make our way to Lust for Carnage.
After Lust For Carnage, we’ll head down to Ferocity and take that whole cluster before heading to the right gate.
Thunderstruck
Thuderstuck is mostly another Glyph Node, but has access to Damage Reduction from Vulnerable as well as Critical Strike Damage we can pick up.
We’ll rotate this board so the Glyph Node is in the lower left. We’ll path down to Hubris, taking the Damage reduction there, on our way to our Glyph Node. We’ll head up to Deluge taking the Dexterity along the way for our glyph, spending a couple extra point to grab an extra dexterity node for our glyph.
Constricting Tendrils
Constricting Tendrils is another Glpyh Node, which we’ll be attaching to the right gat of Heightened Malice. Additionally, we’ll get a bit of extra Life and Elite Damage here.
We’ll rotate the board so that the Glyph Node is in the upper left. We head straight to the Glyph Node taking Dexterity where we can along the way. Then we take the Courage Cluster for the Life and Dexterity it provides and grab an extra Dexterity node above the Glyph Node for our glyph. Then we can head down to Devastation, taking only the nodes that offer Elite Damage to finish off this board.
Glyphs
Each of our Paragon Boards has a Glyph Slot, where we can socket one of our Glyphs. These Glyphs provide powerful bonuses that can be leveled up by completing Nightmare Dungeons to increase their power. Below are the Glyphs we recommend and what board to place them on.
Exploit
Exploit increases Vulnerable Damage for every 5 Dexterity allocated in range. With 25 Dexterity allocated in range, it also applies Vulnerable on hit against an enemy once every 20 seconds.
We’ll place this in our Starter Board, as we don’t need to boost it, and has a nice trail of Dexterity leading to a great defensive node. The Glyph will need to be at least level 15 to make use of the full trail,
Fang and Claw
Fang and Claw increases the effect of all Magic Nodes in Range, in this case Damage to Poisoned Enemies and Damage Reduction against Poisoned Enemies. With 40 Willpower allocated in Range Close enemies take increased damage while Shapeshifted.
We’ll place this in Heightened Malice, as provides nice Offensive and Defensive bonuses for the build while being able to fill the requirement fairly easily without the need to fully level the glyph.
Bane
Bane increases our Poison Damage for every 5 intelligence allocated in range. With 25 Intelligence allocated in range, all Poisons have a chance to deal double their damage.
We’ll place this in Ancestral Guidance, as the Harmony cluster and nearby Intelligence help us active the bonus effect.
Werewolf
Werewolf increases our damage with Werewolf Skills for every 5 Willpower allocated in range. With 40 Willpower allocated in range, we gain additional Damage Reduction in Werewolf Form.
We’ll place this in Lust for Carnage, as it has plenty of easily accessible Willpower, allowing us to not only activate the boost, but also bump it up for a stronger initial bonus if we choose.
Spirit
Spirit increases our Critical Strike Damage for every 5 Dexterity in Range. With 25 Dexterity allocated in range, Critical Strikes increase all damage the enemy takes for a duration.
We’ll place this in Thunderstruck, as it can easily fill the requirement as we path up to Deluge and we don’t need the main effect to be much stronger.
Tracker
Tracker increases damage dealt to Poisoned enemies for every 5 Dexterity allocated in range. With 25 Dexterity allocated in range, our Poison effects have their duration increased.
We’ll place this in Constricting Tendrils, as the nearby Courage cluster makes it easy to reach the required Dexterity without wasting points on useless effects.
Leveling Order
If you want to play this build from level 1, the next segment of this build guide is for you. Below you will see the exact leveling order in which you should acquire your skills and passives to maximize damage and overall performance.
| Levels | Icon | Skill | Purpose |
|---|---|---|---|
| 2-3 | | Claw | Upgrade to Enhanced for Attack Speed bonus for early game. |
| 4-6 | | Shred | Upgrade to Primal so every attack can trigger Blurred Beast. |
| 7-9 | | Predatory Instincts | Bonus Critical Chance. |
| 10-12 | | Blood Howl | Upgrade to Preserving Blood Howl for Bonus Attack Speed. |
| 13-15 | | Debilitating Roar | Upgrade to Preserving Debilitating Roar for Fortify and Healing bonuses. |
| 16-18 | | Wolves | Upgrade to Brutal for more damage. |
| 19-21 | | Rabies | Upgrade to Natural for faster Poison spread. |
| 22-24 | | Digitigrade Gait | Bonus Movement Speed in Werewolf Form. |
| 25-27 | | Grizzly Rage | Upgrade to Supreme for Fortify and Unstoppable. |
| 28-31 | | Shred | Max level for max damage. |
| 32-34 | | Ancestral Fortitusde | Free Elemental Resists. |
| 35 | | Bestial Rampage | Key passive, which gives us a ton of Attack Speed. |
| 36-38 | | Vigilance | Consistent Damage Reduction. |
| 39 | | Neurotoxin | A single point to reach the other passives and apply a slow on Poison. |
| 40 | | Toxic Claws | Allows all of our skills to Poison. |
| 41-43 | | Envenom | Extra Critical Strike Damage vs Poisoned enemies. |
| 44-47 | | Debilitating Roar | Reduces the cooldown of the skill. |
| 48-R2 | | Blood Howl | Increased healing potency. |
| R3-R6 | | Rabies | Increased Poison strength. |
| R7-R10 | | Wolves | Extra health and damage for our Companions. |
To learn how to maximize your damage in Diablo 4, consult with our guide on that topic. Learning how to deal the highest possible damage with your build is crucial to succeeding in the Endgame and highest tiers.
This concludes our Diablo 4 Druid Build focusing on the Shred skill. You can find more leveling and endgame Diablo 4 builds here on VULKK.com to try new things with your characters and spice up your gameplay.


