
This Barbarian Build for Diablo 4 Season 2 utilizes Frenzy’s Speed and the effects of the Battle Trance Amulet to empower other skills, in our case, Hammer of the Ancients.
This guide is up-to-date for Season 4 and Patch 1.4.0.
Check our Diablo 4 Builds Catalog of uniquely crafted builds for each class.
Table of contents
This Barbarian build guide assumes you’re at least level 50 and have completed enough of your Renown to have gained the 10 additional Skill Points available.
If you want a great leveling build to reach this point with, try our Flay and Pray Barbarian Leveling Build – A build that uses Flay and Rend to stack up Bleed on enemies before using Rupture to deal it as instant damage instead of over time. If you want to level up as Barbarian, at the end of this guide, we have a leveling section showing you how to develop a new character from level 1 with this build.
Build Overview
With the Battle Trance Amulet, Frenzy’s stack count is increased to 5. This allows it to double its own Attack Speed, while nearly doubling the Attack Speed of any other still we want to use alongside it. This allows it to work with many skills, making many of the slower skills much more potent, especially in longer fights. We opt for Hammer of the Ancients, which has extremely high damage potential in this setup.
Frenzy also becomes a very quick Fury Generator, which allows us to use the excess of Fury generated for defense and stronger hits. We’ll gain Fortify from the Aspect of Numbing Wrath and additional damage with the Aspect of Limitless Rage and the Aspect of the Expectant.
We also have a handful of sources of Berserking, like War Cry and Wrath of the Berserker, being boosted by our Paragon Board for consistent windows of high burst damage. Berserking will also offer additional defense in addition to its exceptionally strong offense.
Skill and Passive Breakdown
In this section, we’ll be talking about each skill we use. This is the whys and hows of how the build works, and then we’ll cover the skill point distribution.
Skills
These are the main skills for the build. We’ll explain what purpose each serves and how they fit the build
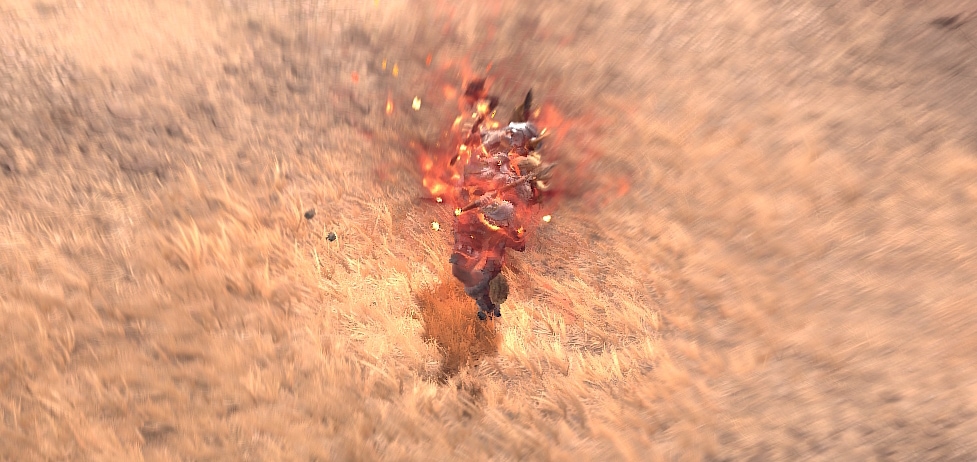
 Frenzy
Frenzy will be doing a fair bit of our upfront damage. We’ll not only be hitting very rapidly but also stacking Bleeding for additional damage. Between the increased stacks and the effect of Battle Trance, we’ll also gain 90% Attack Speed for our other skills.

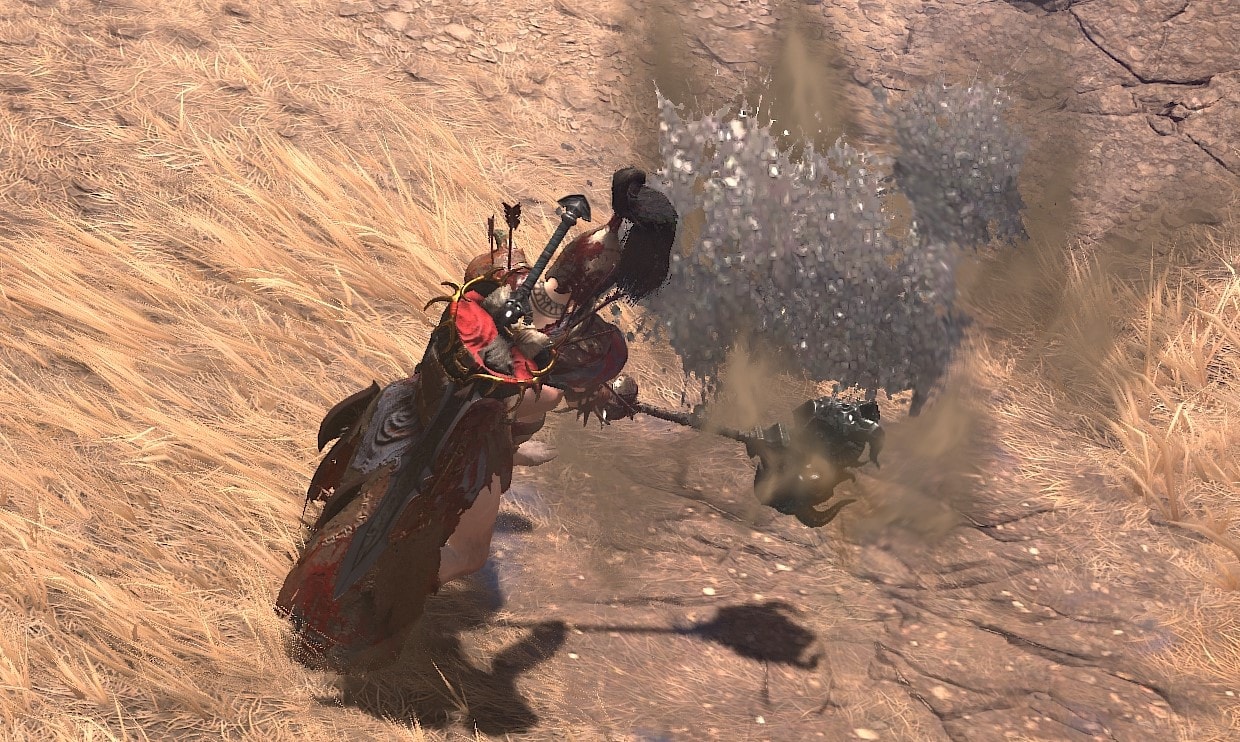
Hammer of the Ancients (HotA)
Hammer of the Ancients allows for more consistent Burst damage, as by using Frenzy we’re able to very quickly stack our damage Aspects and generate Fury for this skill.
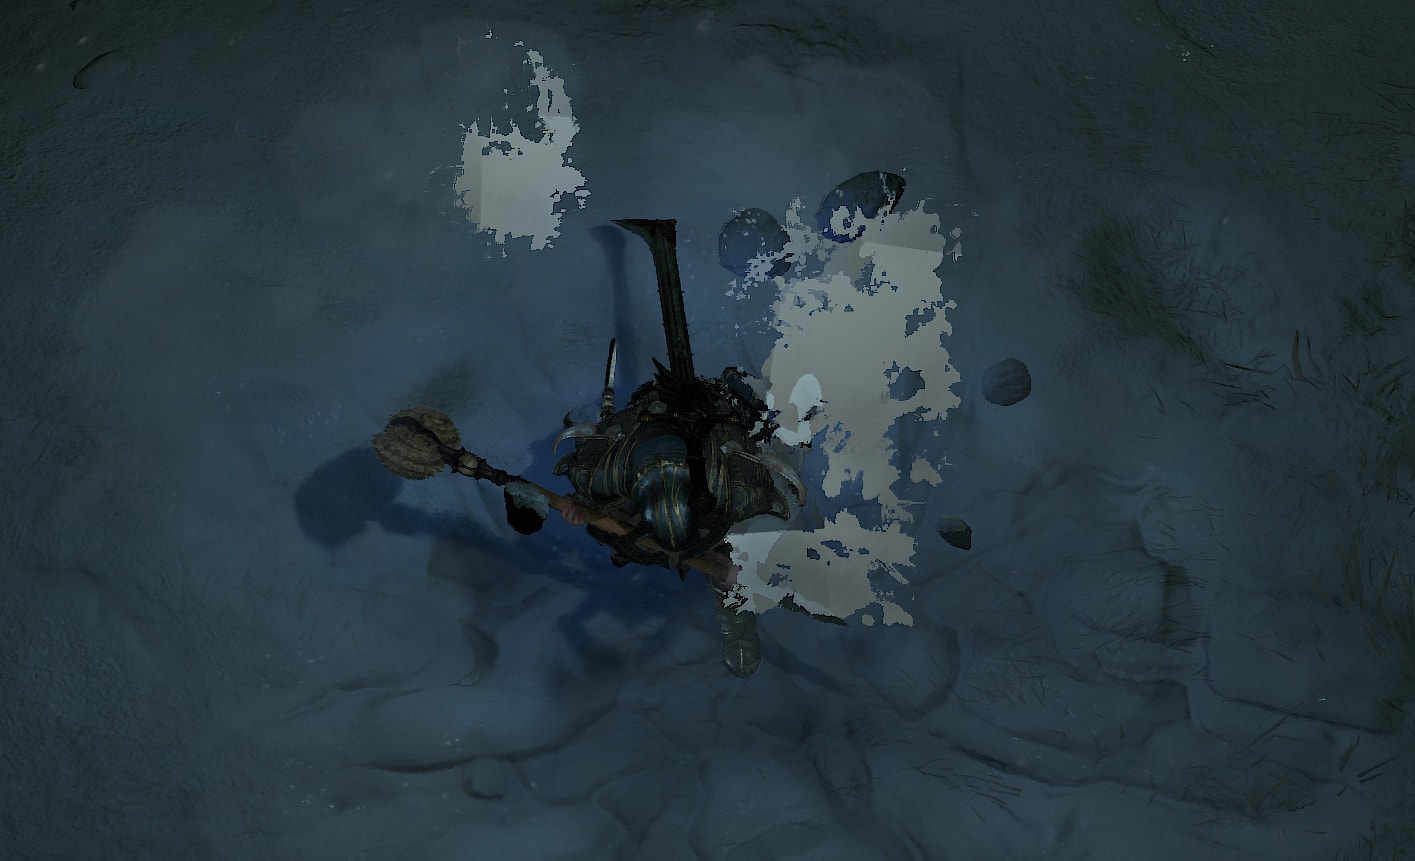
Ground Stomp
Ground Stomp is used for its quick Stun and Fury generation. We’ll also give it more utility by giving it to the Earthquake Aspect to boost the damage of other skills.
War Cry
War Cry is mostly a damage boost, but it also gives us on-demand Berserking without having to burn Wrath of the Berserker. This allows it to help maintain Berserking and by extension the benefit of the Aspect of Berserk Fury.
Leap
Leap we’re primarily using for Mobility. With the Aspect of Giant Strides, we’ll have it up more often to move from pack to pack much quicker.
 Wrath of the Berserker
Wrath of the Berserker is our Ultimate Skill, which provides us with a huge temporary power boost. We’ll get around 15 second of Berserking by using Frenzy, while also massively increasing the damage boost of Berserking.
Passives
Here we’re only going to talk about the main passives we absolutely want and our Key passive. Unfortunately, there are a couple we will need to take to get access to these.
 Key Passive – Unbridled Rage
This provides a huge damage increase to the already powerful Hammer of the Ancients, at the cost of doubling its Fury Cost. We’ll offset this with both our Fury Generation as well as a bit of Fury Cost Reduction.
Pressure Point
Since we’re using a Core Skill, having this extra access to Vulnerable can improve its damage for subsequent casts. With HotA hitting large areas with the Aspect of Ancestral Force, we’ll be able to make good use of this.
Aggressive Resistance
We’ll be Berserking more often than not, which makes this passive incredibly valuable for reducing incoming damage.
Battle Fervor
With all of our Cooldown reduction towards Leap specifically, this allows Leap to help a ton with keeping Berserking active.
Prolific Fury
Since we’ll have Berserking active often, this means we’ll be able to generate Fury even quicker than we already do. This even affects bonuses like the Aspect of Berserk Fury.
Counteroffensive
With Fortify being one of our main defensive mechanics, Counteroffensive allows us to utilize it for additional damage.
Duelist
Since Frenzy is locked to using only one-handed weapons, this increases our base Attack Speed for it. This lets us build the stacks up sooner and get the full bonuses faster.
Heavy Handed
Since we’ll be using HotA with our 2H Bludgeoning Weapon, this gives us a nice boost to Critical Strike Damage.
Skill Point Distribution: Where to Assign Your Skill Points
This is an easy-to-reference table for where we’ll be placing all of our Skill points. These are listed in the order they appear on the skill tree.
| Icon | Skill Name | Skill Tree | Points |
|---|---|---|---|
 | Frenzy | Basic | 5 |
| Enhanced Frenzy | Basic | 1 |
| Battle Frenzy | Basic | 1 |
 | Hammer of the Ancients | Core | 5 |
| Enhanced Hammer of the Ancients | Core | 1 |
| Furious Hammer of the Ancients | Core | 1 |
 | Pressure Point | Core | 3 |
 | Ground Stomp | Defensive | 1 |
| Enhanced Ground Stomp | Defensive | 1 |
| Tactical Ground Stomp | Defensive | 1 |
 | Leap | Brawling | 5 |
| Enhanced Leap | Brawling | 1 |
| Power Leap | Brawling | 1 |
 | War Cry | Brawling | 5 |
| Enhanced War Cry | Brawling | 1 |
| Power War Cry | Brawling | 1 |
 | Aggressive Resistance | Brawling | 3 |
 | Battle Fervor | Brawling | 3 |
 | Prolific Fury | Brawling | 3 |
 | Thick Skin | Weapon Mastery | 1 |
 | Defensive Stance | Weapon Mastery | 1 |
 | Counteroffensive | Weapon Mastery | 3 |
 | Wrath of the Berserker | Ultimate | 1 |
| Prime Wrath of the Berserker | Ultimate | 1 |
| Supreme Wrath of the Berserker | Ultimate | 1 |
 | Duelist | Ultimate | 3 |
 | Heavy Handed | Ultimate | 3 |
 | Unbridled Rage | Key Passive | 1 |
Gearing and Stats
In this section, we’ll cover all the things you’d want to keep an eye out for to enhance the final build. This includes our Recommended Weapons, Arsenal System, Aspects, and of course, Uniques.
Recommended Weapons
This Build uses a Pair of One-handed Swords and a 2H Bludgeoning Weapon. We’ll want to have High-Item Power versions of the One-handed Sword (for Frenzy) and the 2H Bludgeoning Weapon (For HotA).
We’ll want to use 1H Swords in our Dual-wield slots for their bonuses, as well as their inherent stats. These provide the overall best combination of benefits to frenzy.
Our 2H Slashing is just a place for an Aspect and for stats, so its Item Power doesn’t matter nearly as much.
Ideal Stats
The table below details the ideal stats for our gear, be on the lookout for gear that matches at least three of the four rolls below.
Due to the width of the table, we highly recommend mobile users rotate their devices to view it properly.
| Slot | Stat 1 | Stat 2 | Stat 3 | Stat 4 |
|---|---|---|---|---|
| Weapons | Critical Strike Damage (Or Bleeding Damage) | Basic Skill Damage | All Stats | Non-Elite Execute (or Berserk Damage) |
| Helm | Cooldown Reduction | Maximum Life | Basic Skill Attack Speed | Total Armor (or Resistance) |
| Chest | Maximum Life | Damage Reduction | Damage Reduction while Fortified | Total Armor (Or Resistance |
| Gloves | Critical Strike Chance | Ranks to HotA | Lucky Hit Chance | Attack Speed |
| Pants | Maximum Life | Damage Reduction | Damage Reduction while Fortified | Ranks of Leap |
| Boots | Movement Speed | Resource Cost Reduction | Damage Reduction while Injured | All Stats (or Resistances) |
| Amulet | Cooldown Reduction | Ranks to Counteroffensive | Ranks to All Brawling Skills | Fury Cost Reduction |
| Rings | Critical Strike Chance | Resource Generation | Maximum Life | Lucky Hit Chance |
Recommended Gems
This build uses Topaz in our Weapons, Rubies in our Armor, and Skulls in Jewelry.
We opt for Topaz in our Weapons as it’ll be a more consistent and valuable bonus since Critical Strike Damage no longer scales the Multiplicative portion of the damage. A lot of our damage will come from Frenzy anyway, making this a great choice.
We use Rubies in our Armor, as it increases our Maximum Life and Fortify. Topaz is also an option as well for dungeons that have a lot of enemies that naturally inflict some form of Crowd Control.
We go with Skulls for Our Jewelry for the armor it provides. Some endgame bosses may require you to swap to other Gems to cap your resistance against them.
Vampiric Powers
During the Season of Blood, we’ll have access to Vampiric Powers, which allow us to slot up to five unique powers into our Sanguine Circle to increase the power of the build. We’ll include more than the maximum in the selection below to offer alternatives, but they will be listed in order of their relative strength.
| Name | Effect | Reason |
|---|---|---|
| Moonrise | Basic Skills grant stacking attack Speed. at Maximum stacks, gain Basic Skill Damage and Movement Speed for a duration. | Frenzy becomes a very potent skill with the increased Basic Skill Damage. |
| Hectic | For every 5 Basic Skills, reduce an active cooldown by a small amount. | Using Frenzy will rapidly lower cooldowns |
| Undying | Using any Skill heals you for a percentage of your Maximum Life. This effect is doubled under 50% Life. | Frenzy’s fast attacks make this a very consistent healing effect. |
| Sanguine Brace | Gain Fortify on kill. While Fortify is greater than 50% Life, gain Critical Strike Chance | The bonus Fortify effect and Critical Strike Chance are great for the build. |
| Anticipation | Reduces Ultimate Skill Cooldown. Ultimate Skills deal increased damage for every enemy affected by a DoT. | More uptime on Wrath of the Berserker allows for more frequent Burst. |
| Metamorphosis | When you Evade, turn into a cloud of bats and become Unstoppable for 4 seconds. Evading through enemies deal Physical Damage | Reliable source of Unstoppable, should it be needed. |
| Terror | A reliable source of Unstoppable, should it be needed. | Used in combination with Butcher’s Cleaver for guaranteed Crits on enemies that get feared by its effect. |
Arsenal System
The Barbarian’s Arsenal System not only allows us to choose which weapons are used for each skill but also allows us to gain an additional effect from a non-active weapon type for all our weapons.
Both of our main skills are locked to their respective weapon, with Frenzy using Dual-Wield and HotA using 2H Bludgeoning. However, we can adjust Leap to use either Dual-wield for faster Attack Speed or 2H Bludgeoning for more damage.
For our Technique Slot, we’ll want to use 2H Sword so we can always apply Bleeding. This is our only source of Bleeding, which we utilize for multiple benefits on our Paragon Board and Glyphs.
Aspects
We’ll cover the Aspects that are recommended for maximizing the potential of the build. We’ll also suggest which gear slot you should look to place them in.
 Aspect of Ancestral Force
The Aspect of Ancestral Force not only increases the damage of HotA but additionally adds an AoE to it, making it great for both single target and pack clearing.
We’ll place this in one of our 2H Weapons, to boost the amount of damage gained from this Aspect.
Aspect of Limitless Rage
Since we’ll be able to quickly build up Fury, getting extra damage for over-capping is pretty good. Since it’ll only take a hit or two at most, we’ll be able to make consistent use of its full strength with Frenzy’s fast attacks.
We’ll place this in one of our 2H Weapons, to boost the amount of damage gained from this Aspect.
Rapid Aspect
Since we’re focused more on Frenzy, this provides even more Attack Speed for it. This allows it to stack up much faster and reach a higher peak.
We’ll place this in one of our 1H Weapons or Gloves, as we don’t need to boost its effect for it to work well. You can opt to swap this and Limitless Rage around if you want to go all-in on Frenzy.
Edgemaster’s Aspect
To get the most damage out of HotA, we’ll want to use it, and then refill our Fury. This synergizes with that strategy, granting additional damage for doing so.
We’ll place this in one of our 1H Weapons or Gloves, as we don’t need to boost its effect for it to work well.
Aspect of the Expectant
In the same vein as the Aspect Limitless Rage, we’ll be using Frenzy often enough to benefit from this. It’s a solid bonus for the build overall.
We’ll place this in one of our 1H Weapons or Gloves, as we don’t need to boost its effect for it to work well.
Aspect of Berserk Fury
Since we’ll be Berserking quite often, this will help us build Fury more quickly in addition to when we get from Frenzy.
We’ll place this in one of our Rings, as only Rings can hold Resource Aspects.
Aspect of Giant Strides
Leap is one of our main mobility and gap-closing tools, and this allows us to use it more often. Since we put a ton of levels into it and get Cooldown reduction, this can easily allow us to reset the skill by hitting 2-3 enemies with it.
We’ll place this in one of our Rings, as only Rings can hold Resource Aspects.
Relentless Berserker’s Aspect
This gives us a chance to extend Berserking when we use HotA. While it’s going to be a little irregular of a bonus, it’ll still improve the overall damage consistency.
We’ll place this in our Boots, as it’s the only open slot not occupied by another aspect.
Steadfast Berserker’s Aspect
Since we’ll be Berserk mosttimes, this allows us to use Frenzy to very quickly build Fortify. Without any affixes or other bonuses to Lucky Hit Chance, Frenzy will have roughly a 10% activation chance for this.
We’ll place this in our Helm, Chest, or Pants as these are the only slots that can hold Defensive Aspects.
Aspect of Might
With Frenzy as a focus for the build, we’ll have very high uptime on this effect. This means essentially free Damage Reduction.
We’ll place this in our Helm, Chest, or Pants as these are the only slots that can hold Defensive Aspects.
Aspect of Numbing Wrath
This makes any Fury we generate beyond our cap grant us Fortify, in addition to our other effects from doing so.
We’ll place this in our Helm, Chest, or Pants as these are the only slots that can hold Defensive Aspects.
Unique Items
We’re only going to talk about the few that offer the strongest effects on the build. While others help, these are the ones you want to slot into your build if you get the chance. These will drop starting in Tier 3 content, but decent upgrades for the build once you get them.
Battle Trance
This is a required Unique for the build. It gives us a lot of nice stats for the build, in addition to the heaps of additional Attack Speed just for maintaining Frenzy stacks.
Tuskhelm of Joritz the Mighty
This new Unique Helm gives a strong boost of power if we can get it. While we lose a Defensive Aspect and a bit of Life, we gain a chance to become Enraged while Berserking. Enraged further increases the damage of Berserking, and grants additional Fury Generation and some Cooldown Reduction we’d have otherwise lost.
Fists of Fate
While this is a bit of a gimmicky option to use, given the very random nature of it, it’s a viable option for this build. While low-rolling a HotA or two may hurt like hell, Frenzy hits frequently enough that you’ll often win more than you lose with it. With a good roll, the odds are generally in your favor to at least deal normal damage, up to a ~66% chance with a perfect roll for the damage range.
The big downside is losing the stats that’d come with Legendary Gloves instead. The Damage can more than makeup for it if you don’t mind the gamble.
Ring of Red Furor
The Ring of Red Furor is a Unique Ring that allows HotA, Upheveal, or Death Blow to always Critically Strike after spending 100 Fury and deal bonus Critical Strike Damage. While we won’t be spending Fury super often, this does make HotA quite powerful and can make more frequent use of it even better.
The Butcher’s Cleaver
This is a Season of Blood-specific Unique option, as it has extremely strong synergy with Frenzy and the Terror Vampiric Power. This makes it so you have a 30%+ chance to Fear on Critical Hit with Frenzy, which Terror allows you to then extend by making all attacks against a Feared enemy Critically Strike.
Paragon Boards and Glyphs
These two endgame options are part of the Paragon System which is available starting at level 50.
Paragon Boards
Paragon Boards are a feature that becomes available at level 50. These boards allow us to spend the Paragon points we earn for leveling and Renown to strengthen our character. Each of these has a single Glyph Slot to place a glyph of our Choice.
Starter Board
Like all starter boards, this one offers generic damage and defenses.
As usual, we’ll path up the right side through Brawn to our Glyph Node, then continue up the left side through Raw Power and head to the next board. We can come back late on to grab the Iron Strength and Tenacity cluster for the boosted defenses.
Flawless Technique
Flawless Technique is a great Legendary Node for us, as Frenzy will be able to very quickly stack its bonus. Additionally, the bonuses to One-Handed Weapons and Damage Reduction from Close are very beneficial.
We’ll rotate this board so that Wild Force is in the upper right. We’ll path upwards along the left side, splitting off to Heavy Blows, our Glyph Node, and Brash taking both clusters entirely. Then from Heavy Blows, we’ll path up to Havoc before wrapping around to Flawless Technique and then heading out the left gate. We can come back later to grab Wild Force.
Carnage
Carnage offers a lot of nice bonuses to Berserking, including the Legendary node which boosts Attack Speed. In addition, there’s also Elite Damage and more Damage Reduction from Close.
We’ll rotate this board so that Enraged is in the lower left. We’ll path straight to our Glyph Node, grabbing Fierce and its cluster along the way. Then we can head up from the earlier path to grab Carnage. From our Glyph Node, we’ll then take the Brash cluster here, before heading to Enraged and out the left gate. We’ll come back later to grab Berserker and also open the upper gate.
Hemorrhage
Hemorrhage isn’t a great board for us, but does still offer a glyph slot. We’ll also get a bit of Damage Reduction from Bleeding Enemies while passing through.
We’ll rotate this so that the Glyph Node is I’m the upper right. We’ll head straight to the Glyph Node. We’ll also grab Willpower for our Glyph we’ll place here by taking Grit and the Willpower in that cluster as well as a couple of nodes on the way out the upper gate.
Bone Breaker
Bone Breaker is just another Glyph Slot, though we can get a bit of extra Damage Reduction while Healthy in the process.
Rotate this board so the Glyph Node is in the lower right. We’ll path directly to the Glyph Node, taking some extra Dexterity around it and Vigor to activate the glyph we place here.
Weapons Master
Weapon Master will connect to Carnage’s upper gate, and give us another Glyph Node as well as Physical Damage and Armor.
Rotate this board so the Glyph Node in in the lower right. We’ll head directly to the Glyph Node, taking the Raw Power cluster along the way. Then we can grab the Iron Strength cluster for the Armor and the Willpower for the Glyph we place here.
Glyphs
Each of our Paragon Boards has a Glyph Slot, where we can socket one of our Glyphs. These Glyphs provide powerful bonuses that can be leveled by completing Nightmare Dungeons to increase their power. Below are the Glyphs we recommend and what board to place them on.
Exploit
Exploit grants increased Vulnerable damage for every 5 Dexterity allocated in range. With 25 Dexterity allocated, any hit to any enemy applies Vulnerable for a short duration once every 20 seconds per enemy.
We’ll place this in the Starter Board, as it has a good amount of Dexterity to easily activate this glyph.
Cleaver
Cleaver increases our Damage with an Axe for every 5 Strength allocated in range. with 40 Strength allocated in range, we’ll deal increased Critical Strike Damage.
We’ll place this in the Flawless Technique board, as it has two great Rare nodes that help reach the 40 Strength required.
Wrath
Wrath increases our Critical Strike Damage for every 5 Dexterity allocated in range. with 25 Dexterity allocated in range, Critical Strikes will restore a small amount of Fury.
We’ll place this in Carnage, as it has plenty of Dexterity near our path to activate this glyph with.
Undaunted
Undaunted increases our Damage while Fortified for every 5 Willpower allocated in range. with 25 Willpower allocated in range, we gain additional Damage Reduction while Fortified.
We place this in Hemorrhage, as we can easily get enough Willpower by taking the Grit cluster to activate the glyph without straying too far.
Bloodfeeder
Bloodfeeder increases our Damage against Bleeding Enemies for every 5 Dexterity allocated in range. With 25 Dexterity allocated in range, we gain a Critical Strike Chance against Bleeding Enemies.
We’ll place this in Bone Breaker, as the Vigor cluster can help us to more easily reach the threshold for Dexterity without going too far out of the way.
Disembowel
Disembowel increases our Bleeding Damage for every 5 Willpower allocated in range. With 25 Willpower allocated in range, defeating Bleeding Enemies has a chance to reduce our Non-Ultimate Cooldowns.
Leveling Order
If you want to play this build from level 1, the next segment of this build guide is for you. Below you will see the exact leveling order in which you should acquire your skills and passives to maximize damage and overall performance.
| Levels | Icon | Skill | Purpose |
|---|---|---|---|
| 2-3 | | Frenzy | Basic Skill, which we’ll upgrade later. |
| 4-6 | | Hammer of the Ancients | Upgrade to Furious HotA |
| 7-9 | | Pressure Point | Chance for HotA to apply Vulnerable. |
| 10-12 | | Ground Stomp | Upgrade to Tactical for Fury Generation |
| 13-15 | | Leap | Upgrade to Power Leap |
| 16-18 | | War Cry | Upgrade to Power War Cry for increased damage vs packs |
| 19-21 | | Aggressive Resistance | Increased Damage Reduction while Berserking |
| 22-24 | | Battle Fervor | Allows Leap to provide Berserking. |
| 25-27 | | Wrath of the Berserker | Fully Upgrade for damage bonus. |
| 28-30 | | Prolific Fury | Increased Fury Generation while Berserk. |
| 31 | | Thick Skin | Taken to each Counteroffensive |
| 32-34 | | Counteroffensive | Increased Damage while we have over 50% Life as Fortify. |
| 35 | | Unbridled Rage | Massive Damage boost for HotA. |
| 36-38 | | Heavy Handed | More damage for HotA. |
| 39-41 | | Duelist | Attack Speed for Frenzy. |
| 42-45 | | Hammer of the Ancients | Max out one of out damage skills |
| 46-49 | | Leap | Reduced cooldown of our mobility skill |
| R1-R5 | | Frenzy | Upgrade to Battle Frenzy and max out Rank for more damage. |
| R6-R9 | | War Cry | Stronger damage buff. |
| R10 | | Defensive Stance | Extra point is spent of extra defenses. |
To learn how to maximize your damage in Diablo 4, consult with our guide on that topic. Learning how to deal the highest possible damage with your build is crucial to succeeding in the Endgame and highest tiers.
This concludes our Diablo 4 Barbarian Build focusing on the Frenzy skill. You can find more leveling and endgame Diablo 4 builds for this season here on VULKK.com to try new things with your characters and spice up your gameplay.


