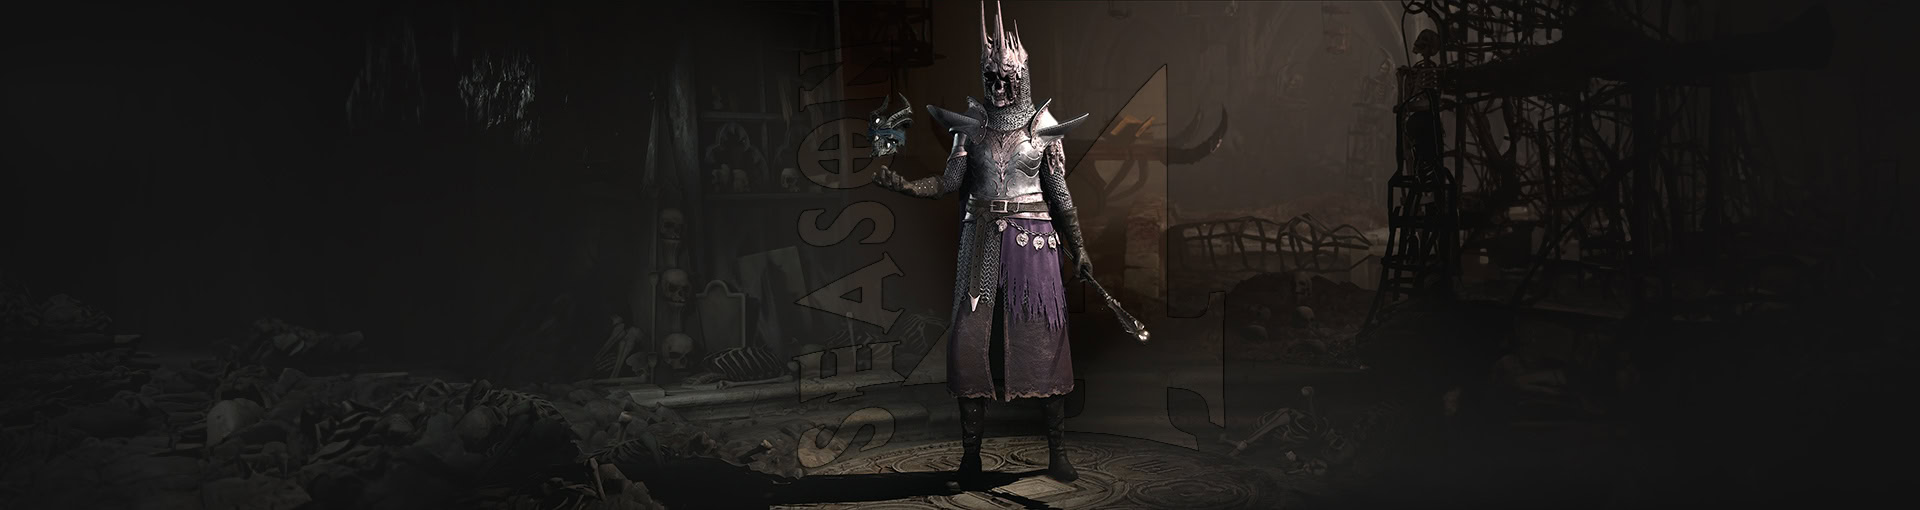
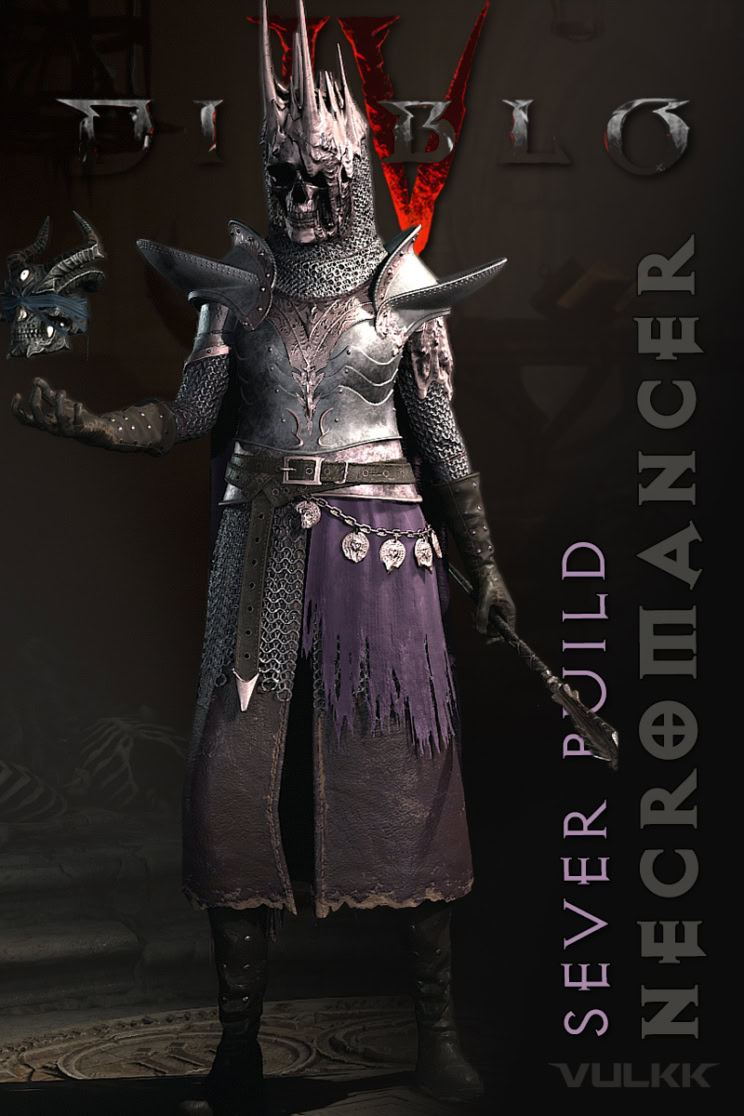
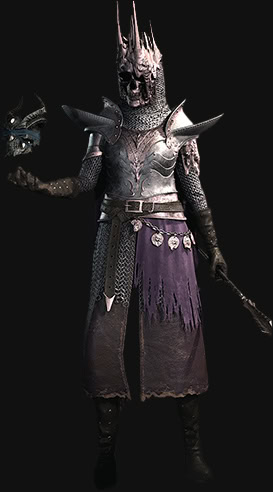
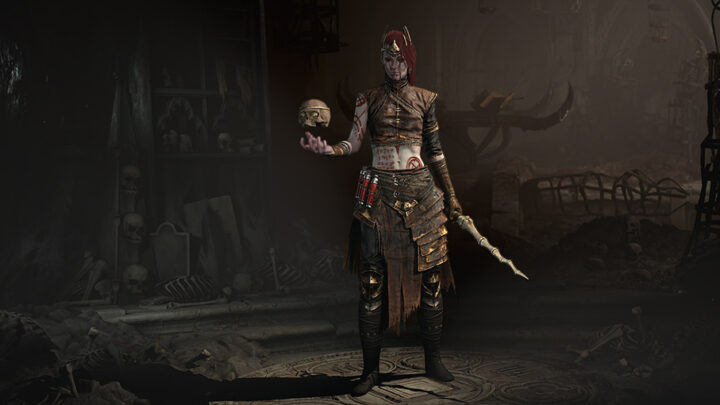
This Shadow-focused Necromancer build for Diablo IV Season 4 uses Sever alongside Skeletons for consistent DPS!
This guide is up-to-date for Season 4 and Patch 1.4.0.
Check our Diablo 4 Builds Catalog of uniquely crafted builds for each class.
Table of contents
This Necromancer build guide assumes you’re at least level 50 and have completed enough of your Renown to have gained the 10 additional Skill Points available.
If you want a great leveling build to reach this point with, try our Overpowering Blood Surge Leveling Build – A Blood Surge Build that has a lot of very early power thanks to Overpower. If you want to level up as Sever Necromancer, at the end of this guide, we have a leveling section showing you how to develop a new character from level 1 with this build.
Necromancer Sever Build Overview
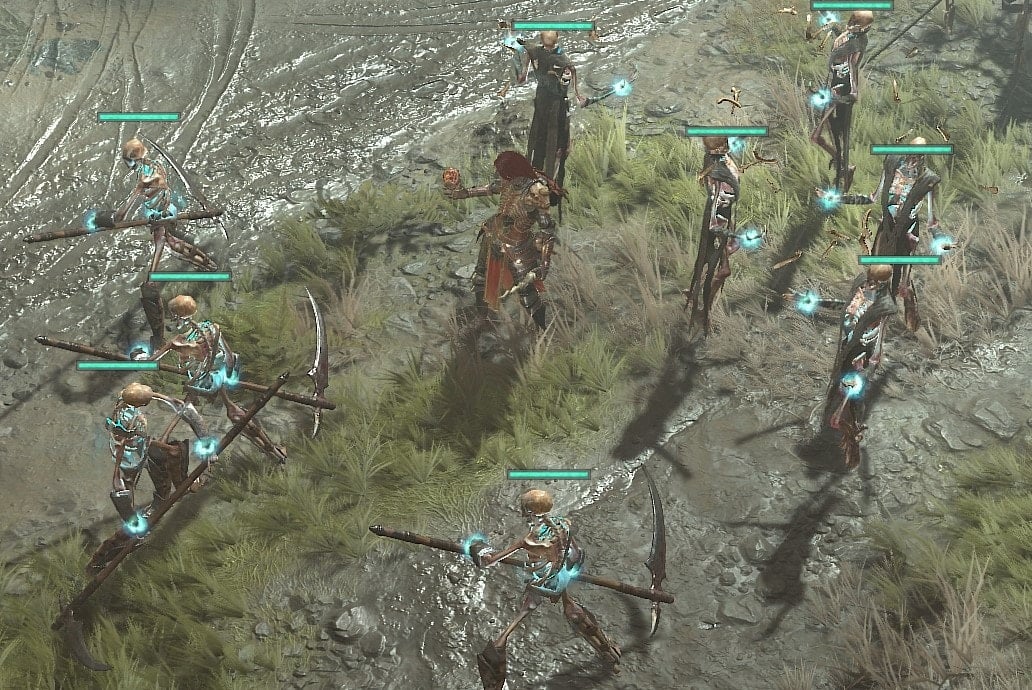
Sever is our main skill, which we’ll support with minions and Uniques to deal high and consistent Shadow Damage, as well as Shadow Damage over Time. The minions will also pull their own weight as well, despite the minimal investment we’ll put into them outside of our Paragon Boards.
Defensively, we’ll have Decrepify for consistent damage reduction, we manually cast it to not only influence which Curse our Minions will apply with Blood Moon Breeches, but also to be able to maintain higher uptime on all of our skills.
We’ll also be using Bone Storm and the Aspect of Shielding Storm to reliably gain Barrier in addition to Fortify. This gives us a lot more survivability, especially when both scale with Maximum Life to make us exceptionally durable.
Skill and Passive Breakdown
In this section, we’ll be talking about each skill we use. This is the whys and hows of how the build works, and then we’ll cover the skill point distribution.
Skills
These are the main skills for the build. We’ll explain what purpose each serves and how they fit the build in this segment of the guide.


 Raise Skeleton
We’ll have a huge army of skeletons with us, which benefit us both offensively and defensively. We’ll go a bit deeper into what we’re using and why in the Book of the Dead section of this guide.
Reap
Reap is a great Basic Skill, which has a weaker version of the Aspect of Might baked into it. Not only that but it can very quickly recover Essence in packs as well as create corpses.
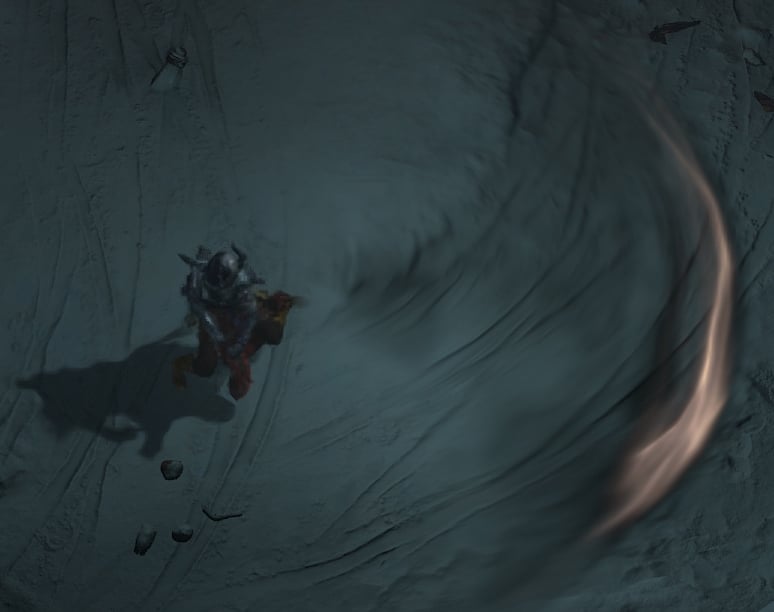
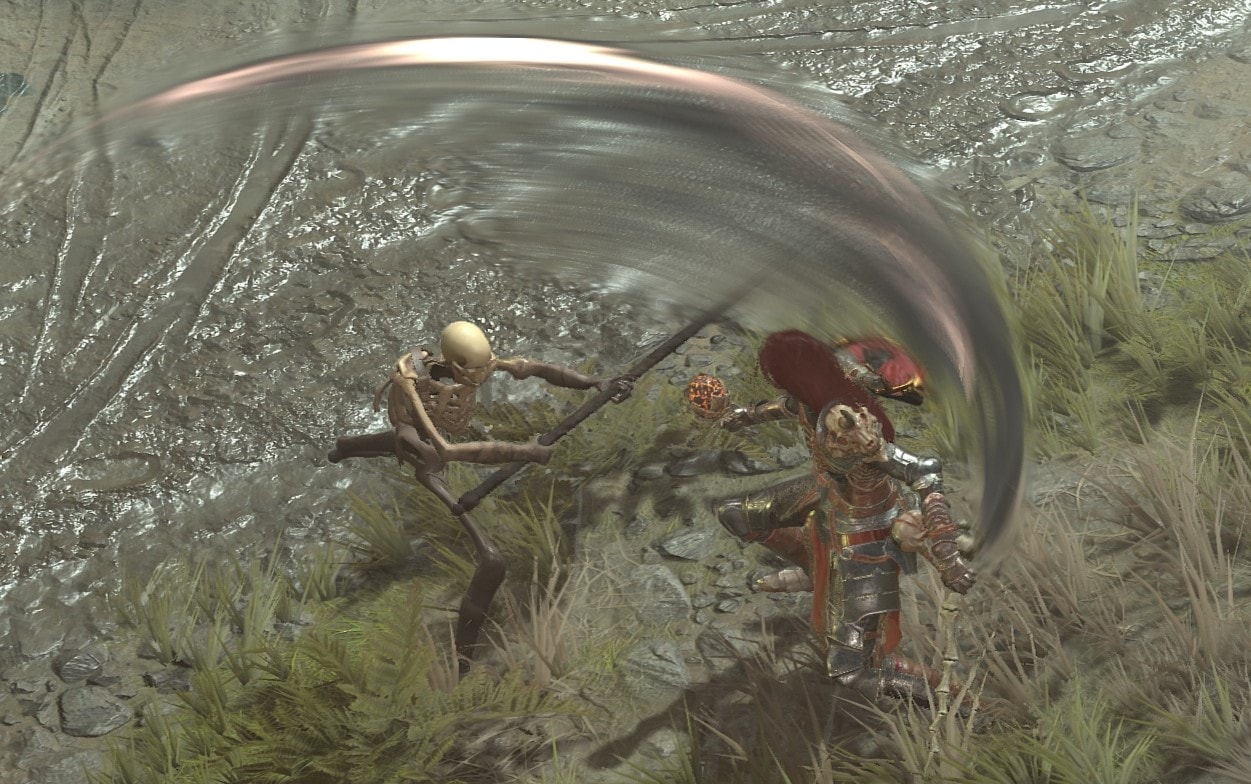
Sever
Sever is our main damage skill, which works exceptionally well at close and long range. With the Greaves of the Empty Tomb, this will leave a Shadow DoT as it travels, in addition to its relatively high base damage.
Decrepify
Decrepify is a good defensive curse, allowing us to reduce the damage dealt by enemies. Additionally, with it being Upgraded to Abhorrent Decrepify, it’ll shorten the cooldowns of Blood Mist and Bone Storm to help keep us safe.
Blood Mist
Blood Mist is great for those moments where you’re in a bad position to avoid damage, or just need to avoid a harder boss pattern. While we shouldn’t need Unstoppable all too much, being able to ignore attacks for a short time is always helpful.
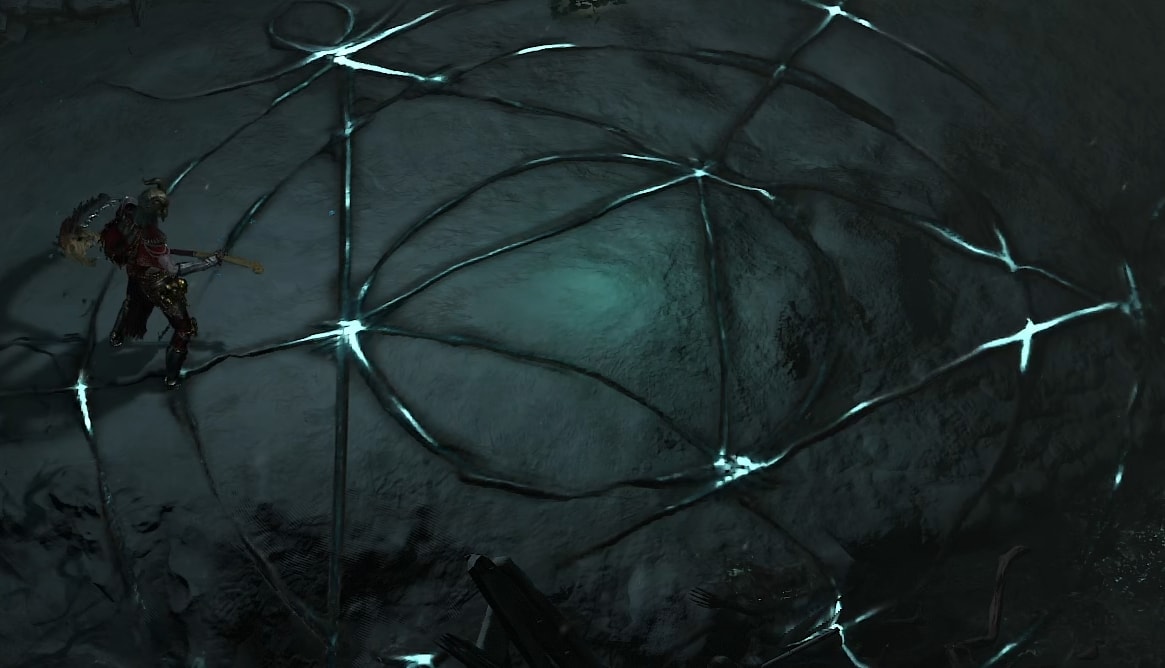
Bone Storm
Bone Storm is still easily one of the best Ultimates available to the Necromancer. With the Aspect of Shielding Storm, this grants us a Barrier in addition to the Damage Reduction it already offers. It even helps offensively as it will boost our Critical Strike Chance.
Passives
Here we’re only going to talk about the main passives we absolutely want as well as our Key passive. There are unfortunately a couple we will need to take to get access to these though.
 Key Passive – Shadowblight
Shadowblight puts a stacking effect on enemies that builds up before detonating for extra damage. With almost all of our damaging skills dealing Shadow Damage, this will stack very quickly adding consistent damage to the build.
Imperfectly Balanced
This increases the Damage of Sever, at the cost of increasing the Essence it uses. Sever is already fairly inexpensive on Essence and combined with Essence Cost Reduction on gear, we won’t even feel this.
Hewed Flesh
Hewed Flesh gives our skills a chance to create Corpses when dealing damage. We mostly need this for bossing, as we can have a steady supply of corpse for when we need to inevitably resummon our skeletons.
Skeletal Warrior Mastery
This improves our Skeletal Warriors, helping them survive longer. Combined with Death’s Embrace, it’ll make them deal fairly good damage.
Fueled by Death
Since we have Raise Skeleton, we have a way to trigger this at will and gain some extra damage for Sever and our minions in the process. It lasts a fairly long time so we won’t need to cast it too often to maintain this effect.
Death’s Embrace
Death’s Embrace is great as it’ll boost the damage of our Skeletal Warriors. It’ll also increase our Close Damage as well as grant Damage Reduction from Close Enemies.
Amplify Damage
We’ll be Cursing enemies frequently, so why not take free damage for doing so? We can easily maintain 100% uptime on this as well, making a very reliable damage bonus.
Skeletal Mage Mastery
Skeletal Mages will deal the majority of our Minion Damage. This improves their overall damage and survivability.
Death’s Approach
This increases our Movement Speed, enabling us to get around faster and most easily avoid attacks. We can
Gloom
Gloom is one of the strongest damage increases we get for us and our Skeletal Mages. With the addition of the Aphotic Aspect, this will also benefit our Warriors.
Inspiring Leader
Inspiring Leader is another passive that boosts us and our minions, this time with Critical Strike Chance. Due to how our Minions work, they double dip from this passive, letting them crit very often.
Hellbent Commander
Since our Minions generally follow us, they’re almost always close. This gives them a noticeable increase in damage. Alternatively, we could just place the points spent here into Decrepify as well.
Skill Point Distribution
This is an easy-to-reference table for where we’ll be placing all of our Skill points. These are listed in the order they appear on the skill tree.
Scroll horizontally
to see more
| Icon | Skill Name | Skill Tree | Points |
|---|---|---|---|
| Reap | Basic | 1 |
| Enhanced Reap | Basic | 1 |
| Acolyte’s Reap | Basic | 1 |
| Sever | Core | 5 |
| Enhanced Sever | Core | 1 |
| Supernatural Sever | Core | 1 |
 | Unliving Energy | Core | 1 |
 | Imperfectly Balanced | Core | 3 |
 | Hewed Flesh | Core | 3 |
| Blood Mist | Corpse & Macabre | 1 |
| Enhanced Blood Mist | Corpse & Macabre | 1 |
| Ghastly Blood Mist | Corpse & Macabre | 1 |
 | Skeletal Warrior Mastery | Corpse & Macabre | 3 |
 | Grim Harvest | Corpse & Macabre | 2 |
 | Fueled By Death | Corpse & Macabre | 3 |
| Decrepify | Curse | 1 |
| Enhanced Decrepify | Curse | 1 |
| Abhorrent Decrepify | Curse | 1 |
 | Death’s Embrace | Curse | 3 |
 | Death’s Reach | Curse | 3 |
 | Amplify Damage | Curse | 3 |
 | Skeletal Mage Mastery | Curse | 3 |
 | Necrotic Carapace | Corpse & Macabre | 1 |
 | Reaper’s Pursuit | Corpse & Macabre | 1 |
 | Gloom | Corpse & Macabre | 3 |
| Bone Storm | Ultimate | 1 |
| Prime Bone Storm | Ultimate | 1 |
| Supreme Bone Storm | Ultimate | 1 |
 | Inspiring Leader | Ultimate | 3 |
 | Hellbent Commander | Ultimate | 3 |
 | Shadowblight | Key Passive | 1 |
Gearing and Stats
In this section, we’ll cover all the things you’d want to keep an eye out for to enhance the final build. This includes our Recommended Weapons, Book of Dead, Aspects, and of course, Uniques.
Recommended Weapons
This build uses a Wand and Focus as its preferred weapons.
Wands increase our Lucky Hit Chance a fair bit, which allows us to trigger effects like Abhorrent Decrepify more regularly. There’s no substitute for this weapon type, especially with Critical Strike Damage being an Additive bonus.
The previous version of this build used a shield, but as of Season 4 we only require one Ultity Aspect for maximum minions. This means we use a Focus to increase our Damage potential and Cooldown Reduction.
Ideal Stats
The table below details the ideal stats for our gear, be on the lookout for gear that matches at least two of the three rolls below. We’ve also included Aspects here for easier viewing, refer to the Aspects section for additional details on why these are selected.
Affixes that are CAPITALIZED are the Ideal Affixes to get as a Greater Affix. These are not required but are a good way to push the build further. Affixes in Bold are the ideal Affixes to boost with Masterworking.
Scroll horizontally
to see more
Affix 1
Critical Strike Damage
Affix 2
ATTACK SPEED
Affix 3
Intelligence
Tempered Affix 1
Shadow Augments – Execution Manual
Chance for Sever Projectiles to Cast Twice
Tempered Affix 2
Shadow Finesse Manual
Darkness Damage
Legendary Aspect
Aspect of Ultimate Shadow
Affix 1
COOLDOWN REDUCTION
Affix 2
Critical Strike Chance
Affix 3
Intelligence
Tempered Affix 1
Shadow Augments – Execution Manual
Chance for Sever Projectiles to Cast Twice
Tempered Affix 2
Shadow Finesse Manual
Darkness Damage
Legendary Aspect
Aspect of the Damned
Affix 1
Maximum Life
Affix 2
COOLDOWN REDUCTION
Affix 3
Essence per Second OR
Lucky Hit Chance
Tempered Affix 1
Profane Innovation Manual
Decrepify Size
Tempered Affix 2
Worldly Endurance Manual
Maximum Life OR
Total Armor
Legendary Aspect
Aphotic Aspect
Affix 1
MAXIMUM LIFE
Affix 2
Essence per Second
Affix 3
Armor OR
Resistance
Tempered Affix 1
Worldly Endurance Manual
Maximum Life OR
Total Armor
Tempered Affix 2
Profane Innovation Manual
Decrepify Size
Legendary Aspect
Aspect of Shielding Storm
Affix 1
MAXIMUM LIFE
Affix 2
Armor
Affix 3
Resistance OR
Skeletal Mage Mastery
Tempered Affix 1
Worldly Endurance Manual
Maximum Life OR
Total Armor
Tempered Affix 2
Profane Innovation Manual
Decrepify Size or Curse Duration
Legendary Aspect
Aspect of Occult Dominion
Affix 1
Maximum Life
Affix 2
ATTACK SPEED
Affix 3
Ranks to Sever
Tempered Affix 1
Shadow Finesse Manual
Darkness Damage
Tempered Affix 2
Worldly Fortune Manual
Chance to Stun
Legendary Aspect
Osseus Gale Aspect
Greaves of the Empty Tomb
Affixes below are used until acquired
Affix 1
MOVEMENT SPEED
Affix 2
Maximum Life
Affix 3
Armor OR
Resistance
Tempered Affix 1
Necromancer Motion Manual
Movement Speed
Tempered Affix 2
Worldly Fortune Manual
Chance to Stun
Legendary Aspect
Blood Getter’s Aspect
Affix 1
ATTACK SPEED
Affix 2
Critical Strike Chance
Affix 3
Maximum Life
Tempered Affix 1
Shadow Finesse Manual
Darkness Damage
Tempered Affix 2
Worldly Stability Manual
Resource Generation
Legendary Aspect
Aspect of the Long Shadow
Affix 1
ATTACK SPEED
Affix 2
Critical Strike Chance
Affix 3
Maximum Life
Tempered Affix 1
Shadow Finesse Manual
Darkness Damage
Tempered Affix 2
Worldly Stability Manual
Resource Generation
Legendary Aspect
Blighted Aspect
Affix 1
Maximum Life
Affix 2
Attack Speed
Affix 3
RANKS OF TERROR
Tempered Affix 1
Shadow Finesse Manual
Darkness Damage
Tempered Affix 2
Necromancer Efficiency Manual
Ultimate Cooldown Reduction
Legendary Aspect
Aspect of Frenzied Dead
Recommended Gems
This build uses Amethysts in our Weapons, Rubies in our Armor, and Diamonds in Jewelry.
We opt for Amethysts in our Weapons as Damage over Time is the only thing we can consistently increase. Emeralds can work as well but are slightly less consistent due to relying on Critical Strike Chance.
We use Rubies in our Armor, as scaling our Maximum Life also increases the amount of Fortify and Barrier we can have as well
We go with Diamonds for Our Jewelry for the Resistances they provide. We can also use the other Gems to fill out resistances not covered by our Gear or Paragon Board.
Book of Dead
Our Skeletal Army will consist of Skeletal Reapers and Skeletal Shadow Mages. We sadly don’t have space for a Golem, meaning we’ll sacrifice it for some bonuses.
Skeletal Reapers are mainly here to generate Corpses and by extension Fortify thanks to Necrotic Carapace. Aphotic helps ensure they deal decent damage even with minimal investment.
Skeletal Shadow Mages help us trigger Shadowblight with their ability to attack twice with every 3rd attack. This alongside bonus Minion Attack Speed will have them dealing fairly high DPS.
We Sacrifice our Bone Golem for the extra Attack Speed it provides. Part of this also carries over to our minions, so it just improves our damage as a whole. If we’re able to get enough of a bonus to Minions Inherit Critical Strike Chance, Iron Golems could also be considered, but that’d be for the very endgame.
Aspects
We’ll cover the Aspects that are recommended for maximizing the potential of the build. We’ll also suggest which gear slot you should look to place them in.
 Aspect of Frenzied Dead
Frenzied Dead Gives our Skeletons ramping Attack Speed, which not only increases their DPS, but allows them to stack Shadowblight faster.
We’ll place this on our Amulet, so the effect is boosted and our Minions can attack faster and be extension stack Shadowblight faster.
Blighted Aspect
Blighted increases our damage after triggering Shadowblight 10 times. With all of our Skeletal Shadow Mages and the Apothic Aspect we’ll be able to trigger this often enough to have high uptime.
We’ll place this on one of our Rings, as we have very limited space for Offensive Aspects.
Aspect of Ultimate Shadow
Ultimate Shadow converts Bone Storm to Darkness Skill, making it deal Shadow Damage over Time. This strongly synergies with our other Aspects and Paragon Boards.
We’ll place this on our Wand or Focus, as we have very limited space for Offensive Aspects.
Osseous Gale Aspect
Osseous Gale allows our Bone Storm to consume Corpses to extend its duration. This not only improves its uptime, but also allows it to trigger Fueled by Death for additional damage.
We’ll place this on our Gloves, as we have very limited space for Offensive Aspects.
Aspect of the Damned
Damned increases our Shadow Damage against cursed enemies. With Decrepify up constantly, we’ll always have this active. Sadly this does not affect our Skeletons, but this also feels like an unintended bug that may be fixed later.
We’ll place this on our Wand or Focus, as we have very limited space for Offensive Aspects.
Aspect of the Long Shadow
Long Shadow gives our Shadow Damage over Time a chance to generate Essence, while Shadowblight always grants Essence. With Greaves of the Empty Tomb and the Aspect of Ultimate Shadow, we’ll have plenty of Shadow Damage over Time to trigger this effect with.
We’ll place this on our one of our Rings, as we have very limited space for Offensive Aspects.
Blood Getter’s Aspect
Blood Getter Allows the effects of Skeletal Priests buffs to also affect us. This means increased damage and healing over time. This is great early on, which is why we use it until we get the Greaves of the Empty Tomb.
We’ll place this in our Boots until we get Greaves of the Empty Tomb, where it will be dropped.
Aspect of Occult Dominion
Occult Dominion increases the number of Skeletal Warrior and Mages we have. Between this and Apothic Aspect, we’ll be able to very quickly stack our Shadowblight.
We’ll place this in our Pants as they’ll be the only slots that can hold Utility Aspects as we’ll have Unique Boots.
Aspect of Shielding Storm
Shielding Storm allows Bone Storm to generate a Barrier for us, giving us another defensive layer.
We’ll place this in our Chest, as we’ll always want to have this effect, even if we opt to use Blood Moon Breeches.
Apothic Aspect
Apothic empowers our Skeletal Warriors, enabling them to deal Darkness damage which helps to stack Shadowblight faster.
We’ll place this in our Helm, as it’s one of the few slots we can fit it.
Unique Items
We’re only going to talk about the few that offer the strongest effects on the build. While there are others that help, these are the ones you really want to slot into your build if you get the chance. Some of these will drop in World Tiers 1 and 2, while some may not drop starting in Tier 3 content, but decent upgrades for the build once you get them.
Greaves of the Empty Tomb
The Greaves of the Empty Tomb is a great Unique, as it has two high-priority stats on it in Movement Speed and Essence Cost Reduction. In addition they improve our Lucky Hit Chance with Shadow Damage and grant Sever a Shadow DoT that helps trigger Long Shadow more often.
Blood Moon Breeches
Blood Moon Breeches are optional, but allow our Minions to apply both Decrepify and Iron Maiden, massively increasing their utility.
With Decrepify granting a Slow and reducing damage it helps them survive, while also allowing us not have to cast it manually nearly as much. Iron Maiden allows them to restore Essence as well as making defeated enemies recover our life in addition to being a pseudo-Thorns effect.
Paragon Boards and Glyphs
These two endgame options are part of the Paragon System which is available starting at level 50.
Paragon Boards
Paragon Boards are a feature that becomes available at level 50. These boards allow us to spend the Paragon points we earn for leveling and Renown to strengthen our character. Each of these has a single Glyph Slot to place a glyph of our Choice.
Starter Board
Like all starter boards, this one offers generic damage and defenses.
As usual, we’ll path up the right side through Prime to our Glyph Node, then continue up the left side through Knowledge and head to the next board. We can come back later on to grab Preservation, Resilience, and a ton of Intelligence for our Glyph.
Cult Leader
This board not only offers a great Legendary Node for our Minions, but also a ton of Minion bonuses. We’ll be grabbing every cluster in this board eventually.
Rotate this board so that Armor-clad is in the lower left. We’ll path to Armor-Clad, then head right up the middle grabbing Cult Leader and Puppeteer on our way to the Glyph Node. After grabbing the Glyph Node, we’ll take both Overlord and Custody before connecting to the right gate. We can also branch out from Puppeteer to grab Infused Caster and Infused Warrior at any point to buff our Skeletons.
Wither
Wither is another great board for us with a lot of damage and a great Legendary Node. It’s only a couple of defensive clusters we skip out on this time.
Rotate this board so that the Glyph Node is in the lower left. We’ll head to our Glyph Node, taking the Malediction cluster along the way. From here we can head over and grab Gnawing Darkness, before returning and heading up to Lingering Shadows. From Lingering Shadows head to Dragging Shadows and then Wither before heading to the upper gate.
Scent of Death
We’re mainly using this as a path-through board, but the layout around the Glyph Node allows us to get a good amount of intelligence for our Glyph.
Rotate this board so that Ruin is in the upper right. We’ll path up the left side to our Glyph Node, pathing through Intelligence Nodes. Then we’ll grab Deathmaked and Preservation before heading to the left gate.
Bone Graft
This board is just a Glyph node for us and that’s it.
Rotate the board so that the Glyph Node is in the upper right. Path directly to the Glyph Node, grabbing the thee Dexterity Nodes along the way for our glyph. Then we’ll take the upper half of the Shaper of Bone cluster for the Dexterity.
Glyphs
Each of our Paragon Boards has a Glyph Slot, where we can socket one of our Glyphs. These Glyphs provide powerful bonuses that can be leveled up by completing Nightmare Dungeons to increase their power. Below are the Glyphs we recommend and what board to place them on.
Mage
Mage Increases the damage dealt by our Skeletal Mages for every 5 Intelligence allocated in range. With 40 Intelligence allocated in range, all of our minions gain a huge bonus to Elemental Resistance.
We’ll place this in our Starter Board, as it has a ton of Intelligence we can grab to get the most damage out of this glyph.
Deadraiser
Deadraiser boosts all Minion nodes in range, up to 100% at Level 21. With 40 Intelligence allocated in range, each time our minions deal damage they apply a stacking debuff that increases damage taken by that enemy.
We’ll place this in Cult Leader, as it can easily meet the Intelligence requirement needed as well as provide a huge boost of damage and survivability for our minions.
Desecration
Desecration Increases the damage of Desecrated Ground for every 5 Willpower in Range. With 25 Willpower allocated in range, standing on Desecrated Ground increases our Shadow Damage.
We’ll place this in Wither, as it has a good amount of accessible Willpower.
Scourge
Scourge increases our Shadow Damage over Time for every 5 Intelligence allocated in range. With 40 Intelligence allocated in Range, enemies affected by Shadow DoT will take increased damage from us and our minions.
We’ll place this in Scent of Death, as it has a lot of easily accessible Intelligence in range thanks to the very close Rare Nodes.
Darkness
Darkness increases our Shadow Damage for every 5 Intelligence allocated in range. With 40 Intelligence also allocated in range, when we and our Shadow Mages deal Shadow Damage, a stacking debuff will be placed on enemies that reduces their damage.
We’ll place this in Bone Graft, as it has enough Intelligence available to activate the bonus effect with our remaining points.
Leveling Order
If you want to play this build from level 1, the next segment of this build guide is for you. Below you will see the exact leveling order in which you should acquire your skills and passives to maximize damage and overall performance.
Scroll horizontally
to see more
| Levels | Icon | Skill | Purpose |
|---|---|---|---|
| 2-3 | | Reap | AoE basic Skill with defensive utility. |
| 4-6 | | Sever | Upgrade to Supernatural to scale with Minion Count. |
| 7-9 | | Hewed Flesh | Chance to create Corpses with Sever and Reap. |
| 10-12 | | Blood Mist | Upgrade to Ghastly Blood Mist for Corpse generation. |
| 13-15 | | Decrepify | Upgrade to Abhorrent Decrepify for chance to reduce cooldowns. Swap to Skeletal Reapers |
| 16-18 | | Amplify Damage | Increases Damage when we apply Curses. |
| 19-21 | | Death’s Embrace | Damage for us and our Skeletal Warriors, as well as Damage Reduction for just us. |
| 22 | | Unliving Energy | Taken to reach Imperfectly Balanced. |
| 23-25 | | Imperfectly Balanced | Increases Damage of Sever, but increases its Essence Cost. Sacrifice Bone Golem |
| 26-28 | | Bone Storm | Fully upgrade for Damage Reduction and Critical Strike Chance. |
| 29 | | Reaper’s Pursuit | Taken to reach Gloom. |
| 30-32 | | Gloom | Extra damage for us and our Shadow Mages. |
| 33-35 | | Death’s Reach | This grants us additional Movement Speed, helping us get around faster. |
| 36 | | Shadowblight | Key Passive that adds bonus damage to us and our Shadow Mages. |
| 37-39 | | Inspiring Leader | Critical Strike Chance for us and our Minions, so long as we stay Healthy. |
| 40-42 | | Skeletal Mage Mastery | Increases the damage of our Shadow Mages and helps them survive. |
| 43-45 | | Skeletal Warrior Mastery | Increases the damage of our Skeletal Reapers and helps them survive. |
| 46-47 | | Grim Harvest | Generate Essence from casting Raise Skeleton or when Osseous Gale consumes a corpse. |
| 48-R1 | | Fueled by Death | Increased Damage anytime we use Raise Skeleton or Osseous Gale consumes a corpse. |
| R2-R5 | | Sever | Fully Leveling our non-Minion Damage skill. |
| R6 | | Necrotic Carapace | Fortify when our Skeletal Reapers or Hewed Flesh creates a Corpse. |
| R7 | | Reap | Grab Acolytes Reap for extra Corpses |
| R8-R10 | | Hellbent Commander | Great damage increase for our minions. |
To learn how to maximize your damage in Diablo 4, consult with our guide on that topic. Learning how to deal the highest possible damage with your build is crucial to succeeding in the Endgame and highest tiers.
This concludes our Diablo 4 Necromancer Build focusing on the Sever skill. You can find more leveling and endgame Diablo 4 builds for this season here on VULKK.com to try new things with your characters and spice up your gameplay.
Diablo IV Necromancer Build Guides
A list of powerful Necromancer Builds with great variety, from leveling a new character to playing the Endgame. Each build is custom-crafted and unique, offering different and diverse playstyle.
Diablo 4 Necromancer Leveling Build Guide
This build for the Necromancer in Diablo IV focuses on the early game progression of the class, all the way through the campaign’s completion. We’ll guide you through the leveling process, including Skill Order and notable Aspect from dungeons.
Diablo 4 Blood Necromancer Build Guide
This guide for the Necromancer in Diablo IV focuses on a post-campaign Endgame Blood Surge build that functions without too many Aspects, but becomes much more potent with the completed build!
Diablo 4 Bone Necromancer Build Guide
This Bone guide for the Necromancer in Diablo IV focuses on a post-campaign Endgame Bone Spear build that functions without too many Aspects, but becomes much more potent with the completed build!
Diablo 4 Blood Necromancer Artisan Bone Spirit Build Guide
This Necromancer build for Diablo IV combines the utility of Blood Skills to support Bone Spirit in a way that provides both consistent DPS and high burst all in one build.
Diablo 4 Blood Lance Necromancer Build Guide
The Blood Lance Necromancer build for Diablo IV utilizes the creation and use of Blood Orbs to not only replenish your resources but also dish out high Overpower Damage against your foes.


