This Rogue build for Diablo 4 Season 2 uses the Scoundrel’s Leathers to deal devastating DoT and Burst Damage!
This guide is up-to-date for Season 4 and Patch 1.4.0.
Check our Diablo 4 Builds Catalog of uniquely crafted builds for each class.
Table of contents
This Rogue build guide assumes you’re at least level 50 and have completed enough of your Renown to have gained the 10 additional Skill Points available.
If you want a great leveling build to reach this point with, try our Shadow Flurry Rogue Leveling Build – A Build that uses Shadow Imbuement in combination with Flurry for high AoE damage. If you want to level up as Rogue, at the end of this guide, we have a leveling section showing you how to develop a new character from level 1 with this build.
Build Overview
This build is focused around the Scoundrel’s Leathers Unique Chest Armor, and while it will work without it, it will do more overall damage with it.
Our damage comes from two sources, Rapid Fire and Poison Trap. While Death Trap is used in the build as well, it’ll only offer some infrequent burst damage. Rapid Fire will do good damage on its own, but it’s also used to trigger the Icy and Toxic Alchemist Aspect during Inner Sight.
Defensively, we’ll have Shadow Step to get us out of tight spots with the Movement Speed and Unstoppable it offers. Additionally, we have Dark Shroud supported with the Umbrous Aspect to allow us to maintain our charges for good Damage Reduction.
Skill and Passive Breakdown
In this section, we’ll be talking about each skill we use. This is the whys and hows of how the build works, and then we’ll cover the skill point distribution.
Skills
These are the main skills for the build. We’ll explain what purpose each serves and how they fit the build
 Rapid Fire
Rapid Fire is the biggest source of damage, being both high single-target damage as well as additional AoE combined with the Icy and Toxic Alchemist Aspects.
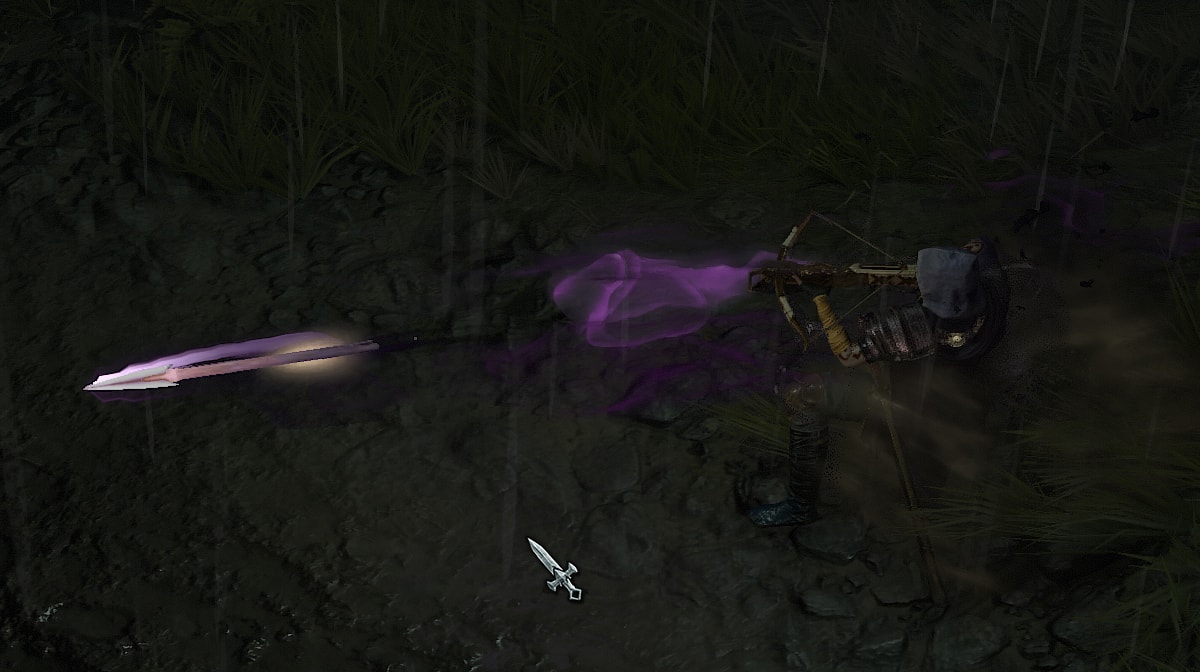
Shadow Step
Shadow Step is both a skill to help us get in position or get out of sticky situations. The instant movement does a lot of the work here, given that our traps are close-range skills, while Rapid Fire is a ranged skill.
Caltrops
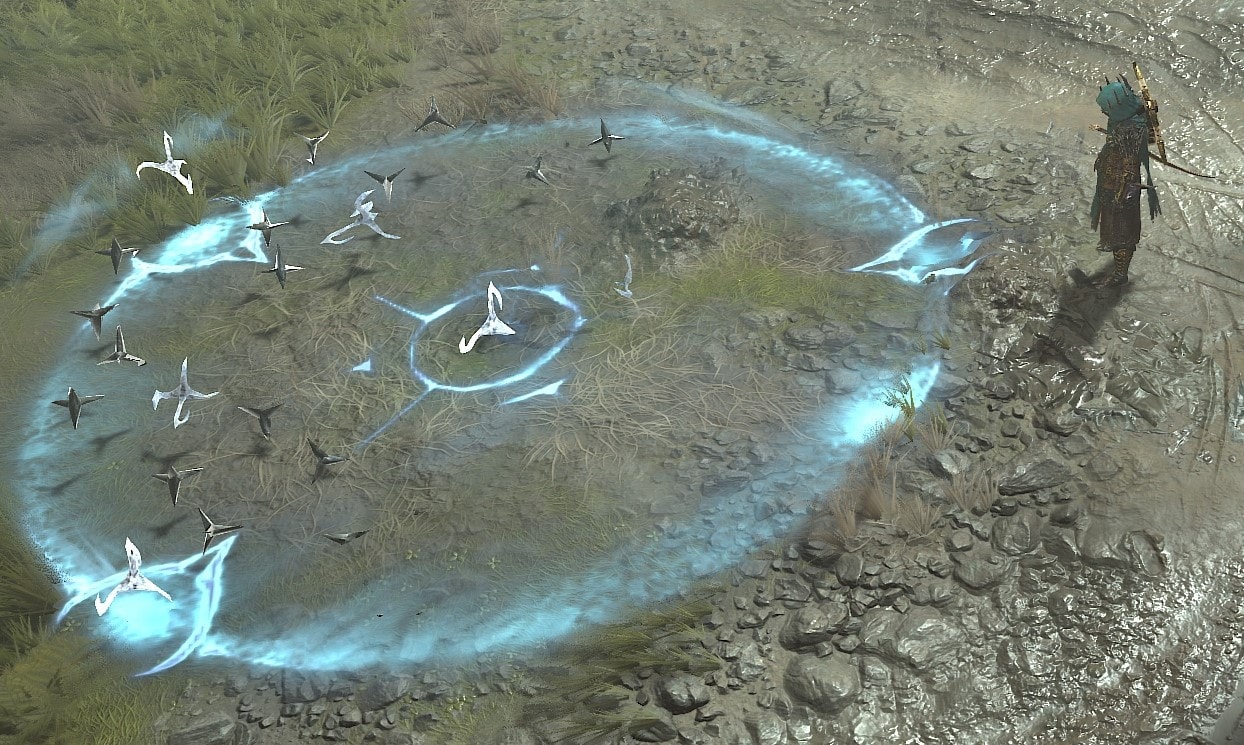
Caltrops are a great way for us to apply Crowd Control, in which case we’ll be Slowing and Chilling them with Methodical Caltrops. Caltrops also grant increased damage that ramps up as an enemy stays in their AoE.
Poison Trap
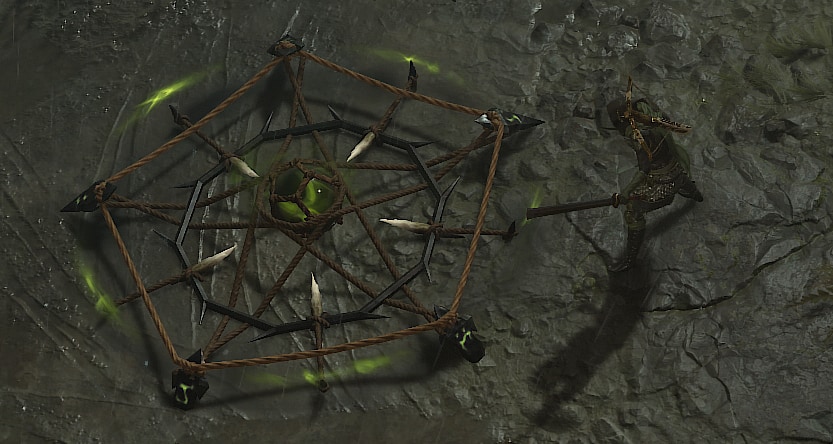
Poison Trap will do a lot of Damage overall, while also helping to keep enemies in our Caltrops. As a bonus, when we use Poison Trap, we’ll also have a chance to reset Shadow Imbuement.
Shadow Imbuement
Shadow Imbuement further helps our AoE, making defeated enemies explode while affected by it. We also need this to trigger Icy and Toxic Alchemist which add to the AoE damage potential from imbuing Rapid Fire.
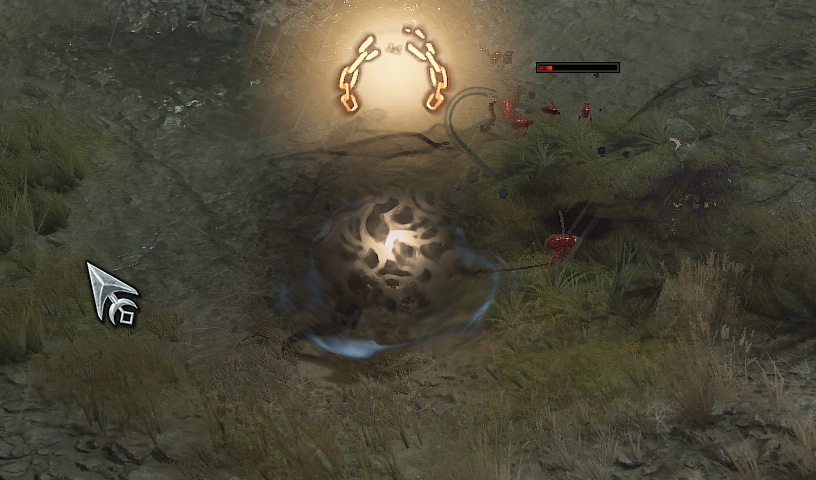
Death Trap
Death Trap is our Ultimate Skill, which does solid damage on its own. Its pull effect makes our other Traps more effective, which is good considering they’re the core thing enabling a lot of our damage.
Passives
Here we’re only going to talk about the main passives we absolutely want as well as our Key passive. There are unfortunately a couple we will need to take to get access to these though.
 Key Passive – Victimize
Victimize might seem like a weird choice here when we’re heavily focused on traps. Since we’re not purely focused on just Traps for damage, we have less need to run Exposure, which at best will only reduce the cooldown for manually placing traps. Victimize offers us decent damage and healing in its place, which helps the build survive better.
Concussive
Since Poison Traps will knock down weaker enemies, we’ll be able to benefit from the extra Critical Strike Chance this offers.
Weapon Mastery
This offers us increased damage based on what weapons we use, in which case we’ll be using Swords and a Bow for generic damage and Vulnerable Damage.
Exploit
This increases our damage against Healthy (>80% Life) and Injured (<35% Life) enemies. This gives us strong initial burst as well as more damage to finish beefier enemies like bosses.
Malice
Malice is good as not only will we get extra damage towards Vulnerable enemies, this also scales Victimize’s damage making it much stronger overall. Sadly this does not also scaling the healing of Cruel Sustenance, but’s its great nonetheless.
Precision Imbuement
This gives us a small bump in Critical Strike Chance when we use Rapid Fire while Shadow Imbuement is active.
Frigid Finesse
We’ll be able to activate and use this effect by simply using Caltrops, making them an even strong damage Amplifier. It’s rare that they’ll freeze for the full bonus unless Icy Alchemist triggers while they’re on the Caltrops, but it will happen on occasion.
Innervation
Since Rapid Fire won’t quite fully sustain its cost on its own, Innervation helps a lot to fill in the gaps. Our Traps can also trigger this, adding additional recovery after our Inner Sight ends.
Alchemist’s Fortune
This increases the Lucky Hit Chance of our Imbued Skills and all of our traps, but is more important for our Imbued skills as it helps trigger Icy and Toxic Alchemist more.
Trap Mastery
This is another great Critical Strike Chance Increase which we’ll benefit a lot more from during the effect of Scoundrel’s Leathers. We’ll still be able to use it frequently without it, thanks to Poison Trap’s low cooldown and Caltrop’s consistent Crowd Control.4
Skill Point Distribution
This is an easy-to-reference table for where we’ll be placing all of our Skill points. These are listed in the order they appear on the skill tree.
| Icon | Skill Name | Skill Tree | Points |
|---|---|---|---|
 | Puncture | Basic | 2 |
 | Rapid Fire | Core | 5 |
| Enhanced Rapid Fire | Core | 1 |
| Improved Rapid Fire | Core | 1 |
 | Shadow Step | Agility | 1 |
| Enhanced Shadow Step | Agility | 1 |
| Disciplined Shadow Step | Agility | 1 |
 | Caltrops | Agility | 1 |
| Enhanced Caltrops | Agility | 1 |
| Methodical Caltrops | Agility | 1 |
 | Concussive | Agility | 3 |
 | Weapon Mastery | Agility | 3 |
 | Poison Trap | Subterfuge | 5 |
| Enhanced Poison Trap | Subterfuge | 1 |
| Countering Poison Trap | Subterfuge | 1 |
 | Dark Shroud | Subterfuge | 2 |
| Enhanced Dark Shroud | Subterfuge | 1 |
| Countering Dark Shroud | Subterfuge | 1 |
 | Exploit | Subterfuge | 3 |
 | Malice | Subterfuge | 3 |
 | Shadow Imbuement | Imbuement | 1 |
 | Precision Imbuement | Imbuement | 3 |
 | Frigid Finesse | Imbuement | 3 |
 | Death Trap | Ultimate | 1 |
| Prime Death Trap | Ultimate | 1 |
| Supreme Death Trap | Ultimate | 1 |
 | Innervation | Ultimate | 3 |
 | Alchemist’s Fortune | Ultimate | 3 |
 | Trap Mastery | Ultimate | 3 |
 | Victimize | Key Passive | 1 |
Gearing and Stats
In this section, we’ll cover all the things you’d want to keep an eye out for to enhance the final build. This includes our Recommended Weapons, Specialization, Aspects, and of course, Uniques.
Recommended Weapons
This build uses a pair of Swords and a Bow as its preferred weapons. We use this specifically for the bonuses they grant through the Weapon Mastery passive.
Swords grant us additional damage, which provides consistent damage and also benefits our DoT effects more. Daggers just don’t feel great to use here as the build itself isn’t very burst-oriented.
We use a Bow for the Multiplicative increase to Vulnerable damage, rather than taking the flat bonus that’s inherent to the Crossbow. Since Critical Strike Damage doesn’t scale multiplicative portion of its effect anymore, Crossbows are just much less valuable.
Ideal Stats
The table below details the ideal stats for our gear, be on the lookout for gear that matches at least three of the four rolls below.
Due to the width of the table, we highly recommend mobile users rotate their devices to view it properly.
| Slot | Stat 1 | Stat 2 | Stat 3 | Stat 4 |
|---|---|---|---|---|
| Weapons | Core Skill Damage | Vulnerable Damage | Dexterity | Non-Elite Execute |
| Helm | Cooldown Reduction | Maximum Life | Total Armor | Resistance |
| Chest | Maximum Life | Damage Reduction | Damage Reduction from Close | Damage Reduction from Distant |
| Gloves | Critical Strike Chance | Ranks to Rapid Fire | Lucky Hit Chance | Attack Speed |
| Pants | Maximum Life | Damage Reduction | Damage Reduction From Close | Ranks to Dark Shroud |
| Boots | Movement Speed | Resource Cost Reduction | Damage Reduction while Injured | Resistance |
| Amulet | Cooldown Reduction | Ranks to Weapon Mastery | Ranks to All Subterfuge Skills | Imbument Skill Cooldown (Or Reduced Trap Arm Time) |
| Rings | Critical Strike Chance | Maximum Life | Lucky Hit Chance | Vulnerable Damage |
Recommended Gems
This build uses Amethysts in our Weapons, Rubies in our Armor, and Skulls in Jewelry.
We opt for Amethyst in our Weapons as it allows Poison Trap to deal more damage. Optionally you could consider Diamonds to boost Death Trap. Emeralds and Sapphires are overall a less consistent damage increase here.
We use Rubies in our Armor, as increasing our Maximum Life helps a lot with survival. Topaz could also be considered to keep the rare times we get stun-locked from just being an unavoidable death.
We go with Skulls for Our Jewelry for the armor it provides. Since Armor is slightly more difficult to acquire, getting some extra here is actually super nice. Some endgame bosses may require you to swap to other Gems to cap your resistance against them.
Vampiric Powers
During the Season of Blood, we’ll have access to Vampiric Powers, which allow us to slot up to five unique powers into our Sanguine Circle to increase the power of the build. We’ll include more than the maximum in the selection below to offer alternatives, but they will be listed in order of their relative strength.
| Name | Effect | Reason |
|---|---|---|
| Accursed Touch | Chance to apply Vampric Curse on hit. Vampiric Curse can spread between enemies. Accursed Souls deal increased damage. | Accursed Souls offer us a good amount of burst, increase that is very worthwhile. |
| Prey on the Weak | Increased Vulnerable Damage. Enemies afflicted with Vampiric Curse are also Vulnerable. | Allows Vampiric Curse to apply Vulnerable, while Boosting Vulnerable Adamge to scale Victimize. |
| Flowing Veins | Enemies take increased DoT damage while moving or afflicted with Vampiric Curse. | This boosts Poison Trap a good bit. |
| Domination | Increased damage to Stunned, Immobilized, or Frozen enemies. Executes Injured Non-Elites under these effects. | While we Freeze only every so often, the guaranteed execute will help with later tiers of Nightmare Dungeons |
| Anticipation | Reduces Ultimate Cooldown while increasing Ultimate Damage for each enemy affected by DoT. | Huge chunk of Cooldown Reduction for Death Trap and moe synergy with other Trap Skills. |
| Hemomancy | Attacks deal a portion of Maximum Life as damage to nearby enemies once every 4 seconds. Heals for a percentage of Life for each enemy hit. | Adds additional AoE and sustain. |
| Sanguine Brace | Defeating Enemies grants Fortify. While Fortify is greater than 50% Maximum Life, gain Critical Strike Chance. | Rogue doesn’t normally have access to Fortify, and allows for another defensive layer. |
Specialization
We use Inner Sight as our Specialization, to make use of Scoudrel’s Leathers. This makes it so that when we hit a marked enemy we build Inner Sight, which gives us unlimited energy when its fully charged.
This makes it so we don’t have to invest in extra Resource Generation on our Rings, opening up space for more damage.
Aspects
We’ll cover the Aspects that are recommended for maximizing the potential of the build. We’ll also suggest which gear slot you should look to place them in.
 Icy Alchemist’s Aspect
Icy Alchemist provides synergy between our Shadow Imbued Skill and our Caltrops, giving an occasional burst of extra damage and helping to freeze enemies.
We’ll place this on one of our 1H Weapons, Gloves, or a Ring; depending on what’s open.
Toxic Alchemist’s Aspect
Icy Alchemist provides synergy between our Shadow Imbued Skill and our Poison Trap, giving an occasional burst of extra damage.
We’ll place this on one of our 1H Weapons, Gloves, or a Ring; depending on what’s open.
Aspect of Repeating
Repeating grants Rapid Fire a chance to ricochet, allowing it to deal damage to multiple enemies. This also gives additional chances to trigger all of our Lucky Hit effects as well as Scoundrel’s Leathers.
We’ll place this on one of our 1H Weapons, Gloves, or a Ring; depending on what’s open.
Accelerating Aspect
Accelerating grants us Attack Speed when our Core Skills Crit. We’ll Critically Strike often enough that we’ll have the bonus Attack Speed up most of the time. This helps us get more attacks, which also boost our overall damage and Lucky Hit proc rate.
We’ll place this on our Amulet, so when it triggers we get even more Attack Speed. This could be placed on our Ranged Weapon as well, with the trade-off of reducing our Vulnerable uptime.
Aspect of Elements
Elements grants a cycling damage buff to either our Physical Damage or our Non-Physical Damage, cycling every 7 seconds. This means it’ll buff unimbued Rapid Fire or all of our other damage.
We’ll place this on one of our 1H Weapons, Gloves, or a Ring; depending on what’s open.
Blast-Trapper’s Aspect
Blast-Trapper grants us a chance to make enemies affected by our traps Vulnerable. This gives us more consistent Vulnerable uptime in longer encounters, like Bosses.
We’ll place this in our Ranged Weapon, so we can have up to a 100% chance of applying Vulnerable with it, which improves our damage consistency.
Exploiter’s Aspect
Exploiter increases the duration of our Crowd Control and grants increased damage instead against Unstoppable enemies. Since we’re not loaded on Crowd Control, we’ll not get the damage bonus too often outside of fighting bosses, but we do benefit from ending the little Crowd Control we do have.
We’ll place this in our Boots, as it’s the only open slot that can hold a Utility Aspect.
Umbrous Aspect
Umbrous grants us a chance to gain a free Dark Shroud when we Critically Strike with a Marksmand Skill. This allows Rapid Fire to replenish our Dark Shrouds without the need to frequently recast the skill.
We’ll place this in our Helm or Pants, as our Chest will be occupied by the Scoundrel’s Leathers.
Aspect of Cruel Sustenance
Cruel Sustenance allows Victimize to heal us for each enemy hit. This gives us some much-needed sustain and we’ll be able to trigger it fairly often.
We’ll place this in our Helm or Pants, as our Chest will be occupied by the Scoundrel’s Leathers.
Unique Items
We’re only going to talk about the few that offer the strongest effects on the build. While there are others that help, these are the ones you really want to slot into your build if you get the chance. These will drop starting in Tier 3 content, but decent upgrades for the build once you get them.
Scoundrel’s Leathers
The Scoundrel’s Leathers is a Unique Chest Armor that grants us a high chance to trigger Caltrops, Poison Trap, or Death Trap when hitting enemies during Inner Sight. We combine this with the Attack Speed of Rapid Fire and the effects of Icy and Toxic Alchemist to squeeze as much potential damage out of these effects as possible.
X’Fal’s Corroded Signet
X’Fal’s Corroded Signet is a Unique Ring that grants our DoT effects a chance to deal additional damage in an AoE burst. This is like having a second copy of each Alchemist Effect on, minus the Shadow Imbuement requirement.
Eyes in the Dark
This is a very optional set of Unique Pants, as pairing it with Scoundrel’s Leathers drastically reduces your overall defensiveness. The only thing you really gain from it is increased Death Trap damage, as the re-arming effect won’t be too powerful until higher tiers of Nightmare Dungeons. It does however apply to the Death Traps set by Scoundrel’s Leathers, while ignoring its penalty.
Paragon Boards and Glyphs
These two endgame options are part of the Paragon System which is available starting at level 50.
Paragon Boards
Paragon Boards are a feature that becomes available at level 50. These boards allow us to spend the Paragon points we earn for leveling and Renown to strengthen our character. Each of these has a single Glyph Slot to place a glyph of our Choice.
Starter Board
Like all starter boards, this one offers generic damage and defenses.
As usual, we’ll path up the right side through Prime to our Glyph Node, then continue up the left side through Skillful and head to the next board. We’ll come back later to grab Lawless after our Glyph has been leveled for even more effect from it.
Leyrana’s Instinct
Leyrana’s Instinct has a lot of Damage after Dodging and Attack Speed that we’ll happily take. Additionally, since we use Inner Sight the Legendary node is a good way to make sure we consistently benefit from the other nodes.
We’ll rotate this board so that the Glyph Node is in the lower right. We’ll head straight to the Glyph Node and take the whole Feint cluster as well. After which we’ll path toward the right gate and the Nimble cluster, taking as much Intelligence as we can. From Nimble we’ll grab Leyrana’s Instincts as well as the Discerning cluster before moving on.
Exploit Weakness
Exploit Weakness is a pretty good effect for the build, as we’ll have fairly high Vulnerable uptime. It’ll help with bossing, while the Vulnerable Damage spread around on this board will also boost Victimize.
We’ll rotate this board do that the Glyph Node is in the upper left. We’ll path down to Exploit first, taking that whole cluster, before heading to our Glyph Node. From here, will dip into the Dosage Cluster to pick up the Intelligence for our glyph as well as Artifice for more Vulnerable damage. Then we’ll path to the upper gate before swinging around to grab the Hunter Killer cluster for the Elite Damage and Exploit Weakness. Optionally, we can also grab Cold Resilience for the Life and Resistance.
Deadly Ambush
Deadly Ambush Grants us a decent effect if we want to take it, increasing our Critical Damage toward enemies affected by our traps. Otherwise, it’s another glyph and a bunch of damage to enemies affected by our Traps.
We’ll rotate this board so that Deadly Ambush is closest to the left gate. We’ll head straight up to Cunning, taking the whole cluster. Then we’ll grab our Glyph Node and the Strength around it for our glyph before grabbing Engineer and heading to Deadly Ambush. Then we’ll head to the left gate, quickly grabbing Trapper as we pass by.
No Witnesses
This board mainly gives us some generic damage and defenses, in addition to our last Glyph Node.
We’ll rotate this board so that Fleeting is closest to the left side. We’ll head to the Glyph Node, taking the Training cluster as we go. Then we’ll grab the Knowledge cluster and all the strength in range to boost the Glyph going here.
Glyphs
Each of our Paragon Boards has a Glyph Slot, where we can socket one of our Glyphs. These Glyphs provide powerful bonuses that can be leveled up by completing Nightmare Dungeons to increase their power. Below are the Glyphs we recommend and what board to place them on.
Ranger
Ranger increases our Marksman Skill Damage for every 5 Dexterity allocated in range. With 40 Dexterity allocated in range, we’ll gain damage reduction while we have a ranged weapon as our active weapon.
We’ll place this in the Starter Board, as it has an abundance of Dexterity but very little of the other stat in the Glyph radius.
Snare
Snare increases our Trap Skill Damage for every 5 Intelligence we allocate in range. With 25 Intelligence allocated in range, our non-Ultimate Traps have a larger radius.
We’ll place this in Leyrana’s Instinct, as it has a good amount of Intelligence available thanks to the Feint cluster.
Control
Control increases our damage to Crowd Controlled enemies for every 5 Intelligence allocated in range. With 25 Intelligence allocated in range, we deal increased damage to Slowed and Chilled enemies, with stronger increase against Stunned or Frozne enemies.
We’ll place this in Exploit Weakness, as it’s one of our highest Intelligence boards.
Ambush
Ambush increases the damage of our Trap Skills for every 5 Strength allocated in range. With 25 Strength allocated in range, we deal additional damage to enemies affected by our Traps.
We’ll place this in Deadly Ambush, as it has plenty of Strength to not only boost the glyph but easily activate the glyph once it’s leveled.
Exploit
Exploit increases our damage against Vulnerable targets for every 5 Strength allocated in range. With 25 Strength allocated in range, our first hit against an enemy will apply Vulnerable for a short duration, with a cooldown of 20 seconds per target.
We’ll place this in No Witnesses, as offers a high amount of strength that is easily obtainable without heavy investment.
Leveling Order
If you want to play this build from level 1, the next segment of this build guide is for you. Below you will see the exact leveling order in which you should acquire your skills and passives to maximize damage and overall performance.
| Levels | Icon | Skill | Purpose |
|---|---|---|---|
| 2-4 | | Puncture | Upgrade to Fundamental Puncture for early access to vulnerable. |
| 5-7 | | Rapid Fire | Upgrade to Improved Rapid Fire for a very low Energy cost Core Skill |
| 8-10 | | Shadow Step | Upgrade to Disciplined Shadow Step for reduced cooldown. |
| 11-13 | | Weapon Mastery | Consistent damage increase. |
| 14-16 | | Poison Trap | Upgrade to Countering for chance to reset Shadow Imbuement. |
| 17-19 | | Caltrops | Upgrade to Methodical for Chill. |
| 20 | | Shadow Imbuement | Additional AoE potential when combined with Icy and Toxic Alchemist. |
| 21-23 | | Exploit | Extra up front and finishing damage. |
| 24-26 | | Malice | Increase damage to Vulnerable to boost Victimize. |
| 27-29 | | Death Trap | Upgraded for Pull and Cooldown reudction. |
| 30-32 | | Innervation | Extra Energy recovery and access to Alchemist’s Fortune later. |
| 33-35 | | Trap Mastery | More Critical Stike Chance against enemies affected by Traps. |
| 36 | | Victimize | Extra AoE damage and healing with its Aspect. |
| 37-39 | | Concussive | Extra Critical Strikes when Poison Trap triggers. |
| 40-42 | | Precision Imbuement | Increases Critical Strike Chance when using Shadow Imbuement. |
| 43-45 | | Frigid Finesse | Increased damage to enemies on Caltrops. |
| 46-49 | | Rapid Fire | Max level for up front damage. |
| R1-R4 | | Poison Trap | Max level for DoT damage. |
| R5-R7 | | Dark Shroud | Extra Damage Reduction. |
| R8-9 | | Alchemist’s Fortune | Respec point from Fundamental Puncture. Increase Lucky Hit Chance with non-physical damage. |
| R10 | | Dark Shroud | Leftover point, spent on extra level for more Damage Reduction. |
To learn how to maximize your damage in Diablo 4, consult with our guide on that topic. Learning how to deal the highest possible damage with your build is crucial to succeeding in the Endgame and highest tiers.
This concludes our Diablo 4 Trap Rogue Build focusing on the Poison Trap skill. You can find more leveling and endgame Diablo 4 builds for this season here on VULKK.com to try new things with your characters and spice up your gameplay.