
This guide breaks down Diablo 4’s Blood Harvest event, including the best ways to get the most out of this system and how to use it to progress quickly.
What is Blood Harvest
Blood Harvest is a new Helltide-esque event that takes over smaller region. Unlike Helltide however, there is no World Tier requirement or downtime between Blood Harvest.
This makes them exceptionally good for both leveling and gearing. You’ll be able to spot them on your map, as they’ll marked with a swampy, green-ish tint around them as shown below.

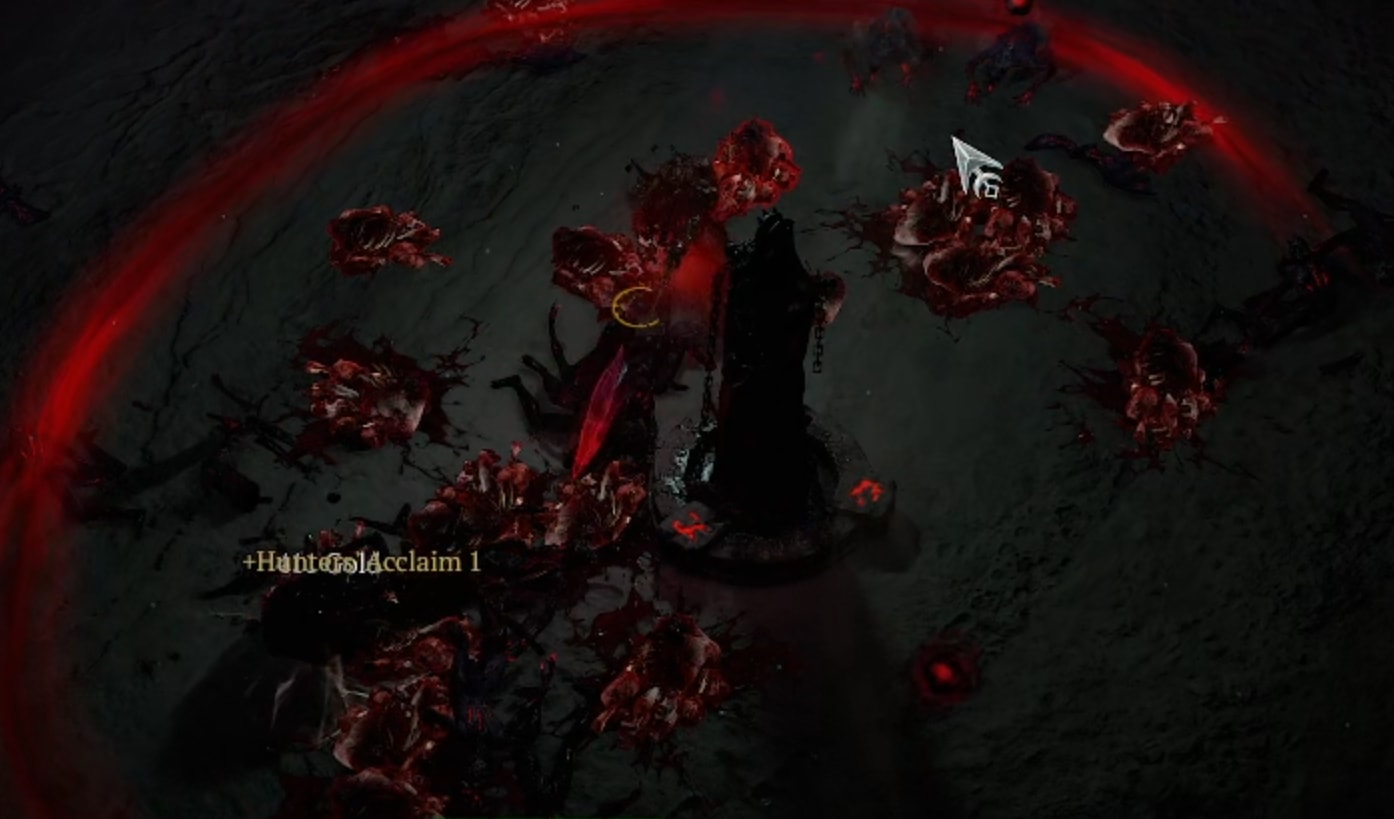
These areas feature new World Events, Whispers of the Dead, and plenty of Shadow Vampires. They even have a unique reward system, Hunters’ Acclaim, which gives you plenty of extra loot and even holds a few of the Vampiric Powers.
The biggest draw for these areas though is Potent Blood. This resource is used to Unlock and Upgrade your Vampiric Powers. The enemies here can all drop Potent Blood, with many events also summon Blood Seekers, Elites that take the form of the game’s playable classes and drop even more Potent Blood.
To learn more about Vampiric Powers, check out our Vampiric Power Guide for Season 2. This guide covers their effects the upgrading process, and includes an example of building around or incorporating Vampric Powers with any Diablo 4 Builds you want.
Blood Harvest Locations
Blood Harvest rotates its spawn location every hour. We’ll have a list of all of our encountered regions listed below.
| Region | Sub-region | Nearest Waypoints |
|---|---|---|
| Dry Steppes | Kotama Grasslands | Ked Bardu and Farobru |
| Scosglen | Shrouded Moors | Tirmair and Under the Fat Goose Inn |
| Scosglen | Highland Wilds | Tirmair and Under the Fat Goose Inn |
| Hawezar | Forsaken Coast | Backwater |
Blood Harvest Events
Now we’ll talk about each of the events that occur during Blood Harvests. Unlike Local and World events, these do not have any mastery requirements or timers. We’ll refer to these as Hunters’ Acclaim Events.
As events are completed, you’ll start being hunted by Blood Seekers more frequently. You’ll know they’re after you as you’ll see the message shown below.

While some Local and World Events do show up during Blood Harvest, the only modification they have is to spawn Shadow Vampires, which can make them good for certain Whispers of the Dead, but are unchanged mechanically. But we’ll still talk about them.
Hunters’ Acclaim Events
These events are pretty mixed, granting Player XP and Hunter’s Acclaim consistently, but also having additional rewards of Potent Blood, Pacts, and occasionally requiring Seeker Keys or Blood Lures.
Vampiric Syphon
These are small Pyphons found in Blood Harvest. When activated they create an AoE that constantly draws your blood, slowly draining your Life. This will continually ramp in damage while summoning Vampires and Blood Seeker until you exit the AoE.
If you’re able to survive for long period of time, these are great for Player XP, Hunters’ Acclaim Reputation, as well as Potent Blood.
I highly recommend using the combination of Hemomancy, Undying, and Sanguine BRace Vampiric Powers to improve the length of time you can survive, and by extension increase how rewarding this event is.
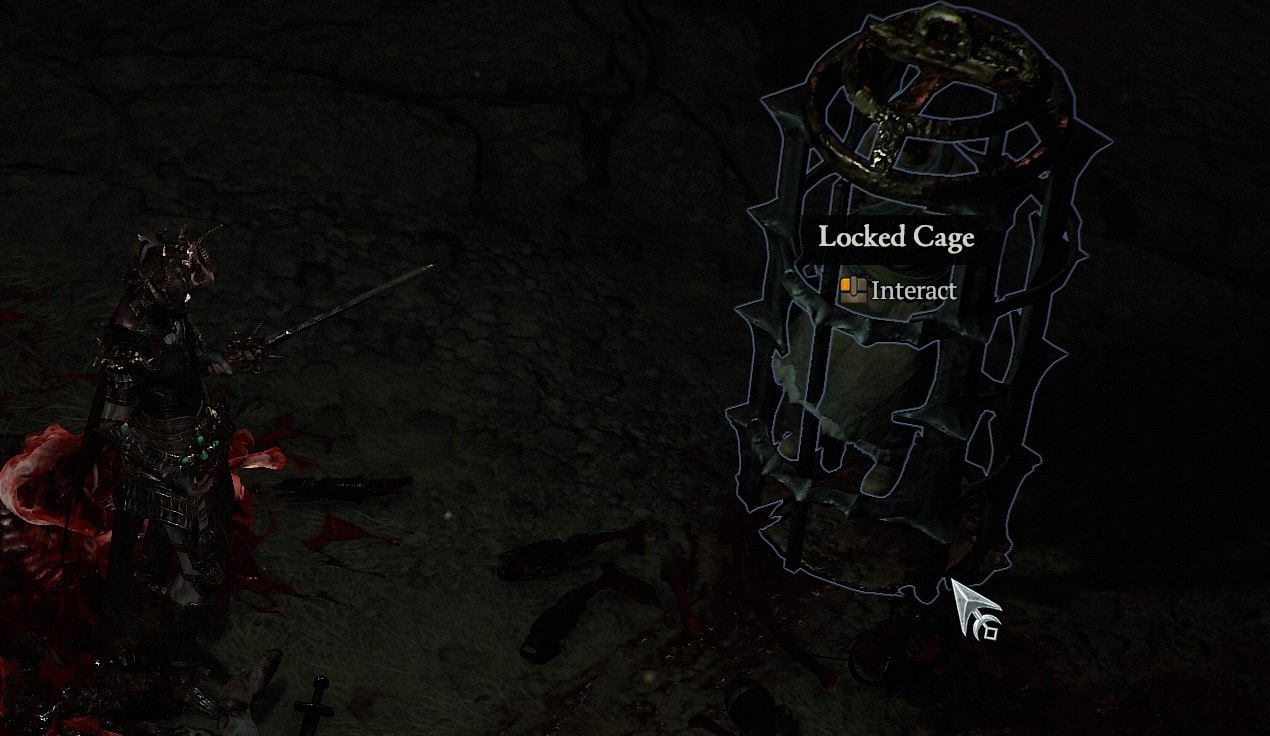
Caged Innocent
As you travel through Blood Harvests, you’ll see hostages taken by the vampires. Once you eliminate them you can open their cages and free them for a low amount of Reputation.
Bound Sacrifice
This is another event similar to the Restless Spirit and Caged Innocent, a helpless NPC surrounded by a ton of Vampires. You’ll need to defeat them before you can safely free them without interruption.

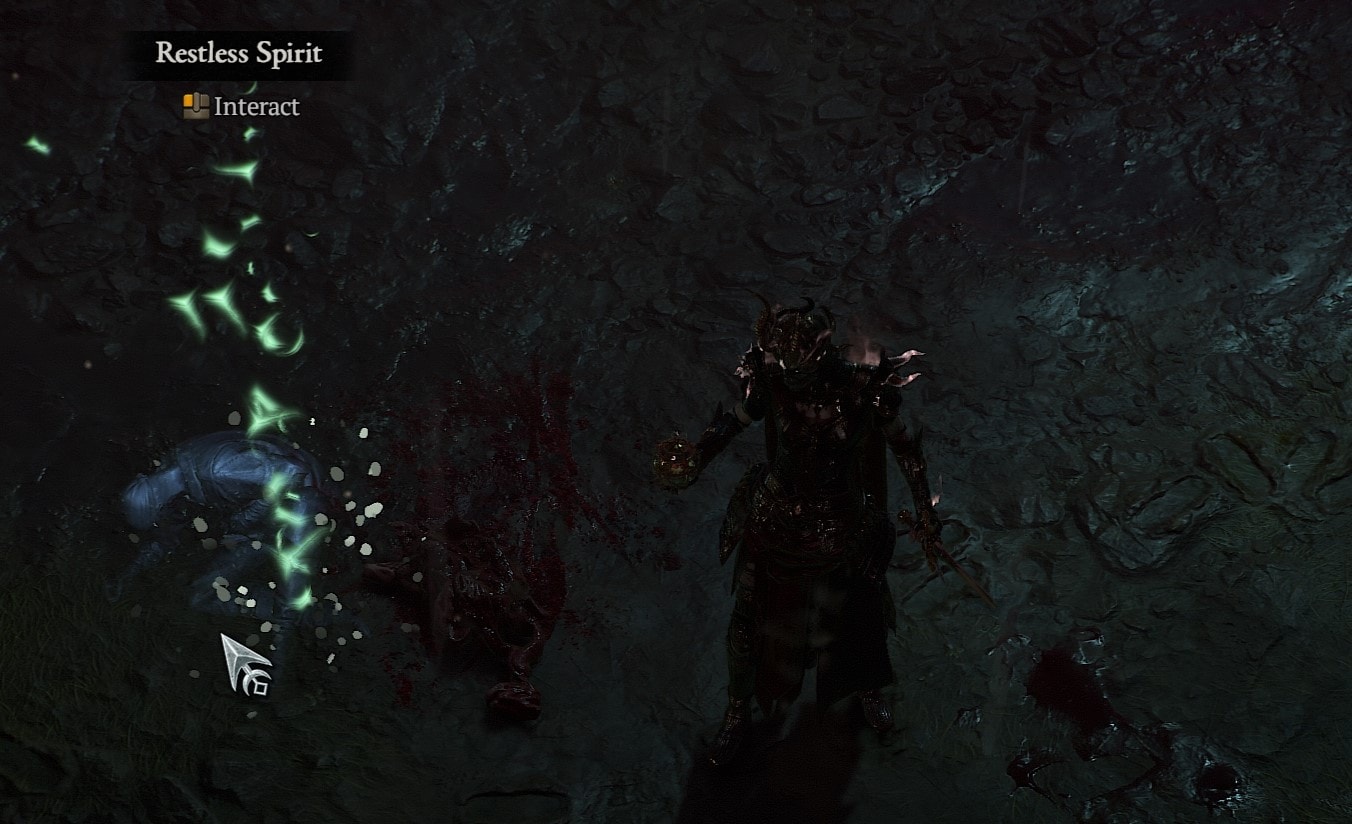
Restless Spirit
Similar to the Caged Innocents, these Restless Spirits are surrounded by vampires and you’ll need to defeat them to release the spirit safely. Similarly it also rewards a low amount of reputation.
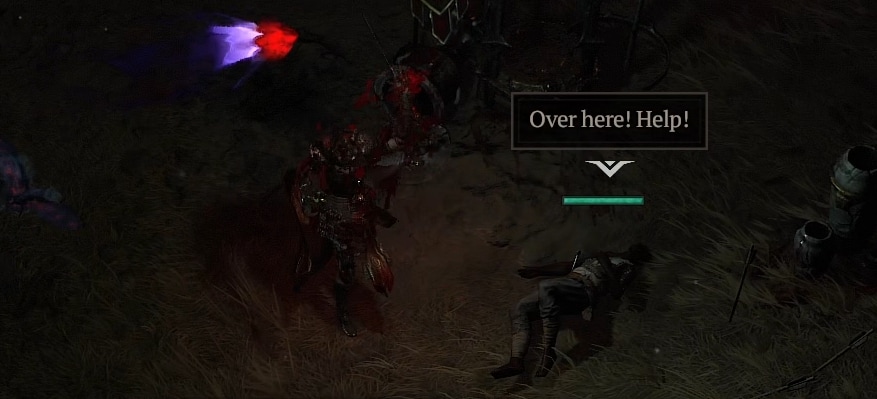
Injured Adventurer
Injured Adventurers are found wounded on the ground. You’ll need to clear the vampires surrounding them and keep them alive to earn a decent amount of Reputation. They can be quite fragile though, so you’ll need to be quick.
Corpse Piles
Corpse piles are another interactable thing like the Caged Innocents and Trapped Spirit. However you’ll get the Reputation up front, and be ambushed by vampires after instead. It’s usually only weaker ones.
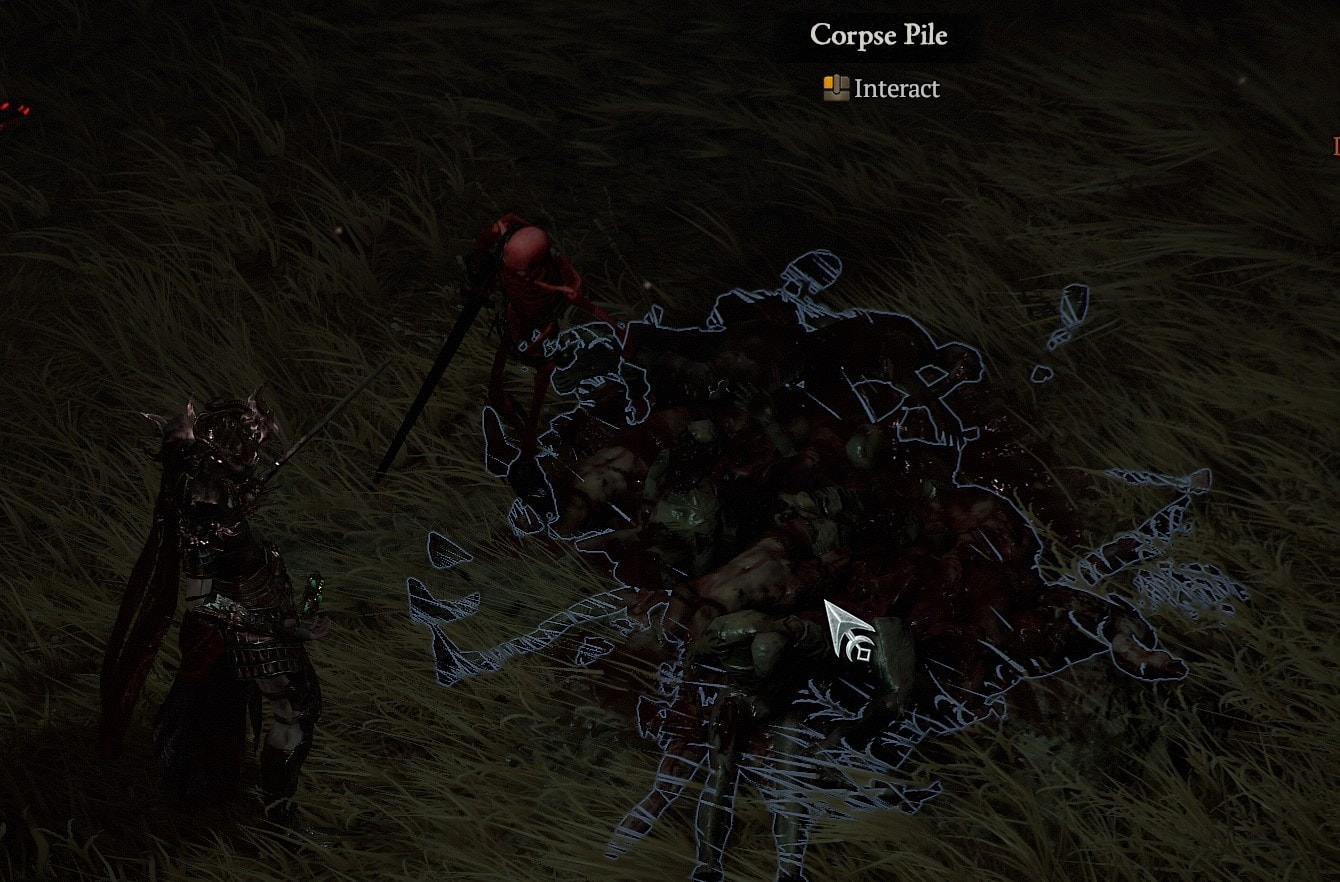
These can be good for the Whispers that ask you to defeat 150 of these weaker vampires. Otherwise, they’re a quicker alternative to Caged Innocents and Trapped Spirits.
Blood Blisters
These usually spawn in groups which each being surrounded by enemies. Razing a Blood Blister will spawn an Elite enemy. Doing this until all Blisters are gone results in a Named Elite (occasionally one of Zir’s lieutenants) spawning.
These are often areas with high monster density, which makes them okay for Character XP, though they’re pretty unrewarding otherwise. You get one Reputation for each Blister, 3 for the Named Elite, and anything else earned from taking down monsters.
Seeker’s Cache
Seeker’s Caches require a Seeker Key to open. These Chests will always (at least past level 15-ish) award several Rare Gears, Potent Blood, as well at least one Pact Consumables.
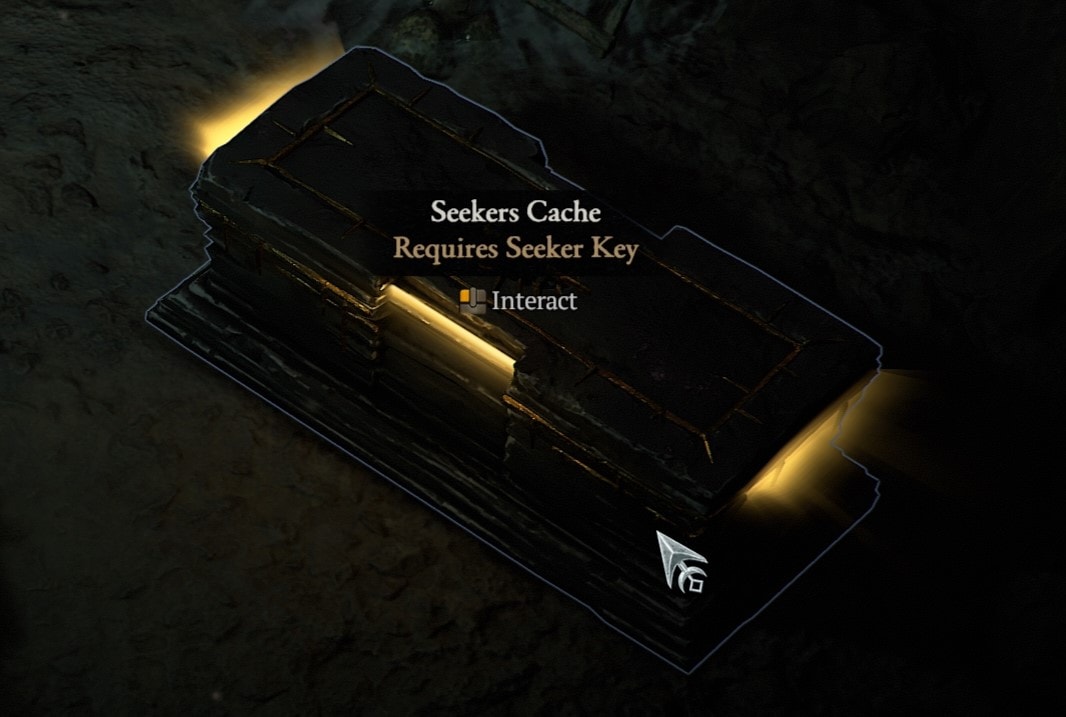
These are exceptionally good for getting low-risk Sacred and Ancestral gear when you first jump into World Tiers 3 and 4 respectively. You’re not forced to dismount to open them, so enemies rarely bother you.
Sanguine Altar
This will immediately summon two Blood Seekers after activating it. Then it will be inactive for a minute or two before being interactable again for the same result.
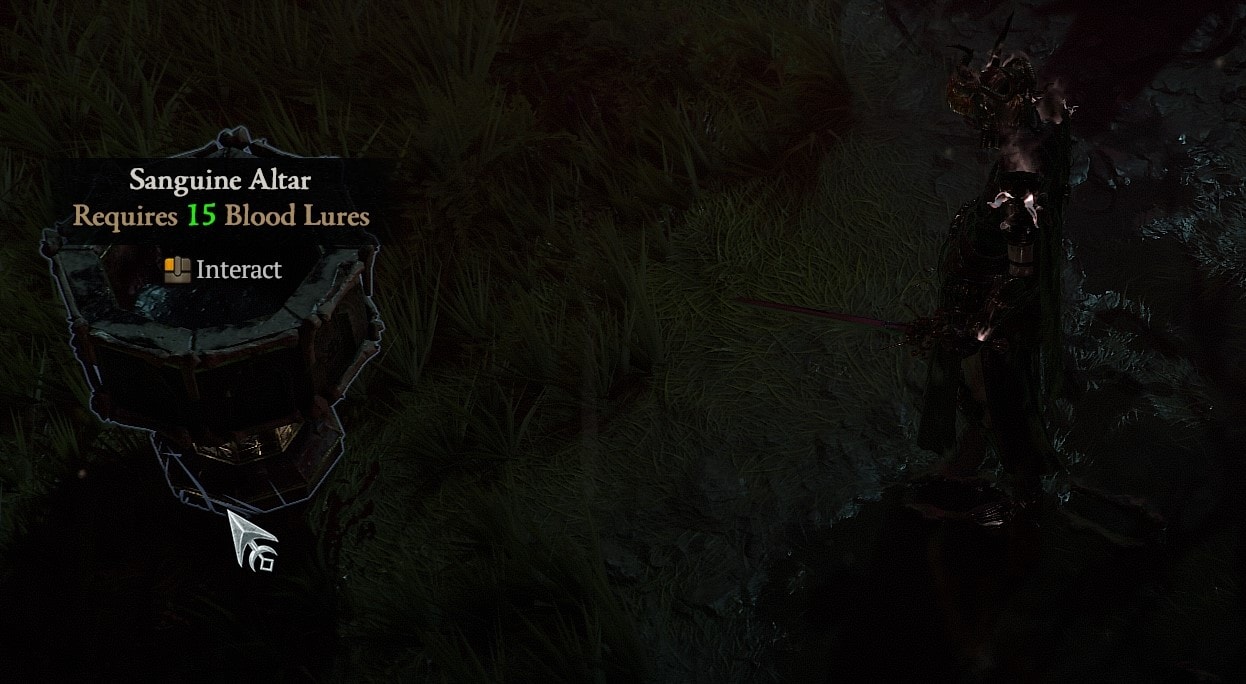
You’ll need to spend 15 Blood Lures to activate this. In return, you get about 30 or more Potent Blood. Blood Seekers also have a chance to drop Seeker Keys for Seeker Caches
Blood Well
By depositing Blood Lures into the receptacle, you’ll be able to remove the barrier and activate the Blood Well, netting a good amount of Potent Blood.
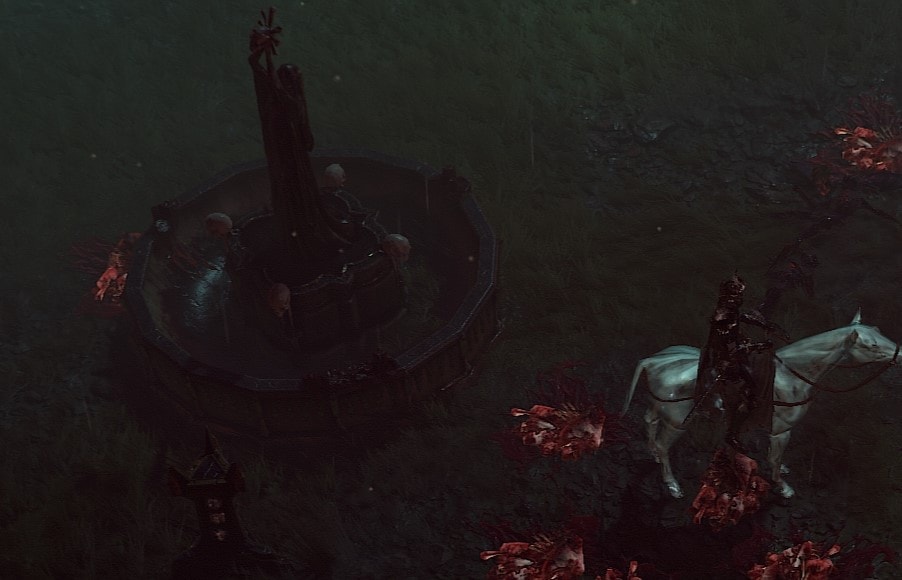
You’ll need to spend 15 Blood Lures to activate this altar. In return, you get around 50 Potent Blood for you and anyone else in the area until the barrier reactivates.
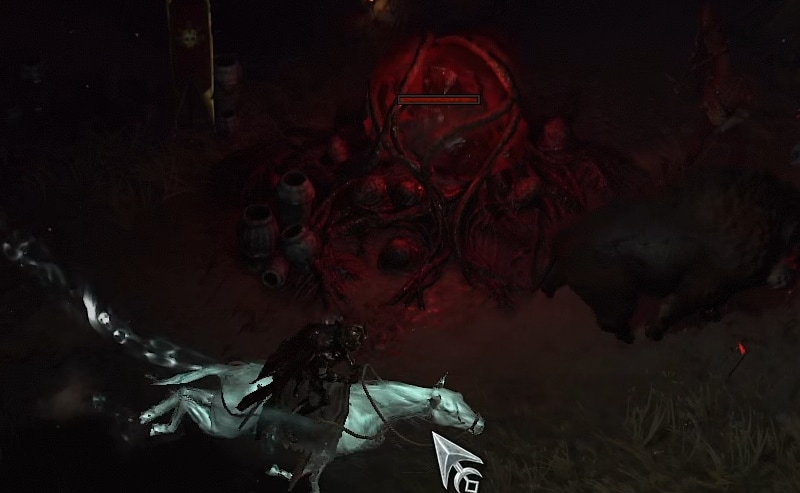
Blood Lure Pedestal
This event always spawns during EVERY Blood Harvest and will also be located directly on the Blood Harvest Marker. This will spawn waves of Vampires, ending with FOUR of Zir’s lieutenants. These Lieutenants can be difficult but drop plenty of loot. This is available to repeat immediately after all enemies are cleared.
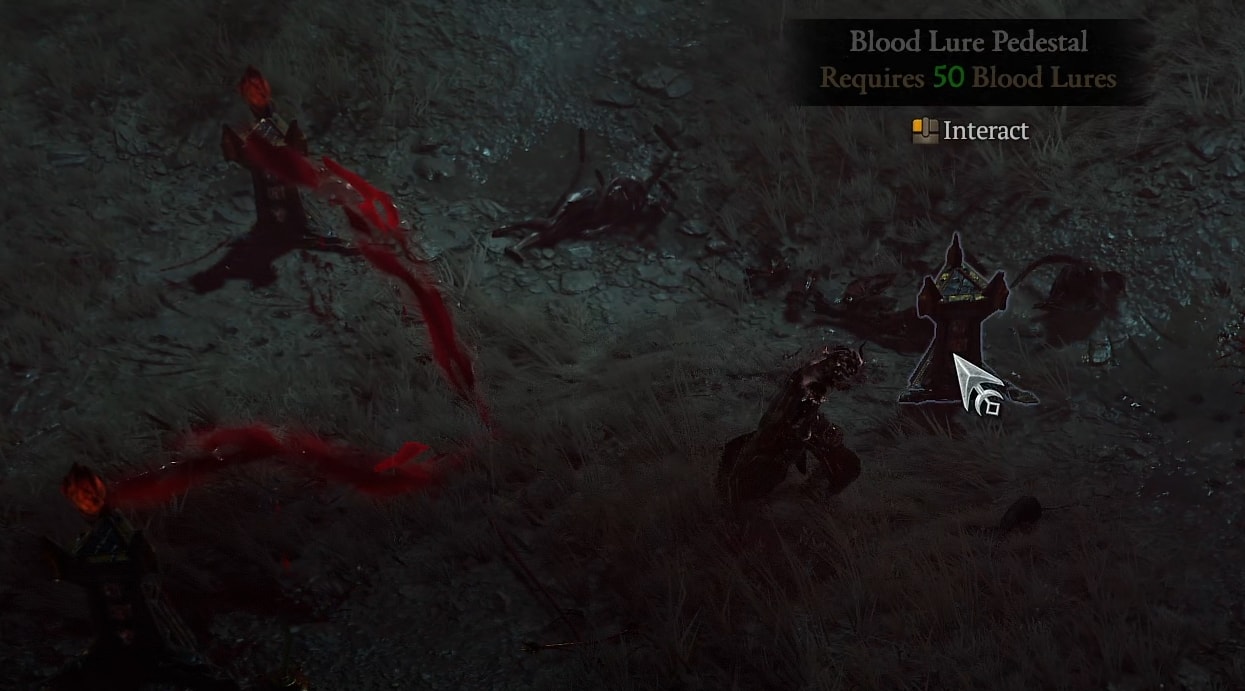
This requires a total of 150 Blood Lures, which can be done solo to divided among multiple players. Any Blood Lures you offer are gone immediately, so make sure you have all 150 or your group has enough to start it or you give up the Blood Lures for nothing.
In return, you’ll get about 100 Potent Blood and tons of Pact Armor and Pact Consumables. Easily the most rewarding Blood Harvest activity in terms of items, but not so much Potent Blood. If you have a group of three, it’s no less efficient at turning Blood Lures into Potent Blood,
World Events
These are the events we’ve seen show up during Blood Harvests and spawn Shadow Vampires, rather than the usual enemies. These all appear to award 15 Reptuation in addition to their usual reward of Gold, Obols, and Items. Below is a list of the events we’ve encountered that are affected by Blood Harvests and grant Hunters’ Acclaim Reputation.
- Rites of Ascension
- Ancient Obelisk
- Blood Siphon
- Jar of Souls
- Defiled Ground
If you’re unfamiliar with how these events function, we’ve covered them more in our Diablo 4 Events Guide.
Blood Harvest Whispers
Much like Events, Blood Harvests also have their own Whispers. These are generated from a small list of possible Whispers in the four regions it spawns. It ultimately boils down to two variations of High-value Whispers and three variations of Low-value Whispers. Those are listed below with their objectives.
| Reward | Task Name | Objective |
|---|---|---|
| 5 Whispers | Cull Vampires | Defeat 25 each of Sanguine Magi and Crimsonblades |
| 5 Whispers | Cull Ghouls | Defeat 150 Blood Reavers. |
| 3 Whispers | Slay Blood Seekers | Defeat 2 Blood Seekers. |
| 3 Whispers | Raze Structures | Destroy 5 Structures. (Blisters, Corpse Pile, etc) |
| 3 Whispers | Rescue Innocents | Free 5 Innocent NPCS. (Caged Innocents or Bound Sacrifices) |
Hunters’ Acclaim System
Hunter’s Acclaim is an additional reward system for Blood Harvests. It’s a tiers reward system that gets more rewarding as you go up, but the rewards can only be claimed once!
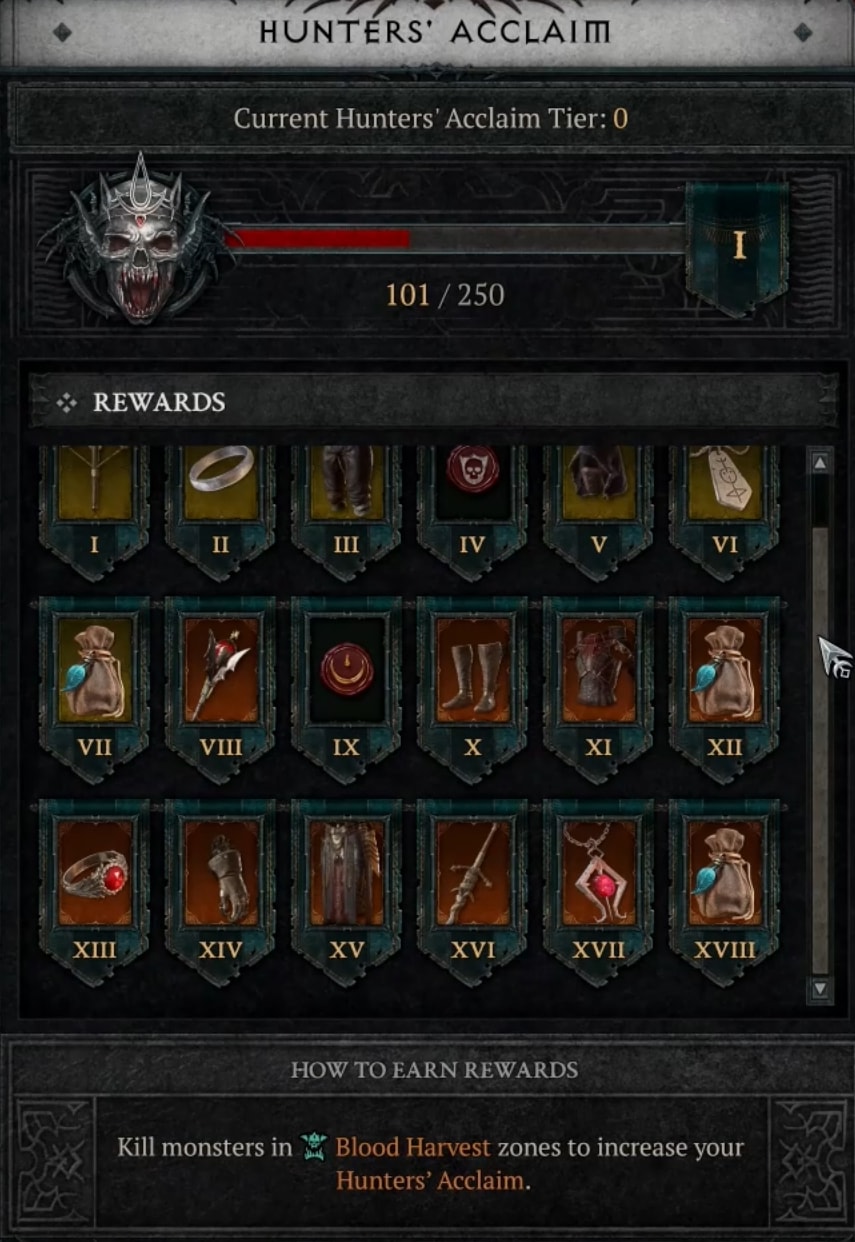
This is a nice bit of extra rewards for participating in Blood Harvests. For the Reward caches, we highly recommend holding the Rare Caches until you enter World Tier 3, where they can also drop as Sacred items. The same goes for the Legendary Caches, but hold those for World Tier 4 instead for a chance of getting Ancestral items.
Earning Hunters’ Acclaim Reputation
This system gains XP, shown as a progress bar to the next tier, which accumulates XP from defeating enemies and other tasks within Blood Harvests. Below is a quick table of each of the levels and their required XP.
| Tier | Required Reputation | Total Reputation |
|---|---|---|
| 1 | 250 | 250 |
| 2 | 300 | 550 |
| 3 | 350 | 900 |
| 4 | 400 | 1,300 |
| 5 | 450 | 1,750 |
| 6 | 500 | 2,250 |
| 7 | 550 | 2,800 |
| 8 | 600 | 3,400 |
| 9 | 650 | 4,050 |
| 10 | 700 | 4,750 |
| 11 | 800 | 5,550 |
| 12 | 950 | 6,500 |
| 13 | 1,000 | 7,500 |
| 14 | 1,500 | 9,000 |
| 15 | 2,000 | 11,000 |
| 16 | 3,000 | 14,000 |
| 17 | 4,000 | 18,000 |
| 18 | 5,000 | 23,000 |
Given the XP required for each Tier, you’d think it’d take a while. Certain events can make the process much quicker though. There is also a Seasonal Blessing that can speed up the process of earning this reputation as well.
With all the events detailed above, here’s what each of the awards for Reputation, in addition to other Reputation values.
| Event Name | 5 Reputation |
|---|---|
| Defeating ~5 Normal Vampires | 1 Reputation |
| Defeating an Elite Vampire | 2 Reputation |
| Defeating a Named Elite | 3 Reputation |
| Defeating a Blood Seeker | 5 Reputation |
| Caged Innocent / Restless Spirit / Bound Sacrifice | 5 Reputation |
| Razing a Structure | 1 Reputation |
| Burning Corpse Pile | 5 Reputation |
| Freeing Trapped Spirit | 5 Reputation |
| Healing Injured Adventurer | 10 Reputation |
| Completing a Vampiric Syphon | Varying Reputation |
| Completing World Events in Blood Harvest | 15 Reputation |
| Completing a Blood Harvest Whisper | 100 Reputation |
Getting the Most Out of Blood Harvests
Finally, we’ll round the guide off with the best ways to utilize what Blood Harvests offer. We’ll just cover a few ways to interact with the mechanic, and the best way to pursue it’s unique loot.
Hourly Whisper Cache
One of the most relaxed and least farm-intensive ways to get value out of Blood Harvests is by completing just its Whispers. Just hop in, do what you need to do for the Whispers and return to whatever else you want to do.
This will consistently net you 300+ Hunter’s Acclaim, for first half of the tiers, a Tier every 2-3 Blood Harvests. In addition completing all three will offer grant a total of 11 Whispers, scoring you a Cache with ton of gold, resources and maybe an upgrade or two.
Solo Potent Blood Farm
Potent Blood is needed in high quantities early on to be able to unlock and level your Vampiric Powers. At least from a Solo perspective, the best ways to do this come down to Vampiric Syphons and Blood Wells. We’ll talk more about a Group farm that’s more effective later.
It goes without saying that Blood Wells, despite being seemingly uncommon, offer the highest Blood Lure to Potent Blood ratio. So you’ll want to get these when you can find them.
However for those times that you can’t find them, Vampiric Syphons are often the best substitute. These free events allow to to destroy hordes of enemies, so long as you can stave off the DoT of the Vampiric Syphon itself. You’ll also get plenty of Potent Blood and Seeker Keys from the Blood Seekers that will inevitably spawn.
Quick Pact Consumable Farm
Without a doubt the quickest way to get these are simply by opening Seeker Caches. You’ll rarely ever find yourself in a shortage of Seeker Keeys unless you’re only opening Caches and never defeating enemies.
Every Cache you open will contain at least 1 one item that applies or removes Pacts. More commonly, you;ll end up getting two Pact applicators and one cleansing acid. Highe diffi culties also tends to drop more in general, so it works even better at later stages of play.
The Best Season of Blood Group Farm
Remember those super expensive altars that were mentioned earlier? Yep, those Blood Lure Pedastals are it. While expensive, if you have a group of three it becomes super reasonable cost-wise and super farmable.
While each person passes 50 Blood Lures per activation, you’ll get the same 1:2 Lure to Potent Blood ratio that most other Blood Lure events grant. In addition, you get piles of loot, including everything you might want. Pact Consumables, Pact Armor, Uniques.
Each of the four Lieutenants summoned are considered Bosses, so they tend to drop higher power and higher value items. Just keep in mind that you need to defeat all four to see any drops from them, but it’s a great “Loot ‘Sploion” all things considered.
While you can do this solo as well, it takes a lot more time to get the necessary Blood Lures, and hurts the overall loot to Blood lure ratio severely.


