This guide will show you how to solve the Daunt Relic Ruins puzzle and how to get the terminal passcode to get the very rare Daunt Ornament.
What Are Relic Ruins and Ornaments
Relic Ruins in Horizon Forbidden West are optional activities that take you to what’s left of Old World buildings. You must solve puzzles to reach a specific spot in order to obtain an Ornament, one of the game’s collectible items.
There’s a total of ten Ornaments, each Ornament represents a holiday. They can be given to Stemmur in Hidden Ember. He will then project holographic lights on the sky depending on which Ornament you give him.
Relic Ruins: The Daunt Walkthrough
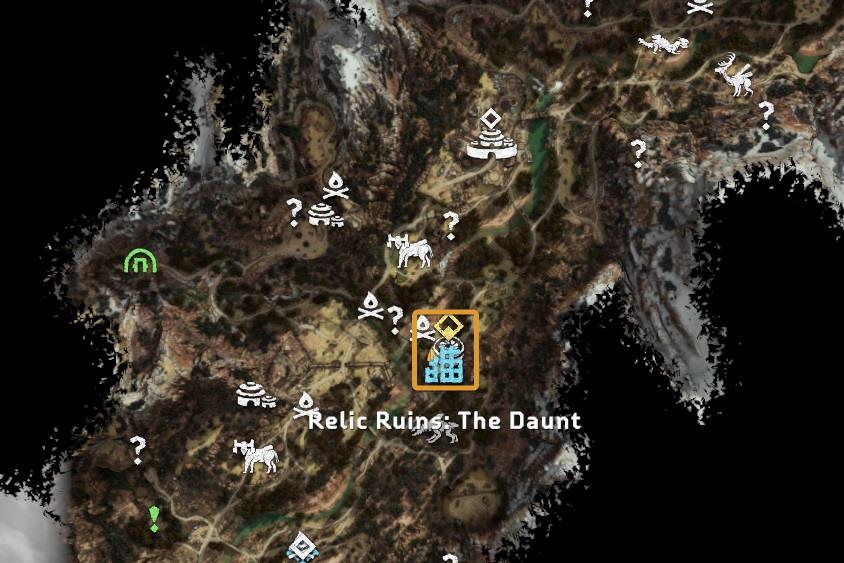
These Relic Ruins are located in The Daunt, south of Chainscrape and east of Redhew Quarry. You can access the area and solve the puzzle at any time.
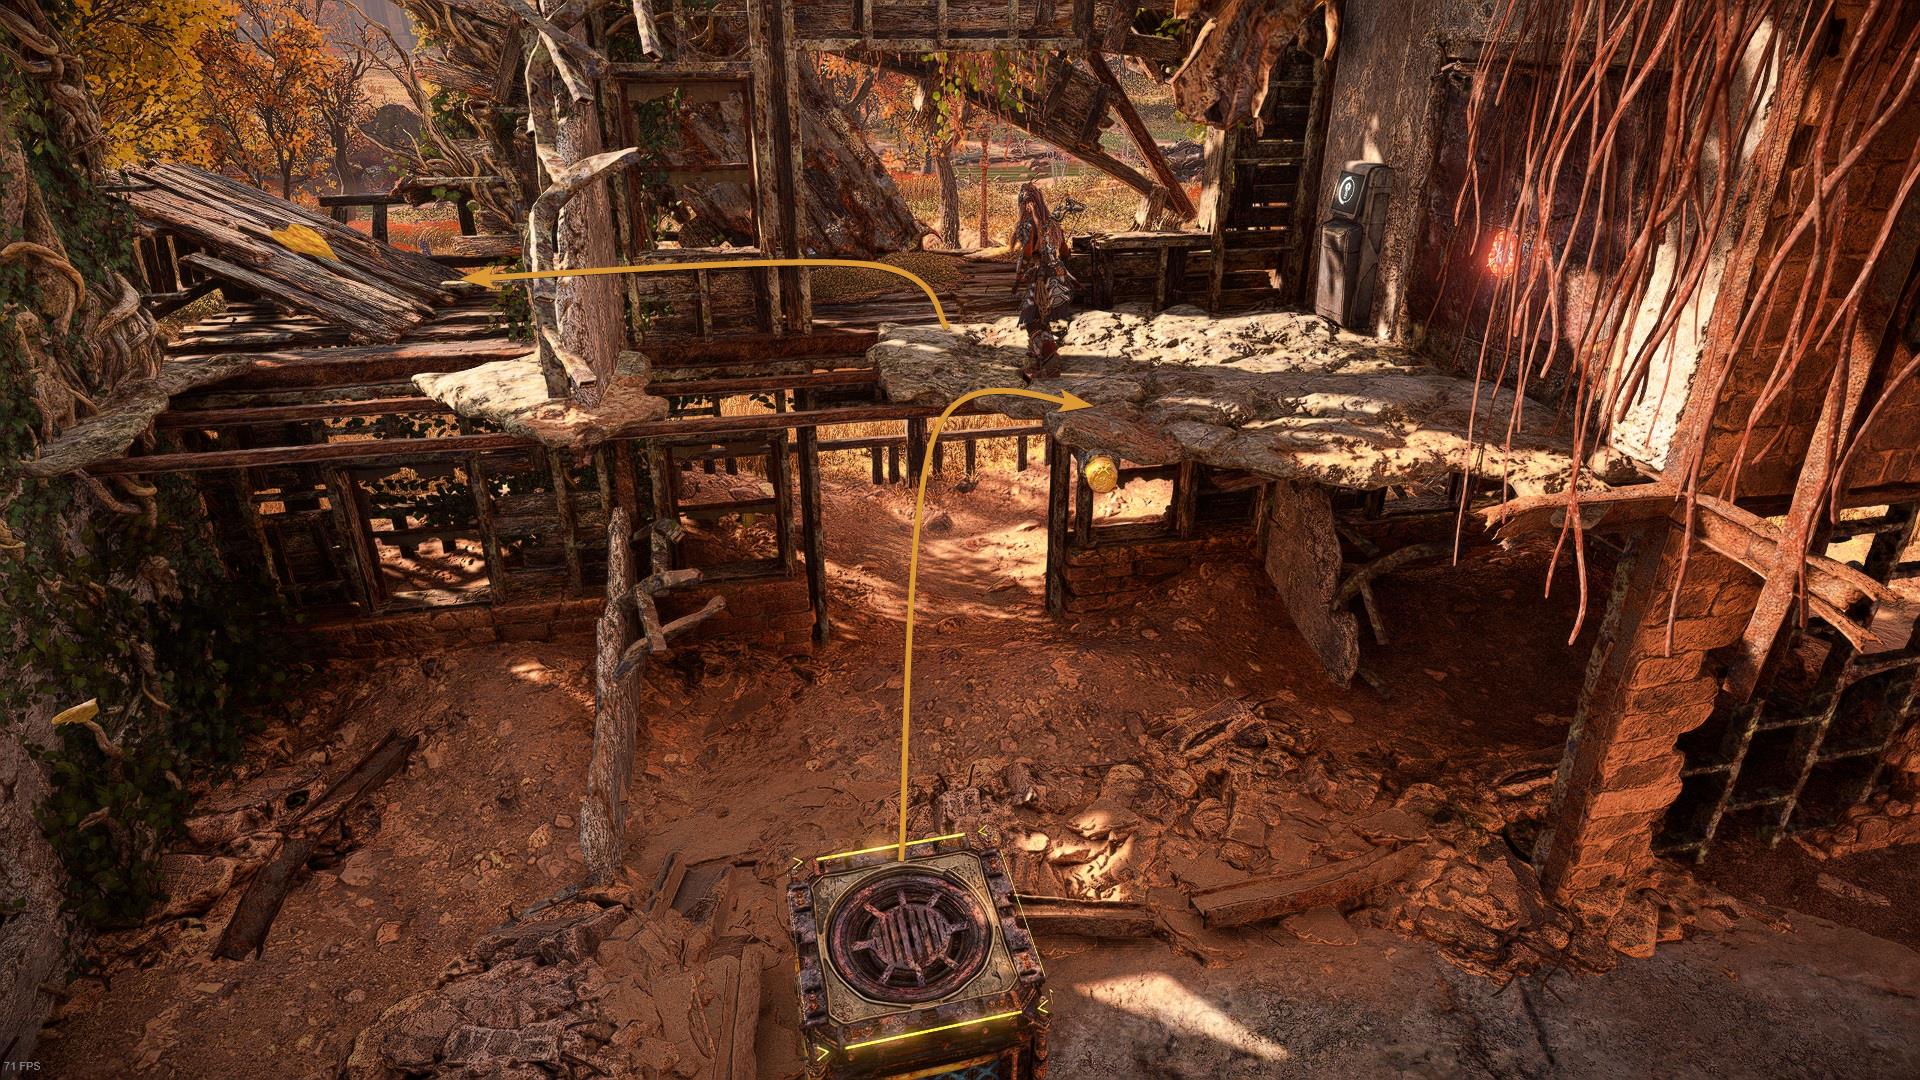
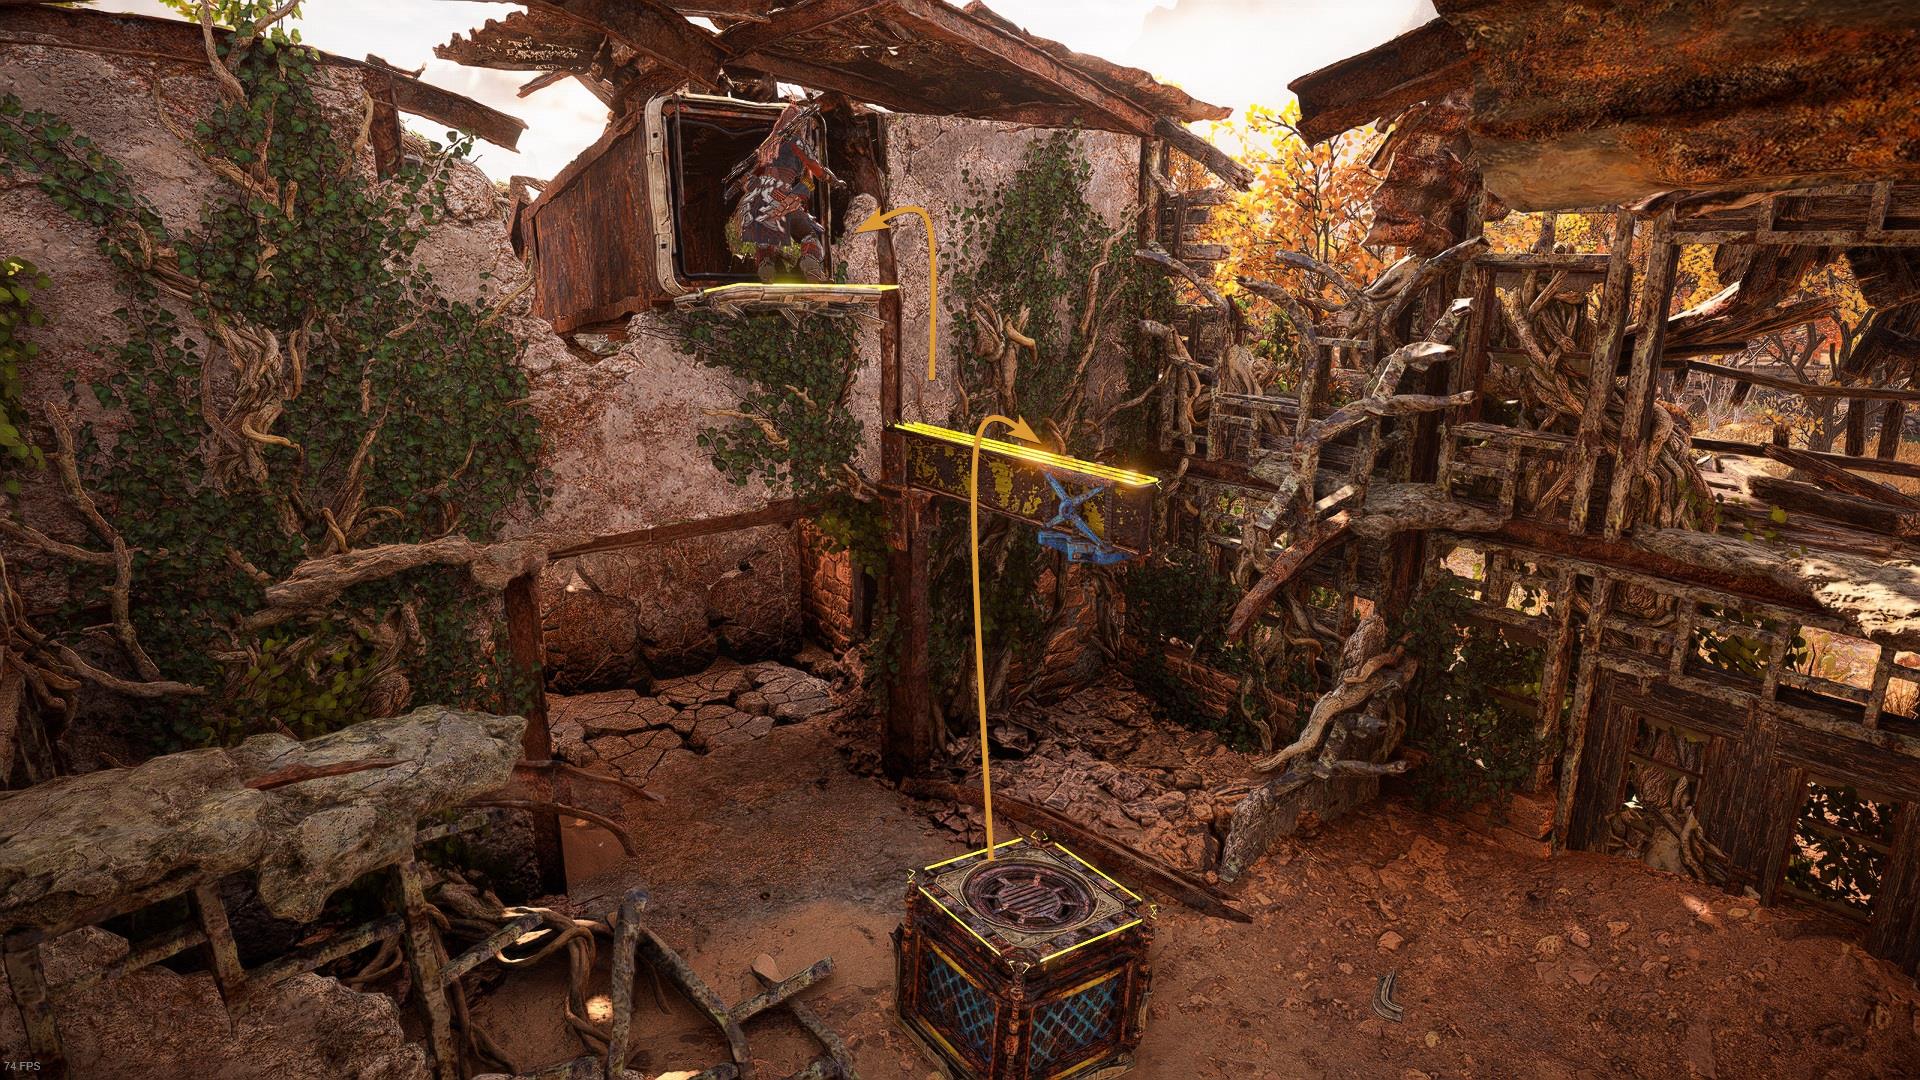
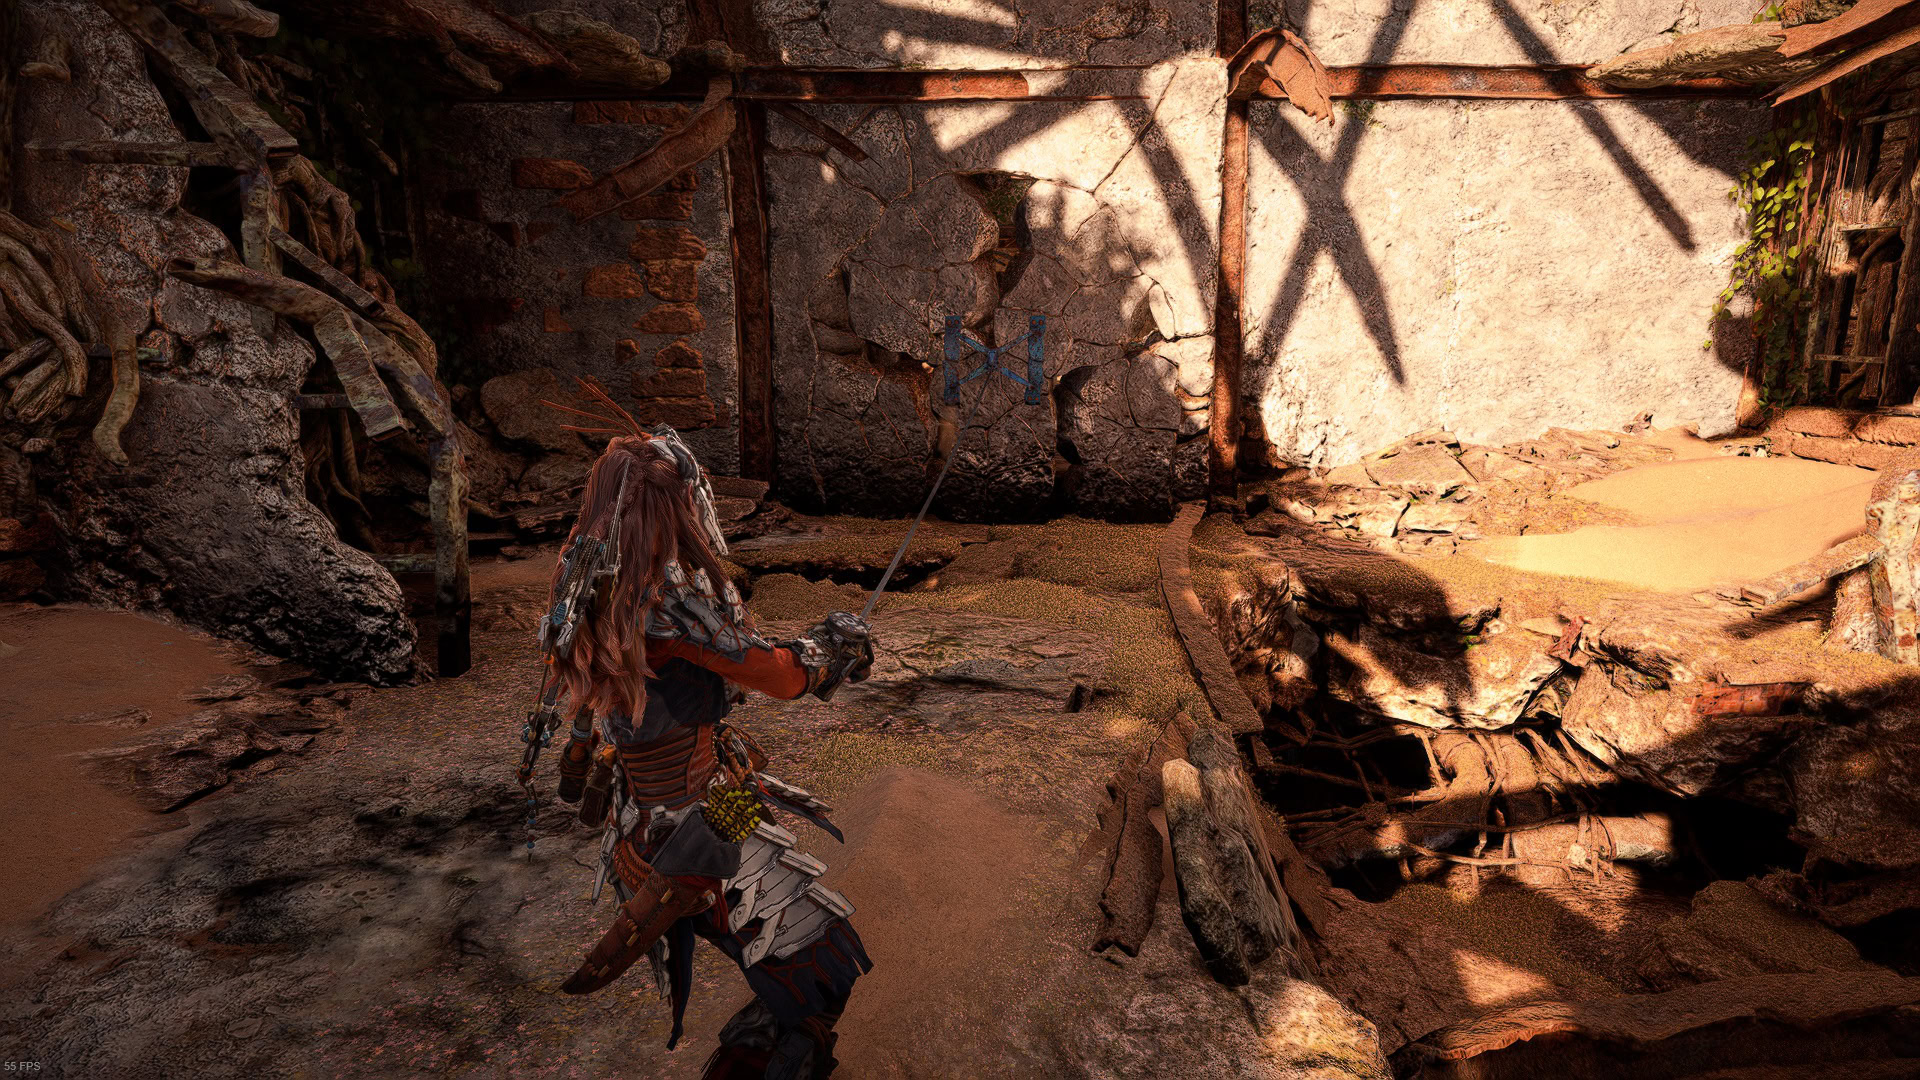
This is a big place but only one area can be accessed when you first get there. Once you get inside, move the crate from its initial position to a place that lets you use it as a platform to reach the second floor. You can either push/pull it with Aloy or use the Pullcaster.

Get to the second floor and go near the ramp that’s located on the terrace. You’ll see a door with a panel next to it but it won’t open until you complete a few more steps.
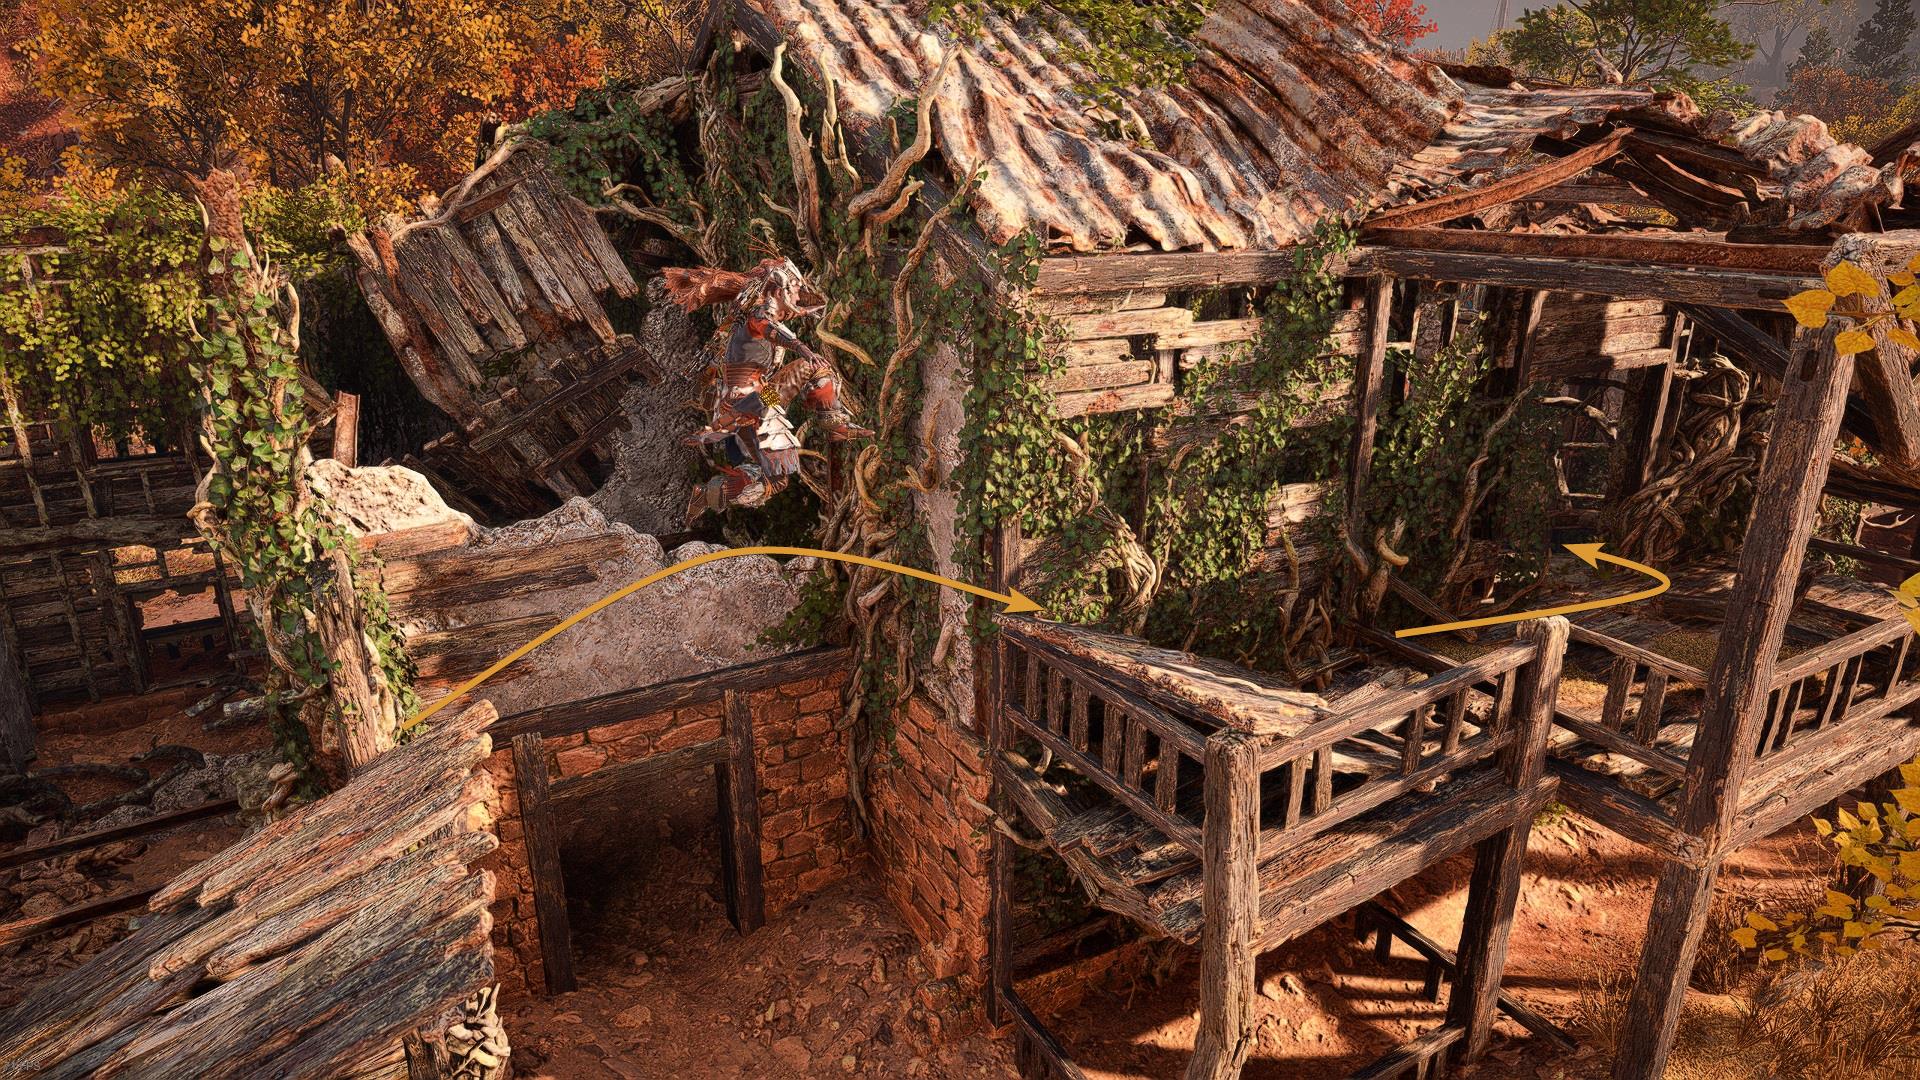
Run and jump to the terrace on the other side, then enter that part of the lodge. This is the only way to access it.
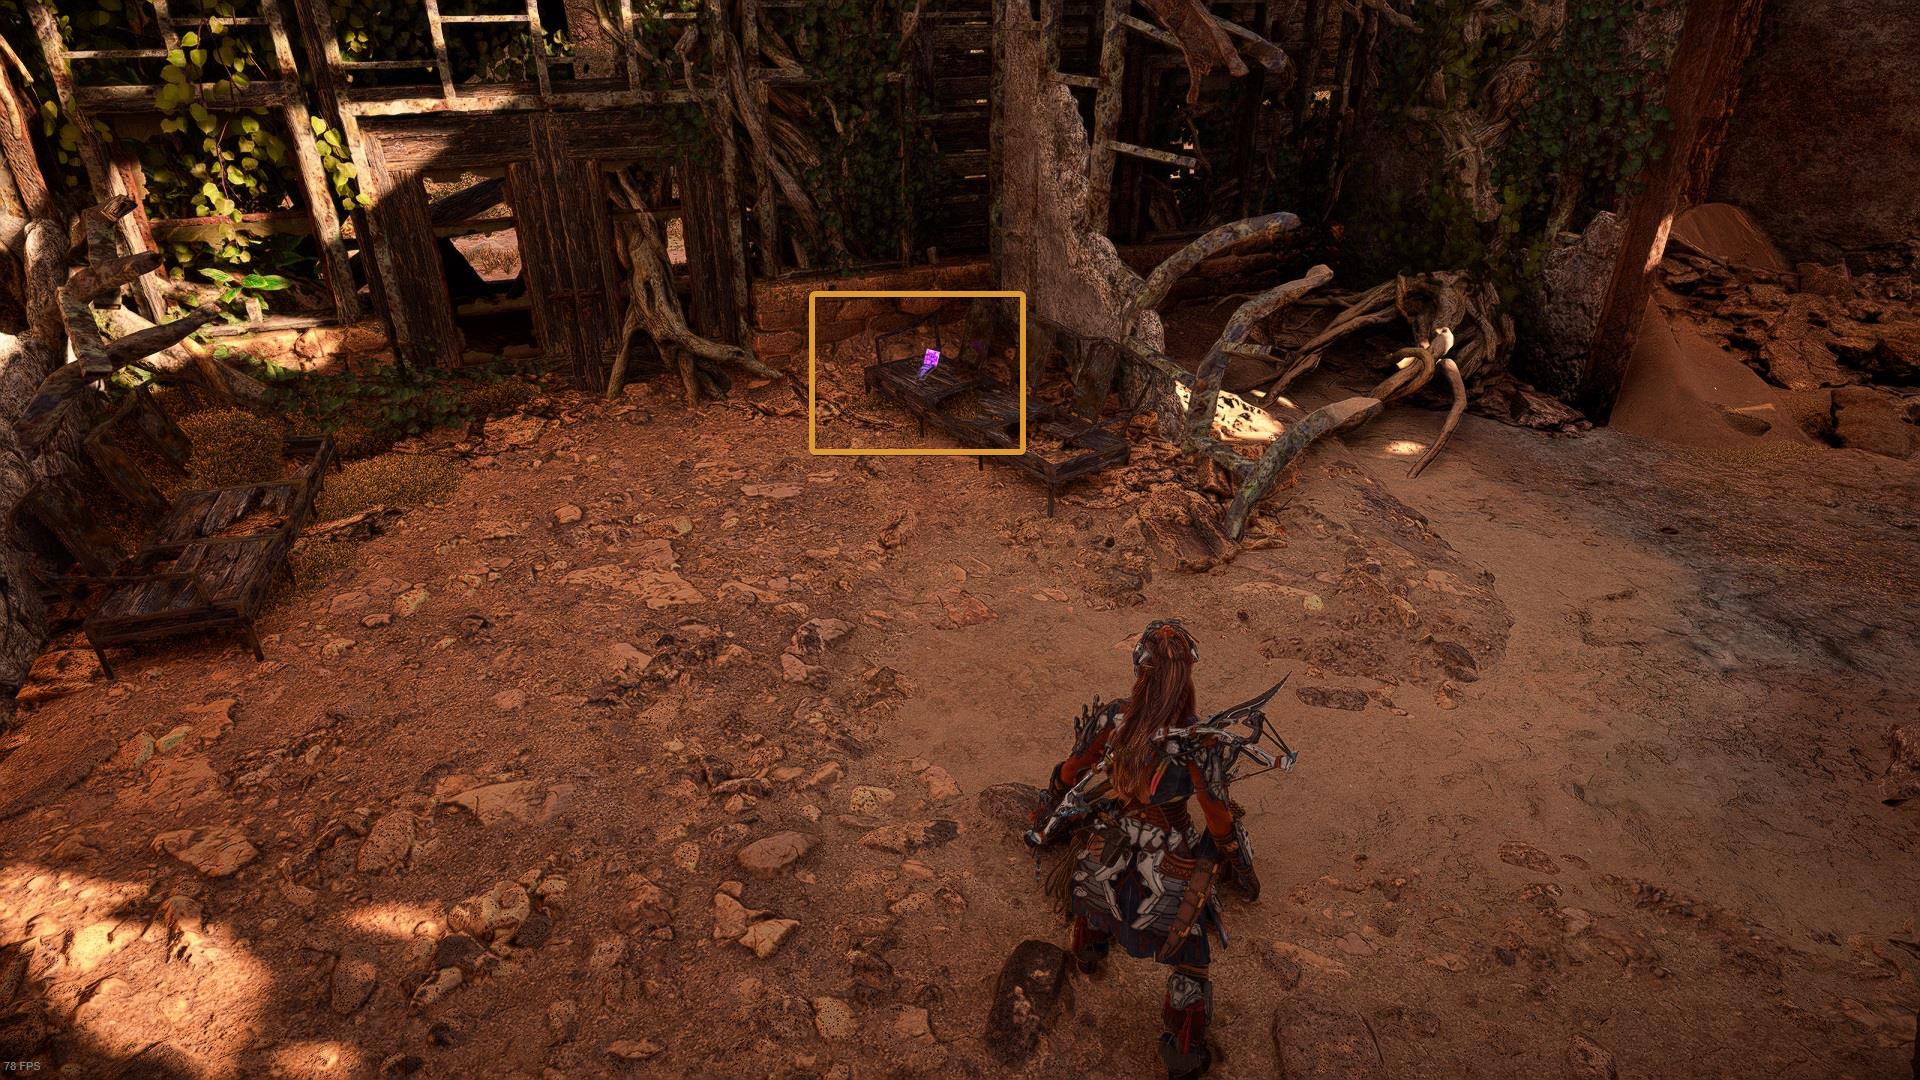
You’ll see an object with a purple-shine. Scan it, it will be useful later on.
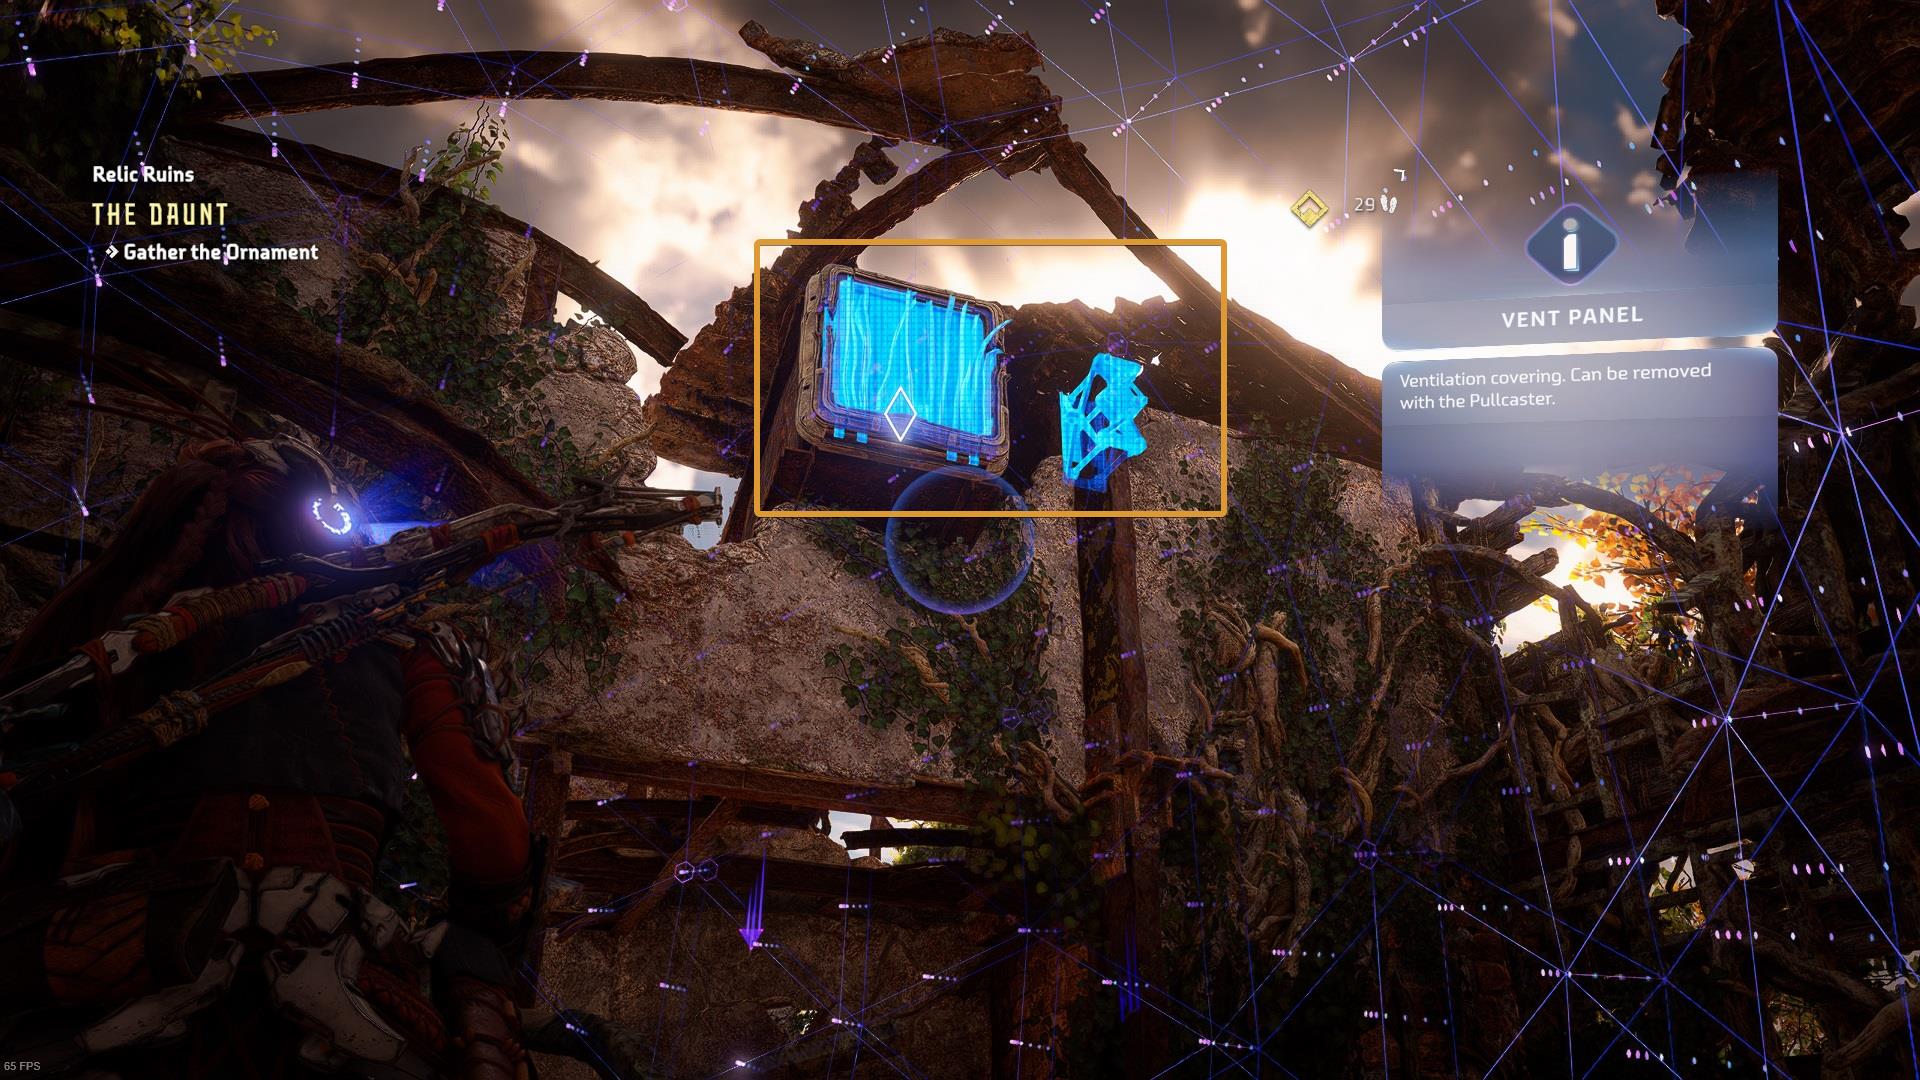
Remain in your current position and turn your sight to the right. By scanning the area you’ll see a vent panel and a metal clamp, use the Pullcaster on both objects.
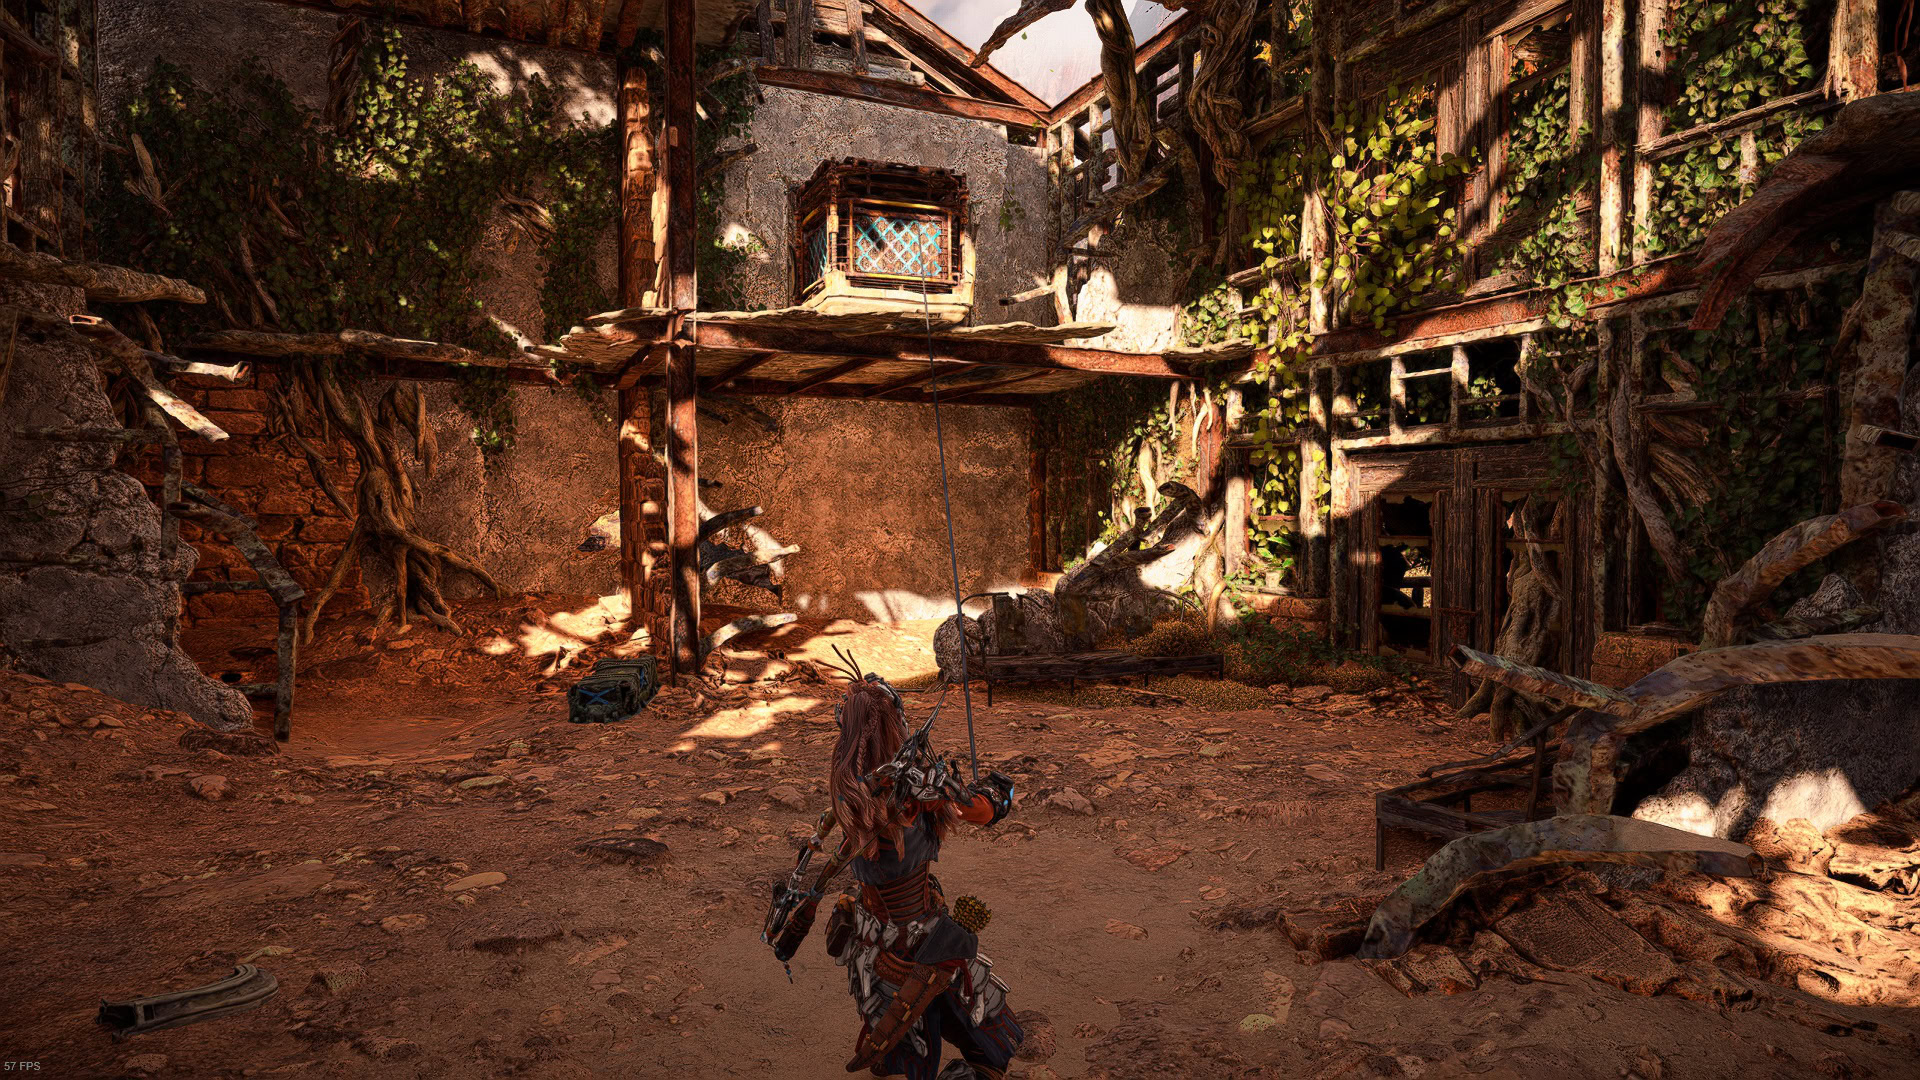
Do a 180° turn and pull the crate on the second floor to your current position. Use the crate to get the vent and go inside.
As soon as you get to the other side of the vent you’ll see a hole in the ground. Jump in and walk in a straight line.
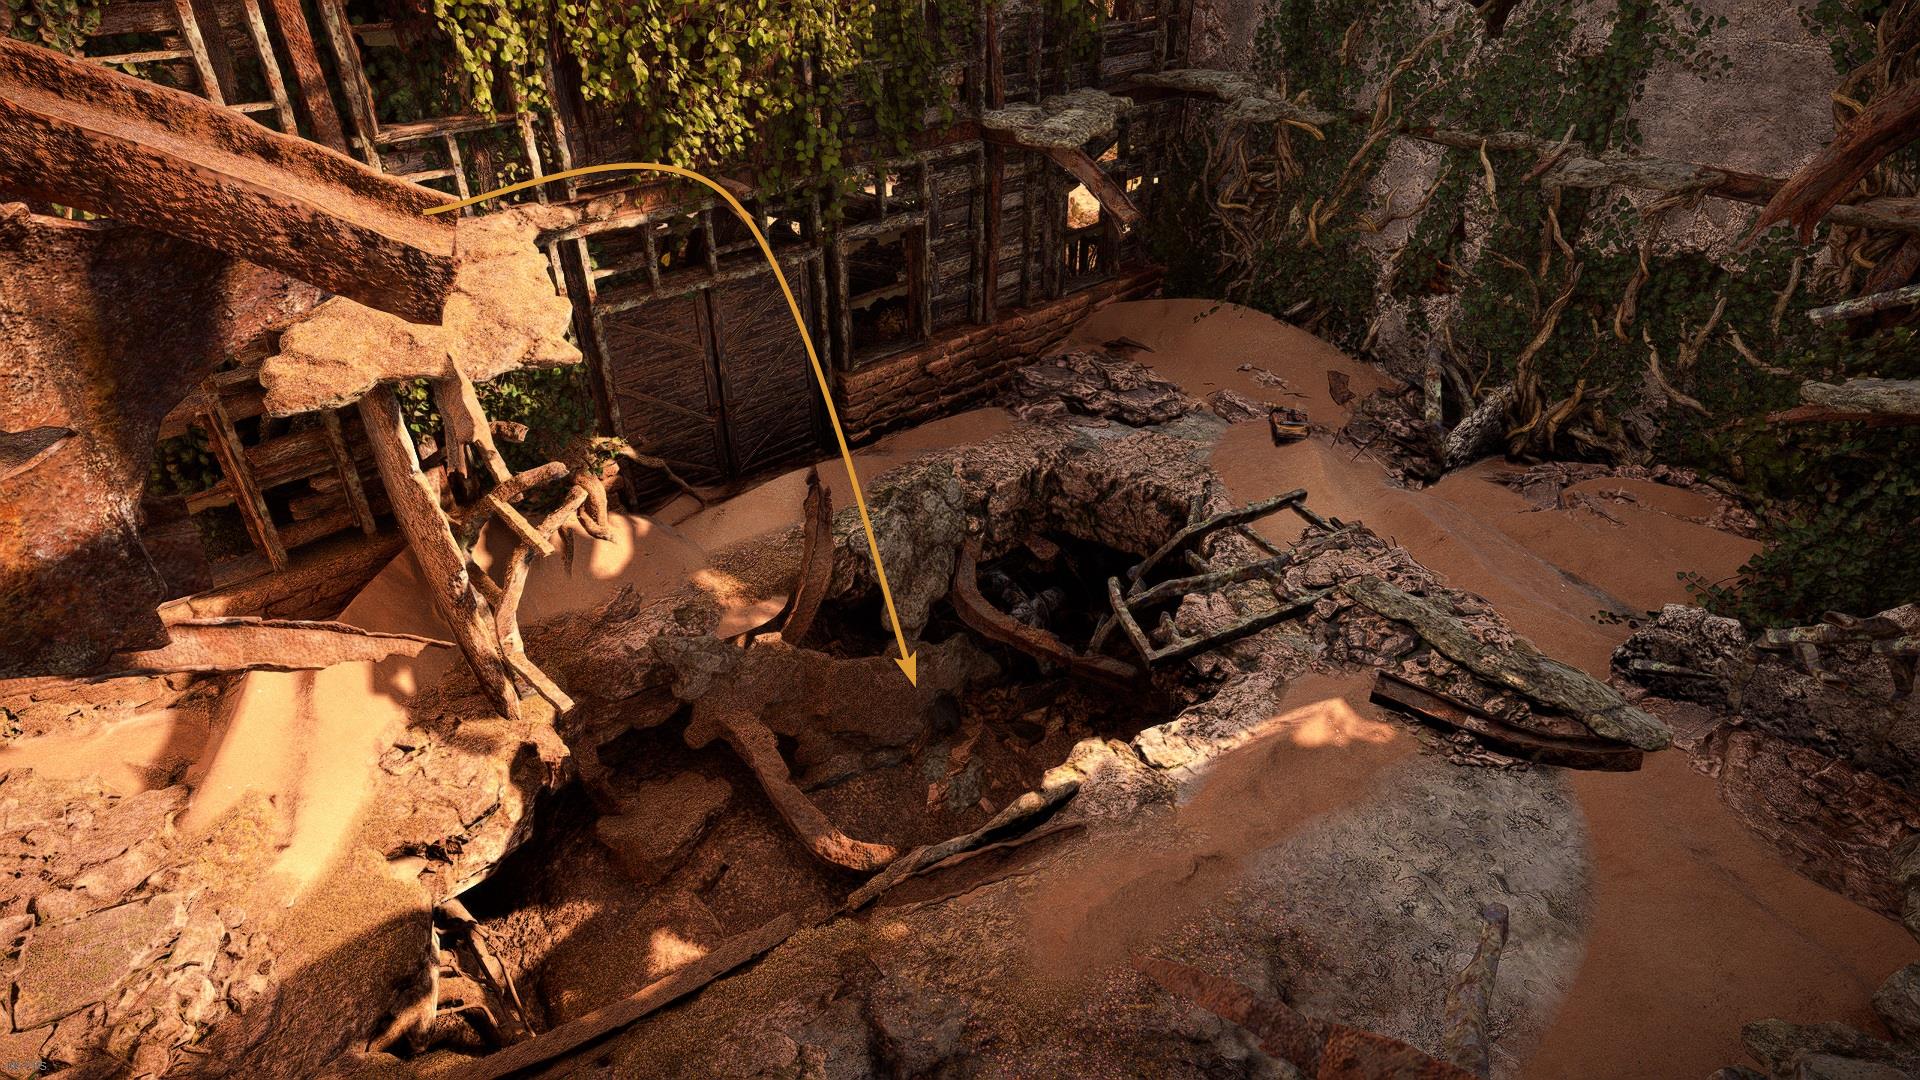
There are some climbing nodes, as soon as you try to climb, the first one will fall out of place. Time to find another way to get out of this area.
Look around with your Focus until you find this metal clamp. Use your Pullcaster. This will break the ground and make a hole of a considerable size. Now go back to the entrance of this underground area.
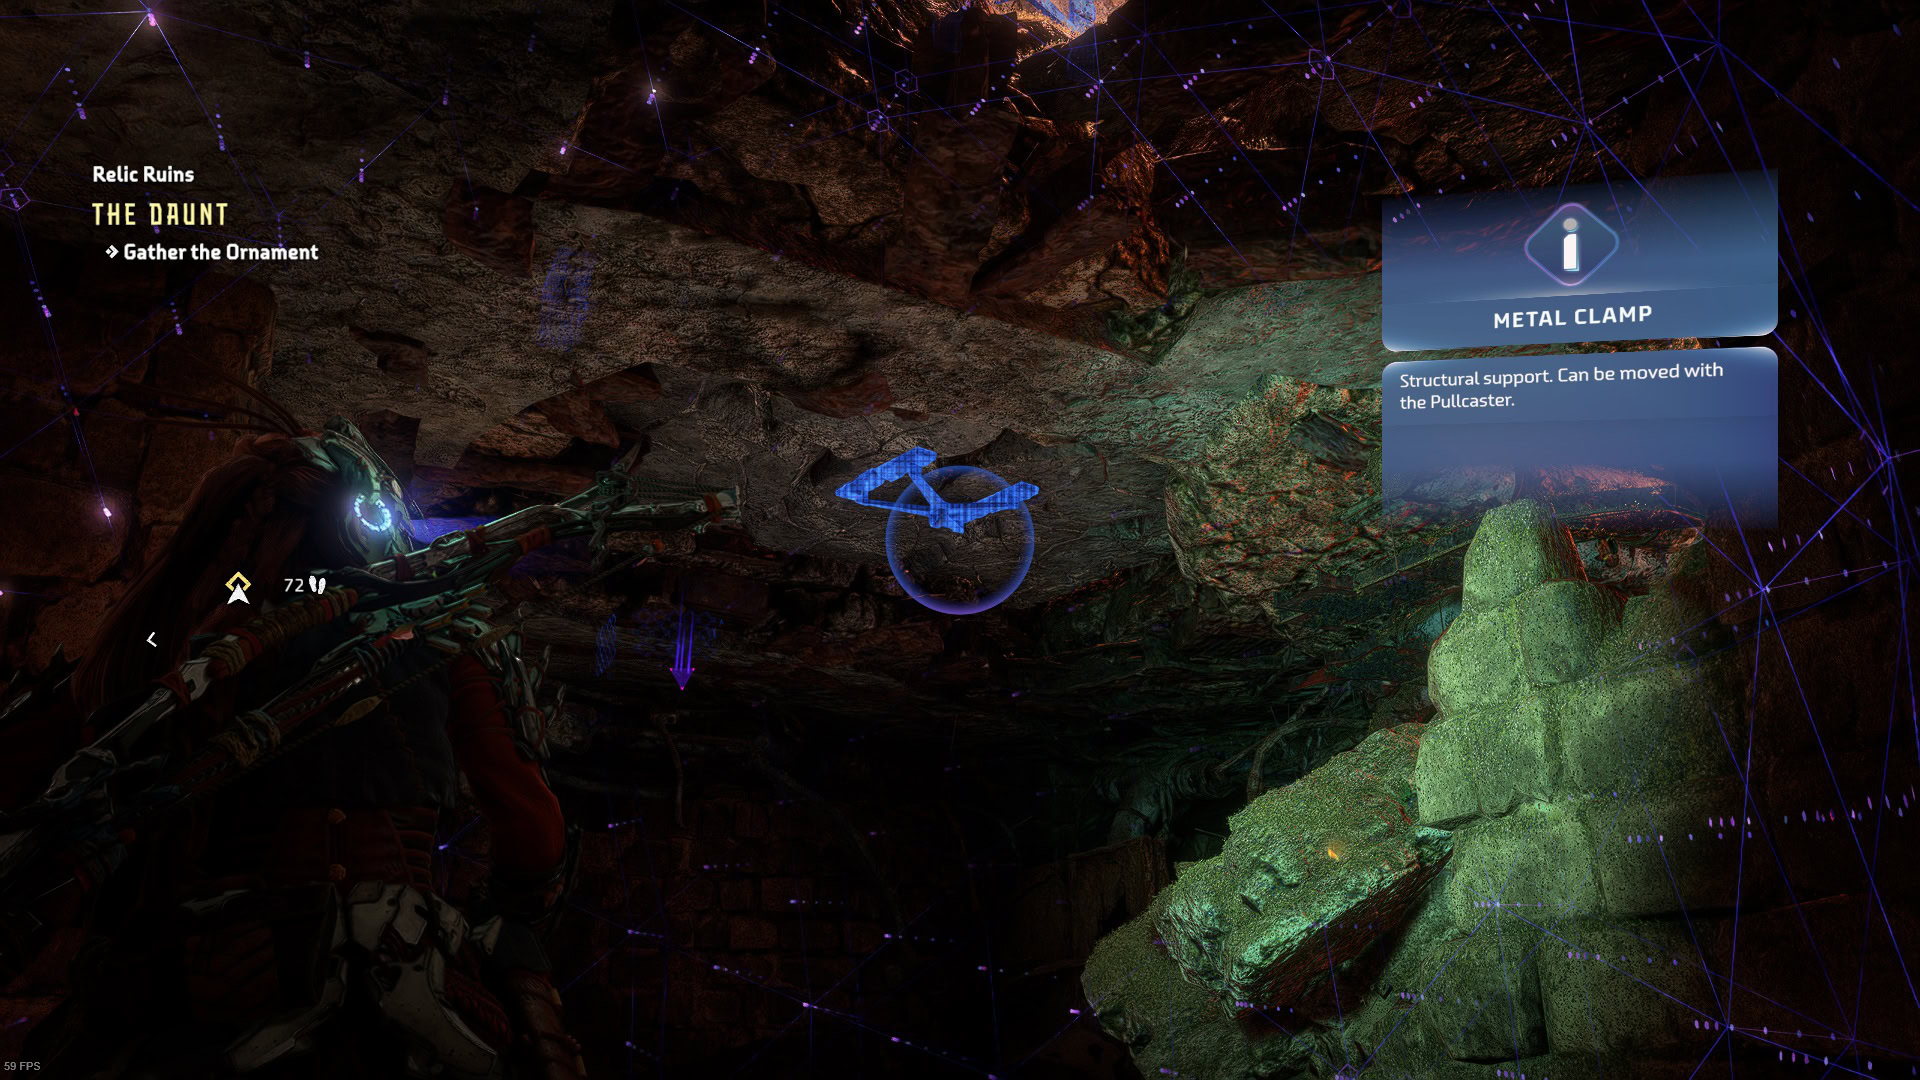
There is another metal clamp on the wall, use the Pullcaster to break it.
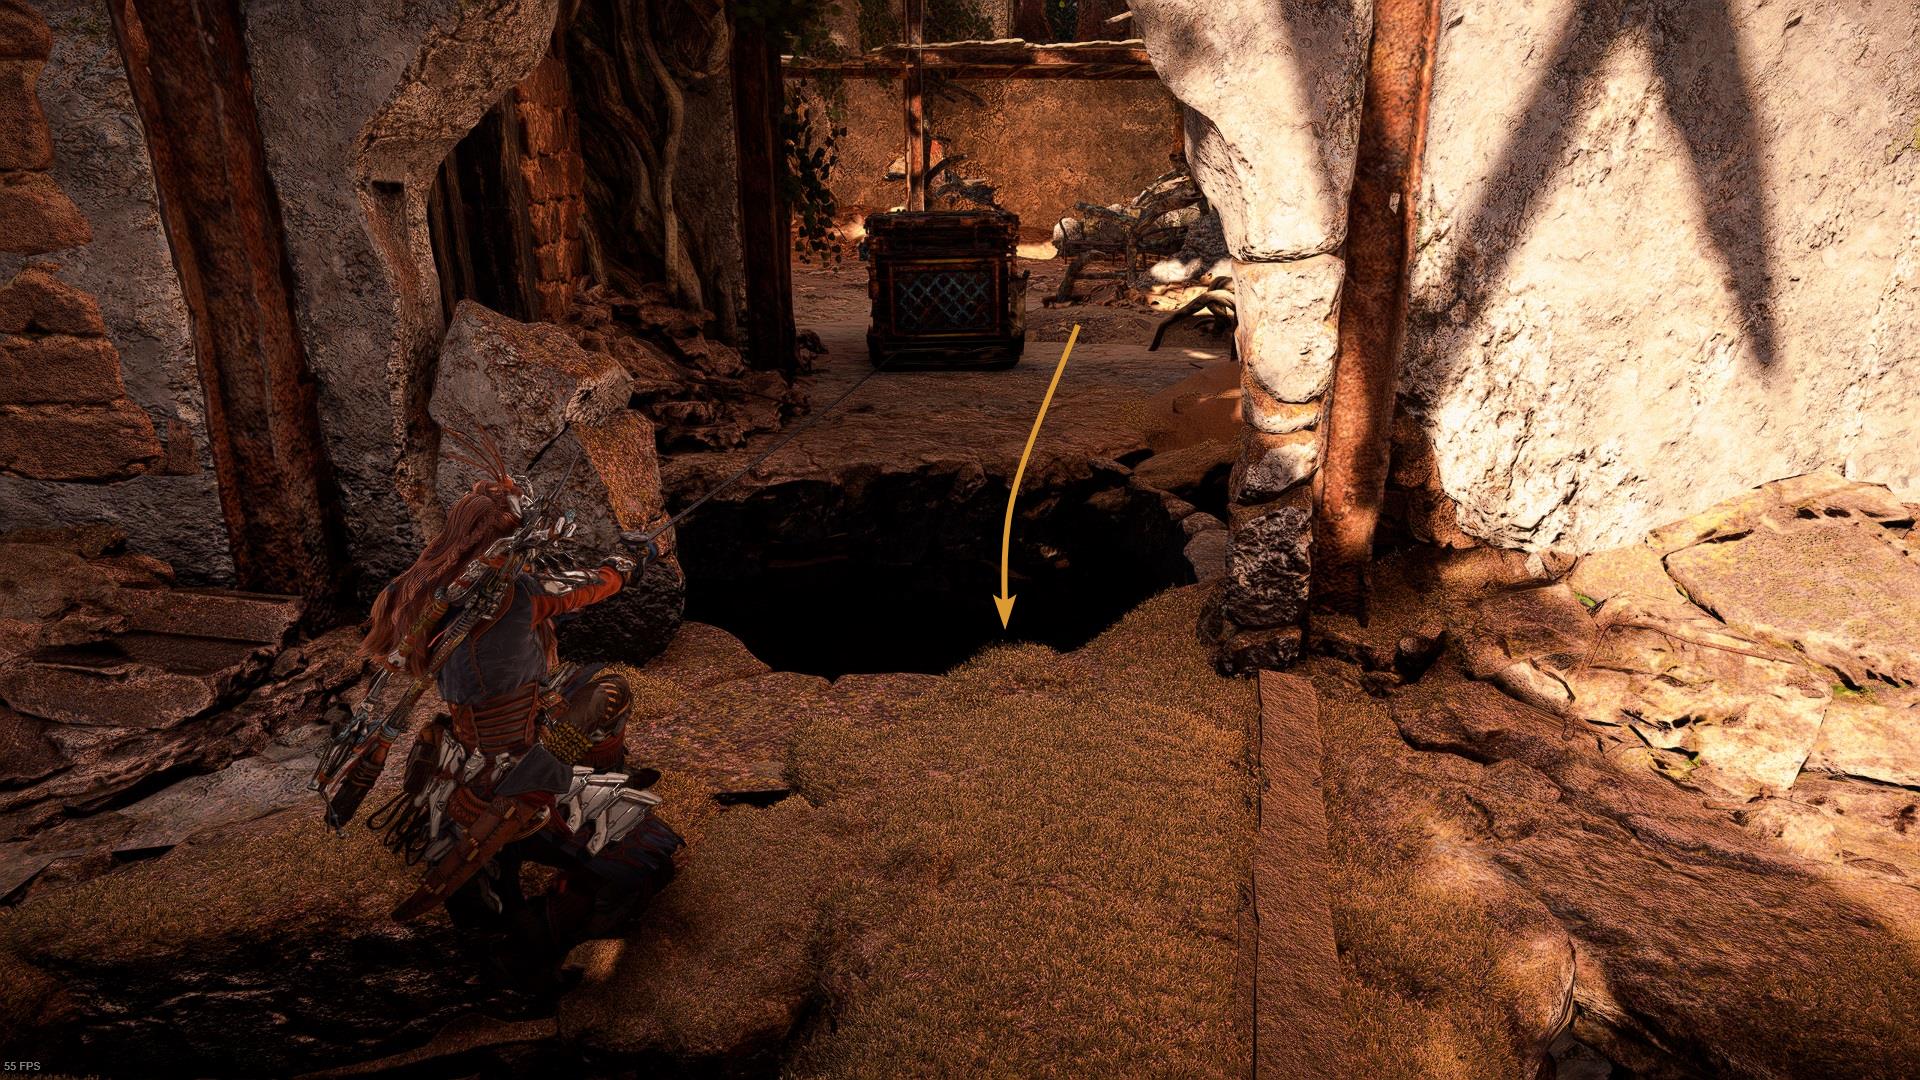
You’ll see the crate that was first used to get to the vent. Pull it until it falls into the hole in the ground, then jump down.
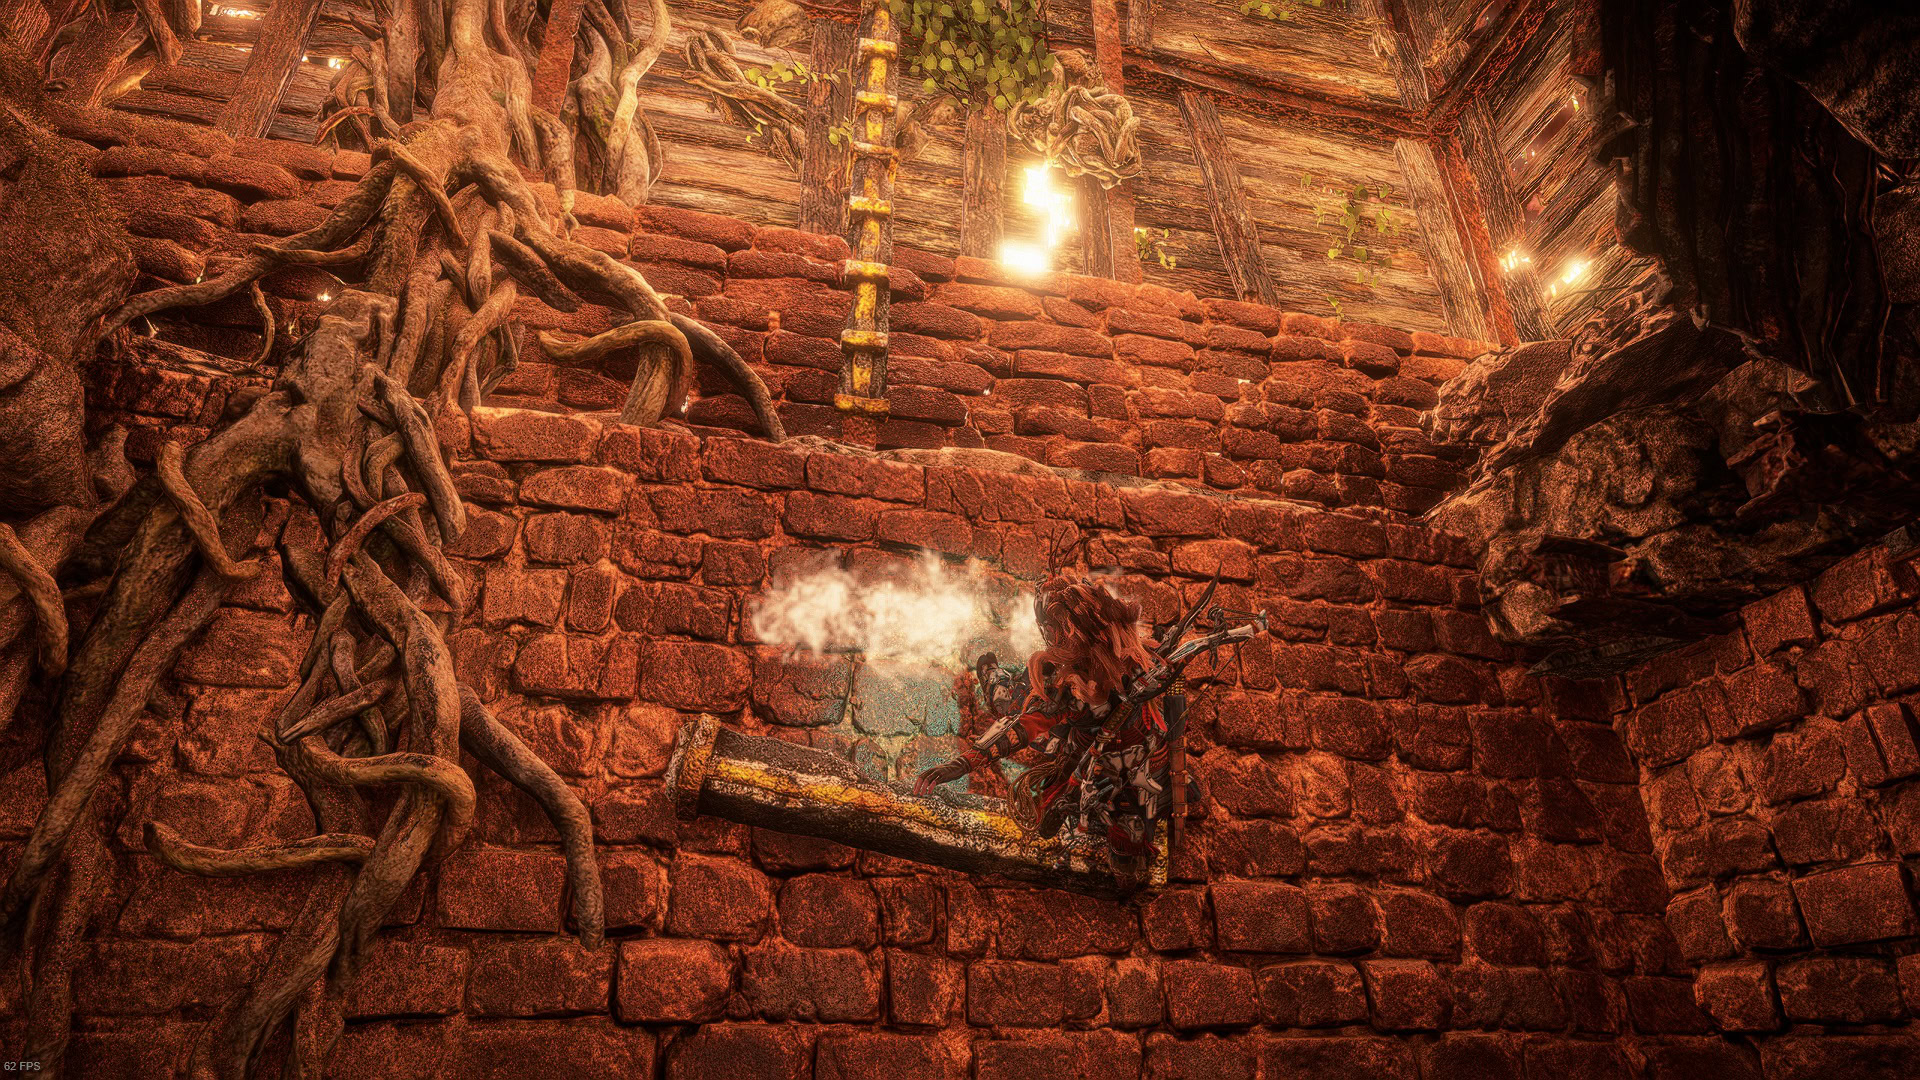
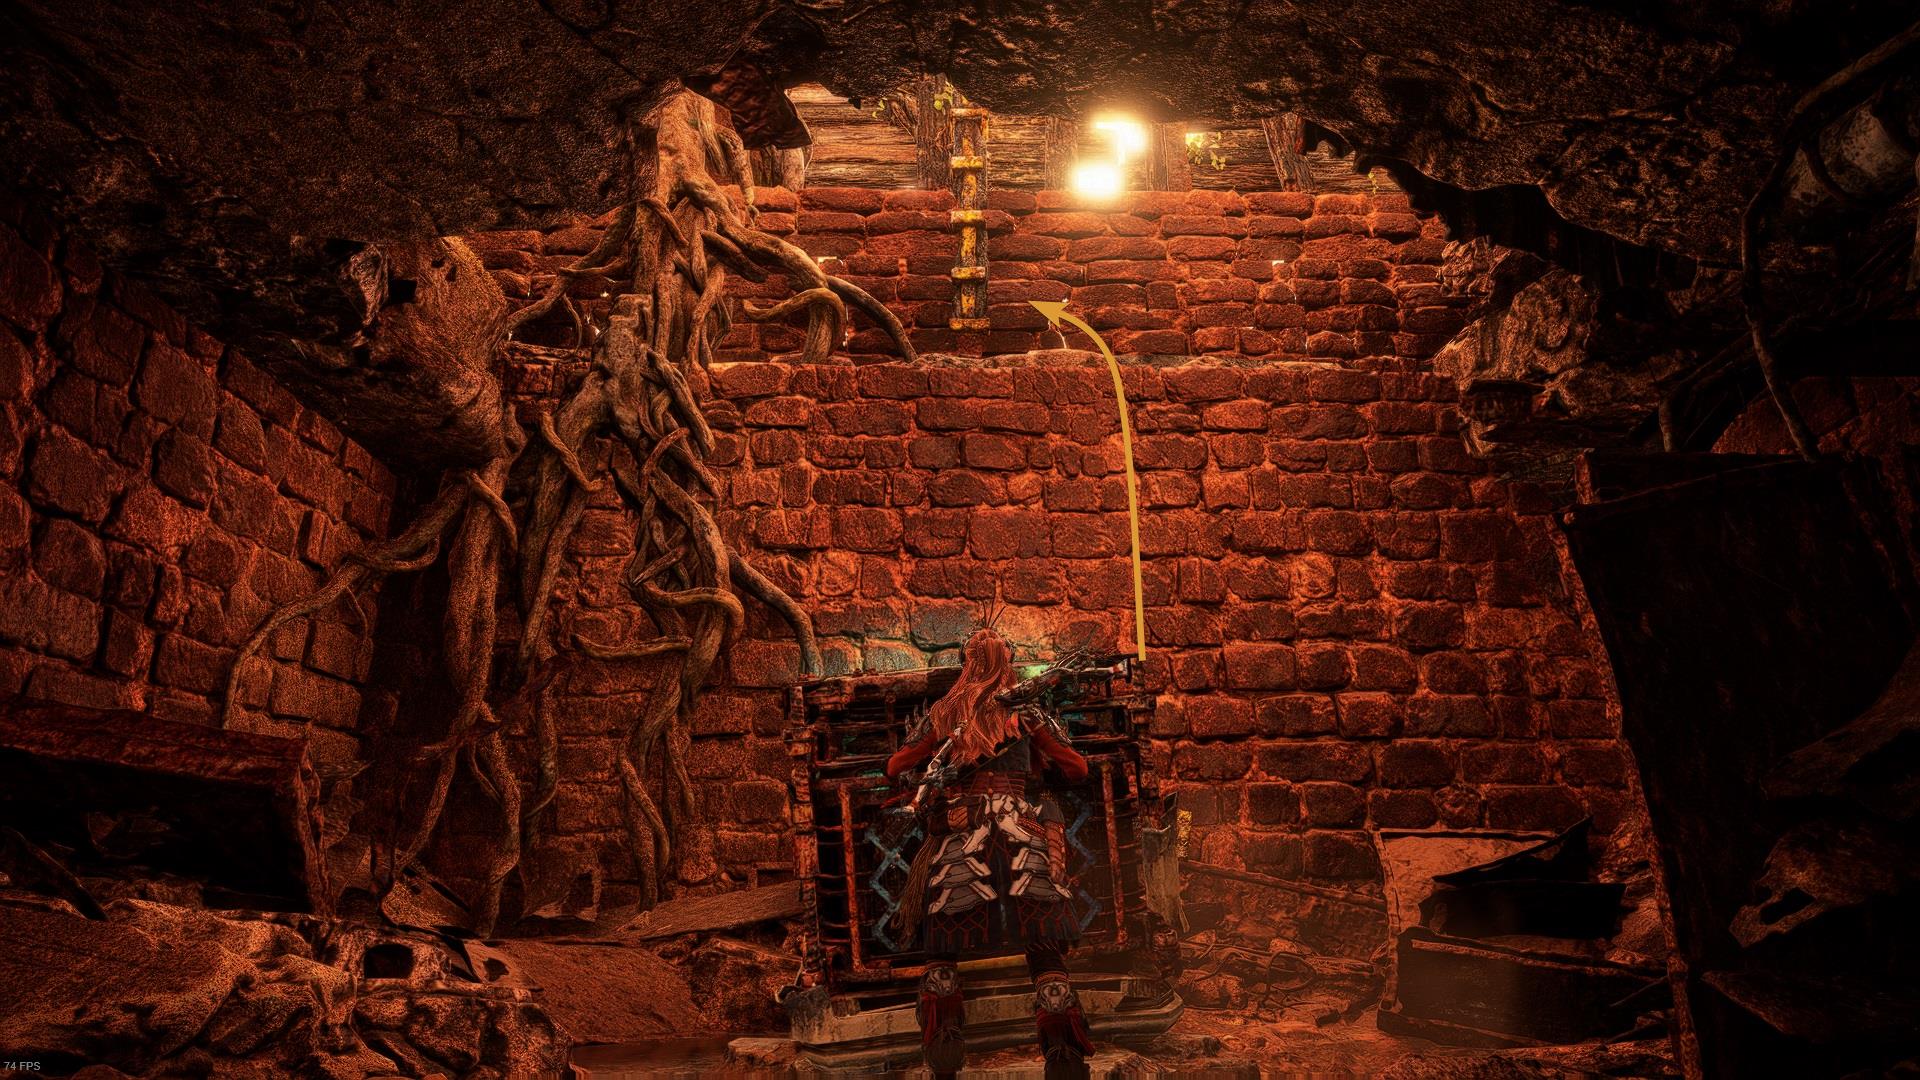
Move it to the area where the climbing node fell out of place. Use it to climb out of this area, go all the way up until you reach the roof.
The next image shows where you’ll end up after climbing to the top. Jump to the terrace that’s on the left side of the building. Look for the Key Icon.
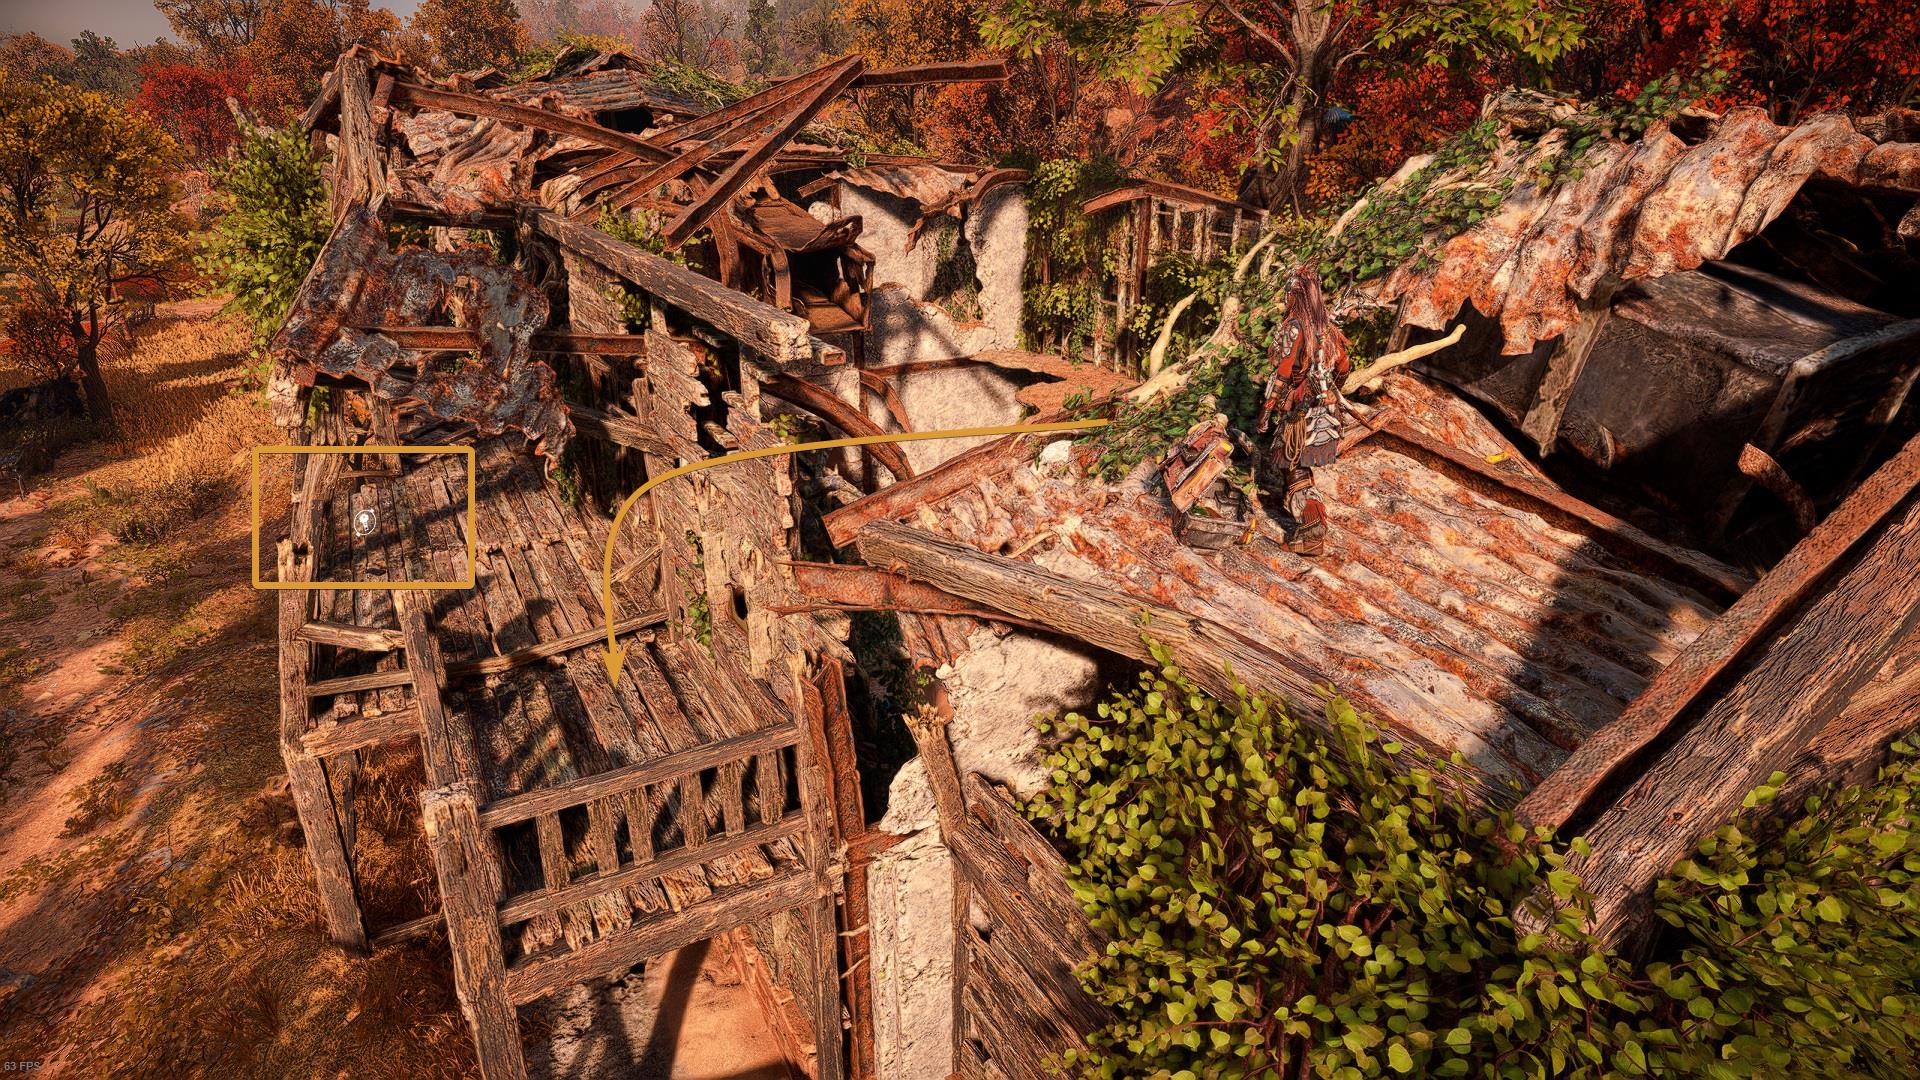
Collect the Key Module. This will help open the door that you saw in the first area.
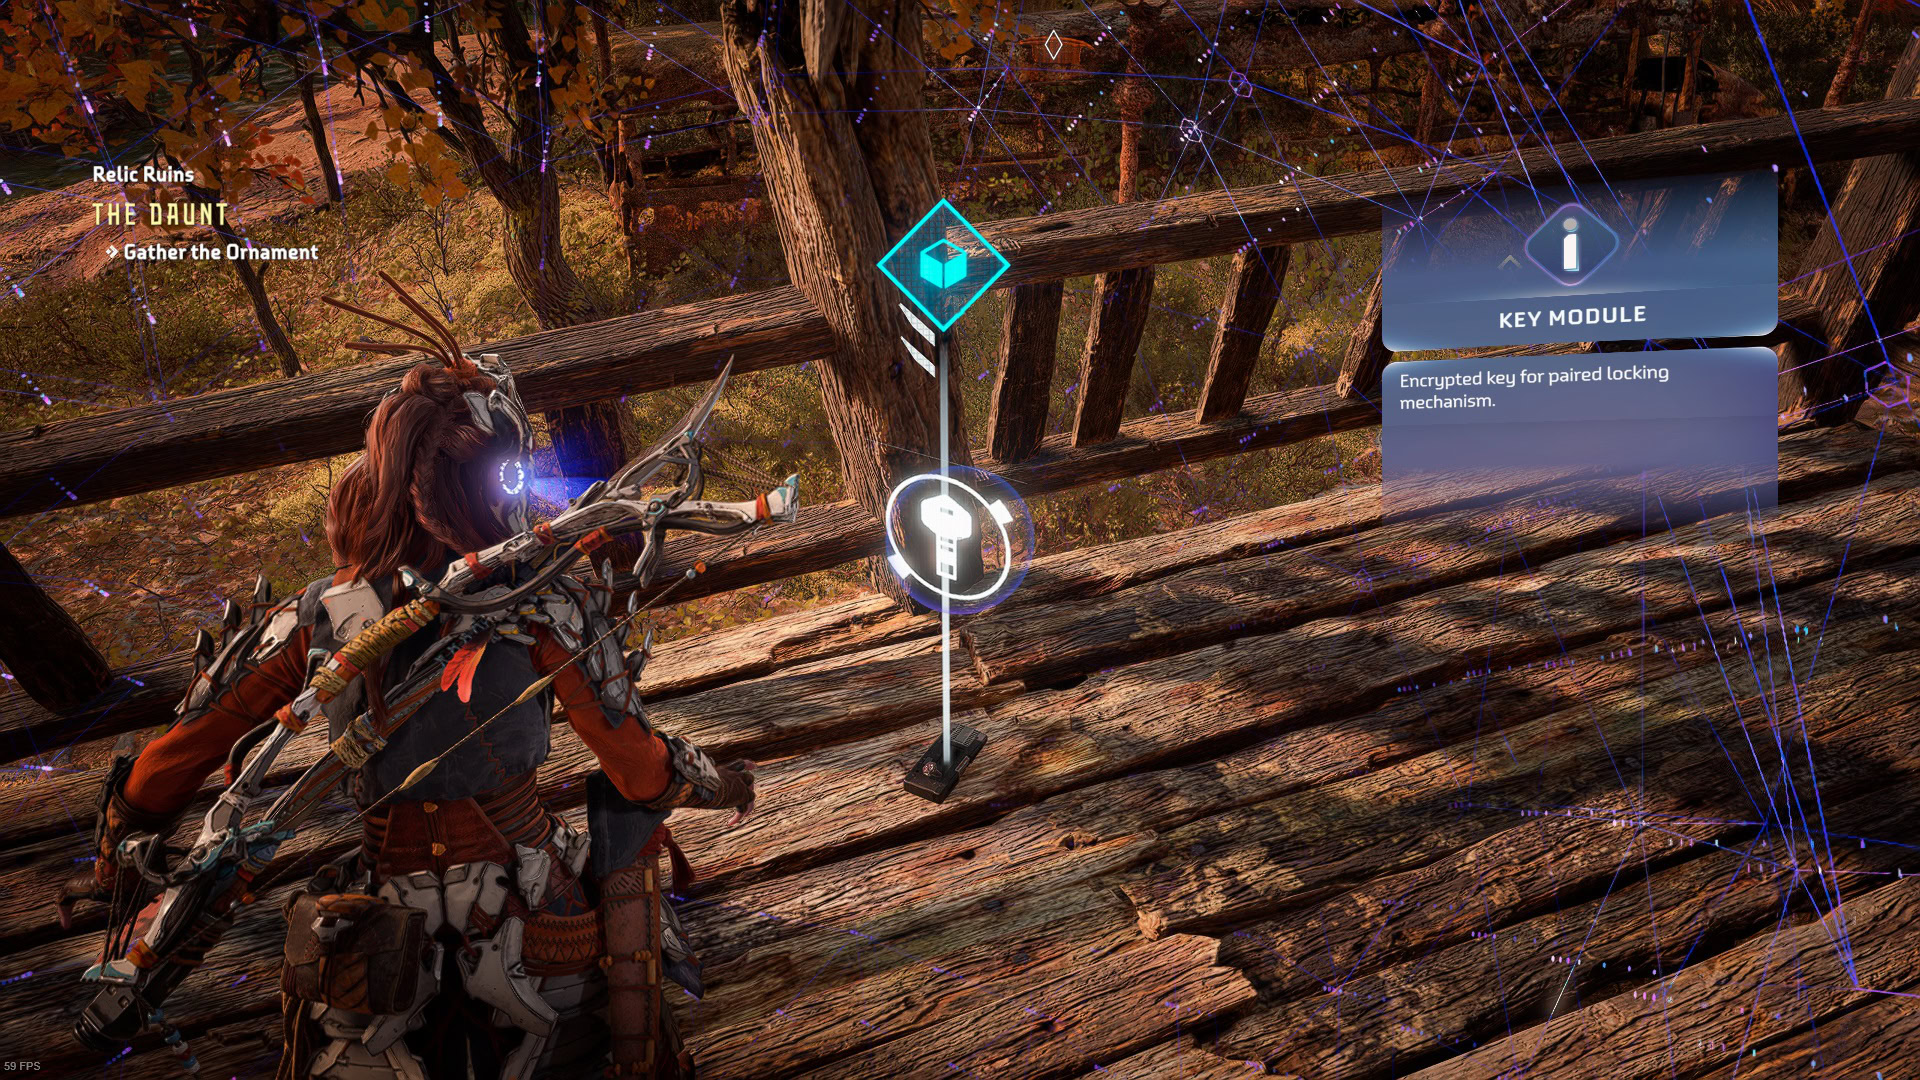
Introduce the key, it will then ask for a specific code before the door opens. Remember the purple item you scanned? The code needed can be found in there.
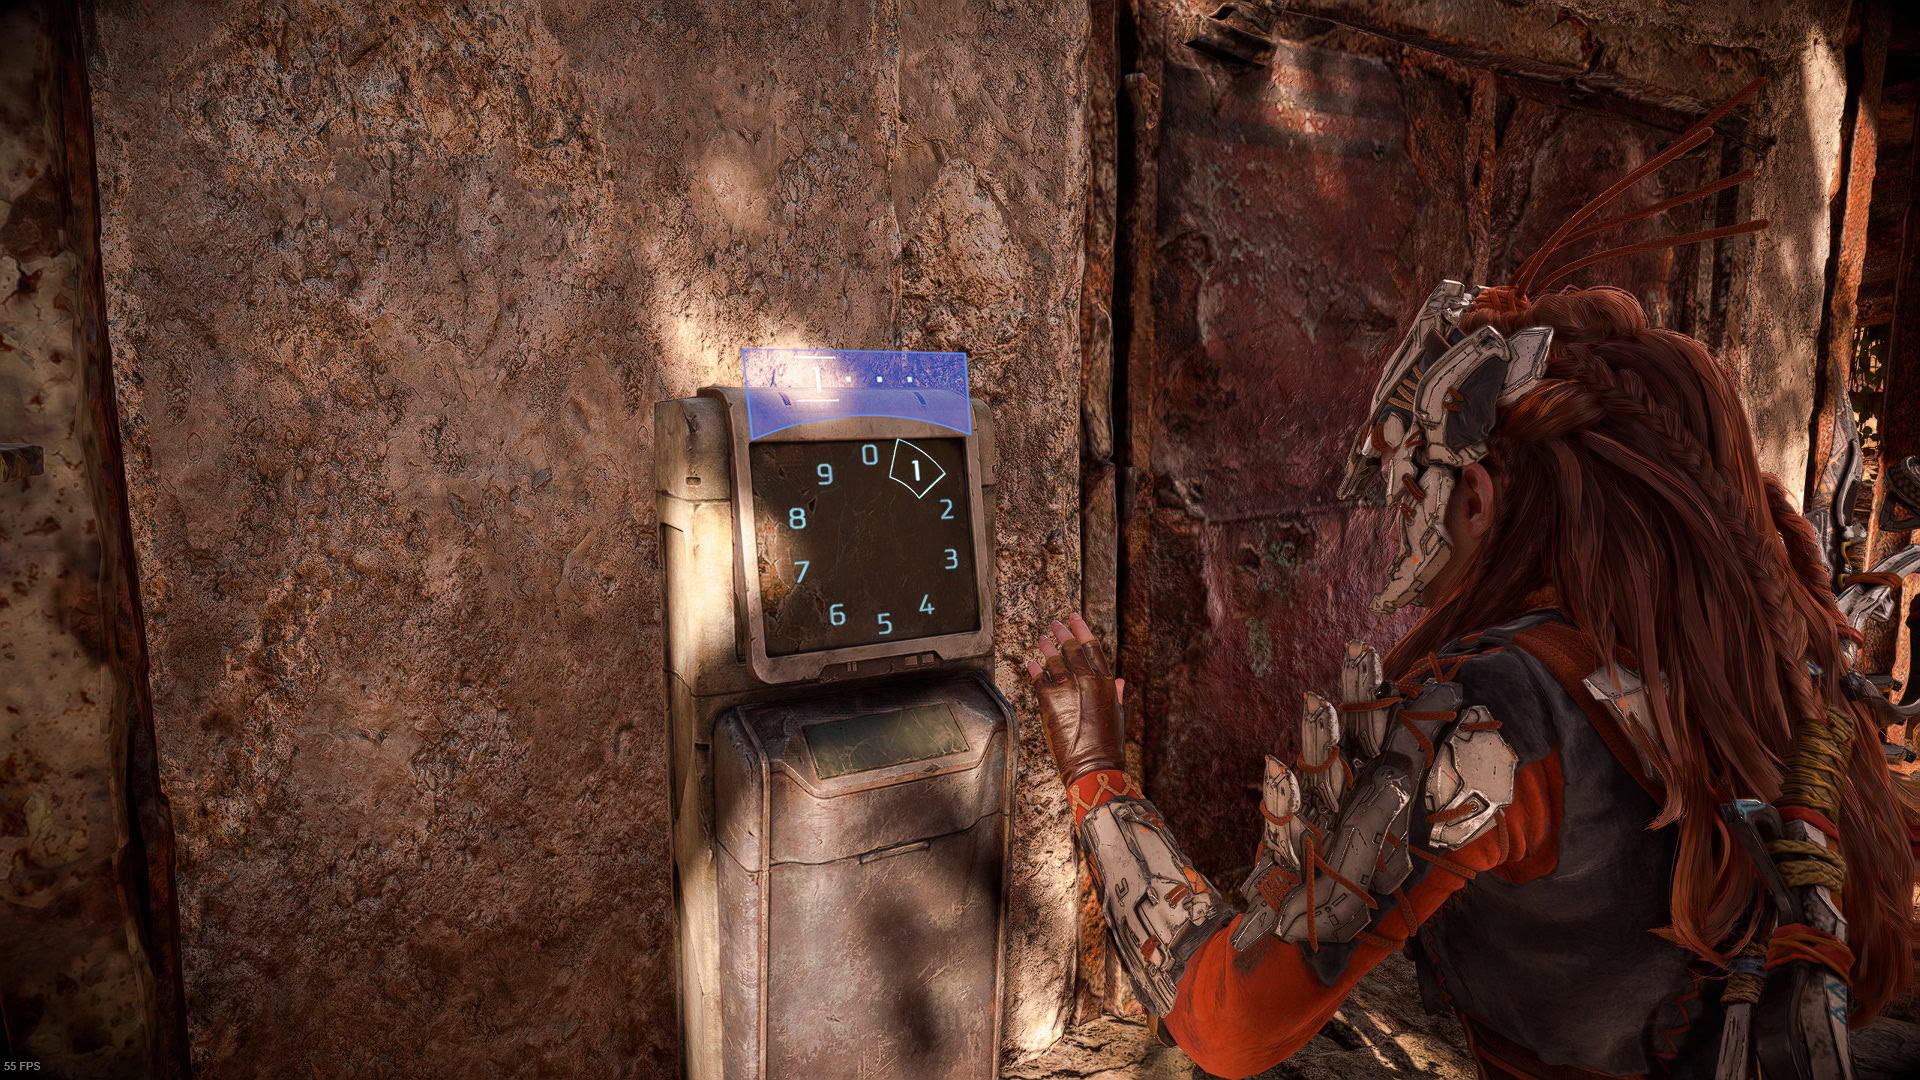
After reading the Text Mail, you’ll learn that the code is 1705. Once you introduce the code, the door will finally open.
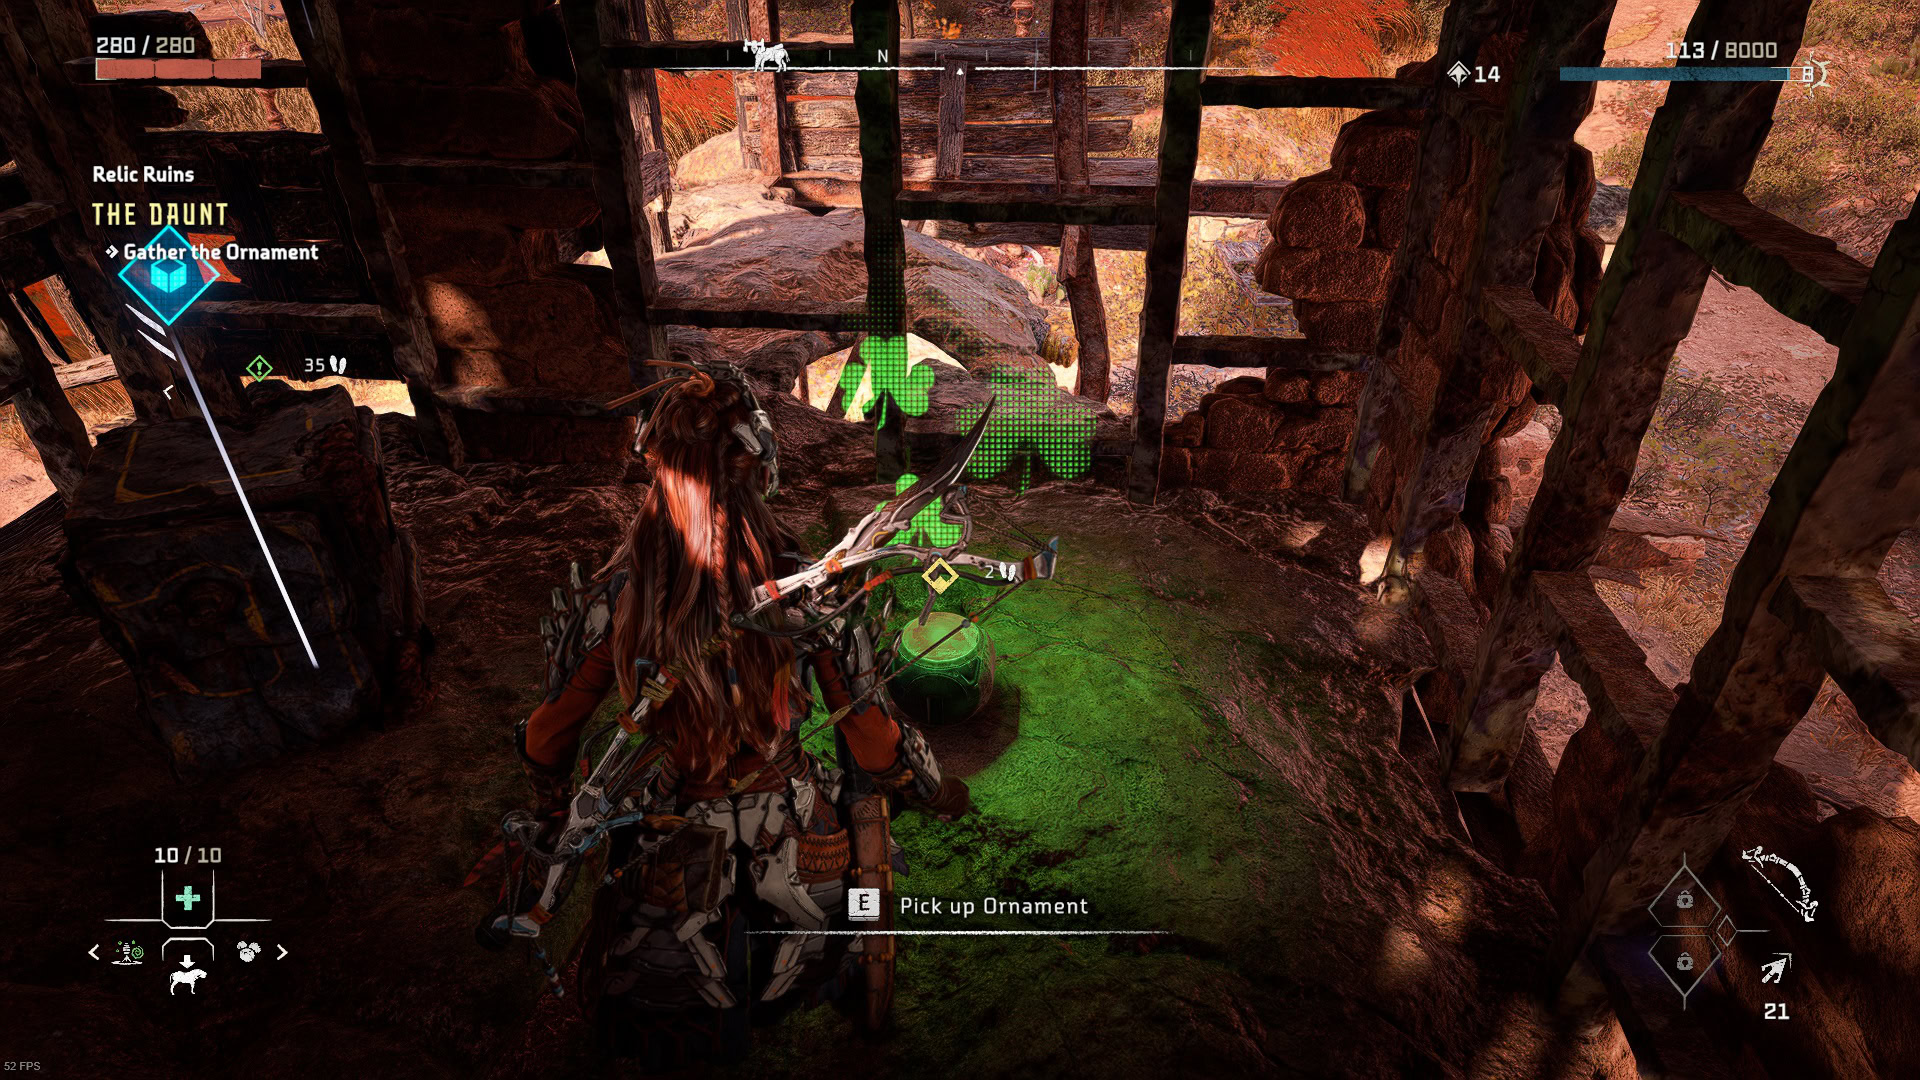
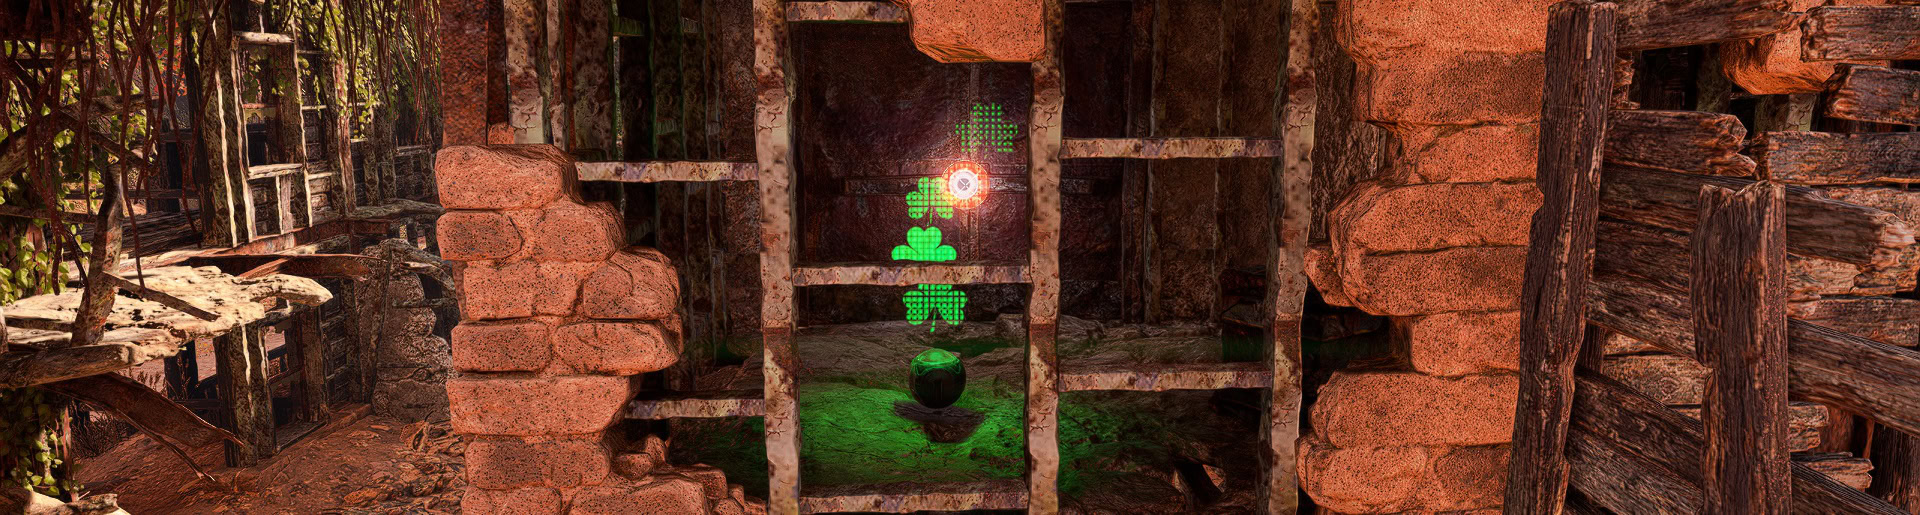
The Daunt Ornament is awaiting on the other side of the door. Additionally, you’ll get five thousand XP and two extra skill points.