This guide will show you how to solve the Runner’s Wild Relic Ruins puzzle and how to get the terminal passcode to get the very rare Runner’s Wild Ornament.
What Are Relic Ruins and Ornaments
Relic Ruins in Horizon Forbidden West are optional activities that take you to what’s left of Old World buildings. You must solve puzzles to reach a specific spot in order to obtain an Ornament, one of the game’s collectible items.
There’s a total of ten Ornaments, each Ornament represents a holiday. They can be given to Stemmur in Hidden Ember. He will then project holographic lights on the sky depending on which Ornament you give him.
Relic Ruins: Runner’s Wild Walkthrough
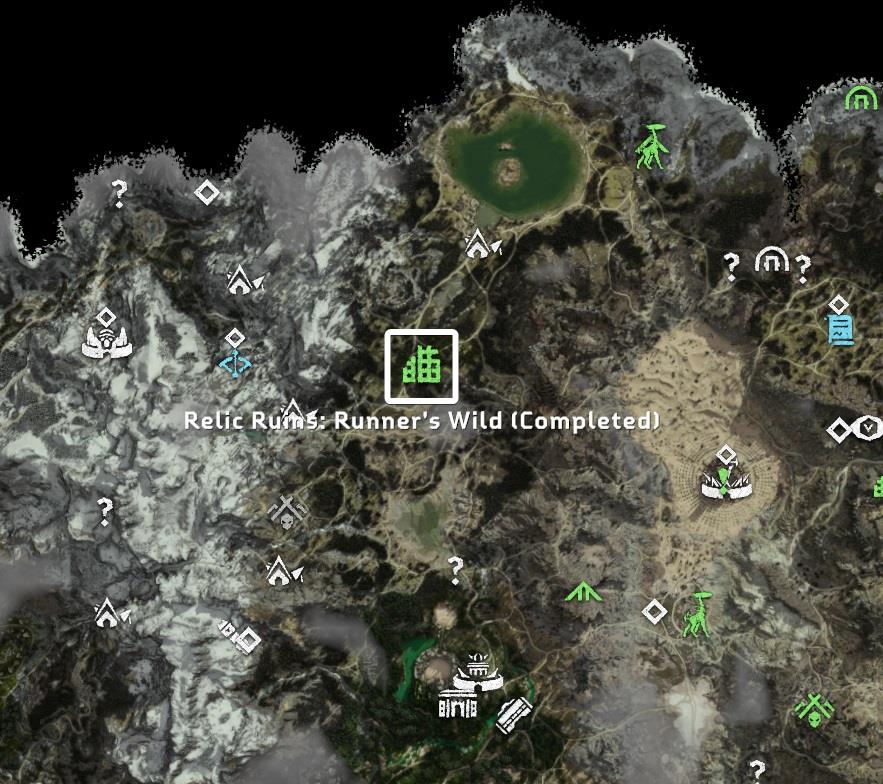
The locations of these ruins is southwest of Salt Bite, east of Scalding Spear, and far West of the Bulwark. It's not a difficult puzzle and involves no combat at all. You can complete it in 6-7 minutes.
Tools
- Igniter - unlocked after completing the main mission "Death’s Door"
Instructions
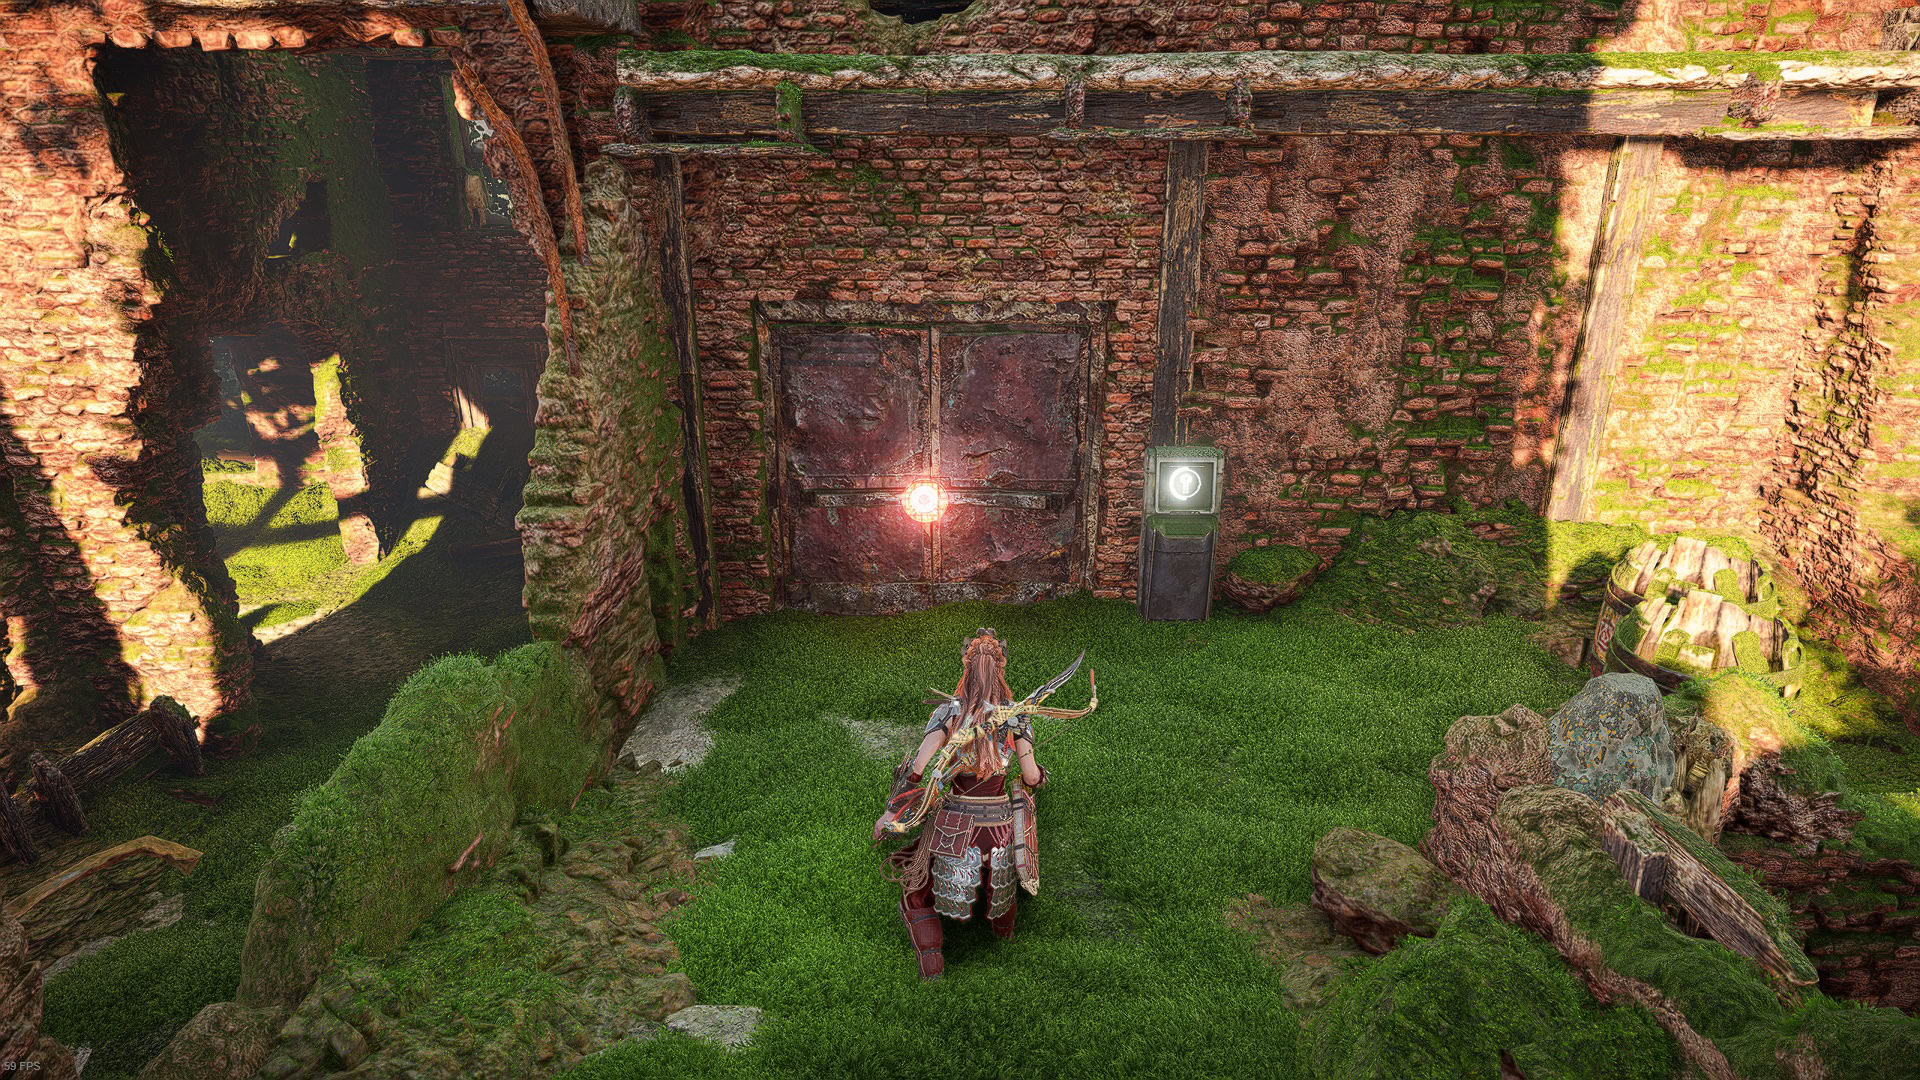
- Go to the marked location on the map below to start the puzzle.

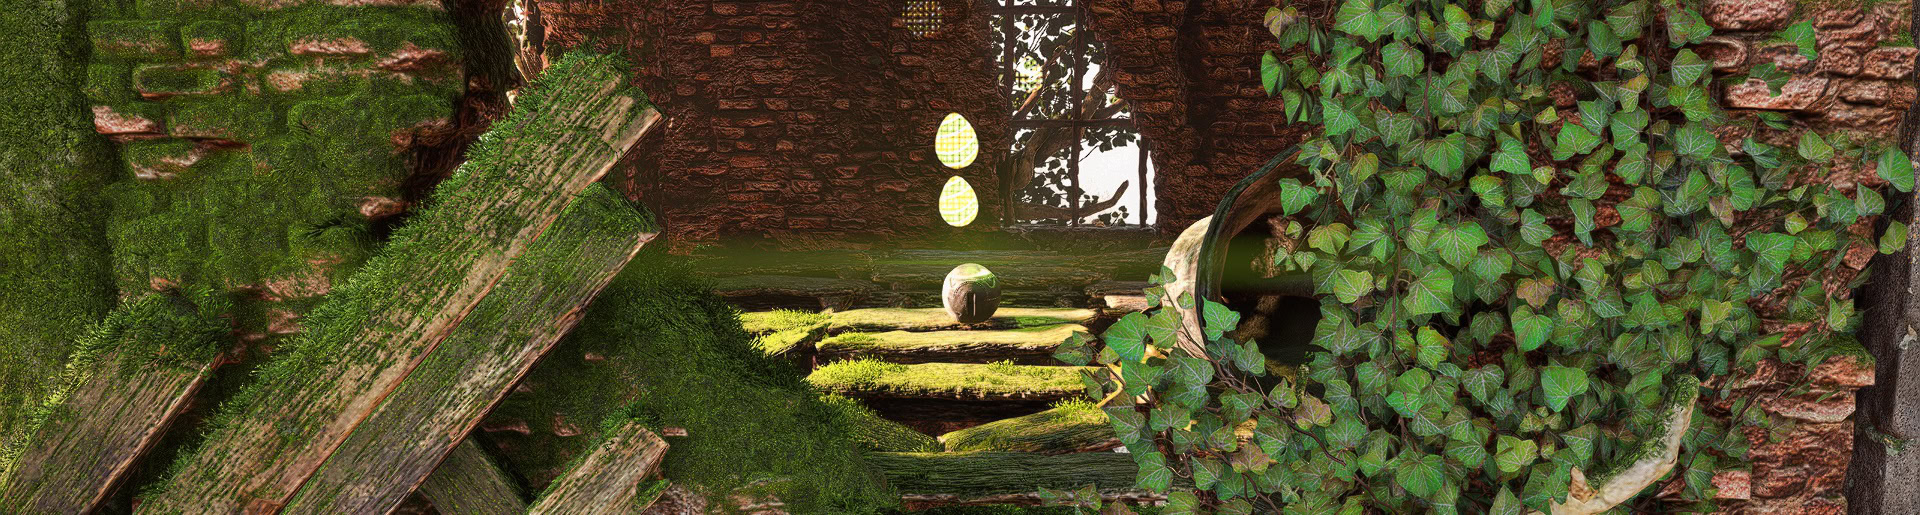
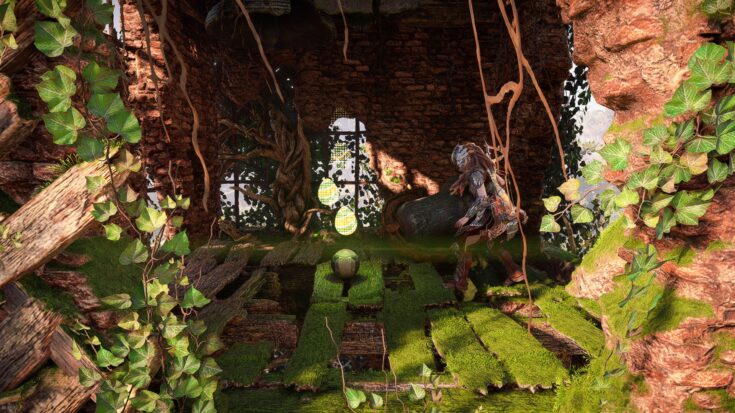
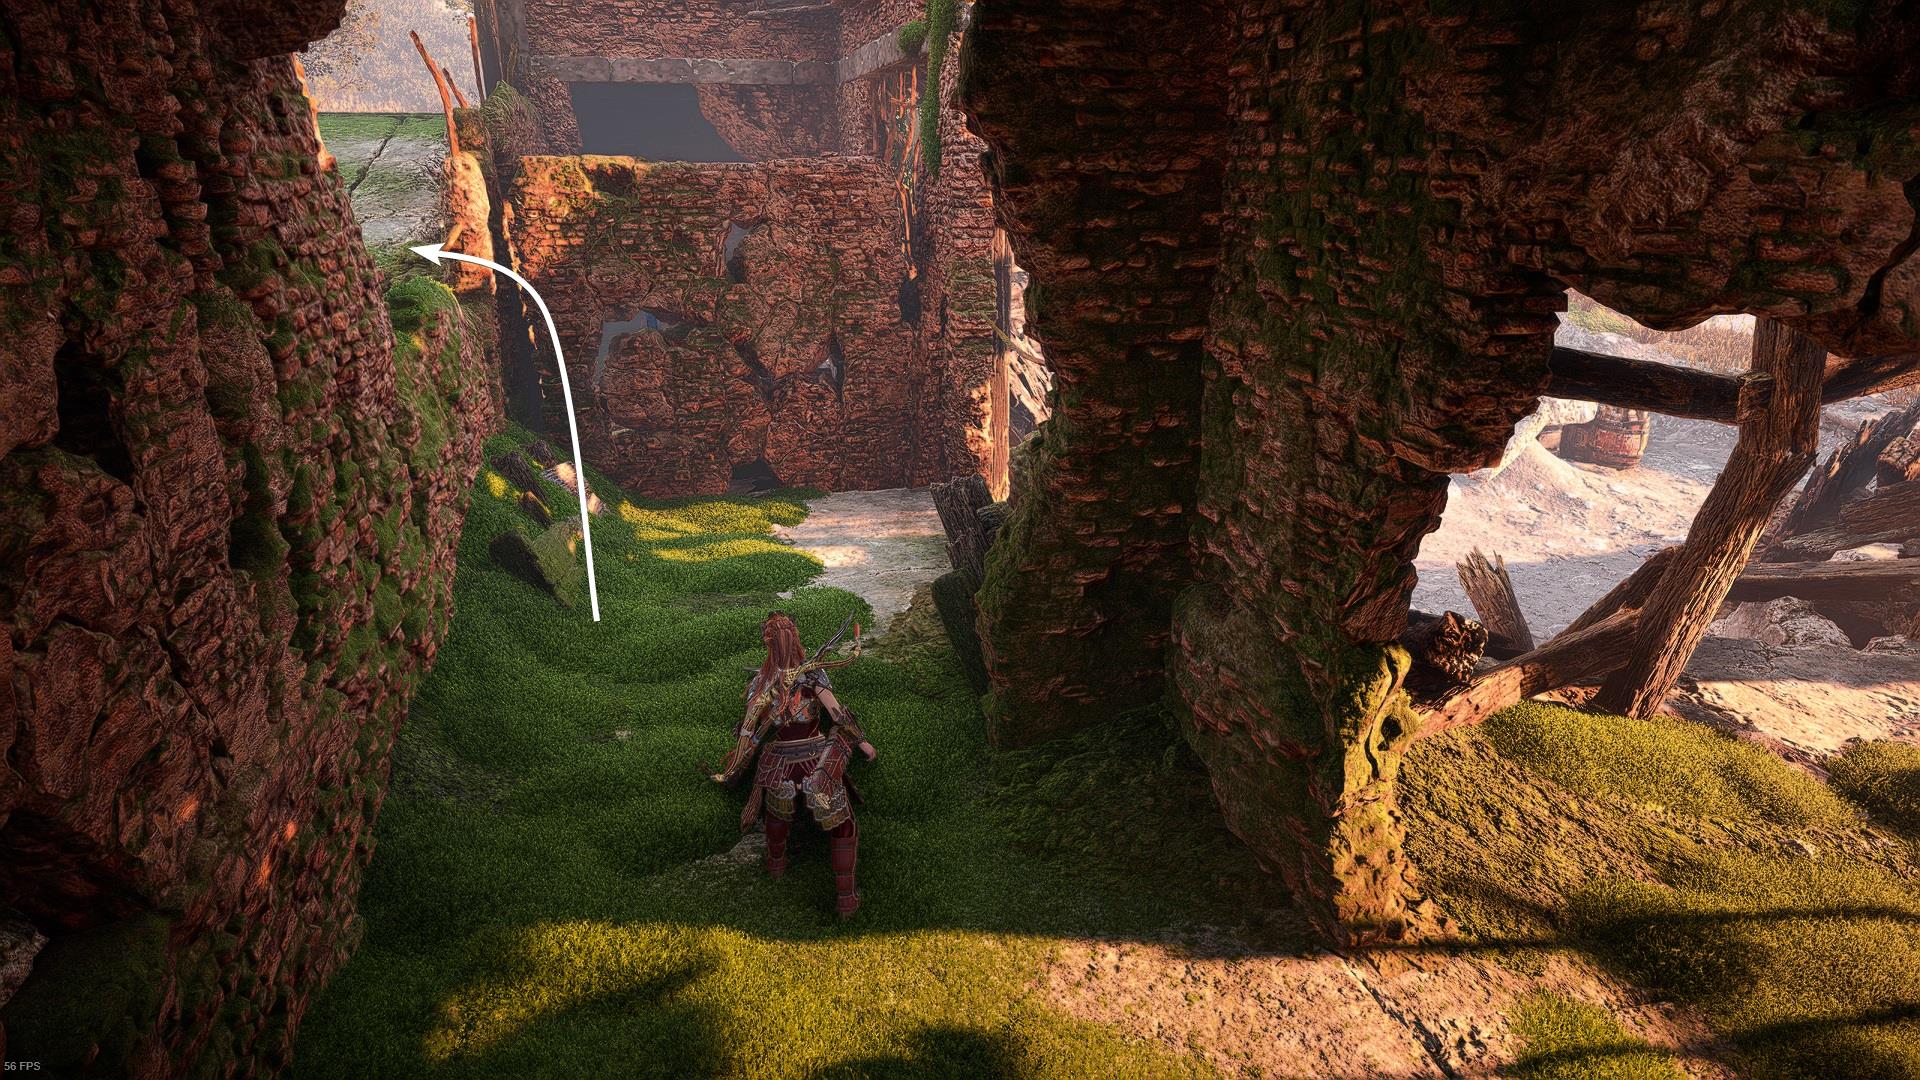
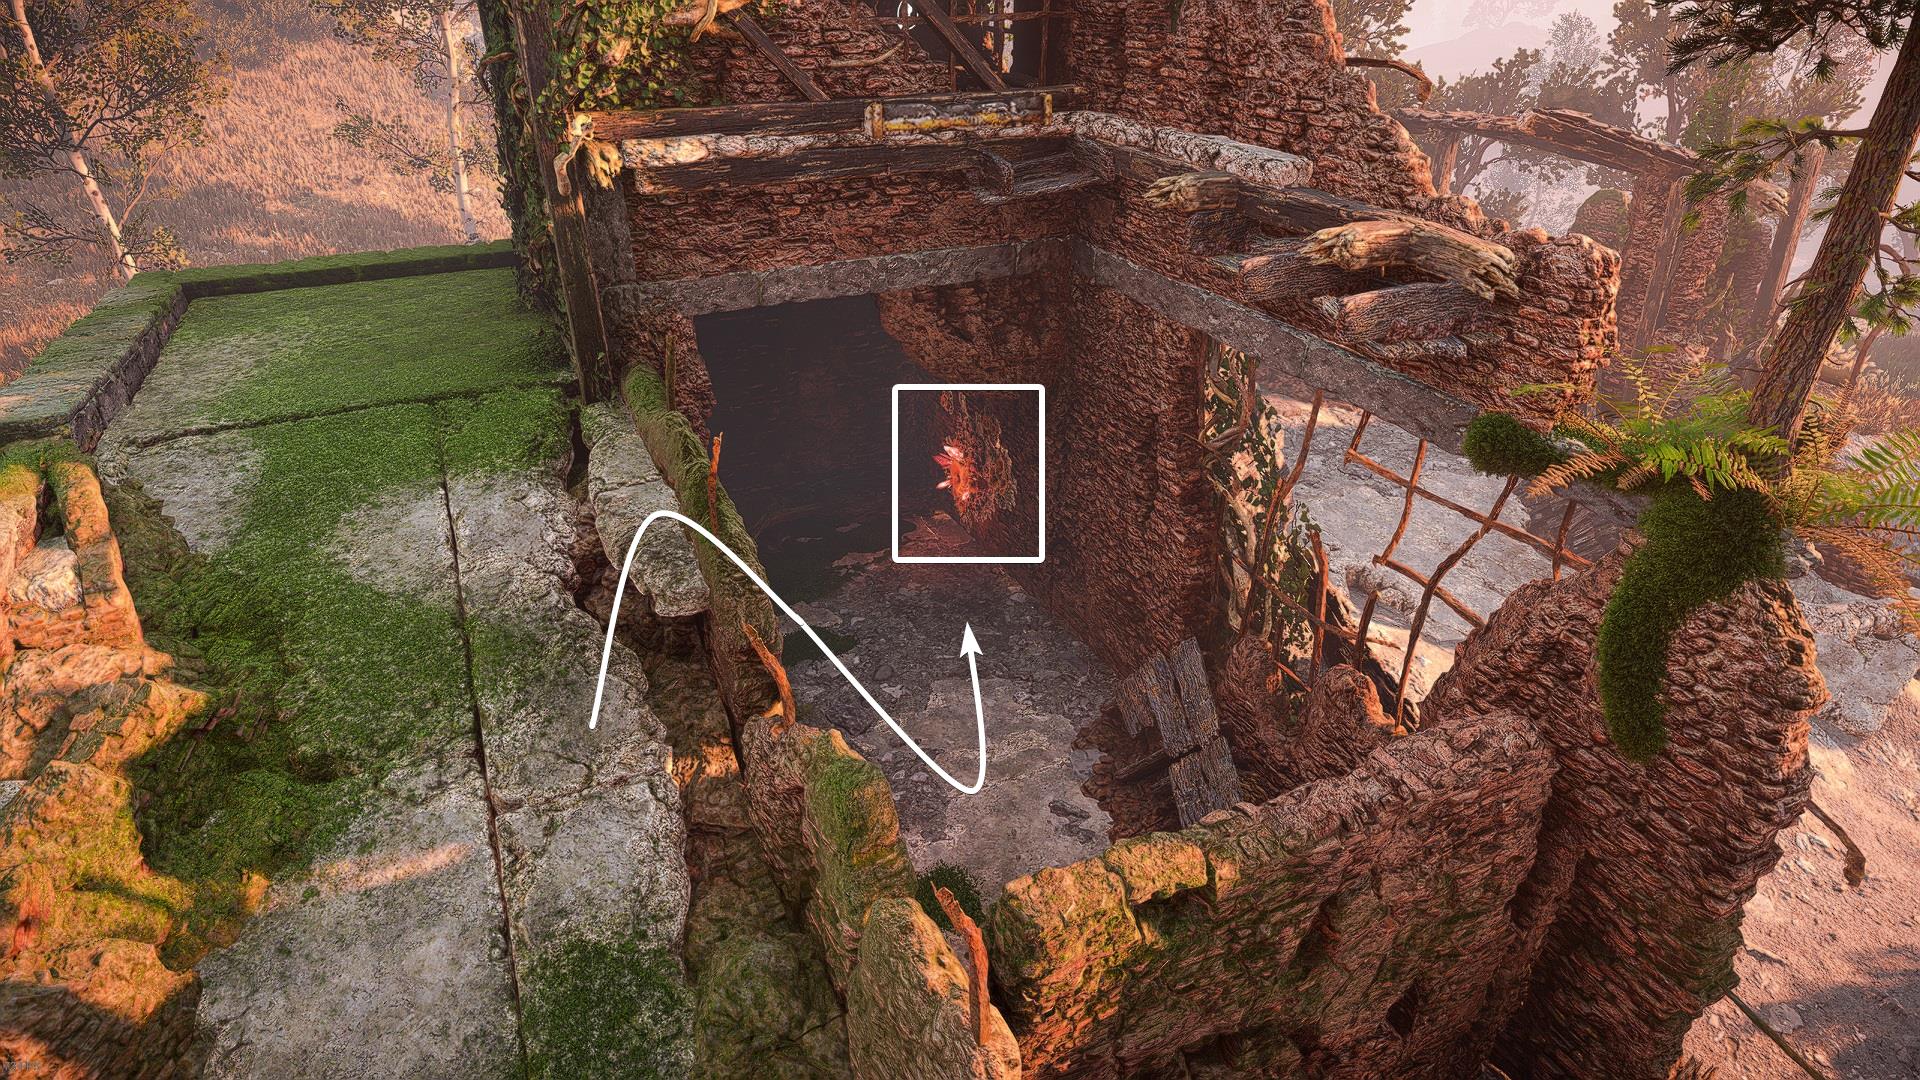
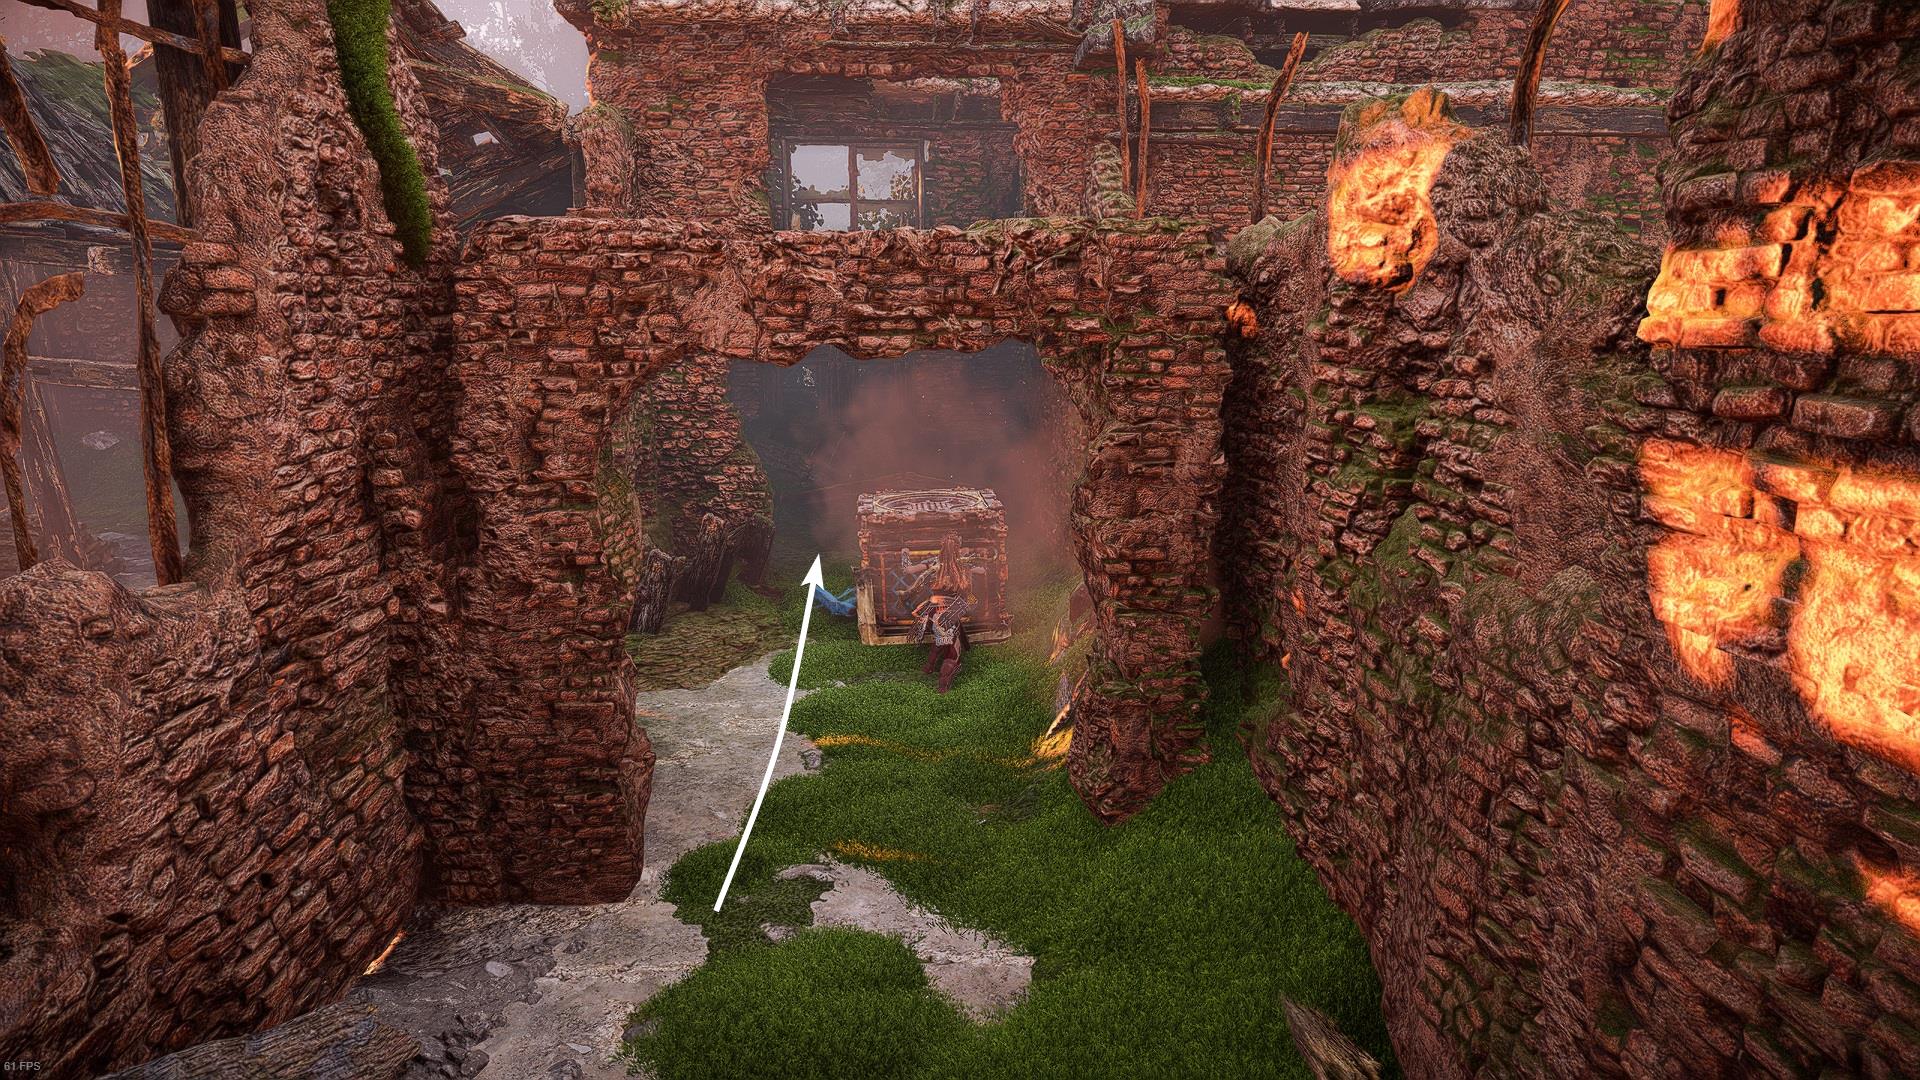
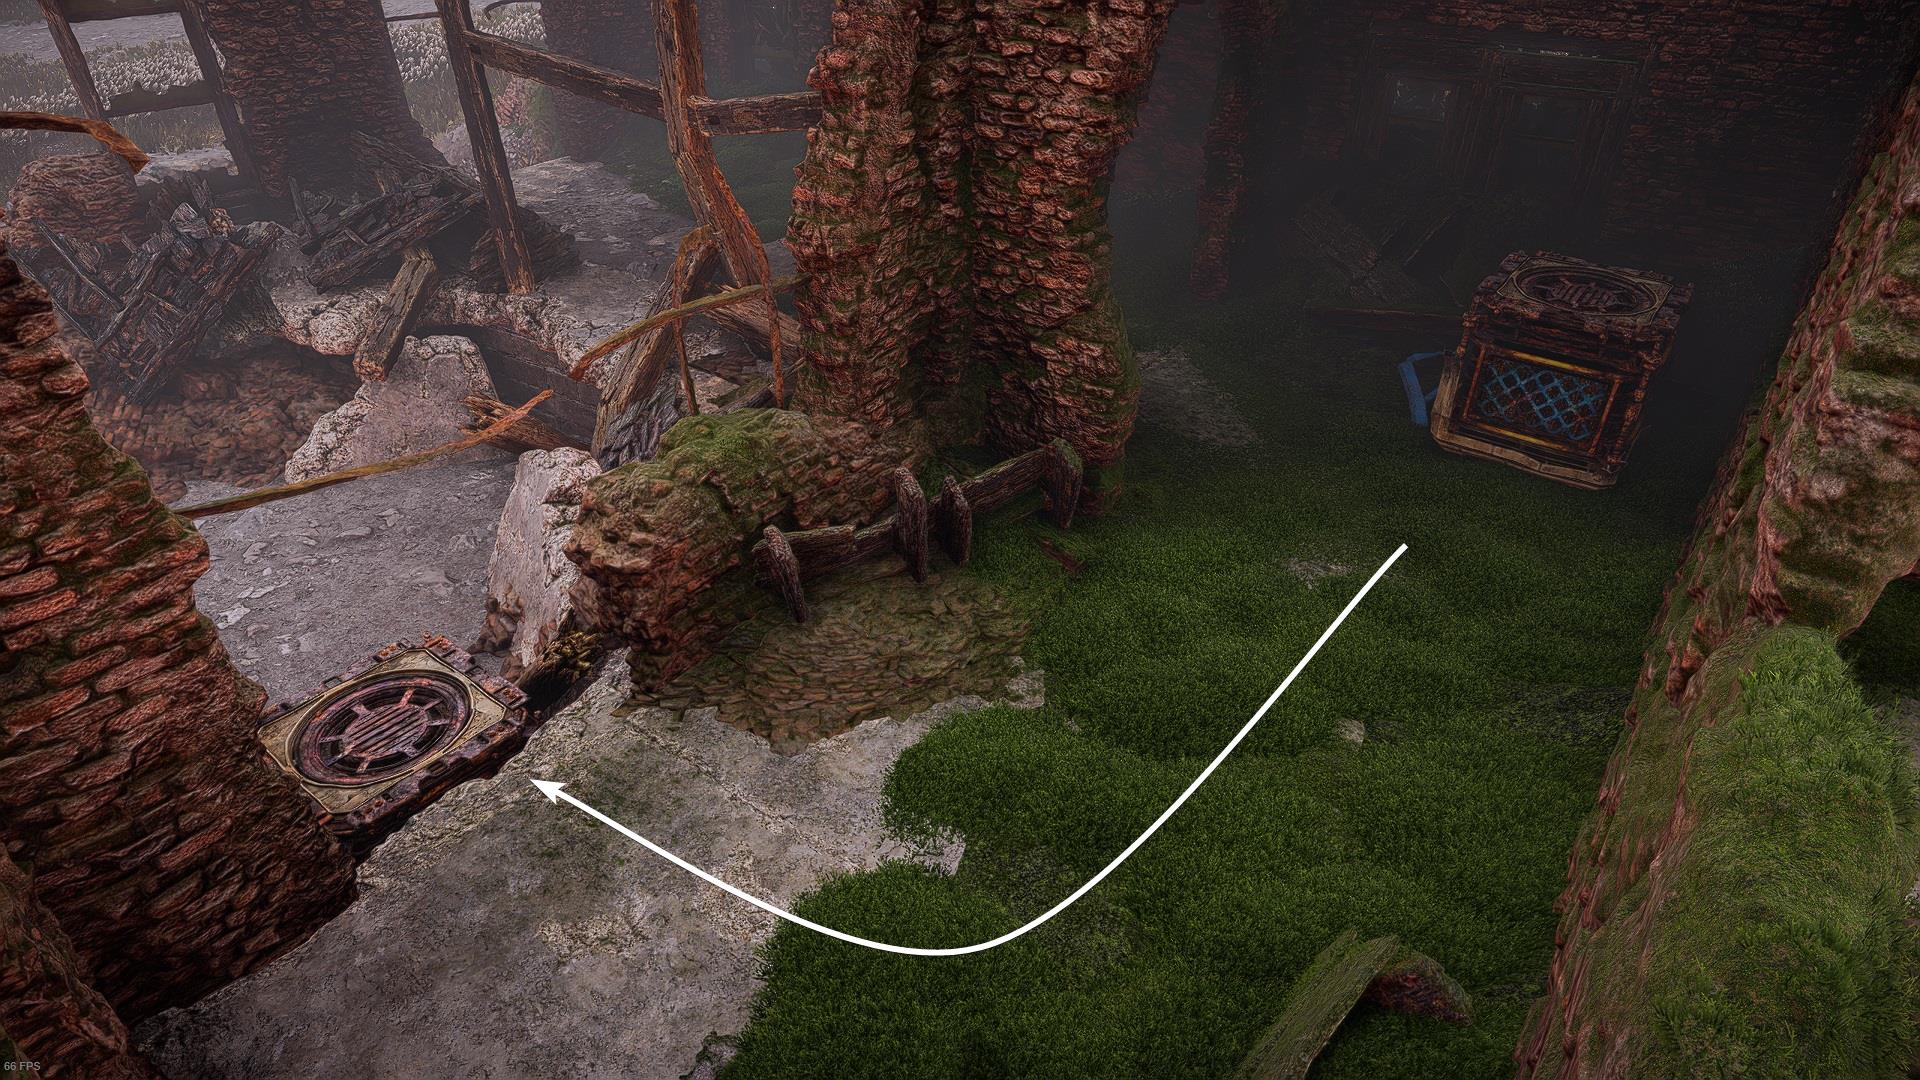
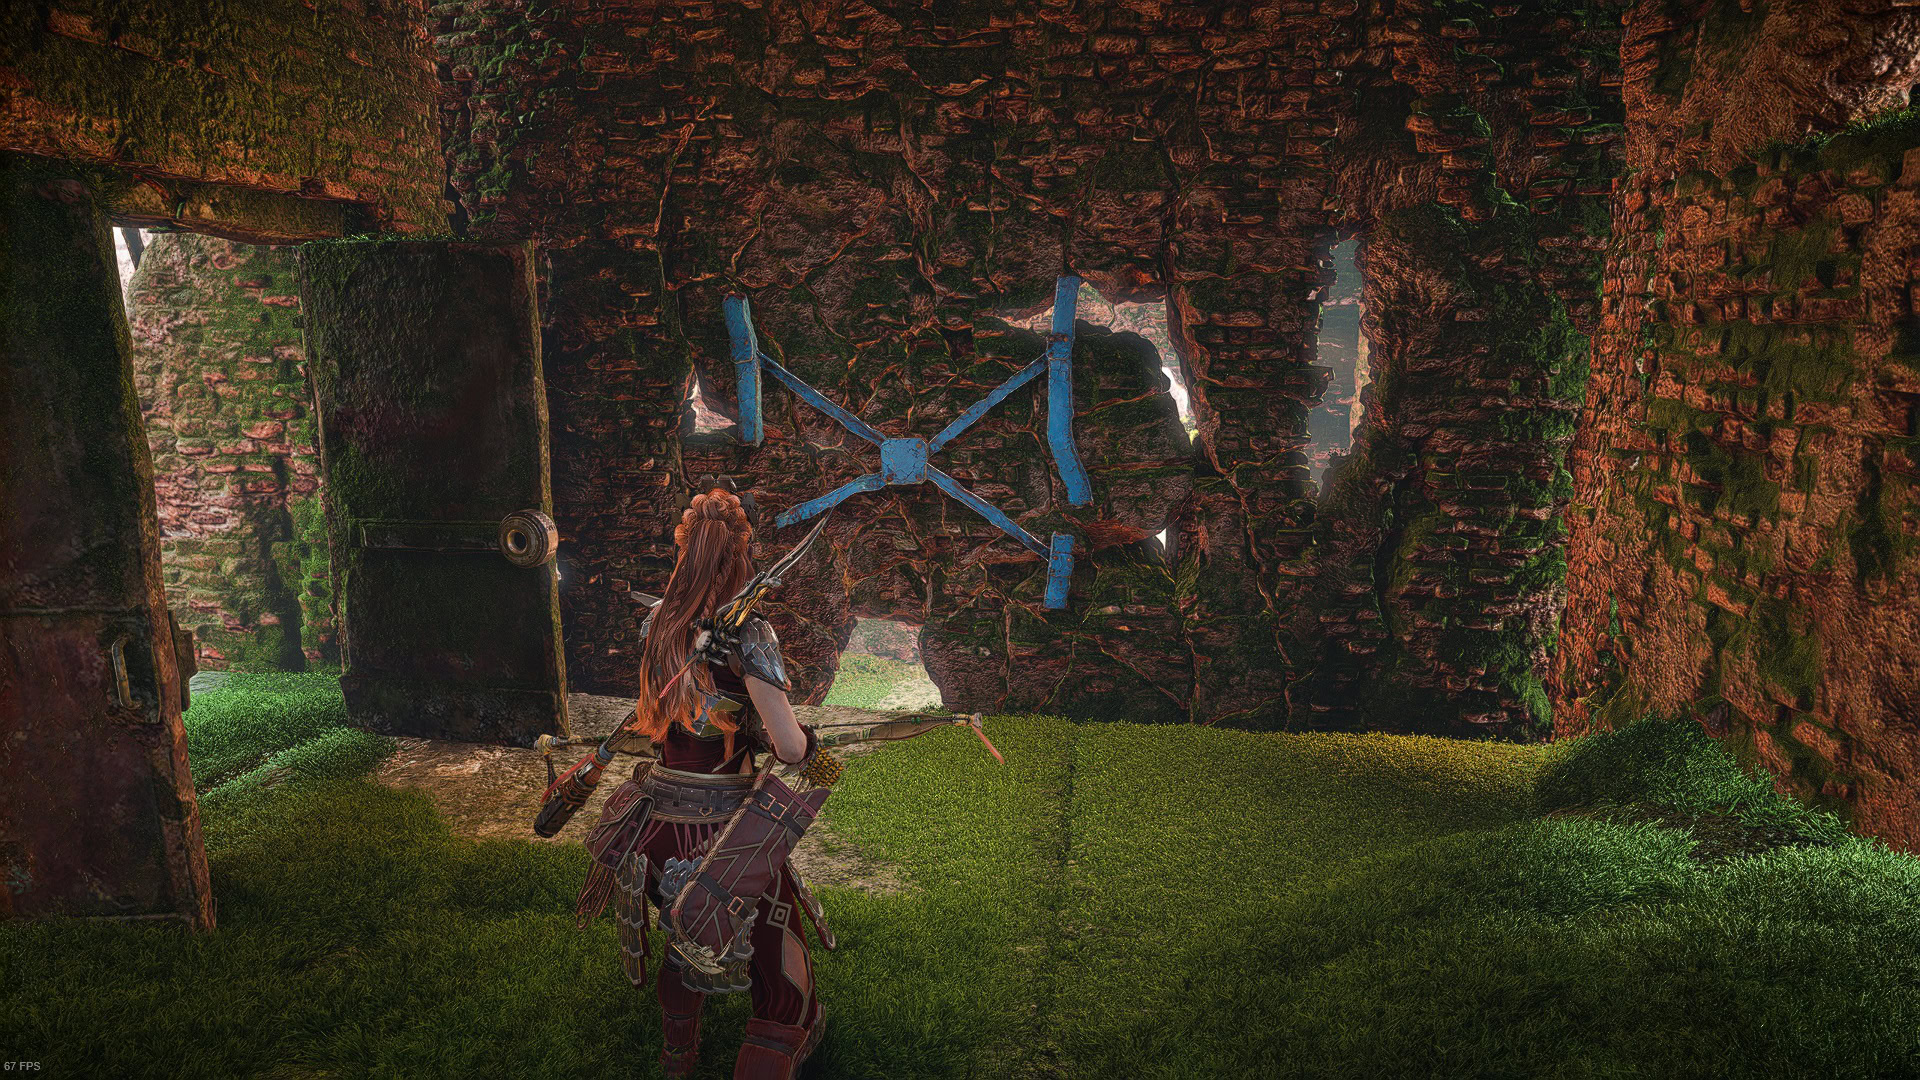
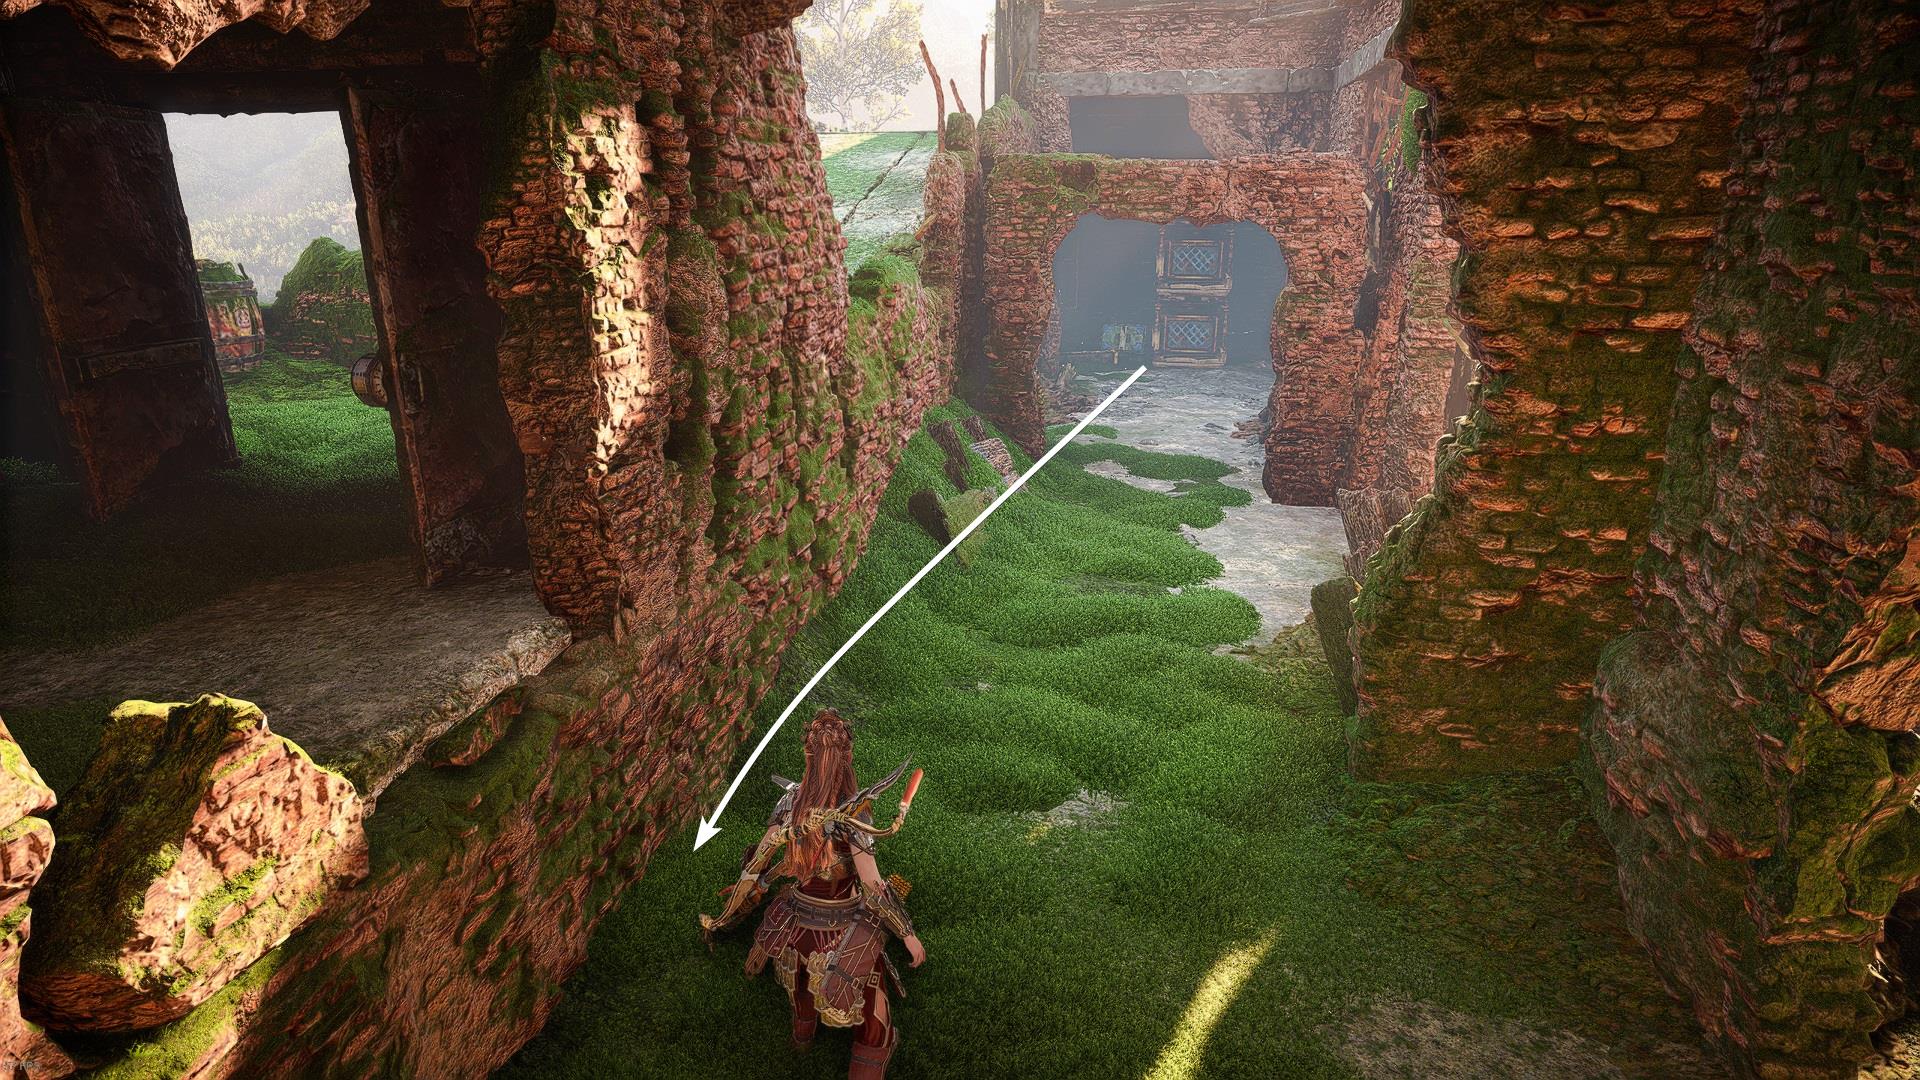
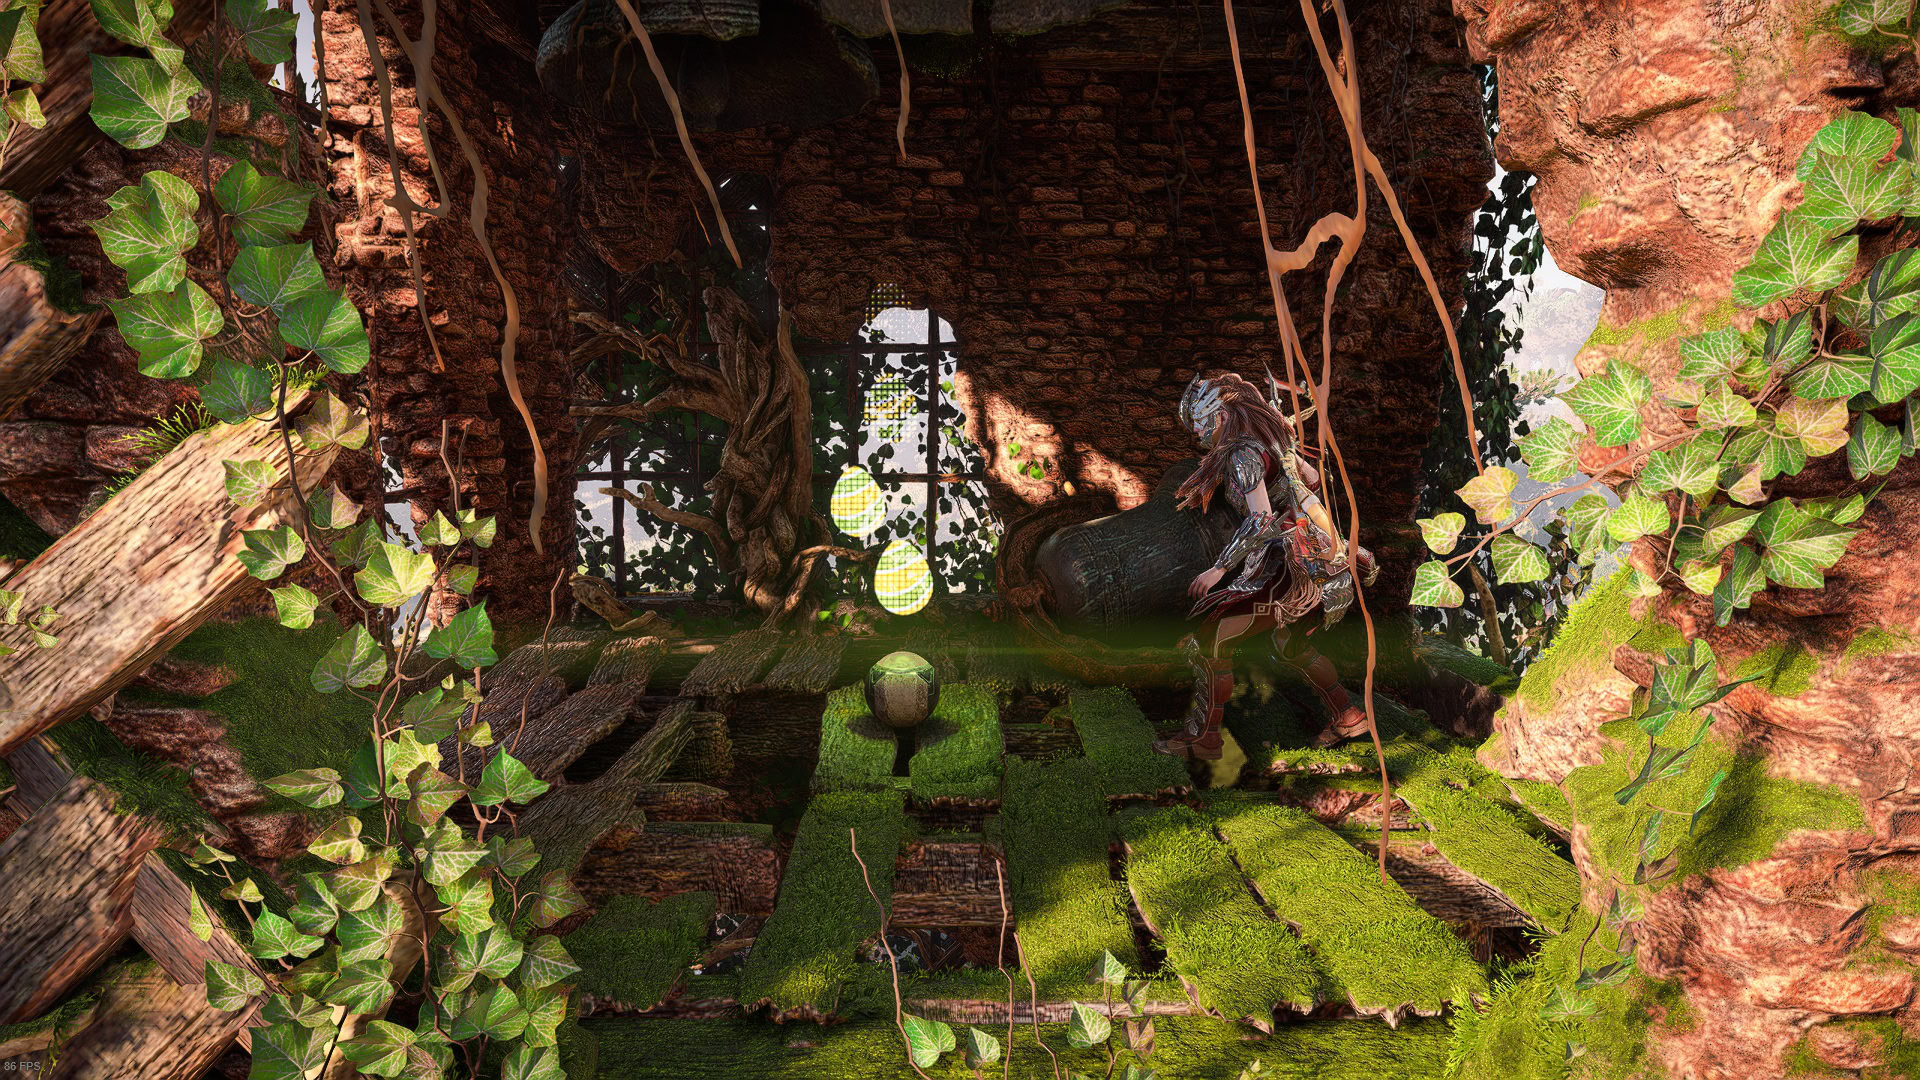
- Find the West corner of the ruins, you’ll see a metal clamp. Use the Pullcaster to break the wall and walk through it. Climb to the ramp on the left side of your screen. Once there, you will see Firegleam in the contiguous room.

- Get down and use the Igniter on the Firegleam. Remember to take your distance after doing this. There’s an Ancient Supply Chest across from the Firegleam, use the Pullcaster to pull it out.
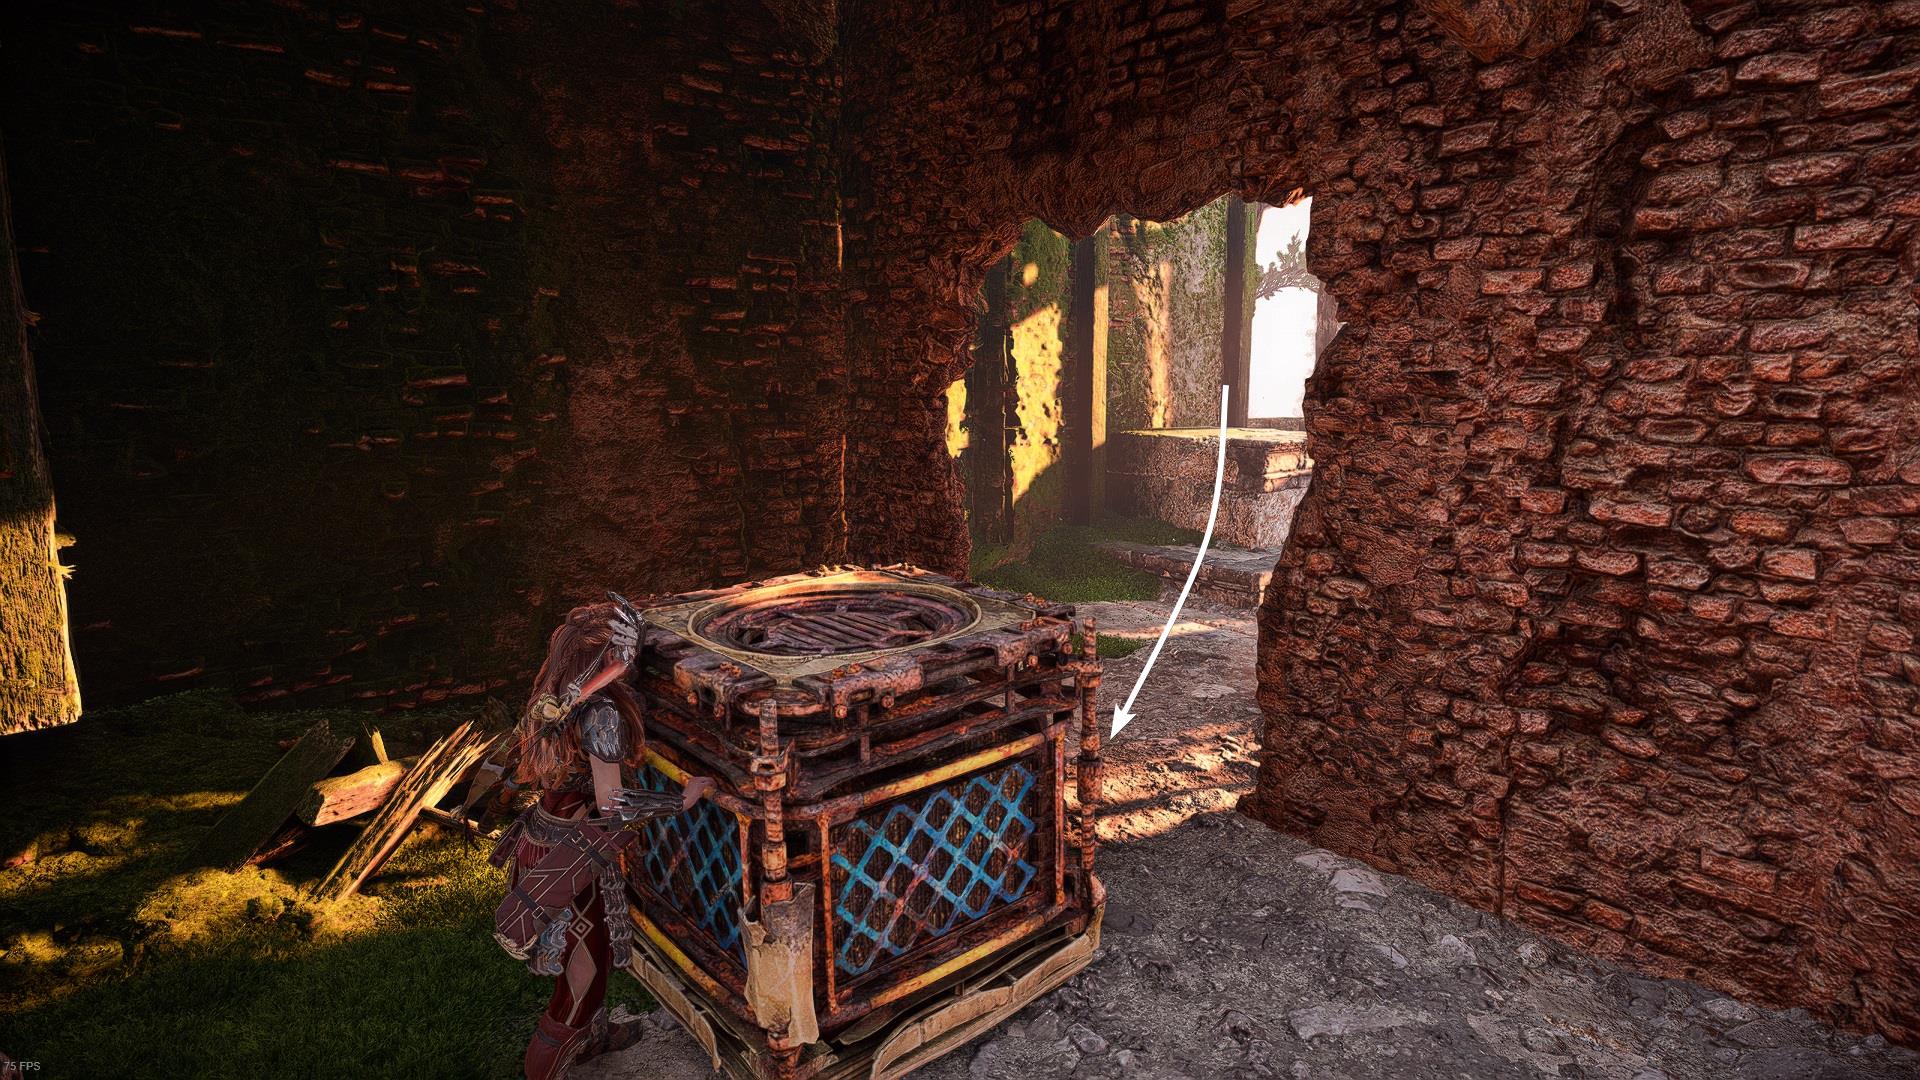
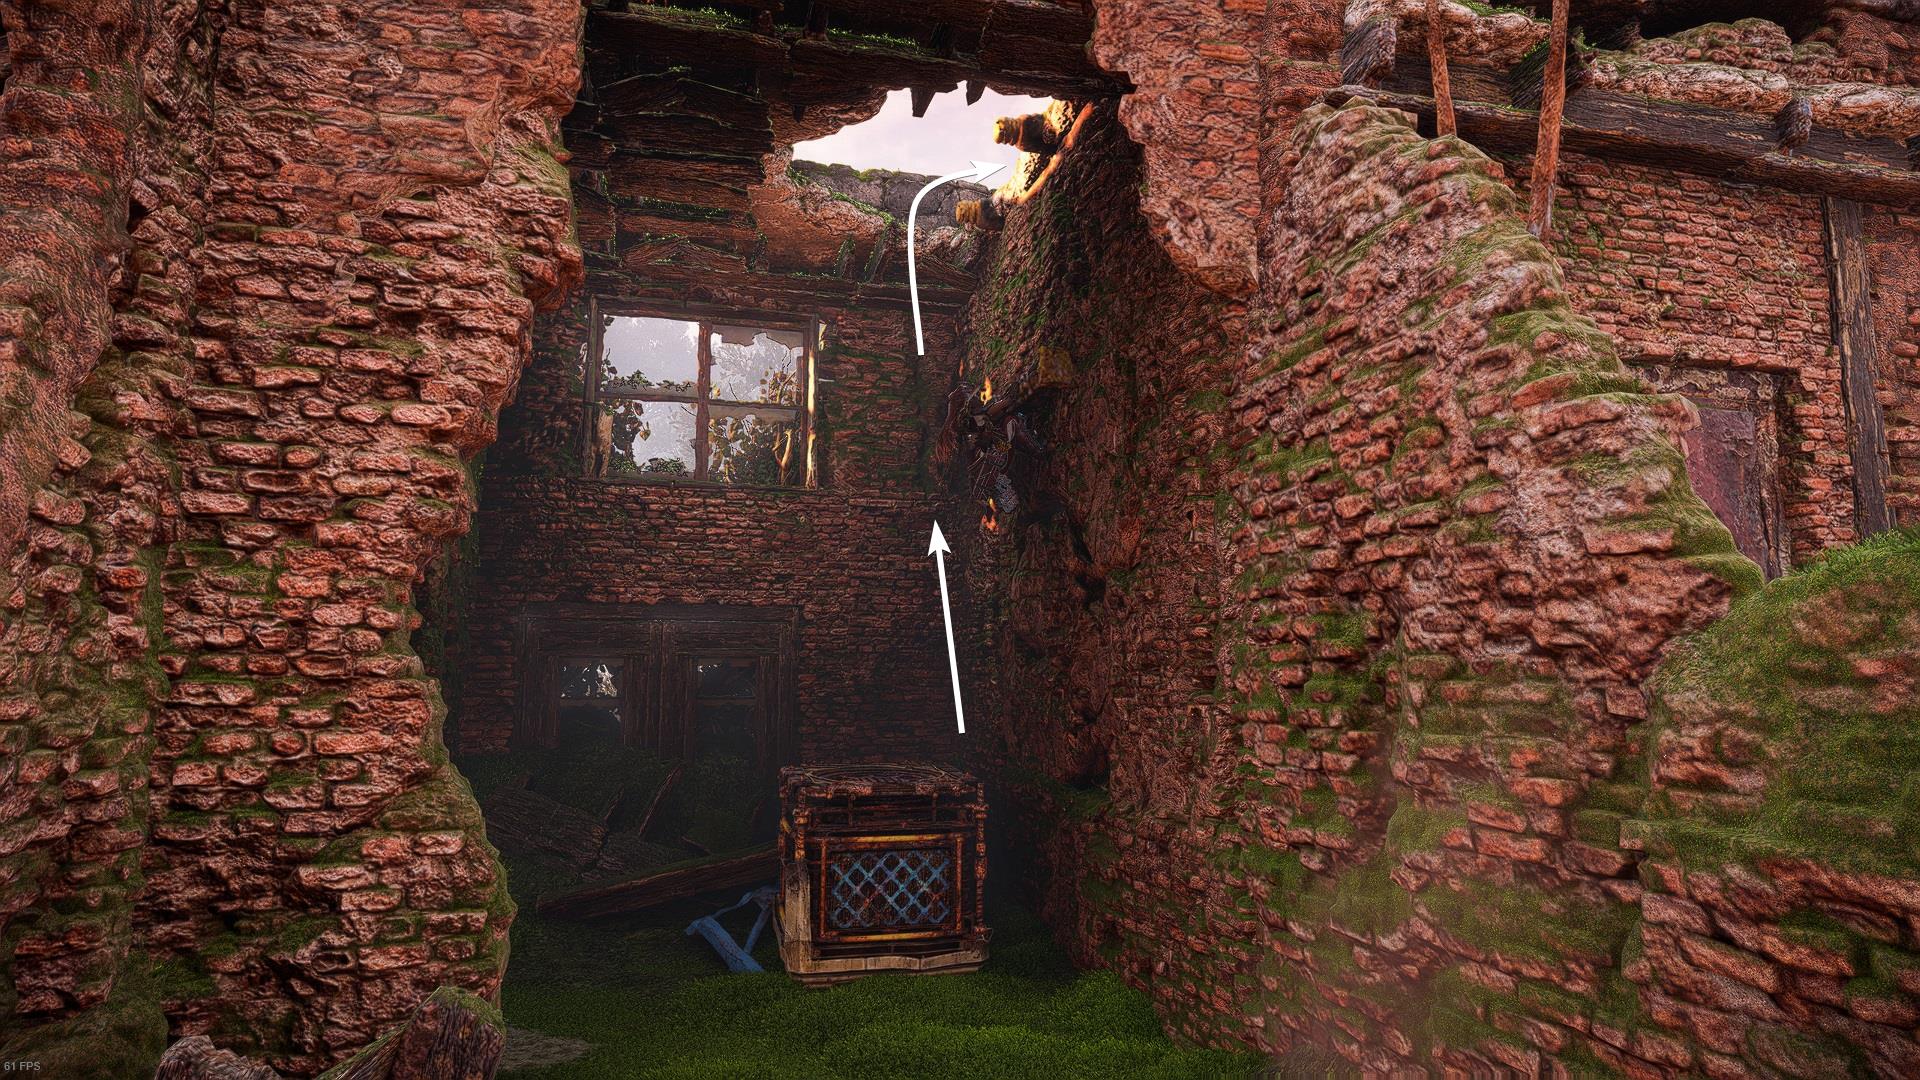
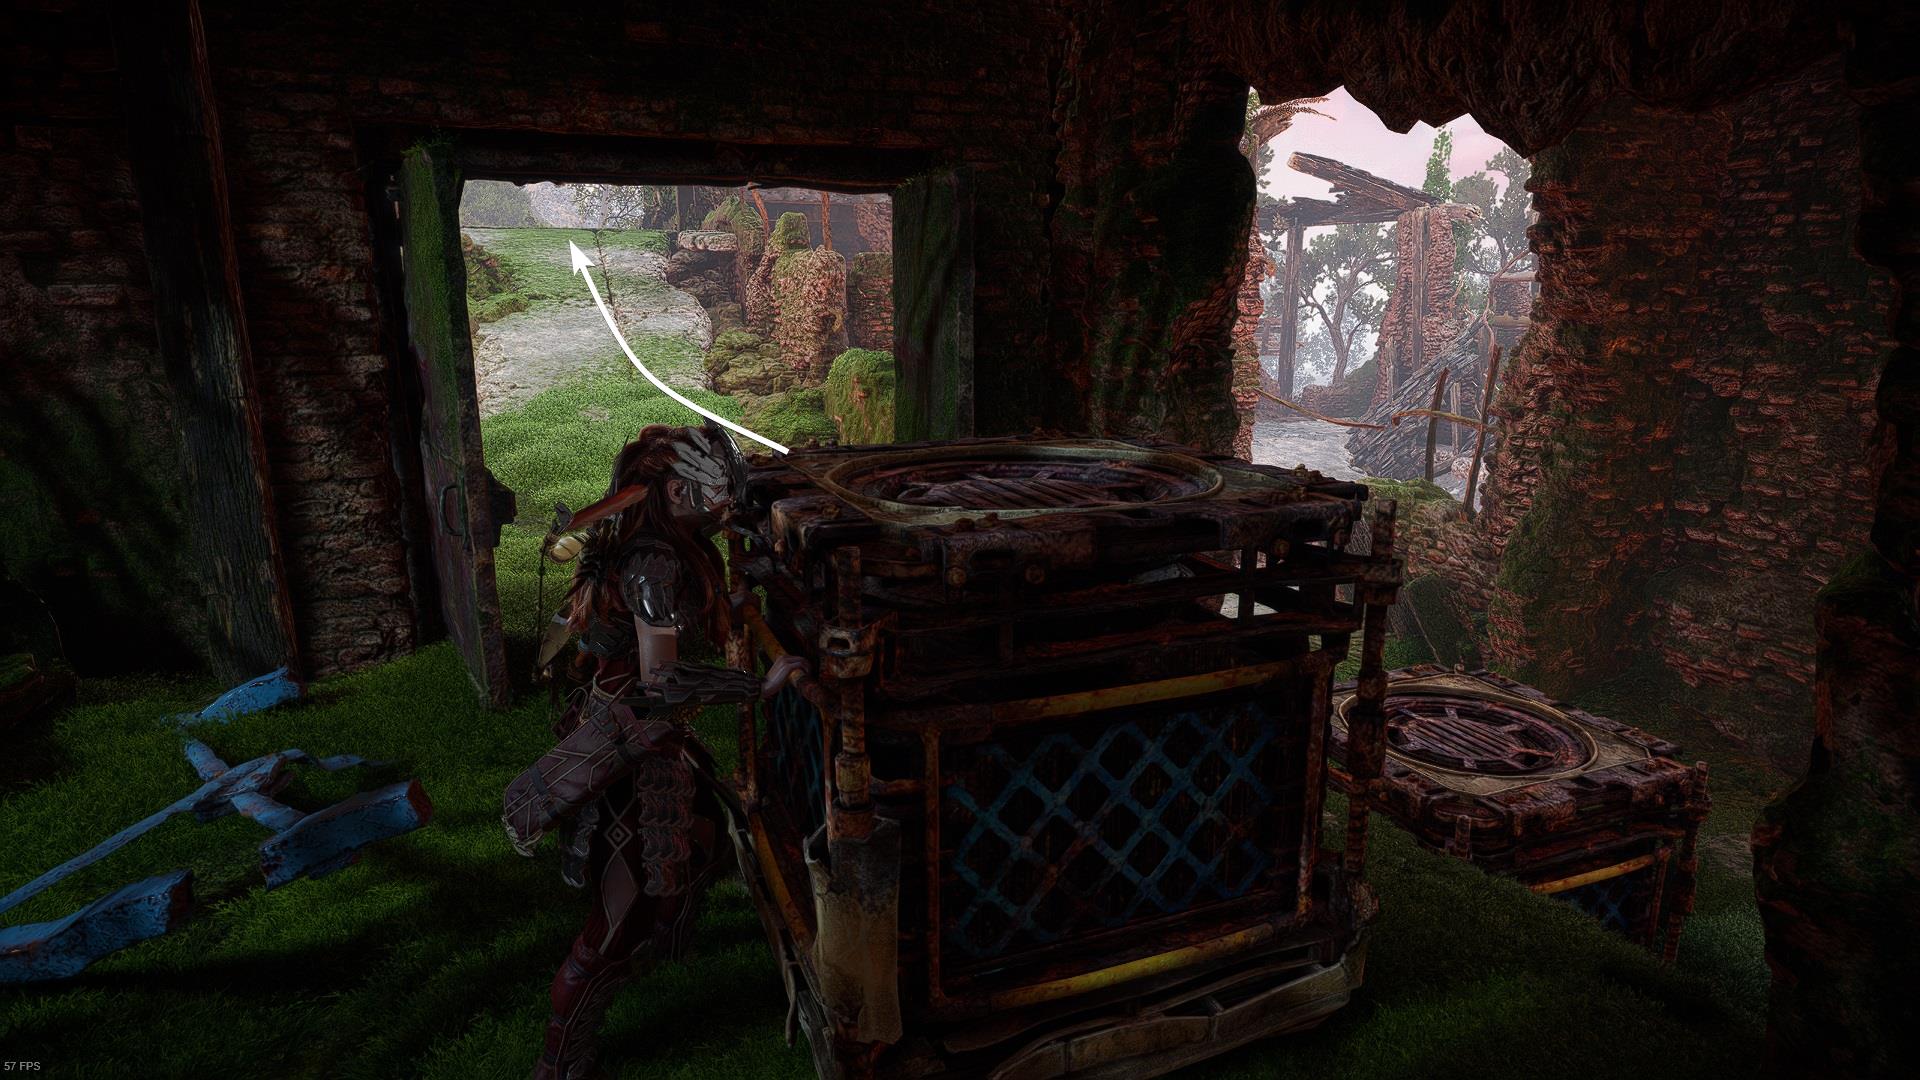
- A crate will be on the other side of the wall. Use the Pullcaster to move it to your current position.
- There are some climbing nodes above you, but sadly the first one will fall the moment you attempt to go up. Time to find an alternative.
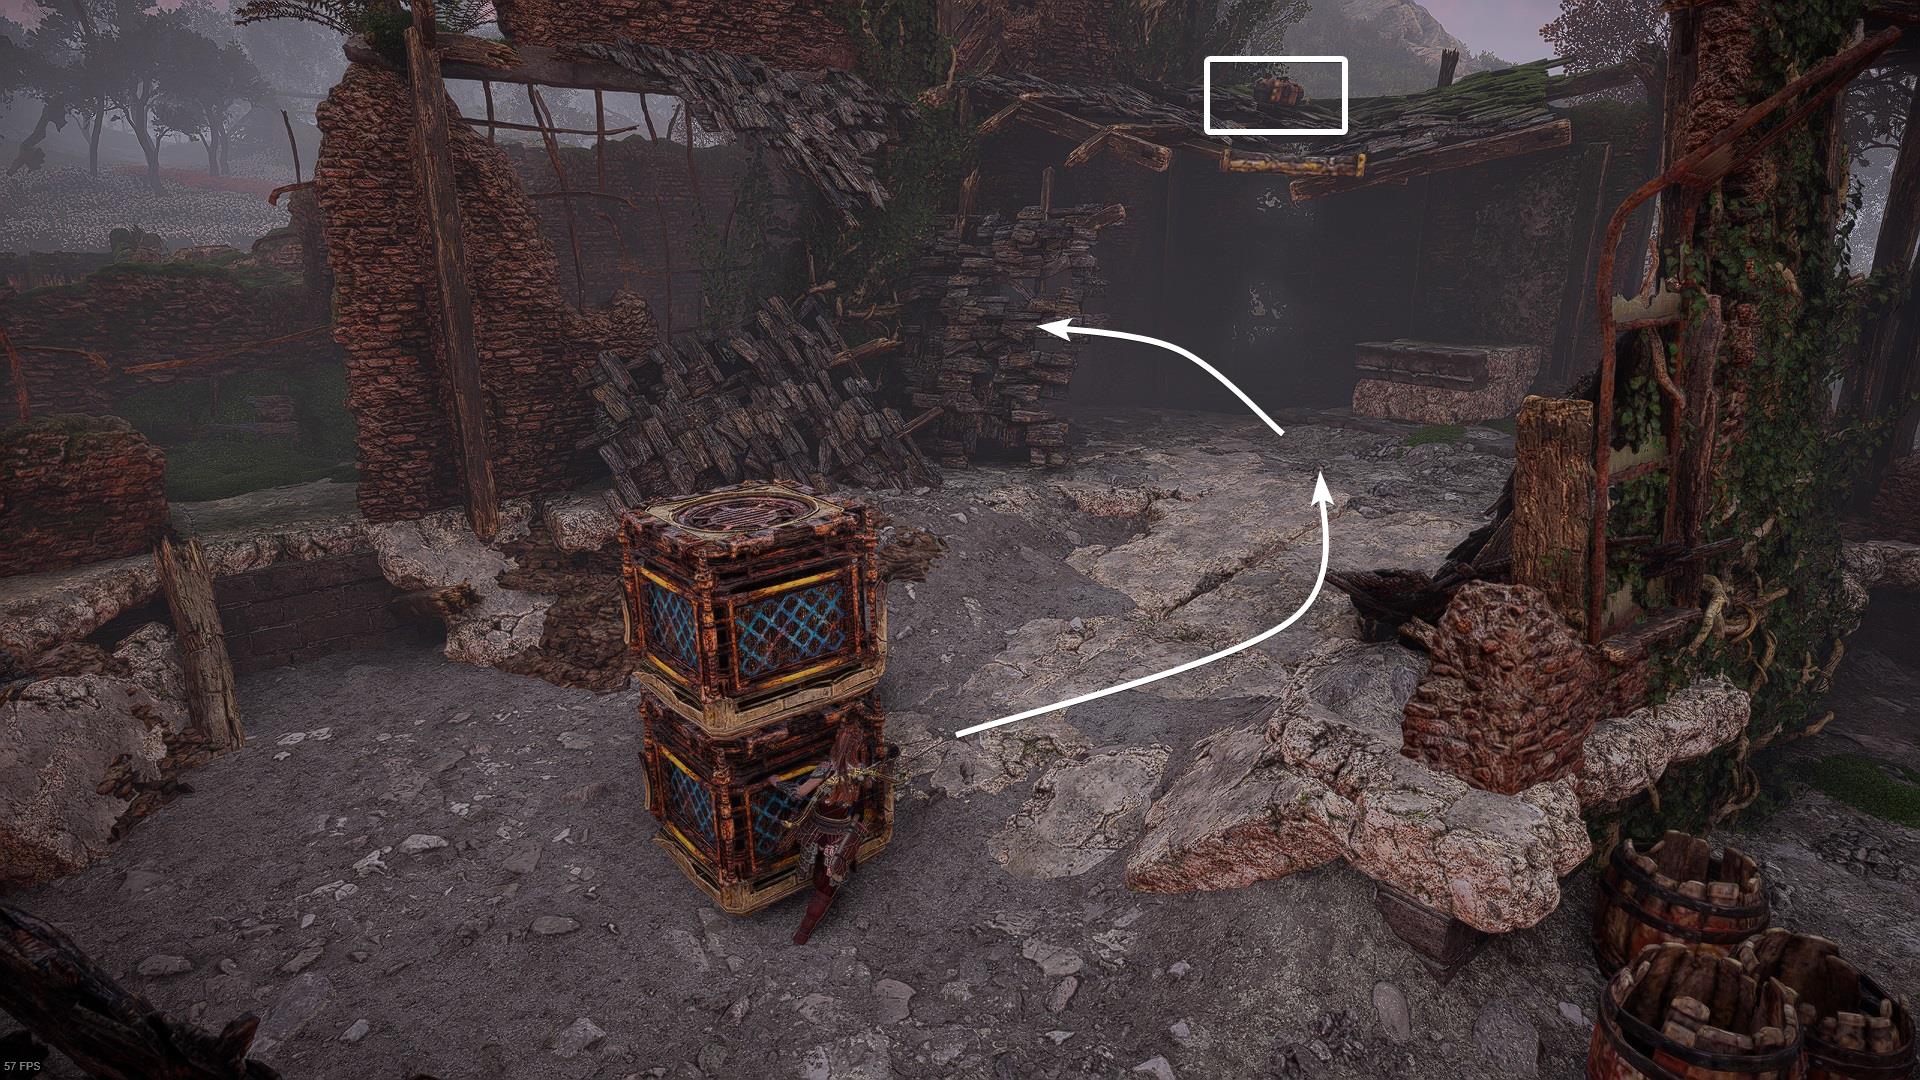
- Another metal clamp is just a few meters away from your current position, use the Pullcaster. Push the crate all the way back. Make sure to leave it close to the right side wall.
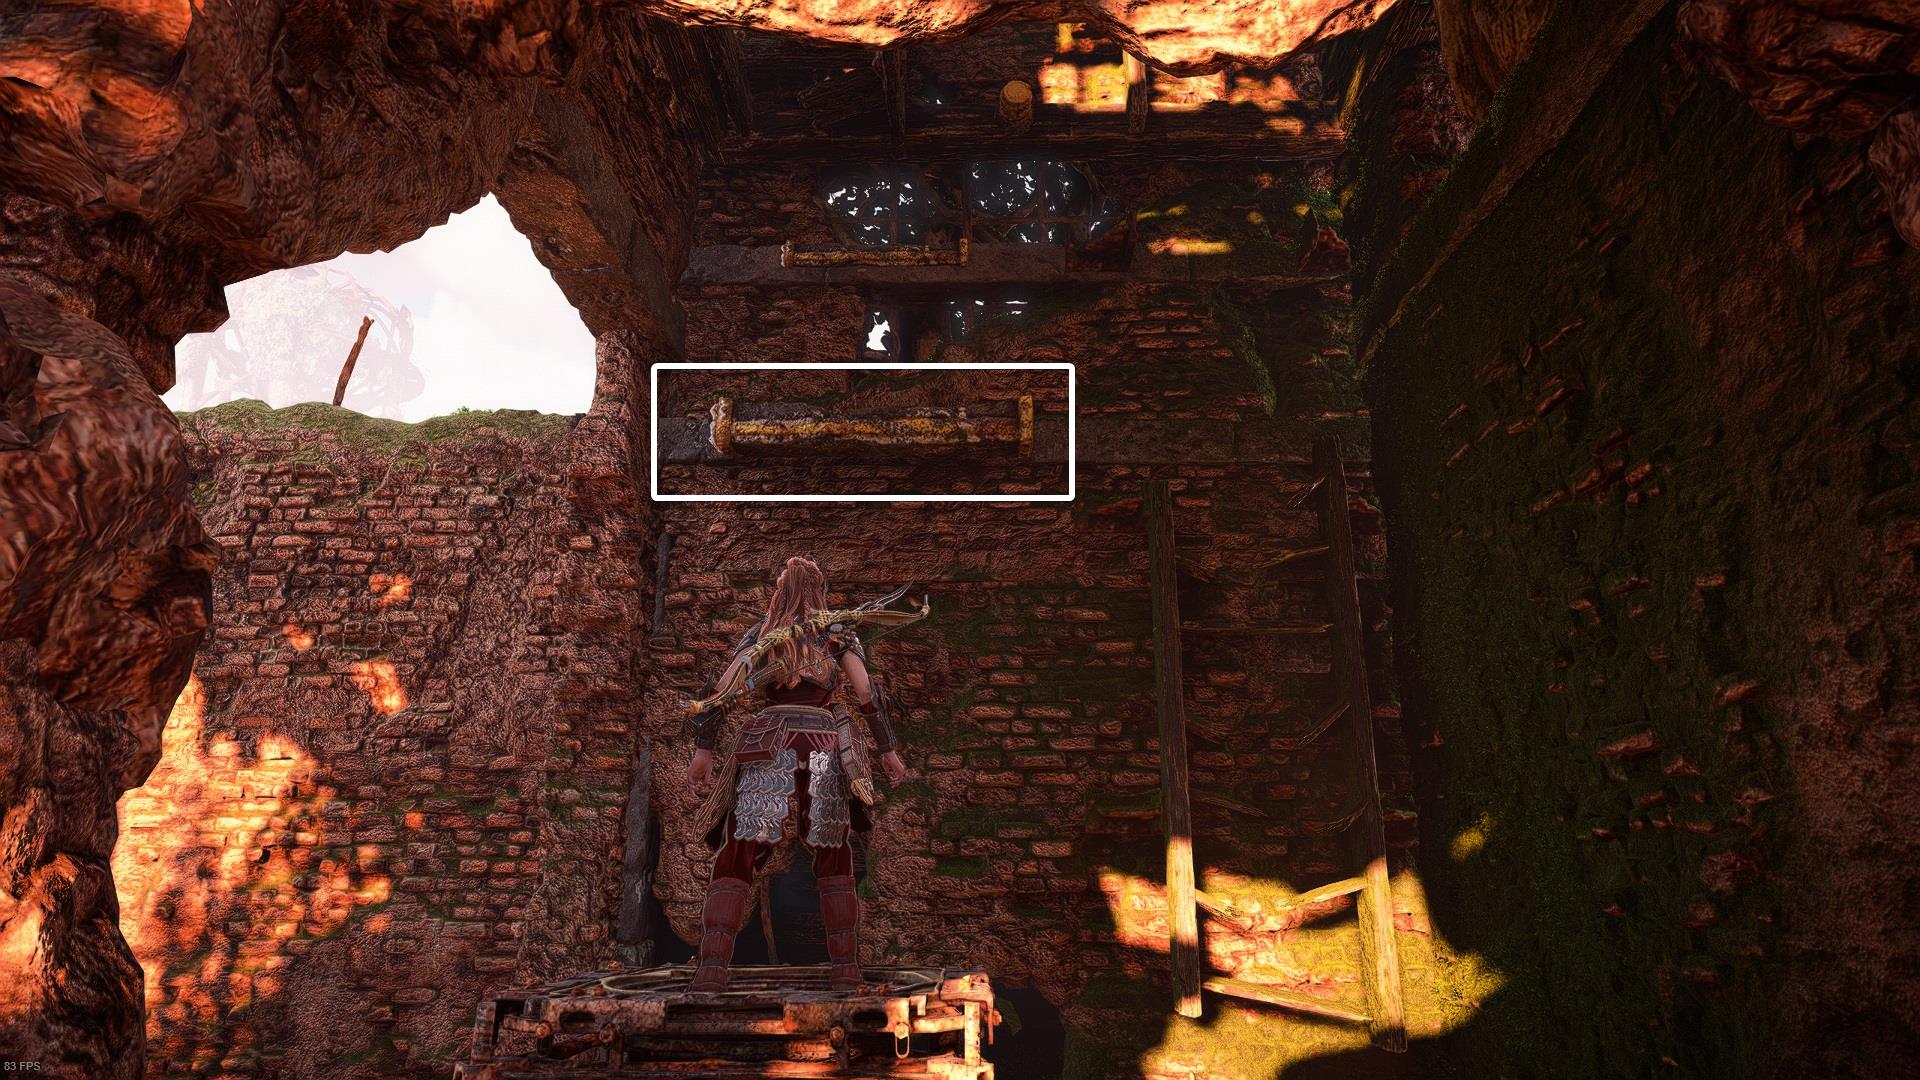
- Jump on top of the crate and then use the climbing nodes to get to the roof of the ruins.
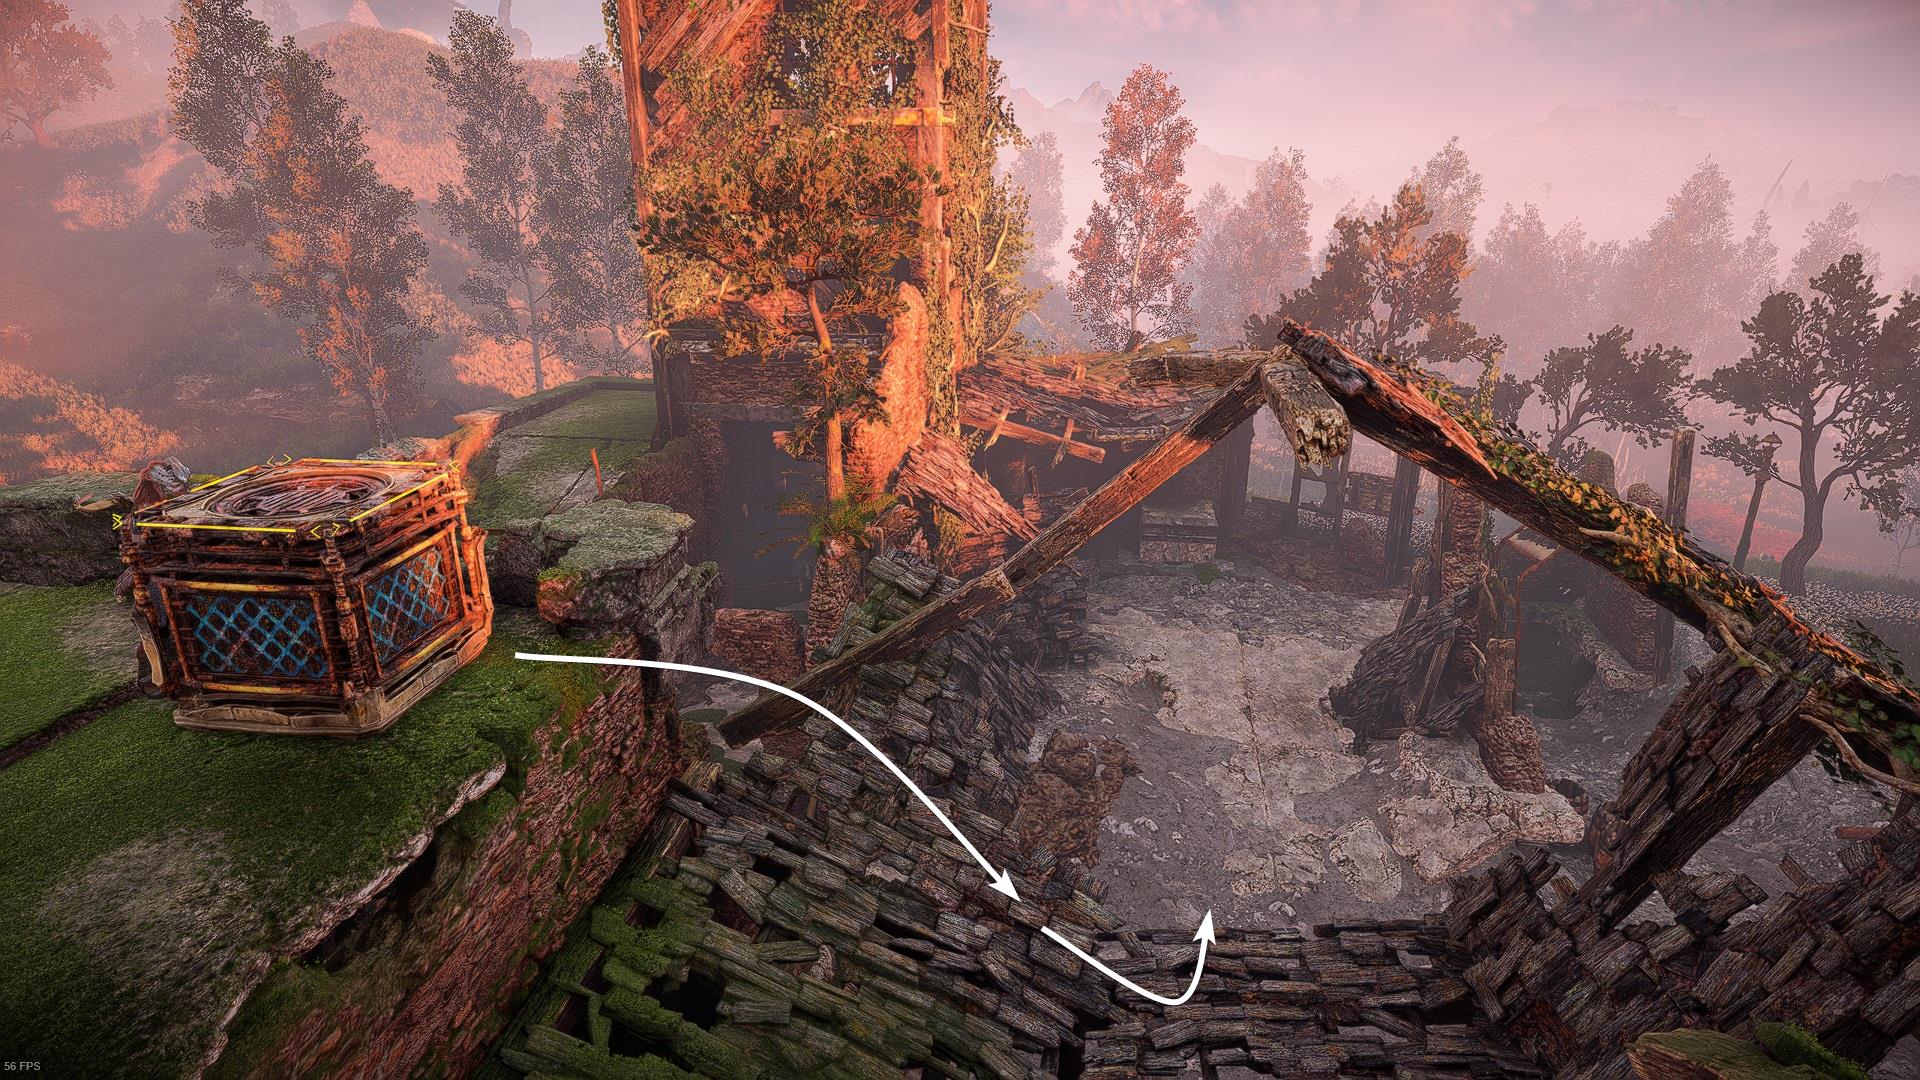
- There’s another crate up there, push it until it falls to the broken roof, and then to floor level. You can find an Ancient Supply Box and a Greenshine Chink on the roof, grab them before pushing the crate.
- Once it’s on the ground, move it and make sure that it’s positioned in the area marked on the next image. The closer to the wall, the better.
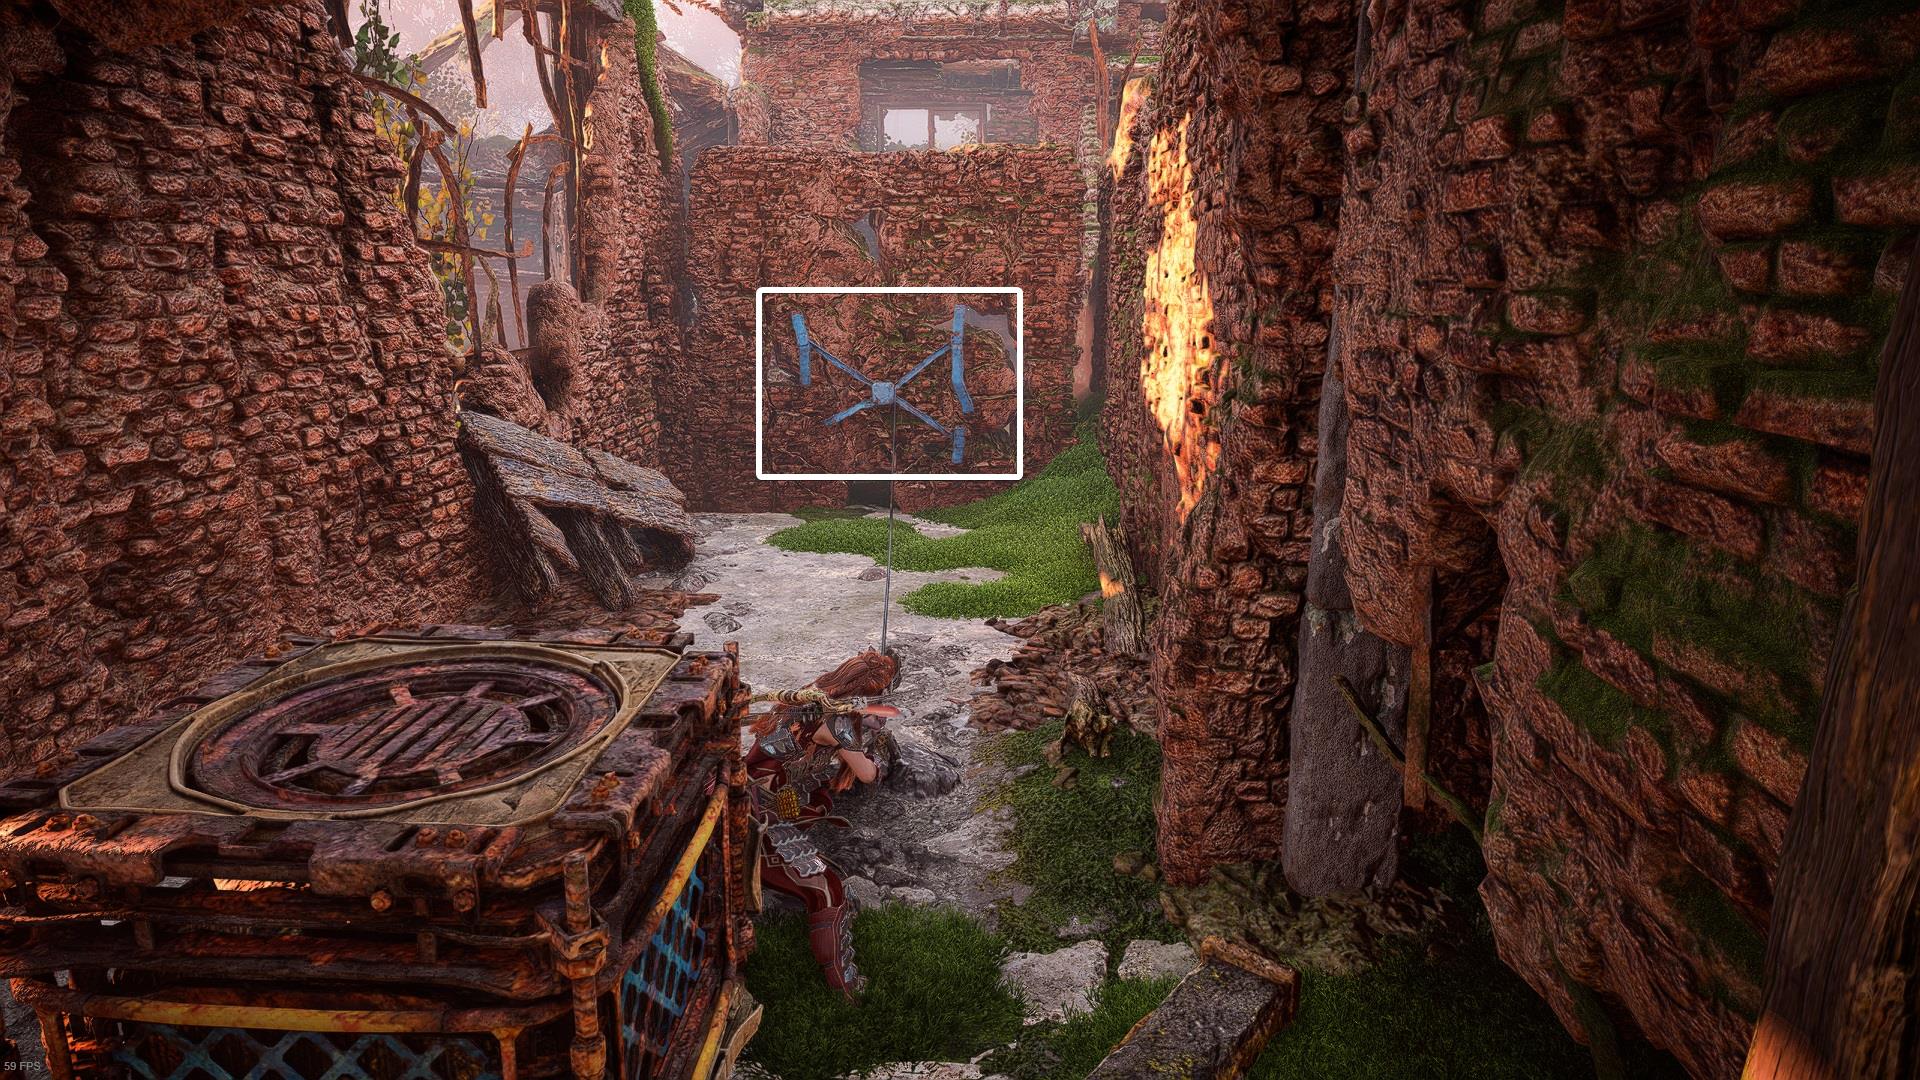
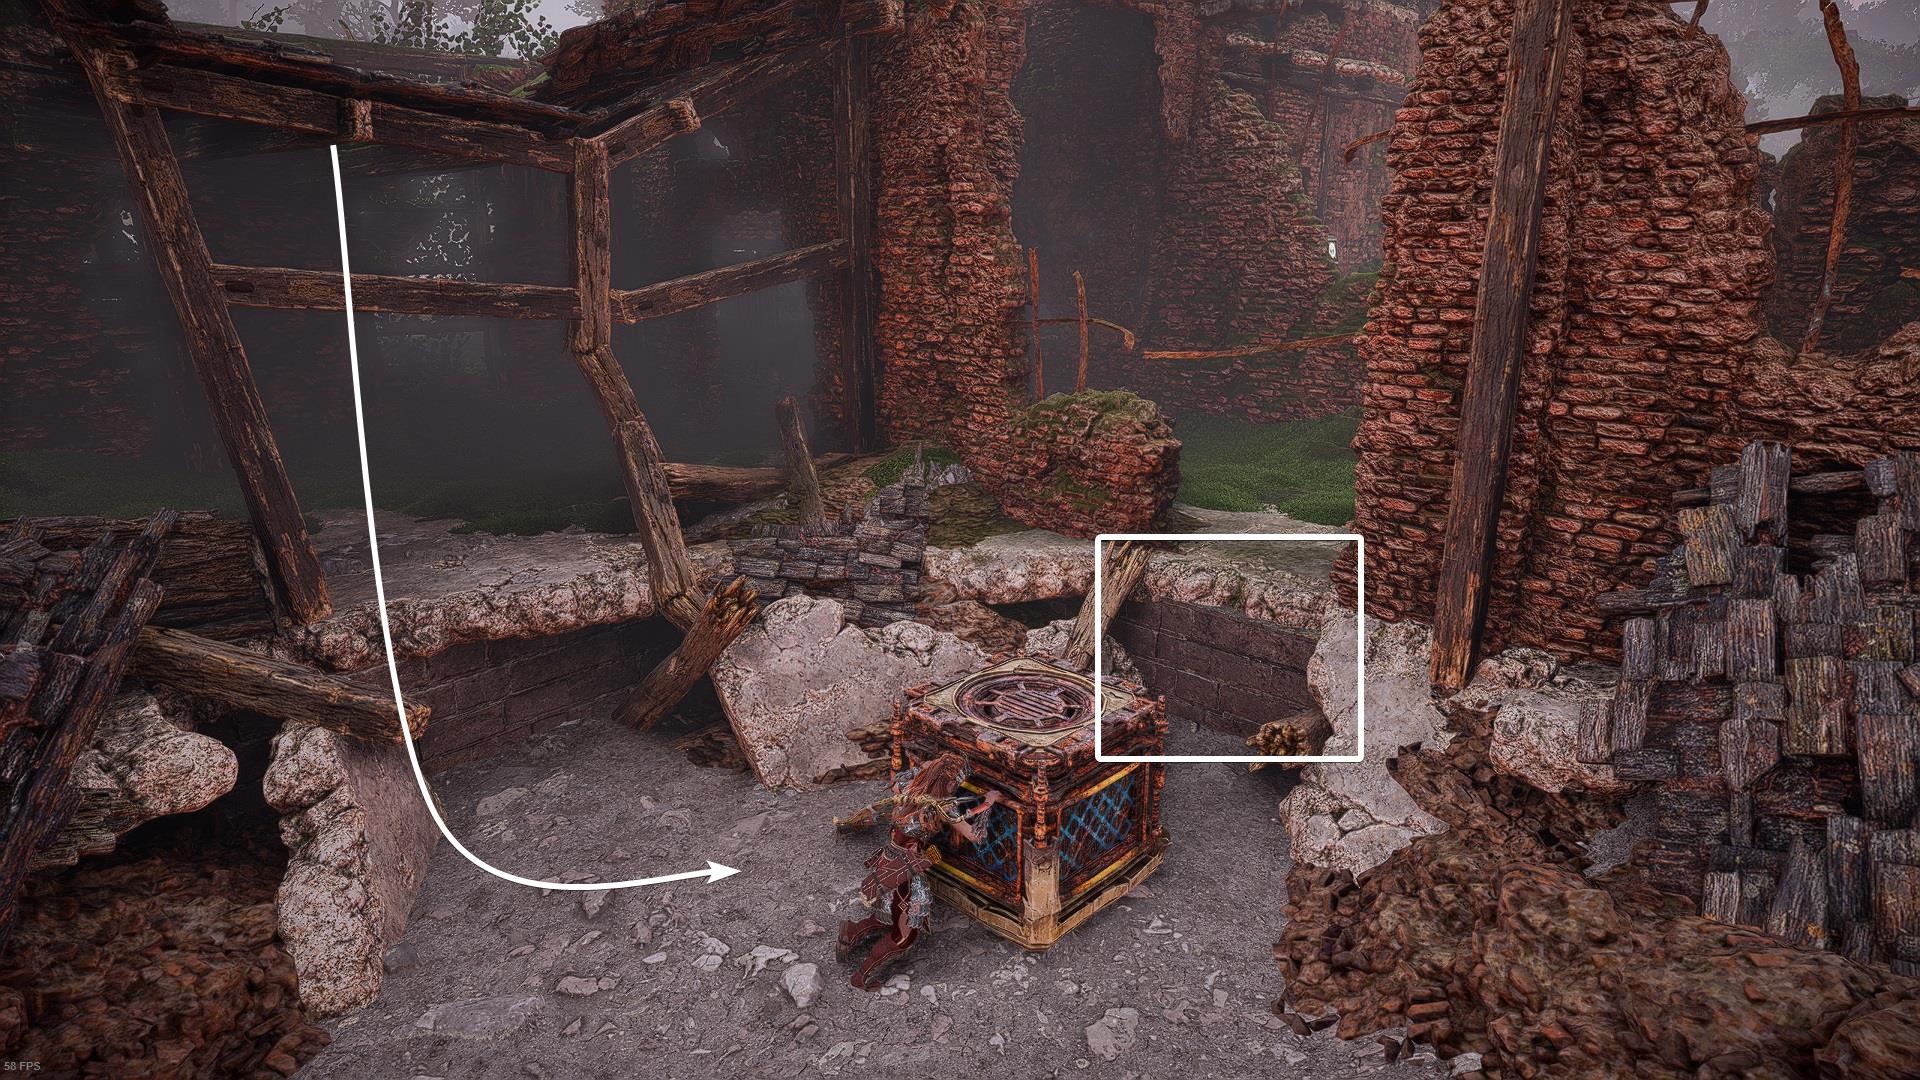
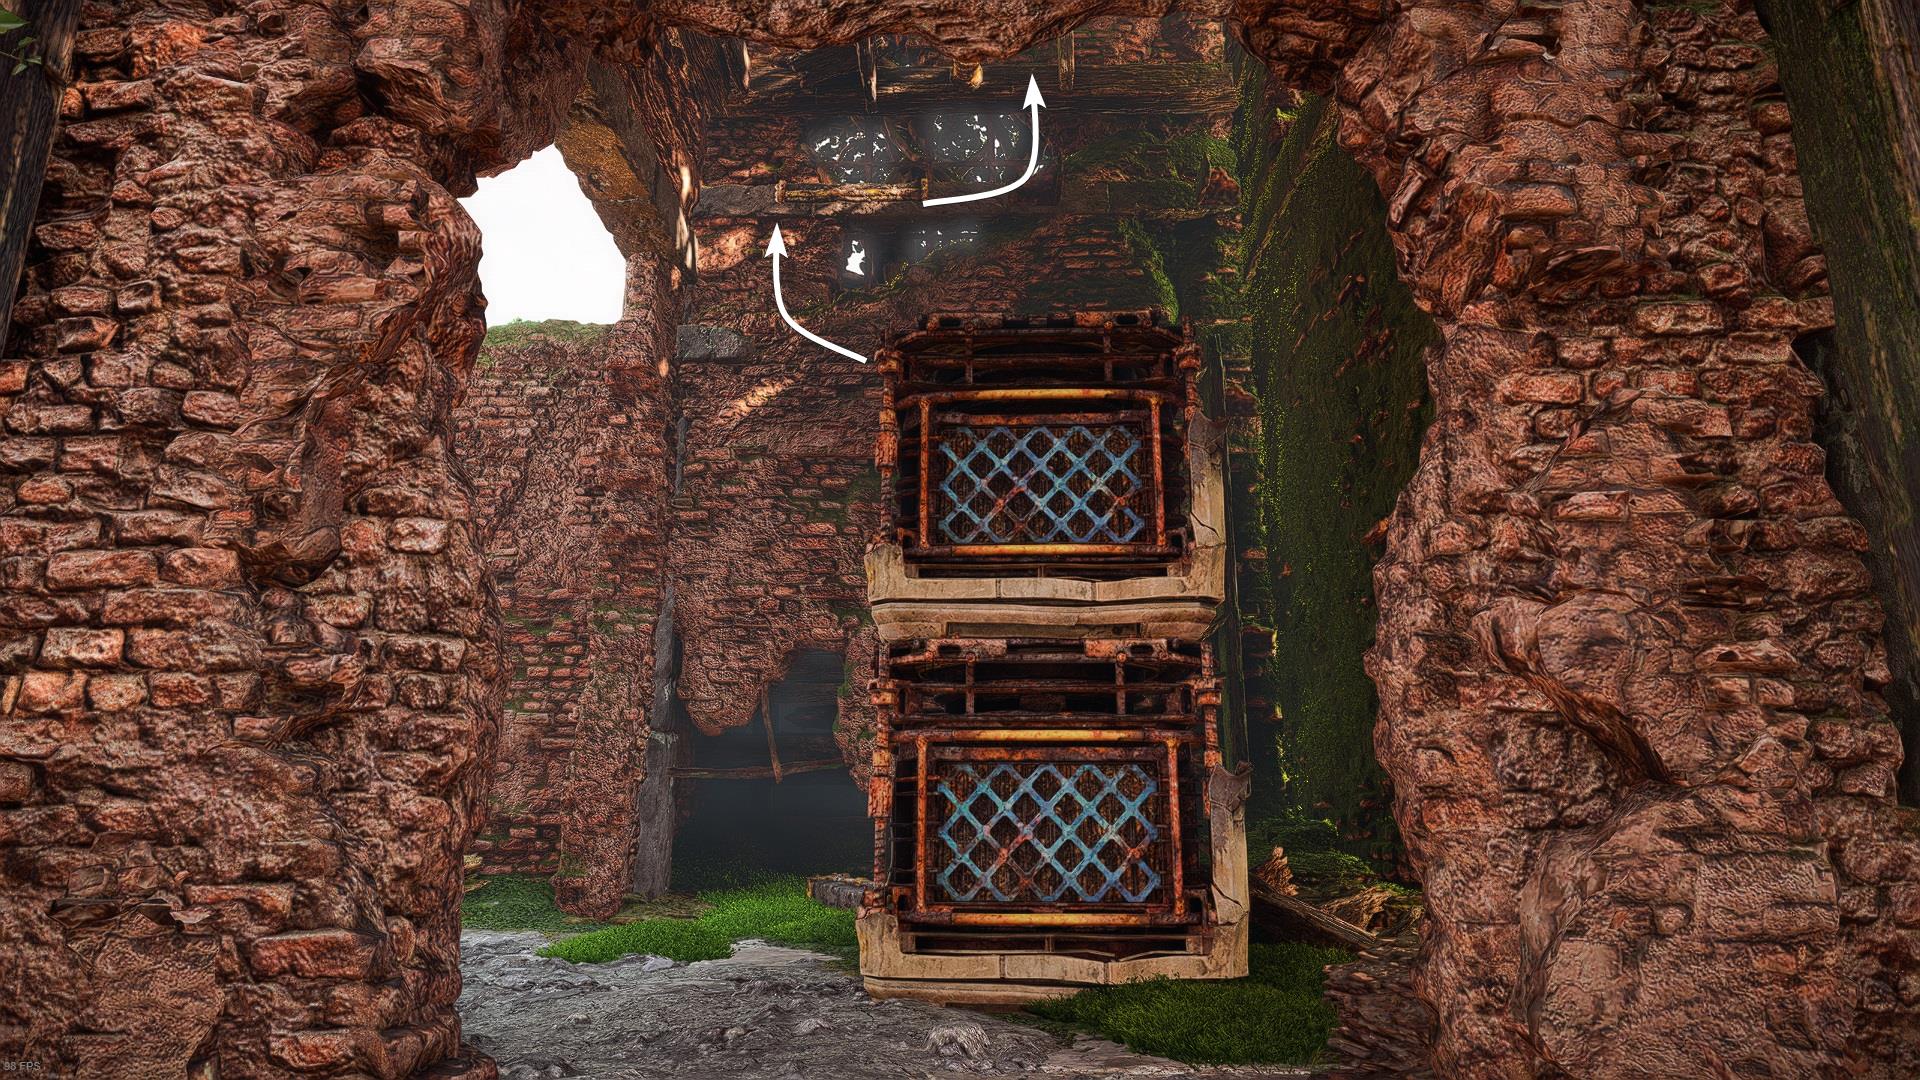
- Use the crate to climb and then move the second crate on top of the first one. They must be stacked.
- Move both crates to the upper level. There is an Ancient Supply Box that can be looted midway, get it by using the stacked crates as a platform, then continue pushing them.
- After you finish moving up the crates, climb up and use the nodes to get to the top of this part of the ruins.
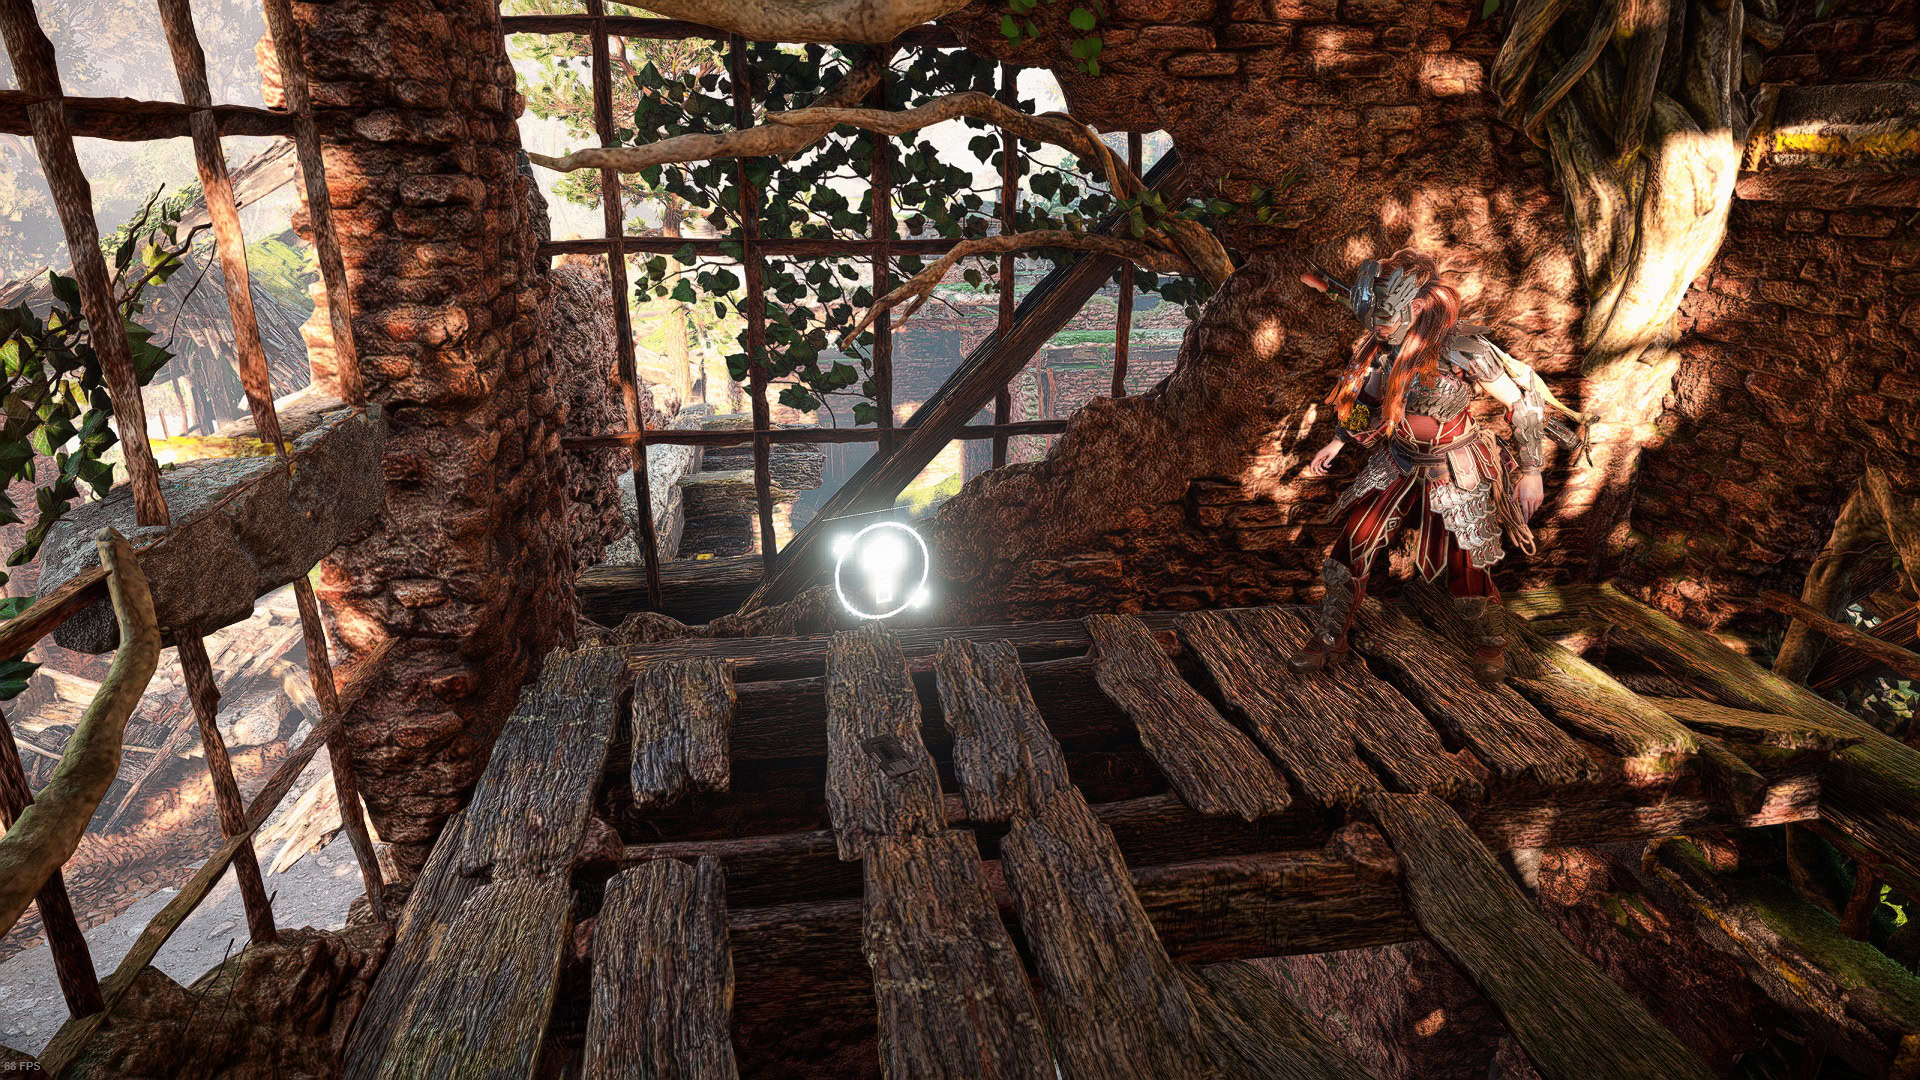
- A key module will be waiting for you. Unlike the other ruins, this one does not require a code. The key is the only item you must get.
- Go to the locked door and put the key in the terminal. This will open the door.
- The room will have another metal clamp. Once again, use your Pullcaster to open a hole in the wall. Don’t forget to get the Ancient Supply Box that is across the clamp.
- Move the stacked crates across the hole you just made and place them next to the floor of the upper floor.
- Move the top crate and push it up the ramp until its near the climbing nodes.
- Climb to the top of the tower where the Runner’s Wild Ornament will be waiting for you.


Notes
The Runner’s Wild Ornament provides five thousand XP and to extra skill points.
This concludes the walkthrough for the Runner’s Wild Relic Ruins puzzle in Horizon Forbidden West. You can find all other Relic Ruin puzzles linked below together with a walkthrough for the binding mission “Nights of Lights” which will reward you a Legendary Weapon!