This guide will show you how to solve the Stillsands Relic Ruins puzzle and how to get the very rare Stillsands Ornament.
What Are Relic Ruins and Ornaments
Relic Ruins in Horizon Forbidden West are optional activities that take you to what’s left of Old World buildings. You must solve puzzles to reach a specific spot in order to obtain an Ornament, one of the game’s collectible items.
There’s a total of ten Ornaments, each Ornament represents a holiday. They can be given to Stemmur in Hidden Ember. He will then project holographic lights on the sky depending on which Ornament you give him.
Relic Ruins: Stillsands Walkthrough
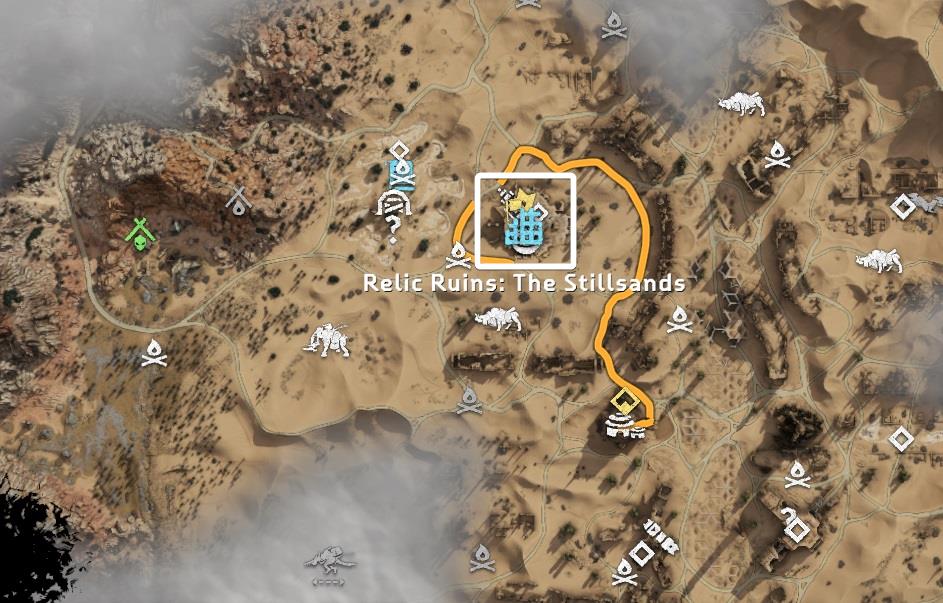
These ruins are located in the middle of Las Vegas, East of the Salvage Contractor. To solve the puzzle you must have the Igniter in your inventory, which is unlocked and obtained after completing the main quest Death’s Door.
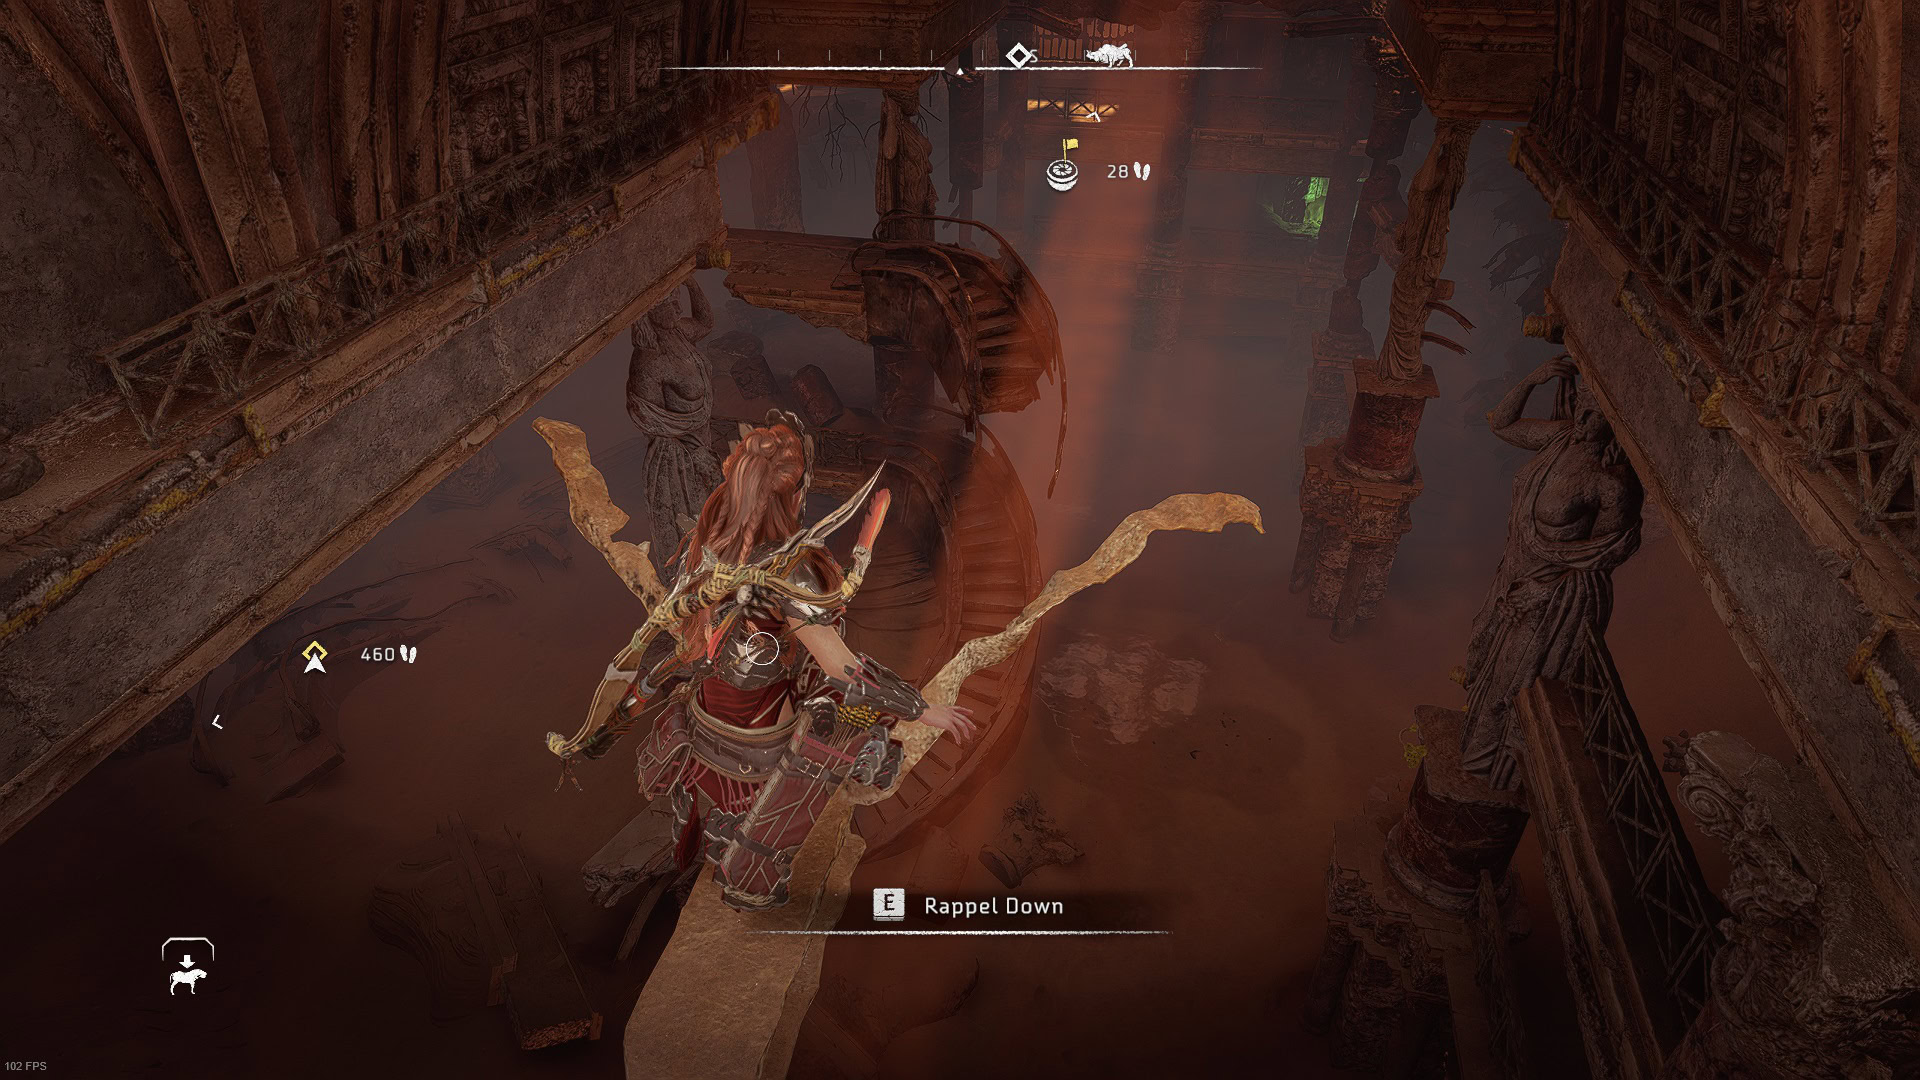
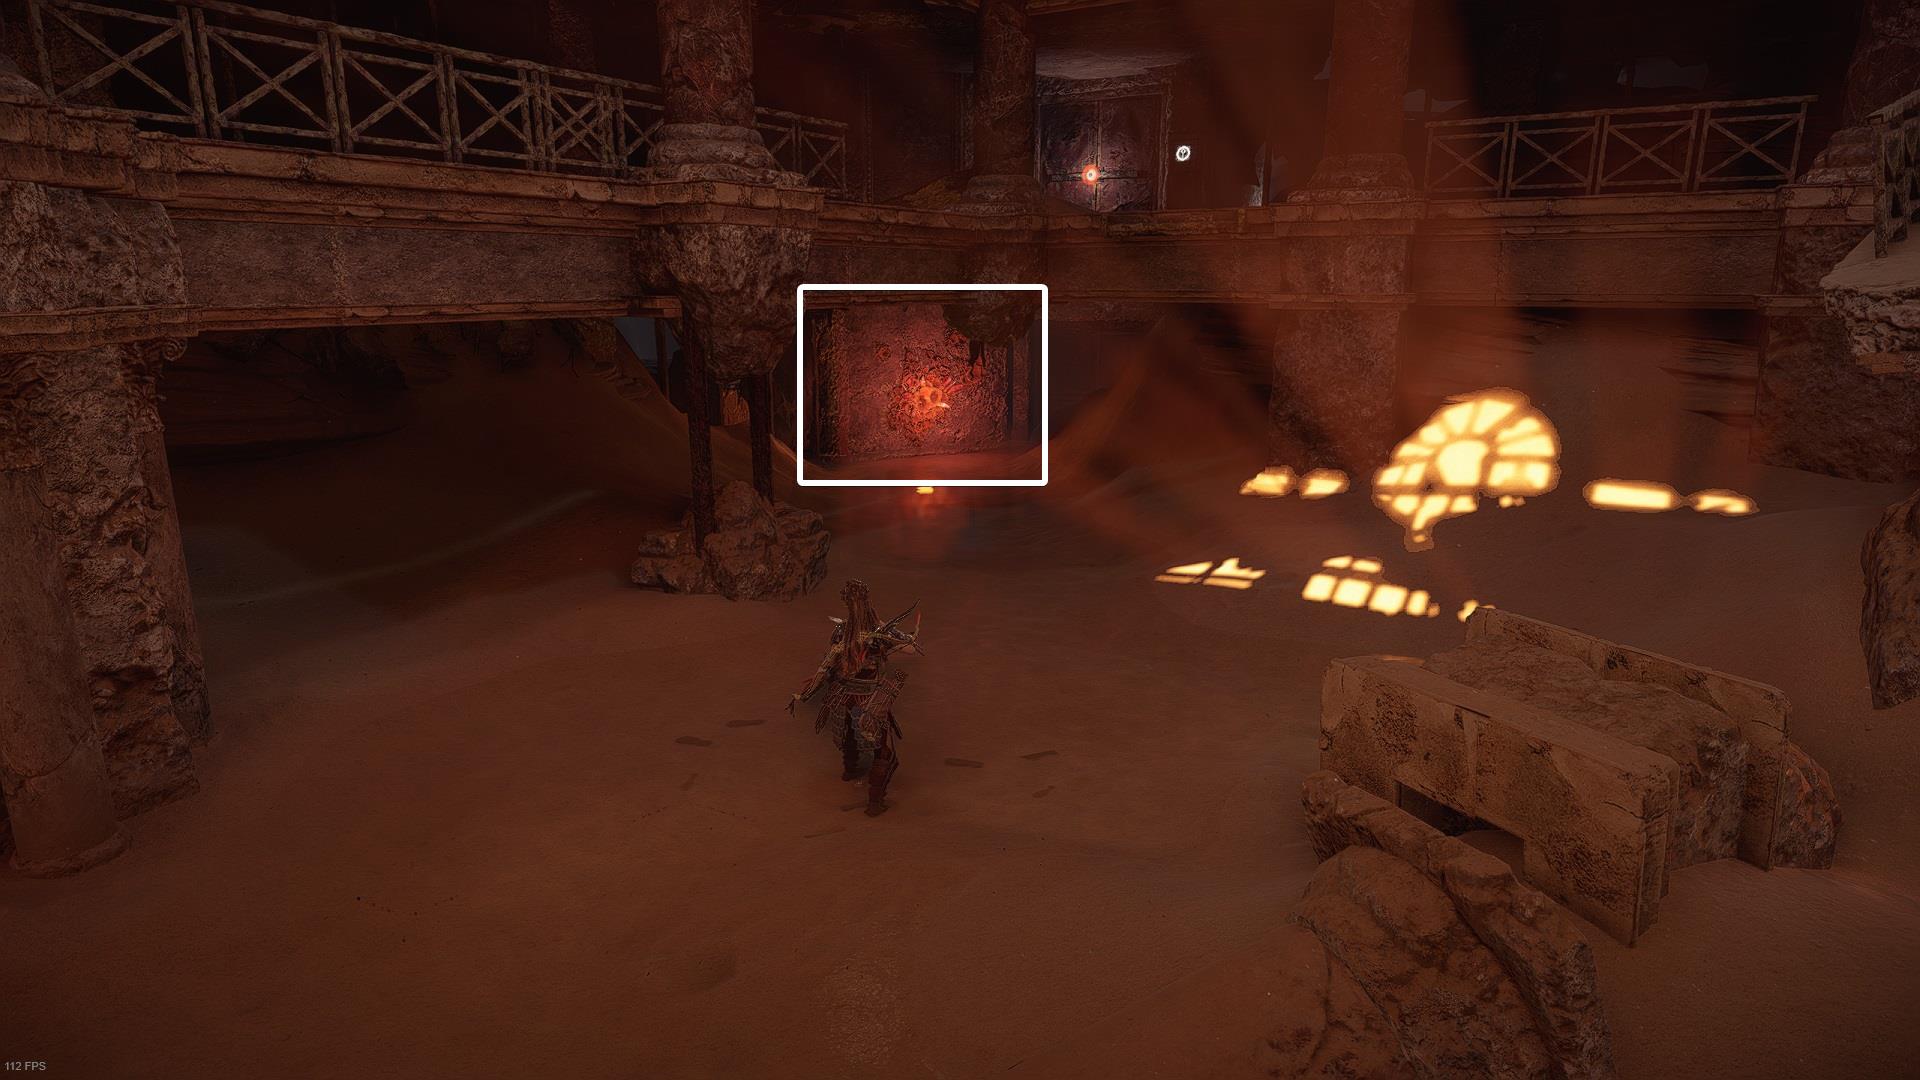
The entrance is located north of the ruins. You’ll need to rappel down to get into the ruins.
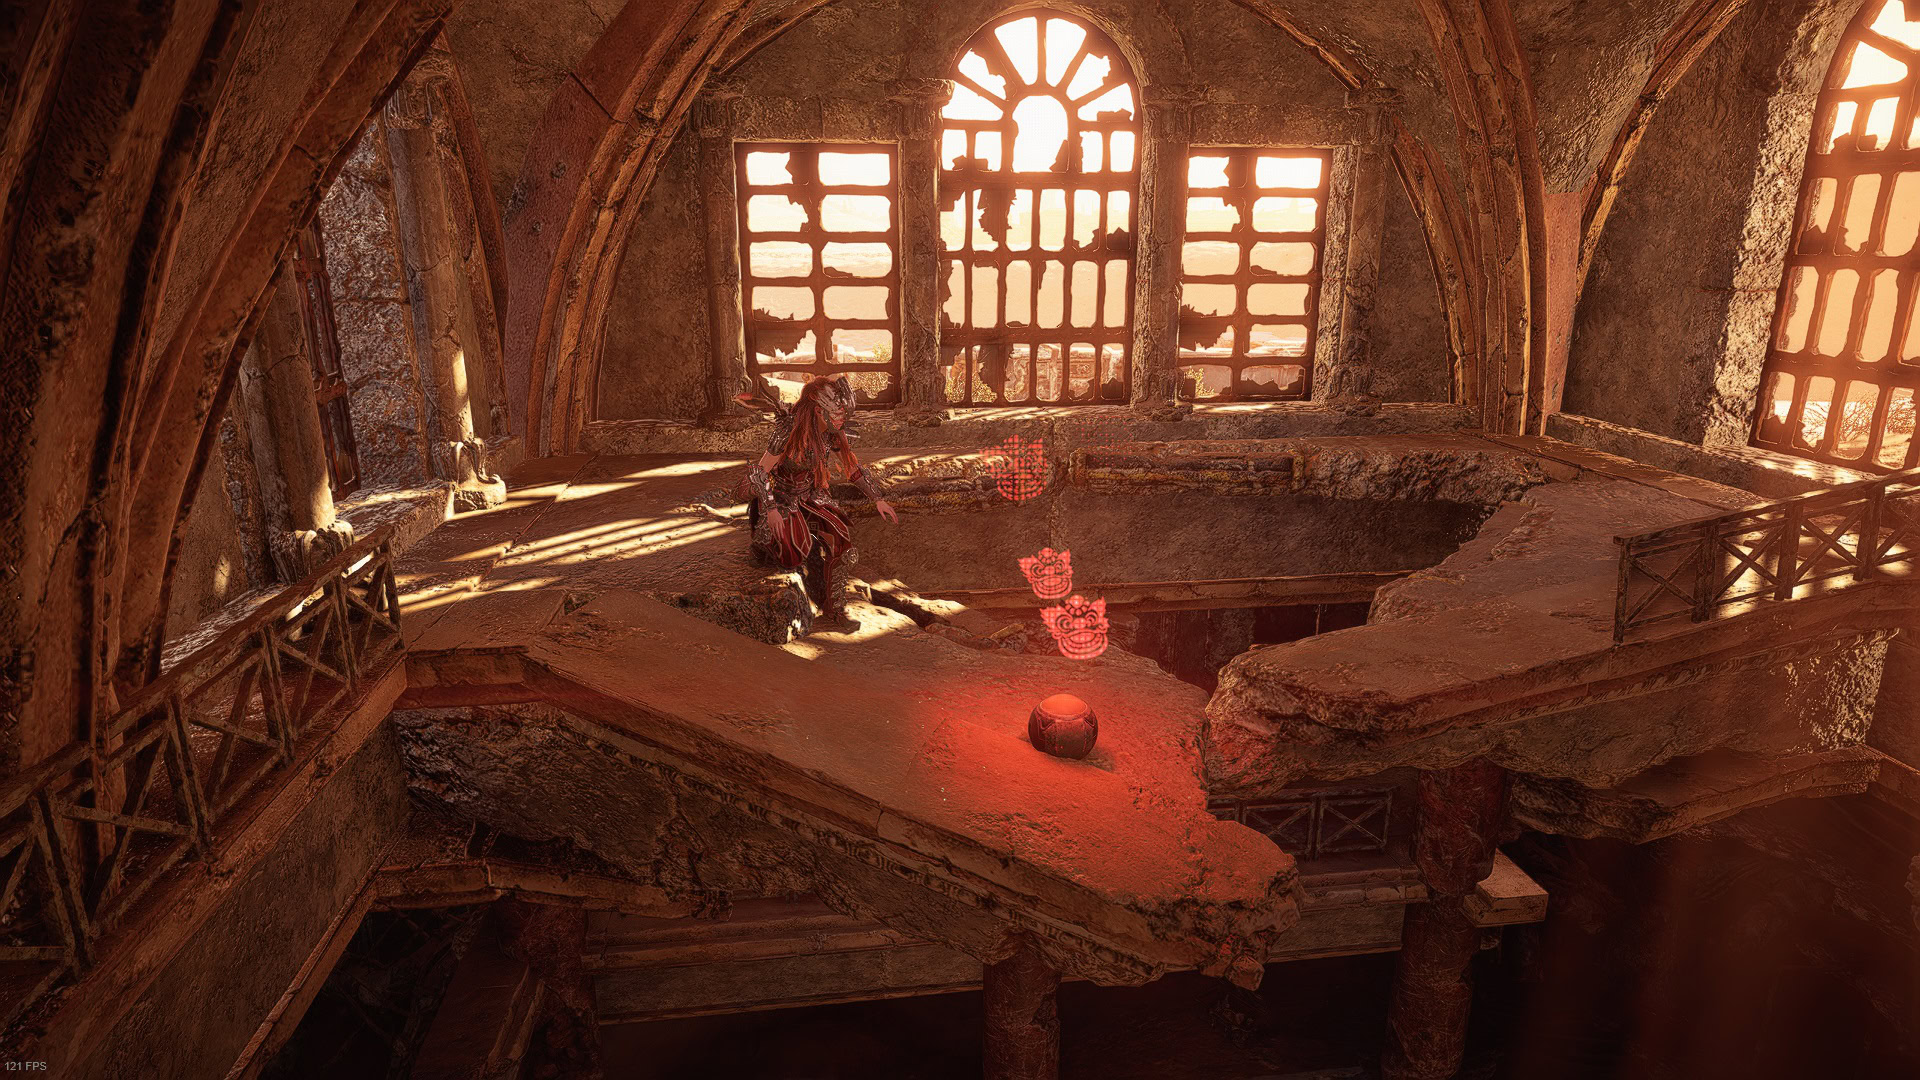
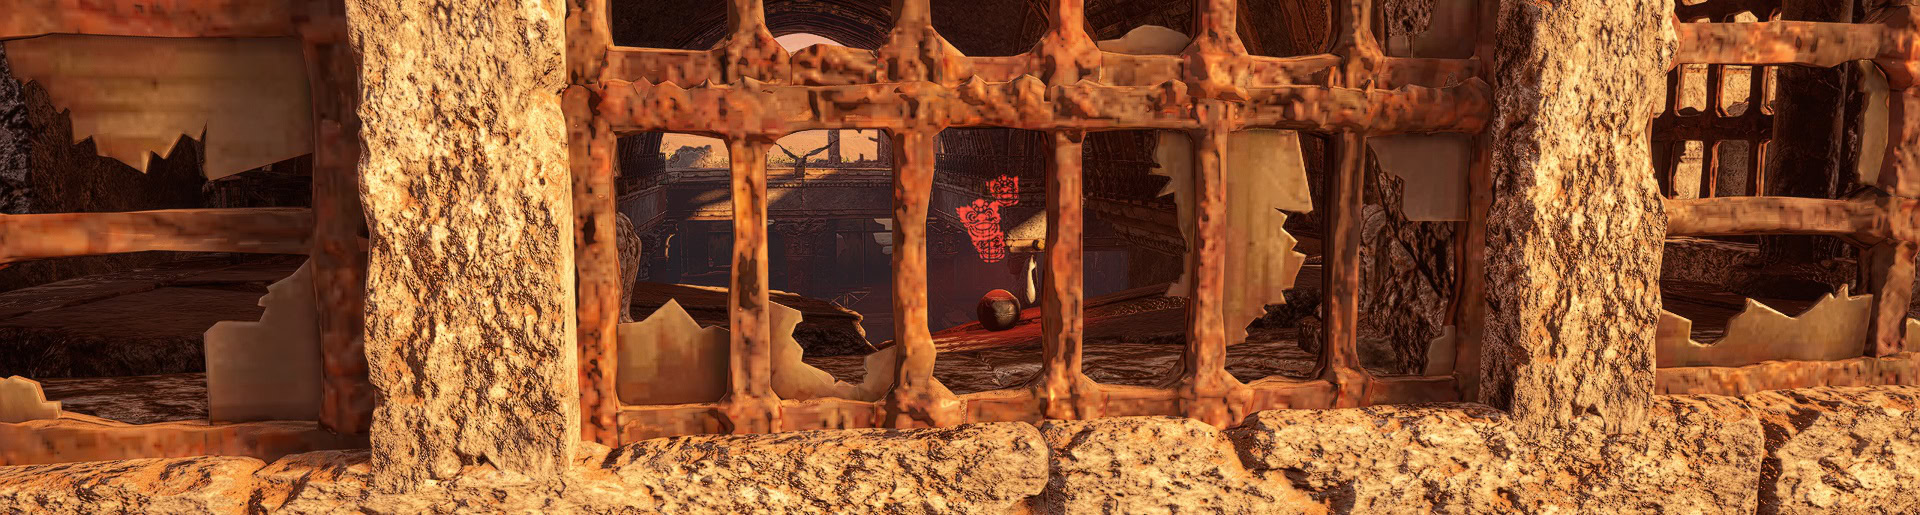
There’s Firegleam just a few meters away from the landing spot. Use the Igniter to blow the wall, remember to take some cover before it explodes.
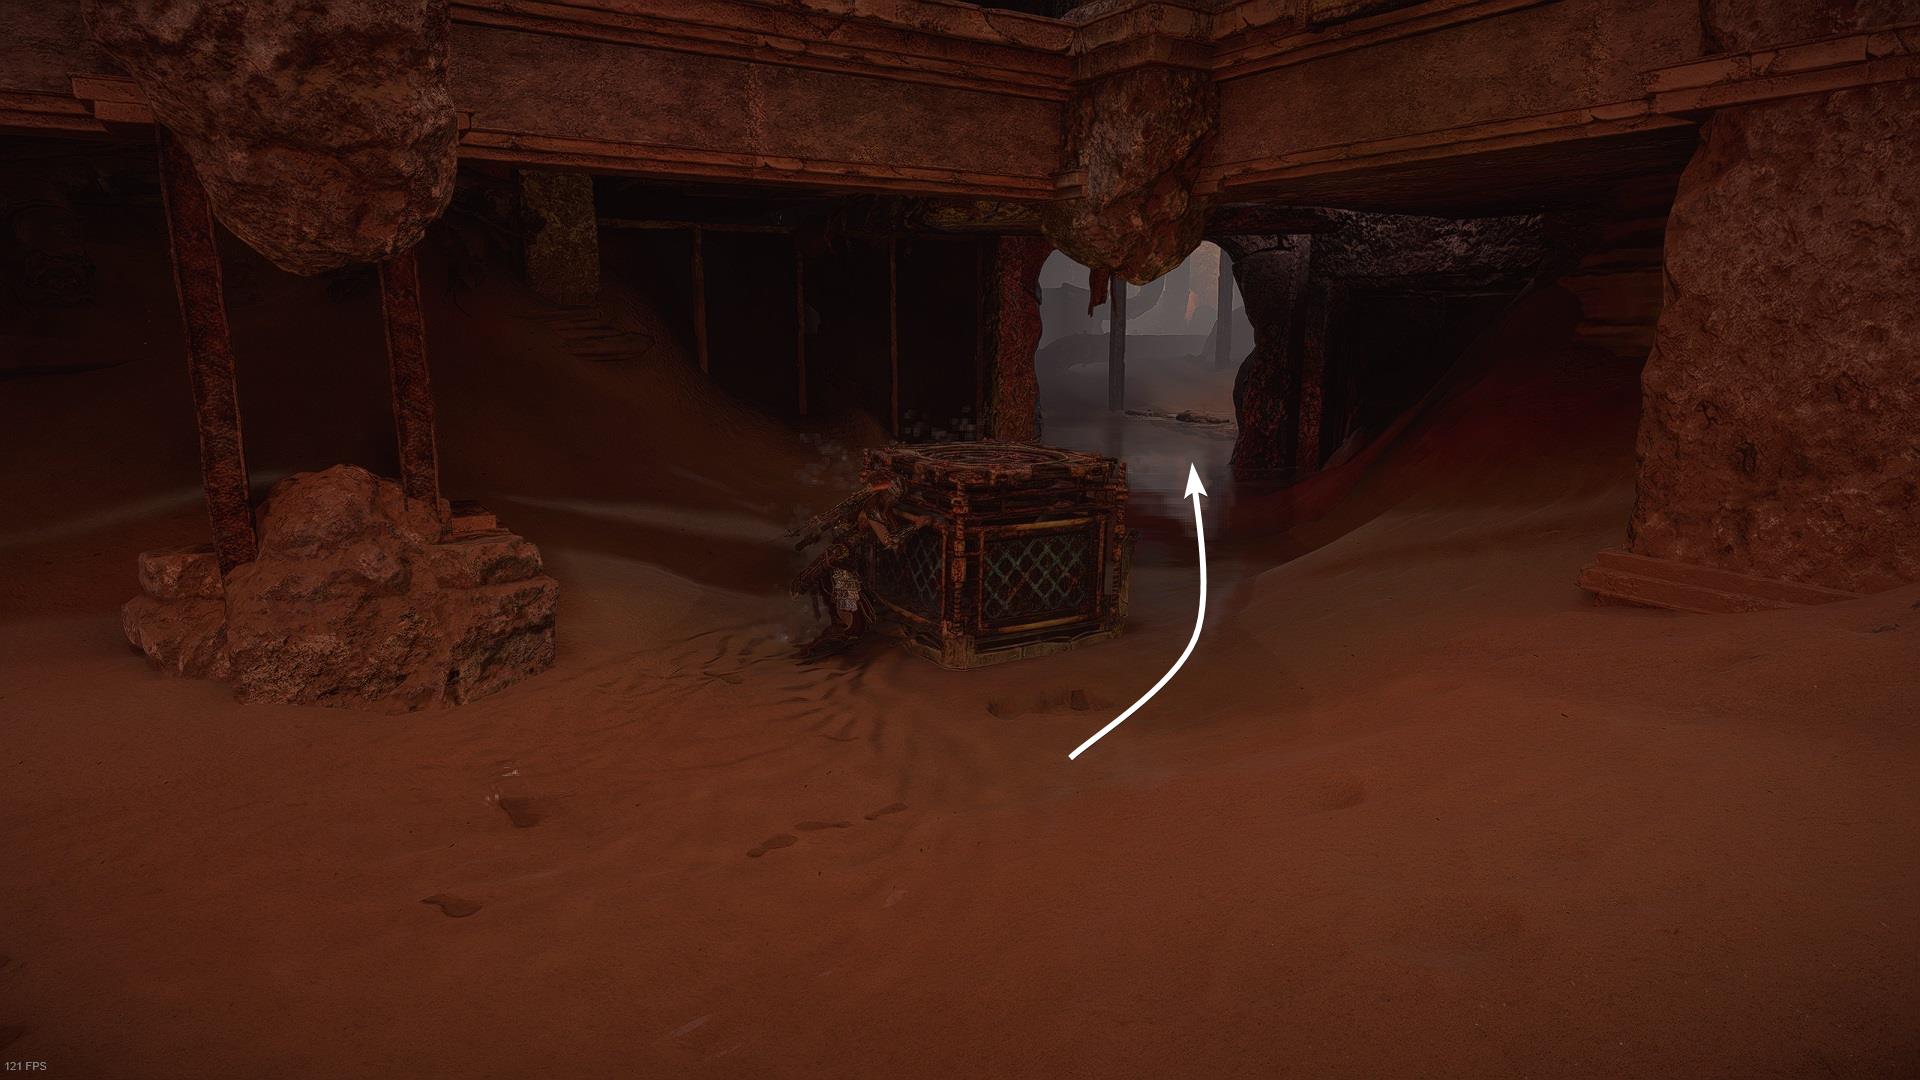
There are some rusted stairs near the spot where you first landed. Look for the crate that’s behind them. Use the Pullcaster to pull it down.

Then push it through the hole in the wall. Line it up with the climbing node.
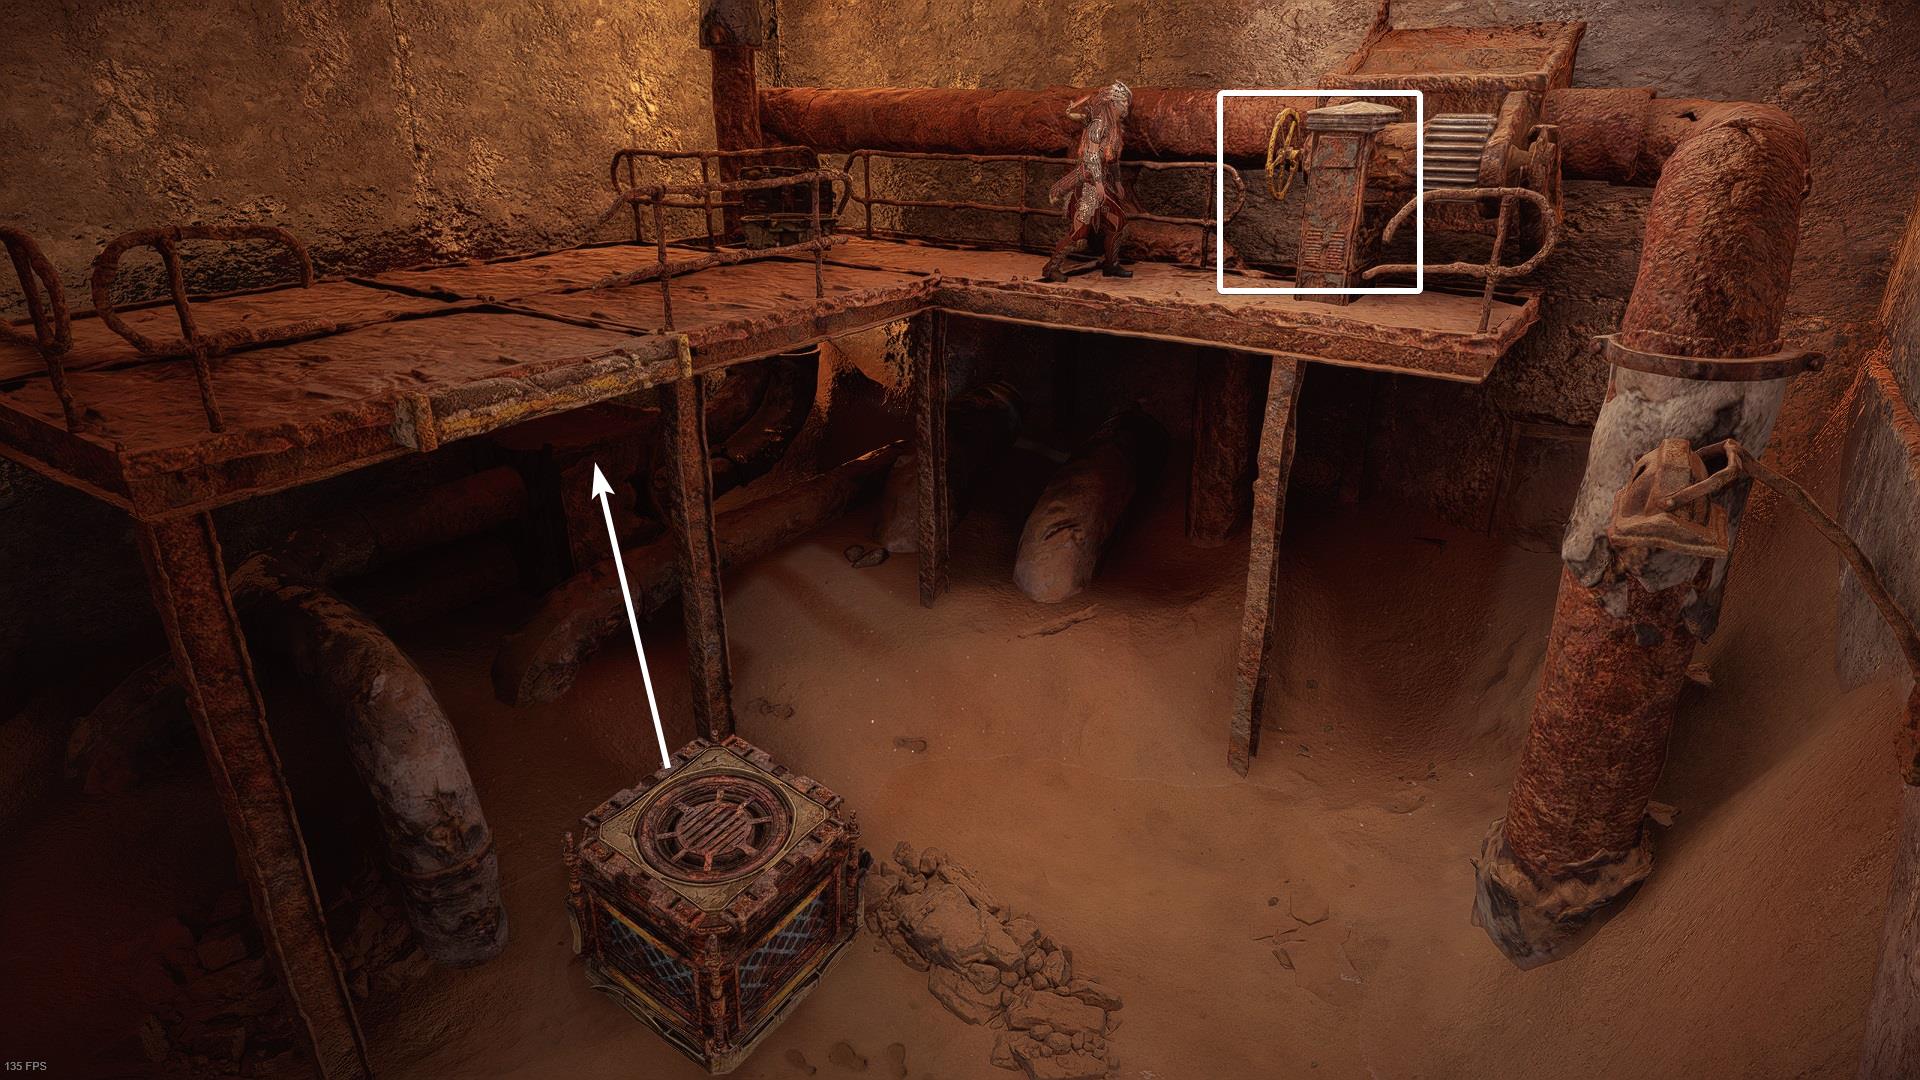
Use the crate to get to the second level. Loot the Ancient Supply Chest and then proceed to open the valve. As soon as you do this, water will start flooding the place.
Push the crate you just used into the drain that’s next to the entrance of this room. The entire ruin will flood very quickly. Don’t panic, the water won’t rise after reaching a certain level.
Swim to the rusted stairs and then turn left. You will see a white glowing icon, that’s where you’re going.
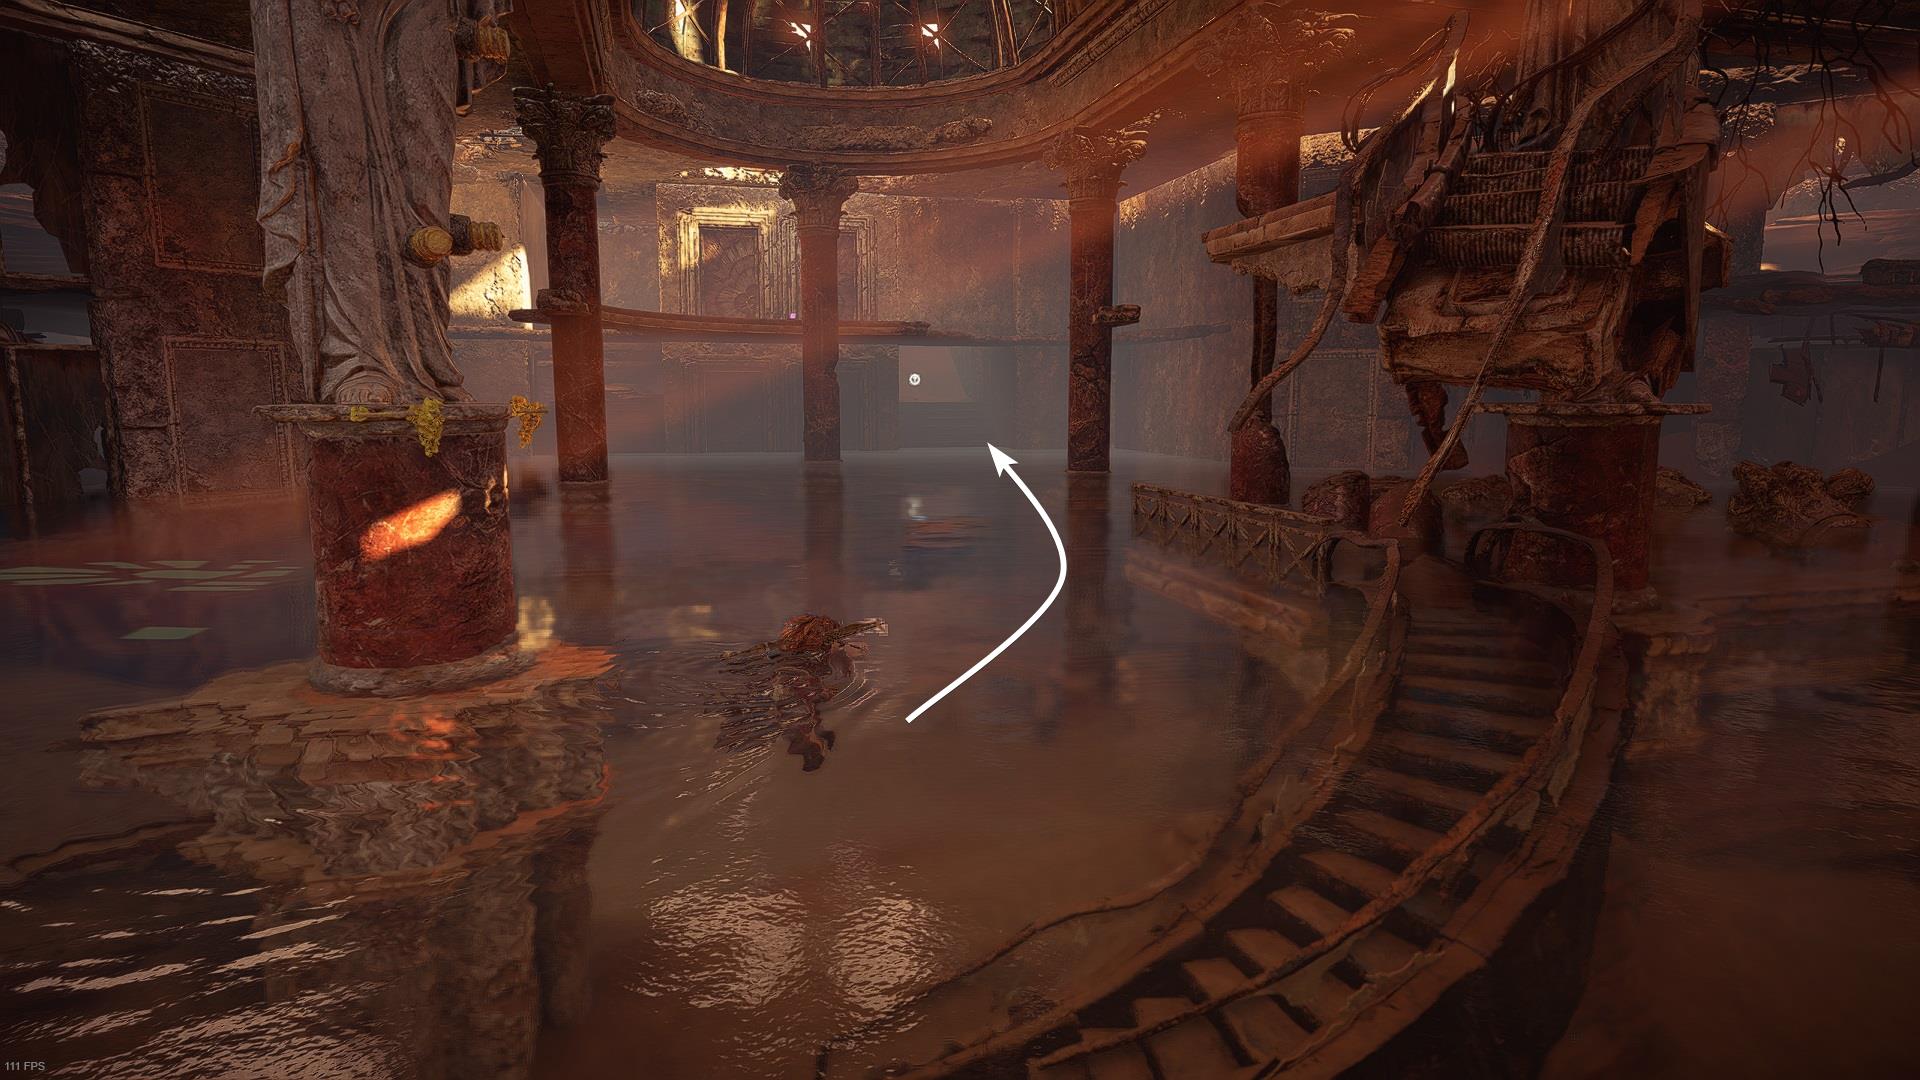
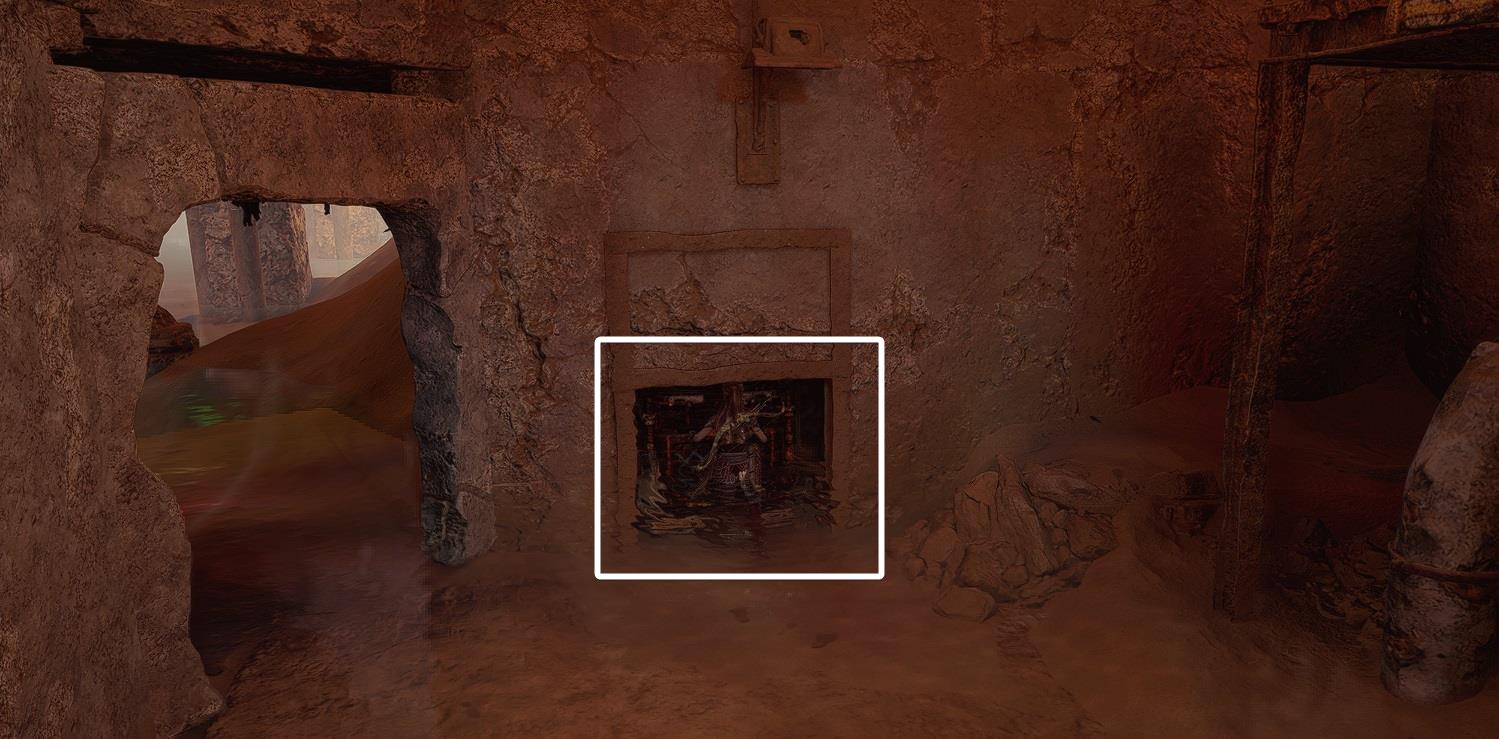
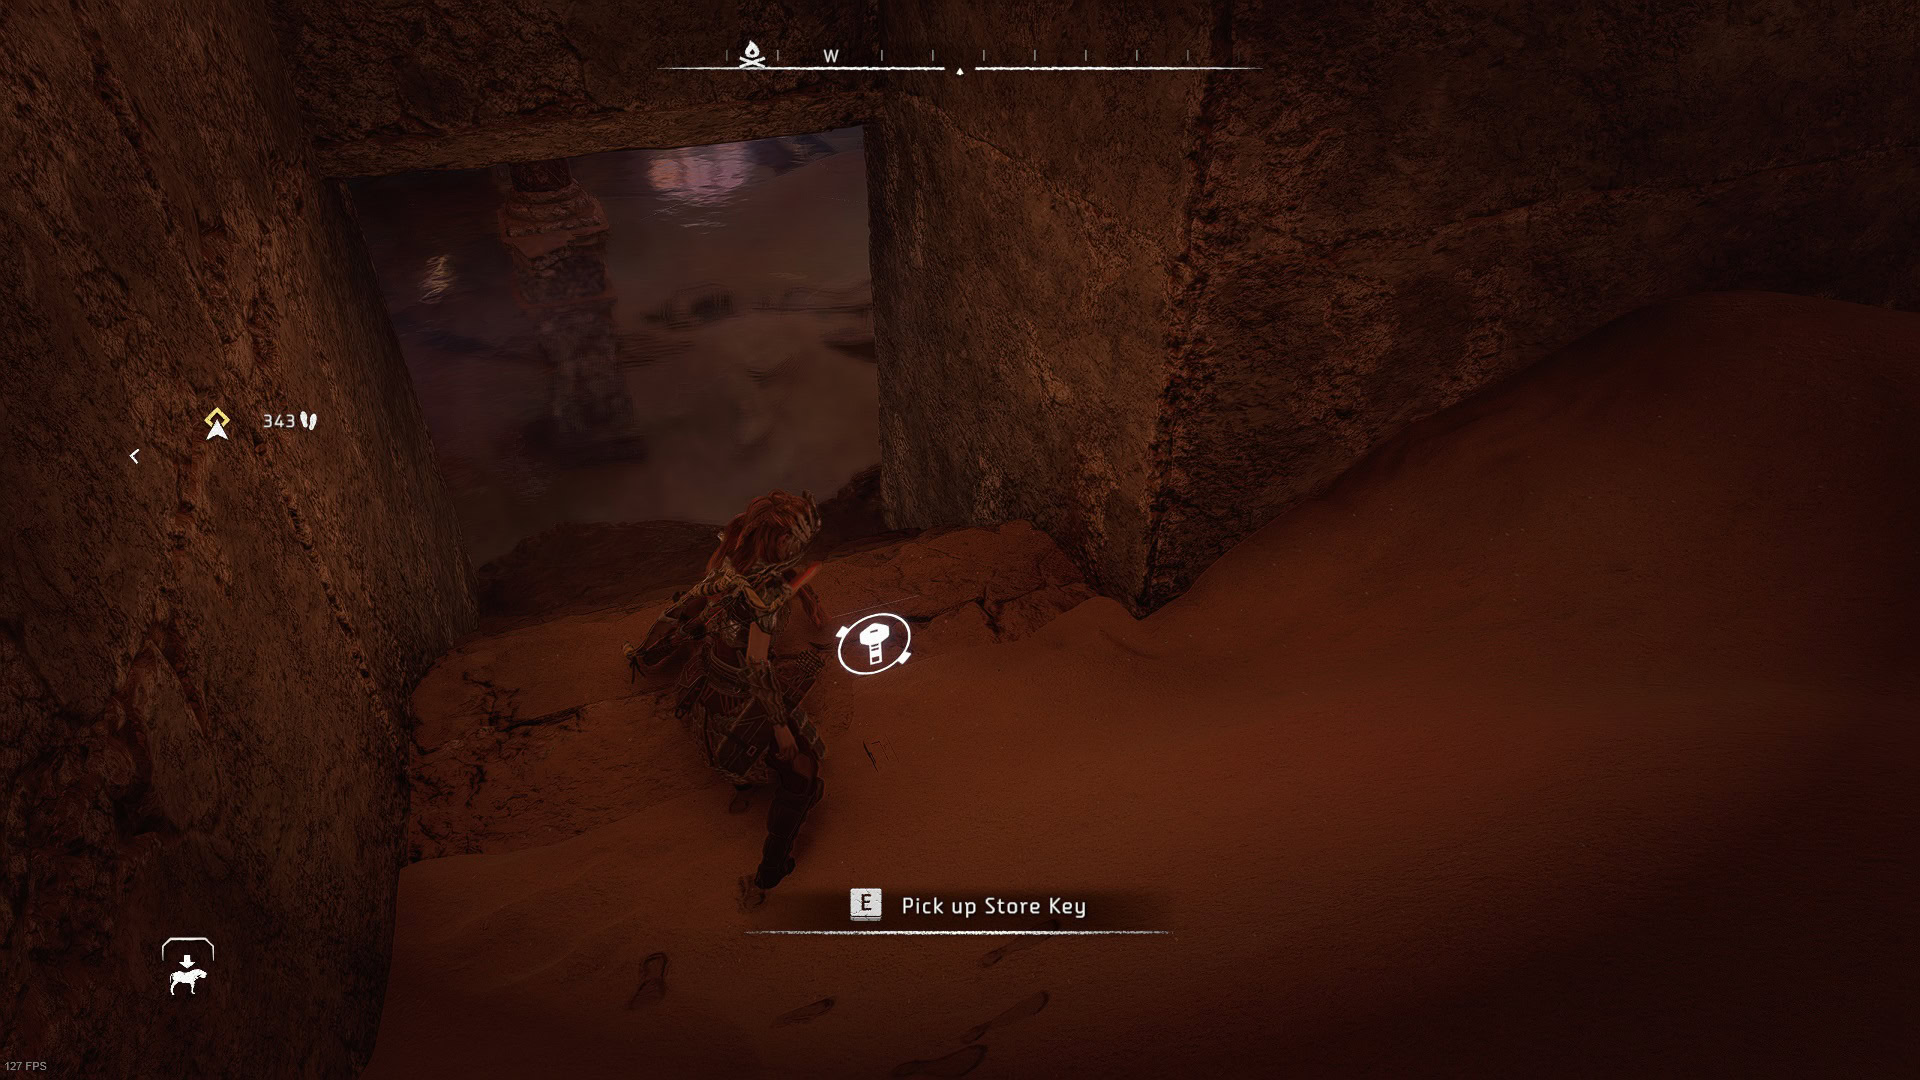
Pick up the store key, go upstairs, and pick up the Ancient Supply Chest. Don’t forget to scan the Datapoint that’s next to the chest.
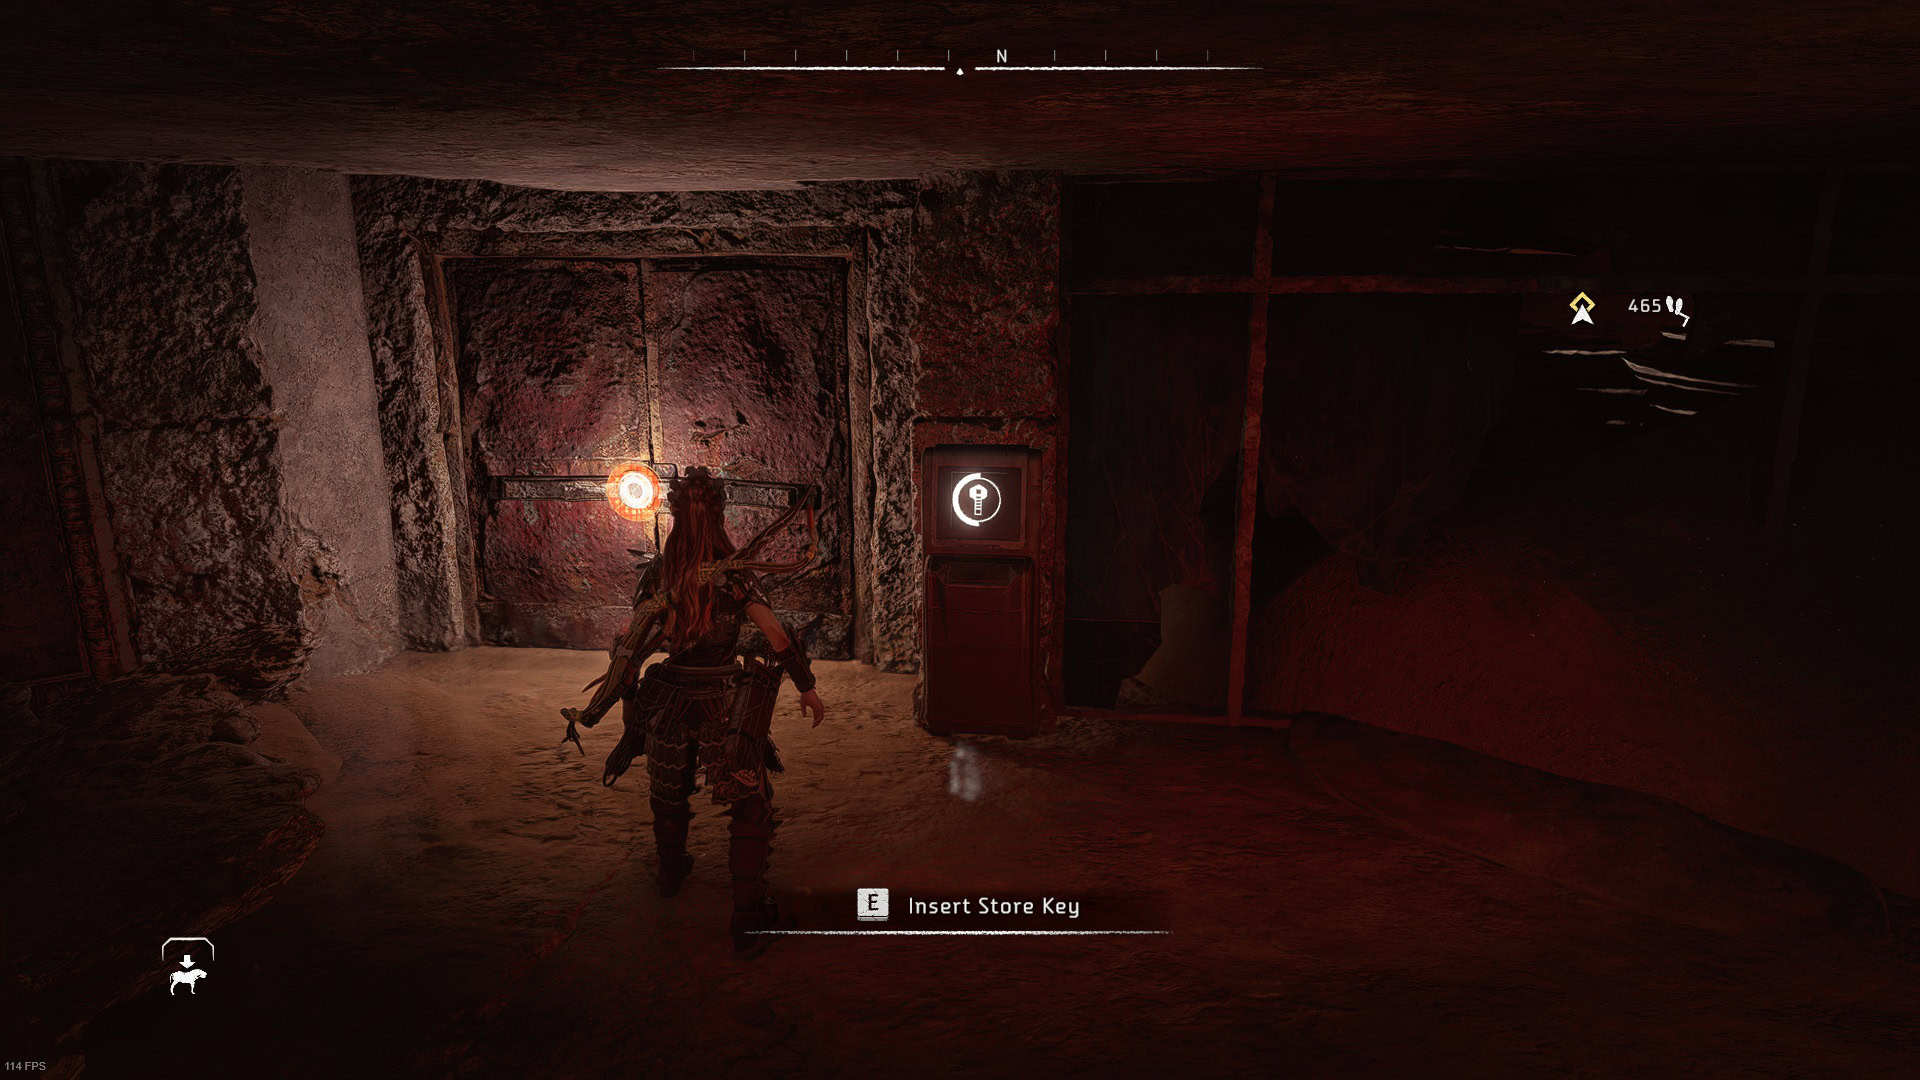
Go to the locked door and insert the key. This is located on level above the wall with the Firegleam you blew up. There’s an Ancient Supply Safe on the right side of the key module.
There’s a crate behind the doors, push it until it falls in the water. The next step is to move it to the exact opposite side of the ruins.
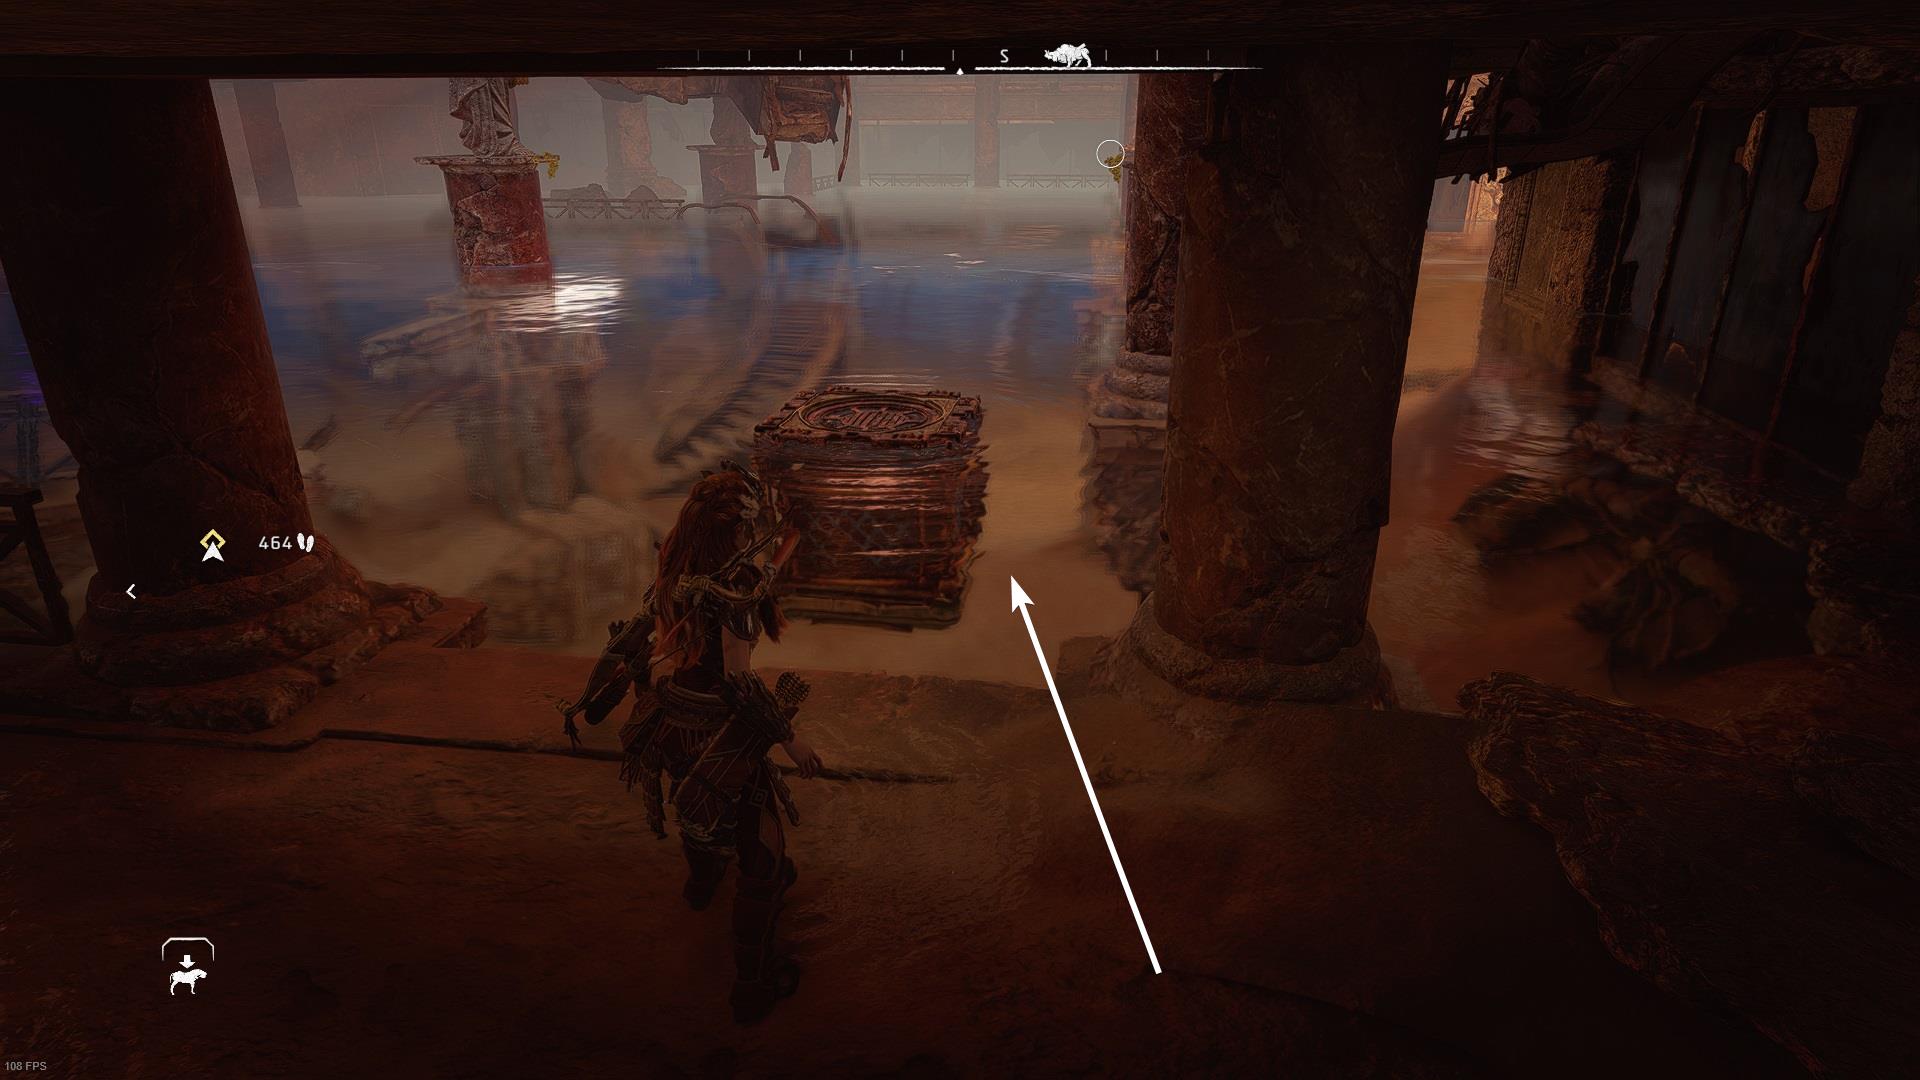
Go near the columns that are on the right and left sides. There’s a small spot where you can stand and use the Pullcaster to pull the crate. It can be tricky to find the right spot, try multiple times if needed.
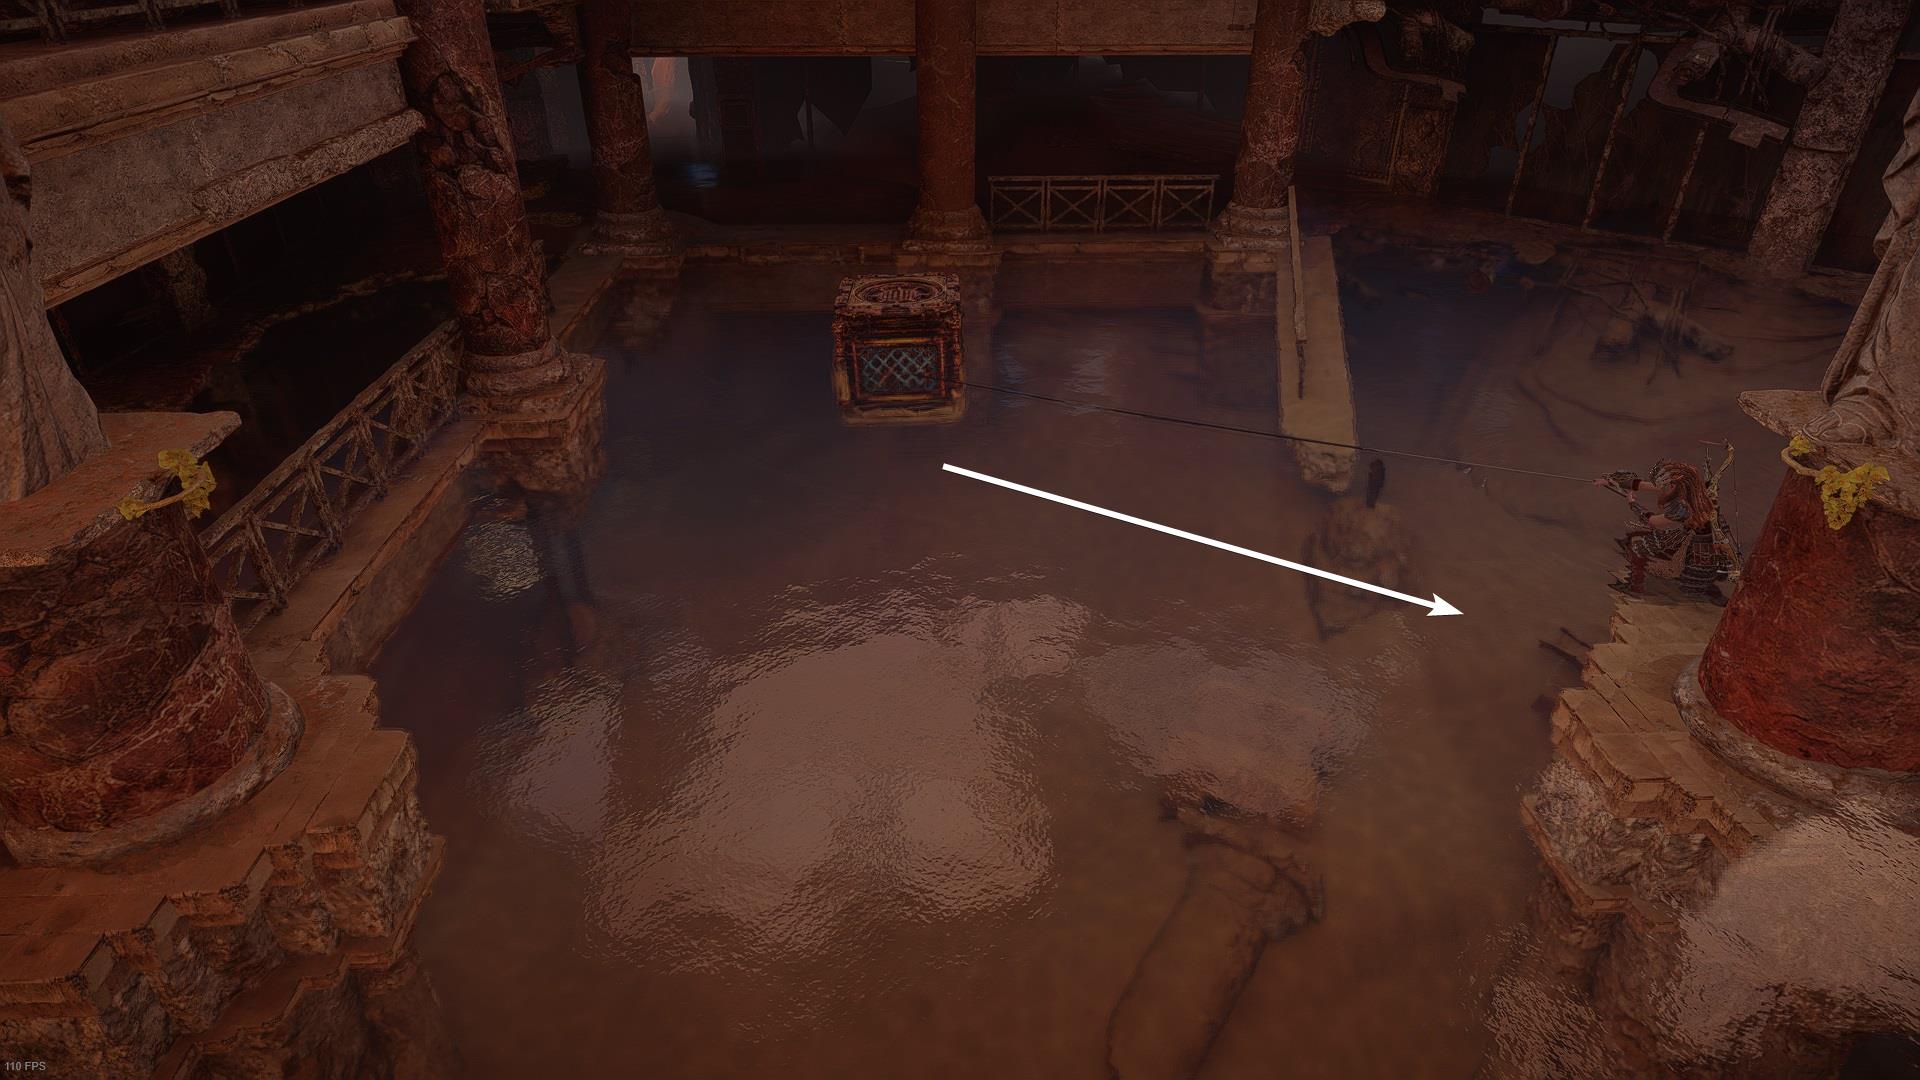
You need to repeat this process multiple times, there are different ways of doing but what I found to be more consistent is doing a zig-zag pattern.
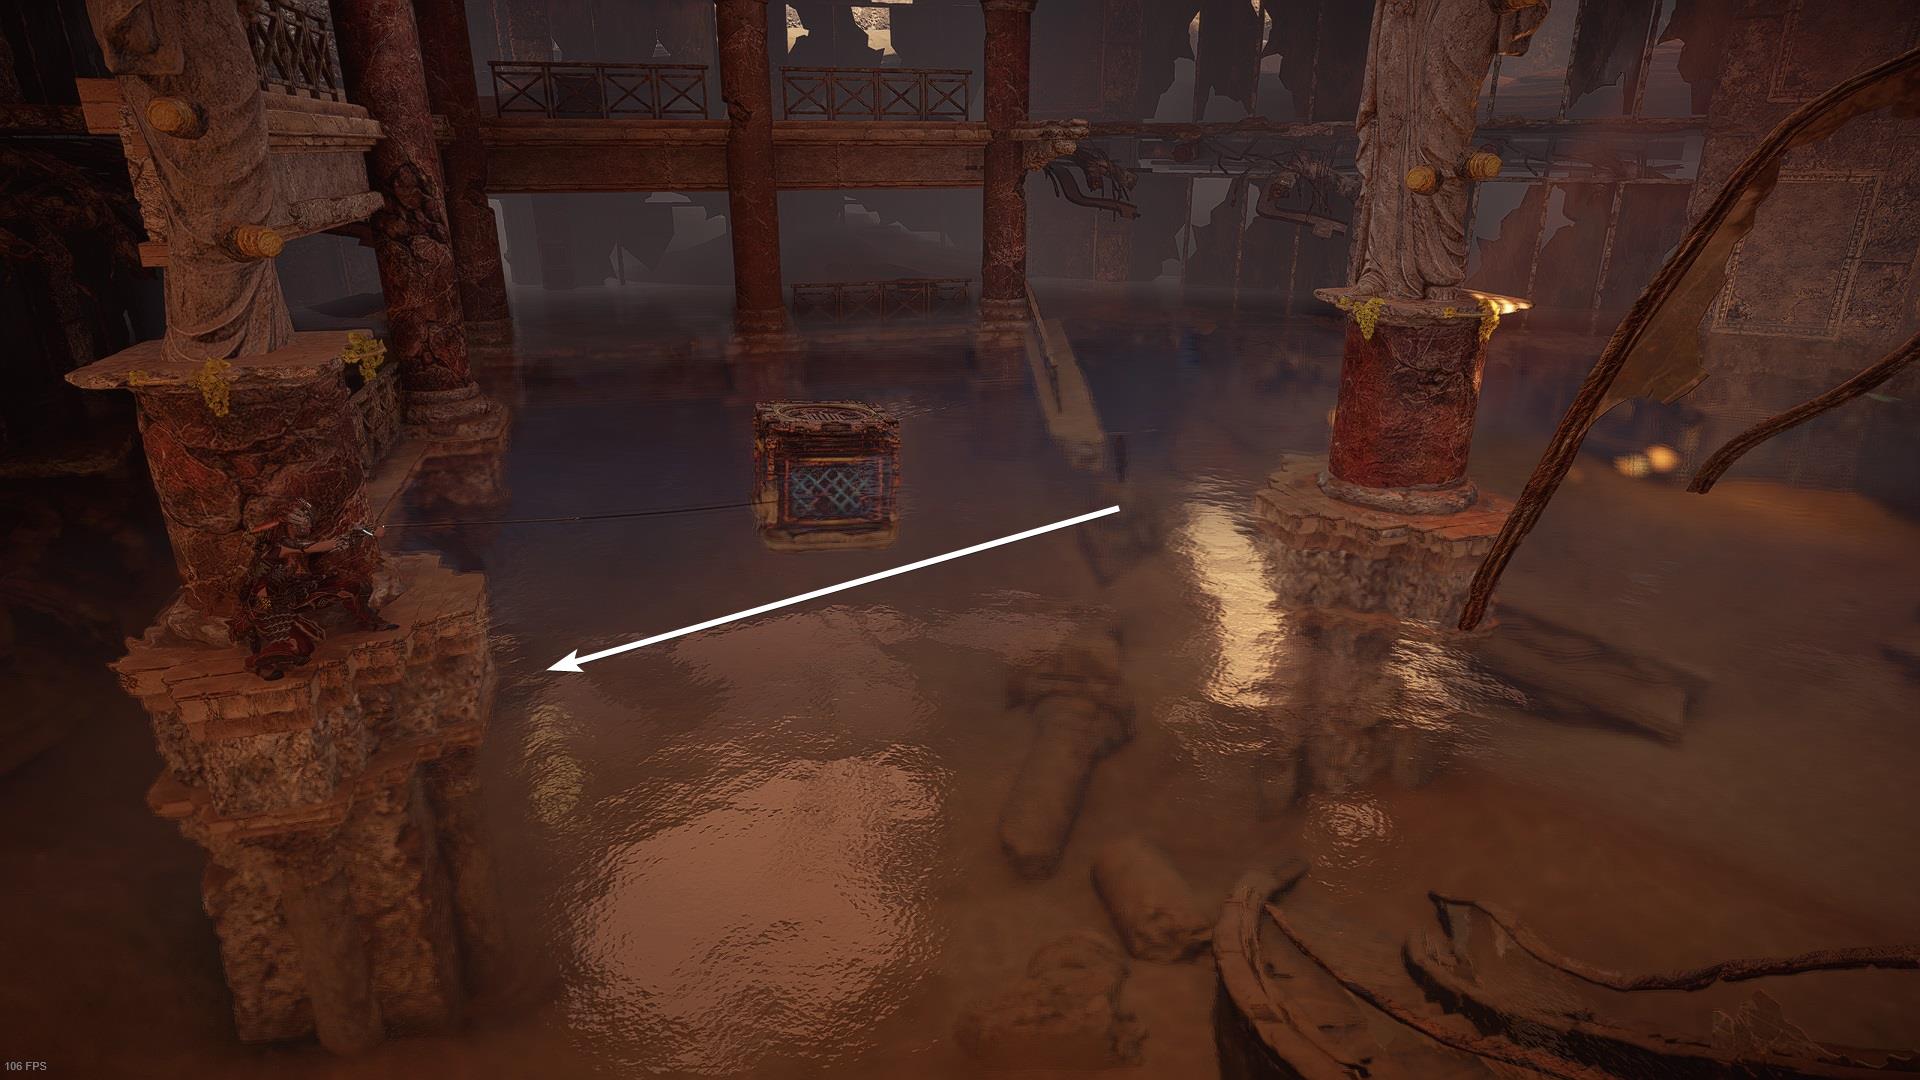
The range of the Pullcaster is limited, you still need to be fairly close to the crate for the Pullcaster to make contact.
Don’t worry if the crate gets a little stuck behind an object. As long as Aloy keeps pulling the crate will move, it may just be a bit slow.
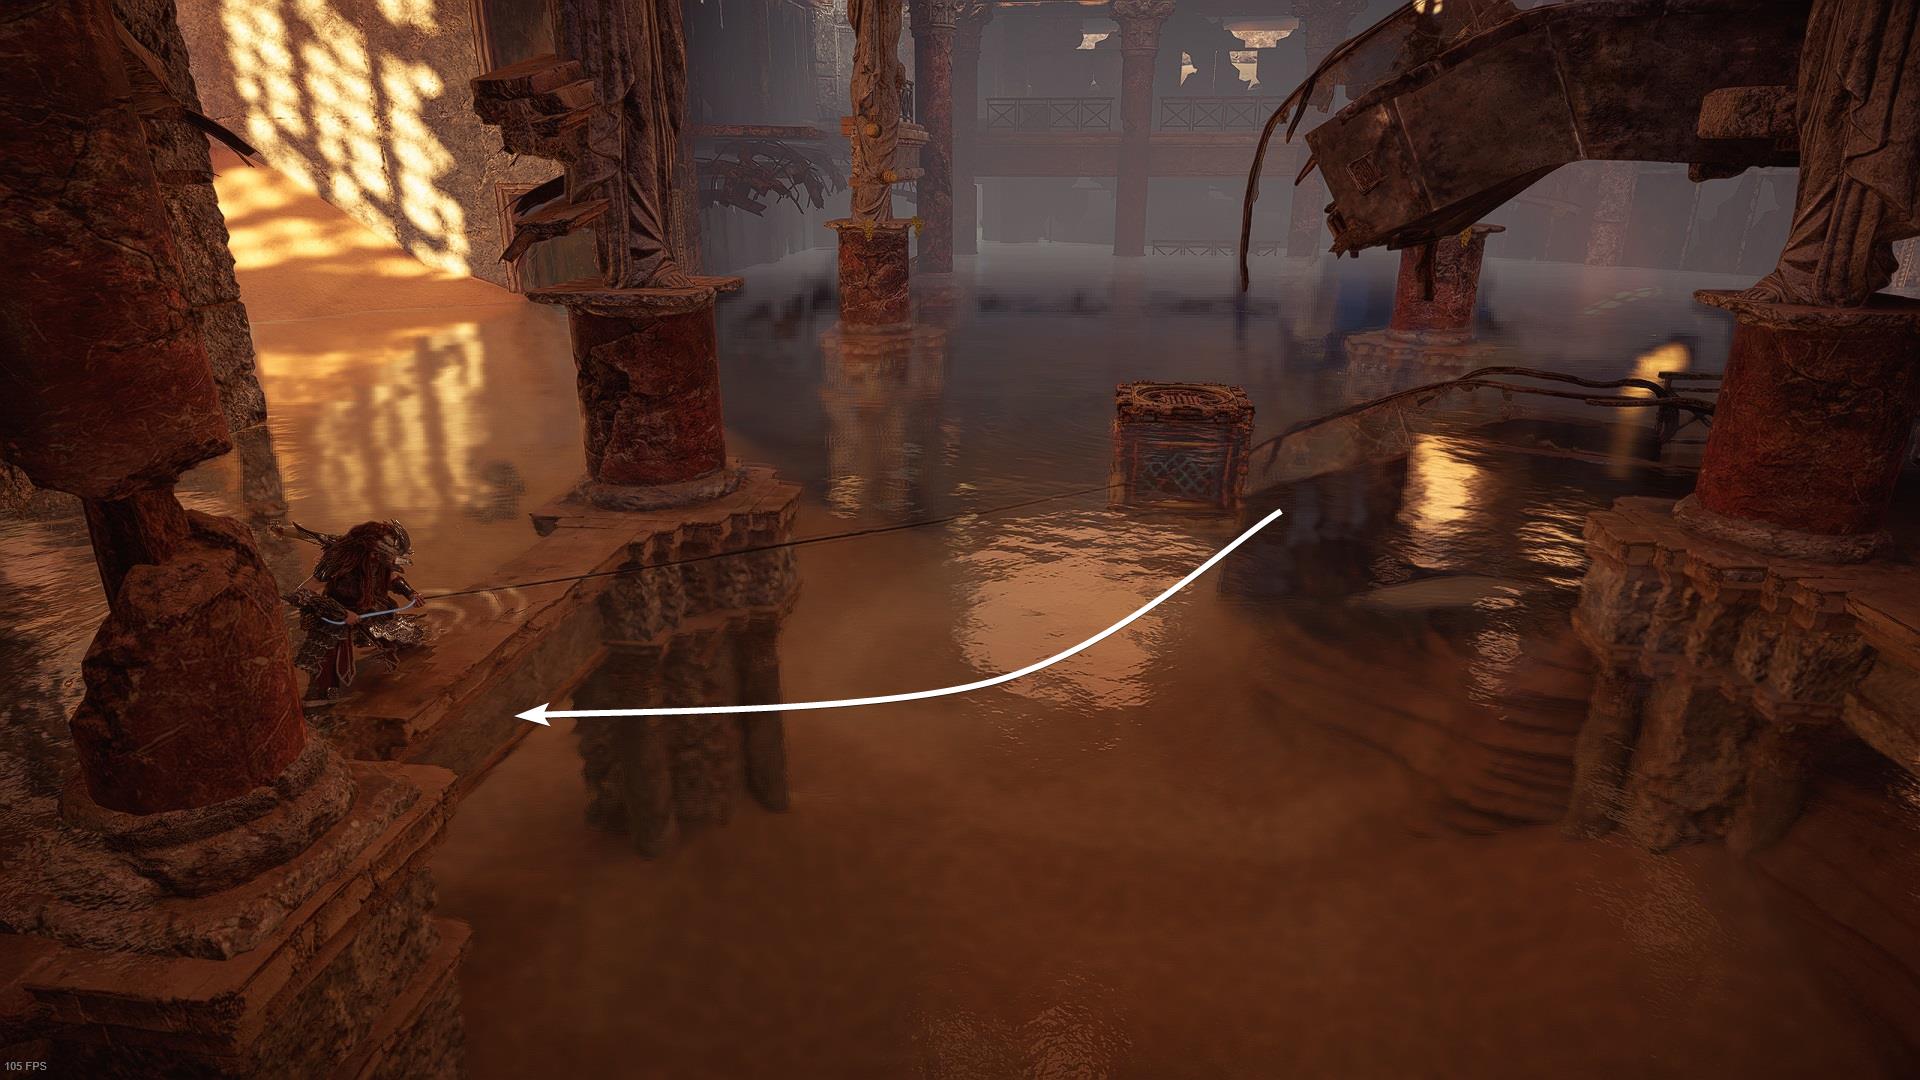
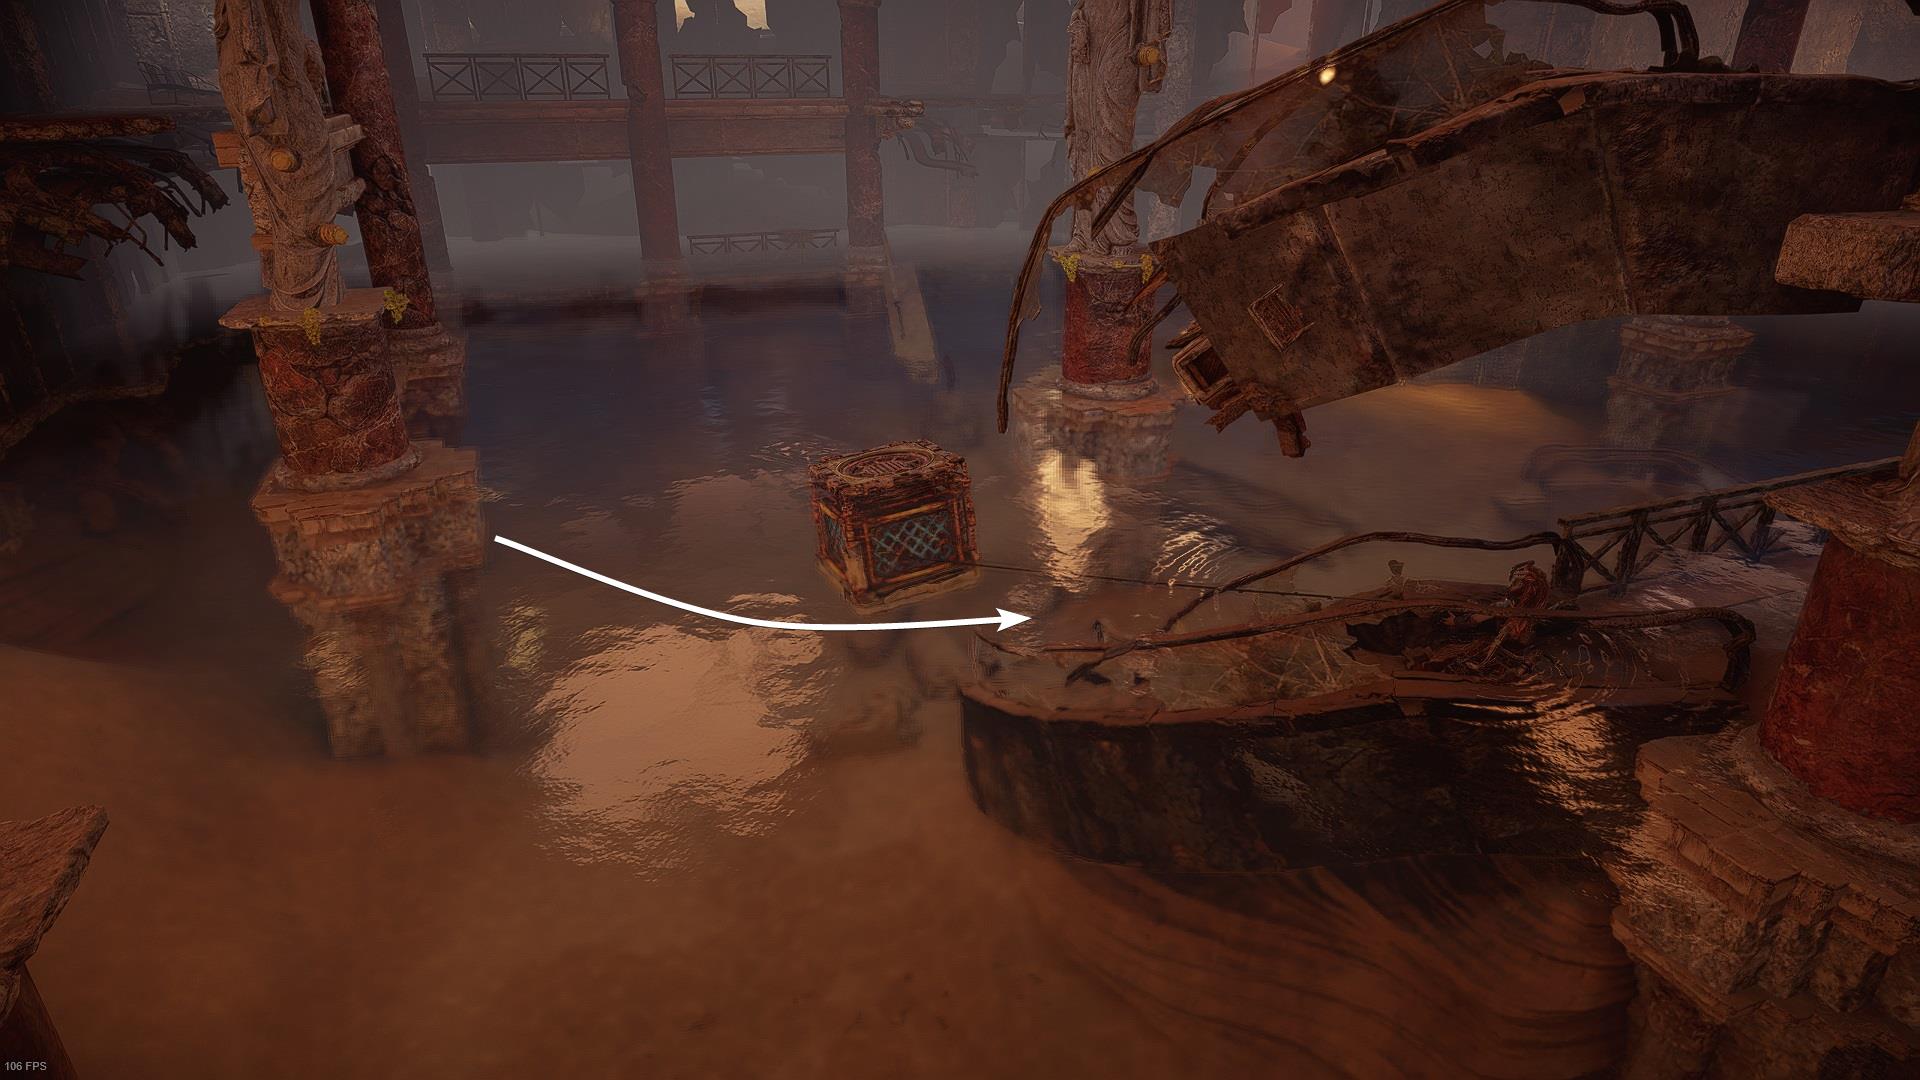
For the last part, you must line up the crate with a climbing node. However, for some reason you can’t pull it if you’re behind the handrail. Regardless of the angle or distance, it simply doesn’t work.
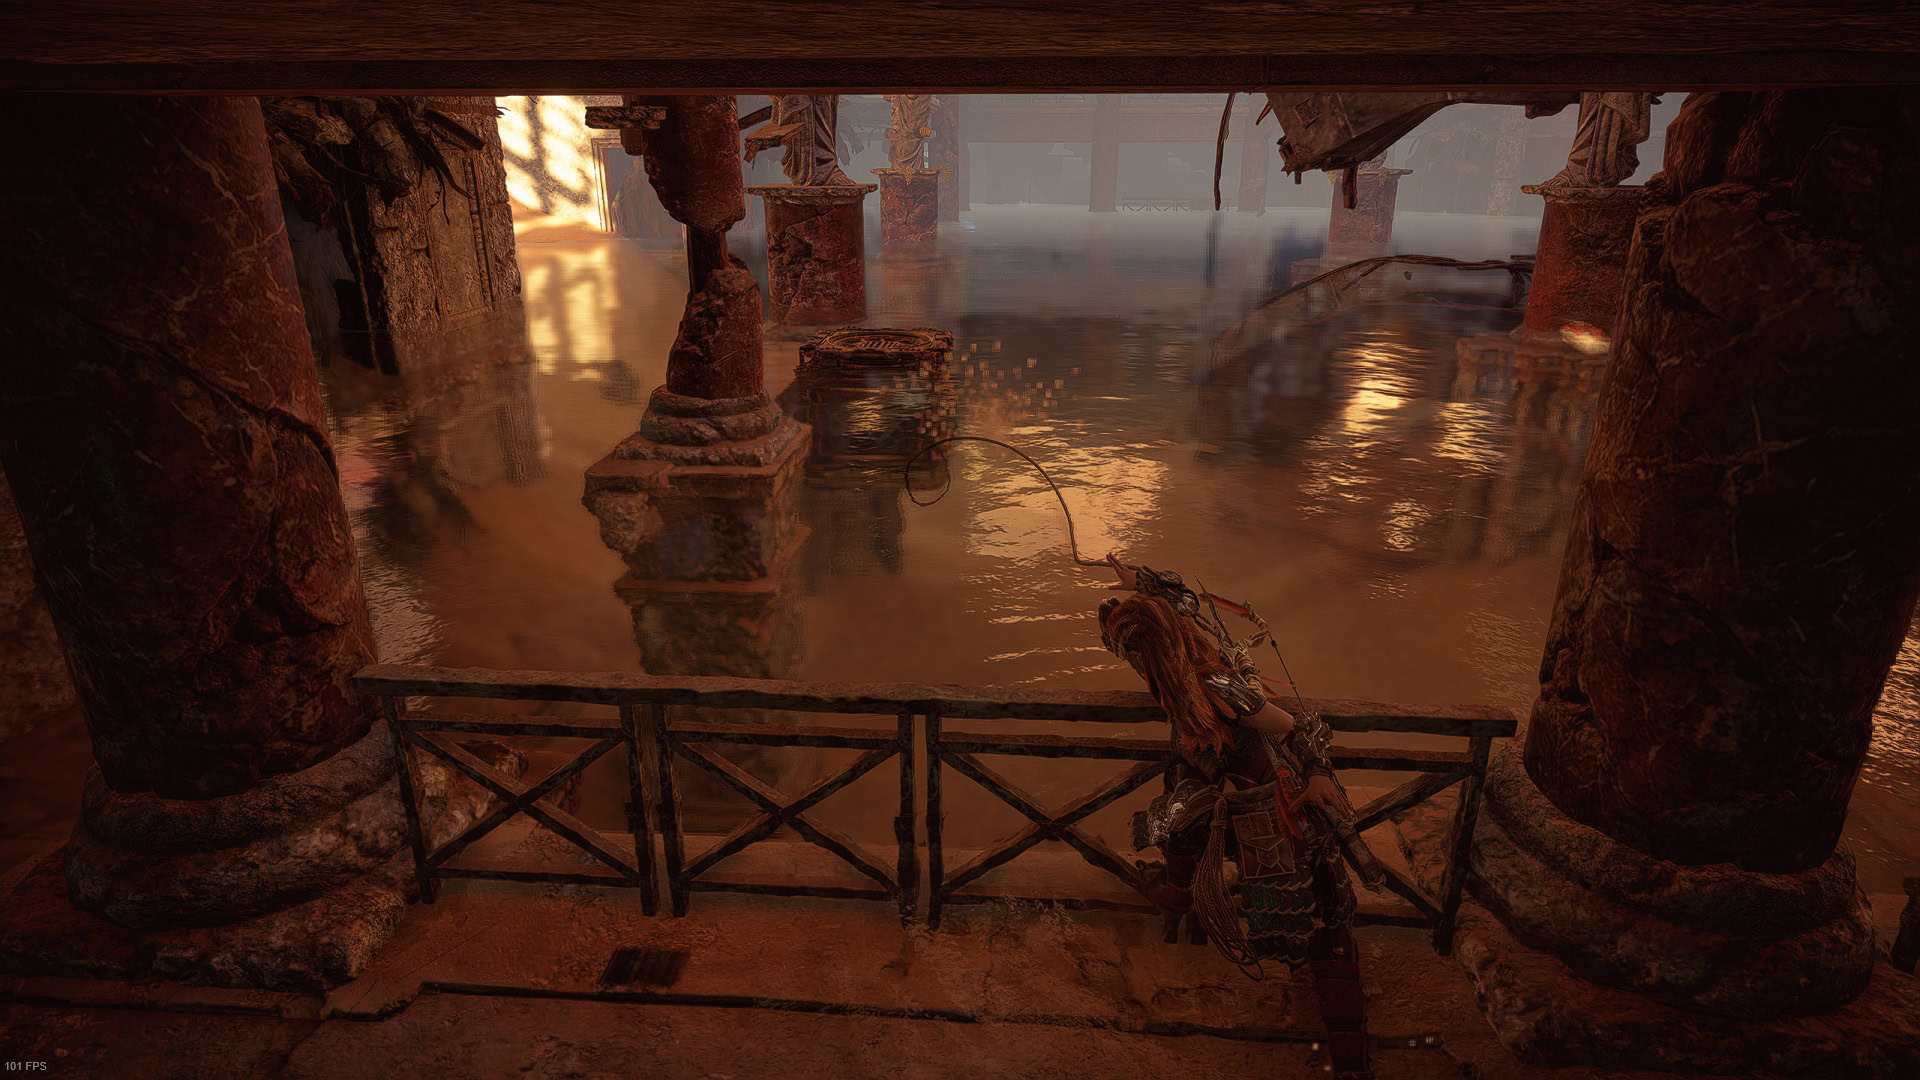
Simply stand on the elevated ground that’s behind the handrail, you won’t have any issues pulling the crate.
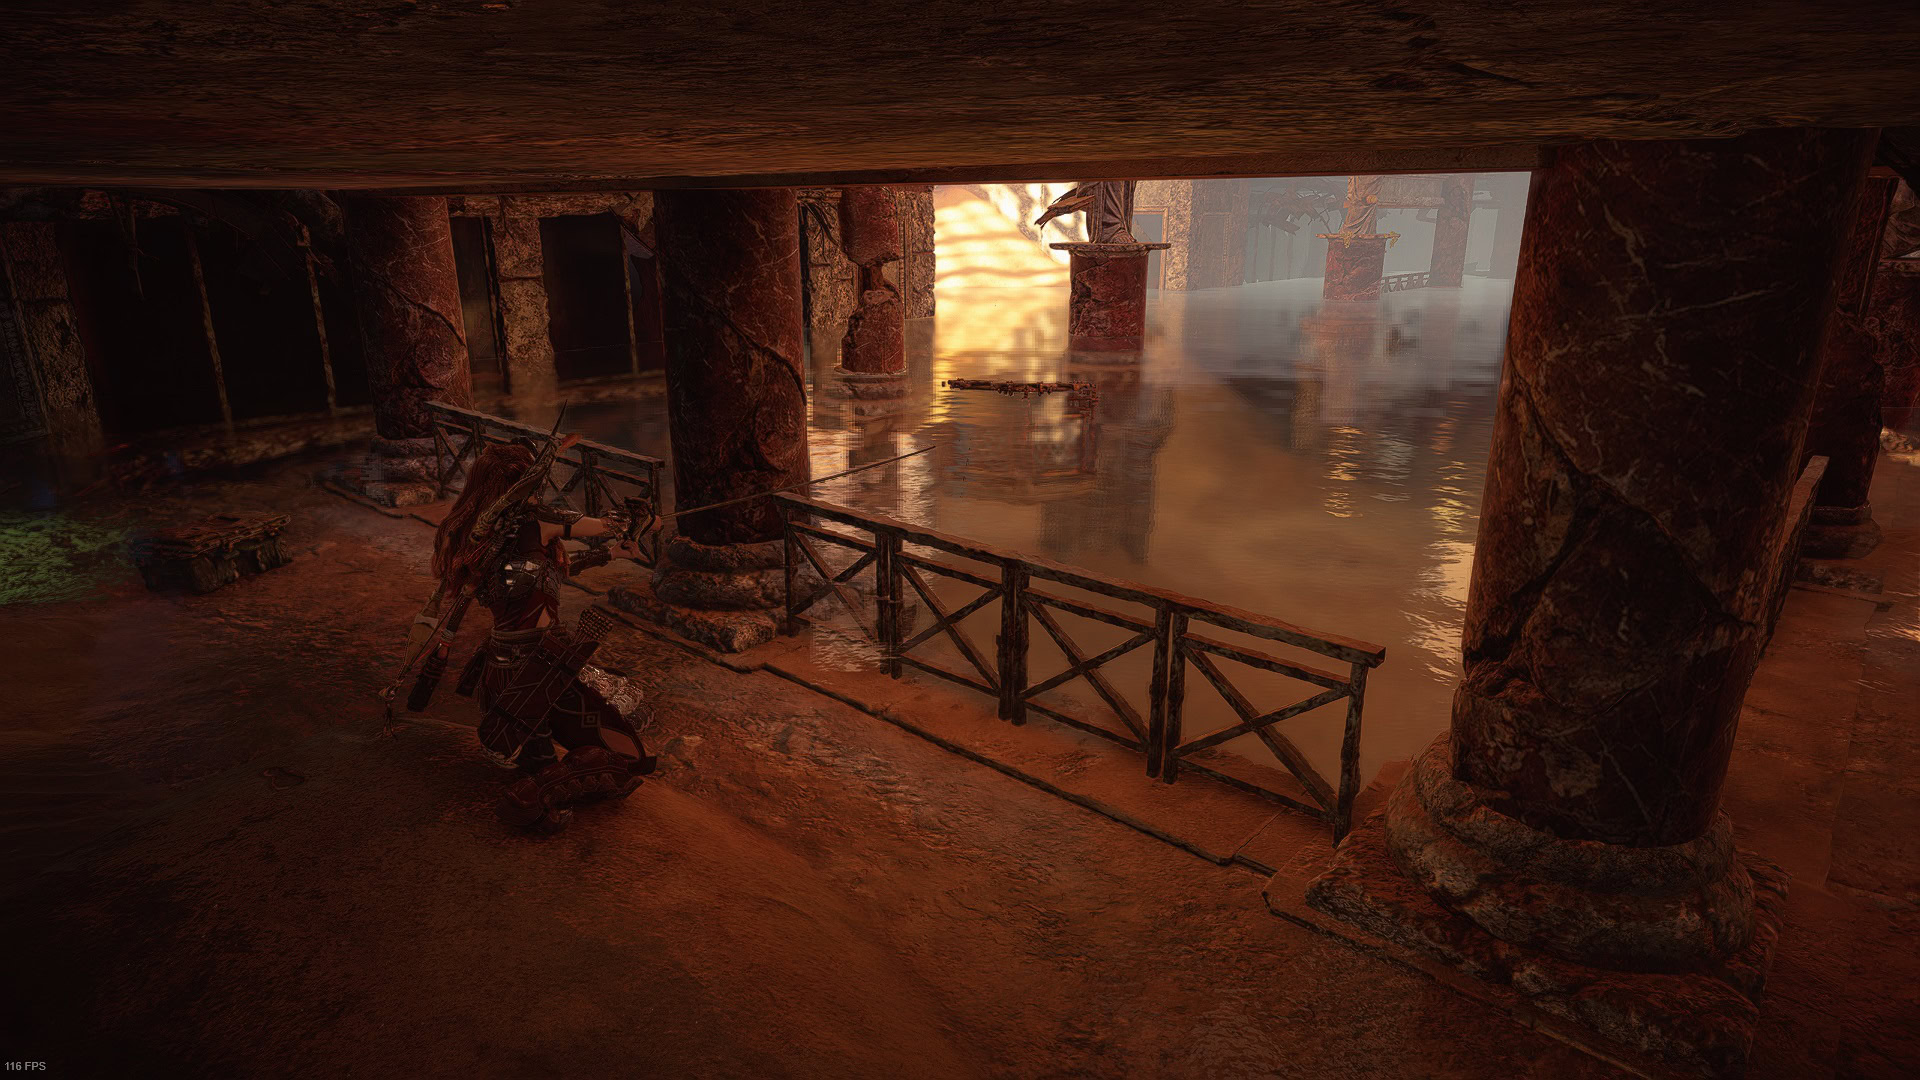
Don’t forget to grab the Ancient Supply Crate and Greenshine Sliver that are right in the corner. Then, jump on the crate and then to the climbing nodes.
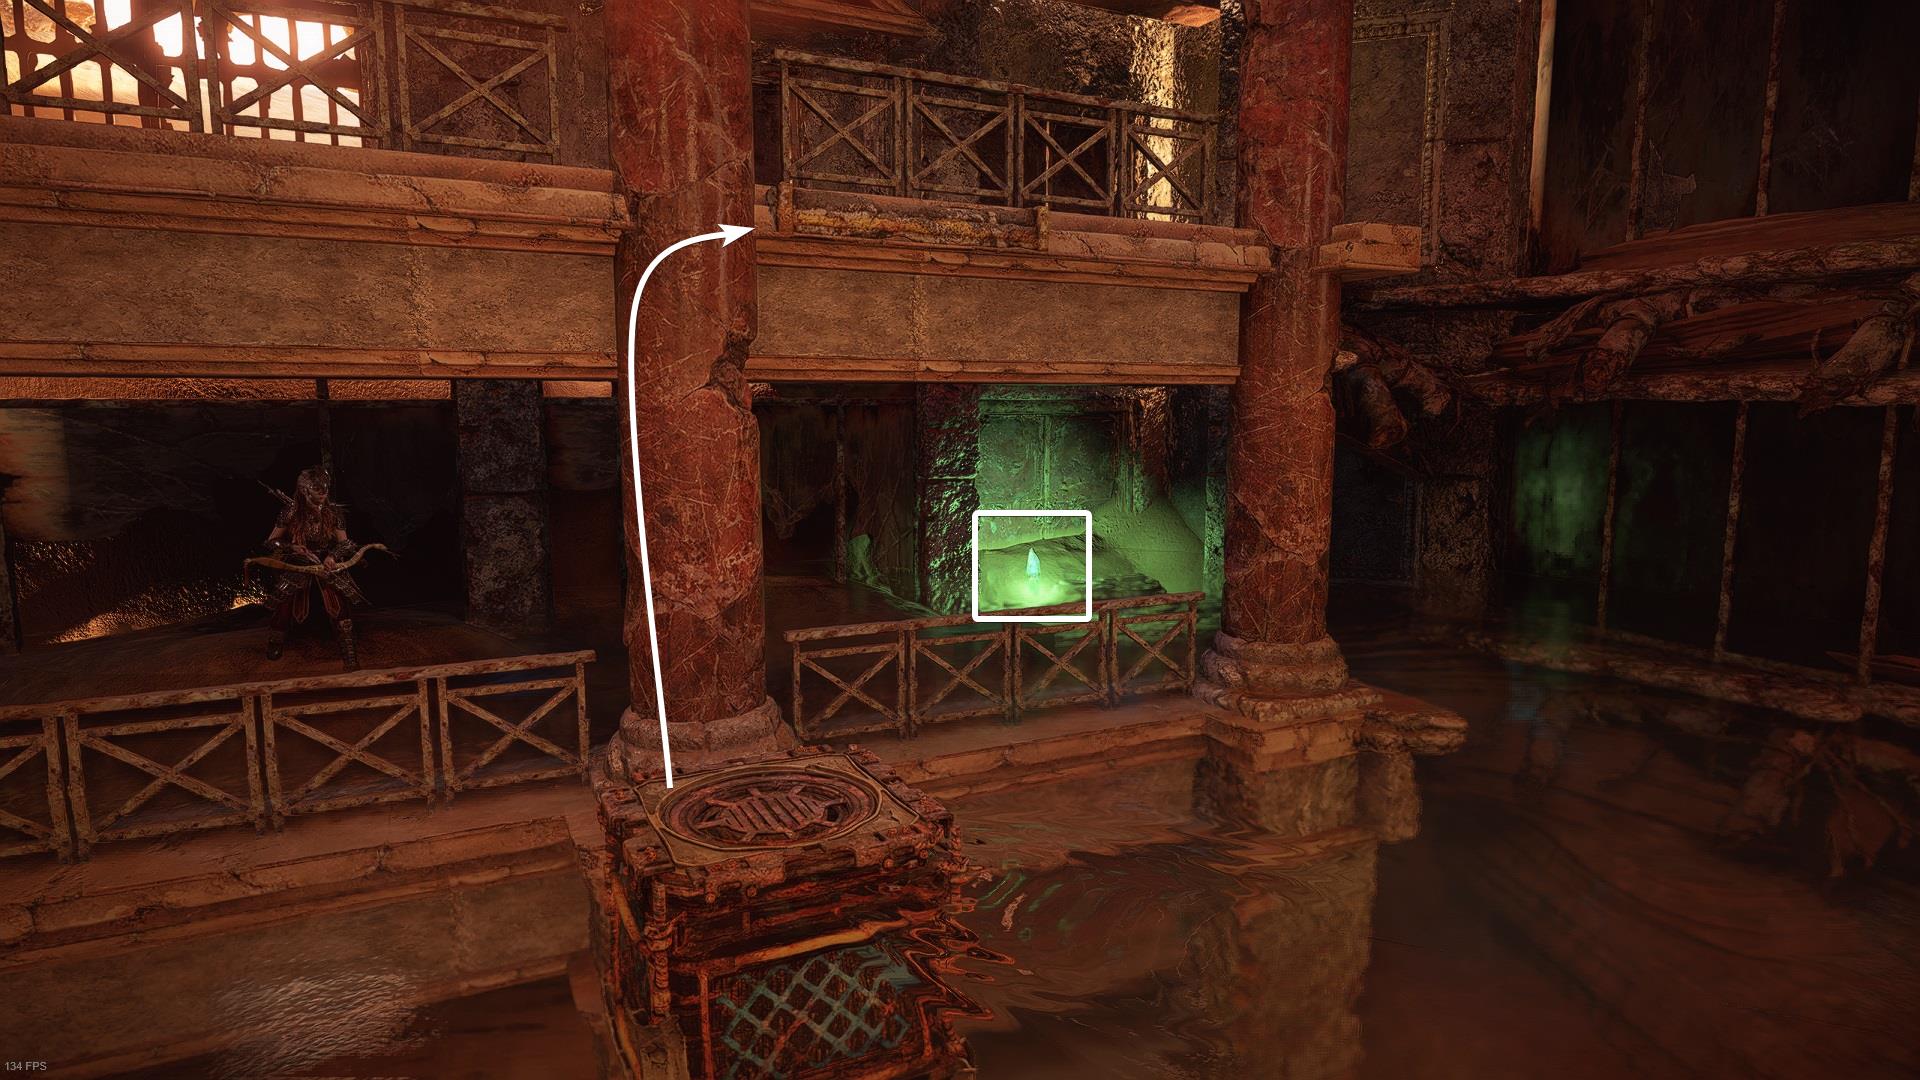
You already did the hardest part, now just climb all the way to the top.

The Stillsands Ornament will be waiting at the top. Additionally, you will earn five thousand XP and two extra skill points.