This guide will show you how to solve the Isle of Spires Relic Ruins puzzle and how to get the very rare Isle of Spires Ornament.
What Are Relic Ruins and Ornaments
Relic Ruins in Horizon Forbidden West are optional activities that take you to what’s left of Old World buildings. You must solve puzzles to reach a specific spot in order to obtain an Ornament, one of the game’s collectible items.
There’s a total of ten Ornaments, each Ornament represents a holiday. They can be given to Stemmur in Hidden Ember. He will then project holographic lights on the sky depending on which Ornament you give him.
Relic Ruins: Isle of Spires Walkthrough
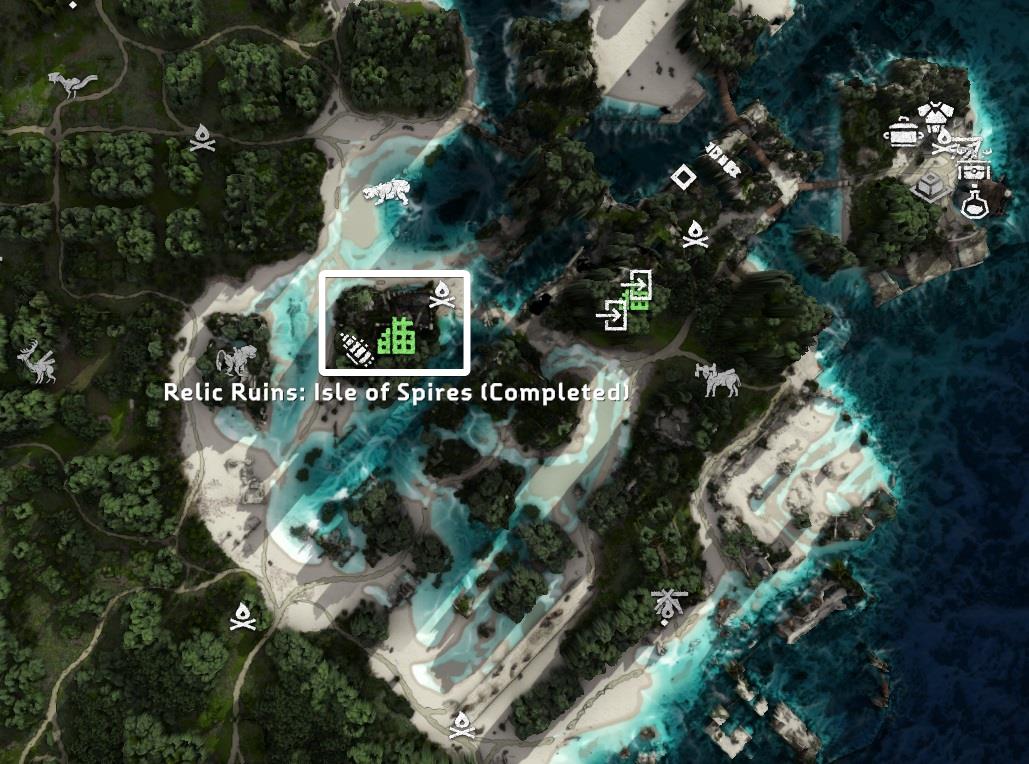
These ruins are located on the Isle of Spires, on the far West side of the map. To solve the puzzle you must have the Igniter and Vine Cutter in your inventory, which are unlocked and obtained after completing the main quests Death’s Door and Seeds of the Past respectively. This island can only be accessed after completing the main quests The Broken Sky, The Sea of Sands, and Seeds of the Past.
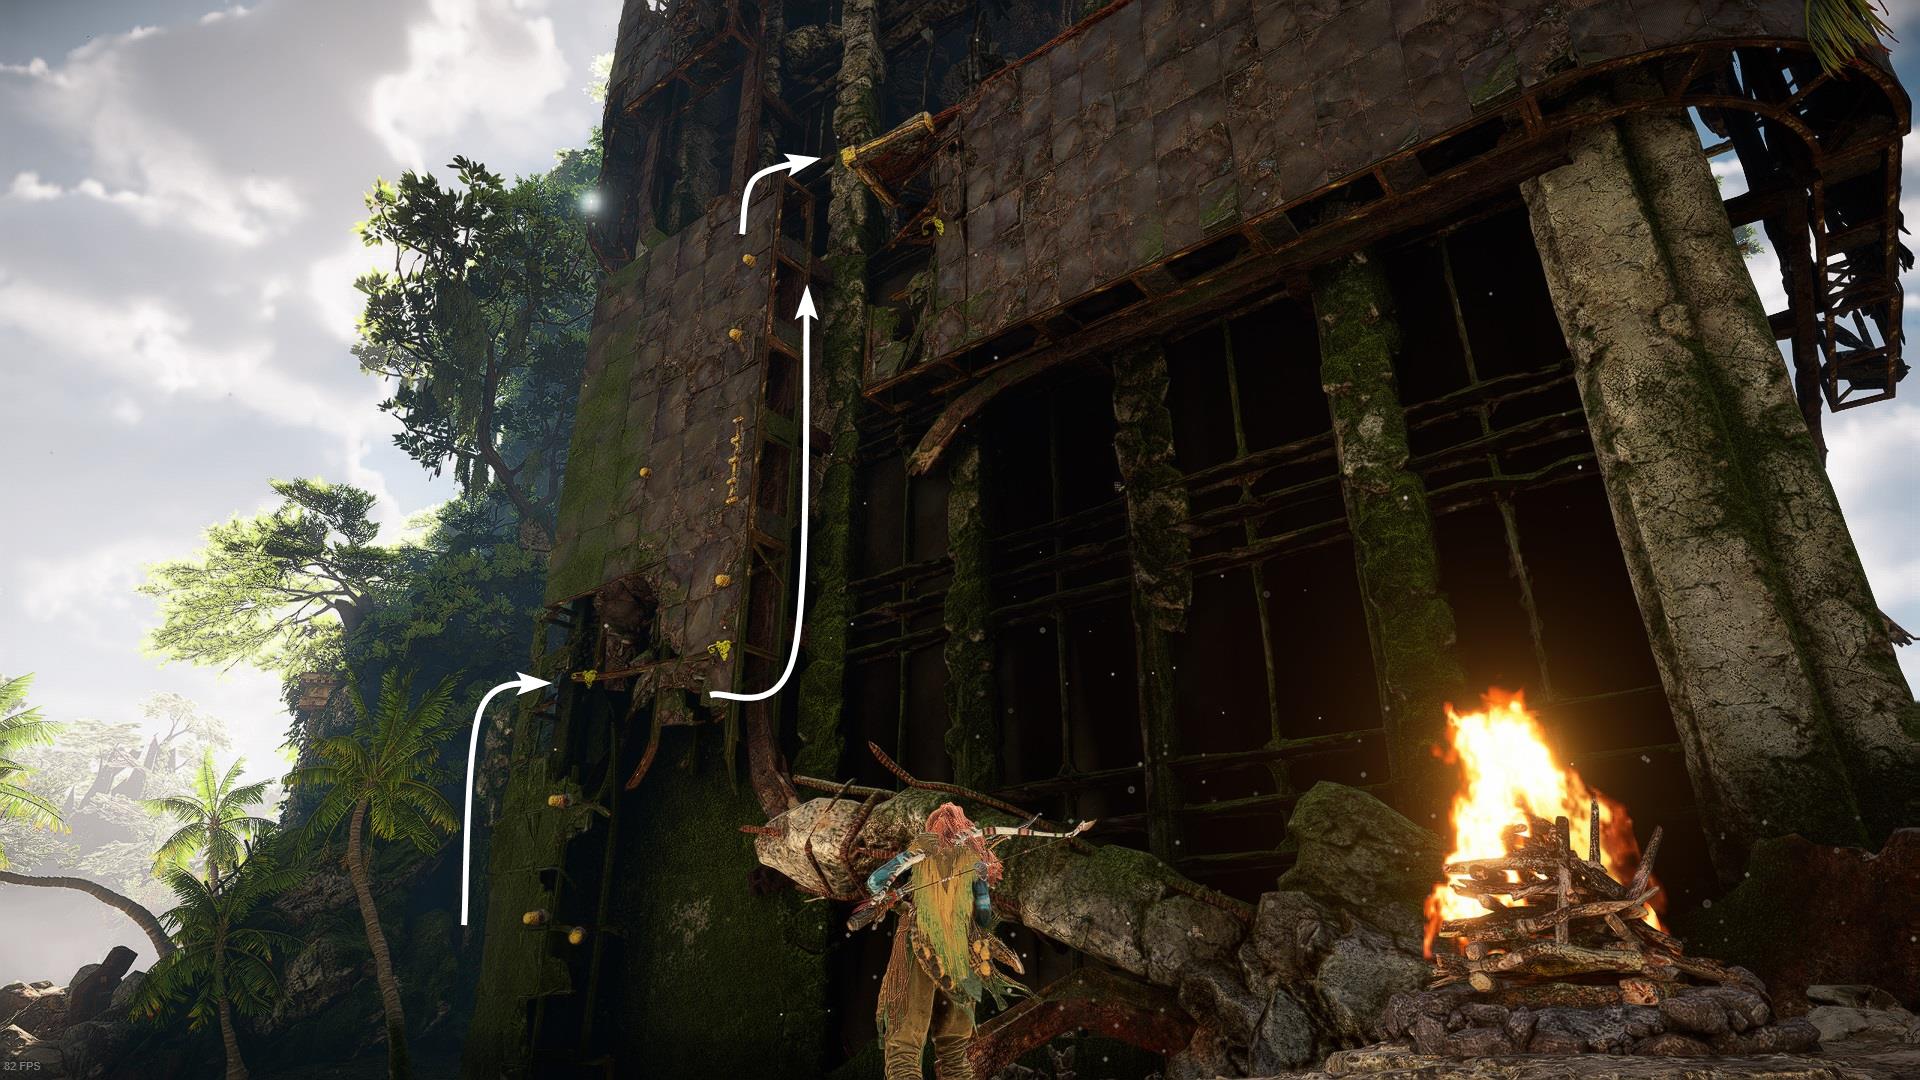
Use the campfire on the northeast side as a starting point. You will see a wall full of climbing nodes, climb all the way to the top.
Once there, go into the hallway on the left. You must find a working energy cell to power up the elevator on the right side.
Go all the way to the back and then turn right. Head into the last room.
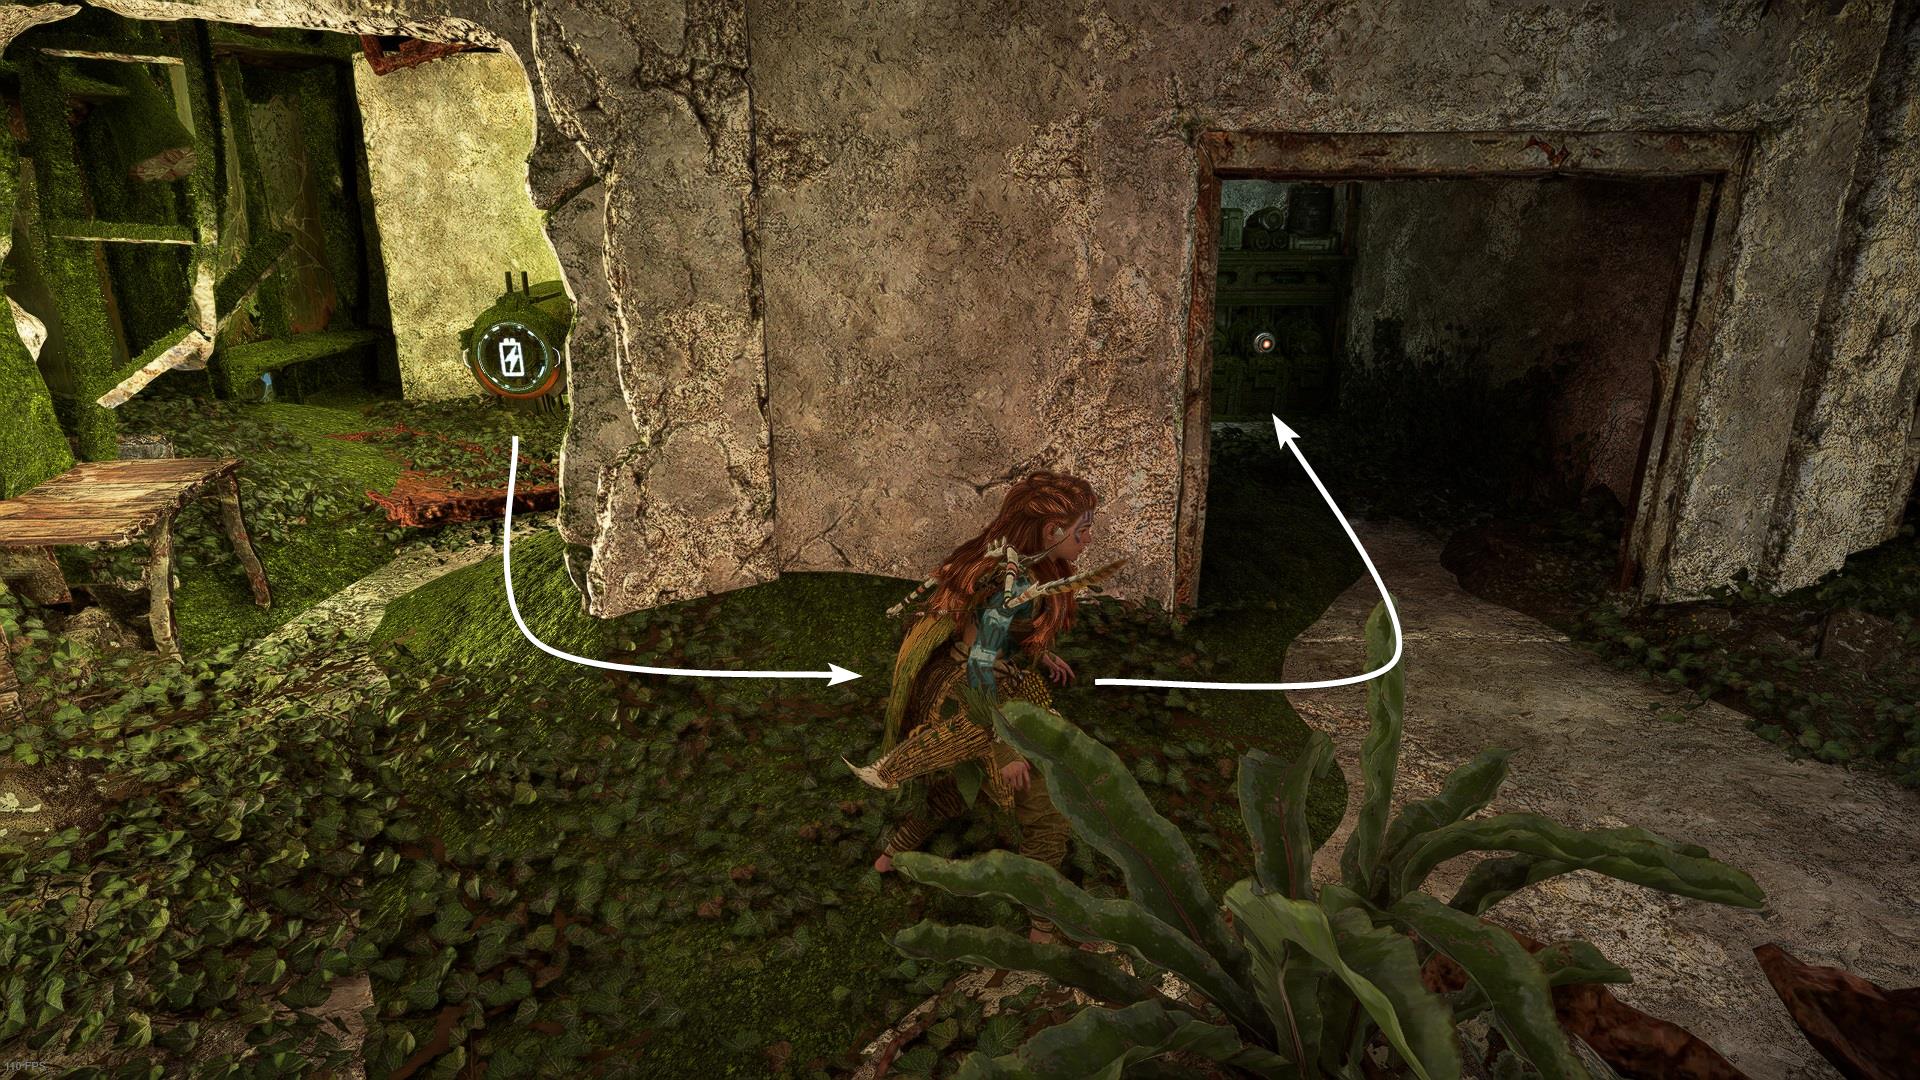
You will pass a charging terminal, go inside the room and look for the vent.
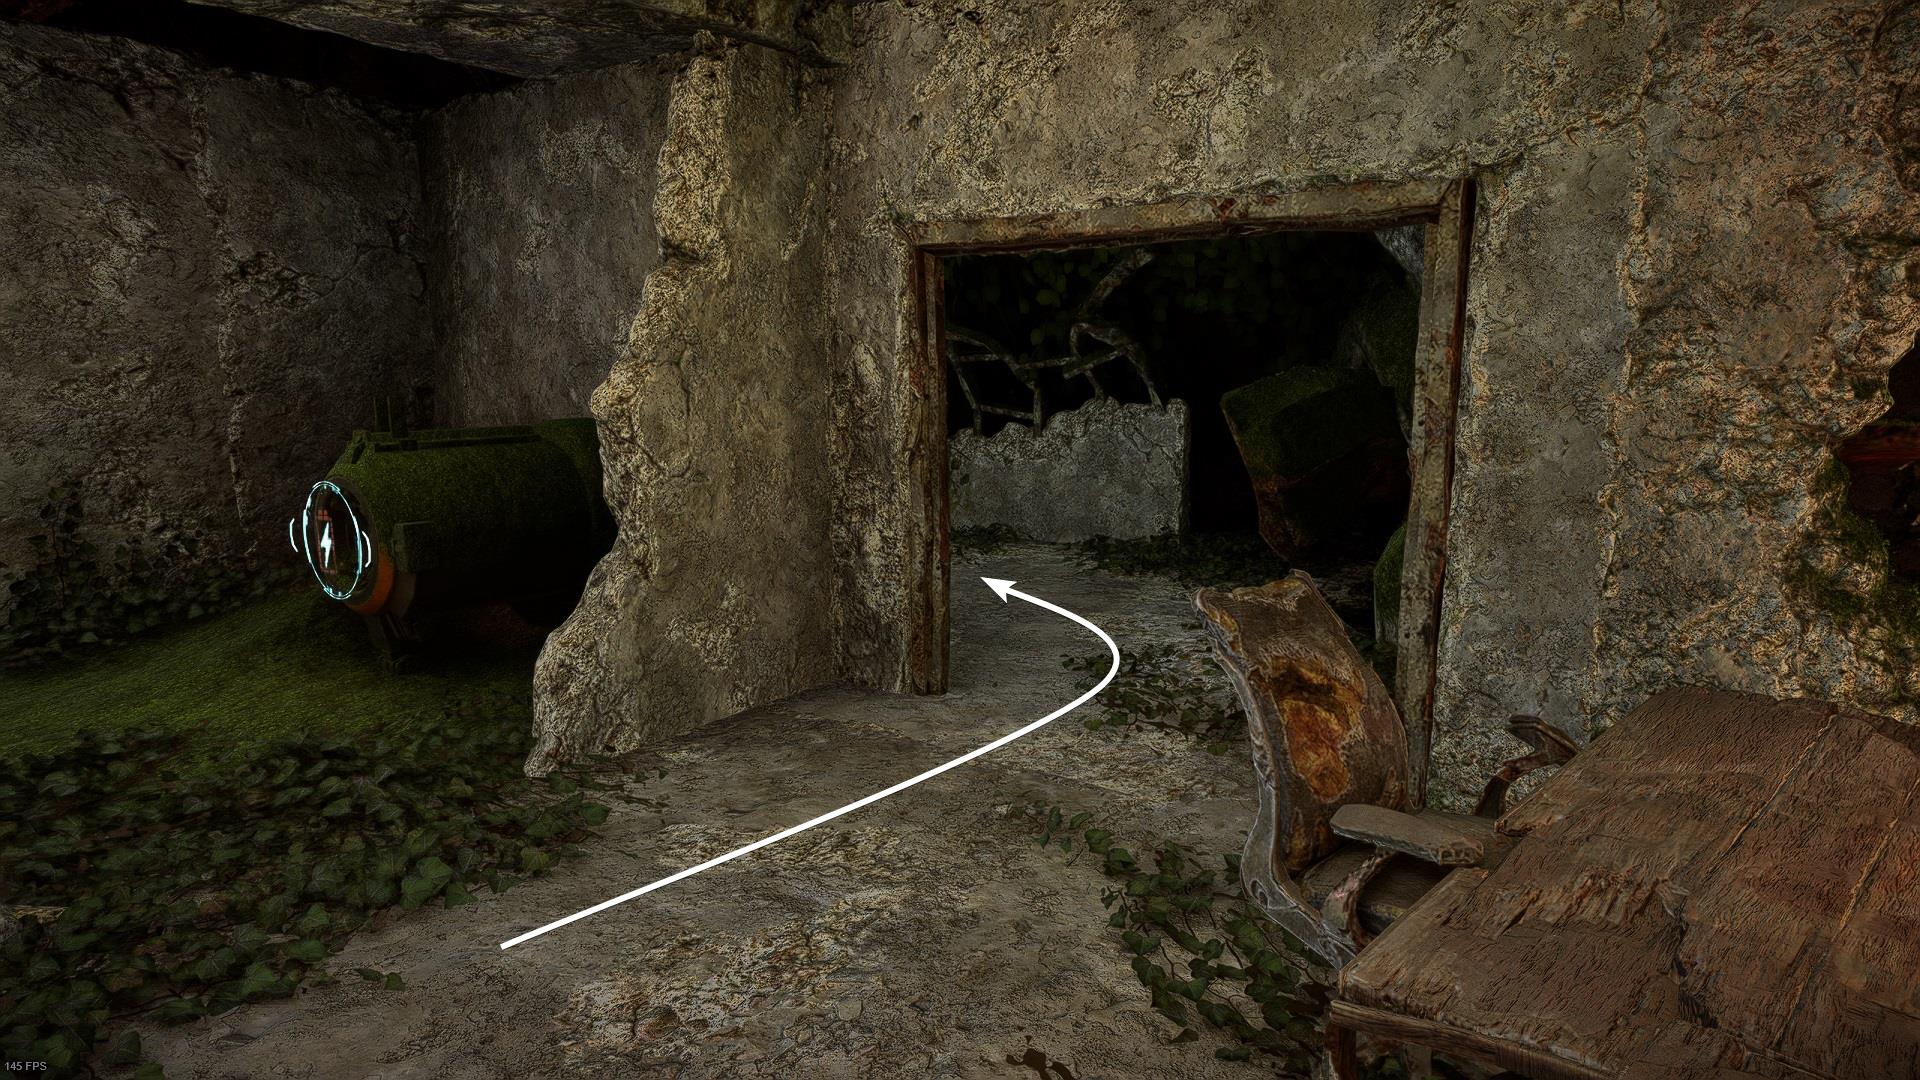
Use the Pullcaster to open the vent and get inside. It’s a very small vent so you can’t get lost.
You will drop into a room with another charging station and Firegleam. Use the Igniter on the Firegleam and walk as far as you can to avoid getting damaged.
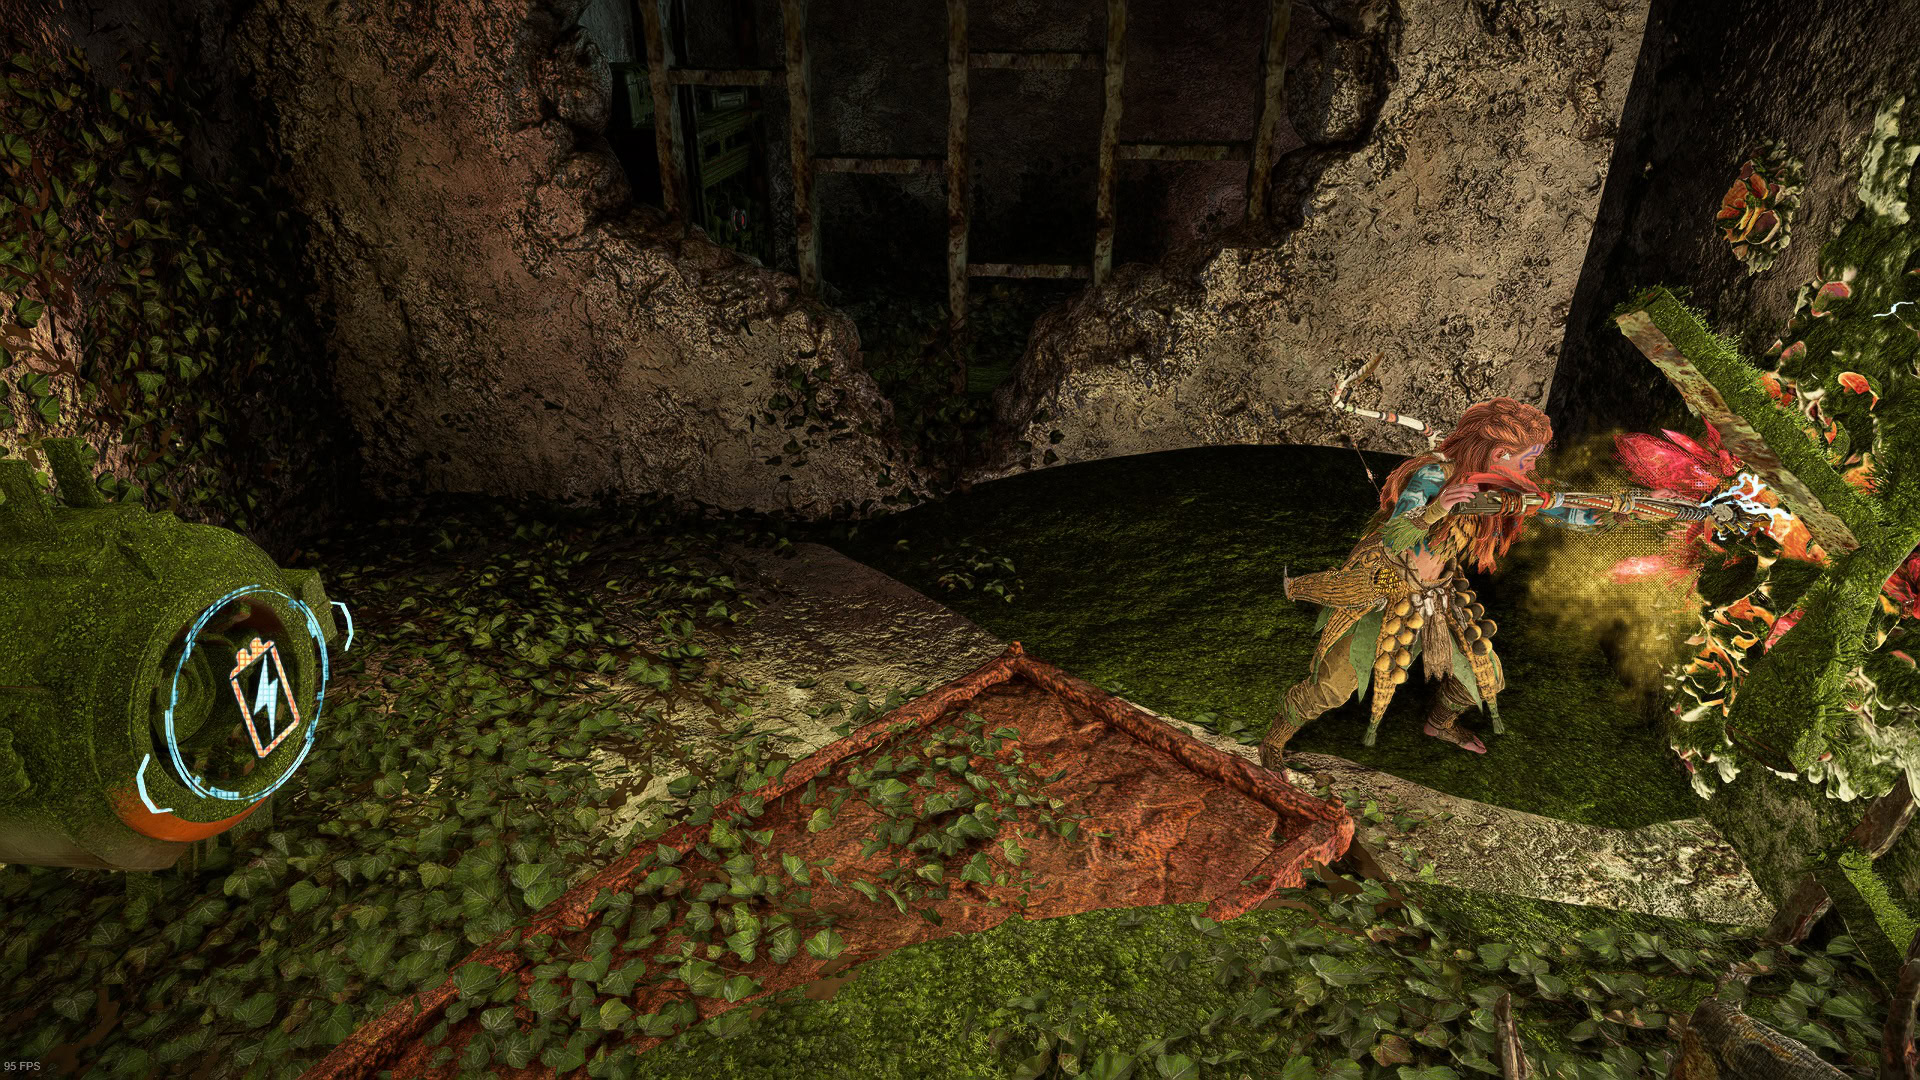
The energy cell that you’re looking for is in the next room. Take it and place it at the charging station of the room that you just came out of. You must charge the energy cell there because it will only remain charged for enough time before completing the next step.
Take the energy cell to the terminal next to the elevator, and do it without losing time. Otherwise, you’ll have to try again. Call the elevator and go inside. This will take you to the lower level.

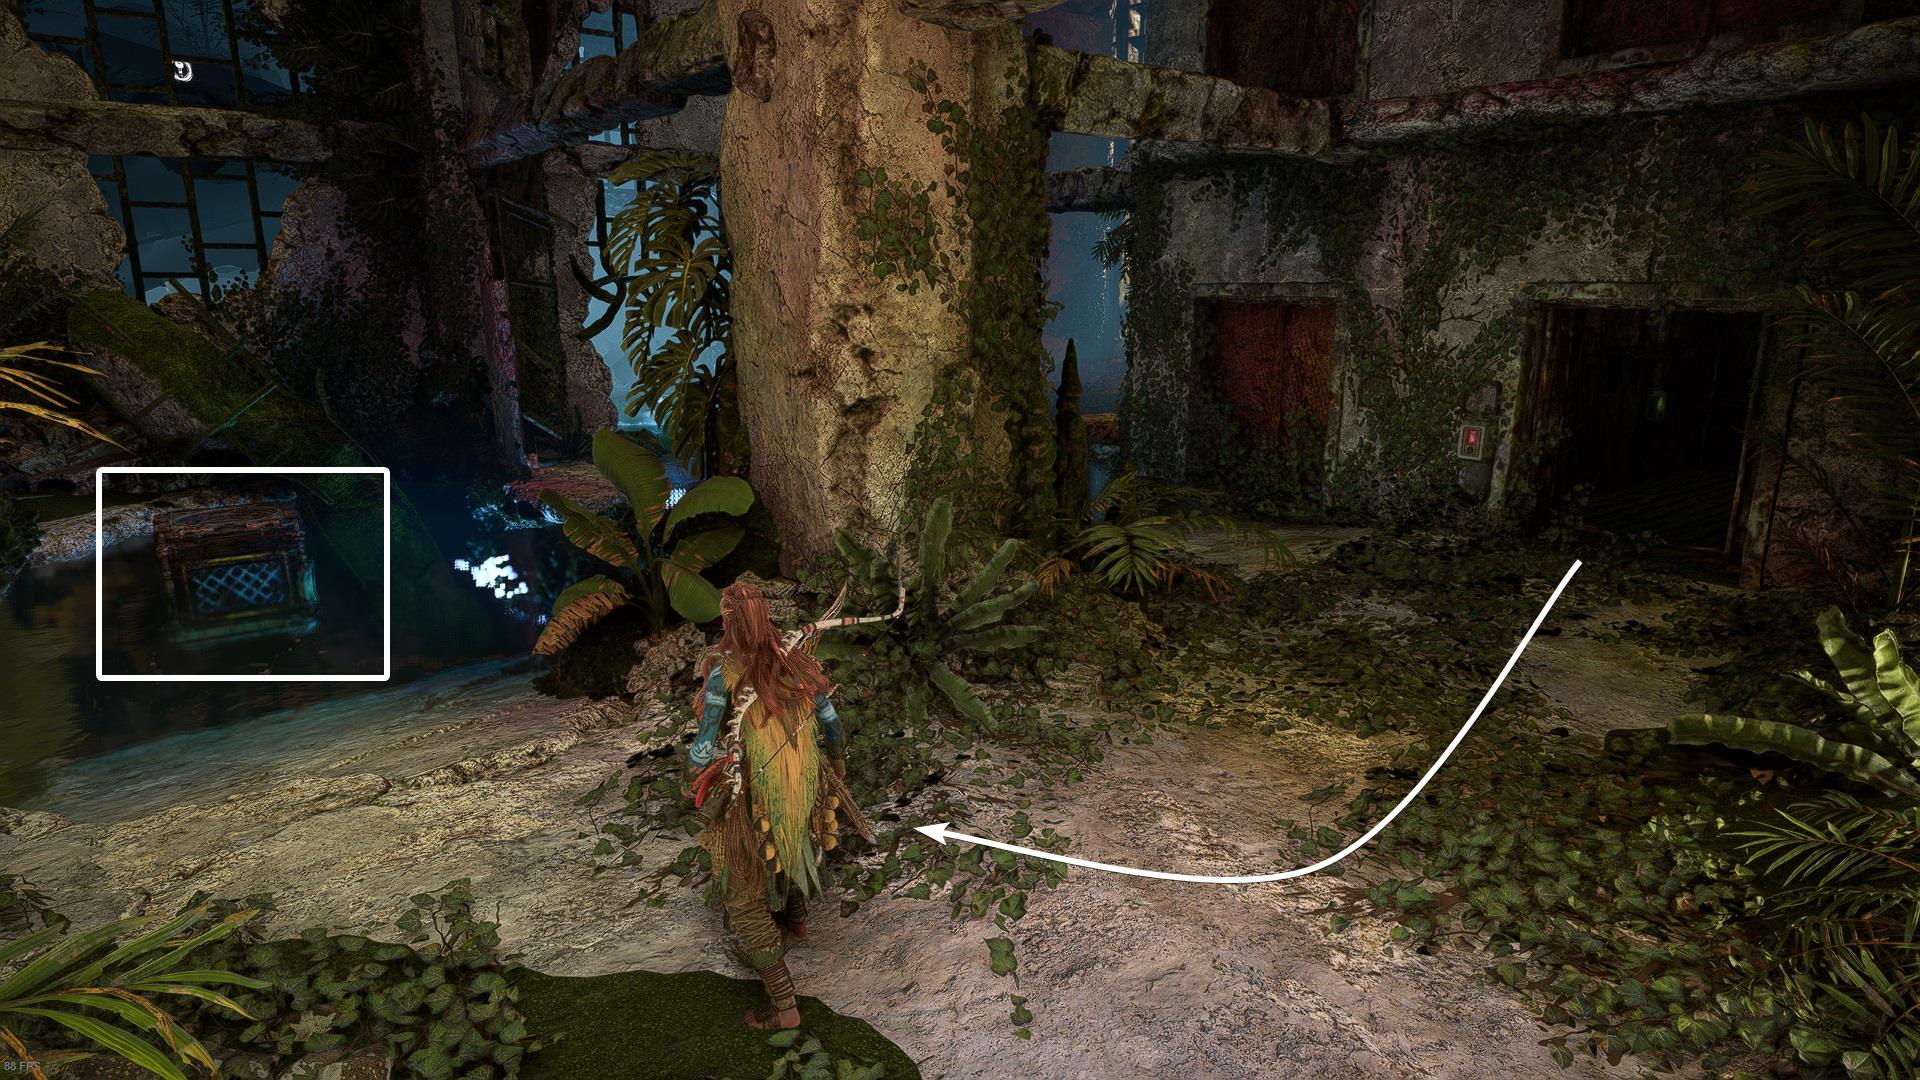
Come out of the elevator and find the crate. It’s in the water but the way it’s blocked, you must get it out with the Pullcaster and then push it to the side where it can be moved freely.
Get to the other side and pull it again. Then jump on top of it.
There’s a ladder that can be seen on the other side. Shoot an arrow to break the lock. This will be useful in the upcoming minutes.
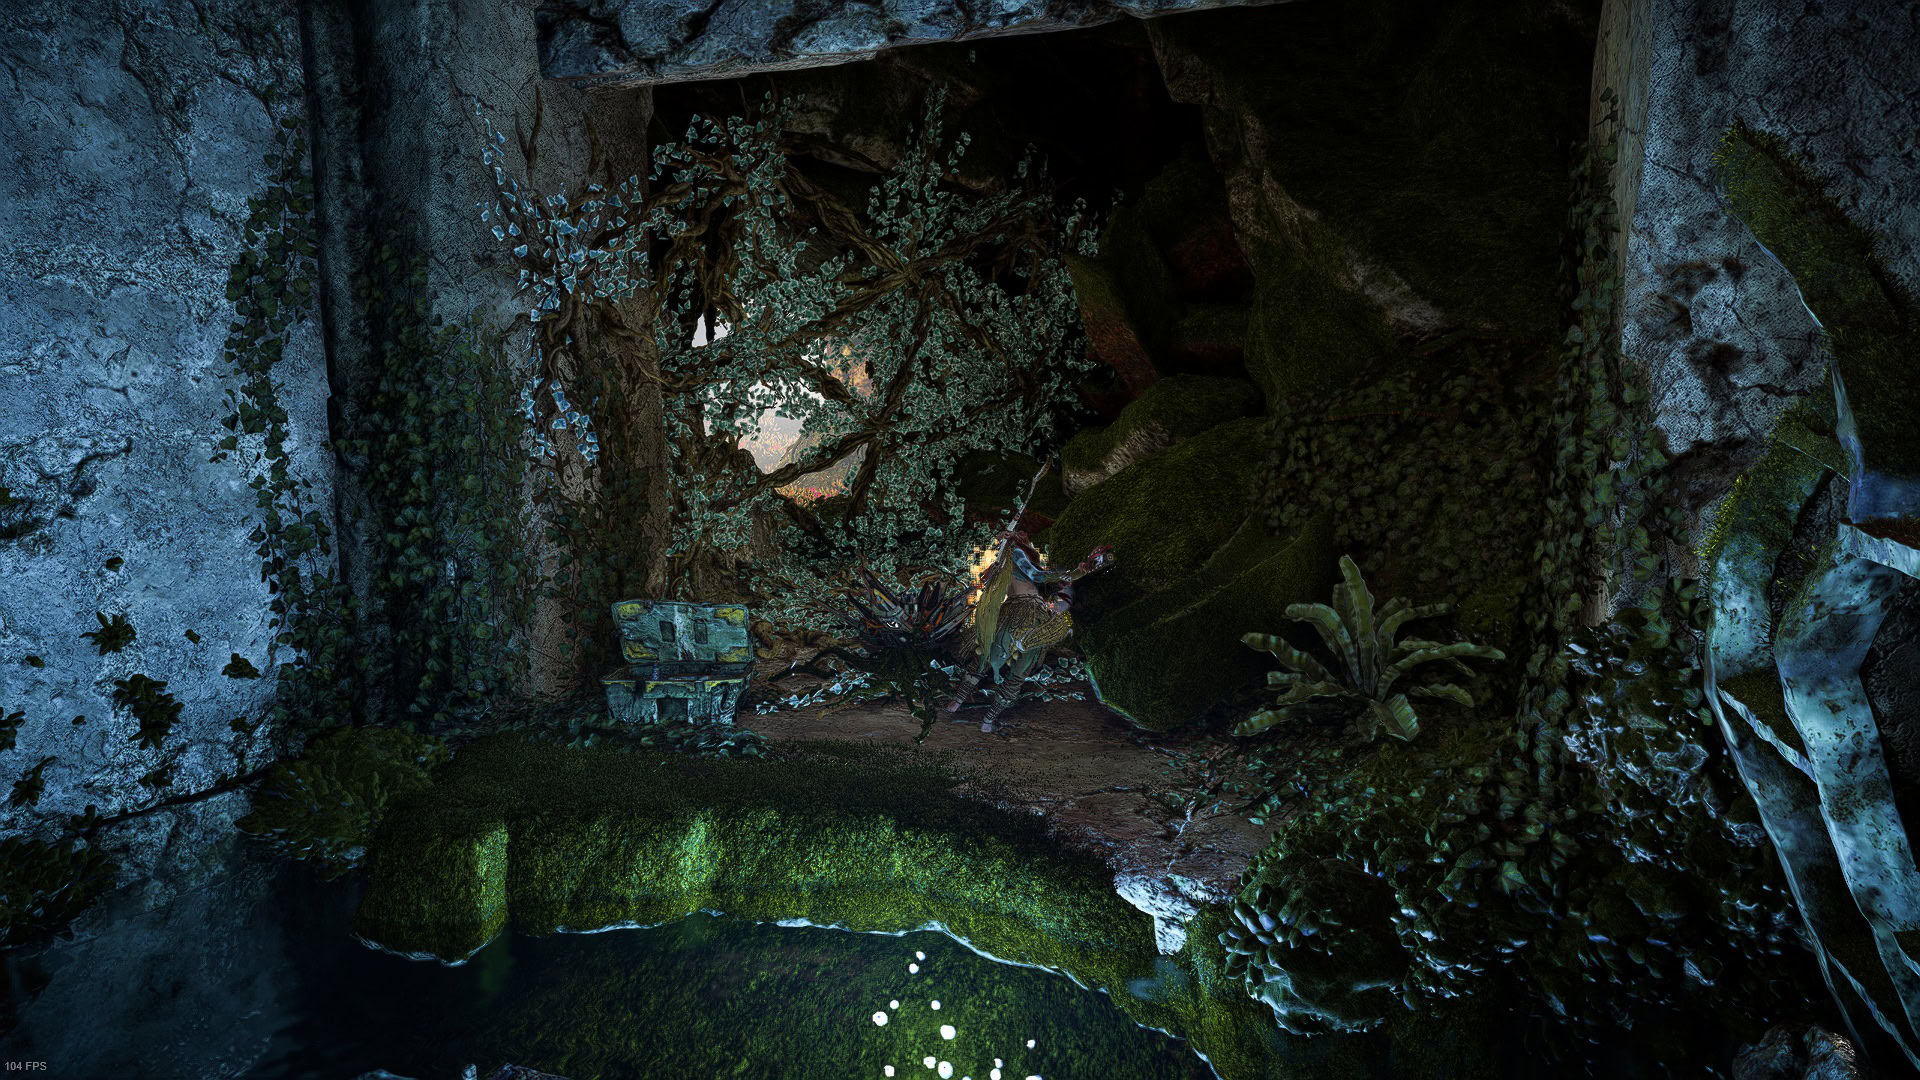
Now hit the Metal Flower and then use the Vine Cutter to get rid of the vines that are covering the wall. Loot the Ancient Supply Chest that’s next to the Metal Flower.
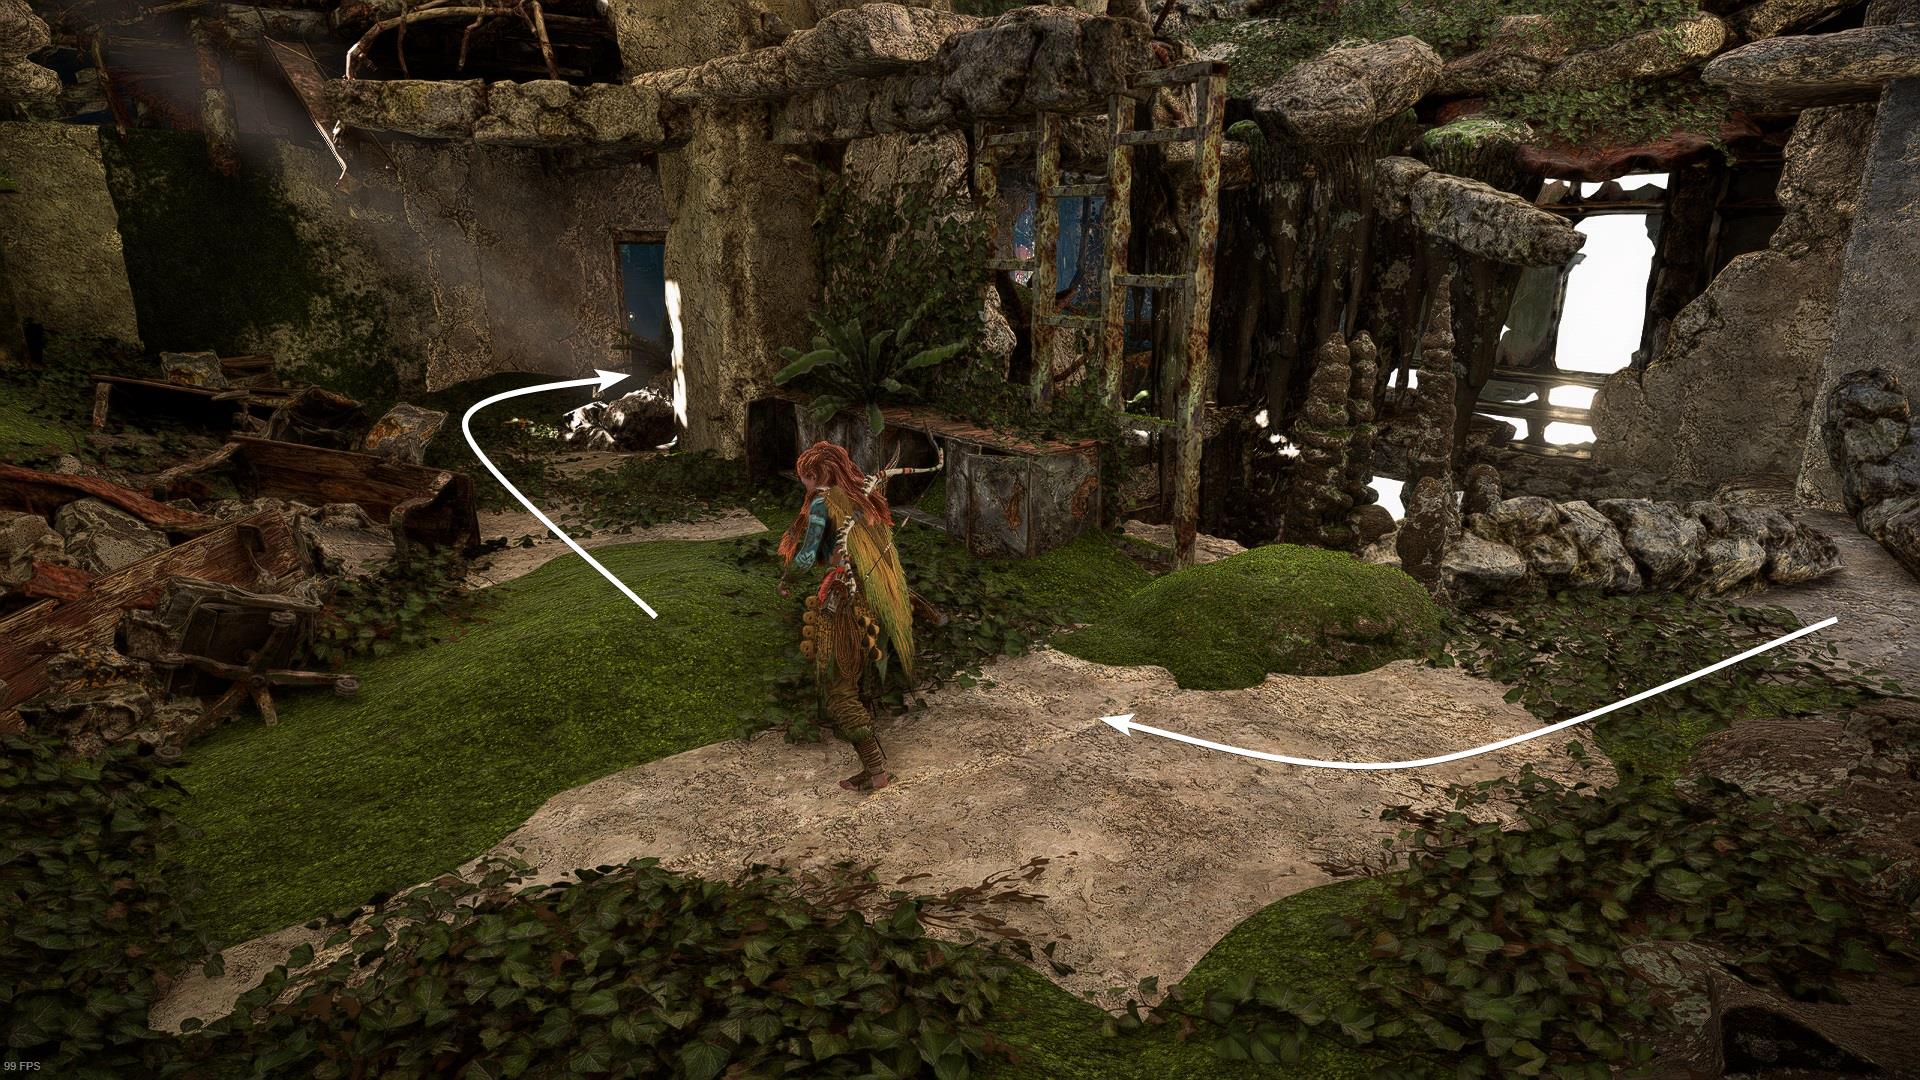
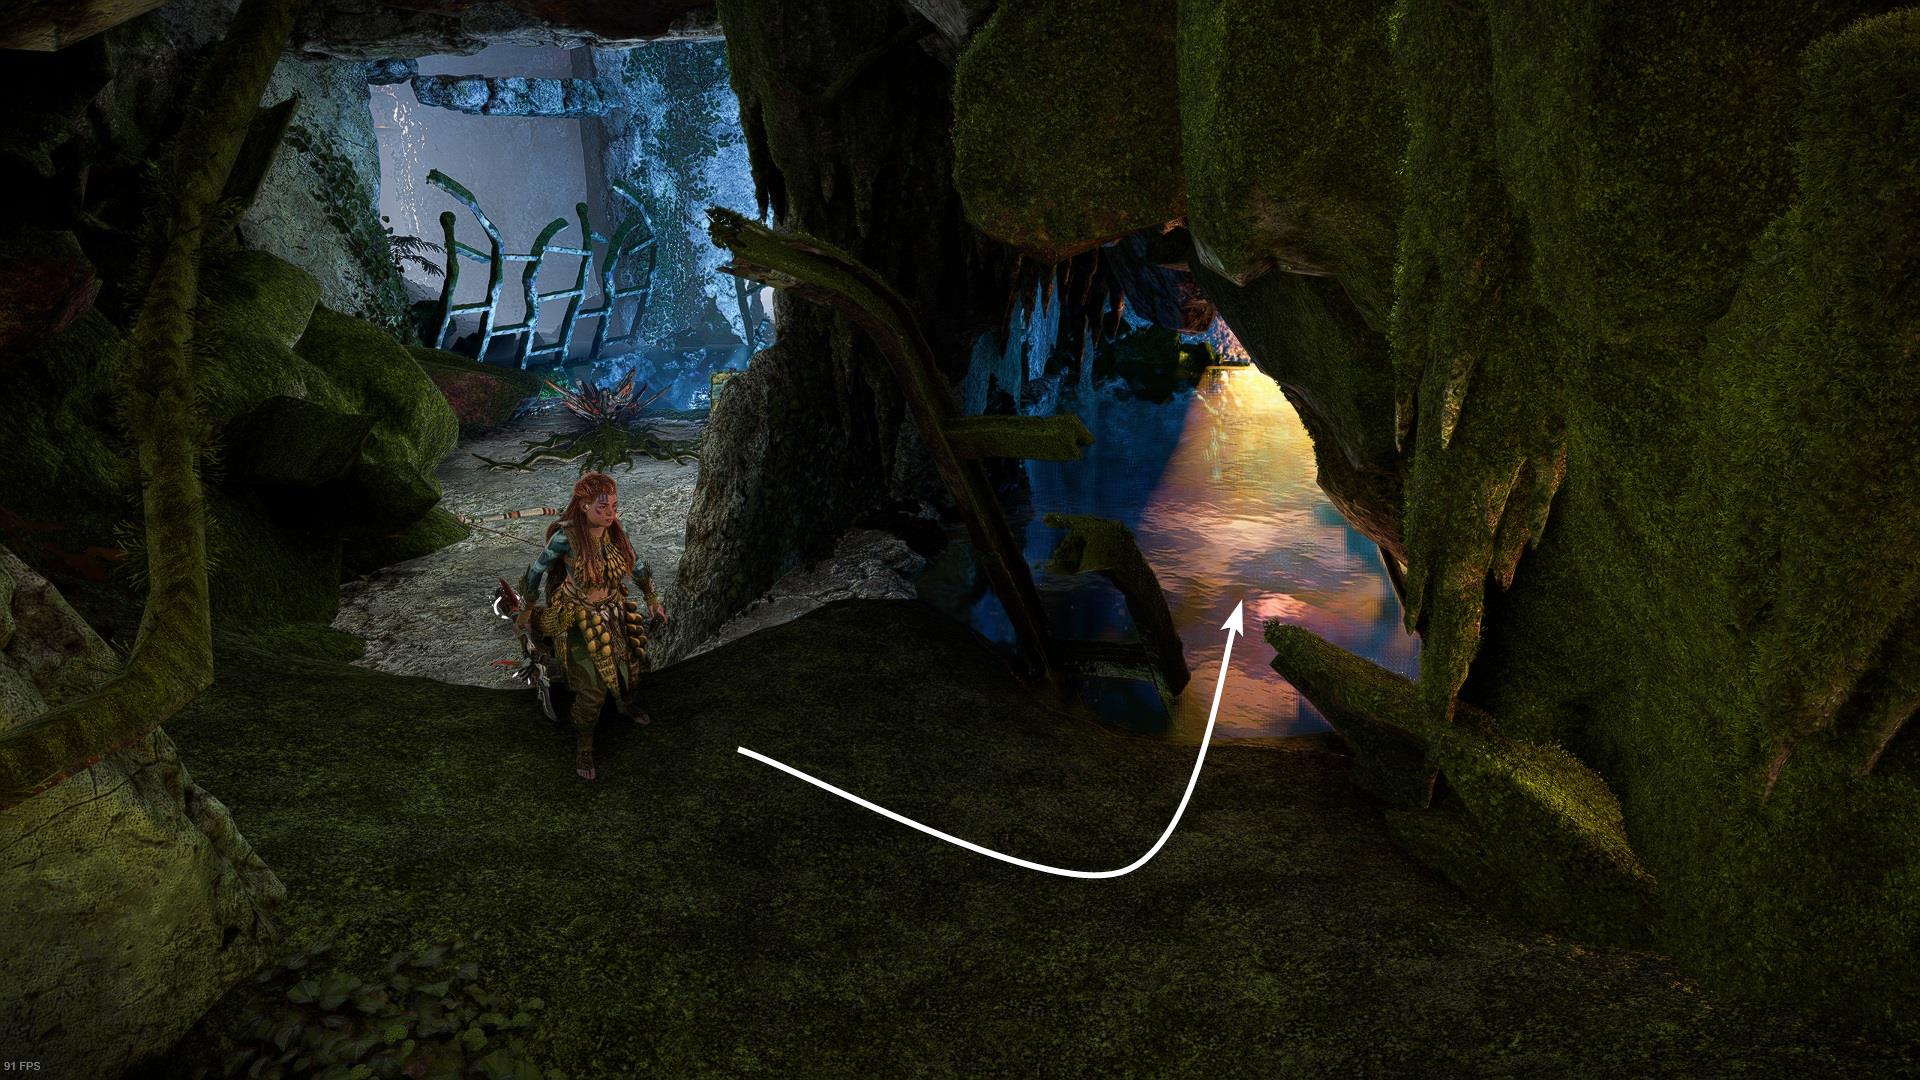
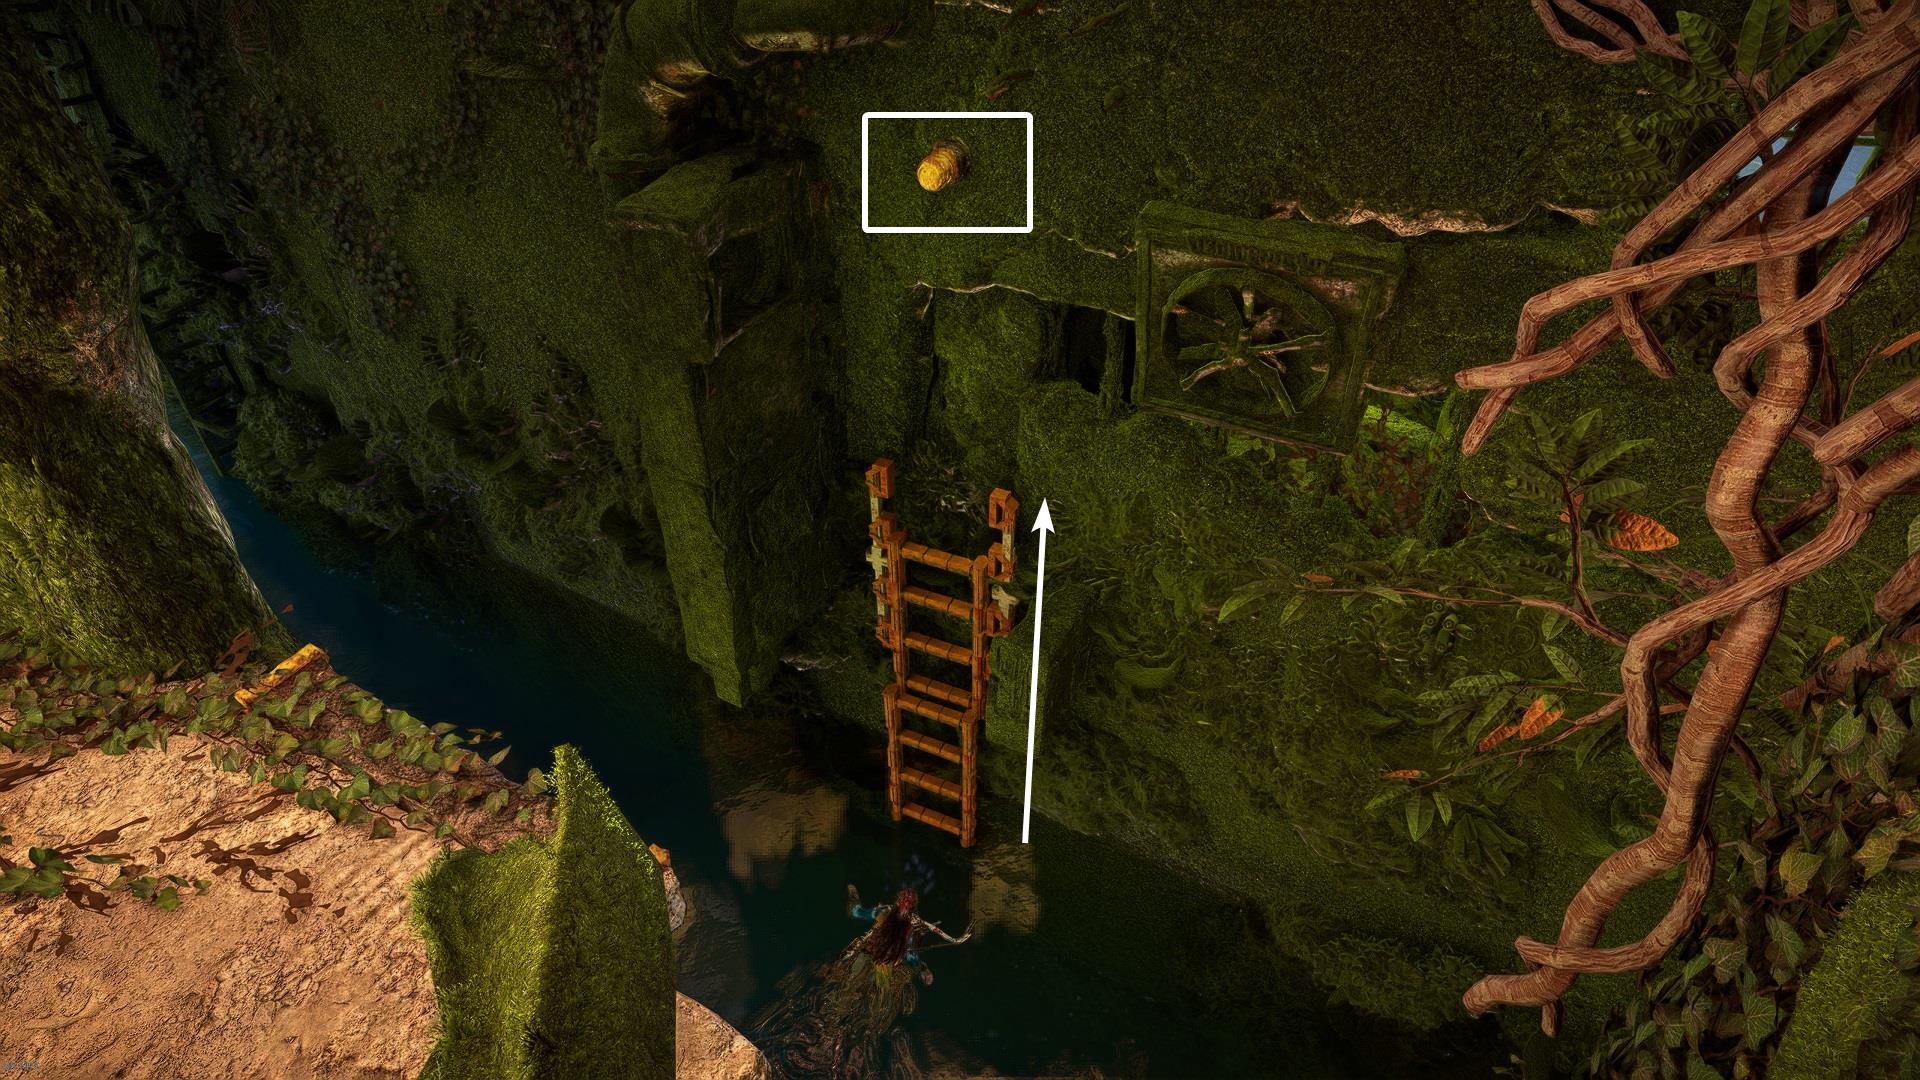
Take a few steps and then turn left immediately. Get into the water and swim for a few meters until you see the ladder.
Use the ladder and then get to the top with the help of the climbing nodes.
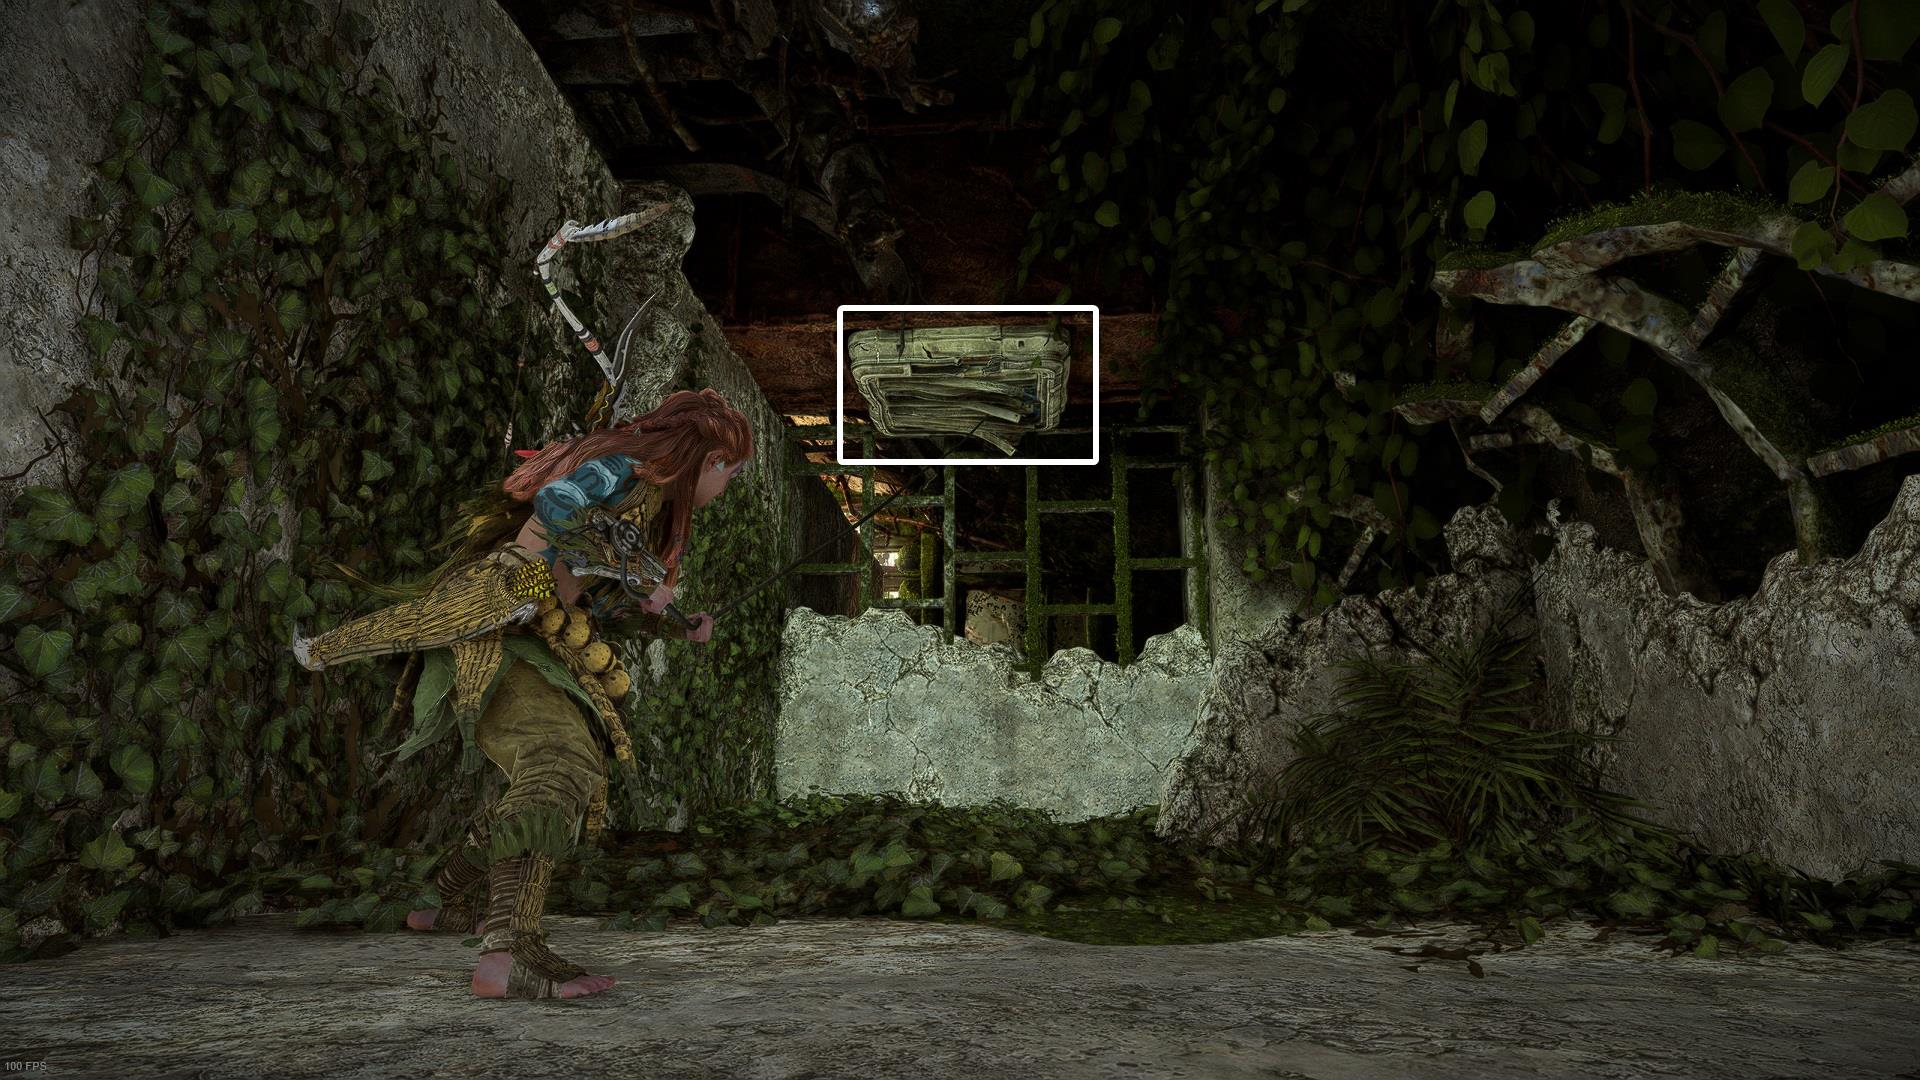
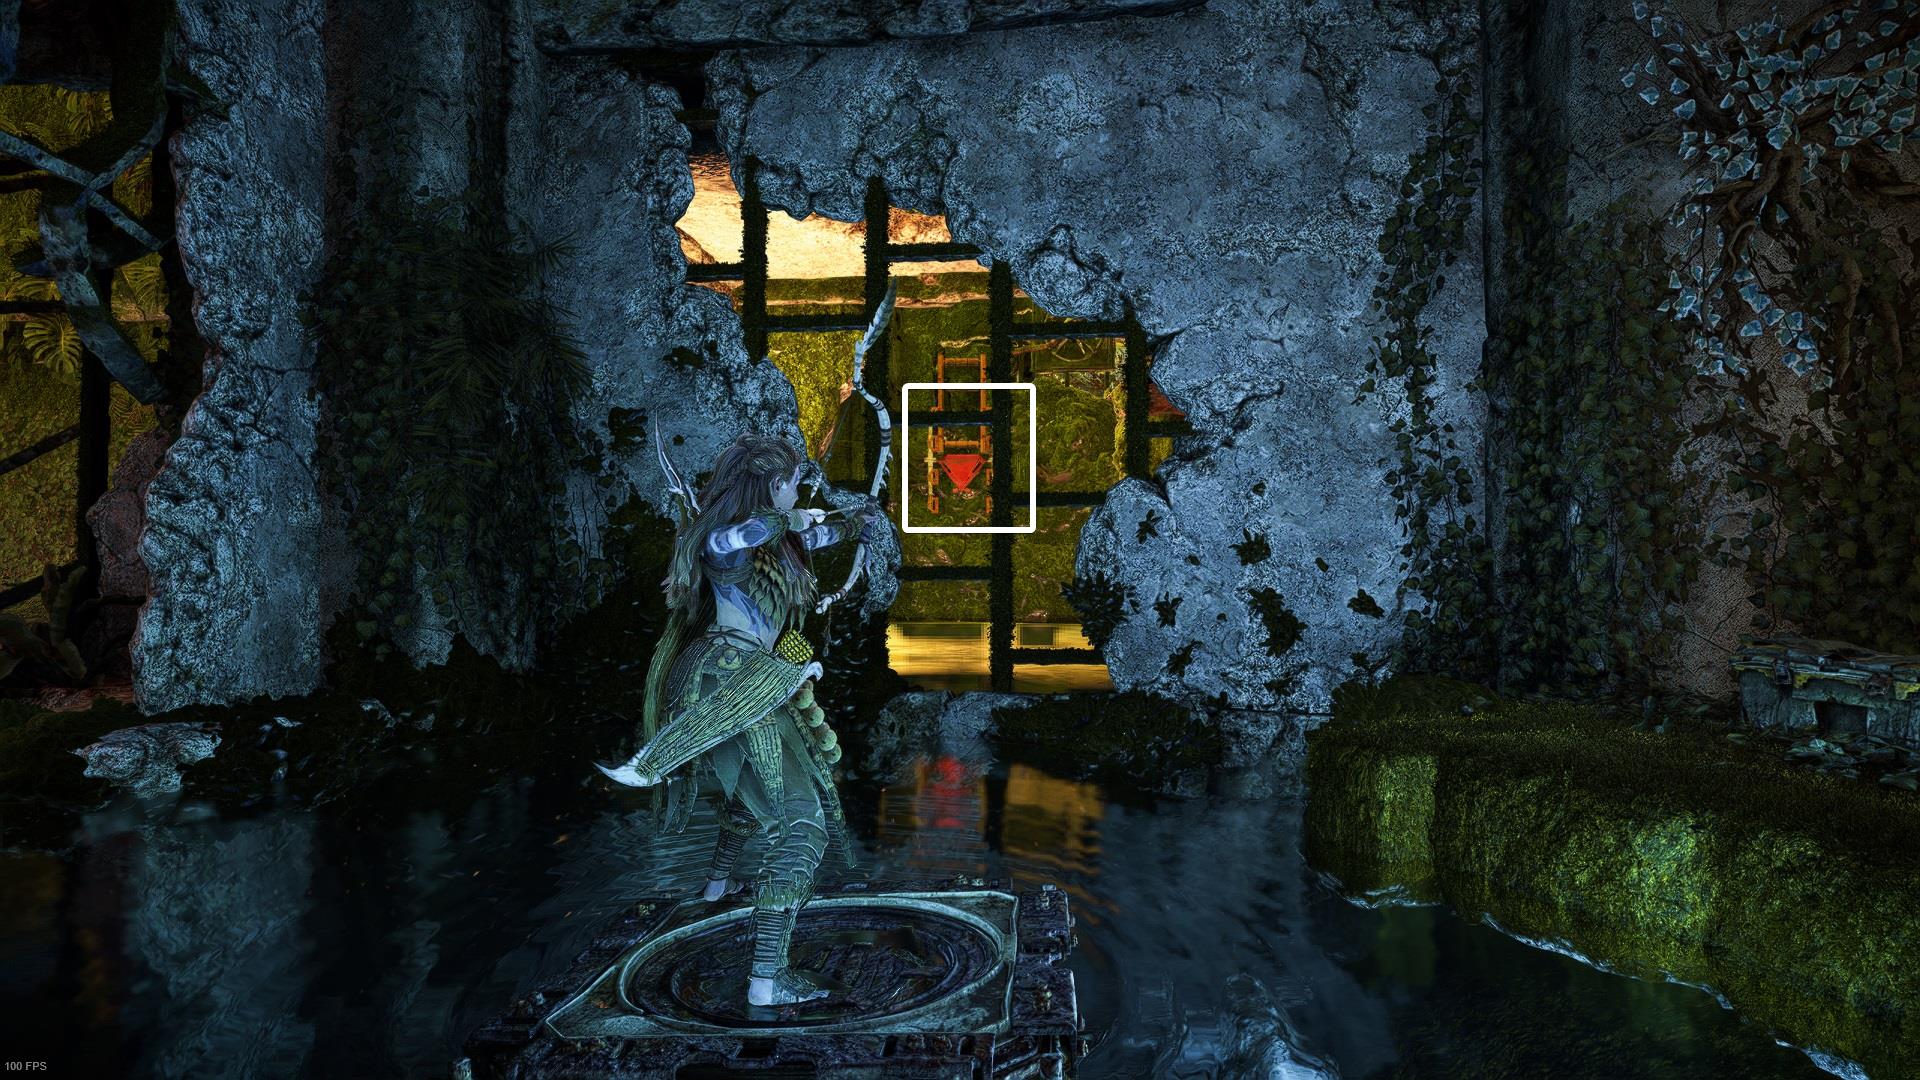
There’s a point where you won’t be able to continue climbing up, make a backward jump to reach the key that is required to open the door that hides the price of this quest.
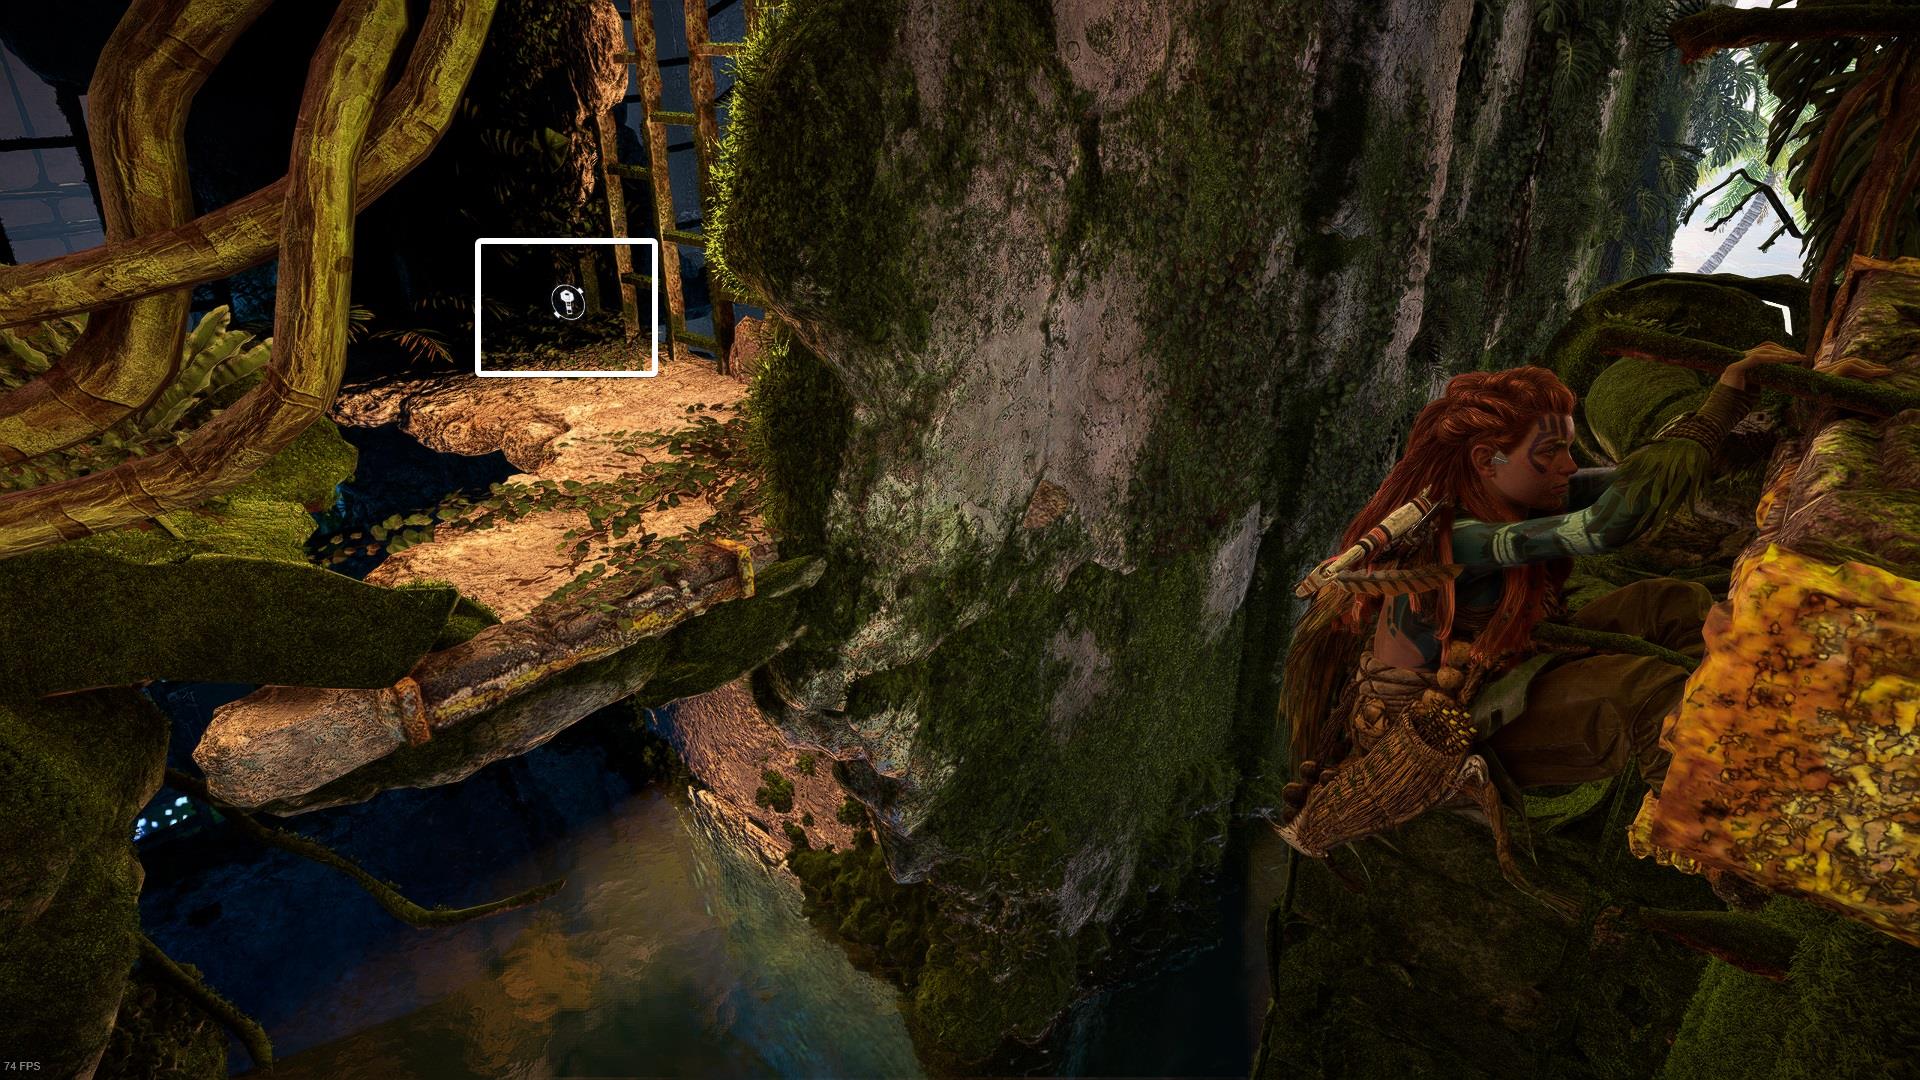
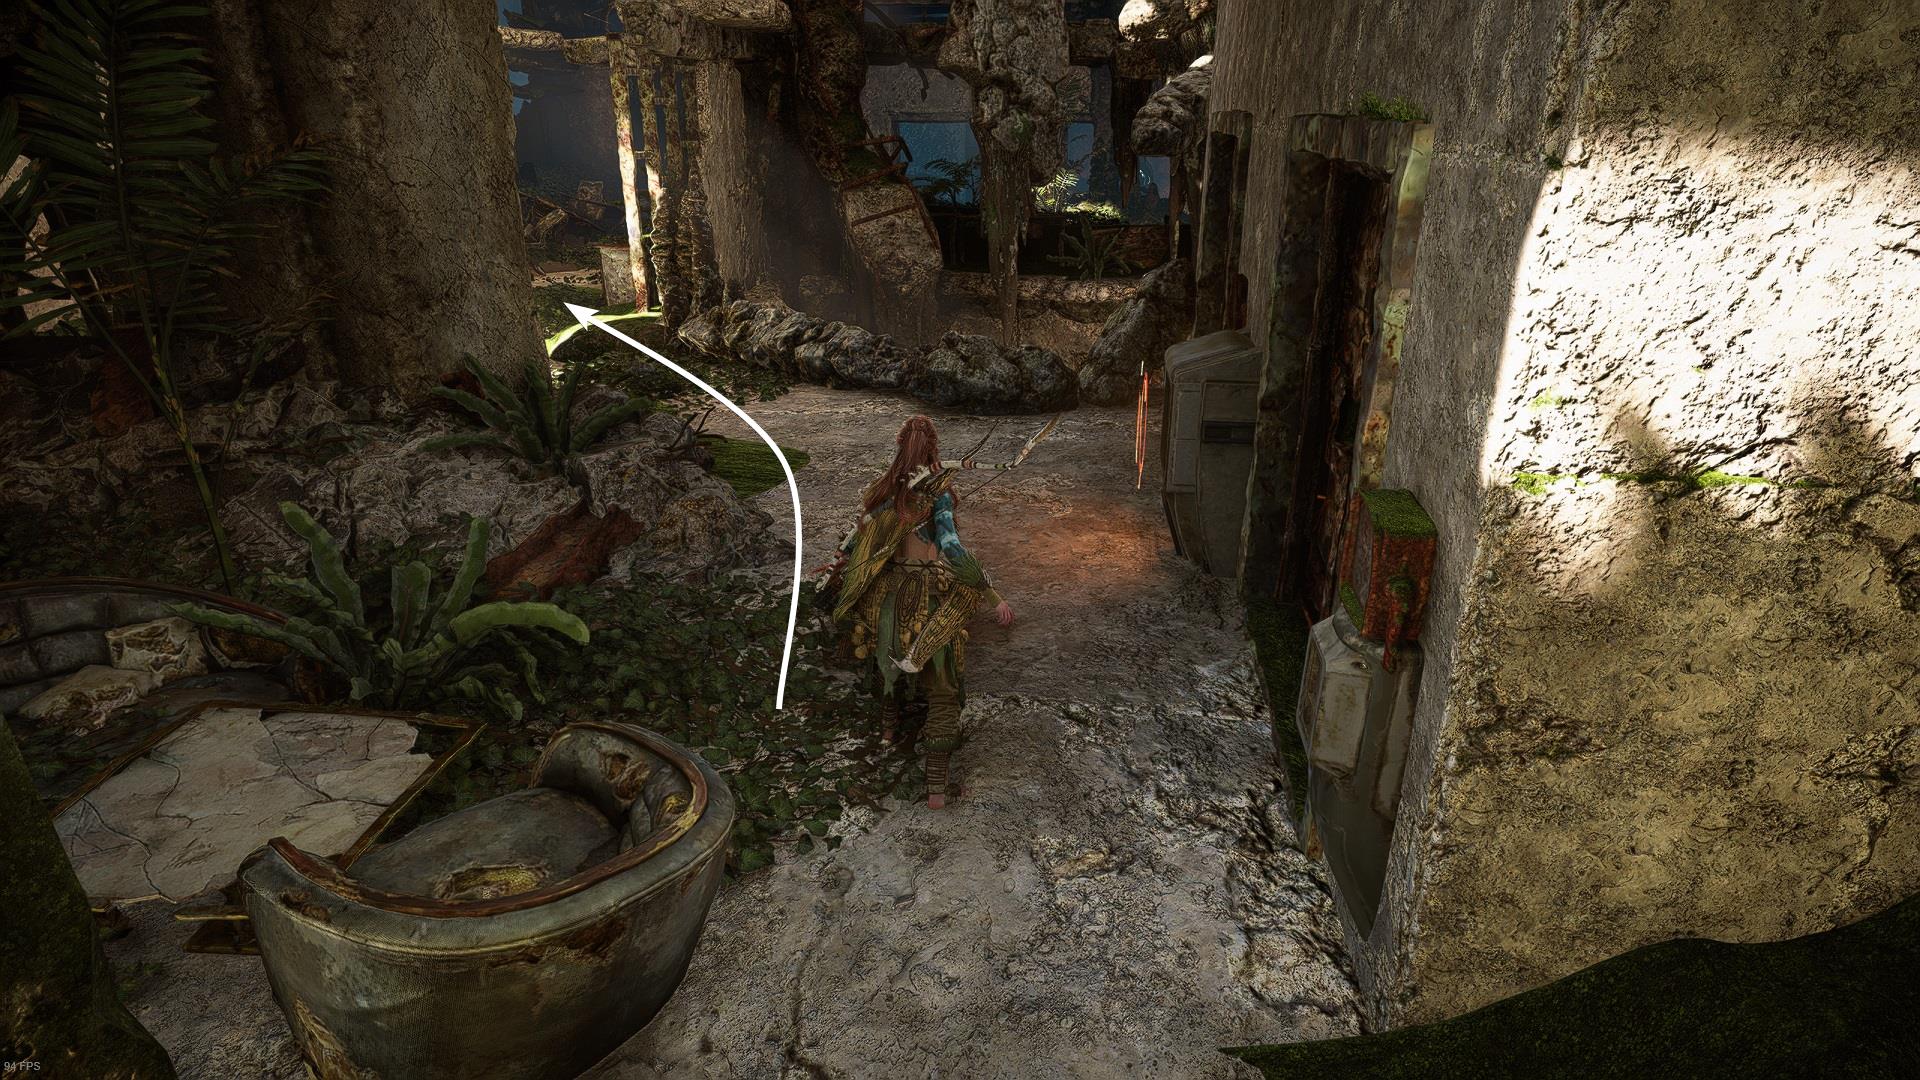
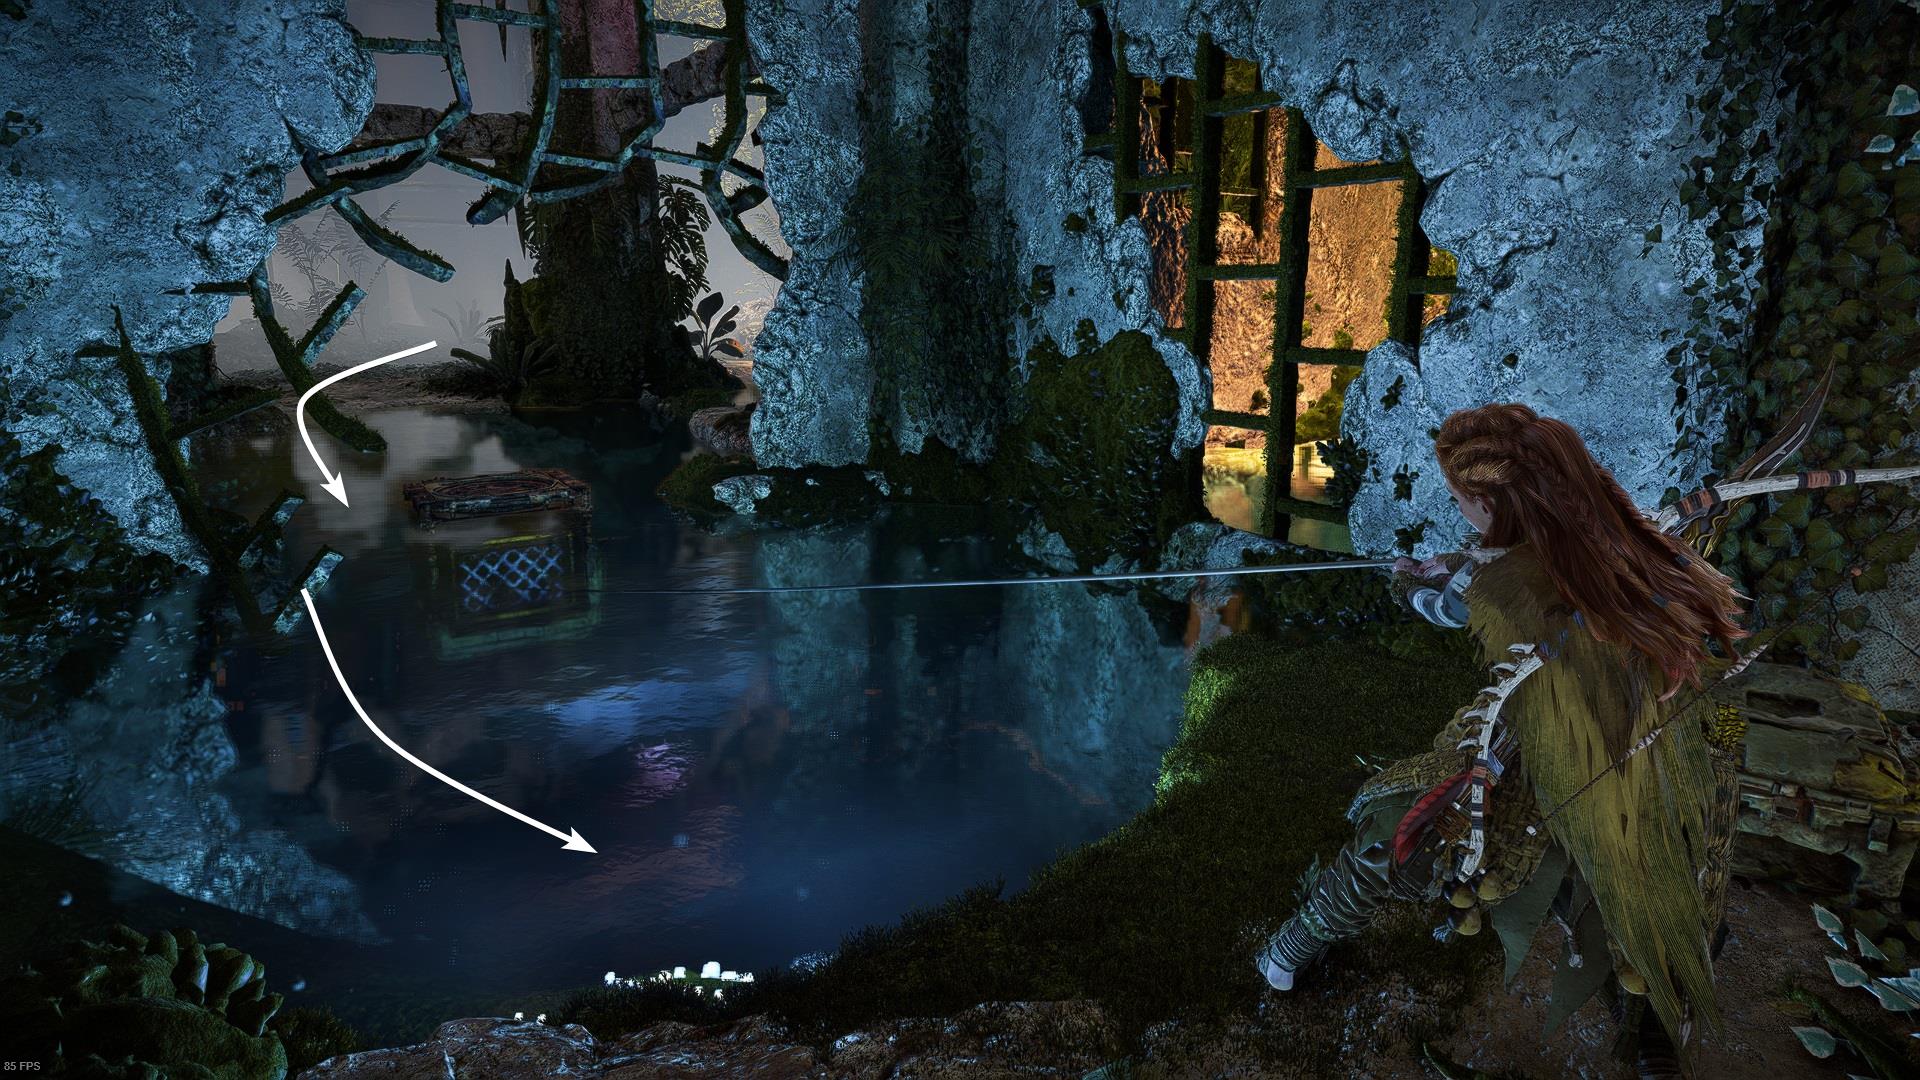
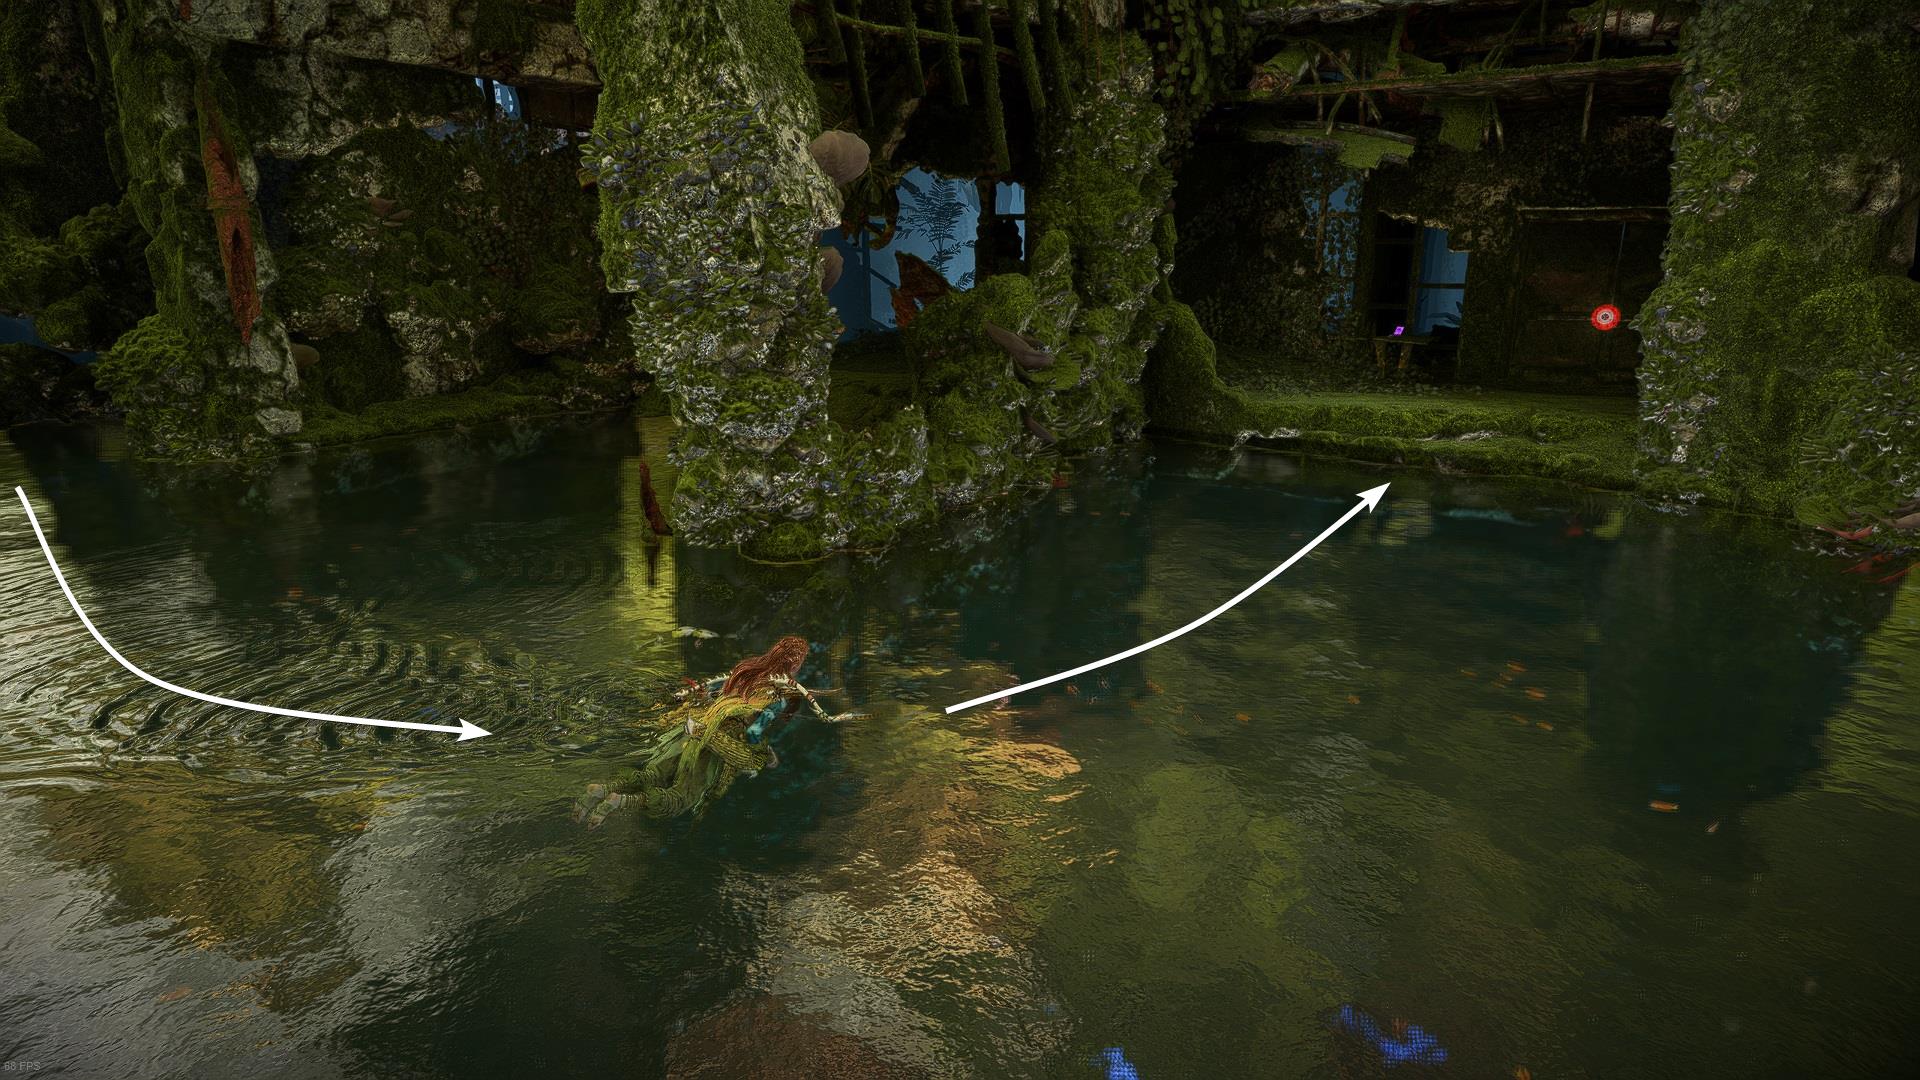
Jump back to the water and swim into the direction that is shown in the picture below.
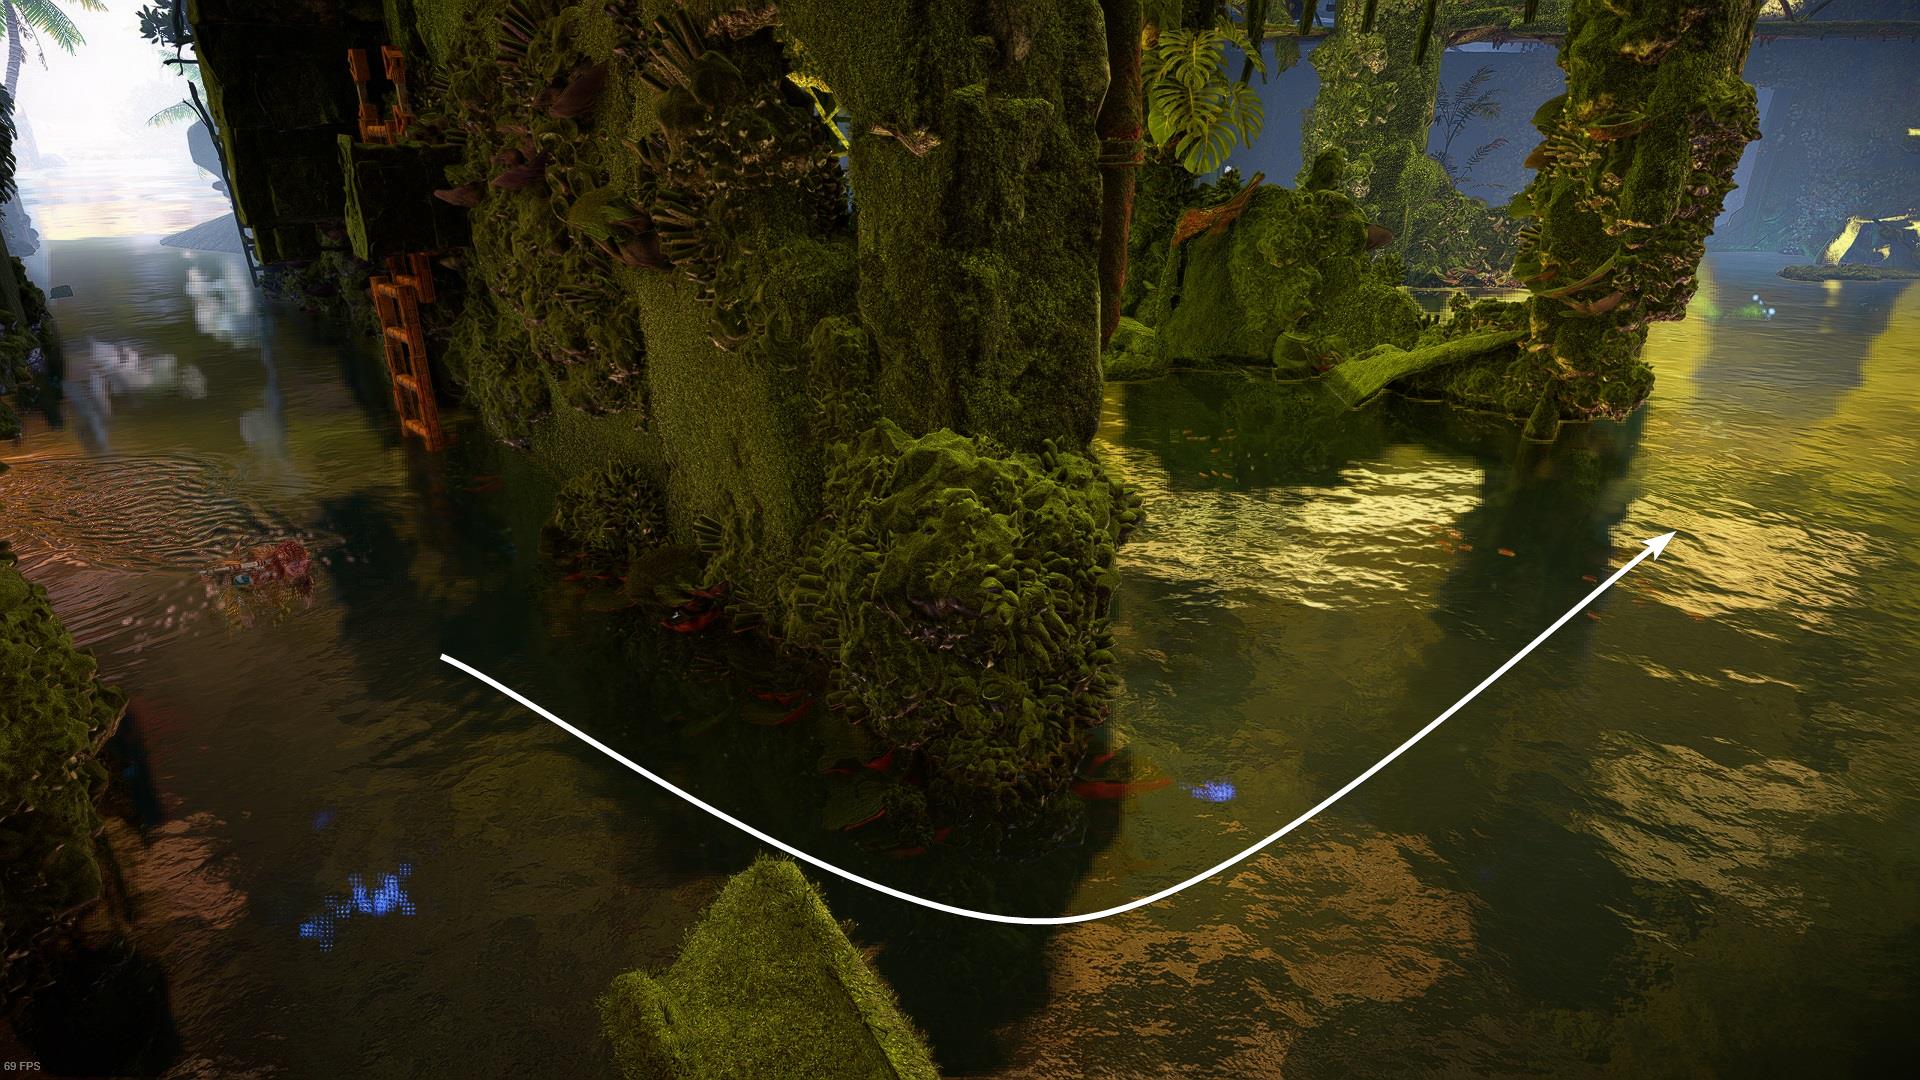
After a few seconds, you will spot a Datapoint and a sealed door. Diving underwater and scanning with the Focus will reveal an Ancient Valuables Box, an Ancient Supply Box. There’s also an underwater room, open the door and look for the Ancient Valuables Safe that’s inside.
The scannable items contain the instructions to get the code that will open the door. You can search for the code on the 7th and 9th floor, but if that’s not the case, I’ll save you some minutes.
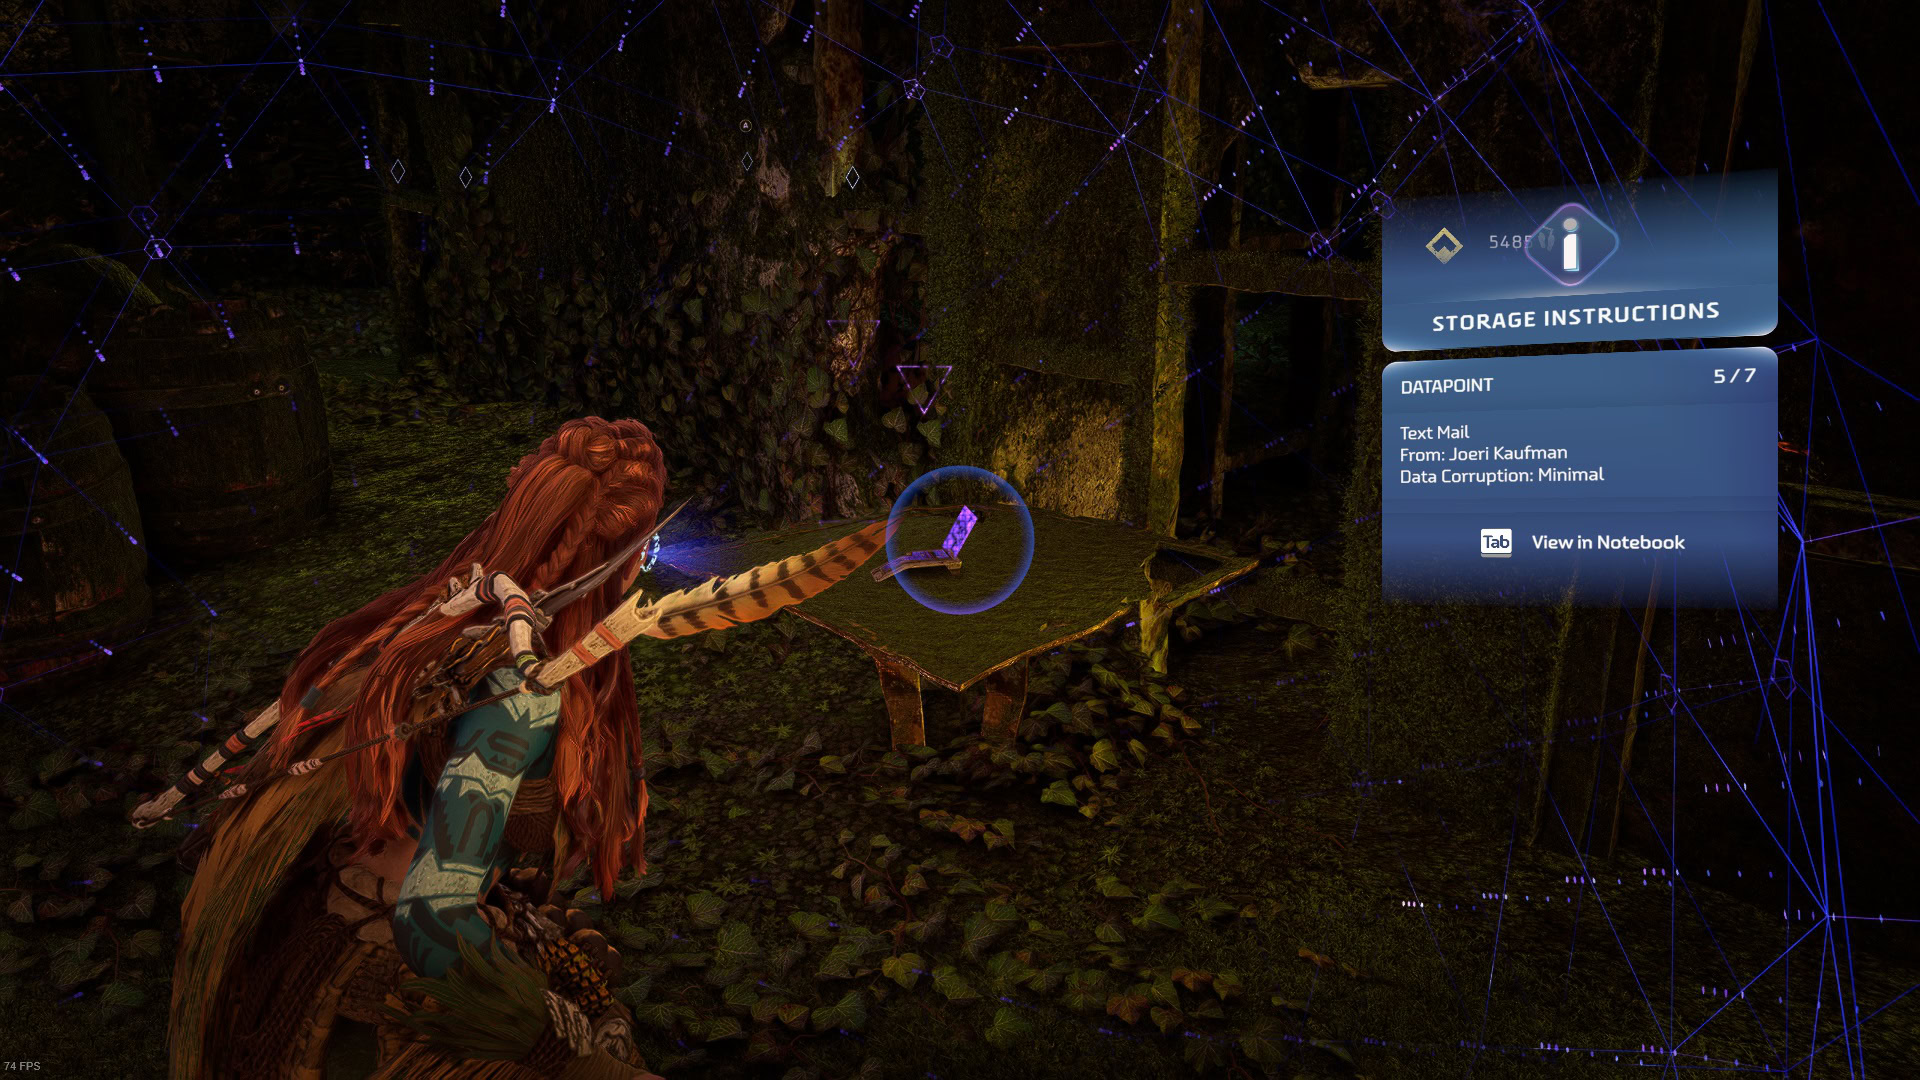
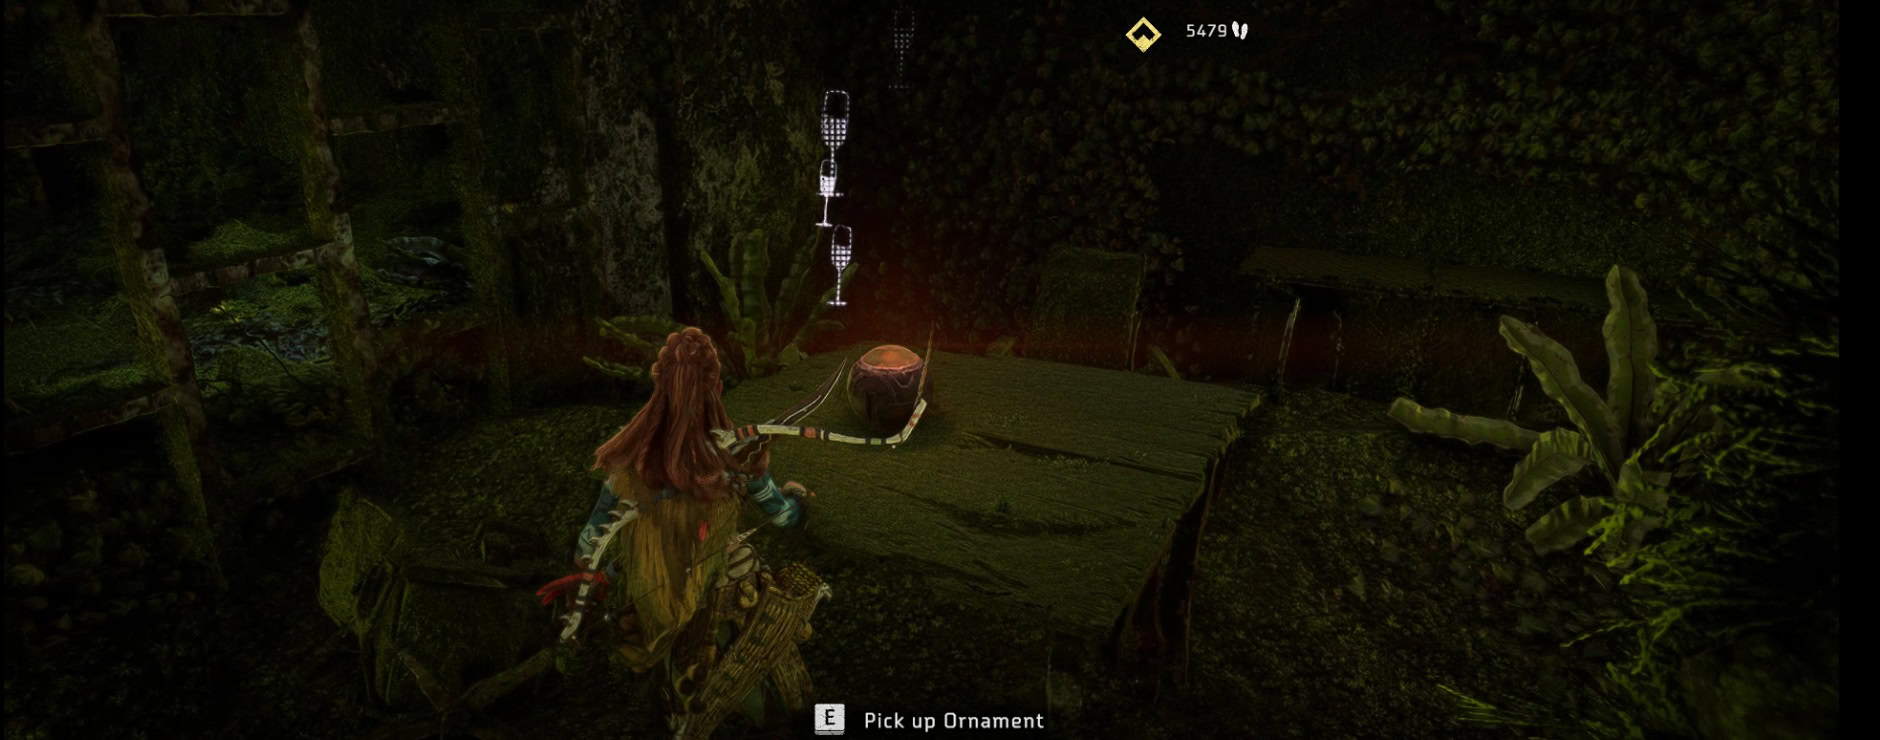
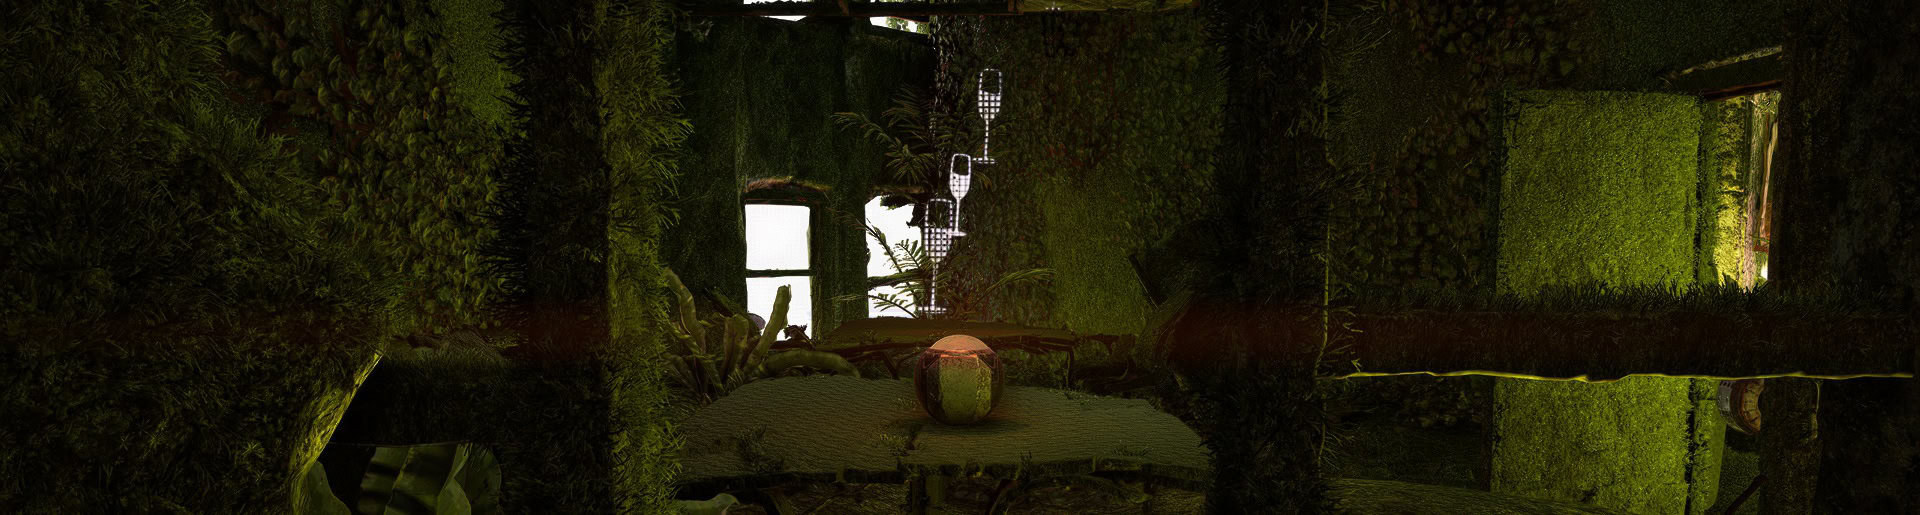
The code is 2109109. Type it in the terminal and the door will open.

The Isle of Spires ornament is inside waiting for you. Additionally, you will earn five thousand XP and two extra skill points.