This guide will show you how to complete the Nights of Lights mission and how to find and obtain each Ornament in the game to earn the legendary shredder gauntlet Ancestor’s Return.
Table of contents
What Are Relic Ruins and Ornaments
Relic Ruins in Horizon Forbidden West are optional activities that take you to what’s left of Old World buildings. You must solve puzzles to reach a specific spot in order to obtain an Ornament, one of the game’s collectible items.
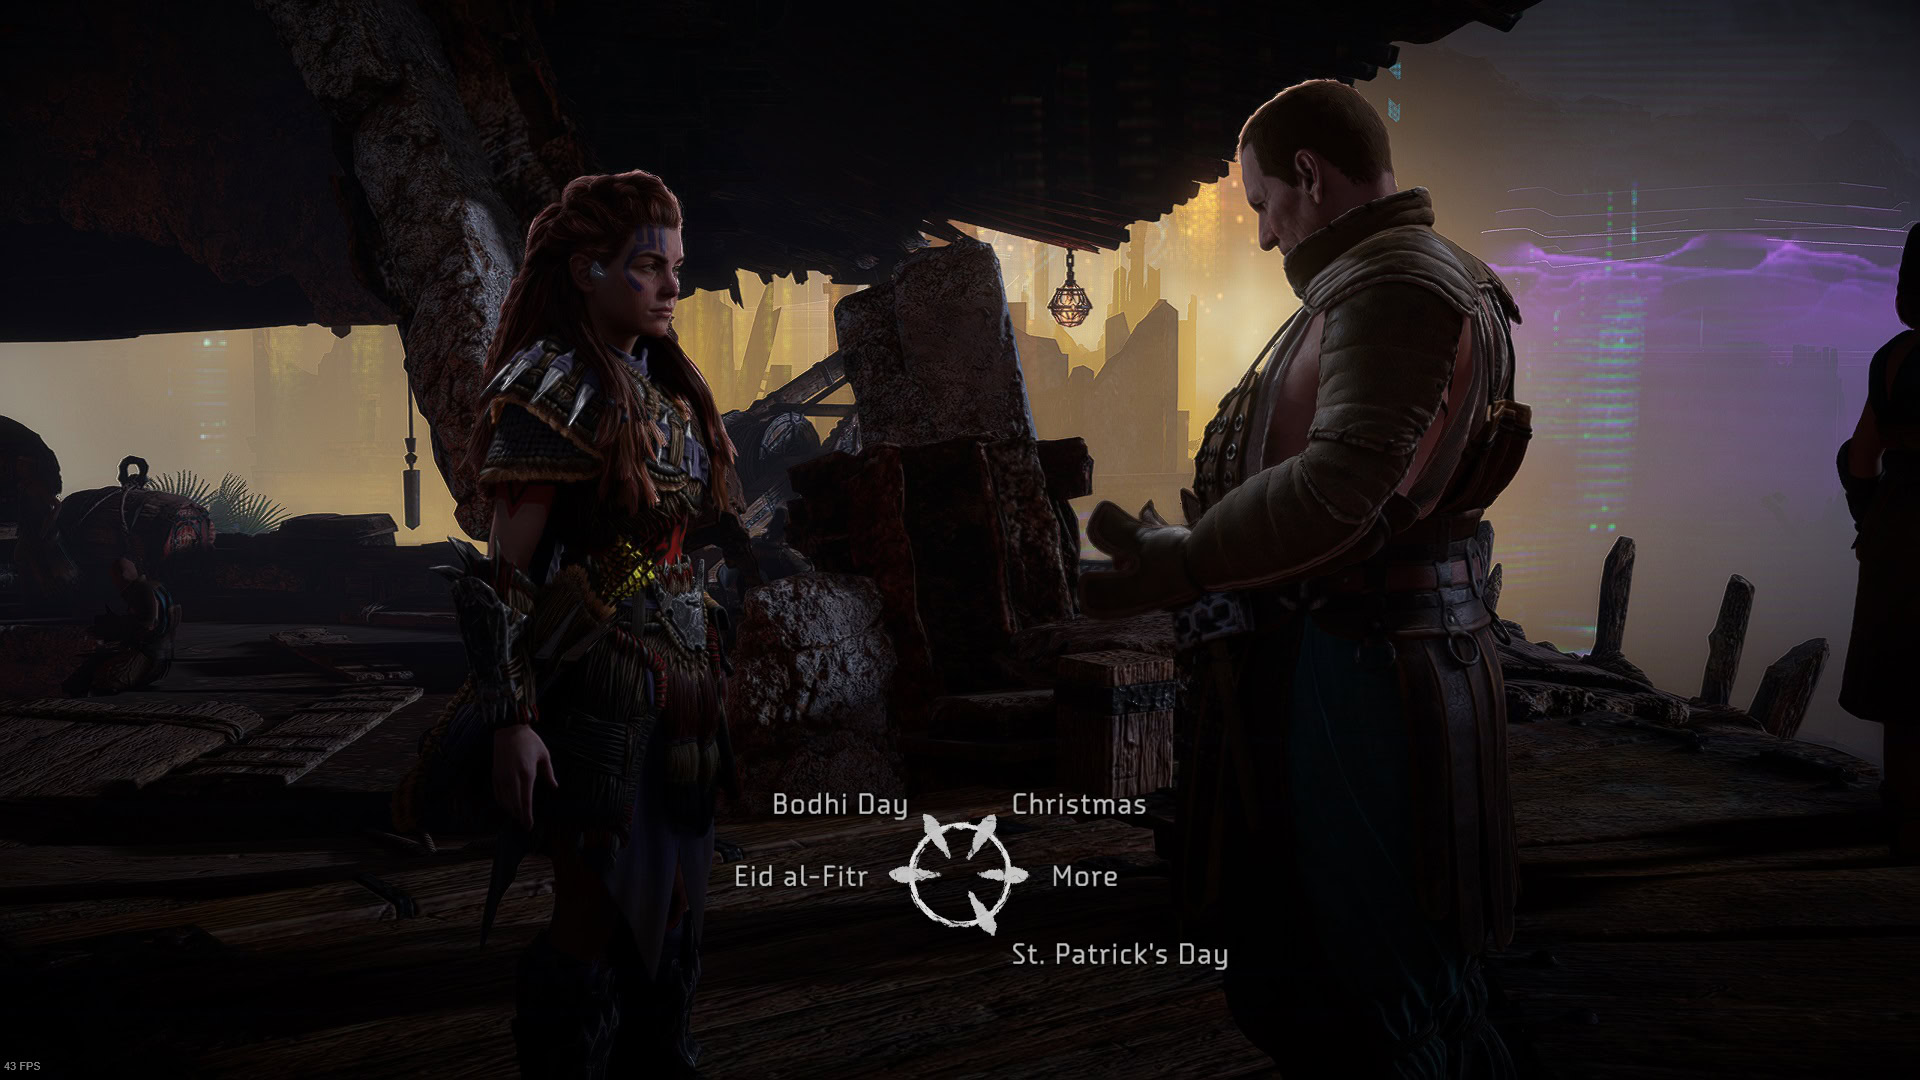
There’s a total of ten Ornaments, each Ornament represents a holiday. They can be given to Stemmur in Hidden Ember. He will then project holographic lights on the sky depending on which Ornament you give him.
An Errand Mission called Nights of Lights must be done before turning in all your Ornaments. It is very similar to every Relic Ruin but the puzzle is easy and quick to do.
Nights of Lights Mission Walkthrough
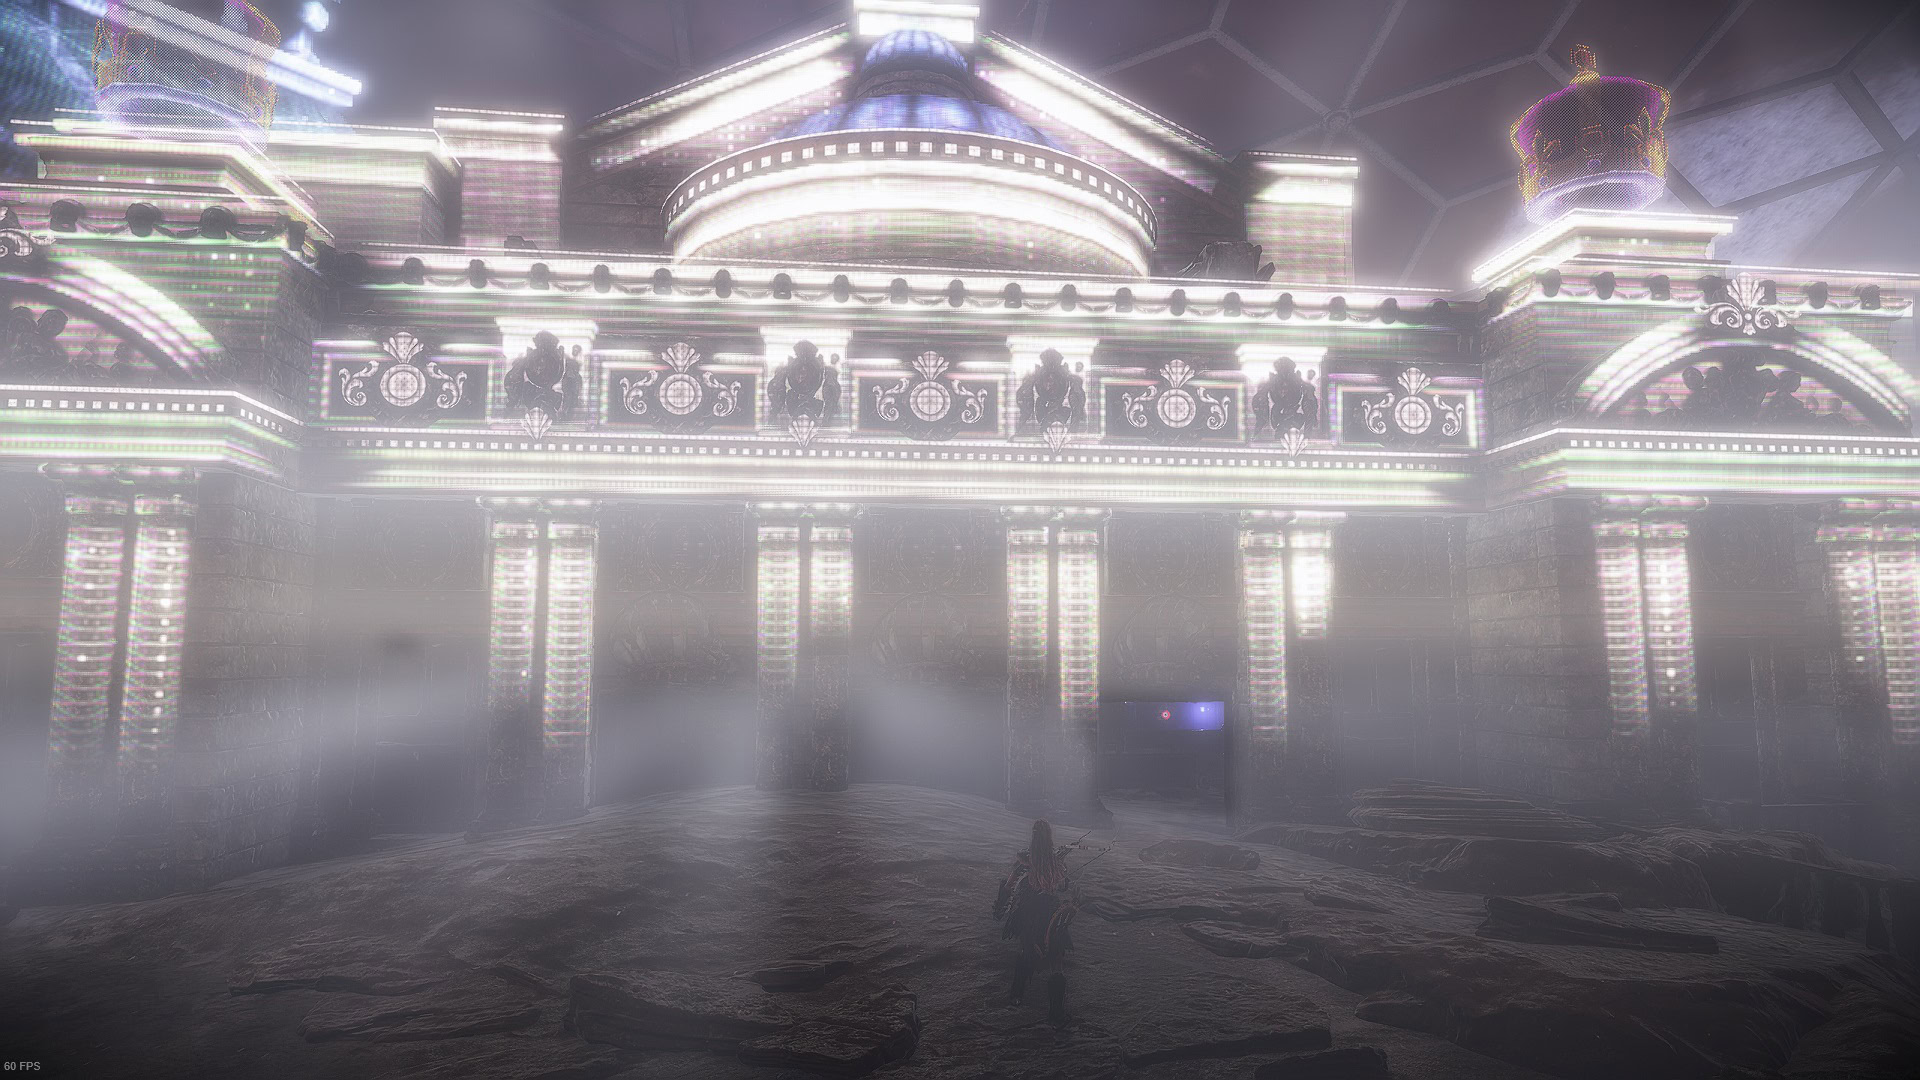
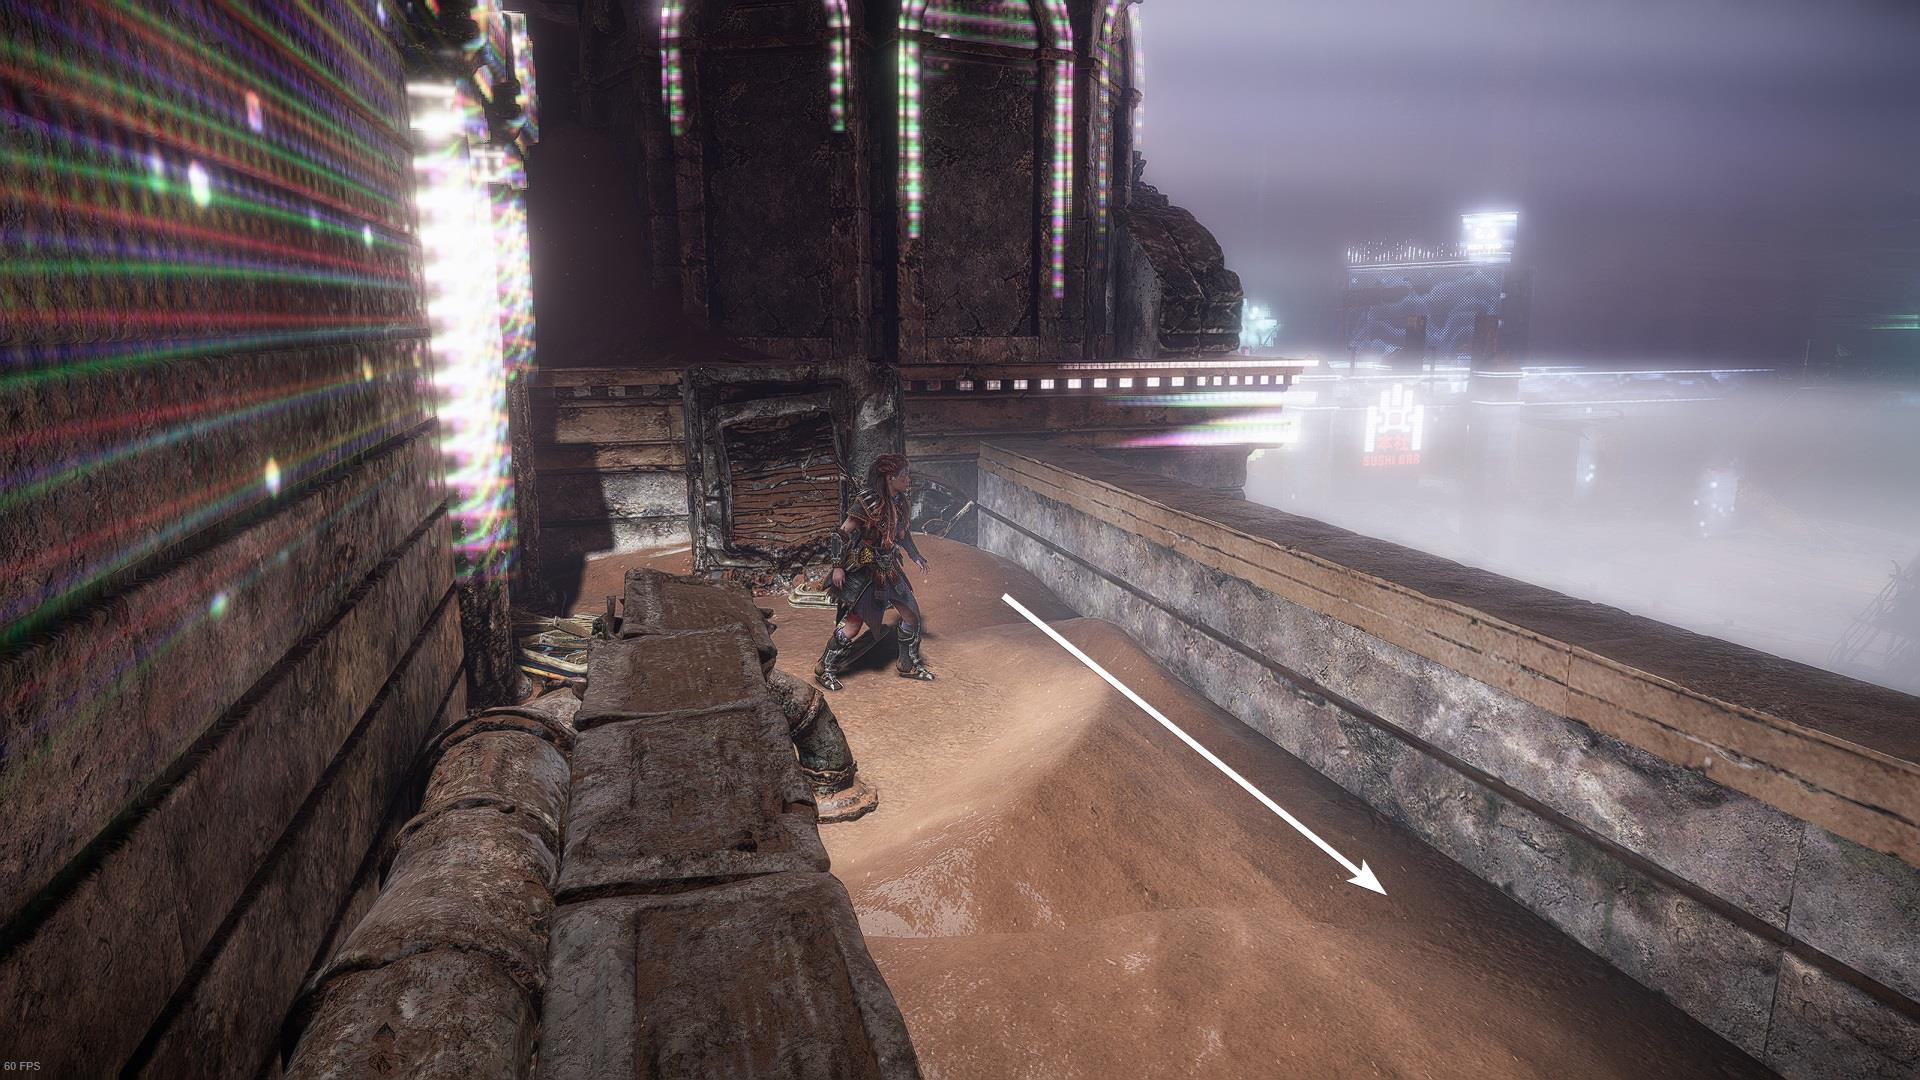
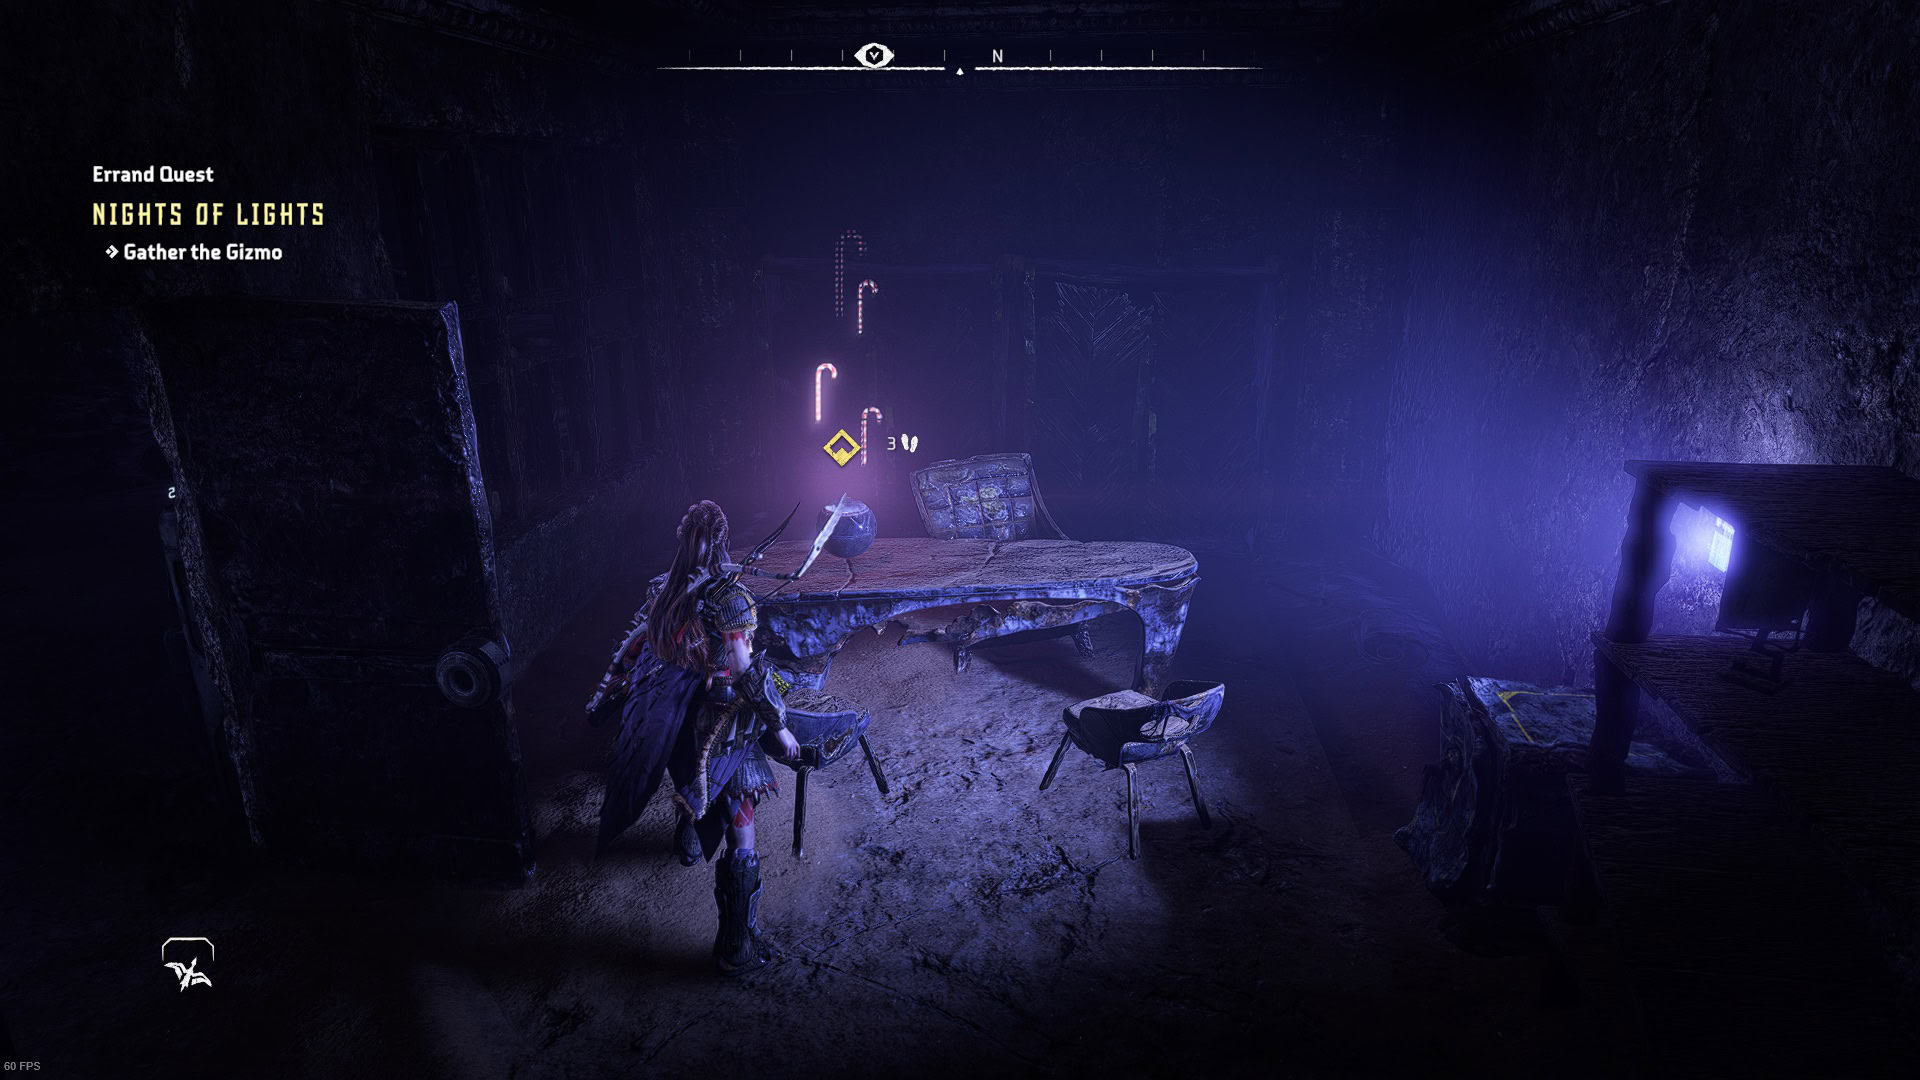
Nights of Lights is an Errand that is located in Hidden Ember. It is unlocked after completing the main quest Sea of Sands. You must talk to Stemmur to get this mission. He’ll ask you to recover a “Gizmo” that’s on the ruins. In reality, this is an Ornament like the ones you retrieve from the Relic Ruins.
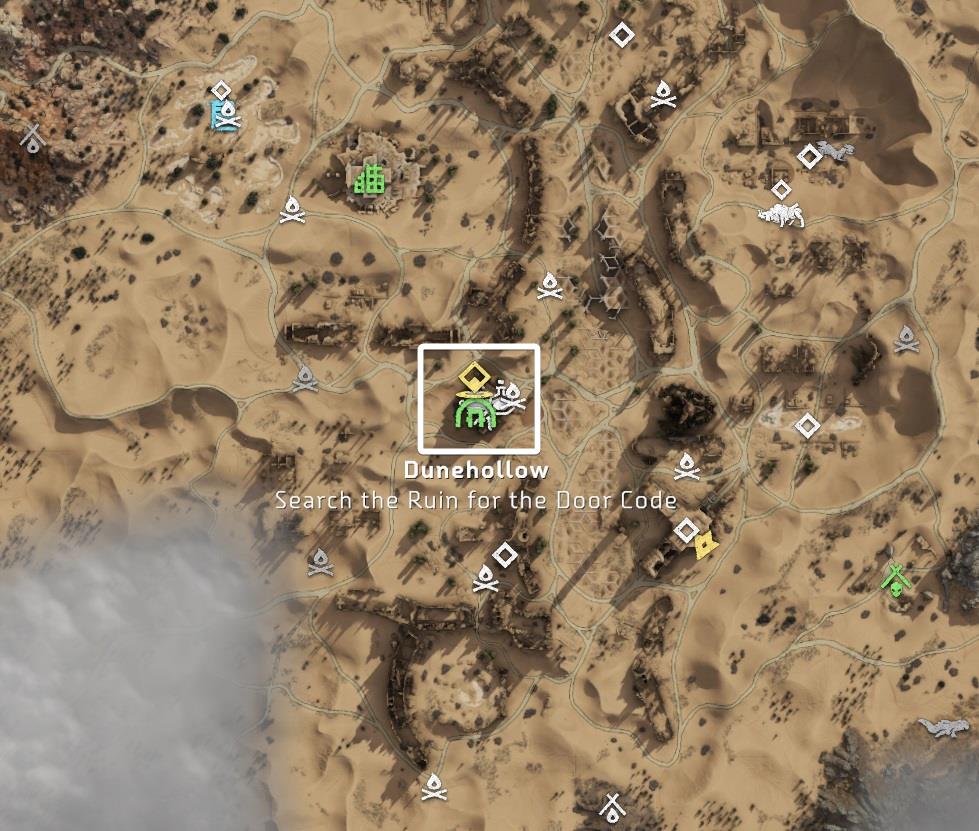
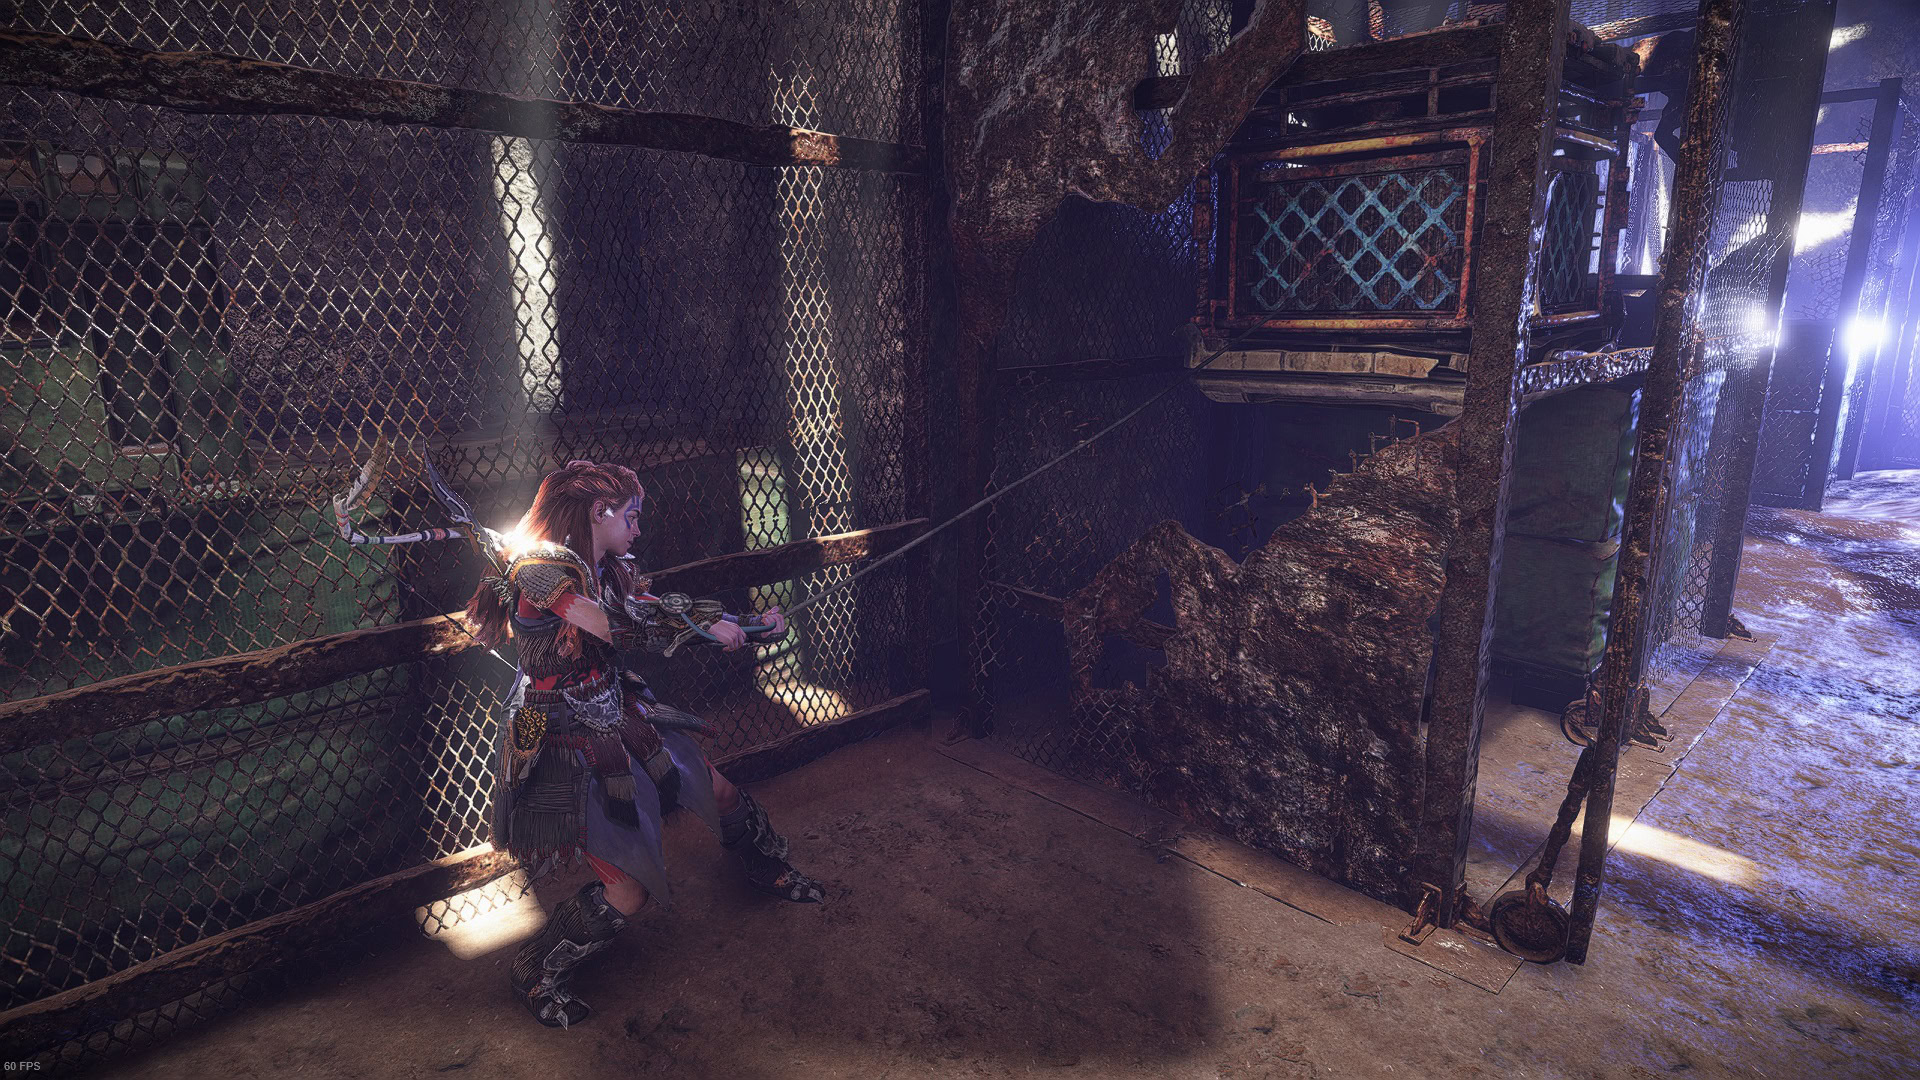
Venture into the ruins, the game will lead you to this building that’s full of blinding lights. This is one of the few ornament-related missions that do not require the Igniter or Vine Cutter so don’t worry about that.
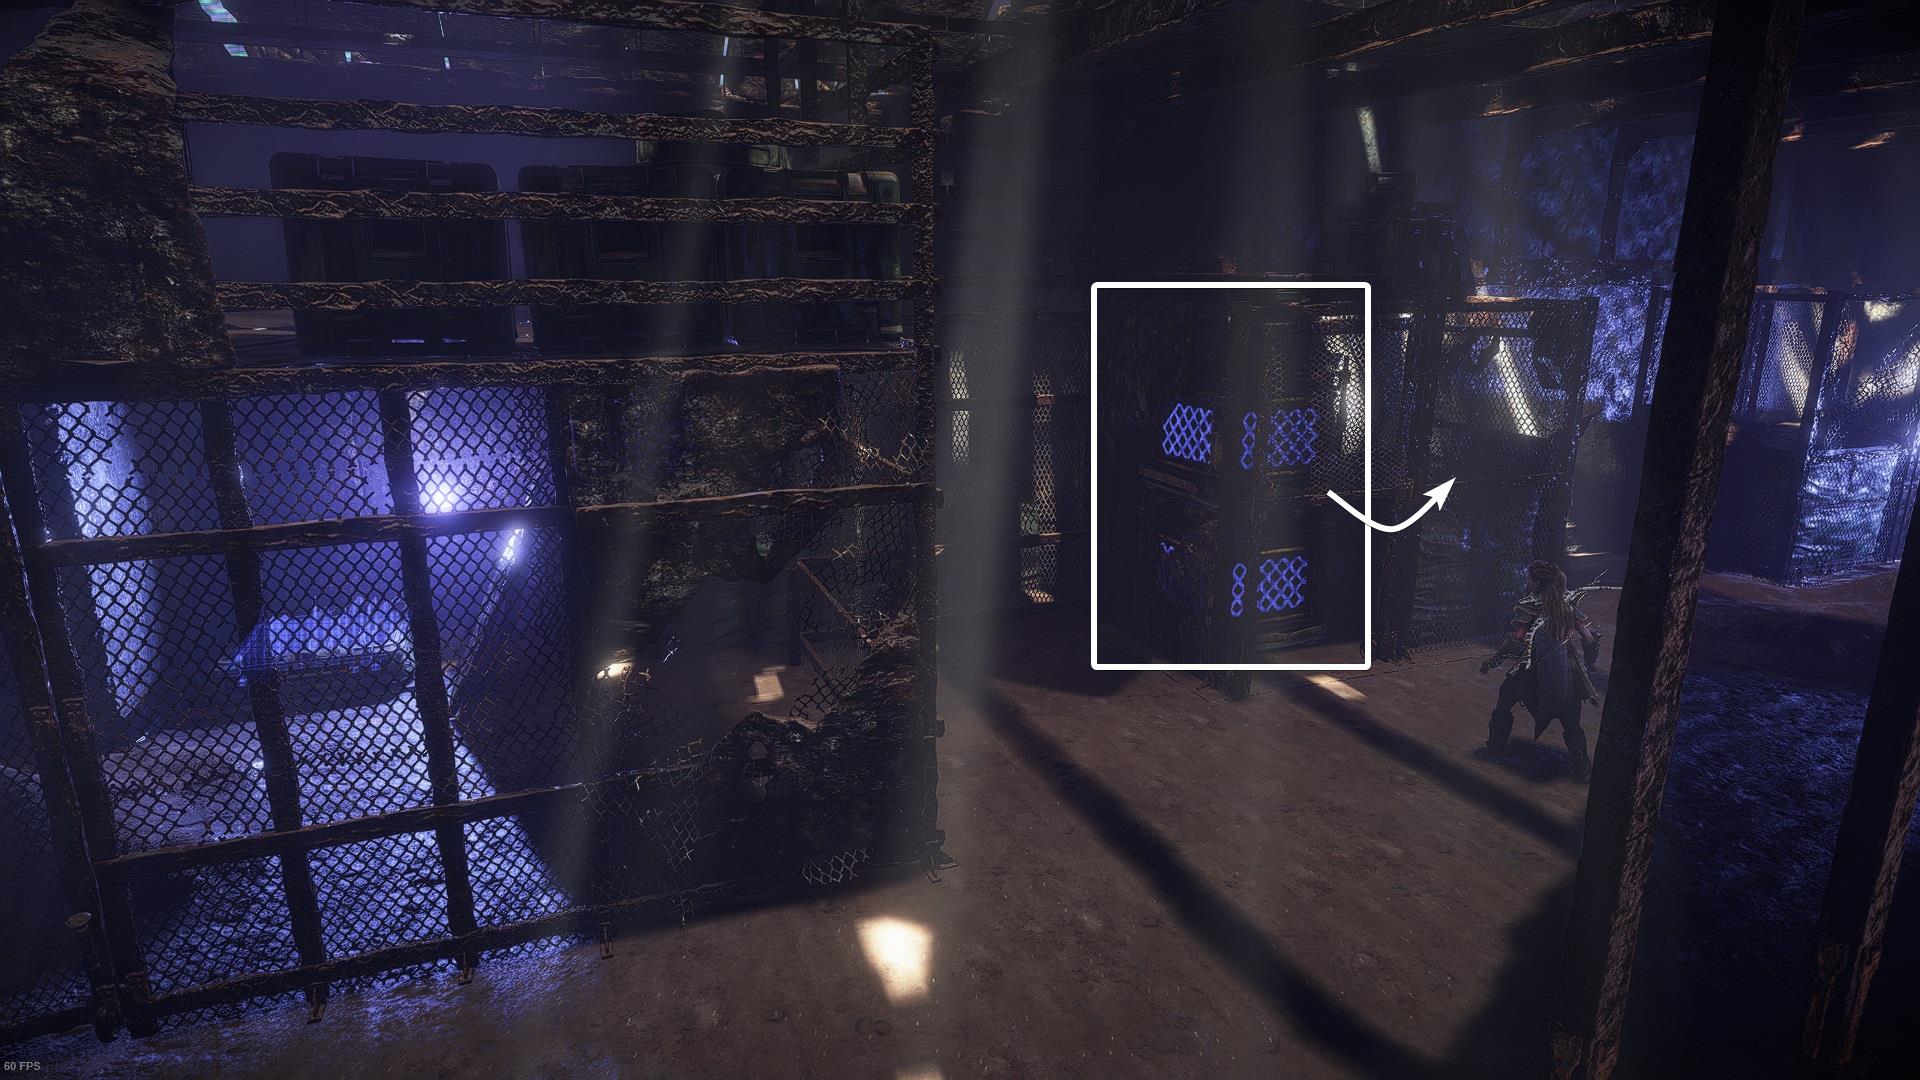
You’ll see a sealed door with a terminal next to it as soon as you enter. To open it you must find the password.
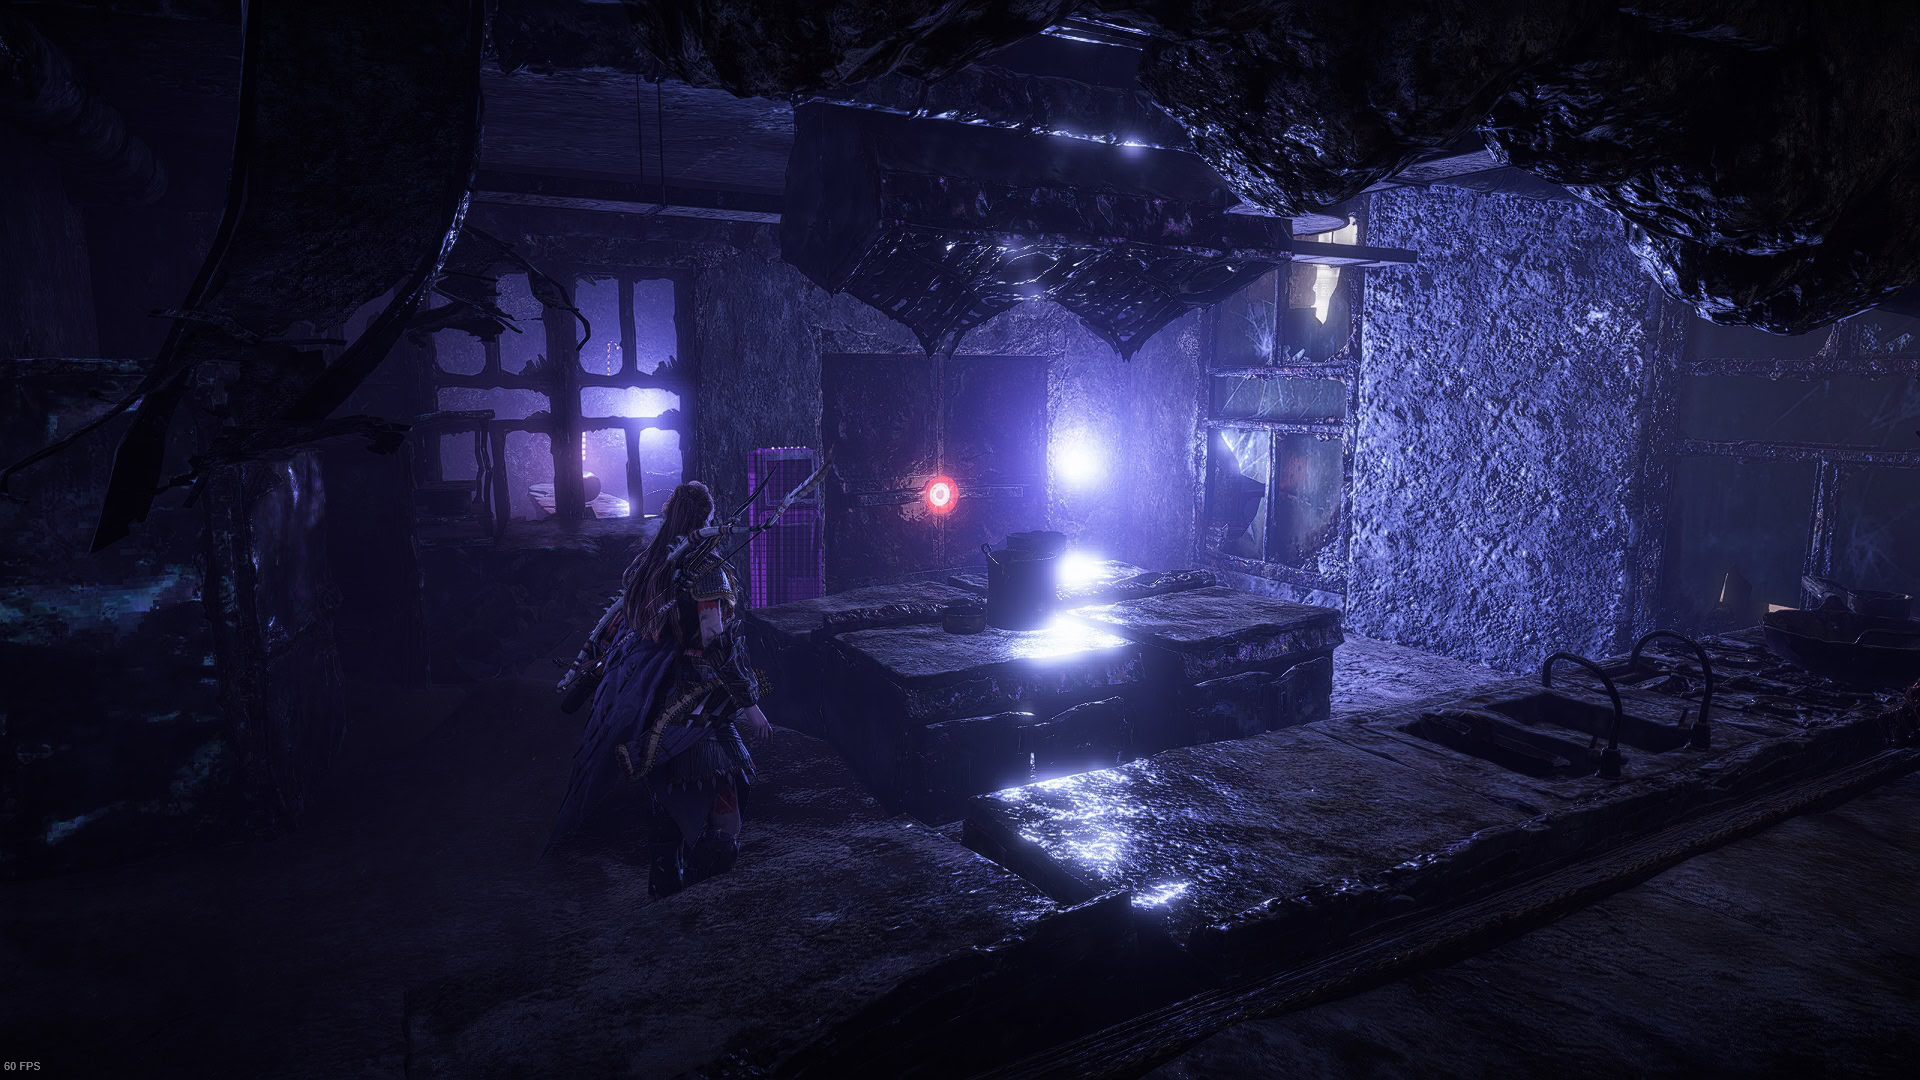
Turn to the left, you will see a climbing node. Use the Pullcaster to get up and then continue to the upper floor.
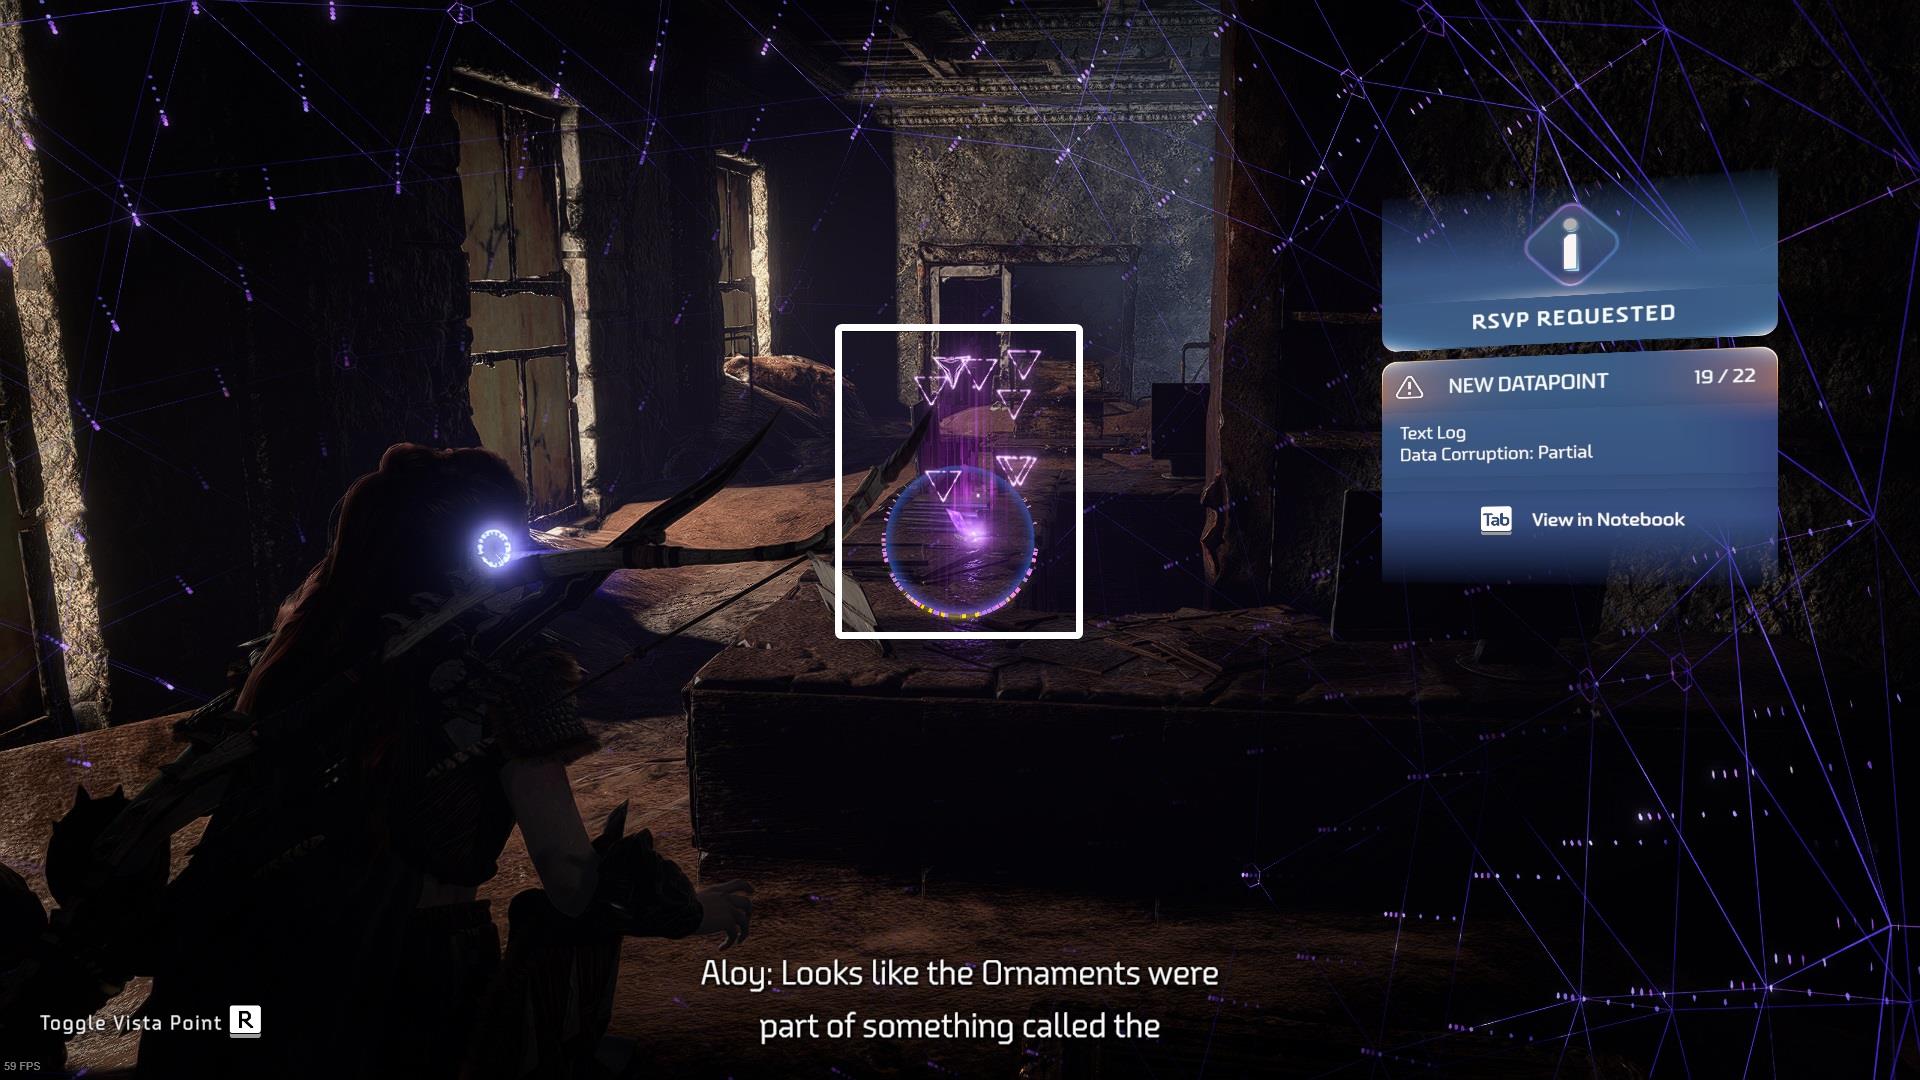
There’s a Datapoint, climb on top of the metal boxes and scan it. You’ll notice that it mentions the number 135, these are the last three digits of the code. Continue to the right side.
There are two stacked crates but you can only move one. The one on top must be moved to the right.
Go to the right side of the room where you’ll see a metal cage. Get on top of it and pull the top crate.
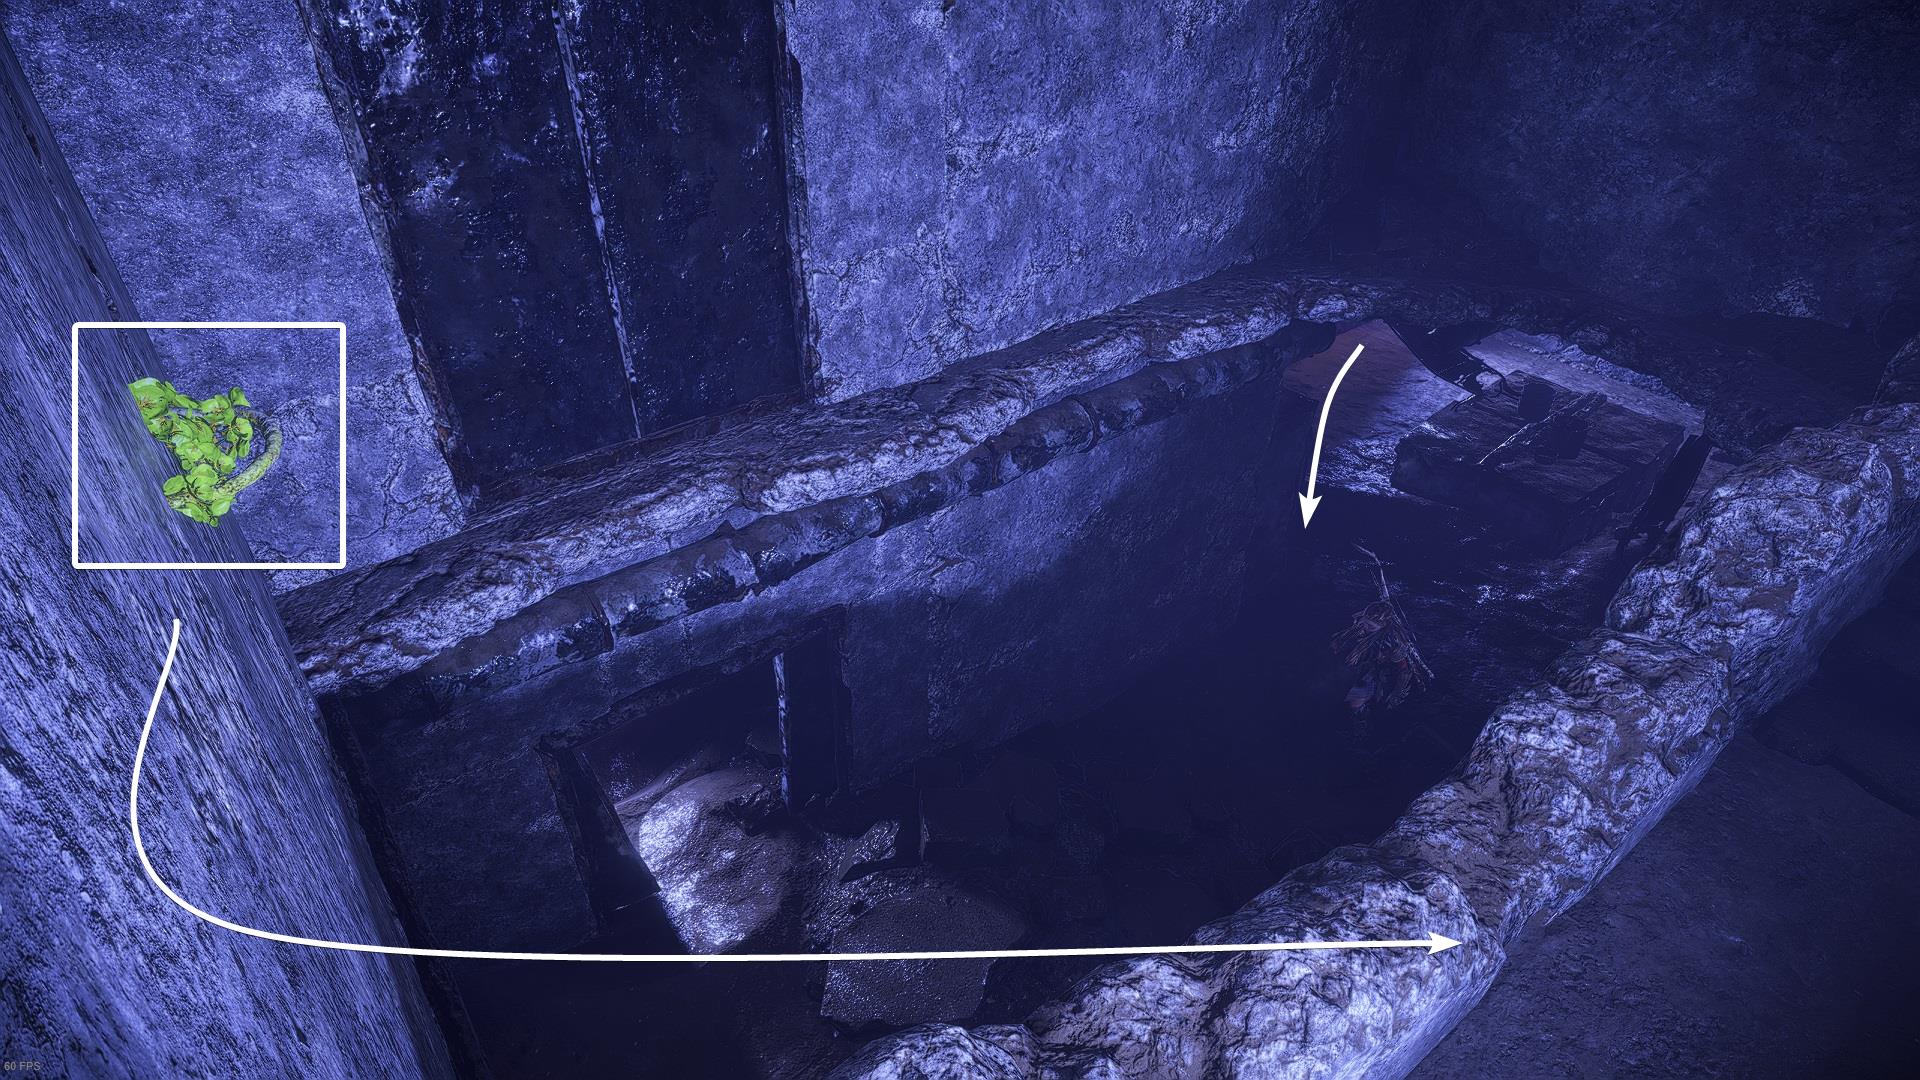
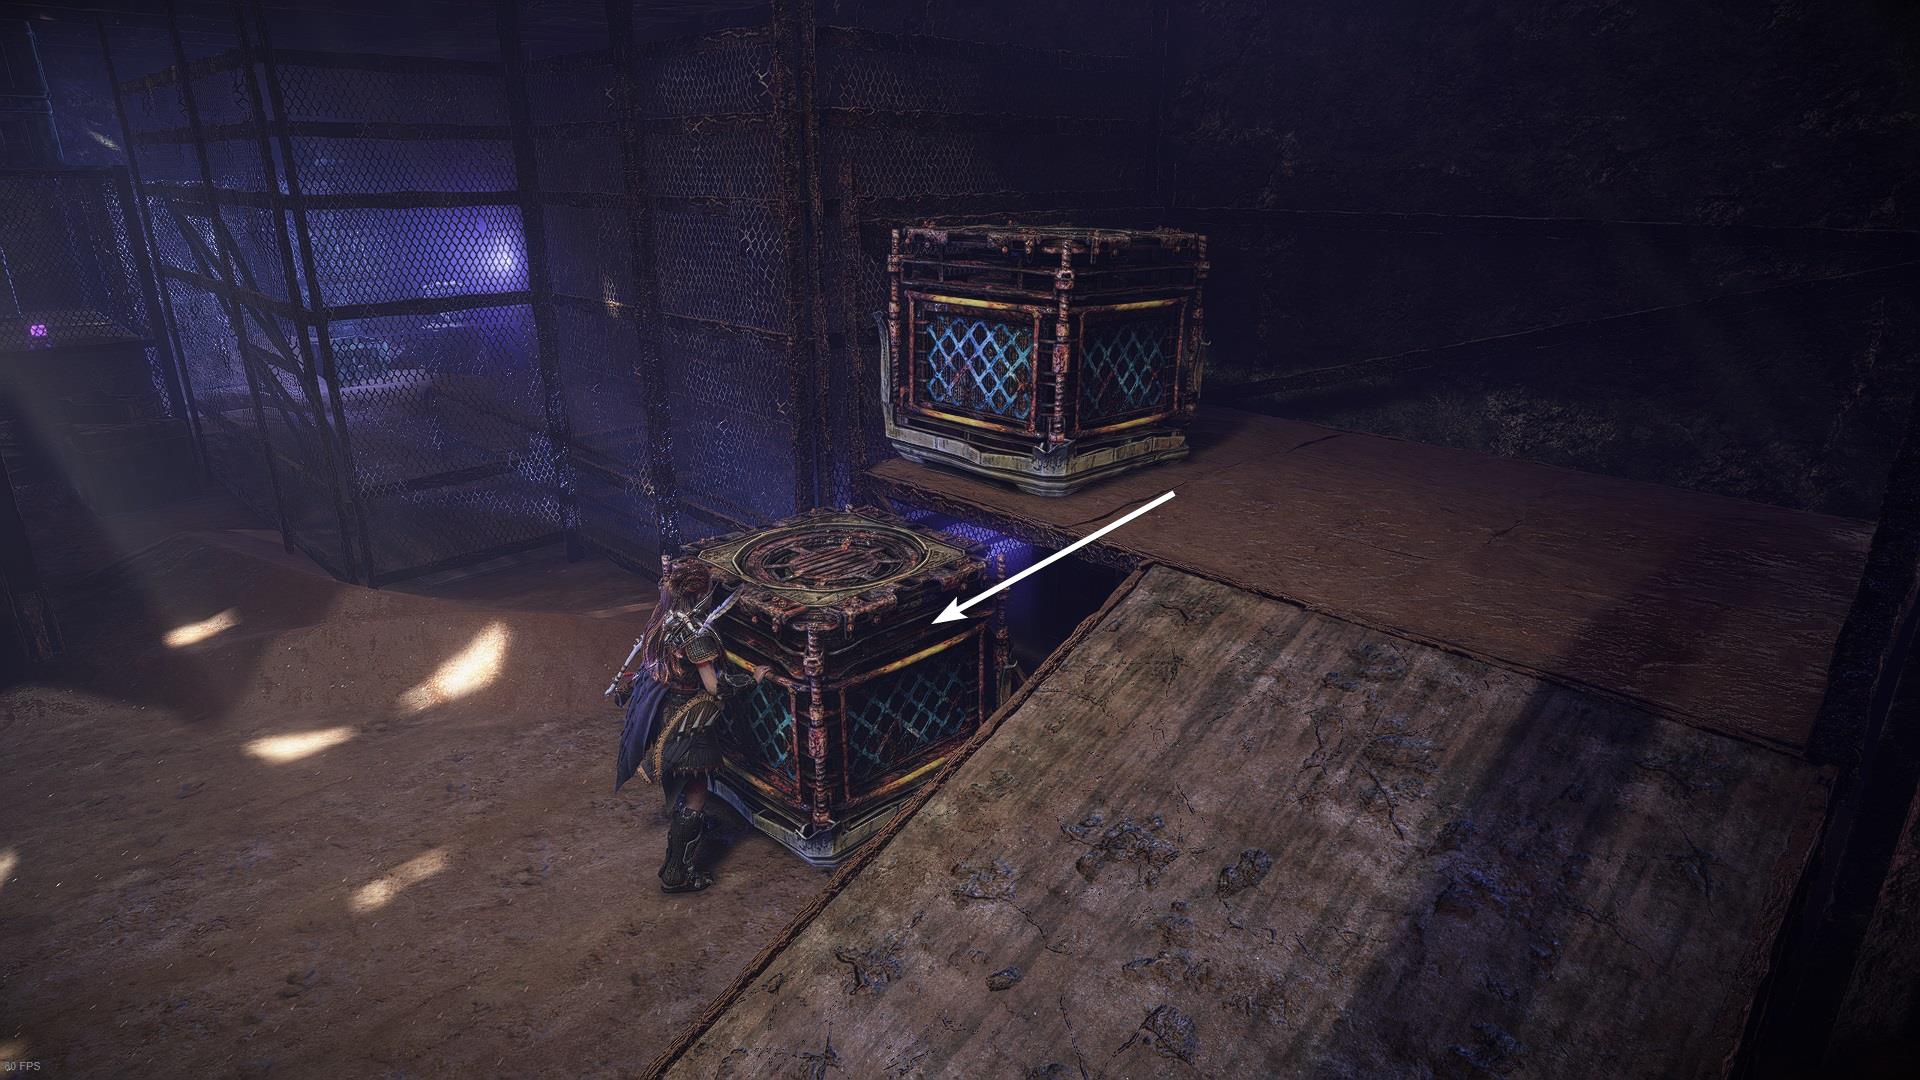
Now remove the bottom crate. Look for the ramp that’s just a few meters away.
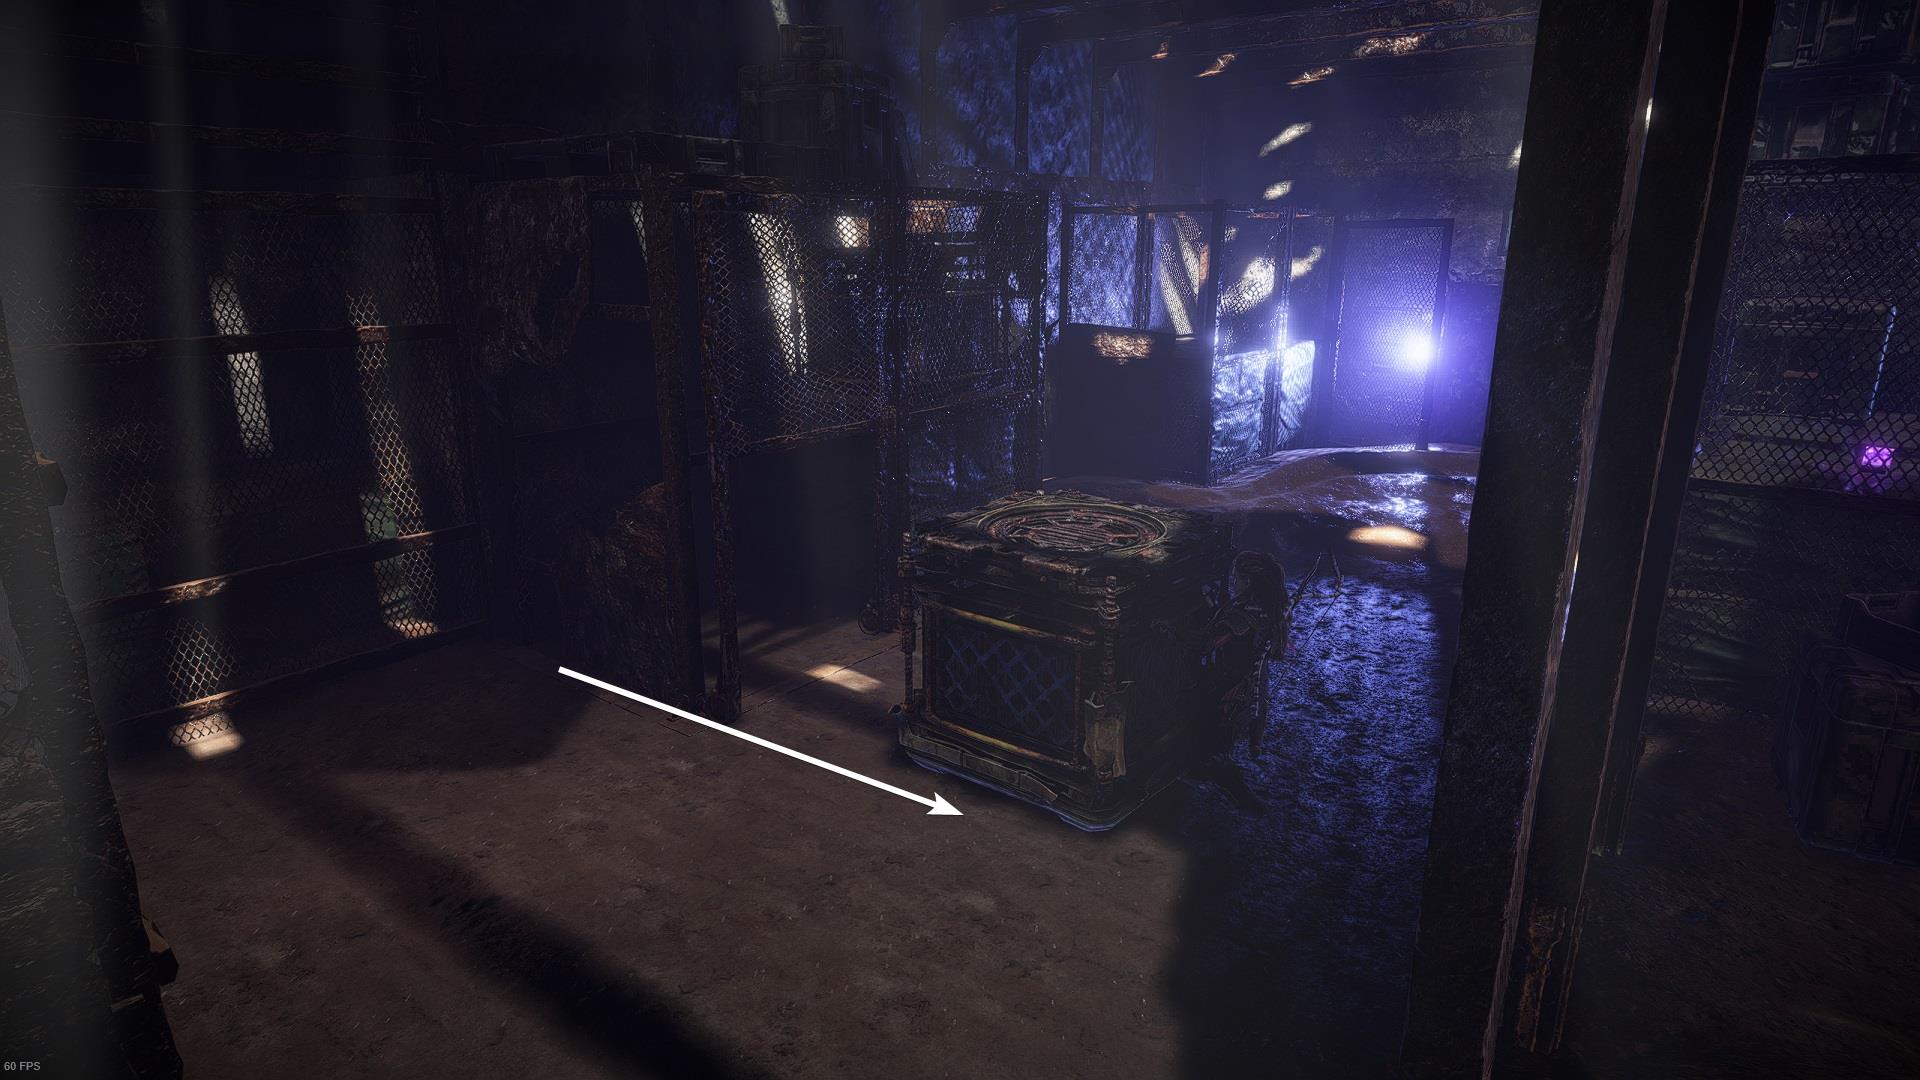
Move the crate through the platform and leave it in the location that’s shown in the picture below. Both crates must be stacked again, time to get the second one.
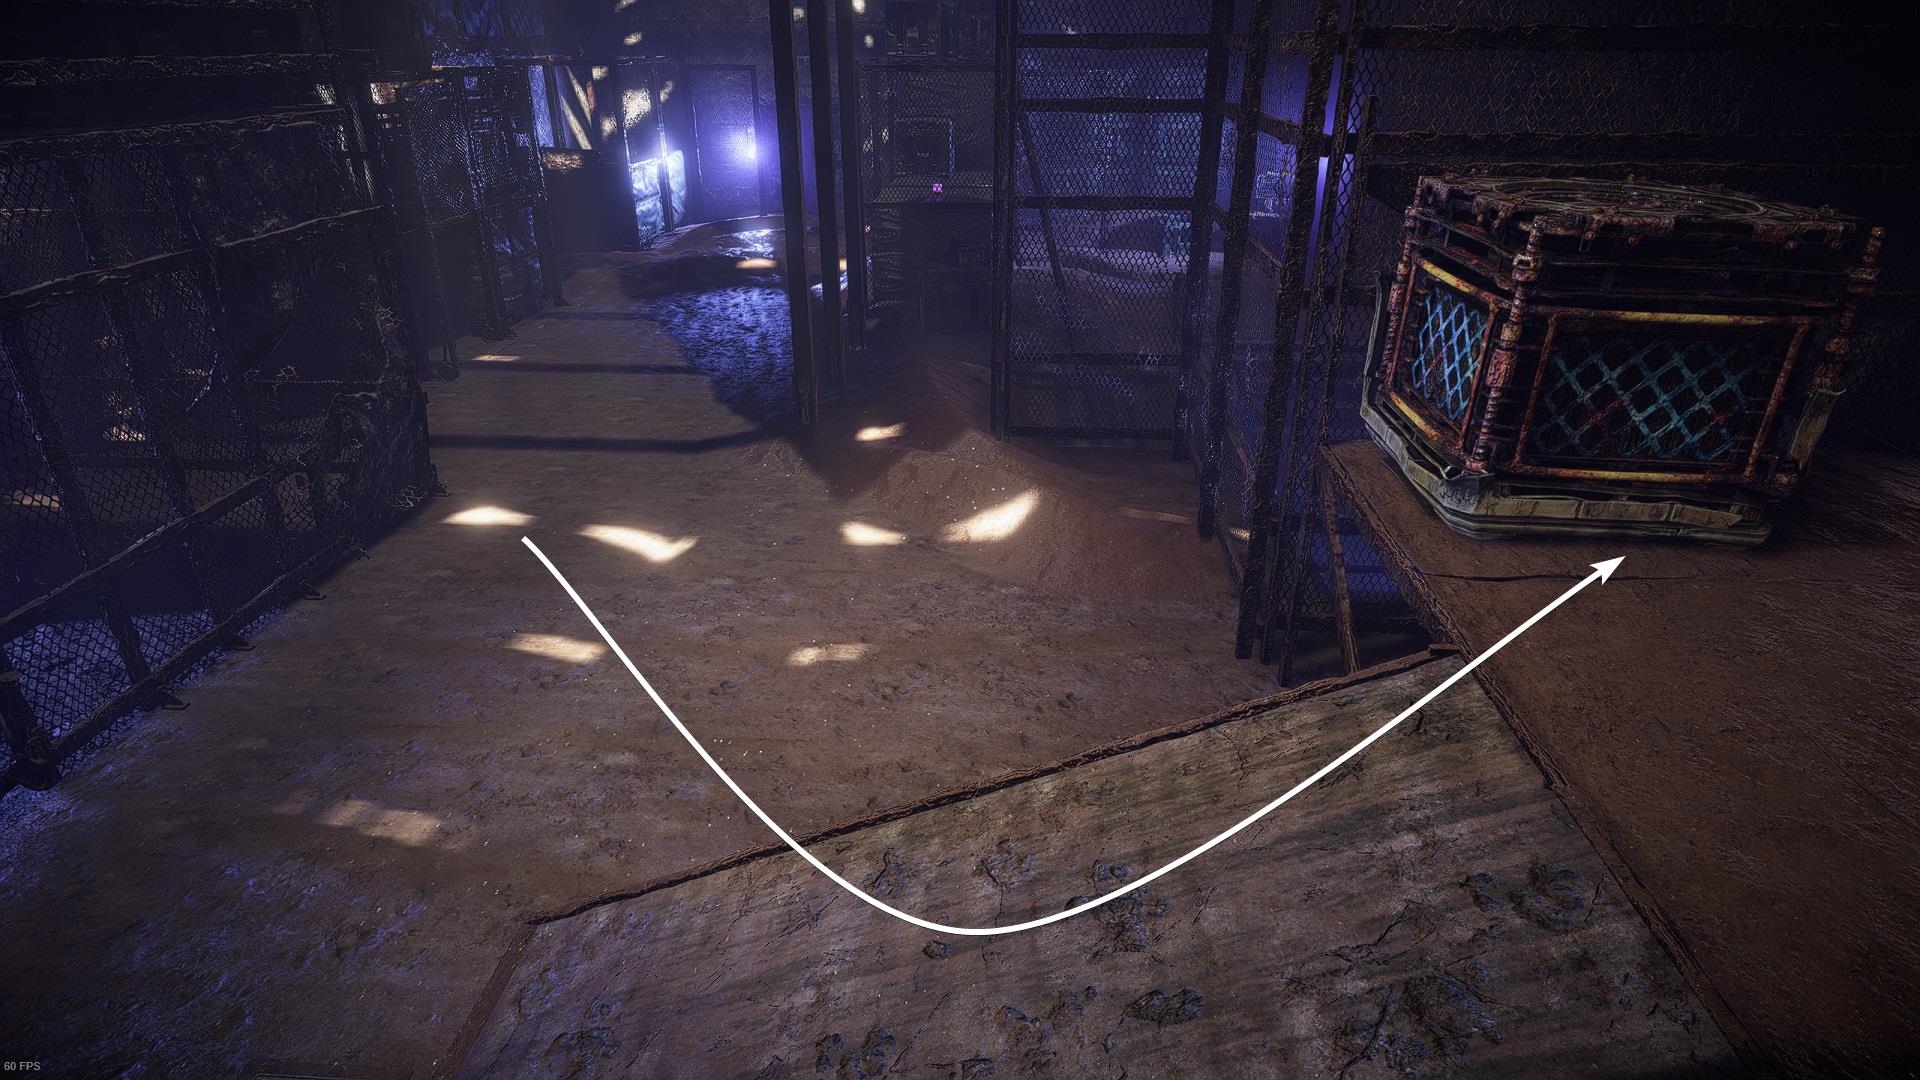
Use the Pullcaster to move the first crate back to its original location.
Place it right in front of the crate that’s on top of the platform. Now simply push the top crate, both crates should be stacked after this. Push them in front of the metal cage that’s right in front of the ramp.
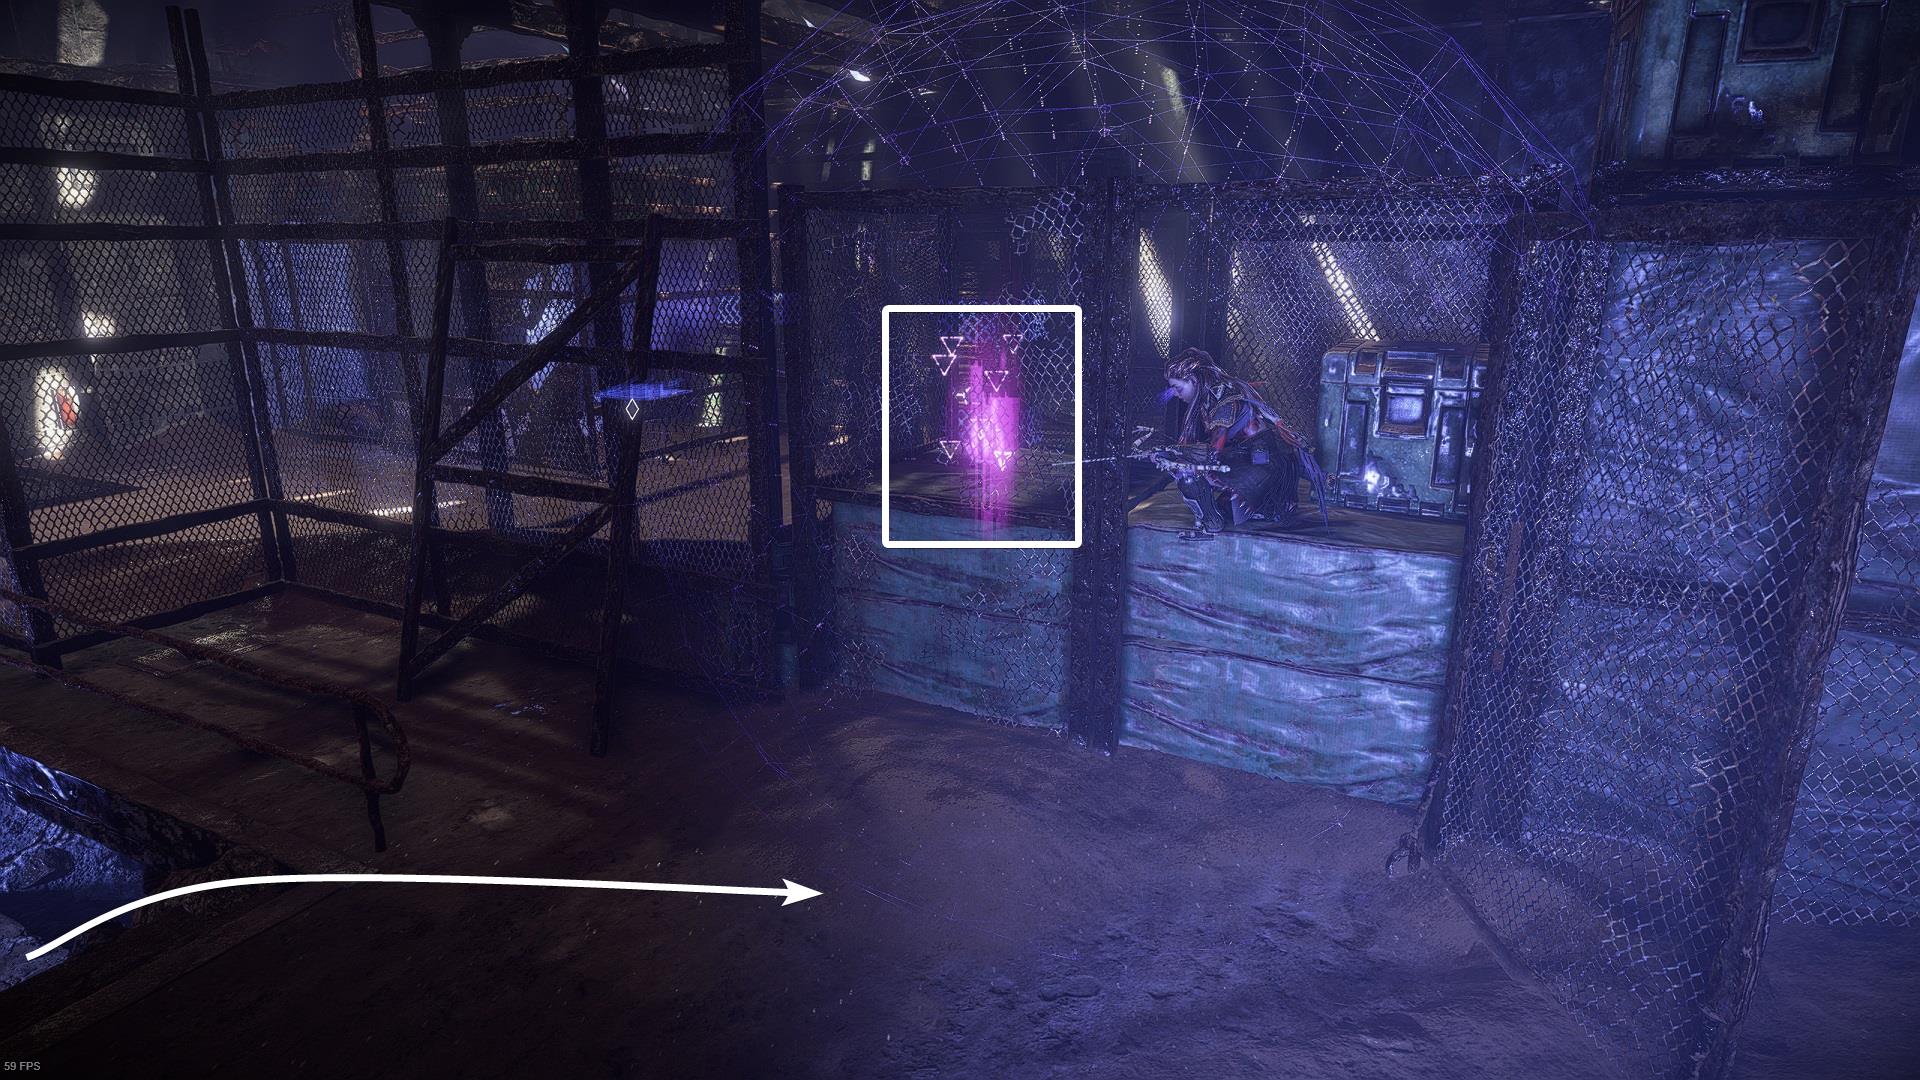
There’s a small opening on the right side of said metal cage. It’s hard to distinguish due to the poor lighting of the place but there’s a crate at the back. Pull it through the opening.
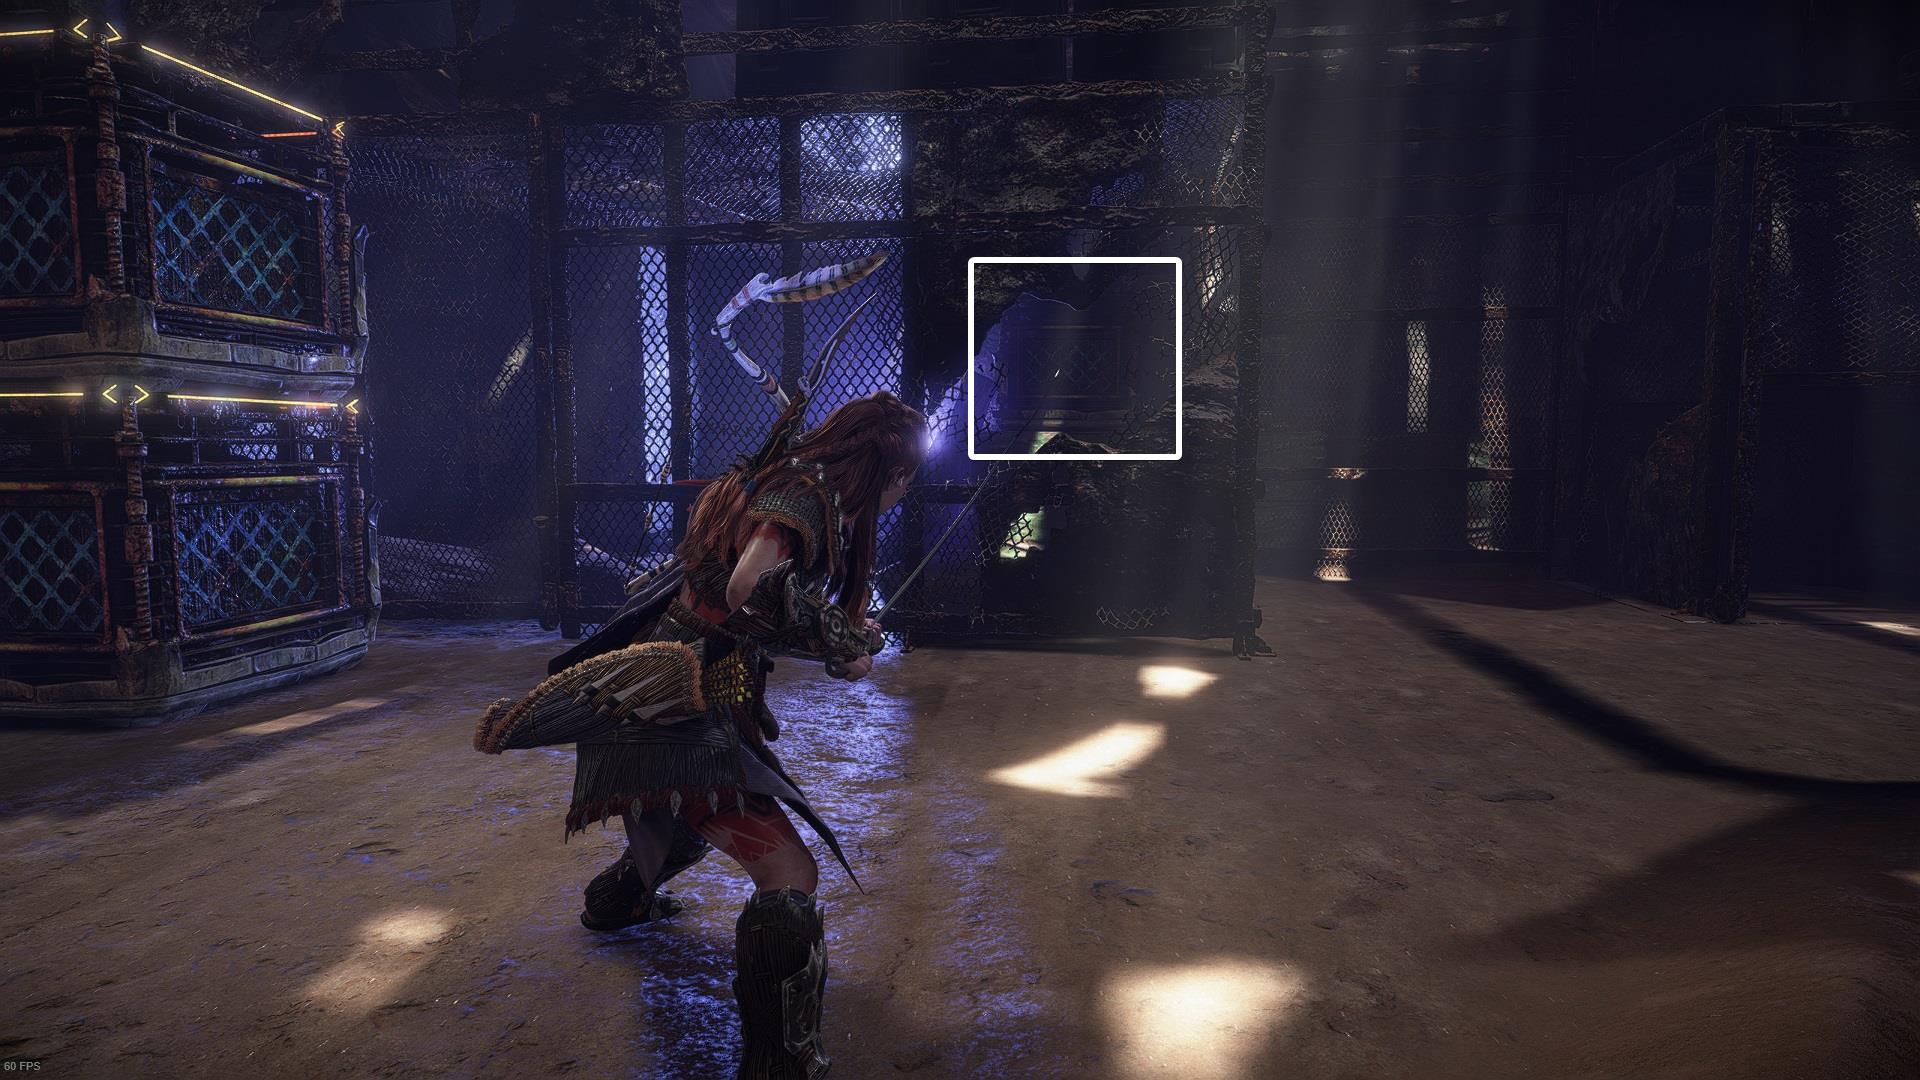
Now jump on top of the crates to get to the top of the cage. The crate that you just moved was blocking the entrance but now it’s possible to get inside.
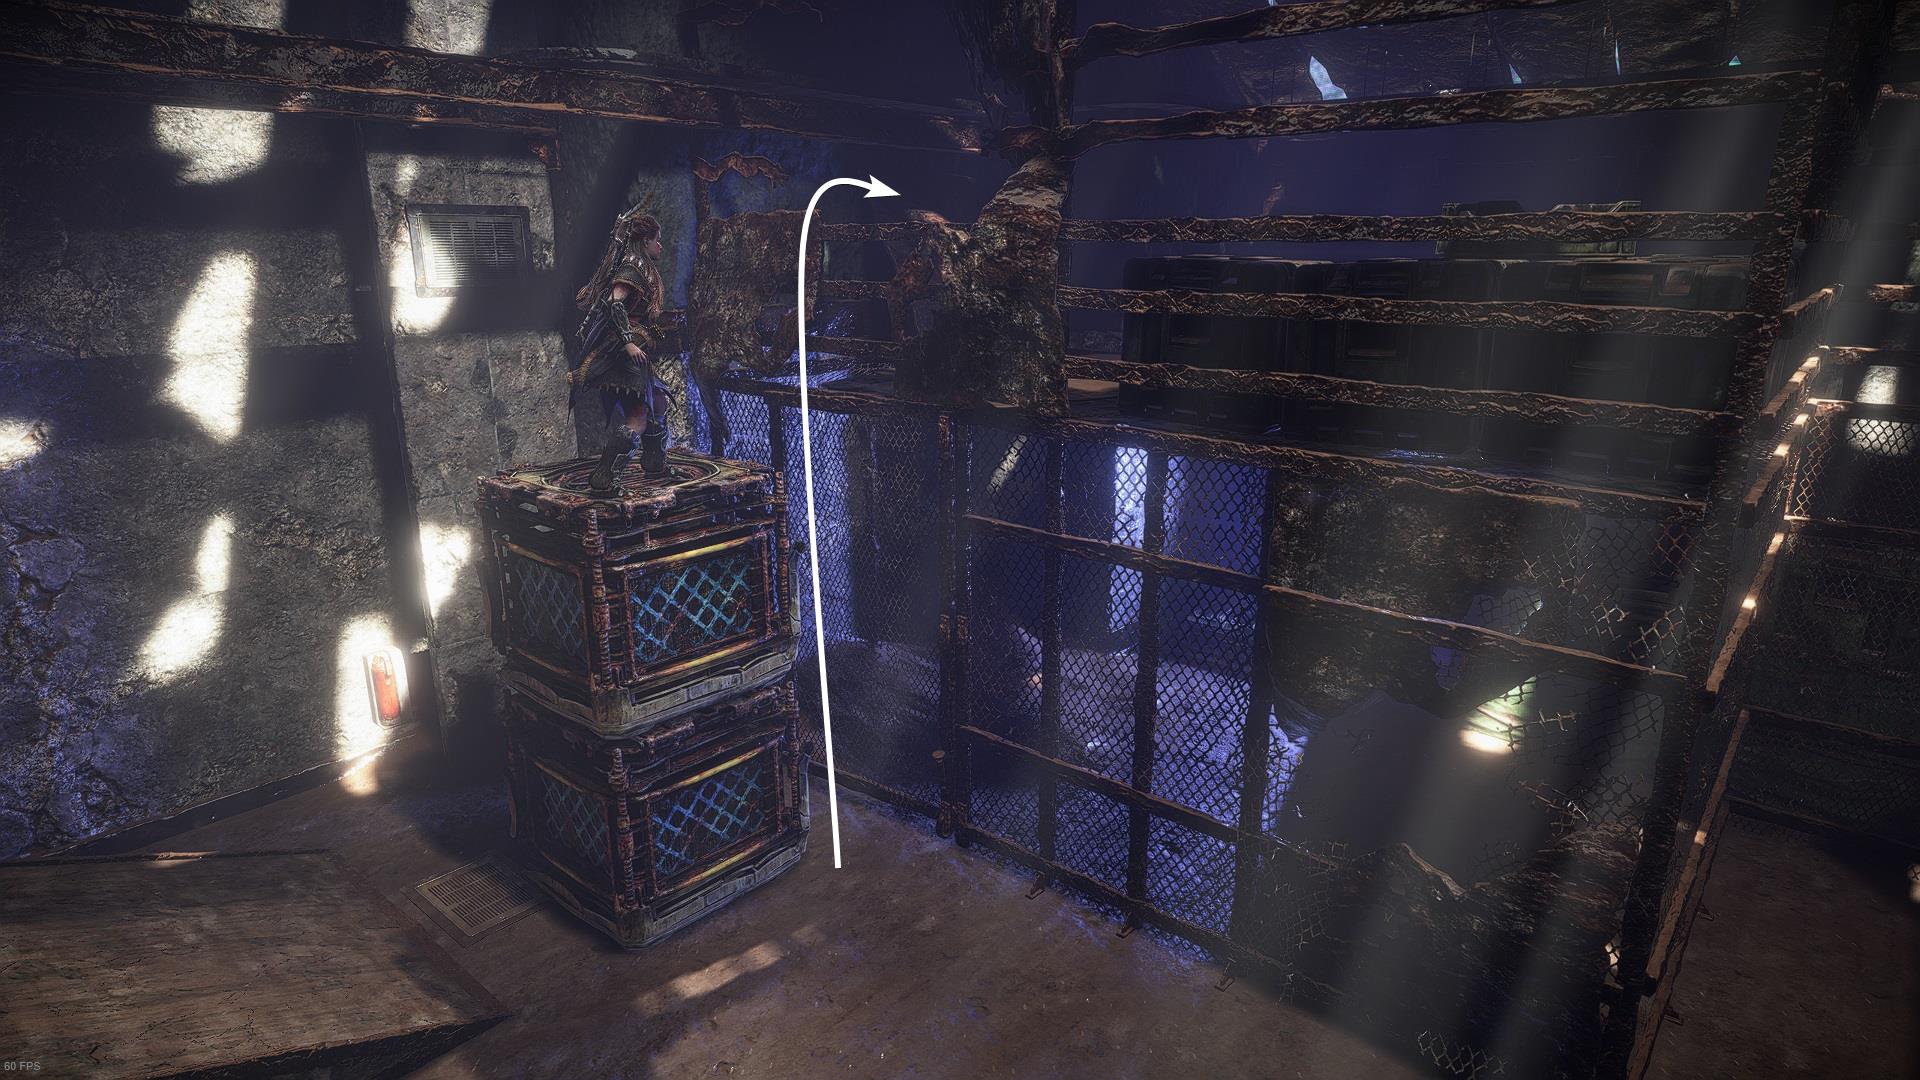
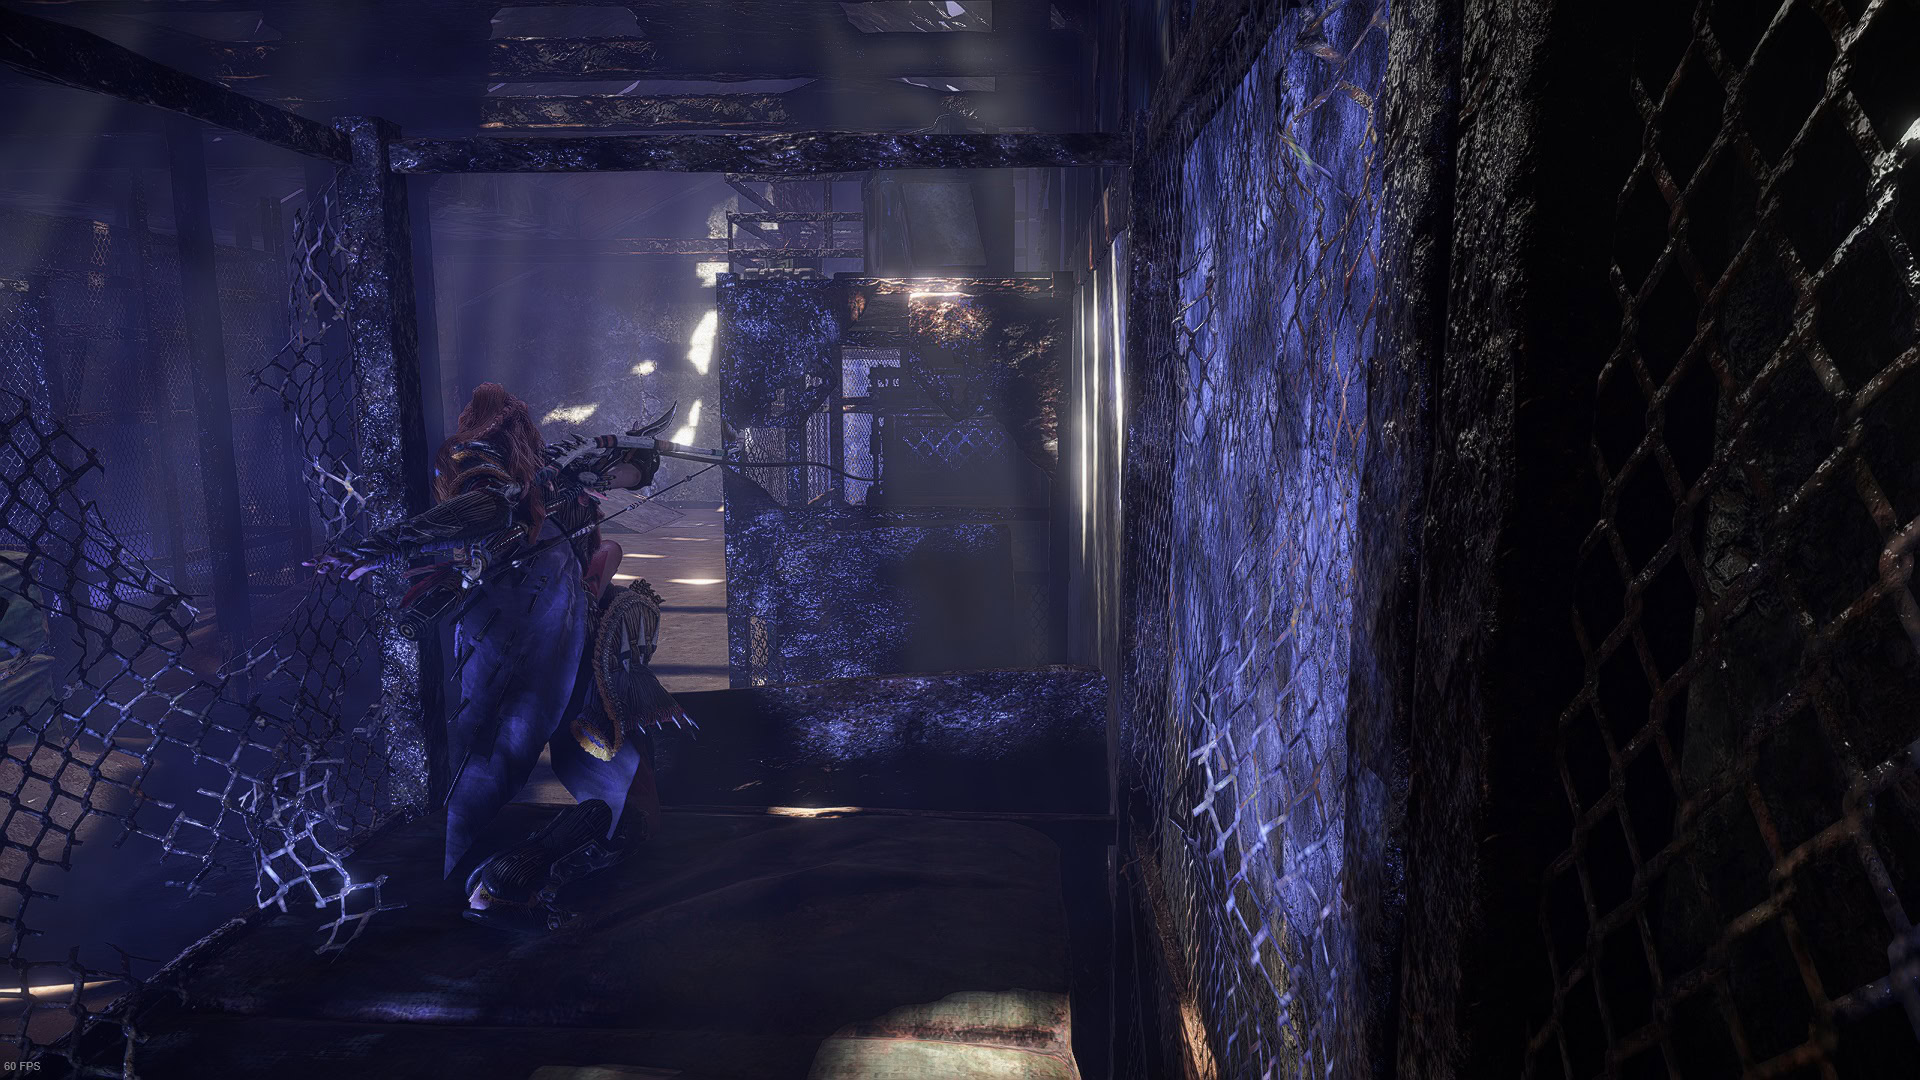
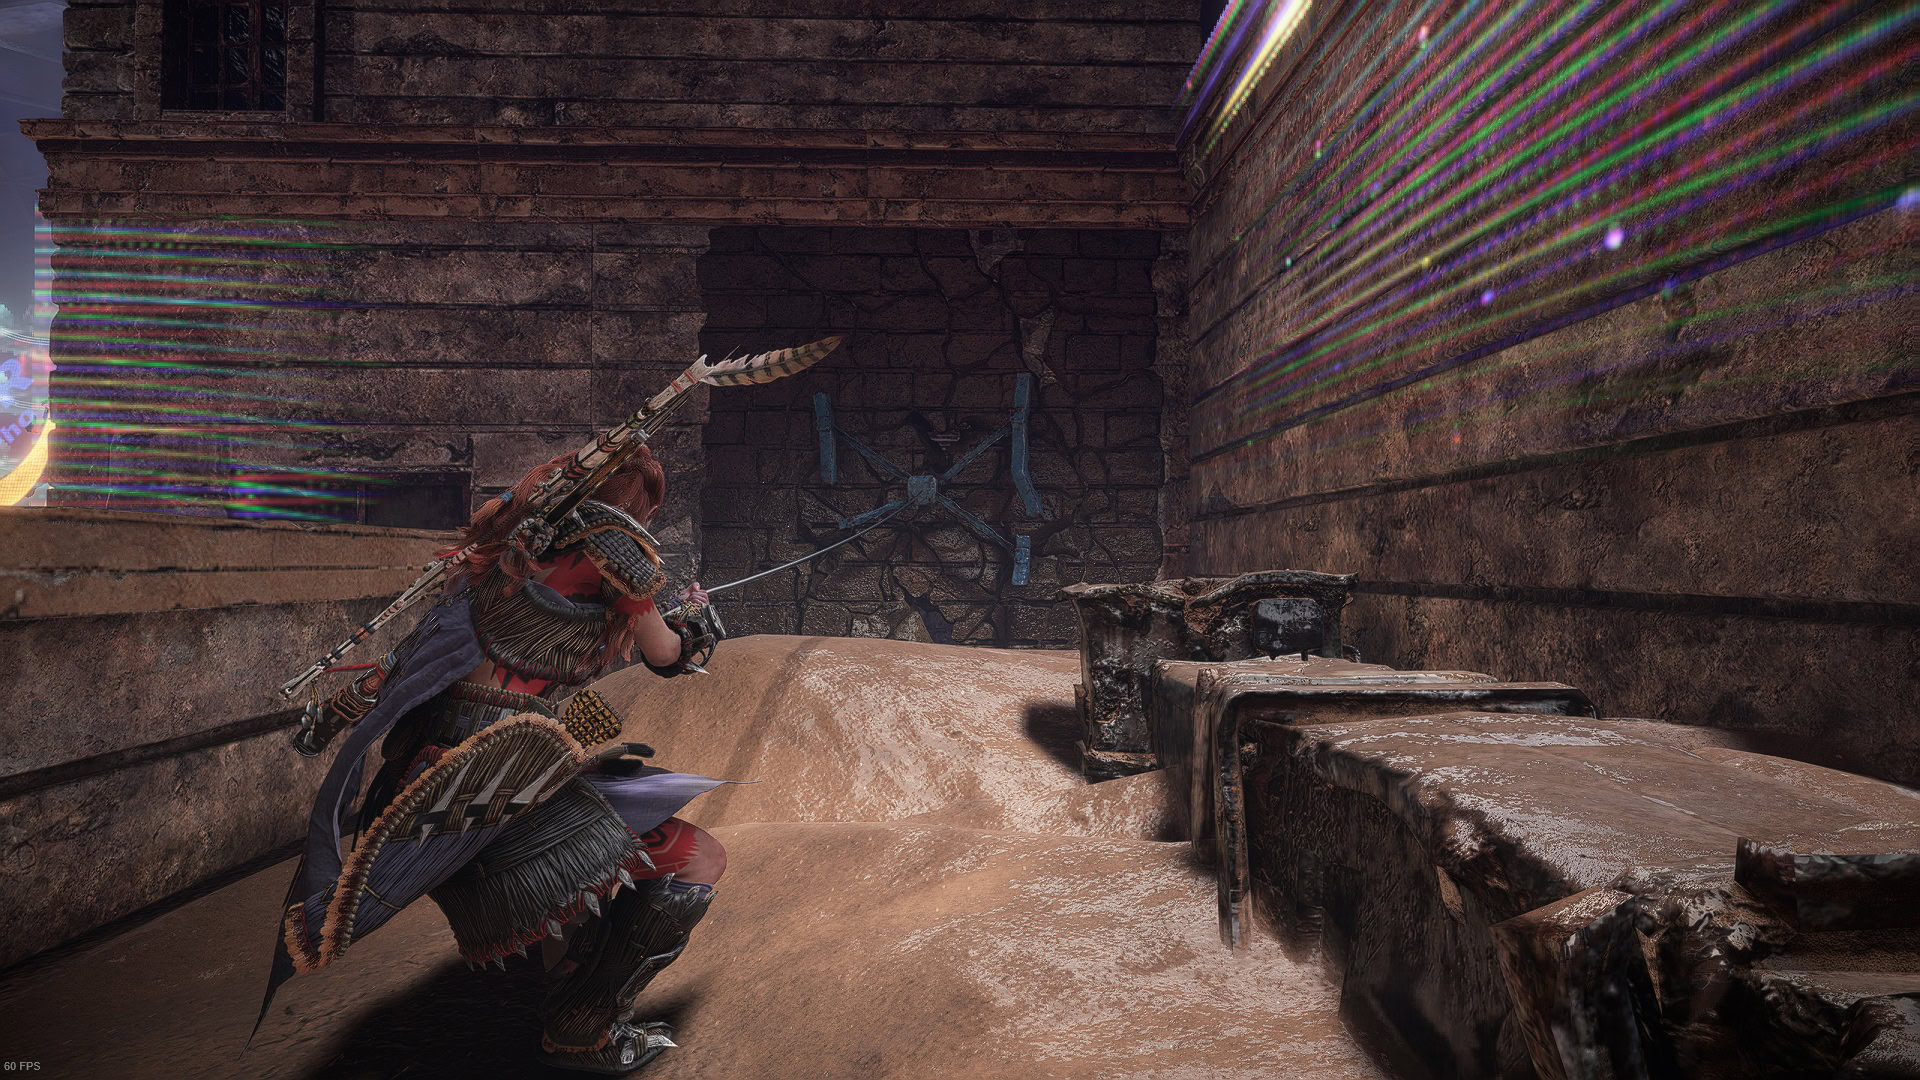
Just climb down and crouch to get in. There’s a vent on the floor, you can’t miss it. Open it with the Pullcaster and move forward.

The vent leads to the roof of the building. Walk until you see a metal clamp. Pull the metal clamp to gain access to the last area.
Scan the Datapoint, it has the first three digits of the code, 7 3 9.
Type the code in the console starting with the three digits you just found. The complete code is 739135.

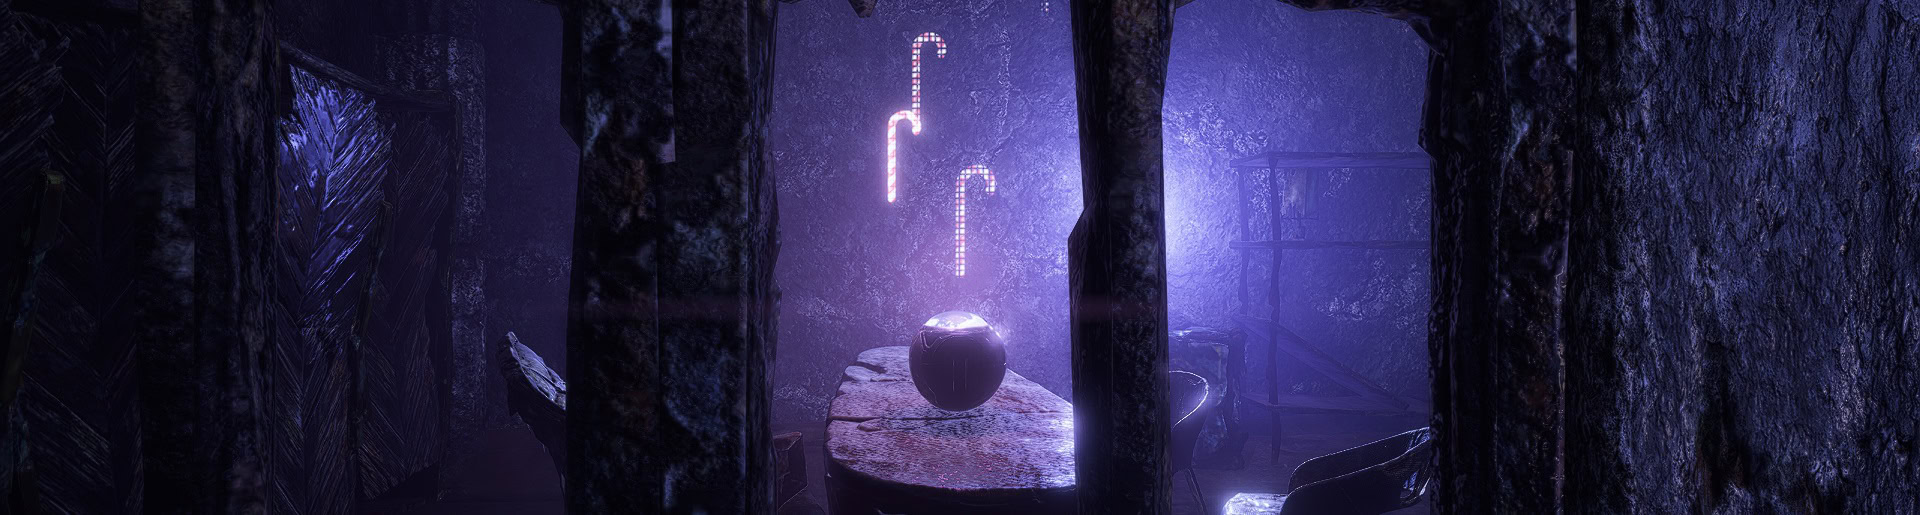
The last Ornament or “Gizmo” as Stemmur calls it will be behind the door.
How to get all Ornaments
There’s a total of nine Ornaments that can be found on the base game. Here’s the location of all eight Relic Ruins and the requirements to access and/or solve the puzzles. This info and more is explained in every individual walkthrough.
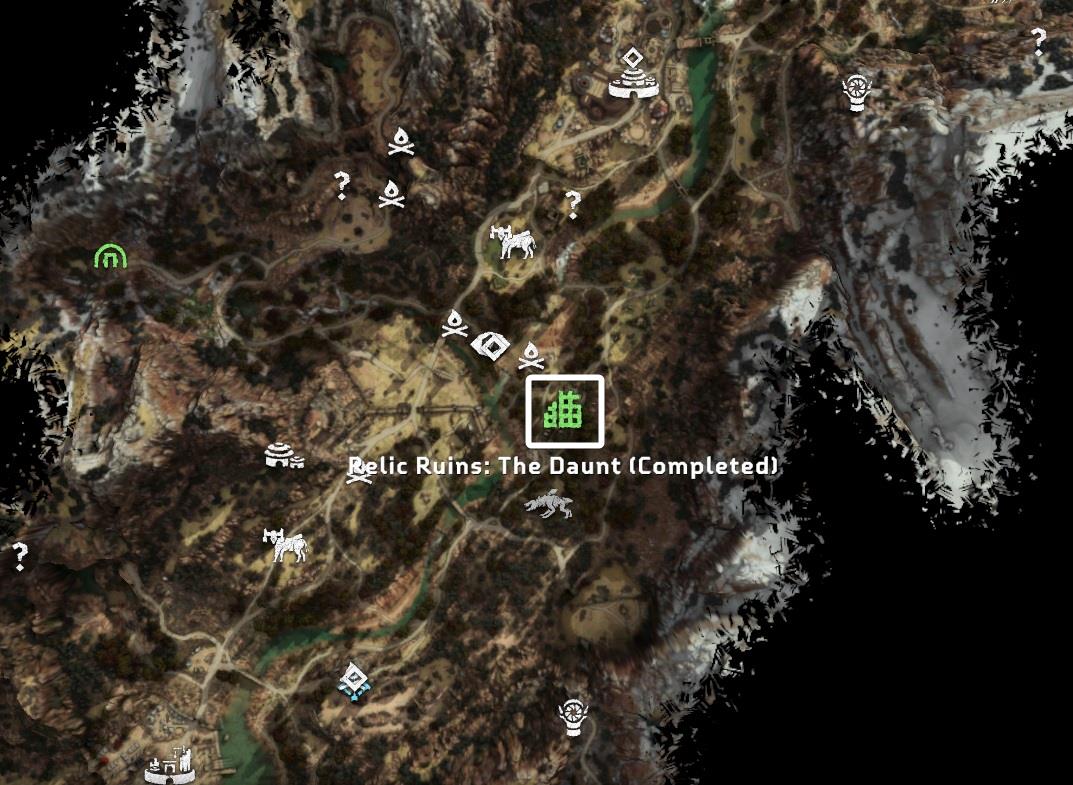
The Daunt
These Relic Ruins are located in The Daunt, south of Chainscrape and east of Redhew Quarry. You can access the area and solve the puzzle at any time. Learn how to solve it in my step-by-step walkthrough of The Daunt Relic Ruins.
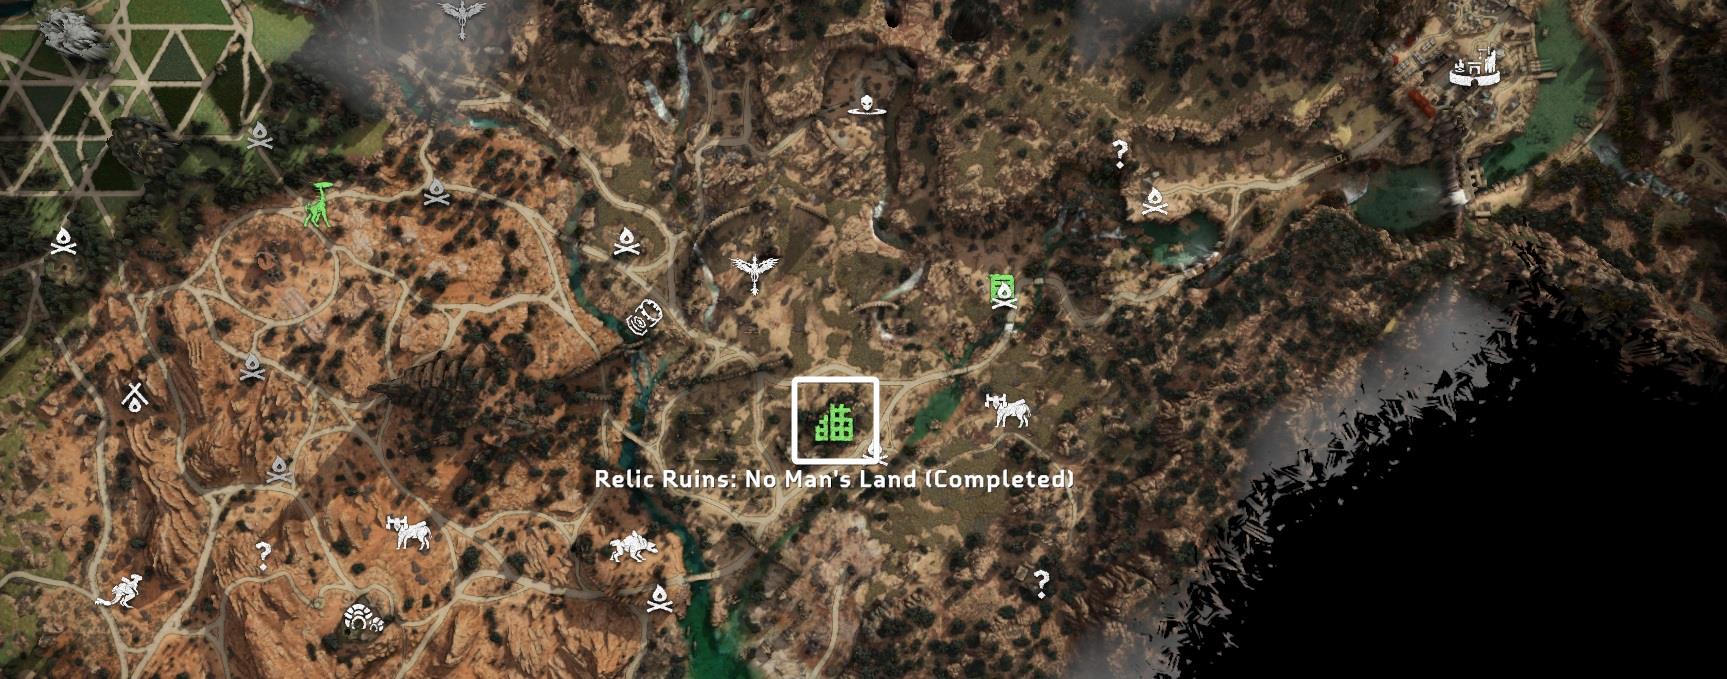
No Man’s Land
The location for the ruins is southwest of Barren Light and South of the Deadfall’s Rebel Outpost. To solve the puzzle you must have the Igniter in your inventory, which is unlocked and obtained after completing the main quest Death’s Door. If you don’t want to waste time figuring it out, check how to solve the No Man’s Land’s Relic Ruins puzzle.
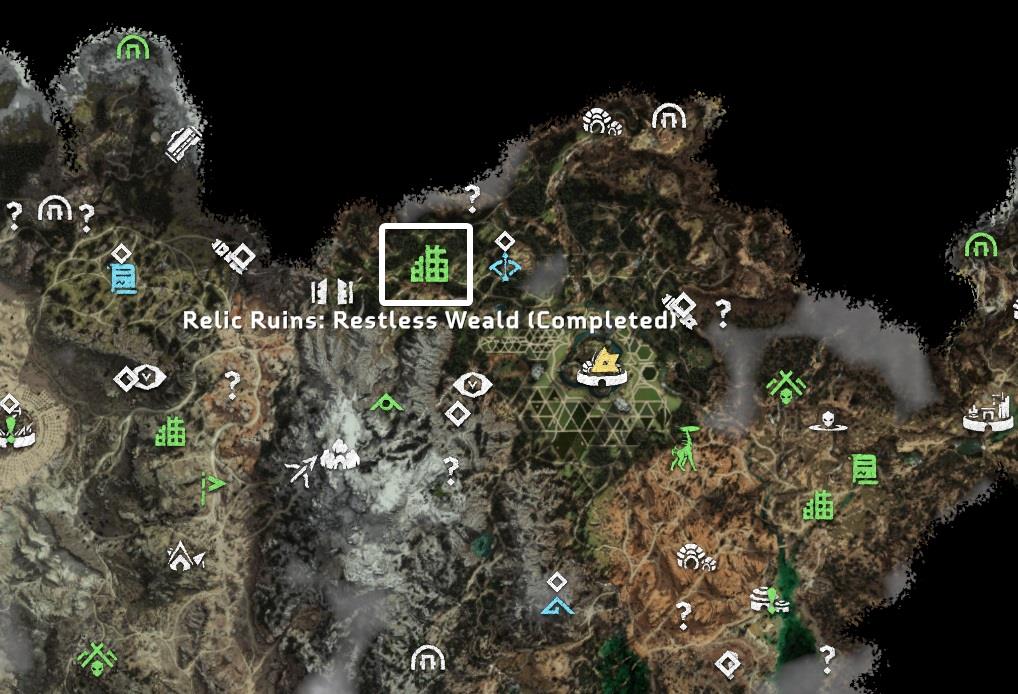
Restless Weald
The location of these ruins is northwest of the Plainsong settlement. To solve the puzzle you must have the Igniter in your inventory, which is unlocked and obtained after completing the main quest Death’s Door. If you have trouble figuring out what to do with the train rails, the Restless Weald Relic Ruins walkthrough explains it.
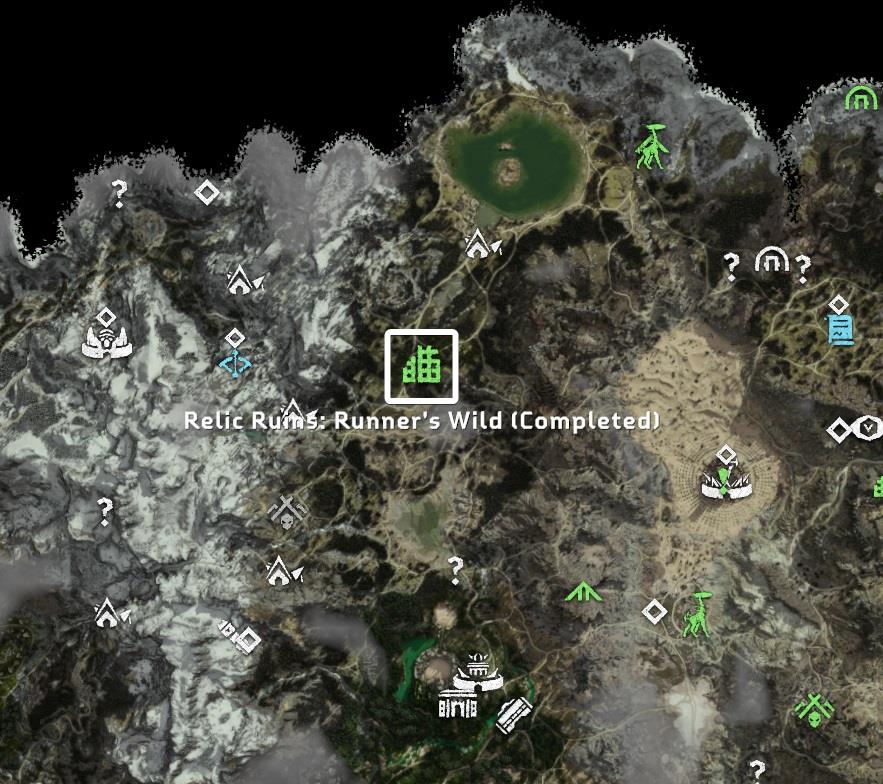
Runner’s Wild
The locations of these ruins is southwest of Salt Bite, east of Scalding Spear, and far West of the Bulwark. To solve the puzzle you must have the Igniter in your inventory, which is unlocked and obtained after completing the main quest Death’s Door. Learn how to solve the puzzle in the individual Runner’s Wild Relic Ruins walkthrough.
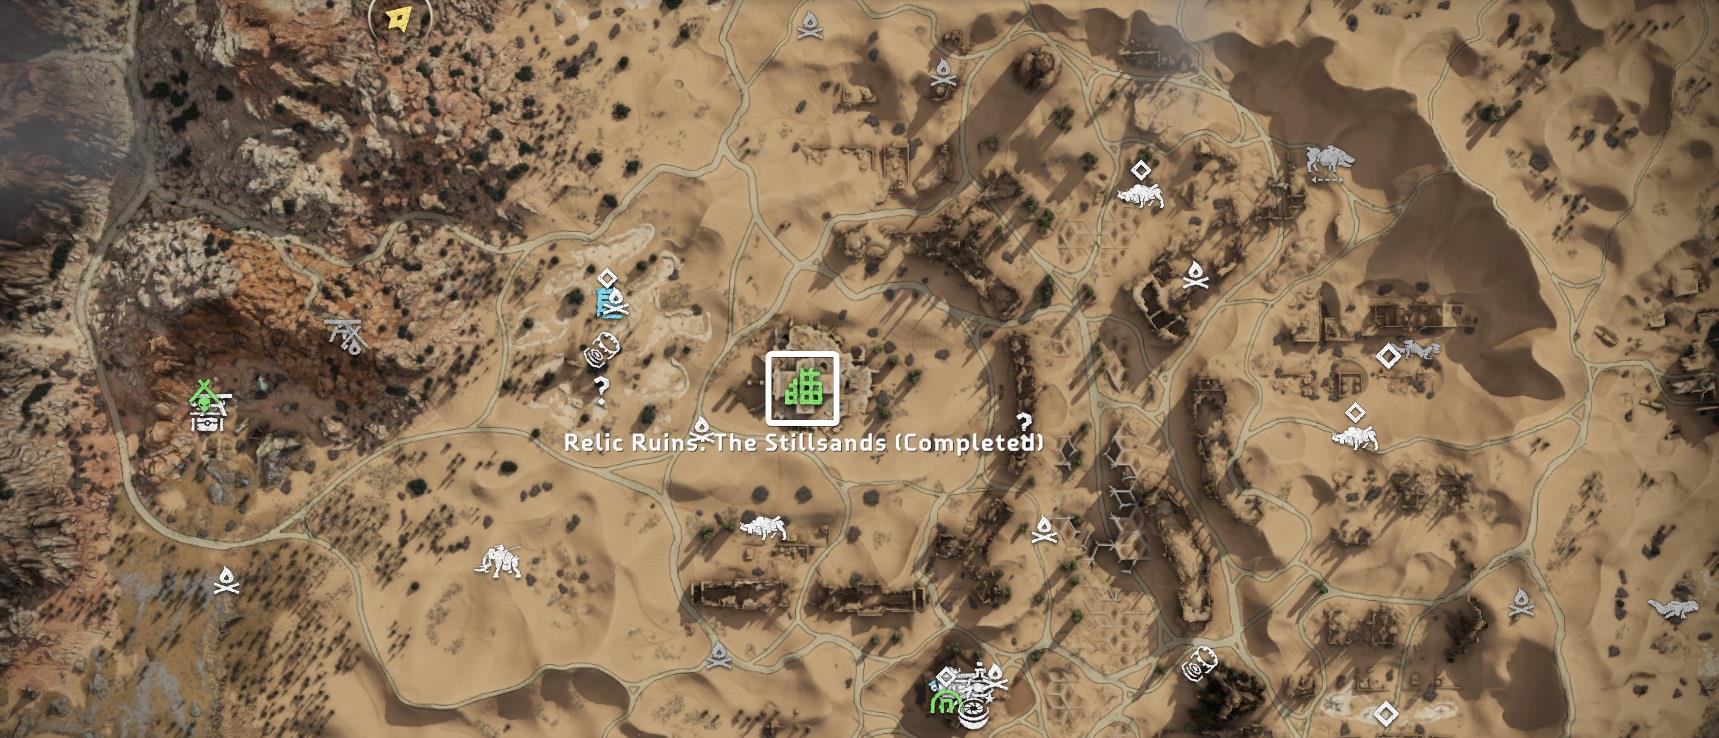
The Stillsands
These ruins are located in the middle of Las Vegas, East of the Salvage Contractor. To solve the puzzle you must have the Igniter in your inventory, which is unlocked and obtained after completing the main quest Death’s Door. Read my Stillsands Relic Ruins walkthrough to learn how to solve the puzzle efficiently.
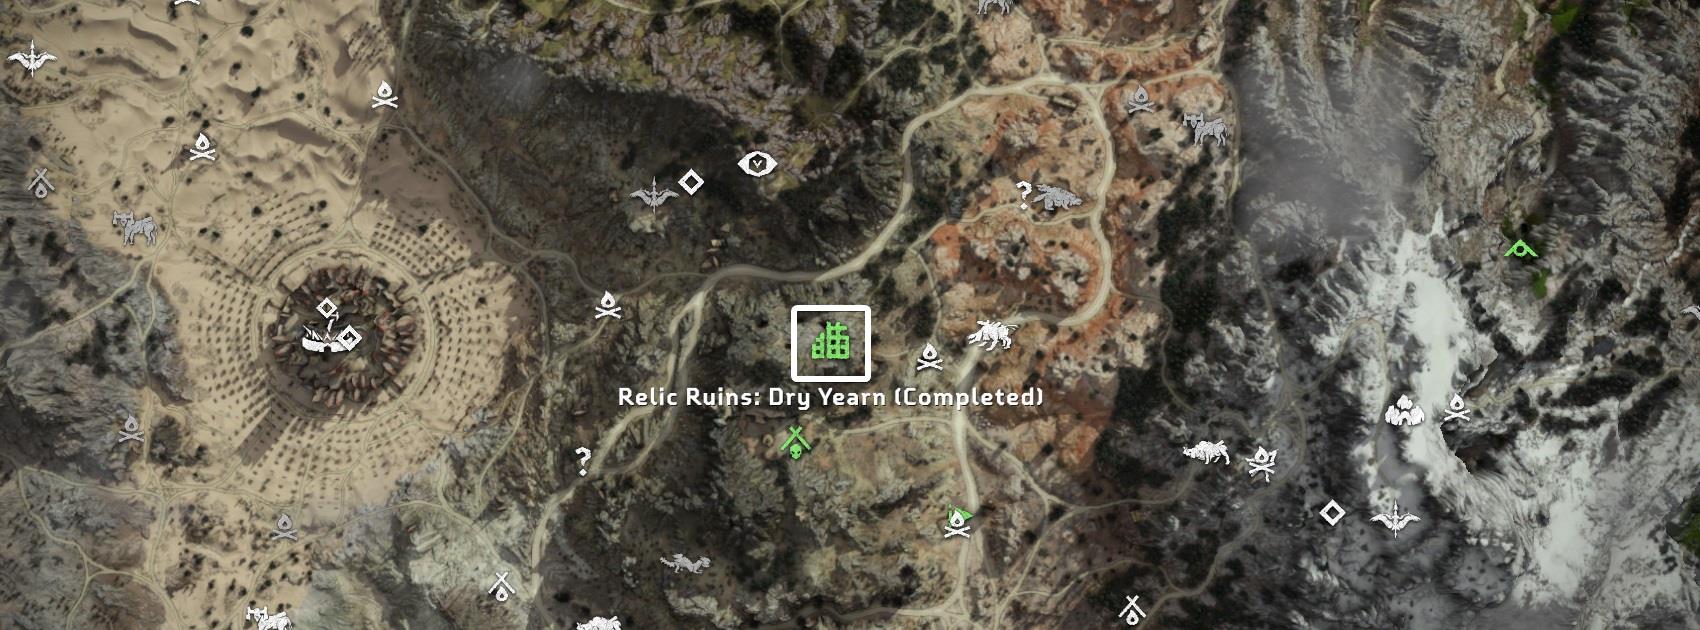
Dry Yearn
These ruins are located East of Scalding Spear and West of your base. To solve the puzzle you must have the Igniter and Vine Cutter in your inventory, which are unlocked and obtained after completing the main quests Death’s Door and Seeds of the Past respectively. If you need help figuring out how to get the Greenshine Sliver, you can see the simple but tricky solution in the Dry Yearn Relic Ruins walkthrough.
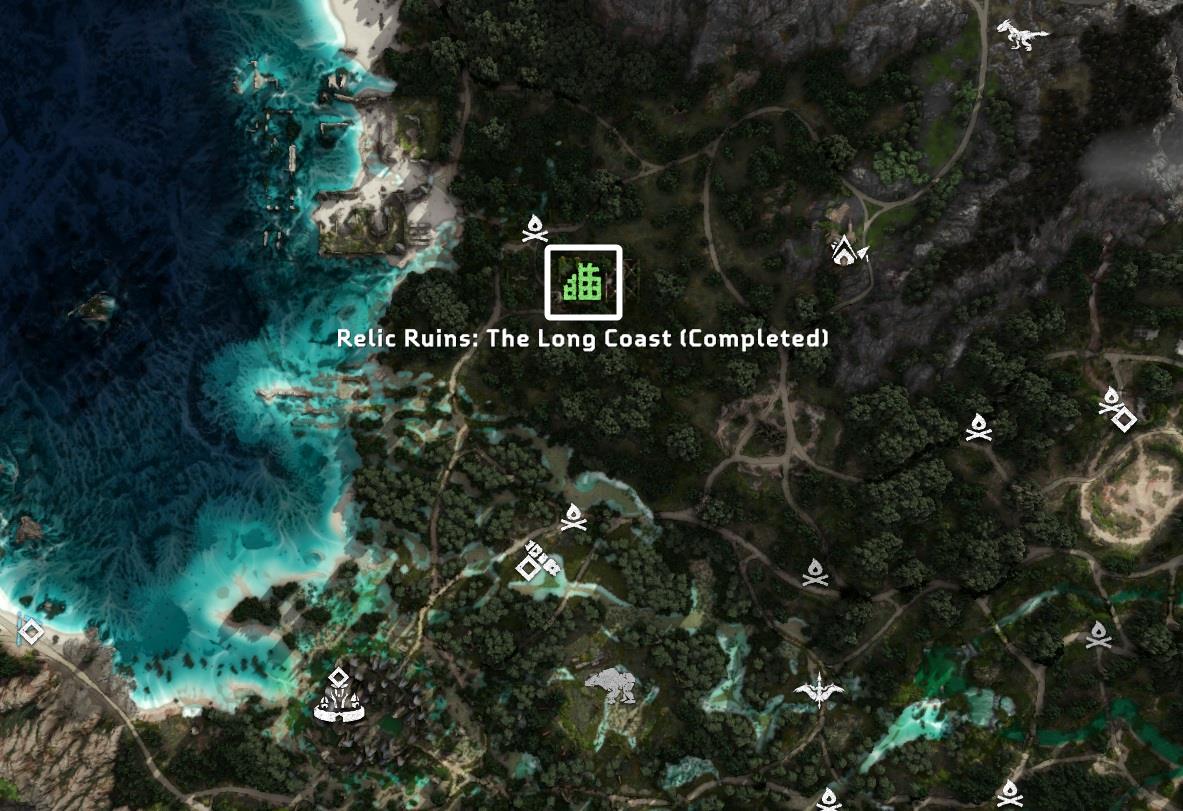
The Long Coast
These ruins are located far north-east of Thornmarsh. To solve the puzzle you must have the Igniter in your inventory, which is unlocked and obtained after completing the main quest Death’s Door. Deciphering how to complete this puzzle is fun but time-consuming. The Long Coast Relic Ruins walkthrough explains it step-by-step.
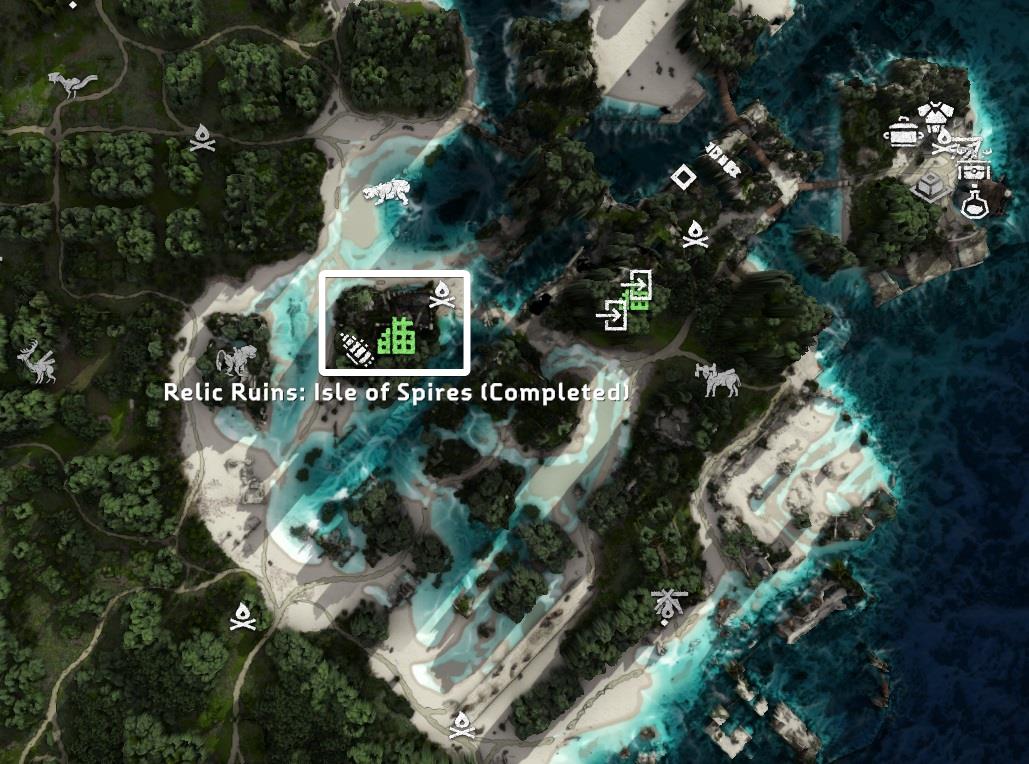
Isle of Spires
These ruins are located on the Isle of Spires, on the far West side of the map. This island can only be accessed after completing the main quests The Broken Sky, The Sea of Sands, and Seeds of the Past. Arguably, the hardest Relic Ruins. Here’s how to solve the Isle of Spires Relic Ruins puzzle.
What to do after collecting every Ornament
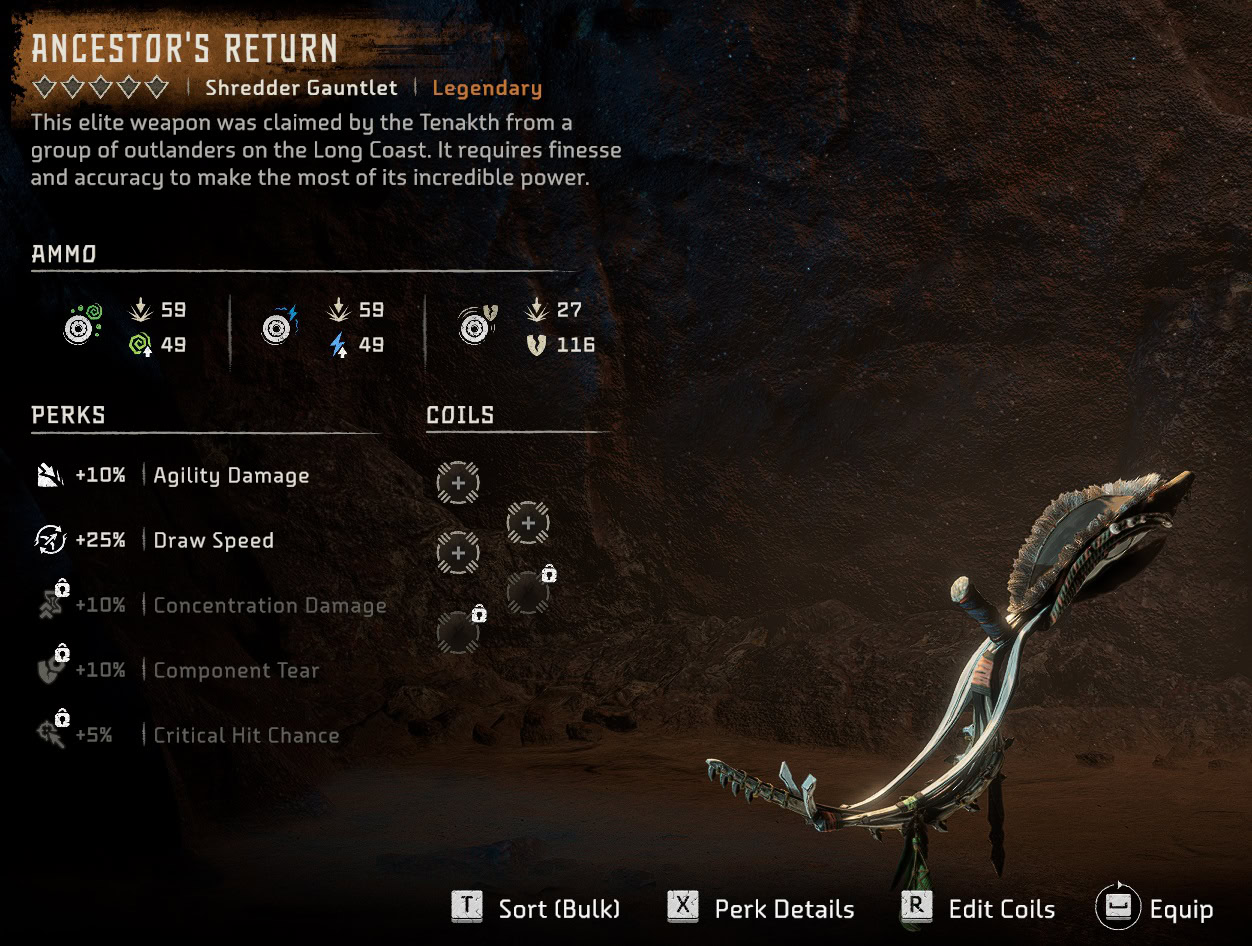
Once you’ve gathered all of them from the Relic Ruins, talk to Stemmur to receive the Legendary Weapon Ancestor’s Return. Please note that you must deliver all Ornaments for him to give the Legendary Weapon.
You will be rewarded with Ancestor’s Return, a Legendary Shredder Gauntlet. The tenth Ornament is found in the DLC, The Burning Shores. You do not need it to complete this Errand and get the weapon.