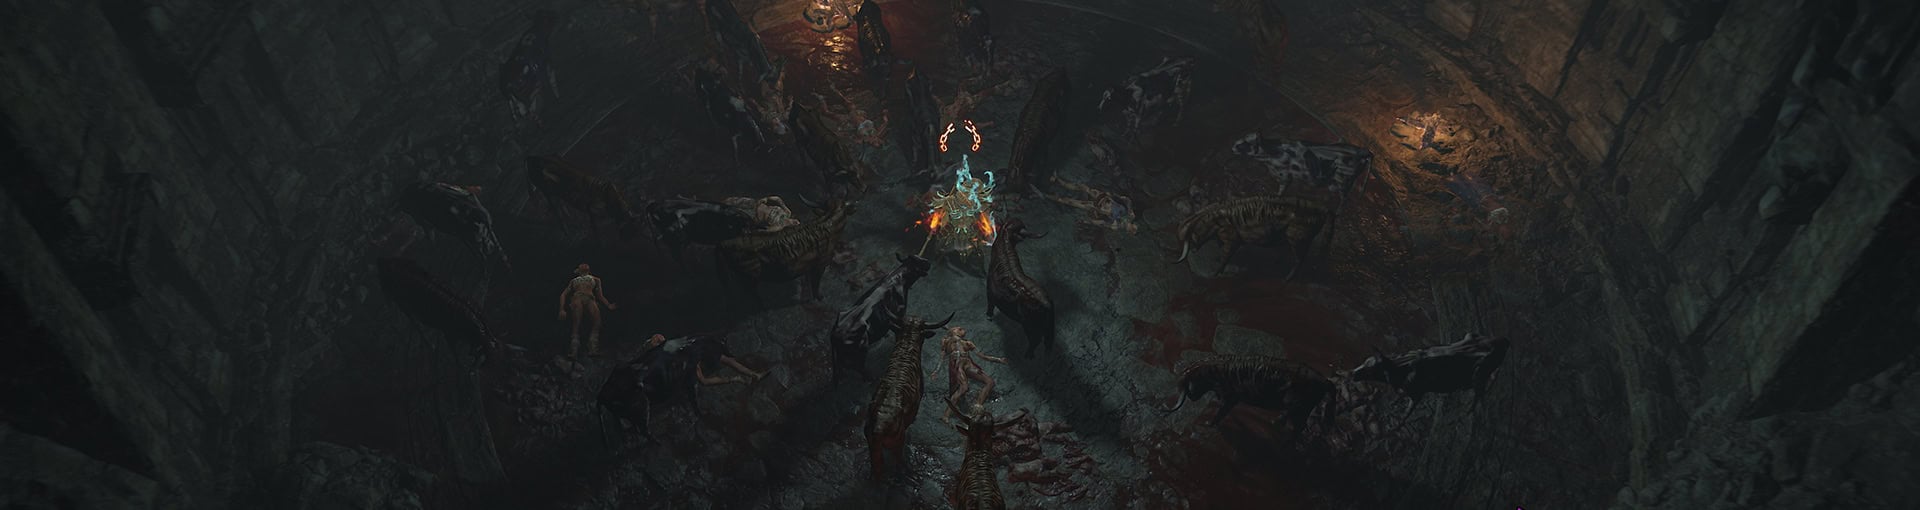
With Season 6 and the Vessel of Hatred Expansion to Diablo IV, another set of relics has been discovered in Nahantu.
The New Relics
We’re after three relics as with the previous part of the Cow Level quest. There’s even a unique hint and puzzle for each, which we’ll break down and explain how the conclusion was made for each puzzle.
These will take you to every region of Nahantu, so be prepared for a lot of traveling around!
Obtaining the Rusted Old Bell
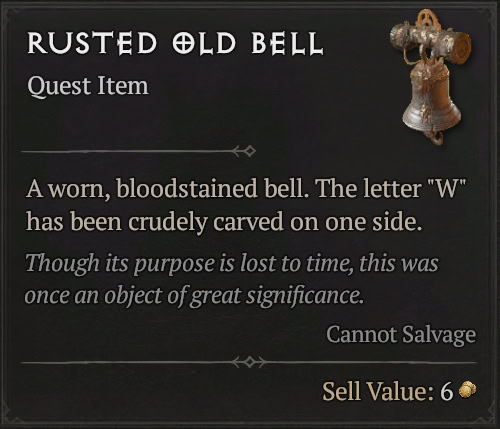
First, is the Rusted Old Bell, a Reference to Wirt’s Bell used as part of Diablo 3’s Staff of Herding, which opened the way to Whimsyshire.
Its description reads, “A worn, bloodstained bell. The letter “W” has been crudely carved on one side”
Hint and Puzzle Locations
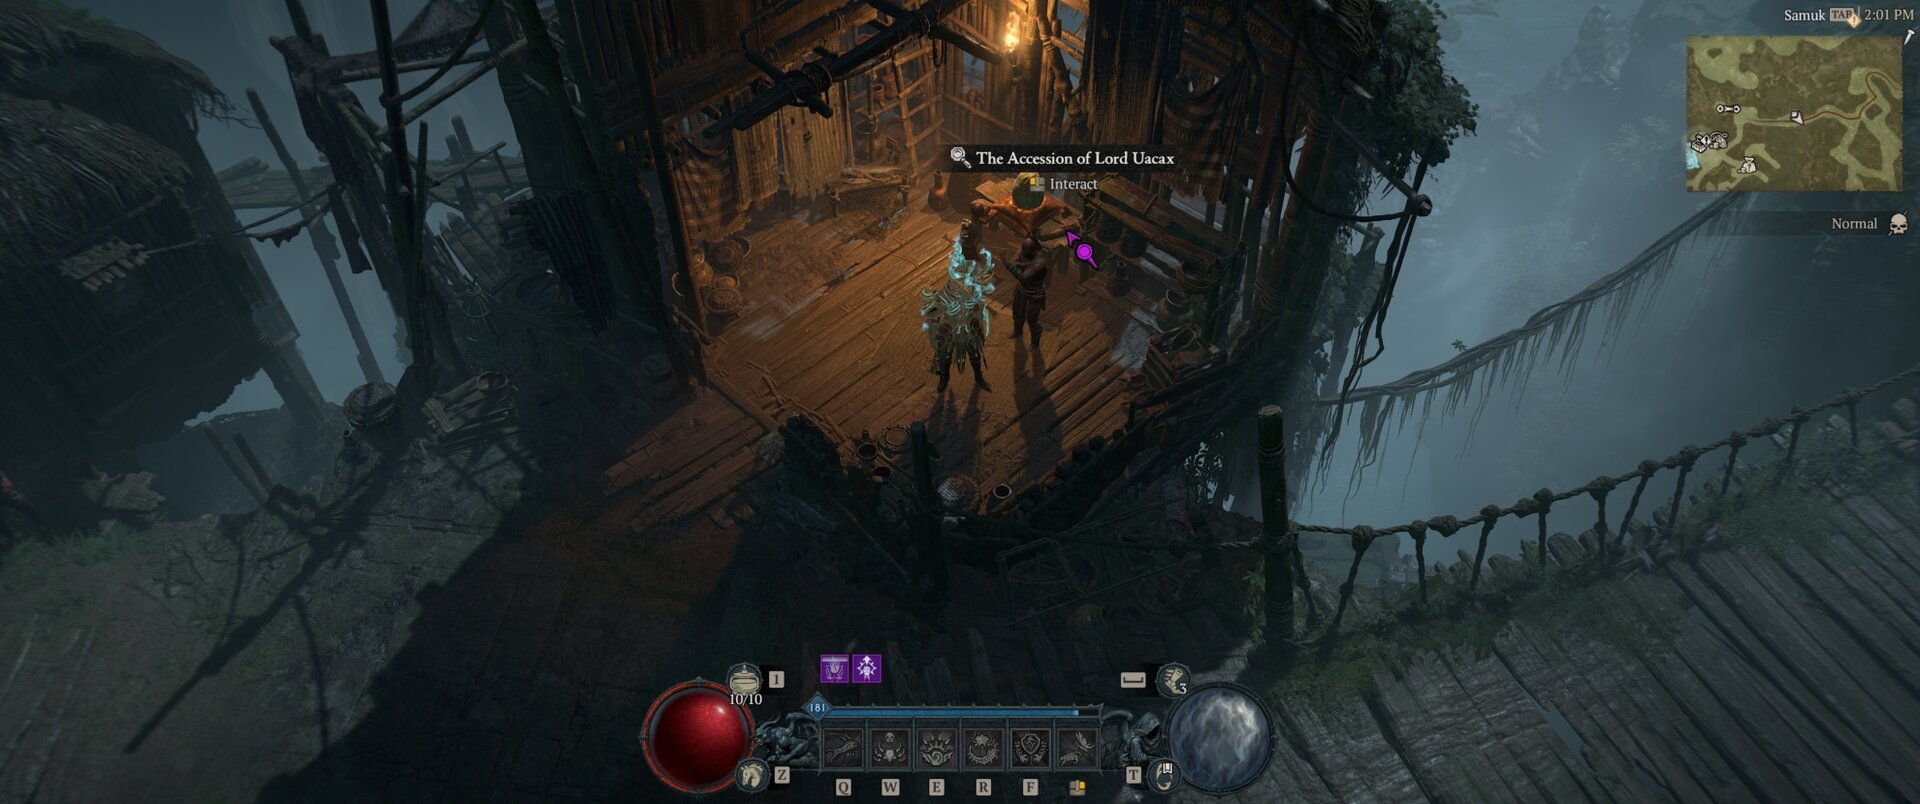
For the Rusted Old Bell we turn to the hidden lore item “The Accession of Lord Uacax”. This can be found in Samuk, as shown below.
This Lore item reads:
“On the day of his Accession, Lord Uacax followed the morning birds and then honored him with their song. He adopted their image as his crest.”
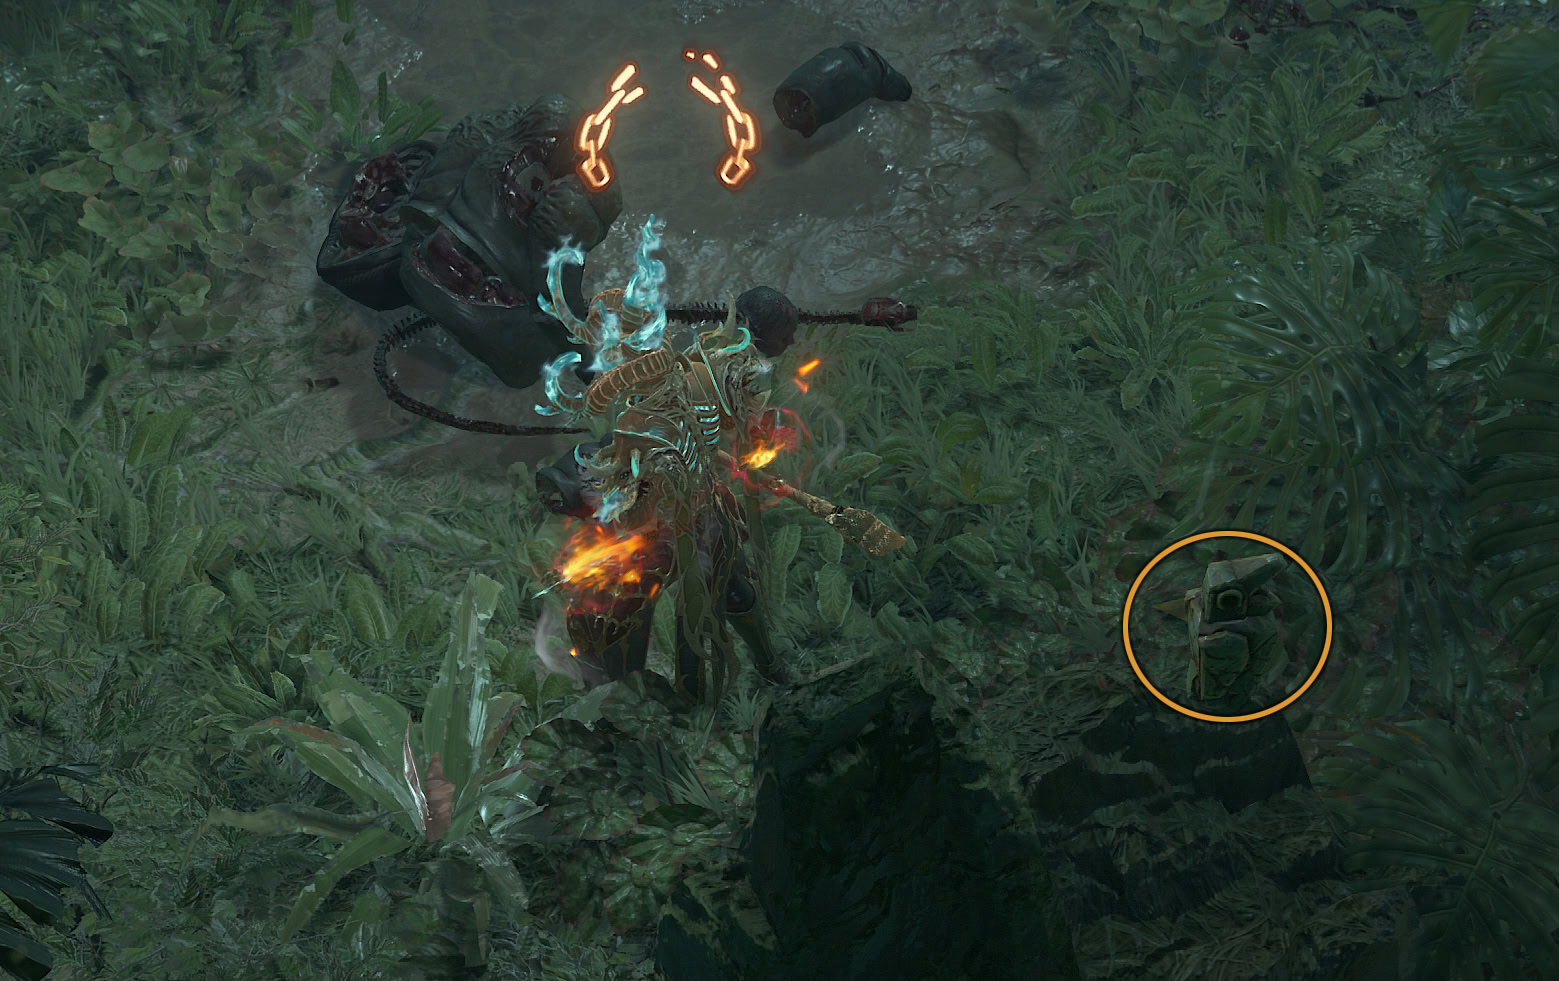
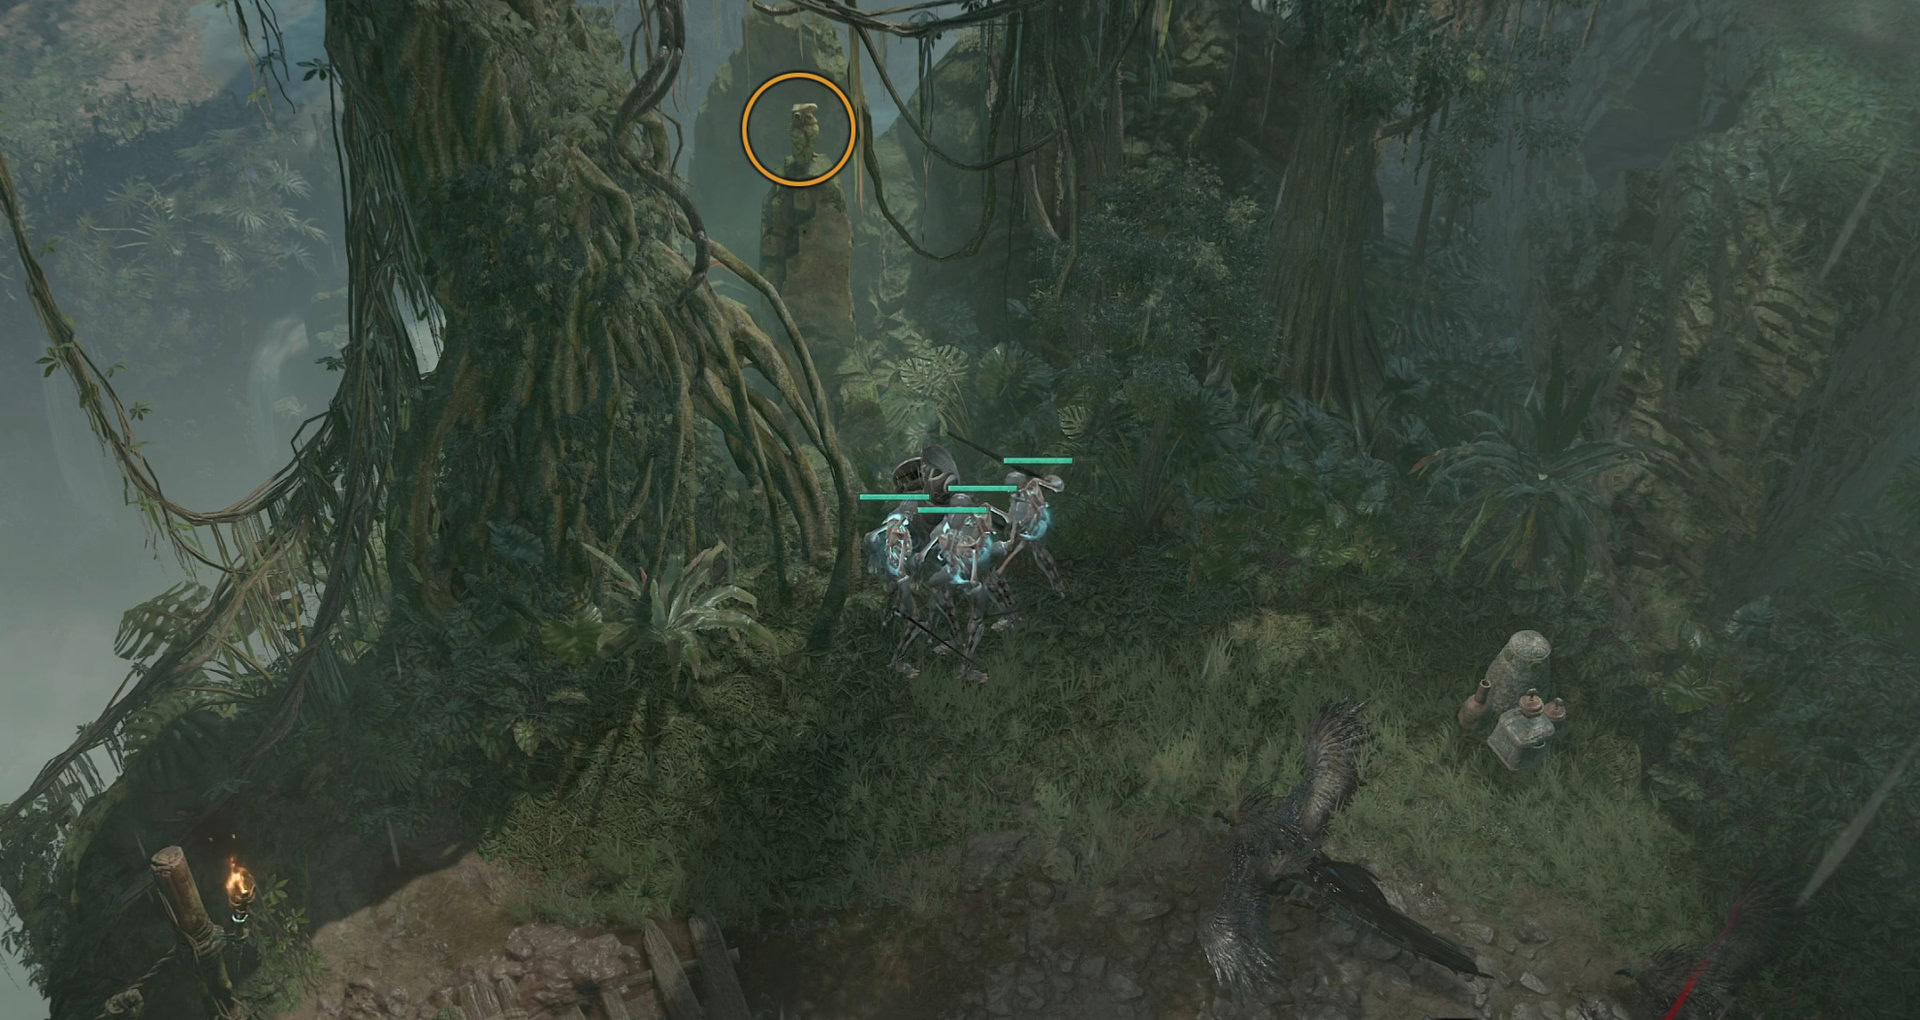
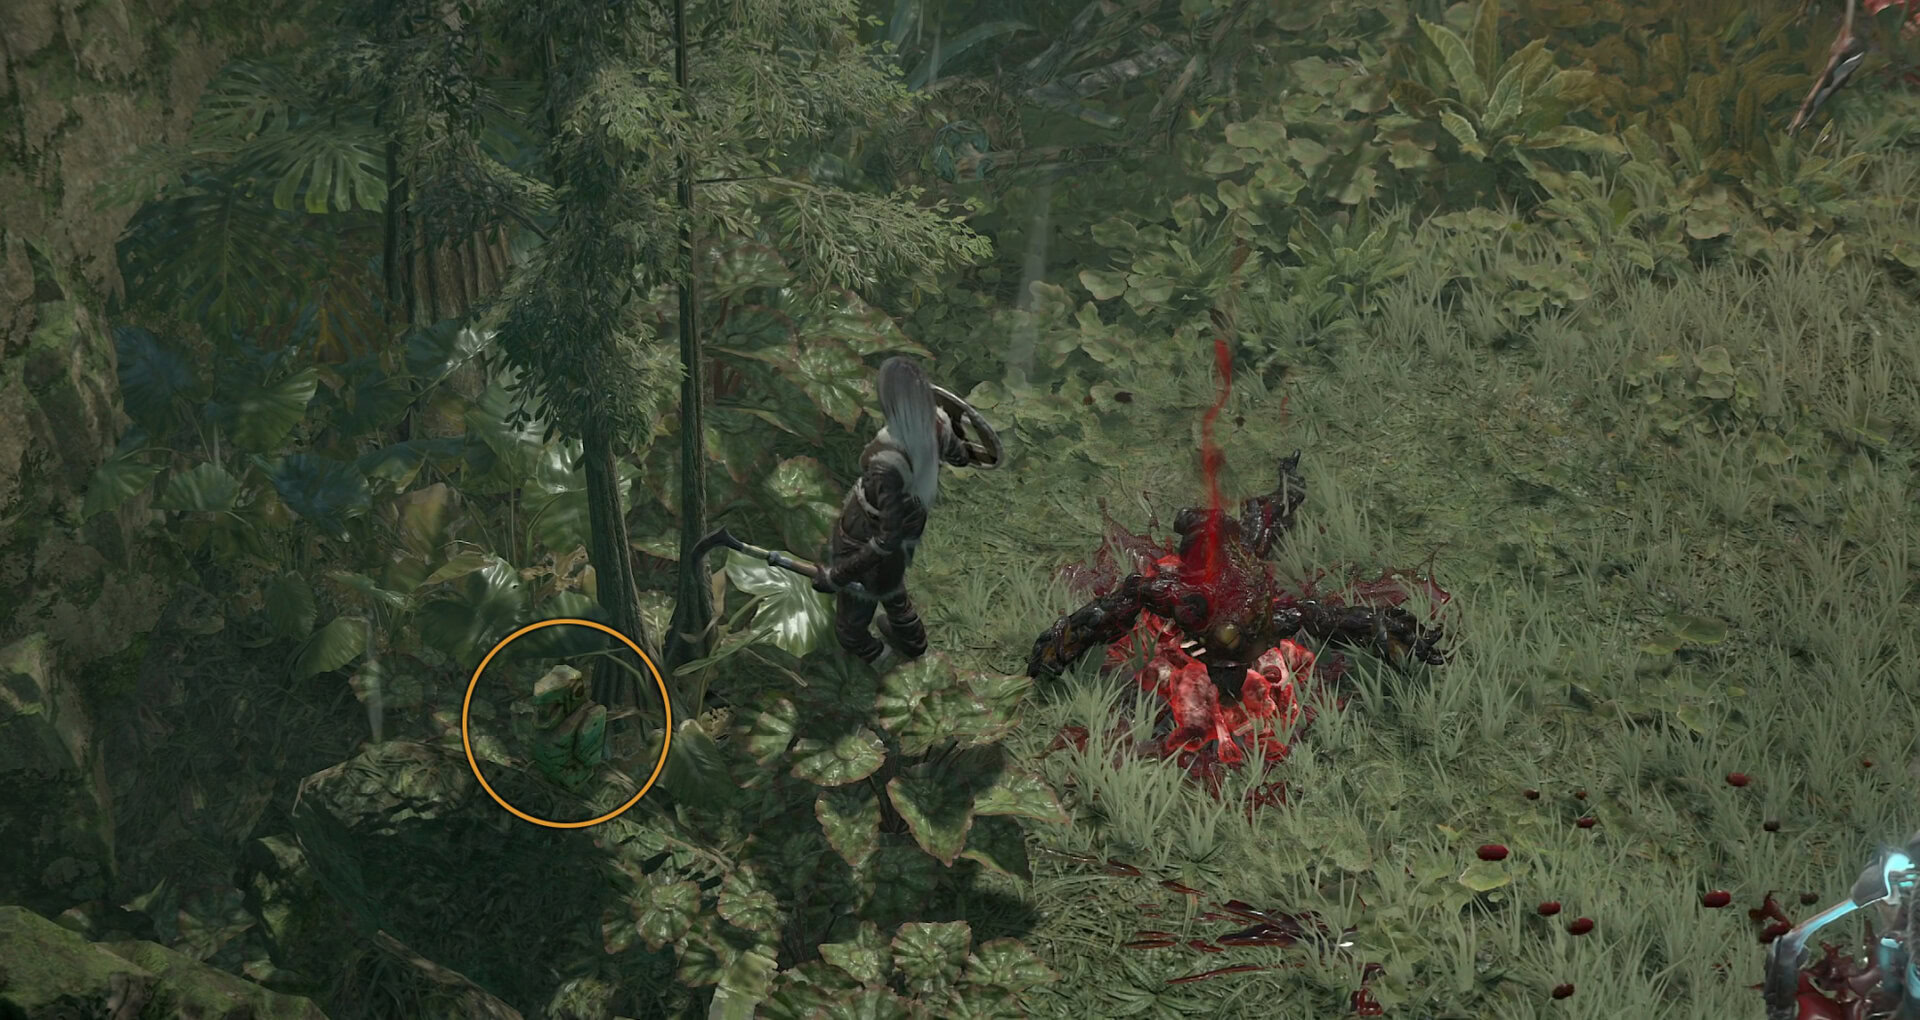
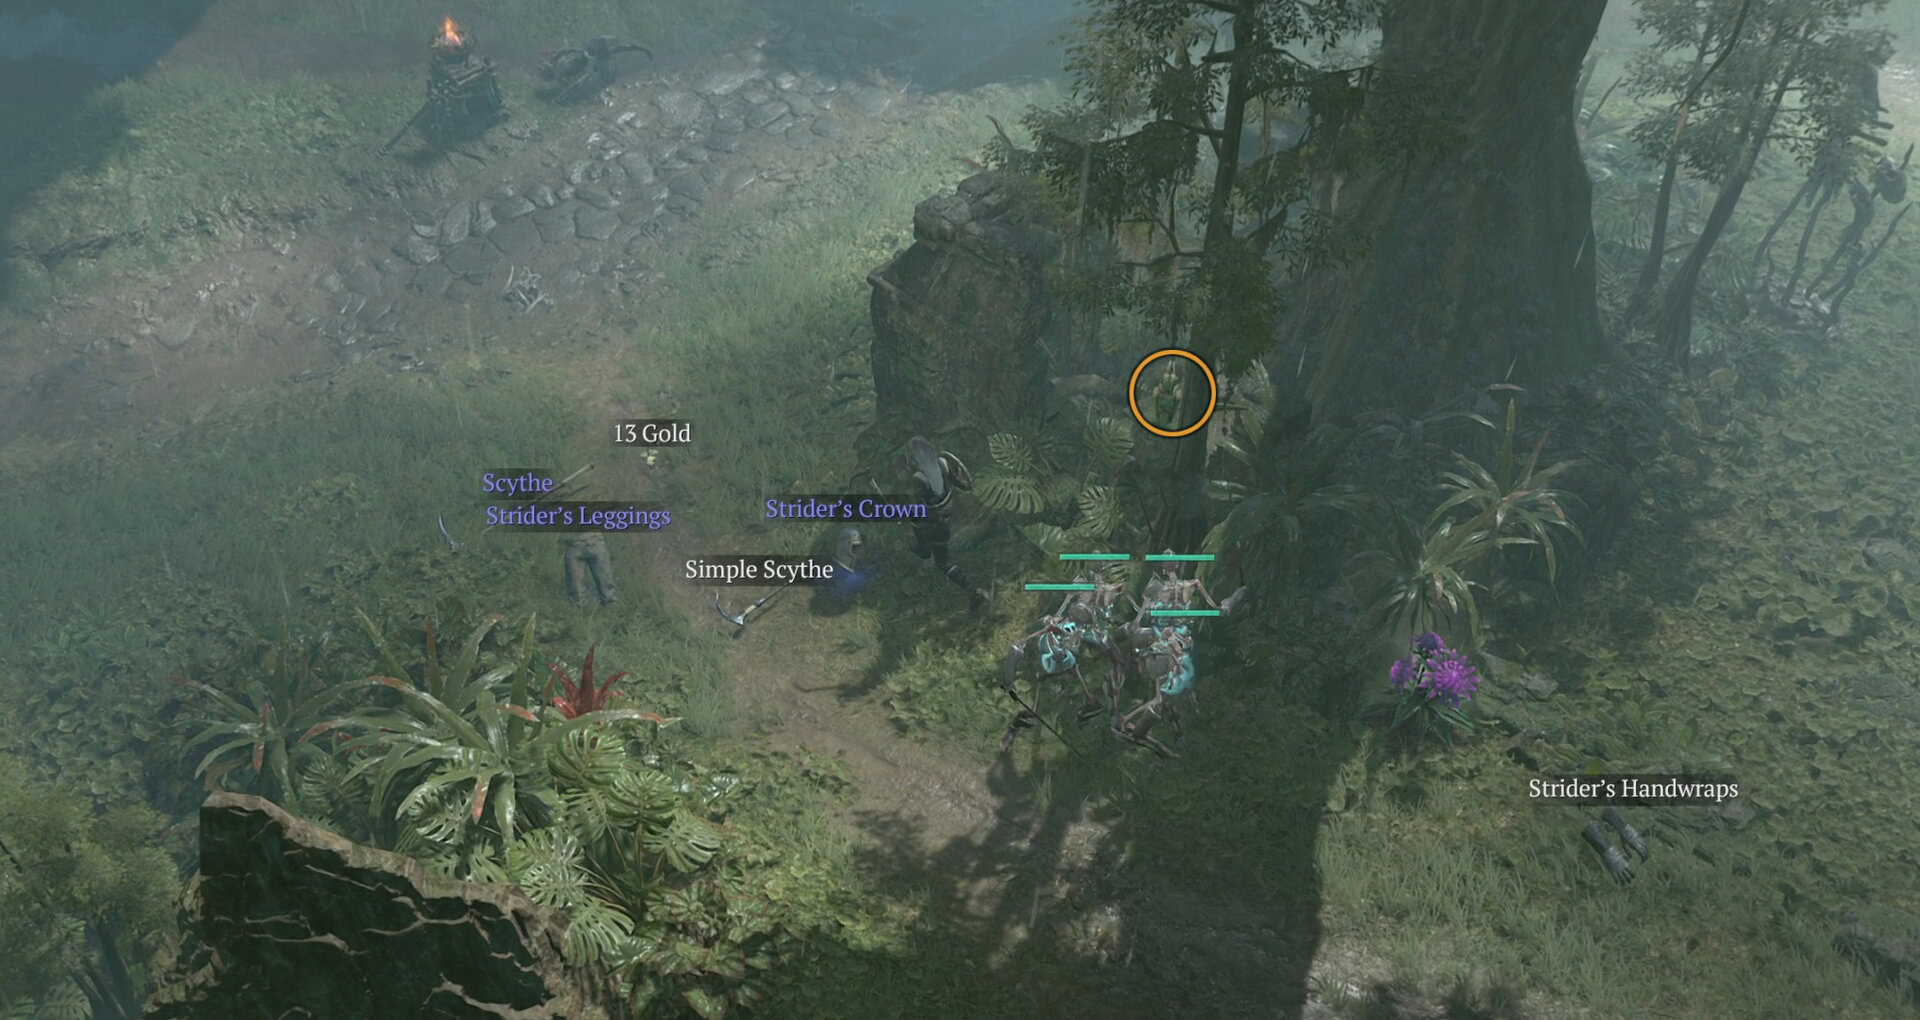
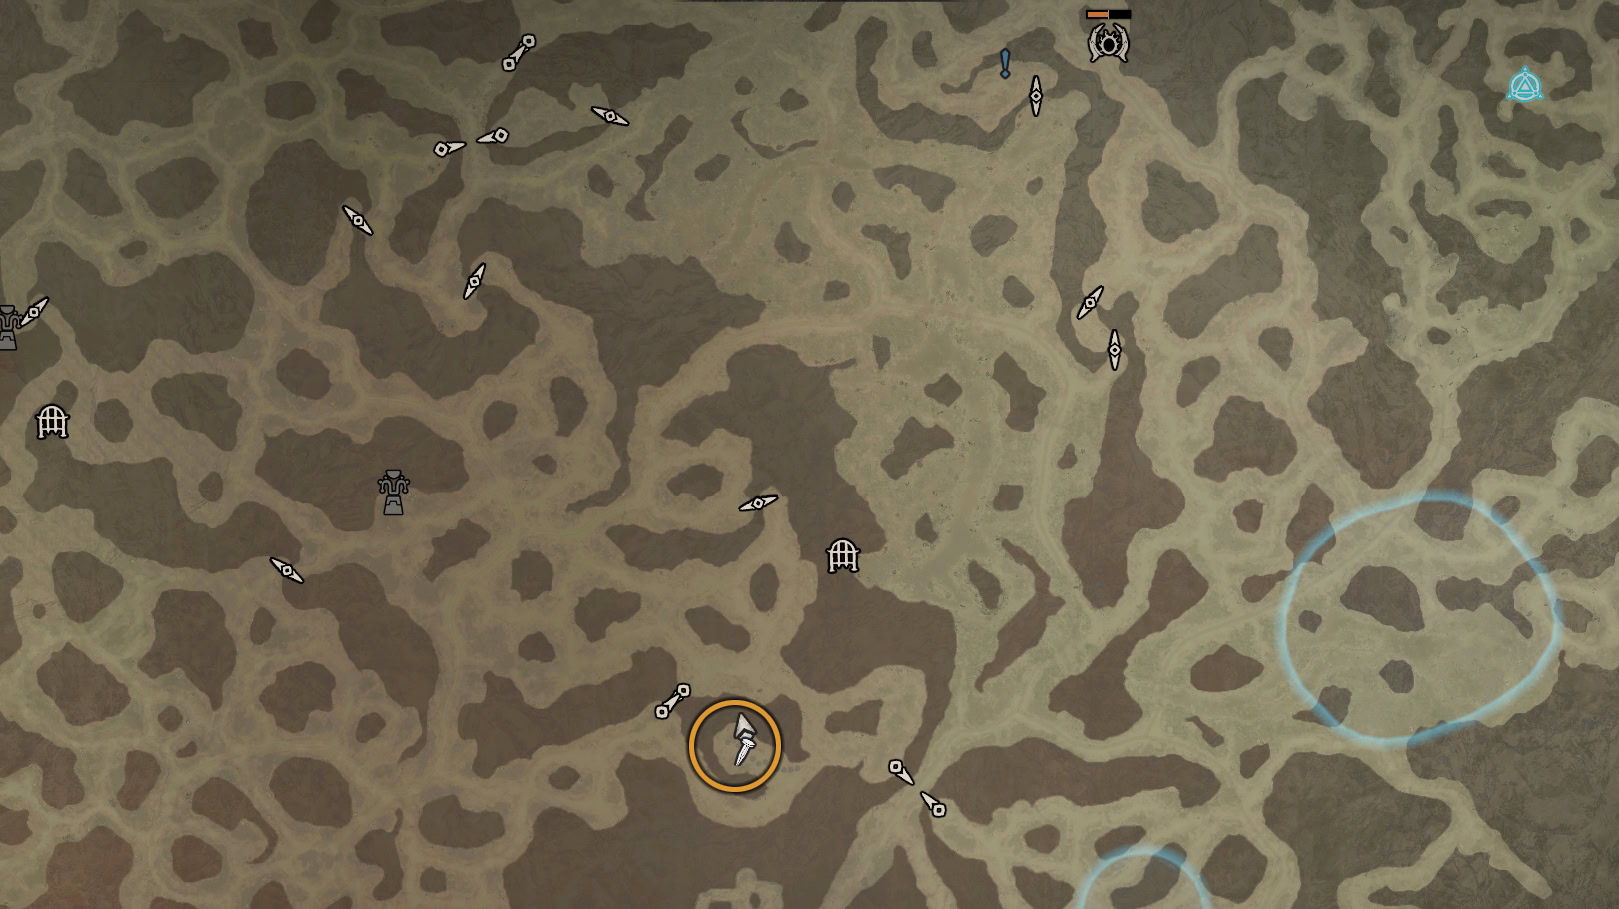
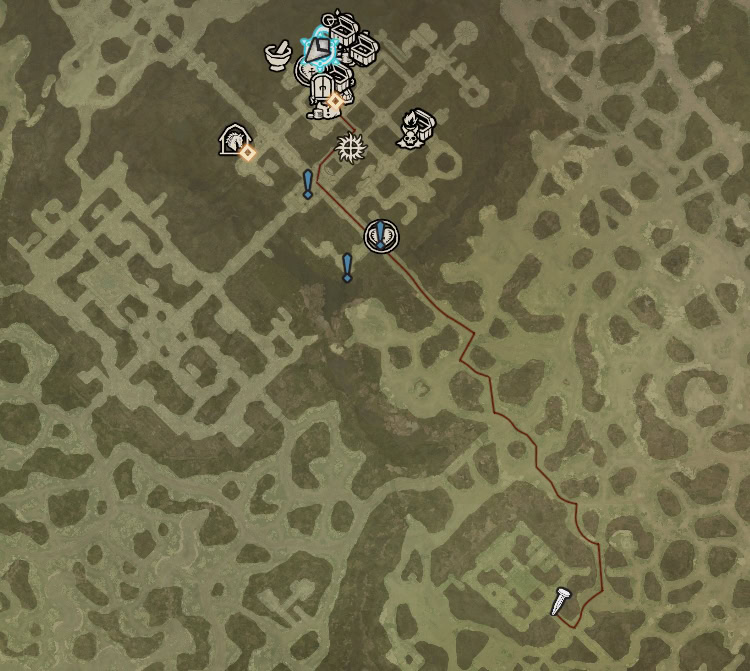
This leads us to the series of bird statues scattered around the Five Hills area. The first of these statues is right outside Samuk to its East.
There are 12 in total as shown by the map below. Each must be visited in the order shown below before returning to the one in Samuk. Be sure to hug the walls here to ensure they get counted, as we only need to be near them, no Emotes or anything.
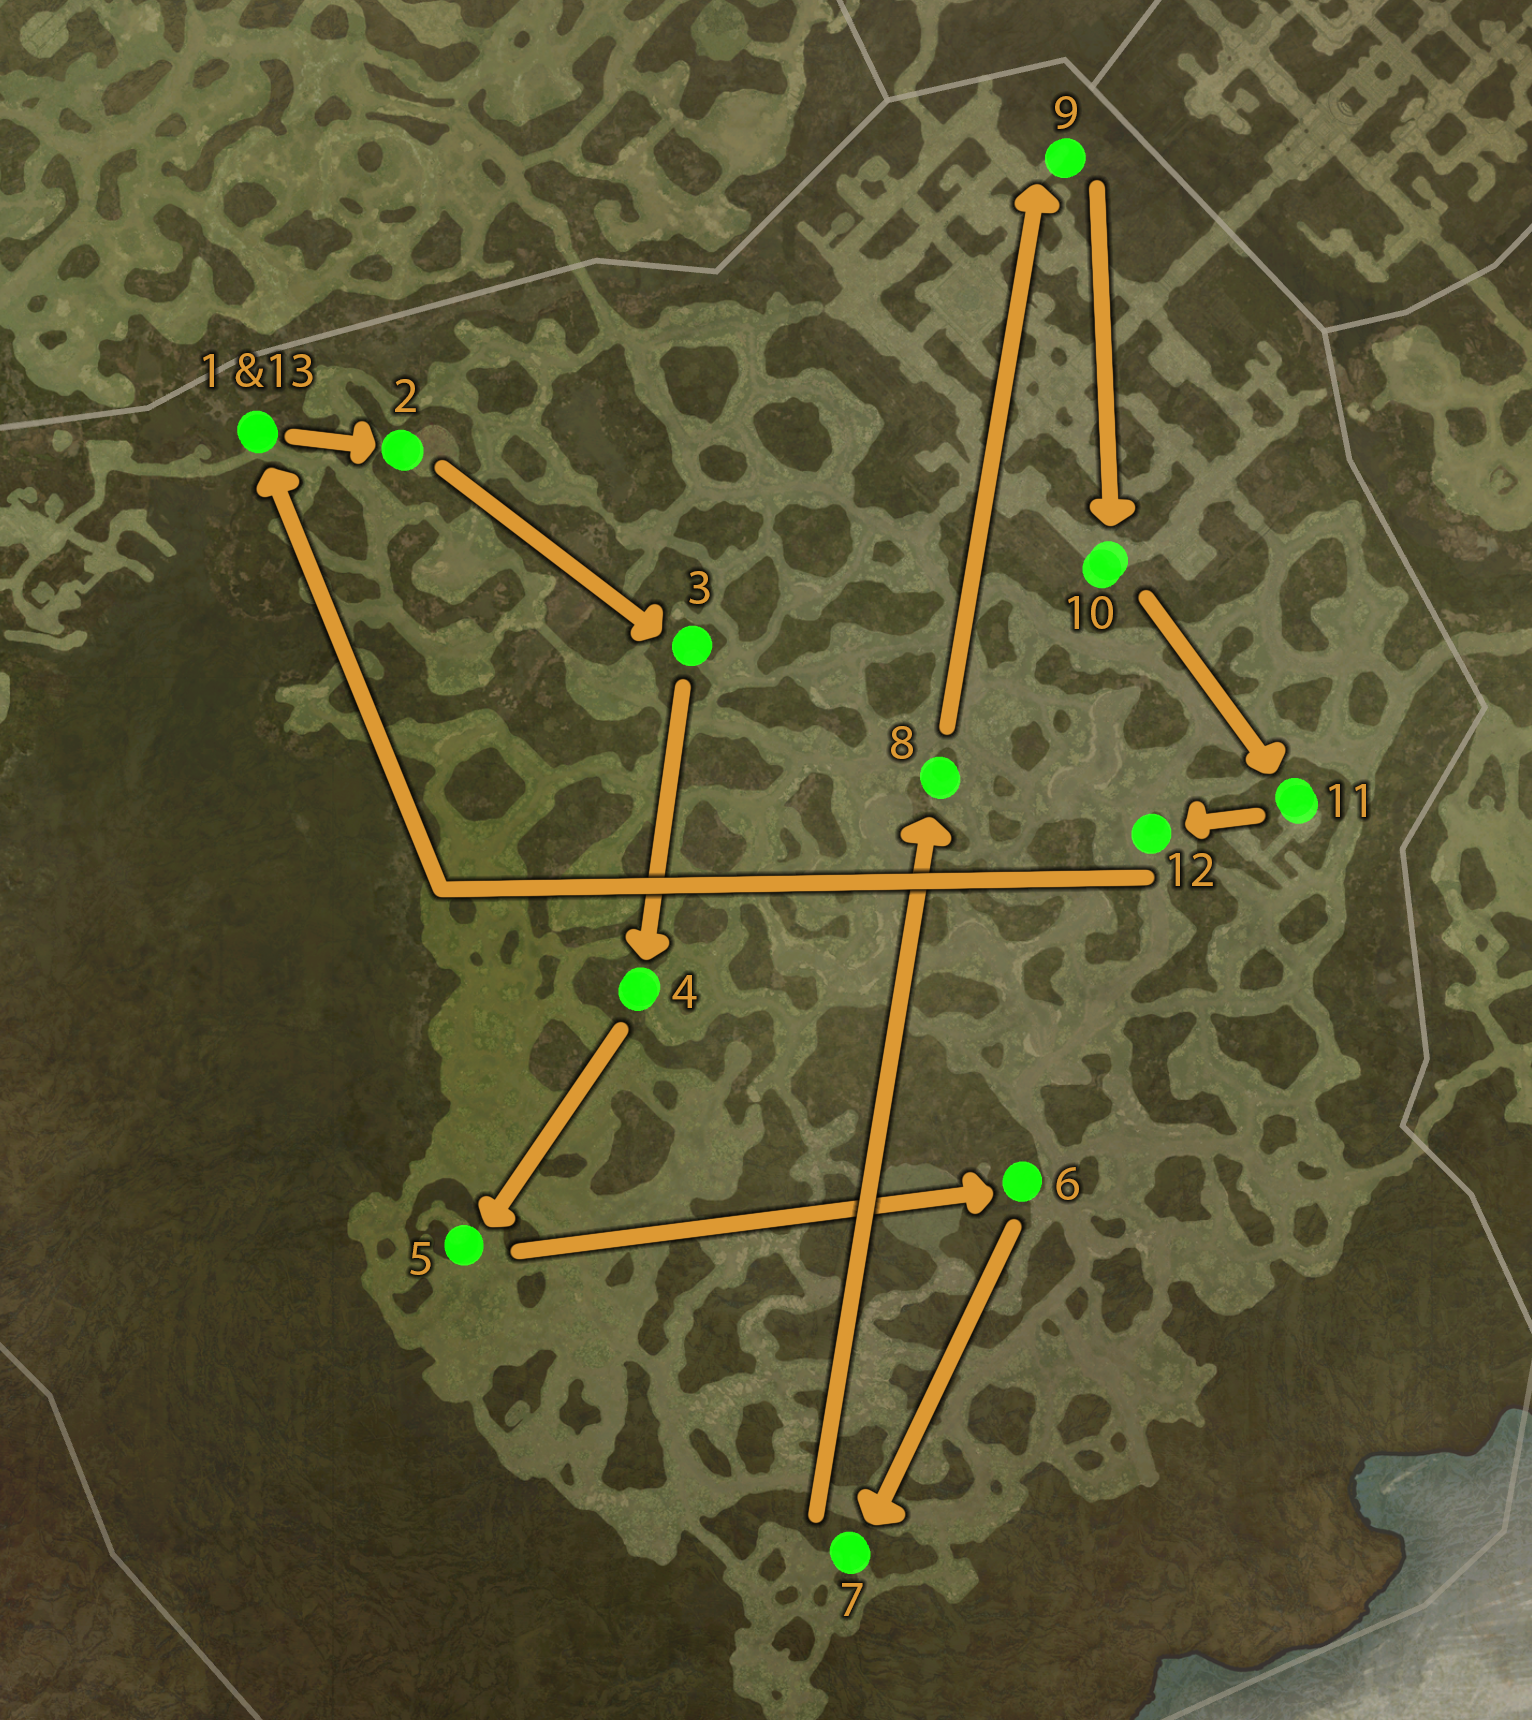
For a visual reference, here are where are all 12 of the statues and their closest point near them. A couple of them are very hard to spot without any reference.
After following the “morning birds”, we’re honored with their song in the form of the Rusted Old Bell.
Obtaining the Jabbering Gemstone
Next is the Jabbering Gemstone, a reference to the Gibbering Gemstone also used as part of the Staff of Herding in Diablo 3.
Its description reads, “A cloudy gemstone of unknown origin. Holding it makes you want to talk to someone.”

Hint and Puzzle Locations
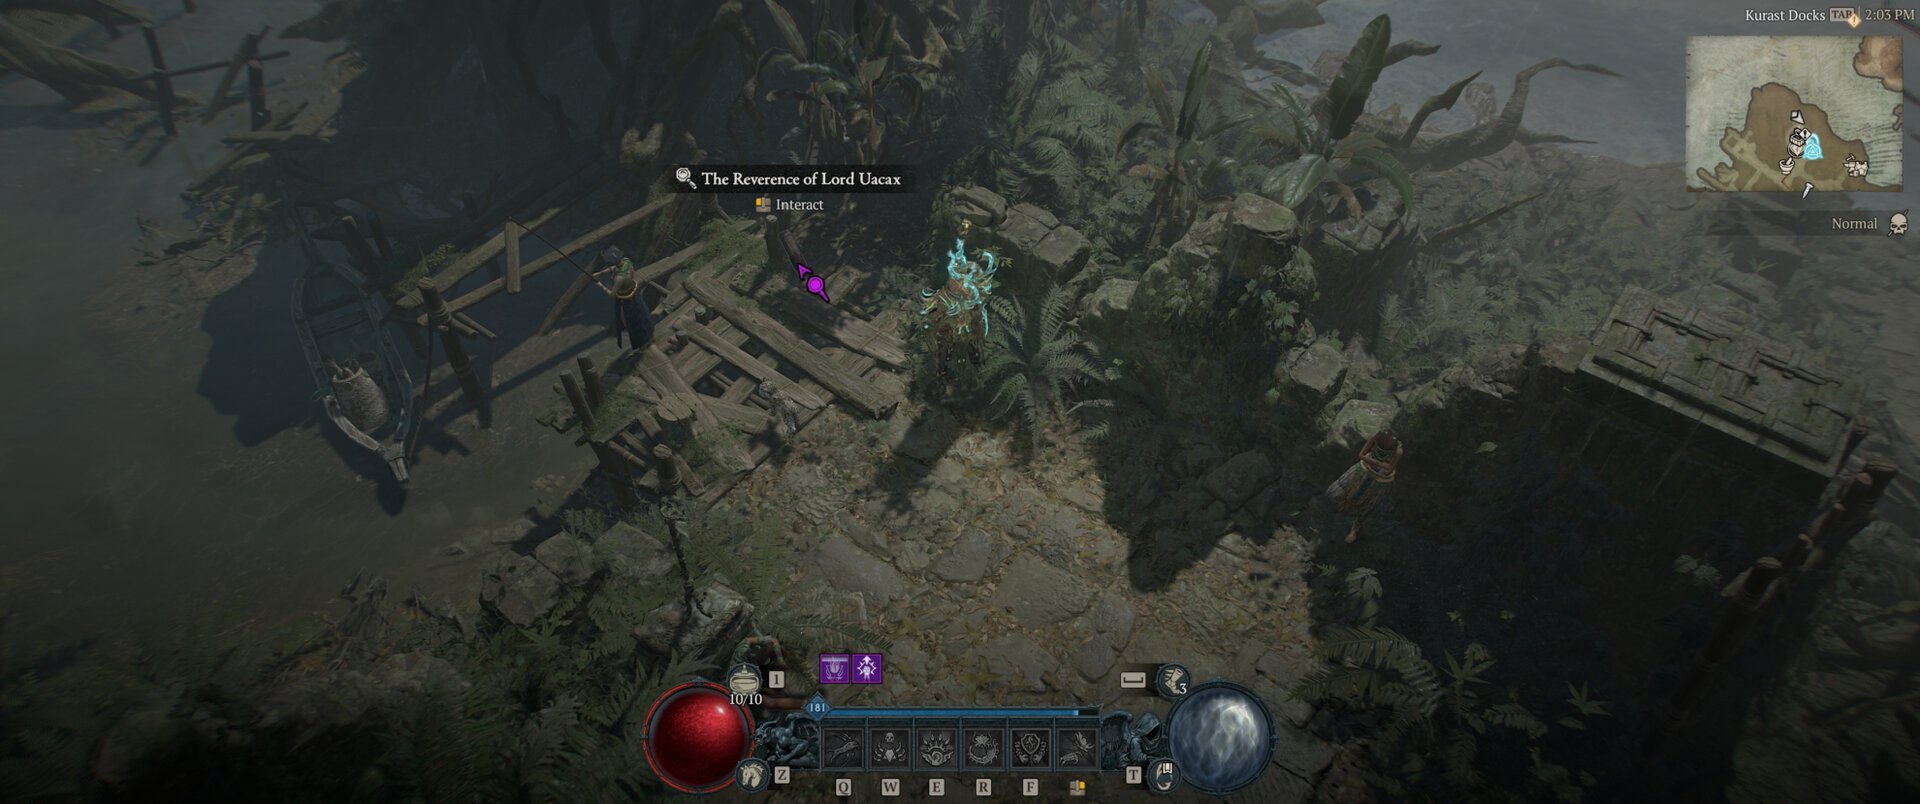
For the Jabbering Gemstone, we turn to the lore item called “The Reverence of Uacax” found in the Kurast Docks.
This Lore Item reads:
“Although Lord Uacax was an orphan, he held great respect for his ancestors. Before embarking on his quest, he honored them thrice. He returned with the riches of the earth.”
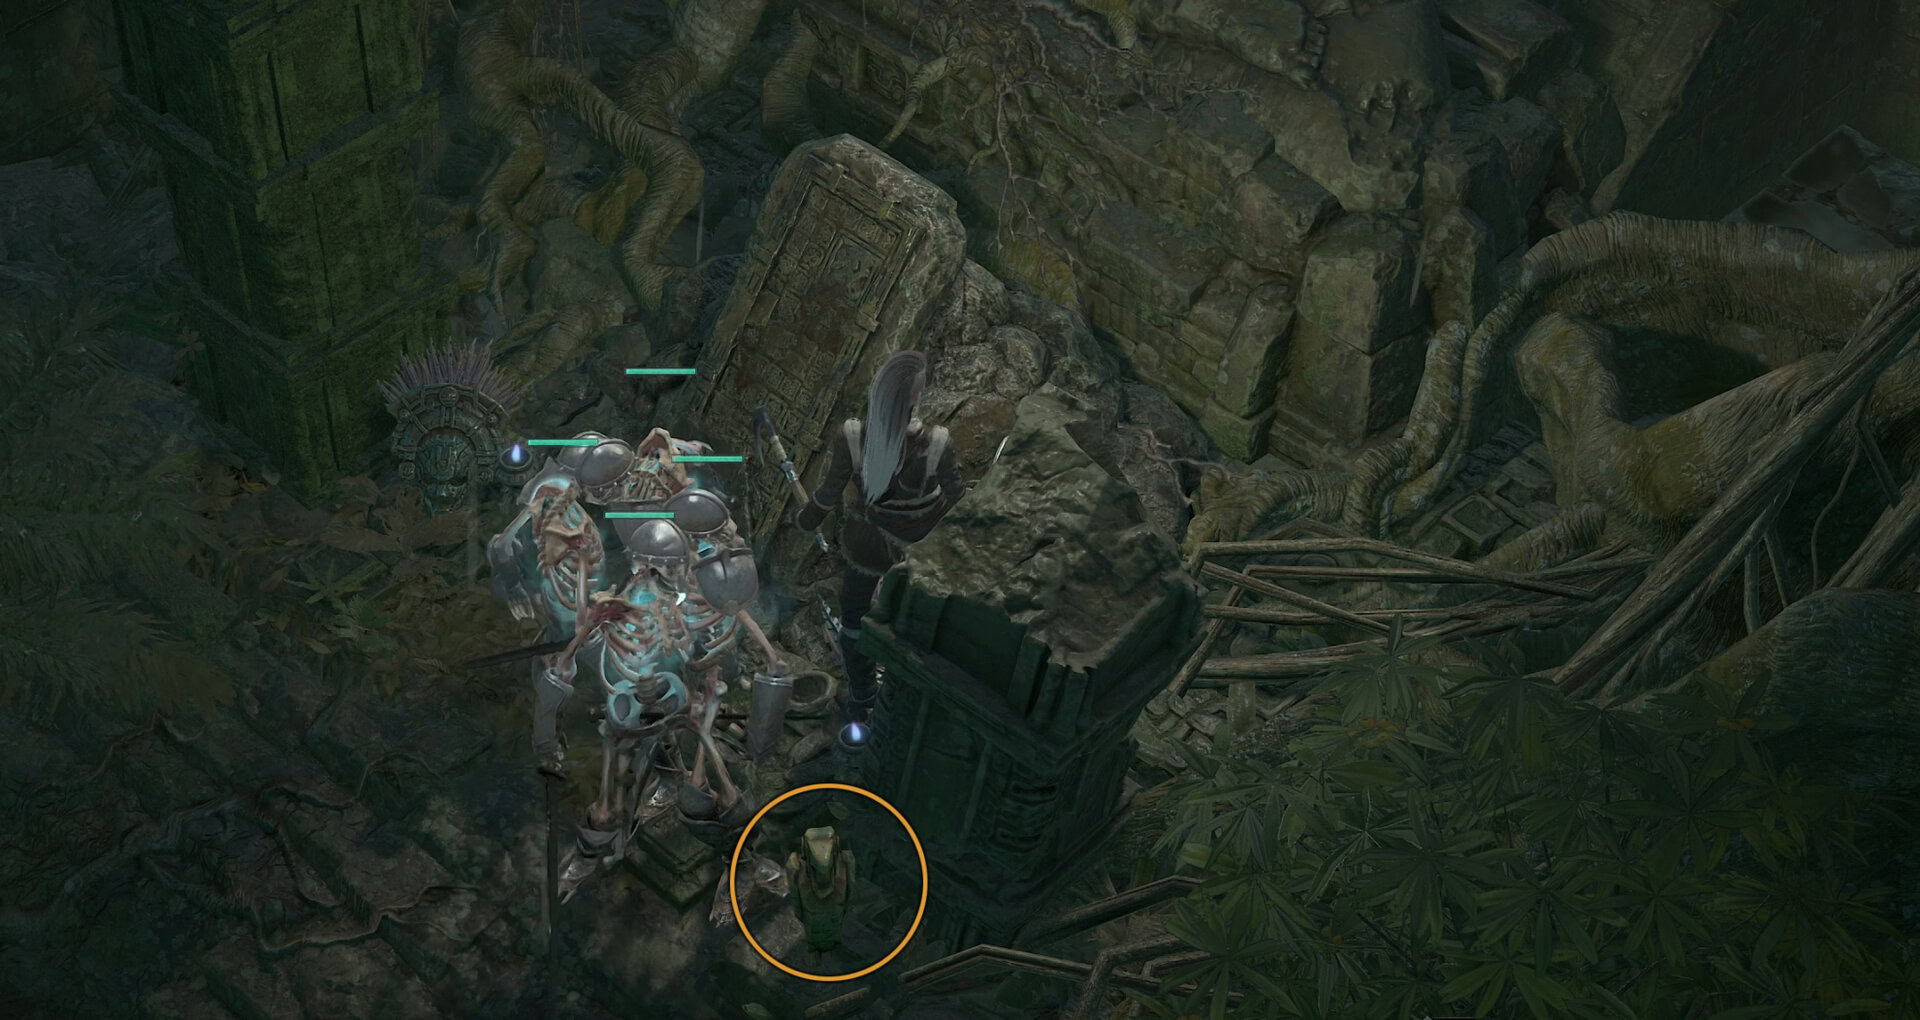
This leads us to the shrine just south of the Kurast Docks, you may remember it as the place we first speak with Akarat in the Vessel of Hatred Campaign Questline.

Here we’ll do as Uacax did by honoring the ancestors thrice, or Emoting “Thanks” at three specific graves here once each. This rewards us with the “riches of the earth”, in the form of the Jabbering Gemstone.
This needs to be done to the middlemost graves in the order of 2-1-3. Or account for all of the graves, Middle, Middle left, then Middle Right. Emoting three times at the same grave will not work.
Obtaining the Crooked Staff
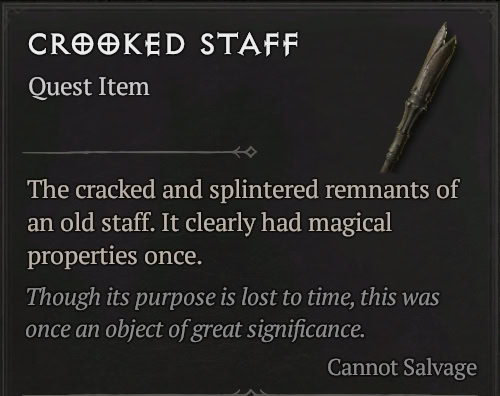
Finally, there’s the Crooked Staff. This is none other than the Staff of Herding itself.
Its description reads, “The Cracked and splintered remnants of an old staff. It had magical properties once.”
Hint and Puzzle Locations
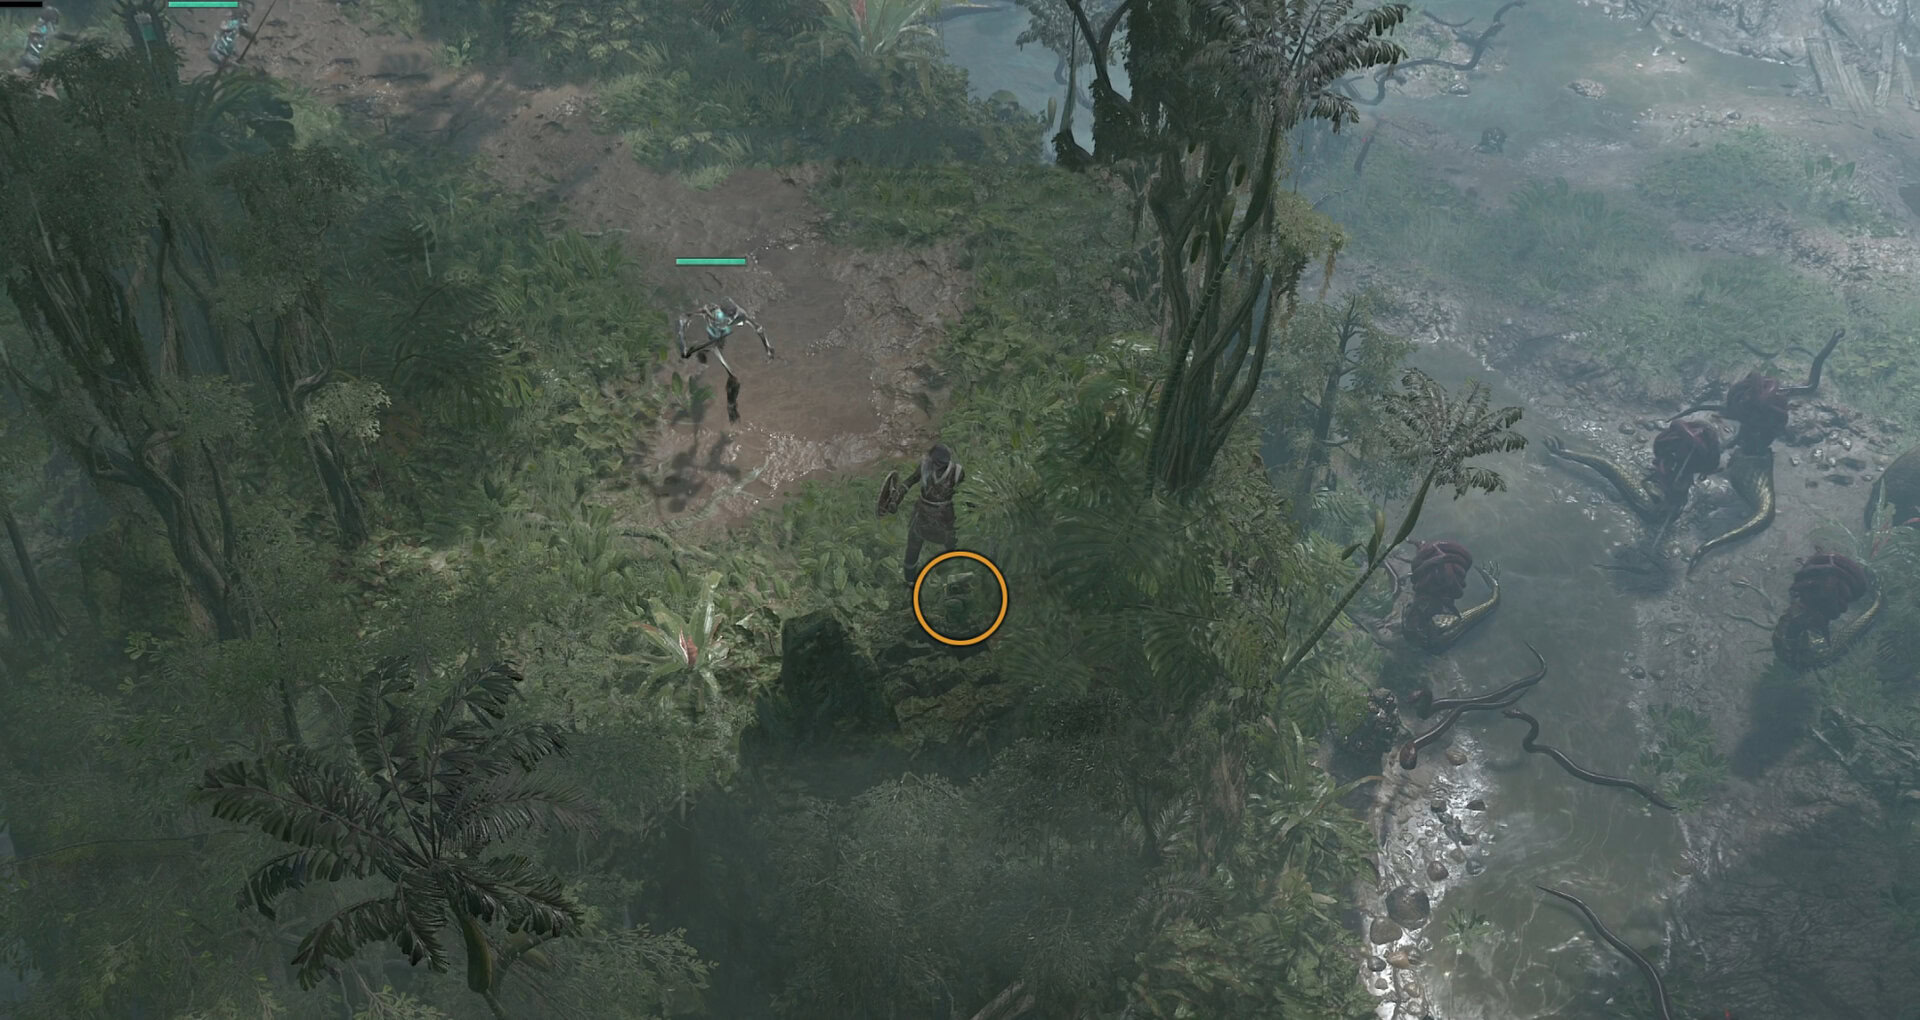
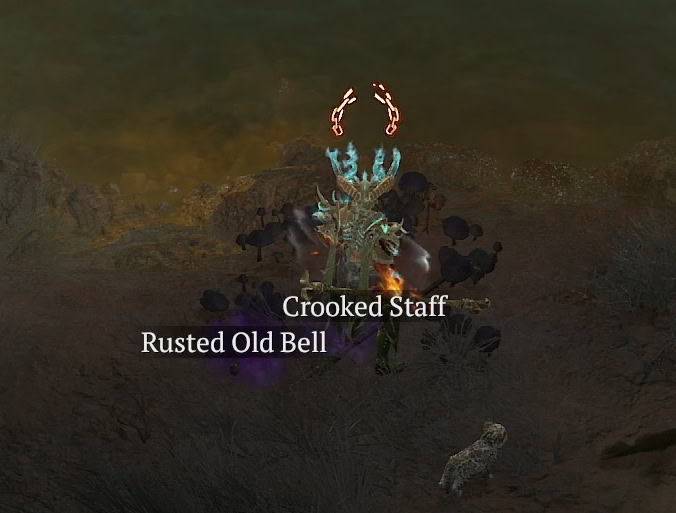
For this final relic, we turn to the Lore Item ” The Triumph of Lord Uacax”, located in Kichuk, after the stronghold zone has been cleared here.
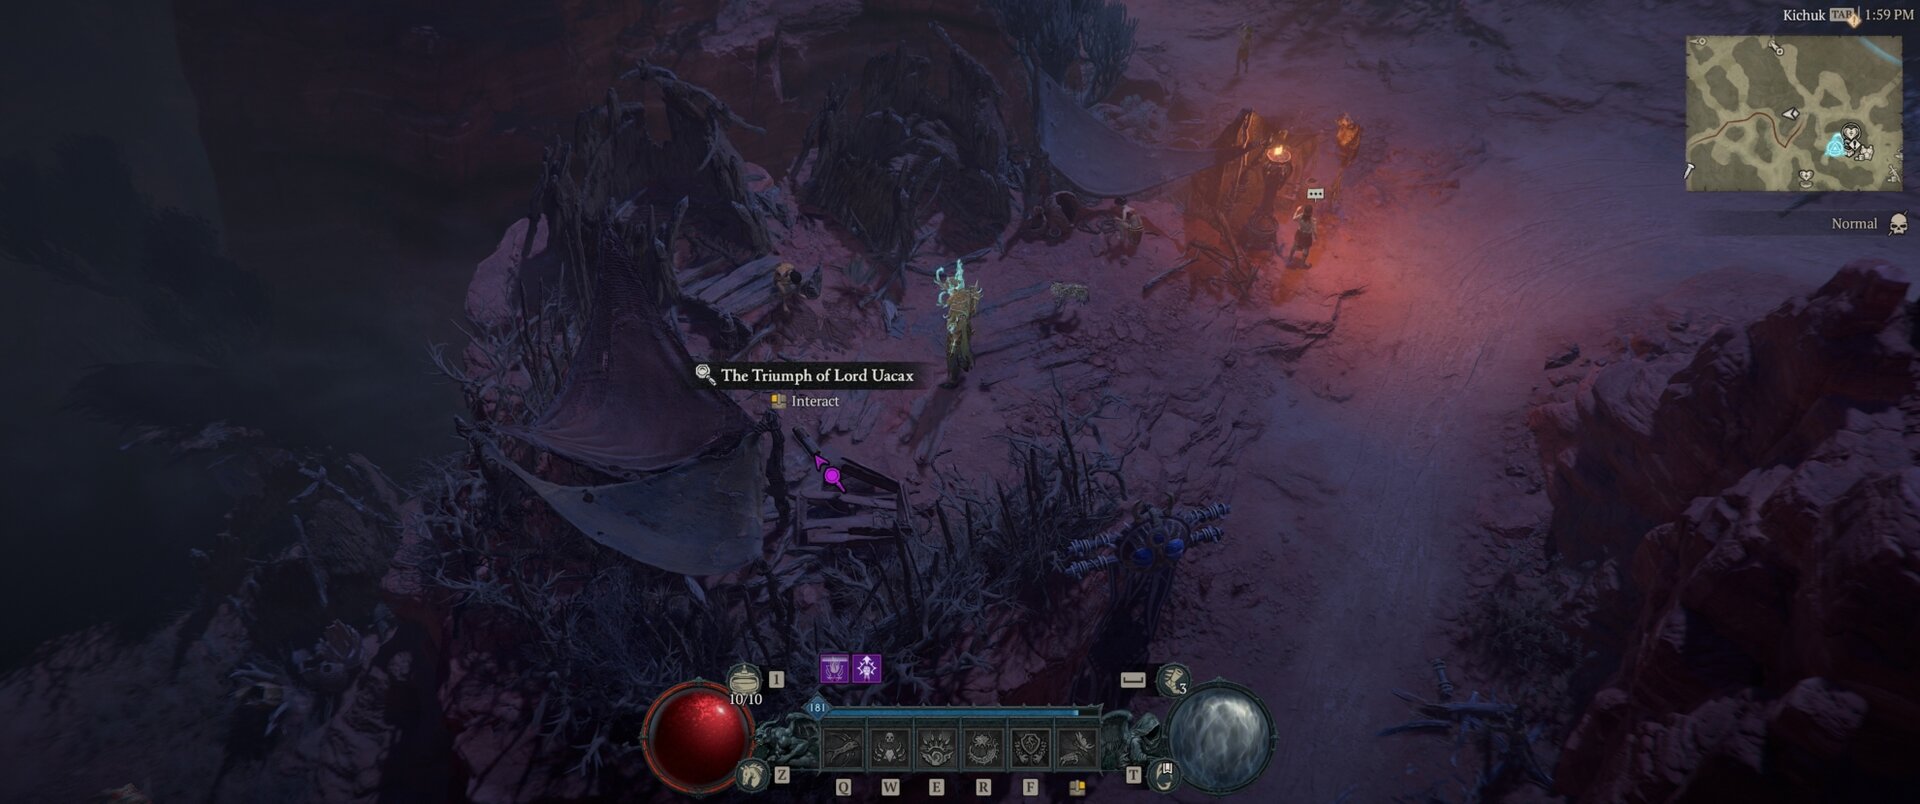
This Lore Item reads:
“A cunning beast terrorized the plains. Though Lord Uacax was untrained in combat he hunted and defeated this foe. He claimed the beast’s weapon as a trophy.”
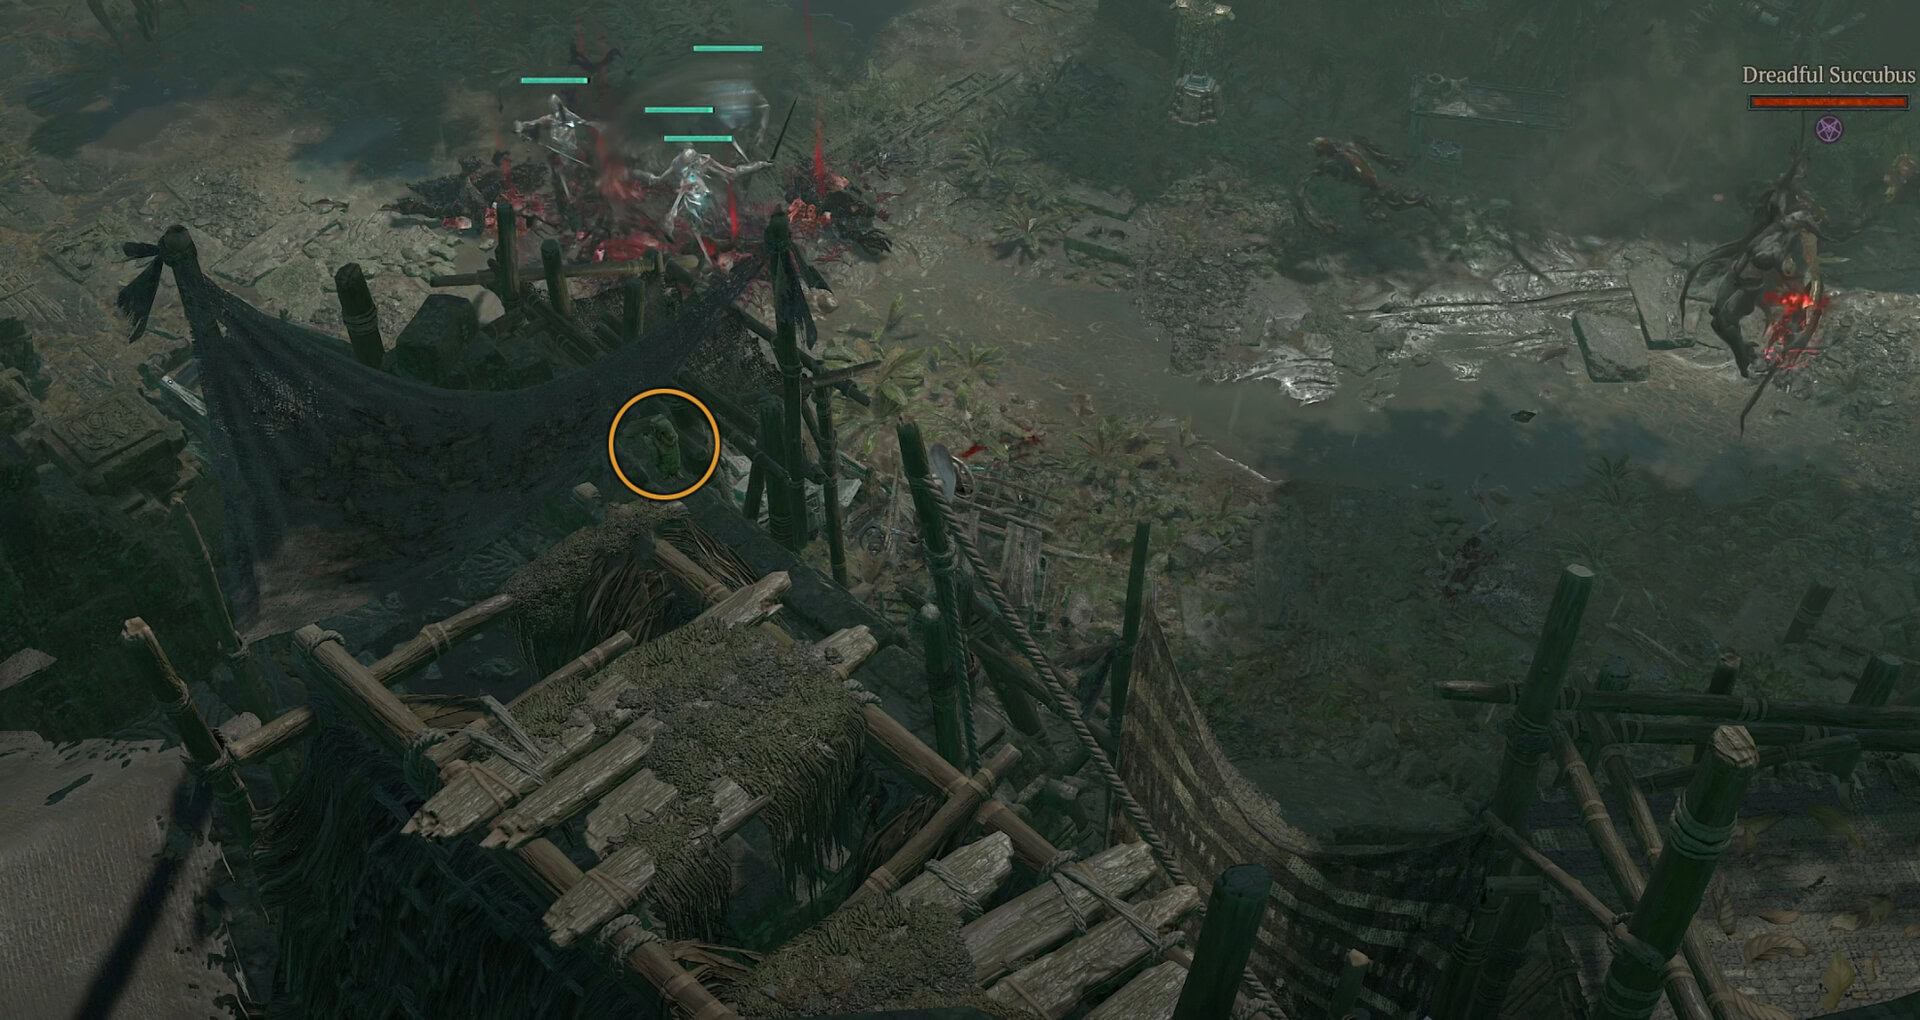
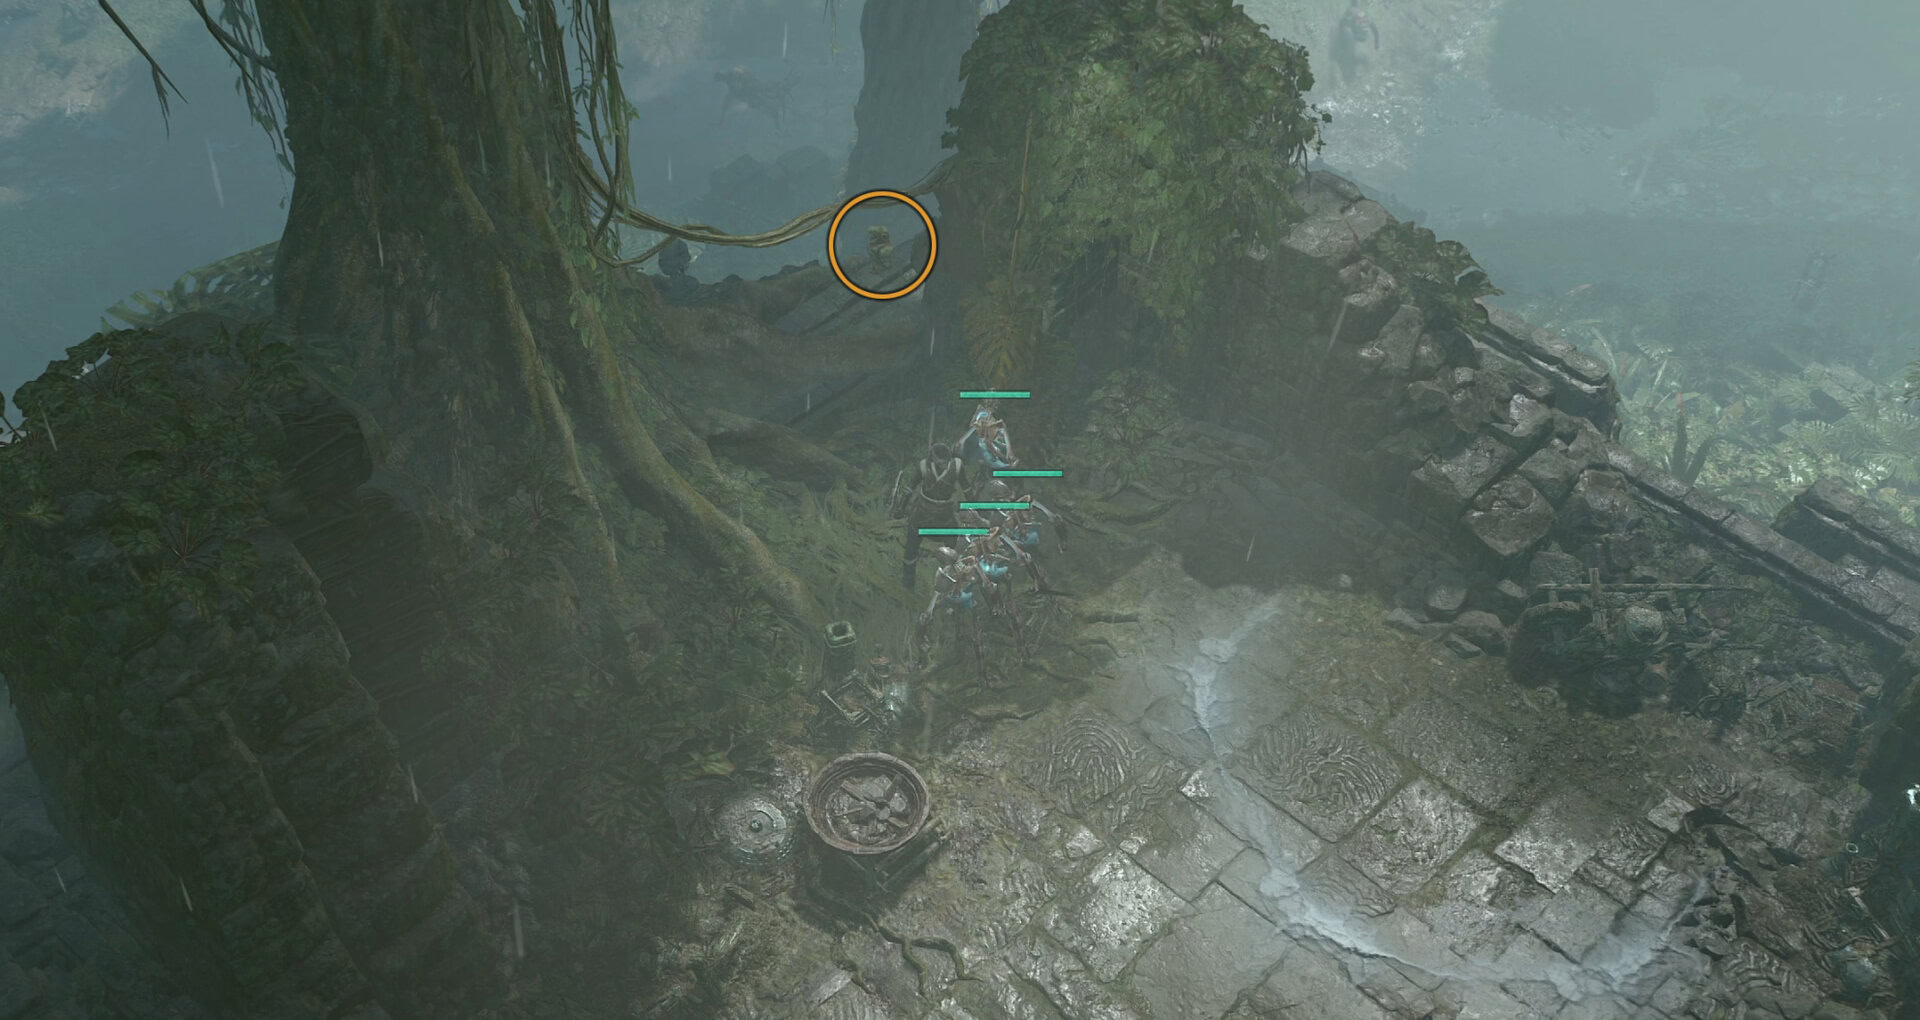
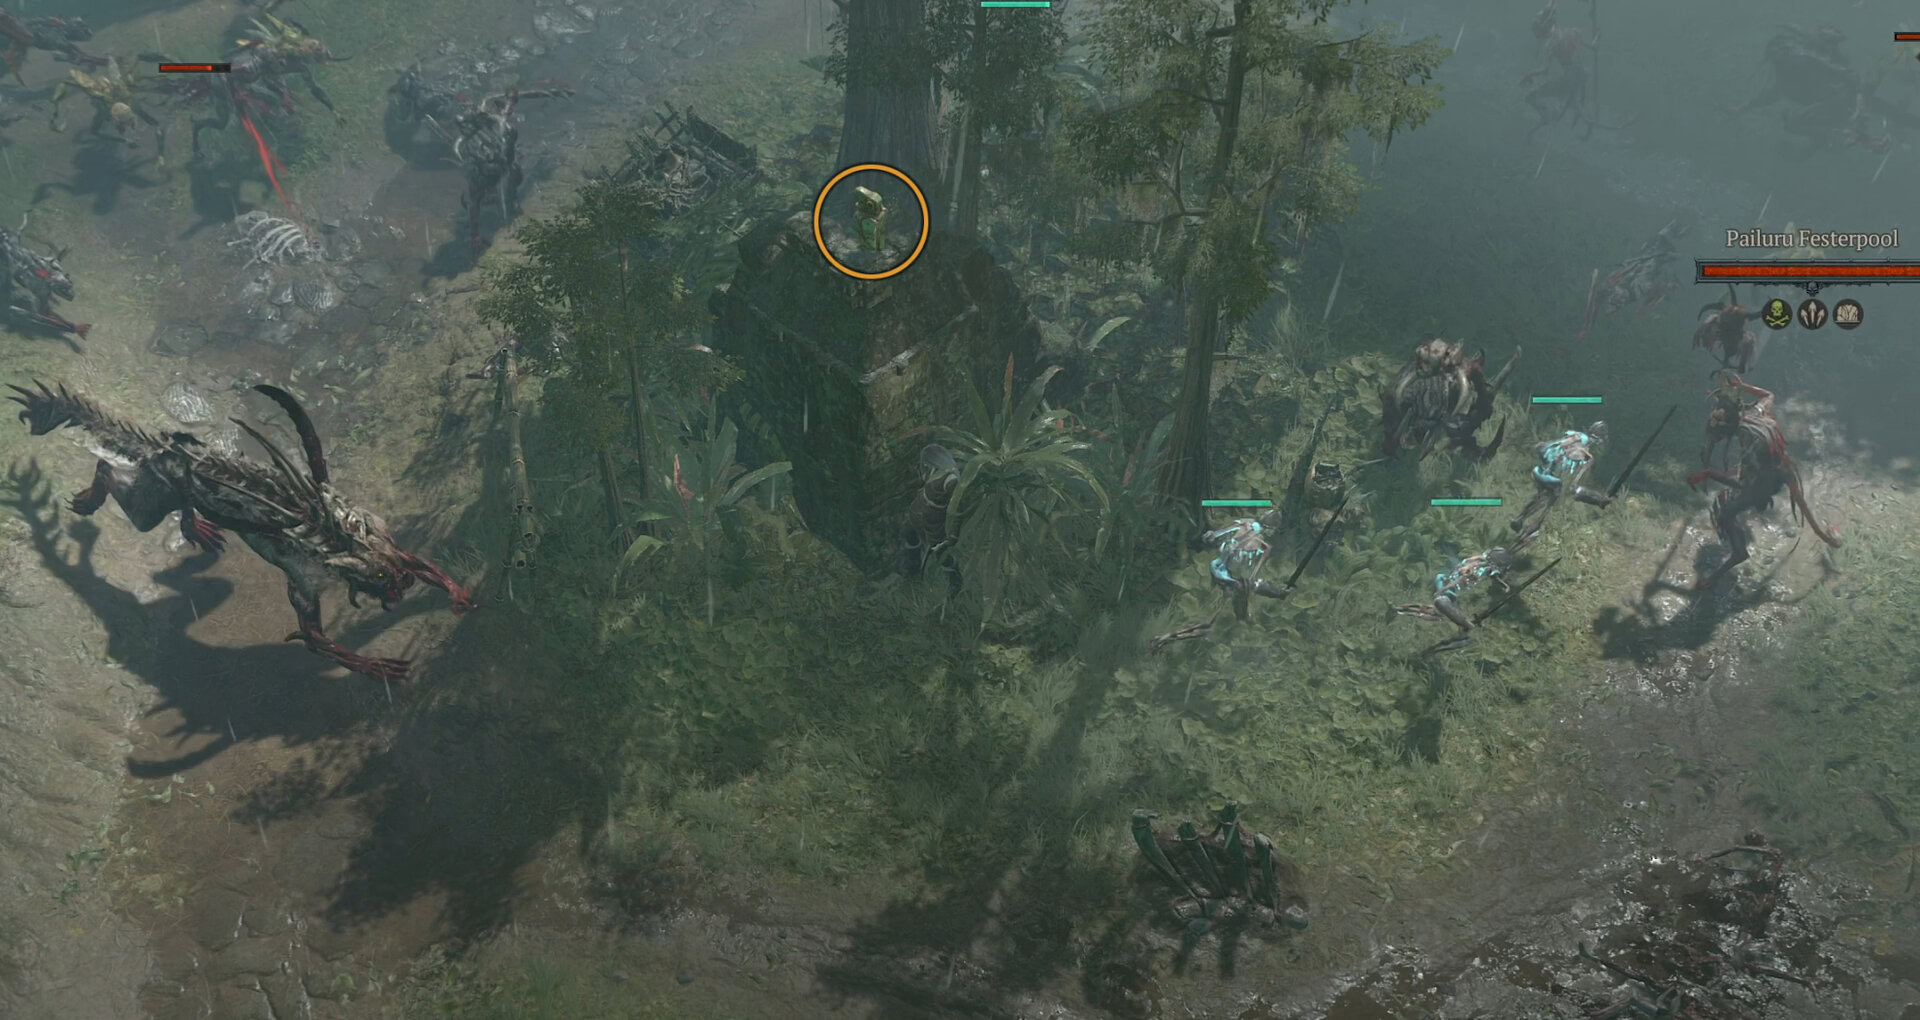
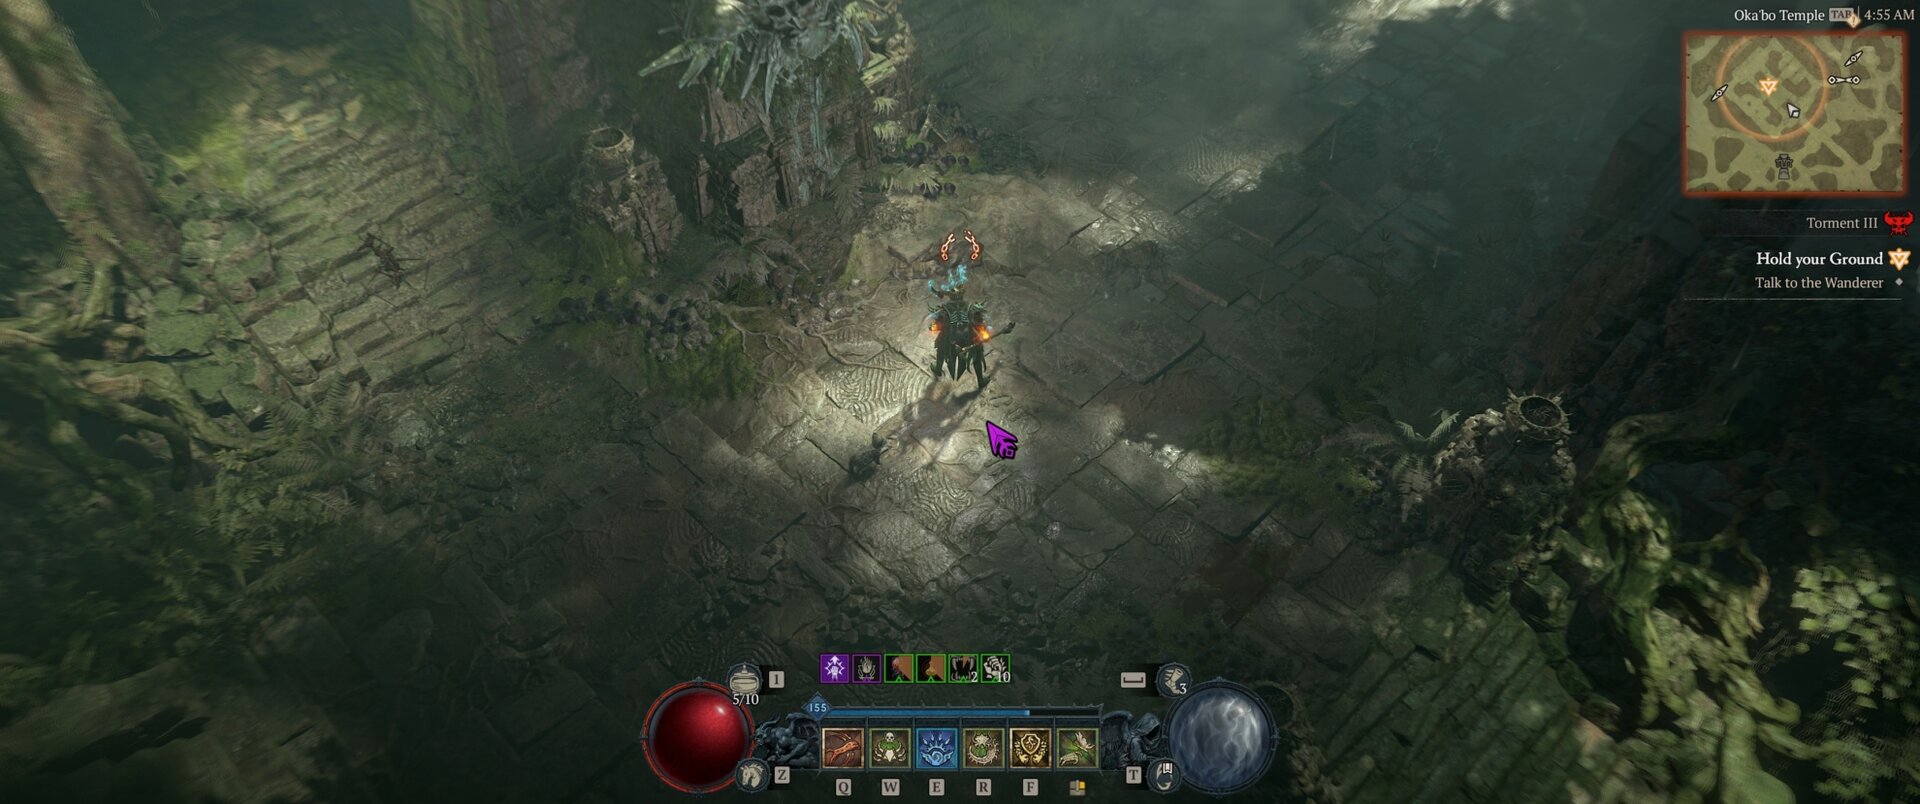
The only notable enemy found near Kichuk, is the Super Elite Lacuni named Blood Lightning. His location is shown on the map below.
Not only will we need to defeat him, we’ll need to do it with the Basic Attack. No, not a skill labeled “Basic” attack, but the default attack you have at level 1 before spending skill points.

So, we’ll need to unallocate our entire skill tree AND remove any gear that grants Skill Ranks to use this specific attack. Additionally, Mercenaries can also prevent a successful drop, removing them is recommended. Thus, we defeat him “untrained” and claim the Crooked Staff as our reward.
With the relics in hand, we can corrupt them, and the process for doing so is a bit more involved than last time.
Video Walkthrough
The video walkthrough shows you the steps you must take after you have obtained the three new relics. From Corrupting them, to obtaining the Unusual Key, to accessing the new cellar within the Forlorn Burrow Cellar.
Corrupting the Relics
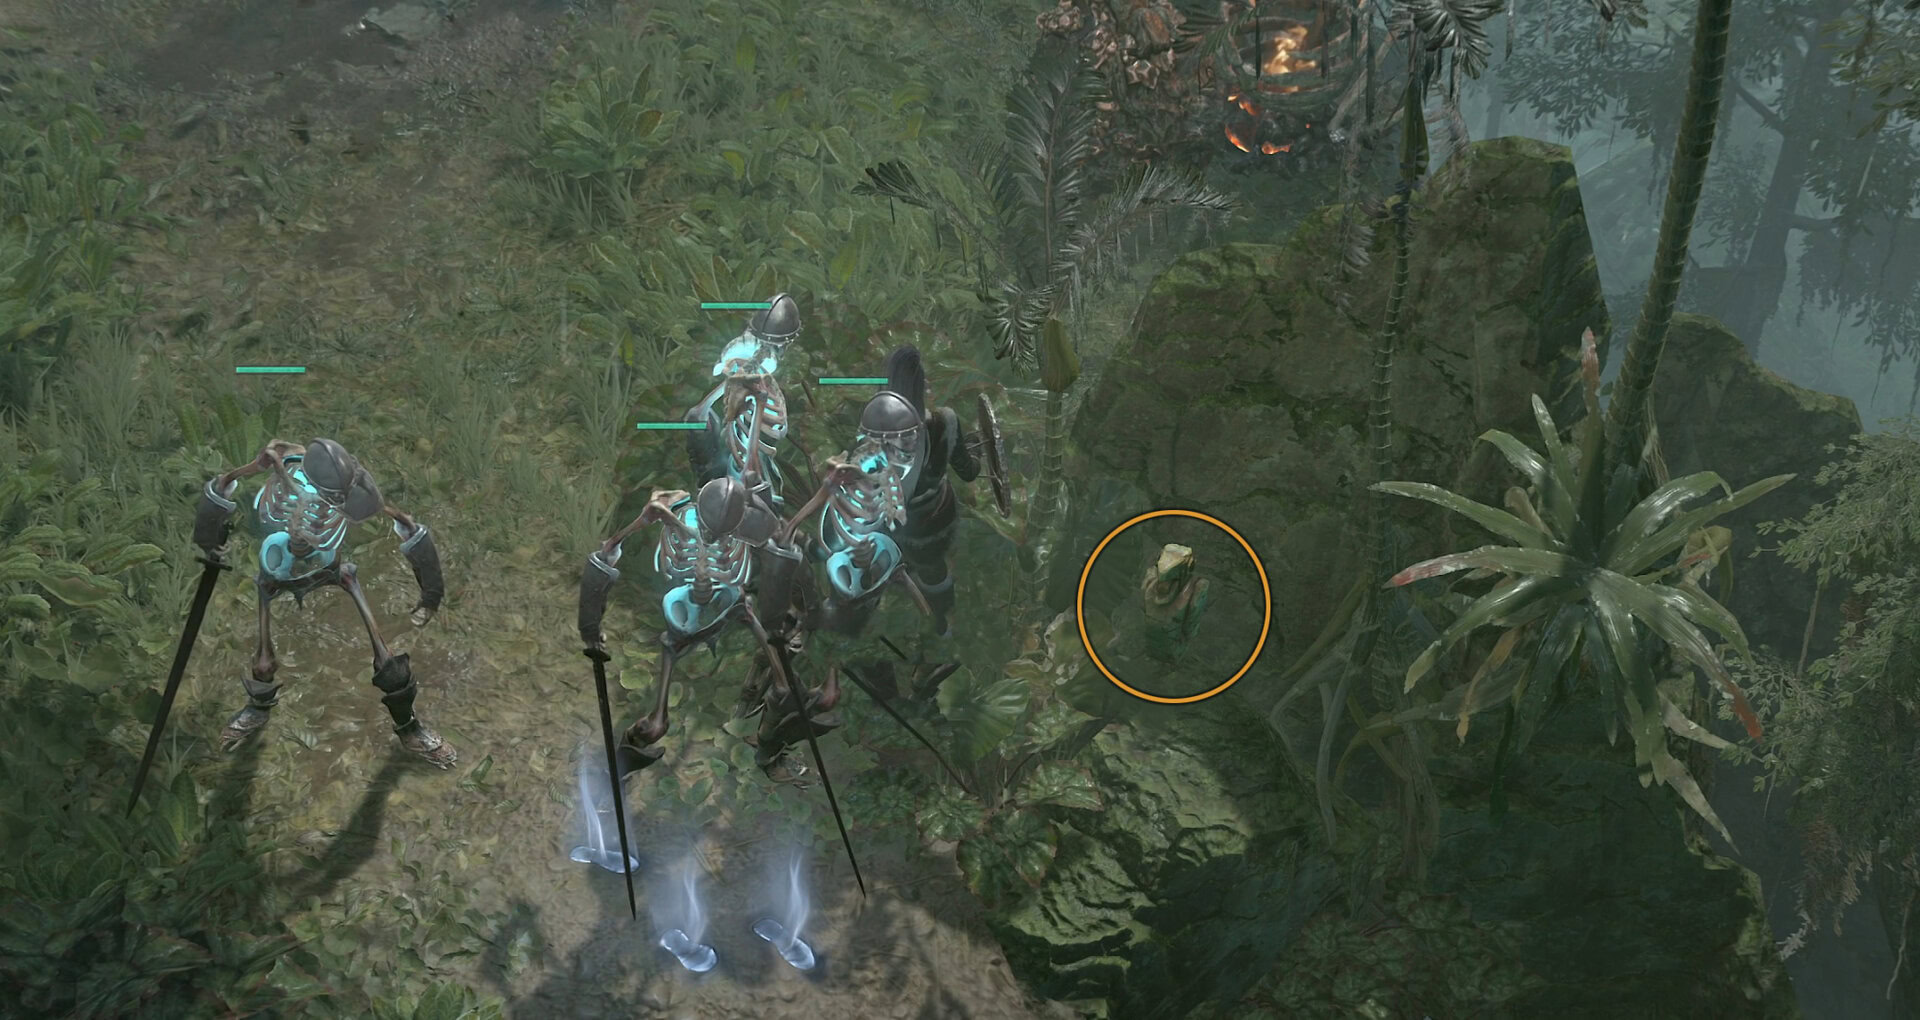
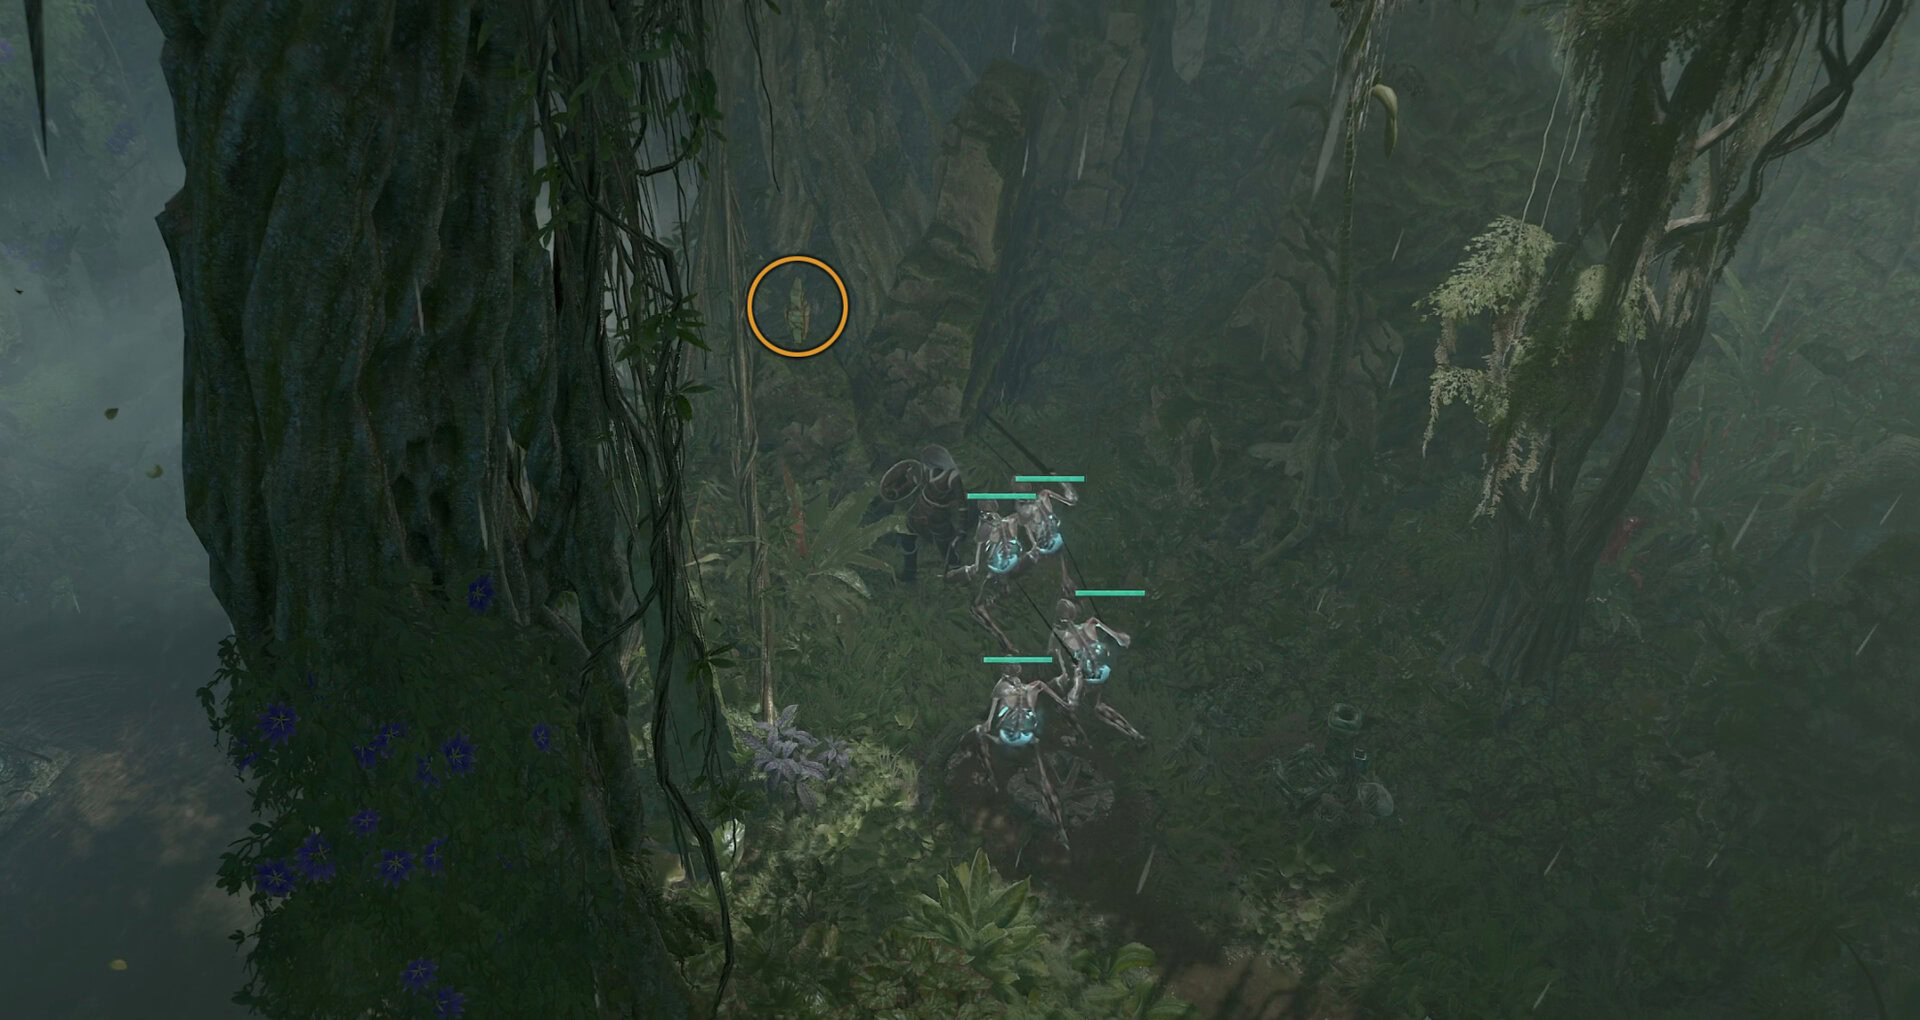
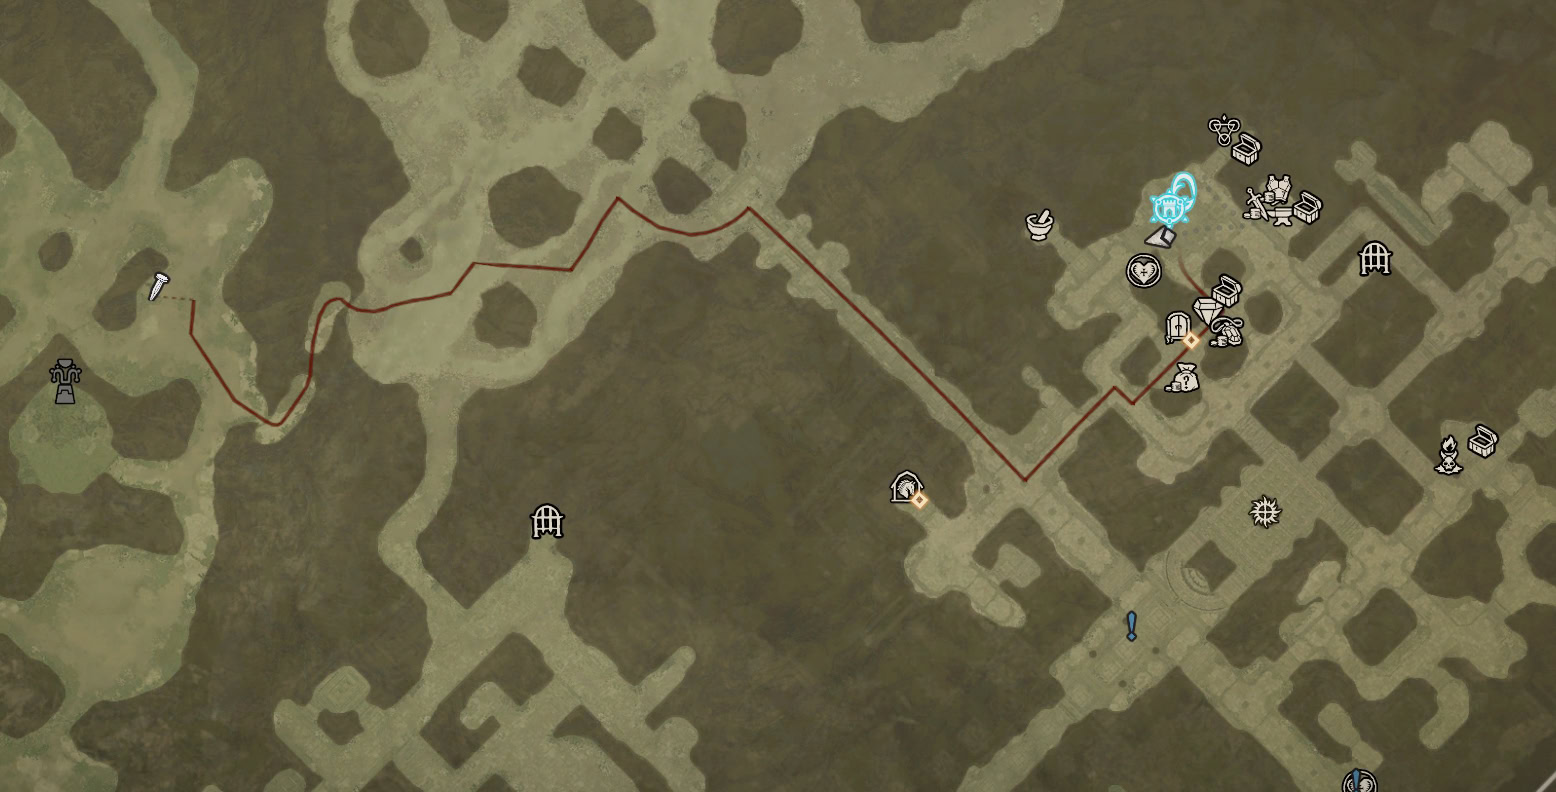
For this next step of the quest, we’ll need to head to the Field of Giants in Nahantu, just North of Ichor Falls. There’s a special enemy here that we need to use for this next step.
That special enemy is called a Cordycepic Zombie, capable of producing a special effect that will alter our relics.
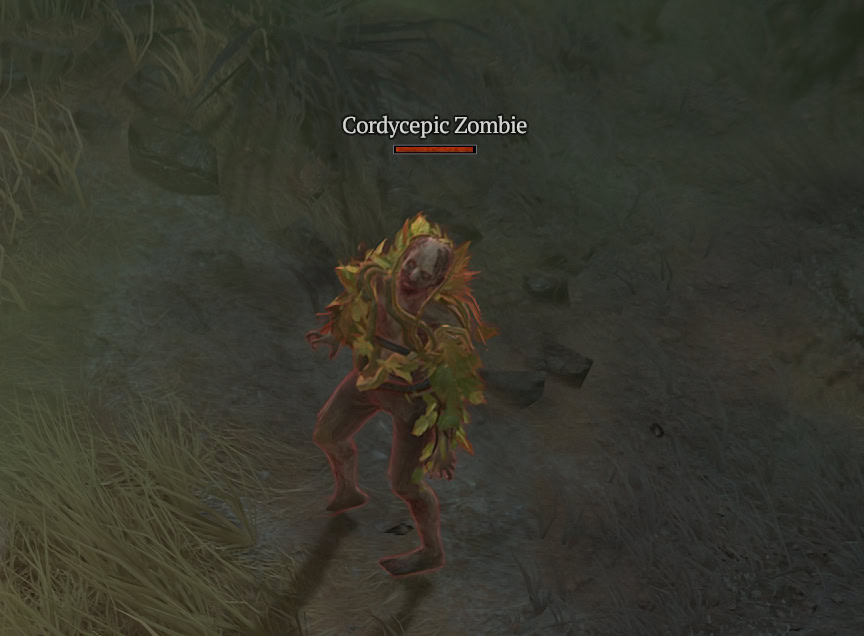
However, we won’t need just one, but all three of the Cordycepic Zombies in this zone. If defeated alone they will not provide the needed effect.
When defeated near others they’ll produce impassible Black Mushrooms. It’s these Mushrooms that will allow us to corrupt our relics. Drop the items from your inventory into the mushrooms.
Once you see the purple and black aura around them as in the image above, they have been successfully corrupted.
This can be done solo as the Cordycepic Zombies have a massive aggro range; however, you need to keep them on screen for them to not reset. It can go much faster with more than one person, as each can lead one zombie towards the third.
Our recommended way of doing this is clearing the areas around the Cordycepic Zombies, then starting at the northernmost one and working clockwise. Even if you defeat them accidentally while clearing the area, they respawn immediately, just check the surrounding area to where they spawned.
Once corrupted, we’ll be able to move on to the next step of the process.
Getting and Using the Unusual Key
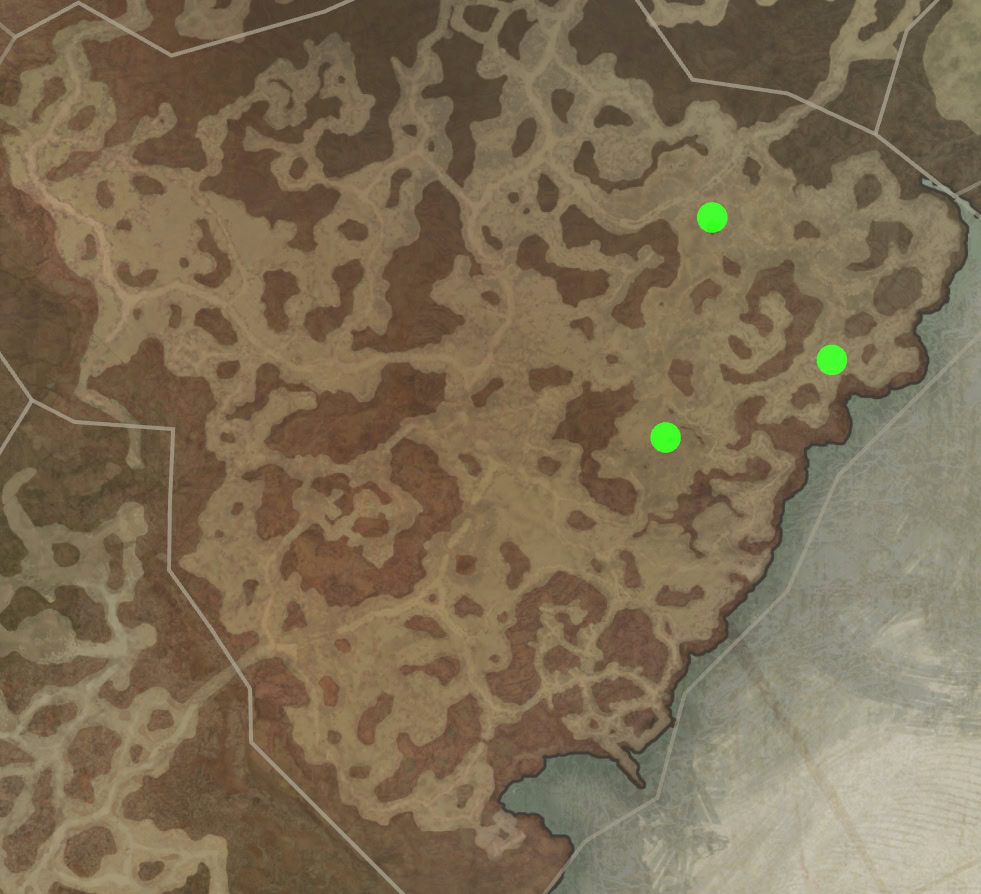
Unlike the previous set of Relics, we won’t get the key immediately, we’ll need to offer them in the Oka’bo Temple, just a bit Southeast of the Kurast Bazaar.
Near the entrance are three Brazier, which we can offer our Corrupted Relics by interacting with them. Doing so will light up each one, and award us the Unusual Key. This key is currently bugged, and you can hold on to it forever, as it is not consumed when opening the new hovel area.
This new cellar is located within the Forlorn Burrow Cellar. Below is a map to its location.
While this will be a normal Cellar at first, if you have the Unusual Key and have completed the step to get the Unusual key, there will be a breakable wall added to this ordinary cellar.
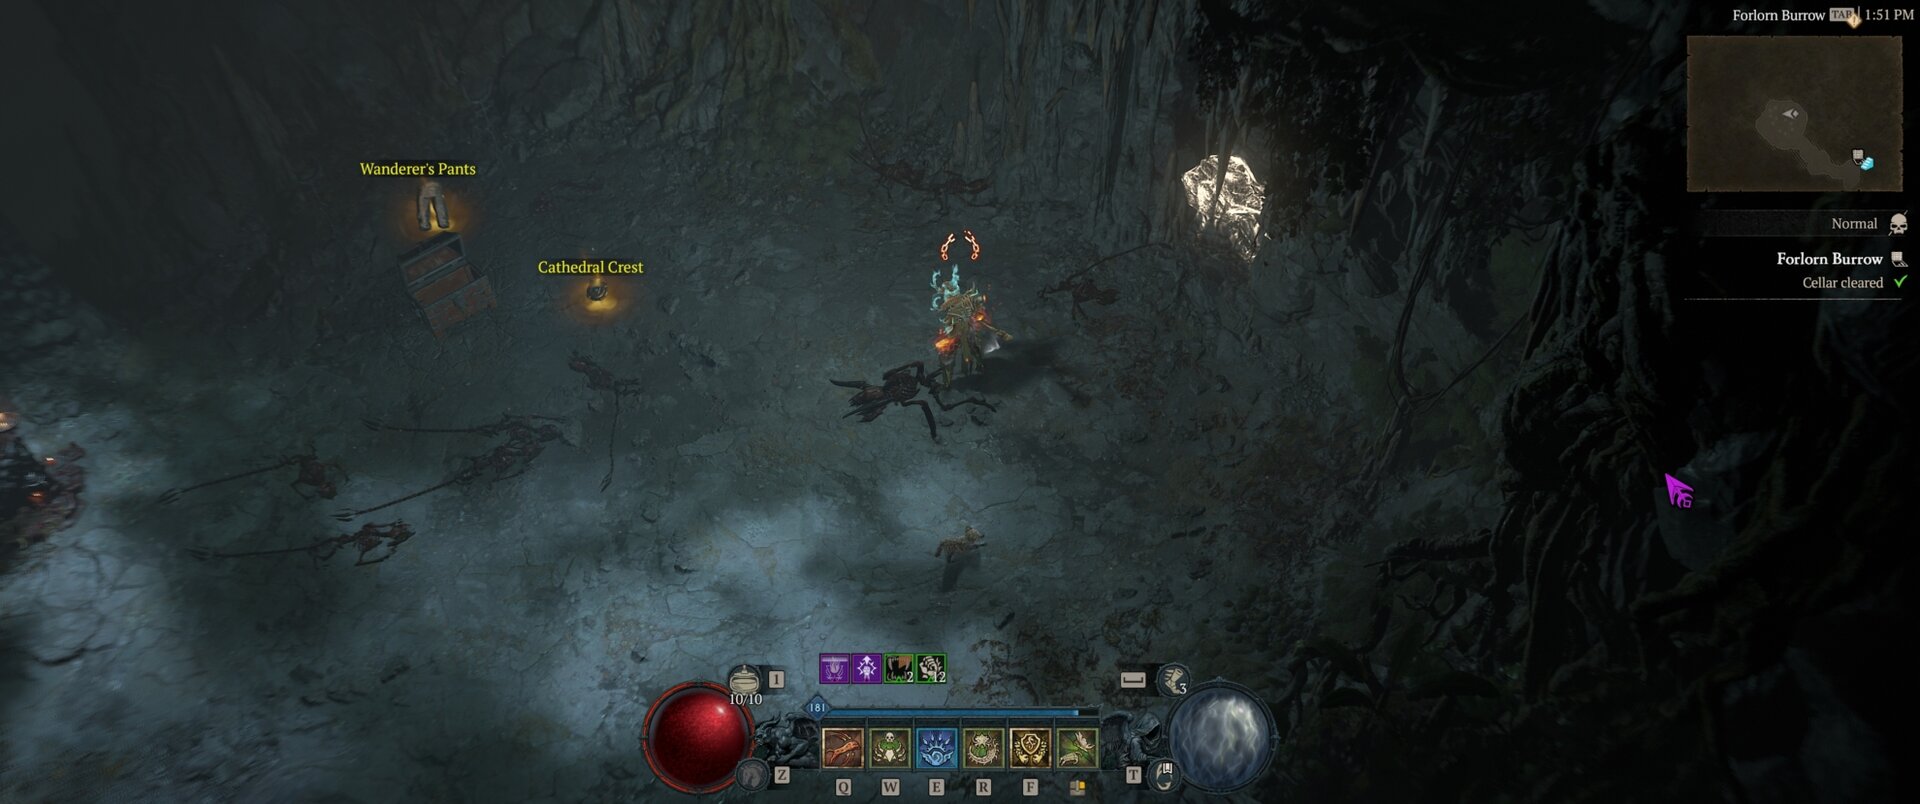
Defeating all of the cows in this cellar will award us with the Rusted Bardiche, you might know it as the Bovine Bardiche from Diablo 3.
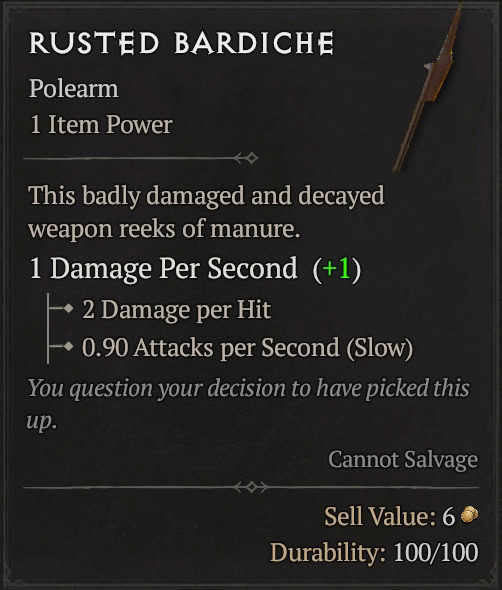
Unlike the Stamina Potion before it, this is an actual equipable item. This will unlikely play a role in any future parts, as secrets in Diablo 4 so far have been accessible to all classes.
What’s Next
Currently, much like the previous Cow Level quest, we’re not sure if there is a next step. The goal would be to figure out exactly where to take the Rusted Bardiche, assuming there is somewhere to take it. Likely, we may unfortunately be waiting for a part three to this quest.
Any new information that is found will be added to this guide and it will be kept up to date.
UPDATE: The next steps are becoming available with the release of Season 8:
Secrets of Diablo 4: Luckier Coin and Ring of the Jinx DiscoveredSpecial Thanks
As always with these secret hunting posts, shoutout to the “D4 – Not Finding a Cow Level” Discord for all their work to help with these. Once we got the ball rolling with the relics, we knocked it all out pretty quick.
Credit to Cyri for Finding the Jabbering Gemstone and the Cellar, Nuke for highlighting the Uacax Scrolls as a possible hint, and Voidstar for solving the Rusted Old Bell.


