Kurast Undercity is a randomized dungeon in Diablo 4 that allows us to adjust our risk and reward for completing it. This guide covers this activity in detail.
Table of contents
What is the Kurast Undercity
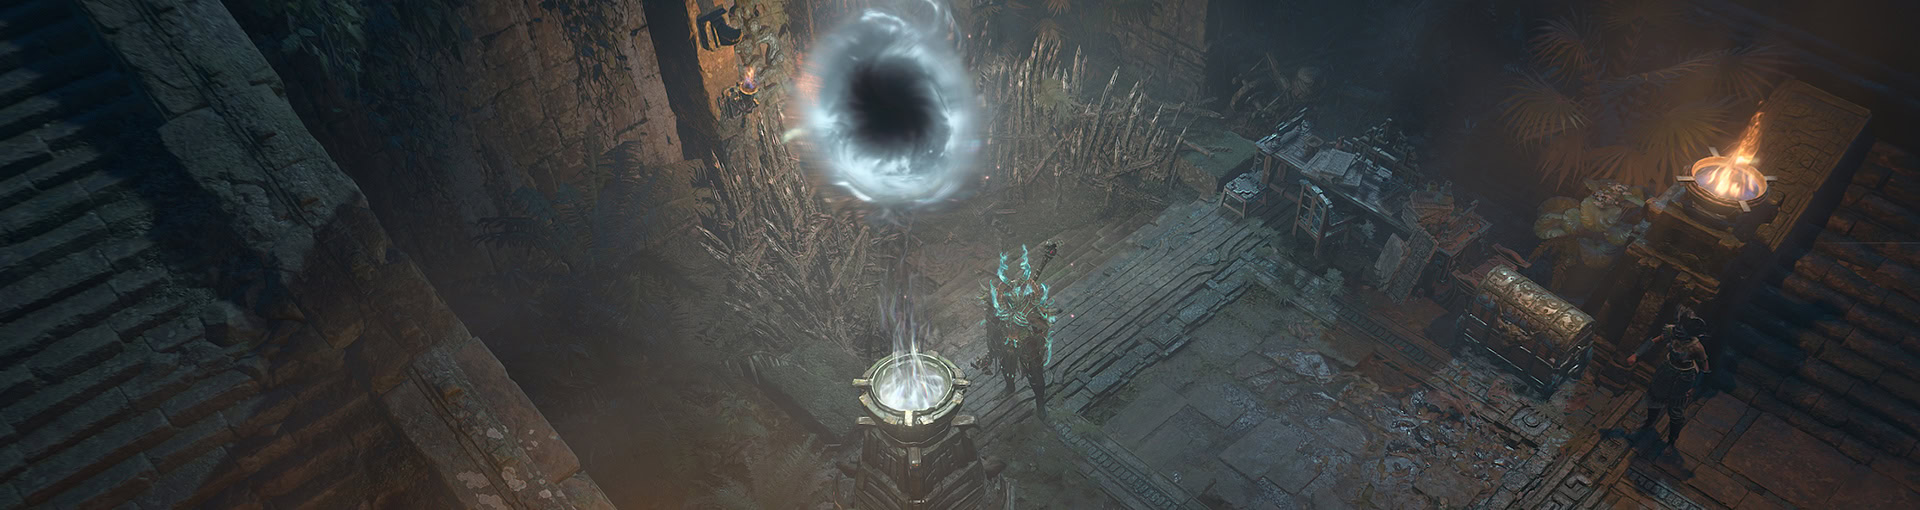
The Kurast Undercity is a unique dungeon found in the city of Kurast. It’s a time-attack-style dungeon that rewards clearing speed above all else. It has multiple floors, which must be traversed before the timer ends.
Defeating enemies and completing the secondary objectives here will earn us Attunement, which plays into the rewards we earn at the end.
How to Unlock the Kurast Undercity
The Kurast Undercity Dungeon becomes available after completing the Vessel of Hatred Campaign Quest called “Reunion”. This opens the Priority Quest “The Kurast Undercity” and the dungeon itself after beginning this quest.
Through the Priority Quest, we’ll have a couple of detours around Nahantu, but it slowly introduces the Districts of the Undercity and their respective bosses. We’ll go into more detail on those bosses later in this guide.
Video Guide
The video below is voiced by Vulkk and is based on the written guide you are currently reading with a gameplay footage featuring a full run from start to finish through the Kurast Undercity dungeon.
Kurast Undercity Mechanics
The Kurast Undercity has several mechanics that can make it a bit tricky to finish a District Run, the biggest one of these being the Timer and Attunement. Tributes and Bargains can also make them trickier as well, but we’ll talk about those in the rewards section later on.
District Timer
The District Timer is our time limit for the run. Regardless of Difficulty, this will always start at 100 seconds, or 1 Minute and 40 Seconds. It will only begin below this value when a Tribute is used. This timer will turn Yellow when less than 60 seconds remain, then red when less than 30 seconds remain.
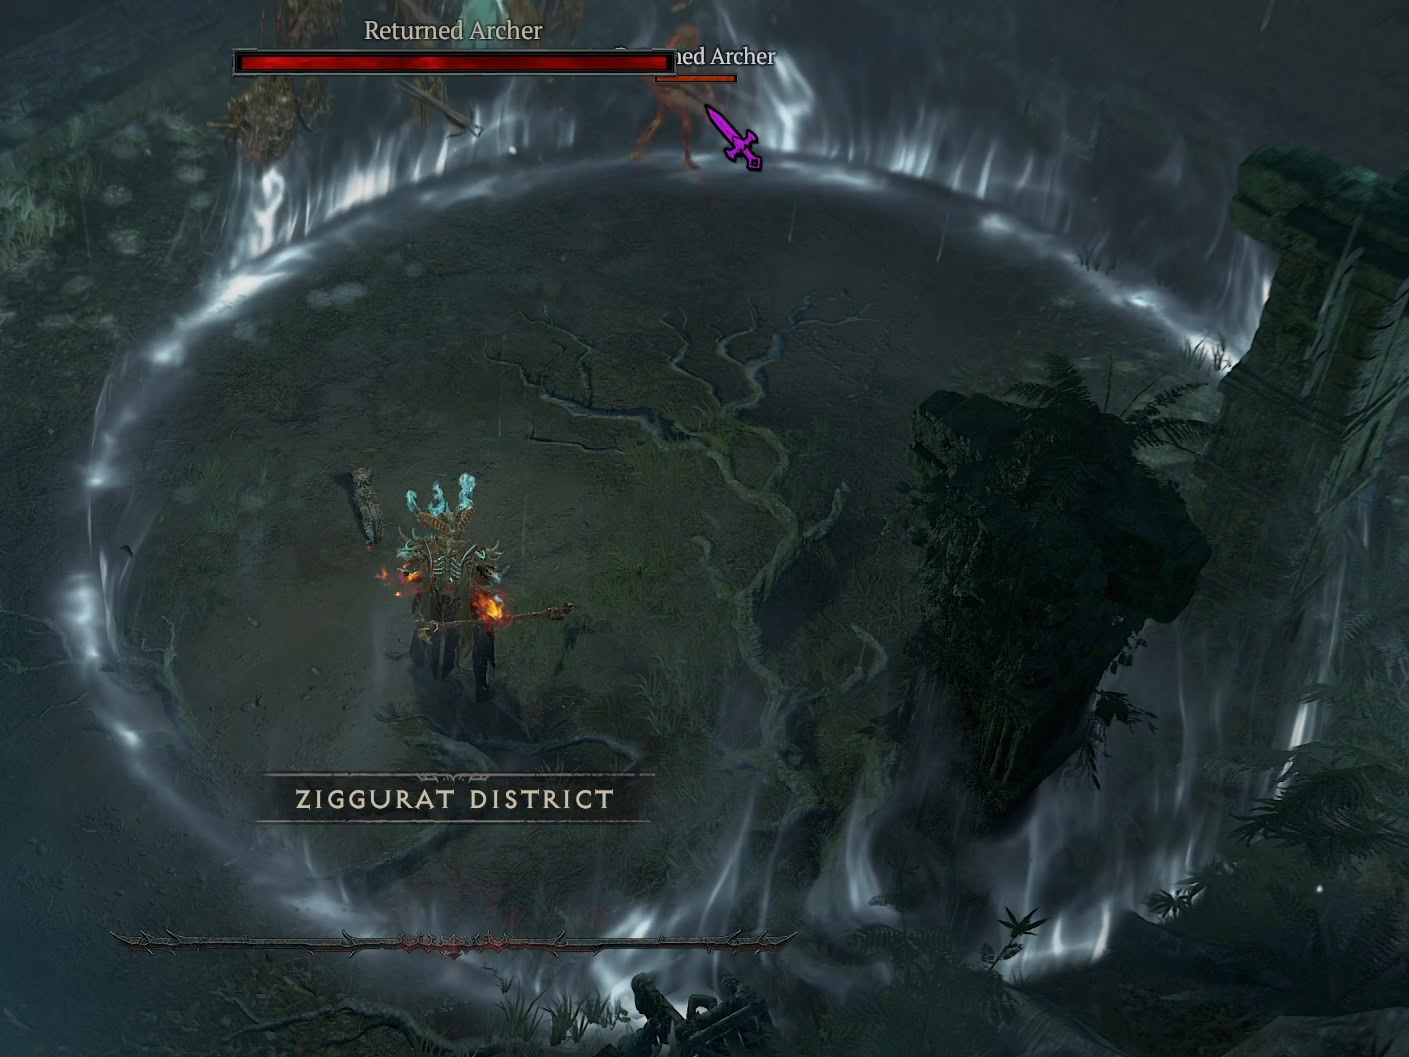
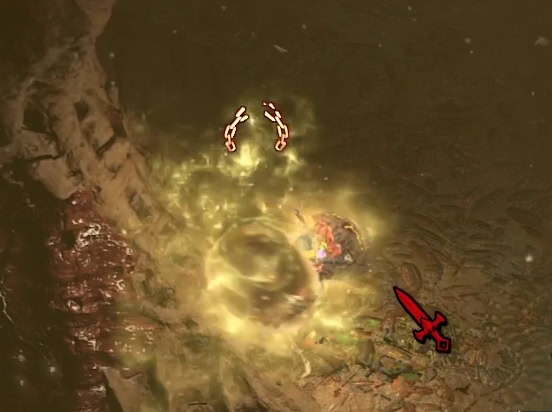
Each floor of a District Run starts in a Safe Zone, as shown below. Our District Timer will not countdown until we exit this Safe Zone.
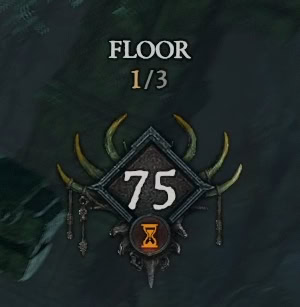
We can increase our District Timer by defeating Afflicted enemies, and it has no cap on how high it can go other than how many Afflicted are on the map. These will be marked on the map as skulls with an hourglass next to them. Afflicted Mobs come in three variations: Packs, Lesser Elites, and Greater Elites.
Afflicted Packs are groups of weak enemies that will award an additional second each, usually granting 5-8 seconds for the whole pack. These are good for a quick burst of time, compared to the beefier Elites.
Lesser Elites are Elite mobs that usually spawn as a small pack, often no larger than 3 at a time. Each of these Lesser Elites will grant an additional 15 Seconds. As long as they aren’t taking more time to defeat than what they grant, they are worth it.
Greater Elites are a single, much stronger Elite with increased health and damage. These can appear as Standard Elites or as Super Elites with unique names. Defeating this enemy will grant an additional 30 seconds. Much like the Leser Elites, don’t bother if they will cost more of our time than they award.
Attunement
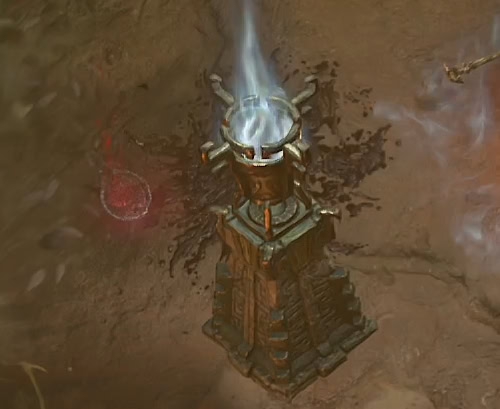
Attunement is the Scoring System within the Kurast Undercity. We’ll gain Attunement in two main ways, defeating enemies and completing the Soul Brazier events throughout a District Run.
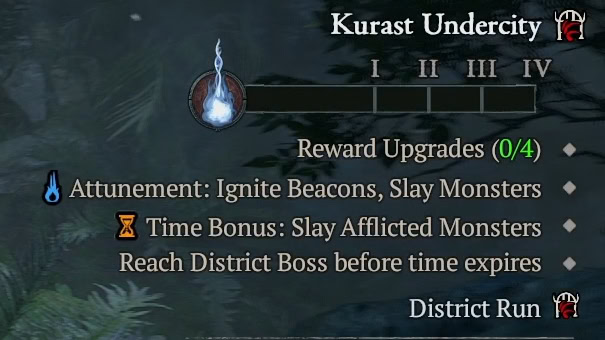
Defeating most enemies will grant very little, however, Afflicted Enemies grant a fair bit more than others. It’s around 2-3 enemies for a single point of Attunement, while most afflicted enemies will drop 1-3 depending on their type.
The largest sums of Attunement will come from Soul Braziers, especially Grand Soul Braziers typically found at the end of a floor. These must be completed to reach Attunement Rank 4 in any given run. There’s very little wiggle room unless we’re power-clearing each floor, so we can skip a couple at the end.
Each Attunement rank earned improves the loot earned at the end of the run, so aim to always get Attunement Rank 4 in each run for maximum rewards.
Rewards
While Attunement determines the amount and quality of rewards, Tributes and Bargains give us control over the final rewards. Additionally, we may run into a Portal Prankster, which gives us additional loot on a successful District Run.
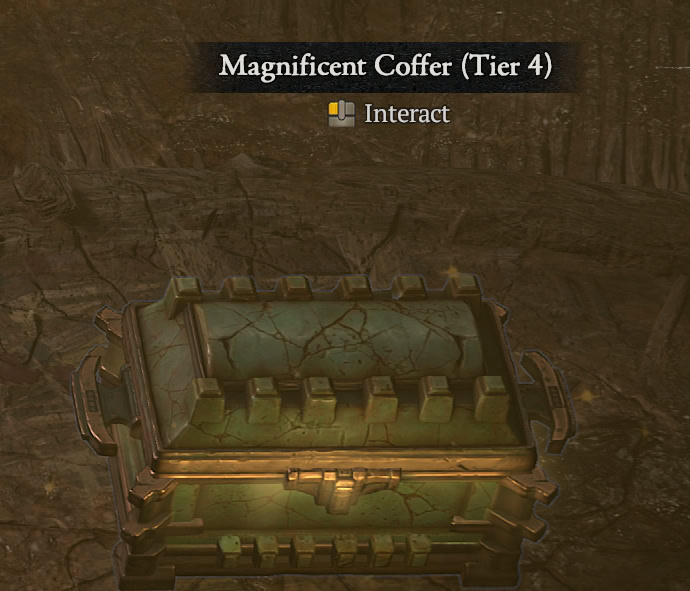
All loot we earn will be awarded from the Magnificent Coffer that spawns after defeating the District Boss at the end of the District Run.
Tributes
Tributes are special Dungeon Keys that allow us to modify the final rewards from defeating the boss during the District Run. These are most commonly acquired from Ladder Bosses and Whispers of the Dead.
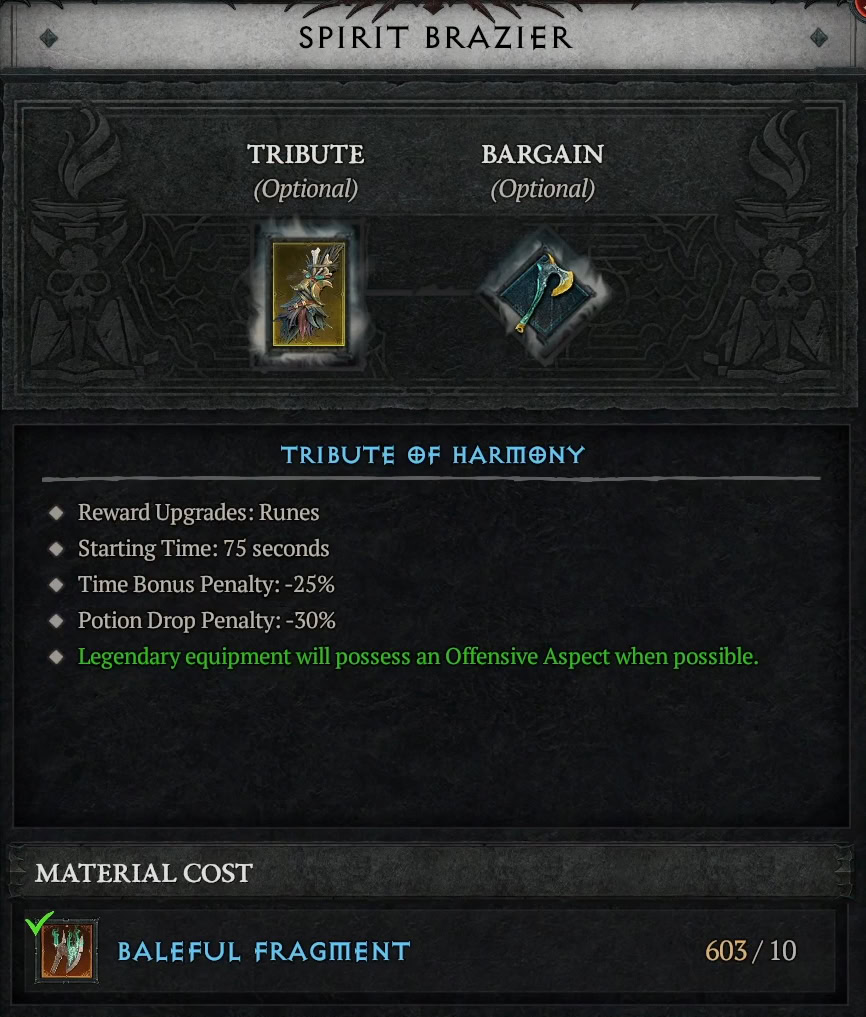
These can be used by interacting with the Spirit Brazier to start a run and then selecting them from our inventory.

However, depending on the Tribute we choose, we may make the run harder. Many of these have a penalty to Starting Time, Bonus Time, or Potion Drops.
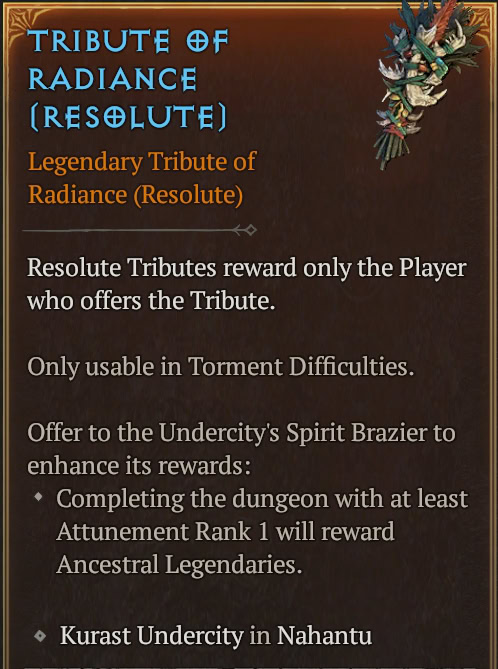
Below is a full table of all Tributes, their rewards, and penalties. These are listed highest rarity first. The more rewarding they are, the stronger the penalties applied. Tributes of Legendary Rarity of higher may appear as a United or Resolute variety. The United version affects the whole party, while the Resolute version only affects the Tribute user.
| Tribute | Rewards | Starting Time | Time Penalty | Potion Drops |
|---|---|---|---|---|
| Ascendance | Uniques | 45 Seconds | -50% | -50% |
| Radiance | Ancestral Items | 60 Seconds | -35% | -40% |
| Harmony | Runes | 75 Seconds | -25% | -30% |
| Refinement | Obducite | 75 Seconds | -25% | -30% |
| Titans | Summoning Materials | 75 Seconds | -25% | -30% |
| Growth | Experience | 100 Seconds | -15% | -20% |
| Mystique | Magic Runes | 100 Seconds | -15% | -20% |
| Pride | Legendaries | 100 Seconds | -15% | -20% |
To better understand these penalties, here’s a quick example. Compared to a default District Run with no Tribute Applied, the Tribute of Ascendance starts us with 55% less time, and a Greater Afflicted will only grant us 15 seconds of bonus time rather than 30 seconds.
Bargains
When applying a Tribute to a District Run, we’ll also be able to apply a Bargain. These have a cost associated with them, which is low outside of the stronger options.
The Bargains that can be applied are determined by the rarity of the Tribute. This means stronger Tributes also allow for more powerful Bargains.
| Bonus Reward | Cost | Rarity |
|---|---|---|
| Skill Ranks | 5 Million Gold | Legendary |
| Passive Ranks | 50 Million Gold | Legendary |
| Offensive Aspects | 10 Baleful Fragments | Rare |
| Defensive Aspects | 10 Coiling Wards | Rare |
| Utility Aspects | 10 Coiling Wards | Rare |
| Mobility Aspects | 10 Abstruse Sigils | Rare |
| Resource Aspects | 10 Abstruse Sigils | Rare |
| Chaotic Uniques | 57 Obols | Rare |
| More Weapons | 30 Iron Chunks | Magic |
| More Armor | 30 Rawhide | Magic |
| More Jewelry | 30 Bundled Herbs | Magic |
Portal Prankster
The Portal Prankster is a special Treasure Goblin only found in the Kurast Undercity. When encountered, he’ll quickly open several portals and start to run between them.
While he can be a huge waste of time if our character isn’t able to defeat him fast enough, he’ll add an extra chest to the final rewards. This chest often contains a mix of rewards, including Runes, Tributes, and additional items of our selected Tribute.
The Tributes alone make him worth defeating, allowing us to have to open fewer Whisper Caches for additional Tributes. This chest also appears to have a higher chance of awarding Tributes of at least Rare rarity.
District Bosses
There are three distinct Districts we’ll unlock by completing the Priority Quests for the Undercity and each District has a unique Boss to deal with. Each of these is fairly straightforward, with just a single mechanic to take note of.
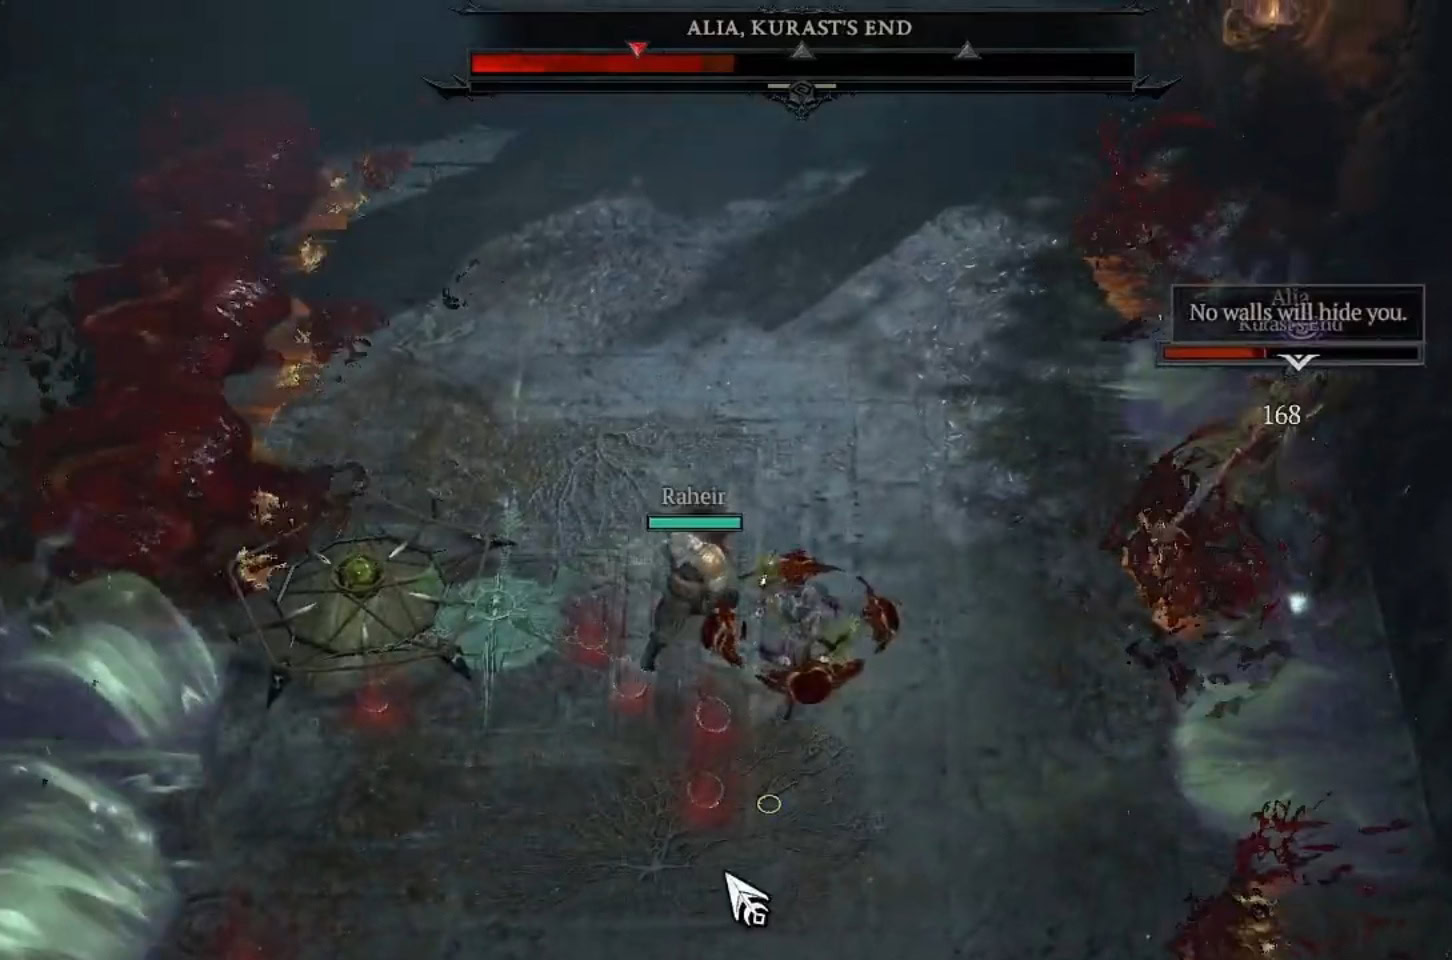
Ziggurat District – Alia, Kurast’s End
Alia is for the most part a basic Ghost Caster Boss, nothing in her kit is hard to see, and has ample telegraph.
Her only Mechanic is that her attacks all make use of illusion magic, making fake projectiles. The fake projectiles have a bloody appearance, rather than a ghostly appearance.
There are only two attacks Alia will make use of this attack, her “Spectral Waves” and “Spectral Spread”. Below is an example using her Spectral Waves.
Temple District – Yoche, The Golden
Outside of their mechanic, Yoche is a fairly standard Nangari, using a mix of melee and ranged attacks. This can make them a little unpredictable at times, but not too rough.
Yoche’s Mechanic we’ll refer to as Golden Aura. When Yoche casts Golden Aura, we’ll have a short time before we’ll need to take cover behind the pillar to avoid the attack.
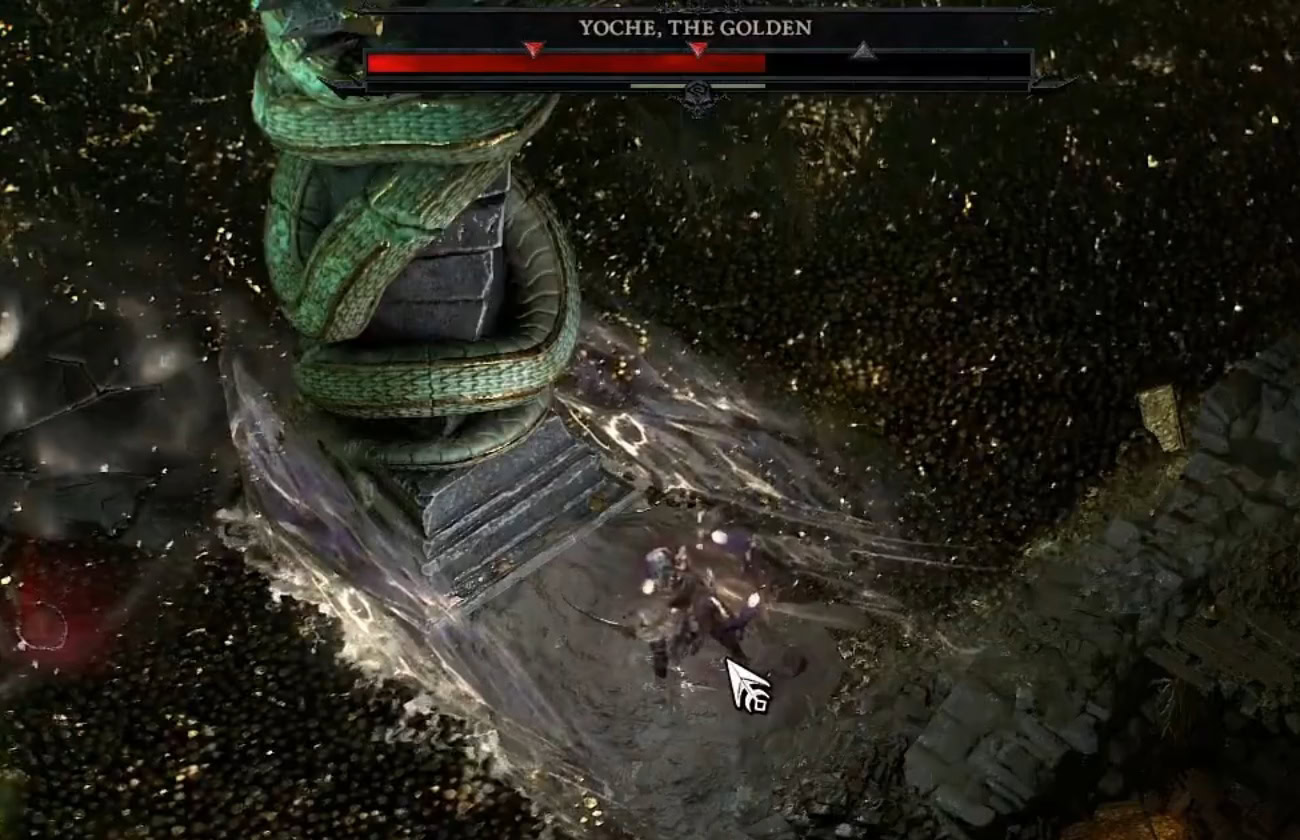
We’ll see this attack coming as Yoche always positions itself in the center of the room before doing this.
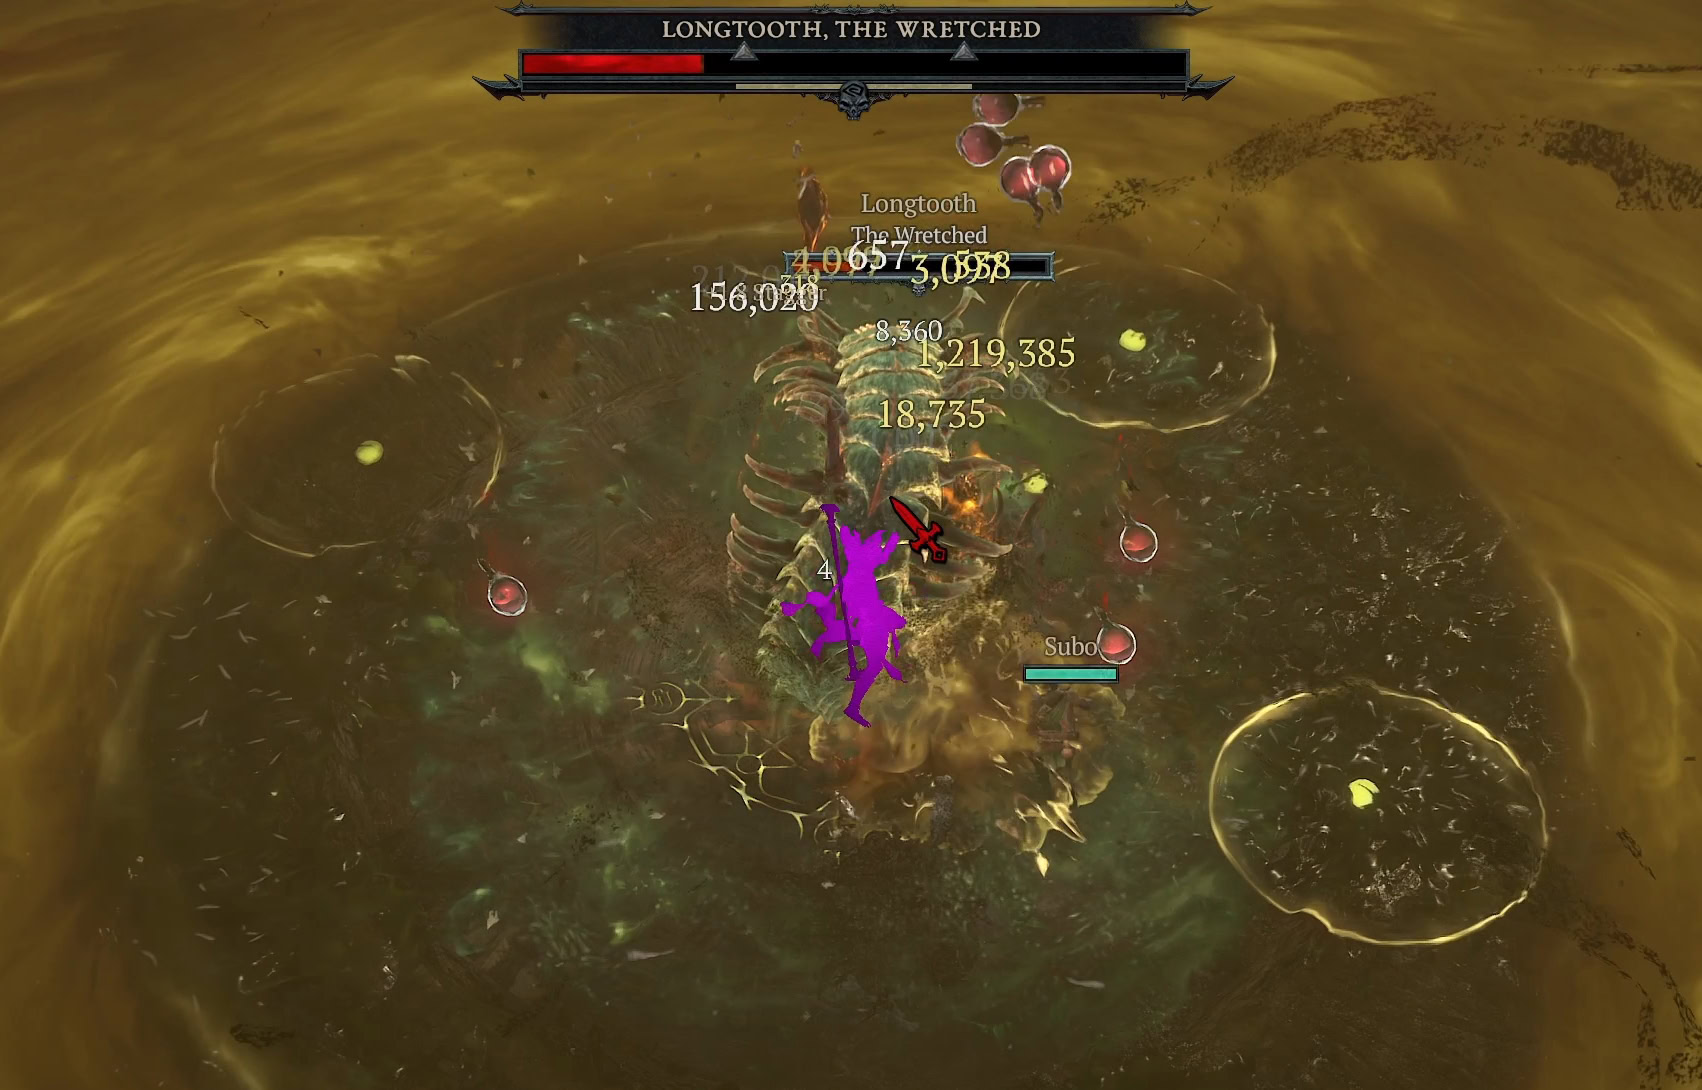
Caves District – Longtooth, The Wretched
Longtooth is one of the more tricky bosses of the undercity, as he’ll perform his mechanic almost immediately, but is otherwise a fairly basic Dreg Caster.
We’ll refer to his special mechanic as Dreg Toxins. When he performs this mechanic, the area will shrink to a much smaller area in the center of the arena. The only thing making this tricky is that it’s persistent through the fight, and limits our room to safely dodge attacks as he has multiple AoE Attacks.