Our Shatterscarp Pargrun Cache walkthrough will show you how to fully explore the area and find all treasure chests and other valuables, including the Ornate Pargrun Key and two parts of Skald’s Armor set.
Table of contents
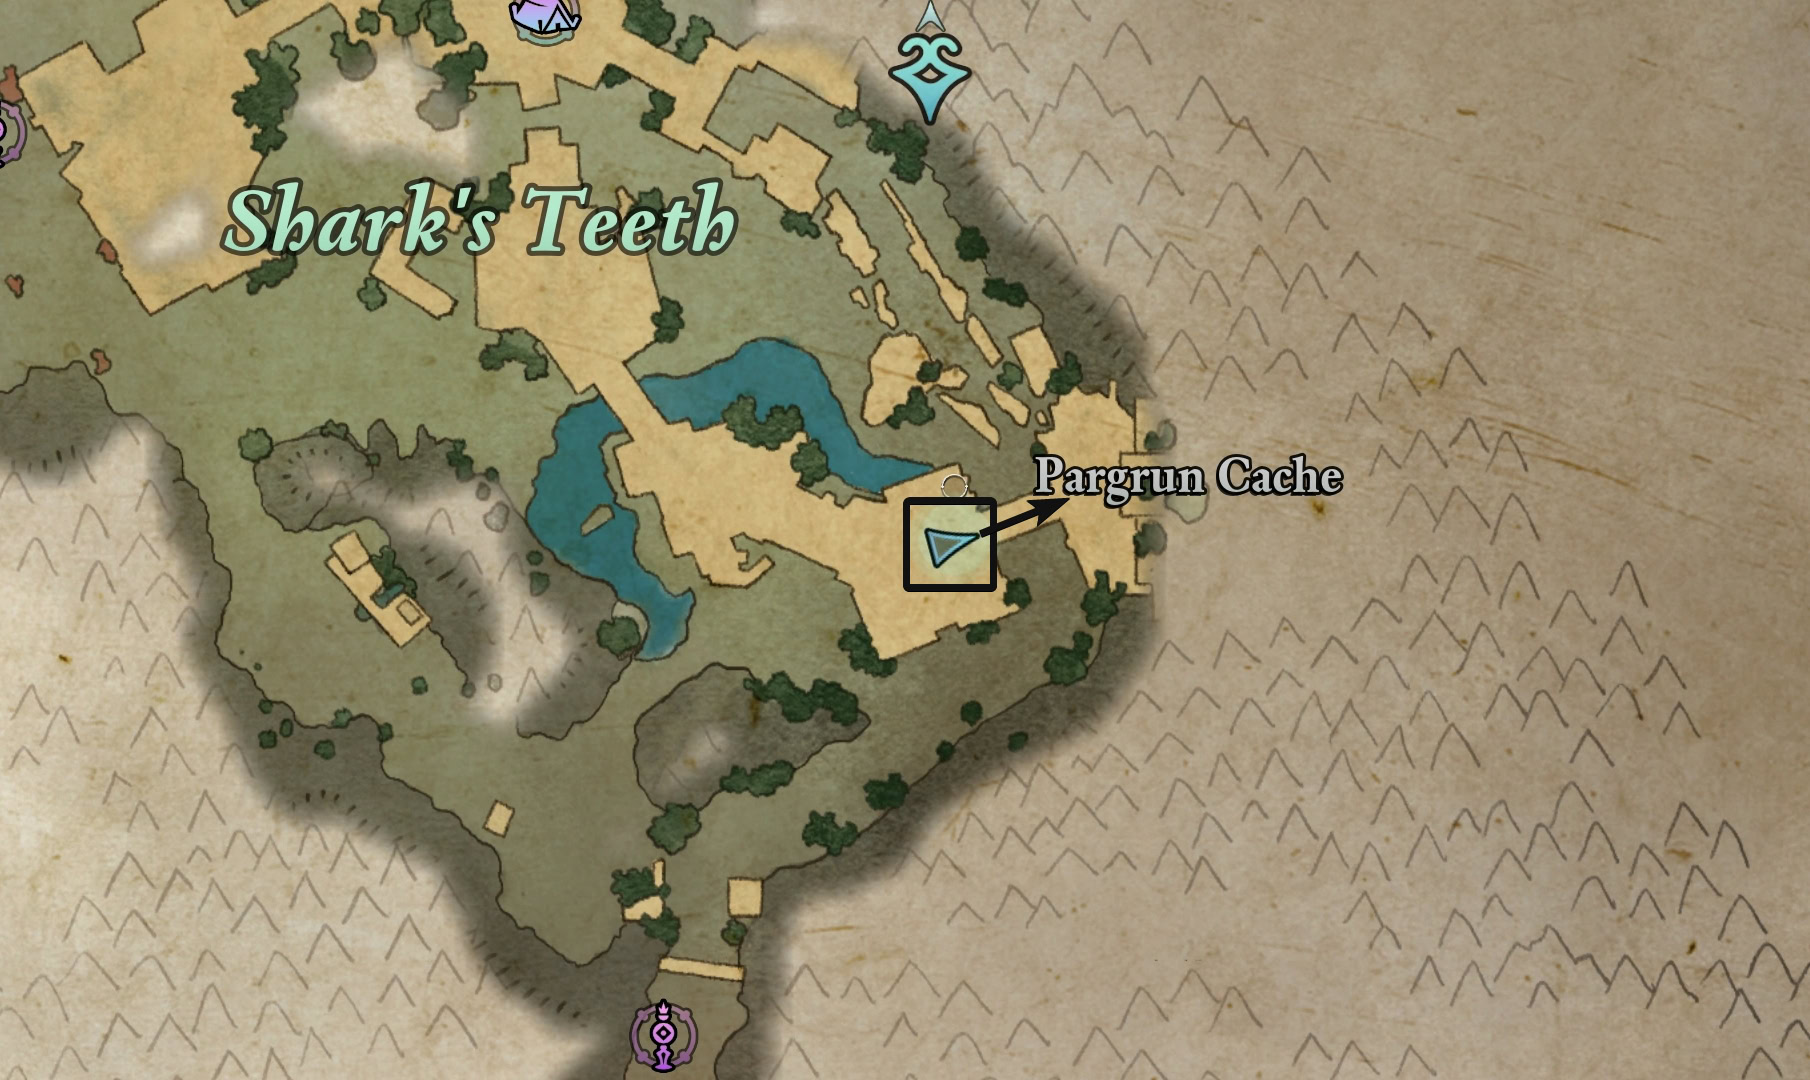
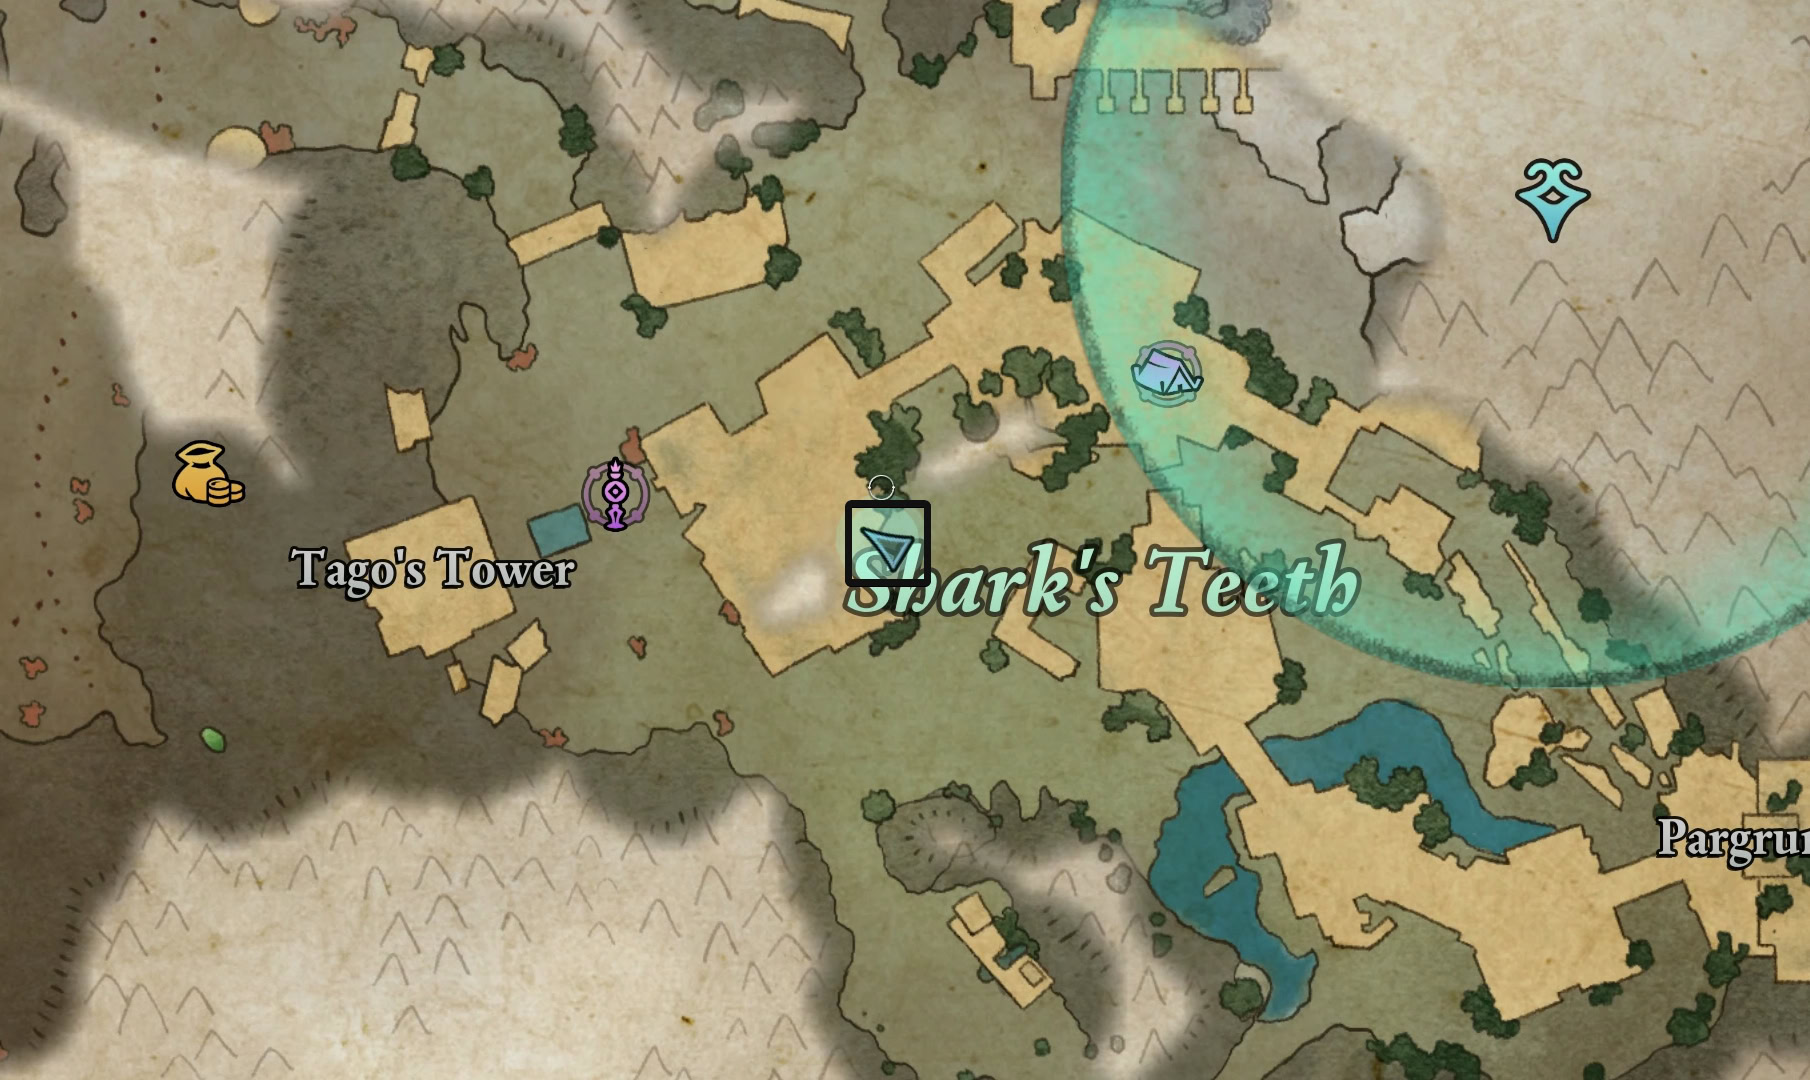
Where is the Shatterscarp Pargrun Cache
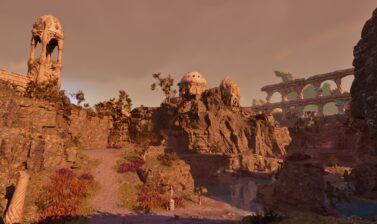
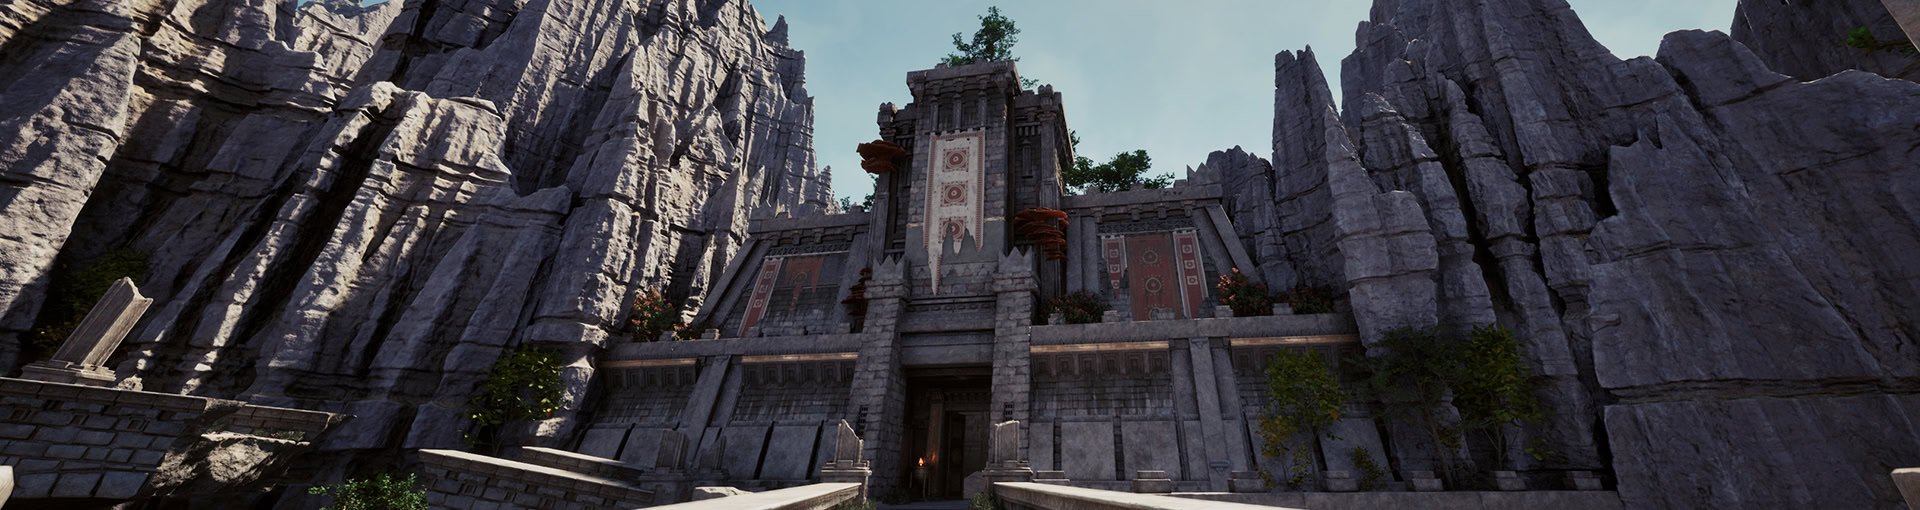
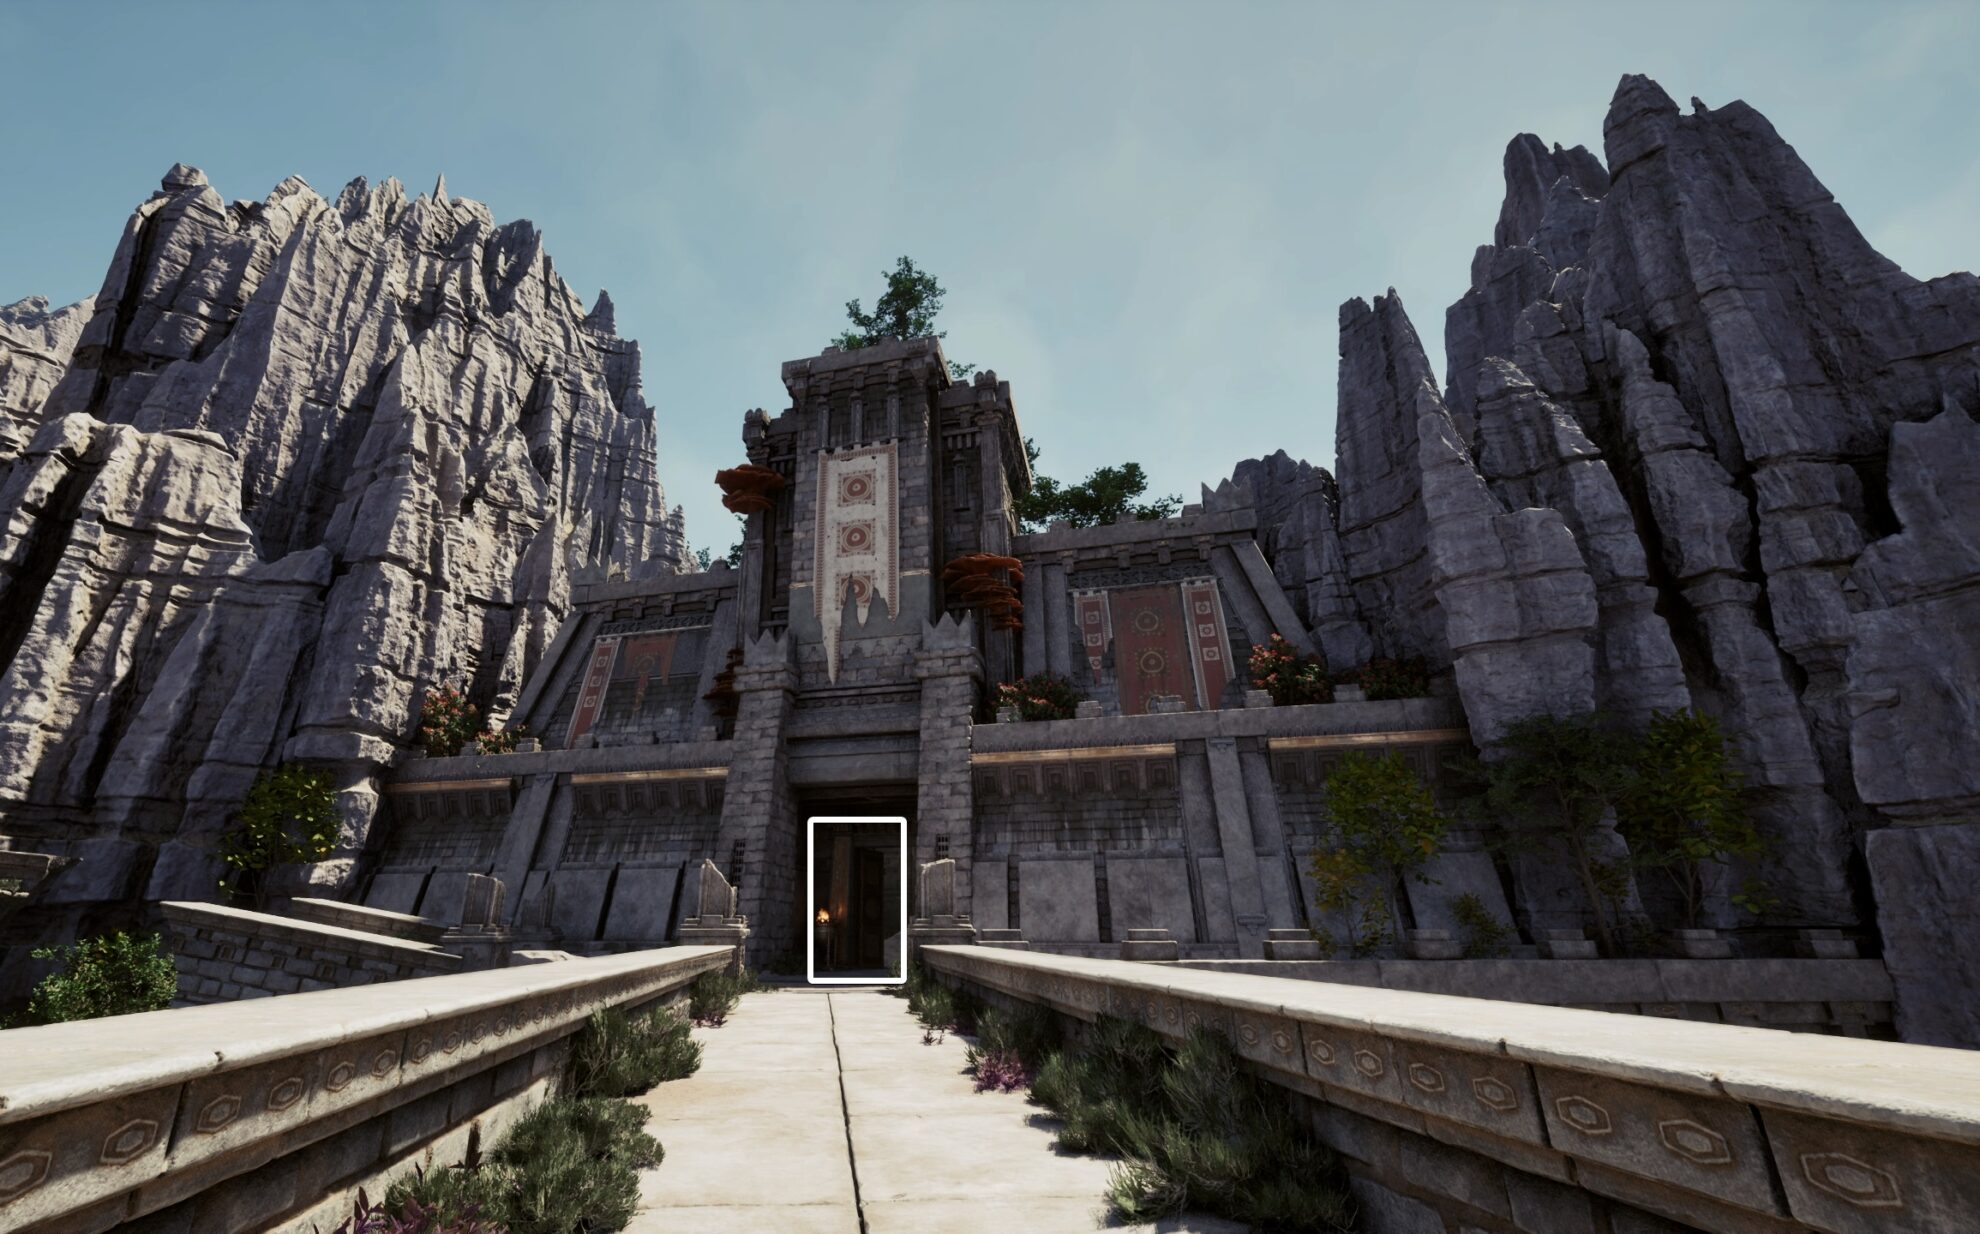
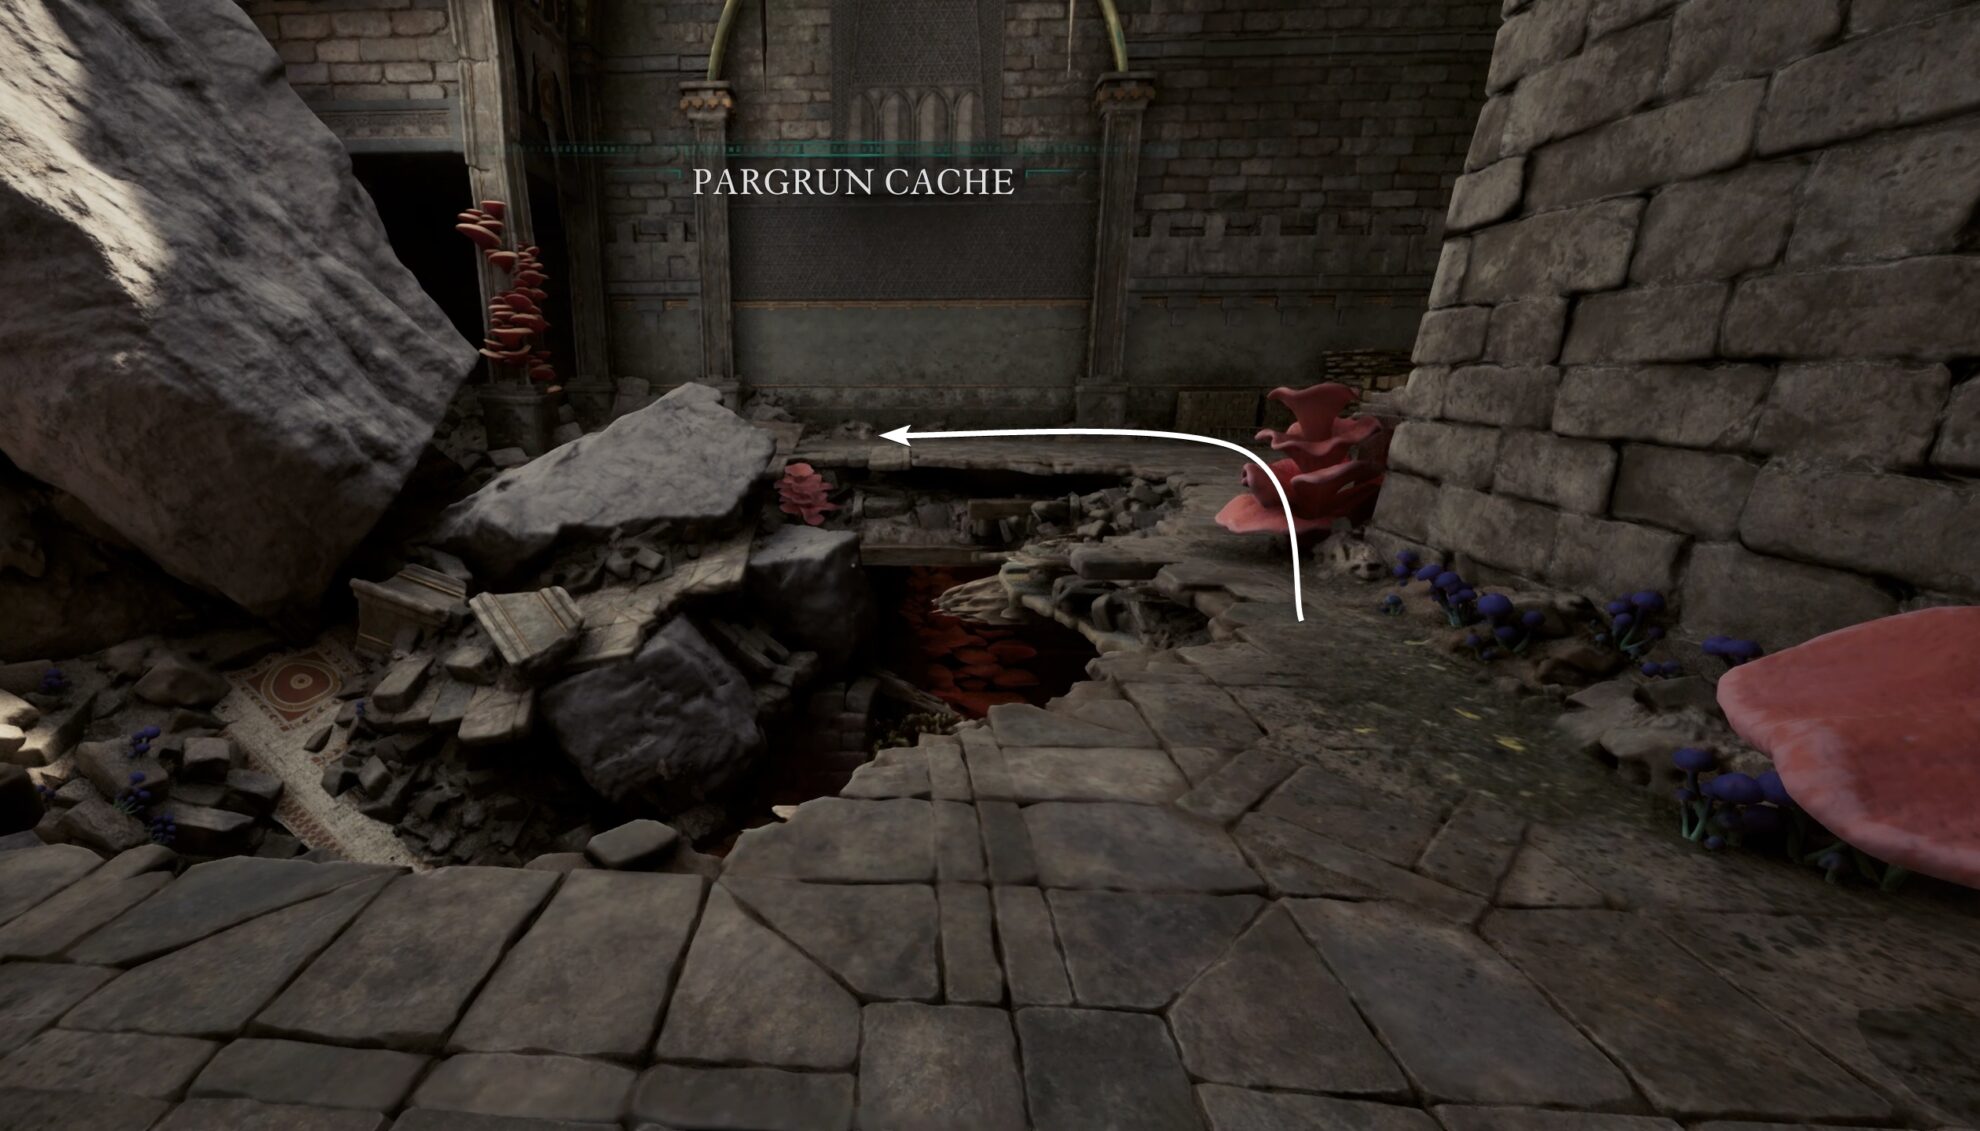
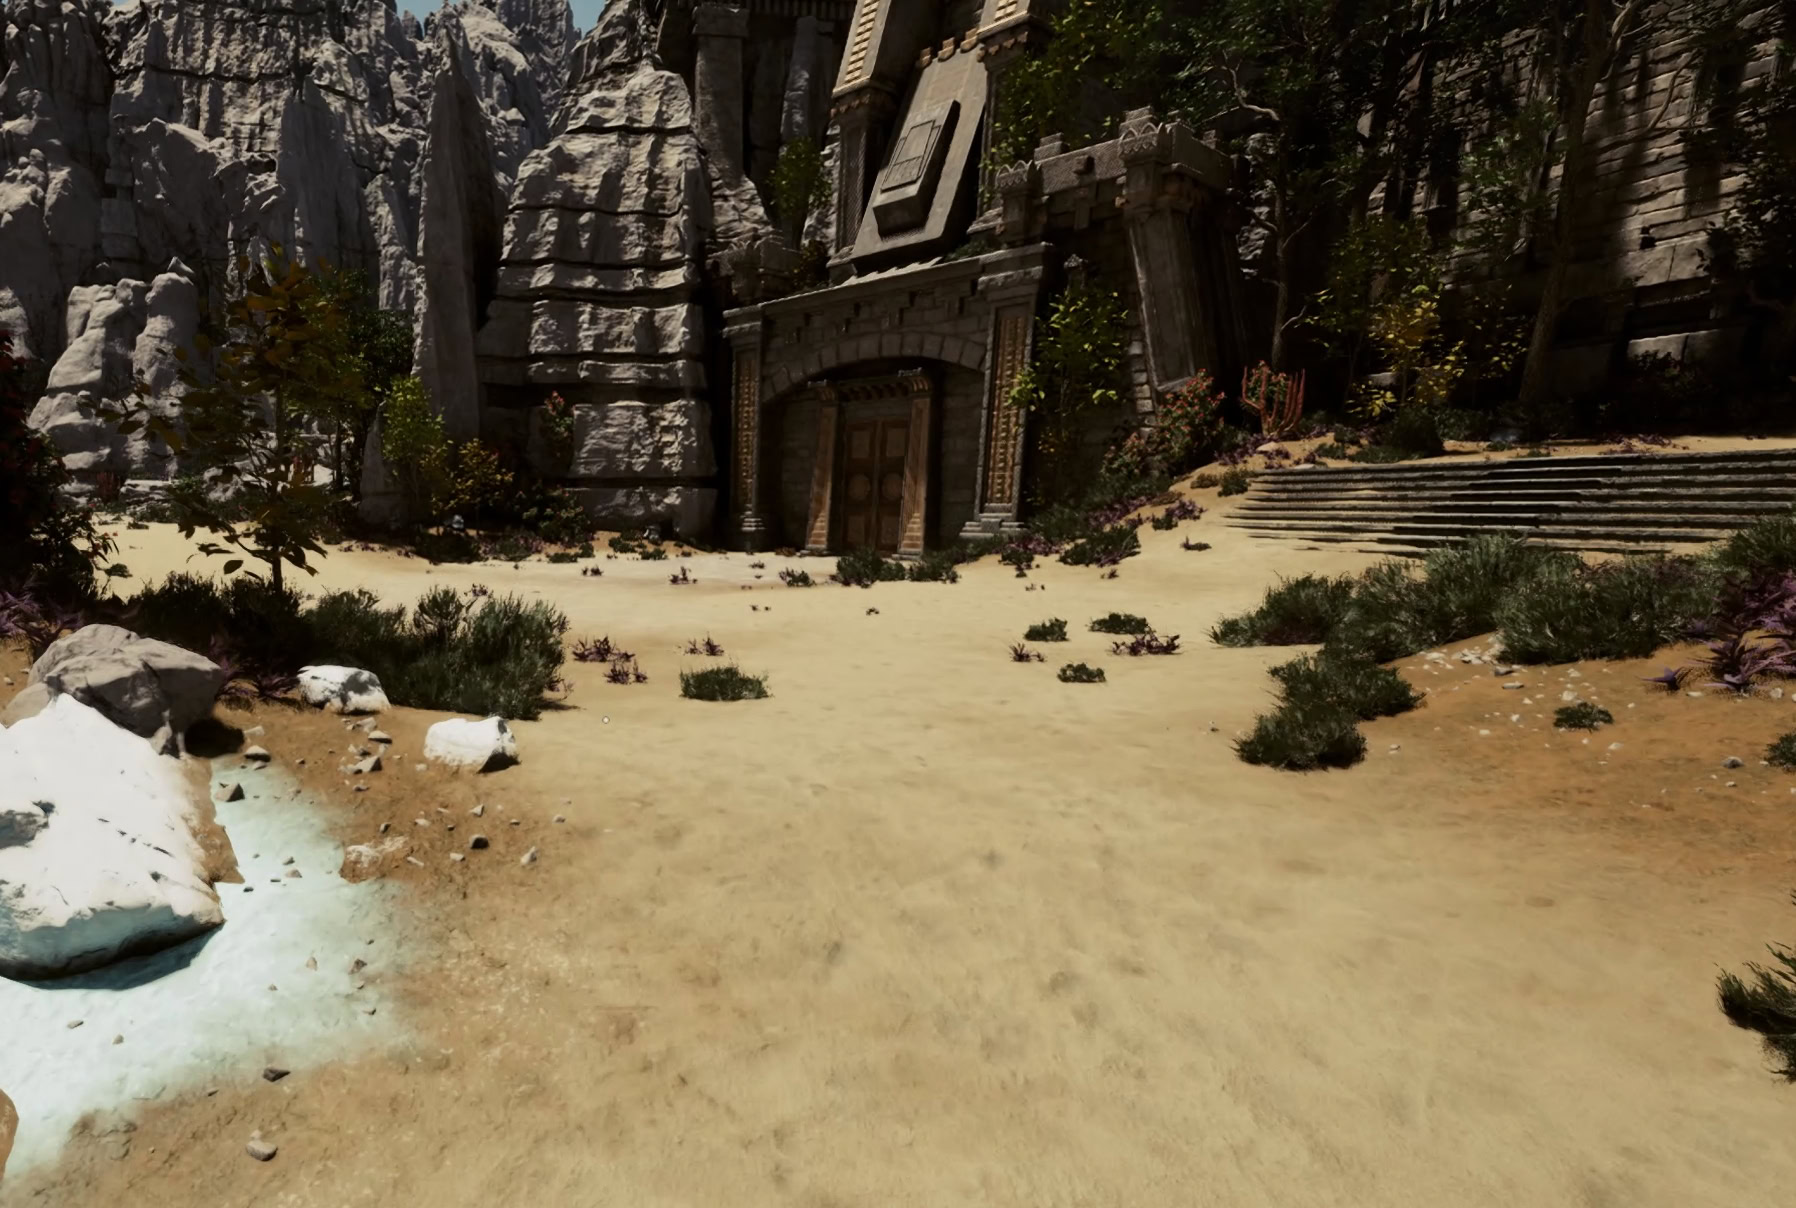
The Pargrun Cache is at the eastern end of the abandoned Pargrunen construction site in Shark’s Teeth. You can enter through the large wooden doors of the keep.
Video Walkthrough
The video below will show you a similar version to the written walkthrough below, but with a few extra valuables you can pick up in the area while exploring the abandoned Pargrunen construction at the eastern end of the Shatterscarp map.
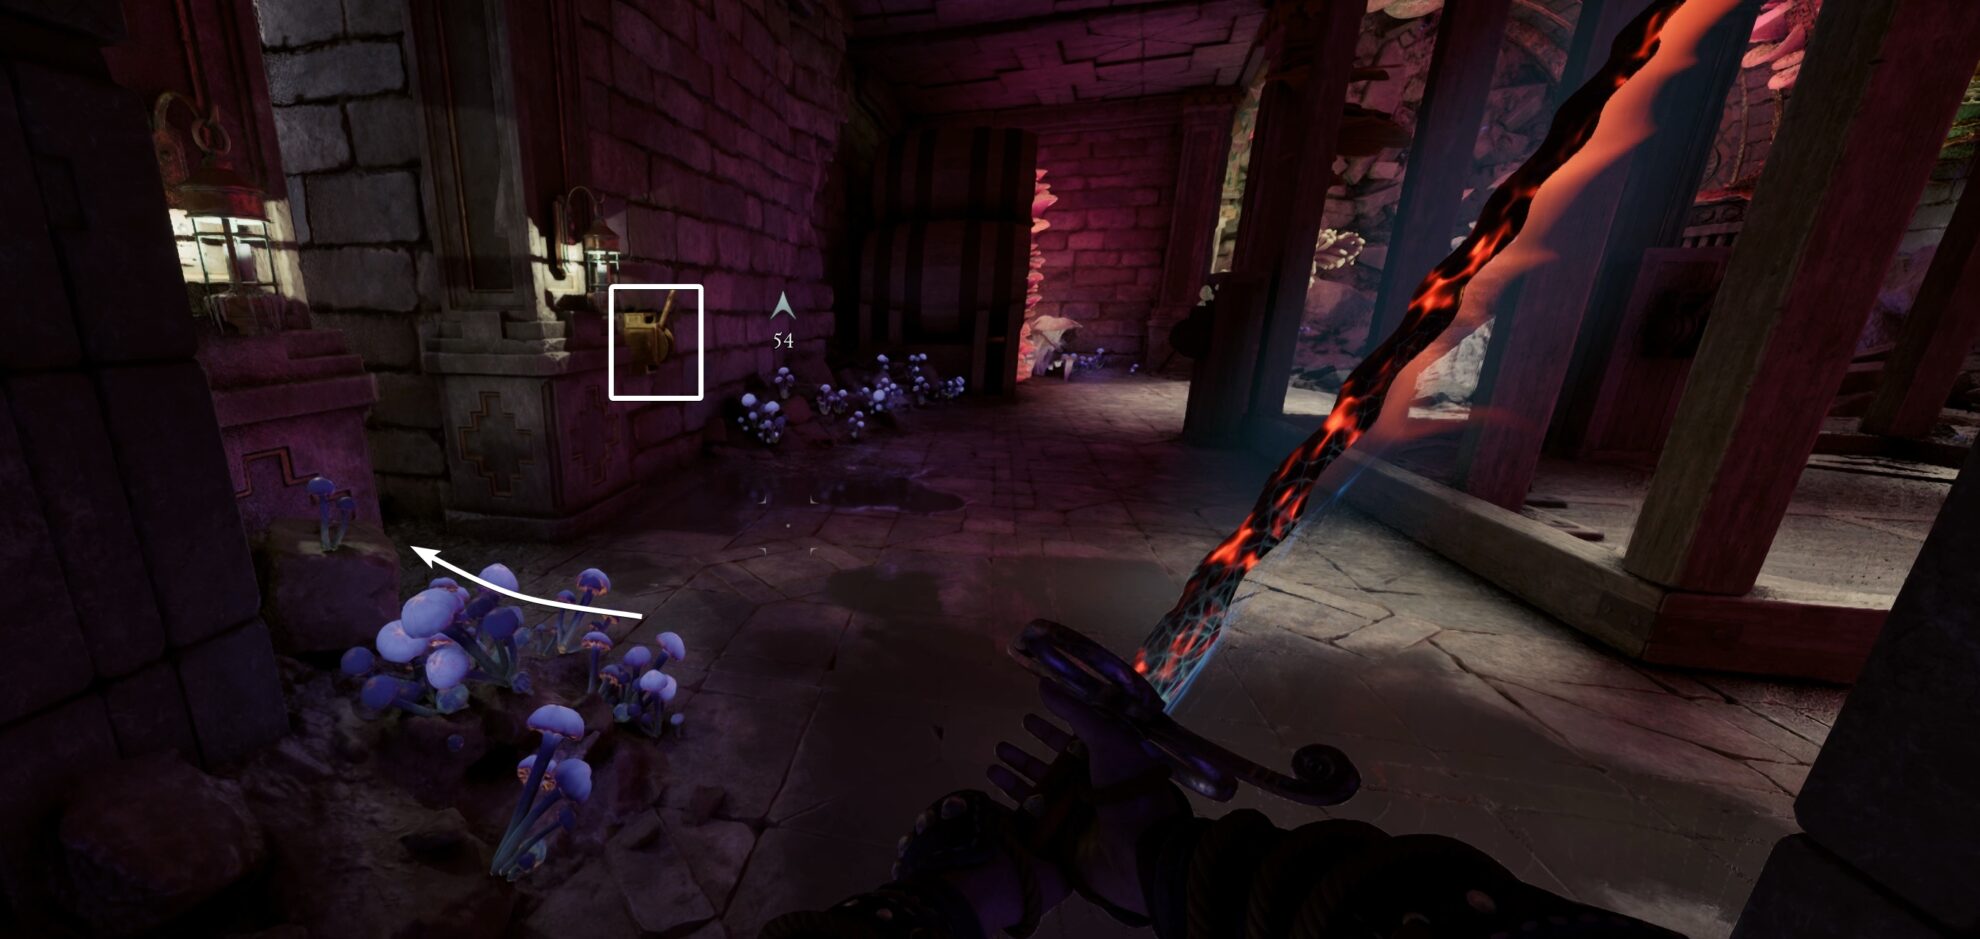
Top Floor Lockbox
As you enter the keep, don’t jump down yet. Go around, past the elevator and into the dark area on the other end of the building. Loot this lockbox.
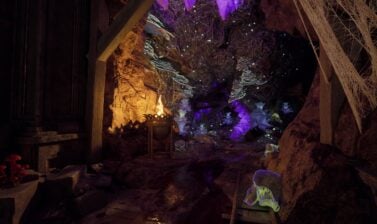
Reach the bottom floor
Drop down into the giant hole. To avoid taking any damage, follow the steps in the image below. First drop on the stone floor ruins, then onto the wooden beam and finally onto the wooden boxes below.
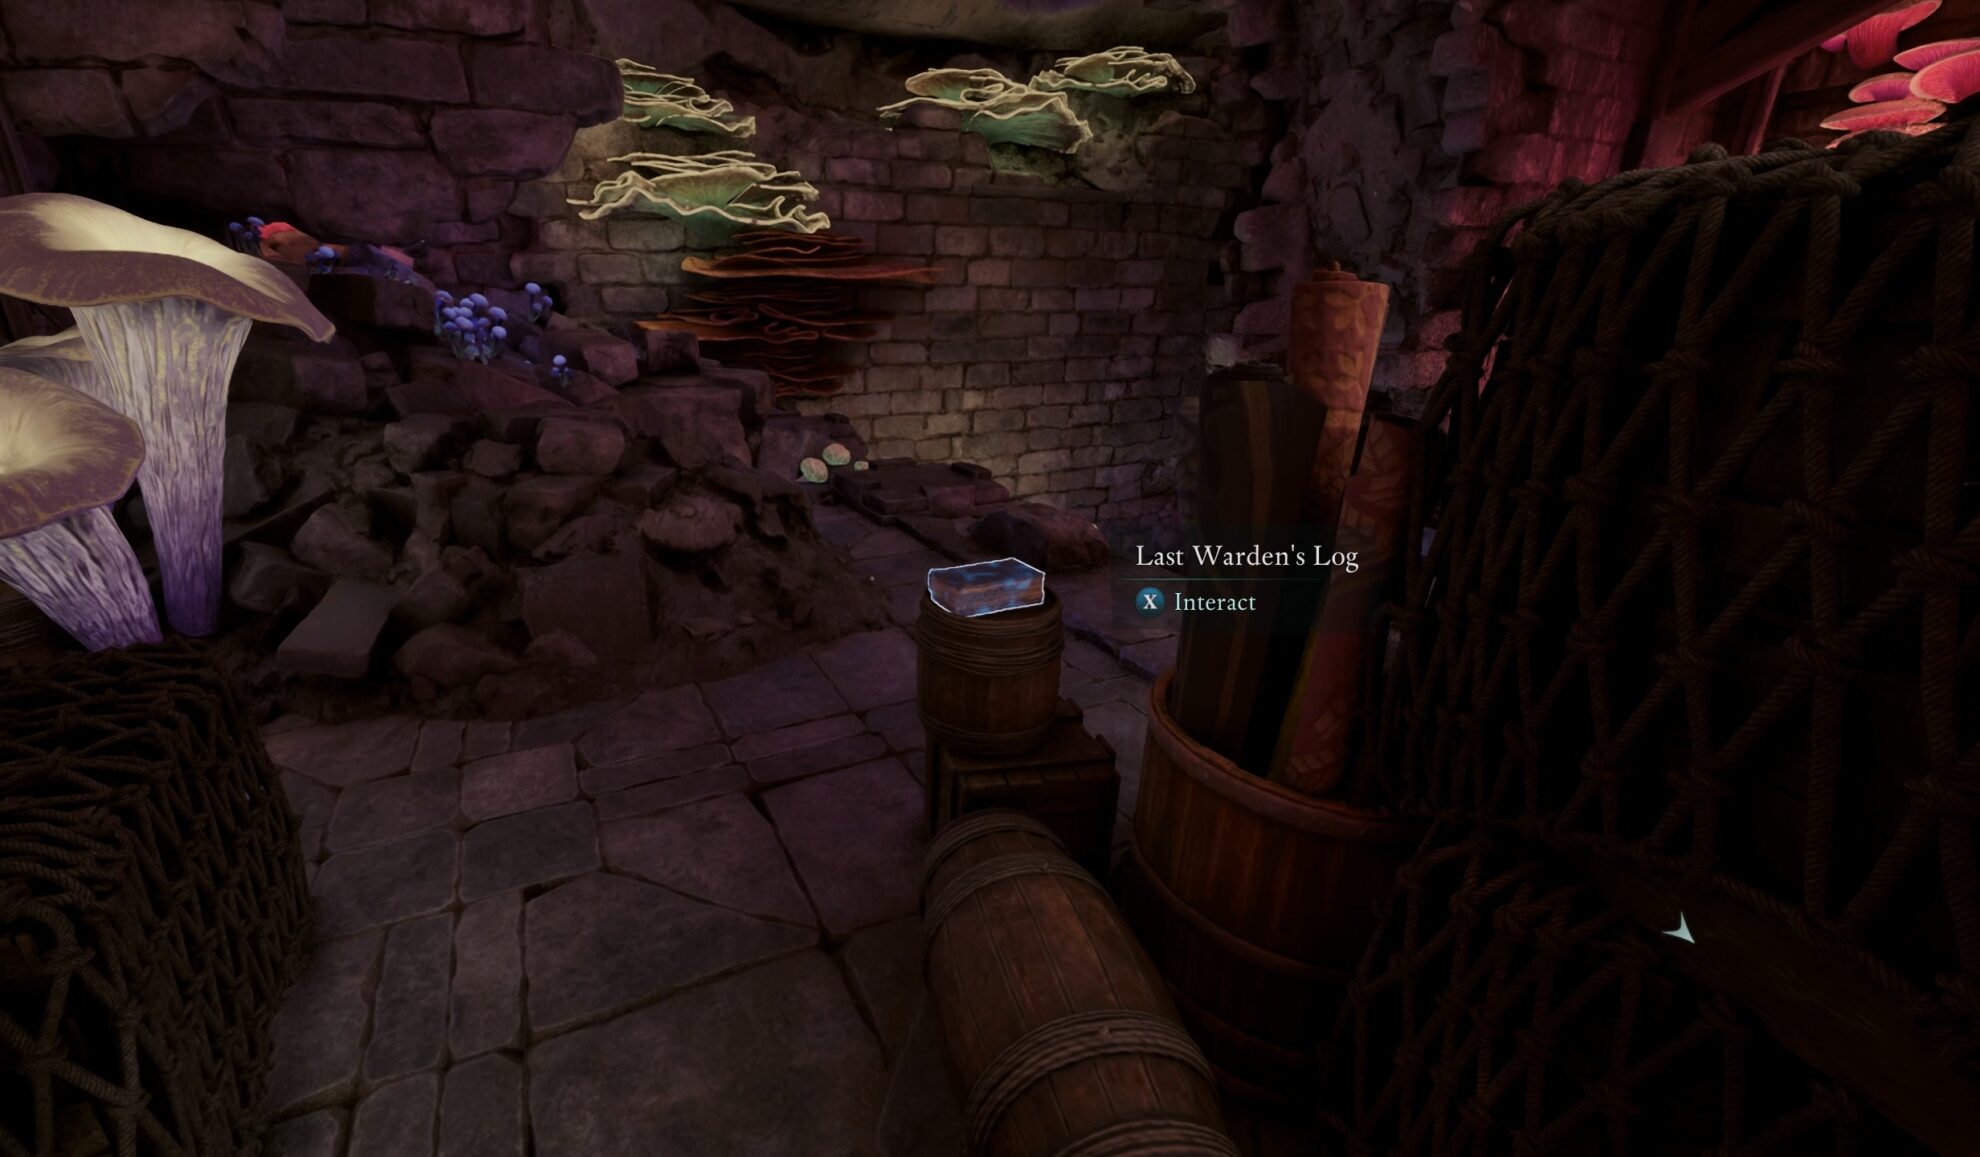
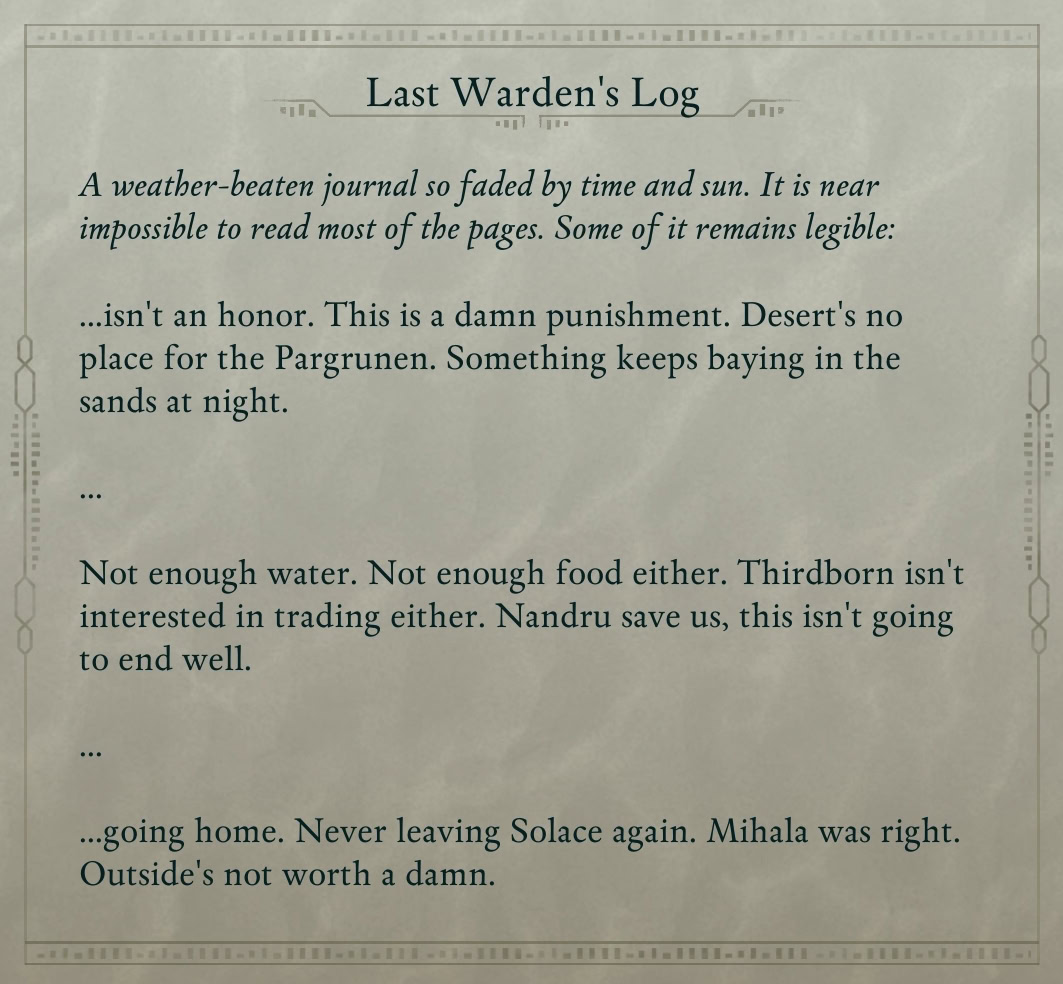
Right in front of you is the Last Warden’s Log, which you can read and add to your journal.
A fight is waiting for you on the bottom floor, so be prepared. You will have to take down a skeleton and some Calamity Blights before a couple of Shadows spawn from the corner.
Across from the elevator, you will see a metal gate blocking your path to the treasure. There’s a plaque on its right, giving you a hint about the key’s whereabouts.
Unlock the back door
Head through the dark room where the Shadows spawned from. Behind the elevator, you will find a locked door and a level on its right. Pull the lever to open the door and get access to the outside of the keep.
Use the elevator
Stand on top of the elevator and pull the lever. This will bring you all the way up to the top level where you entered the ruin. Pull the lever again and as soon as the elevator starts heading down, turn around and jump to that middle level.
Follow the walkway and make the large jump to find yourself at a metal gate. Deal Frost Damage to the gate to break it and go through.
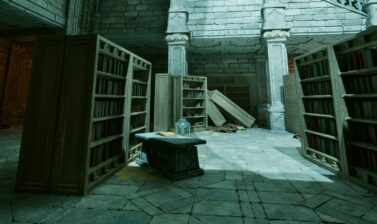
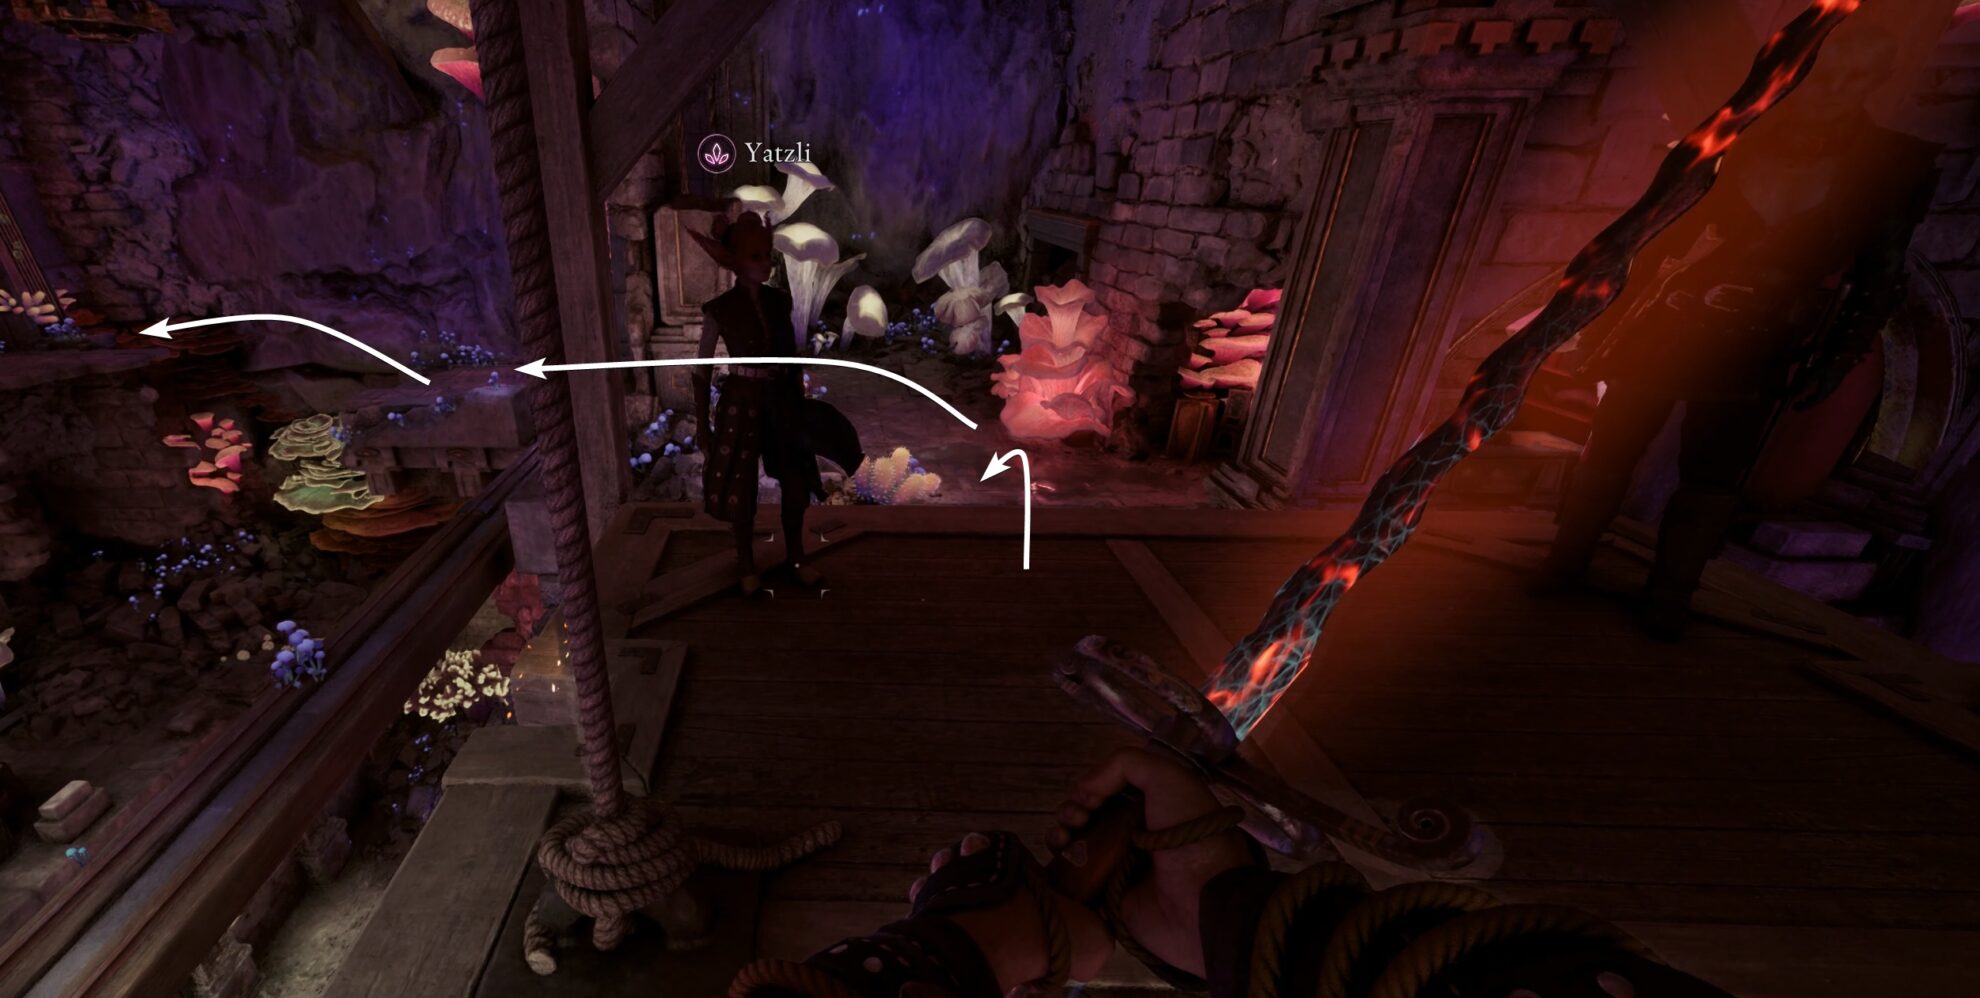
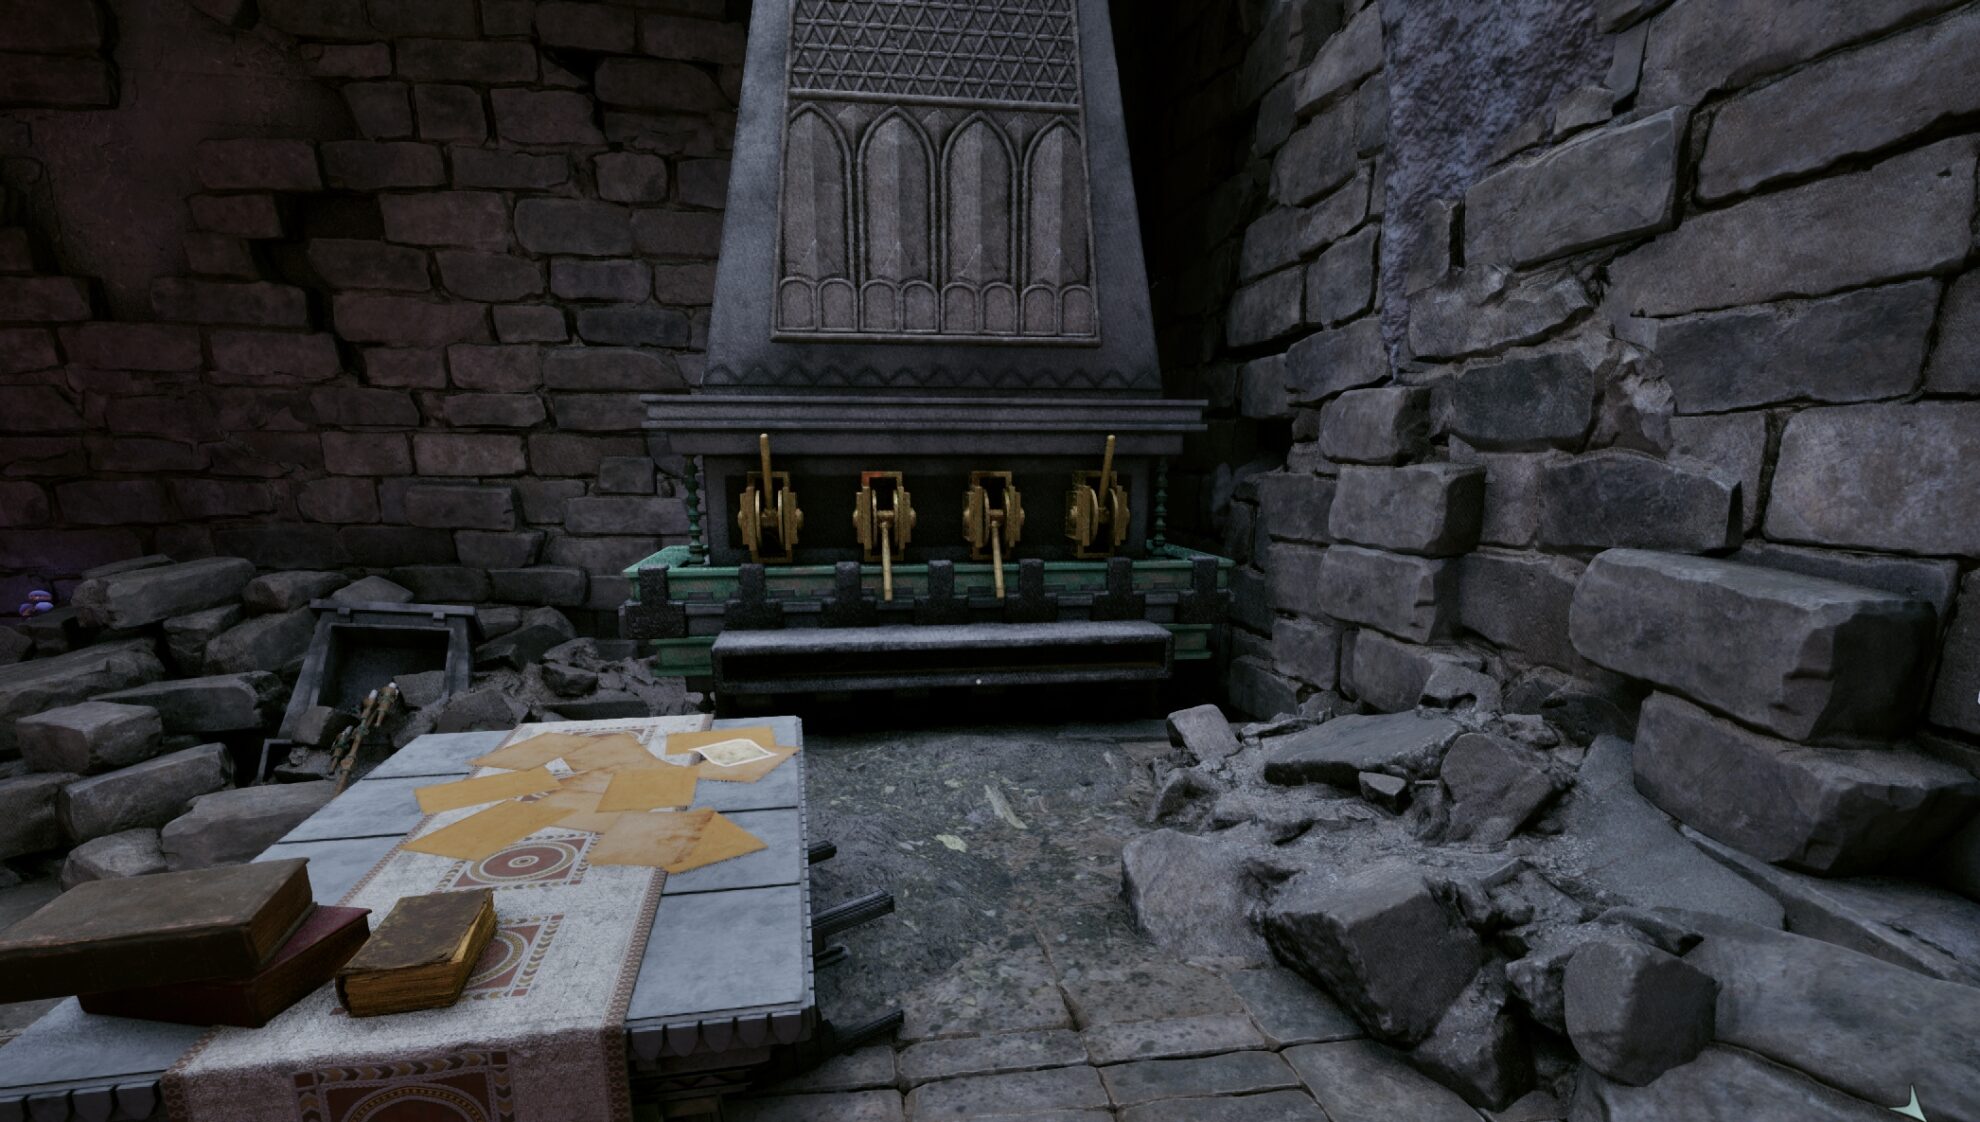
The Levers puzzle
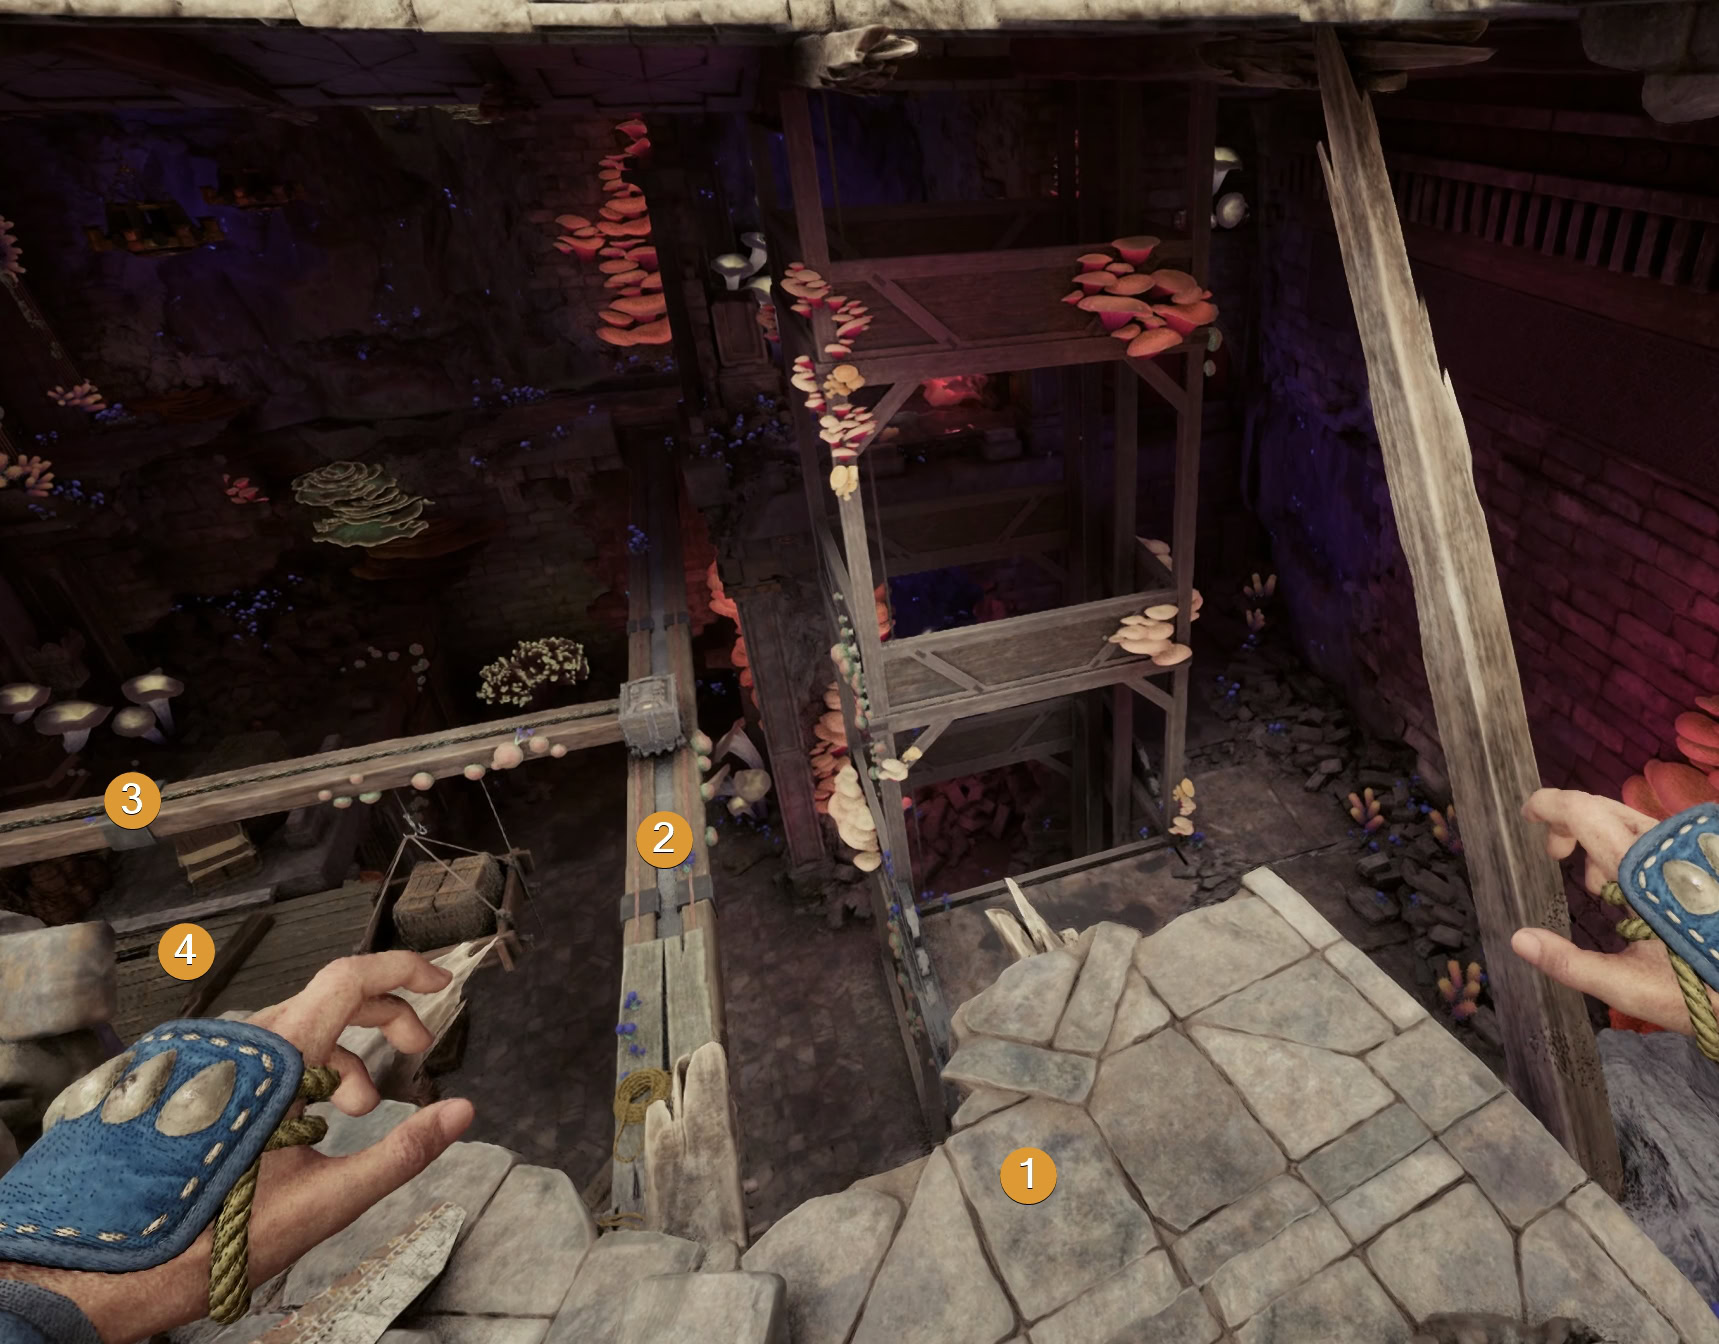
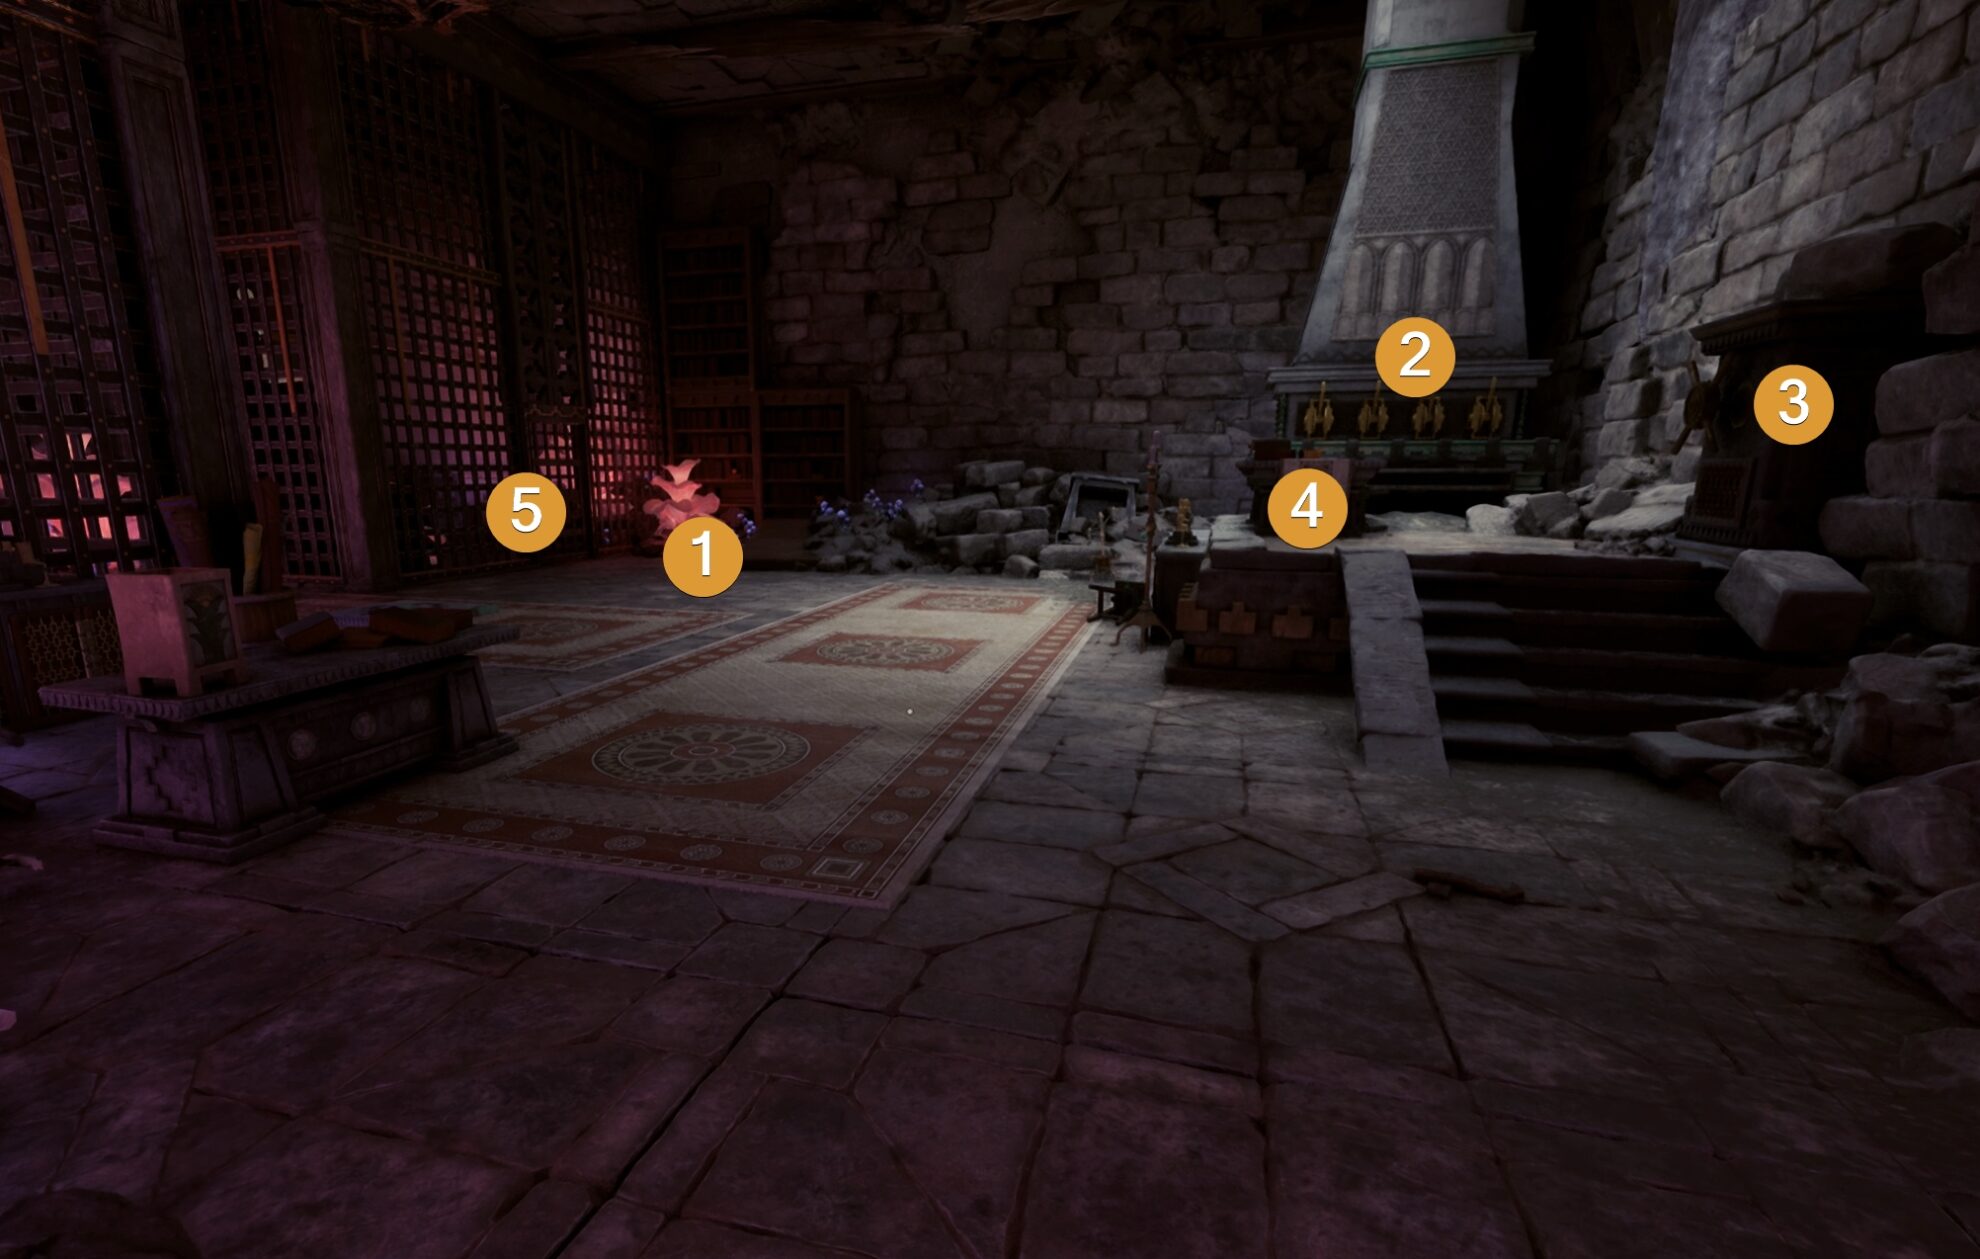
There are a few things in this room. At the far back, next to the metal fence, you can pick up Maxims of the Pargrunen IV off the floor (#1 on the image below).
On the table (#4) in front of the levers (#2), you will find a note with a hint on how to solve the puzzle with the levers.
Pull the second and third levers down. Then, turn the wheel (#3) to the right of the levers. This will unlock the fenced area in the corner (#5) of this room as well as the metal gate in the lower floor where the big cache is.
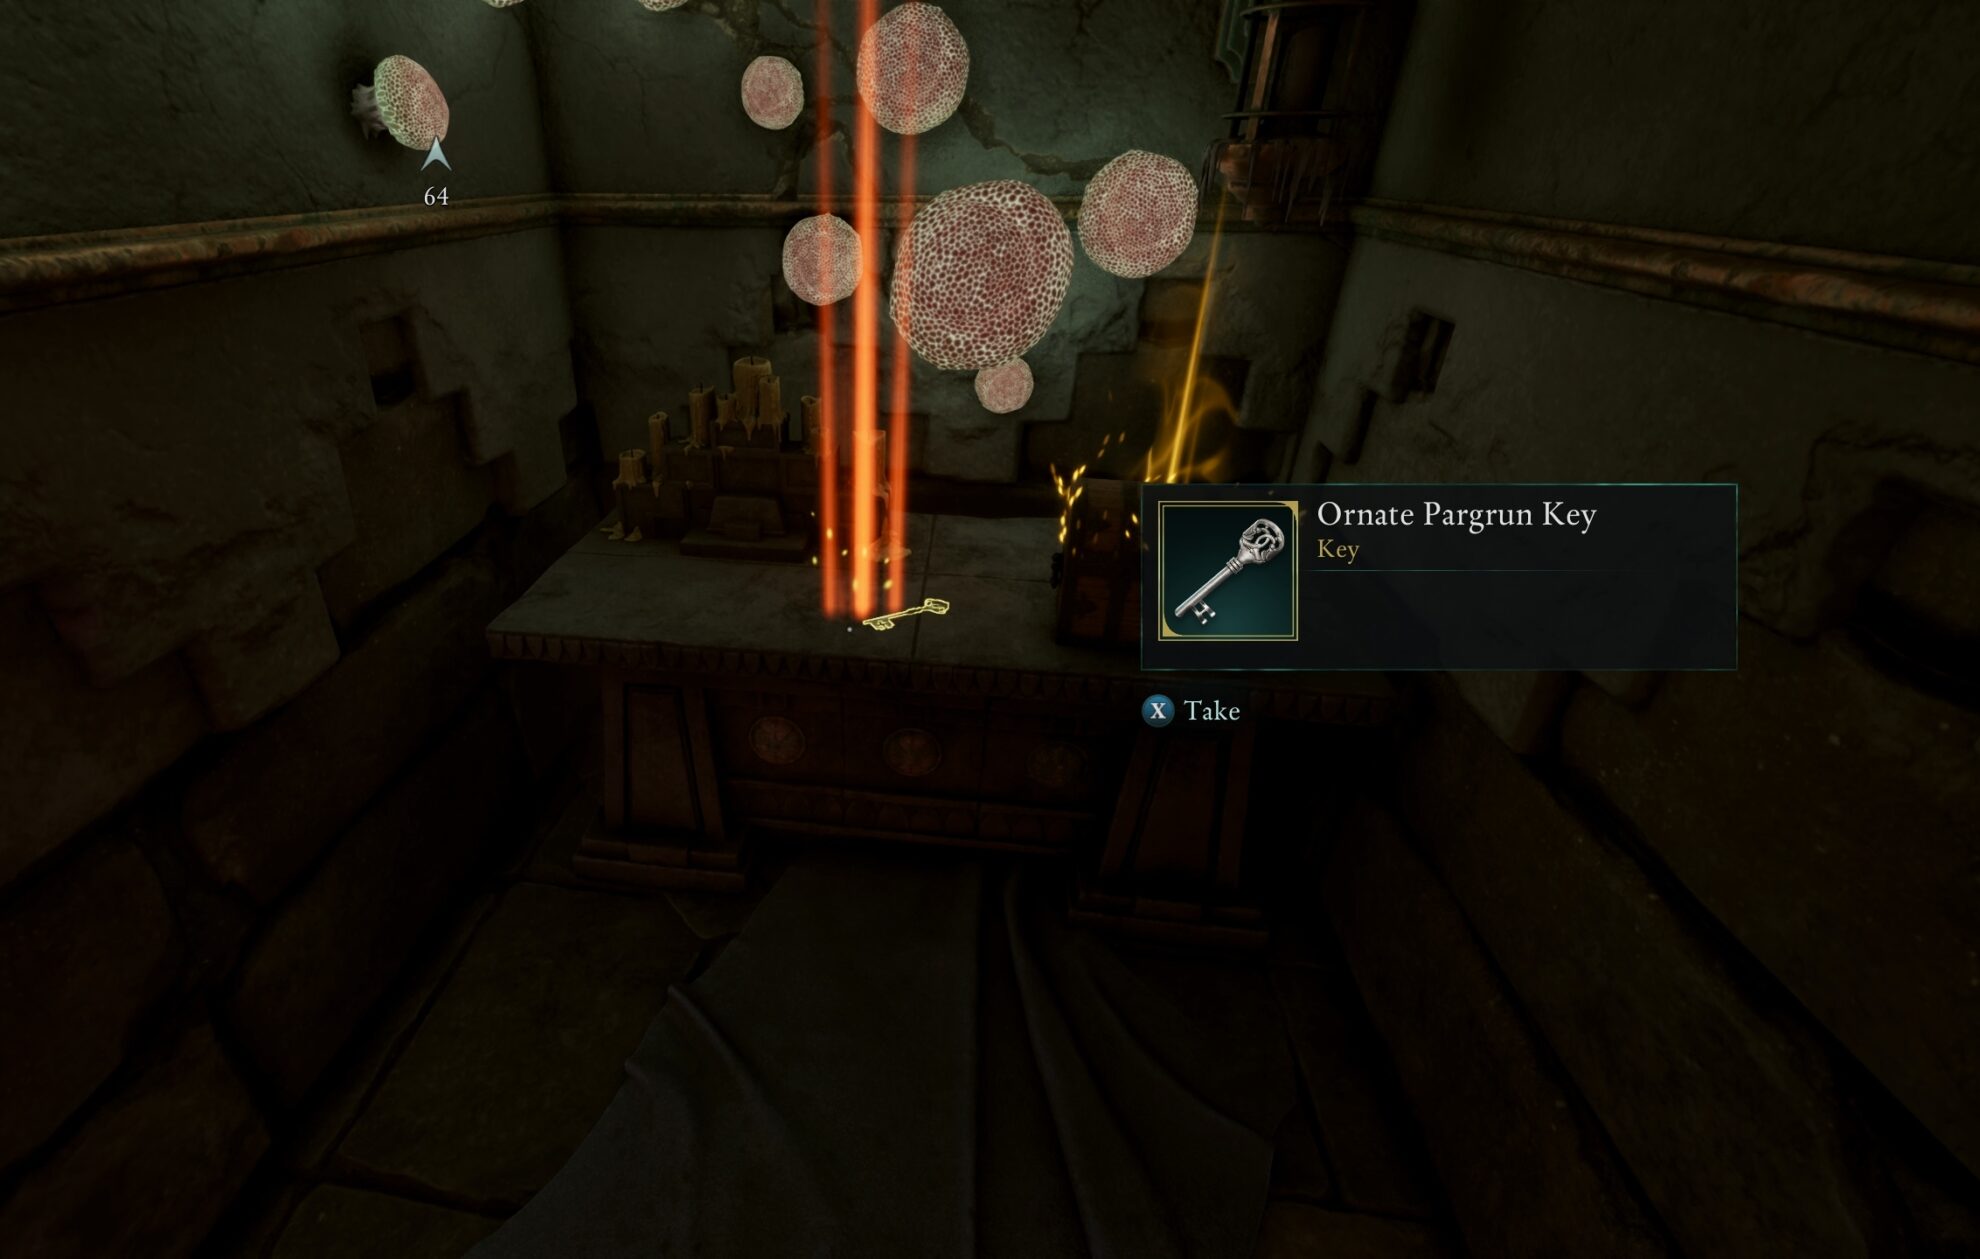
Ornate Pargrun Key and Skald’s Gauntlets
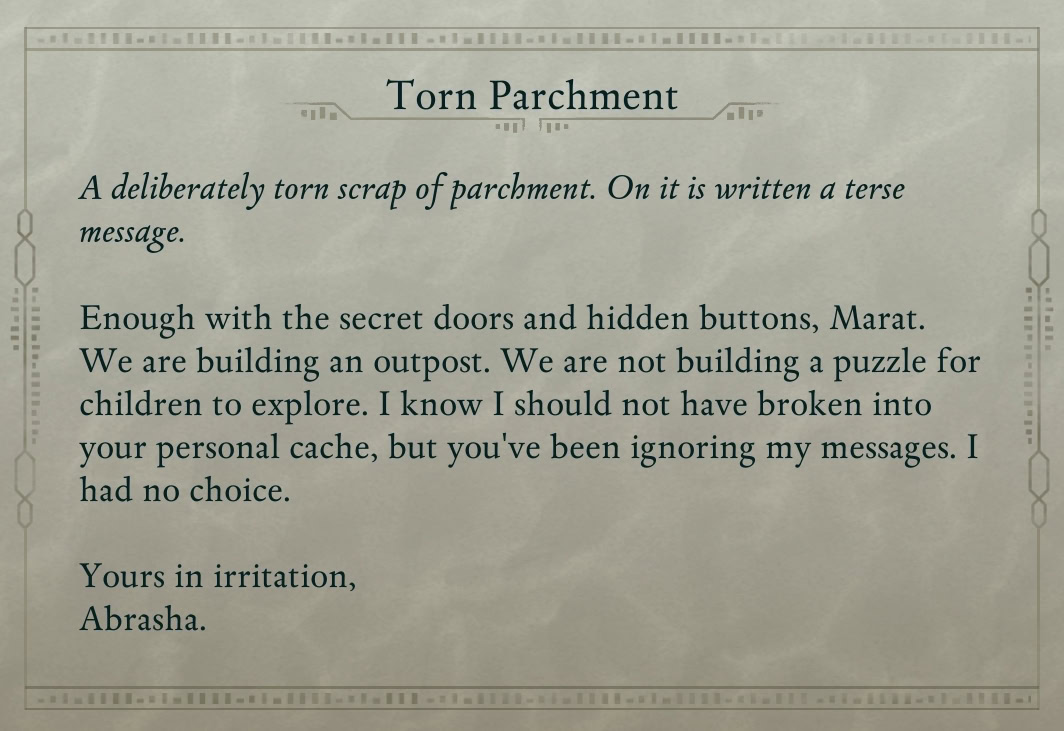
The chest in in the fenced area will give you a Torn Parchment note. It hints at a secret door.
To the left of the chest, you will see a switch you can interact with. It will open a secret door in the wall to your left.
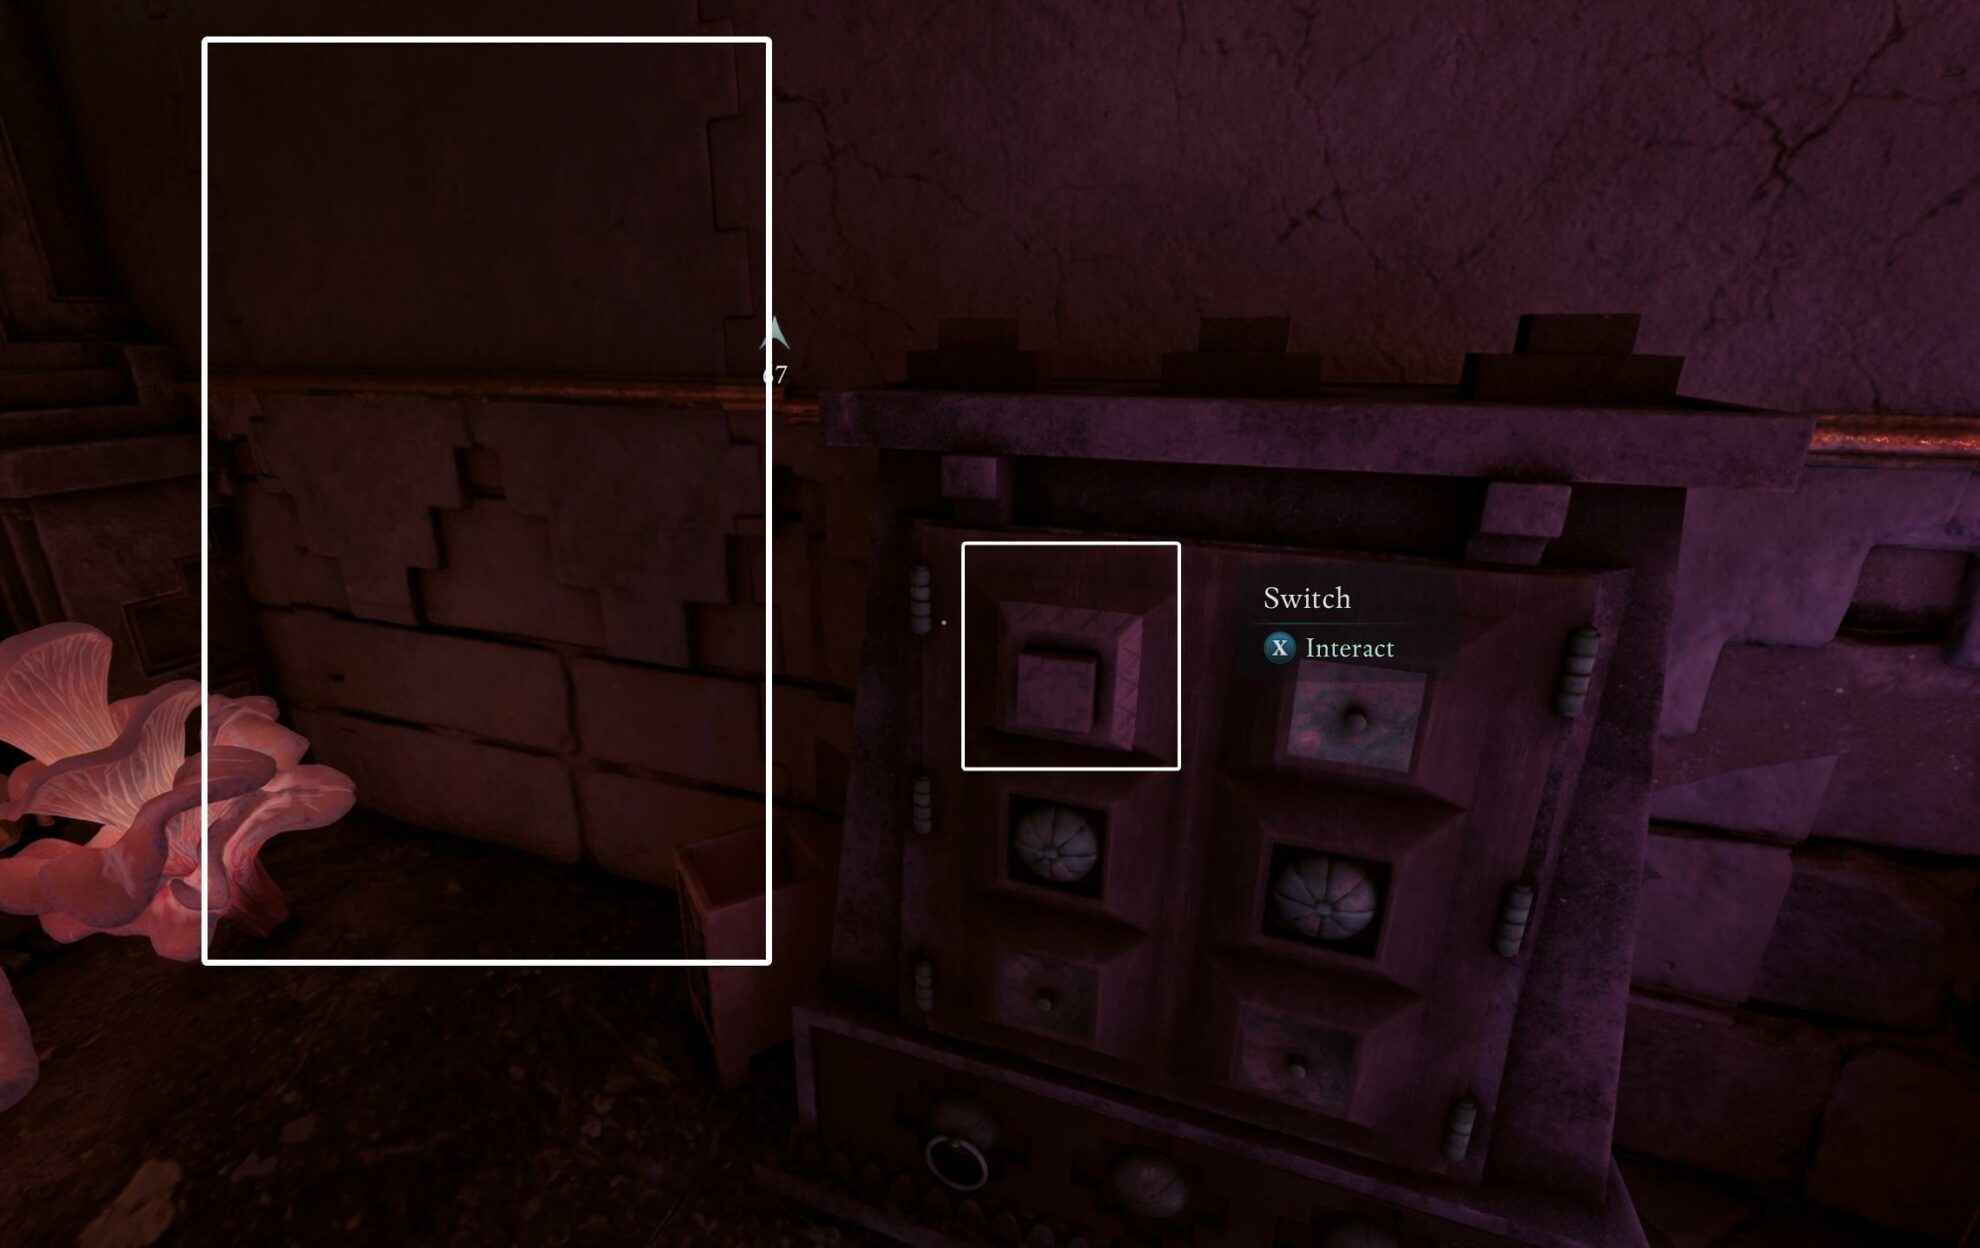
Inside you will find the Ornate Pargrun Key and a lockbox with Skald’s Gauntlets, part of the Skald armor set.
Pargrun Cache: Skald’s Armor
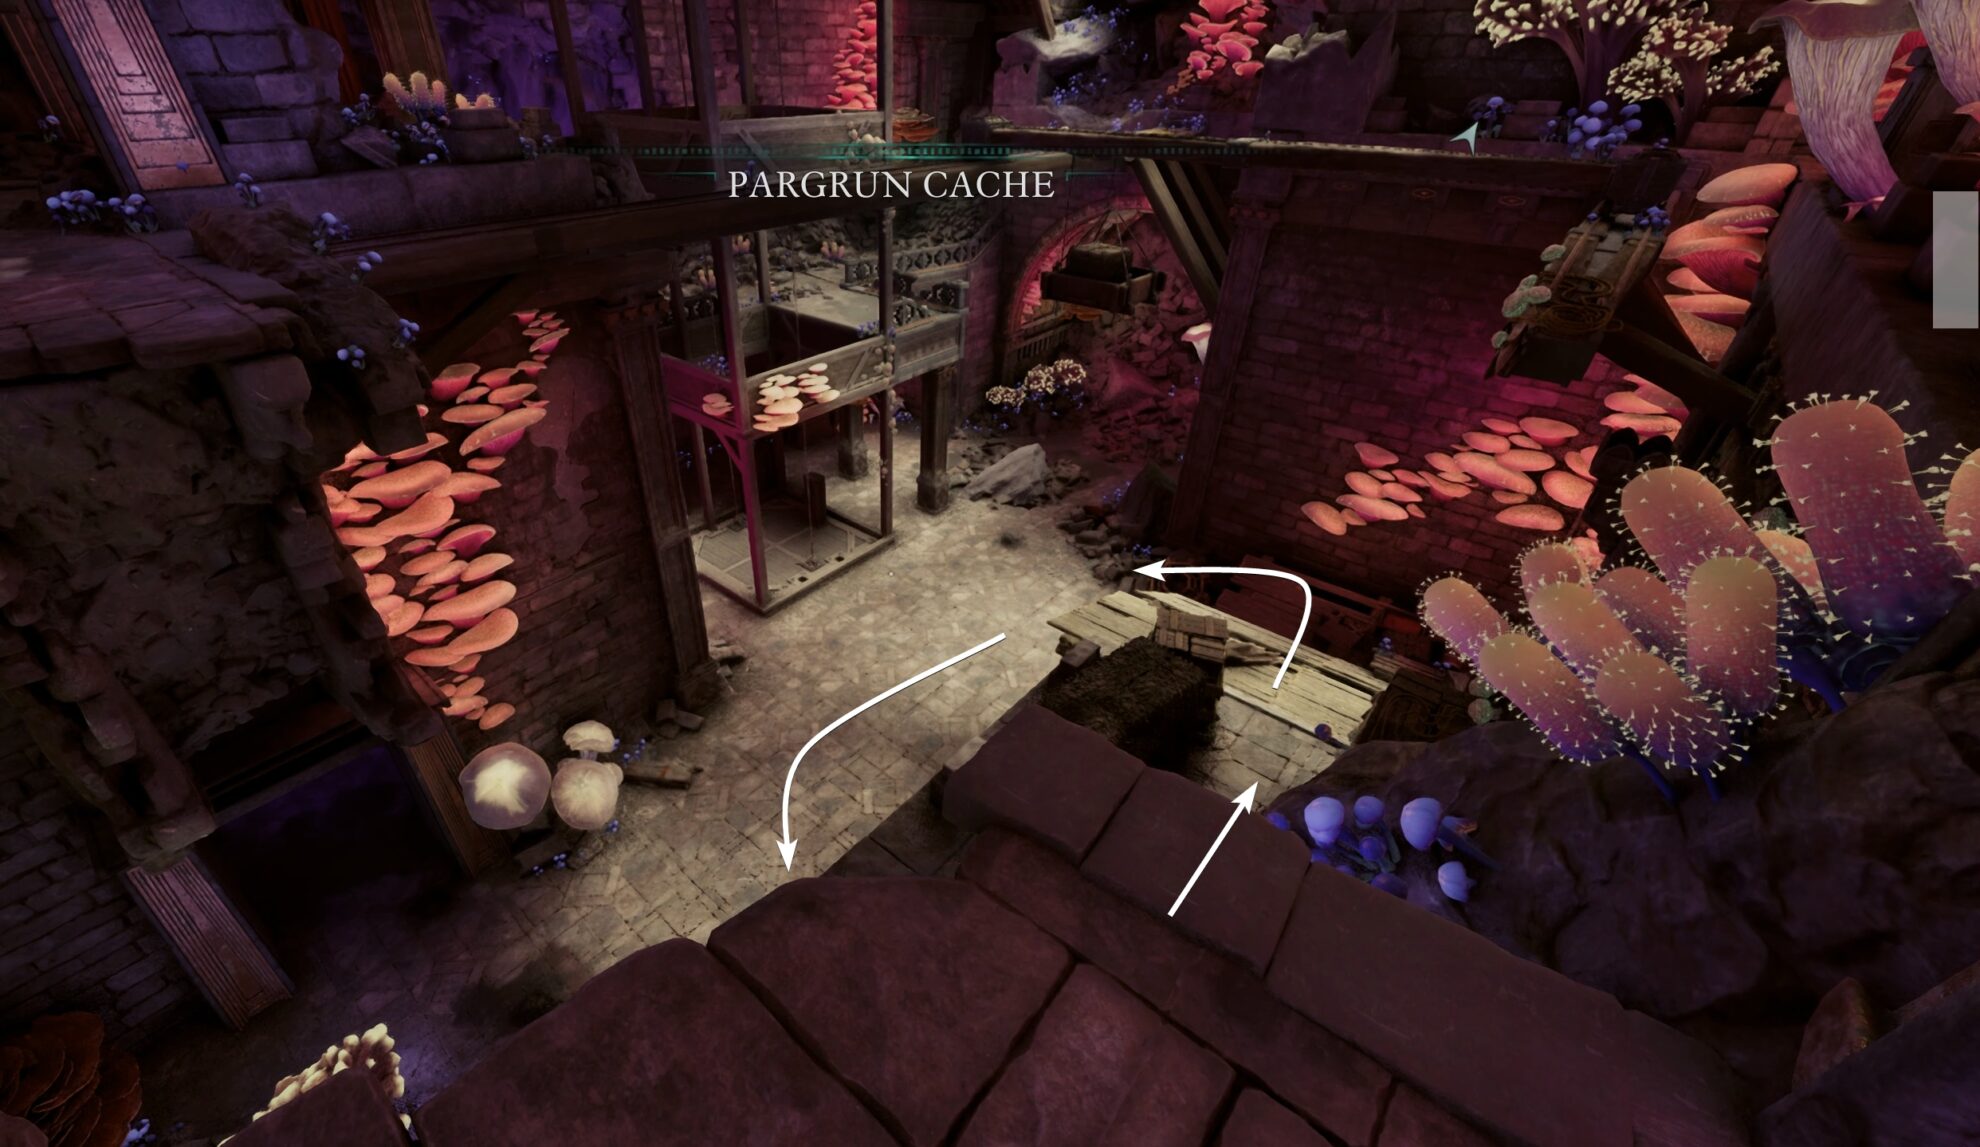
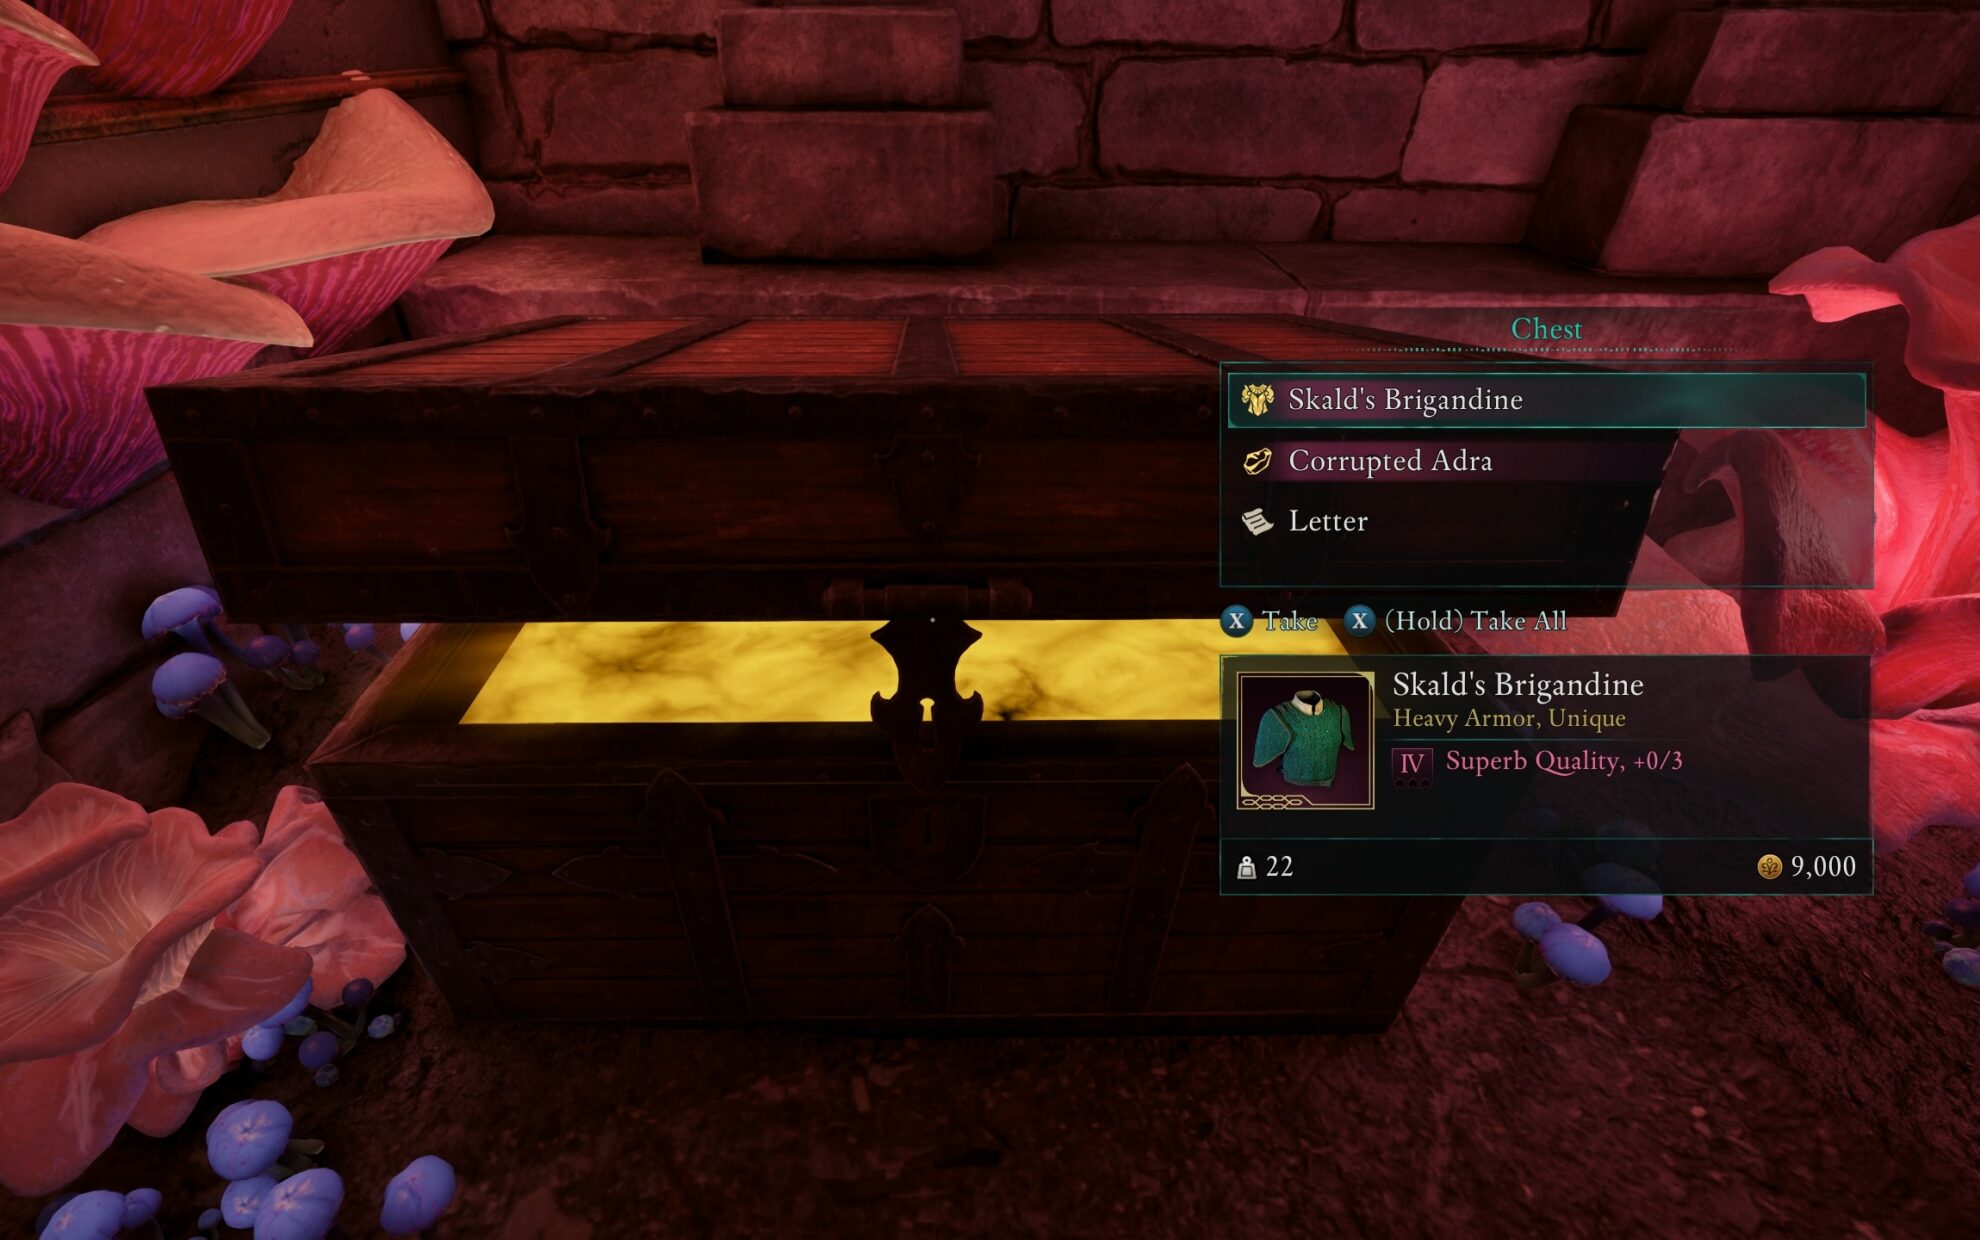
Get out of this room and head back to the low level (be careful with the height of the jumps). The metal gate in front of the elevator is now lifted and you can access the Pargrun Cache.
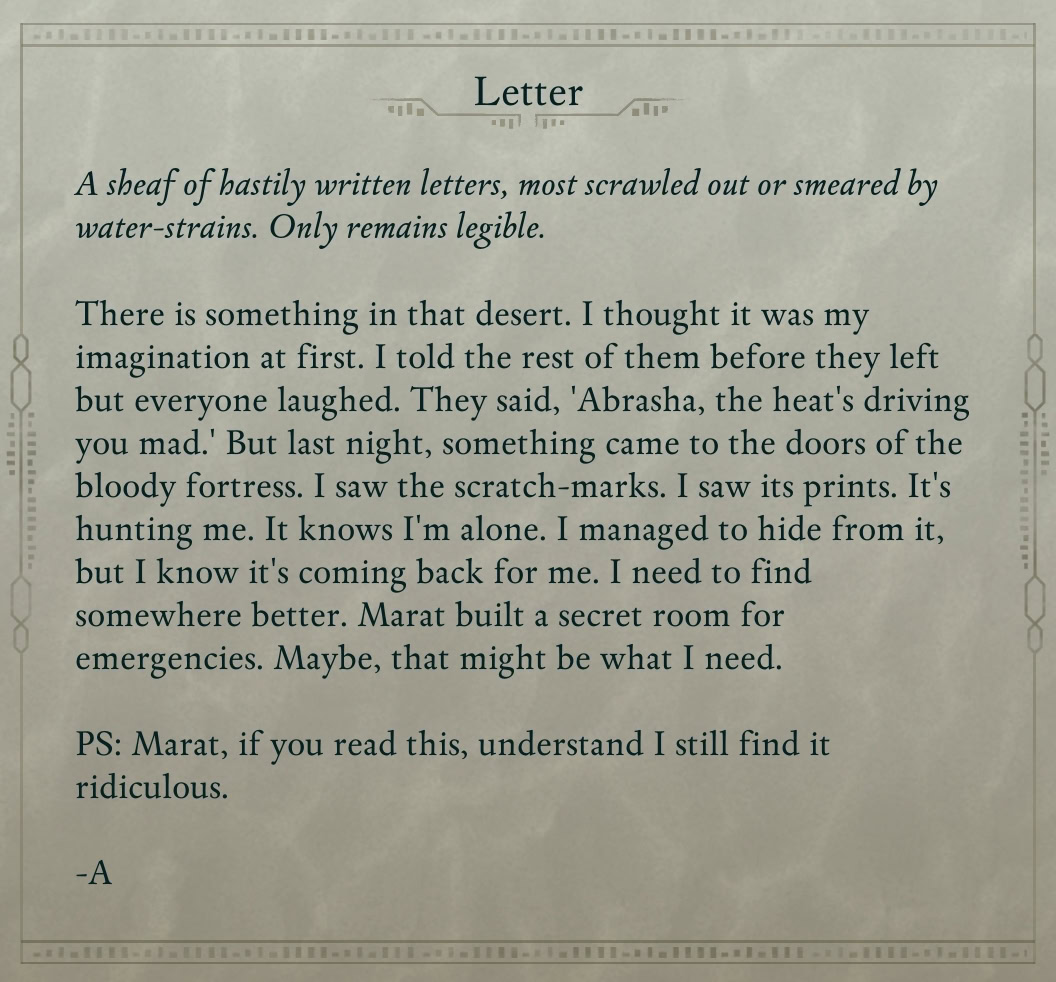
The reward inside is Skald’s Brigandine Unique Heavy Ermor, a piece of Corrupted Adra, and a letter. There is a strange letter inside as well.
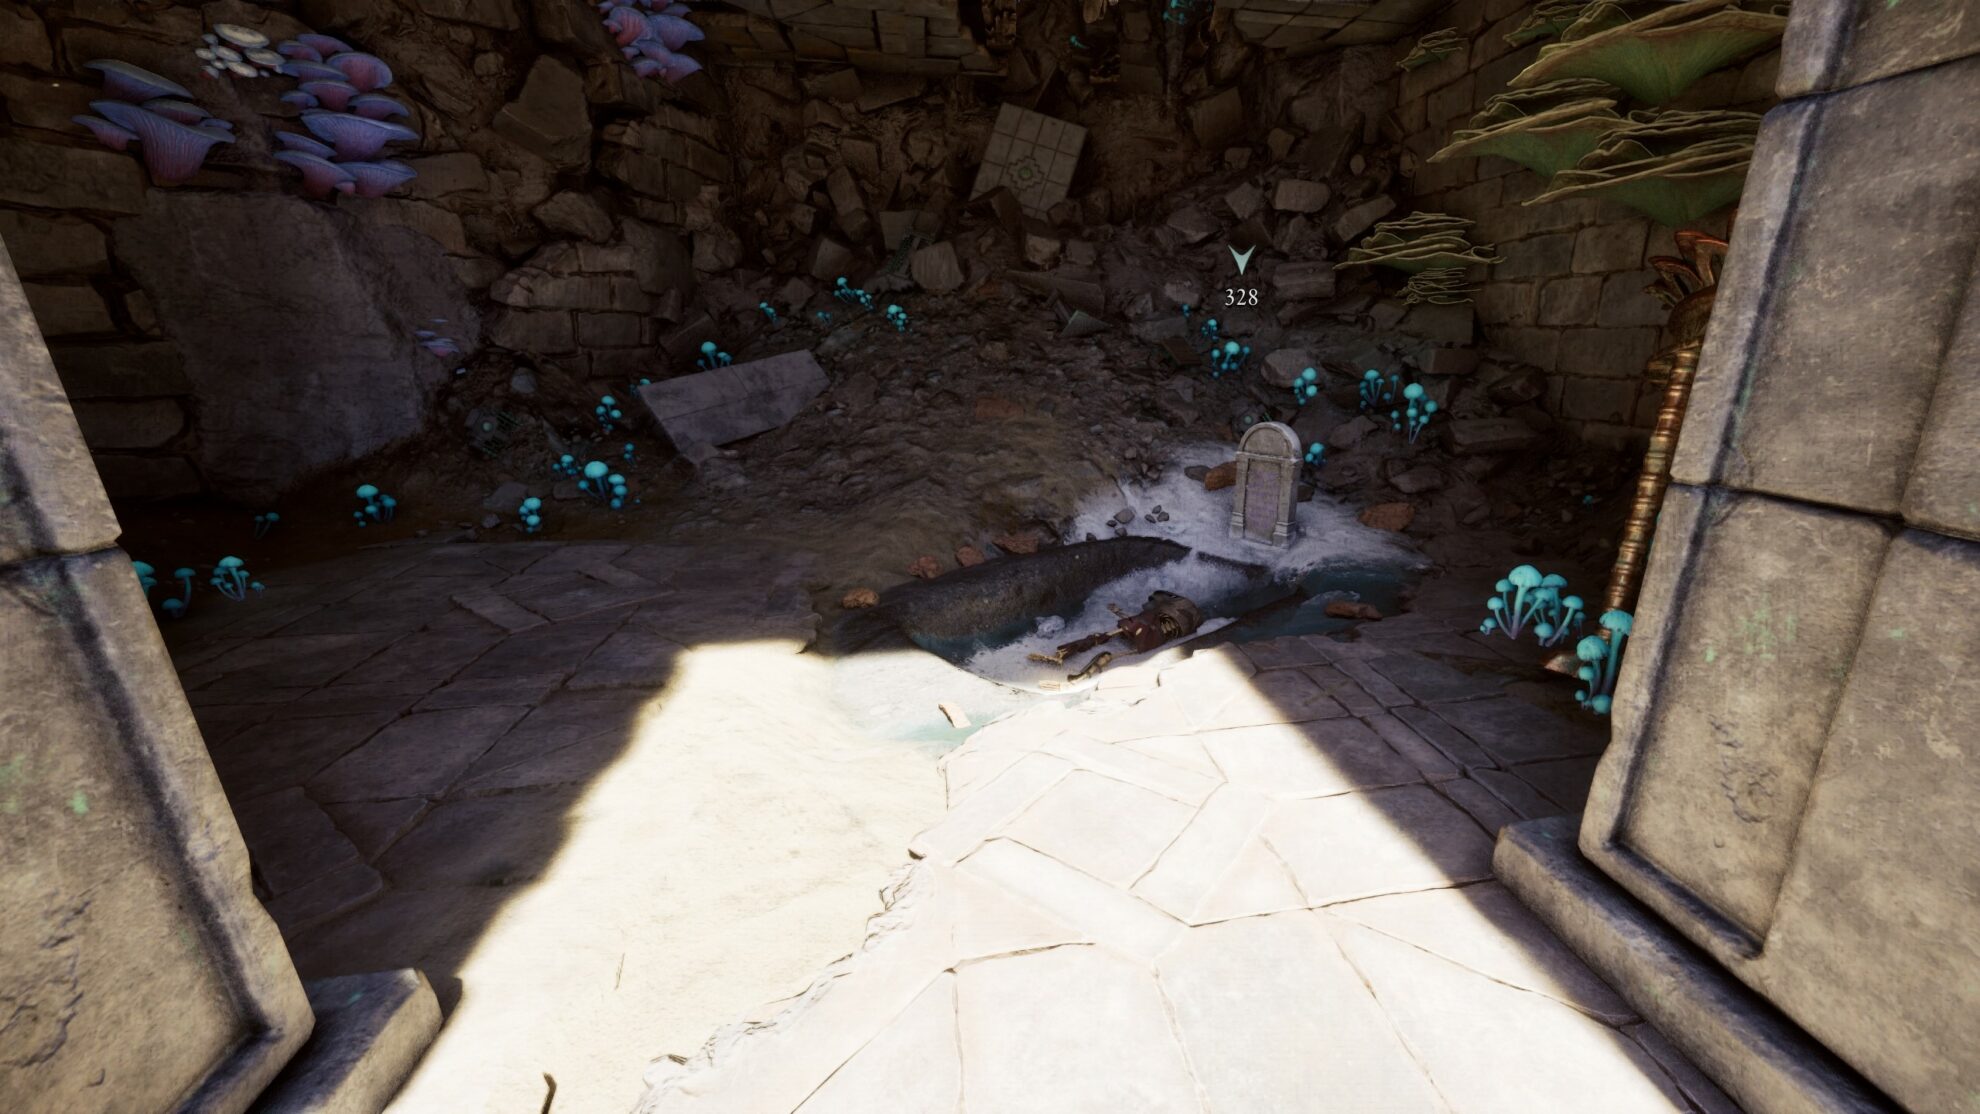
Where to use the Ornate Pargrun Key
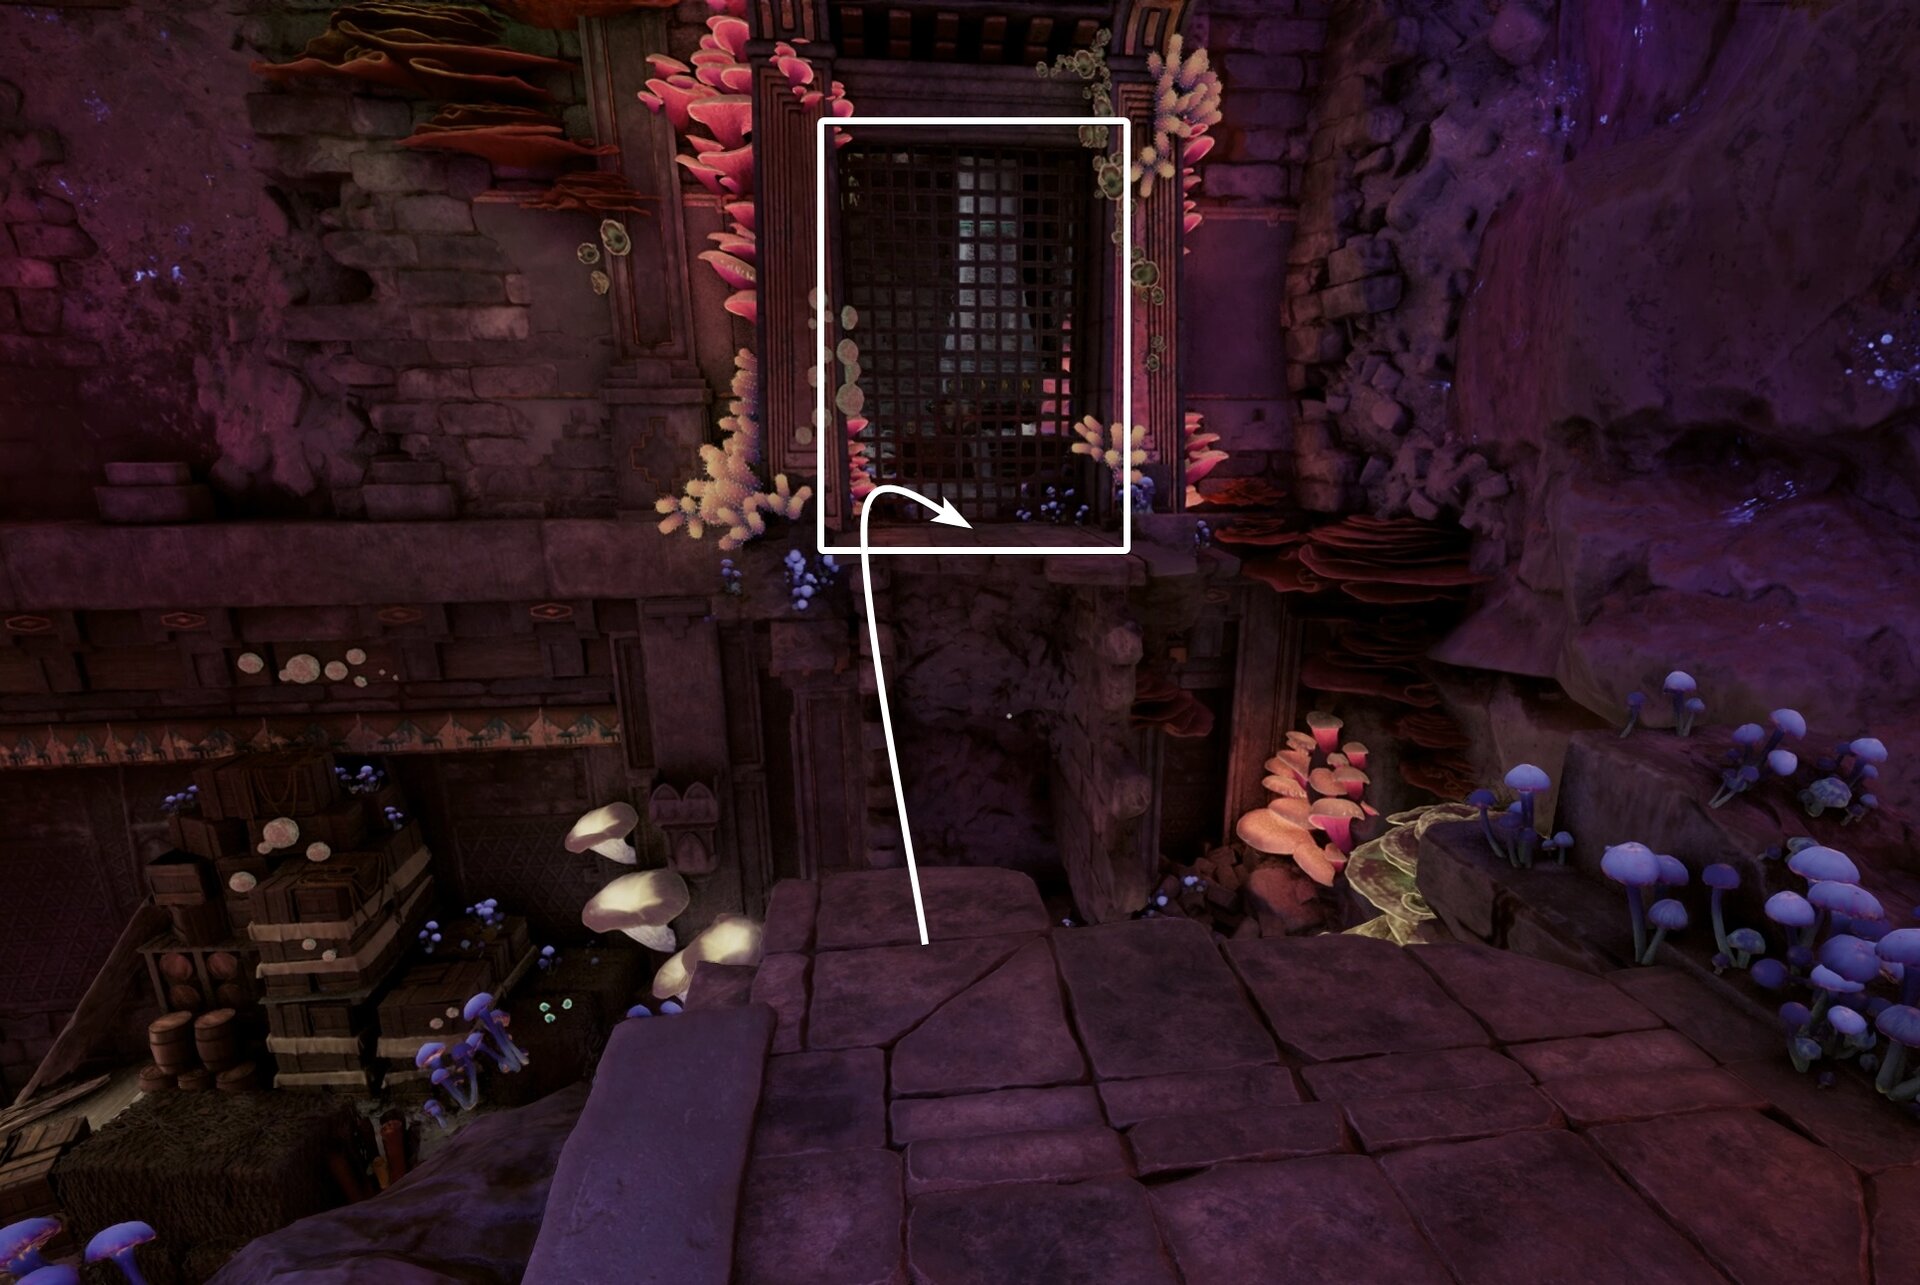
Go around the elevator platform, head out through the back door you unlocked earlier and exit the ruin. Turn right and keep walking west. Stay on the ground.
You will run past Master Engineer Yor’s secret door puzzle, which will be on your left. Then keep heading west until you find this door:
Inside you will find a skeleton and a tombstone with a fancy inscription giving you more details about this person.
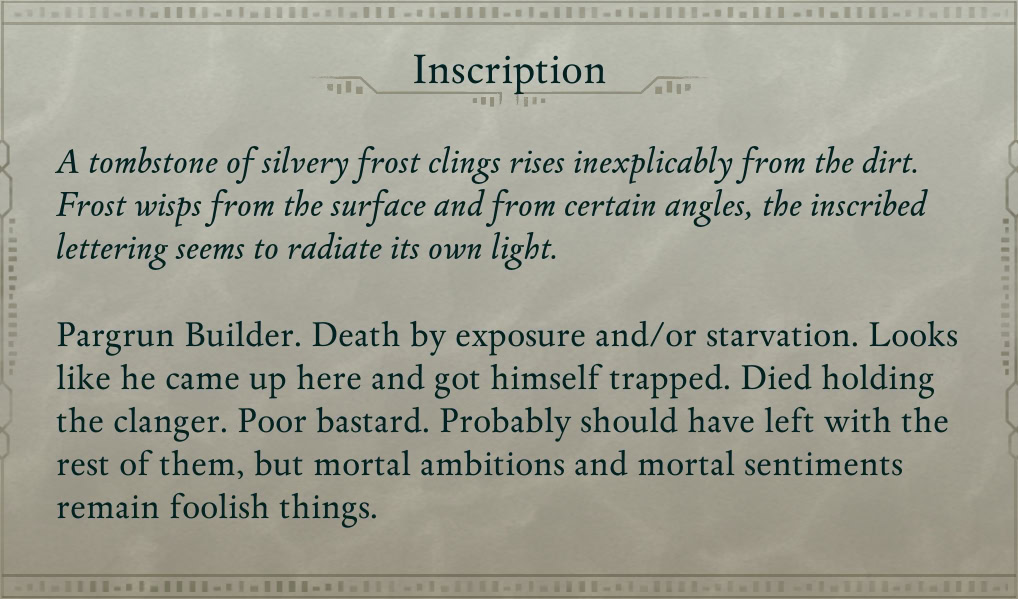
The skeleton doesn’t offer any Unique loot despite the special grave. One would expect it to give Skald’s Boots which do not appear to exist in the game at all, but no one at Solace Keep addresses it.
It’s likely this final bit is just unfinished and forgotten as the icon color of the Skald’s Gauntlets (red) is also inconsistent with the actual color (teal).
Shatterscarp Pargrun Cache Unique Rewards
The Unique Rewards at the Shatterscarp Pargrun Cache include Skald’s Brigandine and Skald’s Gauntlets.
Skald’s Brigandine
Skald’s Brigandine is the lighter type of Heavy Armor and offers 25% damage reduction, -45 Max Stamina, and -45 Max Essence. Its Unique effects improve your Stamina Regeneration Rate and heal you if your companions are downed.
Alone She Stood, Yet Would Not Fall
Regenerate Health if your Companions are downed
Untiring They Sang, From Dusk ’til Dawn
+20% Stamina regeneration rate
Skald’s Gauntlets
Skald’s Gauntlets synergize with the Fighter skill tree by boosting the damage dealt by Greatweapons and Power Attack damage.
Item Bonus
+5% Power Attack Damage
And Their Champion Fell, Sundered
+15% Attack Damage with Greatswords, Greathammers, and Greataxes