The Heart of Valor quest in Shatterscarp features the most complicated underground area in Avowed. We’ll show you how to get through it, where all the big loot is, and whether to give Keipo the Heart of the Leviathan.
Table of contents
- How to Start the Heart of Valor Quest
- Go to the Sand Sea Ruins
- Find the Heart of the Leviathan
- That Sign Can’t Stop Me Because I Can’t Read
- Cross the Gap
- Treasure Chests #5 and #6: The axes and trip wire challenge
- Treasure Chest #7
- Treasure Chest #8
- Treasure Chest #9
- Semi-Secret Room: The Desert’s Bounty (Shield)
- The Dirty Brown Key and Treasure Chest #10
- Skeleton and Bounty Hunter’s Notes
- Treasure Chest #11
- Treasure Chest #12: Conspicuous Door with 2 buttons
- Treasure Chest #13 and Orsa
- Umpara’s Promise, the Heart of the Leviathan, and the Secret Book
- Choice: Give Keipo the Heart or Keep It
This quest can be completed fairly quickly, but the elaborate cave system you will explore when you enter the Sand Sea Ruins is hiding a lot of loot and lore to discover, so you’ll miss a lot if you just race through it. Fret not, for our walkthrough leaves no stone left unturned!
Even if you miss something during your own playthrough, you will be able to catch up with the notes and other documents available down there. We’ve got them all in this guide.
How to Start the Heart of Valor Quest
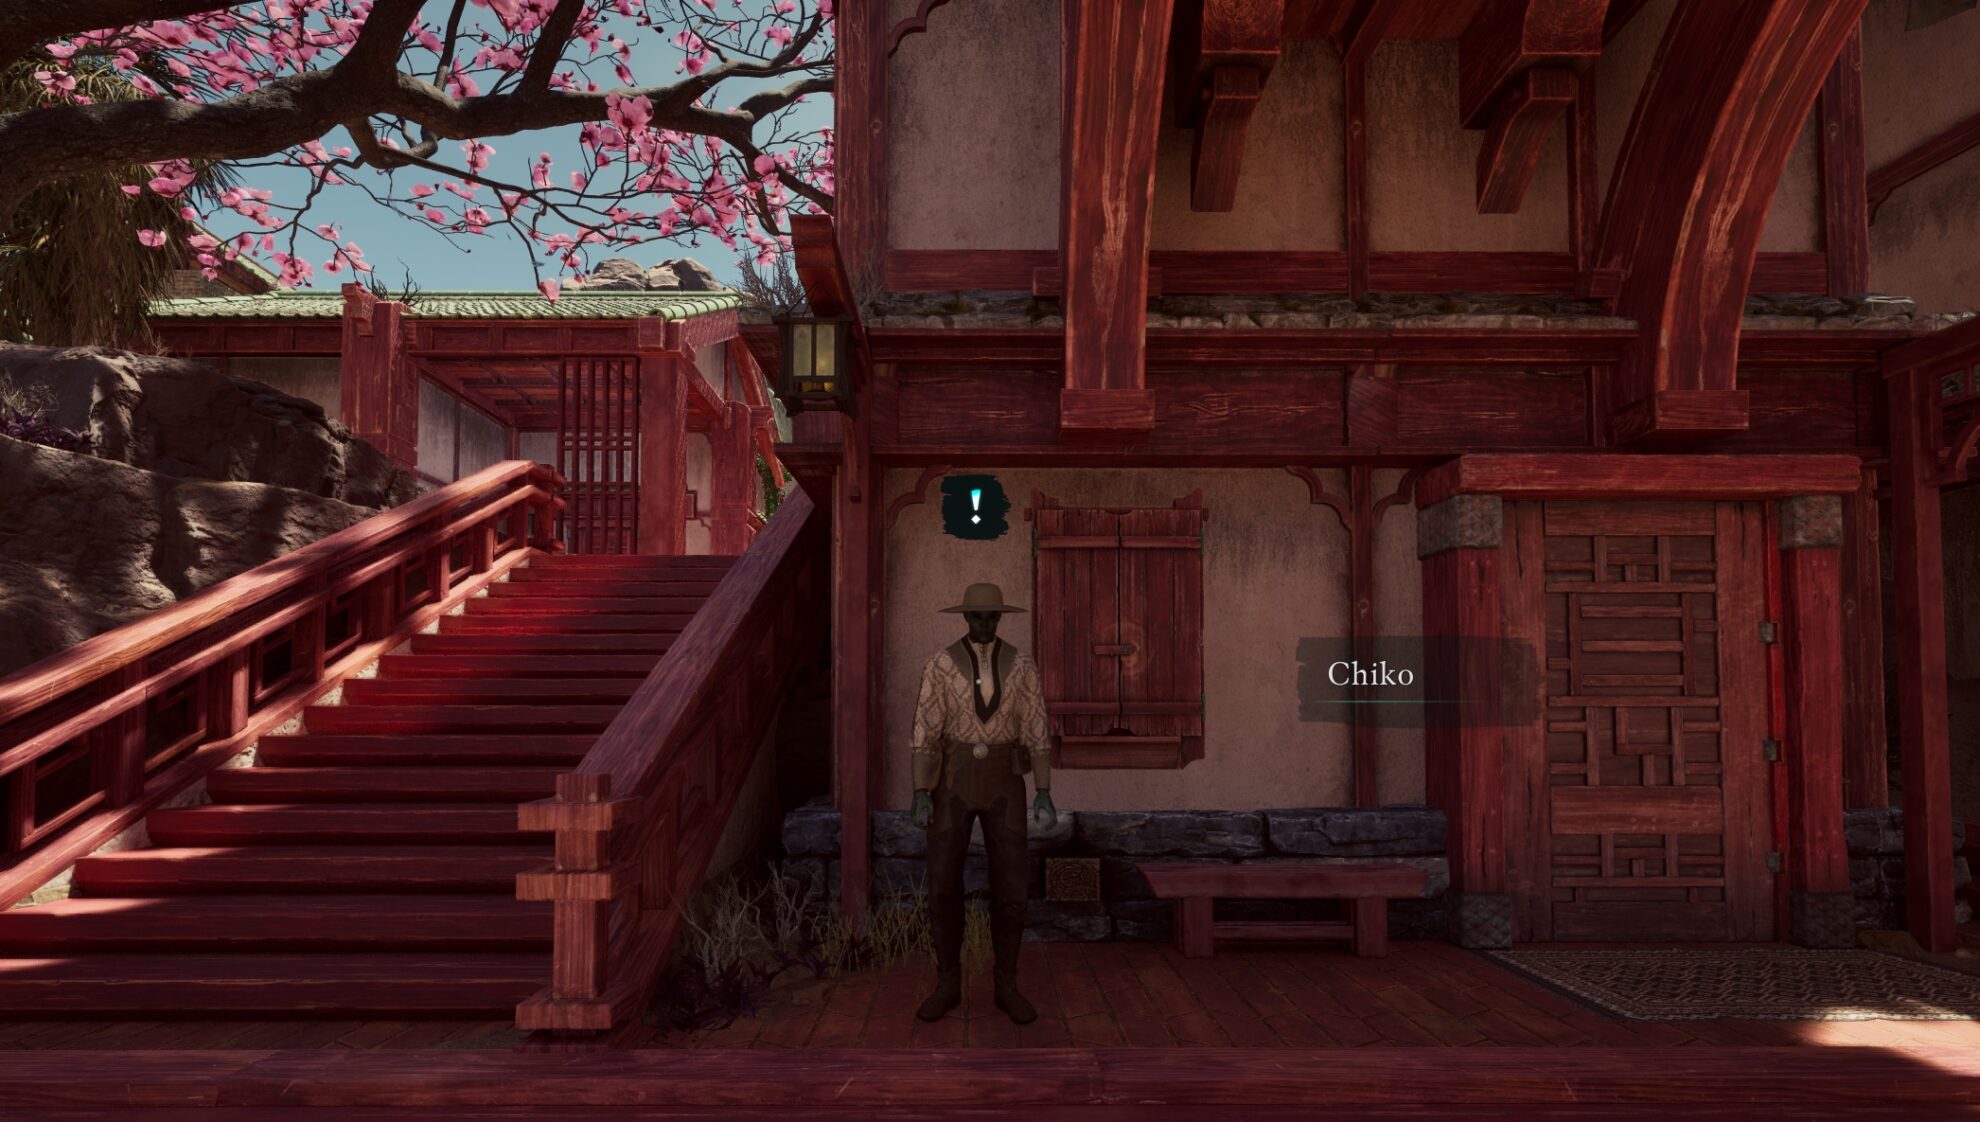
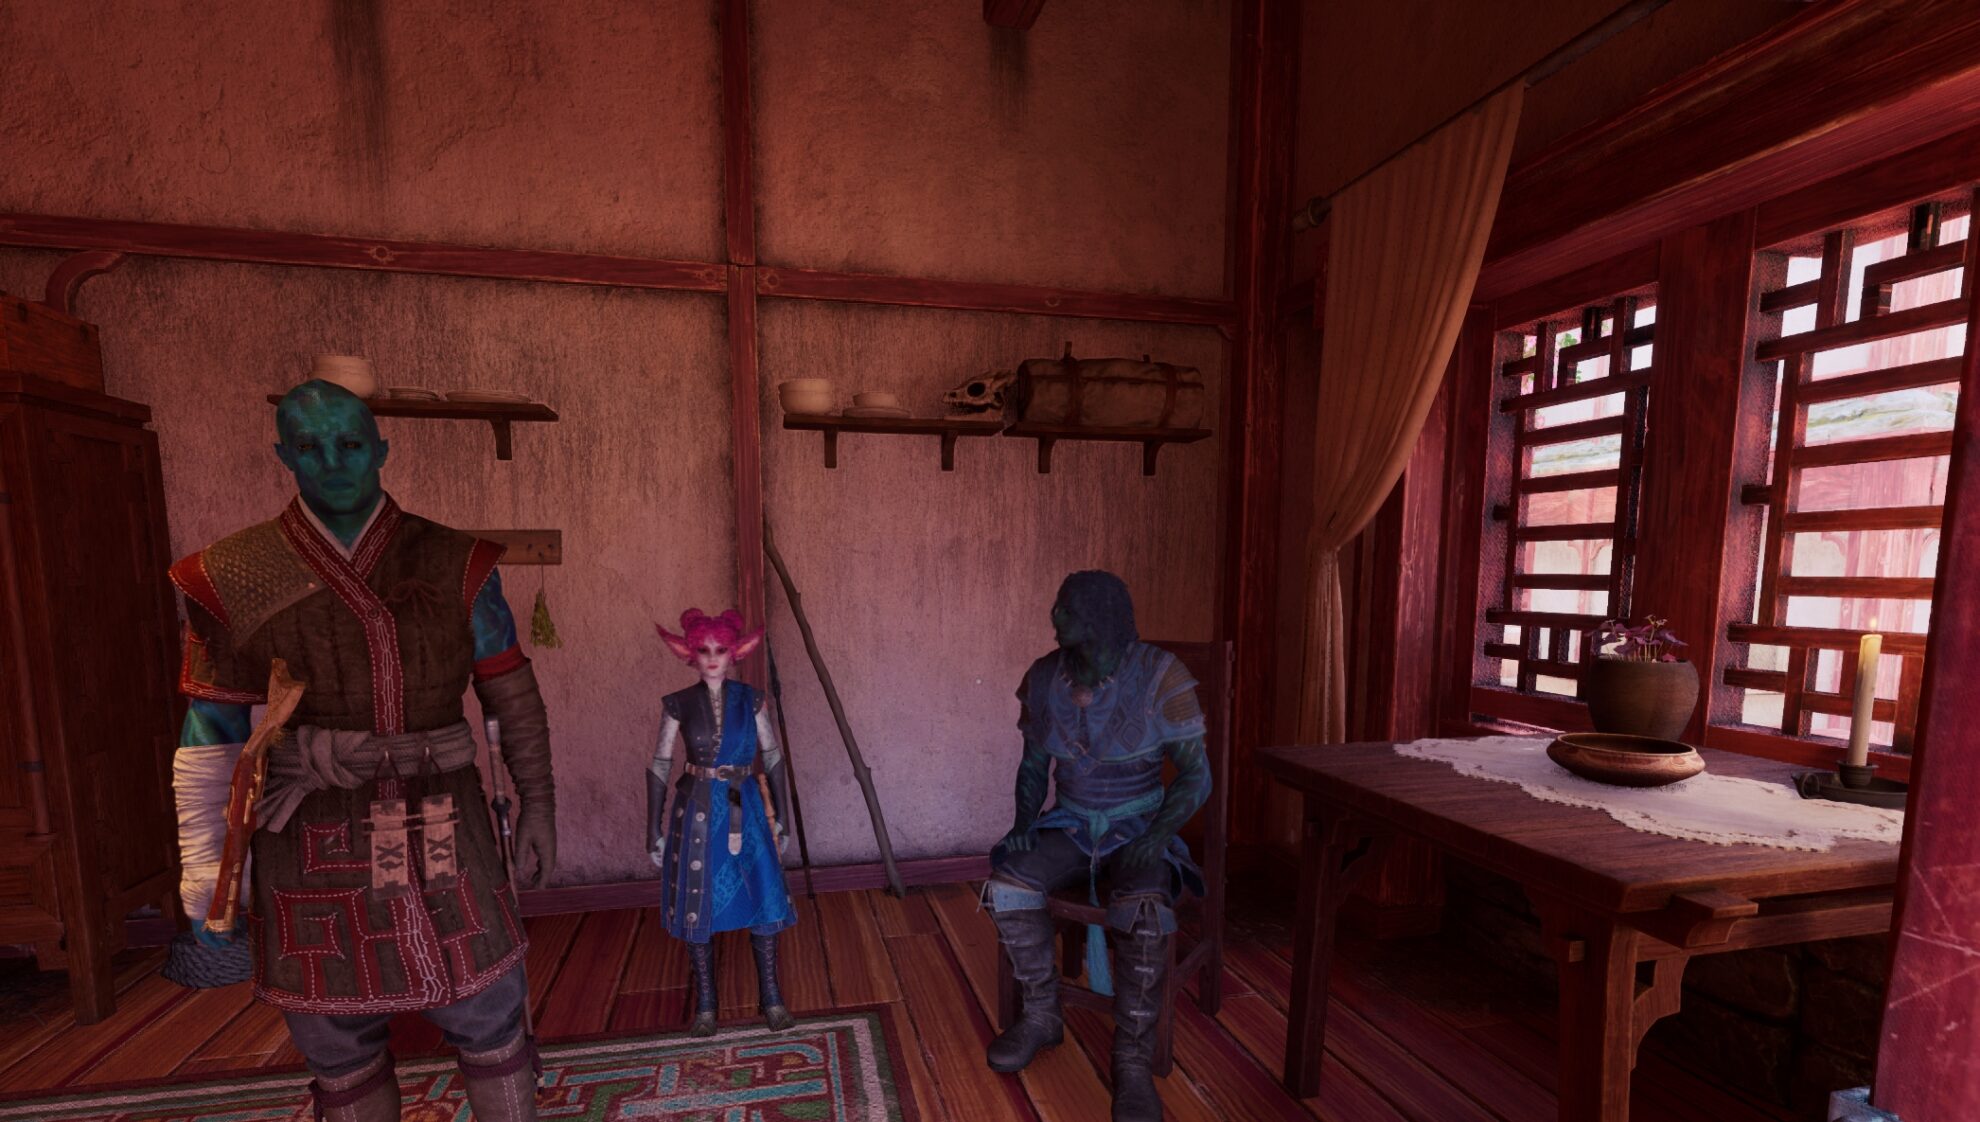
You begin the quest by speaking with a young aumauan named Chiko in the Residential District in Thirdborn, the main hub in Shatterscarp. He’ll tell you to go visit Keipo’s house nearby who will ask you to retrieve the Leviathan’s Heart he stashed at the Sand Sea Ruins.

I highly recommend bringing Kai along for the Heart of Valor quest, but really the entire Shatterscarp region as he has some unique dialogue.
Go to the Sand Sea Ruins
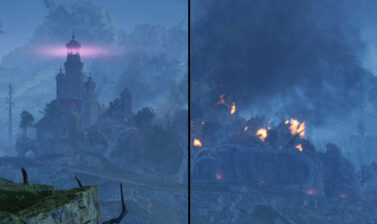
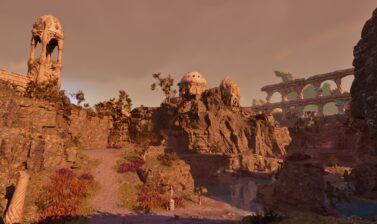
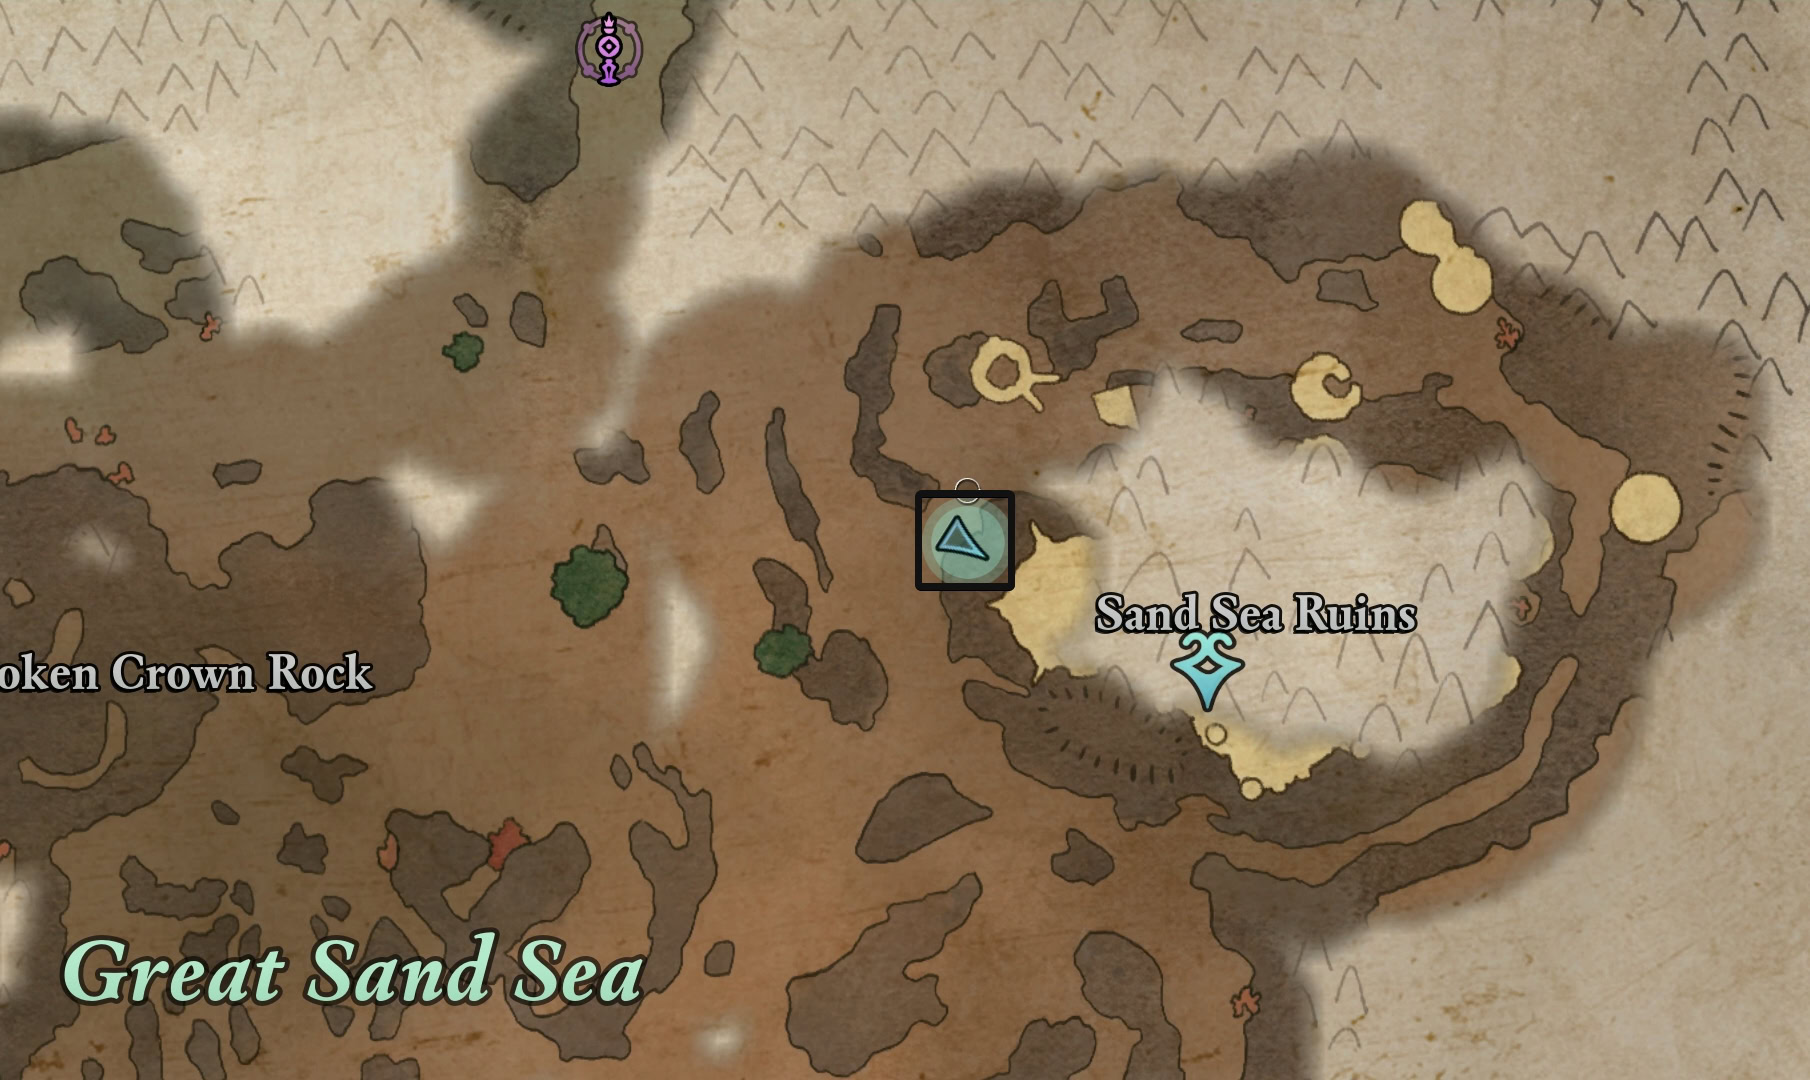
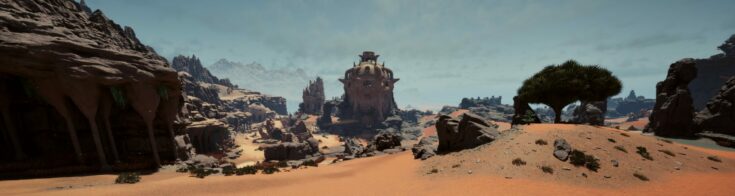
Once you’ve spoken to Keipo, you’ll need to head to the entrance to the Caves System located within the Sand Sea Ruins at the eastern edge of the Great Sand Sea in Shatterscarp.
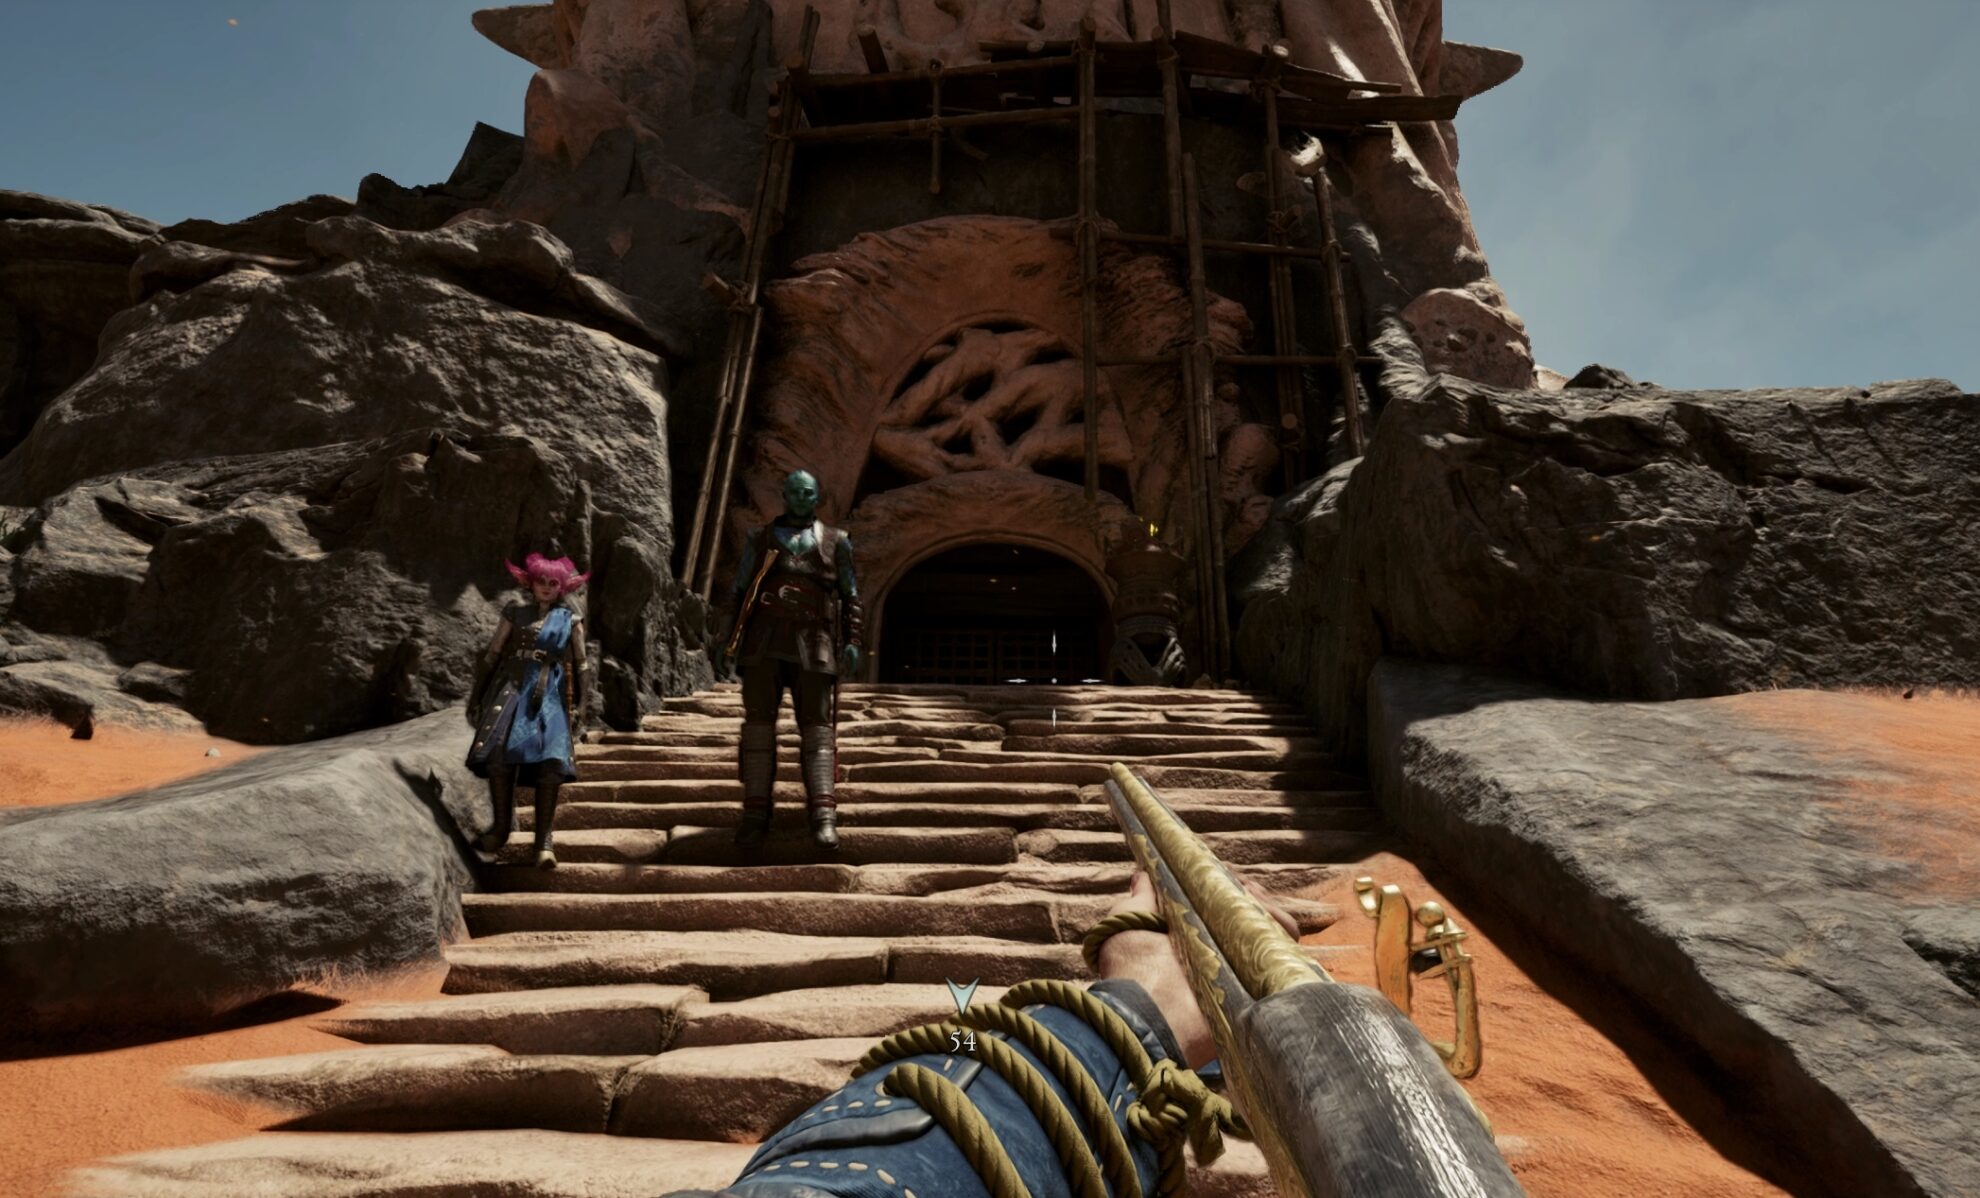
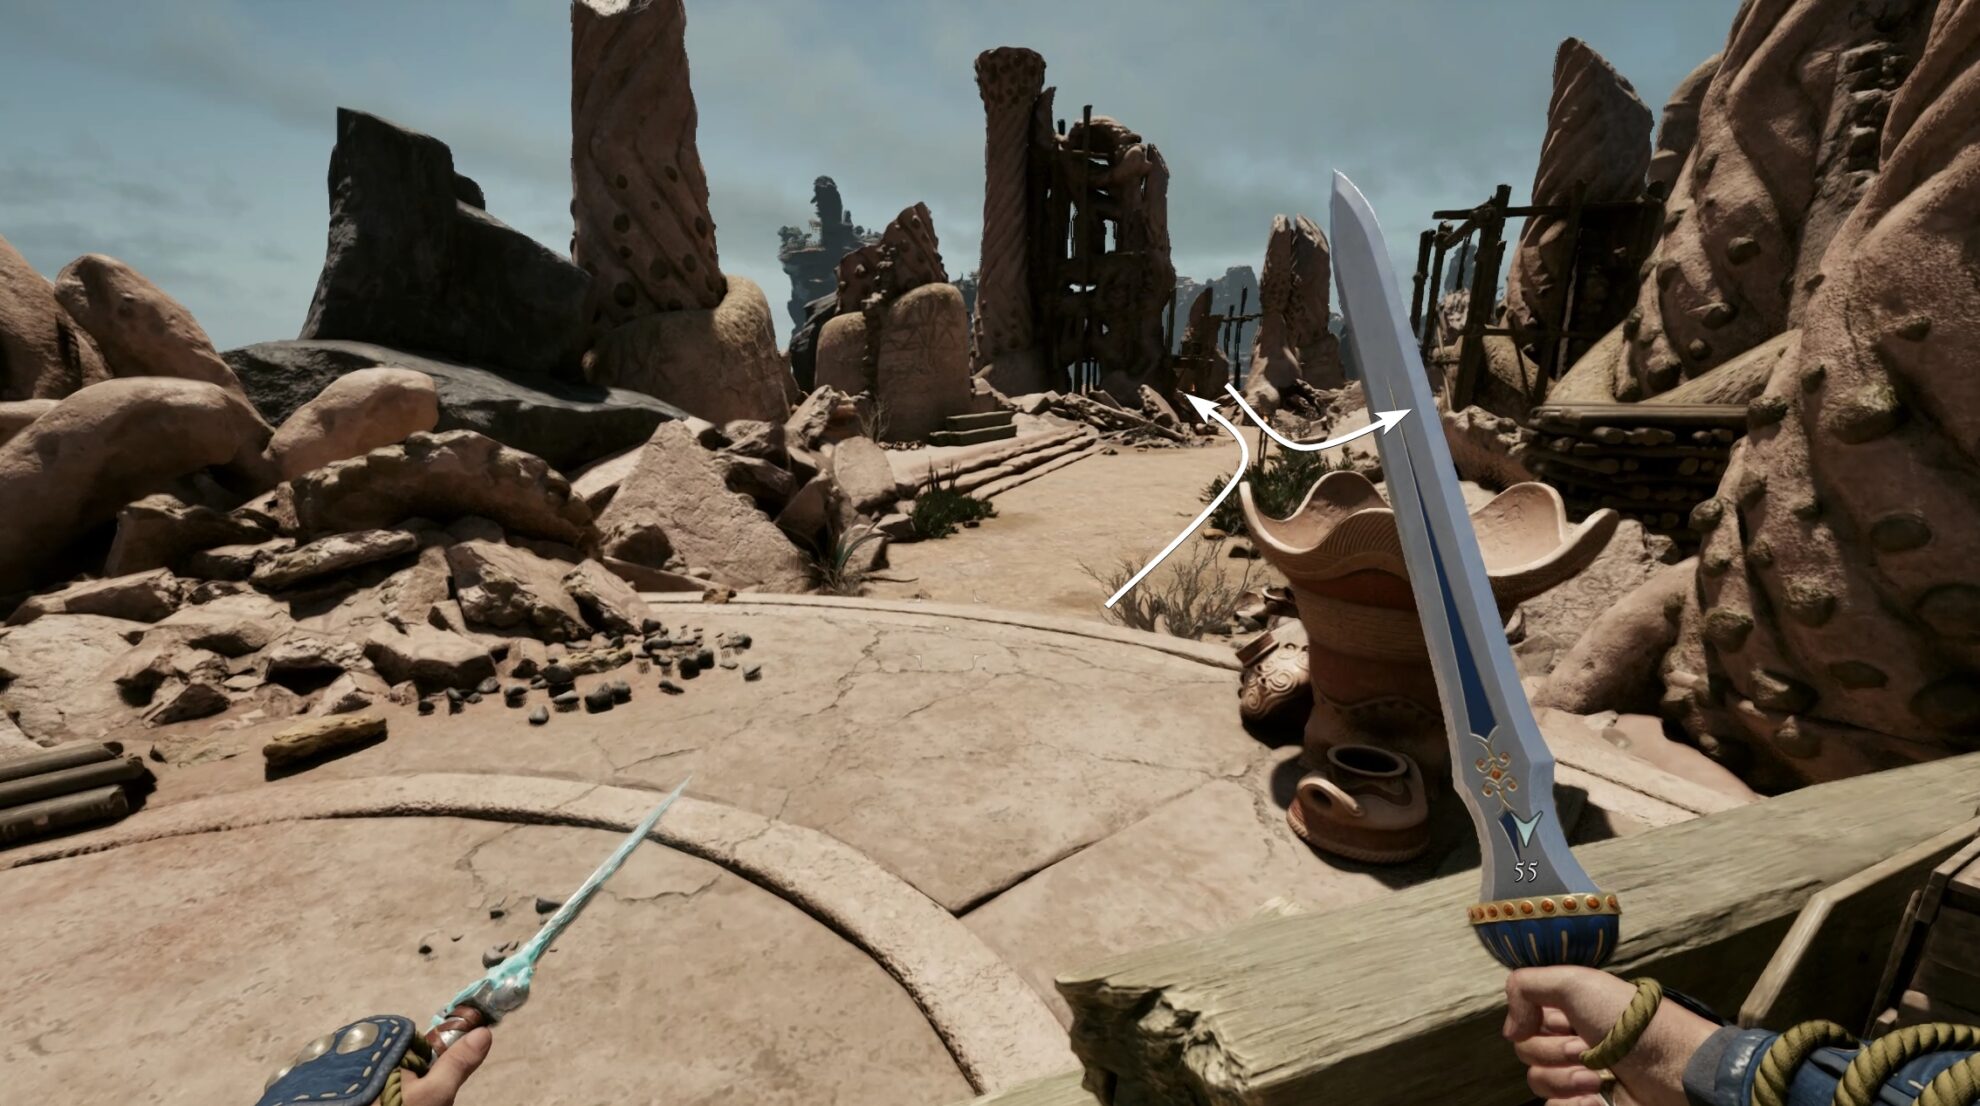
As usual, the main door is barred, so you have to find another entry point. Head north and go up the outer set of stairs.
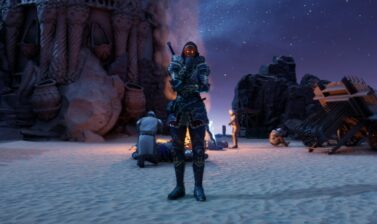
You’ll encounter some enemies. If you’re playing a Wizard or a Ranger, I recommend taking the left path to gain the high-ground over your foes waiting at the bottom. A shaman, priest, and a couple of bears are waiting to greet you.
Treasure Chest #1
The first treasure chest you can pick up is on top of this elevated platform to the left from the wooden ladder. To get to it, parkour on top of the stone wall and hop onto the platform with the chest.
Treasure Chest #2
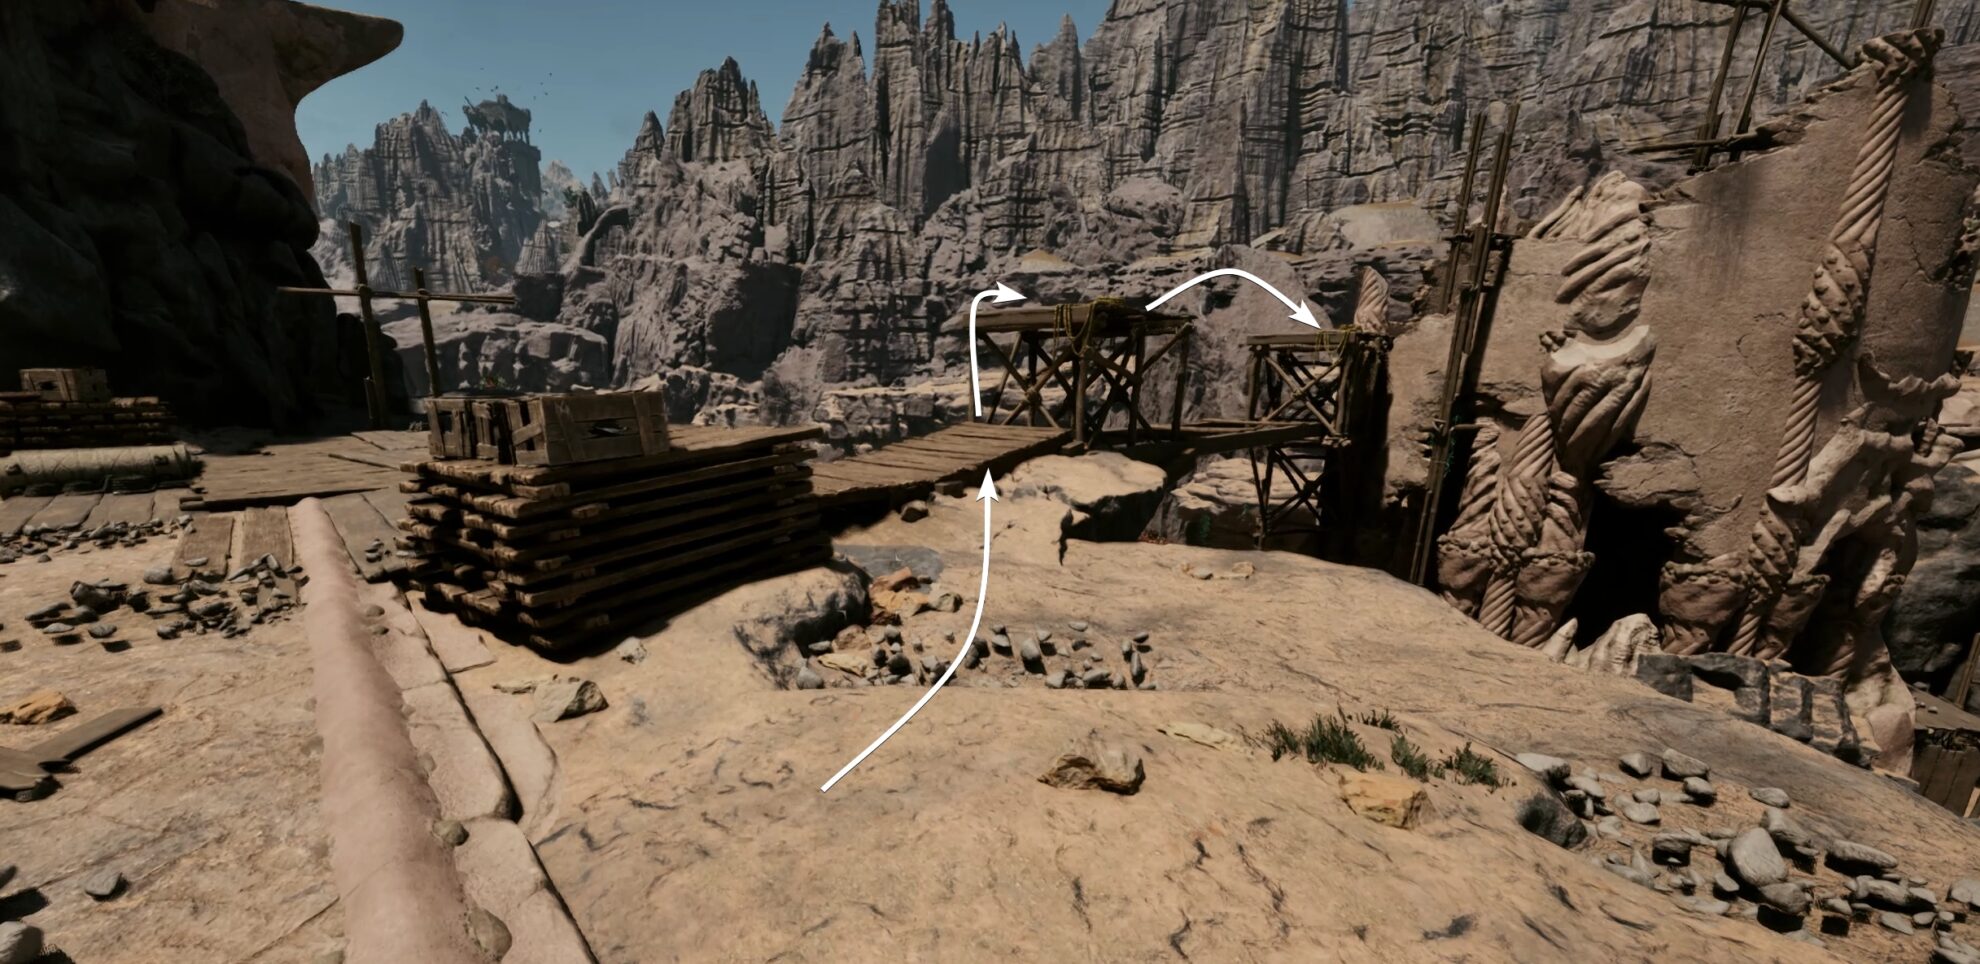
Head south and climb the wooden scaffolding to the top. Behind the ruined tower on the left, you’ll find the second Treasure chest in the area.
This chest requires 3 lockpicks to unlock, but you should have plenty by now if you’ve been buying them from every Merchant.
Treasure Chest #3
To the north of your position, there is a broken wooden bridge. You can cross it with a run and jump. On the other side, on a platform to your right, you will find the third treasure chest waiting on the platform.
Treasure Chest #4
On the middle level, you can pick up another treasure chest. Right next to it, on a stone table, you will also find the Agate Eye, one of the Wael Totem Fragments.
Unlock the main gate
Head into the structure and jump down into the caves system. Drop to the bottom carefully and unlock the iron gates. This is the same main entrance that you started at and was barred.
Access the Sand Sea Ruins
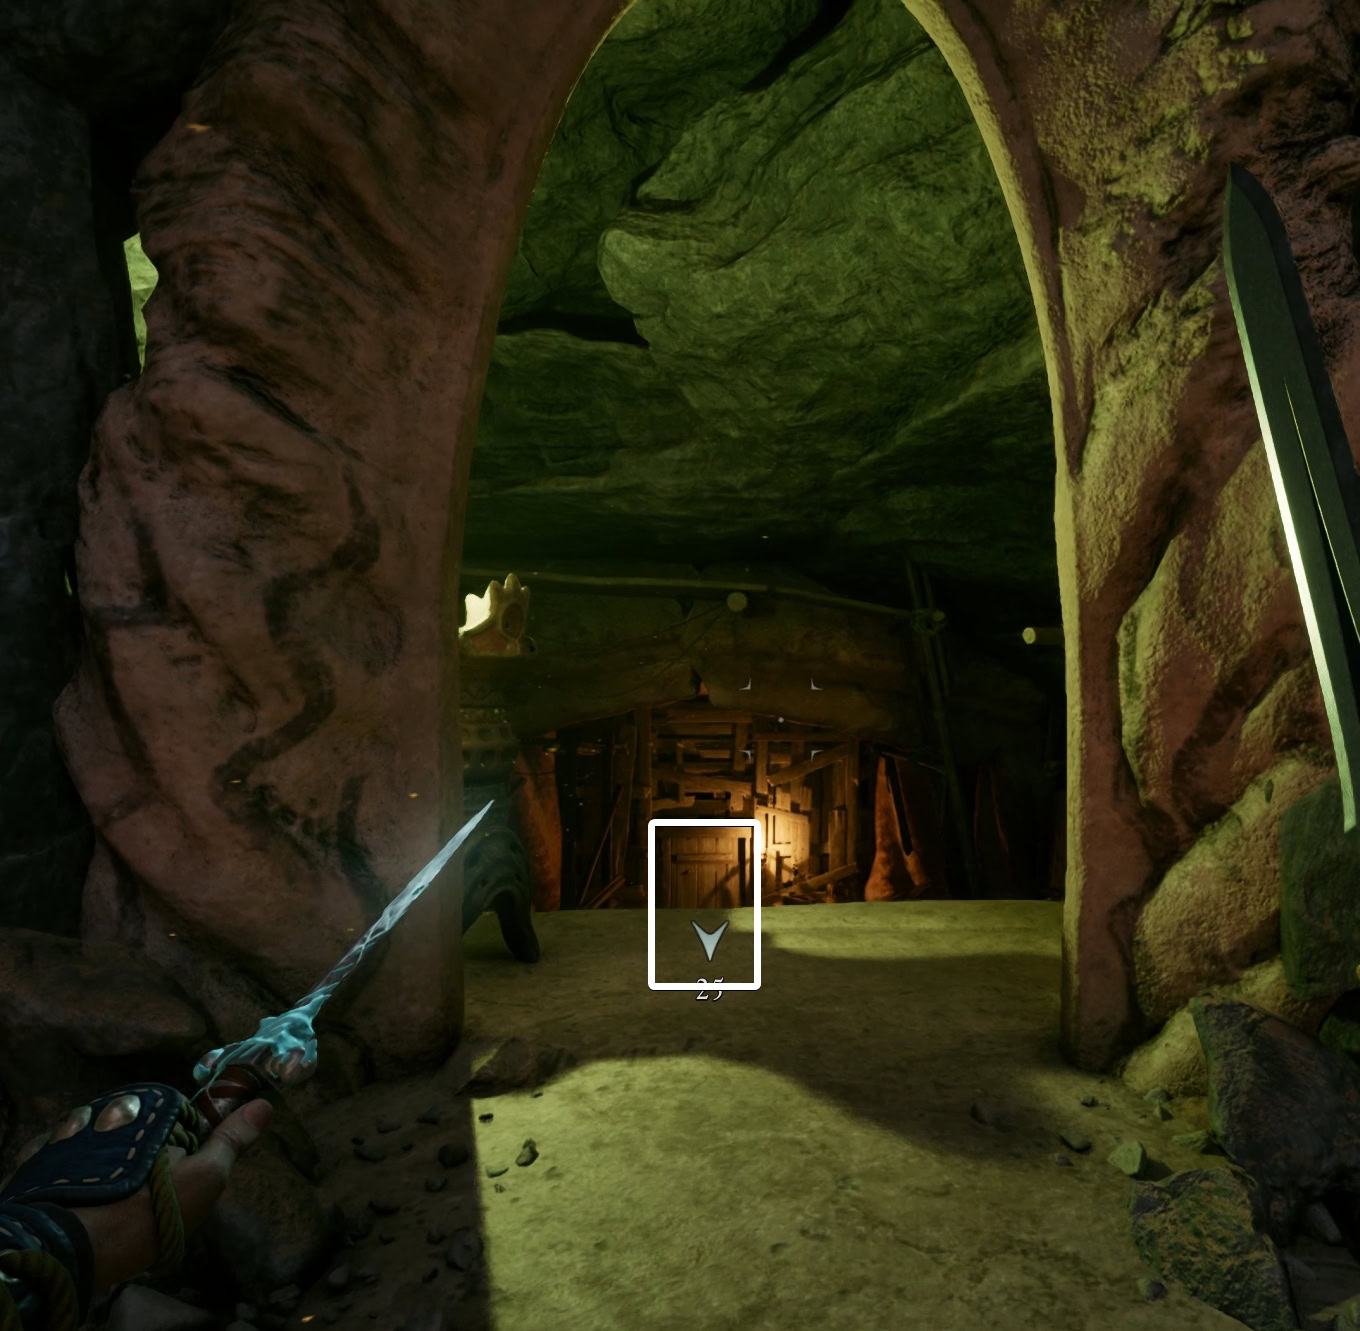
Finally, you made it to the meat and potatoes of dangerous parkour in Avowed. Jump to the bottom level and go through the portal across from the main iron gate. At the end of this short corridor, is a wooden door. Interacting with it will transport you to the Sand Sea Ruins.
Find the Heart of the Leviathan
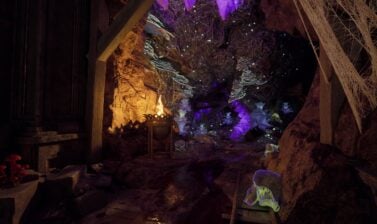
Your next goal is to find the Heart of the Leviathan. You have an elaborate cave to explore, a few riches to pick up, and some enemies to defeat on the way.
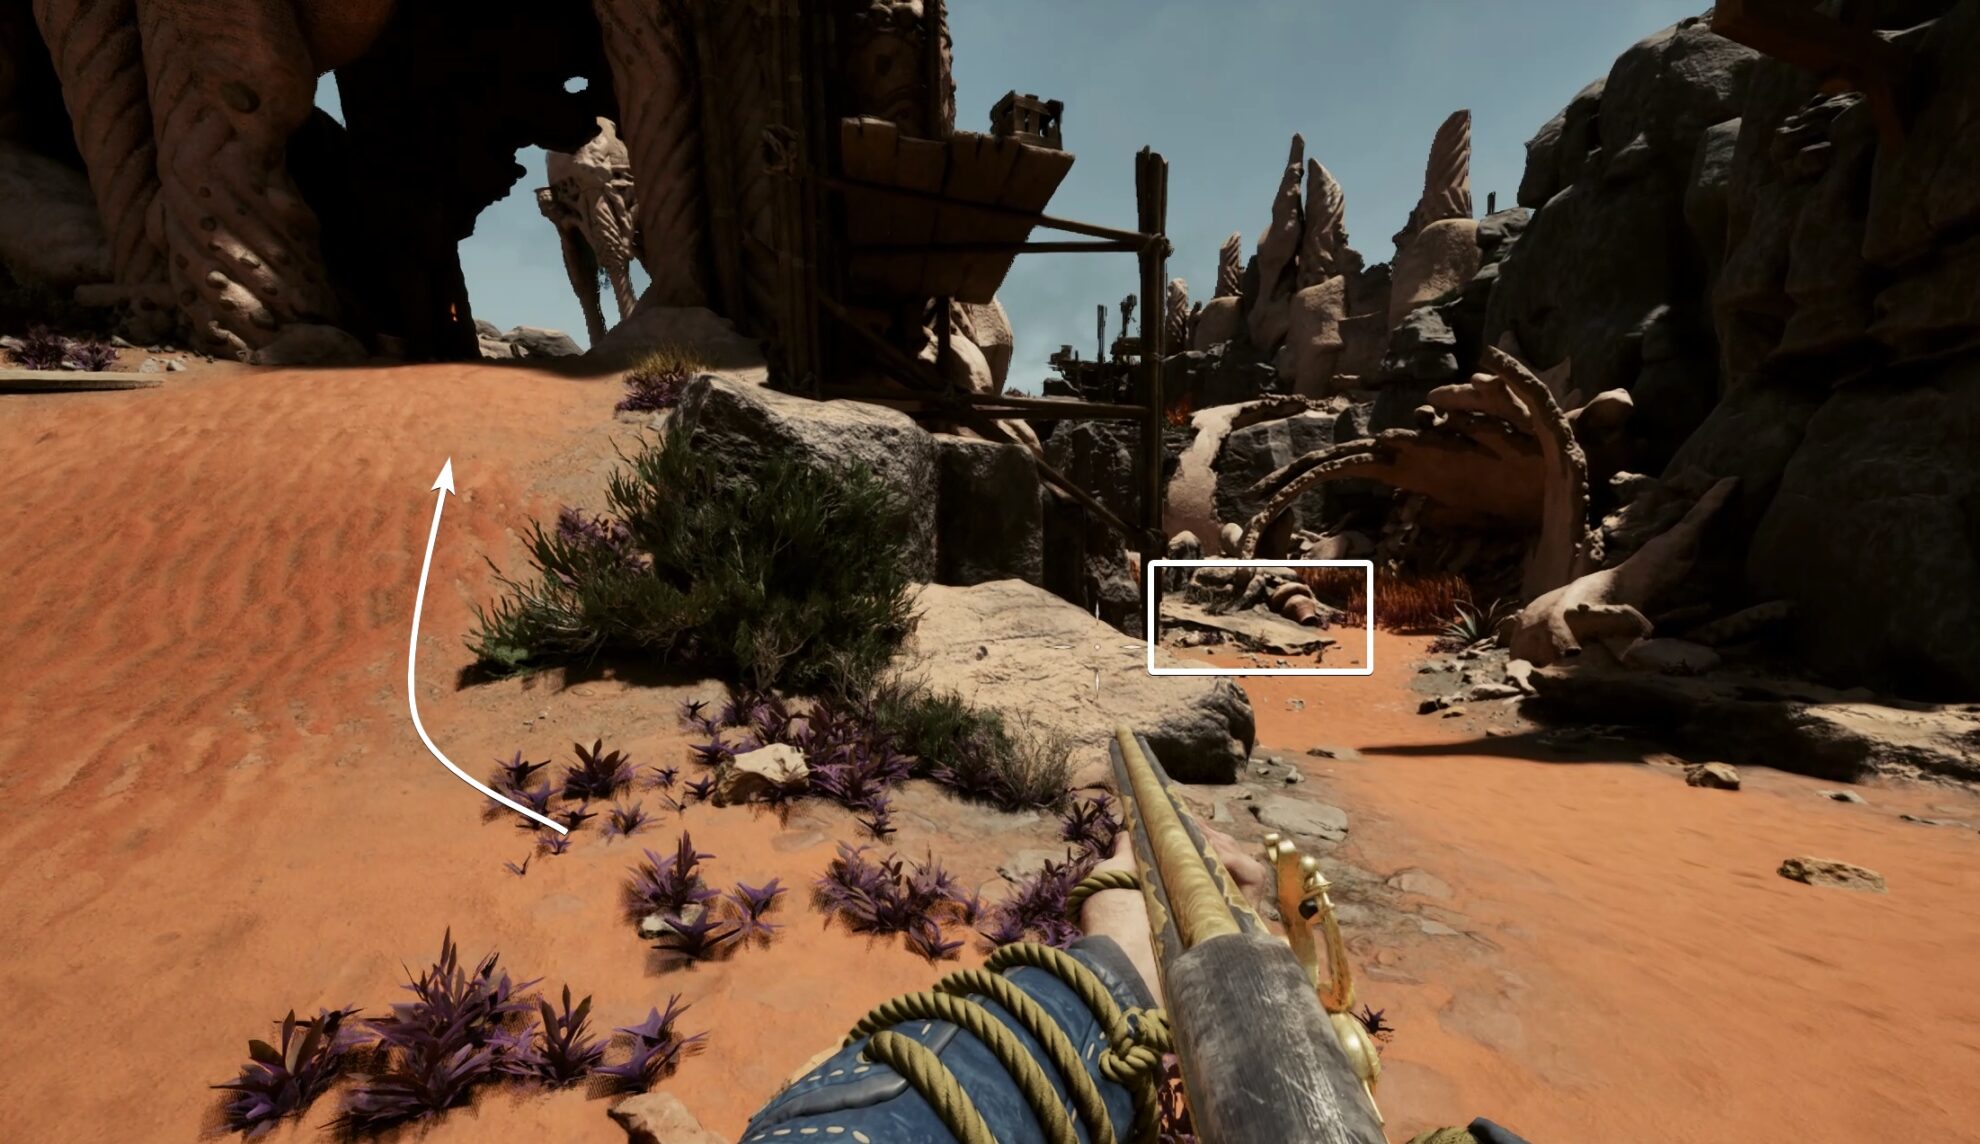
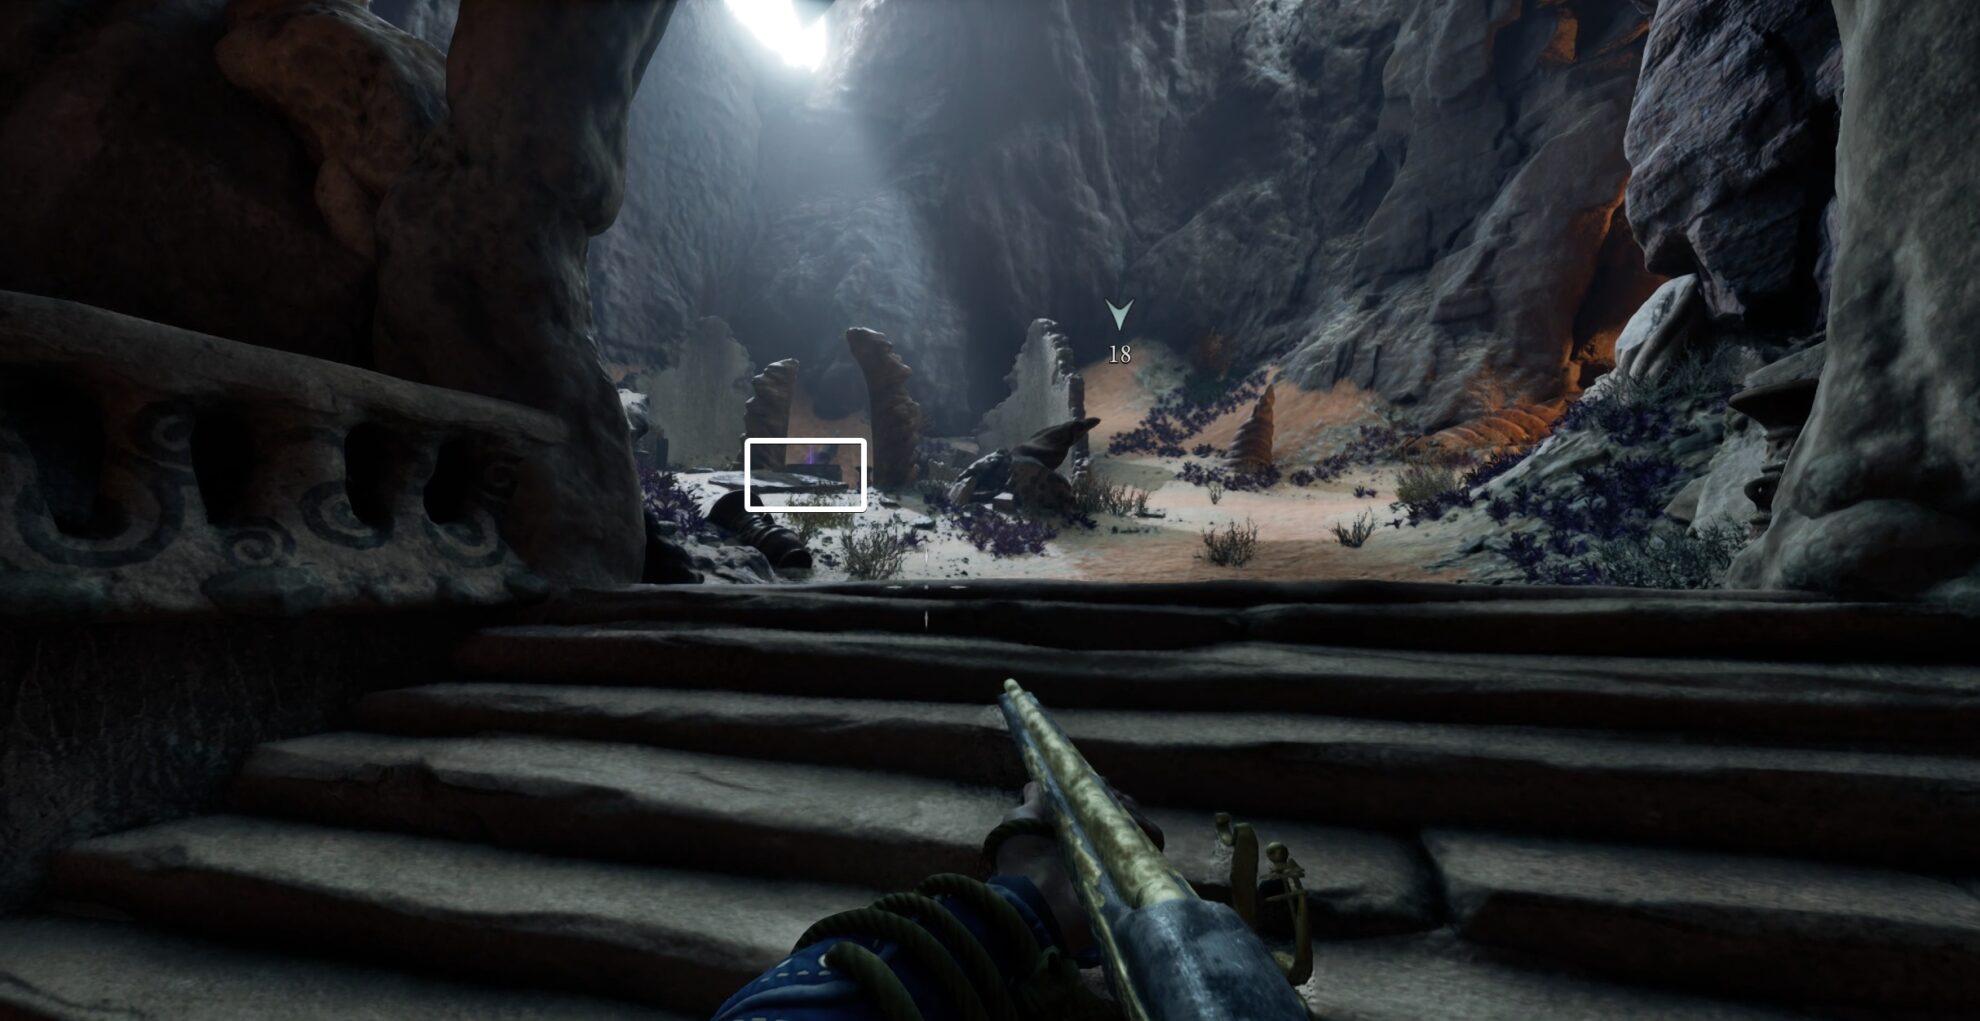
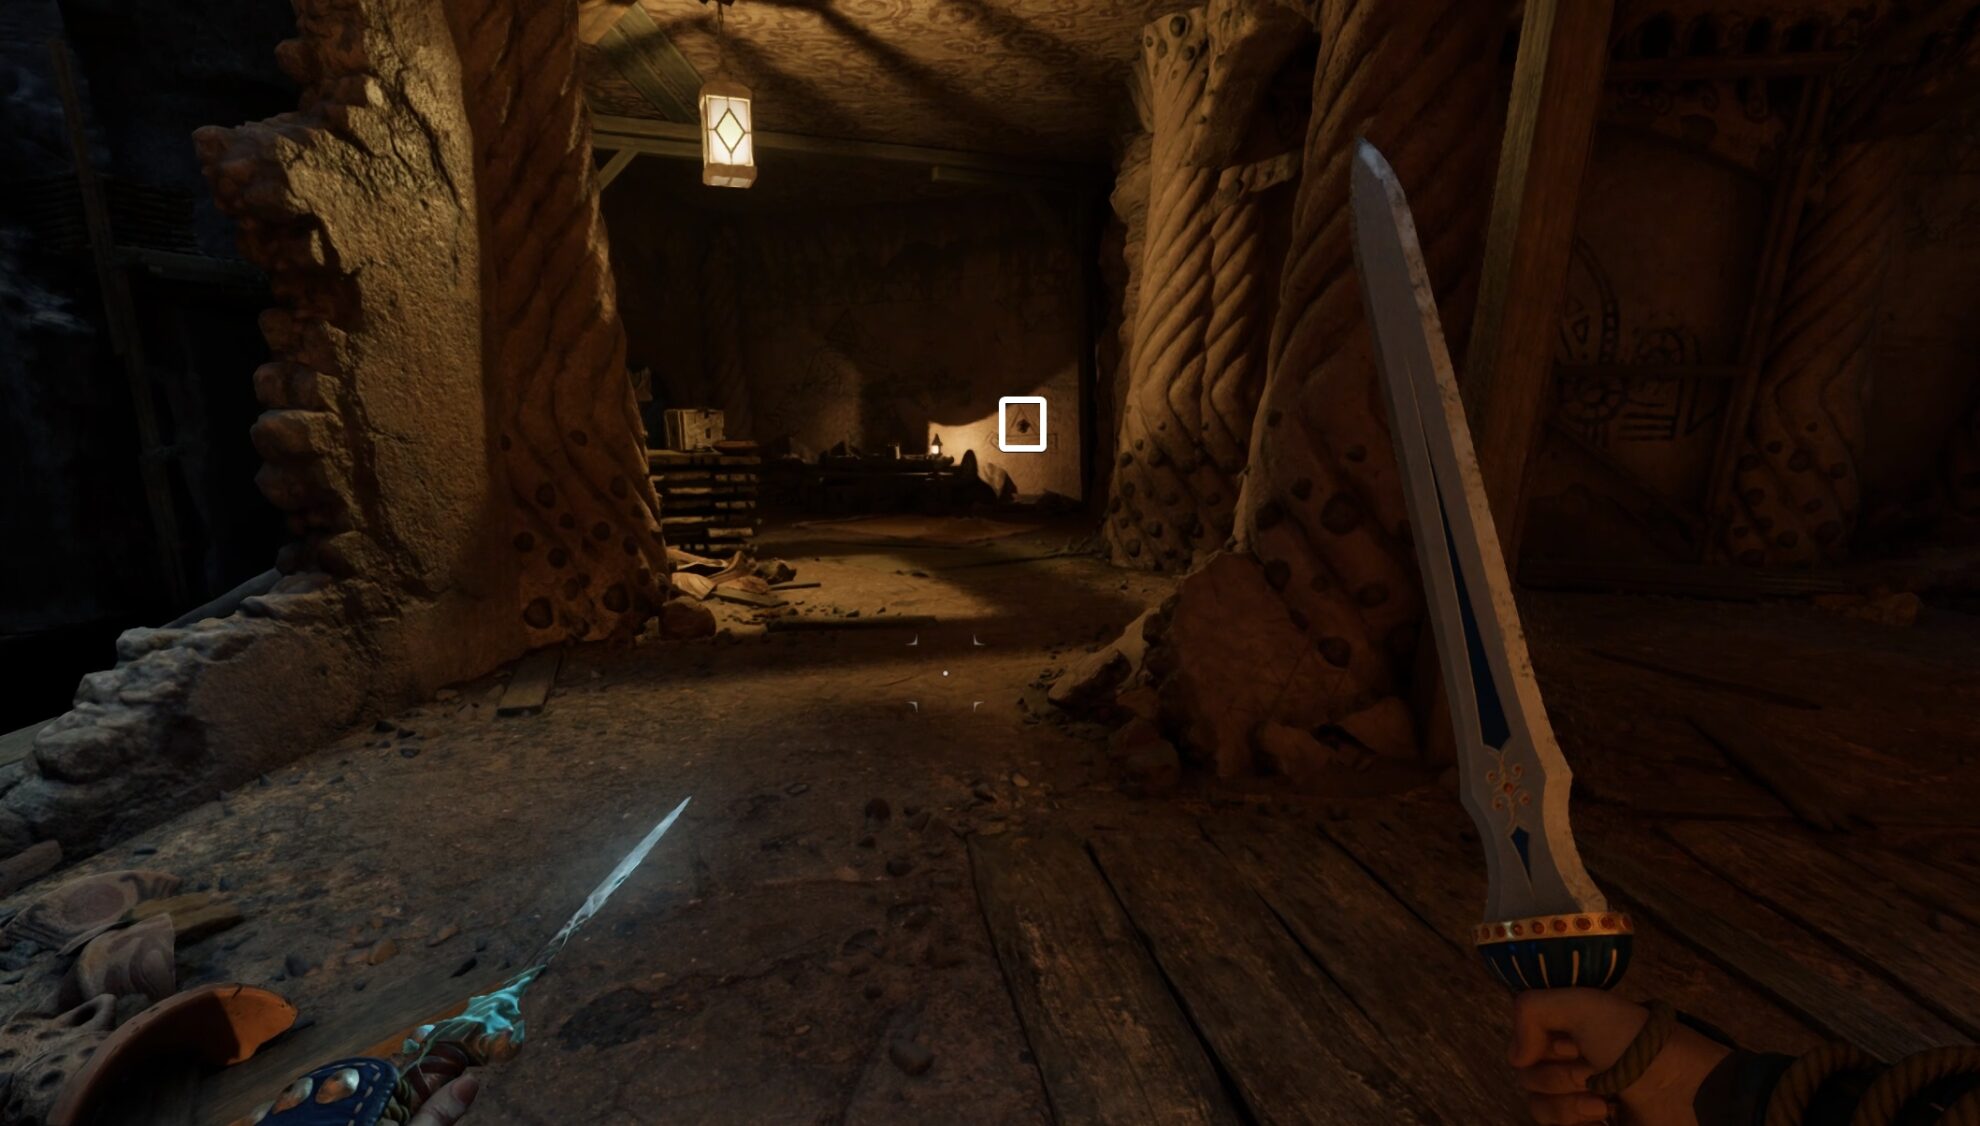
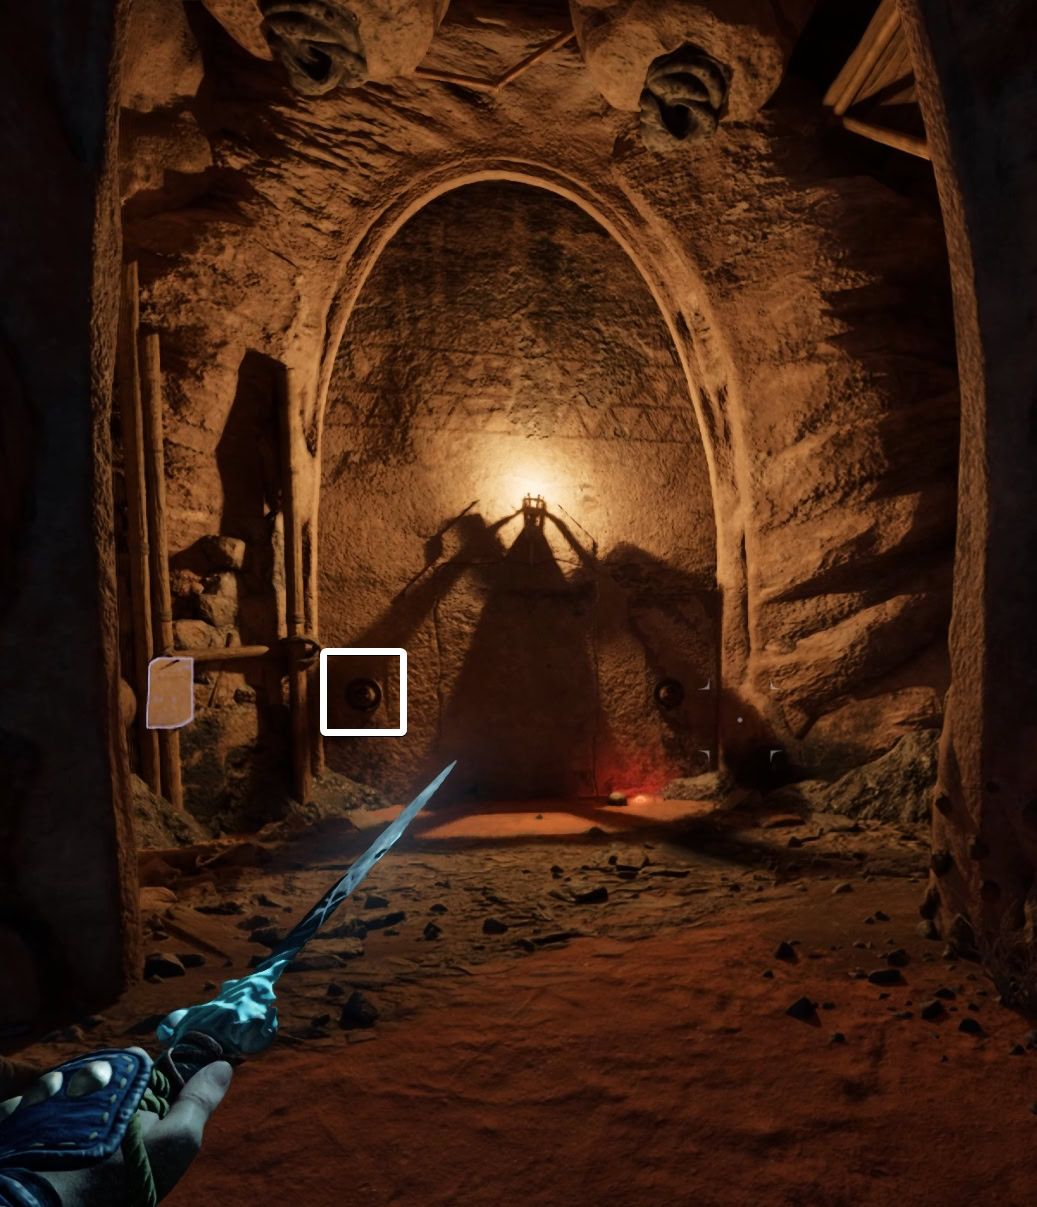
That Sign Can’t Stop Me Because I Can’t Read
Now it’s time to channel your inner D.W. Examine the note next to the lever, then pull it anyway for an achievement.
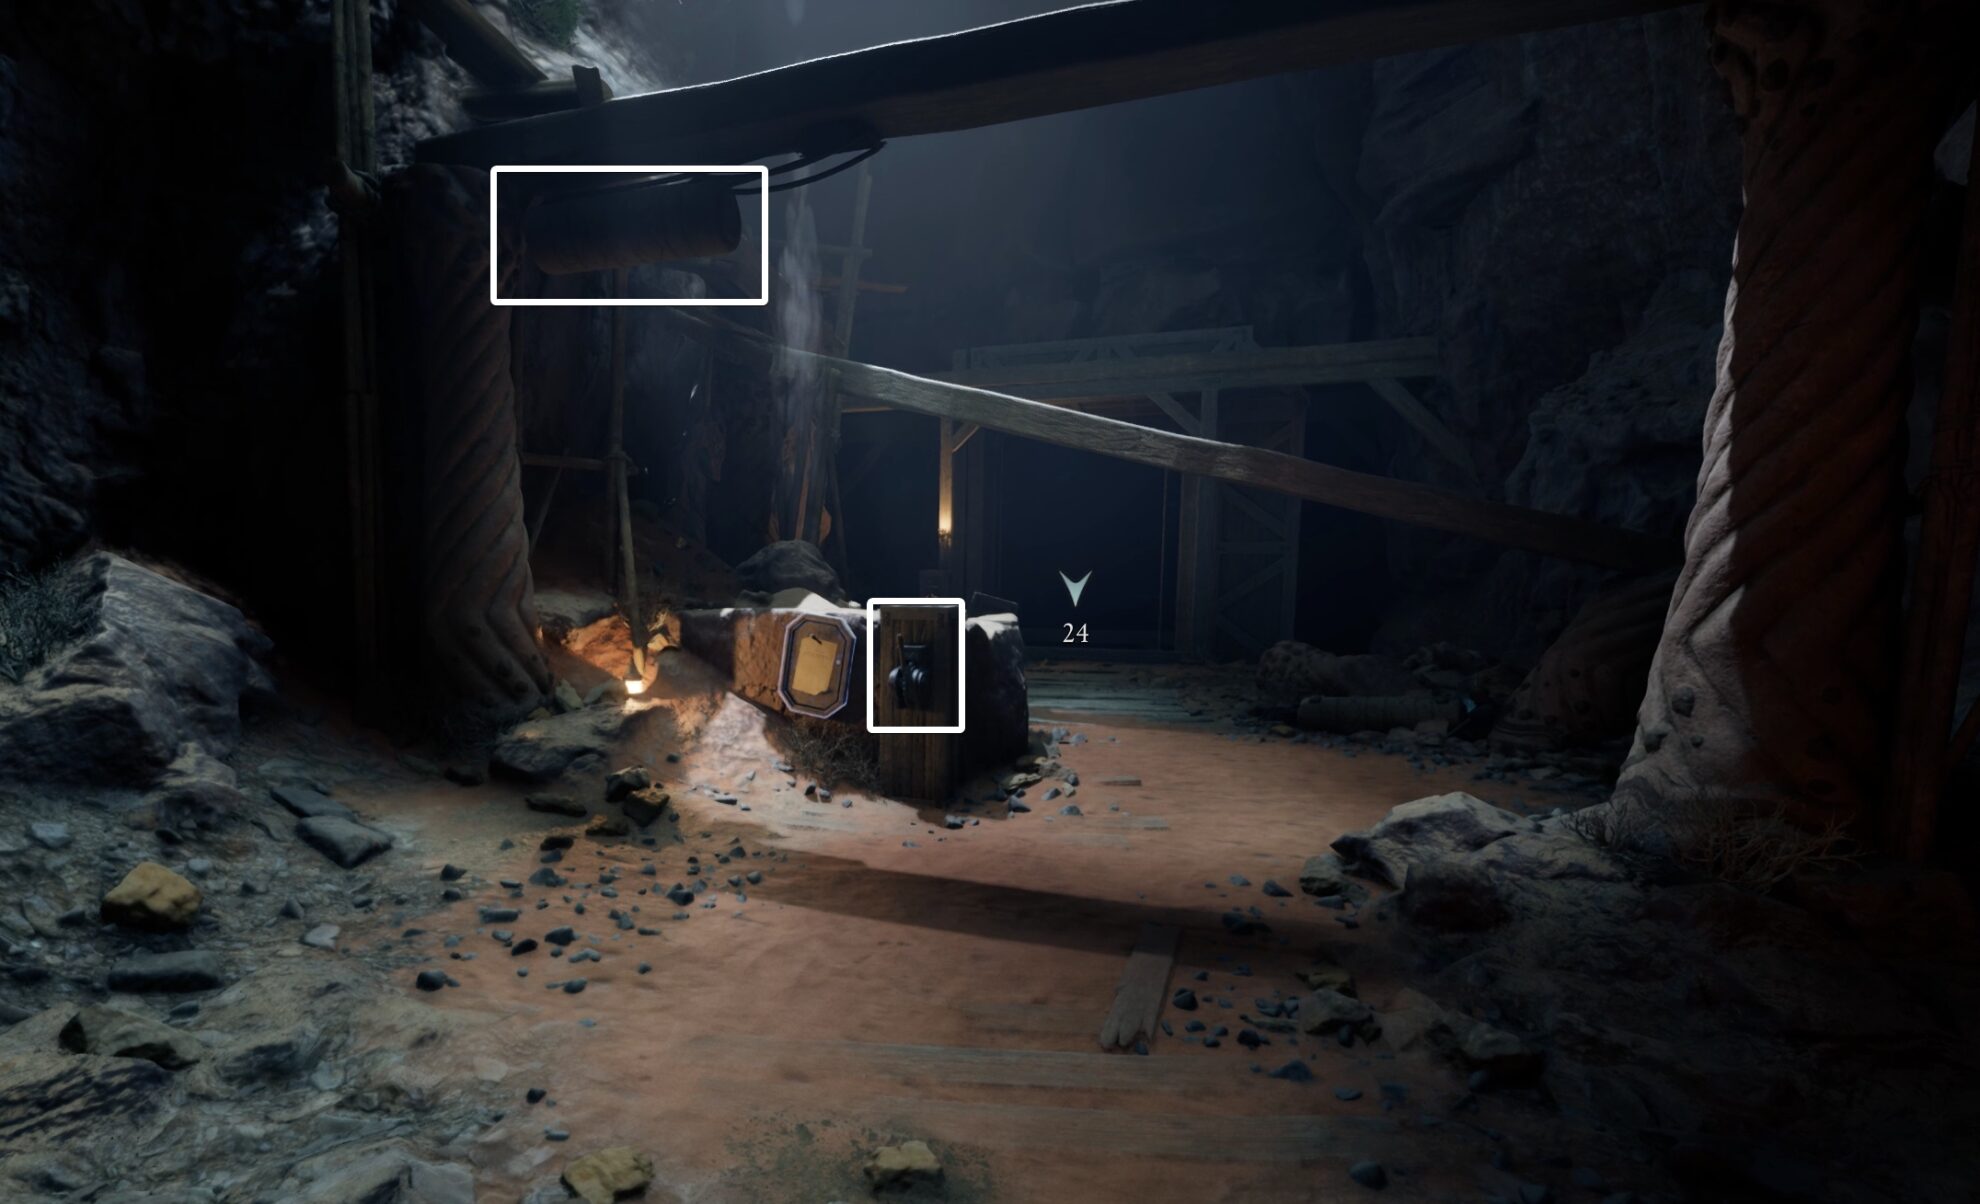
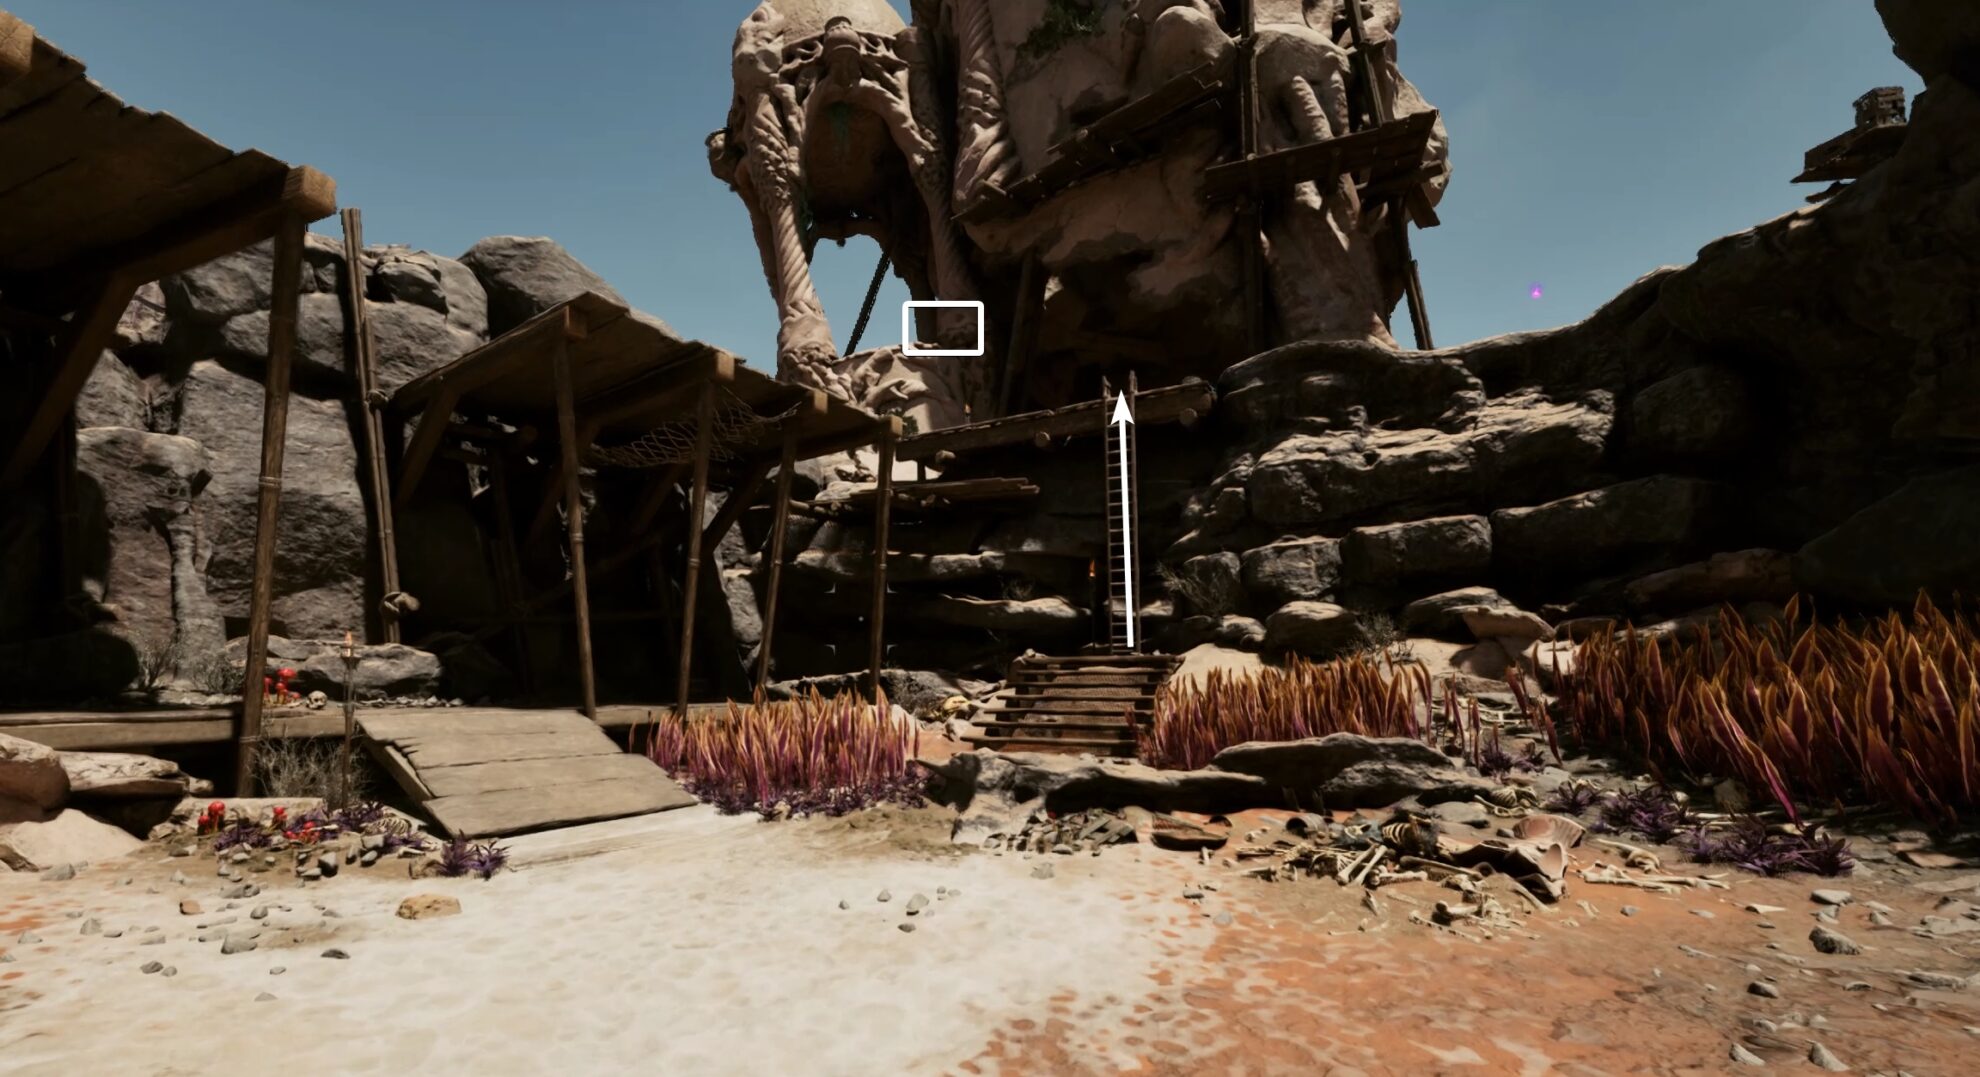
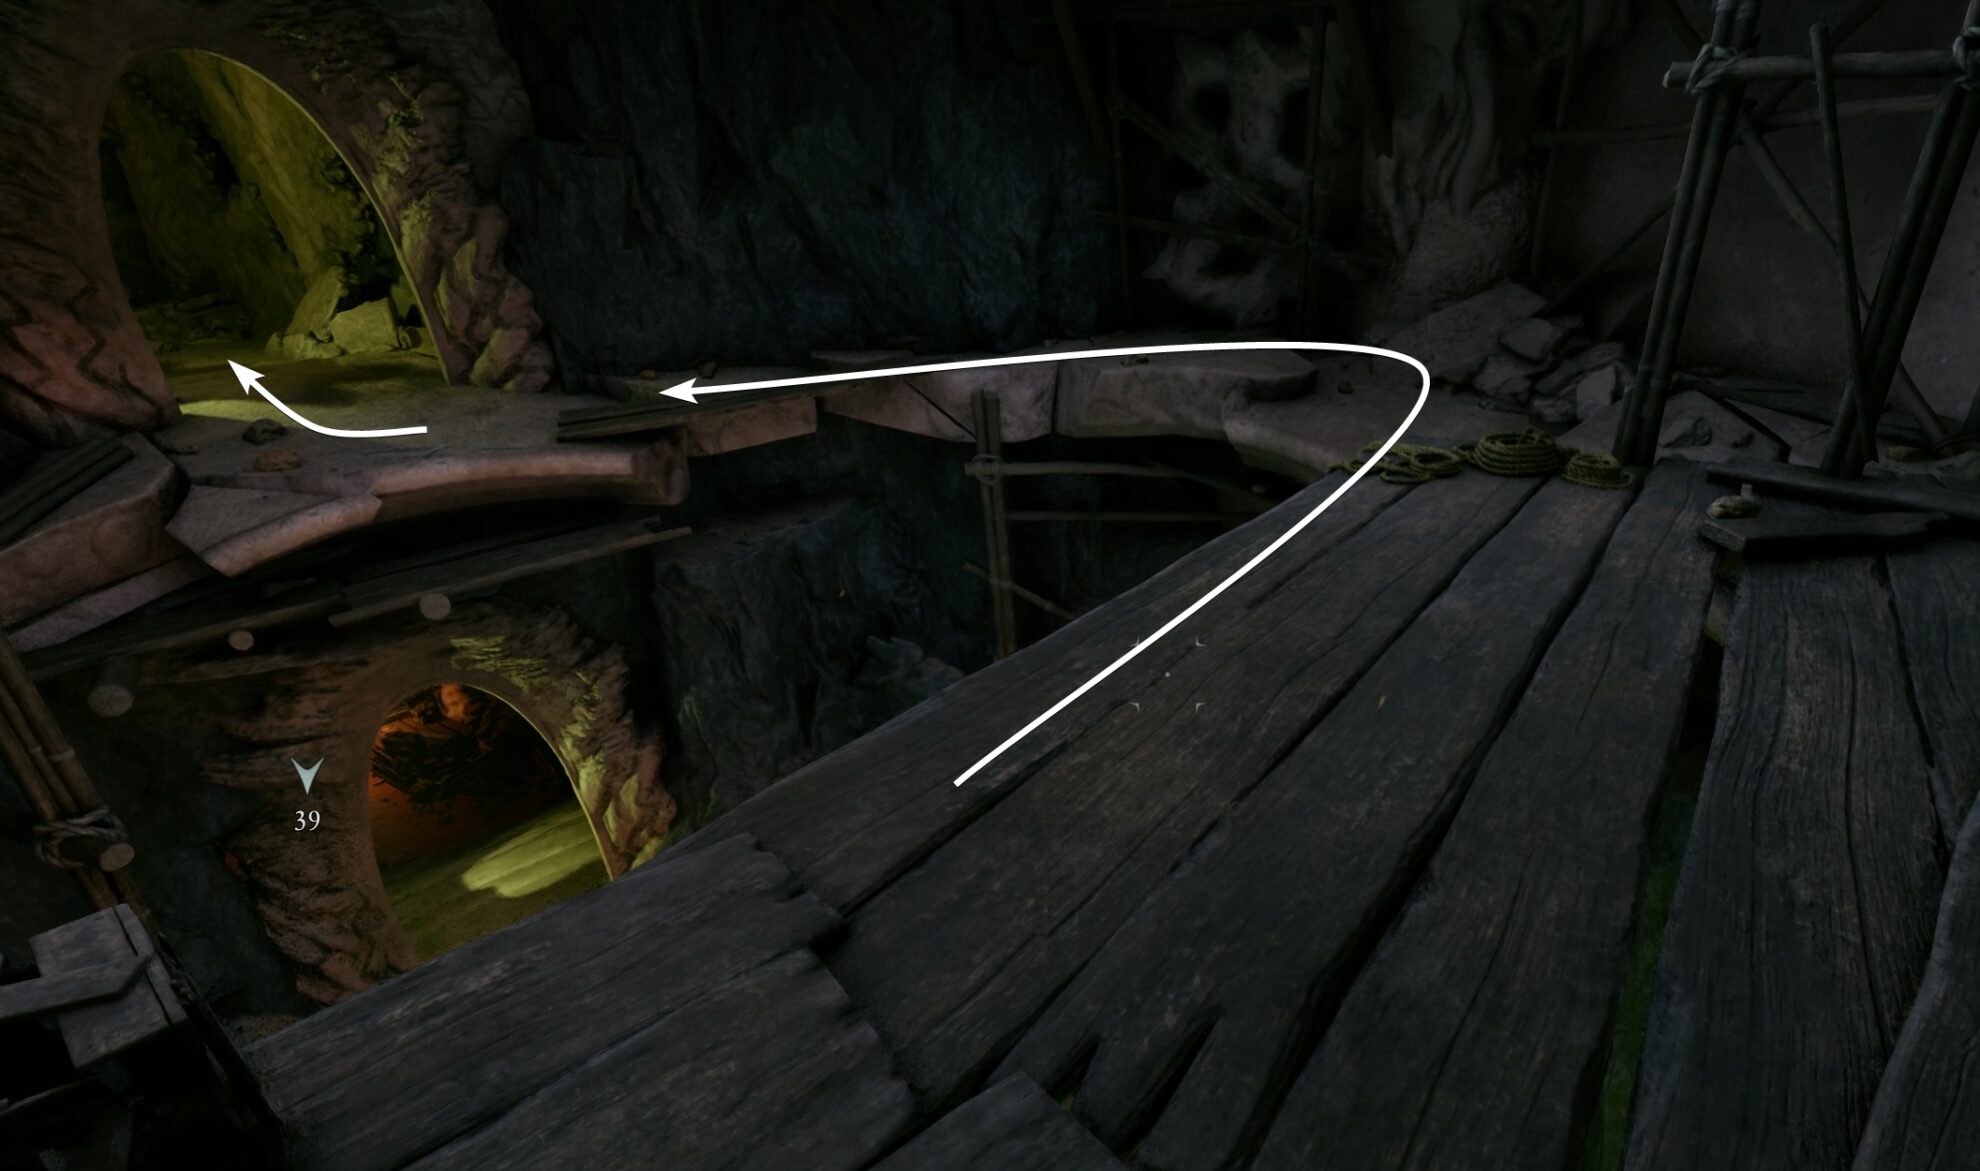
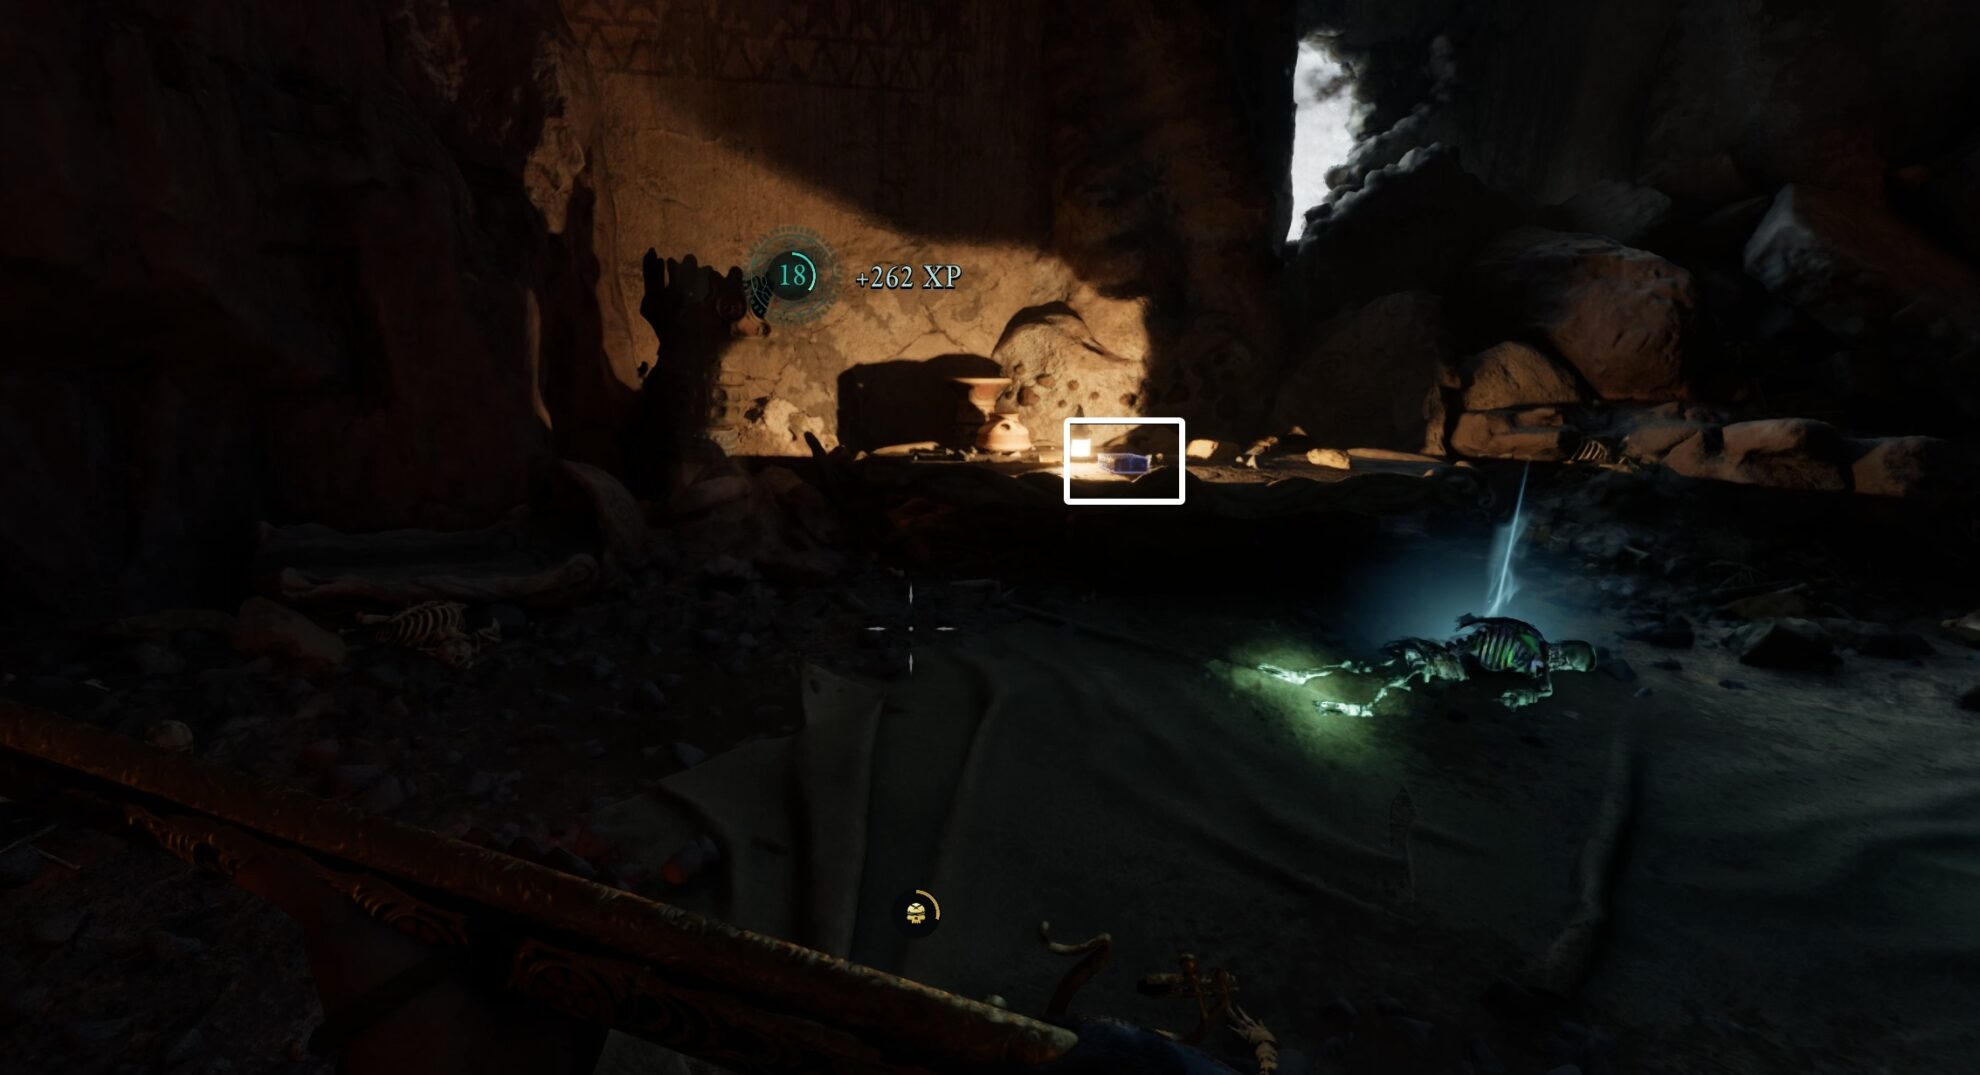
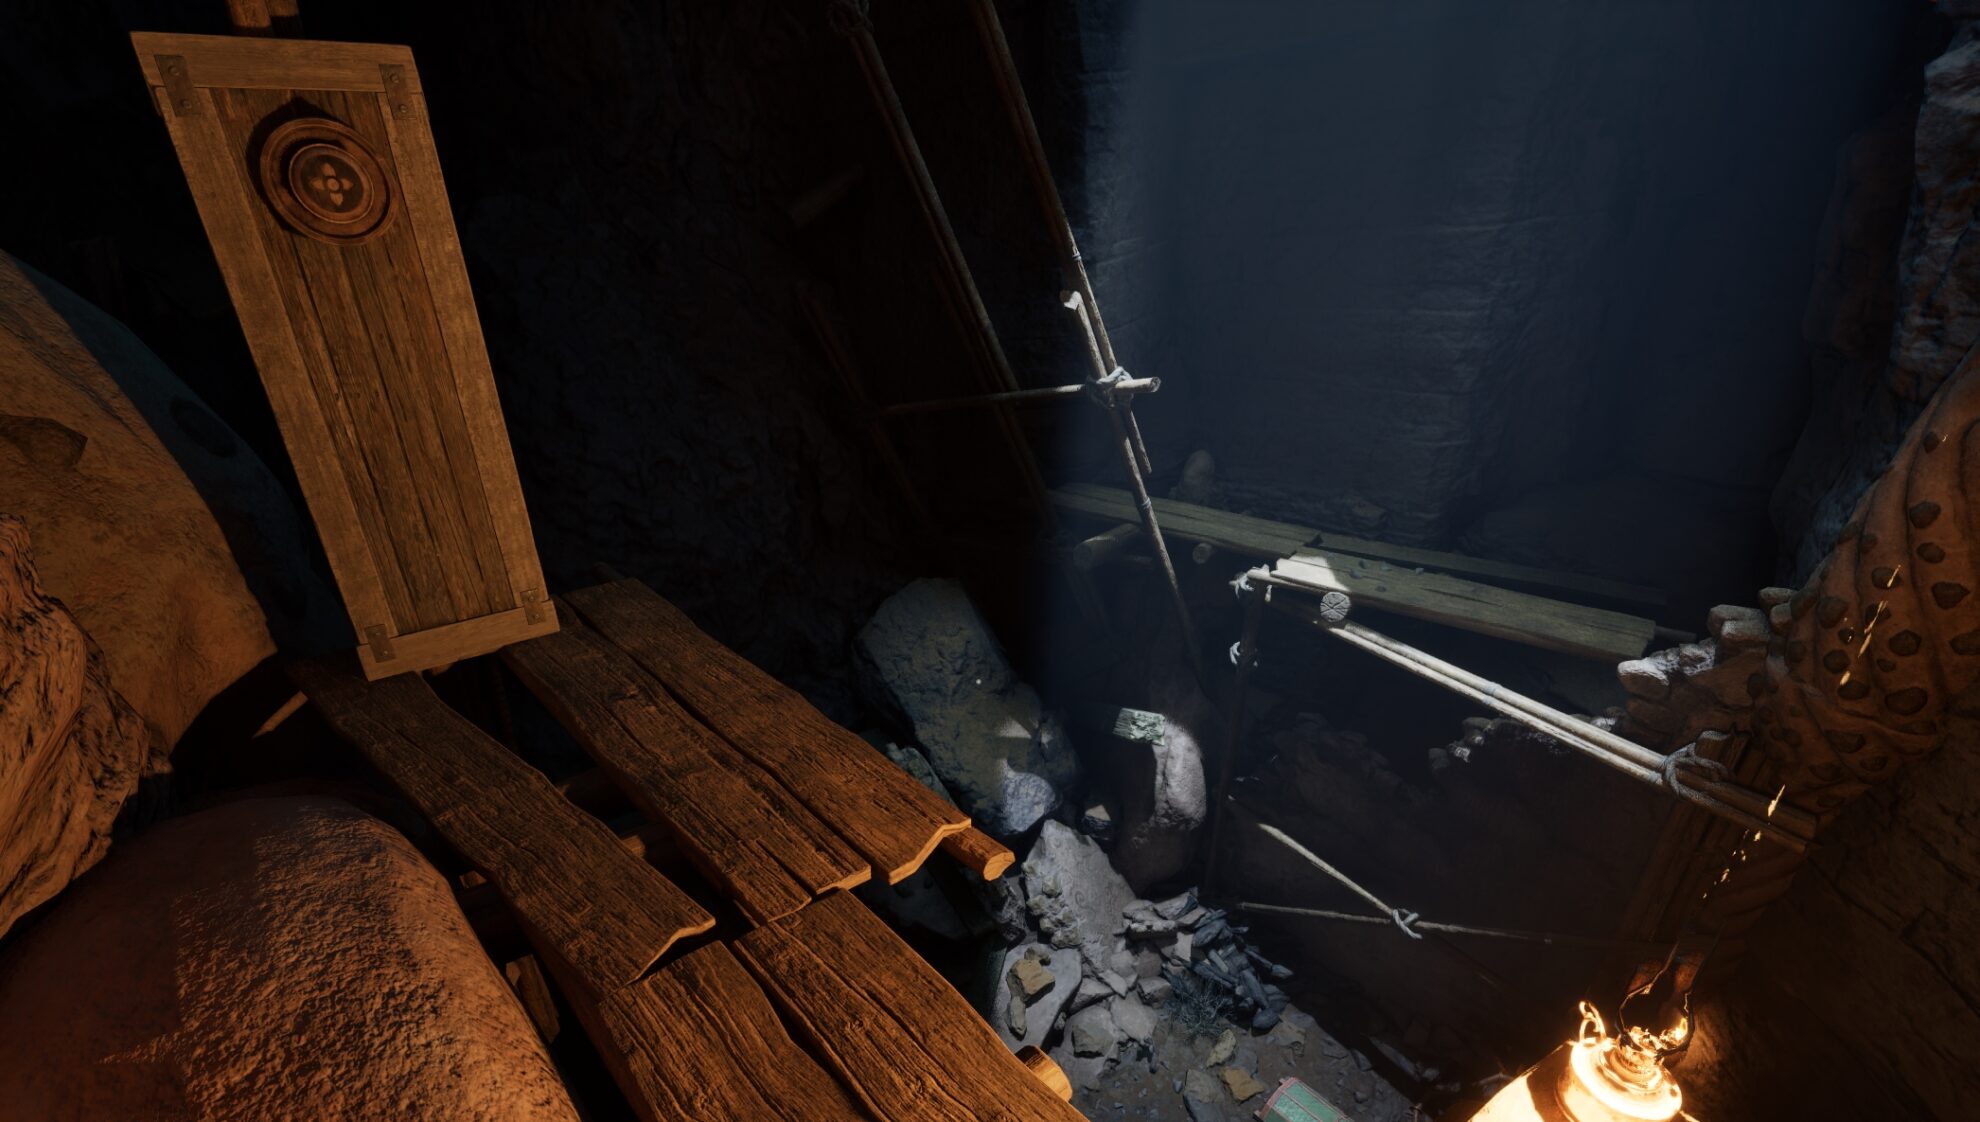
Hop onto the slanted wooden beam and use the scaffold and the other beam to reach the platform above the entrance. You can loot a few valuables off a skeleton there.
Cross the Gap
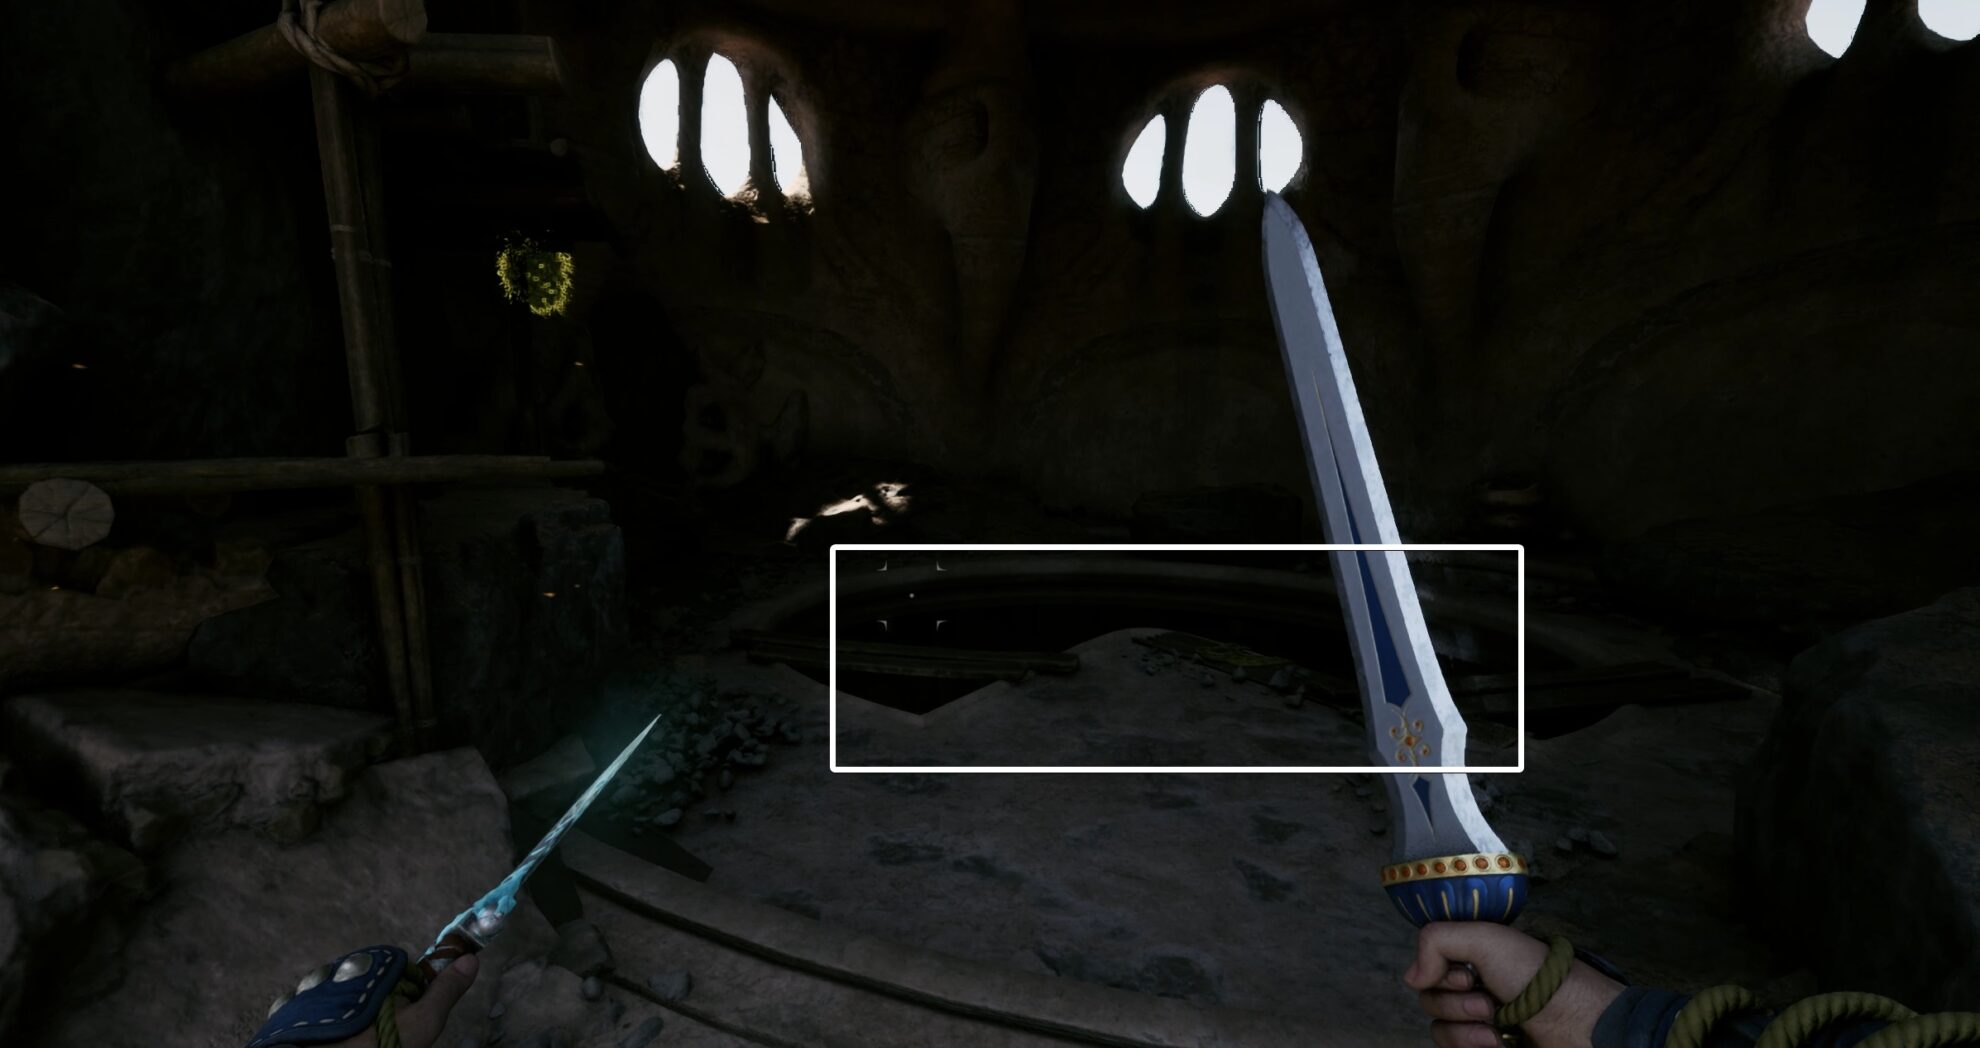
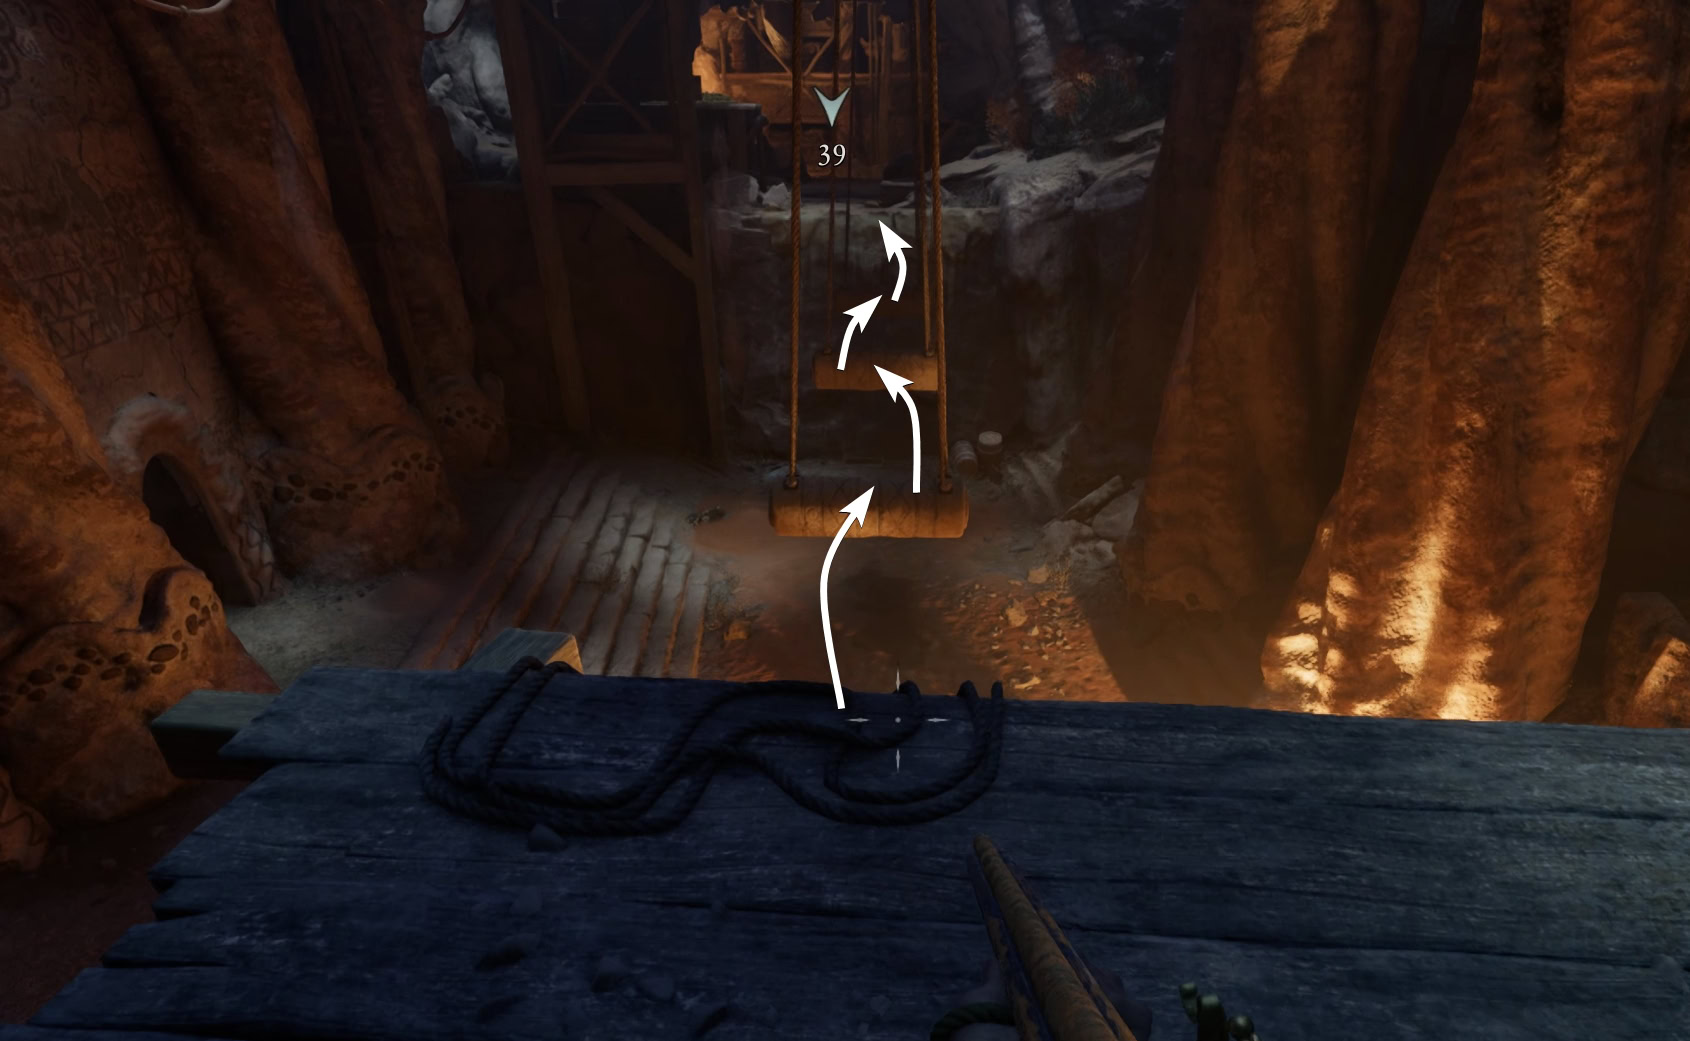
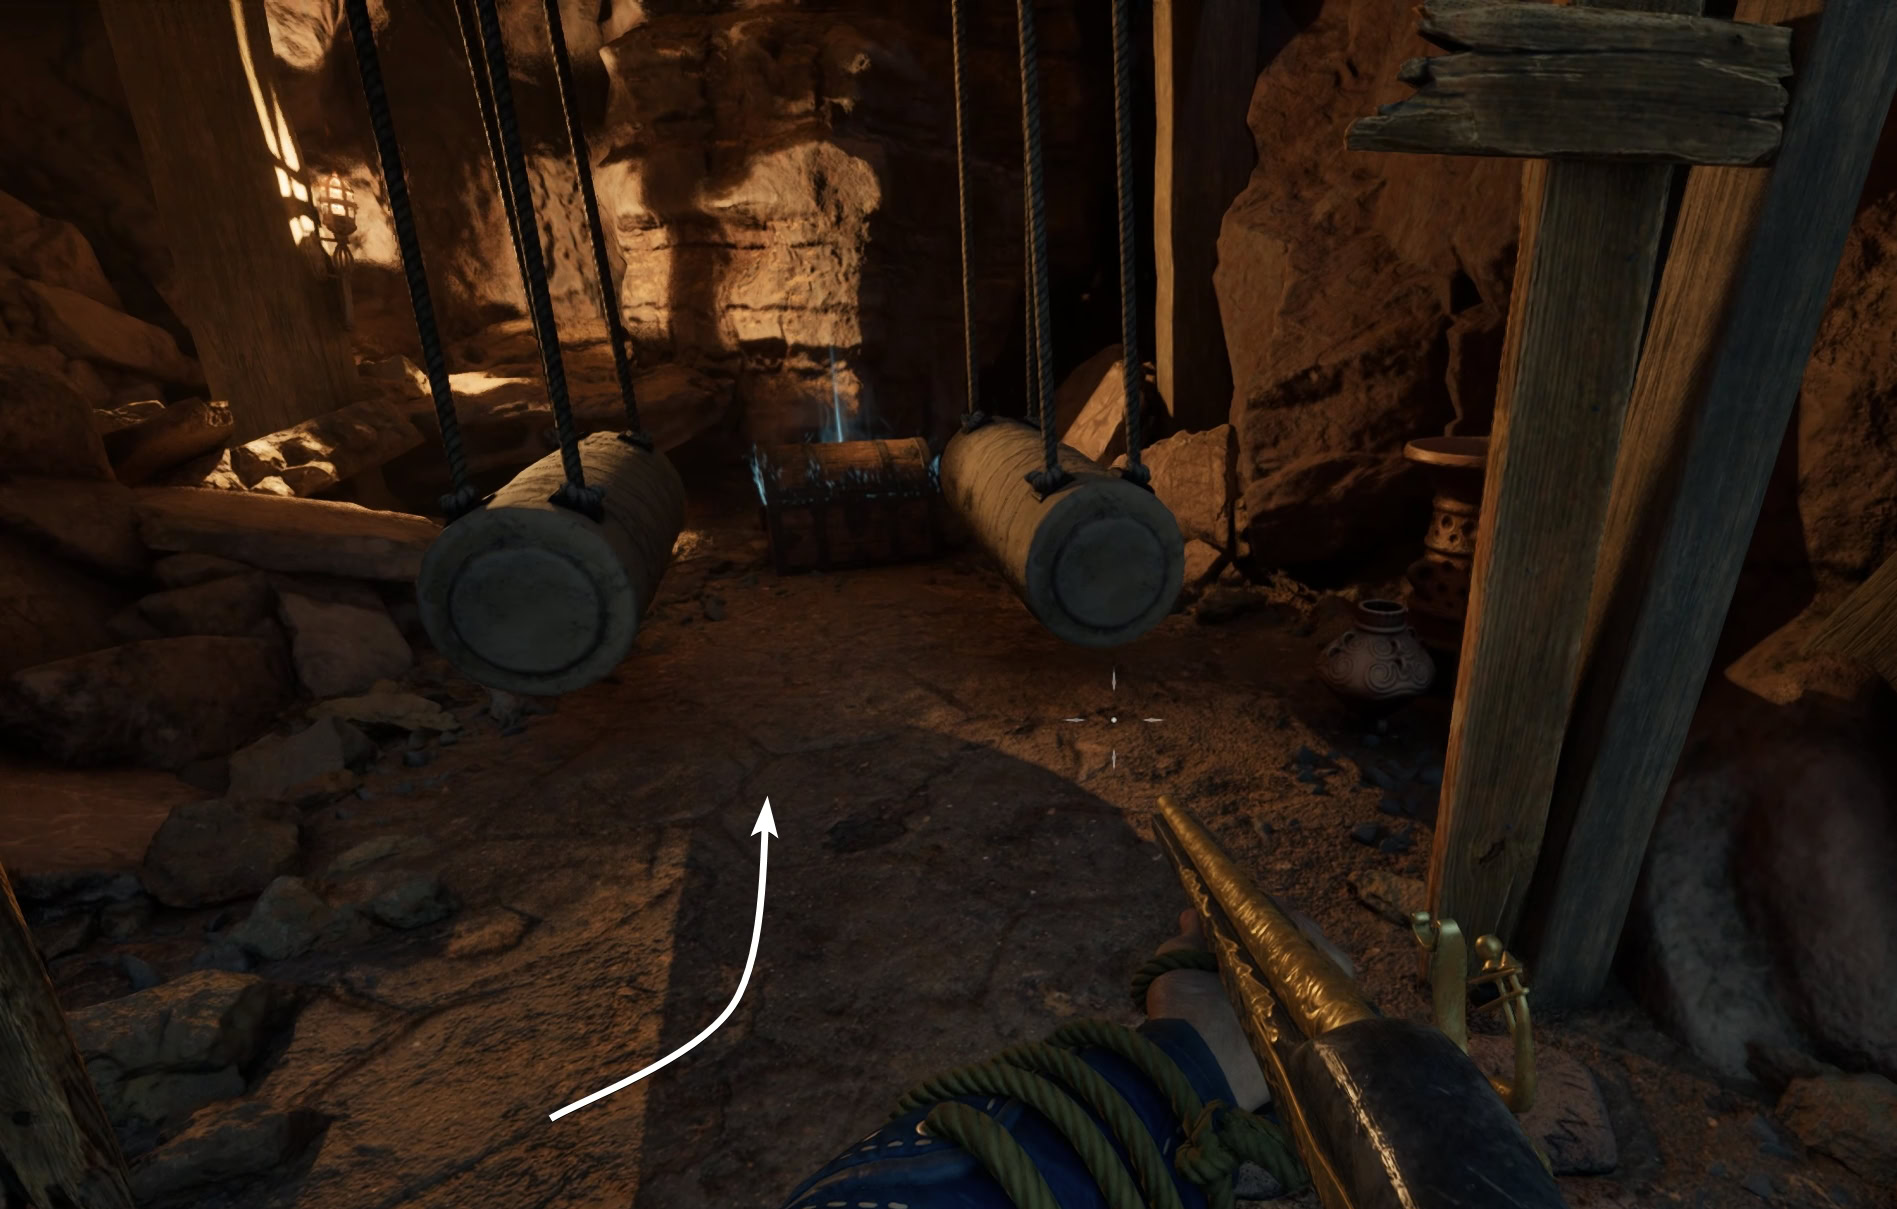
Pull the lever to call the elevator and ride it down to the lower level. When you get off the elevator, go to the lower area and turn around. Break the wooden wall on the south side to reveal a mechanism. Use electricity on it to activate it.
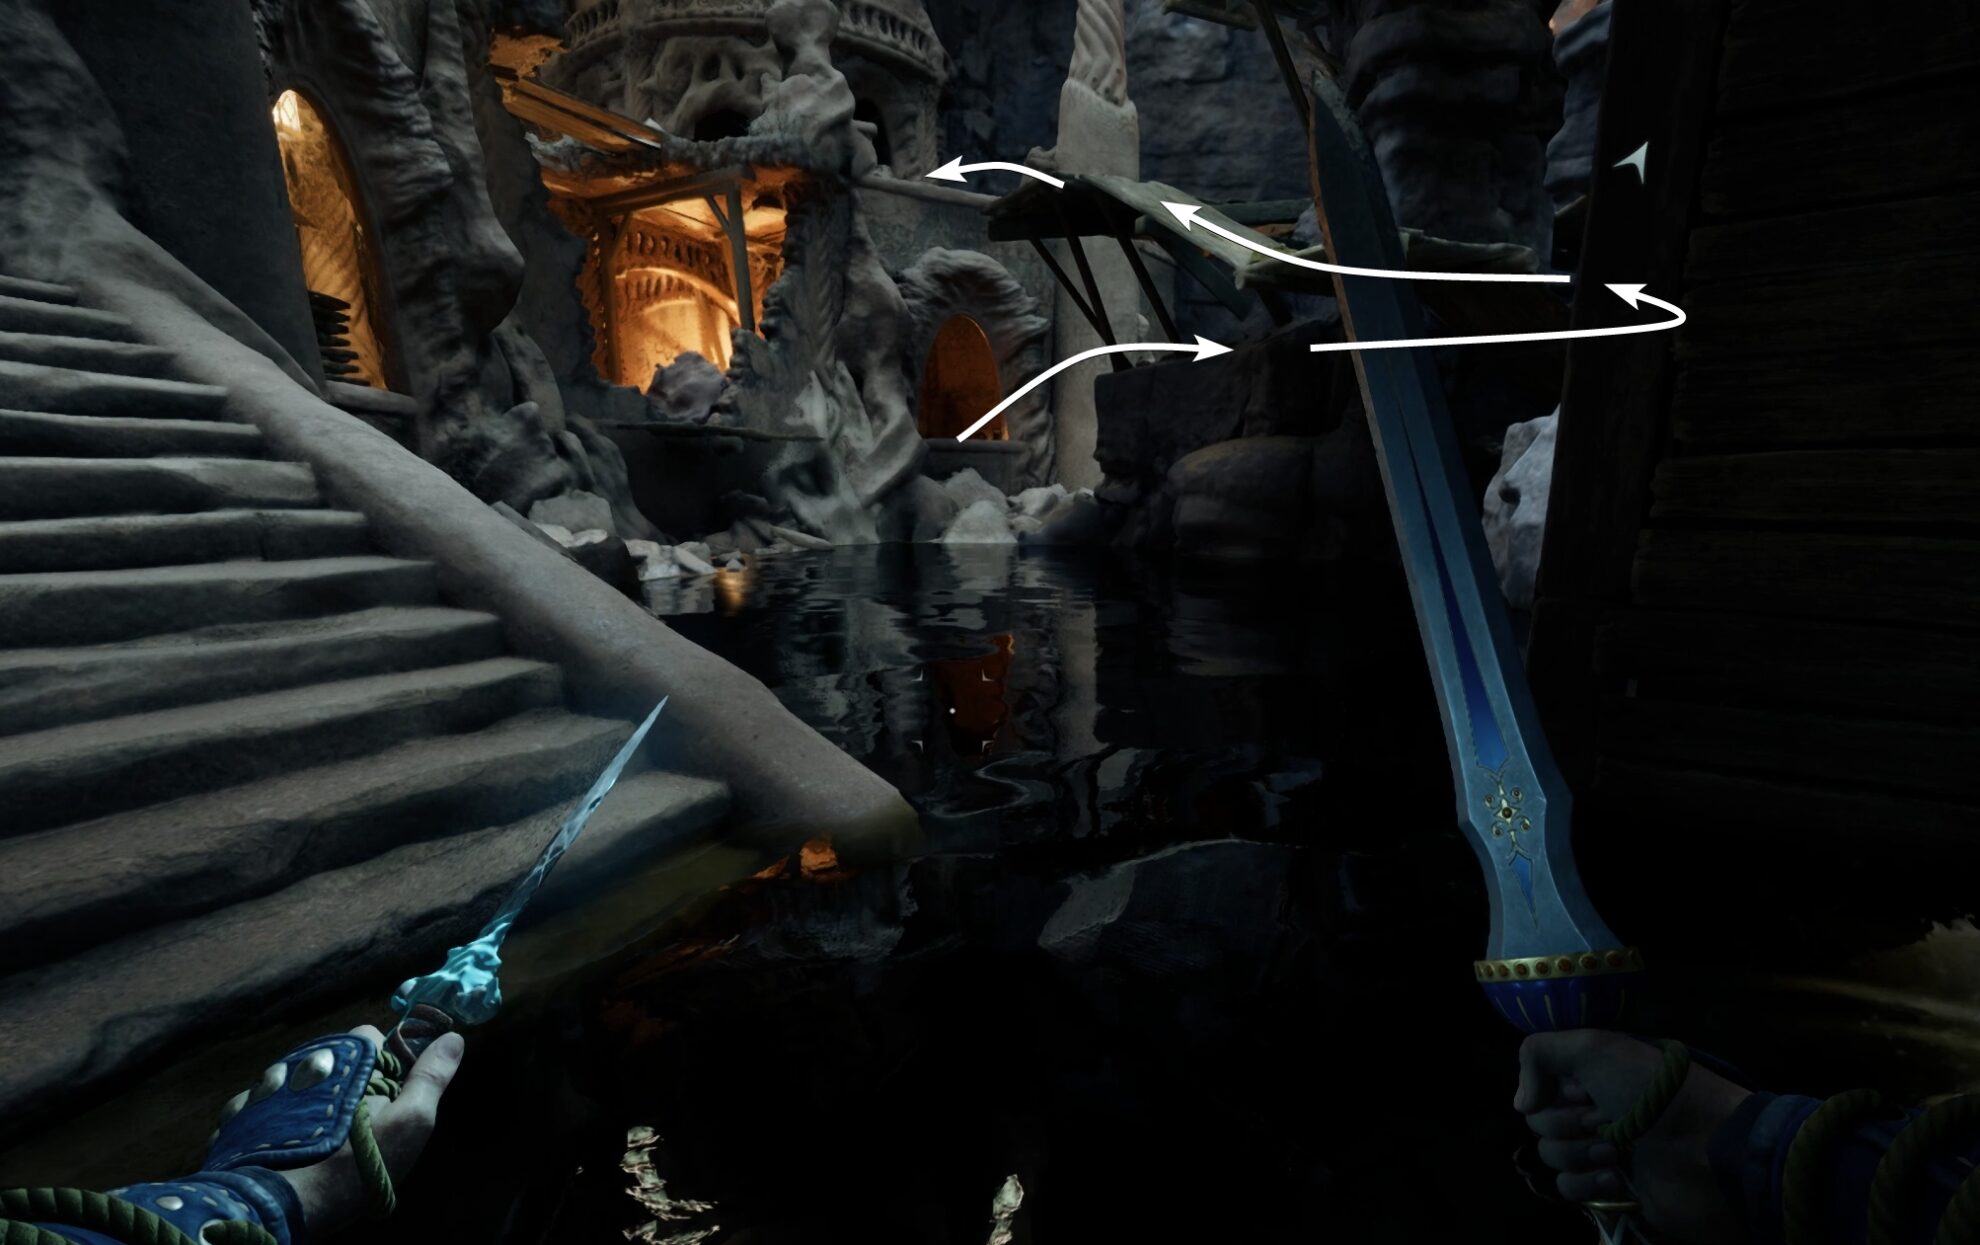
This will pull down three swinging battering rams. You can use them to cross the giant gap and reach the other side of the path and save yourself from getting thwacked as you go through the lower doors for some treasure.
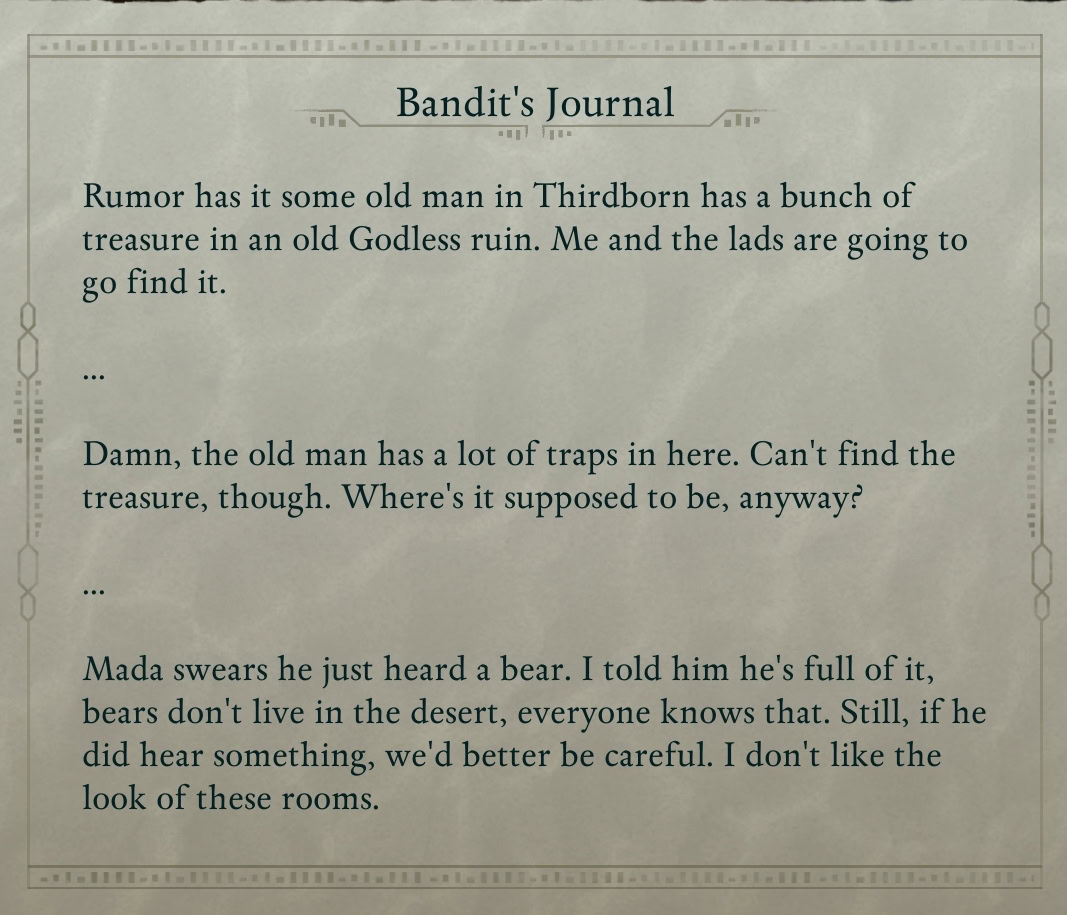
As soon as you do this, a few enemies will spawn on the left side. Take them down. Inside the alcove where the skeletons spawned, you will find a Bandit’s Journal sitting on the wooden table.
Go back up to the level where the elevator brought you. Hop across the swung battering rams and get to the other side.
Treasure Chests #5 and #6: The axes and trip wire challenge
Go straight forward and then turn right. You’ll see the next treasure chest you should loot in the middle of an elaborate death trap.
There are three rows of slashing axes that move across the corridor on a timed interval along with an absurd number of tripwires that will shoot at you. Don’t panic if you get hit by something. Panicking will likely make you run into more things.
None of these are individually deadly, but you can avoid taking damage by carefully analyzing your steps. The wires are placed in a zig-zag way that allows you to cross the slashing axes lines in a corner and have enough room to disarm the traps.
For your bravery, you are rewarded with an extra treasure chest full of materials and such. After you climb the stairs, look to your left.
At the top of the staircase, you’ll find a bunch of skeletons to dispatch and another chest.
Treasure Chest #7
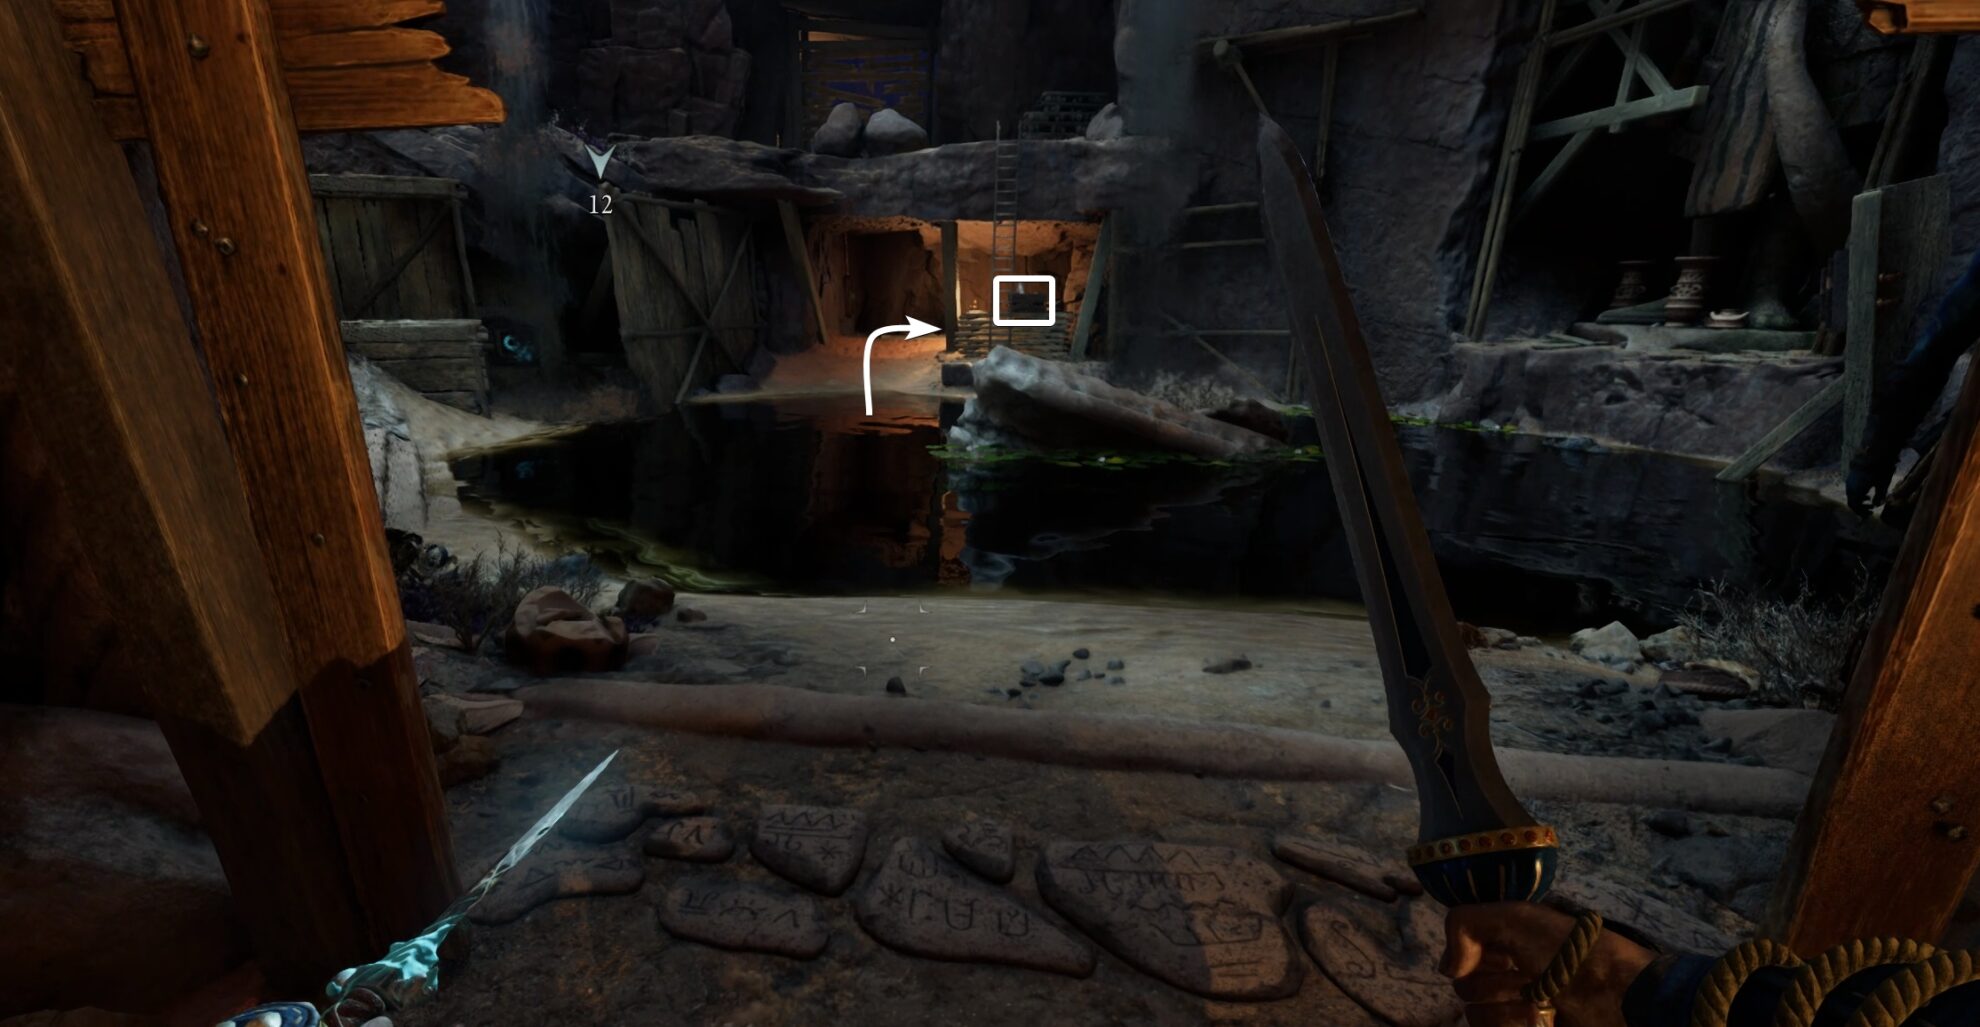
After the fight is over, as you stand on the archway from where you came, to your left (west side), there is a treasure chest standing between two of those hanging battering rams. When you approach it, beware of the stone tiles trap at the entrance.
Treasure Chest #8
Across from the chest, on the other side of the area, behind the wooden ladder, you can unlock and loot a small lockbox sitting on top of a wooden beam.
Treasure Chest #9
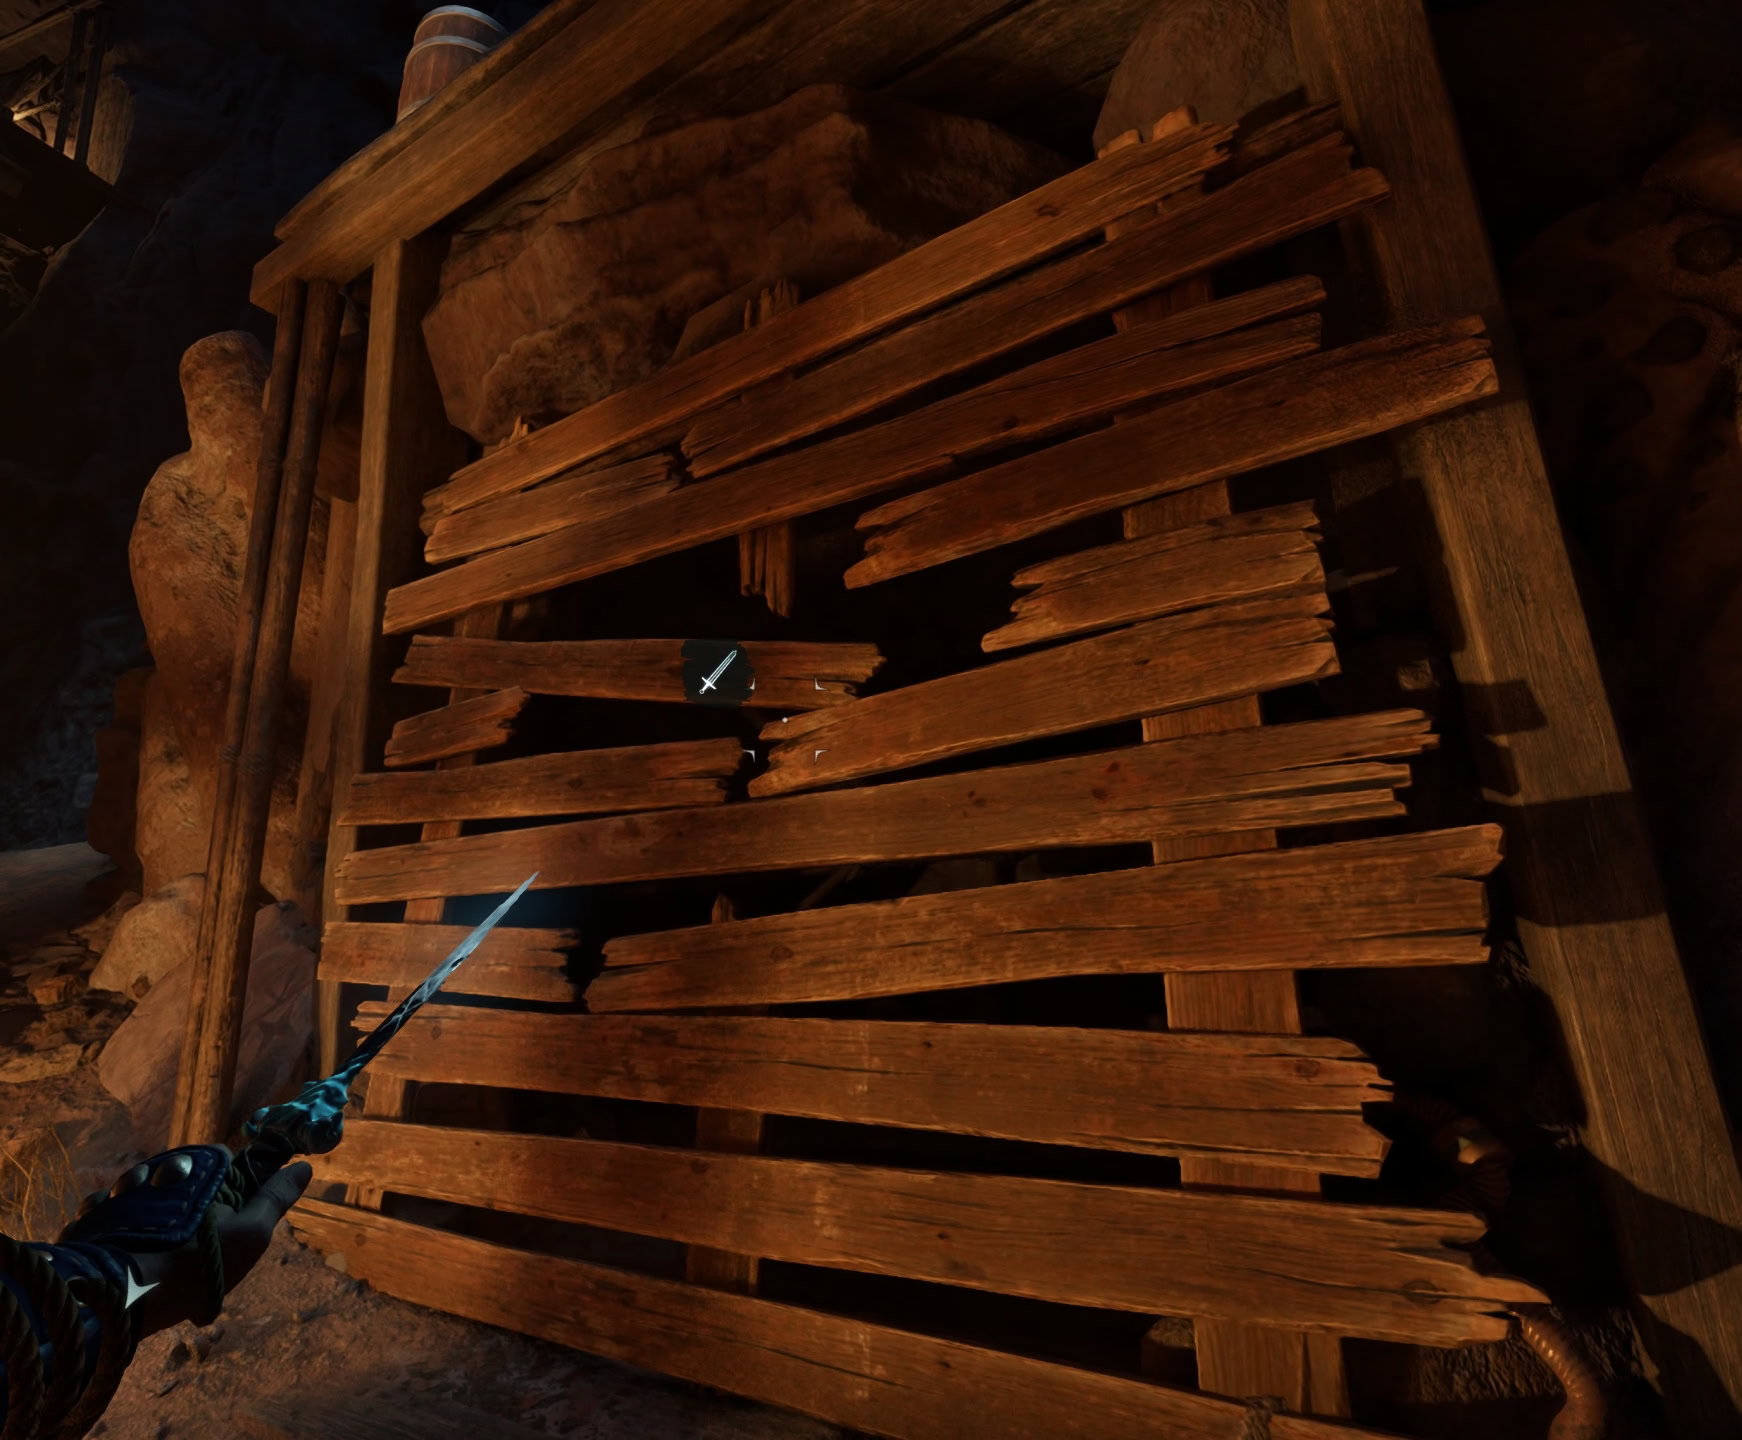
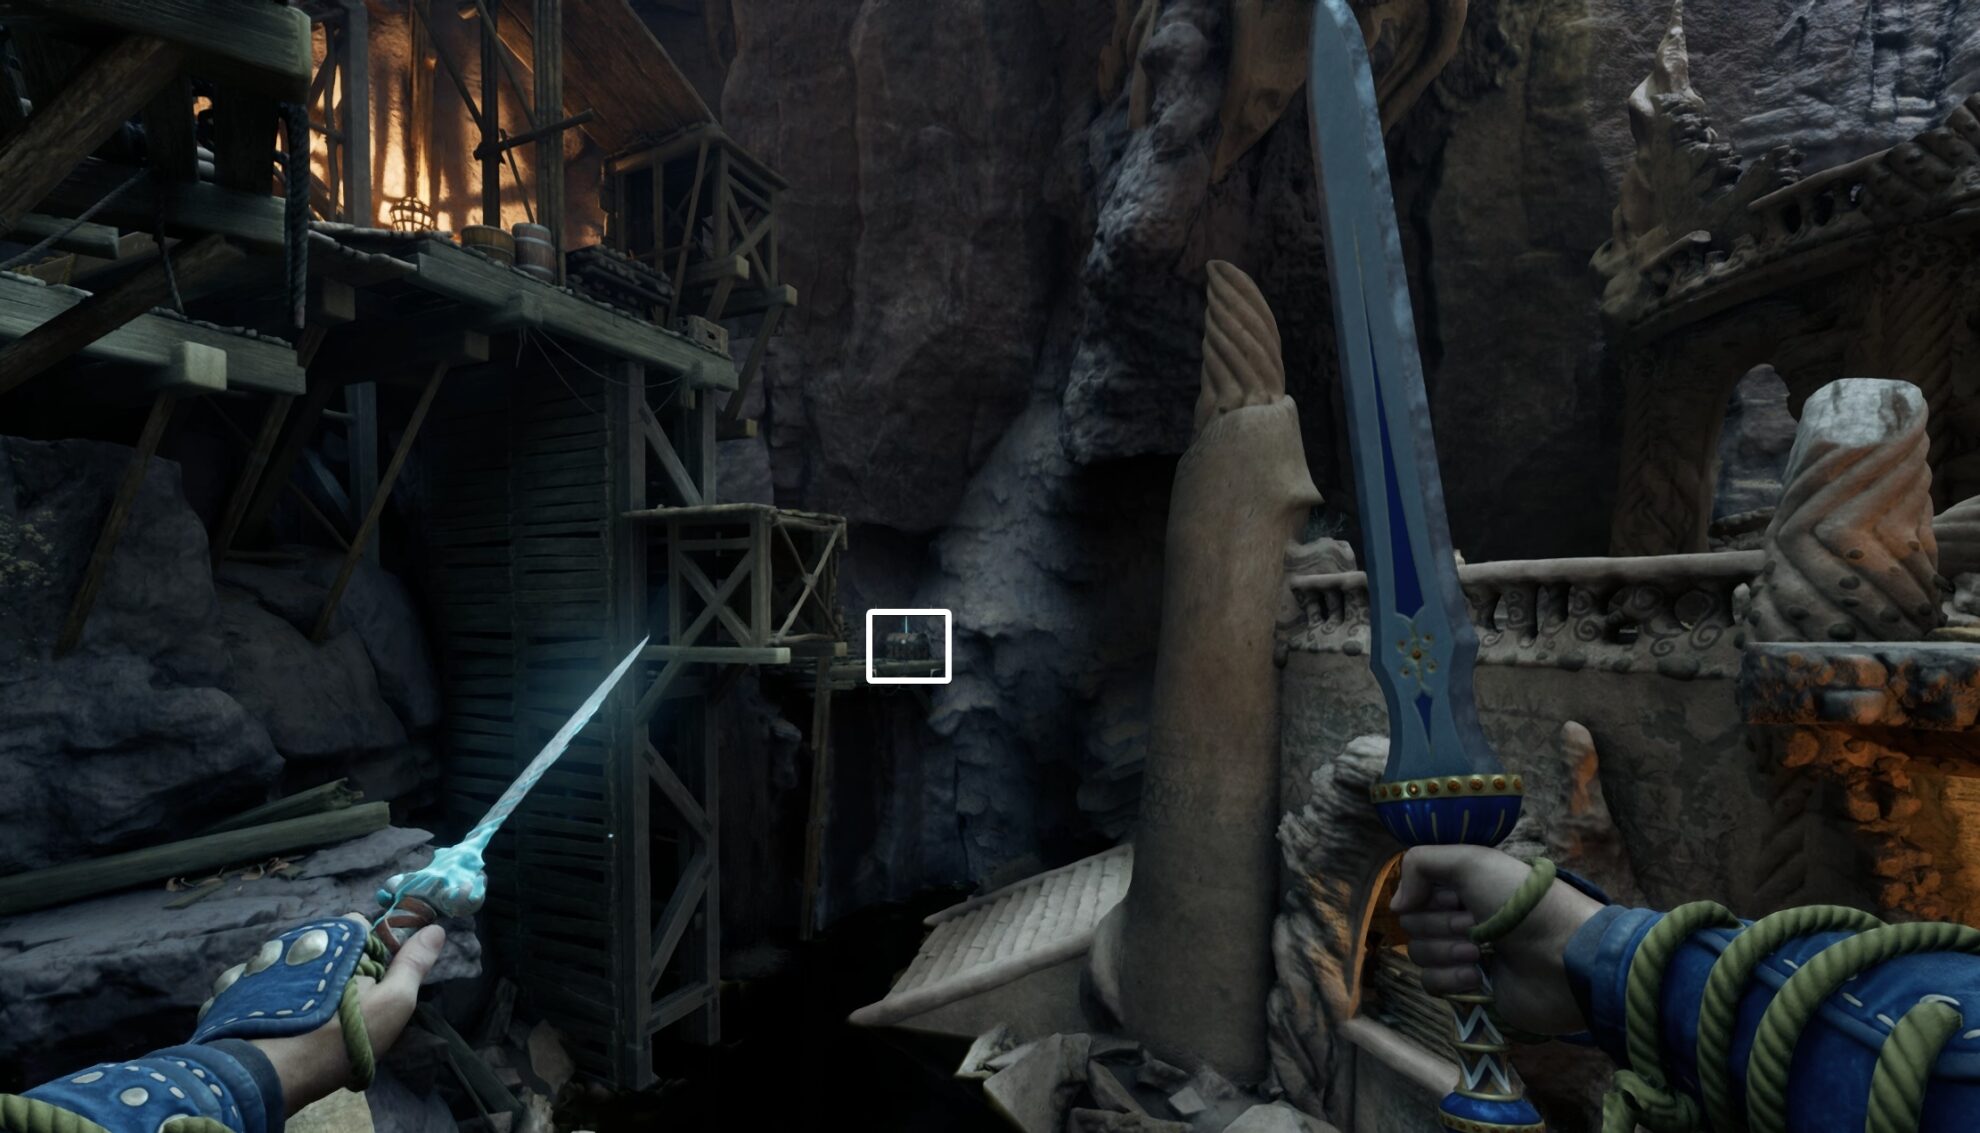
Climb the wooden ladder. The weak wooden fence will reveal the next area you can explore (#1 on the image below). But first, head up to that scaffolding to look at a skeleton around the corner.
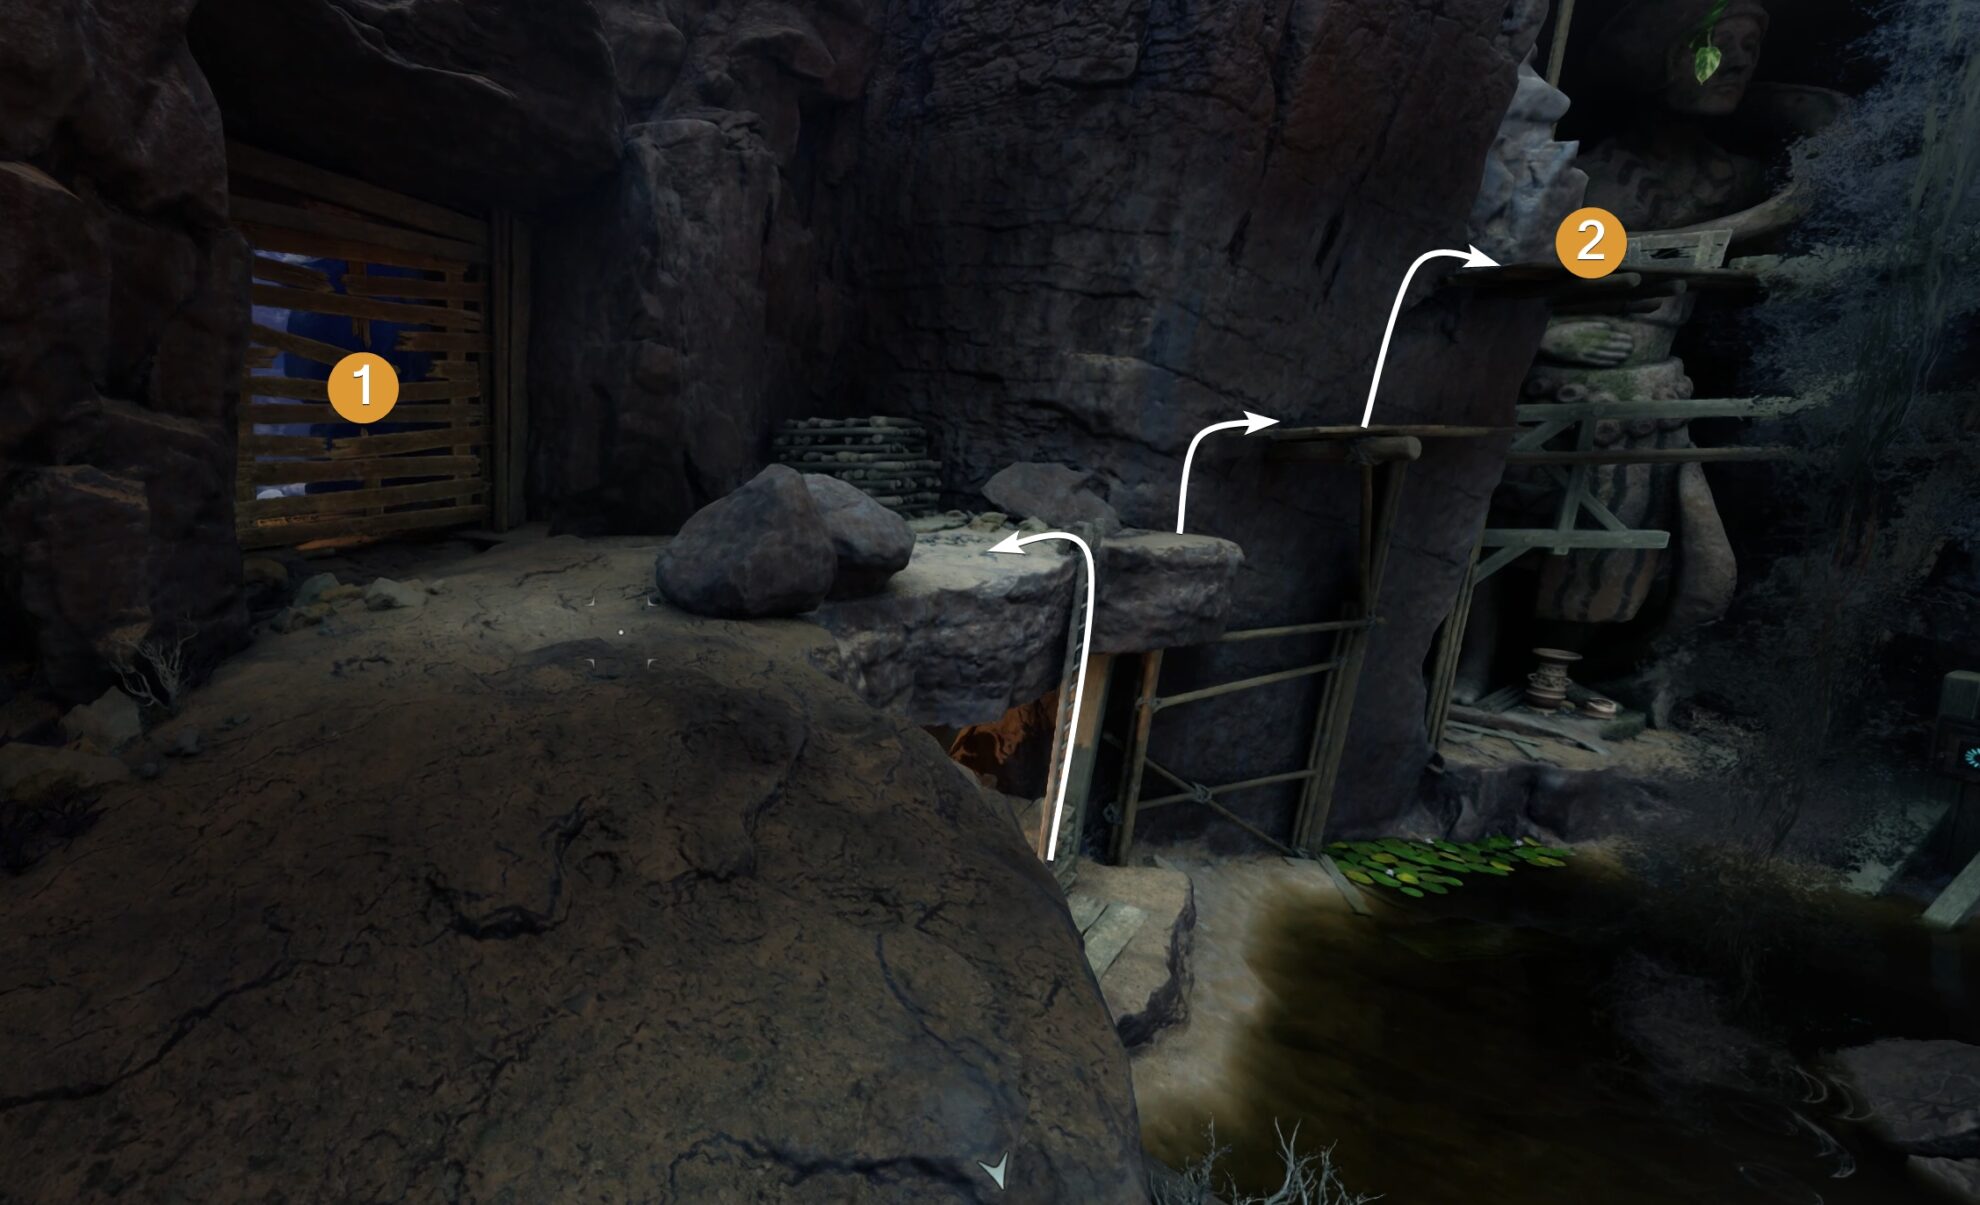
After you break the wooden fence, the treasure chest is almost immediately on the other side. Drop down to the lower platform and loot it.
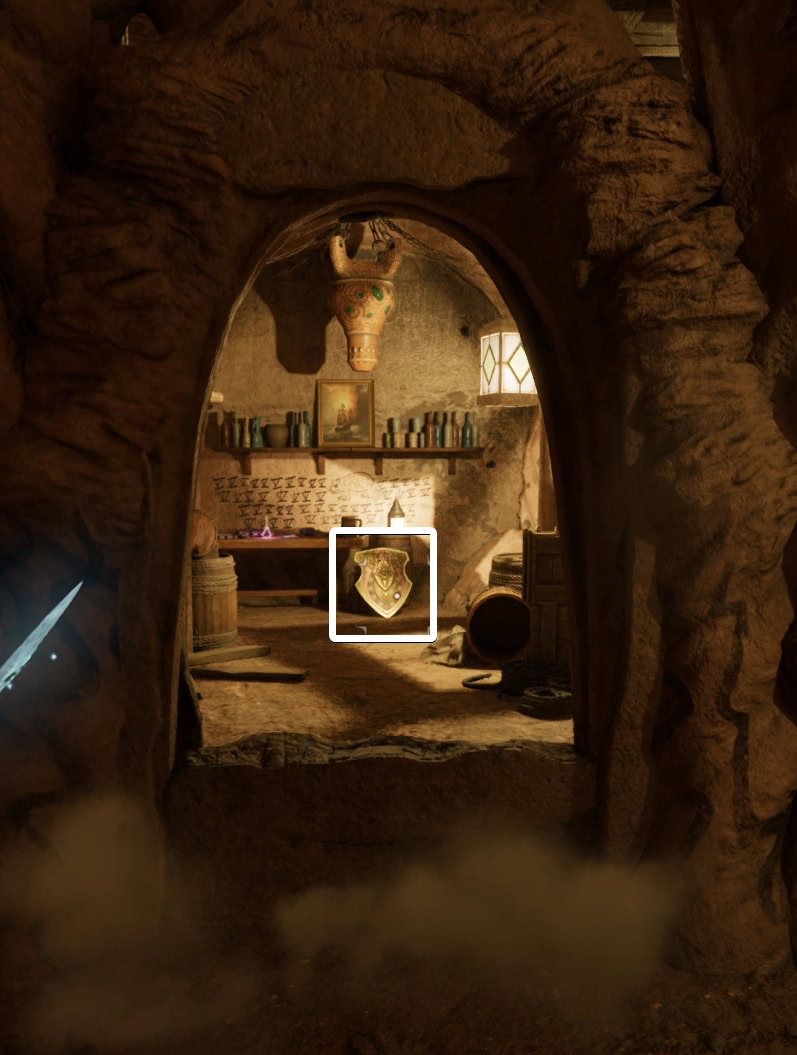
Semi-Secret Room: The Desert’s Bounty (Shield)
Across the room, to the right of the treasure chest with the two battering rams hanging around it, there is a brightly lit area with what looks like tents and lots of markings and drawings on the walls.
As soon as you get there, look at the west wall. There is a small switch on it. Push it to open the secret door to the right of it.
In the small room, sitting on the ground, you will find The Desert’s Bounty, a Unique Shield.
The Desert’s Bounty (Shield)
The Desert’s Bounty is an underwhelming Unique Shield that offers some protection from Fire during the day and Frost at night while also improving your maximum Stamina.
Desert Walker
+20% resistance to Fire Accumulation during the day
+20% resistance to Frost Accumulation at night
Peak Conditioning
+30 Maximum Stamina
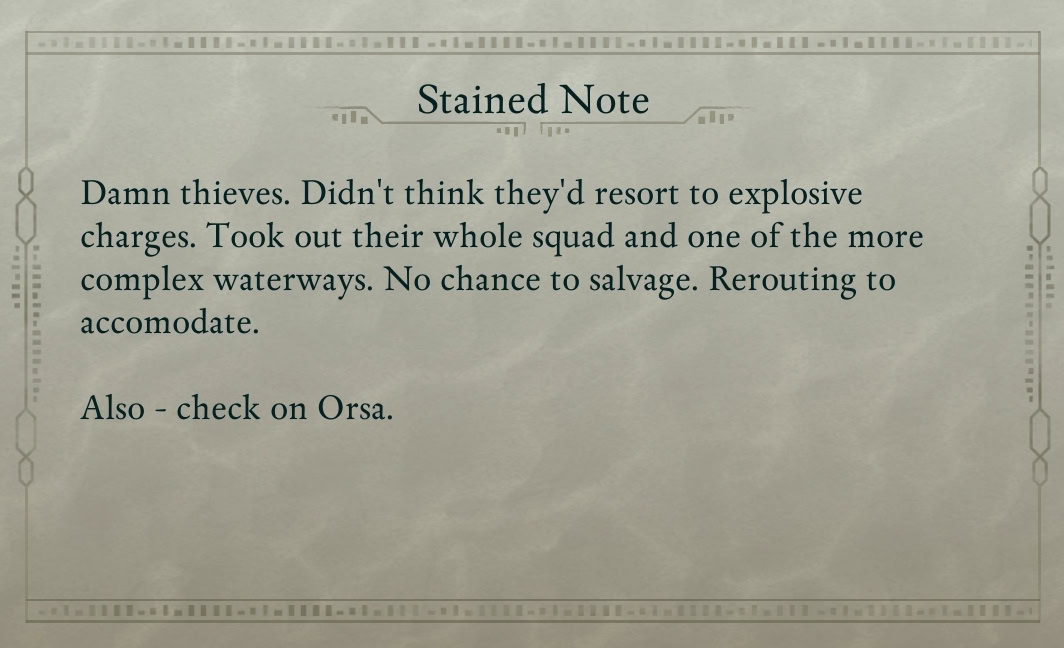
To the left of the shield, on the table, you can read a Stained Note.
Exit this brightly lit area to the south to find a small pond. On its east side, you will see some scaffolding. Ignore that for now.
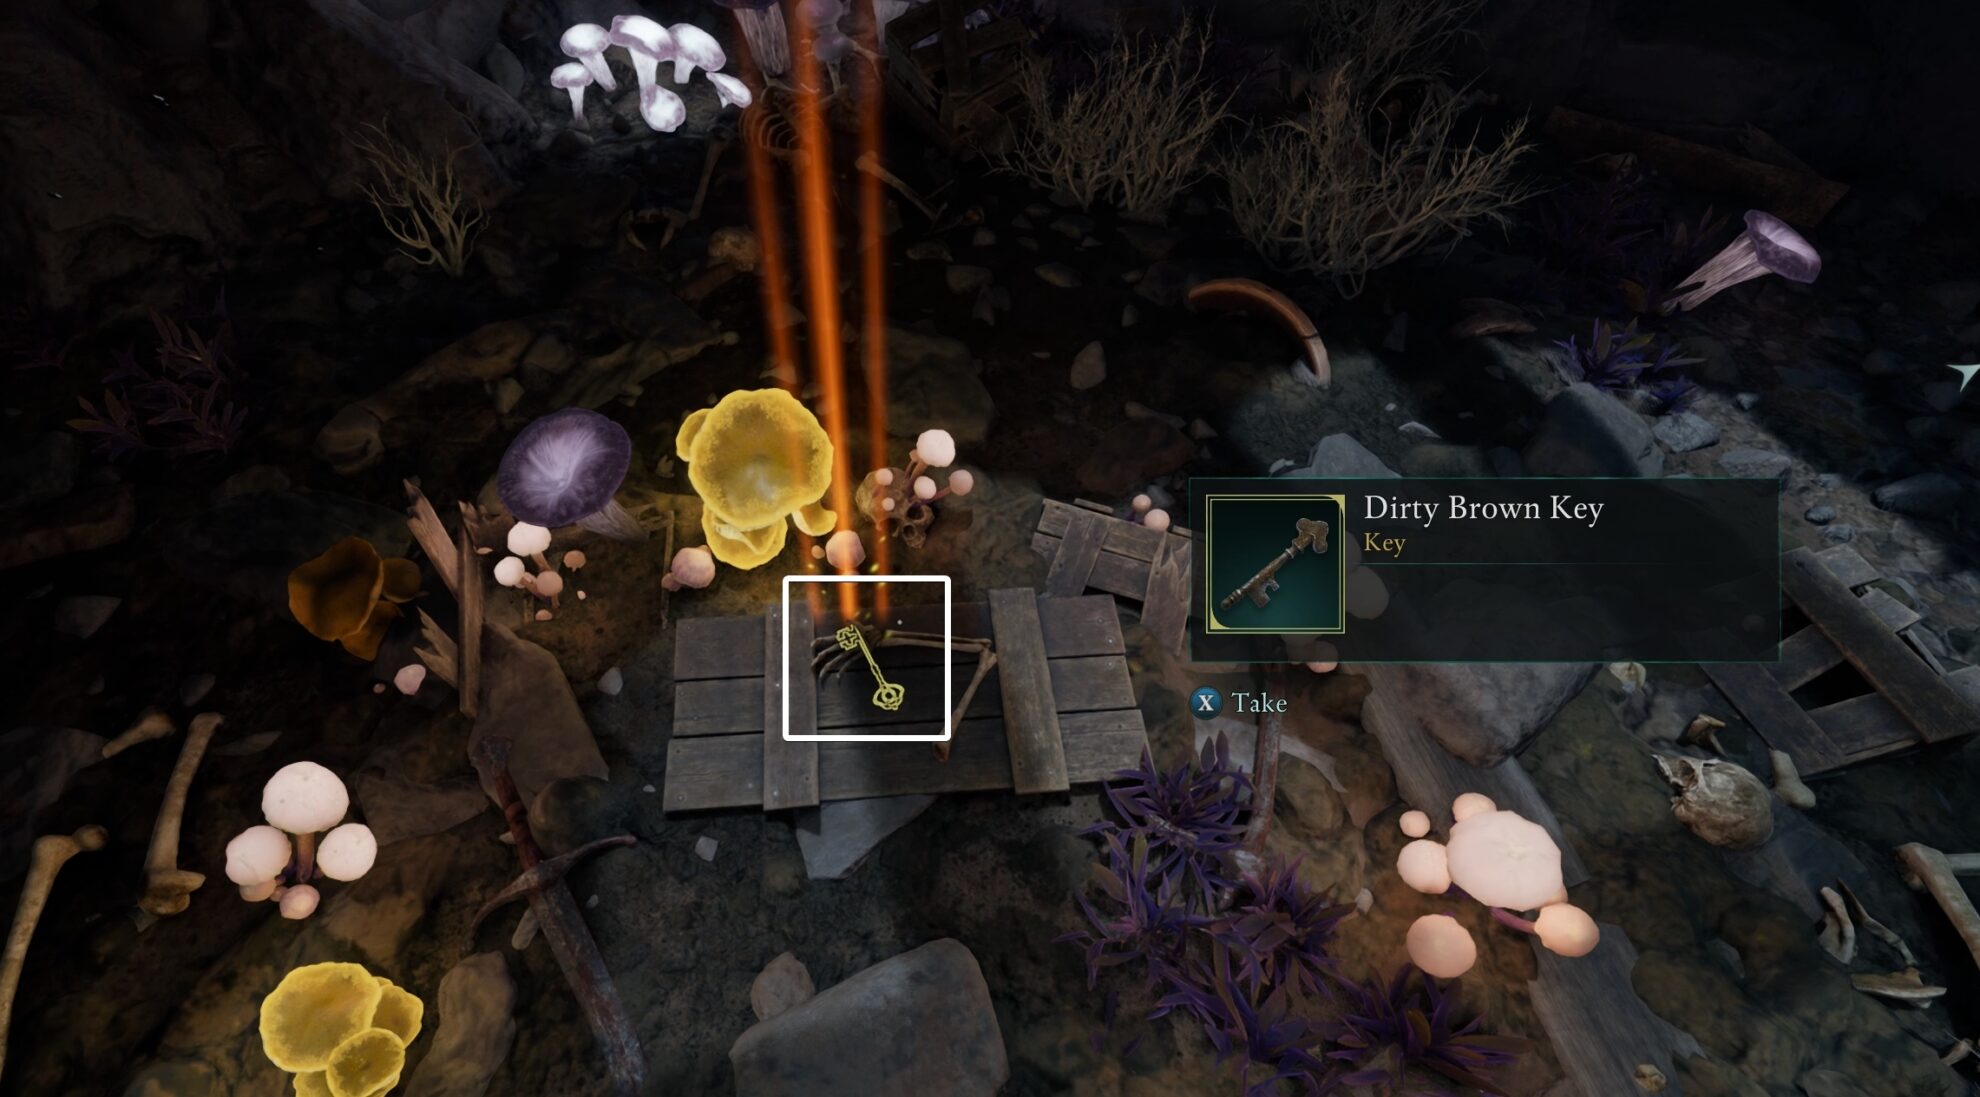
The Dirty Brown Key and Treasure Chest #10
Dive into the pond and swim underwater heading south. You will reach another cave where you will find the Dirty Brown Key. To the right is a treasure chest which requires lockpicks.
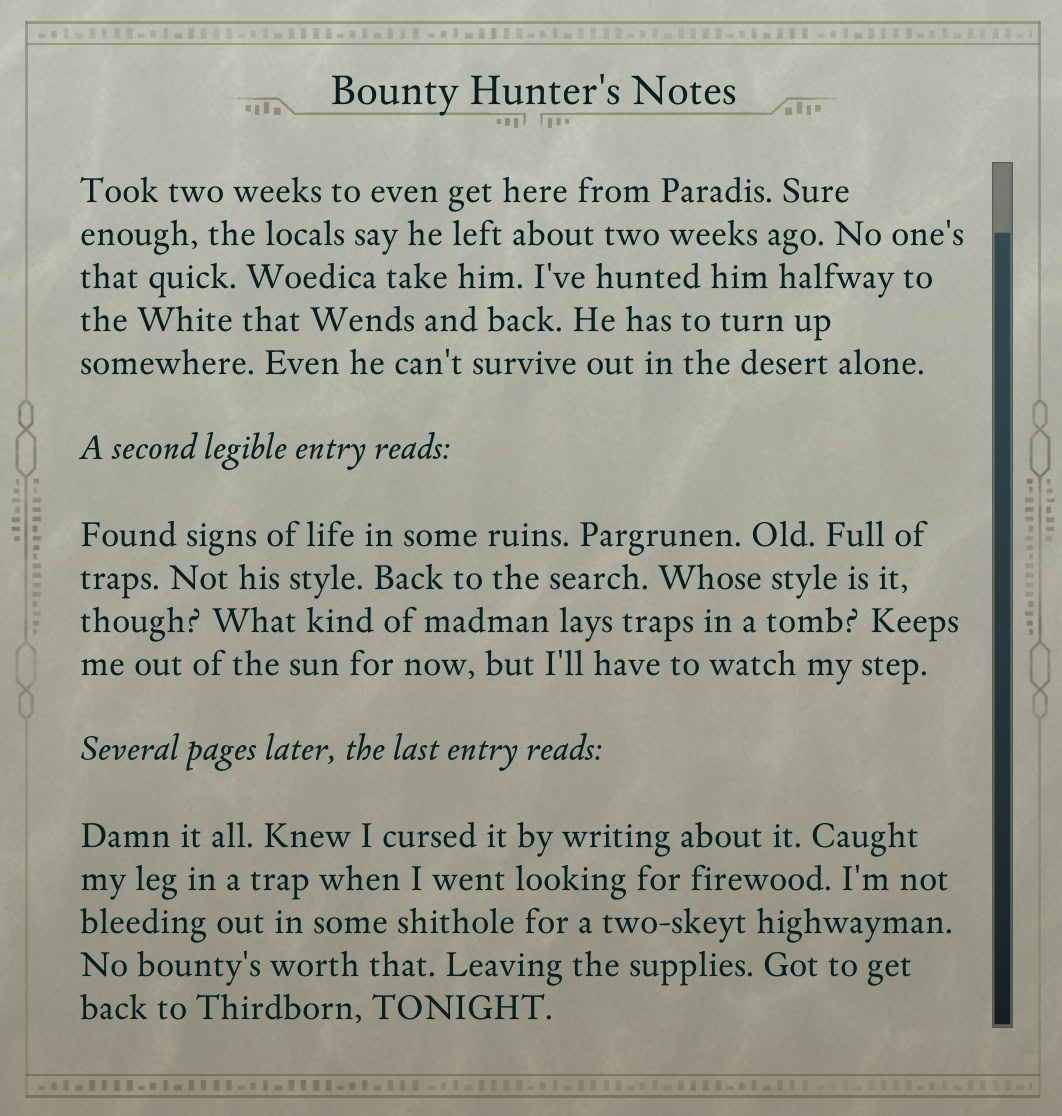
Skeleton and Bounty Hunter’s Notes
Head back the way you came and climb the scaffolding. The wooden planks supporting the battering rams protecting treasure chest #7 from below with the battering rams, you can loot a skeleton’s remains for a few materials and Bounty Hunter’s Notes.
Treasure Chest #11
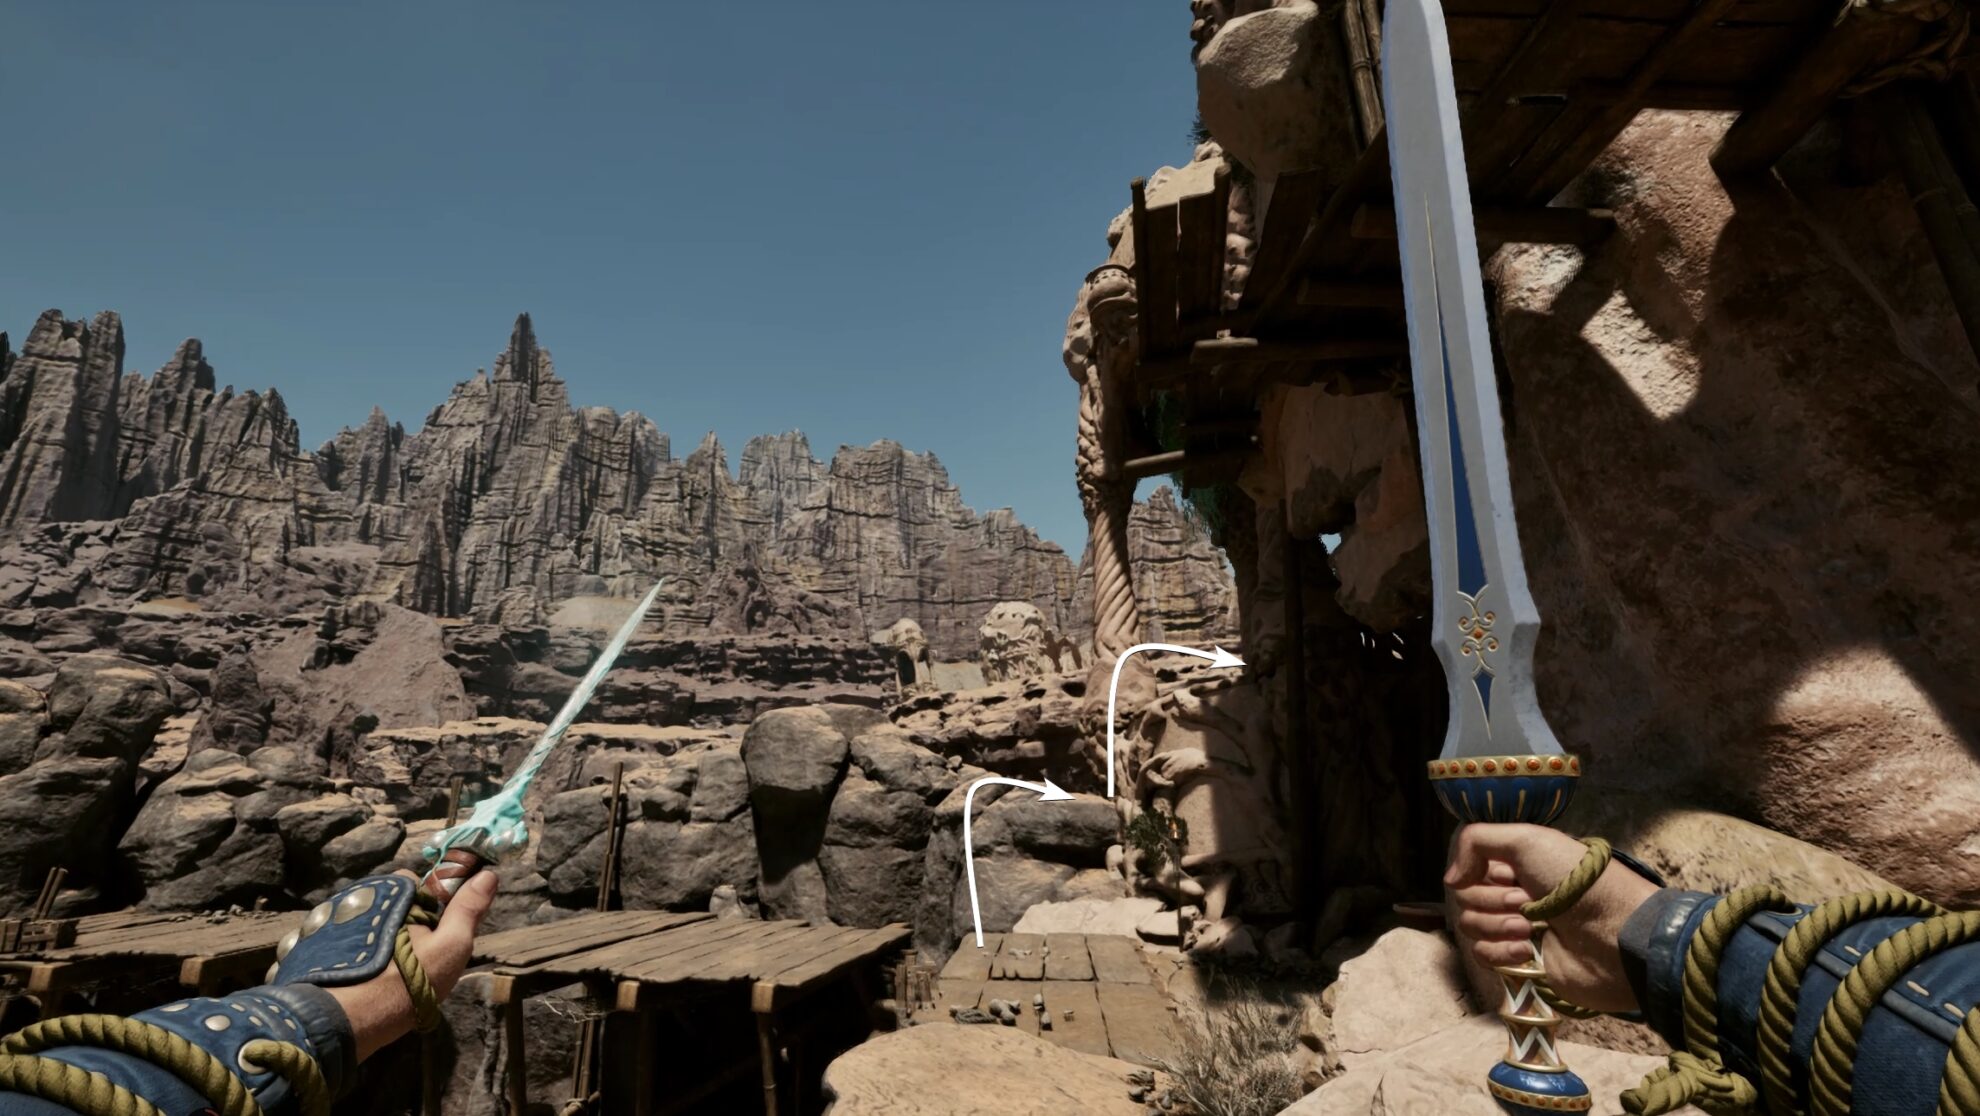
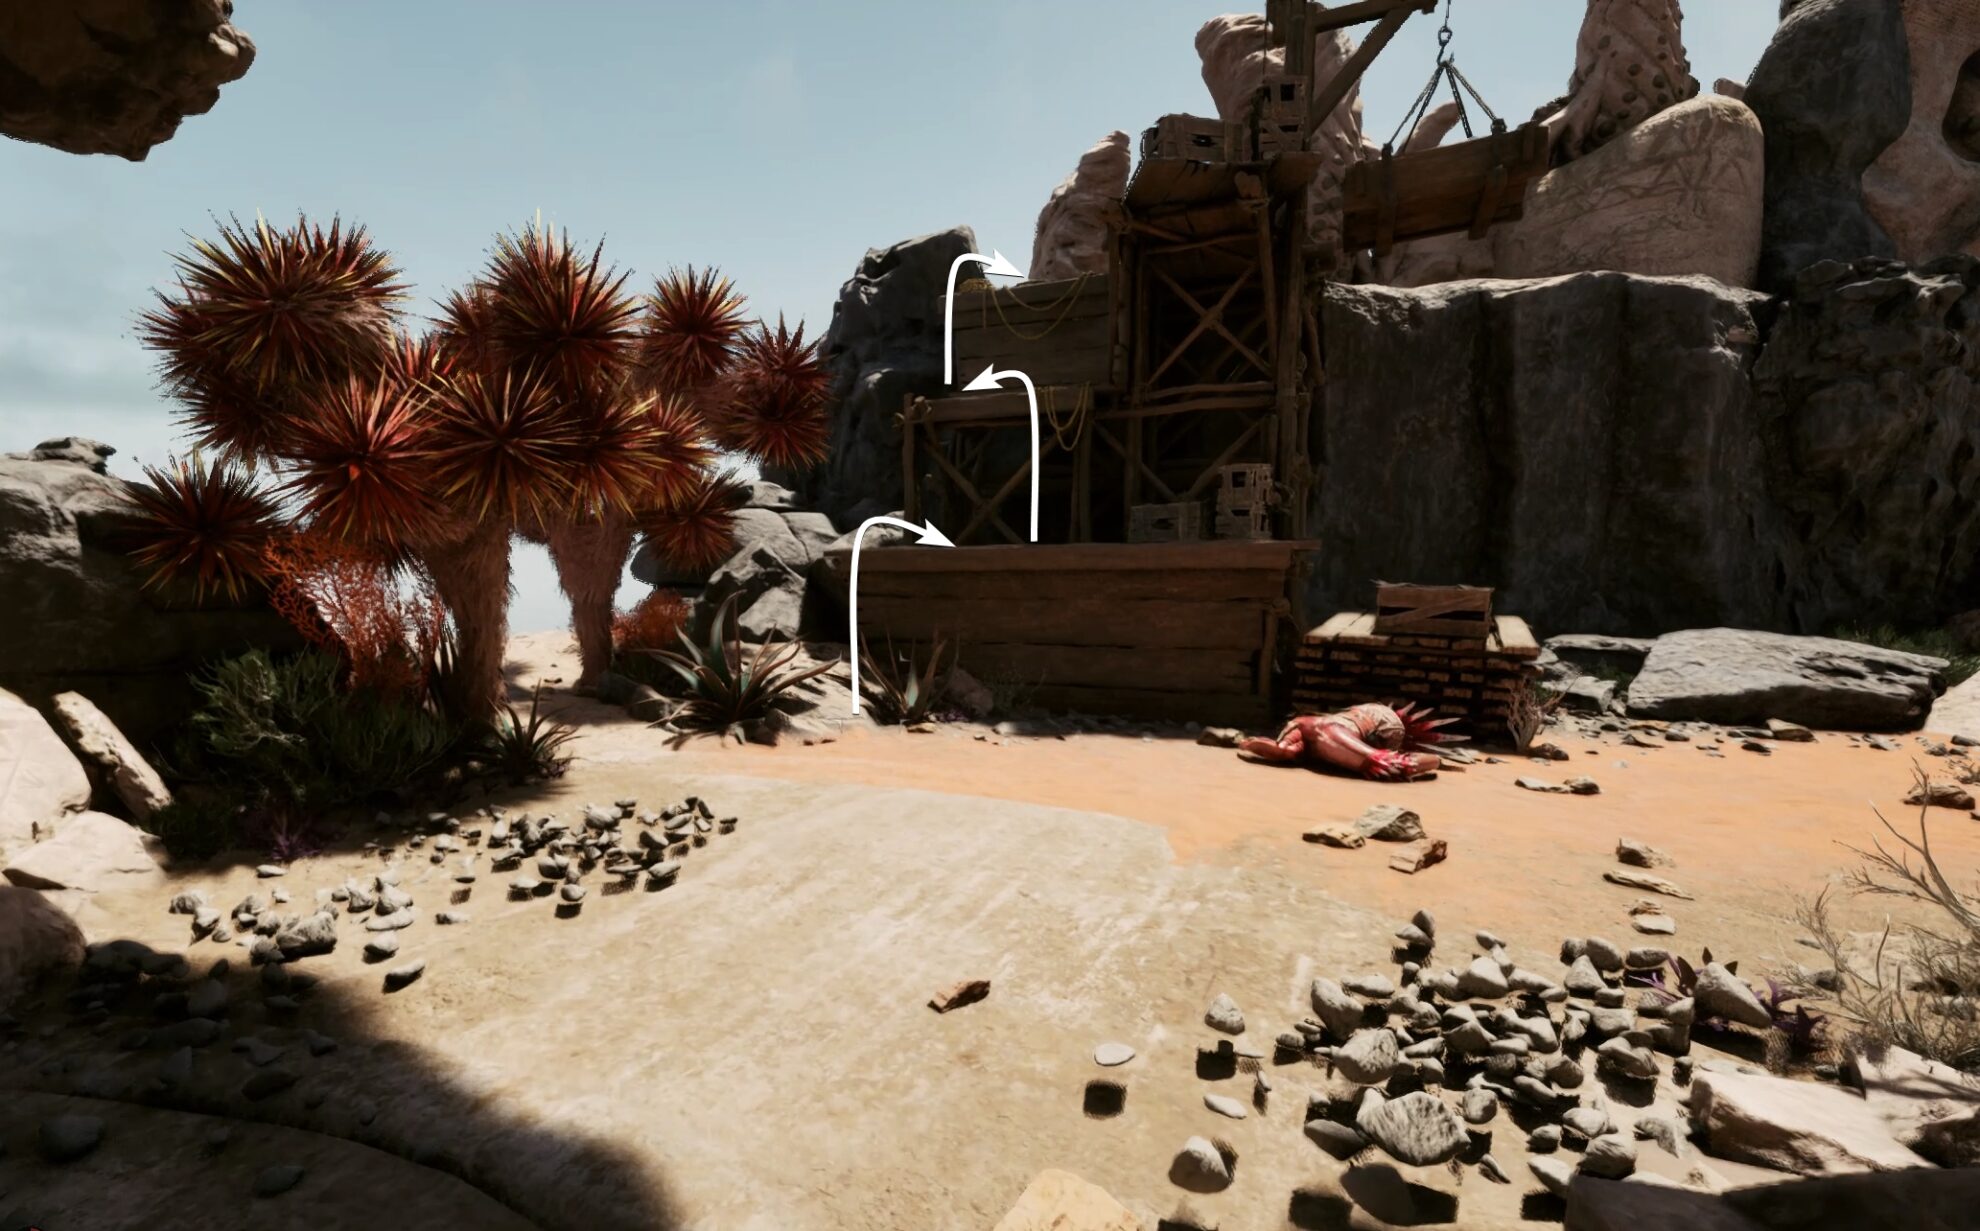
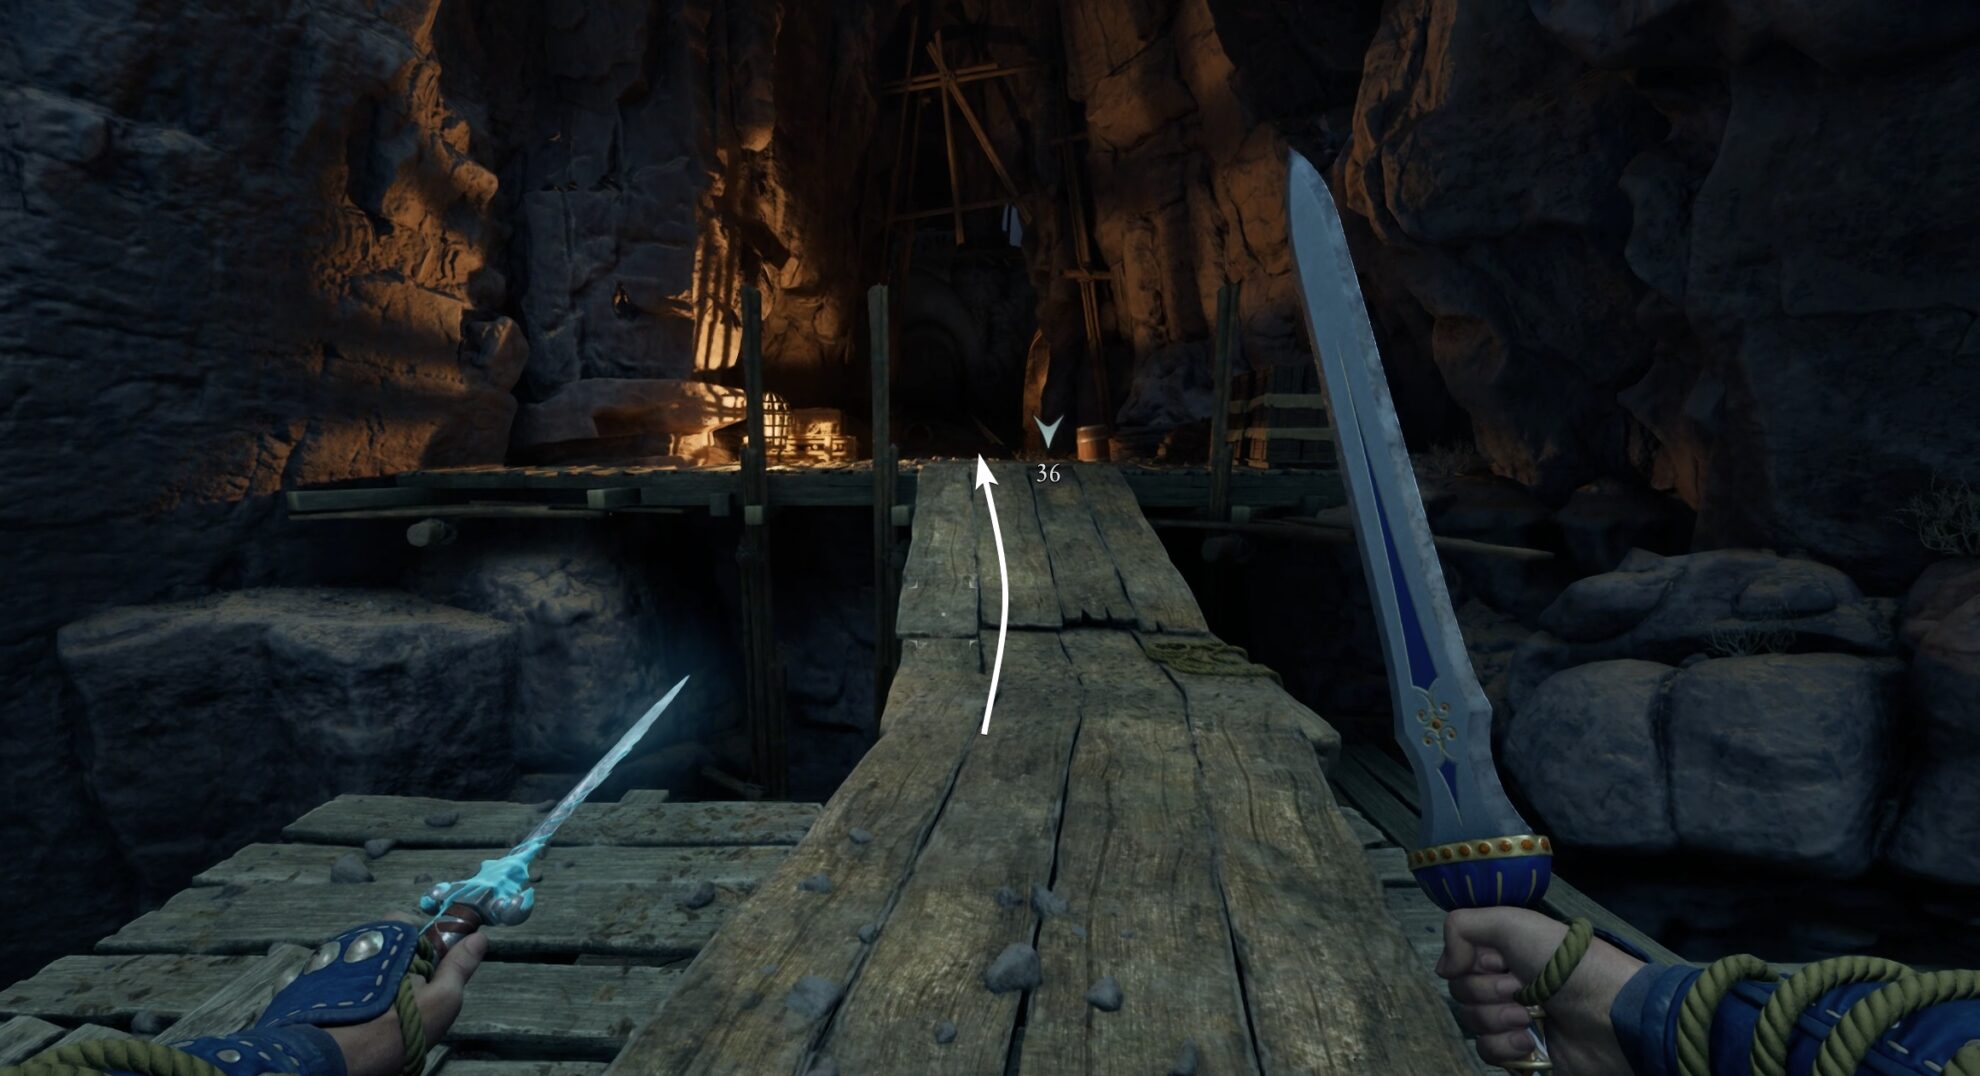
After you loot this skeleton, turn around to face the scaffolding again. On another scaffolding connecting to the rocky wall on the far south end of the area, you can spot another treasure chest. To get to it, turn left and use the wooden paltforms along the wall.
Your quest marker leads you through a stone arch at the top level in this area. From the center platform, use the wooden scaffolding to cross and find yourself in a short narrow tunnel.
Treasure Chest #12: Conspicuous Door with 2 buttons
Before you continue with your main objective, look to the west. In this alcove there is a secret door with a note and two buttons. Push the left button to open the door. Behind it is the next treasure chest.
You can tell it’s the left button because there is a skull next to the right one. That skull was presumably scorched by the flames above.
Climb up the scaffolding in the room and press the button to disable some traps. I think this one is meant to turn off the fire in the completely skippable room, but it didn’t work when I did it.
Treasure Chest #13 and Orsa
The tunnel after the secret door will lead you to a new area where you will have to fight a bear. Yes, Keipo managed to get a grizzly bear in here. On the left side is yet another treasure chest. Maybe deal with the bear first.
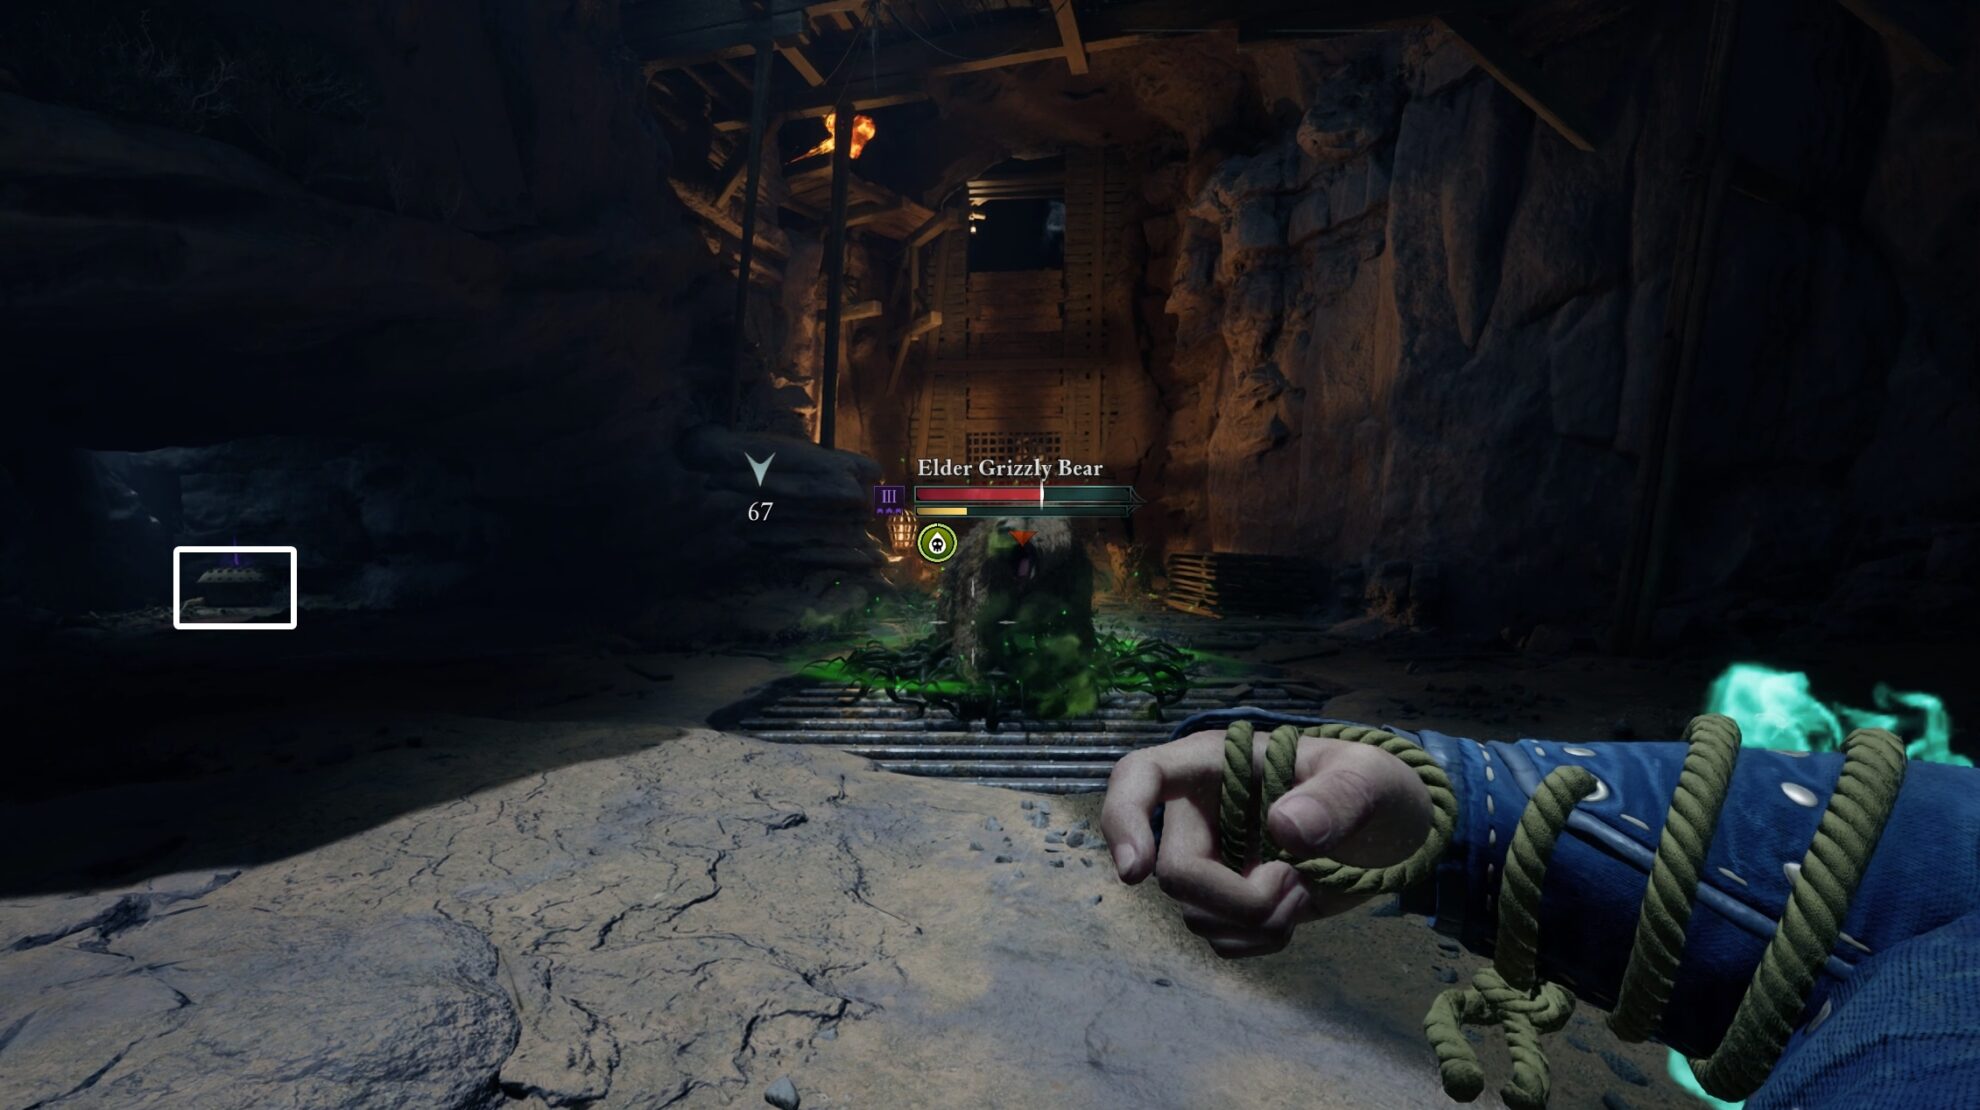
Turn the winch to raise the gate that takes you to the Heart of the Leviathan. The gate raises to block off how you’d get through this room if you took the path of fire.
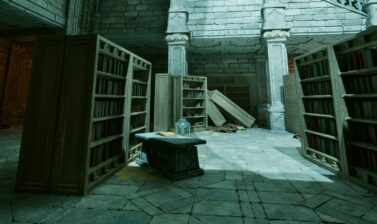
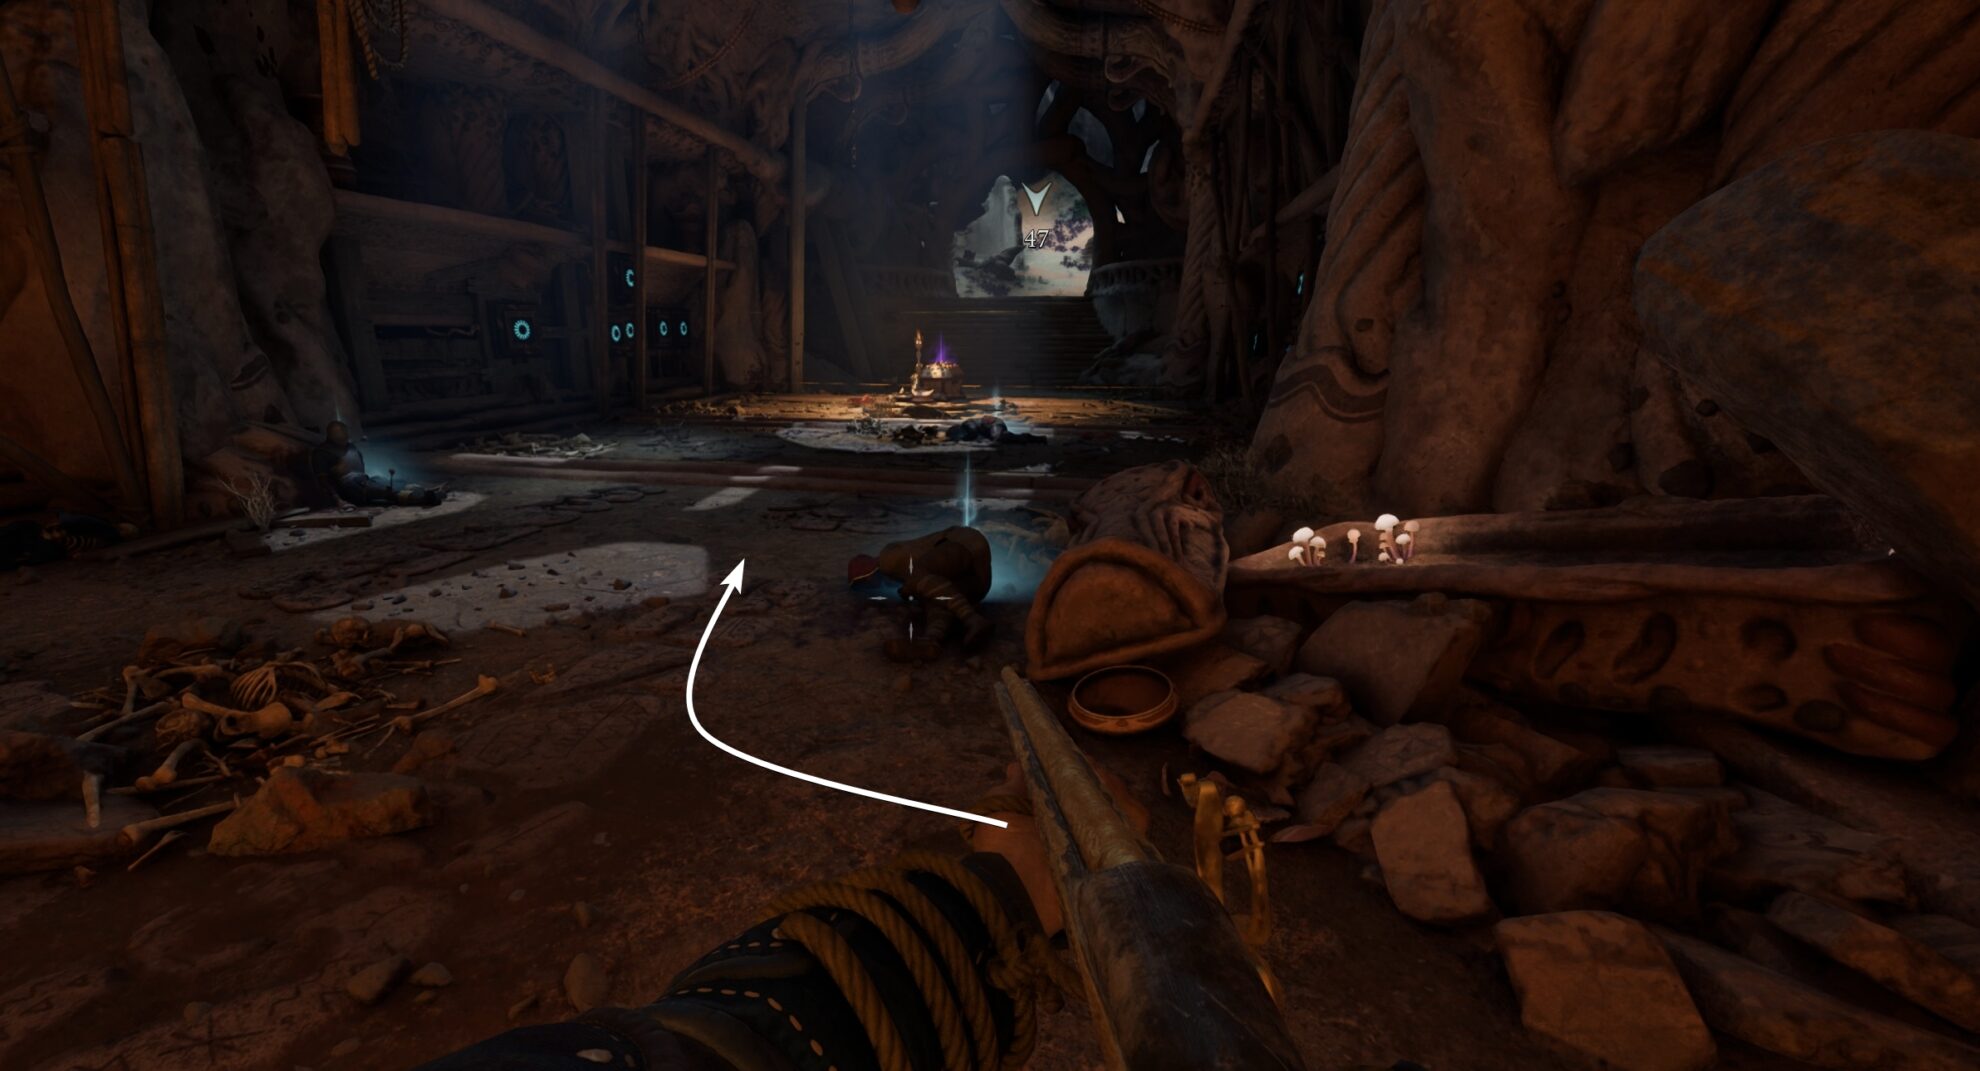
Umpara’s Promise, the Heart of the Leviathan, and the Secret Book
Check out the boat and pick up Umpara’s Promise, an Amulet that nullifies all physical damage from traps (fire still hurts).
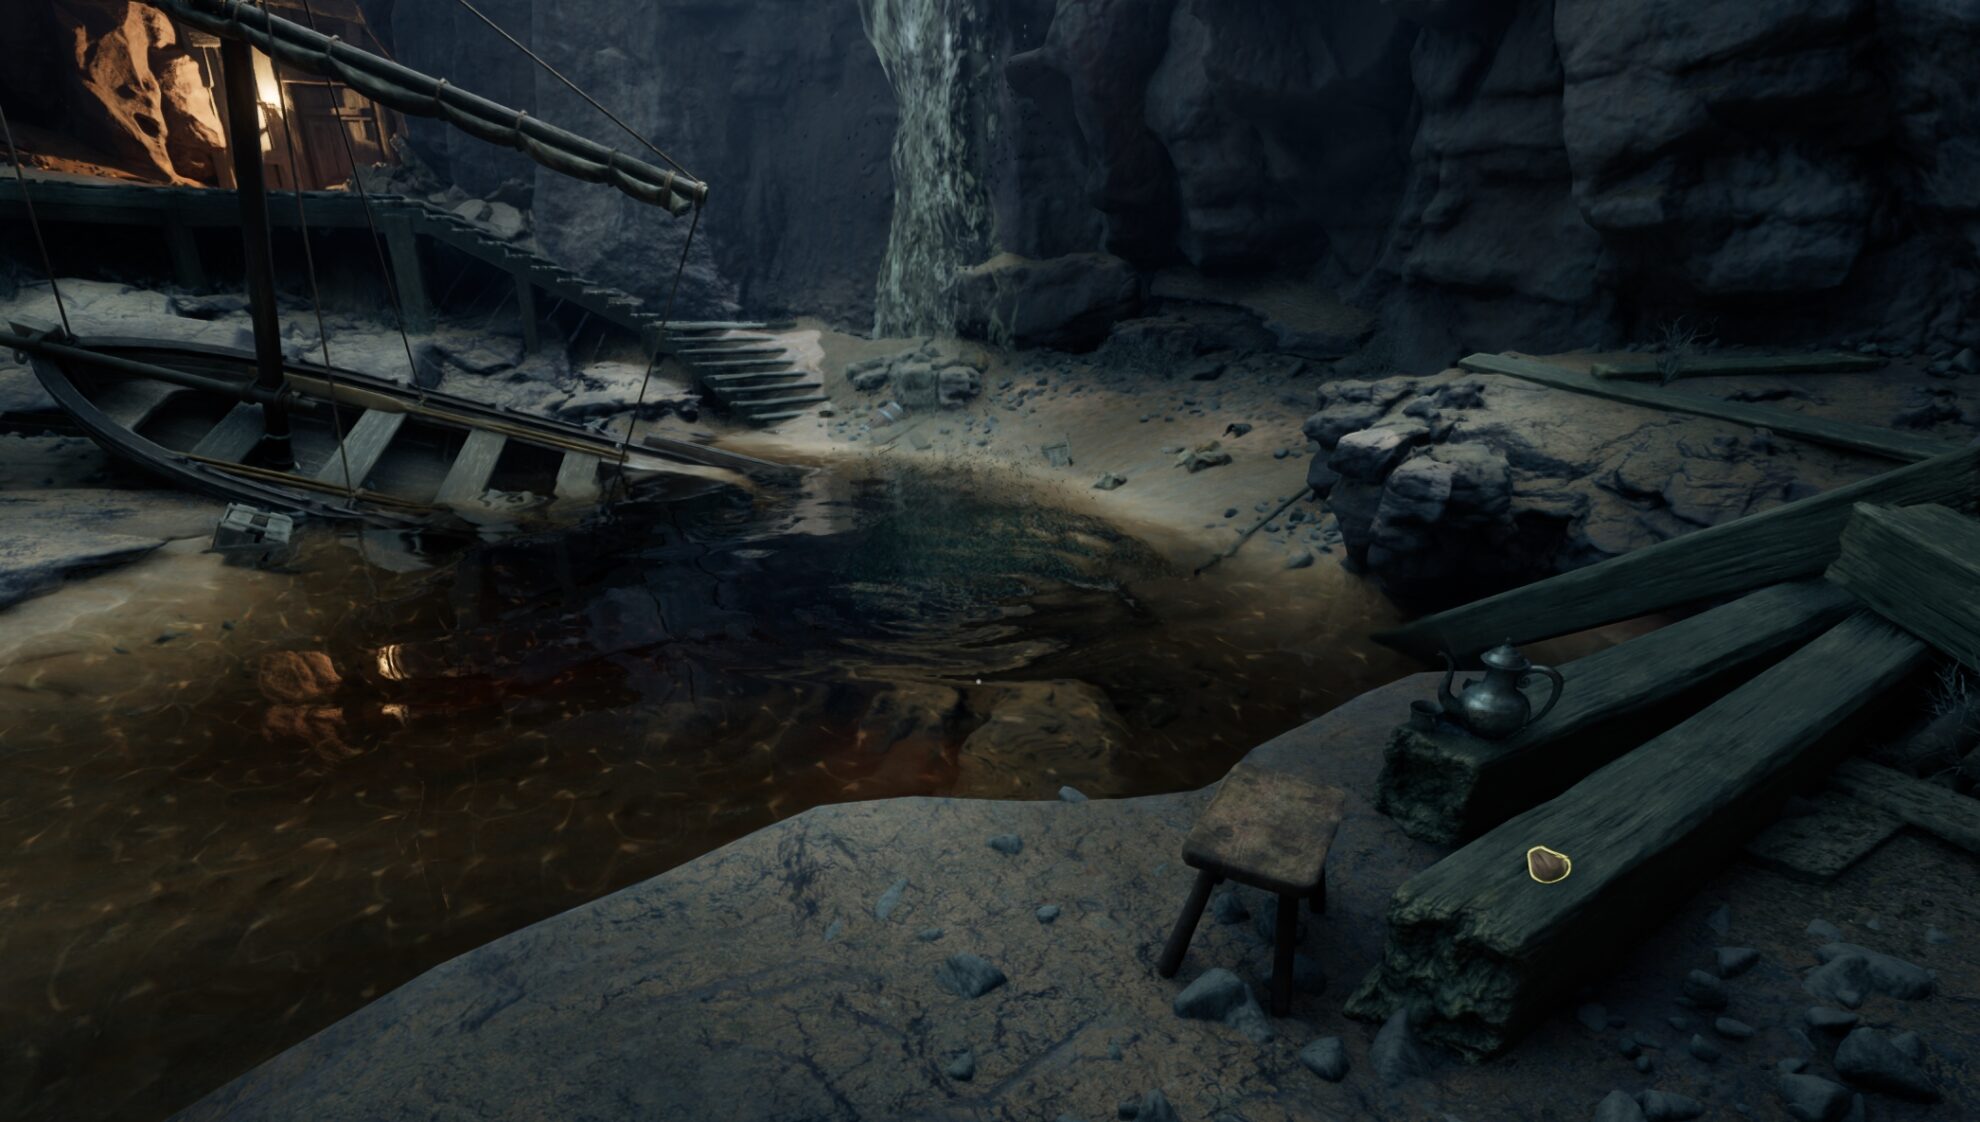
Then, head over to the Heart of the Leviathan sitting on the middle pedestal. Stealing the Heart releases a pressure plate that unlocks the door to the exit, but don’t go there quite yet.
Behind the pedestal, there is a weird coral-like formation protruding from the ground. On it, you will find a switch. Push it to reveal and open a secret door behind you. In the small alcove behind the door, you will find a Weathered Journal.
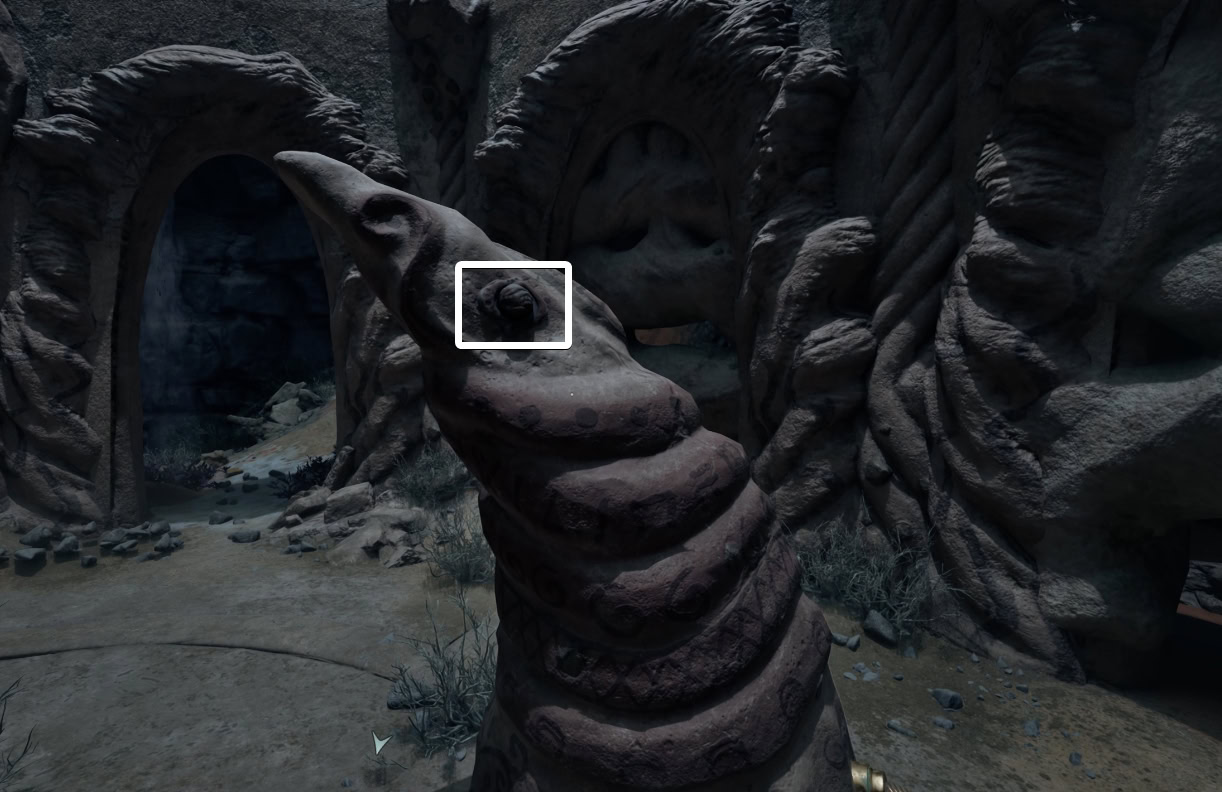
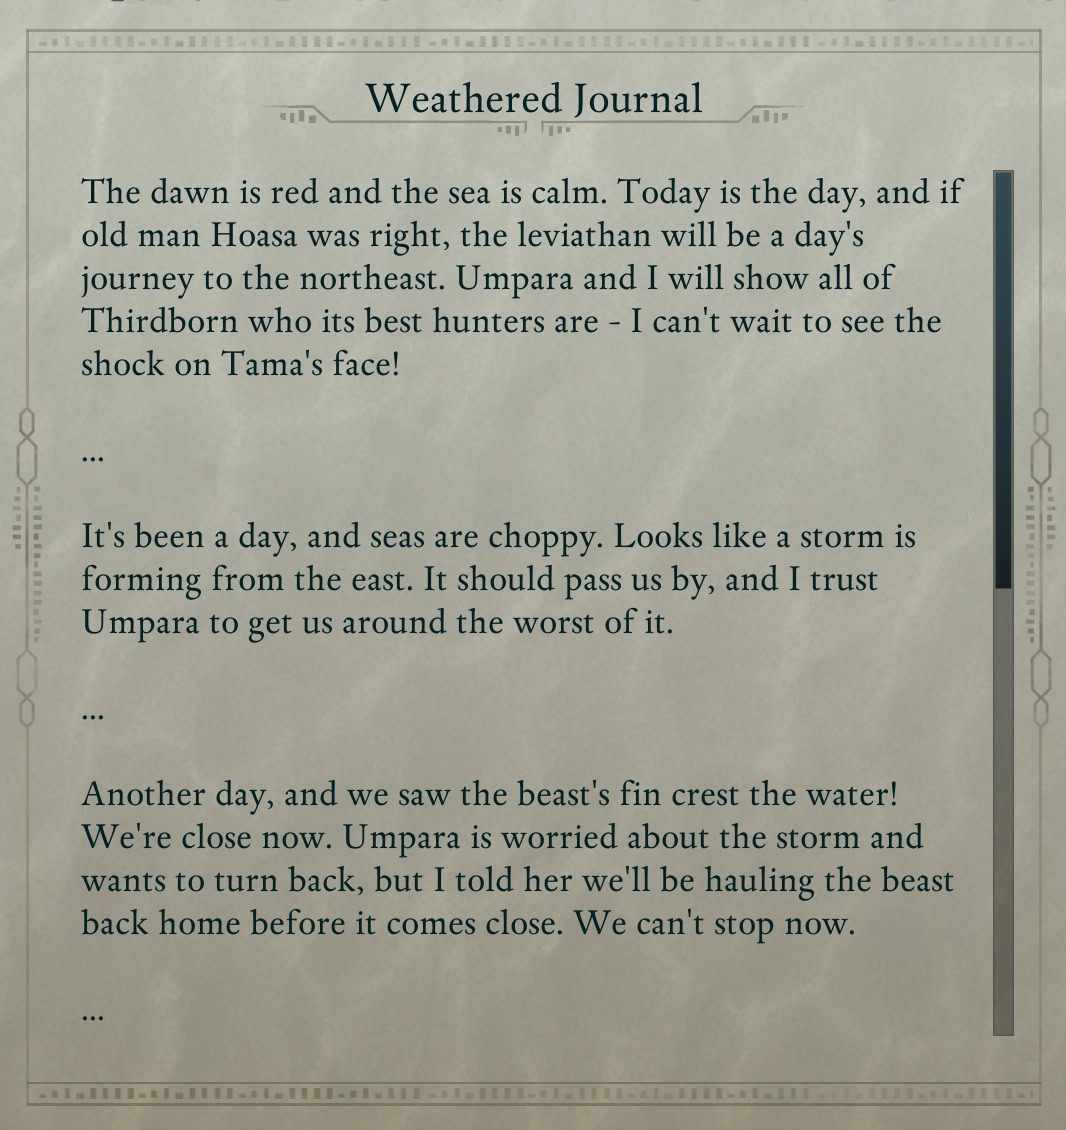
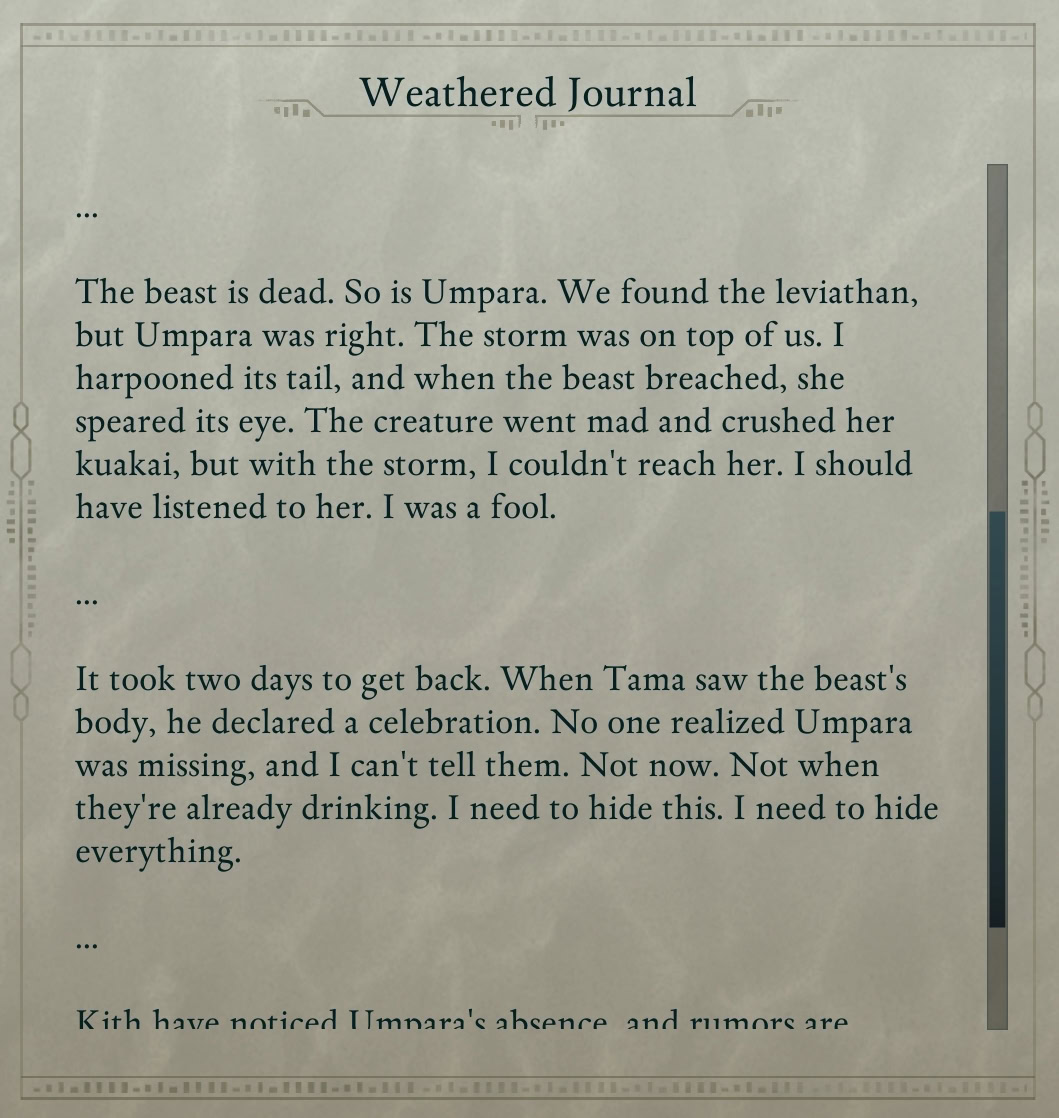
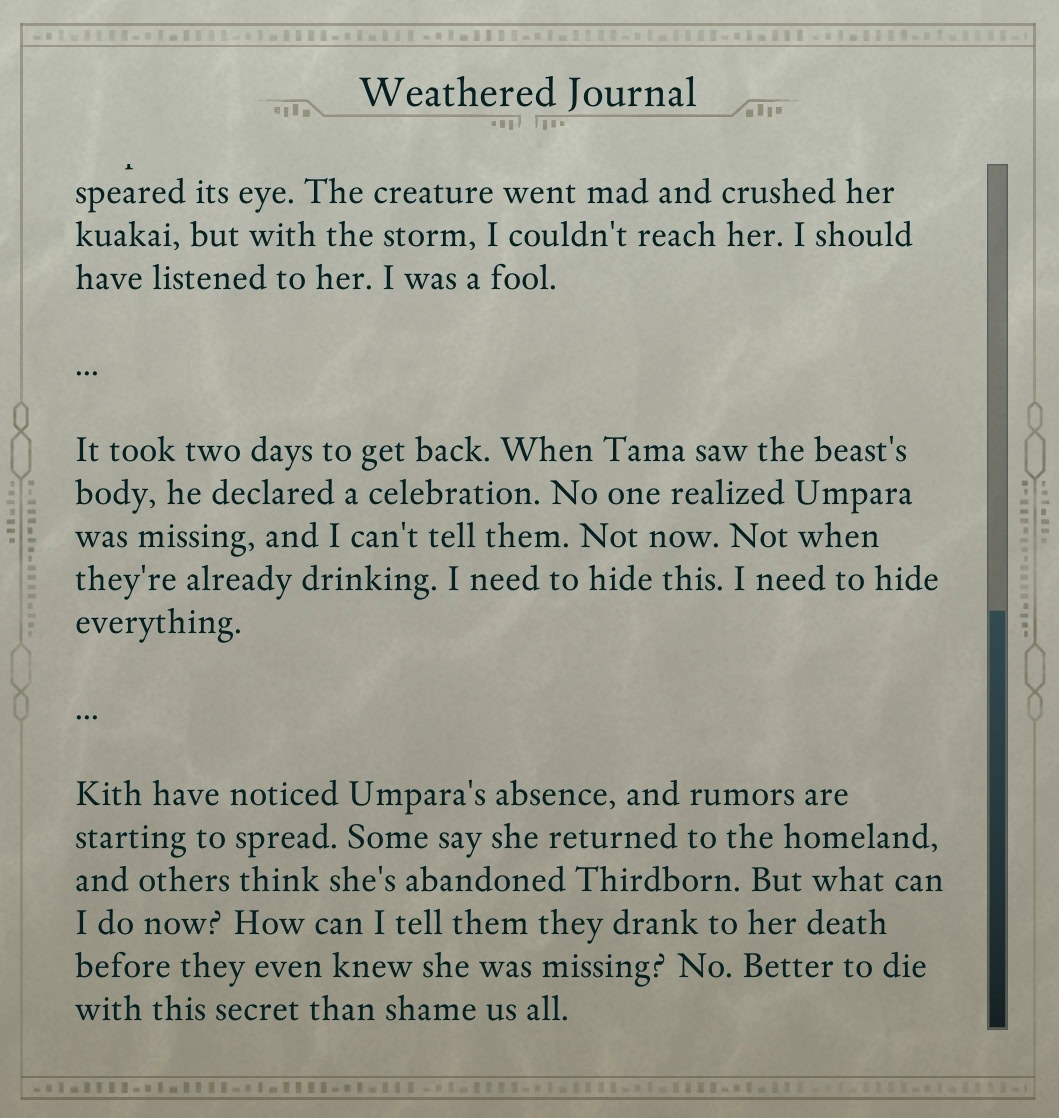
The Weathered Journal reveals that Keipo did not kill the Leviathan on his own, and you can choose whether to keep Keipo’s secret or give the truth to the town when you get back. Before that, Chiko is waiting to speak to you at the entrance to the cave.
You must tell Chiko about the Weathered Journal when you speak to him at the Sand Sea Ruins to get the Stormdancer’s Set at the end of the quest.
Choice: Give Keipo the Heart or Keep It
Head back to Keipo’s house and choose to give Keipo the Heart, give it to Thirdborn, or keep it for yourself. Your decision will determine whether you get Umpara’s Spear (a Unique Weapon) or the Heart of the Leviathan (a Trinket).
If you give it to Keipo, you get Umpara’s Spear. If you don’t, you get the Heart of the Leviathan as a Trinket. It does not matter if you give it to Thirdborn or not in the conversation. Either way, you’ll get the Trinket so long as you didn’t give it to Keipo.
Heart of the Leviathan (Trinket)
The Heart of the Leviathan significantly boosts your damage output, but drains your health while you have it equipped. Unless you love Giatta or are are playing as a Fighter, I do not recommend using this Trinket.
Sacrificial Might
+20% Attack Damage
Constantly drains your Health
The health drain does not trigger effects that occur on damage, like Constant Recovery, and it chews through food so fast that your Health Bar lights up like a Christmas tree.
Umpara’s Spear
Umpara’s Spear is one of only two Unique Spears in the game. It’s quite powerful, dealing more critical damage and can be Enchanted to make Power Attacks launch an explosive Poison Dart or apply a significant movement and survivability debuff upon completion of a Full Combo.
Deadly Mechanism
Power Attacks launch a poison dart
Paralyzing Toxin
Power Attacks launch an explosive poison dart that deals Poison Accumulation to nearby enemies
Unbalancing Rhythm
A Full Combo Attack slows the hit enemy and applies -20% Damage Reduction for 10s
Strike the Heart
+25% Critical Hit Damage
I think Umpara’s Spear is the better option, but you can create a build around the Heart of the Leviathan, which is easily the strongest Trinket in the game. Chiko will be upset no matter what, but you can make him understand.
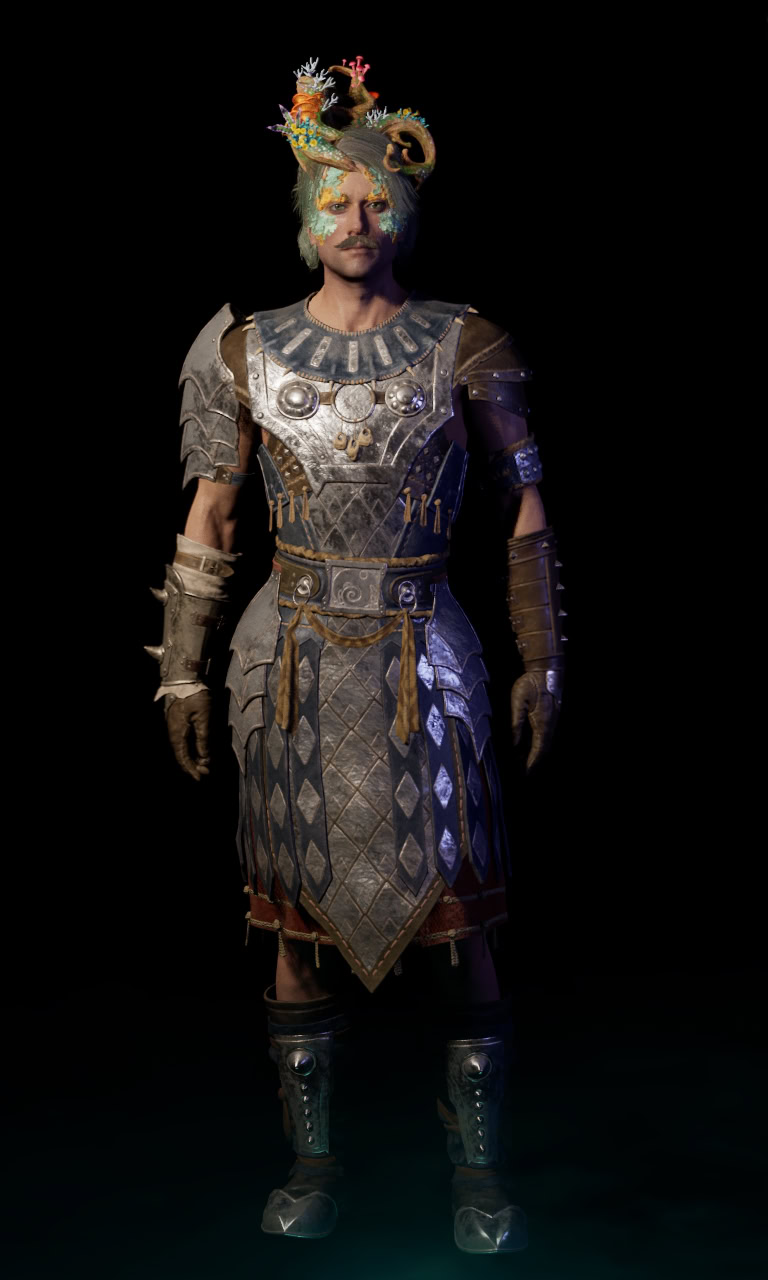
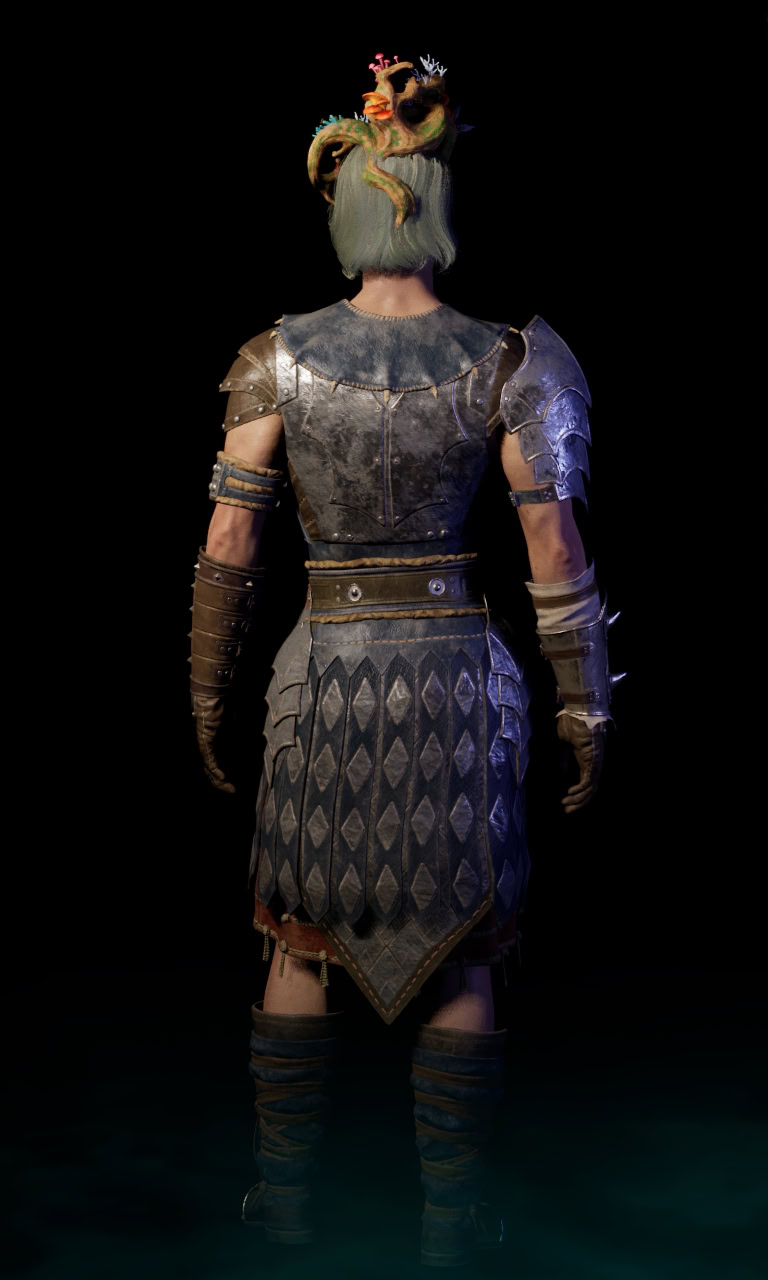
Stormdancer’s Set
If you effectively explain to Chiko why Keipo wants to end his life, Chiko will give you the entire Stormdancer’s Set.
To get the Stormdancer’s Set, you must do the following:
- Learn that Keipo has the Dreamscourge by reading a journal in his house
- Discover the Weathered Journal at the Sand Sea Ruins BEFORE speaking to Chiko
- Tell Chiko about the journal when you speak to them at the Sand Sea Ruins
- Defend Keipo’s decision to take his own life OR be straight with Chiko about Keipo wanting to go out on his own terms and protect Chiko from the Dreamscourge
Choice: Tell the Town About Umpara or Keep Keipo’s Secret
This choice has no significant impact. The only thing that changes is the plaque in the middle of town next to the Leviathan skeleton. The townsfolk are a whole lot more concerned about the Dreamscourge.
You cannot inform the town of Keipo’s deception after you’ve completed the quest.
Avowed: Heart of Valor Step-by-Step Walkthrough
This is a condenced step-by-step version of the walkthrough with everything in the order you should do it from starting the quest, to accessing the Sand Sea Ruins, to fully exploring the caves to the final quest decision and rewards.
Instructions
Start the quest
- Obtain the Heart of Valor quest in Thirdborn
- Meet Keipo
- Travel to the Sand Sea Ruins in the Great Sand Sea
Find the entrance to the Sand Sea Ruins
- Fend off the enemies
- Open 4 Treasure Chests
- Grab Wael Totem Fragment
- Open main barred door
Explore the caves
- That Sign Can't Stop Me
- Trigger the battering ram trap
- Cross the gap
- Gather chests 5-9
- Open the semi-secret room to get the Desert's Bounty Shield
- Dive into the water for the Dirty Brown Key and Treasure Chest 10
- Grab the Bounty Hunter's Notes and loot the skeleton
- Defeat the bear and loot chests 11-13
- Open the gate by turning the winch
- Grab Umpara's Promise
Obtain the Heart of the Leviathan and final decision
- Grab the Heart of the Leviathan
- Press the button to open the door and grab the book
- Talk to Chiko
- Return to Keipo
- Decide whether to give Keipo the Heart or Keep It
- Decide whether to tell the town about Keipo's deception