Avowed has 50 achievements and a majority of them are at least somewhat complicated. We’ve listed all of them and have in-depth explanations for all that you might struggle with.
Table of contents
- List of all achievements
- Hawkeye
- Fior Extinguisher
- That Sign Can’t Stop Me Because I Can’t Read
- Dream Fungi Rotation
- Allochory and Parasitoid
- Now Riposte!
- We’re All In This Together
- Explorer
- Peak Performance
- We Remember
- Dungeon Seige
- A Well Overflowing
- Pantheon Purist
- Kith Lord
- Pillars of Eternity
- Get in the Statue, Envoy
- Gotta Cache ‘Em All
- Two Bears High-Fiving
- The Outer Worlds
- Training Arc
- Reverse Card
- Retirement Plan
- Pathfinder
- A Test of Your Reflexes
- Everyone Disliked That
- Tyranny
- Historian
- Cooking By The Book
- Play Dead
- Pentiment
List of all achievements
Below are all Achievements you can earn in Avowed along with their requirements.
| Icon | Achievement Name | Completion Requirements |
|---|---|---|
| You’ve Got It From Here | Sail to Paradis from Fort Northreach | |
| A Cistern Warning | Confront your assassin in the Cistern | |
| Grounded | Slay 10 Spiders and 10 Beetles | |
| Alpha Strike Protocol | Kill 15 enemies using stealth attacks | |
| Can’t We All Get Along? | Resolve a potential conflict peacefully 5 times | |
| Hawkeye | Find the hidden room in Fort Northreach | |
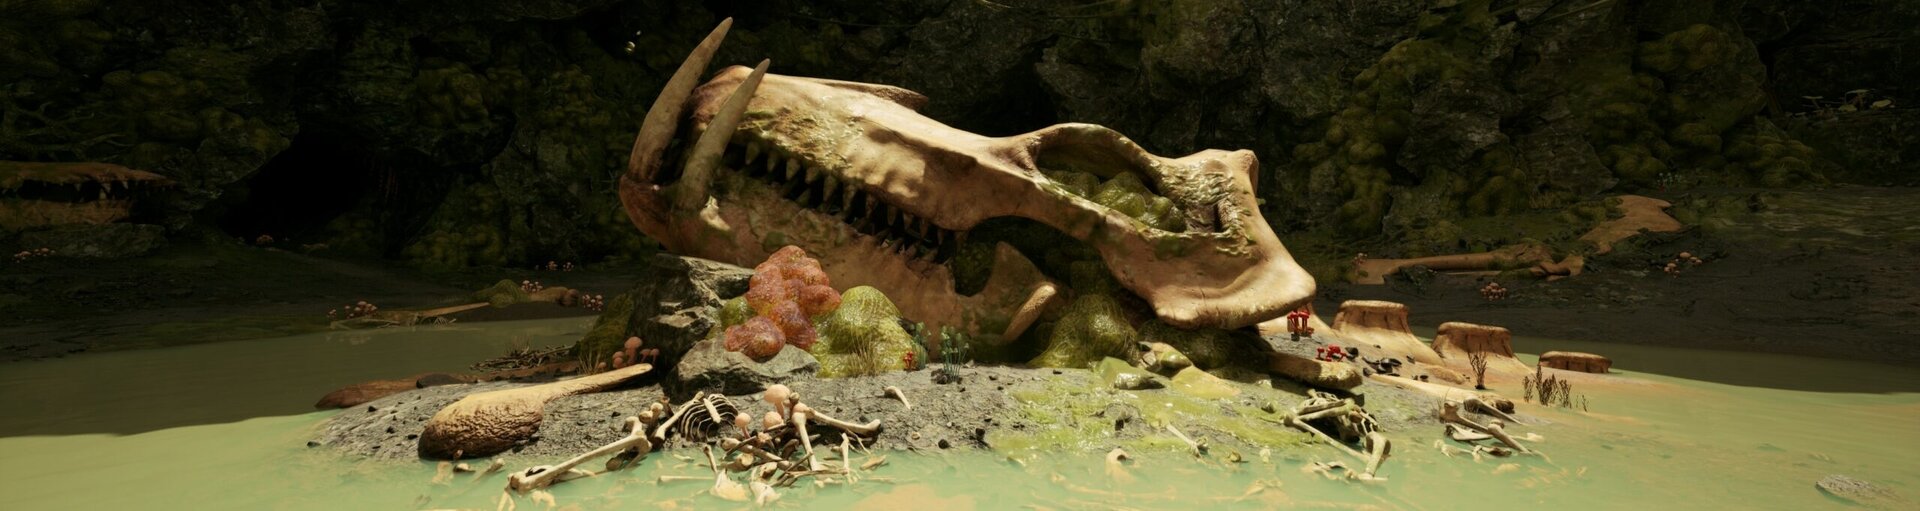
| A Proper Introduction | Uncover the secret of Naku Tedek | |
| Luckier Than They Know | Unlock all of Kai’s abilities | |
| Bullseye | Unlock all of Marius’ abilities | |
| A Little Power Goes A Long Way | Unlock all of Giatta’s abilities | |
| Spectral Evidence | Complete the Trials of the Tebaru Sanakis | |
| Fior Extinguisher | Save Fior mes Ivèrno from being razed by the Steel Garrote | |
| Slay! | Unlock all of Yatzli’s abilities | |
| That Sign Can’t Stop Me Because I Can’t Read | Ignore the warning note and pull the lever in the Sand Sea Ruins | |
| Dream Fungi Rotation | Try Aiko’s drugs with your companions | |
| It’ll Cost Ya | Confront Kostya in the Lava Tubes of Solace Keep | |
| Avowed | Complete Avowed on any difficulty | |
| Big Iron On Your Hip | Equip a fully upgraded weapon | |
| Allochory | Release Sapadal from their prison | |
| Jingle, Jangle, Jingle | Equip a fully upgraded set of armor | |
| Now Riposte! | Parry an enemy’s attacks 25 times | |
| We’re All In This Together | Complete all companion moments in the Garden | |
| Explorer | Complete Sanza’s map of the Living Lands | |
| Bounty Hunter | Complete all Bounties from all regions | |
| Peak Performance | Reach max level | |
| We Remember | Complete all Ancient Memories | |
| Dungeon Siege | Enter every dungeon across all regions | |
| A Well Overflowing | Max out an Attribute | |
| Pantheon Purist | Collect and place all God Shrine Totems and Fragments | |
| Kith Lord | Discover all Party Camps across the Living Lands | |
| Skeyt Digger | Skeyt Digger | |
| Pillars of Eternity | Cleanse all the Strangled Adra across all regions | |
| Get in the Statue, Envoy | Contemplate death. | |
| Gotta Cache ‘Em All | Find and open all Pargrun Caches across the Living Lands | |
| Two Bears High-Fiving | Summon a bear to fight another bear. | |
| The Outer Worlds | Unlock all Fast Travel Beacons | |
| Training Arc | Complete all training sessions with companions | |
| Reverse Card | Kill Captain Ngunu with his own poison | |
| Tired of Being Nice | Resort to violence in a conversation 10 times | |
| Retirement Plan | Sell your future corpse to Elia | |
| Parasitoid | Destroy Sapadal and absorb their power | |
| Pathfinder | Find all items from Treasure Maps | |
| Pants on Fire | Lie 15 times | |
| A Test of your Reflexes | Complete Avowed on the difficulty Path of the Damned | |
| Everyone Disliked That | Have every companion leave your party as a result of siding with the Steel Garrote | |
| Historian | Collect all volumes of the History of the Living Lands in the Eothasian Temple | |
| Tyranny | Be knighted as a member of the Steel Garrote | |
| Cooking By The Book | Cook every recipe at your Party Camp | |
| Play Dead | Wear Necropants and a Revenant Bell Collar at the same time | |
| Pentiment | Complete every side quest |
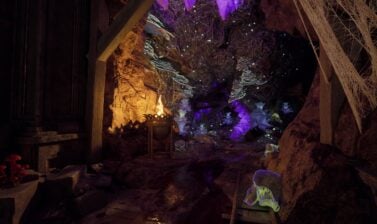
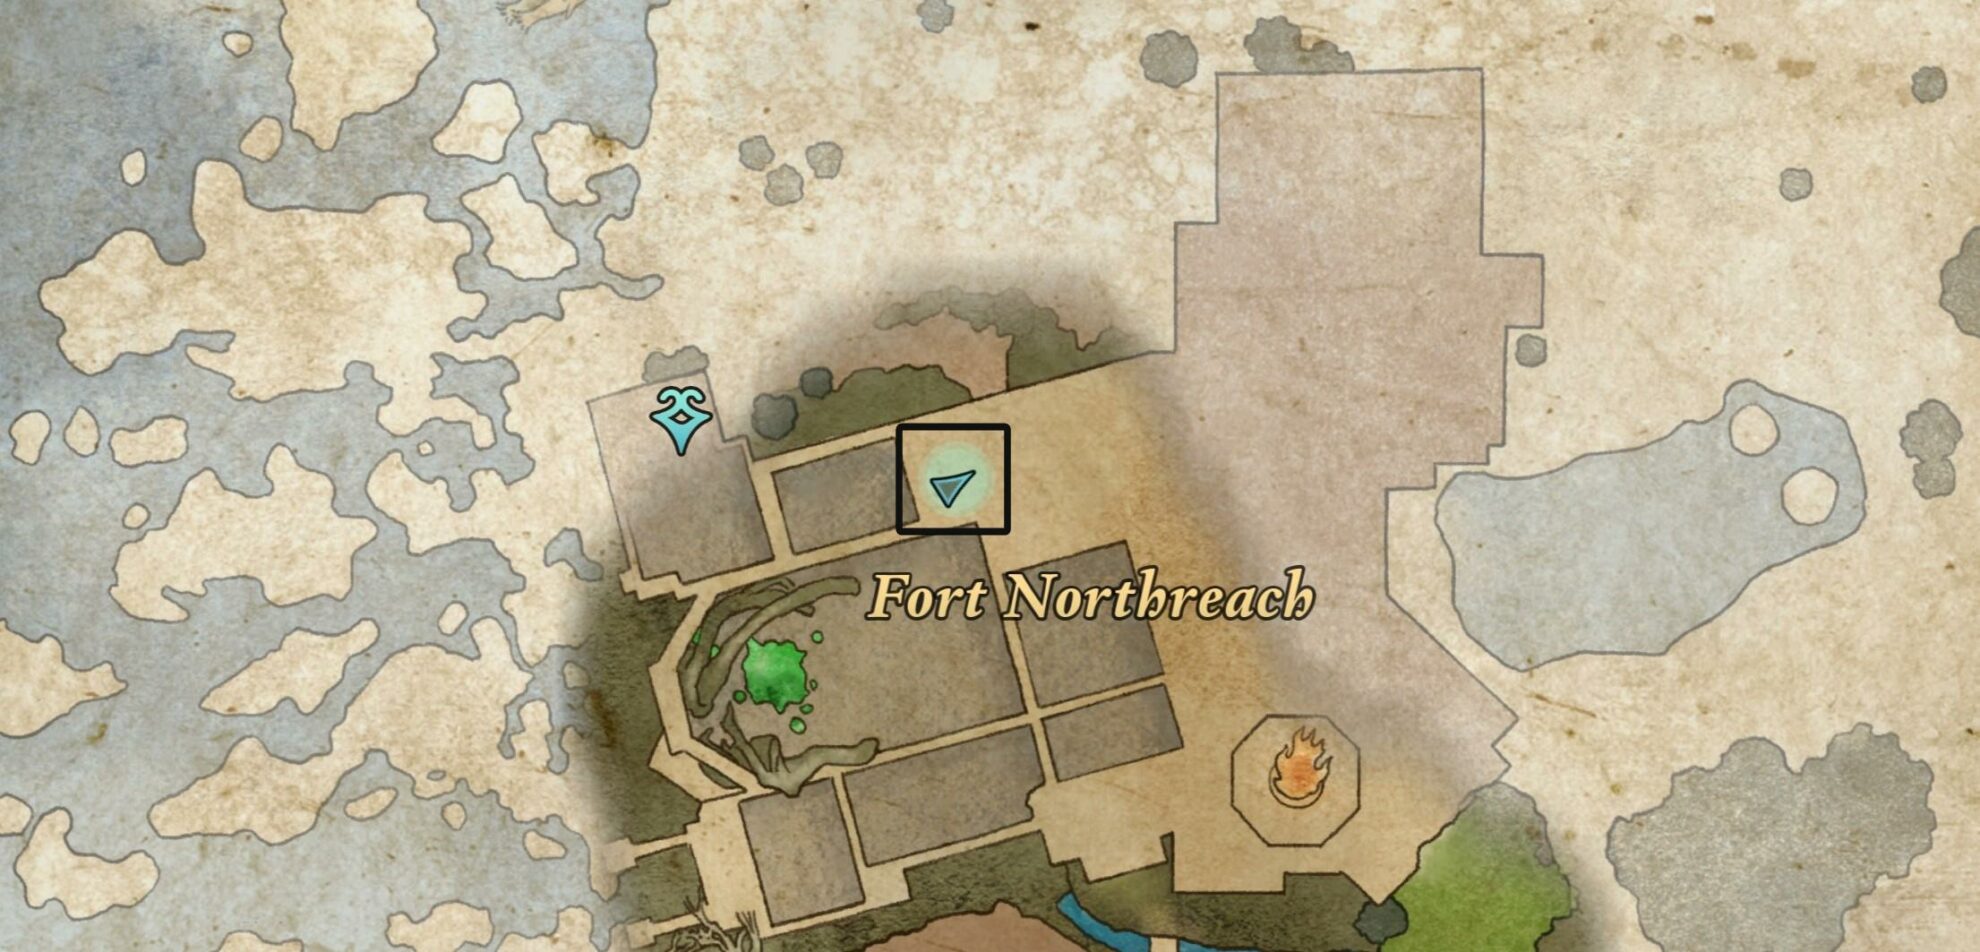
Hawkeye
Find the hidden room in Fort Northreach
The hidden room is located within Fort Northreach proper. There’s a button on the wall next to the door that’s easy to miss.
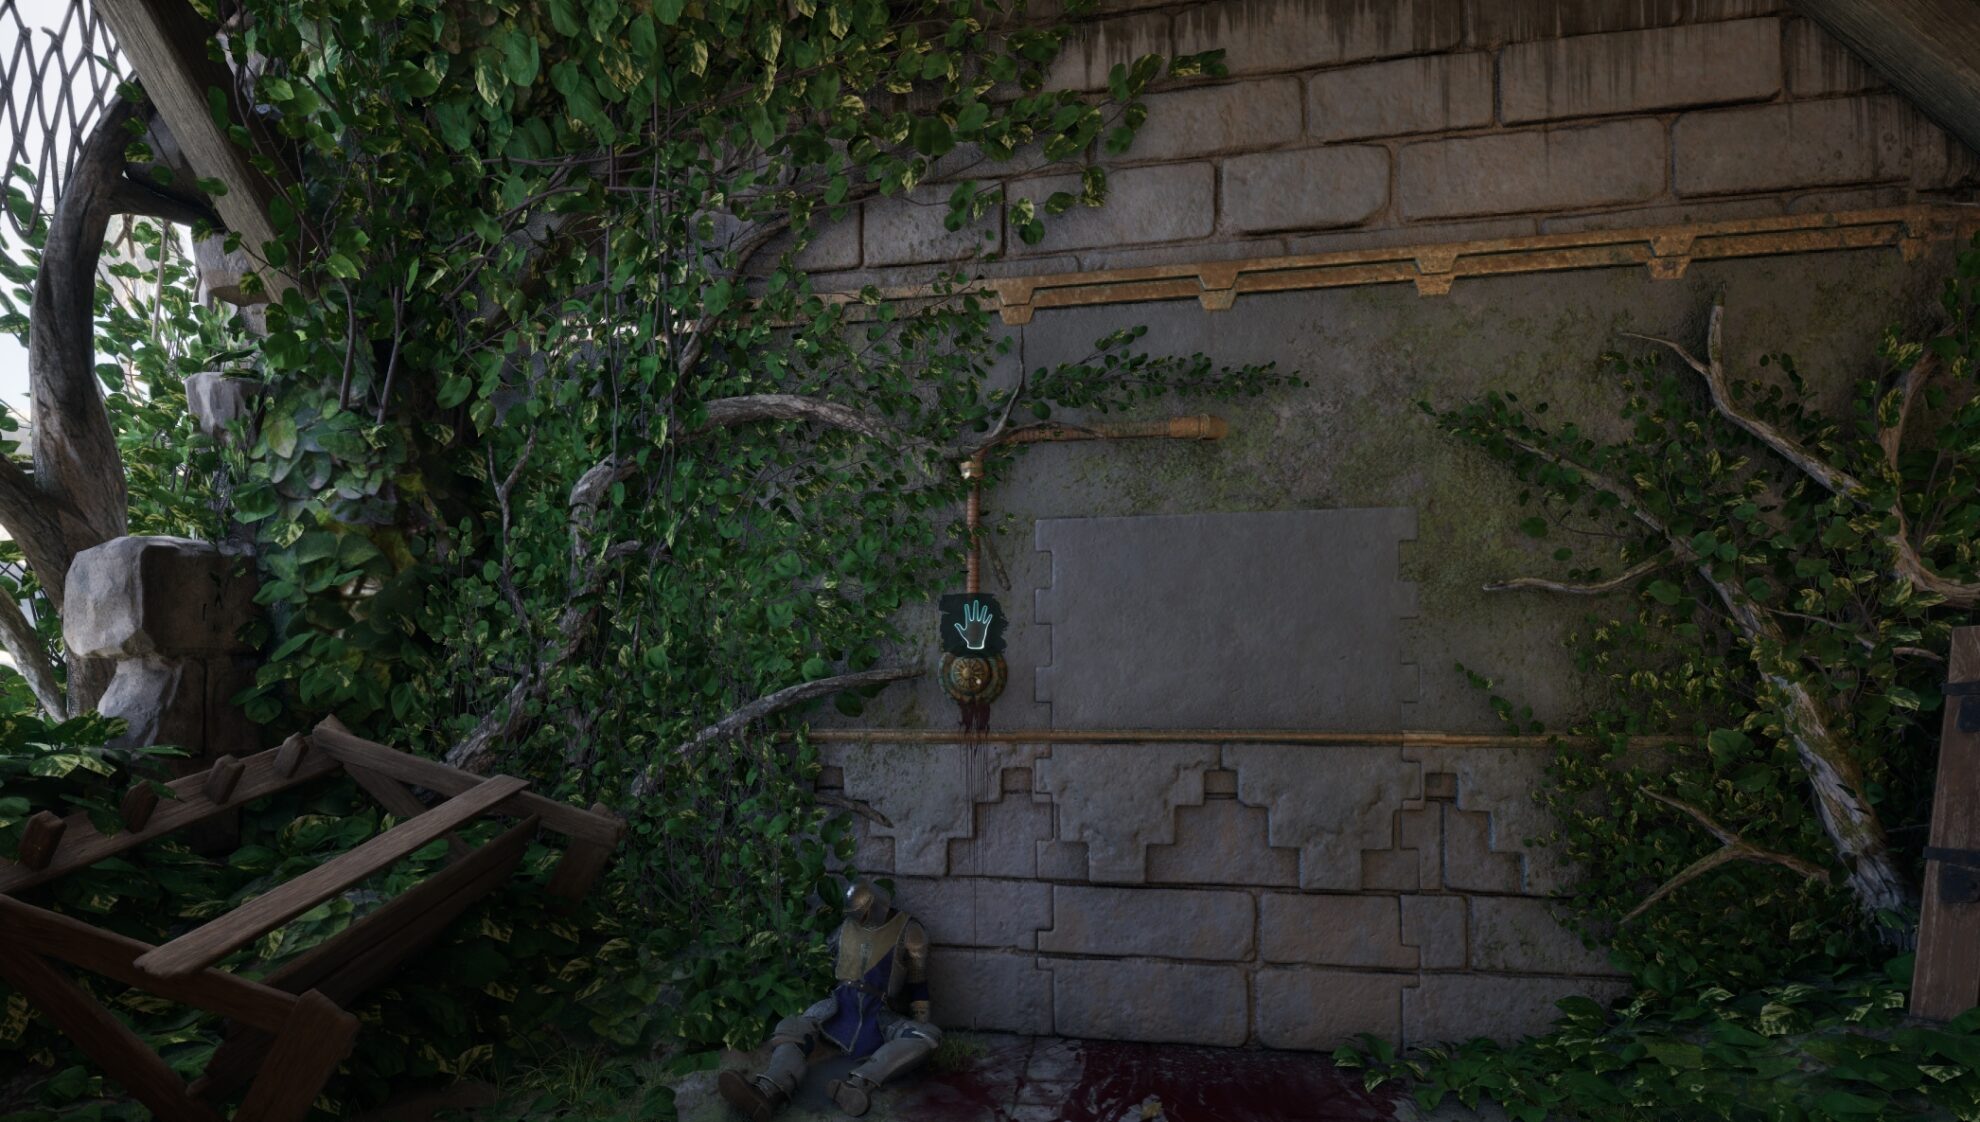
This achievement is completely missable, but it’s available so early in the game that you can just speed through character creation and the cutscenes and get it in a matter of minutes.
Fior Extinguisher
Save Fior mes Ivèrno from being razed by the Steel Garrote
There is no formal quest associated with this achievement, but it’s like a quest. To uncover the Steel Garrote’s plot, you have to listen to conversations from denizens of Emerald Stair or scour the region with a fine-toothed comb. Some of them make remarks about seeing Aedyran or Steel Garrote soldiers out in the woods.
As it turns out, there is a platoon of Steel Garrote soldiers in the Waterfall Cave due west of Fior mes Ivèrno and north of the fork in the river that flows around Naku Tedek.

To get Fior Extinguisher, you must clear Inquisitor Lödwyn’s forces out of the Waterfall Cave BEFORE entering Naku Tedek as part of the Main Story quest “Ancient Soil”.
Be sure to take the bribe when you speak to the Steel Garrote guarding the entrance to the cave. It’s a decent chunk of change and doesn’t prevent you from killing them. Inside the cave, you’ll also find 2 pieces of the Death Knight Set.
If you’re aiming to get Fior Extinguisher and Tyranny in the same playthrough, you’ll have to do a bit of save scumming where you kill the Steel Garrote on a separate save and let them live on your main playthrough.
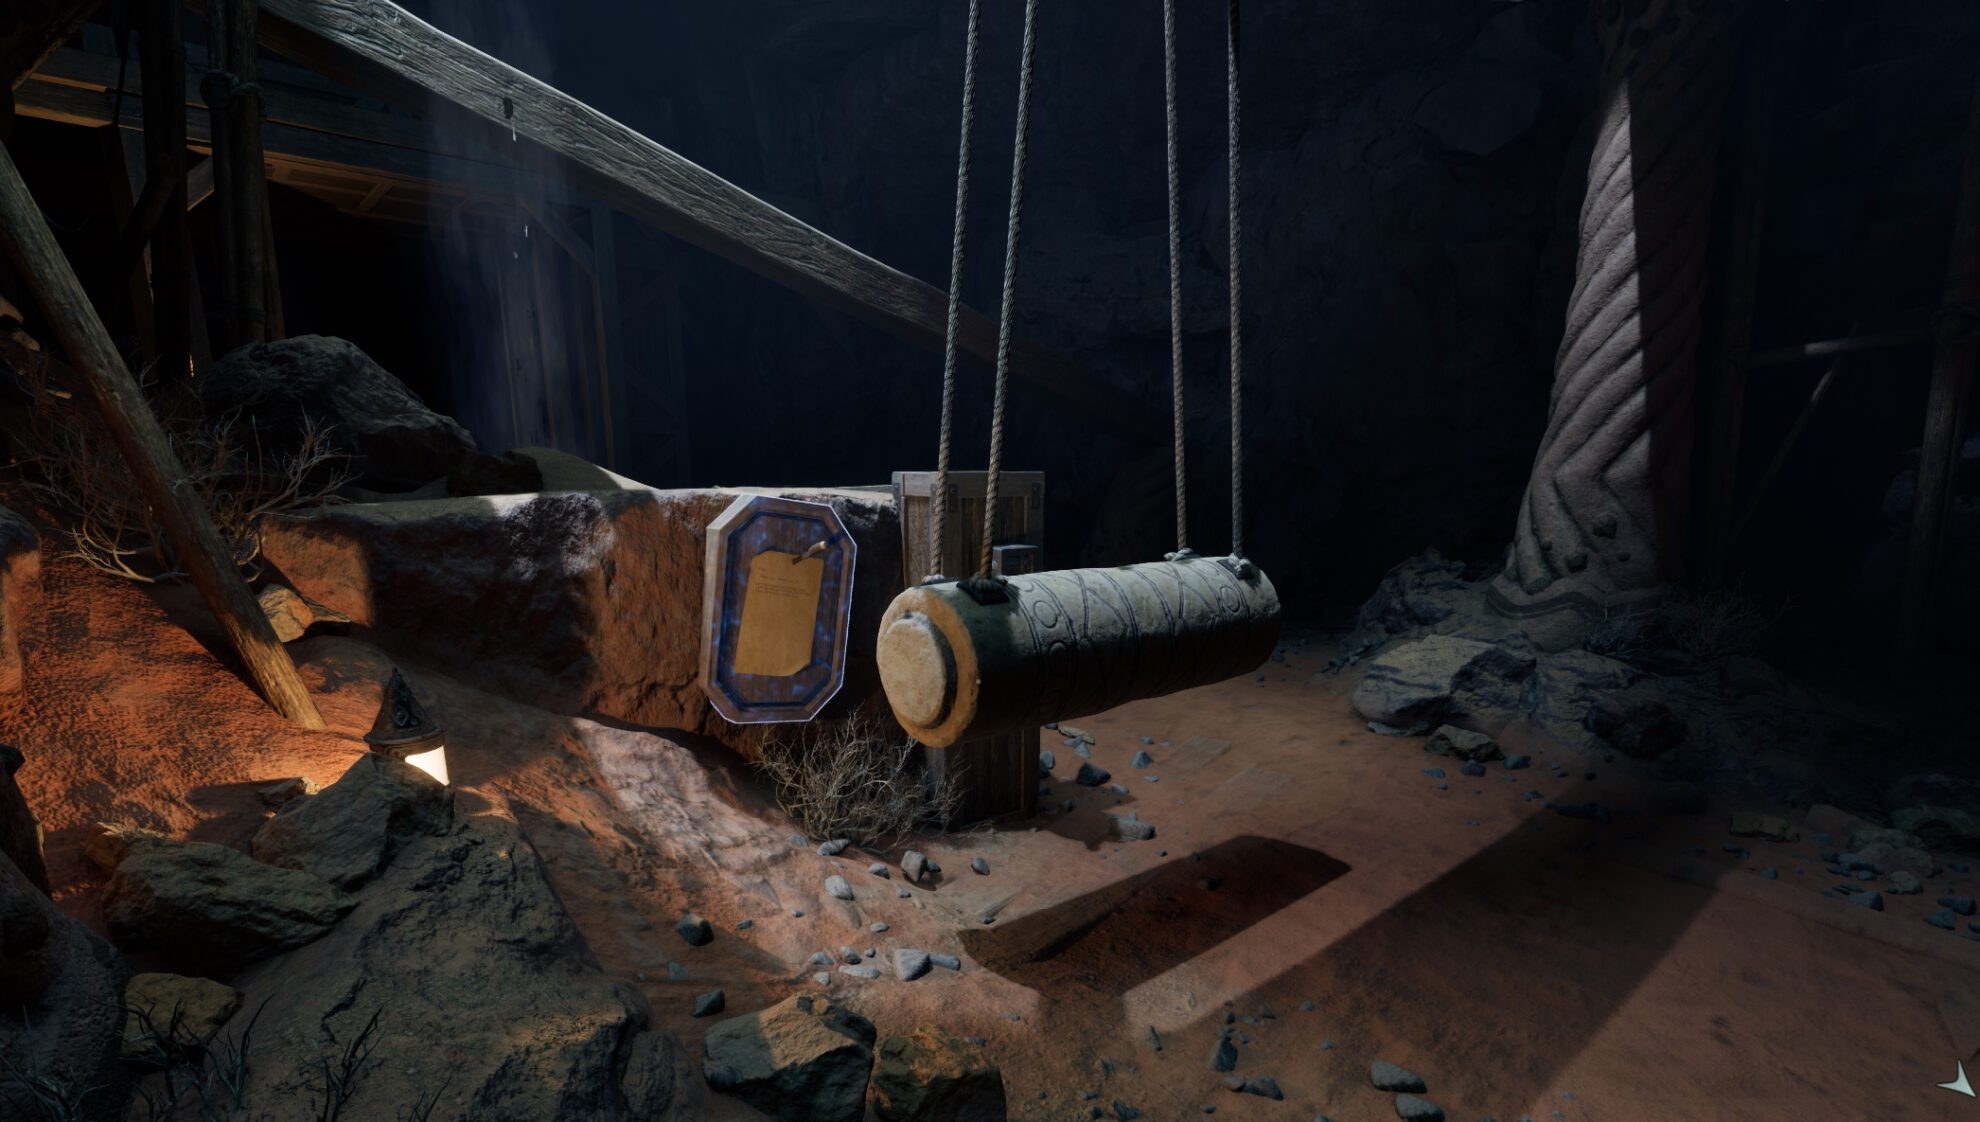
That Sign Can’t Stop Me Because I Can’t Read
Ignore the warning note and pull the lever in the Sand Sea Ruins
Close to the entrance inside the Sand Sea Ruins in the Great Sand Sea of Shatterscarp, there’s a note next to a lever. Read the note and pull the lever (and then immediately dodge back).
Check out our Heart of Valor Walkthrough for more details.
Dream Fungi Rotation
In the middle of Thirdborn, the main settlement in Shatterscarp, there’s a guy named Daiko who asks you to pick up a completely legal package for him out in the desert, granting the quest “The Wasteland Courier”.
Meet his brother Aiko out in the Deadfall Highlands near Naku Kubel and get the drugs from him. Leave by blowing a hole in the wall at the back of the camp and a cutscene will trigger where one of your Companions will D.A.R.E. you try them out.
Fall victim to peer pressure and curiosity to get the achievement. If you turn them in to Tira Nui Hajime, the Bounty collector in Thirdborn, you’ll get a gold star.
Allochory and Parasitoid
Release Sapadal from their prison (Allochory)
OR
Destroy Sapadal and absorb their power (Parasitoid)
When you finally reach Sapadal in the Garden, you’ll get to choose between the following options:
- Set Sapadal Free
- Destroy Sapadal
- Merge Sapadal’s Essence into your soul
Option #1 will give you the Allochory achievement and Option #3 will give you the Parasitoid Achievement. You can get both achievements by saving right before the conversation.
You also get a different ability for the very end of the game depending on the choice you make.
Now Riposte!
Parry an enemy’s attack 25 times
One of the level 1 Ranger abilities gives you access to Parrying.
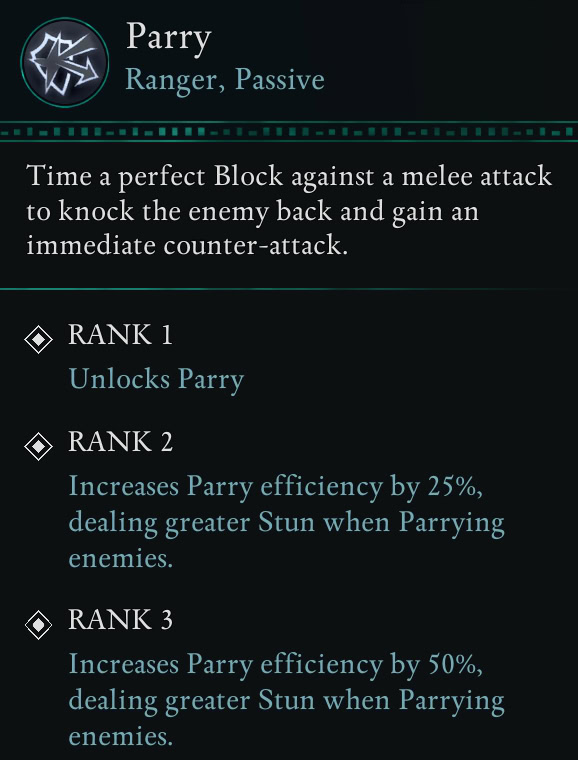
Equip a shield and press the block button right before an attack lands. Do this 25 times and you’ll get the Now Riposte! achievement.
Parrying deals a significant amount of Stun damage and leaves the enemy open for a counterattack.
Most Unique Weapons can also be Enchanted to offer substantial buff upon successfully Parrying.
We’re All In This Together
Complete all companion moments in the Garden
Each of your 4 Companions has a special story moment/hallucination in the Garden. This is unconfirmed, but you likely have to complete relevant Companion Quests and talk to each companion at camp when the notification pops up showing they have something to say.
Giatta’s and Yatzli’s moments don’t have any quest to complete, but Kai and Marius each have a dedicated Companion Quest.
Kai’s quest is called “Battle Scars”, which deals with Kai’s relationship to Tama and starts at Emerald Stair and ends in Shatterscarp.

Marius’ quest is called “Chorus of the Lost” and takes place at the Lost Village in Galawain’s Tusks. Marius’ quest might also only be available if you treat him like a human being suffering from PTSD.
Explorer
Complete Sanza’s map of the Living Lands
Sanza has dispatched a cartographer to each region we visit in the Living Lands. He hasn’t heard back from any of them but will reward you for finding them. Check out our guide on Mapping the Living Lands for more details.
Peak Performance
Reach max level
The level cap in Avowed is level 30. You won’t reach it until the very end of the game, and even then, only if you do practically everything. It’s possible that XP gain is affected by game difficulty. Prices certainly are, so it might require less effort to do this on lower difficulties.
We Remember
Complete all Ancient Memories
There is an Ancient Memory in each region of the Living Lands, including the Garden. Find them all and ya’ll’ll remember. Check out our Ancient Memories Guide for the location and substantial buff provided by each.
Dungeon Seige
Enter every dungeoun across all regions. Assuming dungeon refers to any region of the map that requires a loading screen, you’ll likely need to visit the following locations. You’ll need to travel to each of these locations for at least one other achievement.
Dawnshore Dungeons
- Ruinous Cavern on the western wall of Paradis
- Eothasian Temple north of Paradis
- Cistern beneath the Temple of Ondra in Paradis Hightown
Emerald Stair Dungeons
- Naku Tedek
- Ancient Grotto in The Wildwoods
- Fortified Xaurip Camp in the Grim Wetlands
- Riverside Cave west of the Abandoned Farms in the Rolling Crags
- Waterfall Cave on the river dividing The Wildwoods and Fior mes Ivèrno
Shatterscarp Dungeons
- Sulfur Mines in the Deadfall Highlands
- Scaedclef Grotto in on the Ancient Lakebed
- Sand Sea Ruins in the Great Sand Sea
- Ryngrim’s Domain in Shark’s Teeth
- Naku Kubel
Galawain’s Tusks Dungeons
- Mt. Forja Mines
- Cavern of Voices in the Lost Village
A Well Overflowing
Max out an Attribute
Attributes max out when you’ve allocated 15 points to them, which is half of your total allotment budget for the entire game. The earliest you can get it is in Emerald Stair.
Thanks to harsh diminishing returns, the amount of value you get per Attribute is halved after the 5th point and halved again after the 10th point.
In my opinion, it is unwise to have 15 of any attribute regardless of build. I recommend putting 5 points into everything and only going up to 10 with 2-3 Attributes that provide the most value to your build.
Spend the skeyts to respec for this achievement and then respec back once you get it.
Pantheon Purist
Collect and place all of the God Shrine Totems and Fragments.
Each region in the game has a God Shrine you can assemble from 7 pieces scattered across the region. Check out all of our Avowed Totems Guides for everything you need to know to complete this achievement.
Kith Lord
Discover all Party Camps across the Living Lands
Look for the Adra, large green crystals with purple Essence surrounding them. You get the Kith Lord achievement for finding all of these. There are 21 in total.

Dawnshore Party Camps
- Overgrown Expanse
- The Rise
- Southern Embrace
- Ivona’s Threshold
Emerald Stair Party Camps
- Grim Wetlands
- Rolling Crags
- Wildwoods Plateau
- Wildwoods Outskirts
- Naku Tedek
- Maxim’s Claim
- Riverbend
Shatterscarp Party Camps
- Shark’s Teeth
- Deadfall Highlands
- Eagle’s Reach
- Thirdborn
Galawain’s Tusks Party Camps
- Sallow Steppe
- Solace Keep
- Primordial Depths
The Garden Party Camps
- Enclosed Grove Camp
- Overlook Camp
- Southern Embrace (post-garden Dawnshore)
Henceforth, you shall be known as Darth Fractus, Lord of the Kith.
Pillars of Eternity
Cleanse all the Strangled Adra across all regions
There is Strangled Adra in each region of the Living Lands. You get some XP, a piece of Adra associated with the Item Quality in the region, and a little cutscene with Sapadal. Check out our Strangled Adra Pillar Guide for more details.
Get in the Statue, Envoy
Contemplate death
After placing the Splinter of Eothas into the statue, Sargamis will learn that his invention doesn’t work unless you get into the statue. Stand where he says and let yourself get zapped.
Gotta Cache ‘Em All
Find and open all Pargrunen Caches across the Living Lands
To get this achievement, you must loot the Unique Item from the big chest in the Pargrun Cache in every region. They can be a bit tricky, so if you get stuck, check out our complete collection of walkthroughs for all Pargrun Caches.
Two Bears High-Fiving
Summon a bear to fight another bear
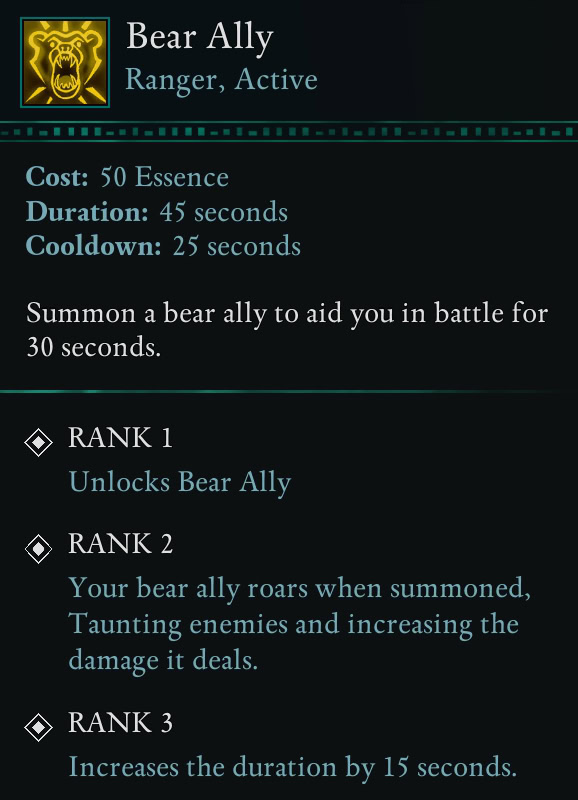
There is a level 15 Ranger ability called Bear Ally. It lets you summon a bear.
You just need to use this ability when fighting a non-Dreamscourged bear enemy and the achievement should pop.
Mentally stable bears become less common later in the game, and unfortunately, they don’t respawn.
You can find non-Dreamscourged bears at the following locations, mostly along the main river in Dawnshore:
- The Strangleroot in the Overgrown Frontier in Dawnshore
- Northwest of Ivona’s Threshold Party Camp in Dawnshore
- On the riverbank near the Old Pargrun Wall in Dawnshore
- Near Runyd’s House on The Rise in Dawnshore (Wayfarer’s Ring)
- In and around the Sand Sea Ruins in the Great Sand Sea of Shatterscarp (Heart of Valor)
The Outer Worlds
Unlock all Fast Travel beacons
There are 43 Fast Travel Beacons spread across the 4 major regions of the Living Lands. There are none after you enter the Garden.
Dawnshore Beacons
- Claviger’s Landing
- Paradis Main Gate
- Dehengen’s Cottage
- Western Pargrun Wall
- Strangleroot
- Northern Farms
- Gods’ Gate
- Emerald Stair Gatehouse
- Ondra’s Reach
- Administration District
- Eastern Paradis
- High Market (Paradis Hightown)
- Street of the Gods (Paradis Hightown)
Emerald Stair Beacons
- Docks
- Farmer’s Market
- Ancient Grotto
- River Fork
- Fior Southern Gate
- Low Forest Clearing
- Delemgan Glade
- Rock Arch
- Plateau Junction
- High Forest Road
- Fortified Xaurip Camp
- Shatterscarp Gatehouse
- Riverside Cave
- Abandoned Farms
- Rolling Crags
- Fior Plaza
Shatterscarp Beacons
- Ancient Lakebed South
- Naku Kubel
- Tago’s Tower
- Shark’s
TeethMouth - Thirdborn
Galawain’s Tusks Beacons
- Twinedwood South (Southern Warden Tower)
- Twinedwood North
- Slumbering Fields
- Primordial Depths South
- Primordial Depths North
- Quarry
- Ash Forest
- Lost Village
- Path to Garden Lava Tubes
Despite Kai saying they’re made by the Pargrunen, there is no Fast Travel Beacon inside of Solace Keep!
Training Arc
Complete all training sessions with companions
Each companion has a dialogue option at camp that you can unlock where the companion offers to teach you something, which translates to getting 1-2 points in 1-2 specific Attributes relevant to that Companion.
Exhausting all other dialogue from a given companion will eventually unlock the training conversation. Check out our Avowed Companions Guide for more details.
Reverse Card
Kill Captain Ngunu with his own poison
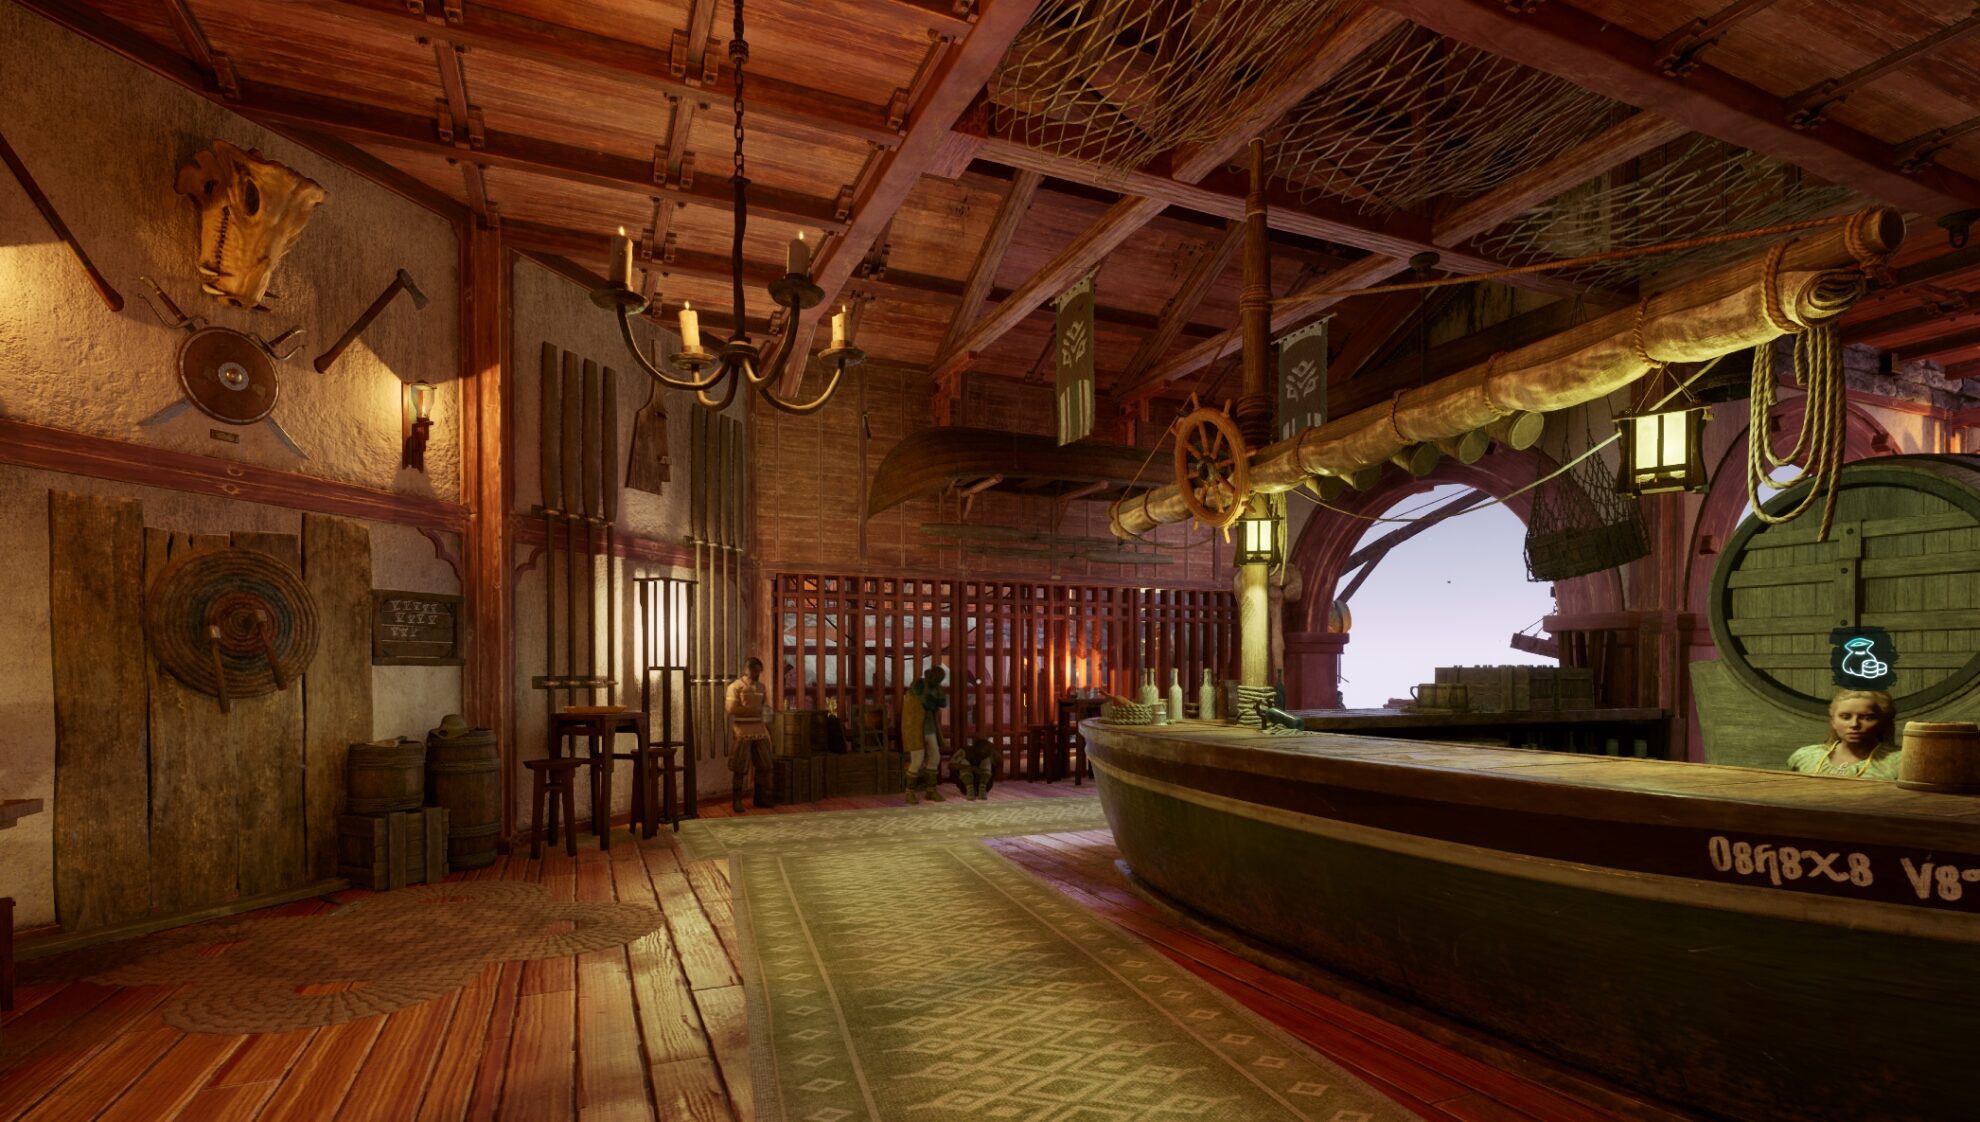
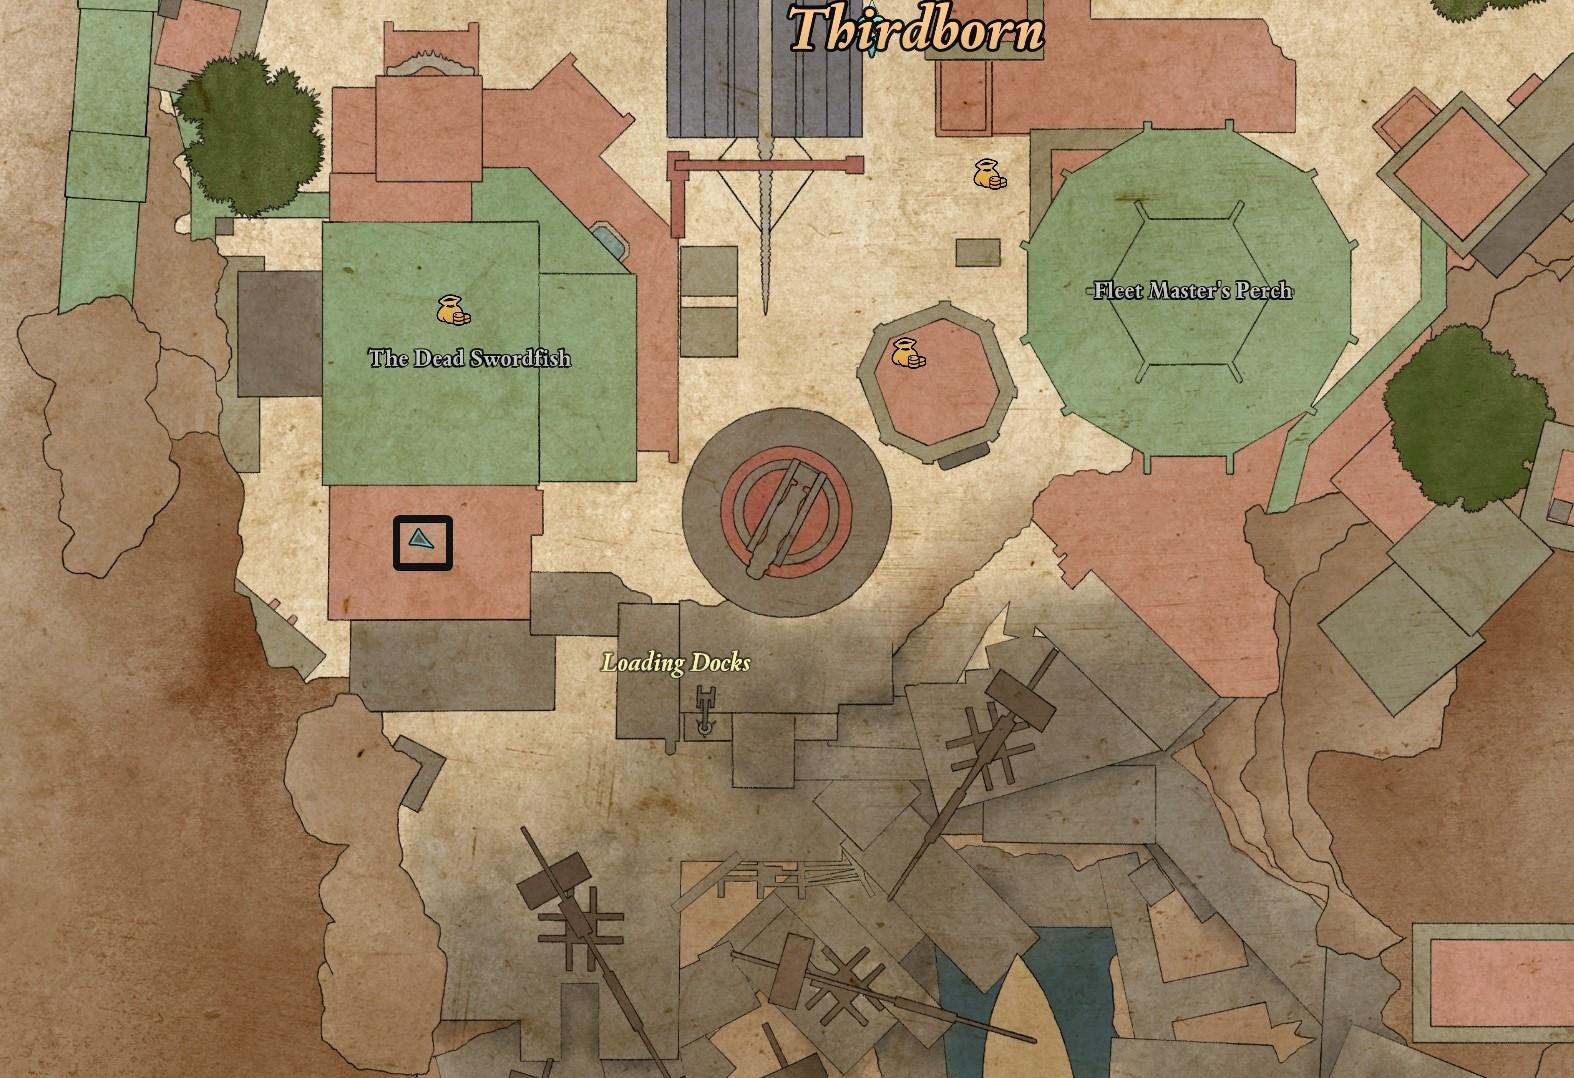
You’ll find Captain Ngunu at The Dead Swordfish in Thirdborn in Shatterscarp. He will give you a quest called “One Last Drink” and ask you to summon his former crew. Spoiler Alert: Captain Ngunu intends to poison his crew.
You may need to convince Ruanga to come, which you can only do after you convince Kowha to come (you can speak to her again after if she declines initially). You might also need to tell Ruanga about the poison.
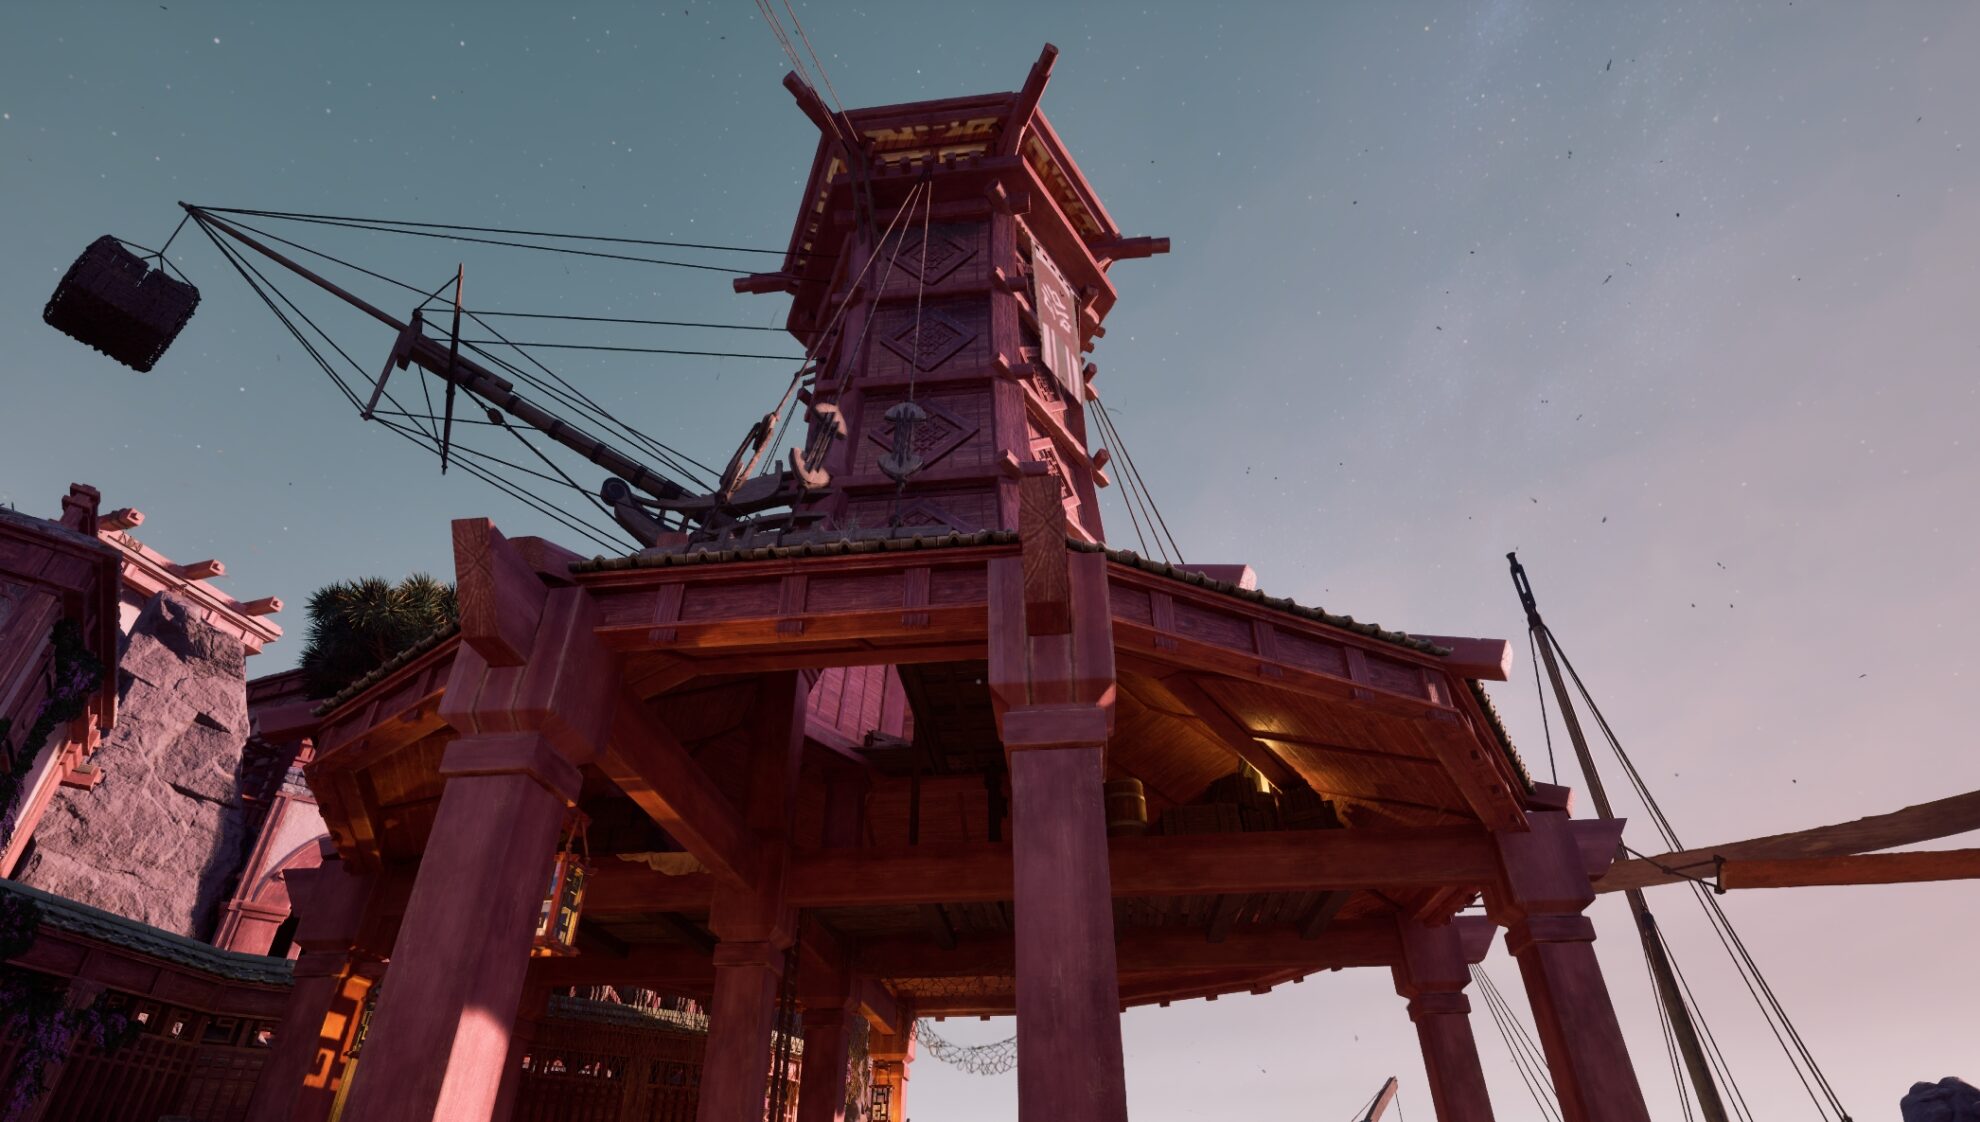
If you climb up to his Lighthouse, you’ll discover a book on poisons and a vial of poison. You can report it to Tira Nui Hajime, but the orlan doesn’t consider the threat credible.
When you’re serving the drinks and you have Ngunu’s Poison, you have the opportunity to switch the drinks that would otherwise poison some of his crew mates. Pick that dialogue option for the achievement.
If you play through as a Court Augur, you also have the option to poison everybody, which is neat.

Your dialogue choices do not affect the main story or your rewards. You’ll always get the Ring of Prosperity’s Fortune.
Retirement Plan
Sell your future corpse to Elia
Elia Rosell is the sole proprietor of Elia’s Revenant Farm at the Coastal Farms in Maxim’s Claim at Emerald Stair. In your first conversation with her after reaching into Beatrice, you must steer the conversation towards corpse procurement, where she will offer to buy your future corpse.

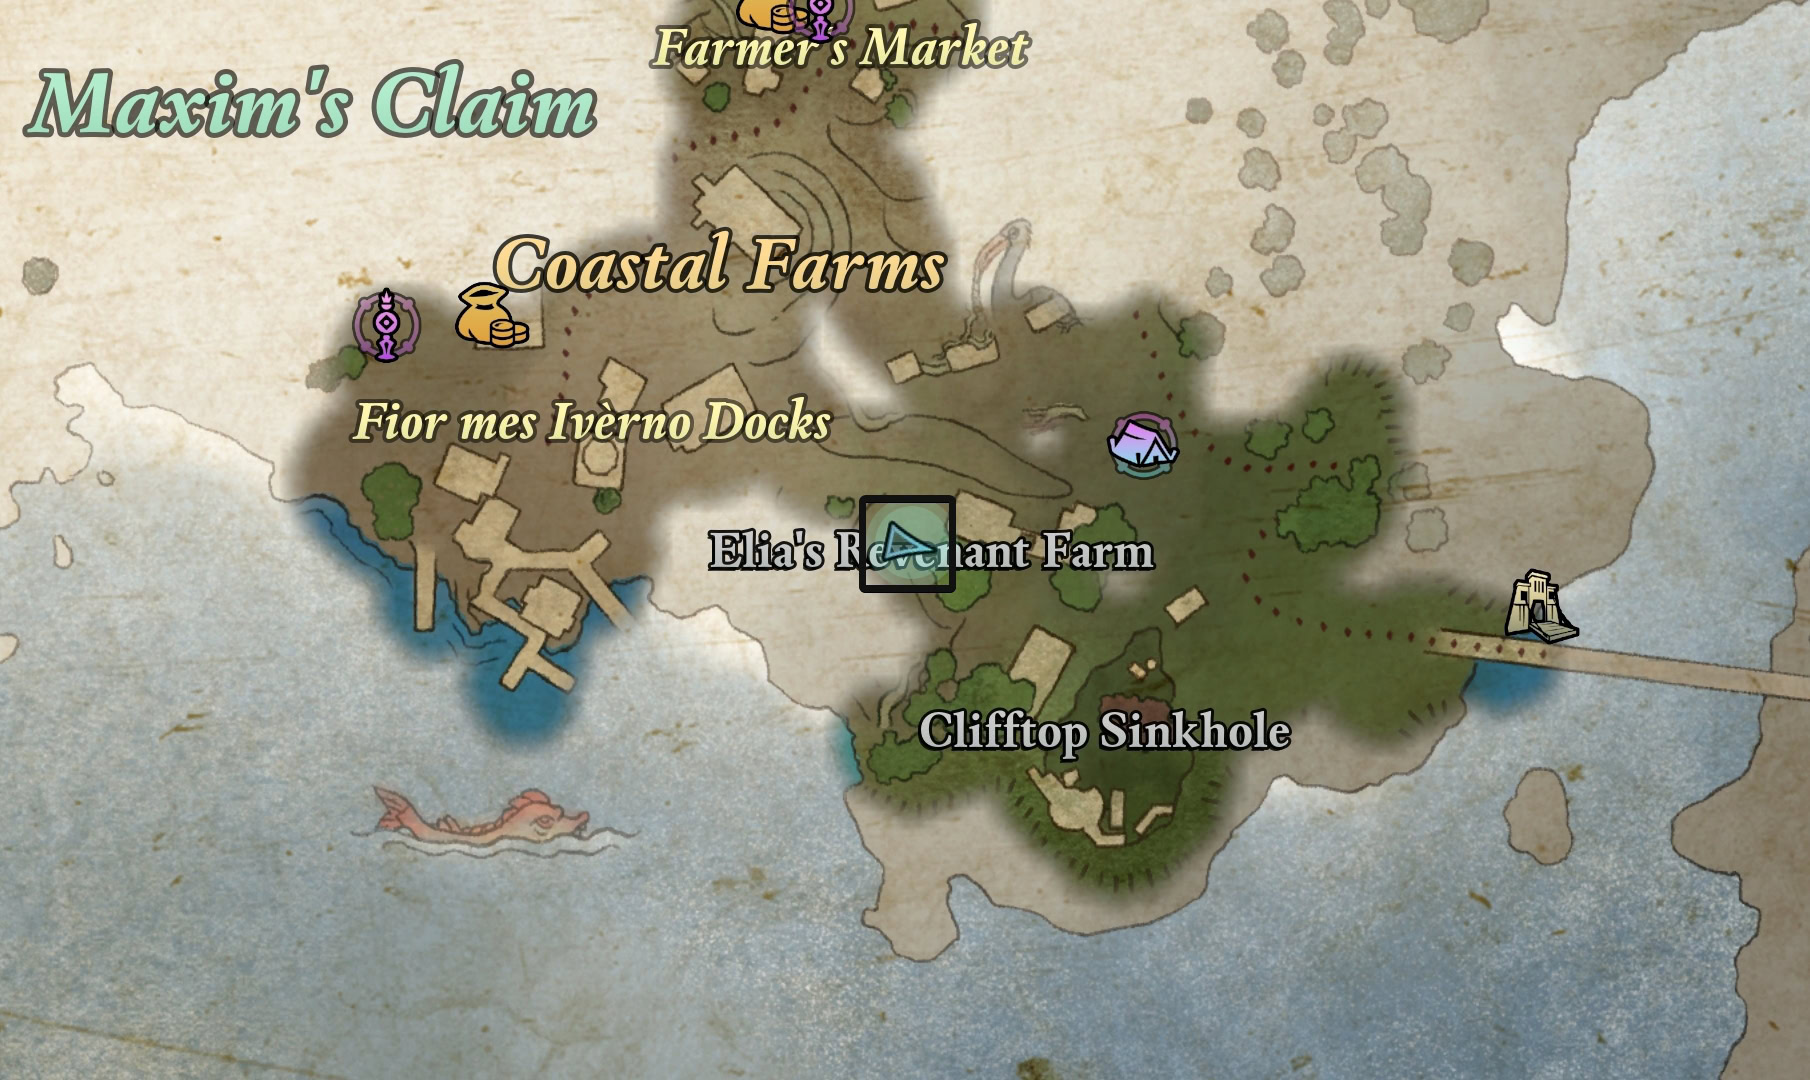
In return, you receive the Revenant Bell Collar Trinket.
Pathfinder
Find all items from Treasure Maps
There are 3 Treasure Maps in each of the 4 major regions of the Living Lands. Check out our Treasure Map Guide for the locations of all maps and treasures in each region.
A Test of Your Reflexes
Complete Avowed on the difficulty Path of the Damned
Path of the Damned is the hardest difficulty offered by Avowed. It’s easier than something like Elden Ring, but still quite punishing. You can’t just load up a save file right before the end of the game, switch the difficulty, and get the achievement. You gotta play through the whole game on that difficulty.
Everyone Disliked That
Have every companion leave your party as a result of siding with the Steel Garrote
At the very end of the game when you’re talking to all of the leaders of the Living Lands, all you have to do is side with the Steel Garrote.
It does not matter what choices you made up to that point to get this achievement, though if you only swap allegiances now, you won’t get knighted as a member of the Steel Garrote.
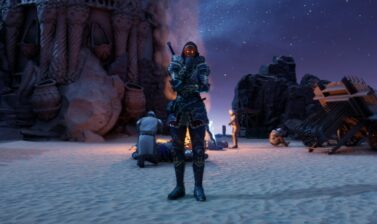
Tyranny
Be knighted as a member of the Steel Garrote
Tyranny is awarded for doing a proper villain arc and RPing through the rest of the game as a member of the Steel Garrote.
There are 6 major choices you must make to be knighted as a member of the Steel Garrote by Inquisitor Lödwyn at the very end of the game.
- Kill or turn in Ygwulf, your Paradisan assassin
- Allow the Steel Garrote to raze Fior mes Ivèrno
- Not kill Captain Aelfyr at Emerald Stair
- Destroy Naku Kubel
- Allow Solace Keep to be destroyed and promise Lödwyn that you’ll destroy Sapadal
- Side with the Steel Garrote in the Battle of Paradis and pledge yourself to Woedica
Just switching and supporting the Steel Garrote at the end when you’re talking to the leaders isn’t enough.
Historian
Collect all volumes of the History of the Living Lands in the Eothasian Temple
The Eothasian Temple is located at the end of the Pilgrim’s Path on The Rise in Dawnshore. It is the dungeon where the quest “Dawntreader” takes place. There are 5 volumes on the History of the Living Lands in the Eothasian Temple.
Keep in mind that you loose access to the Temple of Eothas once you’ve completed the quest “Dawntreader”.
History of the Living Lands Volume I Location
You’ll find the History of the Living Lands Volume 1 in the locked room adjacent to Caedemon.
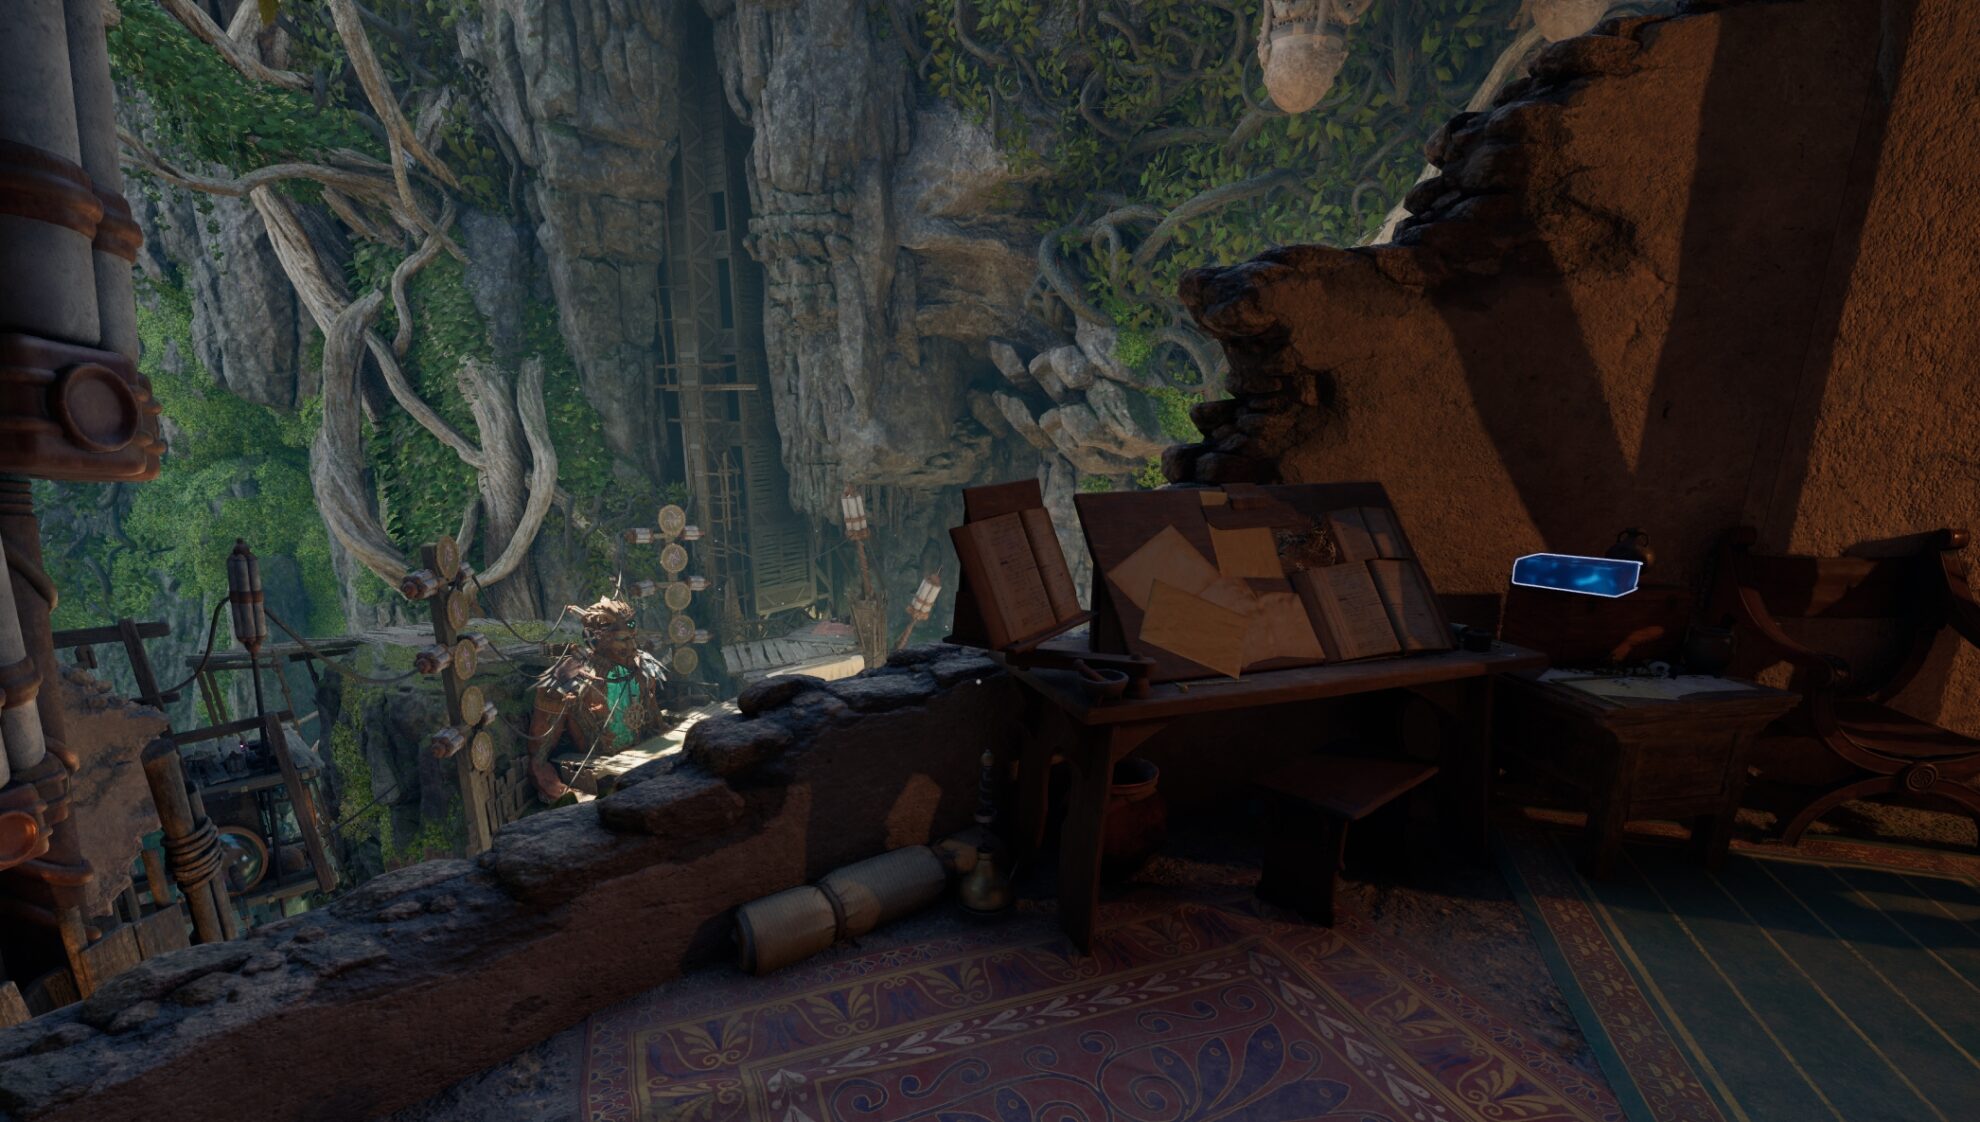
History of the Living Lands Volume II Location
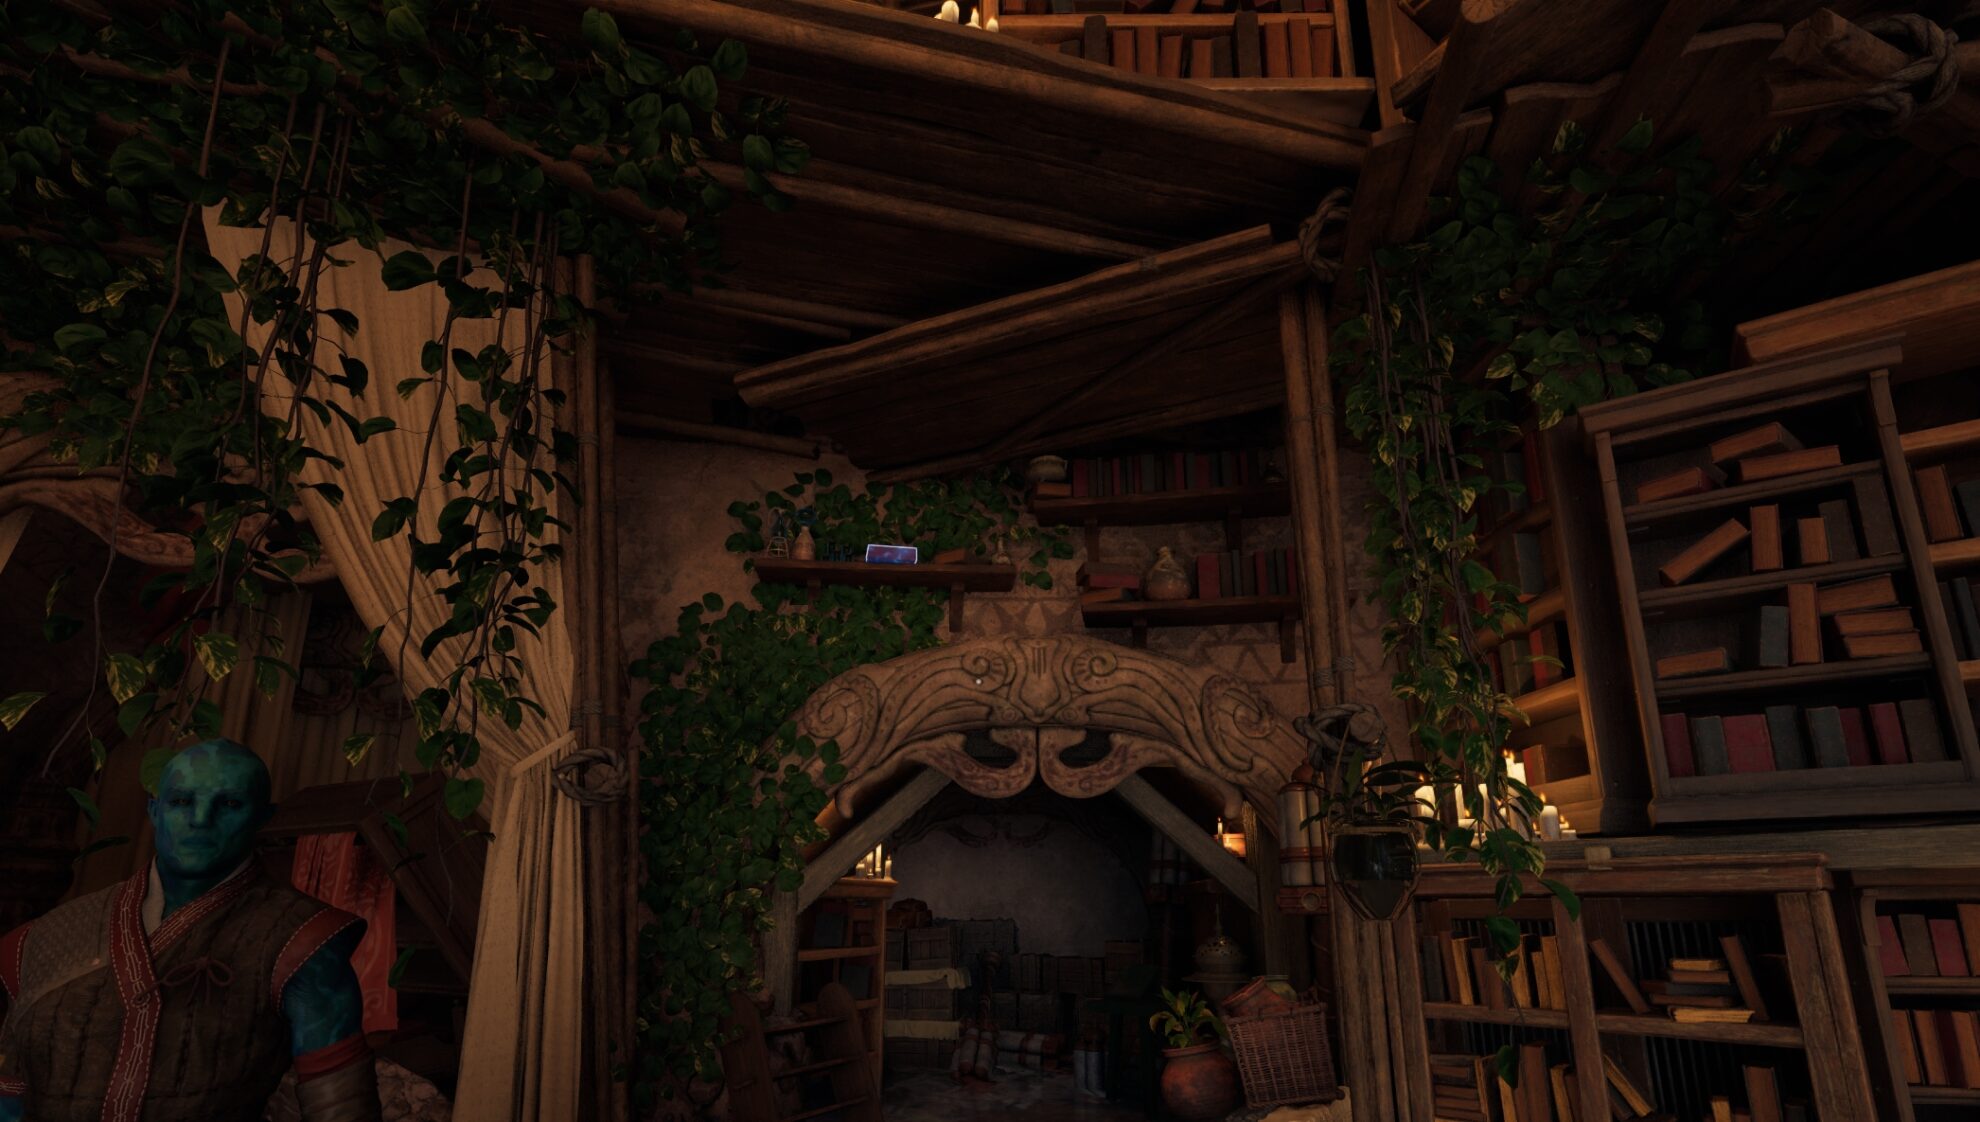
You’ll find History of the Living Lands Volume 2 in Sargamis’ study overlooking the statue.
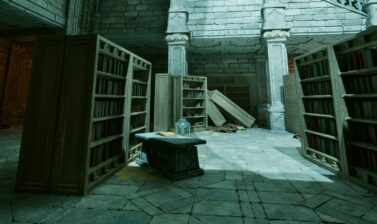
History of the Living Lands Volume III Location
You’ll find the History of the Living Lands Volume 3 in Sargamis’ library on a high shelf. Jump and grab it while you’re in the air.
History of the Living Lands Volume IV Location
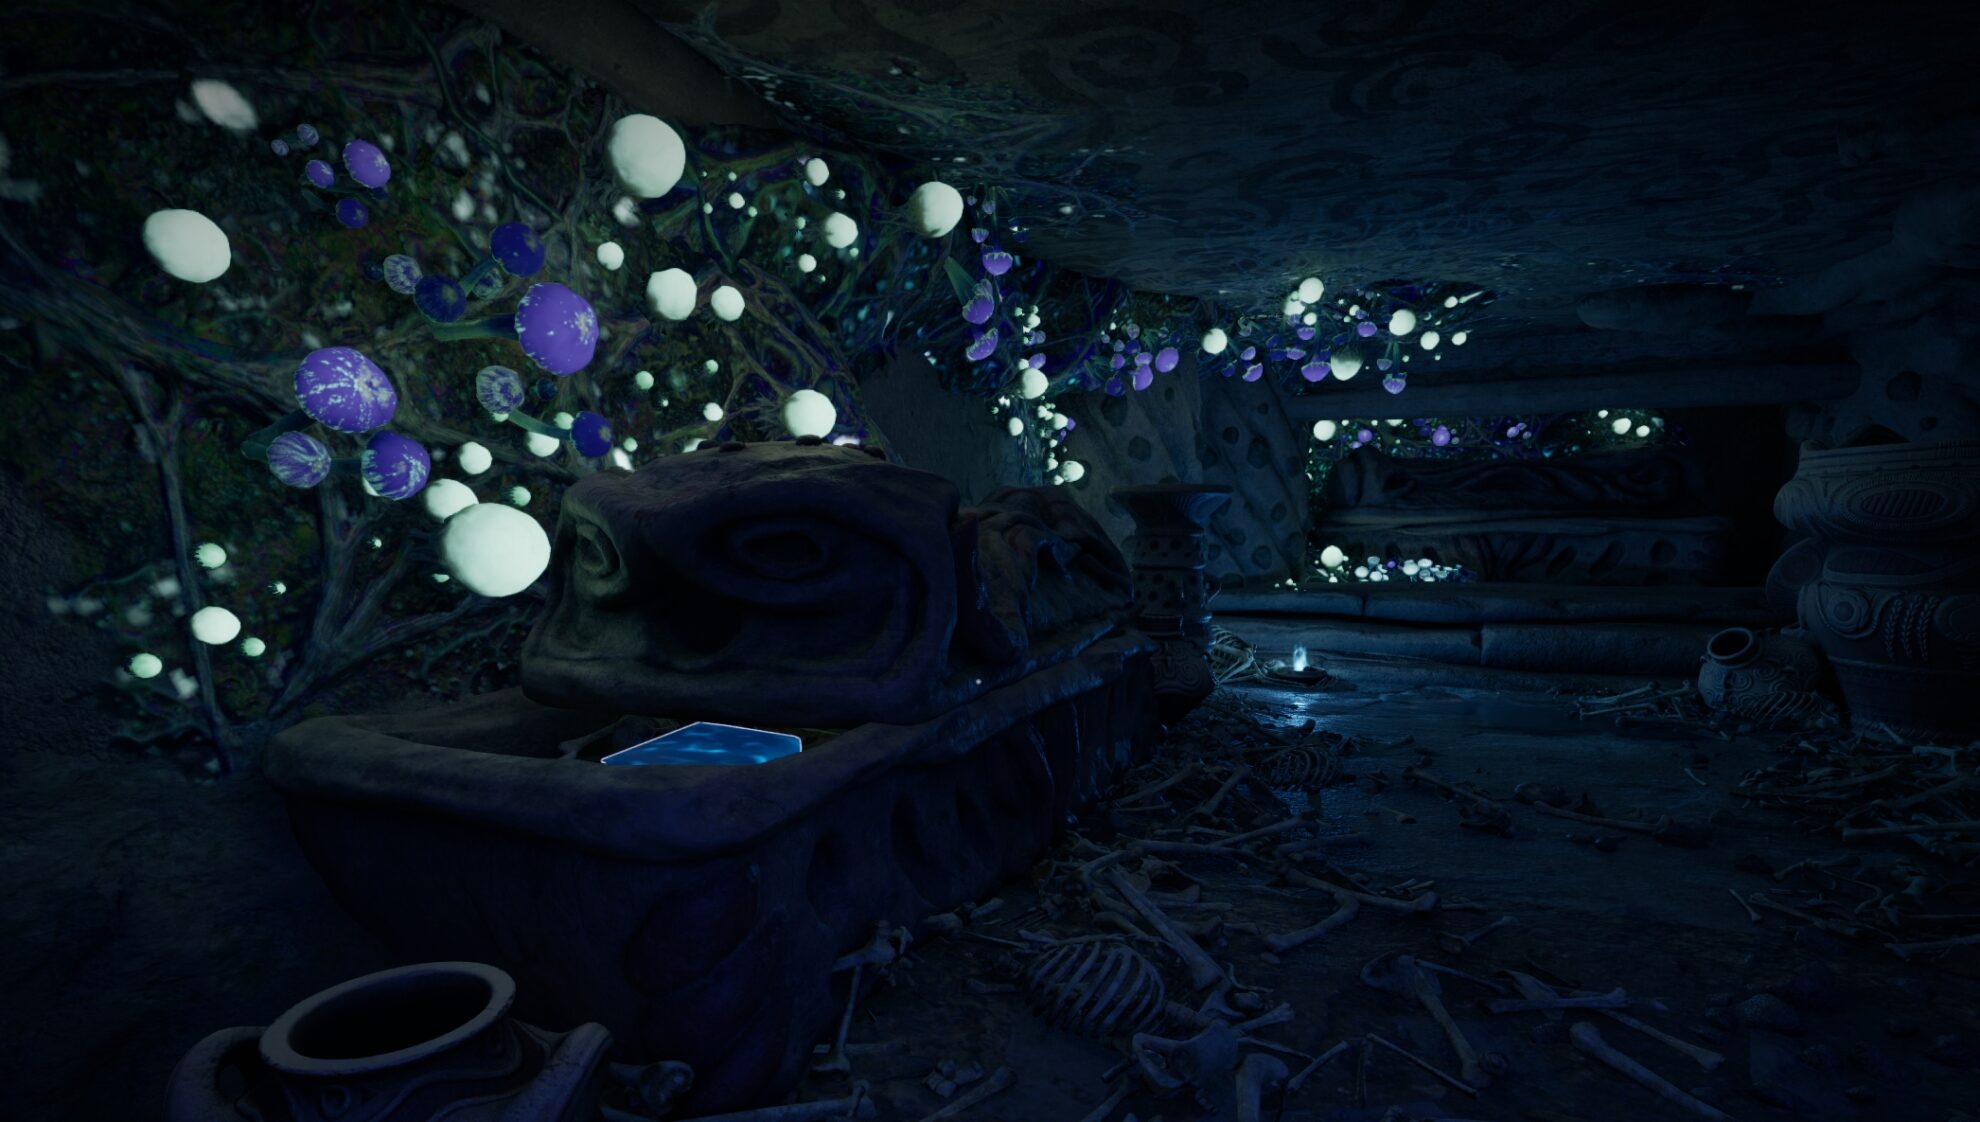
You’ll find the History of the Living Lands Volume 4 in one of the sarcophagi in the crypt to the right of where you find the Splinter of Eothas. The entrance is blocked by vases.
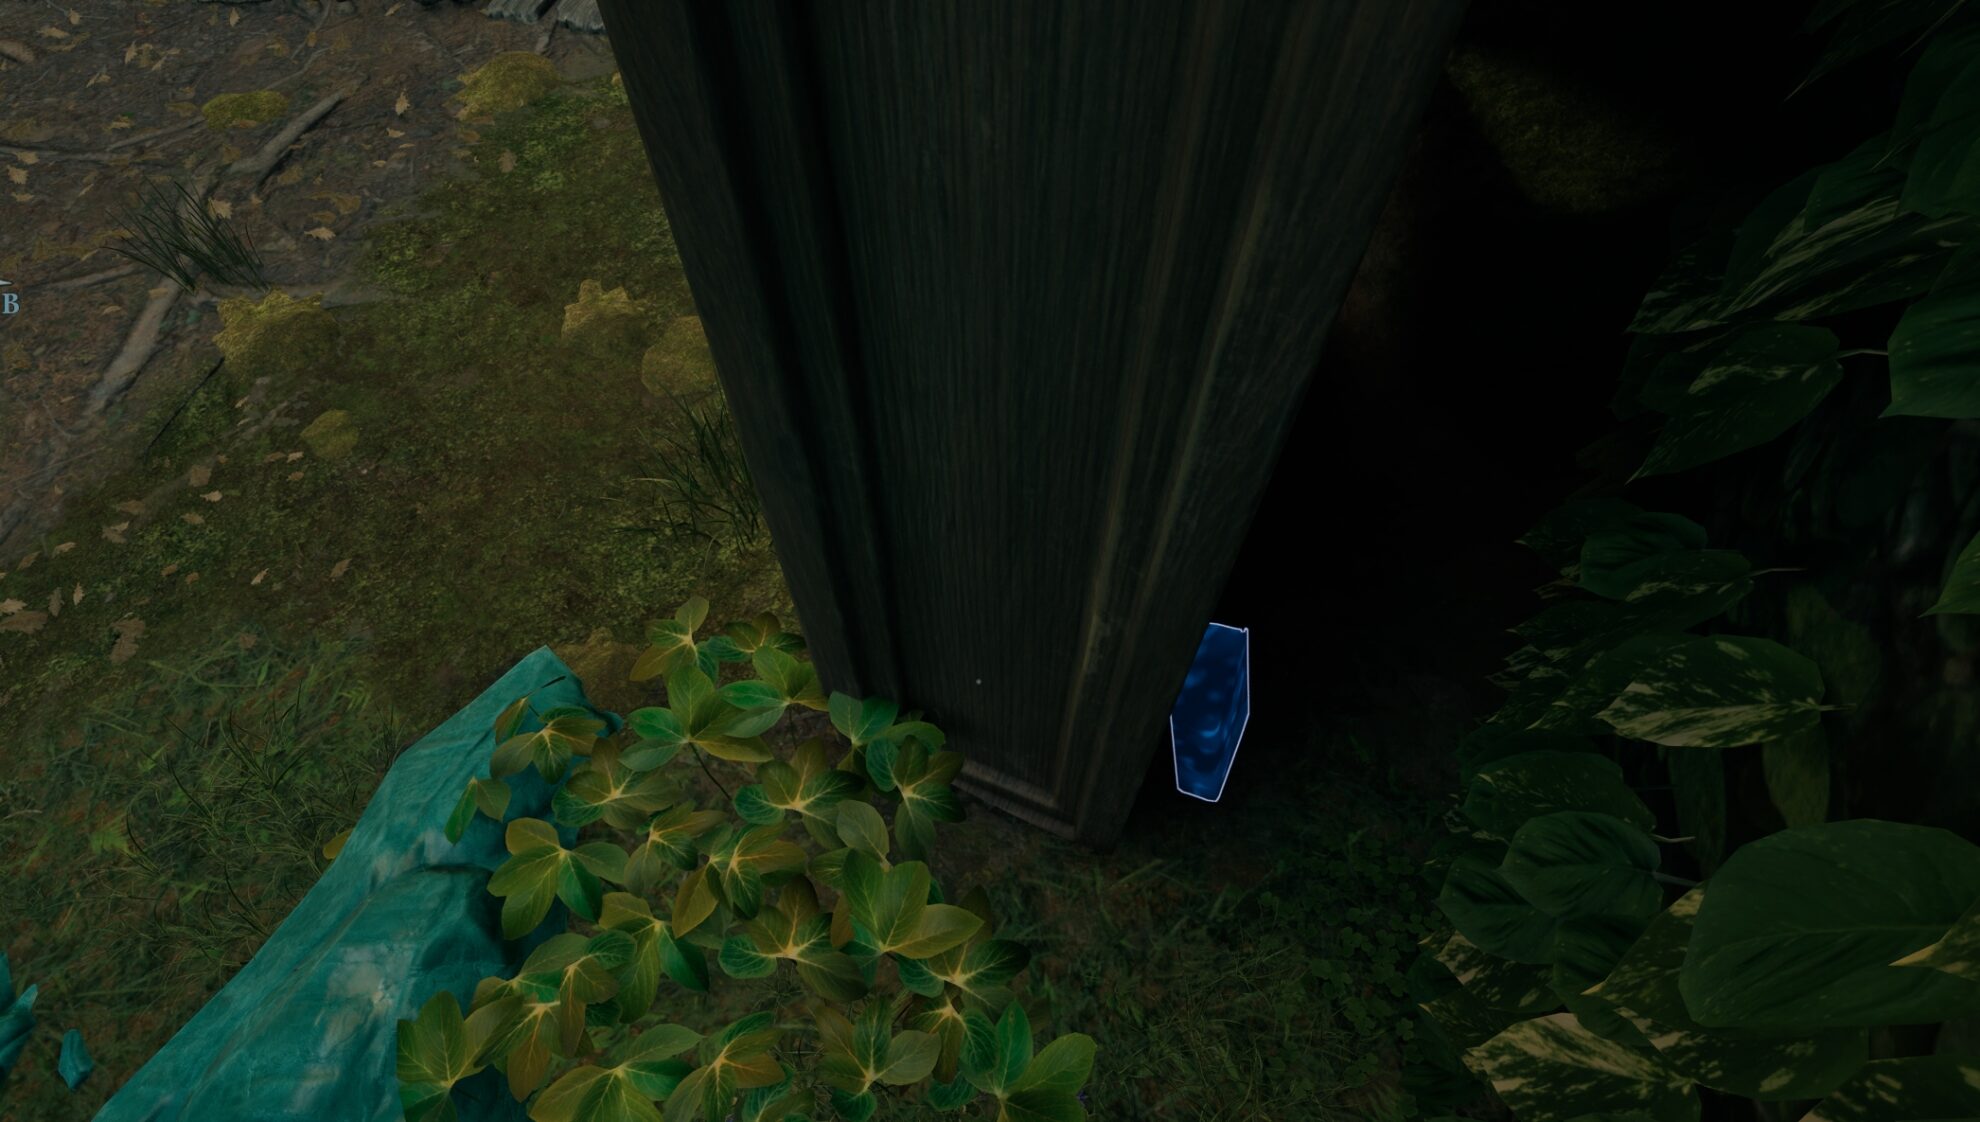
History of the Living Lands Volume V Location
The History of the Living Lands Volume V isn’t technically inside the Eothasian Temple. Rather, it’s located behind a bookshelf in Sargamis’ quarters at the exit to the temple.
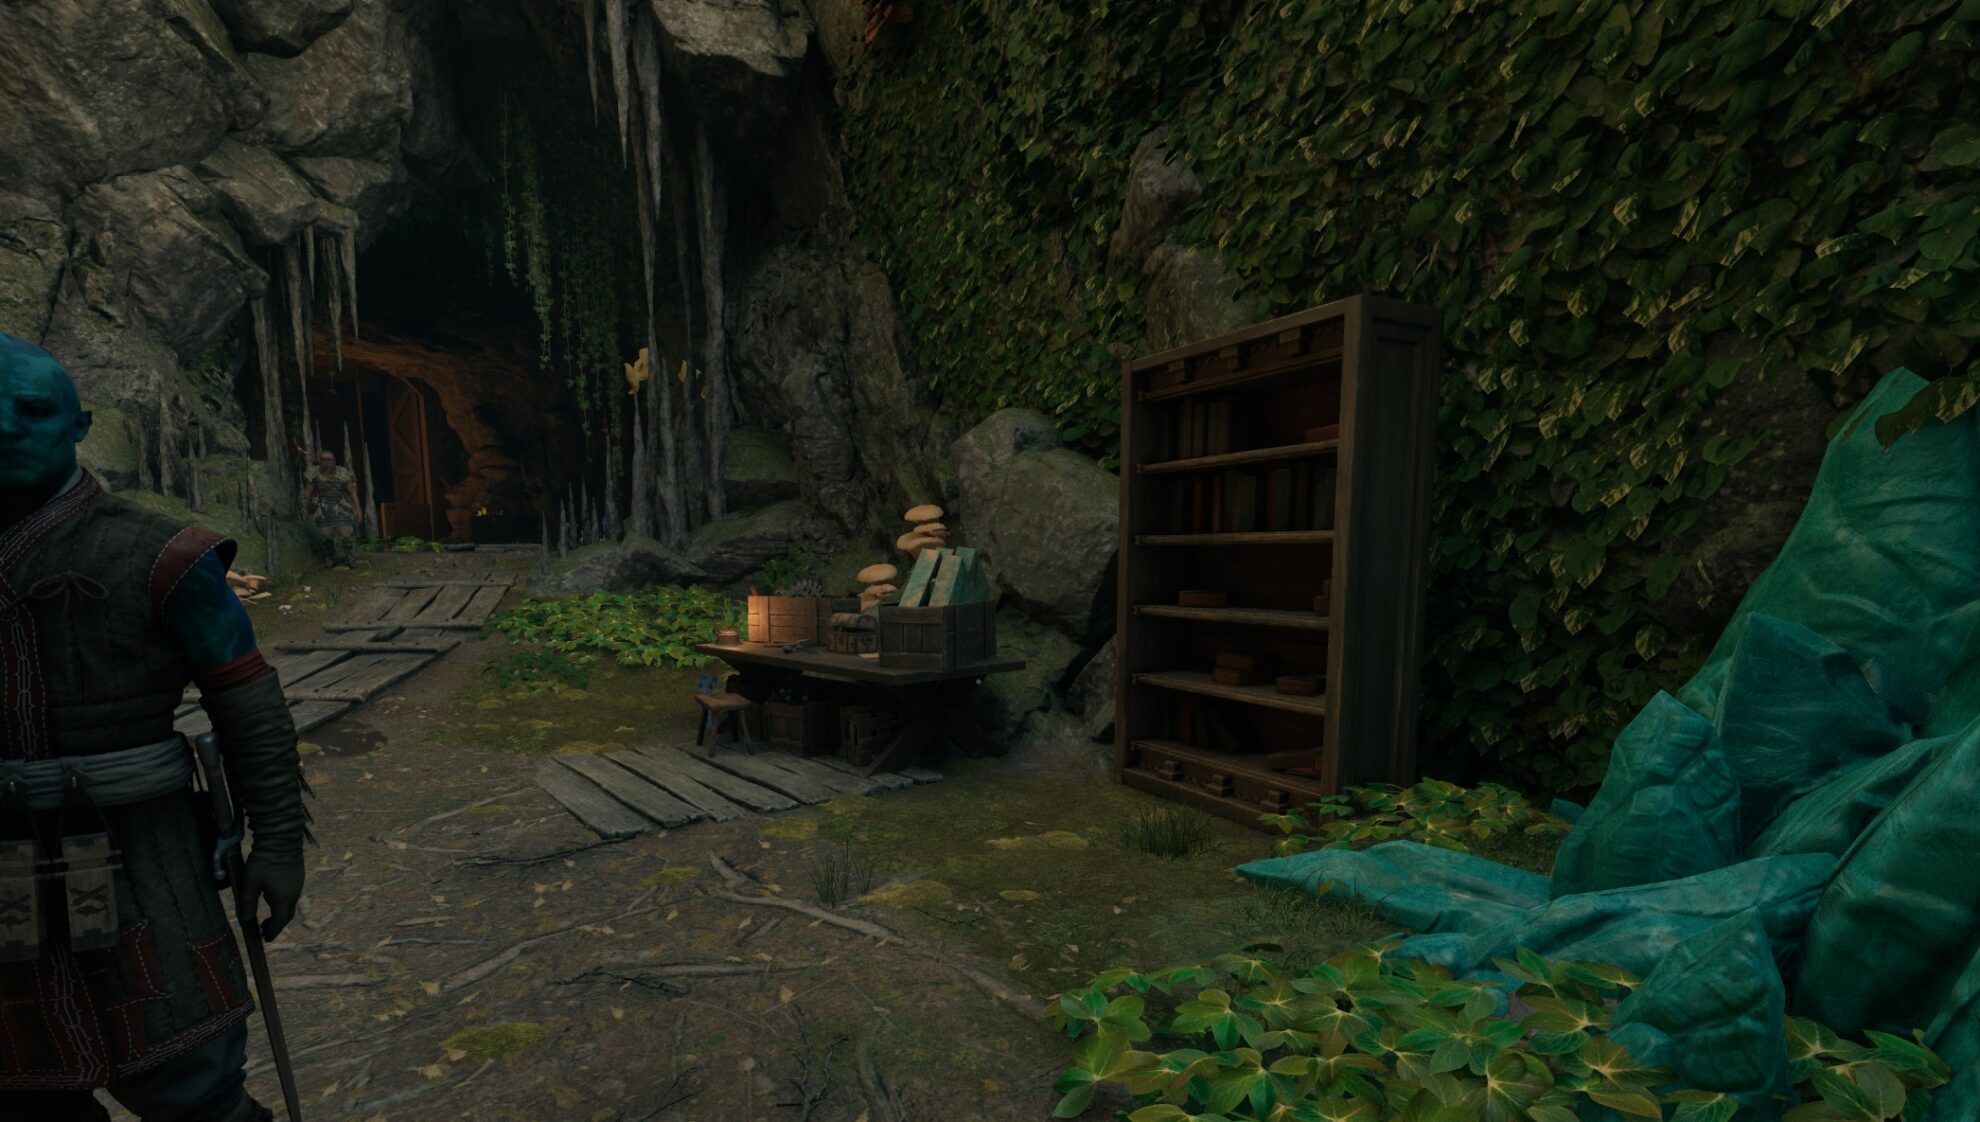
Take the lift next to Sargamis and his statue to reach this area and wedge yourself between the bookshelf and the adra.
Cooking By The Book
Cook every recipe at your Party Camp
The achievement seems pretty straightforward, but there are a few complications you’ll need to deal with beyond just cooking every recipe in the base list.
- Ivory Spinner and Sporeling Fire Pot
- Fine Aedyran Mead (Honey)
- Survivalist Recipes
Ivory Spinner and Sporeling Fire Pot Recipe
There is 1 recipe you have to find out in the field, and that’s for Ivory Spinner and Sporeling Fire Pot, which requires monster parts and doubles the regen rate of Health and Essence from food.
Ivory Spinner and Sporeling Pot
+100% Health and Essence Regeneration Speed from Food for 300s
Ingredients
- Spider Leg x1
- Dank Spores or Wild Mushroom Cap x1
- Krakenhorn x1
- Hunt’s Hair x1
- Produce (Vegetable, Grain, or Filler) x1
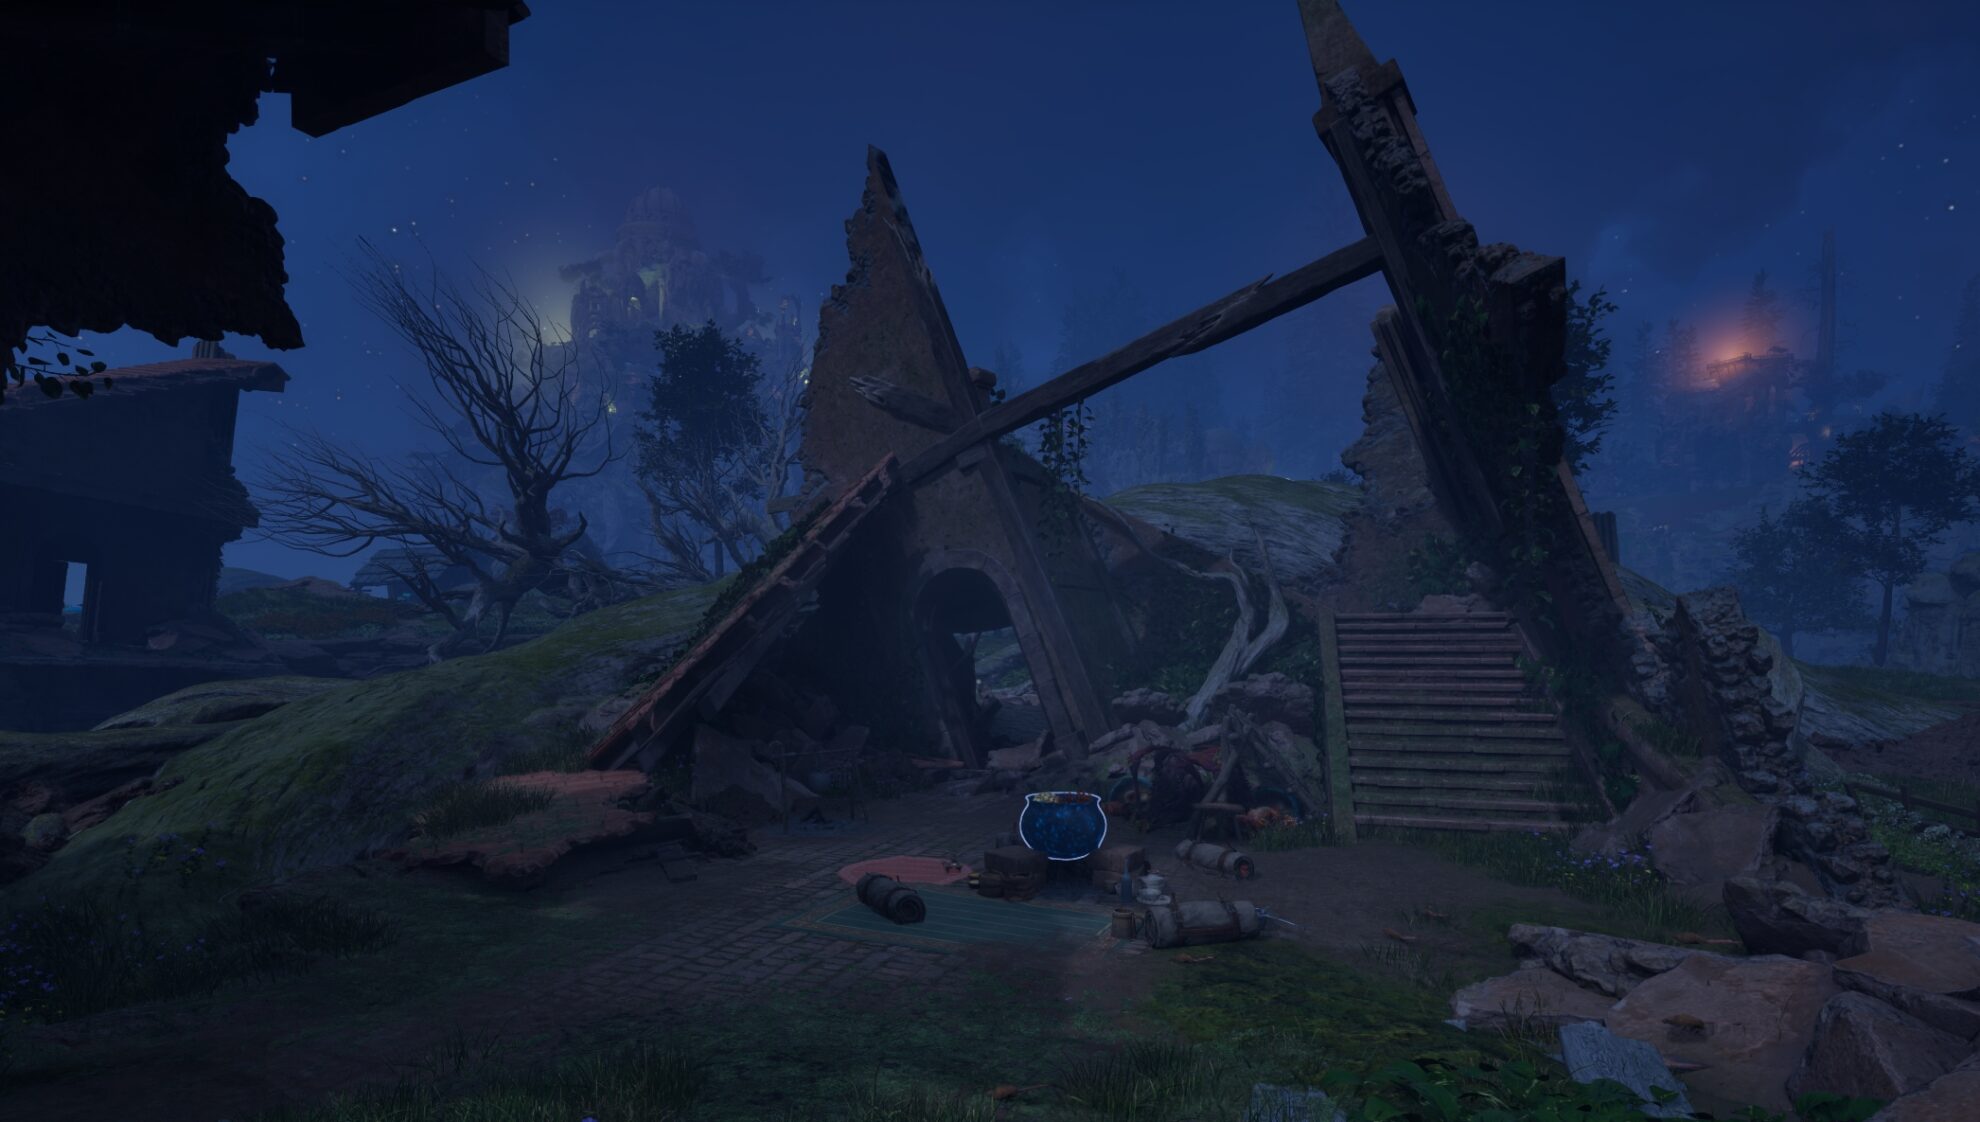
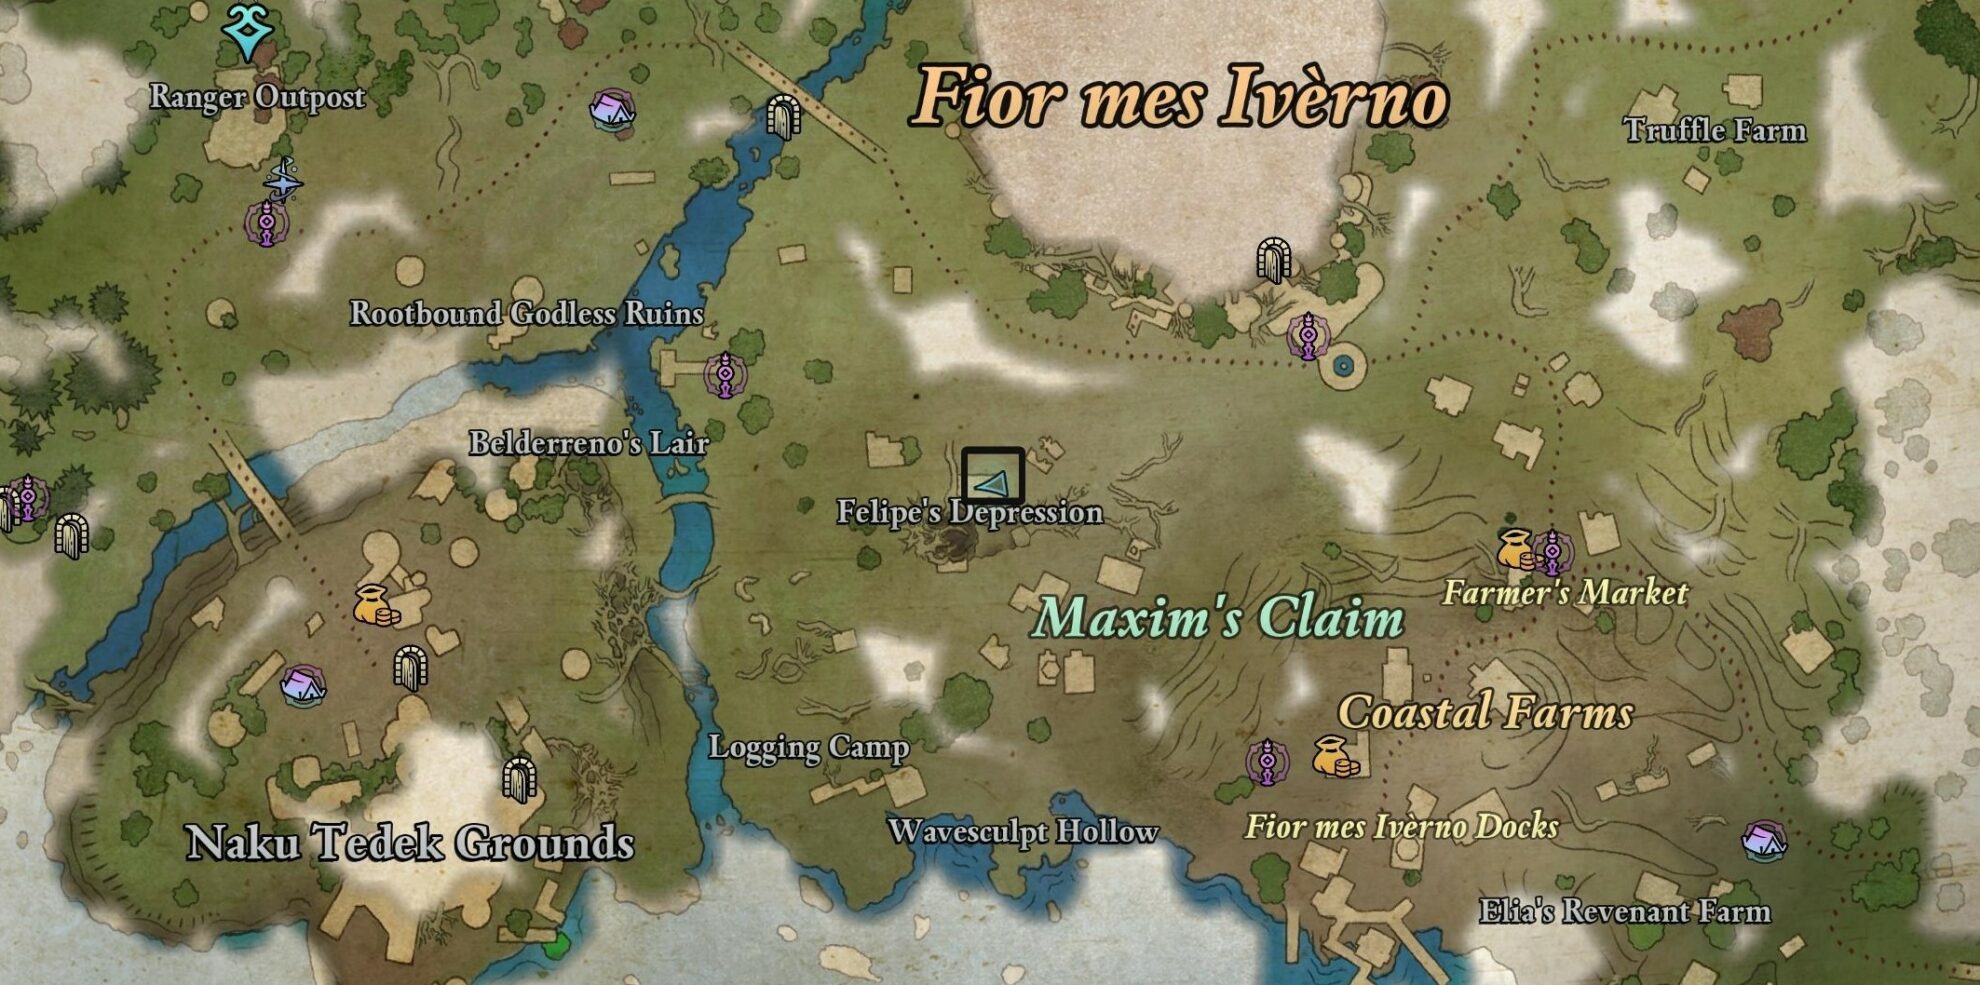
You can loot the recipe for Ivory Spinner and Sporeling Pot from a pot in that’s stewing it in a destroyed home out by Felipe’s Depression in Maxim’s Claim at Emerald Stair.
Fine Aedyran Mead (Honey)
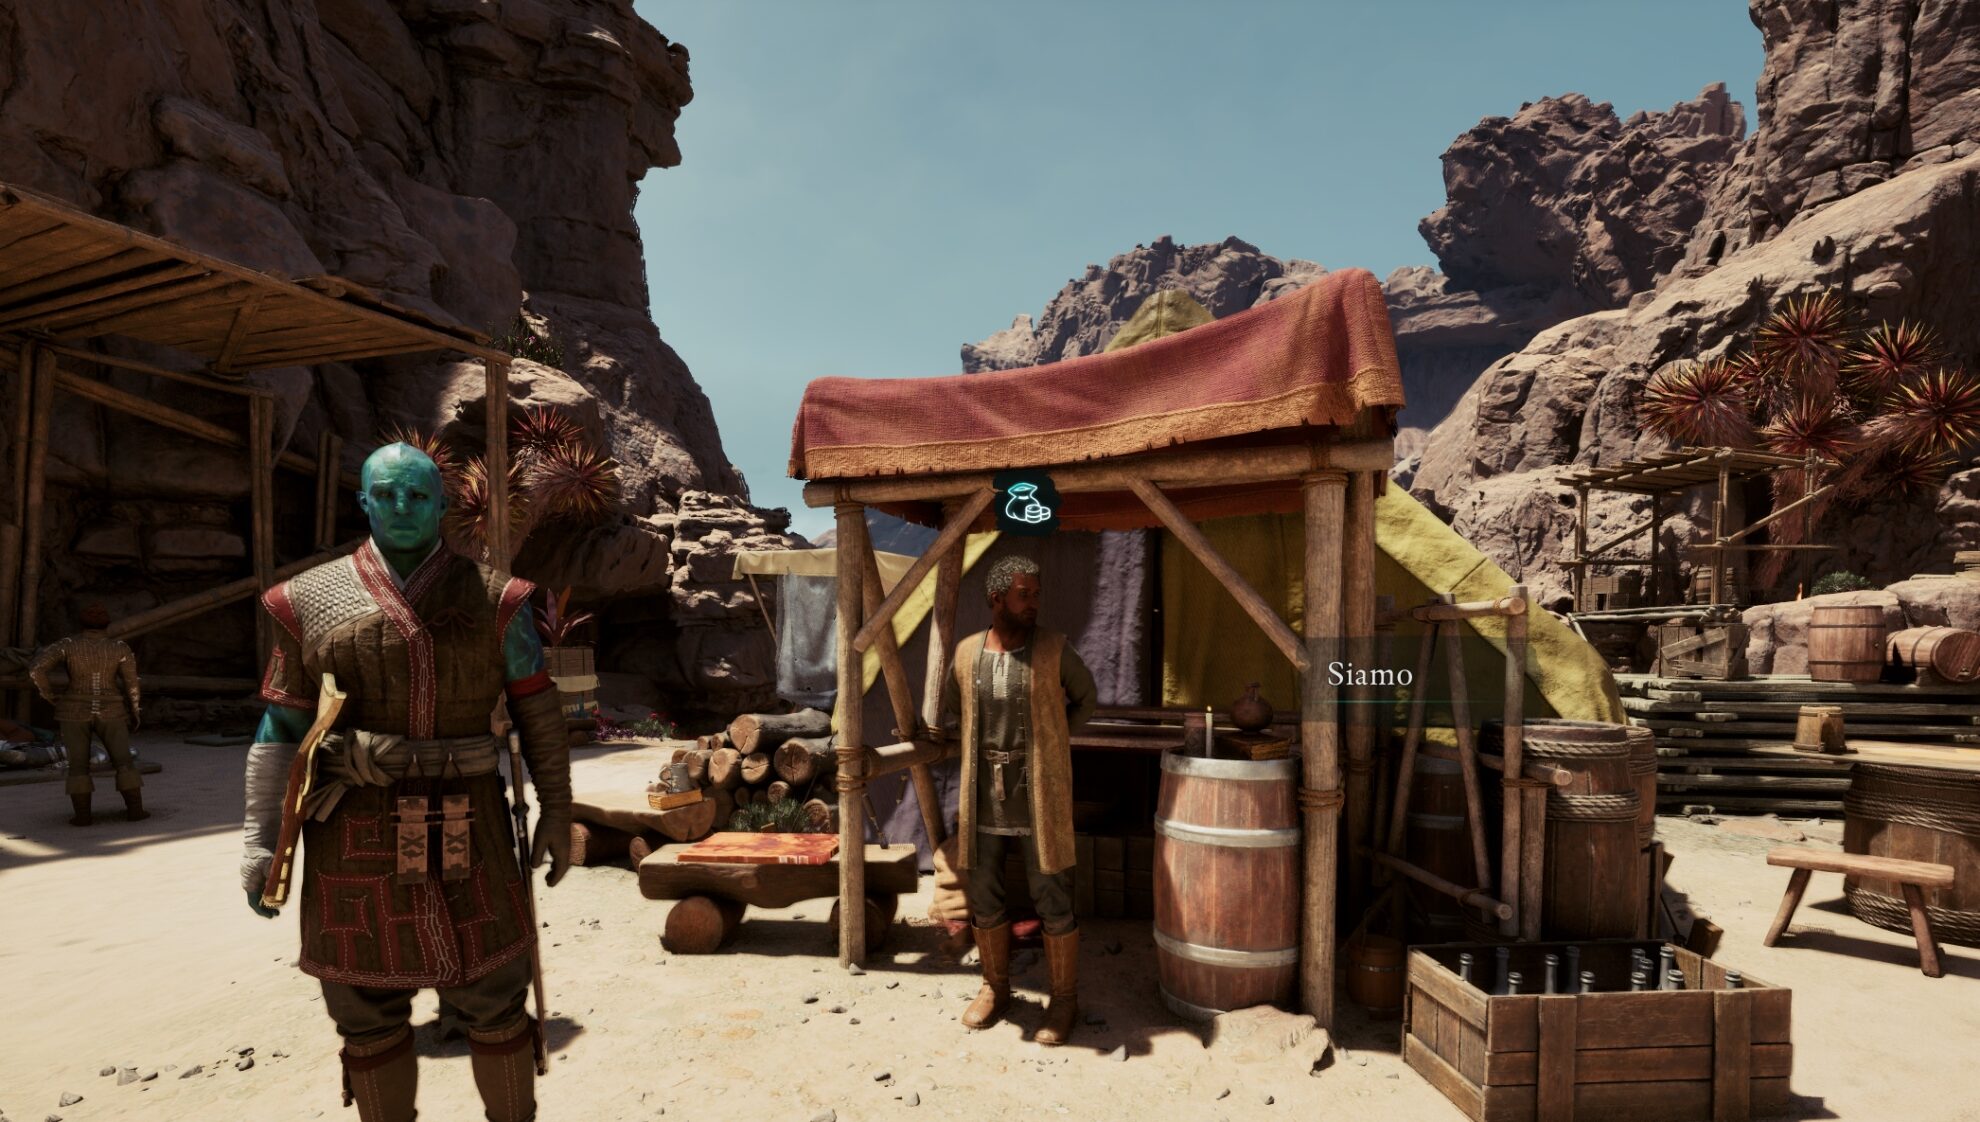
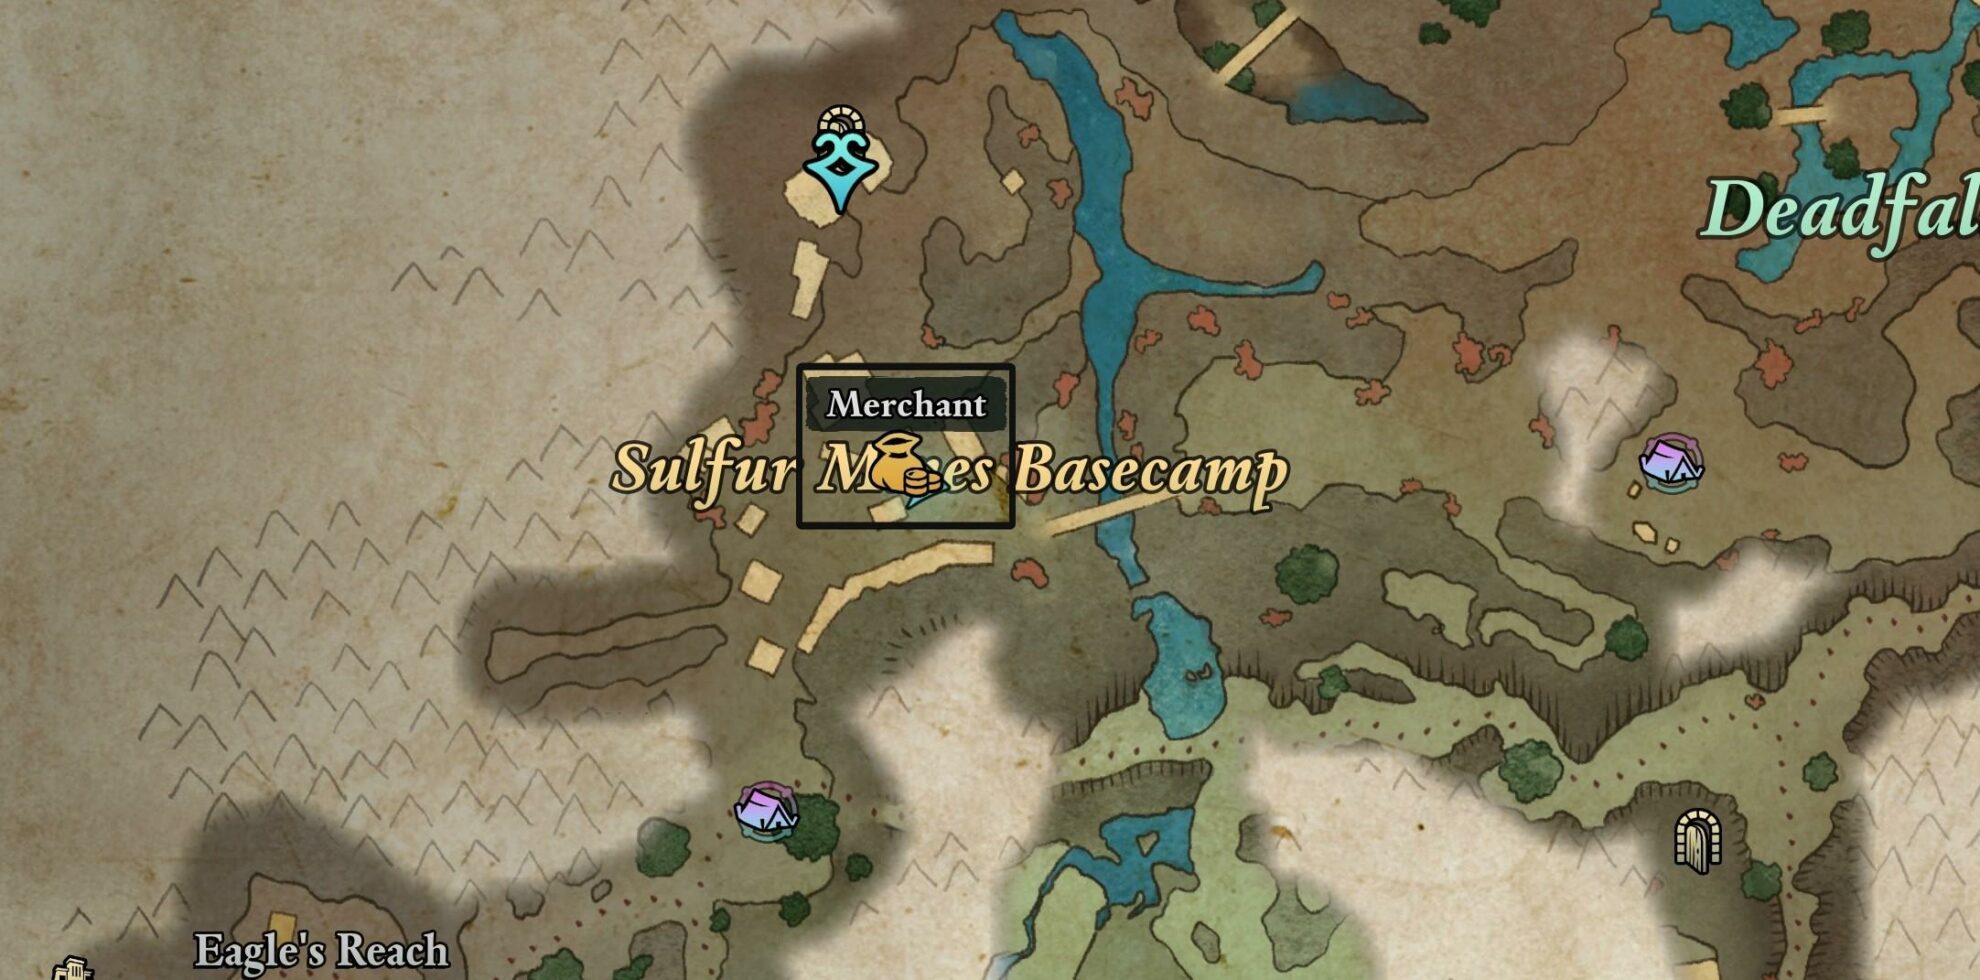
Fine Aedyran Mead is just a regular beverage, but it requires Honey, an incredibly rare ingredient that you probably won’t have on hand. You can buy some from Siamo, the Mercant at the Sulfur Mines Basecamp in the Deadfall Highlands of Shatterscarp.
Survivalist Recipes
Some strong recipes are unlocked by Ranks 2 and 3 of Survivalist, a level 1 Ranger Passive.
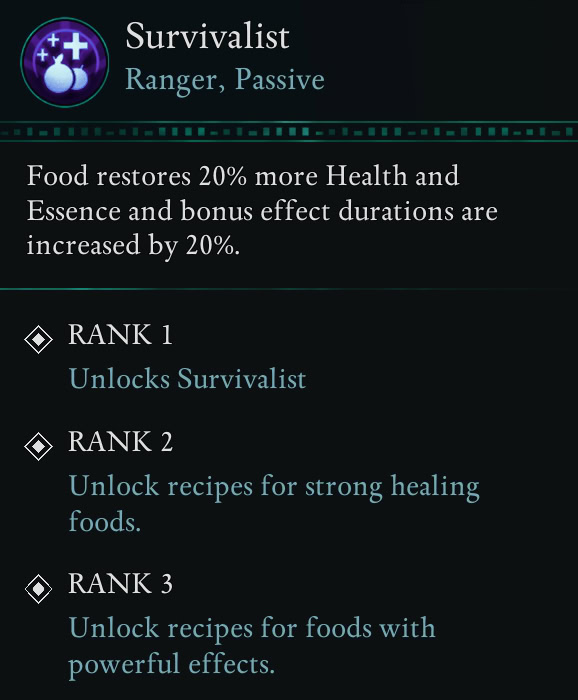
These recipes are genuinely quite powerful and have more diverse ingredients, like Health and Essence Flasks.
Many of these recipes use spoiled food, so make sure you don’t waste it.
You don’t need to have Survivalist to eat the food, so I recommend unlocking it once you have a lot of Ingredients saved up, spend it all on those recipes, and then respec.
I recommend crafting one of each Food in the same sitting so you know you get them all and can quickly get the Cooking by the Book achievement.
Play Dead
Wear Necropants and a Revenant Bell Collar at the same time
You can find the Necropants in Shatterscarp and the Revenant Bell Collar at Emerald Stair, but you need to make specific dialogue choices to get the latter.
Pentiment
Complete every side quest
There are 42 (maybe 44) side quests in Avowed. You’ll need to complete every single one to get Pentiment. The ones you’re most likely missing are The Finer Things in Battle (Dawnshore) and Debt of Blood (Emerald Stair).
Dawnshore
- Forged of Star-Stuff (not finished until Galawain’s Tusks)
- Dawntreader
- Escape Plan
- Totem of Rightful Rulership
- A Lady Never Tells
- Precious Light
- Lost Suoles
- Mapping the Living Lands: Dawnshore
- The Call of the Past
- Cabin Fever
- Armor Fit for the Wilds
- The Finer Things in Battle
The Finer Things in Battle is given to you automatically after defeating Thalla the Taskmaster (ogre) during the Main Story quest “An Untimely End” after speaking with the Apothecary.
Kai and Maurius will stop to tell you about your horrible gear as soon as you’re out of combat. The quest just requires you to get a Fine Weapon and Armor.
With patch 1.3, the quest seems to trigger more reliably, but the Pentiment achievement is still bugged. Try reloading the game after getting the quest or loading a different save file.
Emerald Stair
- Debt of Blood
- Totem of Defiance
- Food Theft
- Steel Resolve
- Memory of the Deep
- Nature vs. Nurture
- A Relic from the Ashes
- Mapping the Living Lands: Emerald Stair
- Missing Rangers
- The Sinkhole Stroll
- Elder Offerings
- Scofflaw’s Vase
- Battle Scars (potentially)
Debt of Blood is given by a distraught Fiorian at the Abandoned Farms, but only if the Steel Garrote are allowed to raze Fior mes Ivèrno.
Shatterscarp
- First Contact with the Enemy
- Totem of Revelations
- Fires in the Mine
- Mapping the Living Lands: Shatterscarp
- One Last Drink
- Heart of Valor
- The Wasteland Courier
- Don’t Look Down
- That Which Remains
- Home Sweet Home
Galawain’s Tusks
- Totem of Perseverance
- Homecoming
- Keeping History Alive
- Wardens Warding
- Boundaries of Antiquity
- Mapping the Living Lands: Galawain’s Tusks
- A Home for Outcasts
- A Cure for Rage
- Chorus of the Lost (potentially)