Find out what horrors await Naoe and Yasuke in the Assassin’s Creed Shadows crossover with Dead by Daylight. Find out how to start the quest and survive your encounter with an otherworldly foe.
How to start the Dead by Daylight Crossover Quests
Before you can start this series of quests, you’ll need to download Update 1.0.5. The quest appears after you unlock Yasuke as a playable character. To do this, keep playing the game’s main story quests.
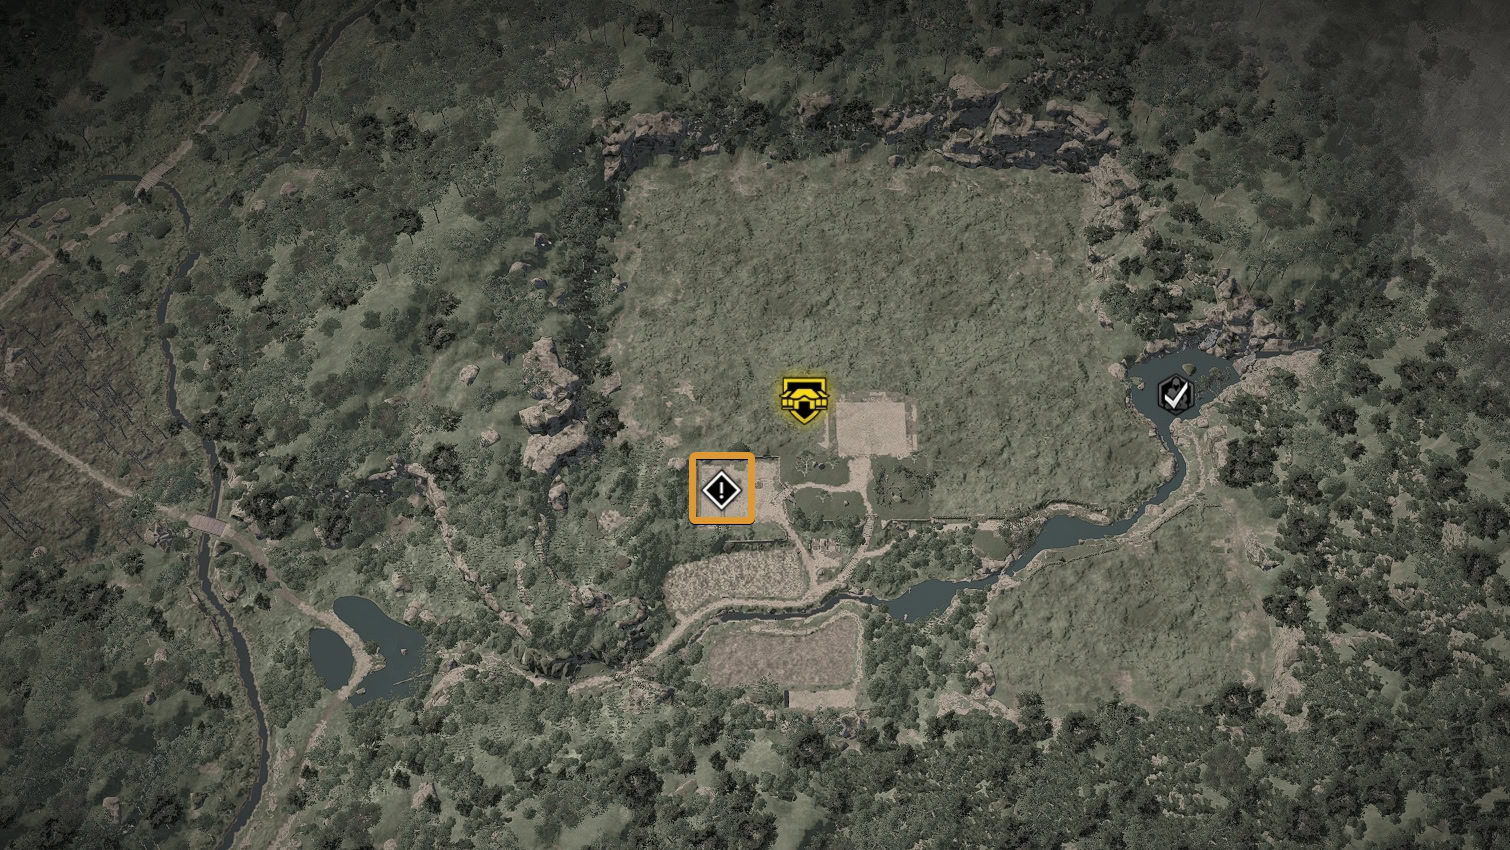
Once you have done this, you’ll have a new marker for “Vision of the Realms” on your map located in the Hideout.
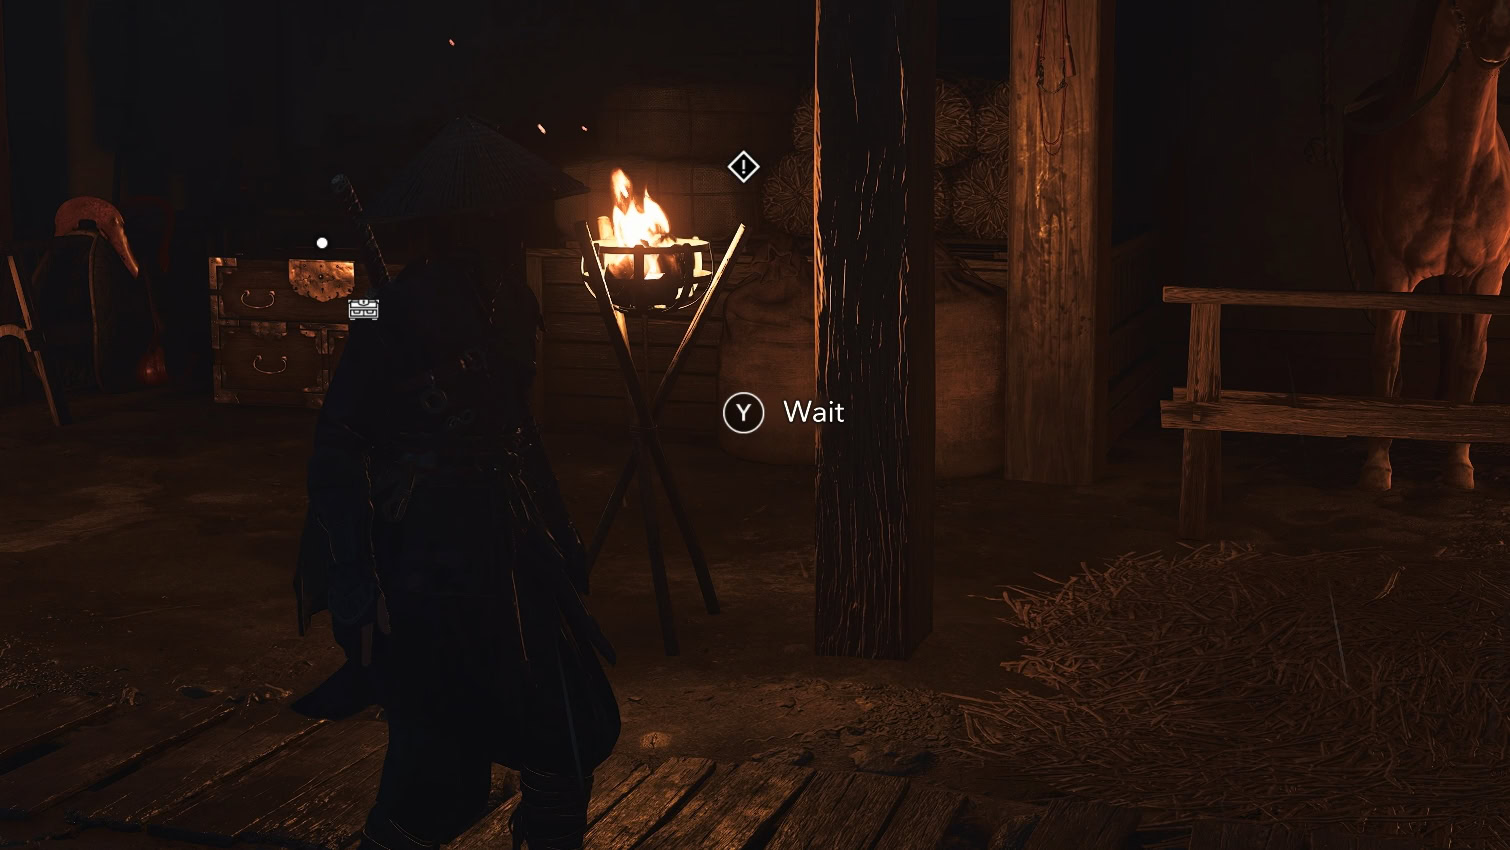
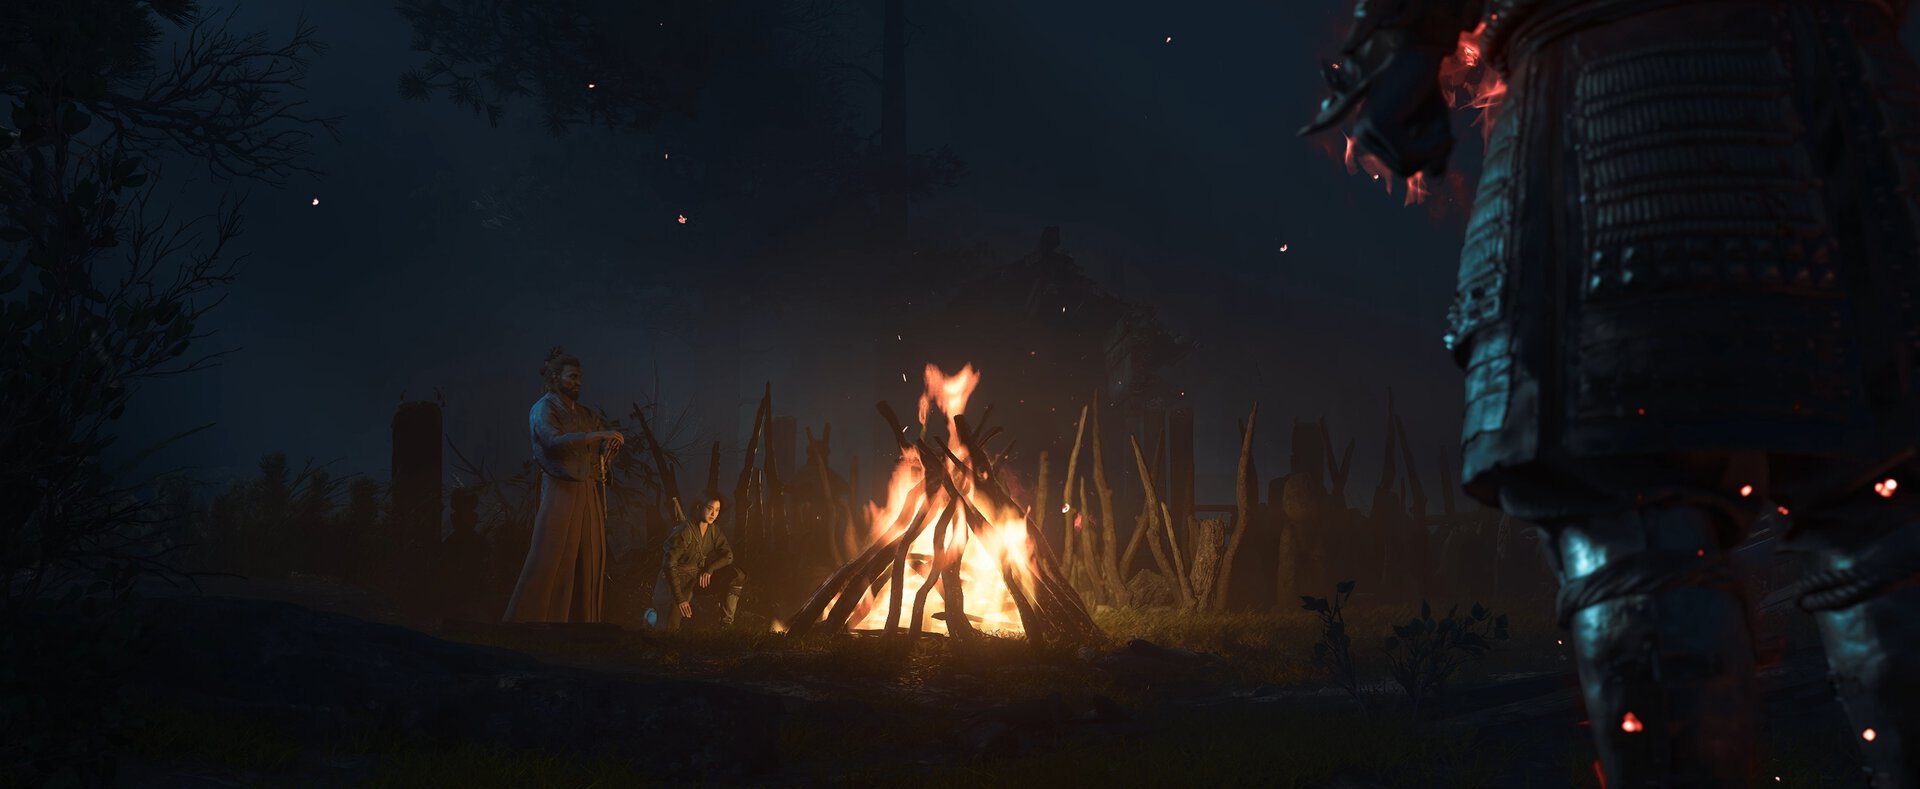
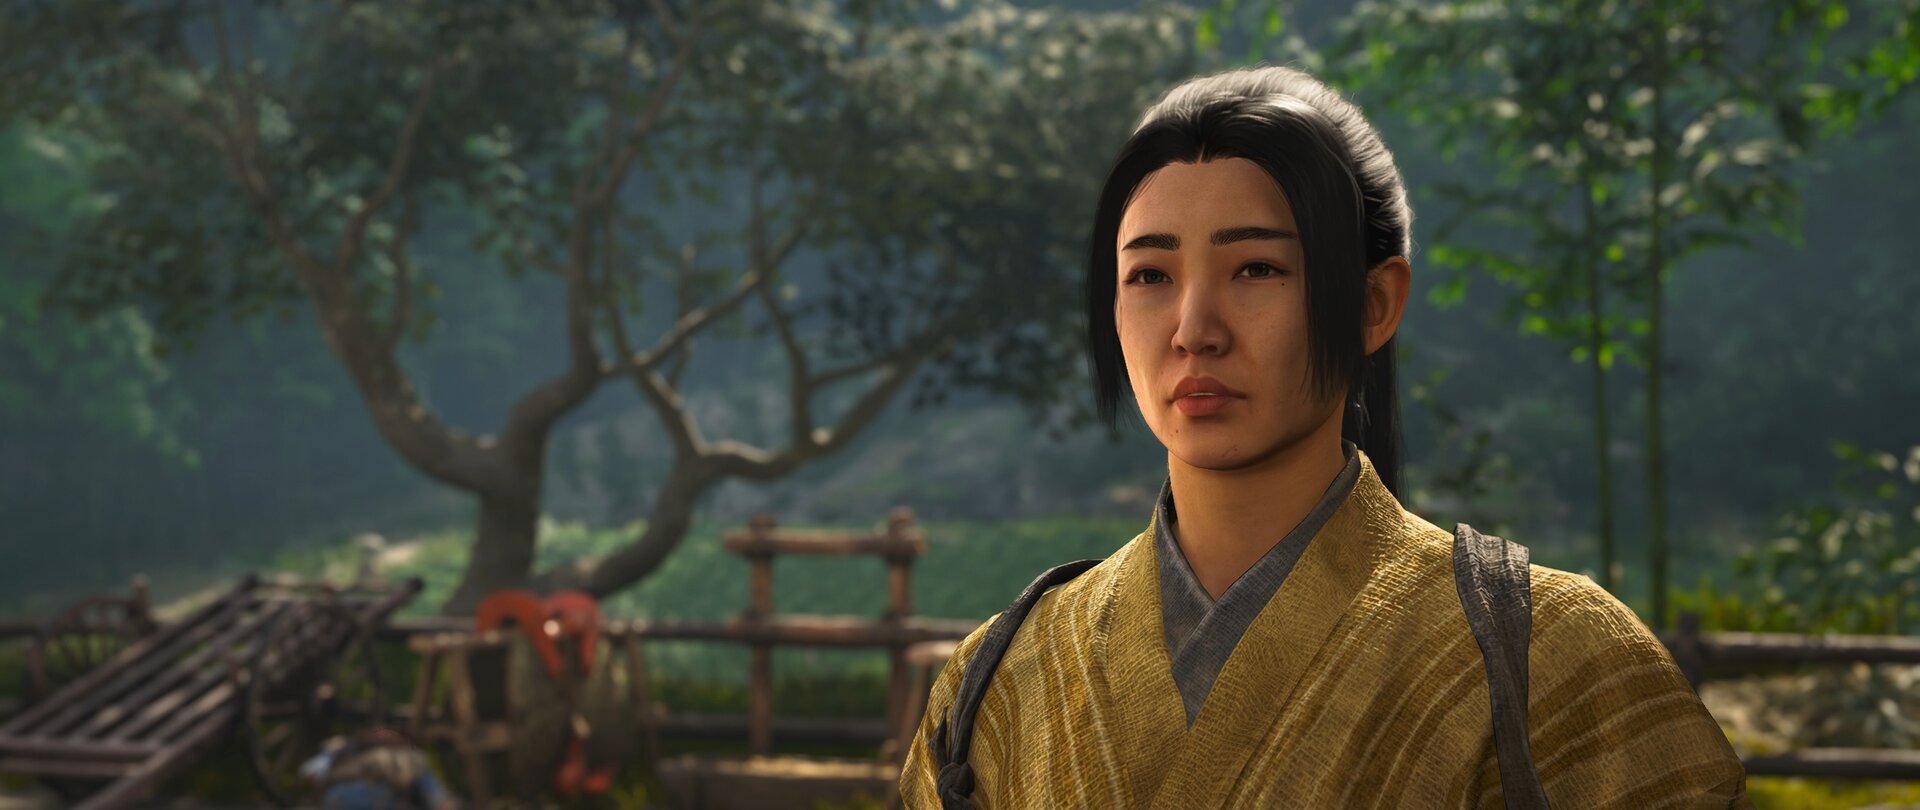
Wait by the stables to start a cutscene where Naoe or Yasuke will talk to Tomiko about a missing scout.
Vision of the Realms Walkthrough
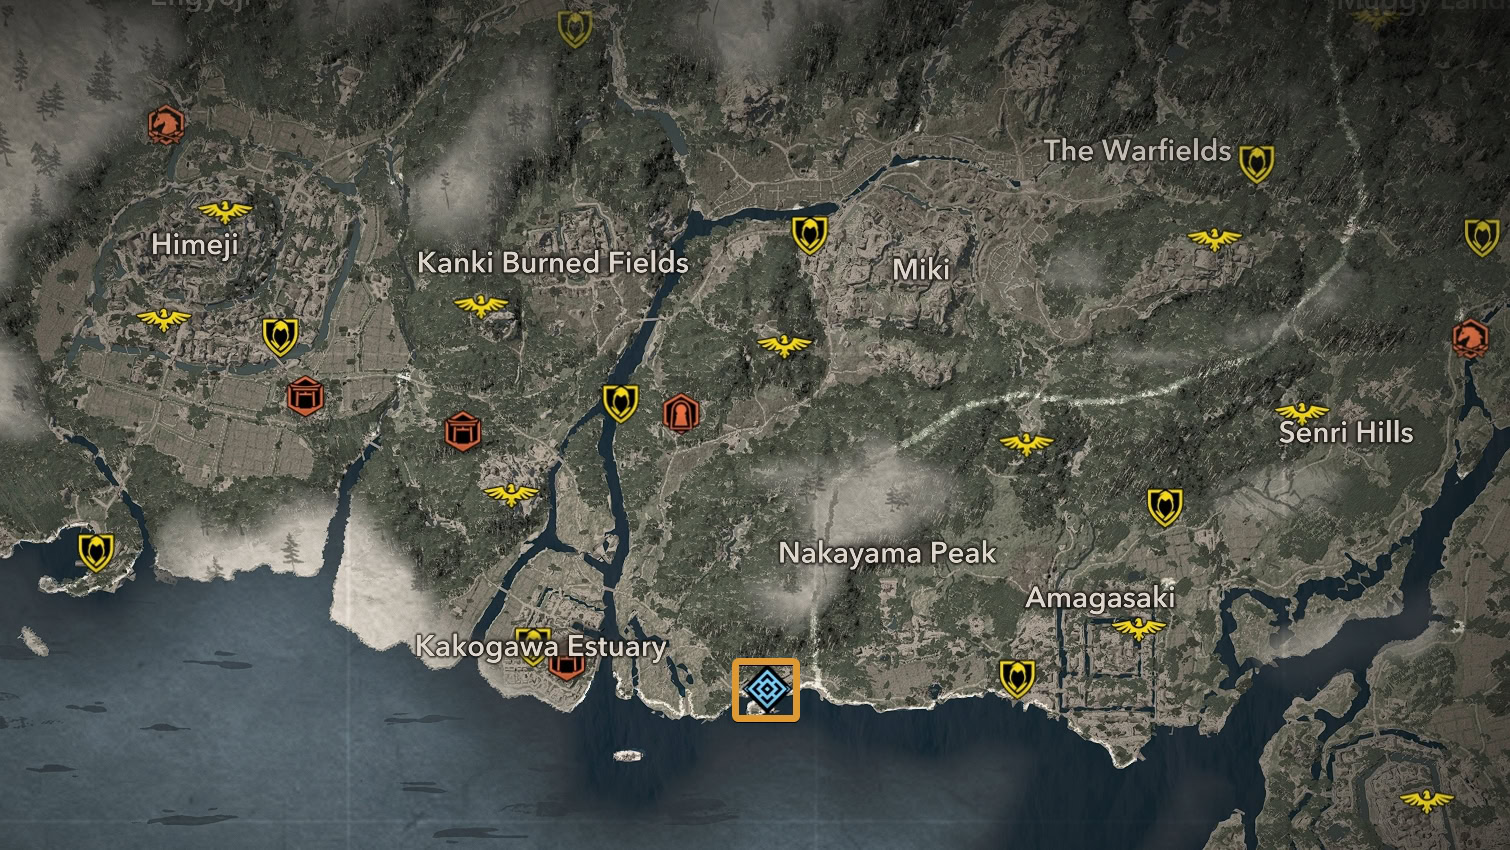
Your first quest is to find out what happened in the village of Akashi, investigate the missing villagers, and find out why your scout hasn’t reported back. This village is easy of Kakogawa Estuary in southern Harima.
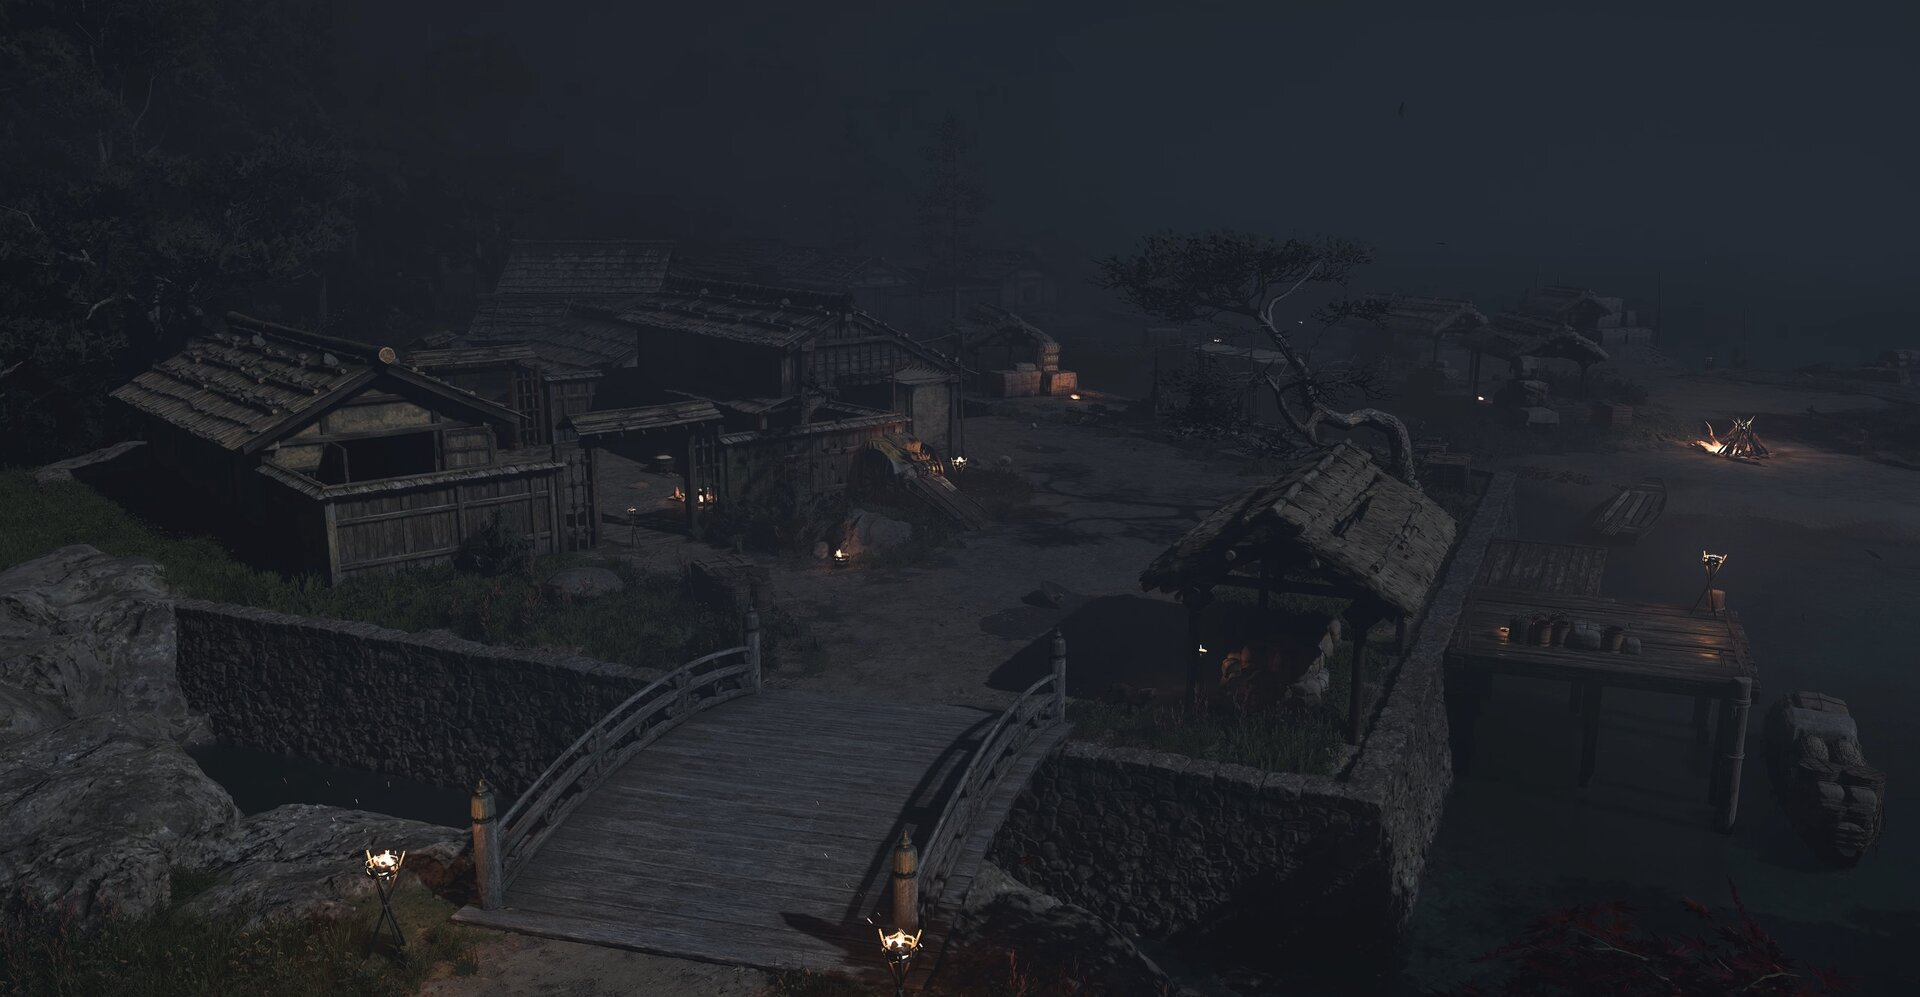
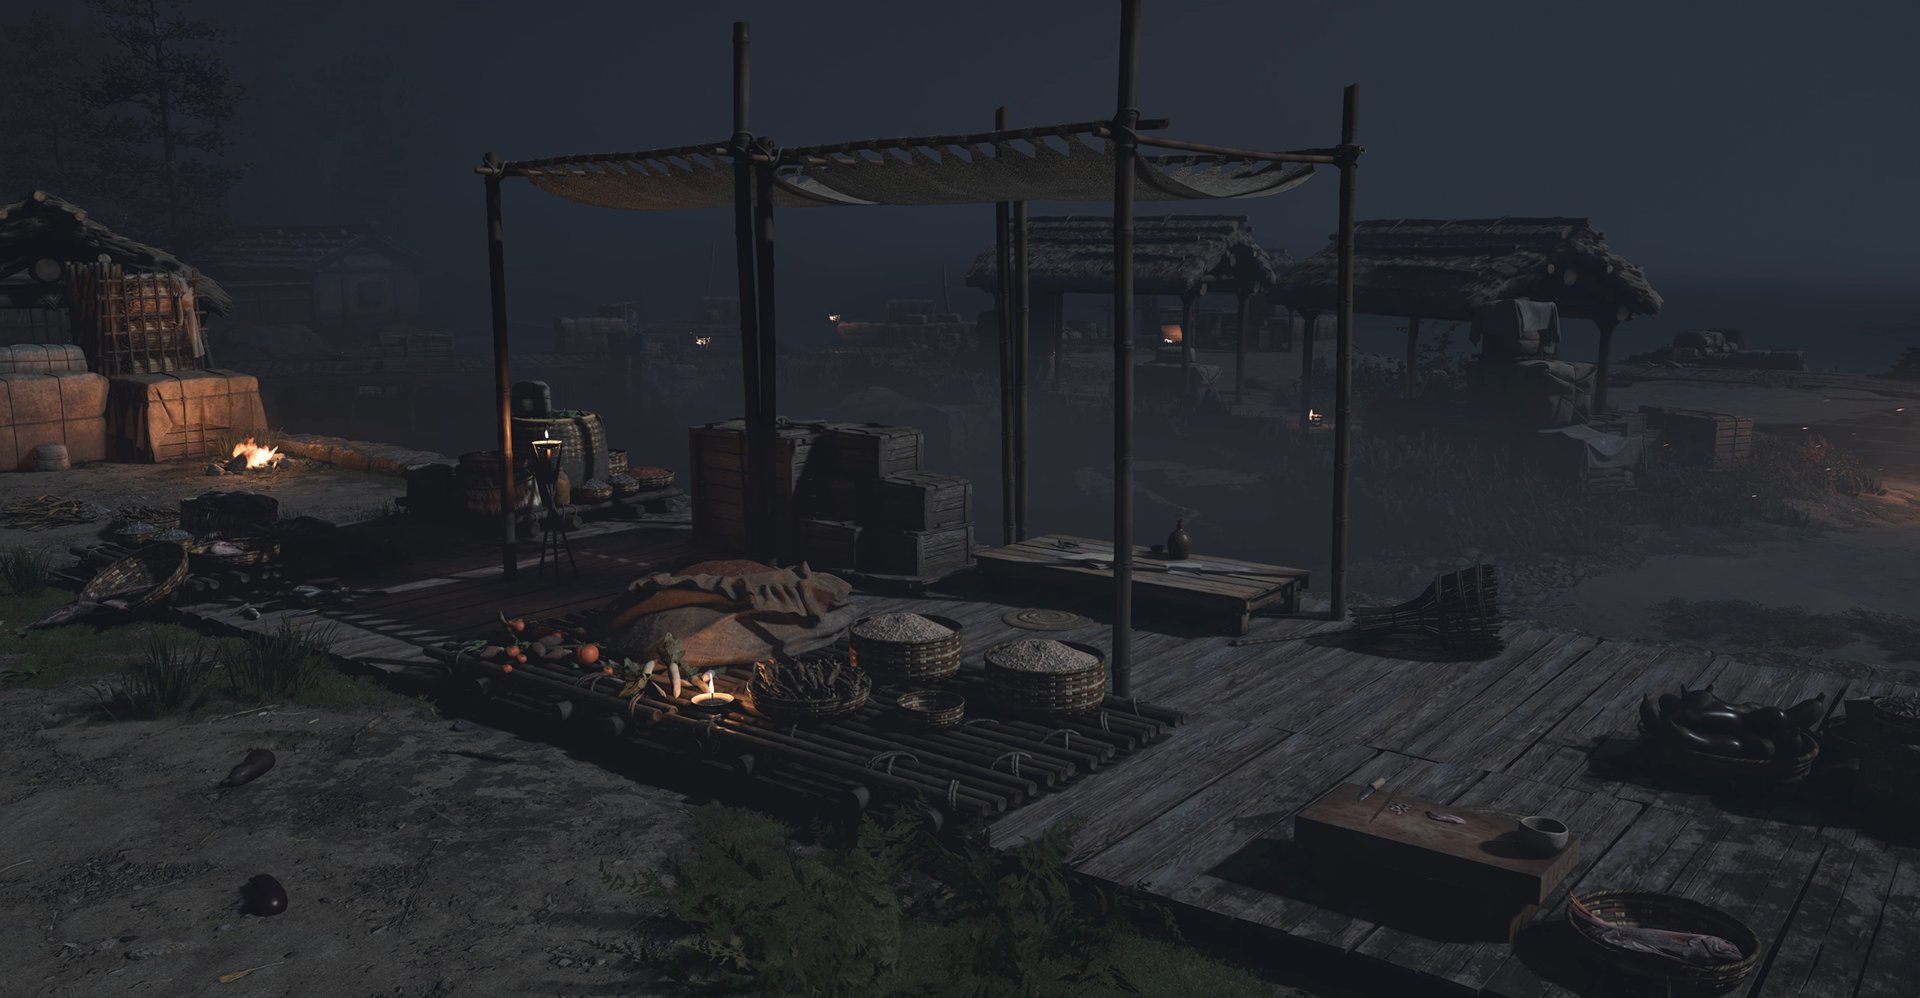
When you reach the village, explore around and zoom in to find any blue objectives. Near the coast, you’ll find a fishmonger stall with a diary. Read the diary to get your first clue about the villagers’ fate.
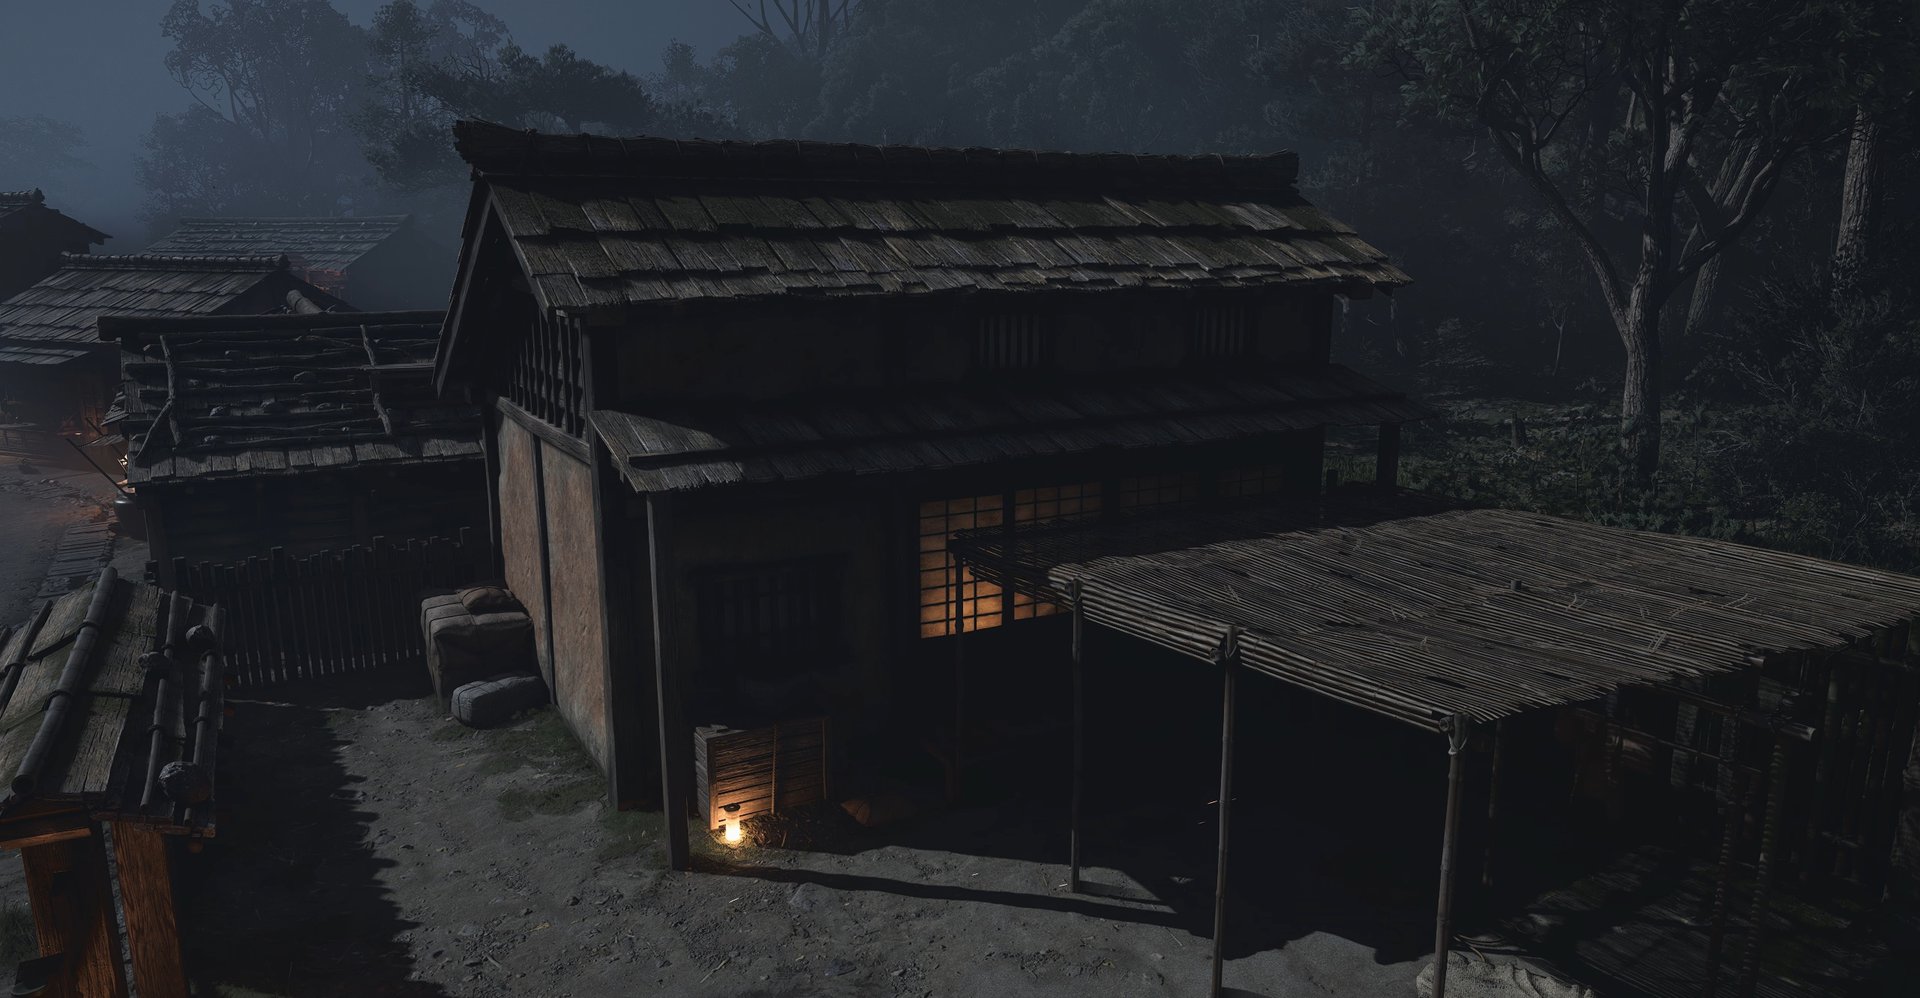
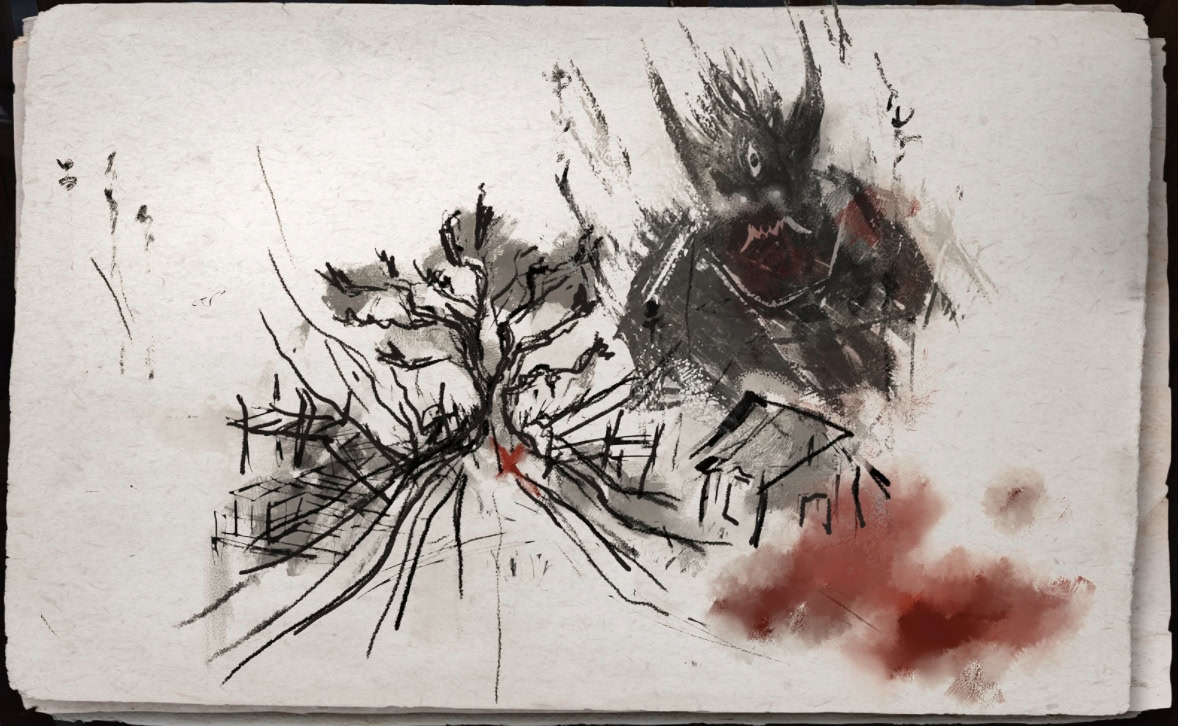
Your second clue will be inside one of the homes within the village. The interior is filled with rotting fish and food. Among the decay, you’ll find a Mysterious Drawing.
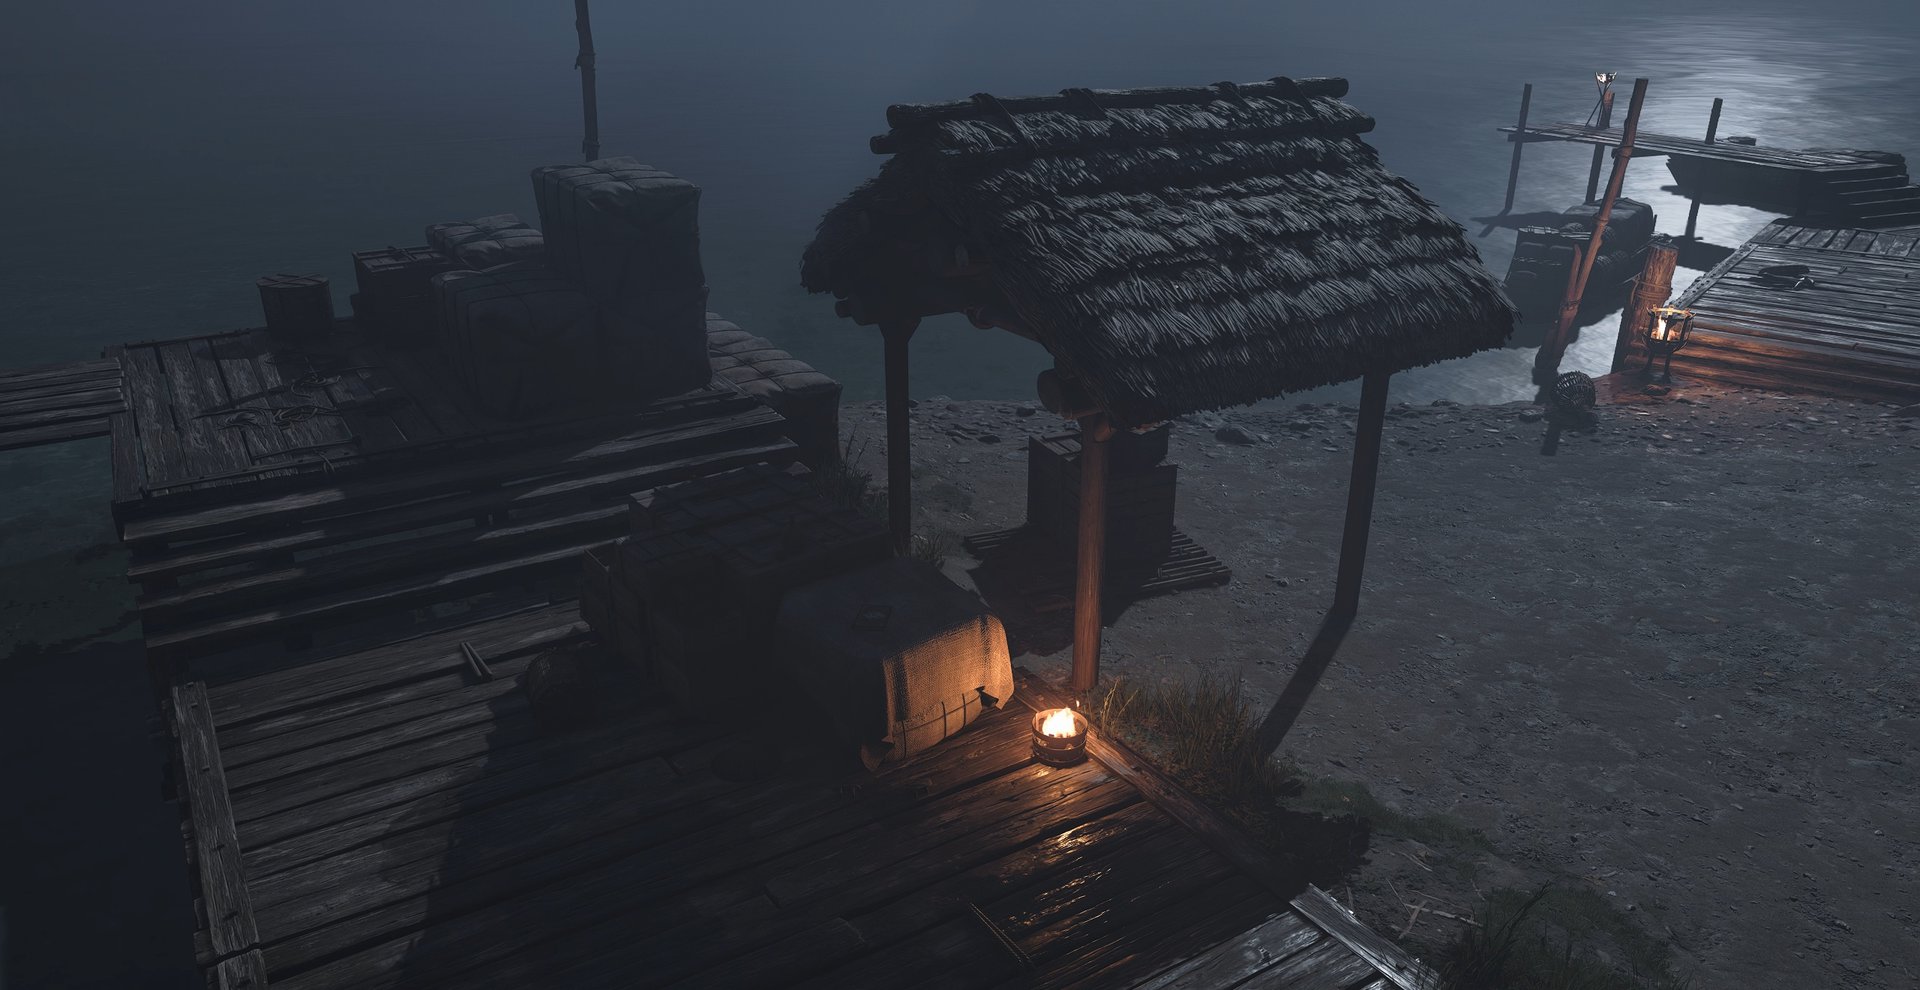
Your third clue will be at a small dock near a canopy. On top of the crate is a book with a rather lengthy story, give it a read and continue your investigation.
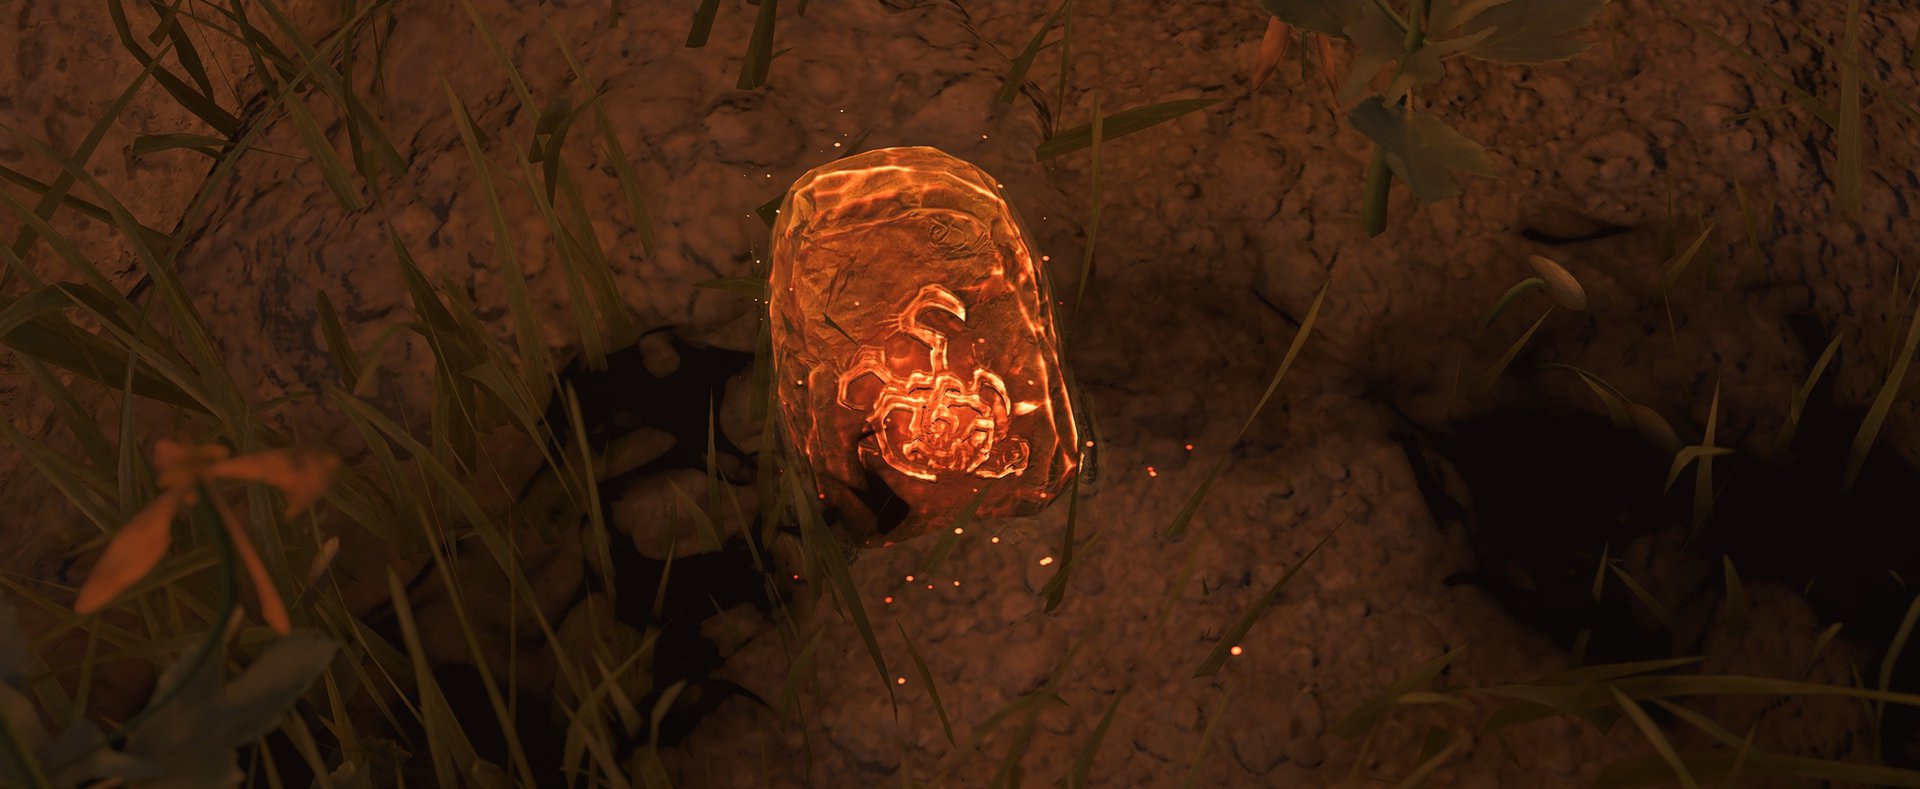
With the previous clues gathered, look for the following tree (image below). At the base of the tree is freshly dug earth. Dig up the mysterious statue that was mentioned to have Naoe or Yasuke transported to an unknown realm.

The Overlap Walkthrough
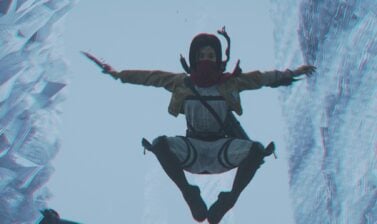
Regardless of who you were playing as for the previous quest, both Naoe and Yasuke will be transported to an unknown realm. You must choose to play as Yasuke or Naoe for the remainder of the second quest, The Overlap.
If you want more rations to heal, pick Yasuke. If you want an easier time climbing terrain, choose Naoe.
You’ll notice that when you start this quest, you’ll be missing your gear, upgraded weapons, tools, and ration upgrades. There will be no map and in the distance you’ll hear a horrifying roar.
Move forward towards a gate with a red barrier. You’ll find one of the villagers on the ground. Unfortunately, he’s dead but he left a clue about how to escape this realm.
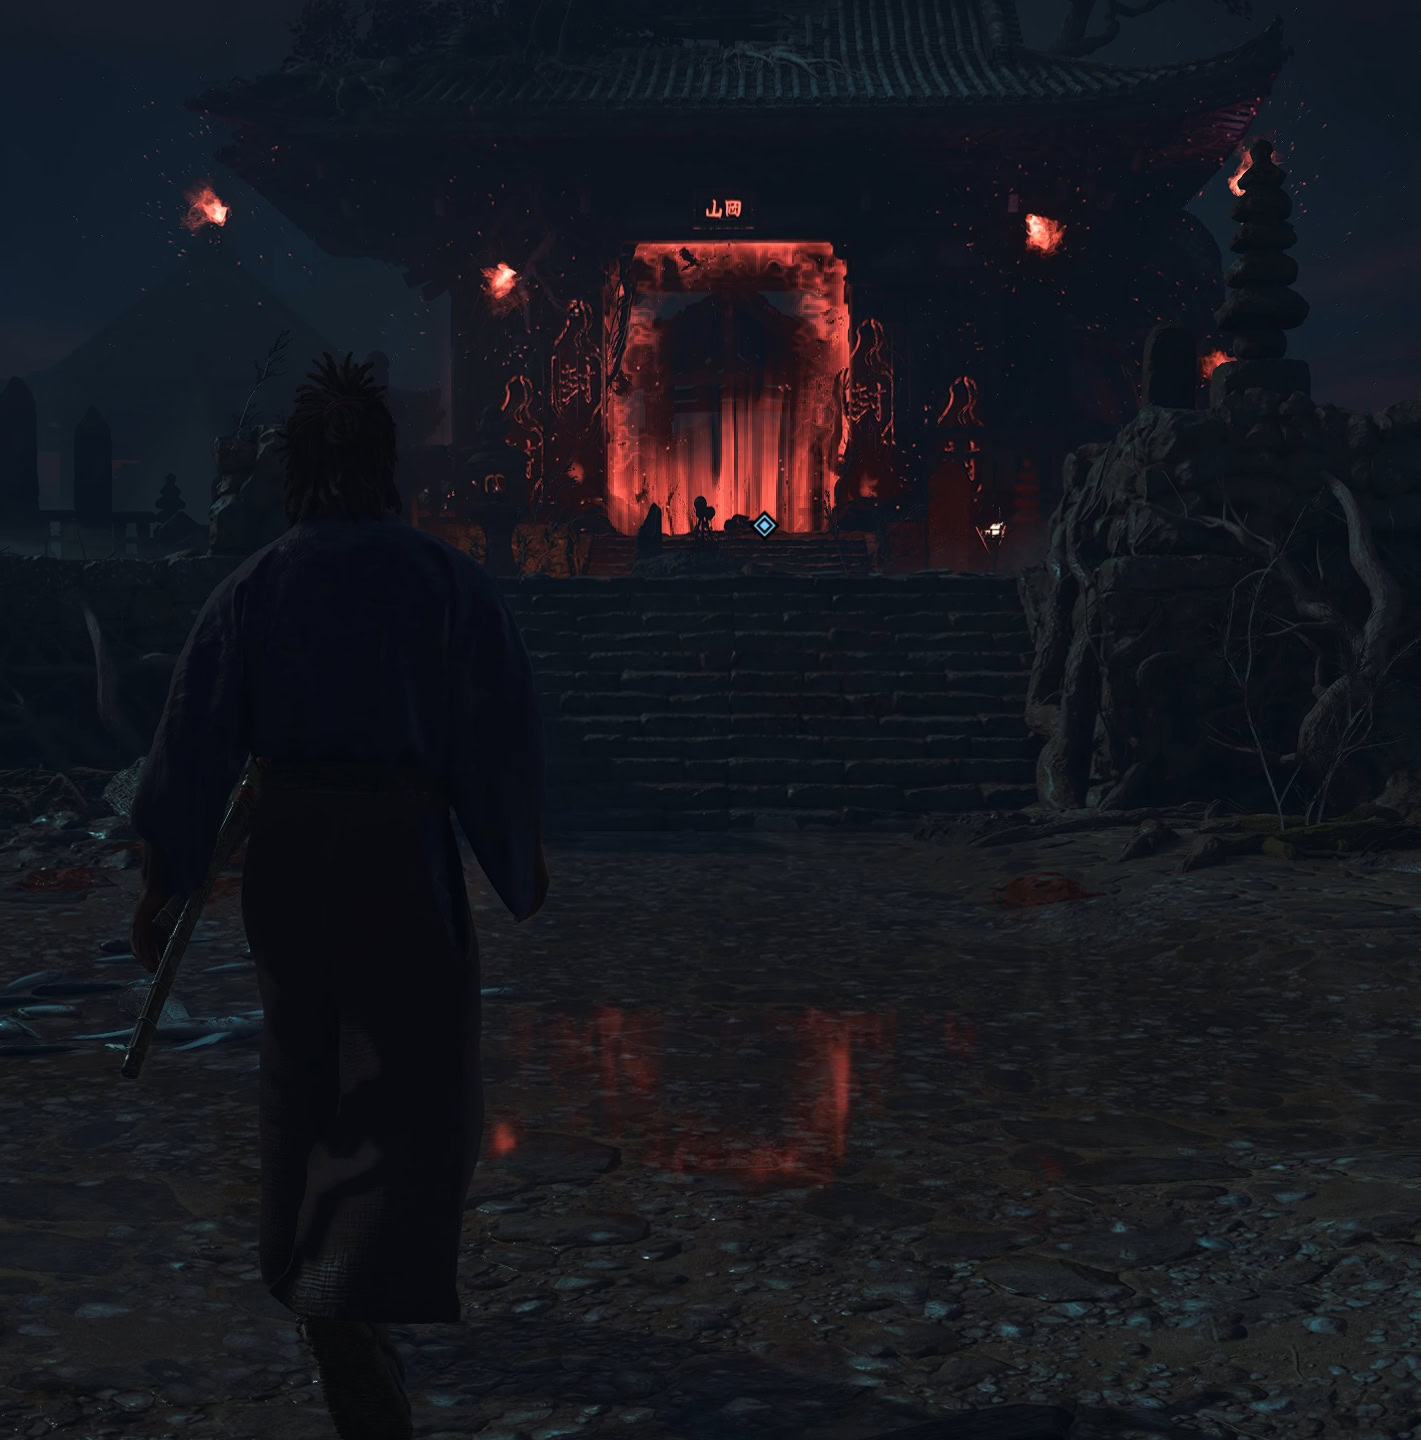
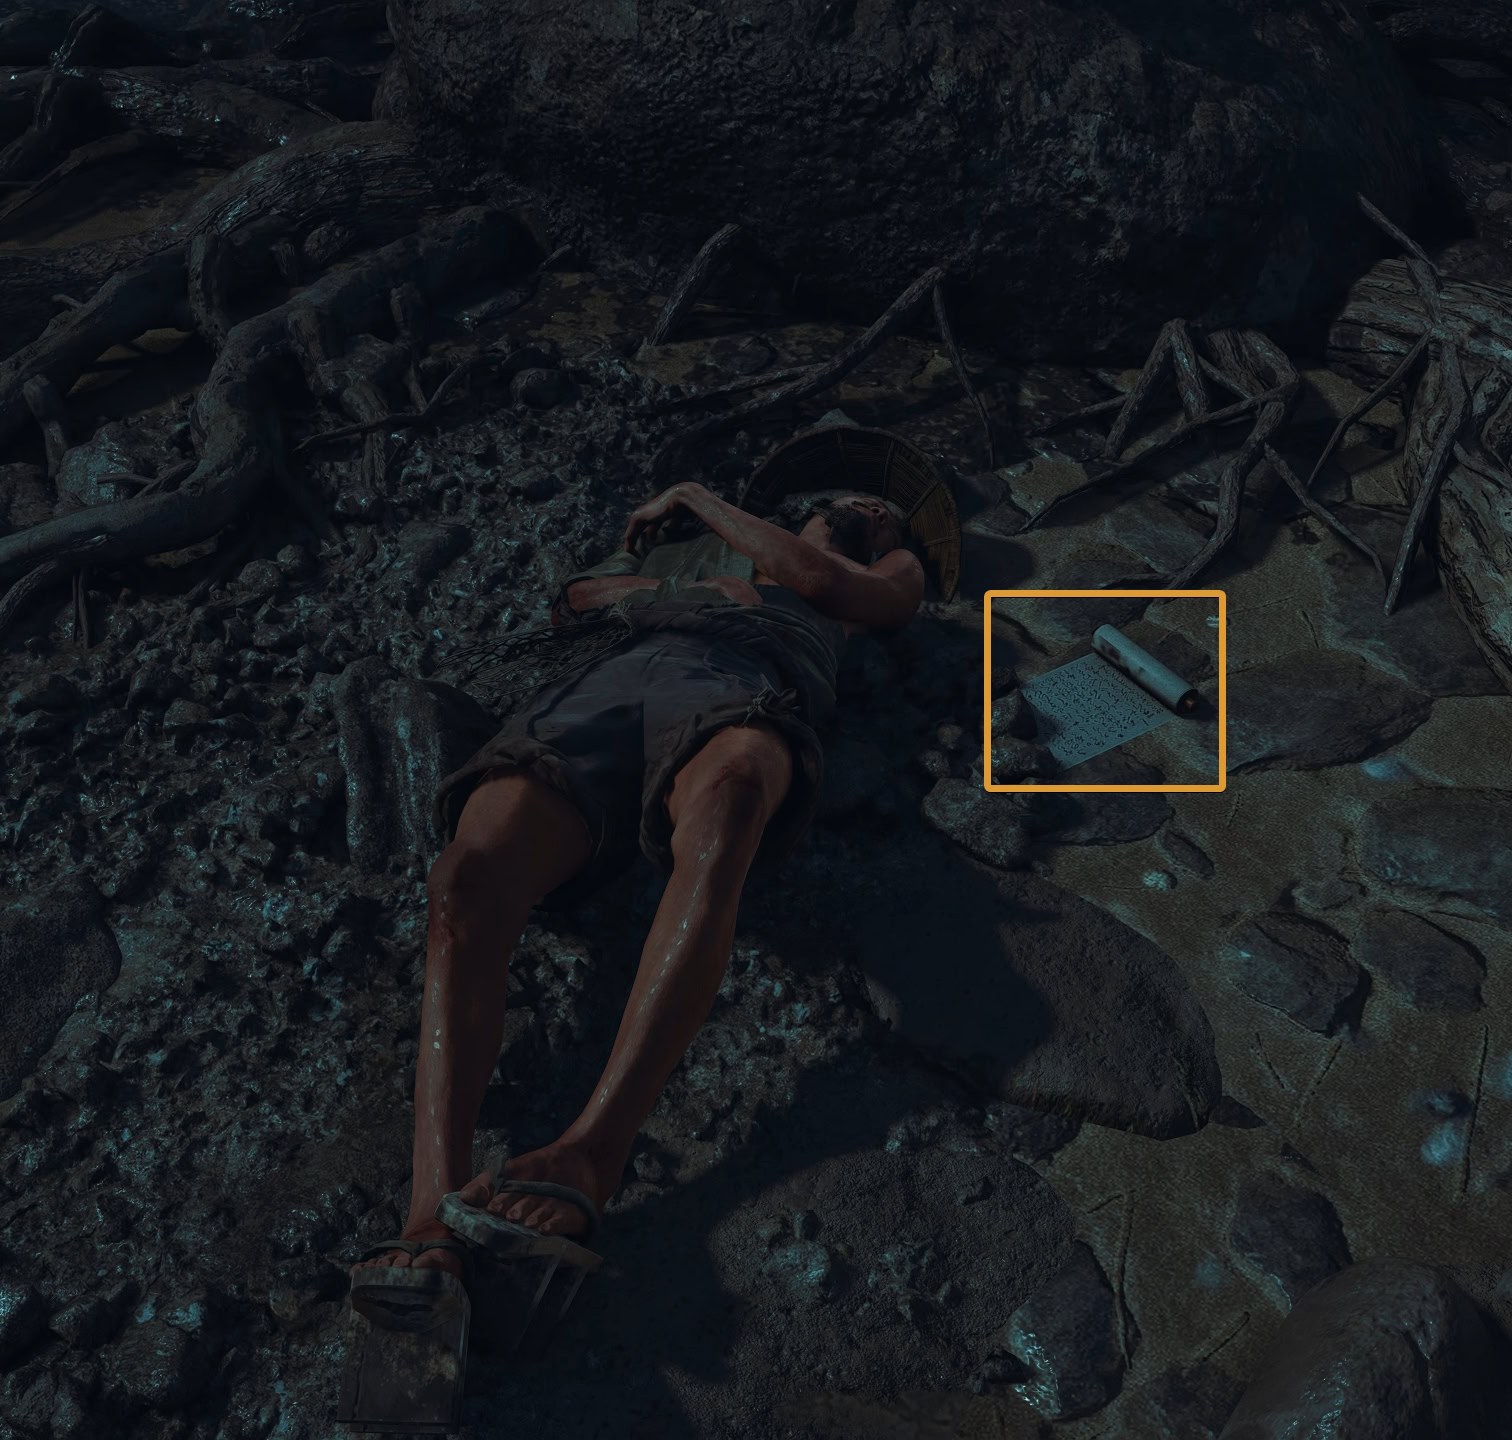
The villager’s note mentions how there are five seals in the area that maintain the barrier. They can be broken with a mantra but he was unsuccessful and woke up… something. The totems acting as seals are made of up sticks and skulls.
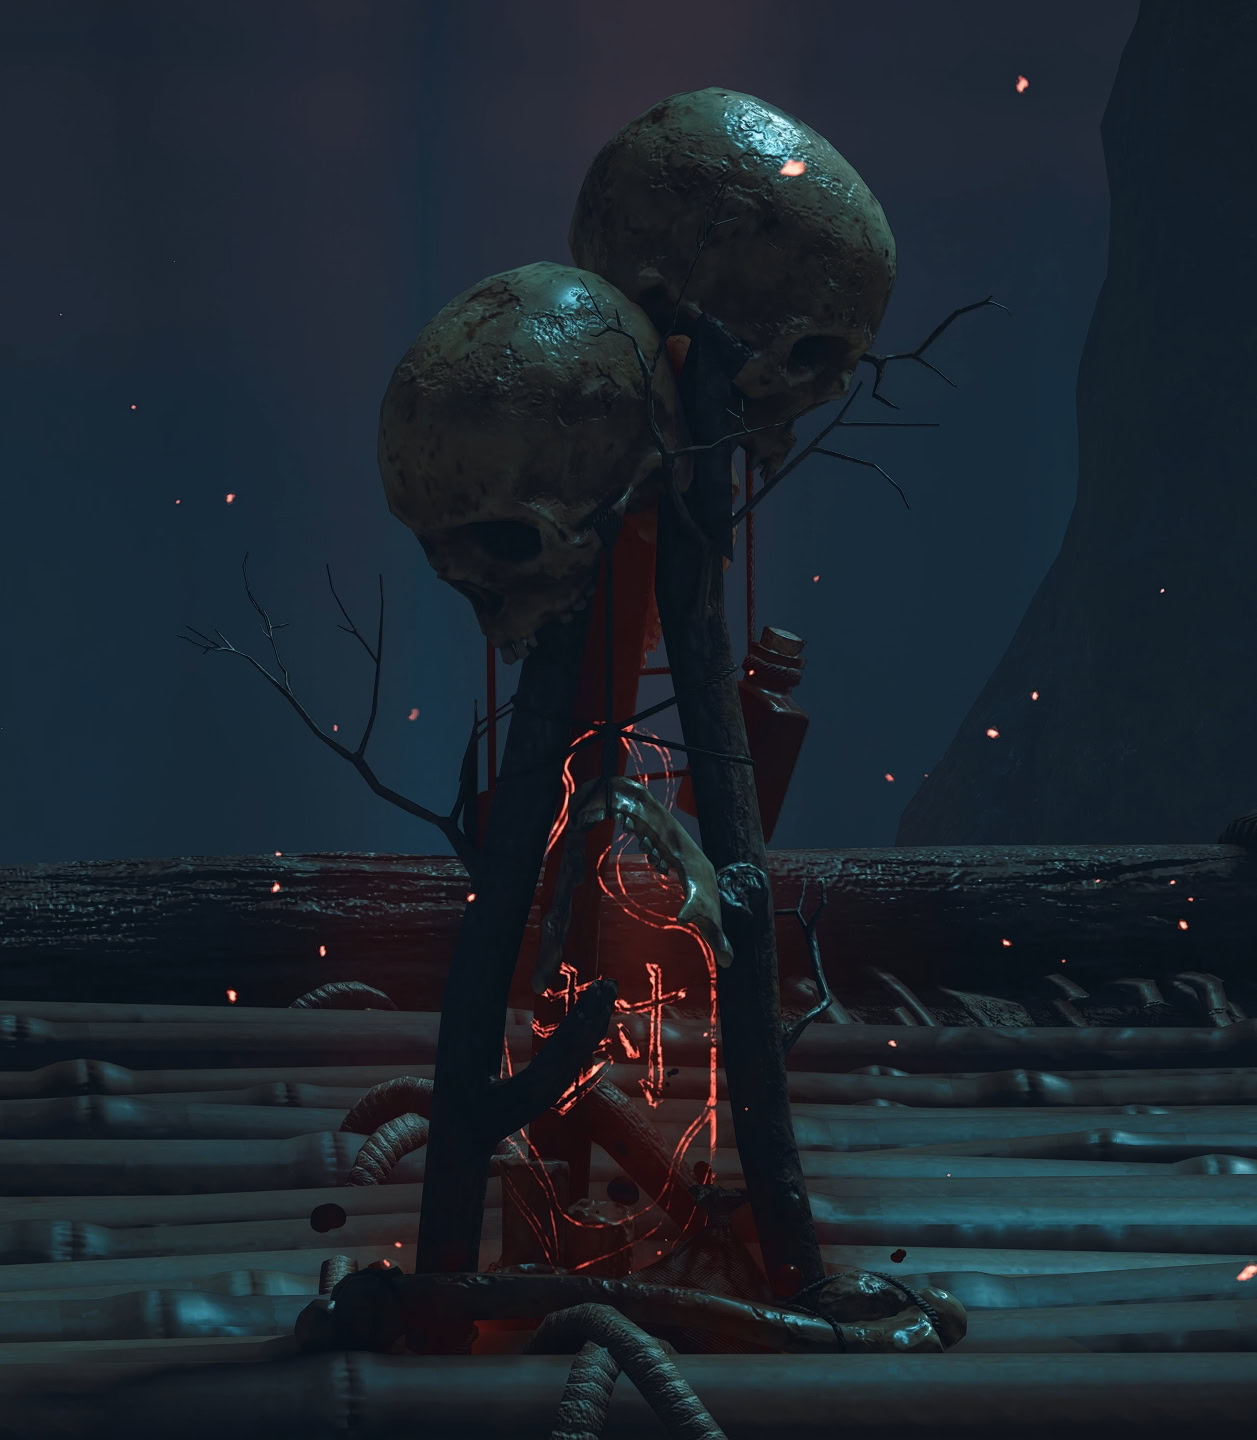
Despite the note mentioning five seals, there are only four you’ll need to break with mantras. Unfortunately there’s no map or compass to point out the totem locations, so instead let’s say the red gate is to the north.
If the gate is to the north, you’ll find a shrine to the east, south, west, and southwest relative to the gate. That’s all well and good, unfortunately you’re not alone here.
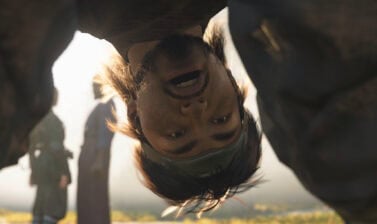
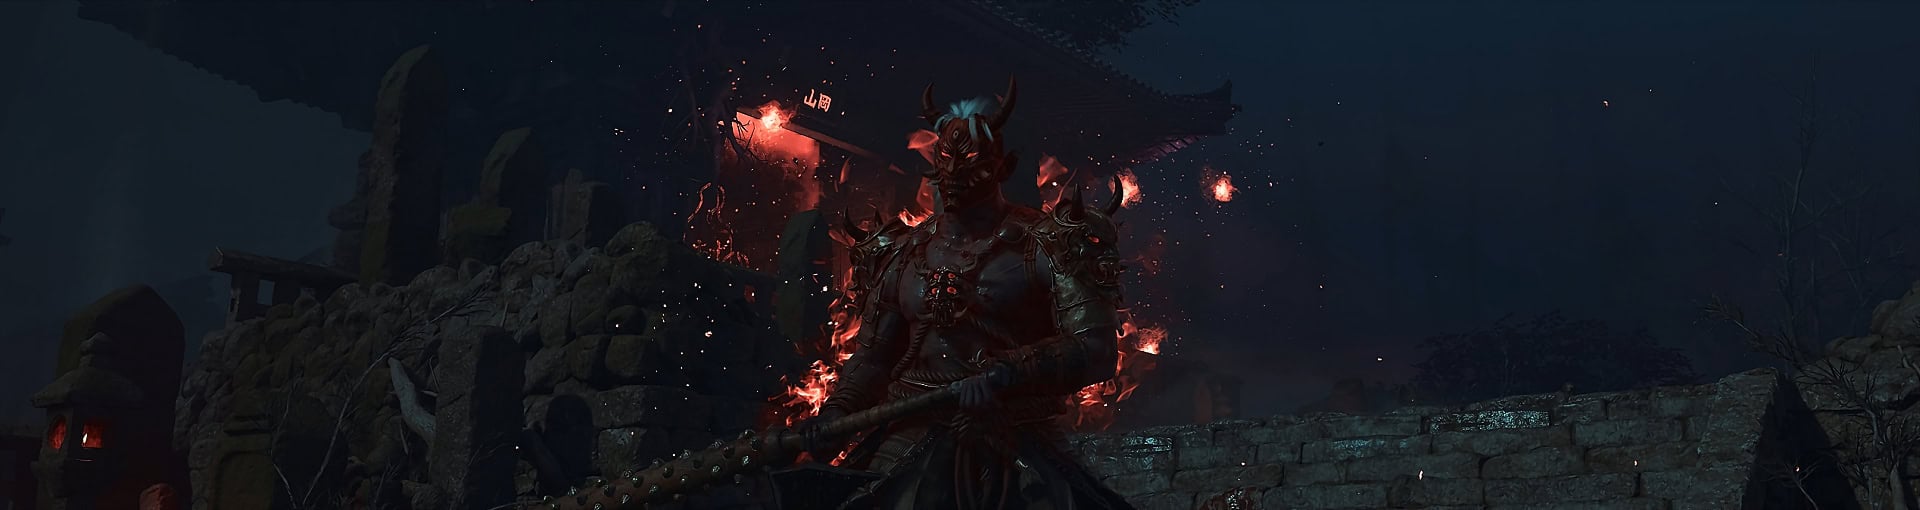
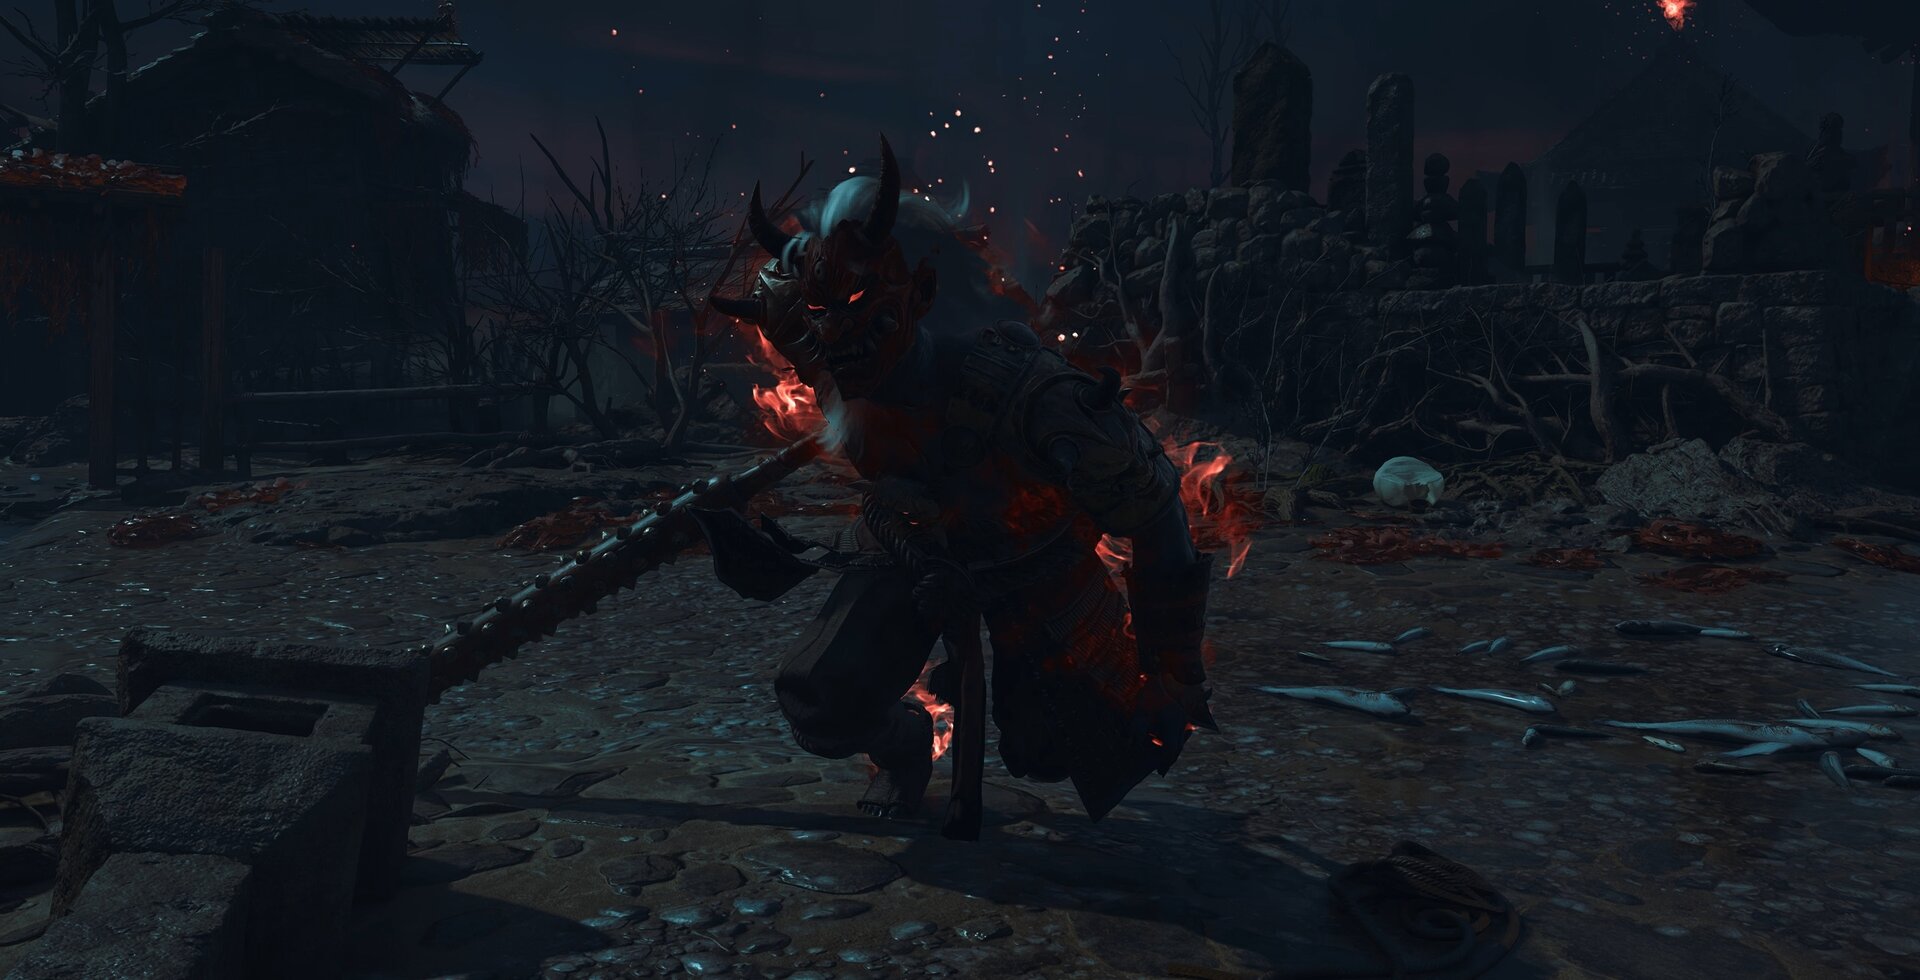
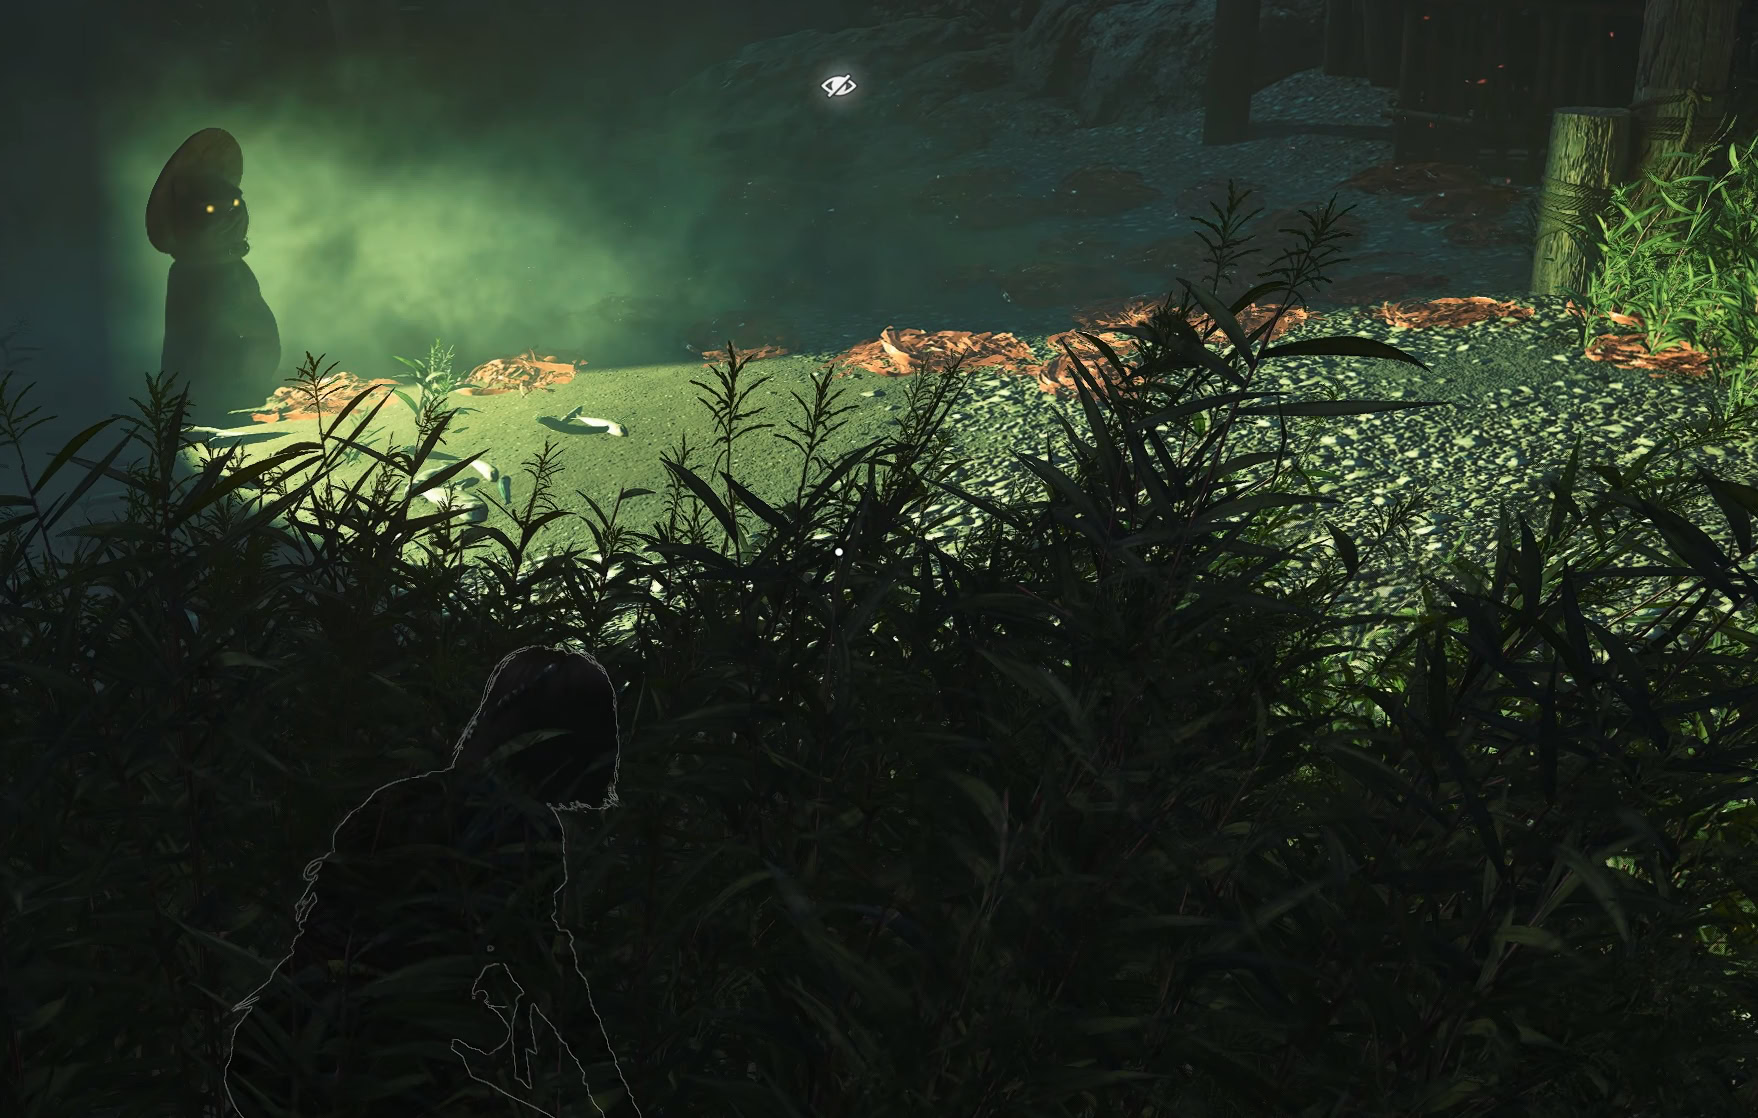
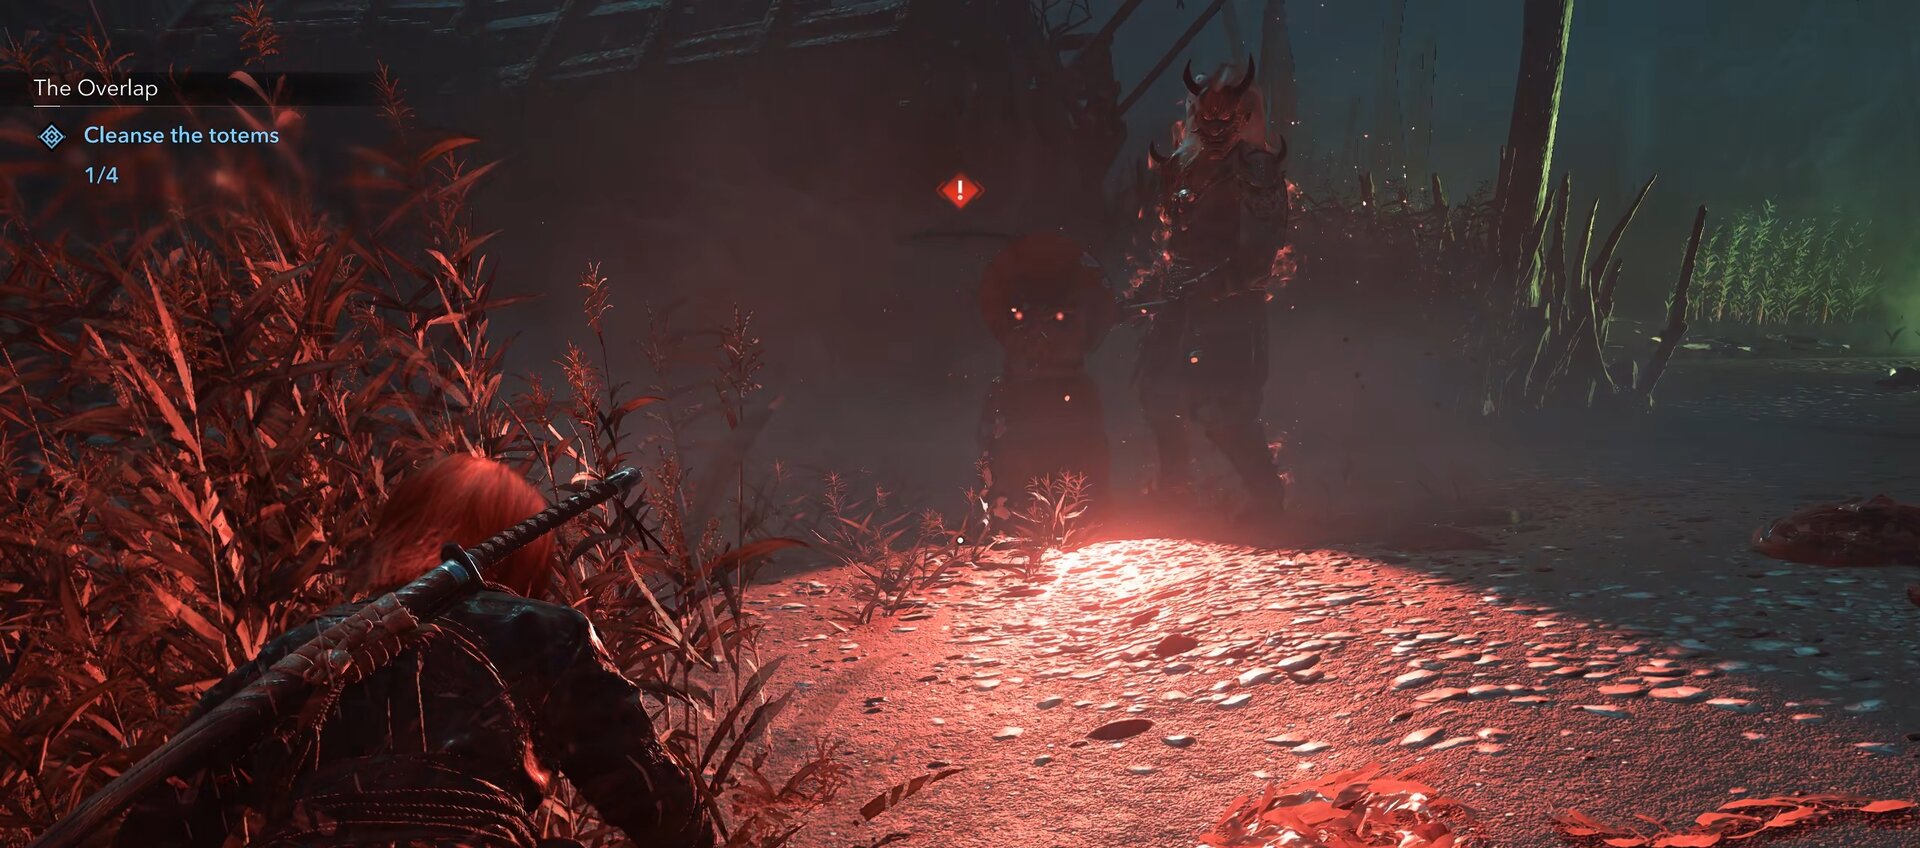
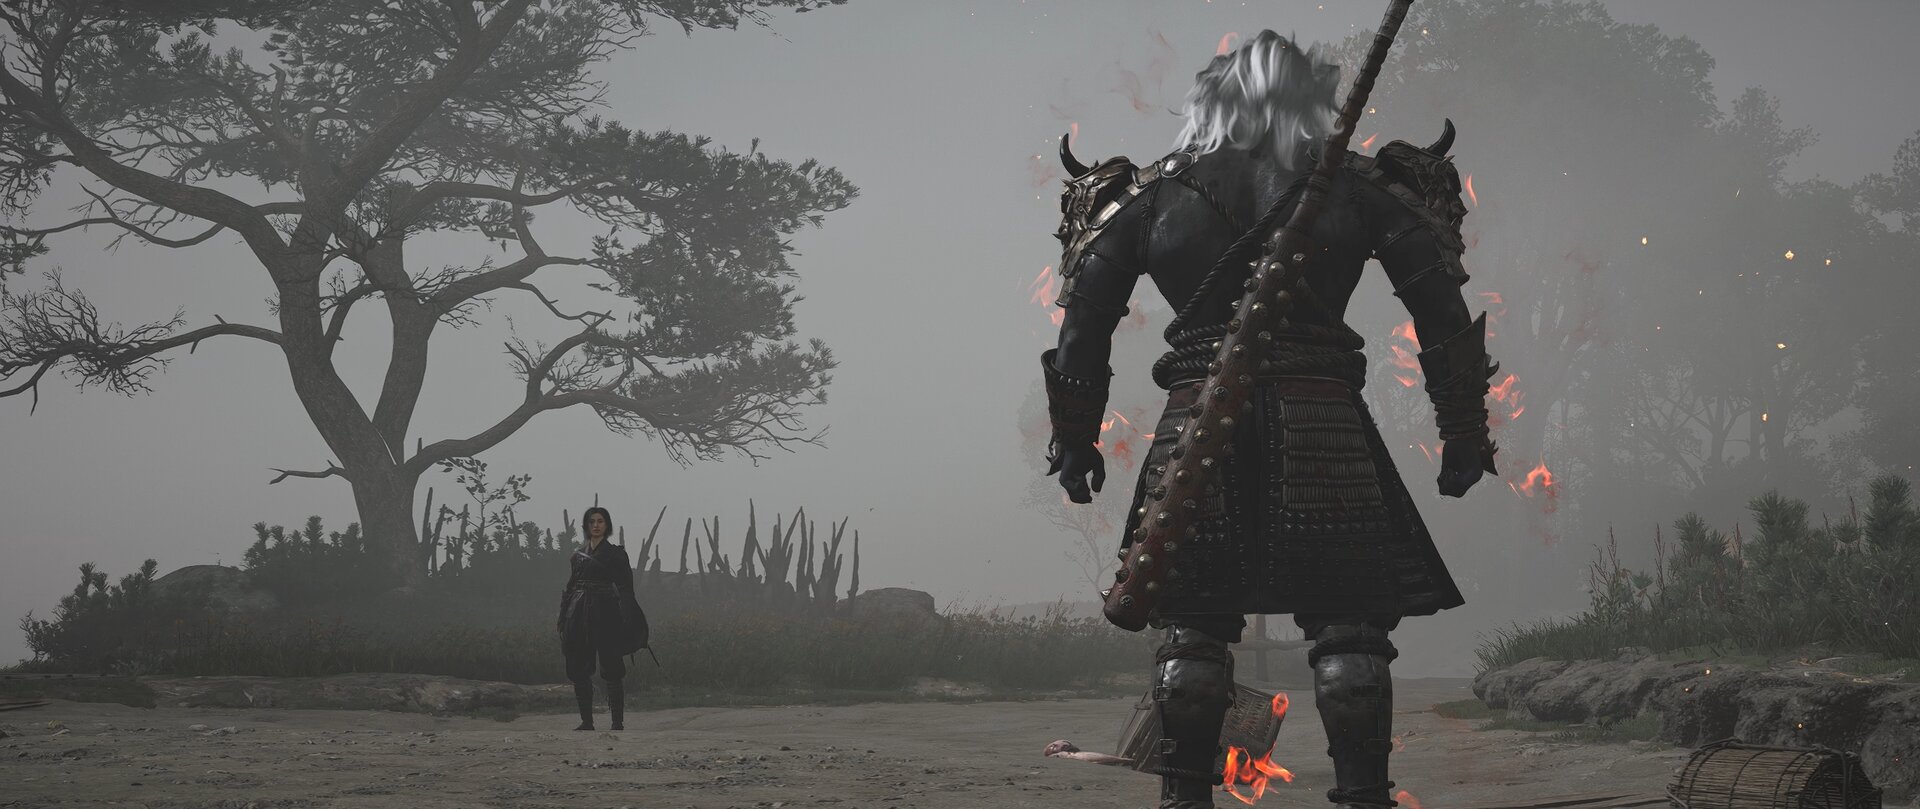
The Oni
This is easily one of the most terrifying enemies you’ll encounter in Assassin’s Creed Shadows. In this realm, you cannot harm it and it is actively hunting you.
It wields a kanobo, can teleport, has keen senses, and worst of all, it’s intelligent. Don’t get hit by it as much as you can as you have a limited number of rations and there are no refills here.
While you can see its location with Naoe’s Eagle Vision, you’ll be unable to mark it. Keep an ear out for the occasional roars it makes and listen for its footsteps.
Hiding and Hazards
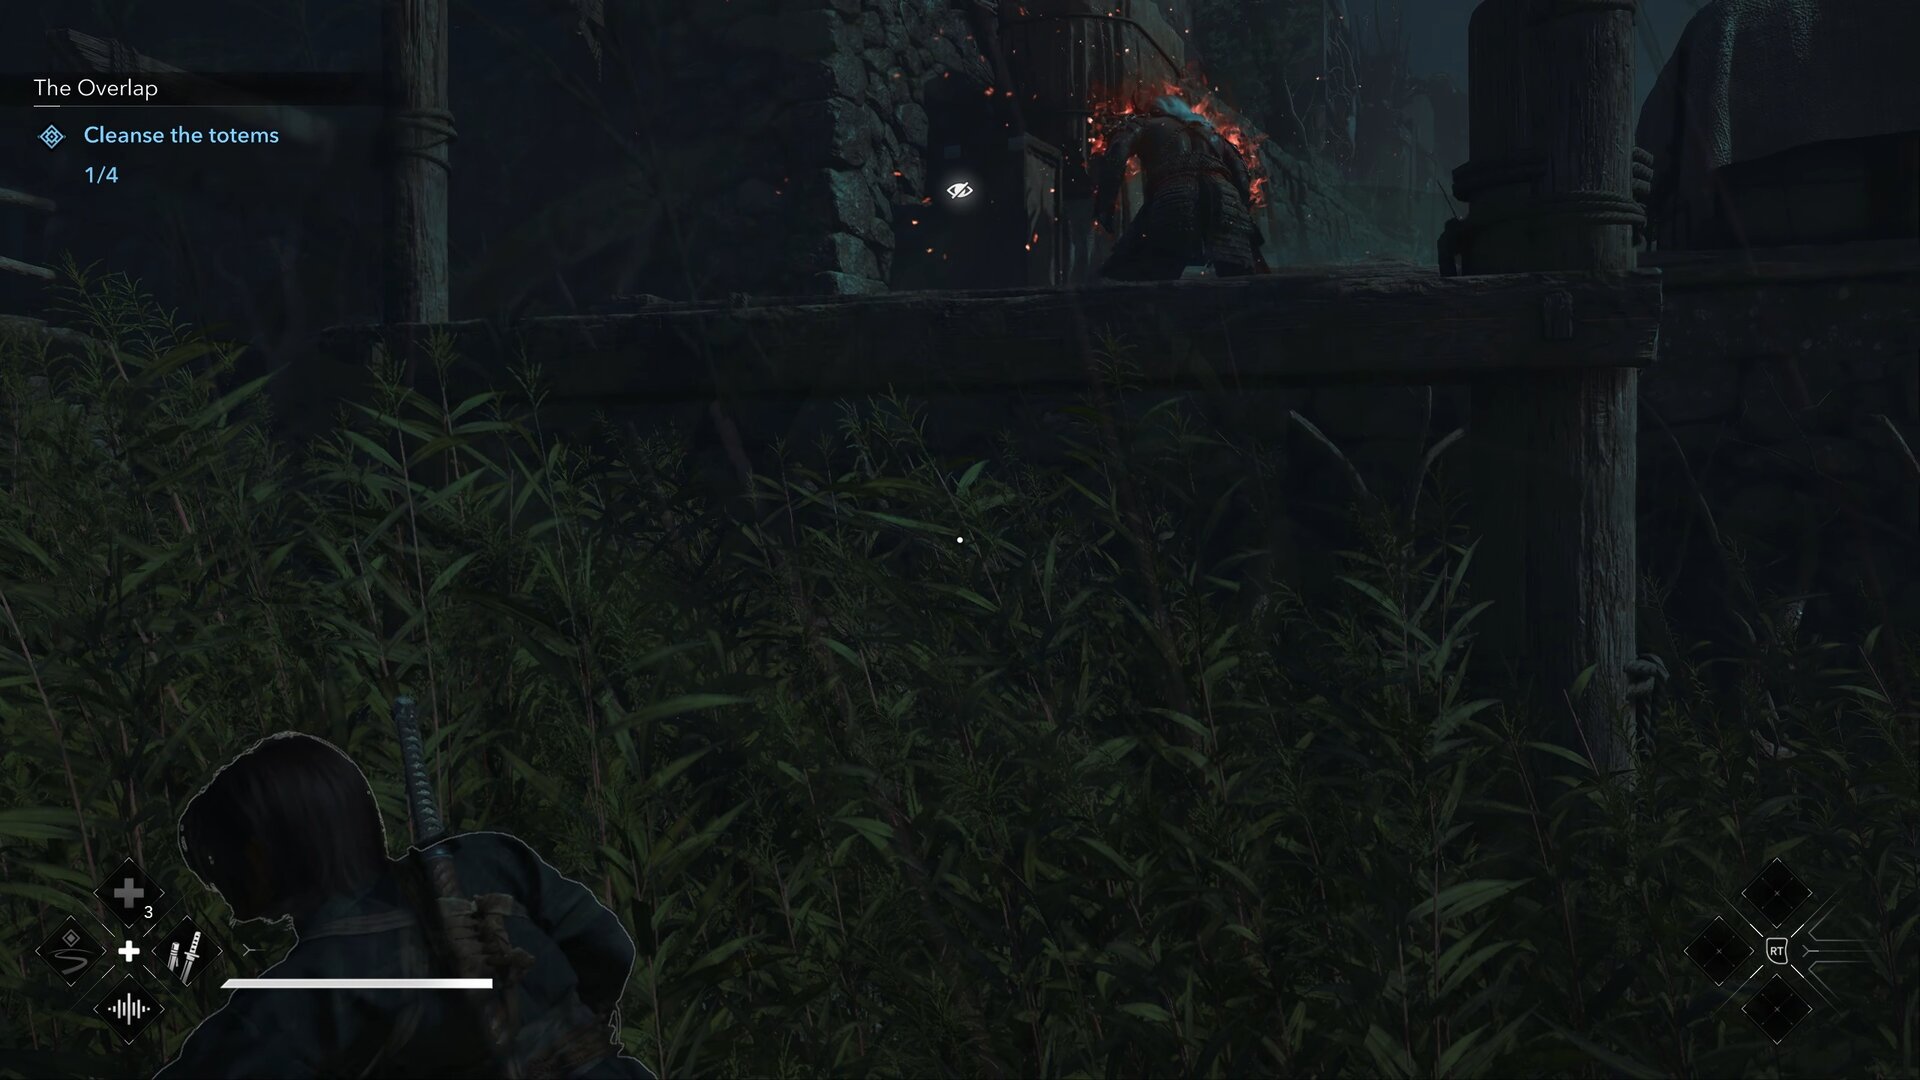
The best you can do to survive is hide from the Oni as you hunt down the totems. As mentioned earlier, this Oni is smart with supernatural senses. It will actively look around and check bushes, buildings, and hiding spots.
Don’t stay in one spot too long and hide within the bushes. If you find yourself in a shallow bush, go prone to avoid detection.
If you see the Oni come nearby, it’s going to stay there. Your best bet is to leave the area and try another totem spot.
In certain areas of the map, you’ll find statues with rotating heads that emit green light. Stay out of the light to avoid detection.
If the light turns yellow, the statue noticed you but you have a chance to hide. If the lights turn red, the statues will shriek and the Oni will teleport to your location.
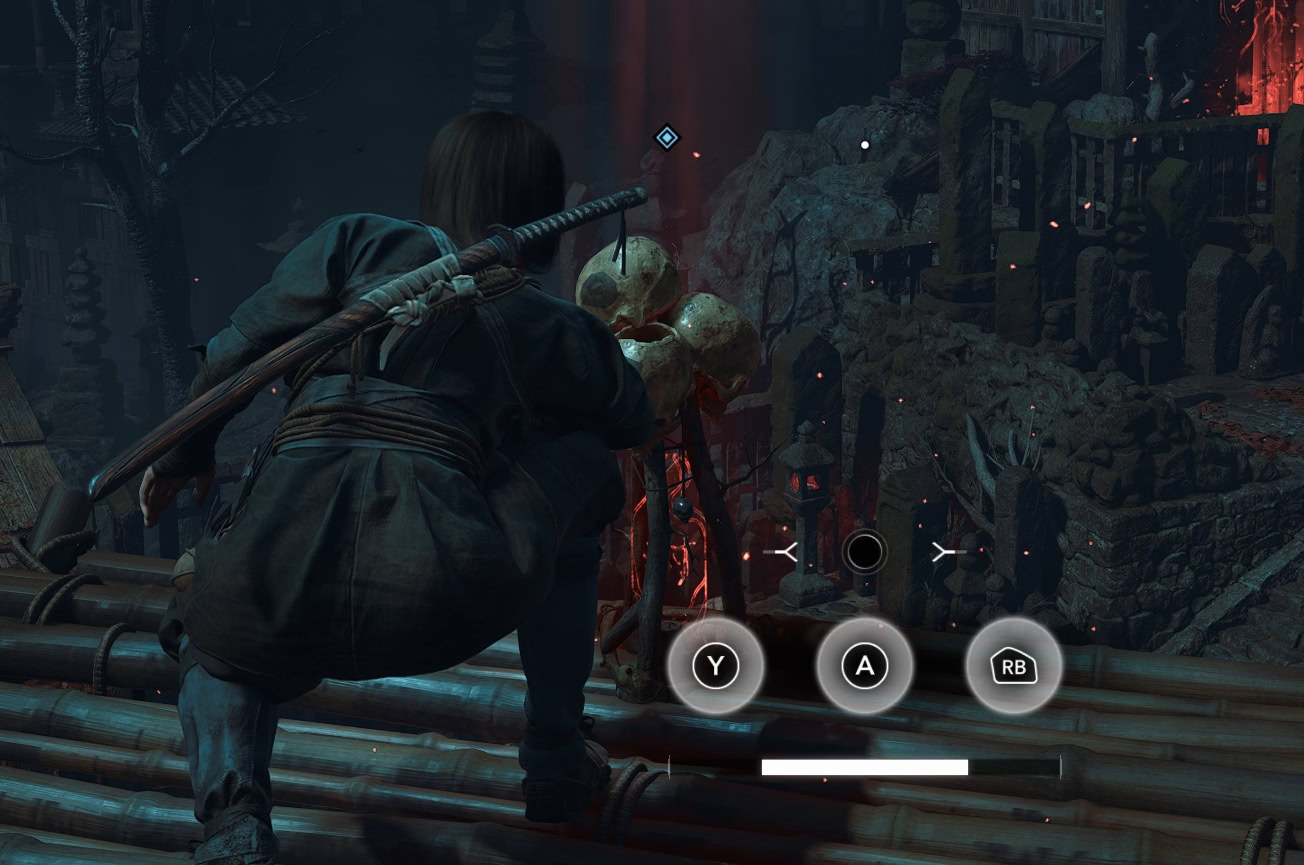
Totem Quick Time Event
The only thing more terrifying than the Oni are the mandatory quick time events. When you interact with a totem, you’ll be prompted to press a series of buttons to break the seal.
As soon as the seal is broken, they’ll emit a sound and the Oni will teleport to you. Run and hide until you lose the Oni, then continue your search for the other totems. Failure to press the correct button will have the totem shriek and lure in the Oni.
You can always turn off Quick Time events within the Settings menu under Gameplay. This will have the seals break the moment you interact with them, making the situation less tense.
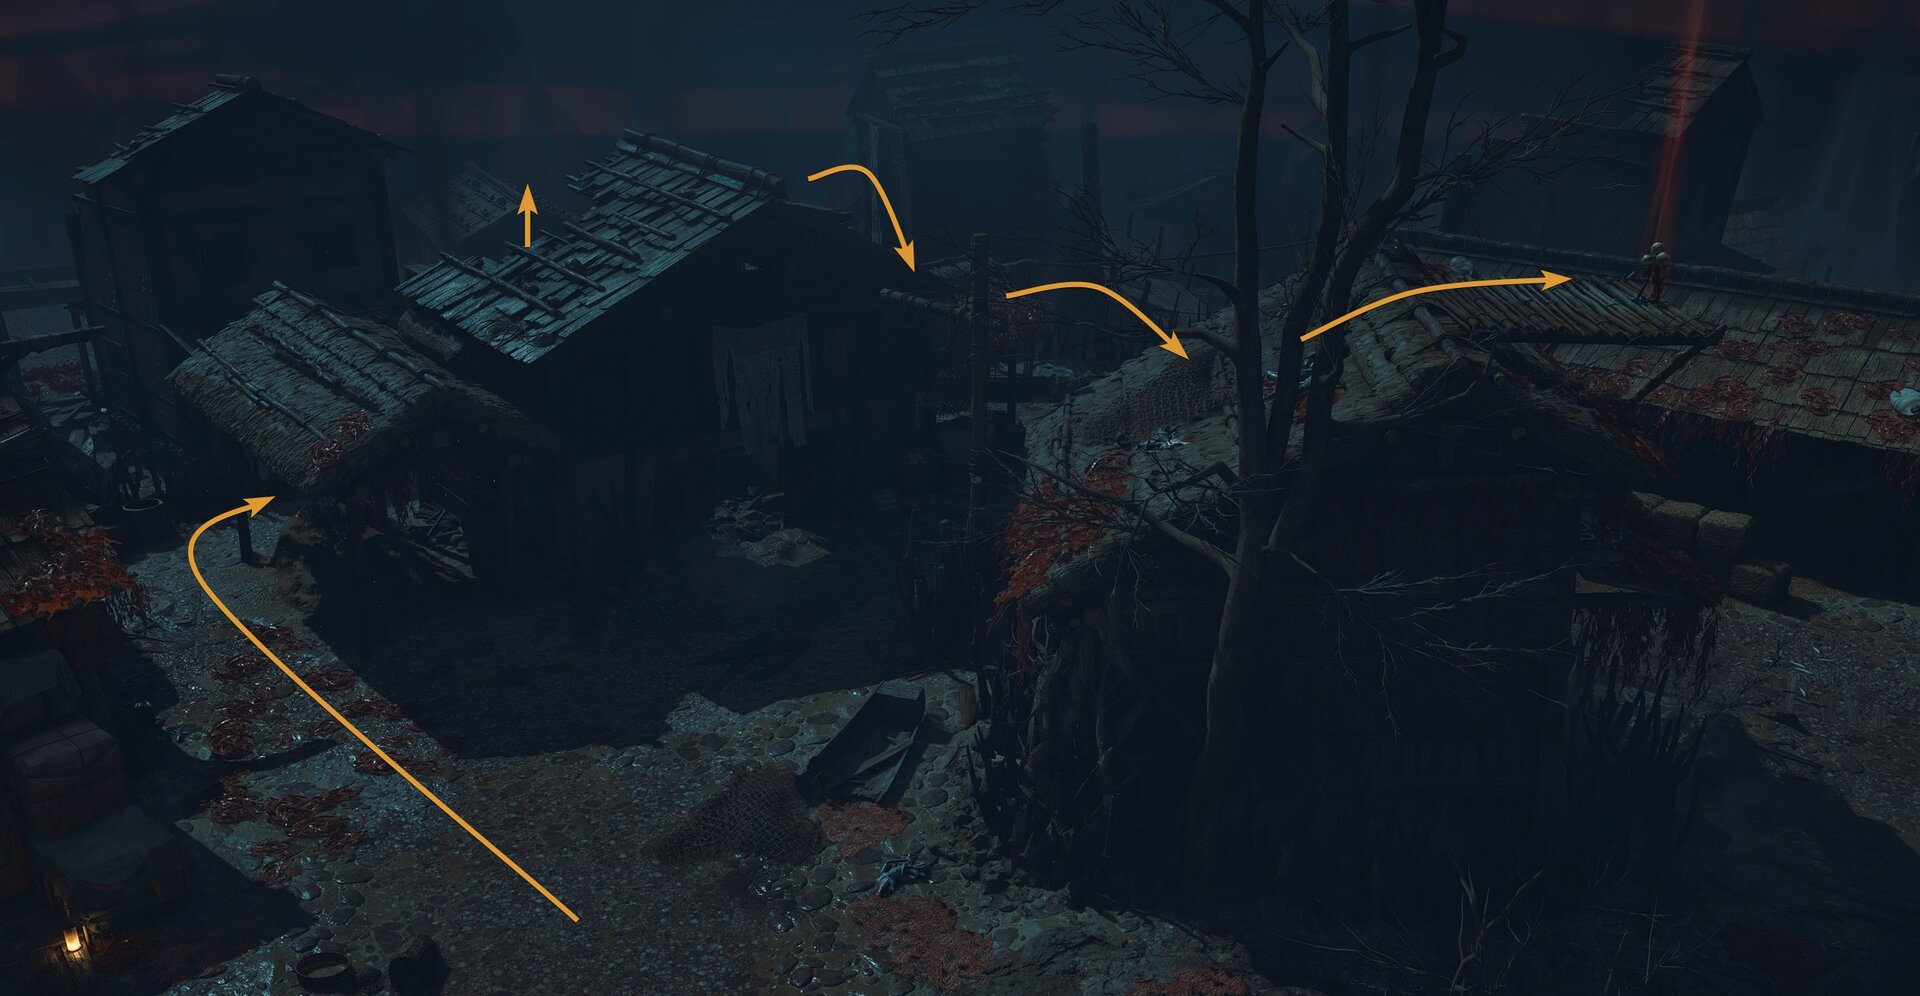
The West Totem
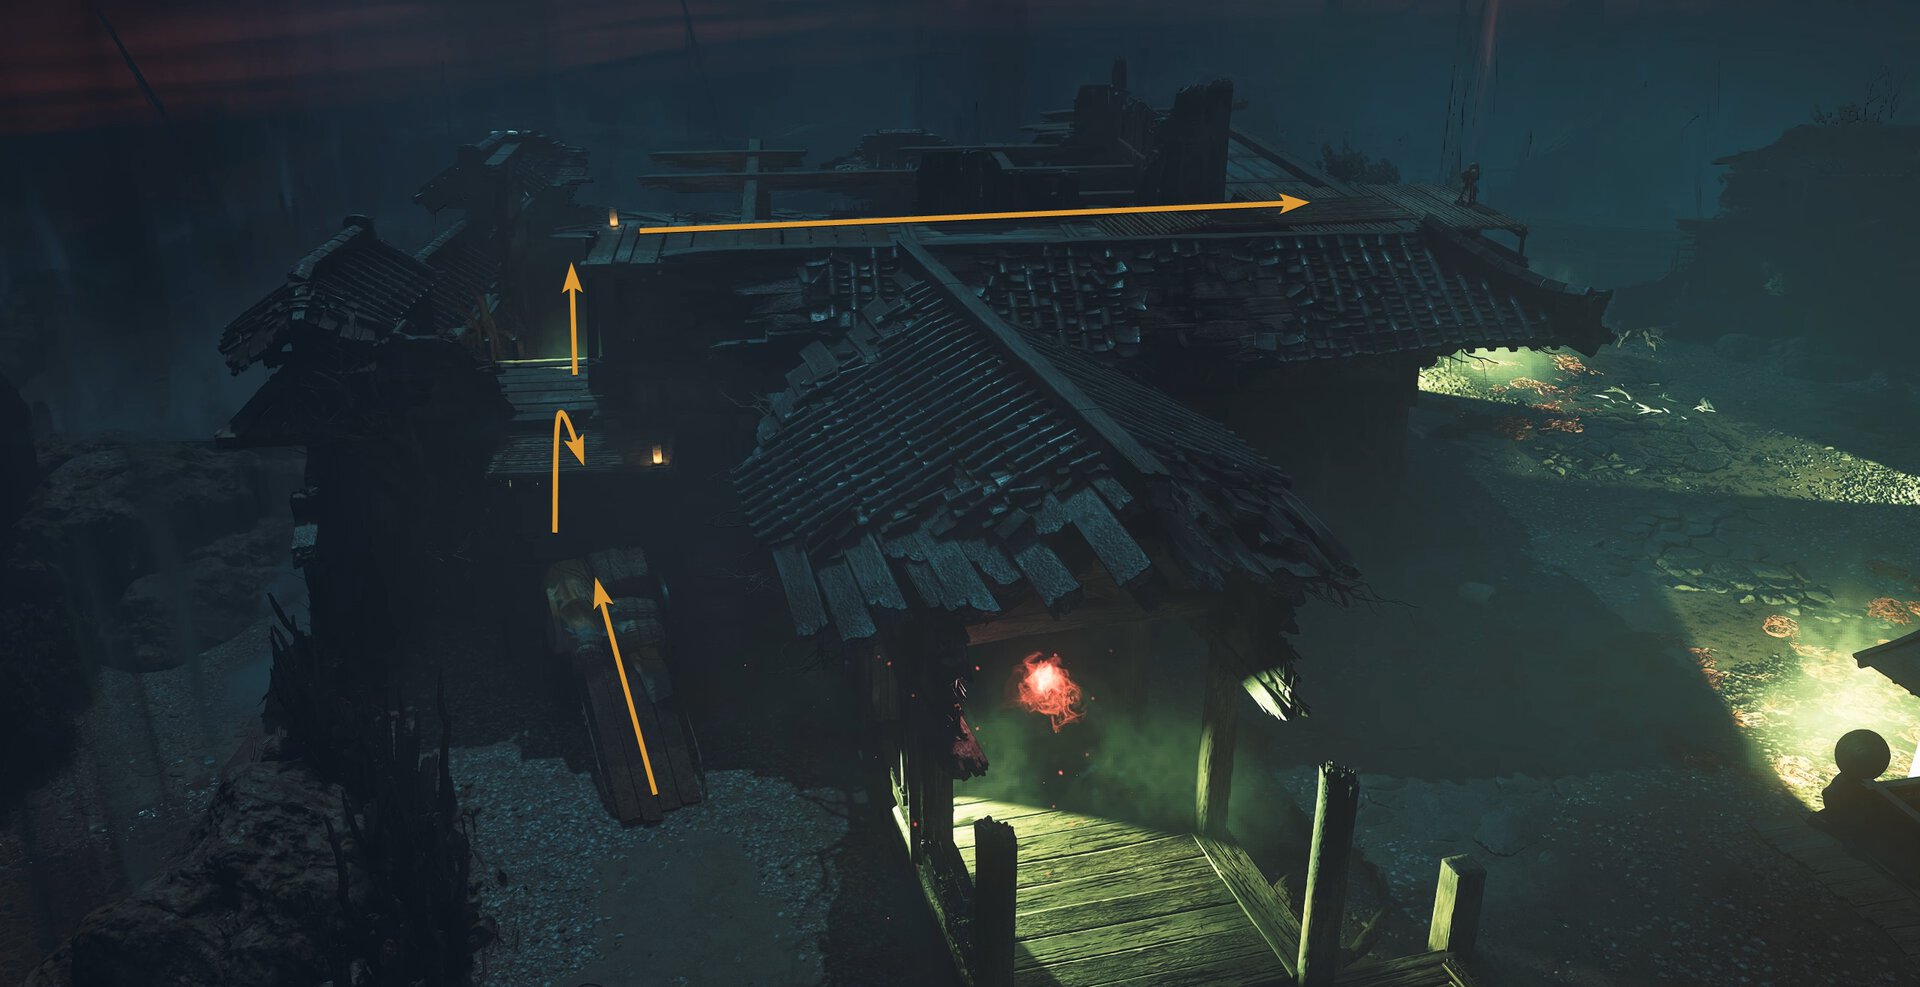
This is likely the first totem you’ll encounter as it’s very close to the “west” of the red gate. You’ll need to climb up a ruined building behind the totem’s building, climb to the roof, them jump across to the totem’s roof to access it.
The East Totem
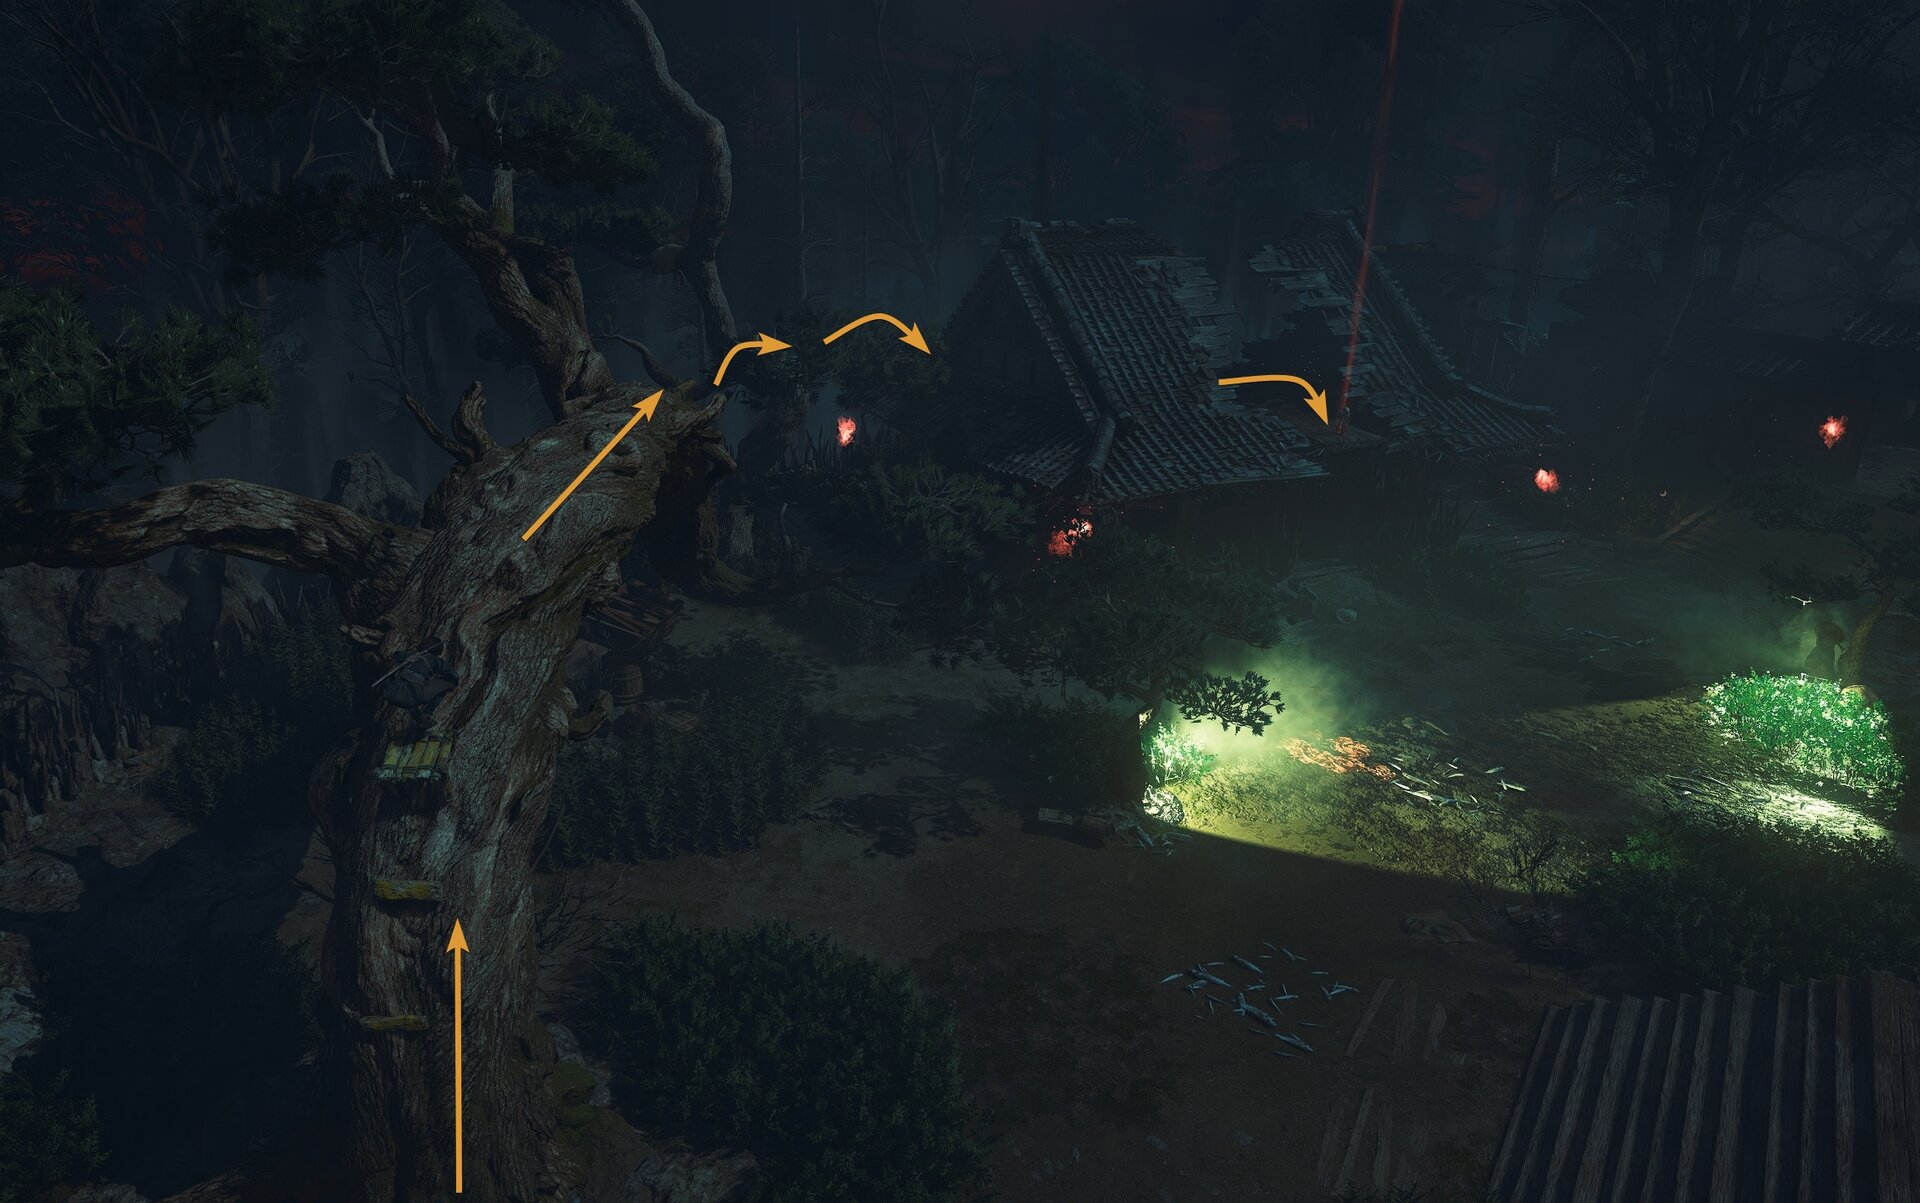
Going “east” of the red gate will take you to the east totem location Look for a tree you can climb then use it to reach the roof of the building. Once there, you can access the totem to break the seal.
The South Totem
The south totem is in the ruined town center where you’ll find a well, many bushes to cower within, and several statues surveying the area.
Go towards the back and look for a ramp that leads to a wall you can climb. Go up the wall, up the ladder, then access the totem.
The Southwest Totem
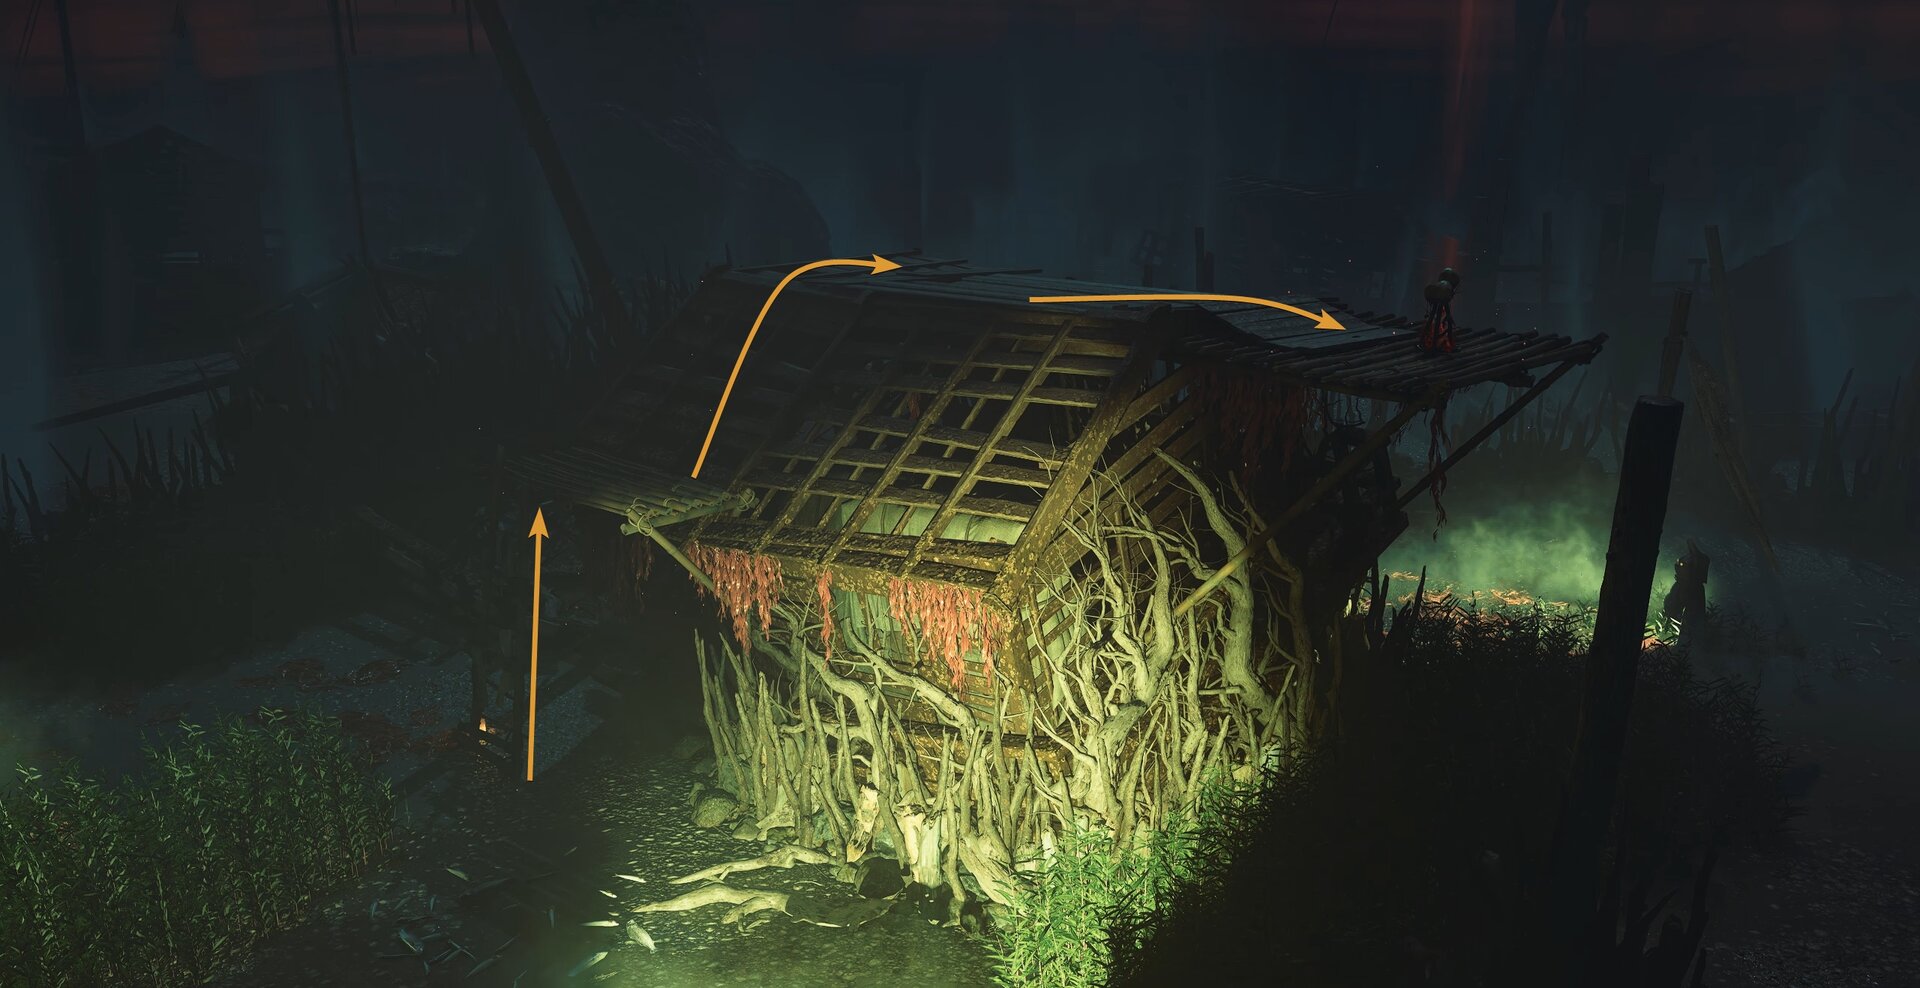
South of the west totem and west of the south totem, you’ll find a totem on top of a ruined shack. Climb up the ladder to reach the roof and access the totem.
Run
When all the seals are broken, just run to the red gate that is now open. Don’t stop for anything and dodge any of the Oni’s attacks.
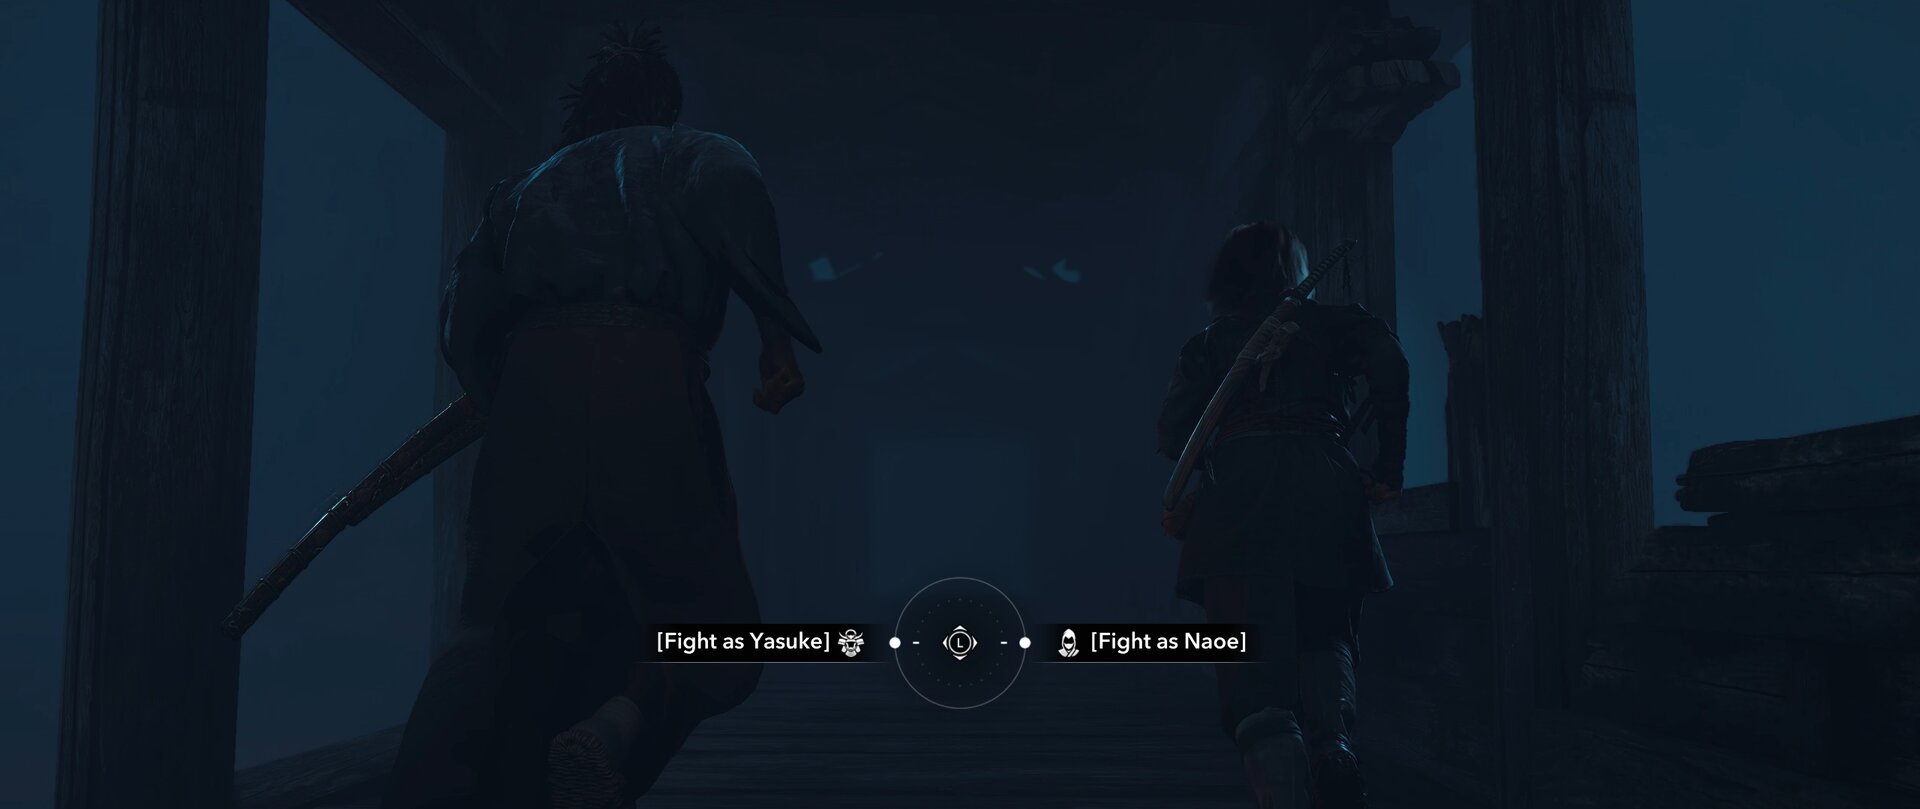
You’ll find that the red gate is now blue. When you pass through, you’ll get a cutscene and a prompt to fight as Naoe or Yasuke. Pick your character to continue to the quest.
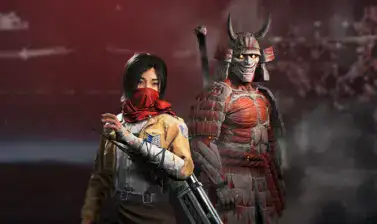
Fight the Oni
After escaping the realm known as The Overlap, you’ll find that the Oni has followed you to your own reality. With your gear returned to you, it’s time to show this Oni just how scary you can be.
The Oni is a fierce warrior with unconventional methods of attack. One such method is its ability to summon a spear made of blood and throw it at you. Dodge or deflect these if you’re fast enough, these spears will hit you hard and fast.
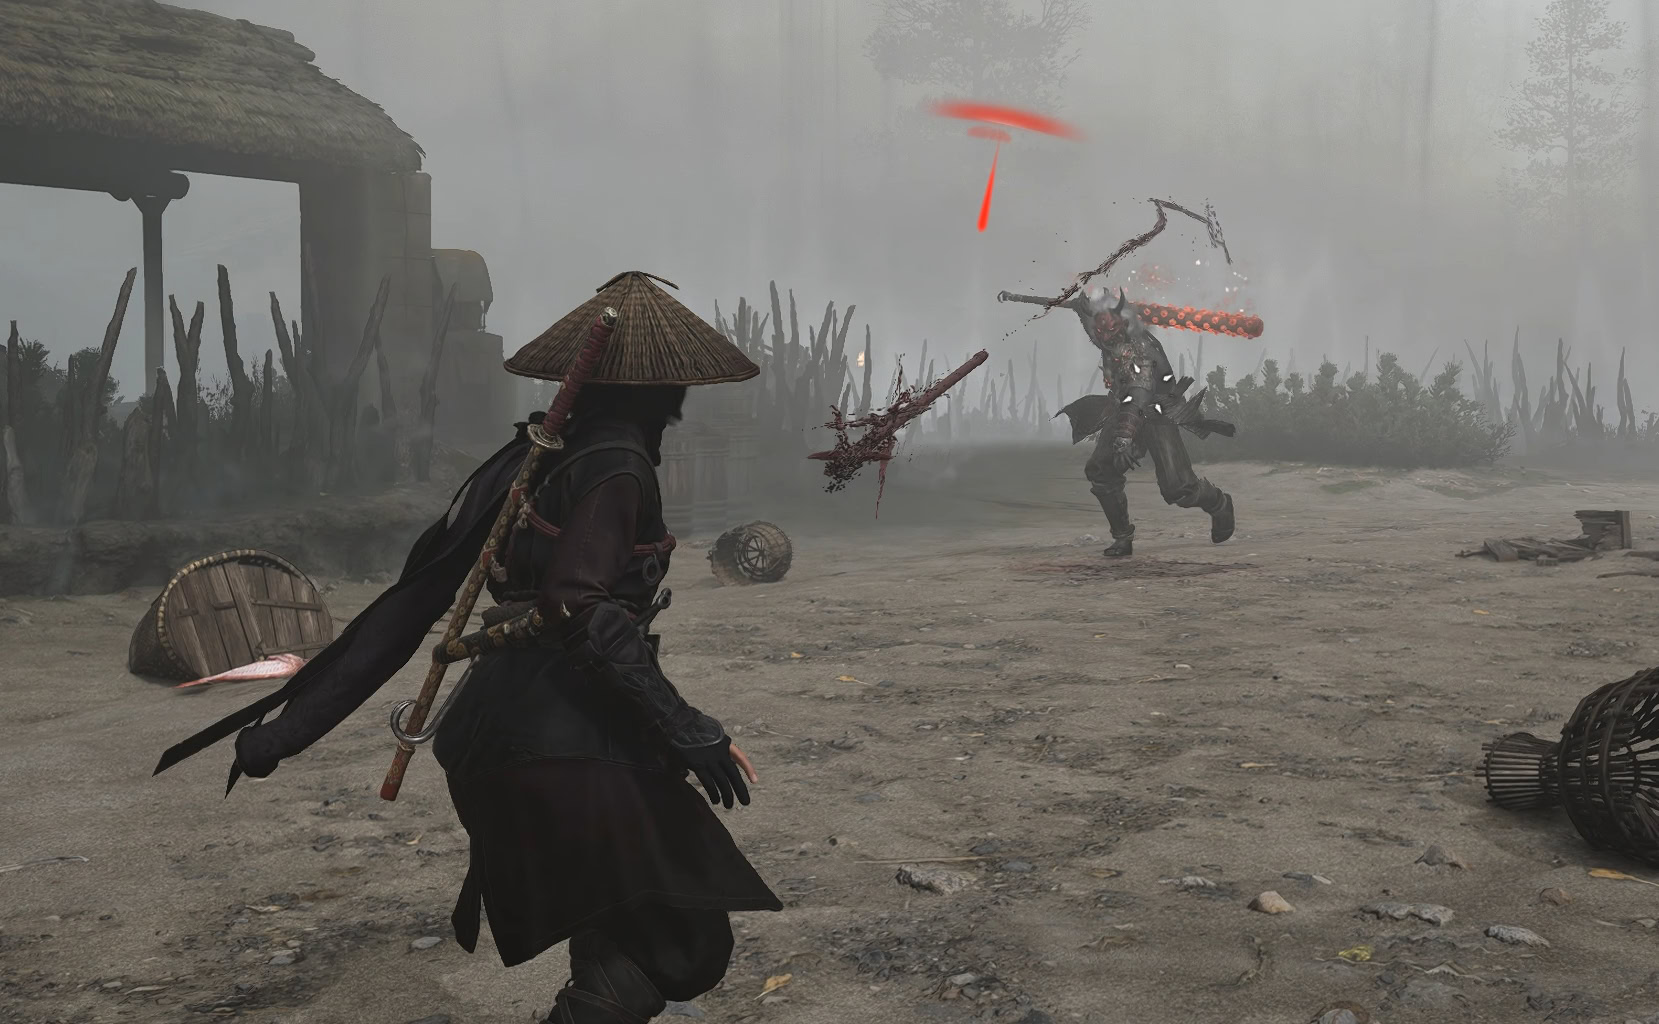
The Oni’s kanobo swings are slow, dodge them or block them. Just be careful of it’s teleportation as it can start swinging, teleport, then hit you at a different angle.
Unfortunately for it, it is flesh in this world and thus can be made vulnerable. Use your abilities to shred its armor and chunk away at its health while it’s vulnerable.

Once you defeat the Oni, it will return to its own dimension. Return to Tomiko at the hideout to report your findings.
Back to Reality
The final quest of the Dead by Daylight crossover event is Back to Reality. Once the Oni has been defeated, return to the hideout and wait by the stables to talk to Tomiko.
There are no survivors in the village and the scout sent to the area has likely met the same fate as the villagers. Fortunately, you won’t lose any scouts you have unlocked up to this point.
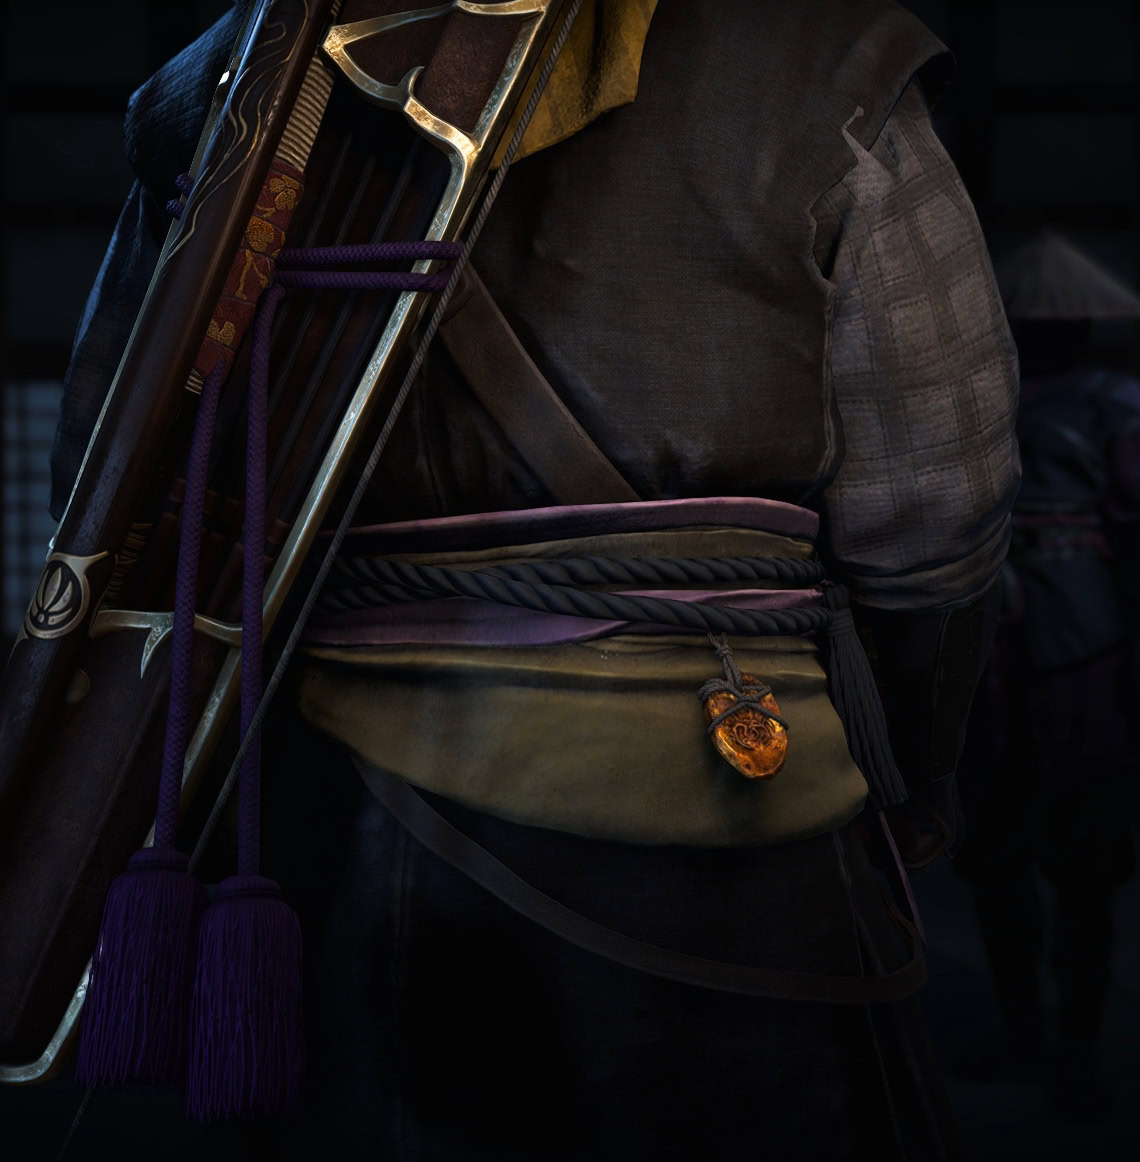
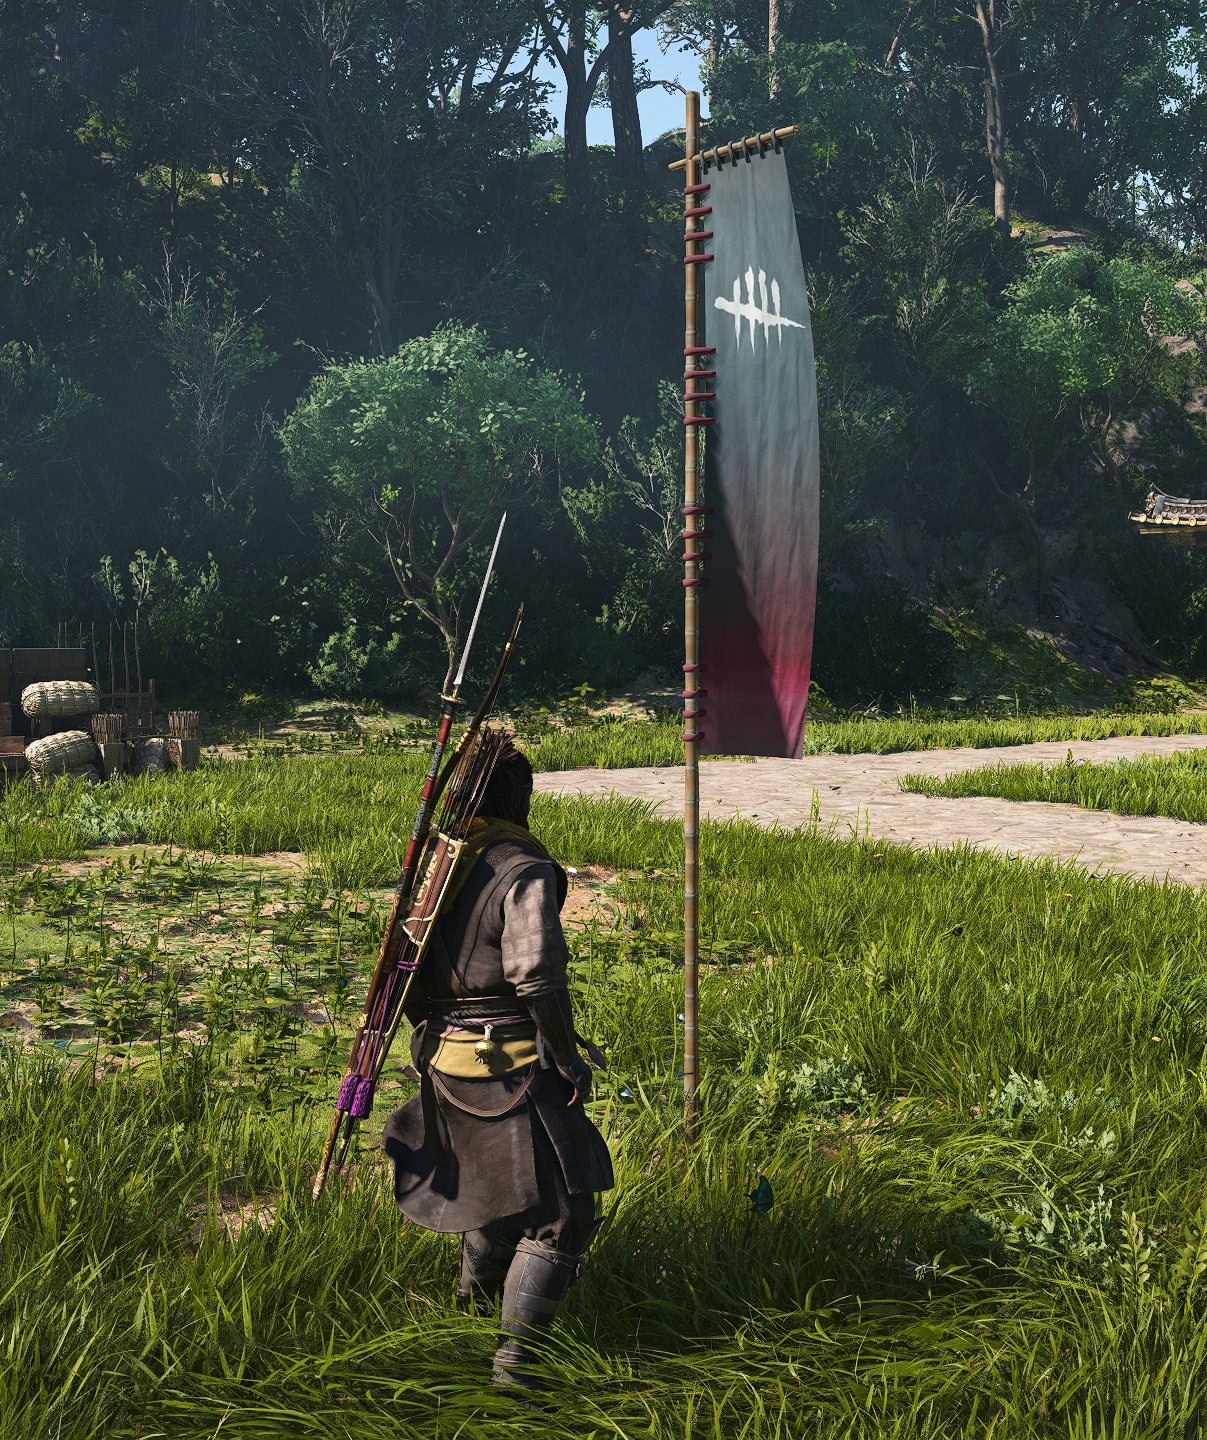
For your efforts, you’ll receive the Entity’s Touch legendary amulet and trinket, along with a Dead by Daylight Banner for your Hideout.
The amulet and trinket’s engraving increases your damage reduction after receiving a high amount of damage. This would have been so much useful earlier, alas, it’s still nice to have if you want a more tanky build.

The Dead by Daylight Banner is a pale blue and fuchsia gradient banner with the Dead by Daylight logo emblazoned on it. Display it with pride knowing you can conquer foes both mundane and supernatural!
If you’re craving more mysteries involving the supernatural, try The Yokai questline if you haven’t already.
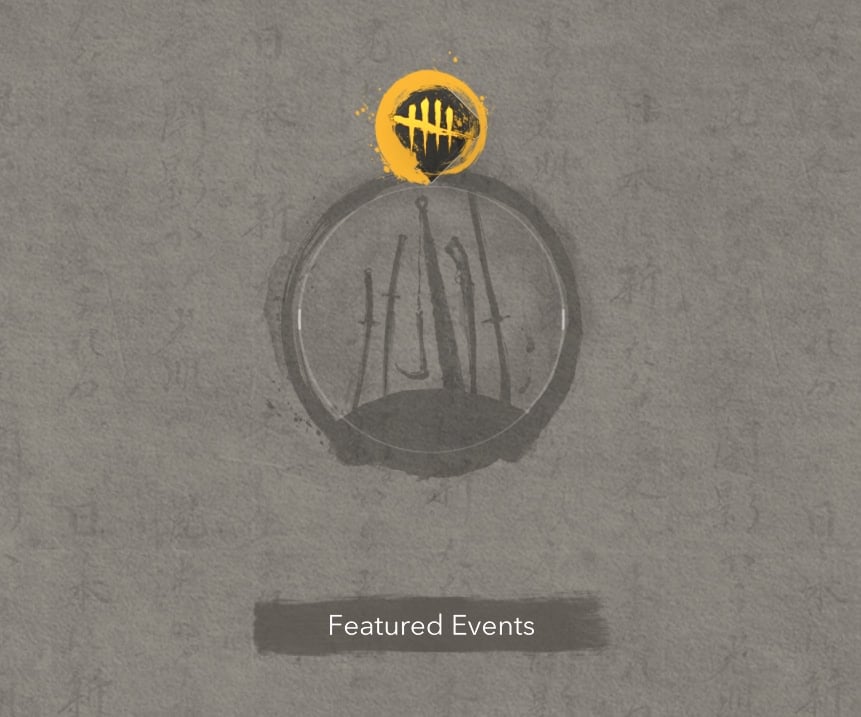
With the new Featured Events objectives circle, it looks like there’s enough room for four or five more crossover events. Are you looking forward to future crossovers?
If you are up for some treasure hunting adventures, update 1.0.5 also added a Balatro Cards Collaboration. Find the cards with the help of our guide and earn a legendary Trinket and Amulet for Naoe and Yasuke.