The Crimson Avenger is one of Grounded 2’s many hidden treasures. Learn where to find this unique weapon and the best ways to use it.
Table of contents
What is the Crimson Avenger
The Crimson Avenger is a unique, named version of a Tier 1 Sword, the Crimson Saber. This version comes with extra damage due to being Tier 2 (T2), a decent early-game perk called Spider Criticals, and an altered appearance.
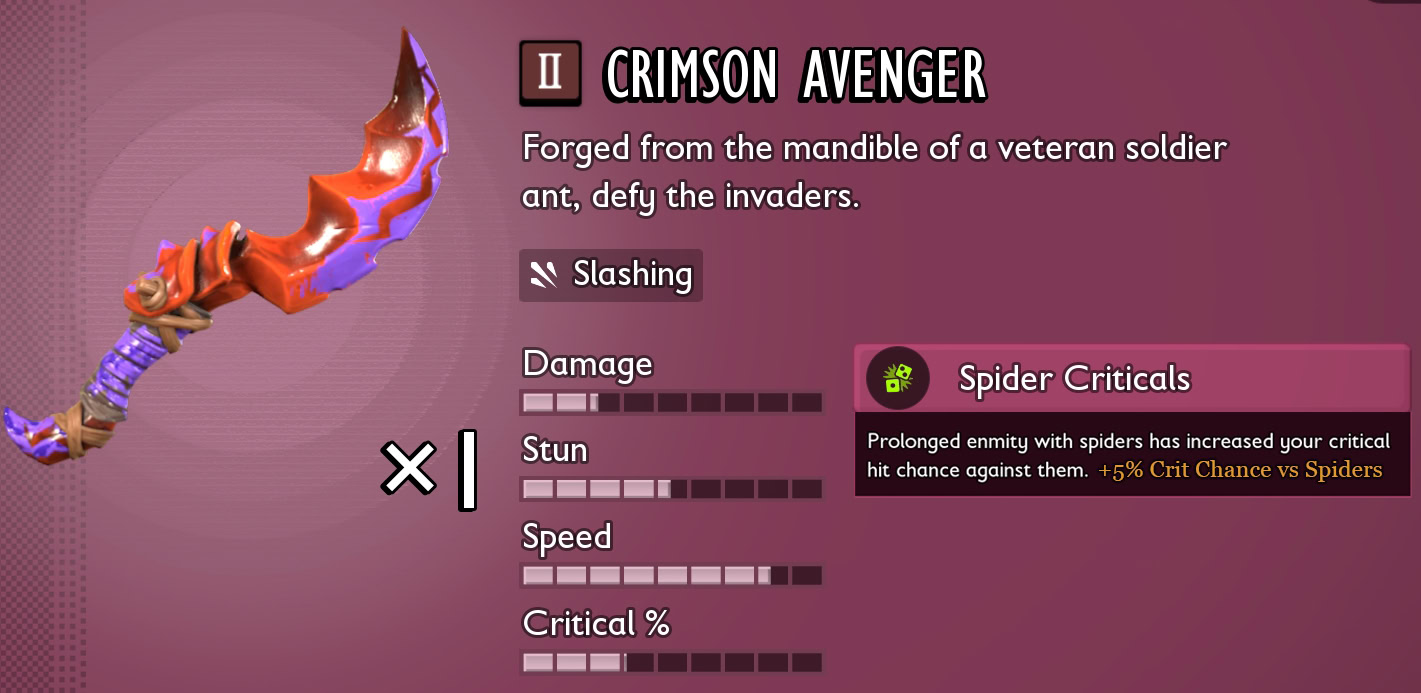
The only real downside to this weapon is that it’s still an early-game weapon, meaning it may not hold up too well as more content is added. Additionally, it costs extra resources to repair, though the added cost of Silk Rope isn’t too hard to get. Despite this, it currently remains the strongest sword available in the game.
Preparations
Before heading out, we’ll need to make sure we have everything we need to reach this weapon. There are two main things we’ll need: the Red Soldier Ant Buggy and the T2 Omni-Shovel. The Buggy opens a consistent path to and from the location we need to visit, and the T2 Omni-Shovel is needed to break a Gum Nugget.
Of these requirements, the Omni-Shovel is the only option that has an alternative. In this case, a Splatburst will get the job done as well. Ultimately, Splatbursts requires completion of the currently available story, where this weapon may no longer be the best choice. Being T1, regular Bratbursts will not work for this.
Video Walkthrough
How to get the Crimson Avenger
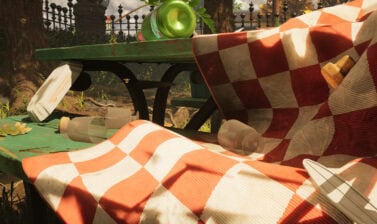
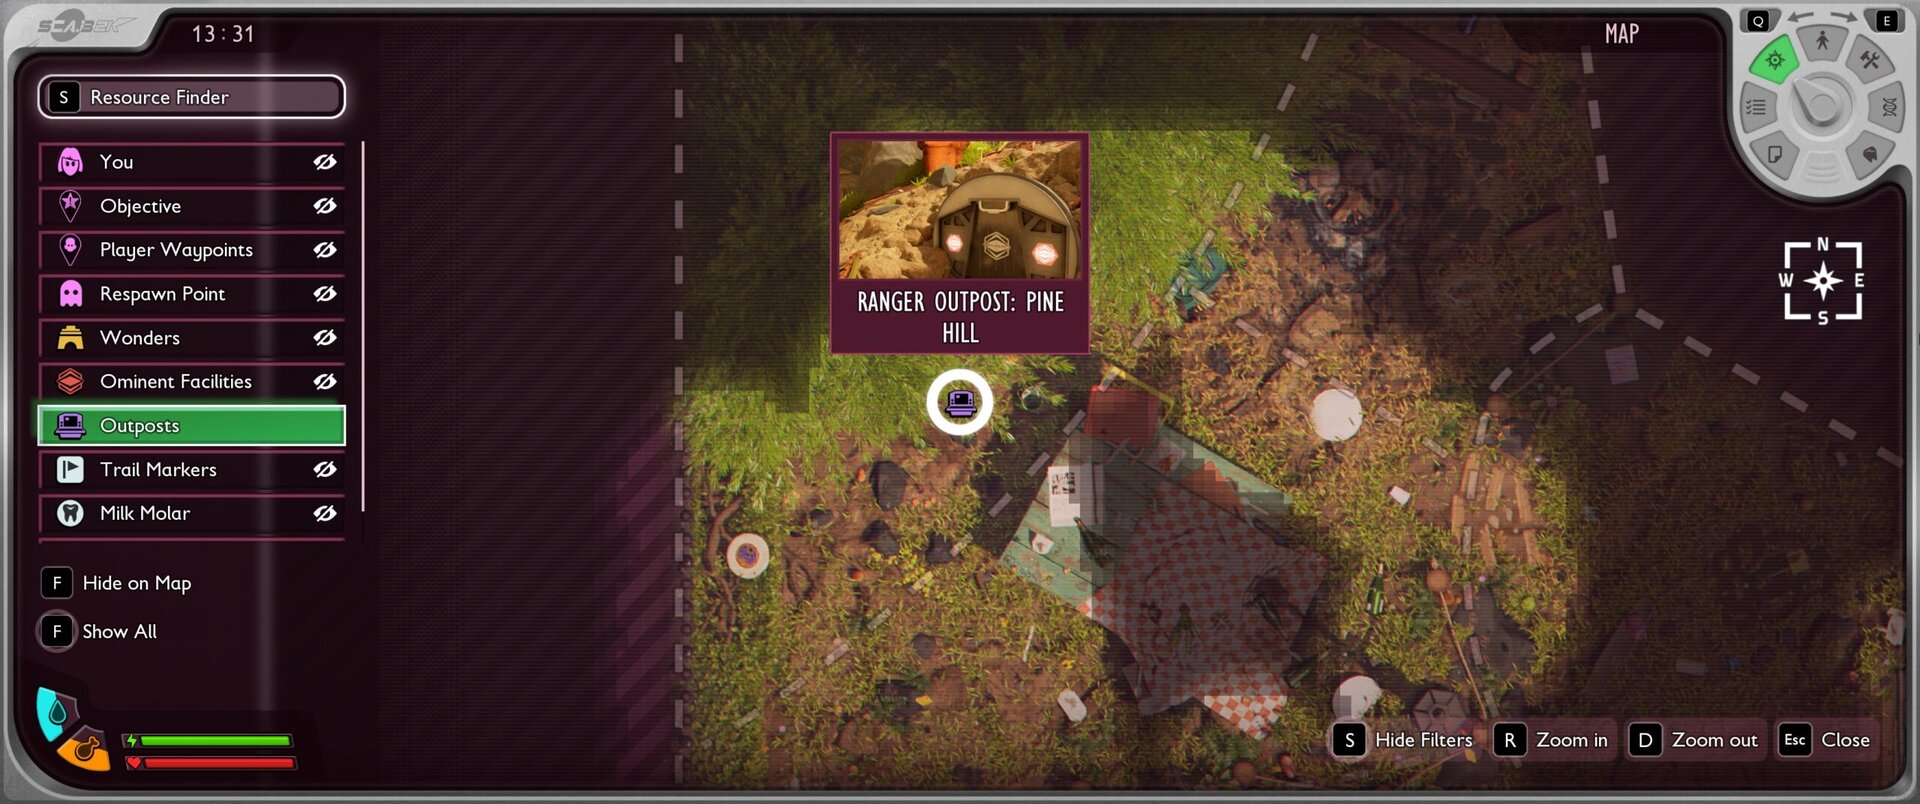
To start, we’ll need to head over to the Pine Hill Ranger Outpost. This will serve as our starting point for this short journey.
From here, we’ll hop on our Buggy and head North to the tree roots nearby. This is where the Buggy’s ability to chop Roots comes into play, as we’ll need to cut down several on the way to the main POI where our treasure lies.
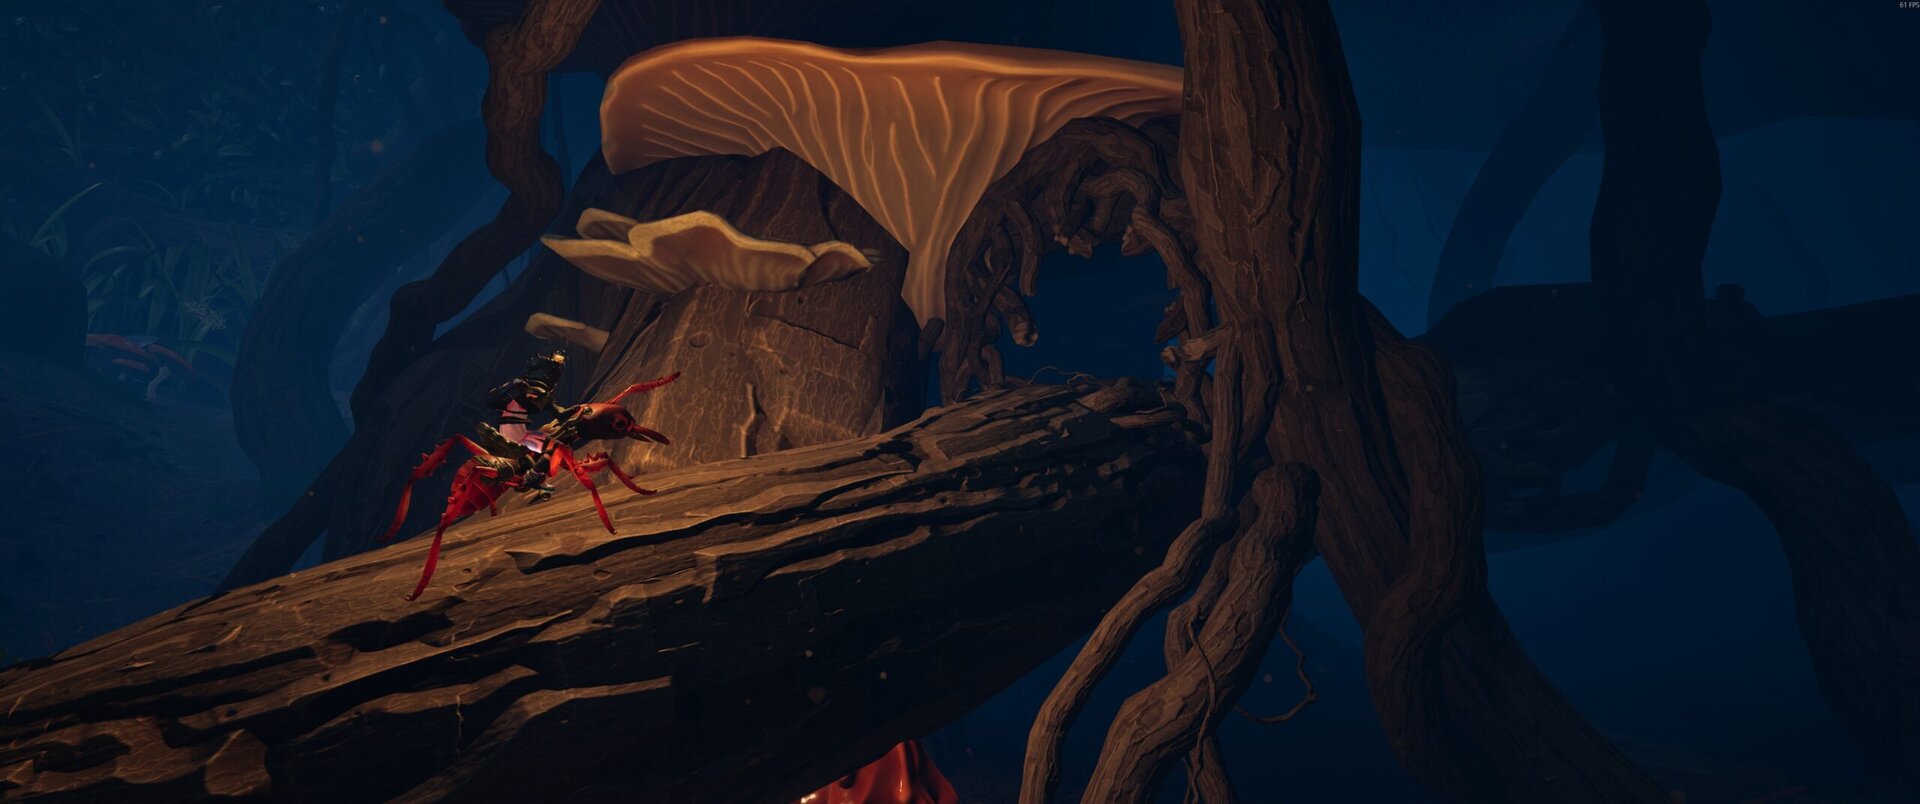
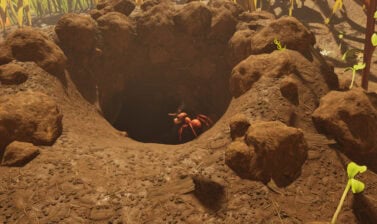
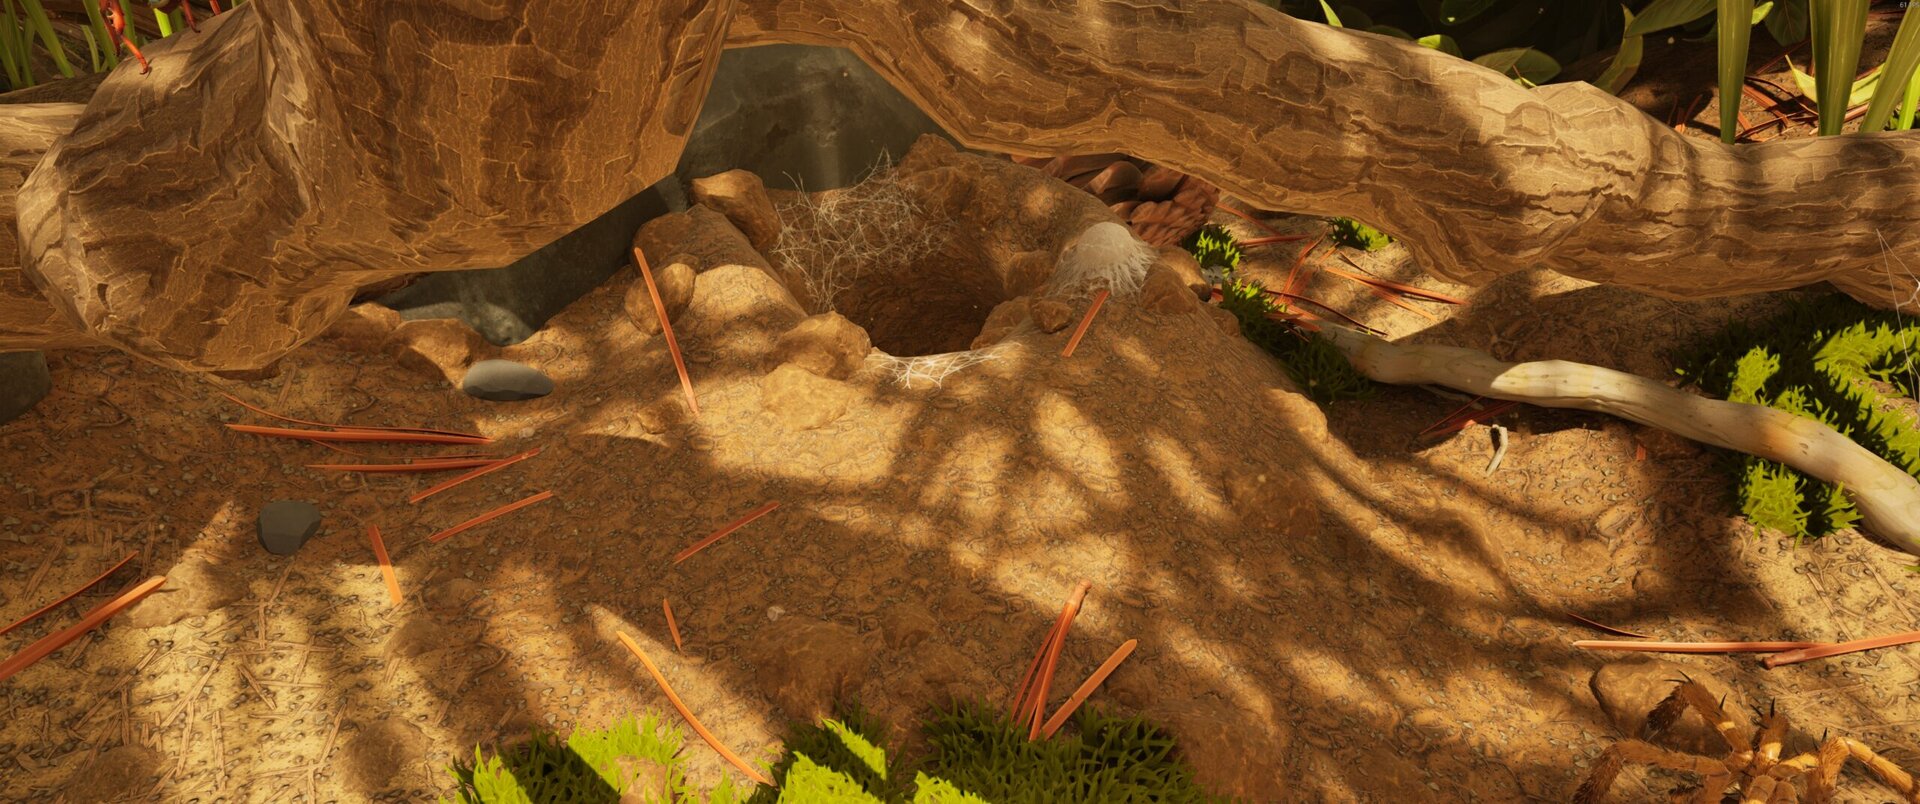
By following these roots, we’ll eventually reach our main location, the Spider Den Anthill, and we’ll specifically be entering through the South Entrance.
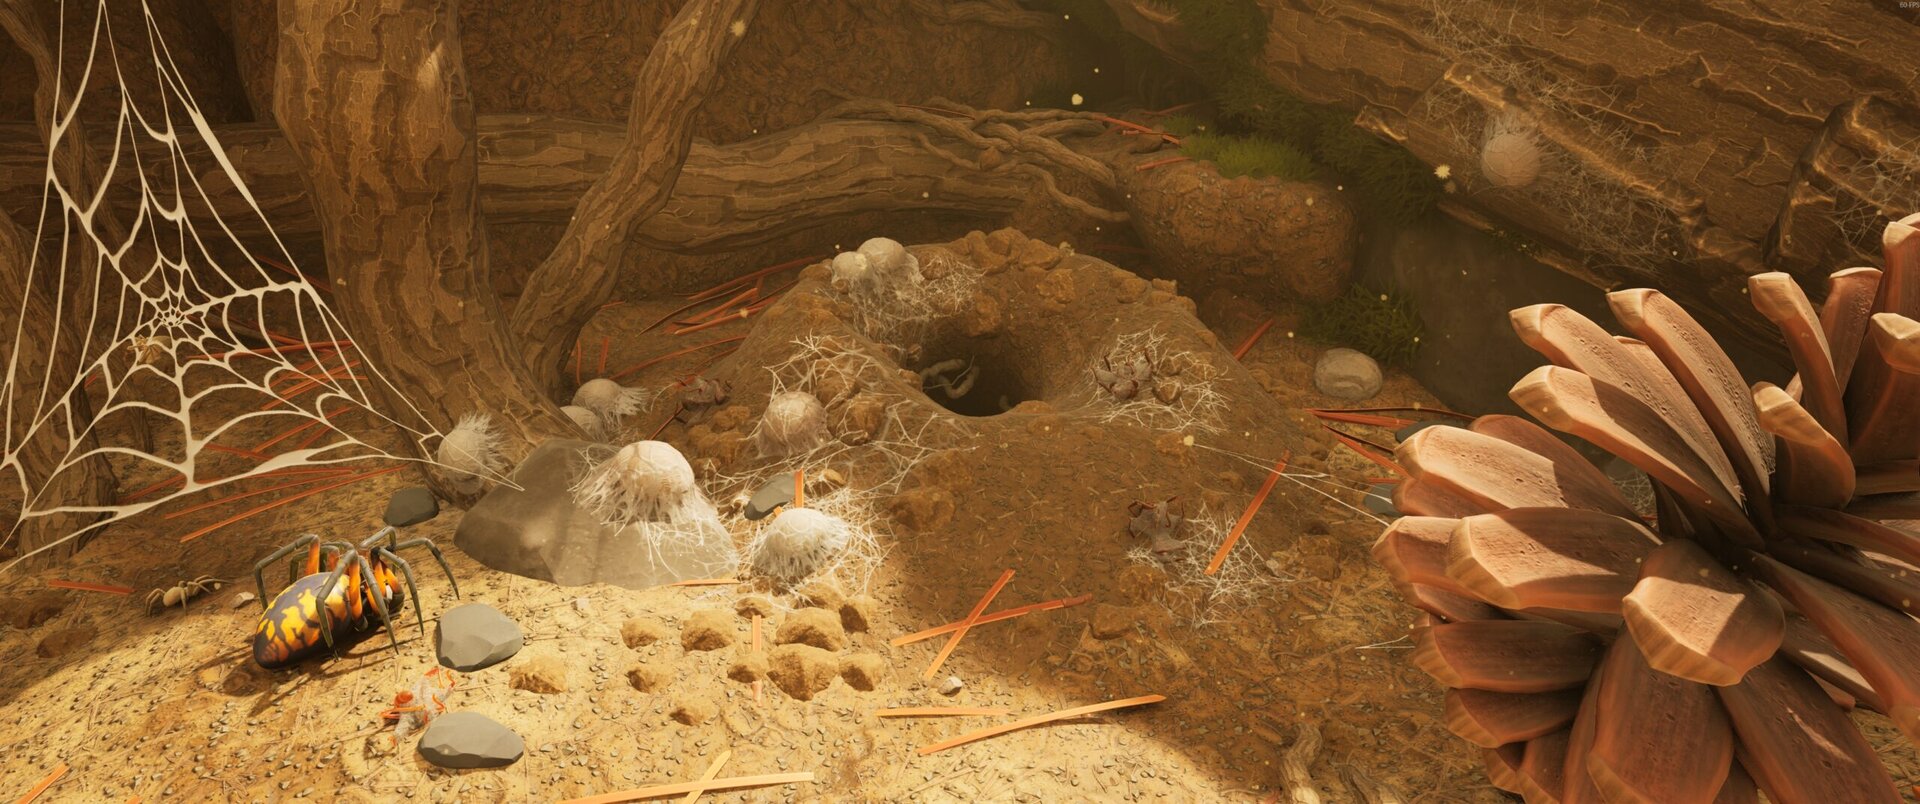
This entrance is only guarded by a lone Orb Weaver, compared to the Wolf Spider that sleeps outside the North Entrance.
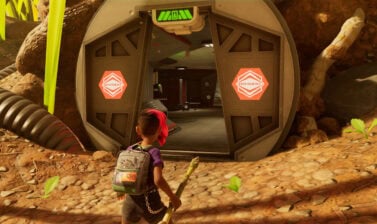
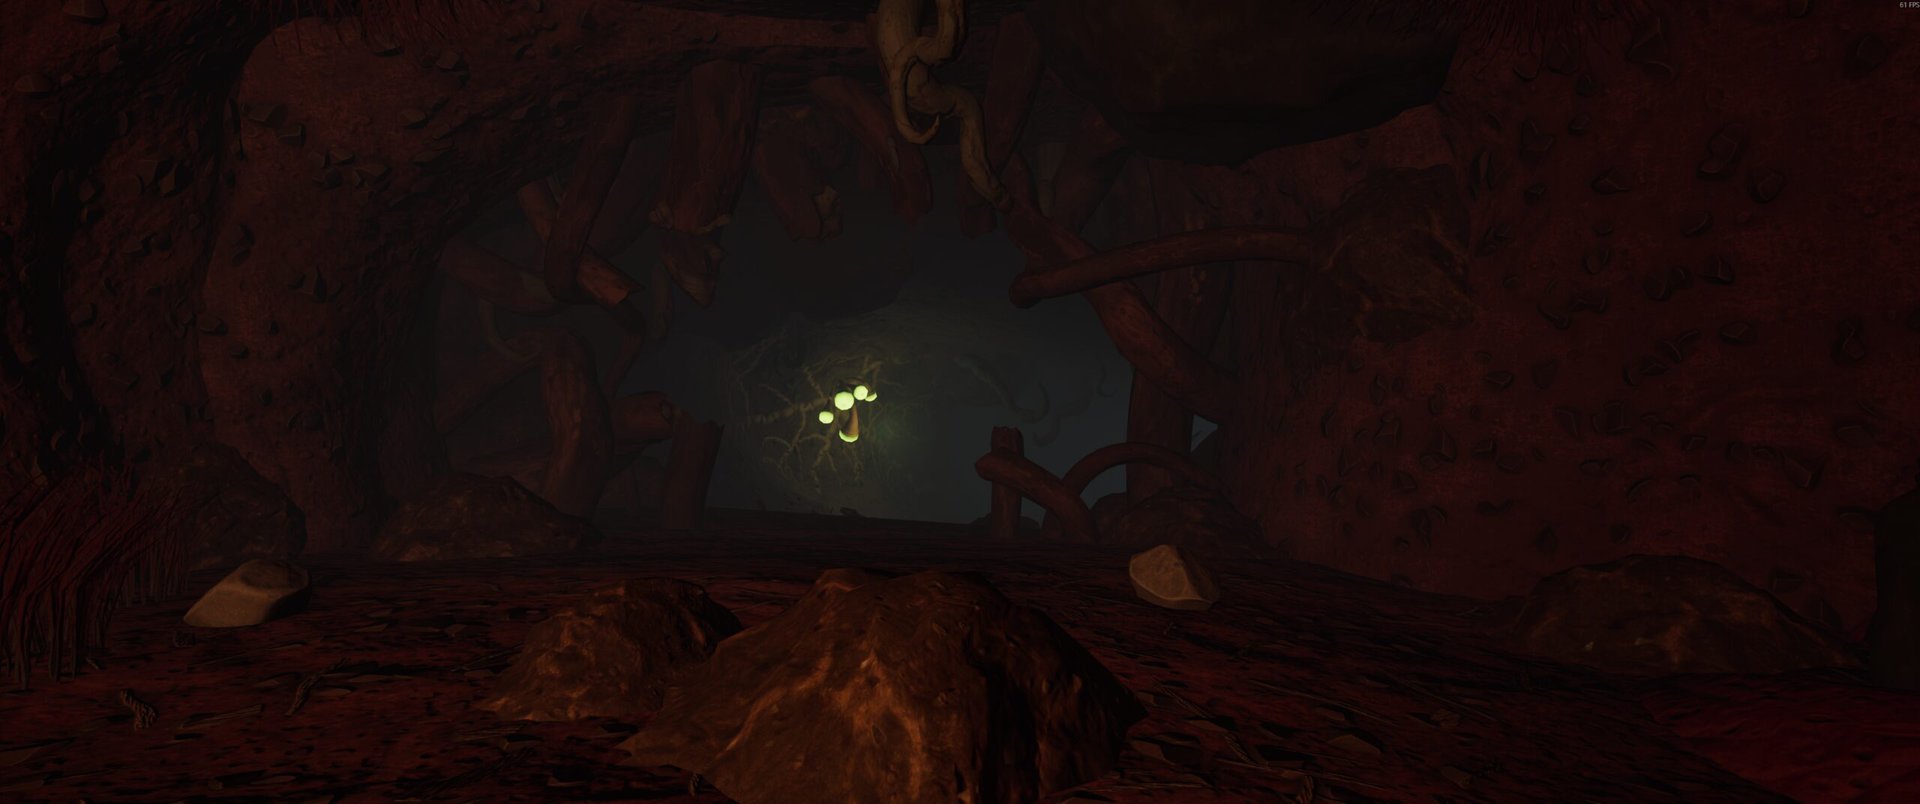
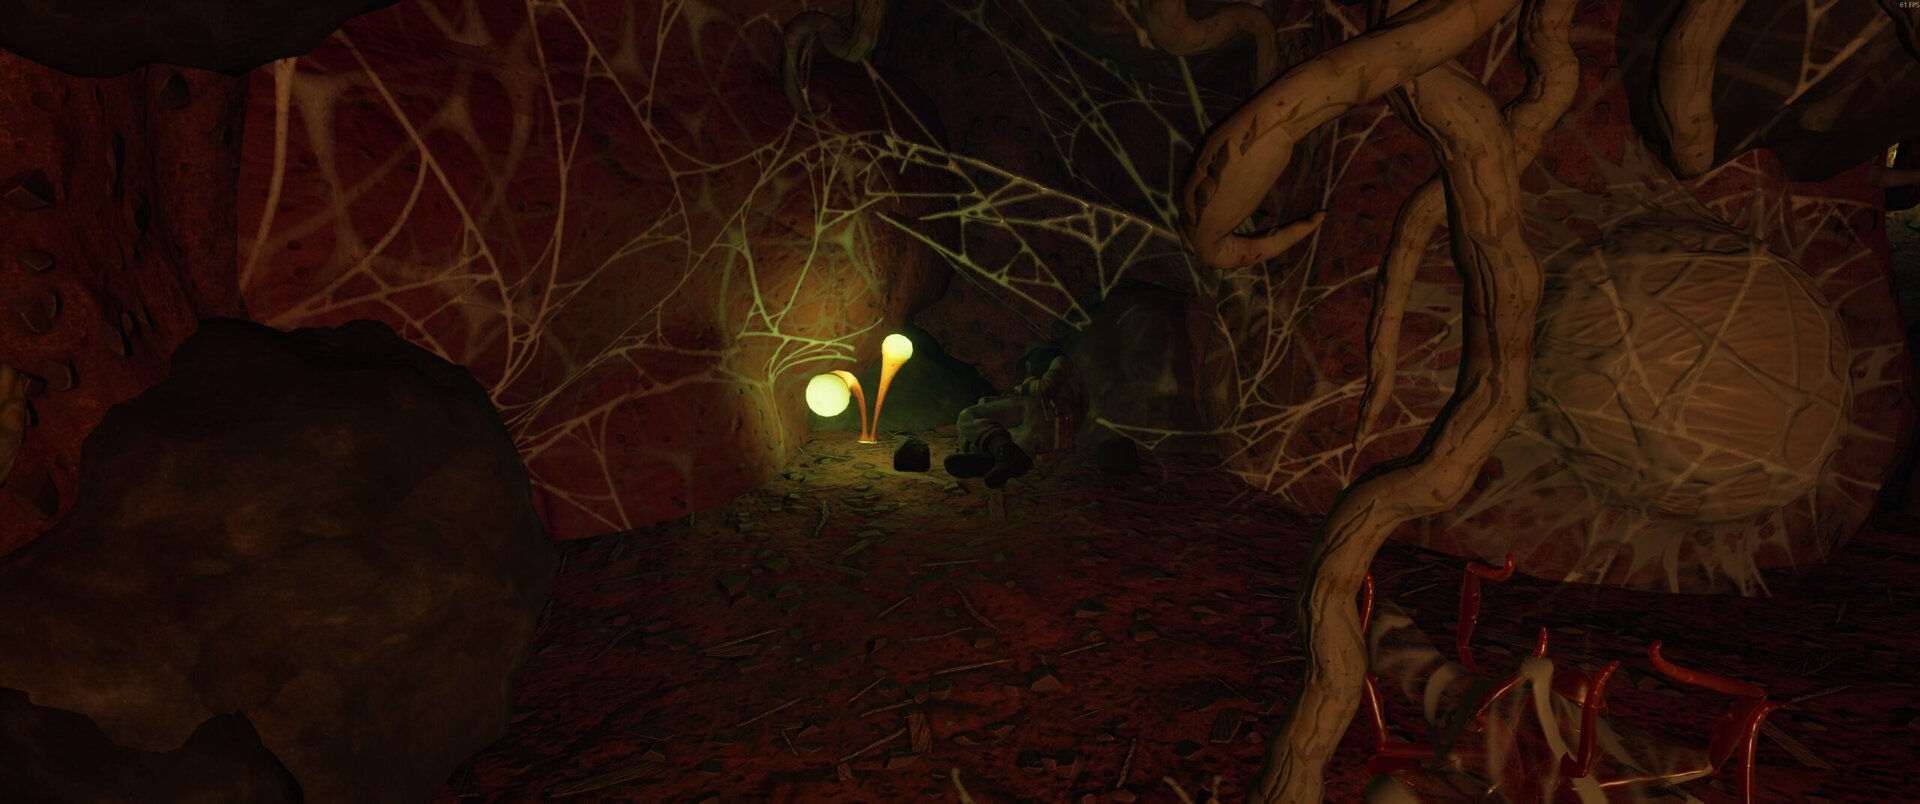
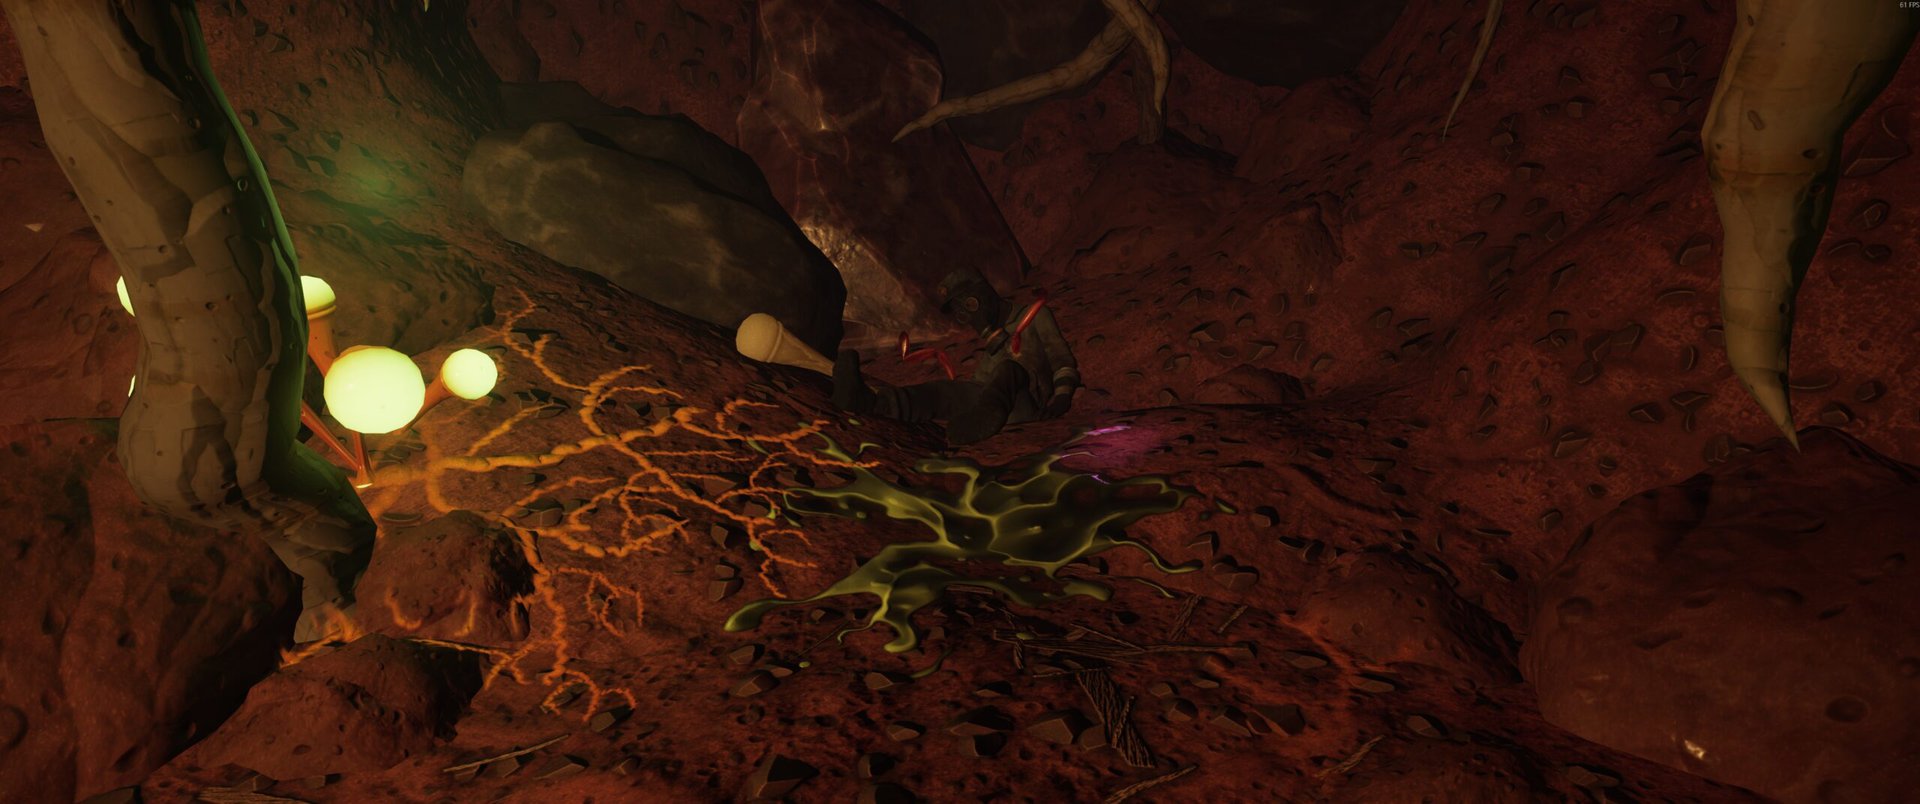
Once we enter this POI, with the Red Soldier Ant Buggy, it’s a straight path to the secondary POI hidden within the Spider Den Anthill, the Memorial Crate.
We’ll still need to chop a single root along the path forward, which blocks the way to the Memorial Crate. This is conveniently placed at the only split path within the anthill we see on the way there.
However, if we make the quick detour to the right, on a dead Ominent Employee along the wall, we’ll find another of the game’s Hidden Items, the Eco Exploitation Token, a special trinket that helps us haul more Grass Planks and Weed Stems.
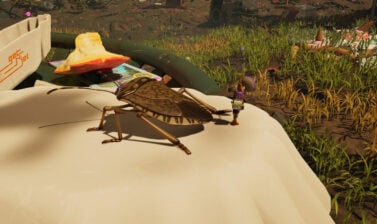
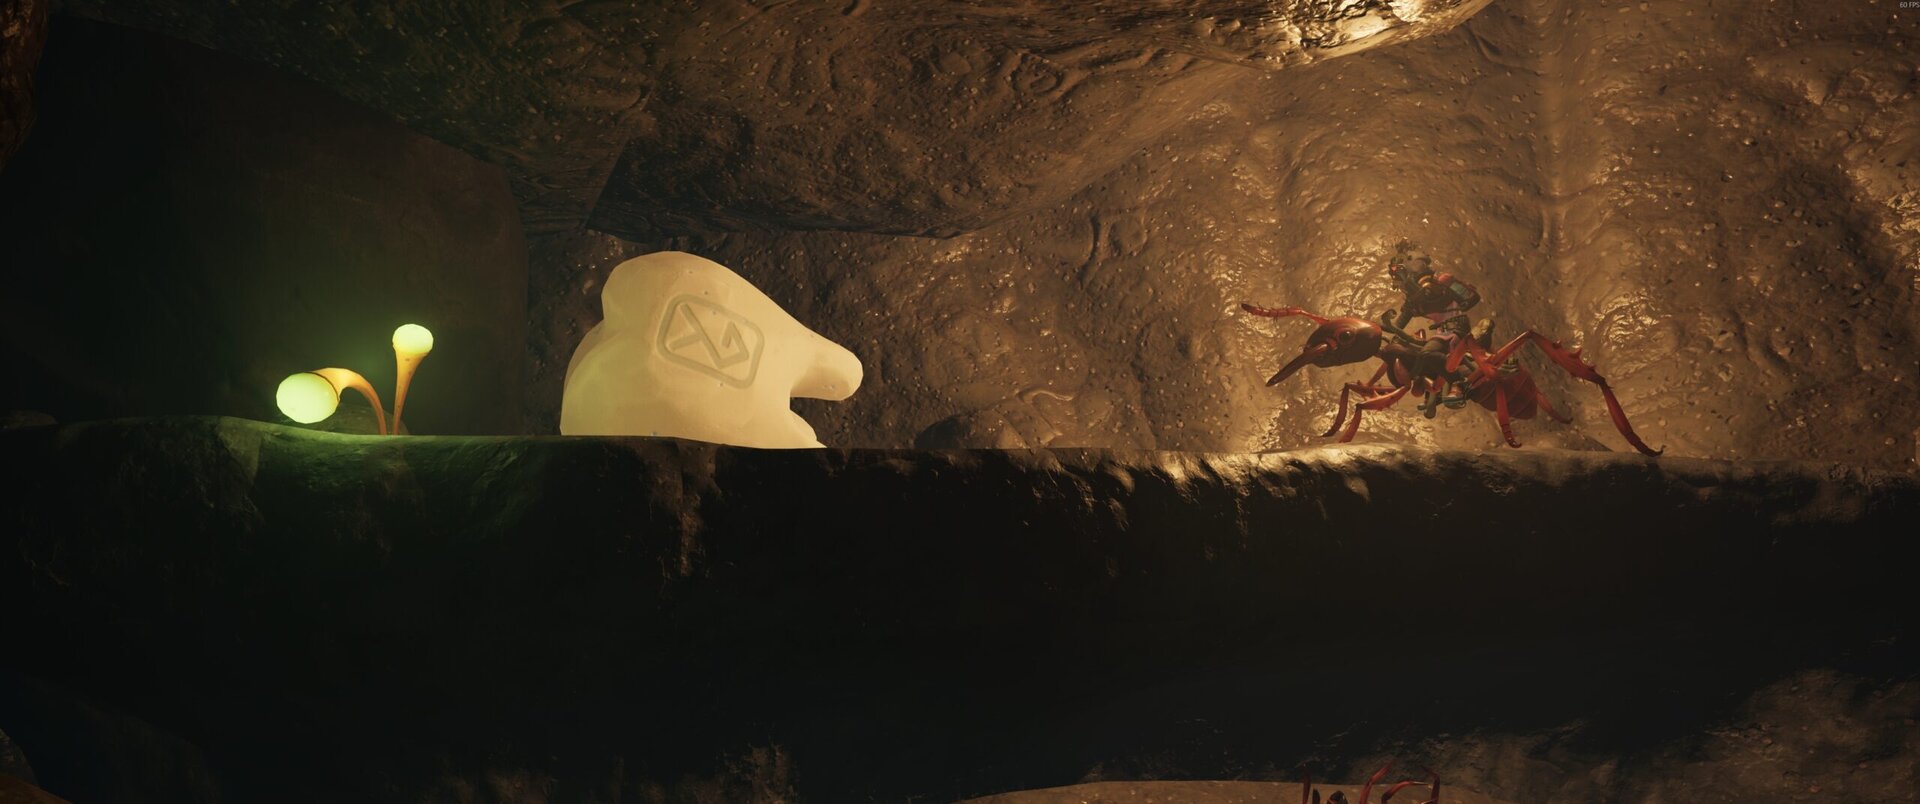
Once inside the Memorial Crate, we’ll immediately see a Gum Nugget ahead of us in the corner.
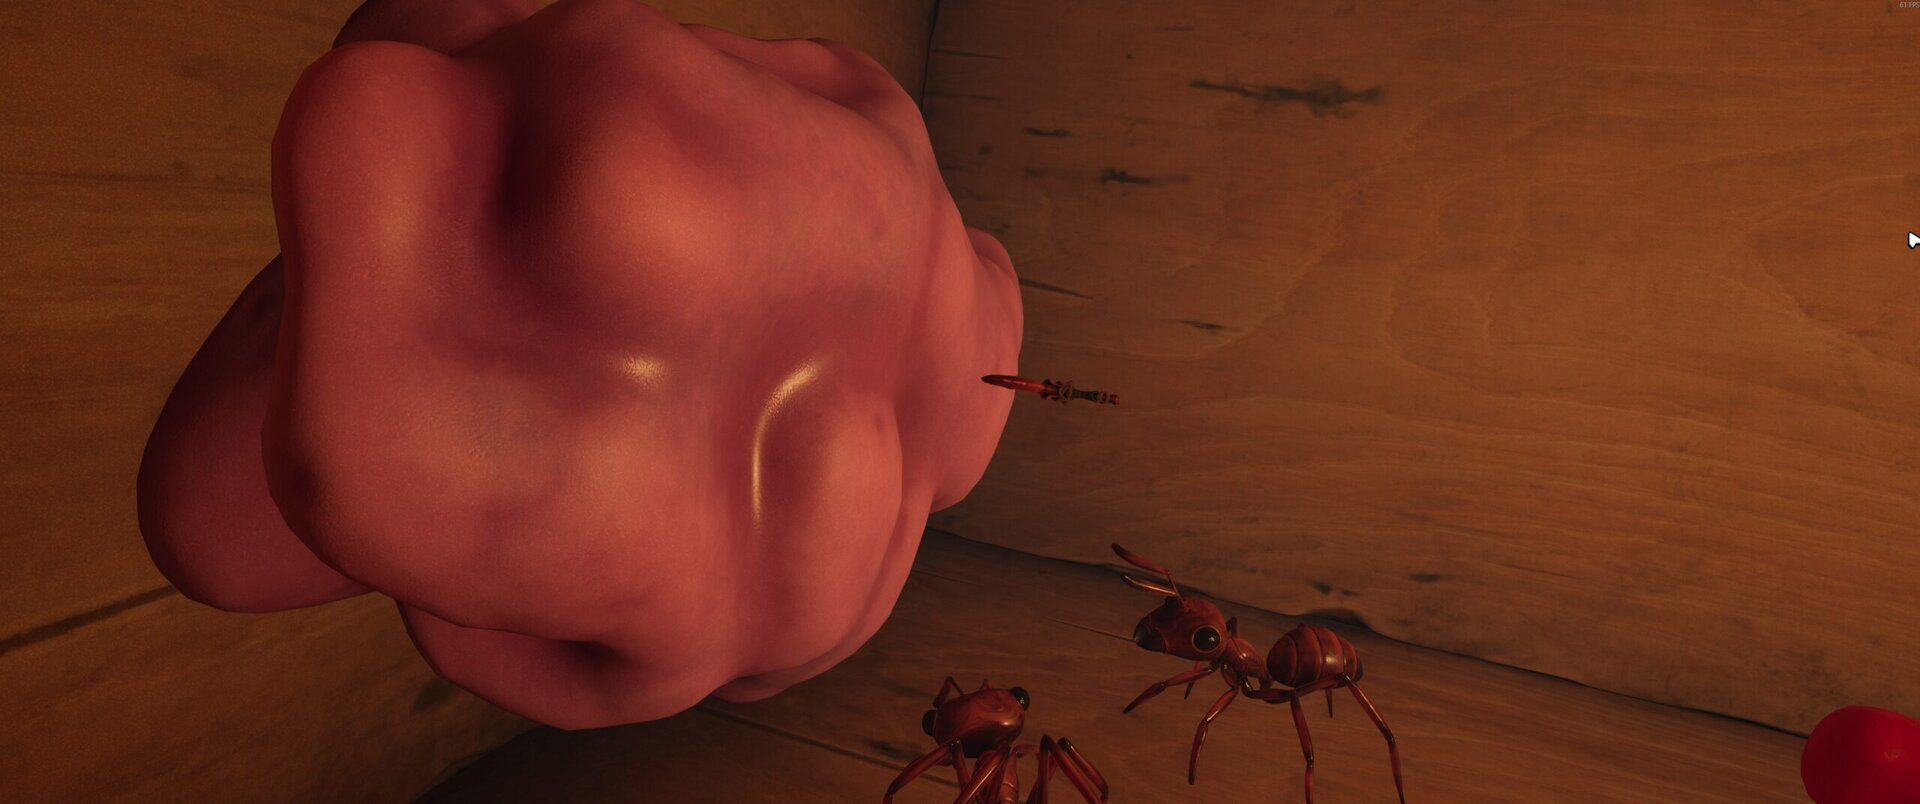
Go ahead and break this Gum Nugget with the T2 Omni-Shovel, or Splatburst if you’re grabbing it way later on, to claim the Crimson Avenger.
If desired, we can continue a bit further to pick up a Milk Molar. It’s loosely guarded by a handful of O.R.C. Red Ant Soldiers, but they’re only in the way if we plan to go further forward.
We can also collect the Spider Den Anthill Optical Disk as well, going even further towards the North Entrance. We’ll find it sitting next to another dead Ominent Employee.
This optical disk is an optional one, but highly recommended to be able to craft Brittle Plating, used to upgrade Armor.
Using the Crimson Avenger
Being an early game powerhouse, the earlier we pick this up, the more value we get out of it. In terms of its damage, its combination of speed and power is only matched by higher-tier weapons, particularly Dual-wield weapons like Daggers and Claws.
However, being a one-handed sword, this leads to an unmatched defensive setup paired with any Shield. However, the Ladyguard and its upgraded counterpart, the Scarlet Aegis, are big standouts. These block all damage and have a much lower stamina cost when blocking.
Pairing these with the Blade Master Perk, especially its bonus perk at tier 3 to reduce the Exhaustion timer, and the Ladybug Armor Set leads to a good balance of power and defence. We’ll have insanely low stamina costs for blocking, heal when we block, and even quickly recover our Stamina after draining it from attacking or blocking. This culminates in becoming one of the most durable and consistent Fighter setups available.