The Heatwave is one of Grounded 2’s many hidden treasures. Learn where to find this unique weapon and the best ways to use it.
What is the Heatwave
The Heatwave is a unique version of the Scorching Orb Staff found hidden in the Park. This version comes with an additional perk to reduce Chill and an altered appearance.
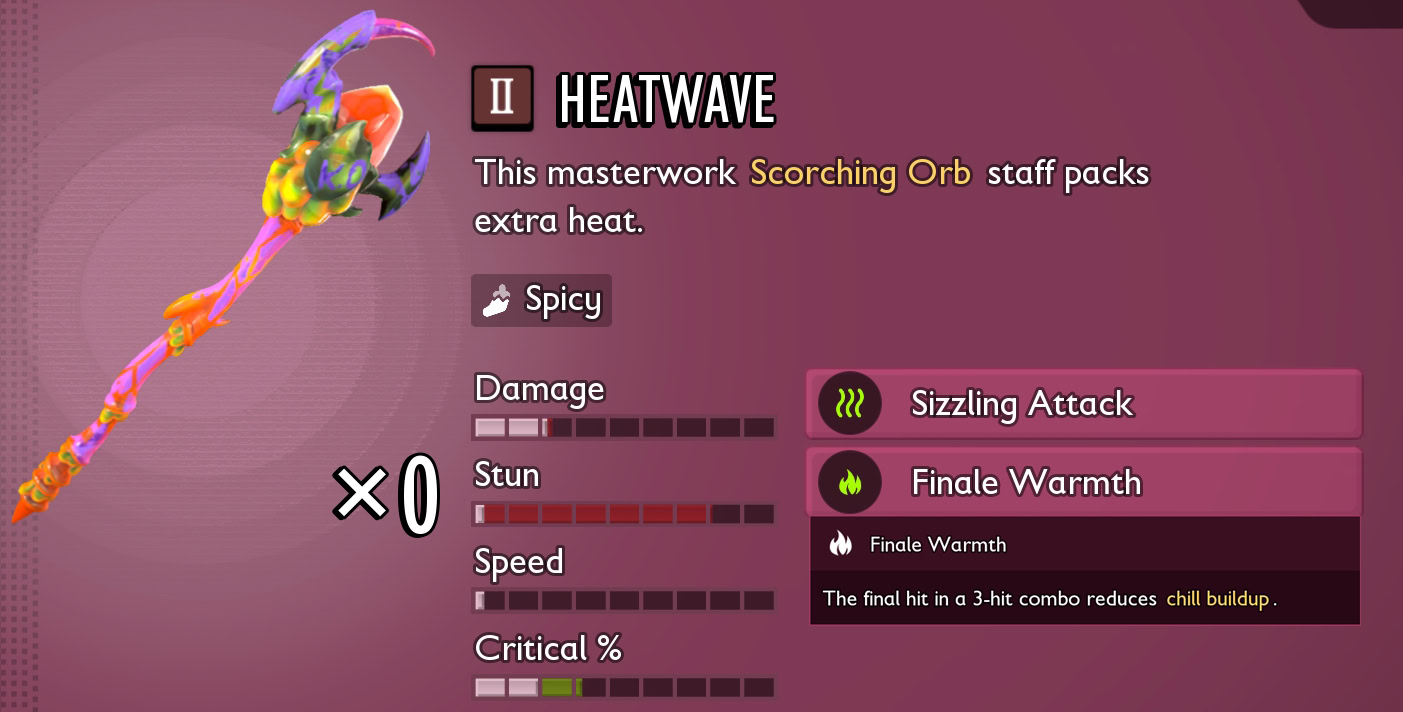
Much like its common counterpart, the Heatwave is an excellent weapon for the Mage Archetype. Given that it stays a Tier 2 weapon with this upgrade, this keeps it a solid mid-tier option.
Preparations
Before heading out, we’ll need to ensure we have everything we need to reach the Heatwave, which surprisingly isn’t much. We’ll require the Tier 2 Omni-Hammer, some Mintito Smoothies, and some form of Sizzle protection.
The T2 Omni-Hammer isn’t a strict requirement, especially if we’re coming back later, but it is the more consistent option. This is because Splatbursts work just as well here, but require the completion of the Network Center to unlock.
Mintitos Smoothies are highly recommended as we’ll need to reduce sizzle to prevent it from dealing damage, even with armor. One of the most accessible form of Sizzle Protection come from the Fresh Defense Perk, unlocked by eating Mint Shards. Due to the Sizzle, our Buggies can’t come with us either, so swap out Reliable Friend if using that.
How to get the Heatwave
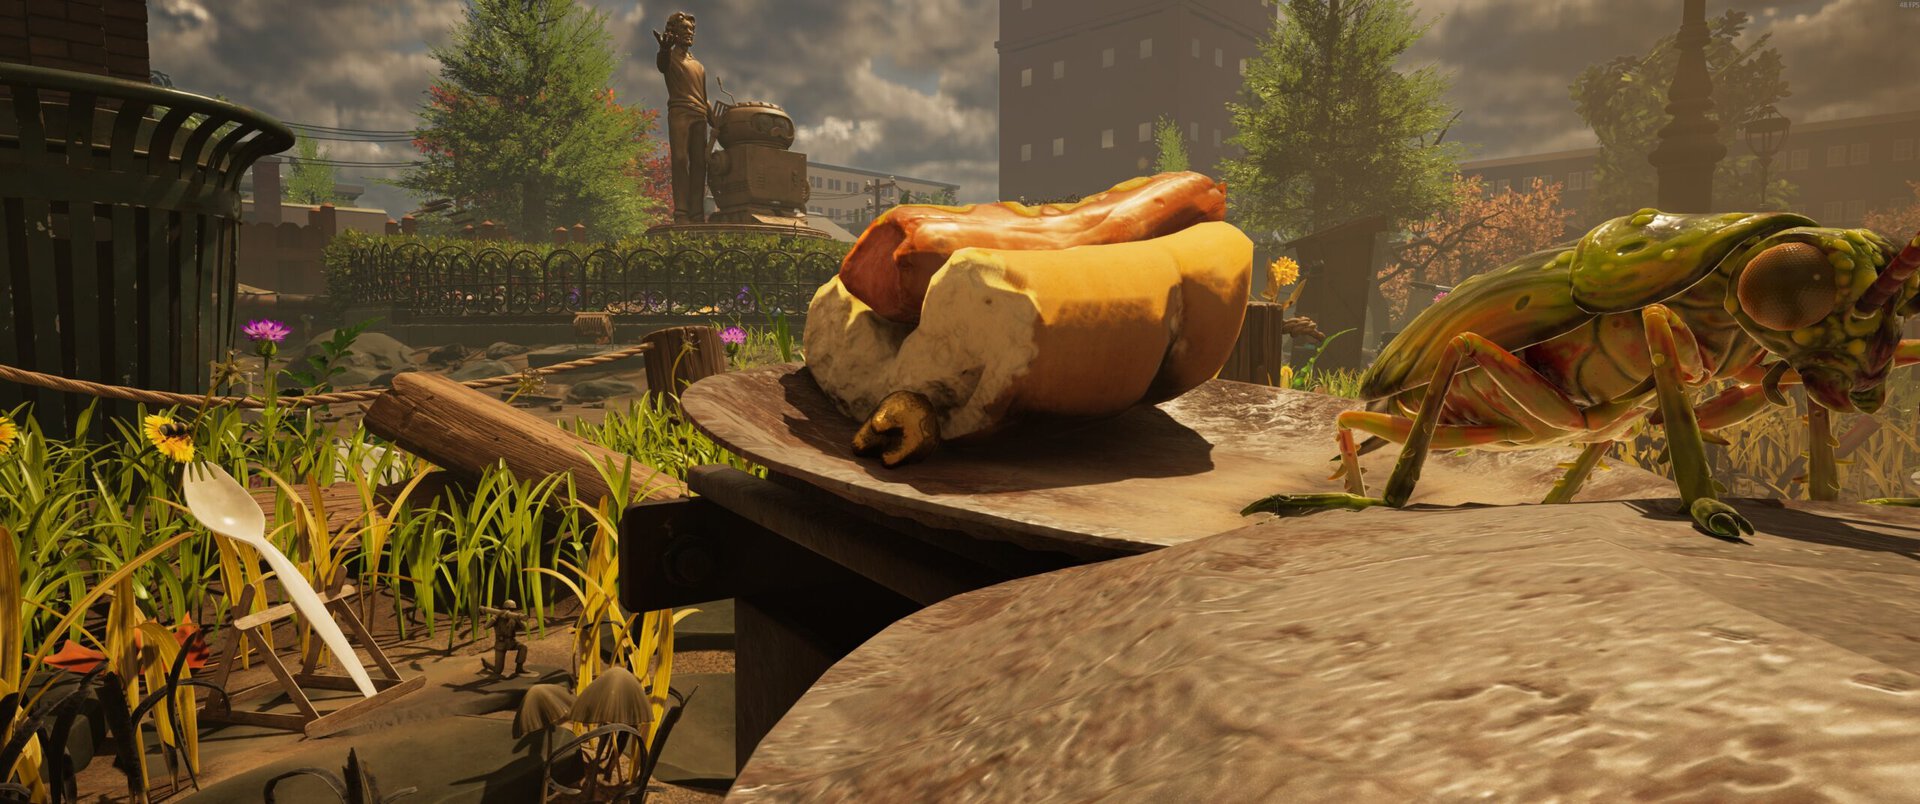
Heading out, we’ll be heading to the Fire Pit, or more specifically, the Melted Army Men Point of Interest.

By climbing up the Melted Army Men on the North side of the Fire Pit, we’re able to quickly and easily hop into the Fire Pit, no building required.

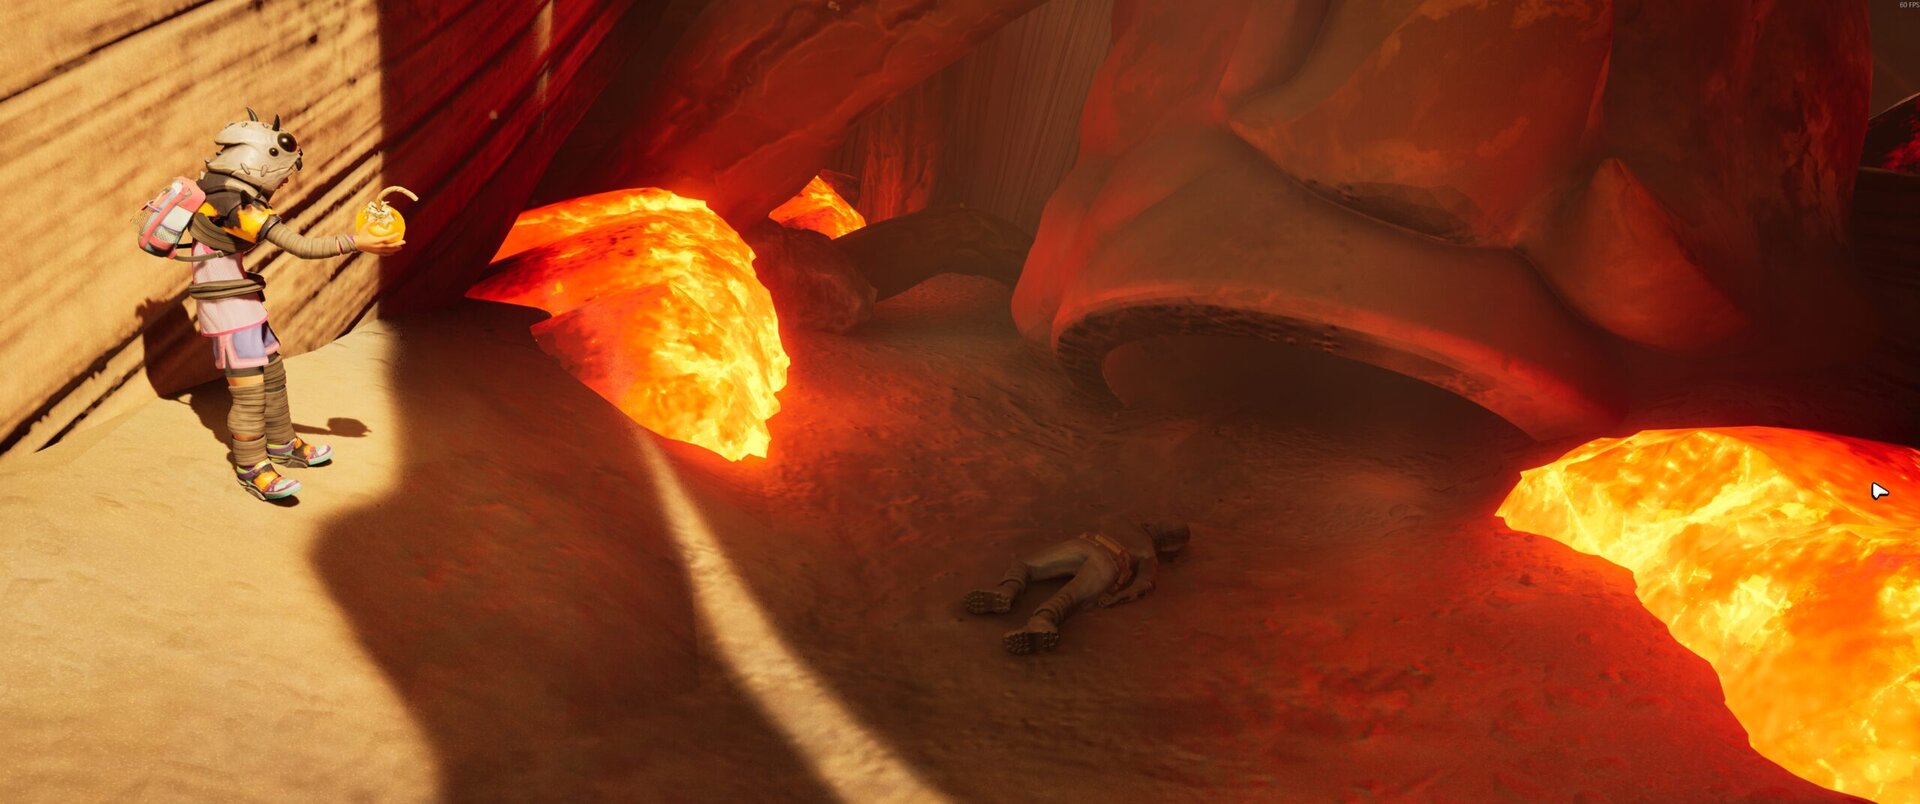
Once inside, our goal will be to head down towards the center of the Fire Pit, which means dealing with some bugs. Unfortunately, these are O.R.C. Bugs, meaning that they’re always aggressive.
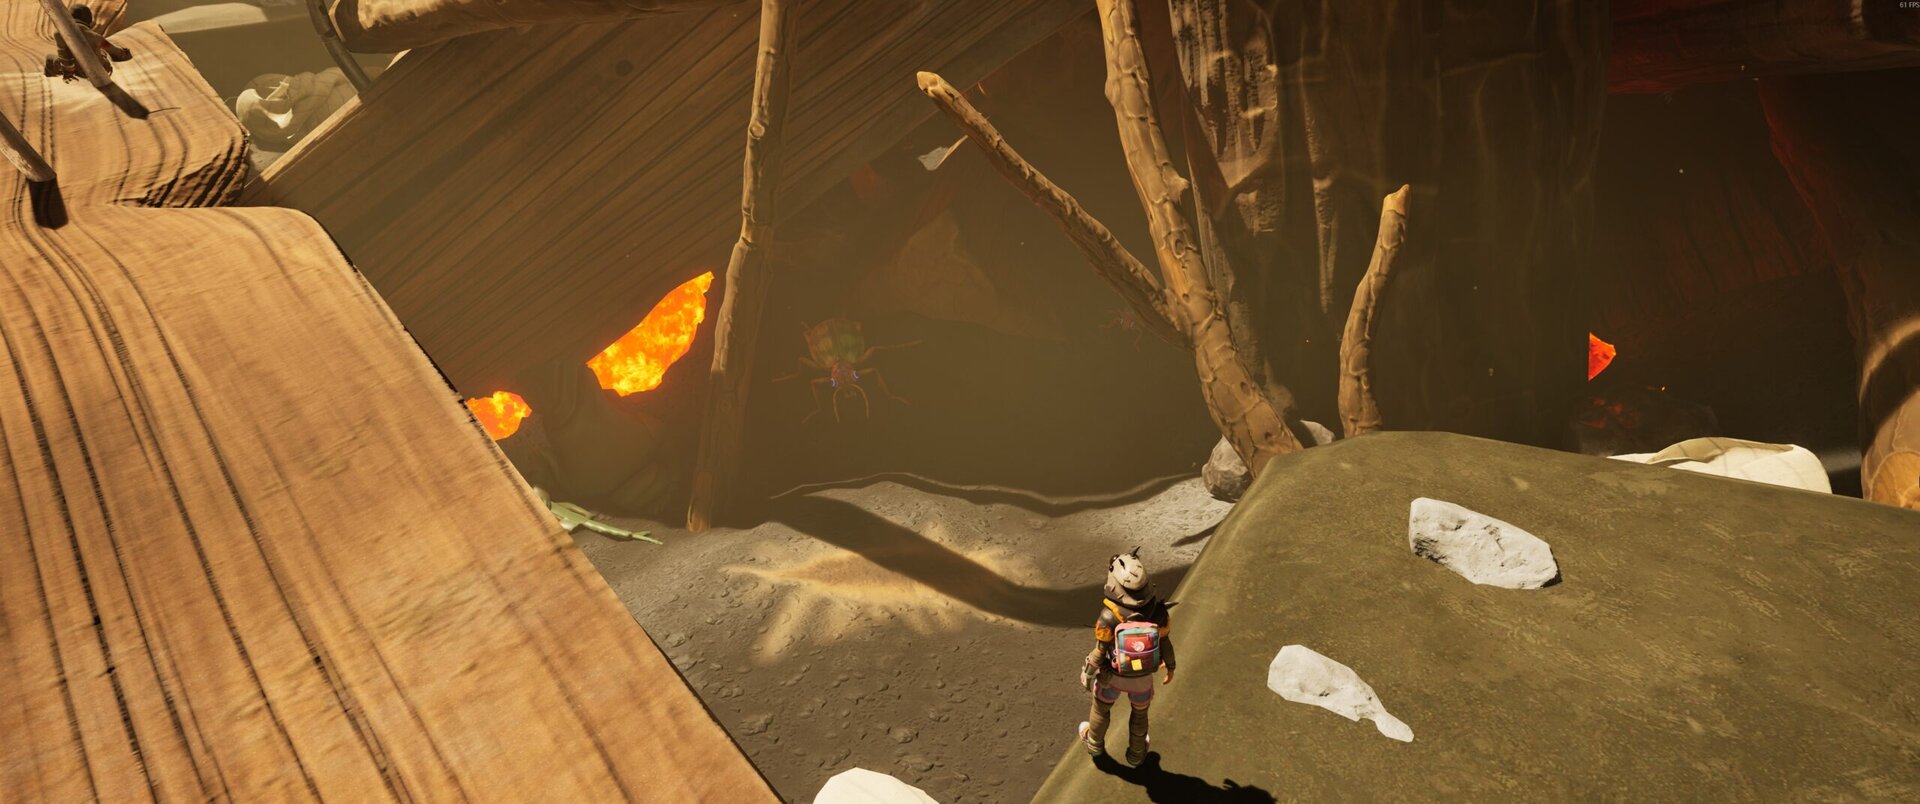
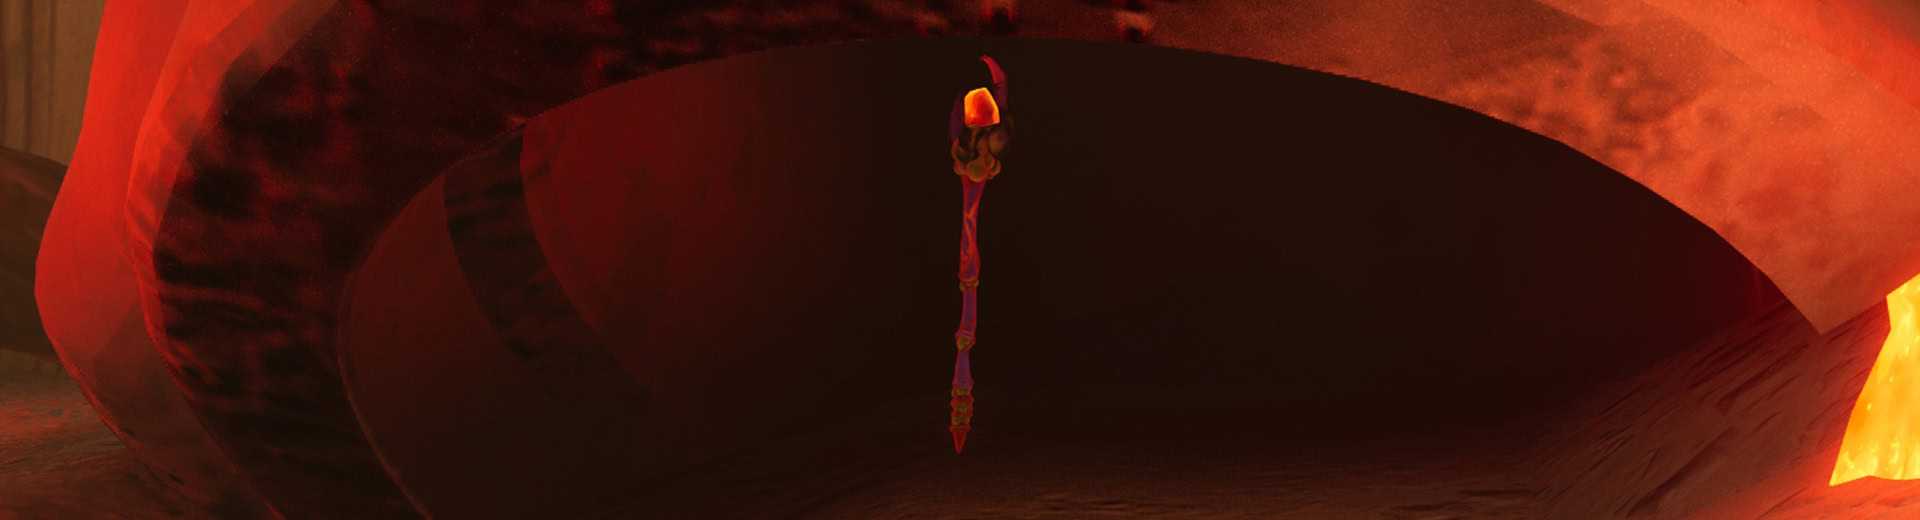
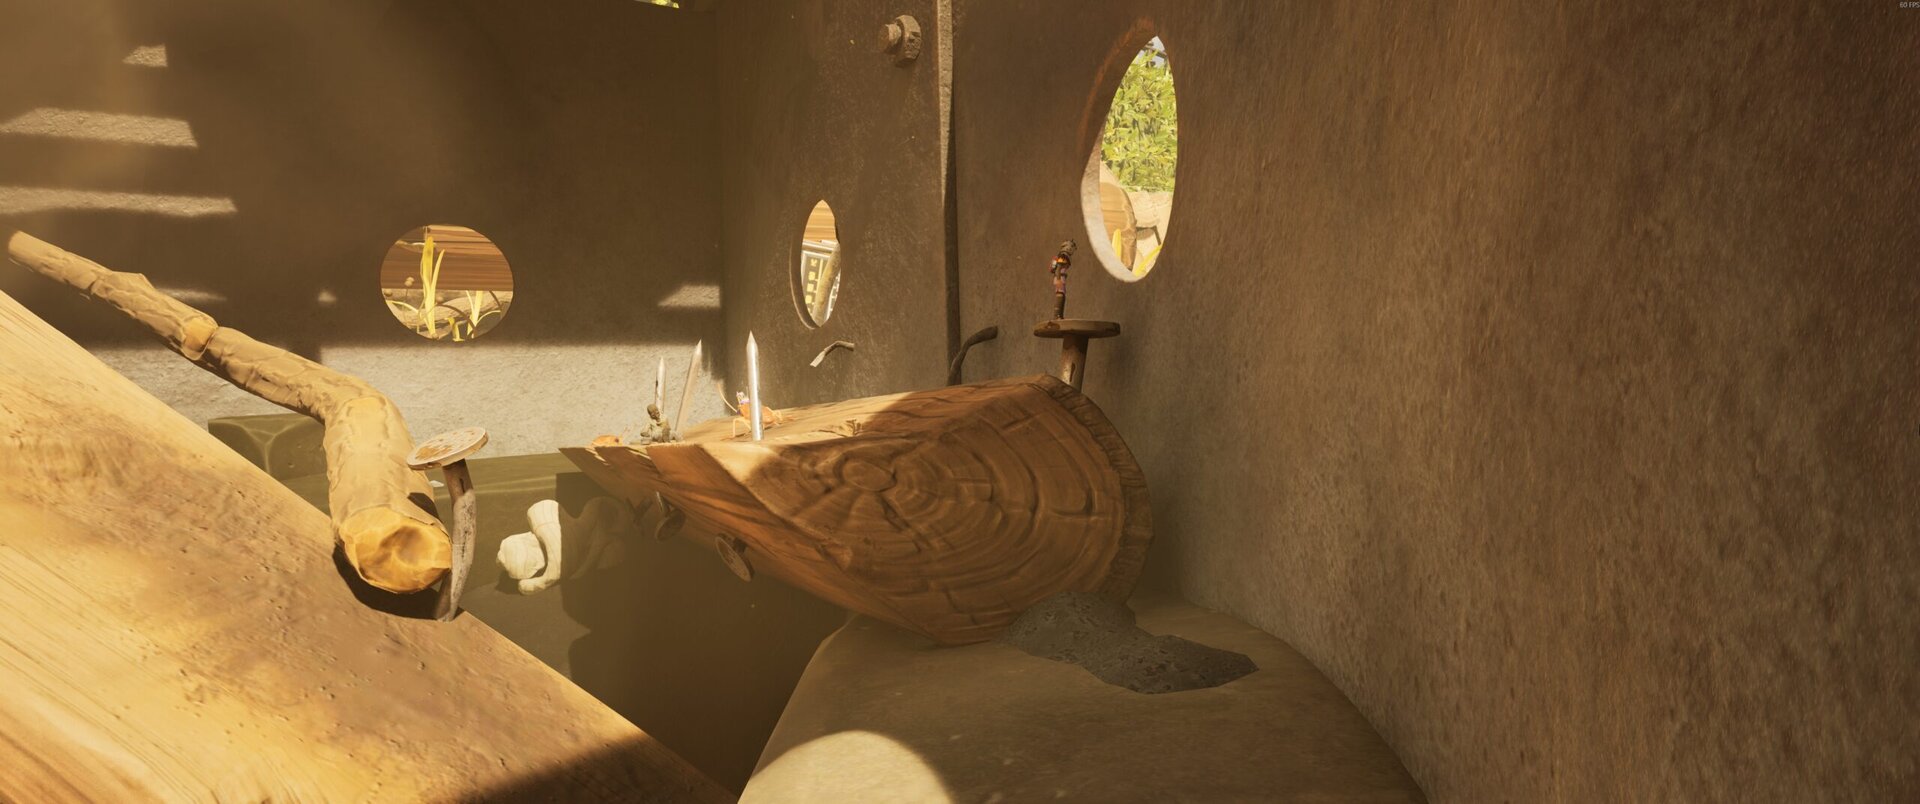
In the center of the Fire Pit, at the very bottom, is the head of a Yoked Girth action figure. Under this are a couple of Evercoal Charcoal Chunks, keeping us from our prize.
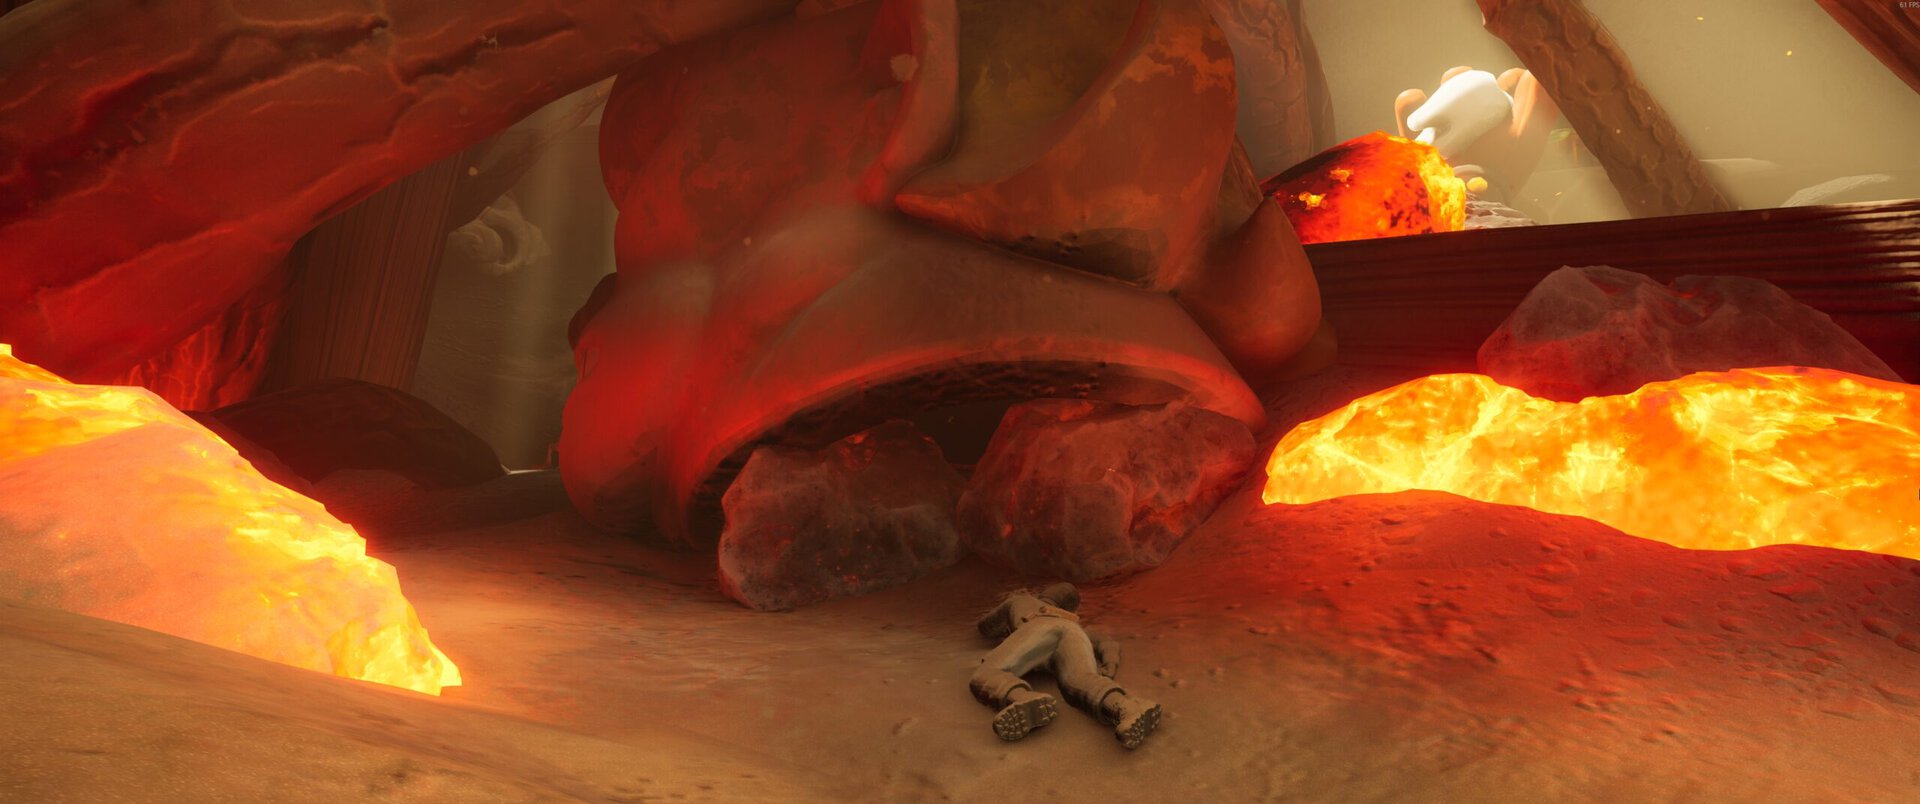
Use the Tier 2 Omni-Hammer or a couple of Splatbursts to get these out of the way and claim the Heatwave.
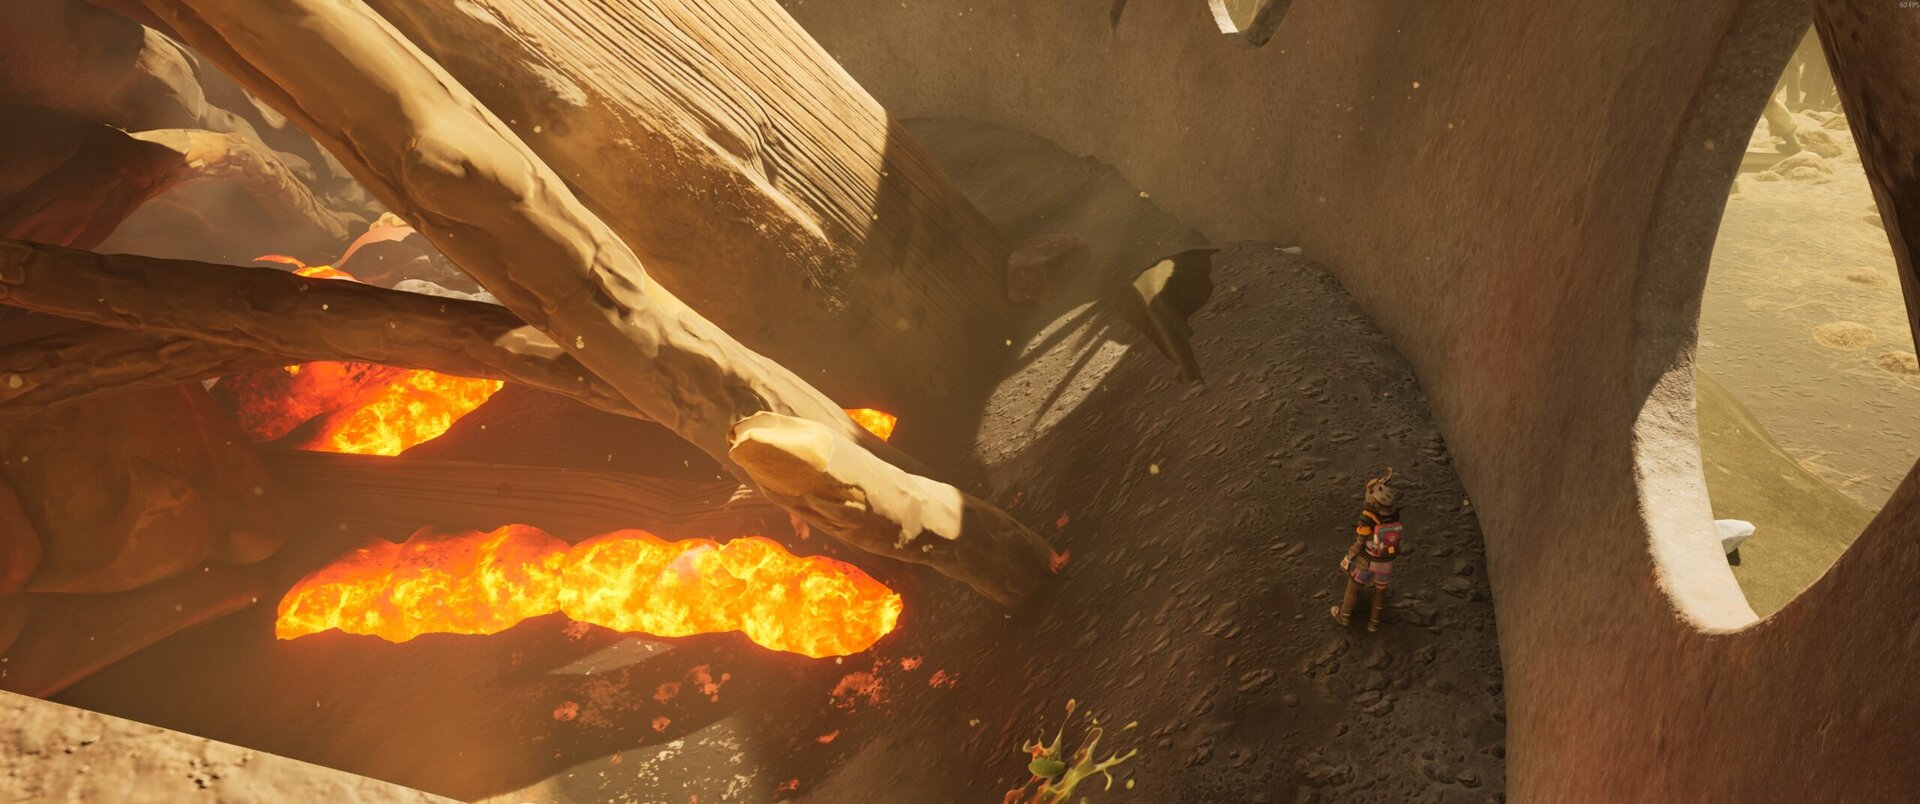
Now let’s get out safely and not get cooked alive. We’ll want to head toward the South side of the Fire Pit, where there’s a conveniently placed path we can follow to the East to get out.
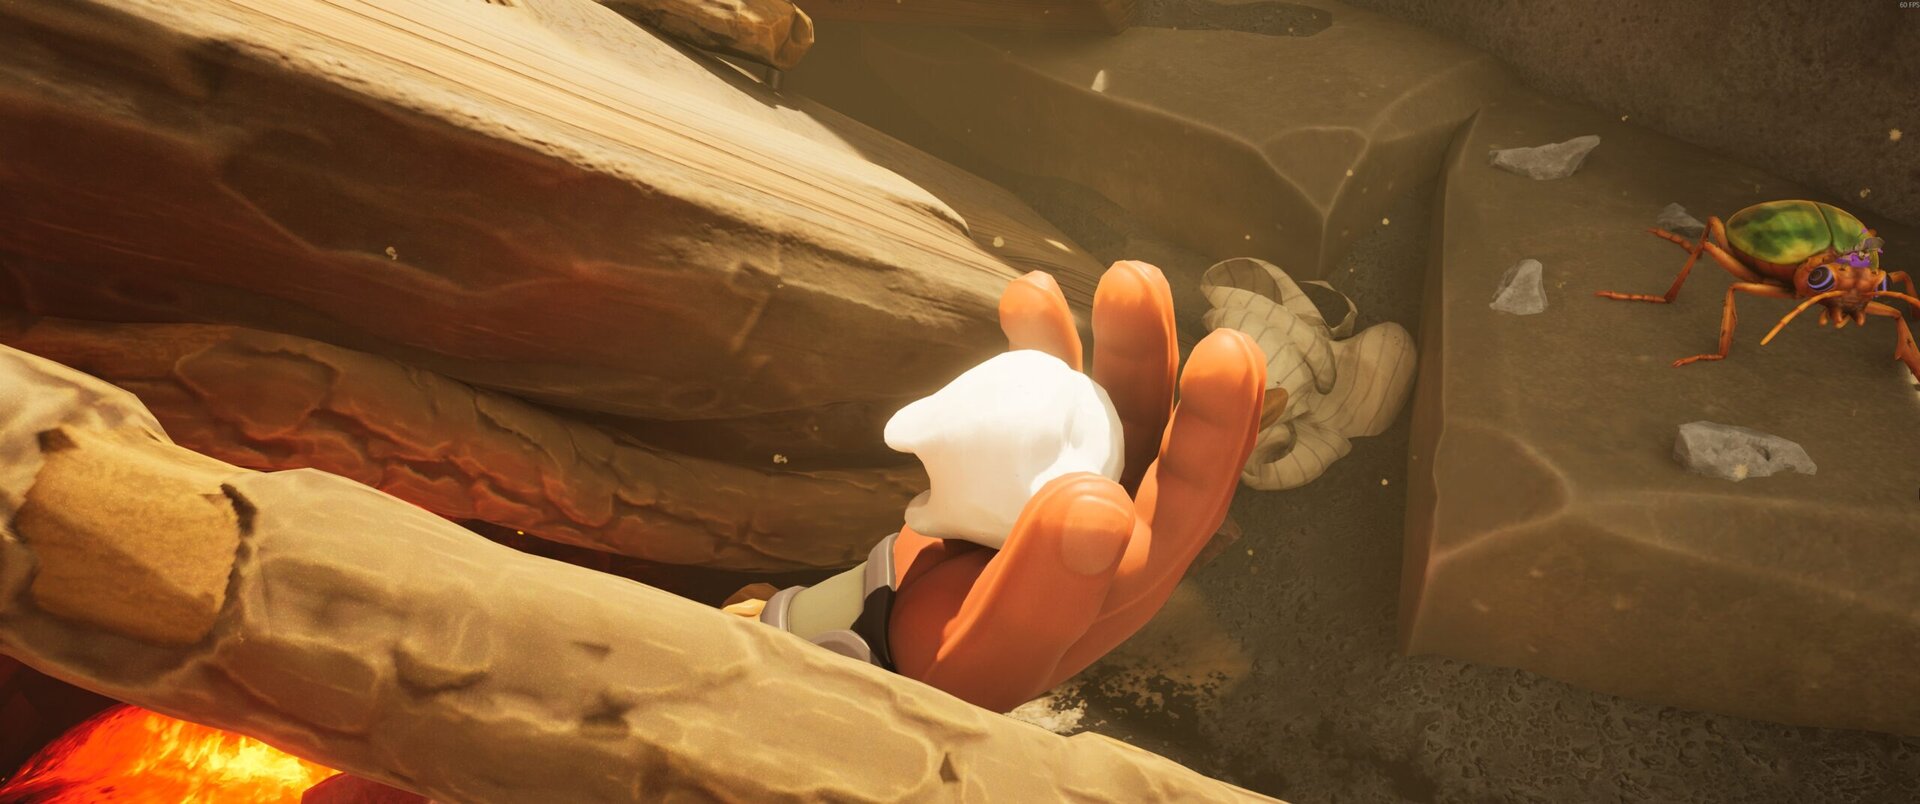
Make sure to also take the quick detour to grab the Milk Molar from the hand of the Action Figure as well. It’s right next to the Heatwave, so why not grab it?
By continuing to the East, we’ll be led to this nail, which we can use to quickly hop out of the Fire Pit.
As a more rewarding alternative, we can climb the wood in the middle of the fire pit and glide out. If we’re up for taking out an O.R.C. Roach Queen, we’ll also be able to claim the Mega Milk Molar here and never have a reason to return. This area is safe from sizzling, and we can summon our buggy up here to help with combat if needed.
Using the Heatwave
The Heatwave isn’t a massive step up over the Scorching Orb, only carrying the extra Chill protection. This makes it valuable when heading to the Ice Cream Cart for the Optical Disk there or to acquire the Ice Sickles.
It builds up Sizzle slightly faster compared to the Scorching Orb with both combos and Charged Attacks. It’s not a huge step up in damage, but if playing a Fire Mage is our preferred playstyle, it’ll be noticeable.
Being a Spicy Element weapon lends it well to taking on Spiders and Ladybugs. Combined with the Sizzling Robes Armor Set, it’s a fairly potent weapon, much like the basic Scorching Orb.