Learn how to use the Bo Staff in Assassin’s Creed Shadows! This new weapon for Naoe packs a punch, has great versatility, and is accessible to all players.
Table of contents
What is the Bo Staff
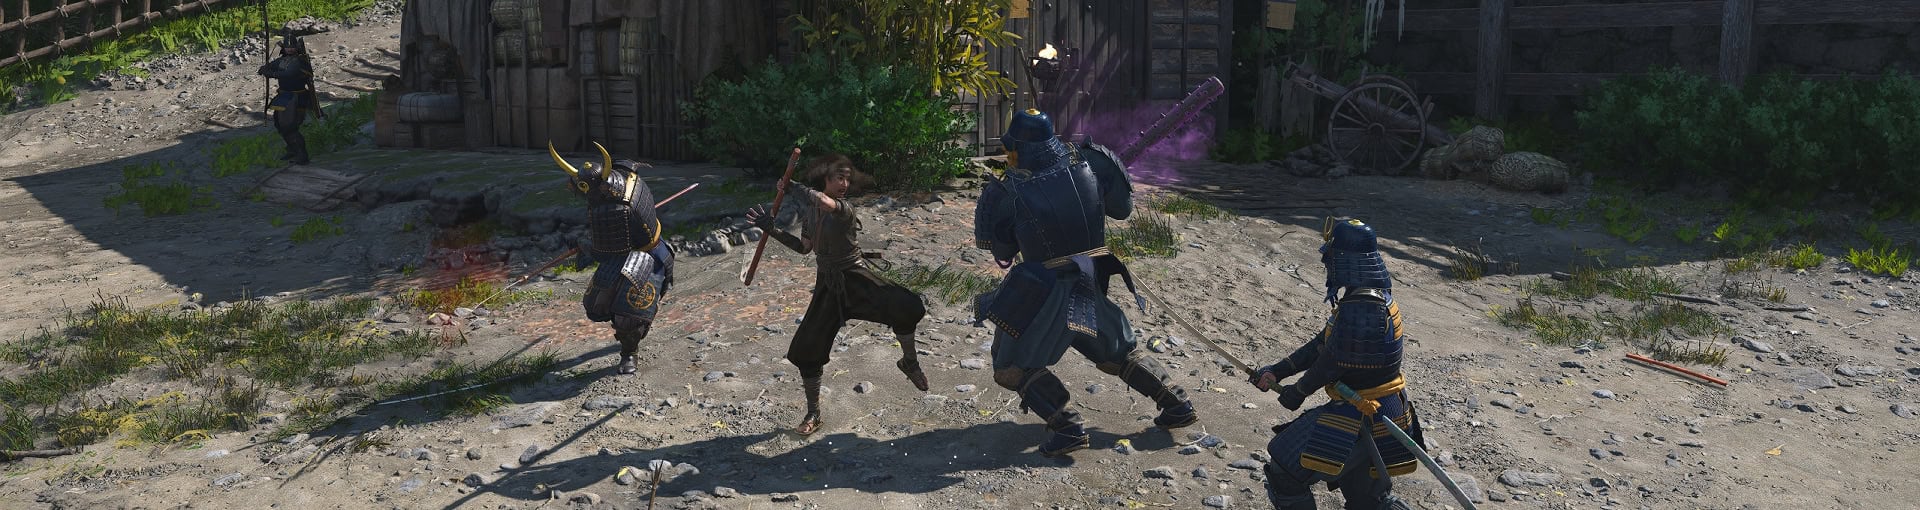
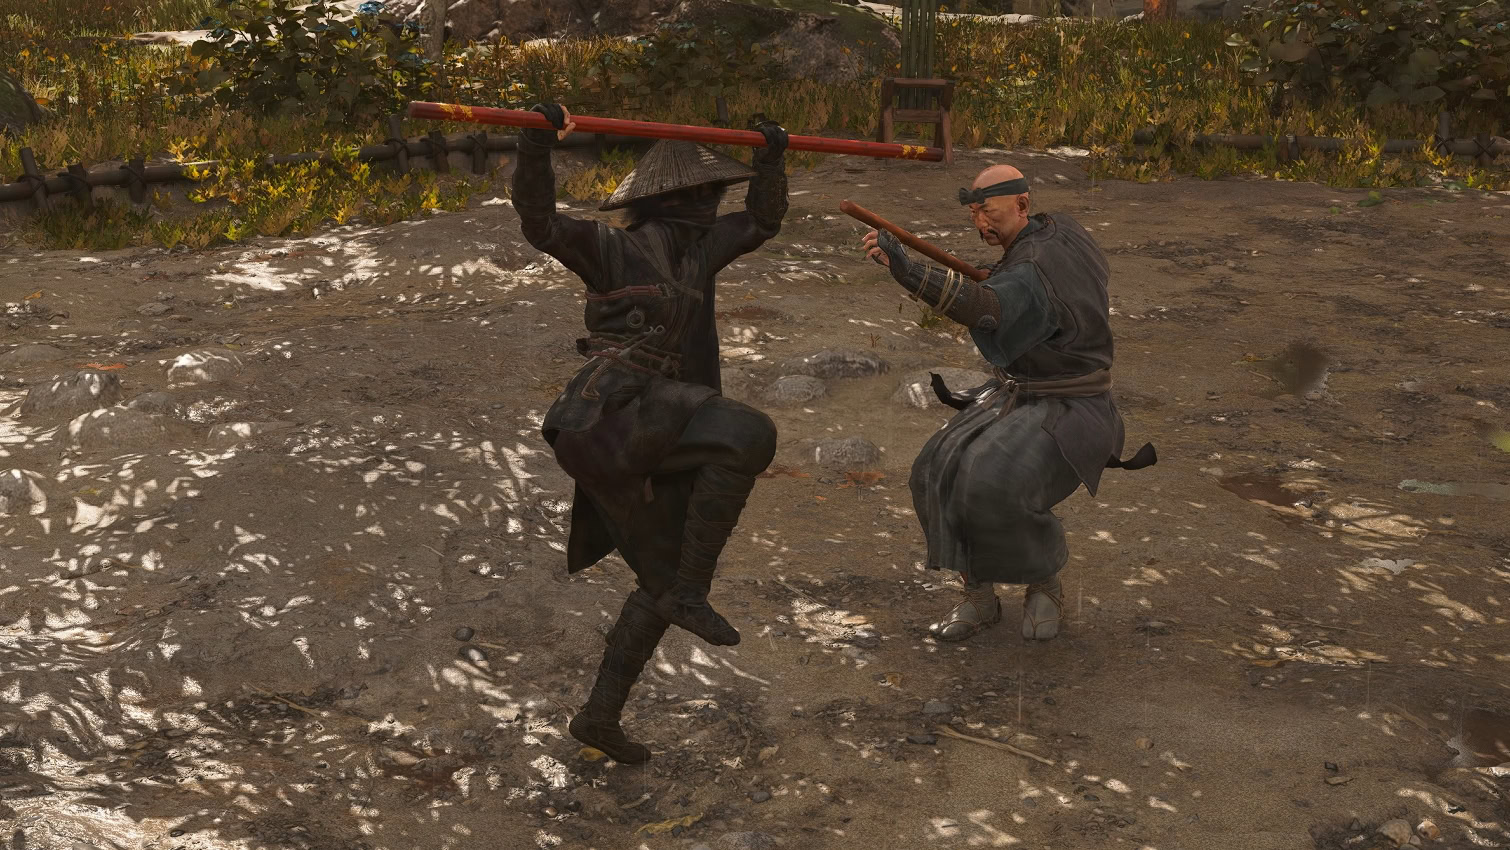
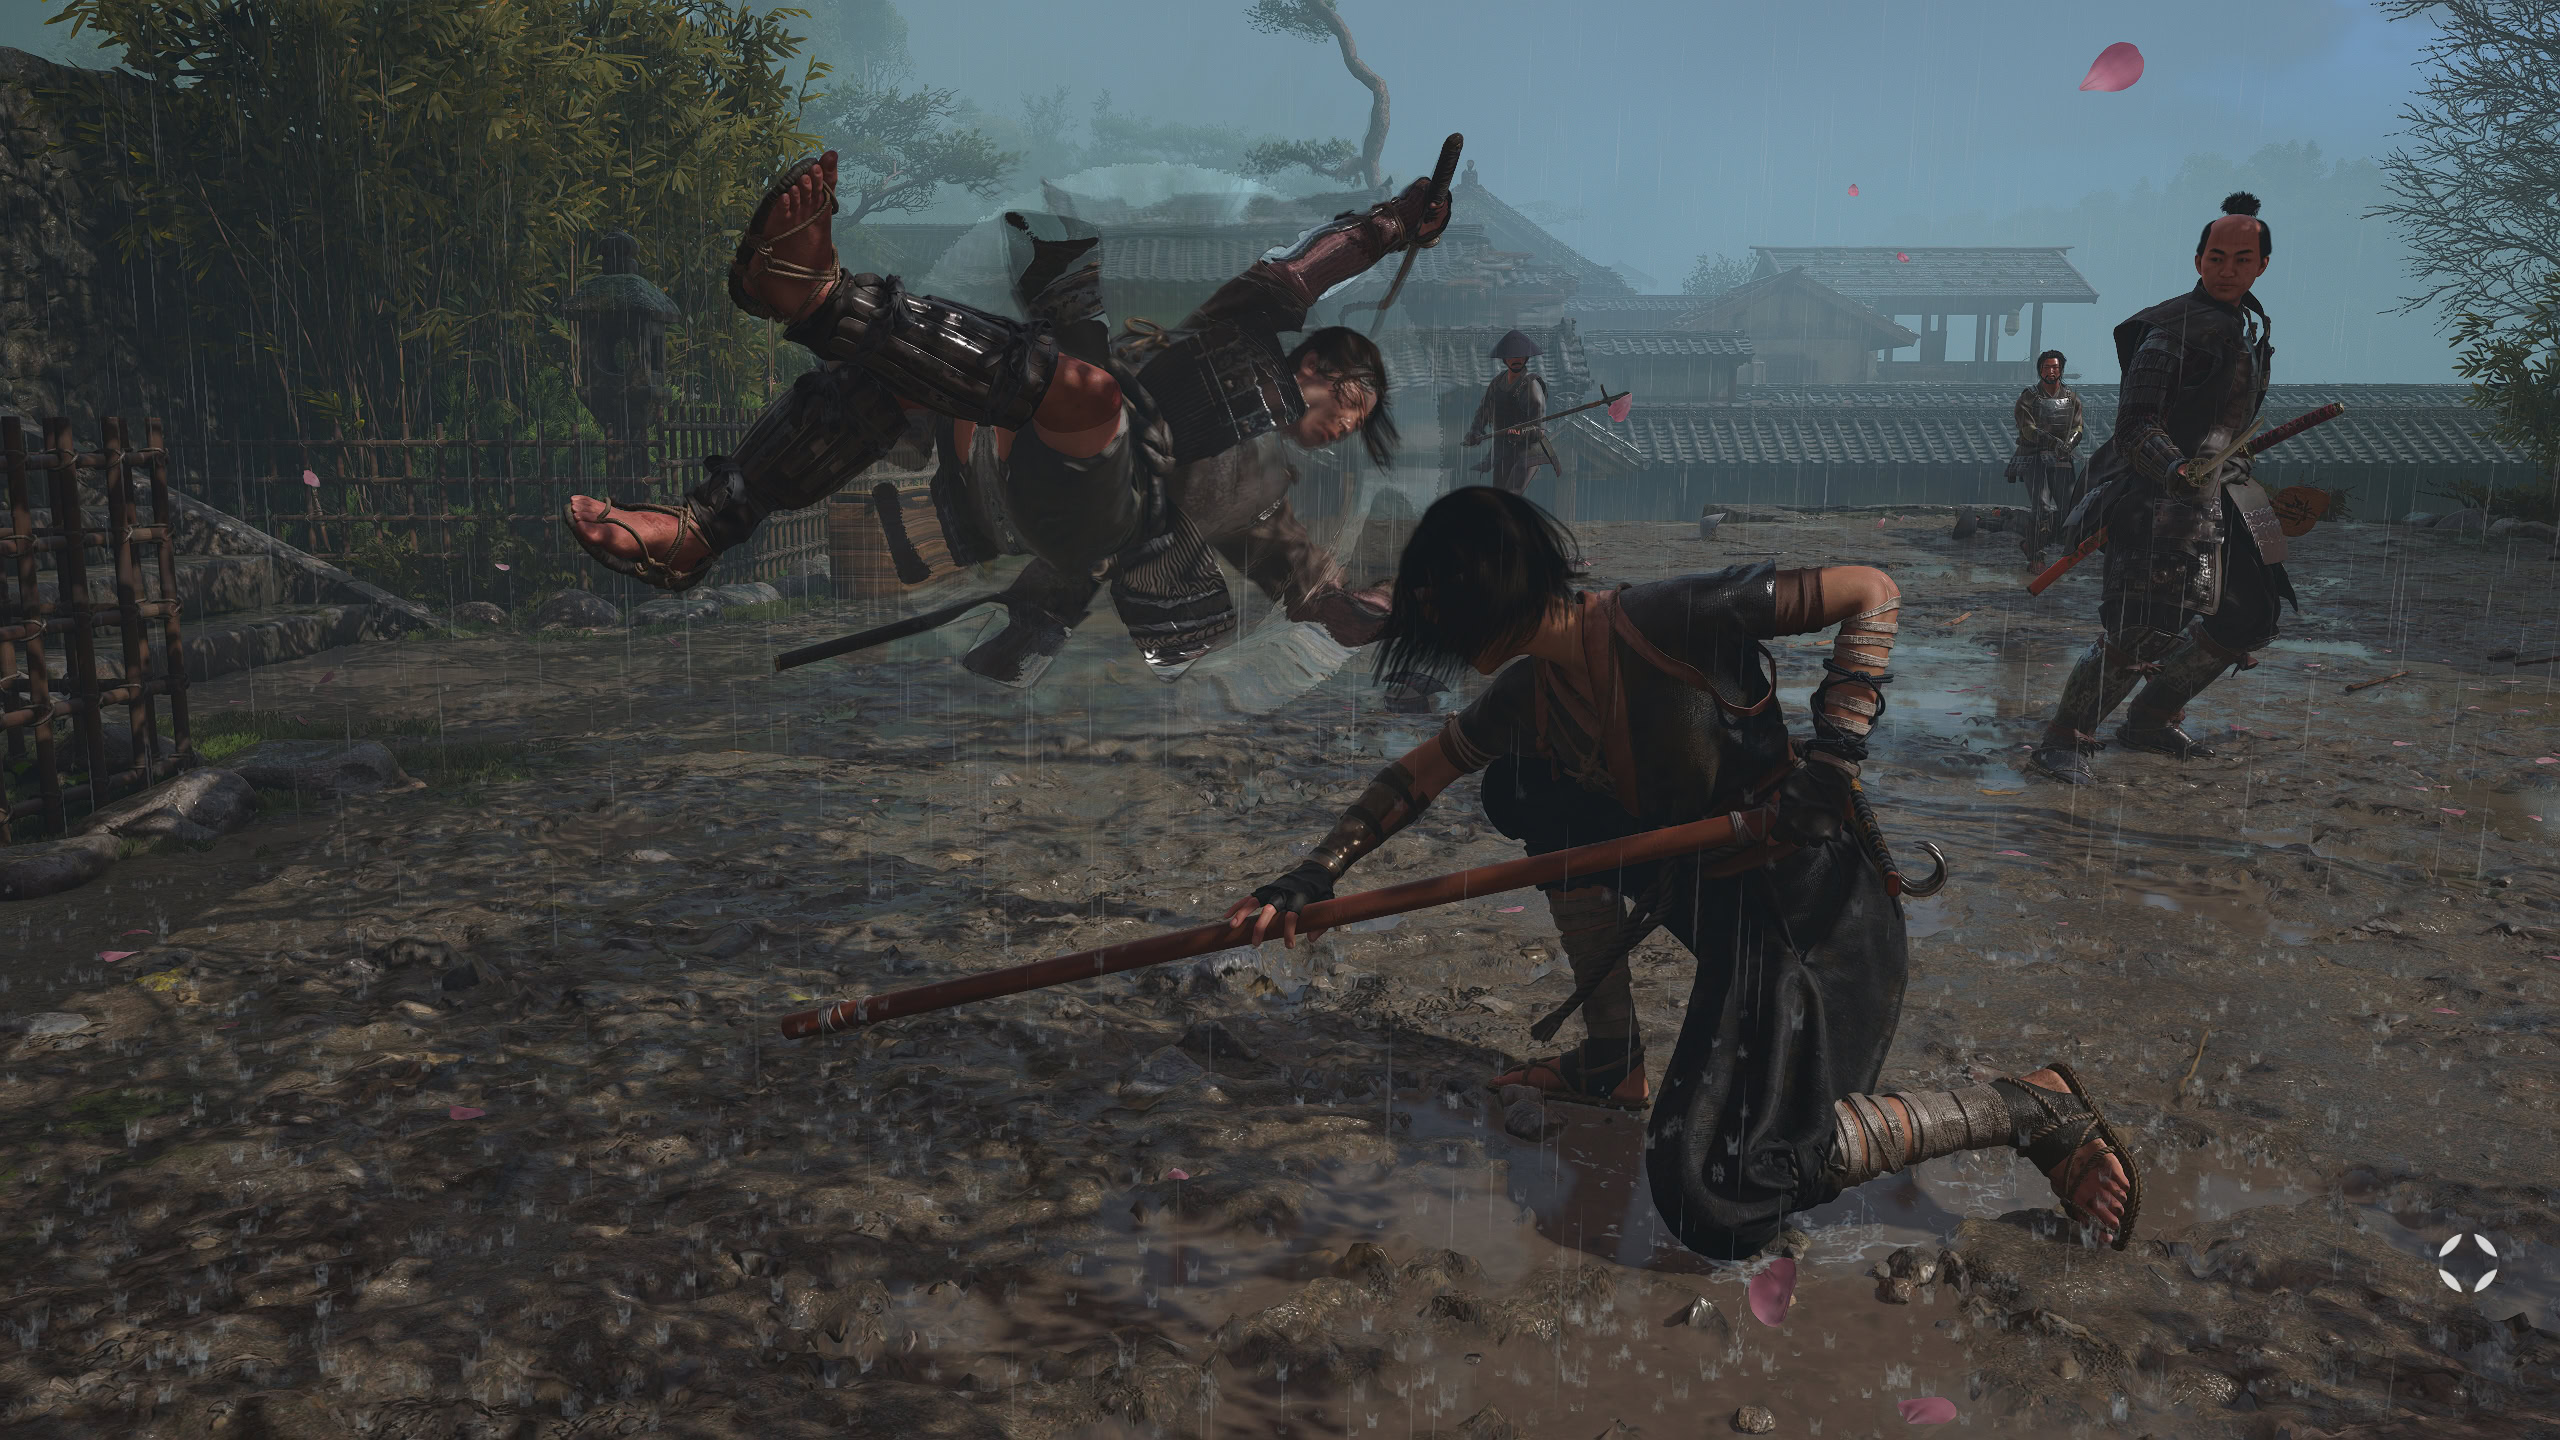
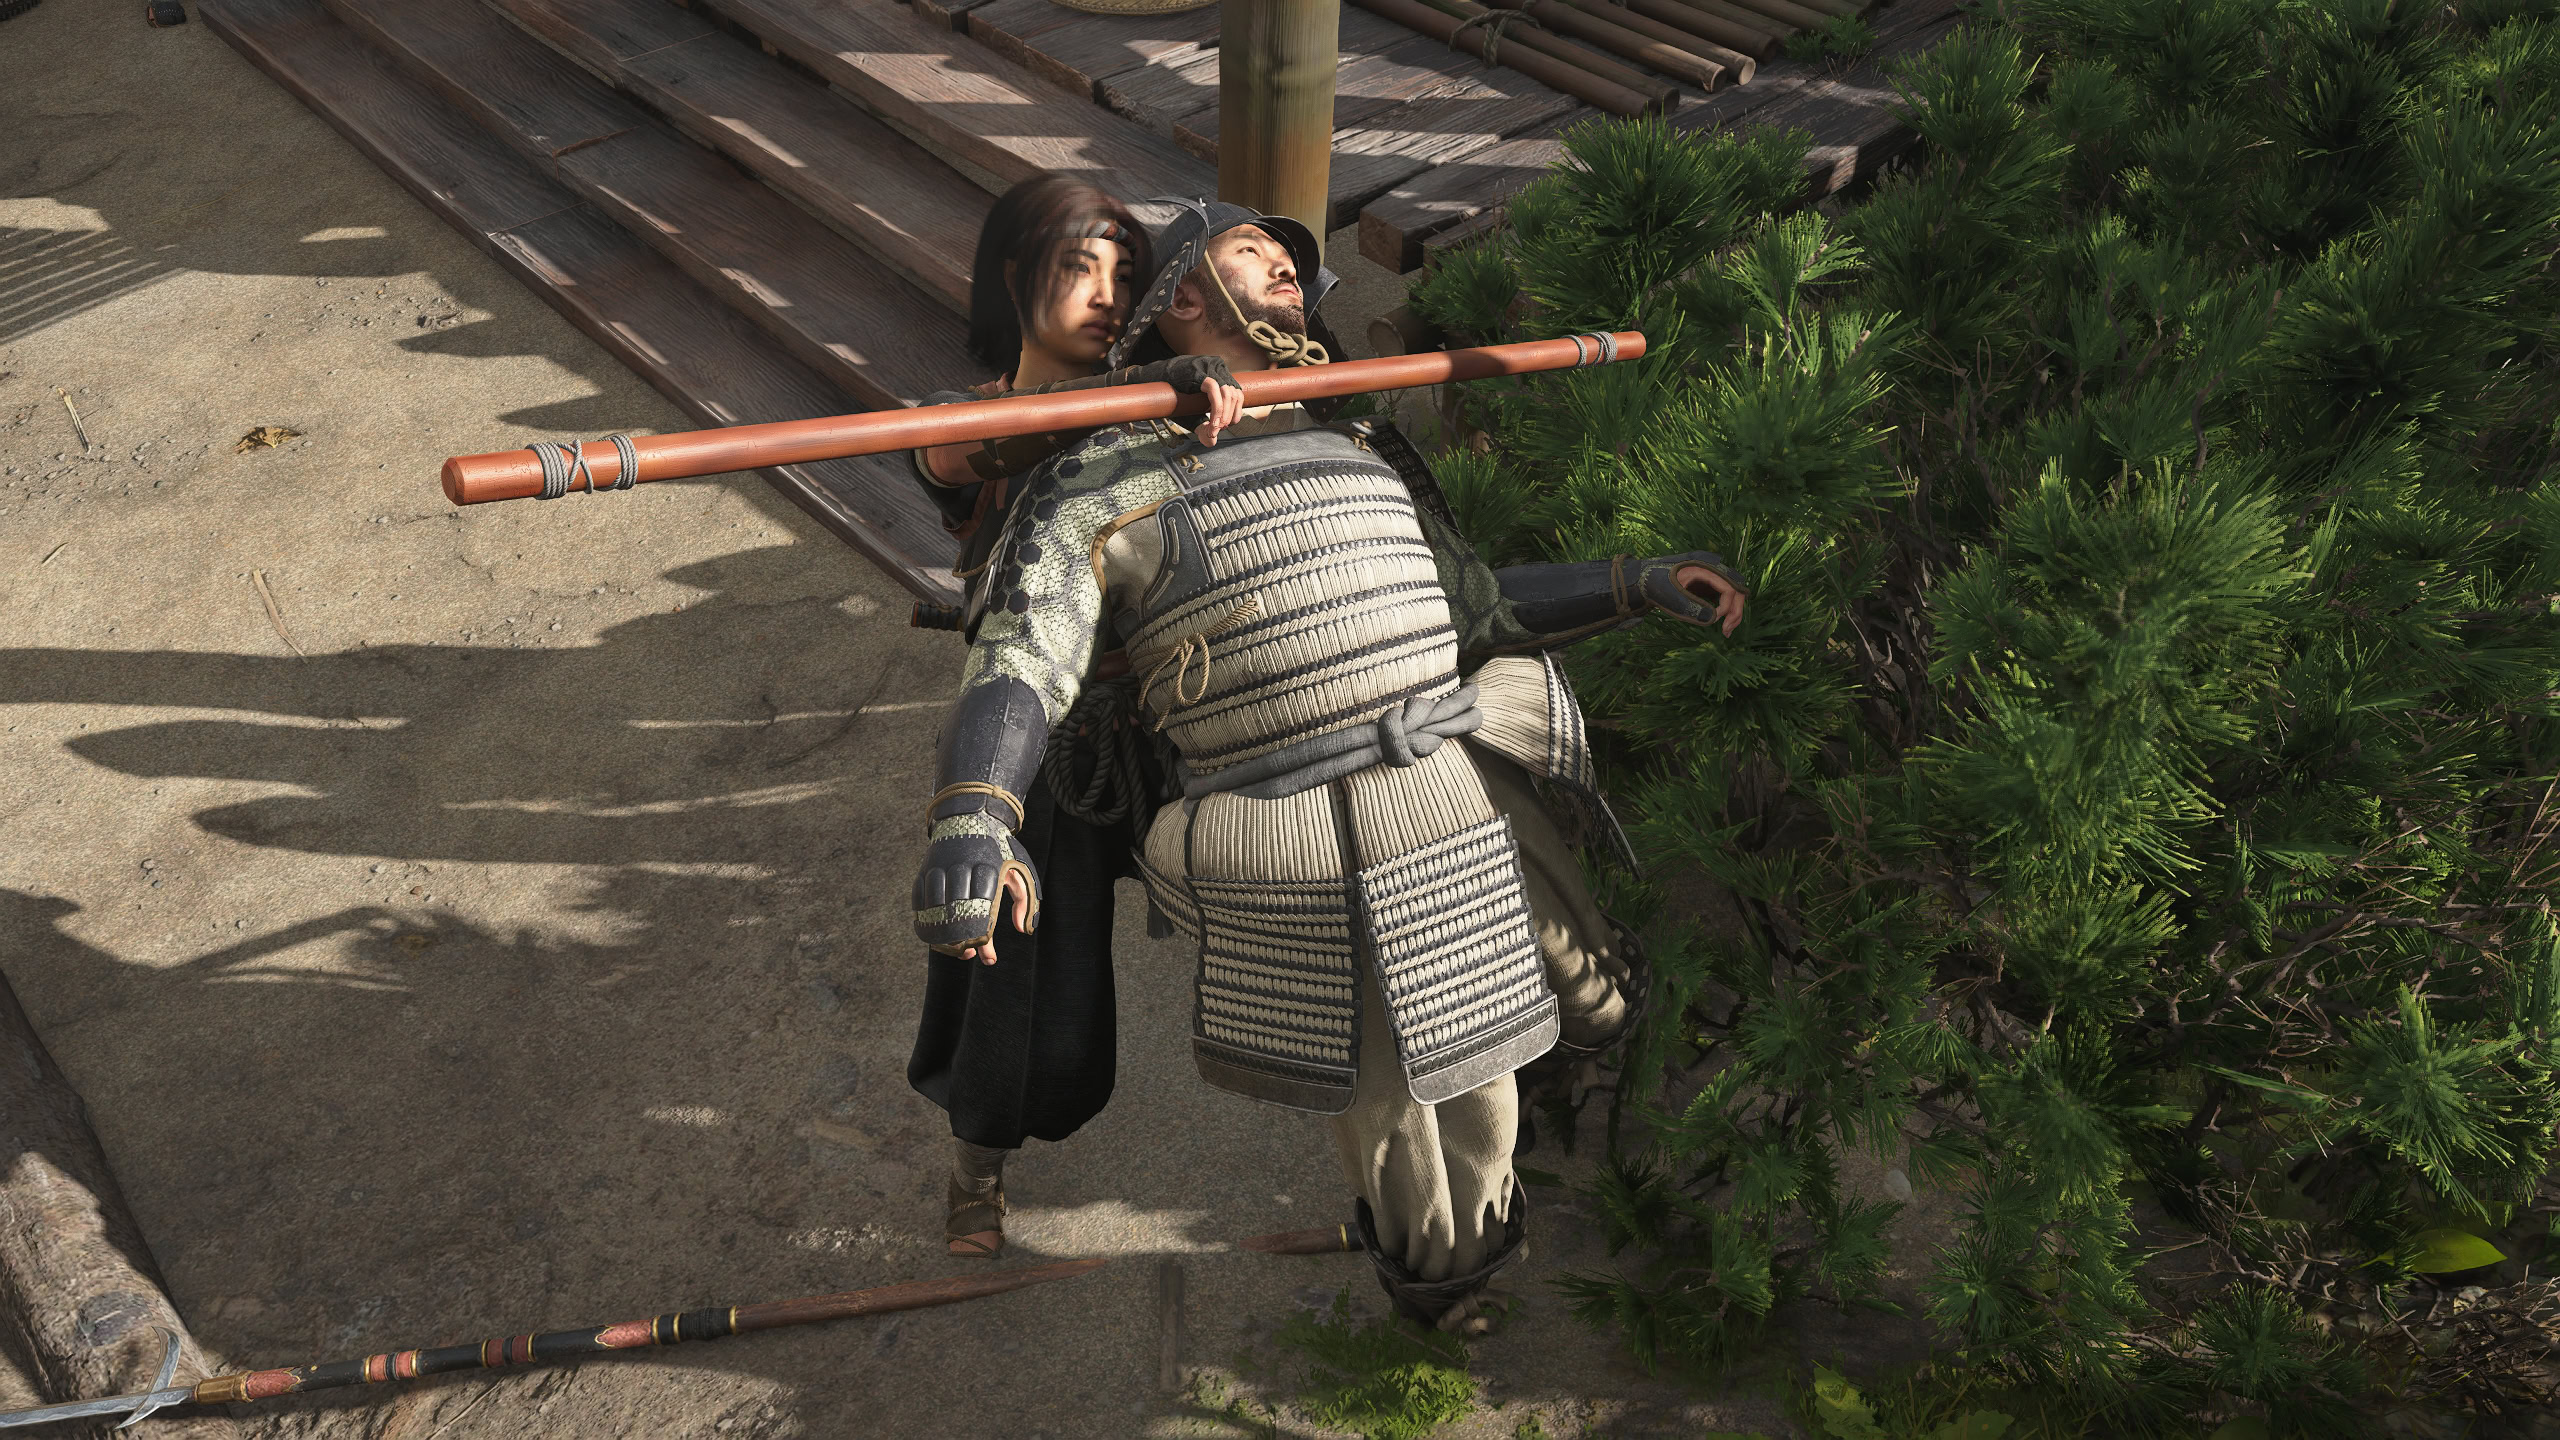
The Bo Staff is a new class of weapons introduced to Assassin’s Creed Shadows with Update 1.1.1. This weapon is nothing but a humble stick that can stagger, trip, and push enemies away.
This weapon is exclusive to Naoe and offers a whole new Mastery Tree! For you Yasuke fans, don’t be upset as he also got one new skill for each of this weapons!
How to get the Bo Staff
To gain the ability to purchase and find bo staffs, you’ll need to complete one of two quests: Go with the Bo and Way of the Bo.
- Go with the Bo is available to all players;
- Way of the Bo is exclusive to the Claws of Awaji DLC.
Go with the Bo is a simpler approach to the Bo Staff. Naoe and Junjiro go to get lessons from a Bo Master. When you get to the training stage, you simply get some casual sparring and some tooltips that go over Bo stances.

Way of the Bo offers a better understanding for Bo combat. The Bo Master has you fight his disciple and the quest requires you to utilize all three stances to proceed.

Bo Staff Controls
The defining feature of the Bo Staff is its ability to use 3 different stances. These are the Neutral Stance, High Stance, and Low Stance. You can swap stances while holding a Light or Heavy Posture Attack with the following controls:
| Platform | Stance | Input |
|---|---|---|
| PC Controls | High Stance | MMB (Scroll Up) |
| PC Controls | Neutral Stance | None [or MMB Scroll to change from High or Low] |
| PC Controls | Low Stance | MMB (Scroll Down) |
| PlayStation 5 Controls | High Stance | L1 |
| PlayStation 5 Controls | Neutral Stance | None [or L1/L2 to change from High or Low] |
| PlayStation 5 Controls | Low Stance | L2 |
| Xbox Series X|S Controls | High Stance | LB |
| Xbox Series X|S Controls | Neutral Stance | None [or L1 or L2 to change from High or Low] |
| Xbox Series X|S Controls | Low Stance | LT |
How to use the Bo Staff
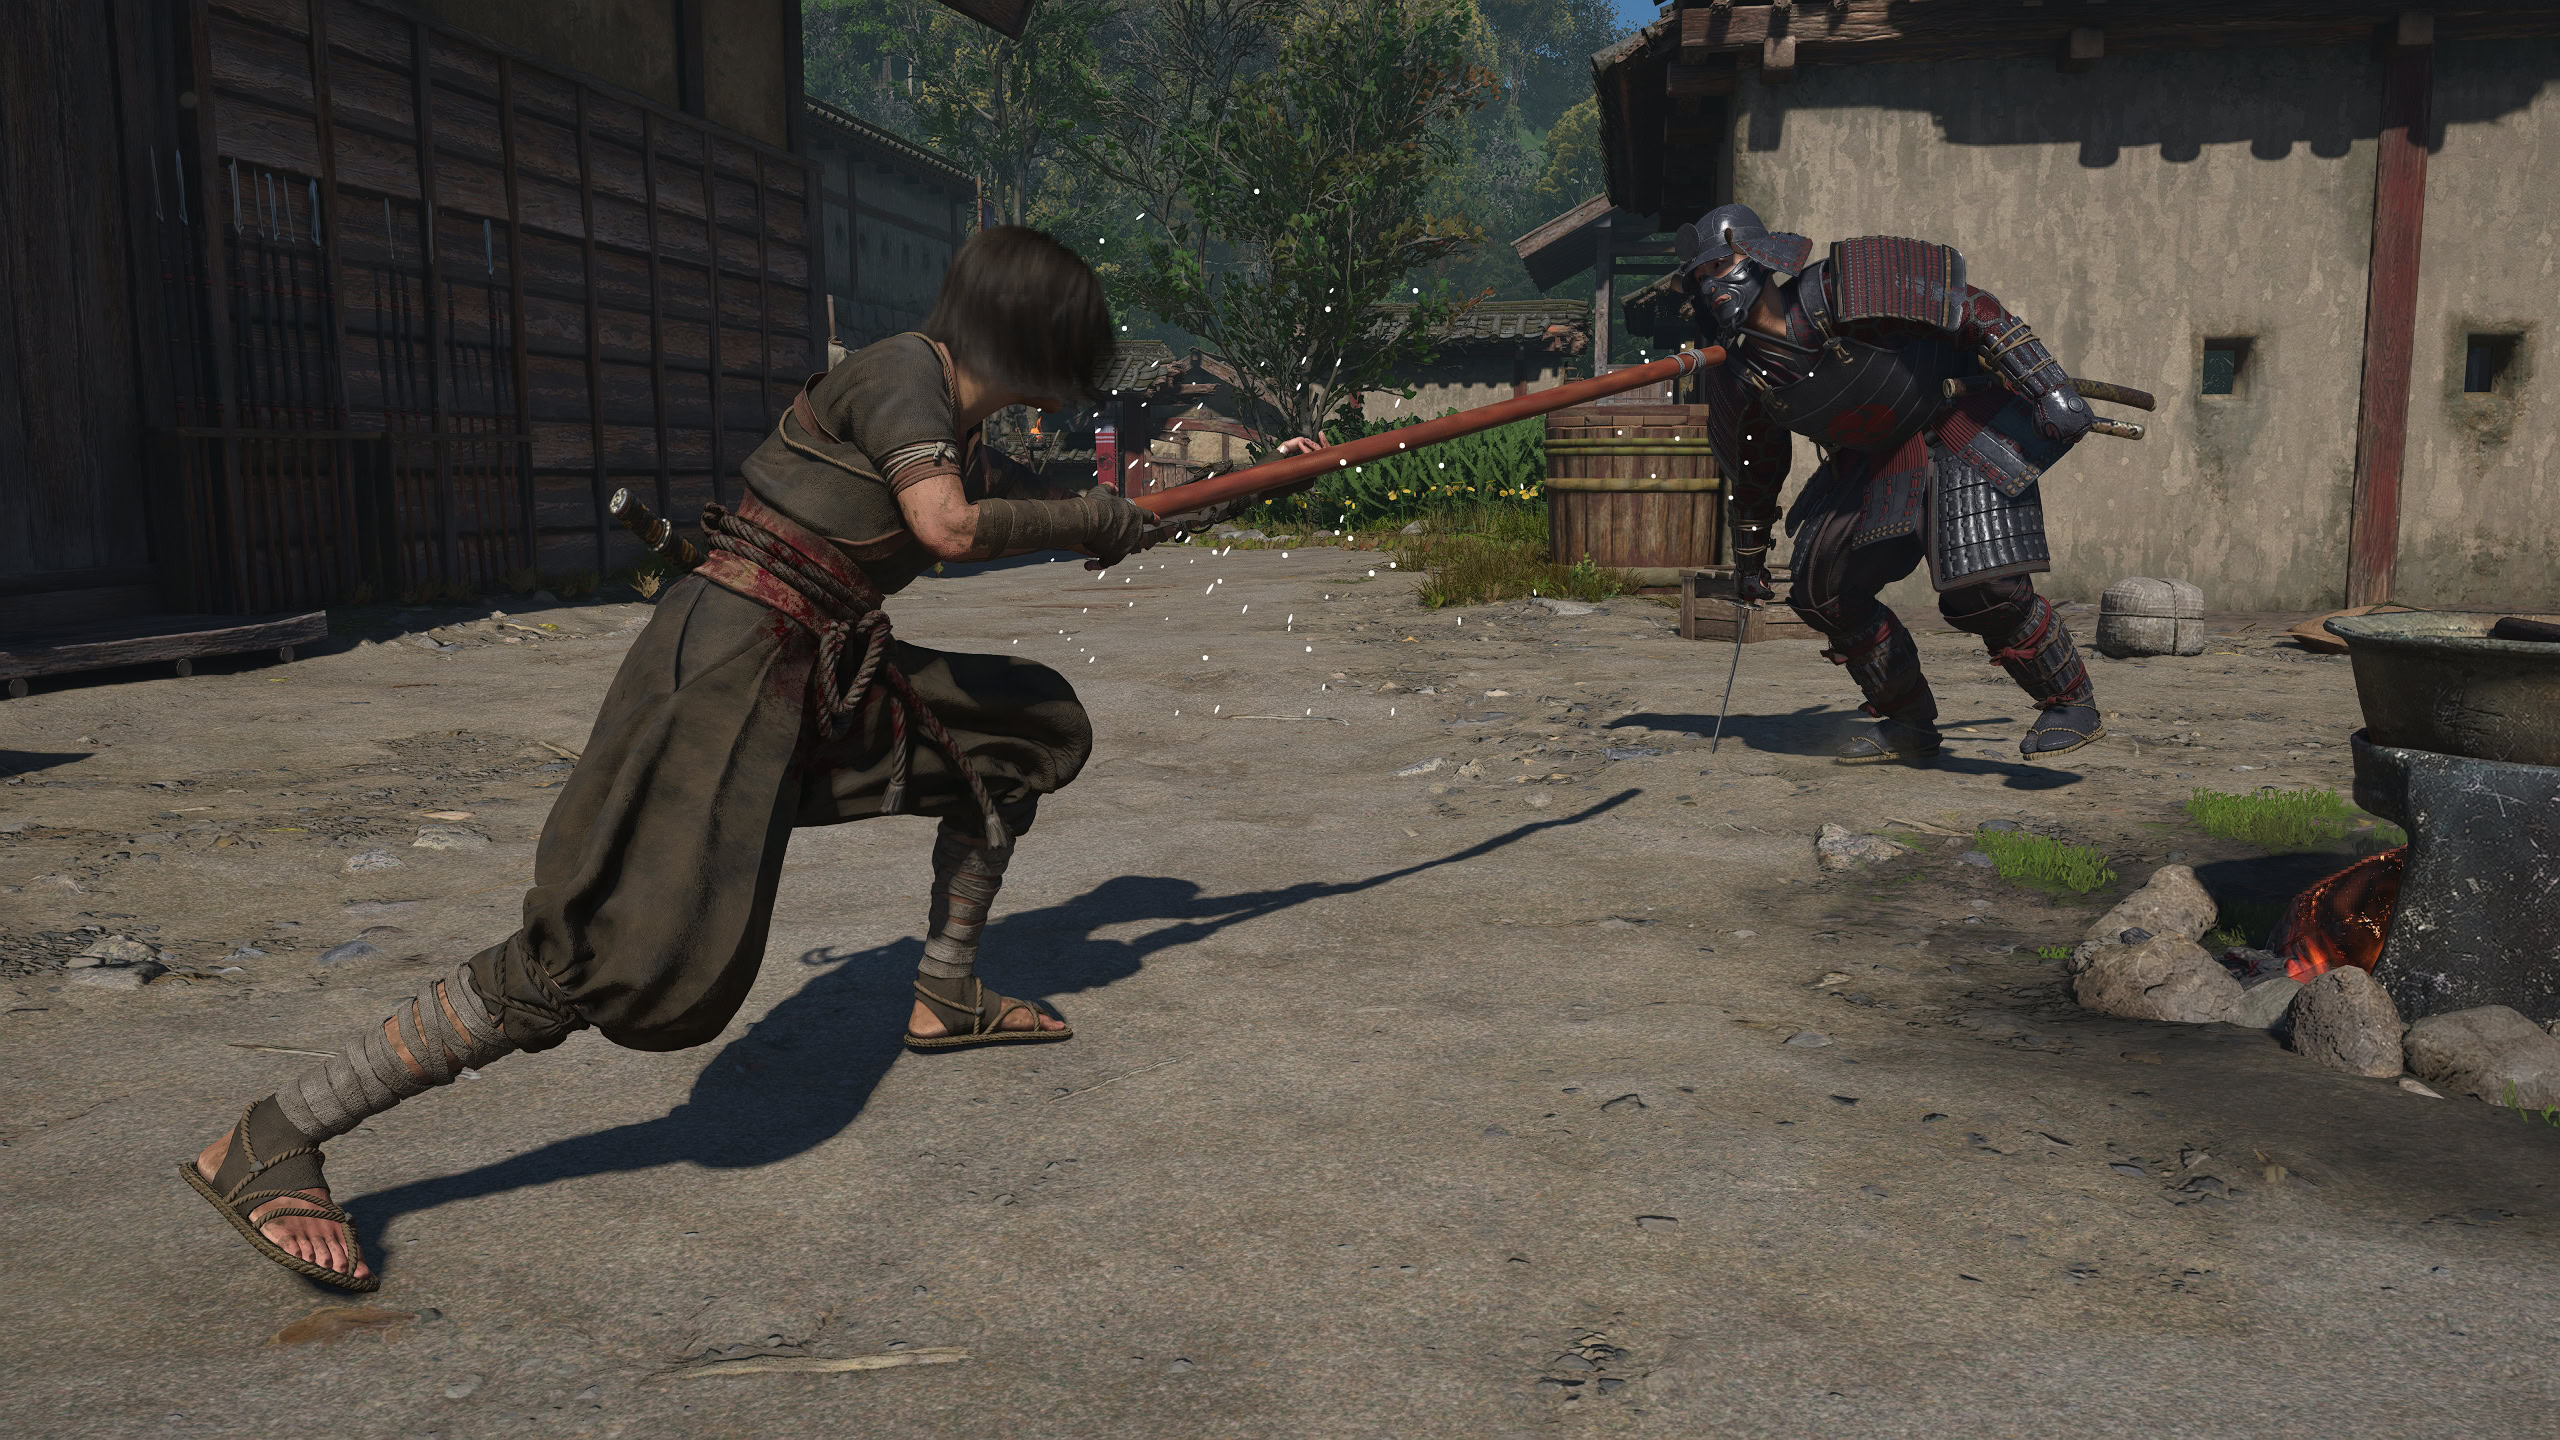
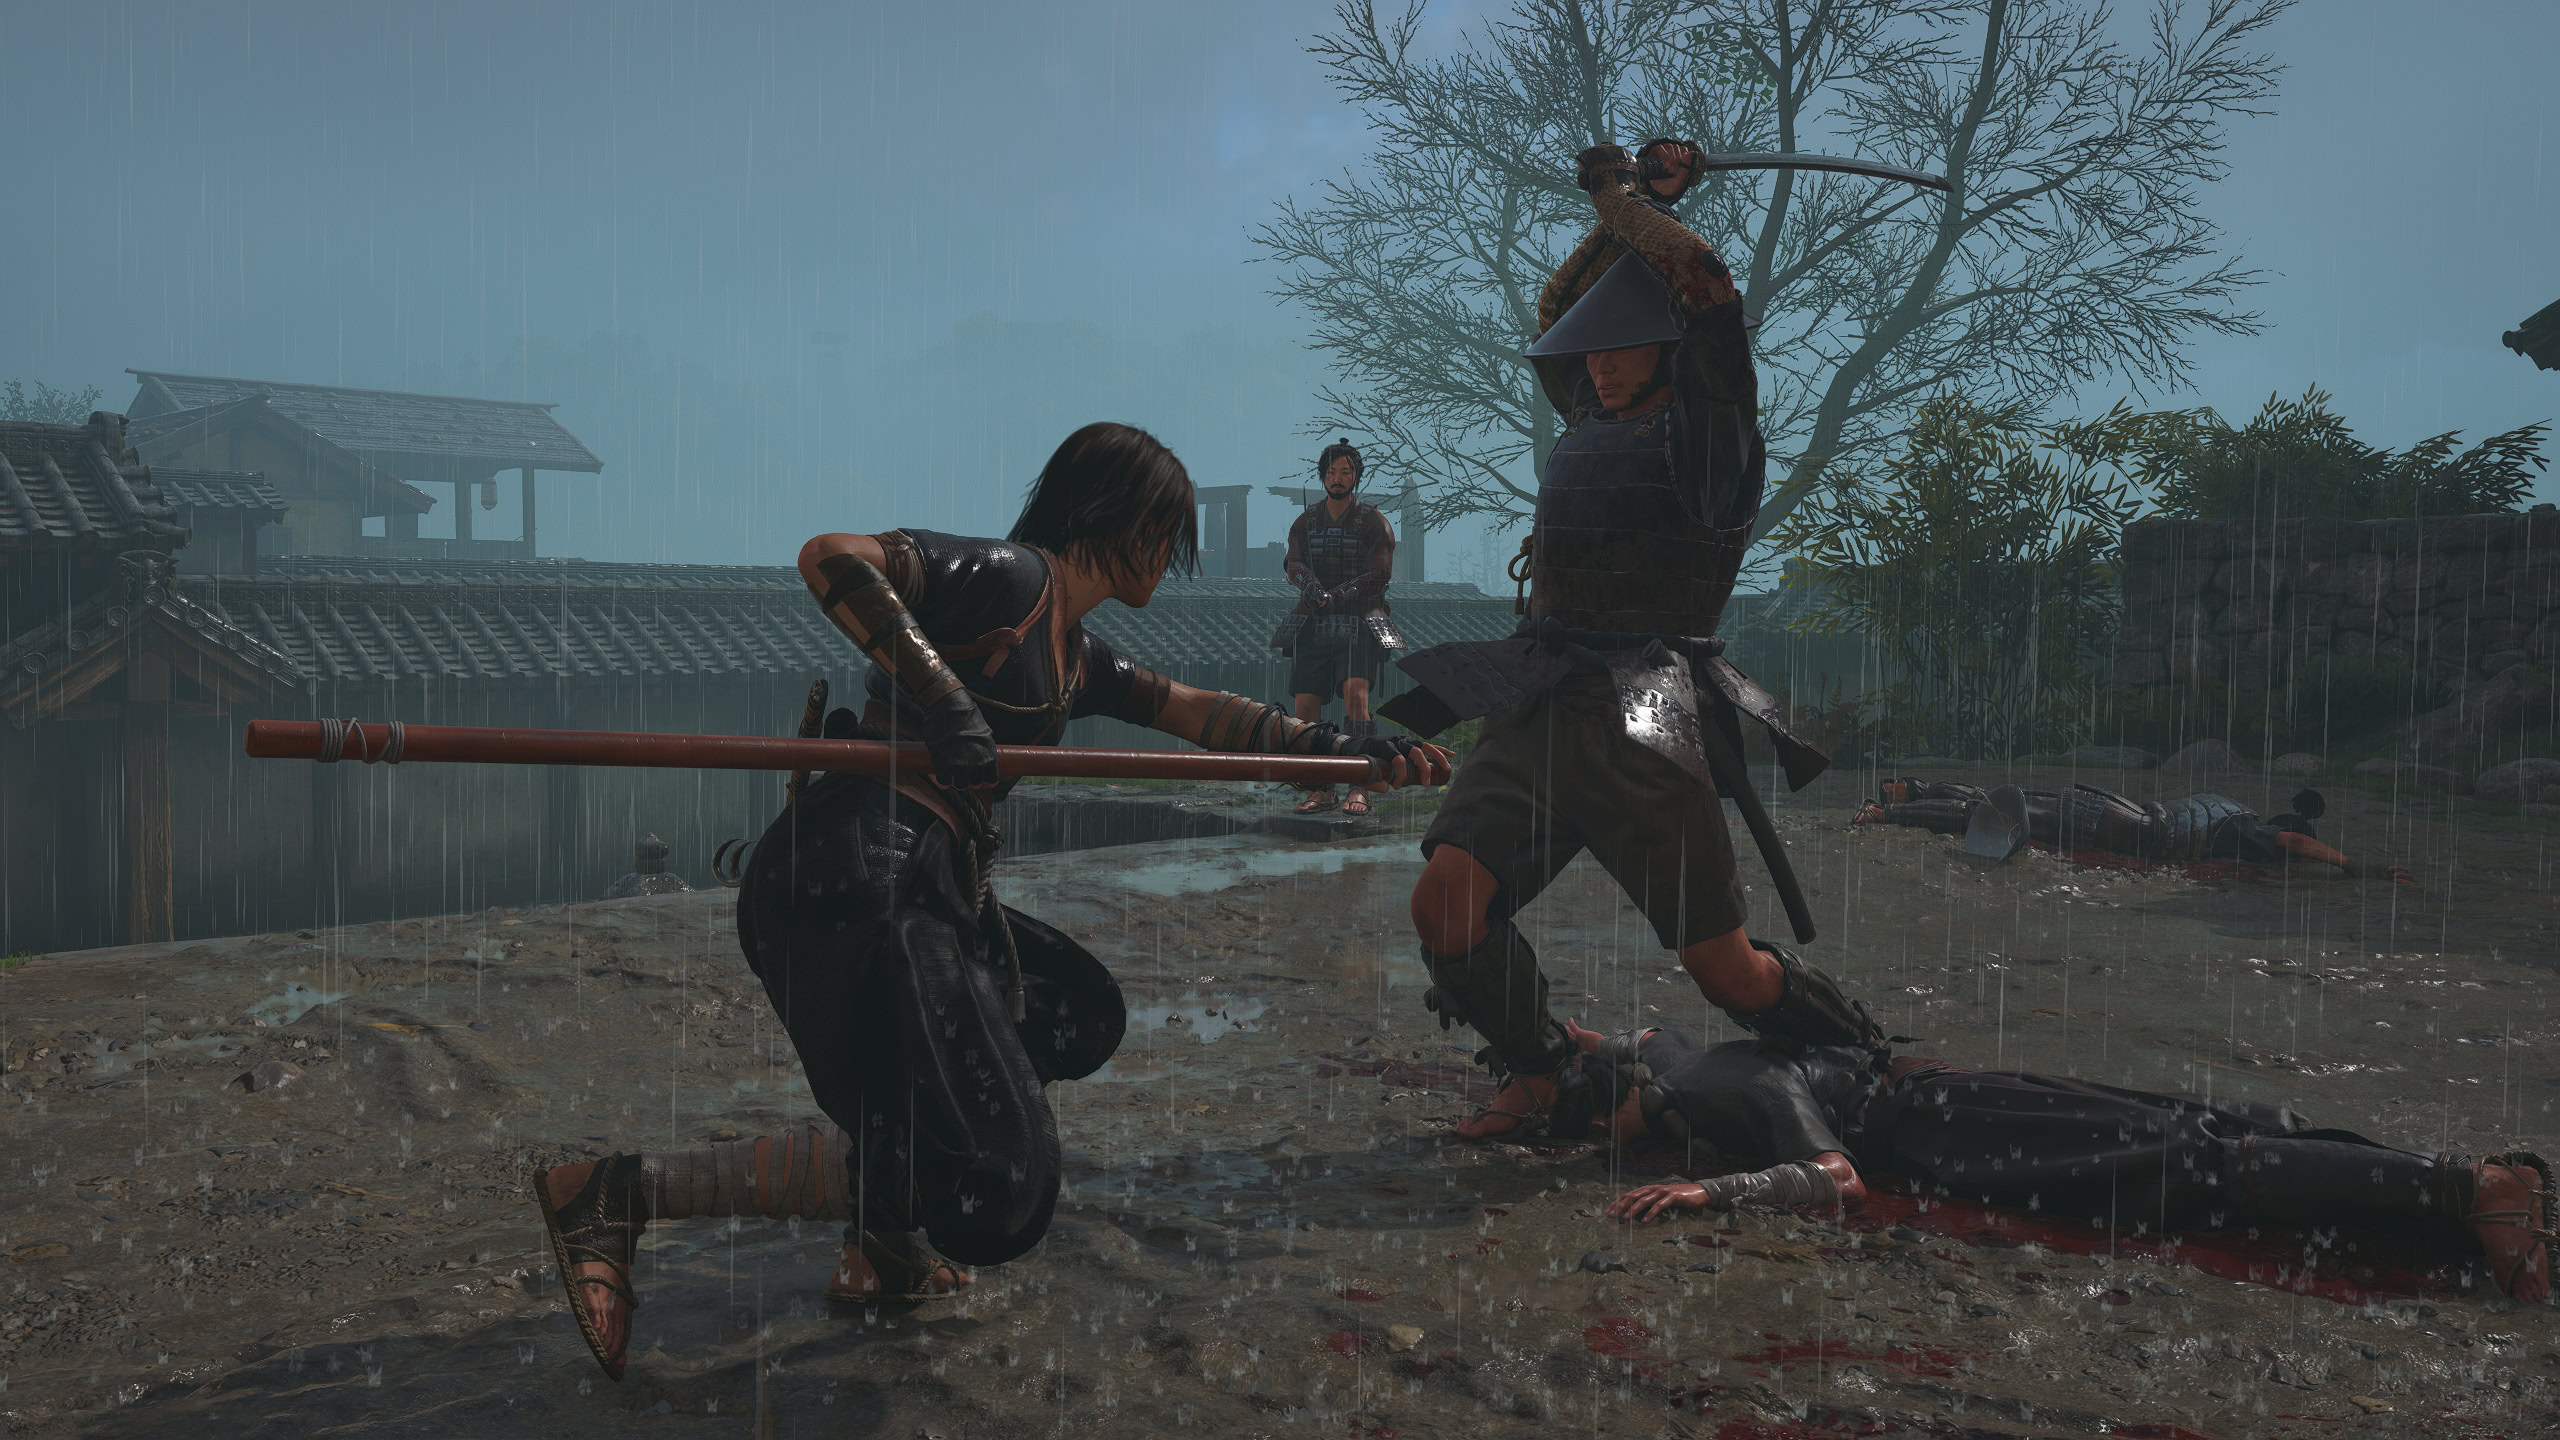
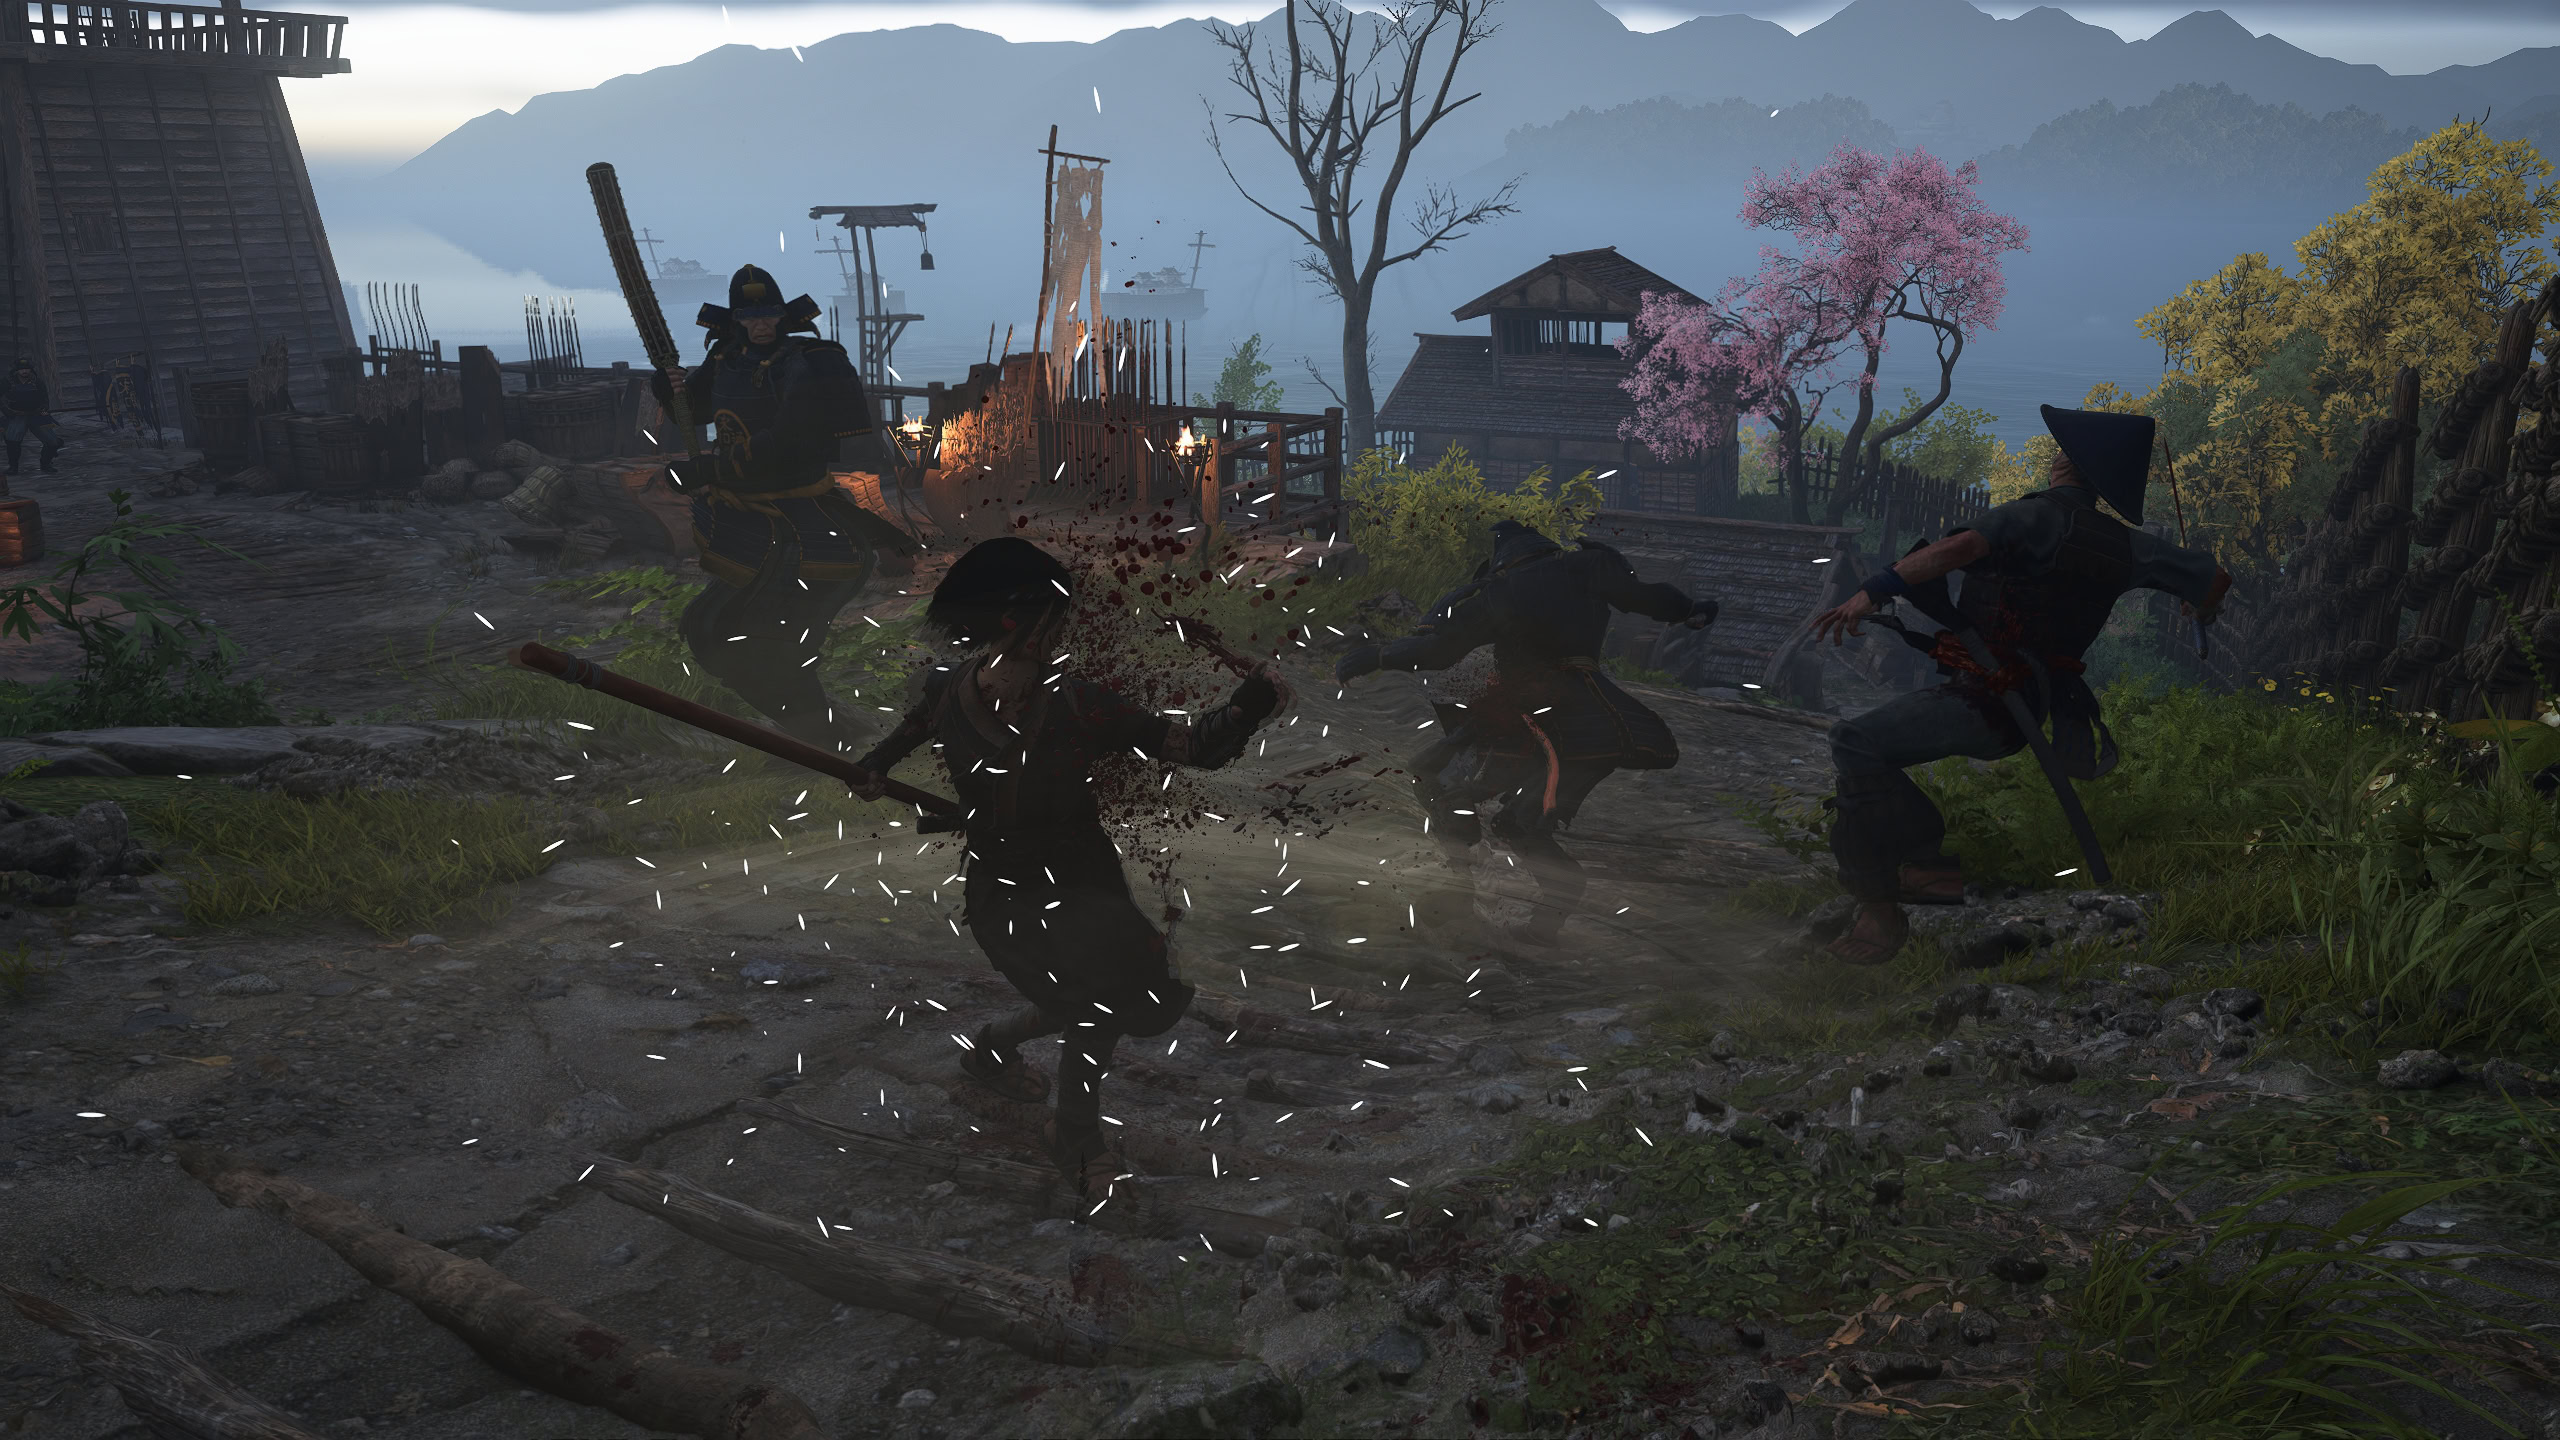
The Bo Staff has a decent amount of reach to it, so ideally you should maintain some distance from melee opponents while working in a whack here and there. What makes the weapon unique is its 3 Stances that can change the way you fight.
Each stance has its own use and it’s good practice to swap stances to catch enemies off guard. Before doing that, you must know when it’s appropriate to use a specific stance.
Neutral Stance
The Neutral Stance is good for most scenarios. Use the Neutral Stance to push an enemy away, or to close in on an enemy.
The Neutral Stance is the default stance you’ll take while holding a Posture Attack. When you use a Neutral Light Posture Attack, you’ll push back an opponent. Use this to get some space from an opponent if they’re getting too close.
With a Neutral Heavy Posture Attack, you’ll push back the enemy and follow up with another strike that closes the gap. Use this to close in on an opponent then follow up with standard attacks.
High Stance
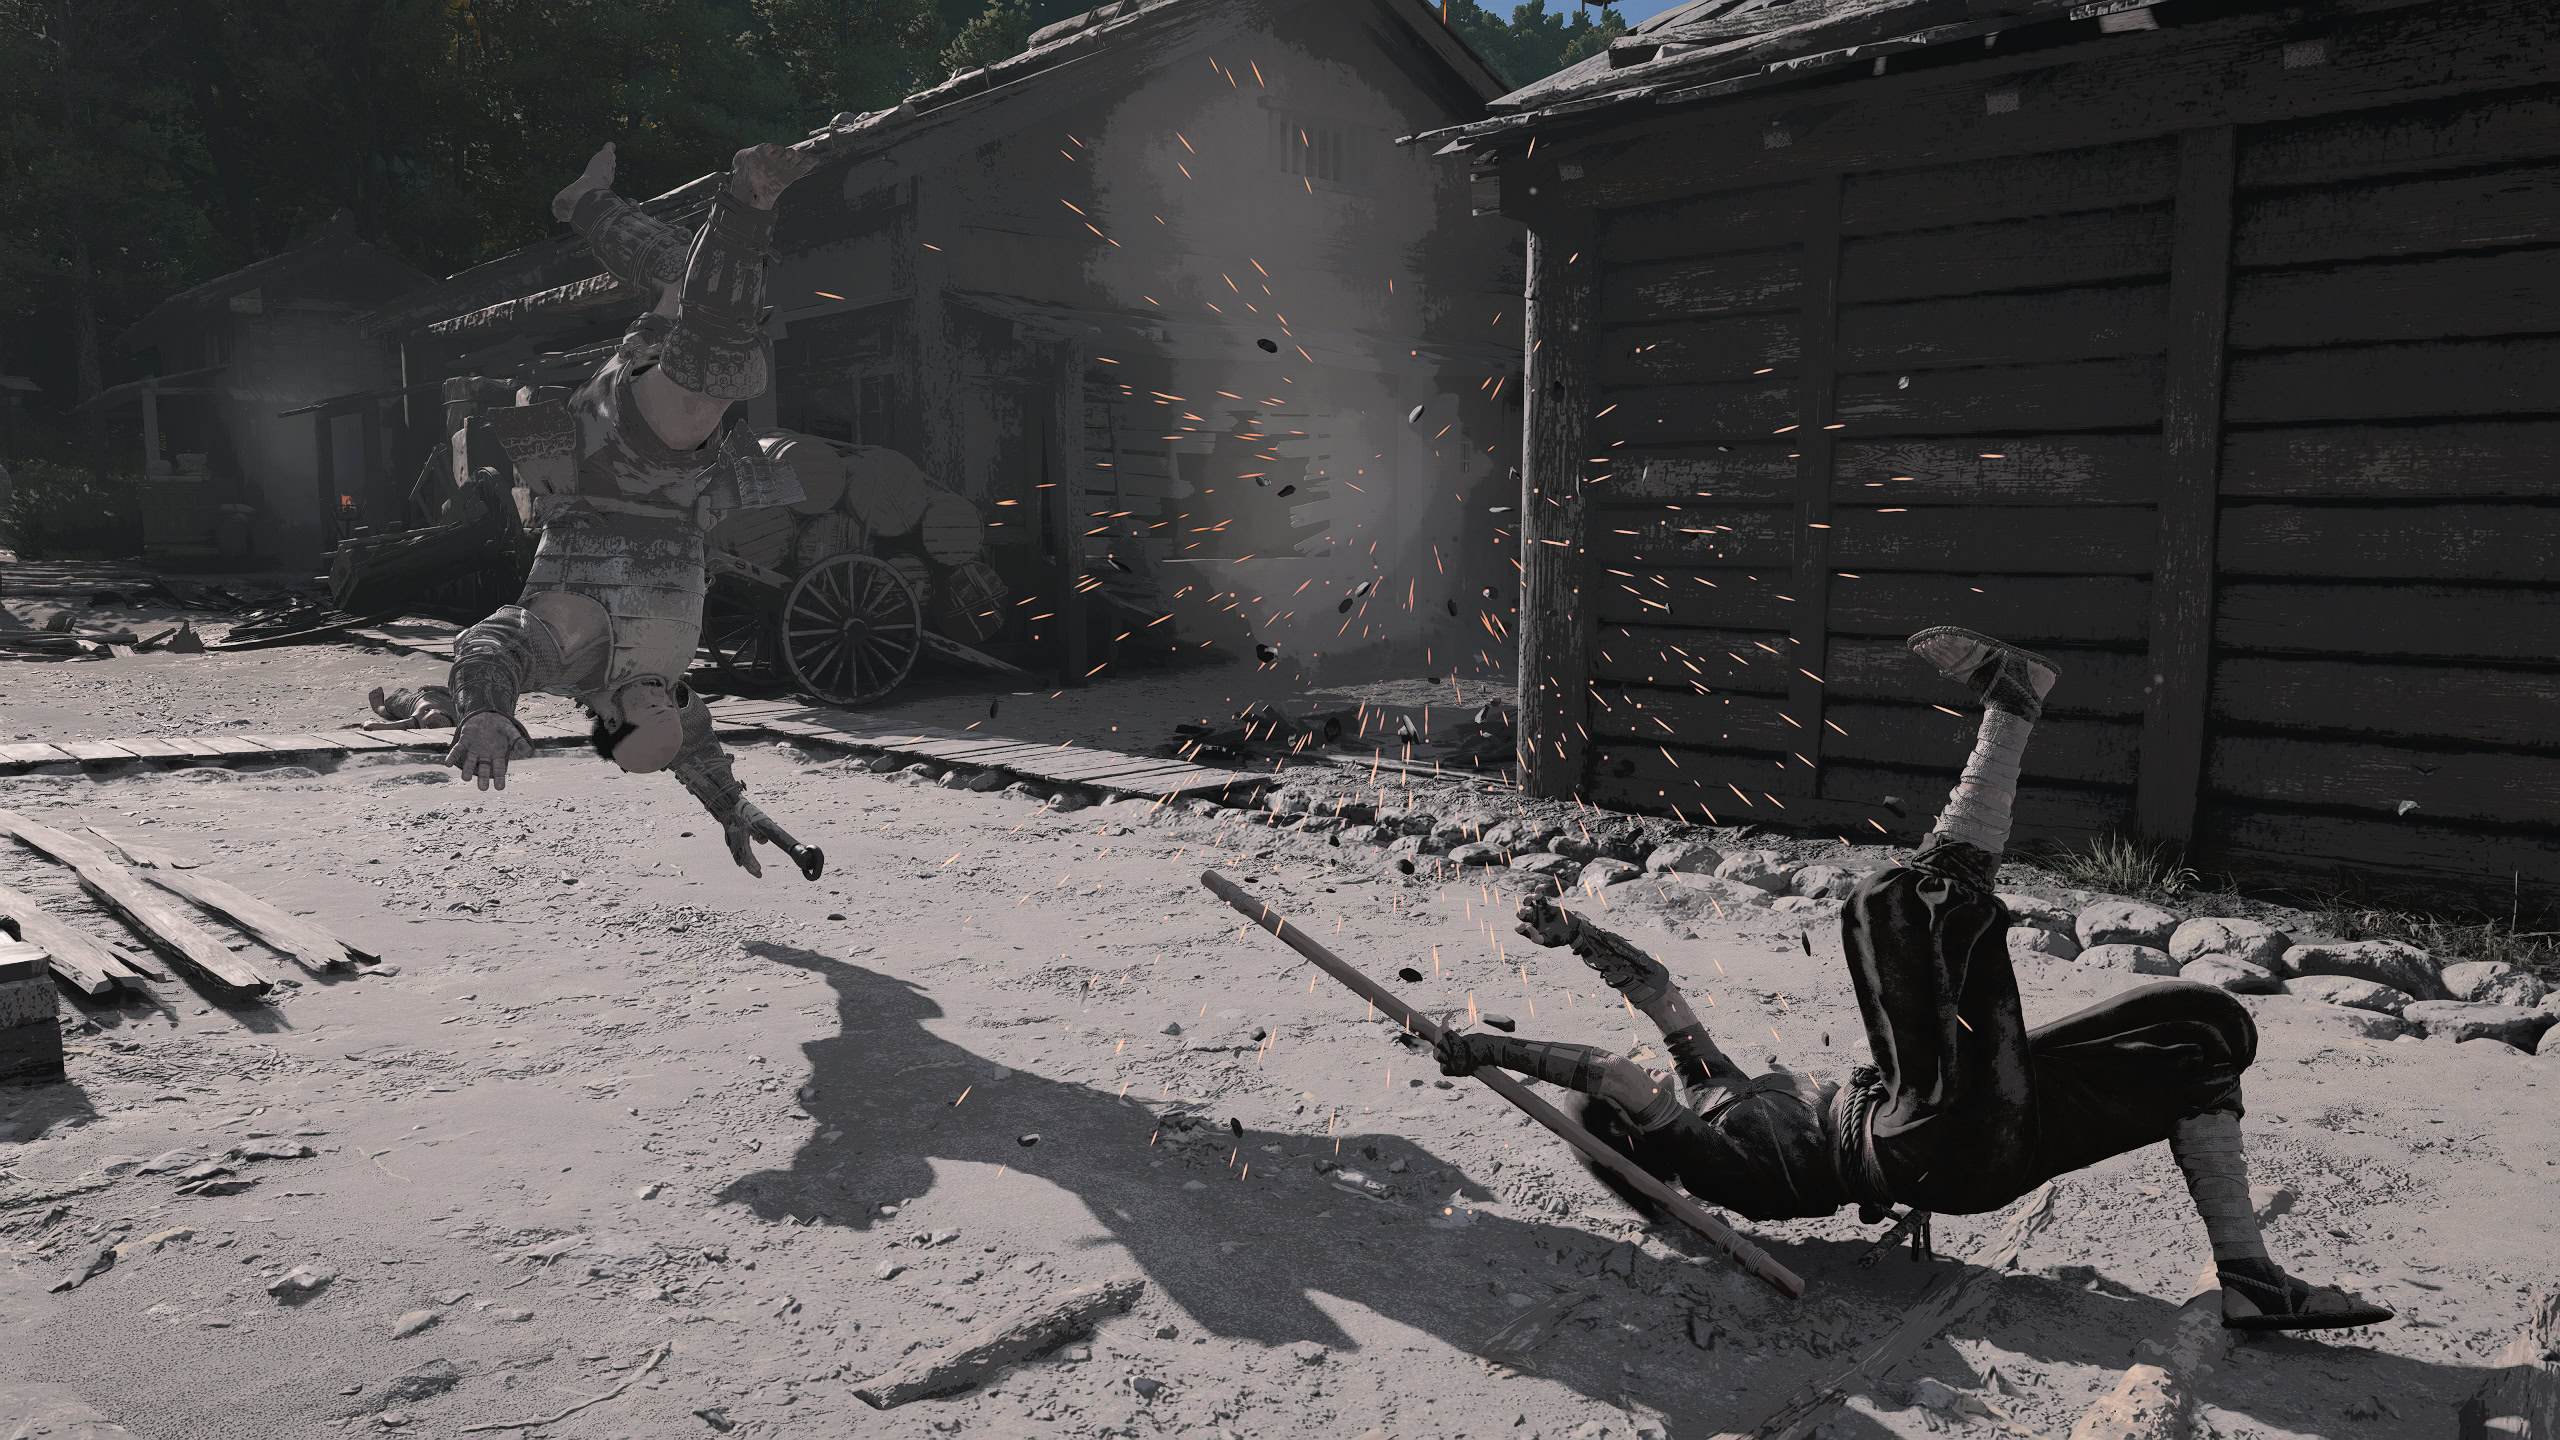
The High Stance is used to stagger opponents and is best used during their attack windups. This is even more effective if they’re winding up an Unstoppable Attack, a good smack to the face makes it fairly stoppable.
Using a High Heavy Postured Attack will stagger them with a jab to the face, followed by a swing that pushes them back. This is used to stagger and gain some distance from particularly dangerous opponents.
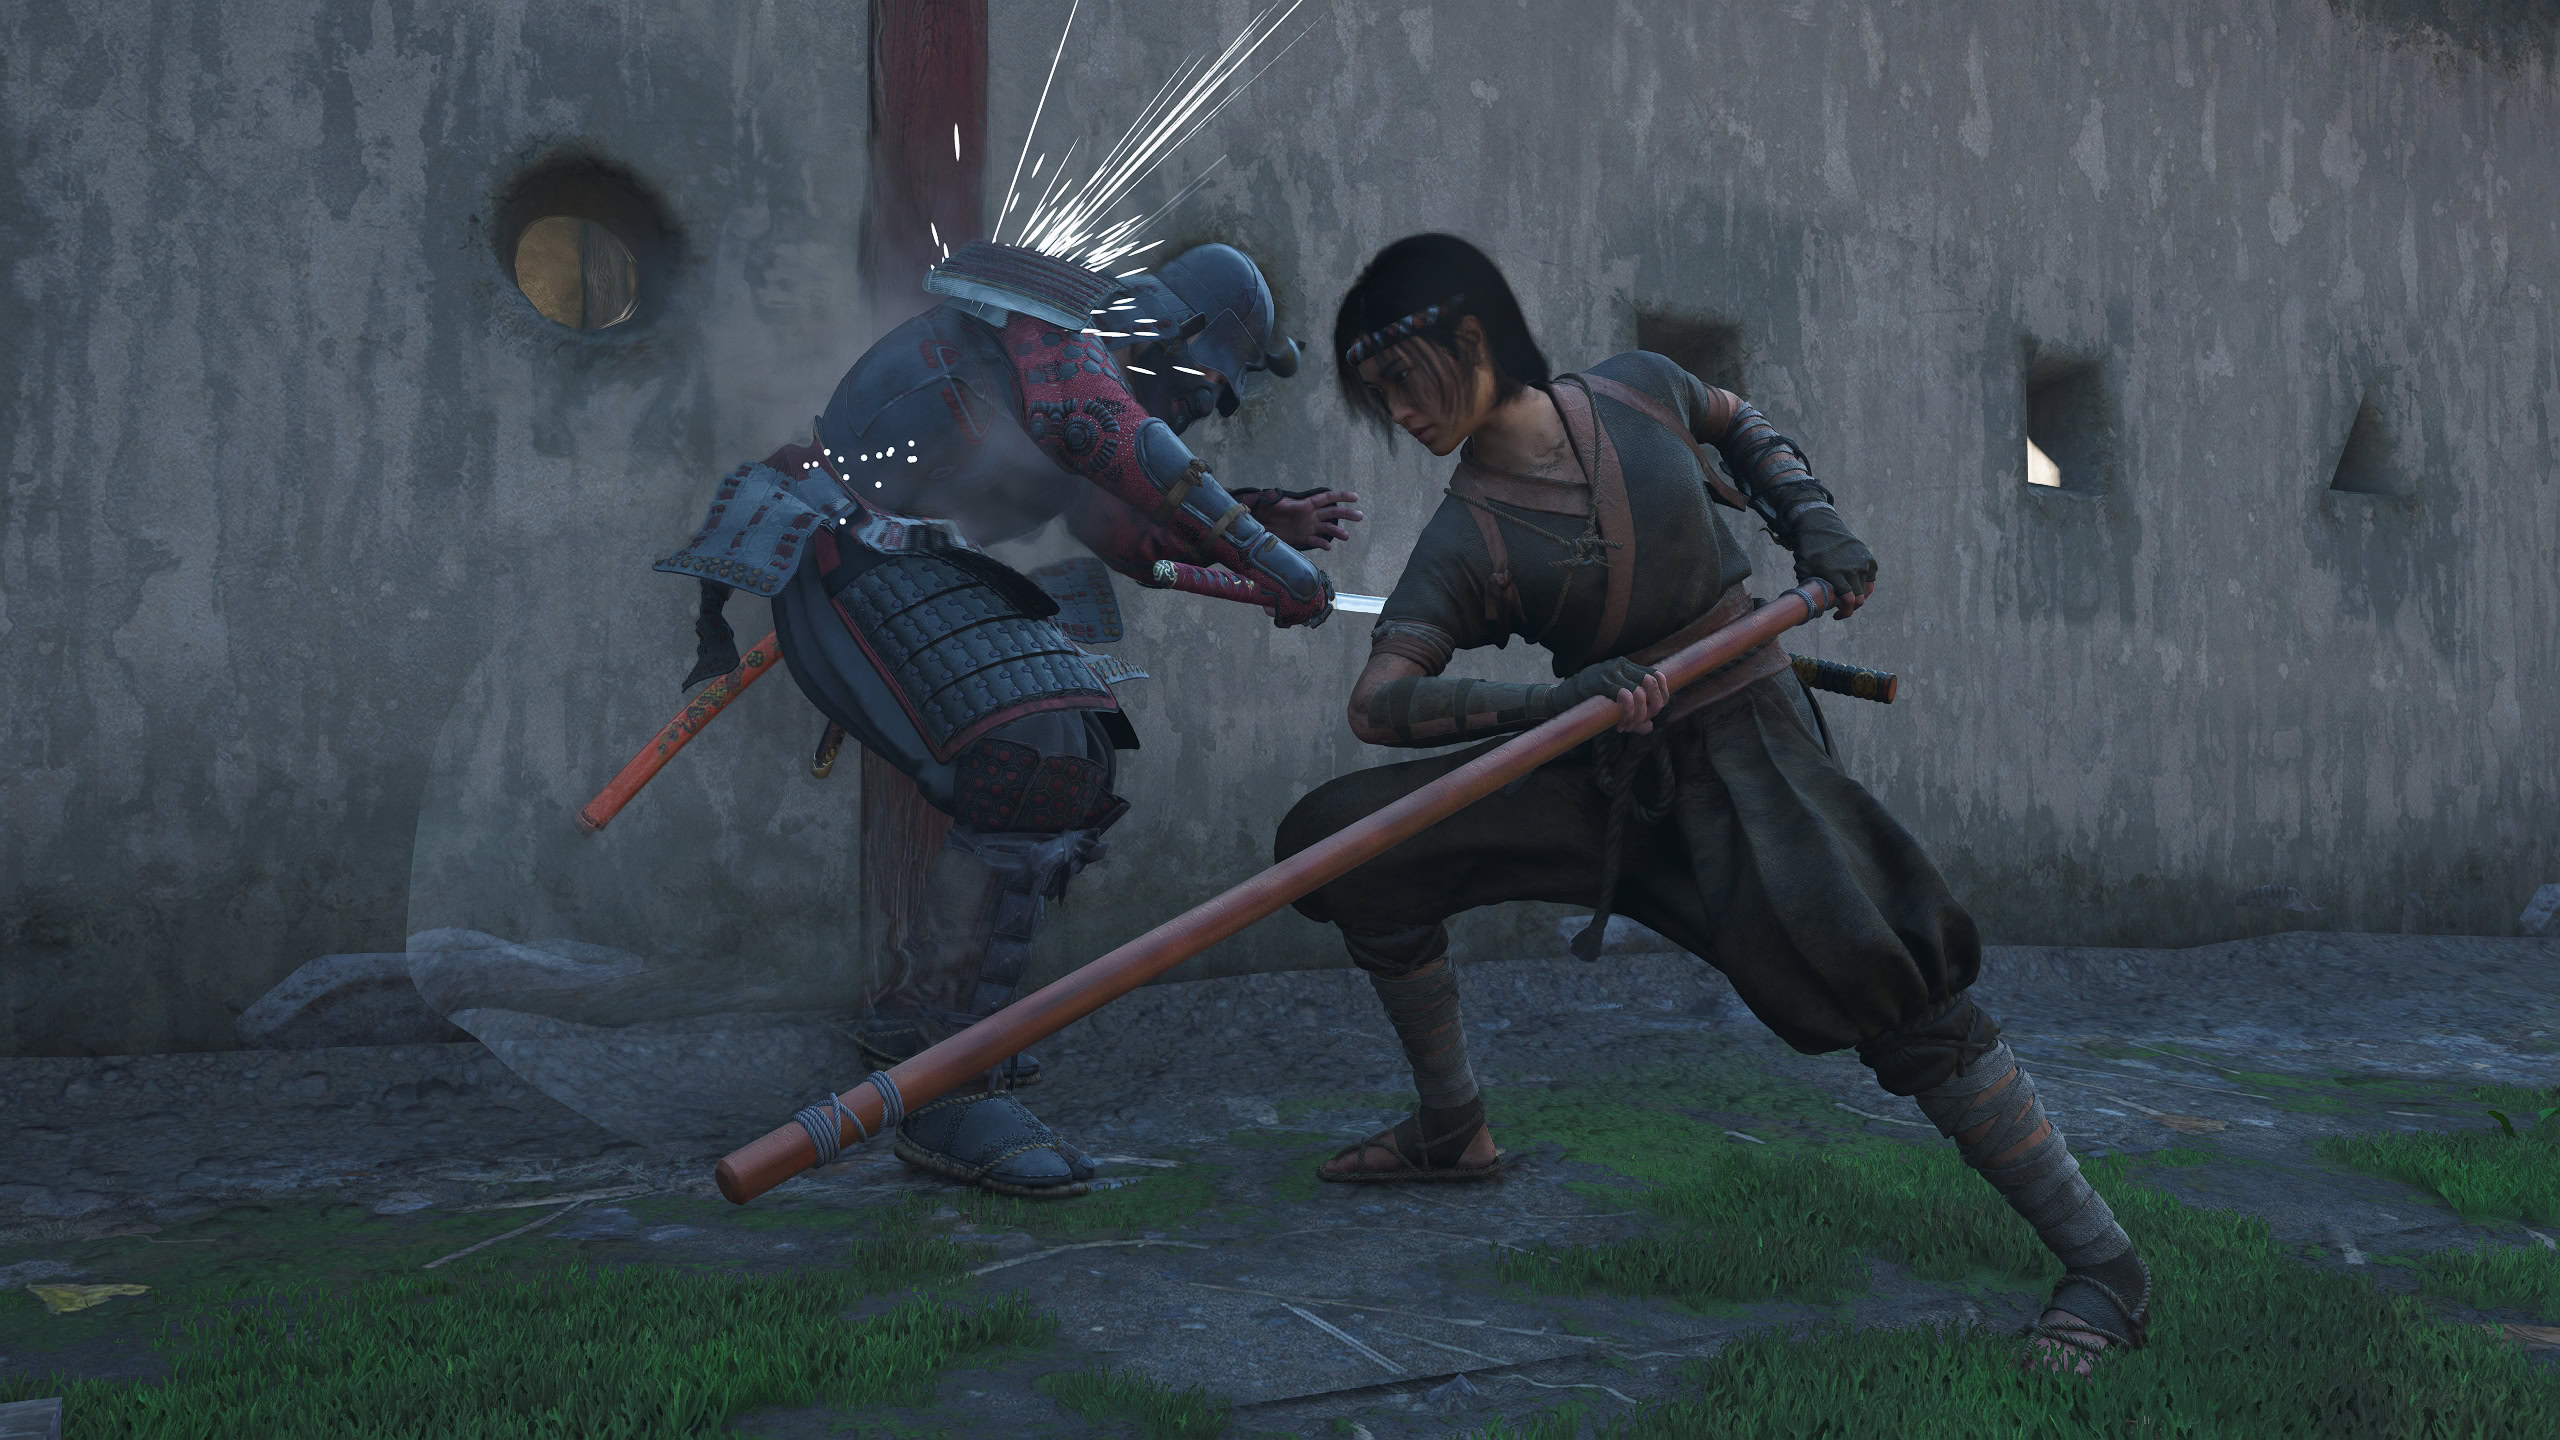
Low Stance
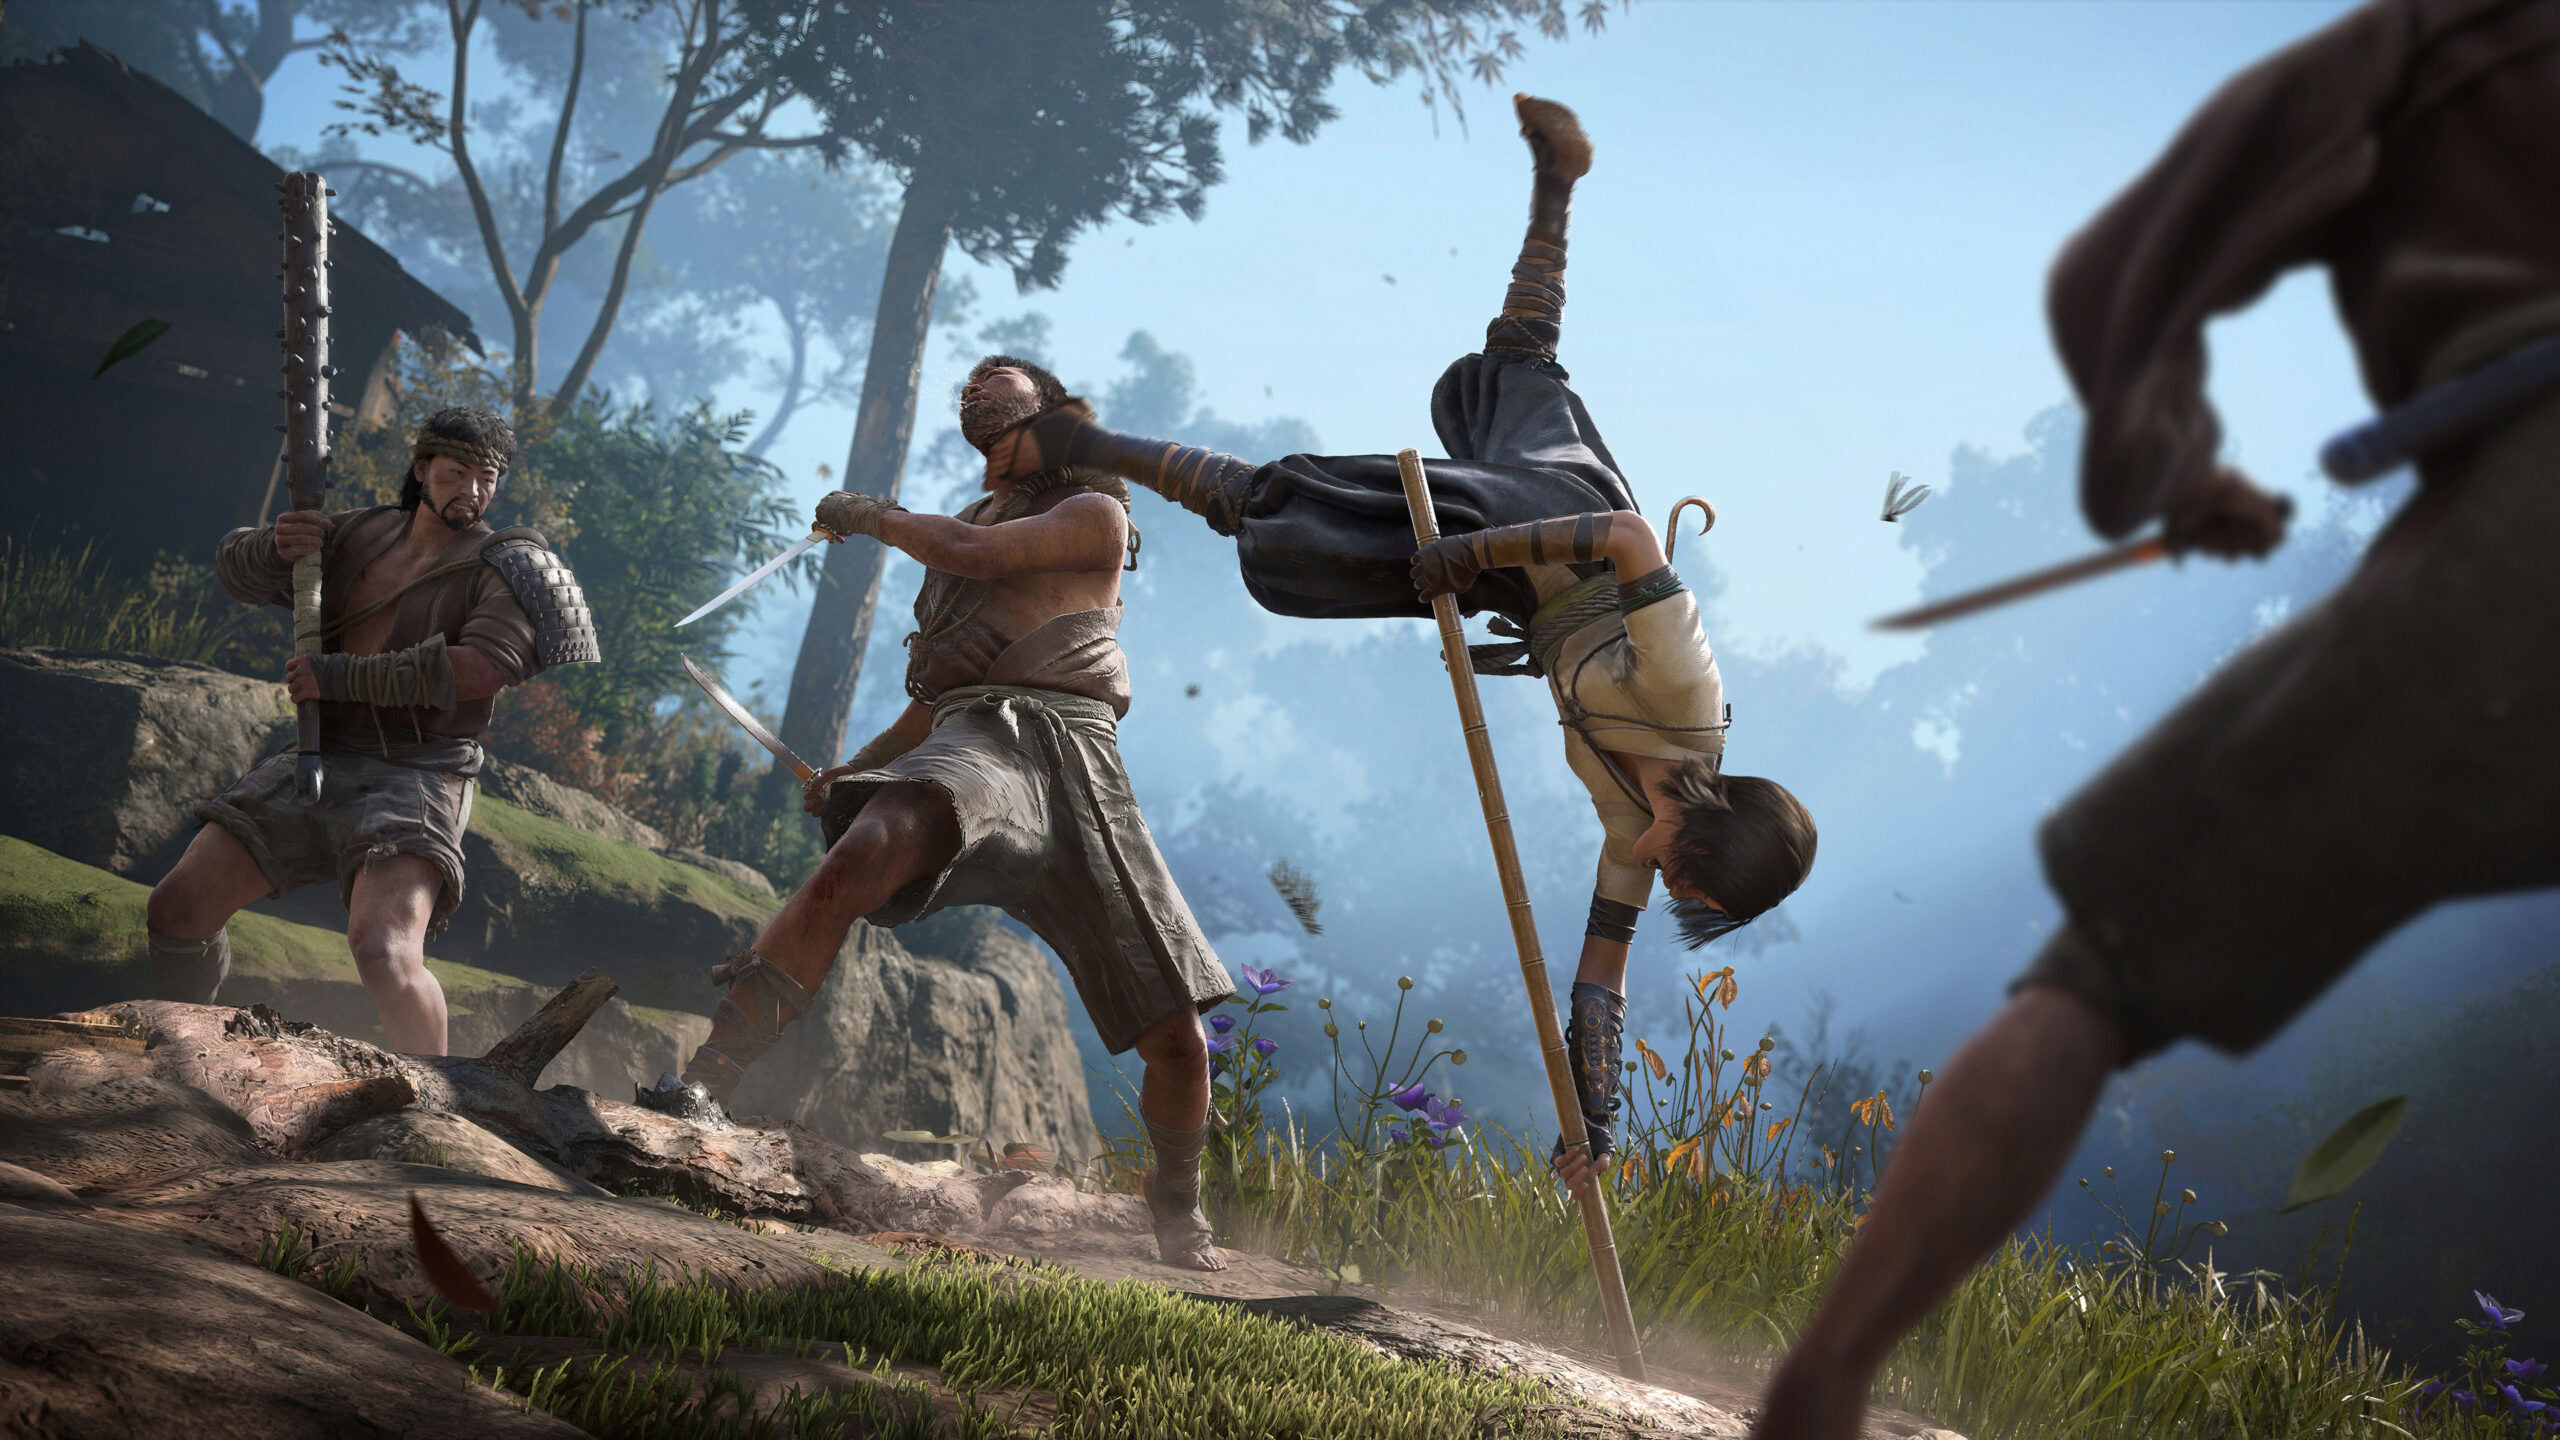
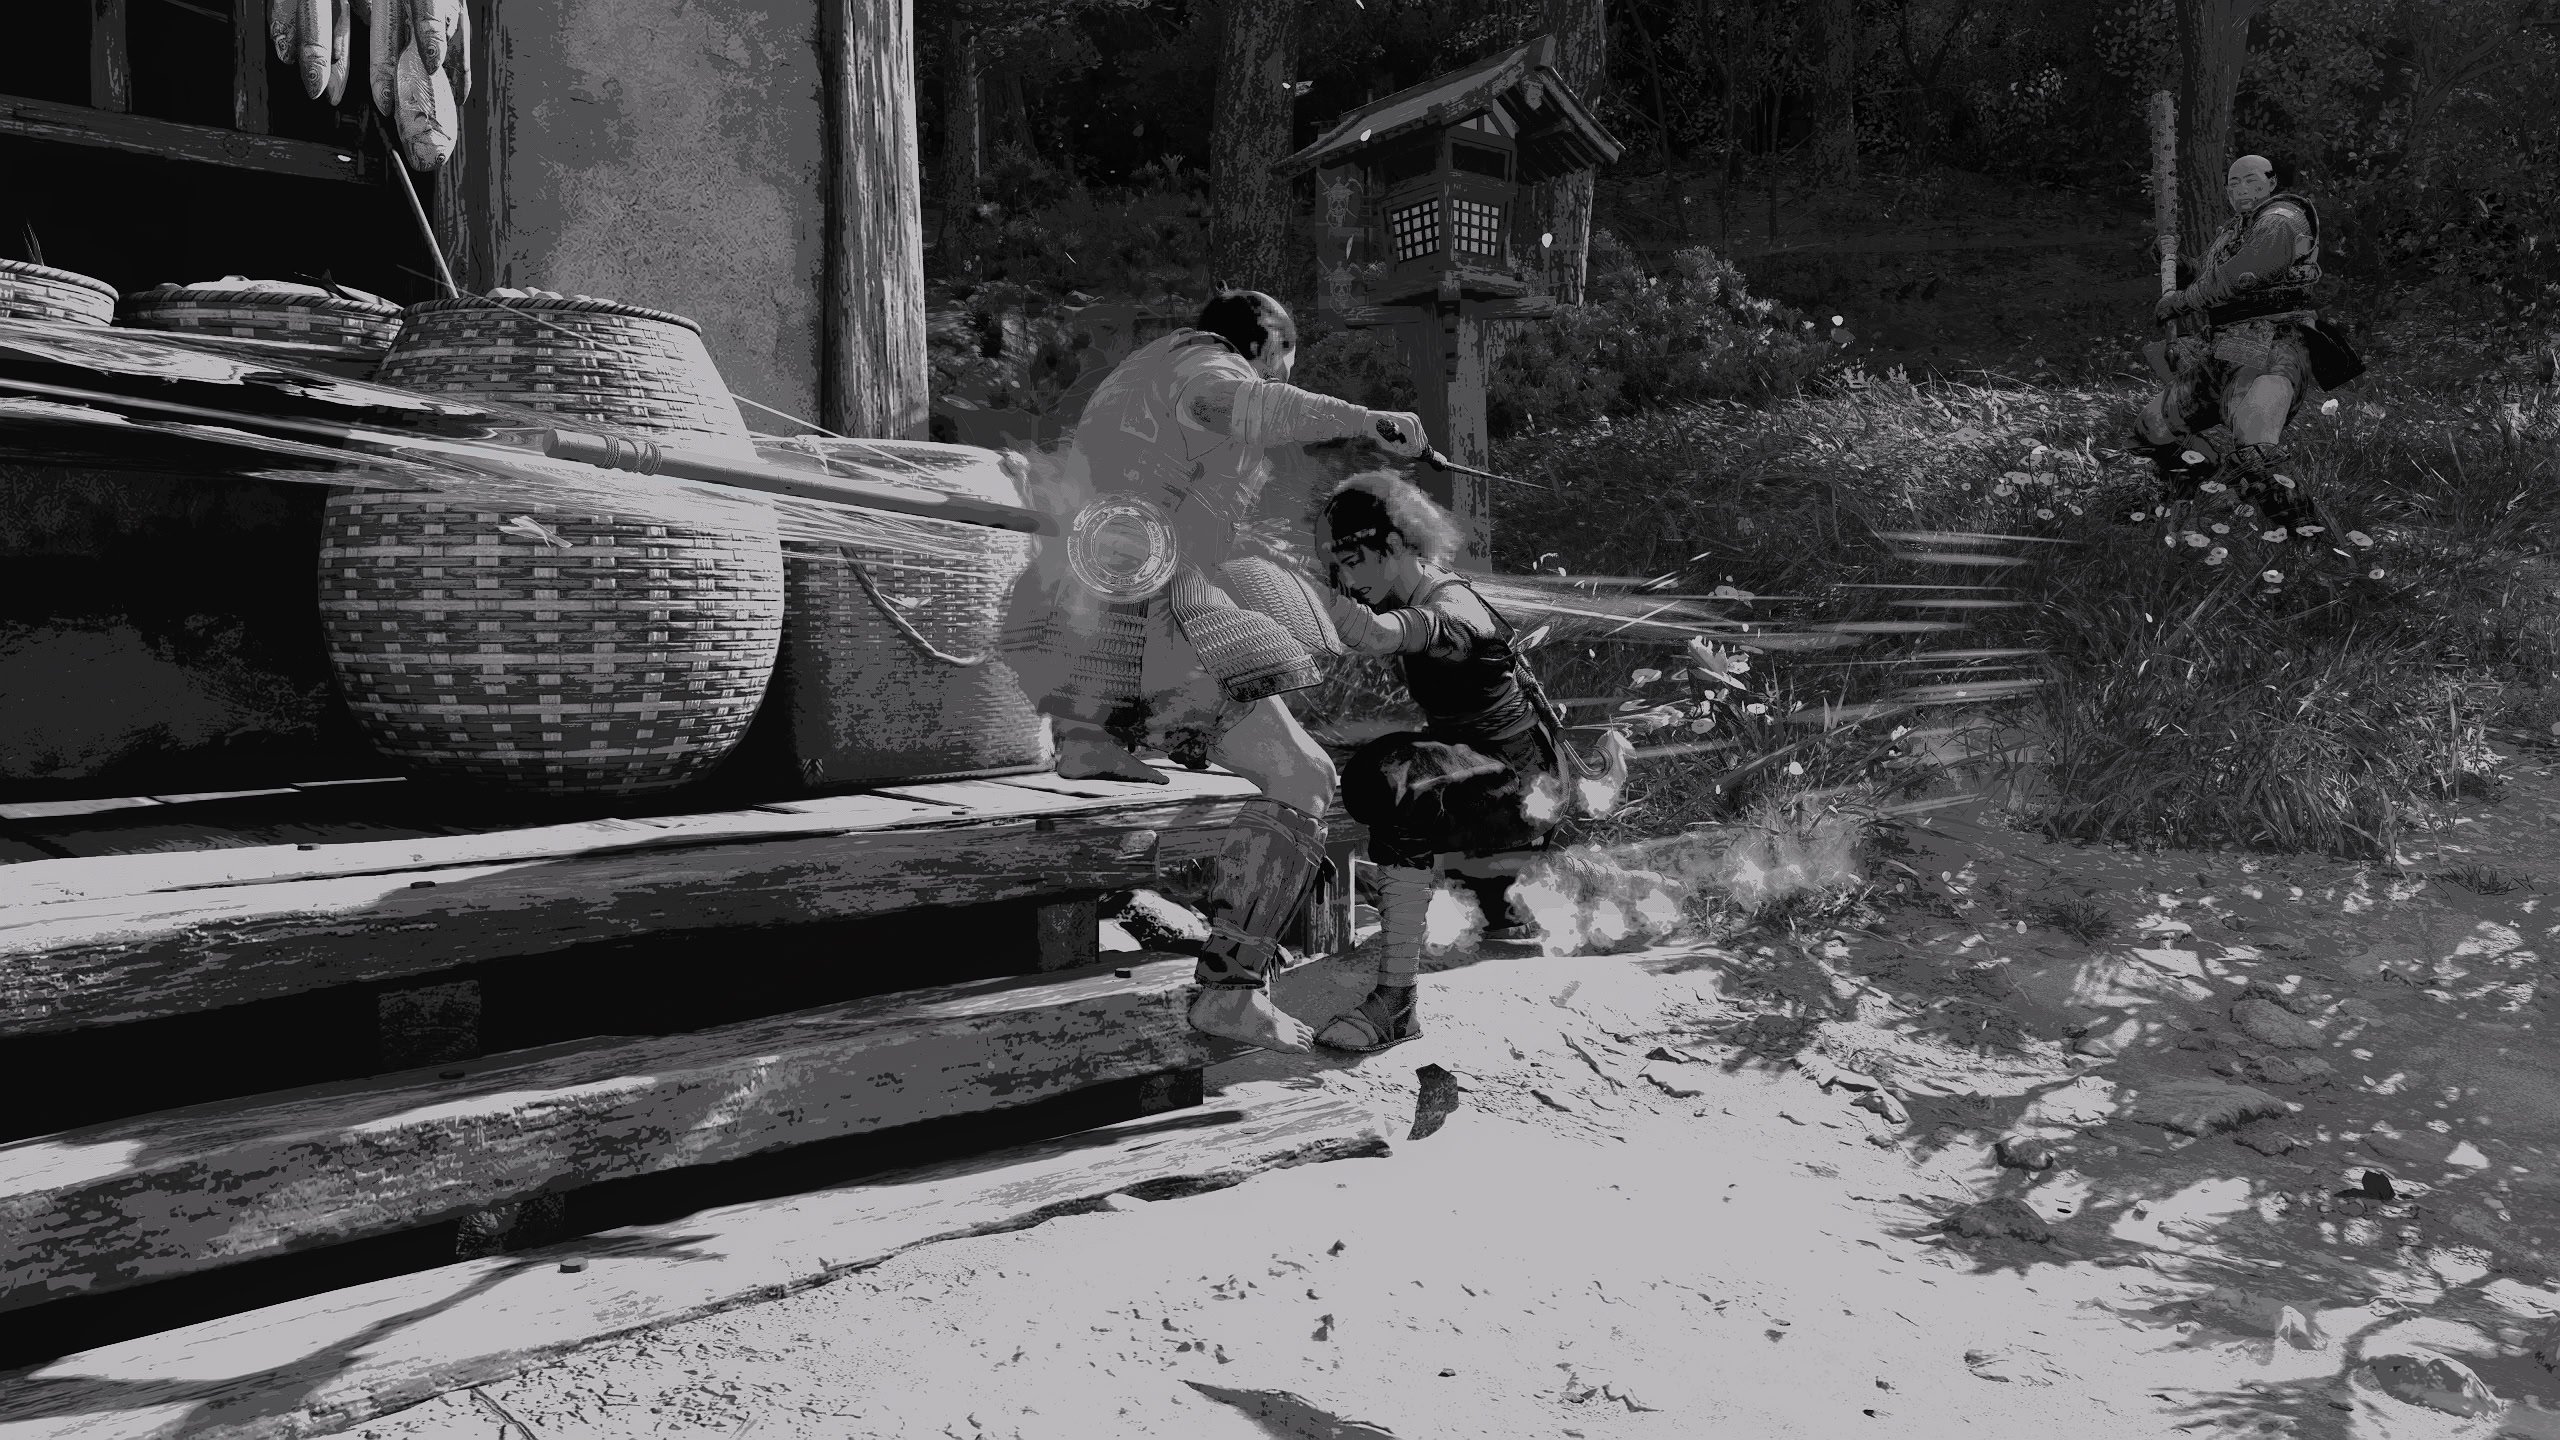
The Low Stance is great to use in 1v1s or finishing someone off. Successfully landing a Low Stance Postured Attack can trip an enemy, making them susceptible to a Ground Attack.
A Low Light Postured Attack will have Naoe swing in a tight arc in front of her to trip an opponent. Meanwhile a Low Heavy Postured Attack will have Naoe swing around her to hit multiple opponents if they’re close enough.
Timing and Placement of your Attacks
One cannot whack someone in the face with reckless abandon and expect the same results. Your Stance Attacks must work around an opponent’s attacks which differs depending on the weapon they’re using.
Let’s say you’re fighting a soldier with a katana. They often hold their sword above their head in a high stance before attacking. A Neutral or Low Stance Attack would be good here as they can more easily block a High Stance Attack.
If a kanabo wielding brute is charging at you with his weapon dragging on the ground? Pop a High Stance Attack to stop him in his tracks as his face is wide open.

Bo Mastery Tree
The Bo Mastery Tree offers some solid passives which emphasizes the Bo’s ability to act as a defensive yet versatile weapon. It emphasizes the need to keep your distance while striking when the time is right.
Global Passives
The Global Passives will increase Armor Damage, Posture Damage, and increase damage done up to 27% if you haven’t taken hits from enemies for 8 seconds.
Windstep (Active)
The Windstep ability is a buff for Naoe that increases her reach, speed, and impact of attacks for 15 seconds.
While active, you can cover great distances while leaving a speed trail behind you. You cannot lock onto specific targets while this ability is active.
The Tactical Shift passive for Windstep increases damage when swapping targets. The Momentum passive allows you to increase the duration by 3-15 seconds if you parry an attack or kill an enemy.
Flurry of Blows (Active)
Flurry of Blows is your single-target damaging ability. It deals 5 attacks each dealing 40% ability damage, totaling 200% ability damage with a full combo.

It has a unique passive, Reinvigorating Strikes, that allows Naoe to heal if you press Light or Heavy Attack when one of the five strikes land on an enemy. Each time you do this, you’ll restore 10% (later 15%) health.
Grab and Throw (Active)
Grab and Throw does what it says, you grab an opponent and throw them (ideally at another opponent). This deals 140% ability damage and knocks the target down.
This is great for armored opponents as the Armor Breaker passive ensures that this ability always breaks the target’s armor.
Mastered Posture (Passive)
If you’re looking to take the Bo seriously, then this passive is a must. This allows Bo Posture Attacks to retain their full effects on large and armored enemies. Without it, they will otherwise shrug off your stagger and trip attempts.
As you invest in it, it lets you use a Weakpoint Attack on someone if you use a High Posture Attack while they’re in the middle of an attack. This adds a push to the stagger, giving you some distance.
The final addition to this passive is Hardened. This prevents opponents from knocking you out of your stance while using the Bo.
Perfect Flow
This Bo passive fairly simple as you can deal increased damage if you attack when your staff glows blue. Further investments allows Perfect Flow attacks to generate 50% more adrenaline and combo enders will break an enemy’s guard.

Chain Assassination
This passive is not within the Bo Mastery Tree, but the Assassin Mastery Tree. If you’re currently using a Bo, you can assassinate up to three nearby enemies in quick succession.
This works by normally assassinating an enemy, but then the camera will pivot to another enemy with the assassination prompt. Follow the prompt when it appears to assassinate a second target and then a third target.
If you have the Bo Master’s headgear, you can assassinate up to 4 targets with Bo Chain Assassination.
Complimentary Gear
There are two sets of armor dedicated for the Bo staff, the Bo Disciple’s armor set and the Bo Master’s armor set.
Bo Disciple Set
You’ll earn the Bo Disciple armor set after helping Meiran fend off the bandits attacking the temple. The Bo Disciple set offers a good mixture of offense and defense.
The headgear guarantees critical hits by switching to and hitting new targets. This passive goes well with Critical Damage engravings so you can further increase its power*.
The light armor has incoming attacks a 40% chance to emit a shockwave, pushing back nearby enemies to give you some breathing room.
Bo Master Set
The Bo Master set is the more offensive of the Bo gear sets. The headgear allows you to target a 4th enemy for the Bo Chained Assassination. The armor increases damage done on full health enemies by 50%. You’ll need the Claws of Awaji DLC to get this set.
But why choose one set over the other when you can combine the engravings of both sets into one? Guaranteed critical hits with +50% damage is no joke. Pair that with the shockwaves and extra assassination targets, you’ll be prepared for anything!
Elegance Defined (Trinket)
You’ll get this trinket when you complete the Claws of Awaji quest, Way of the Bo. For every point placed into the Bo Mastery Tree, you’ll gain +1% Posture damage. Given how all 3 stances require Posture Attacks, this makes a lot of sense.