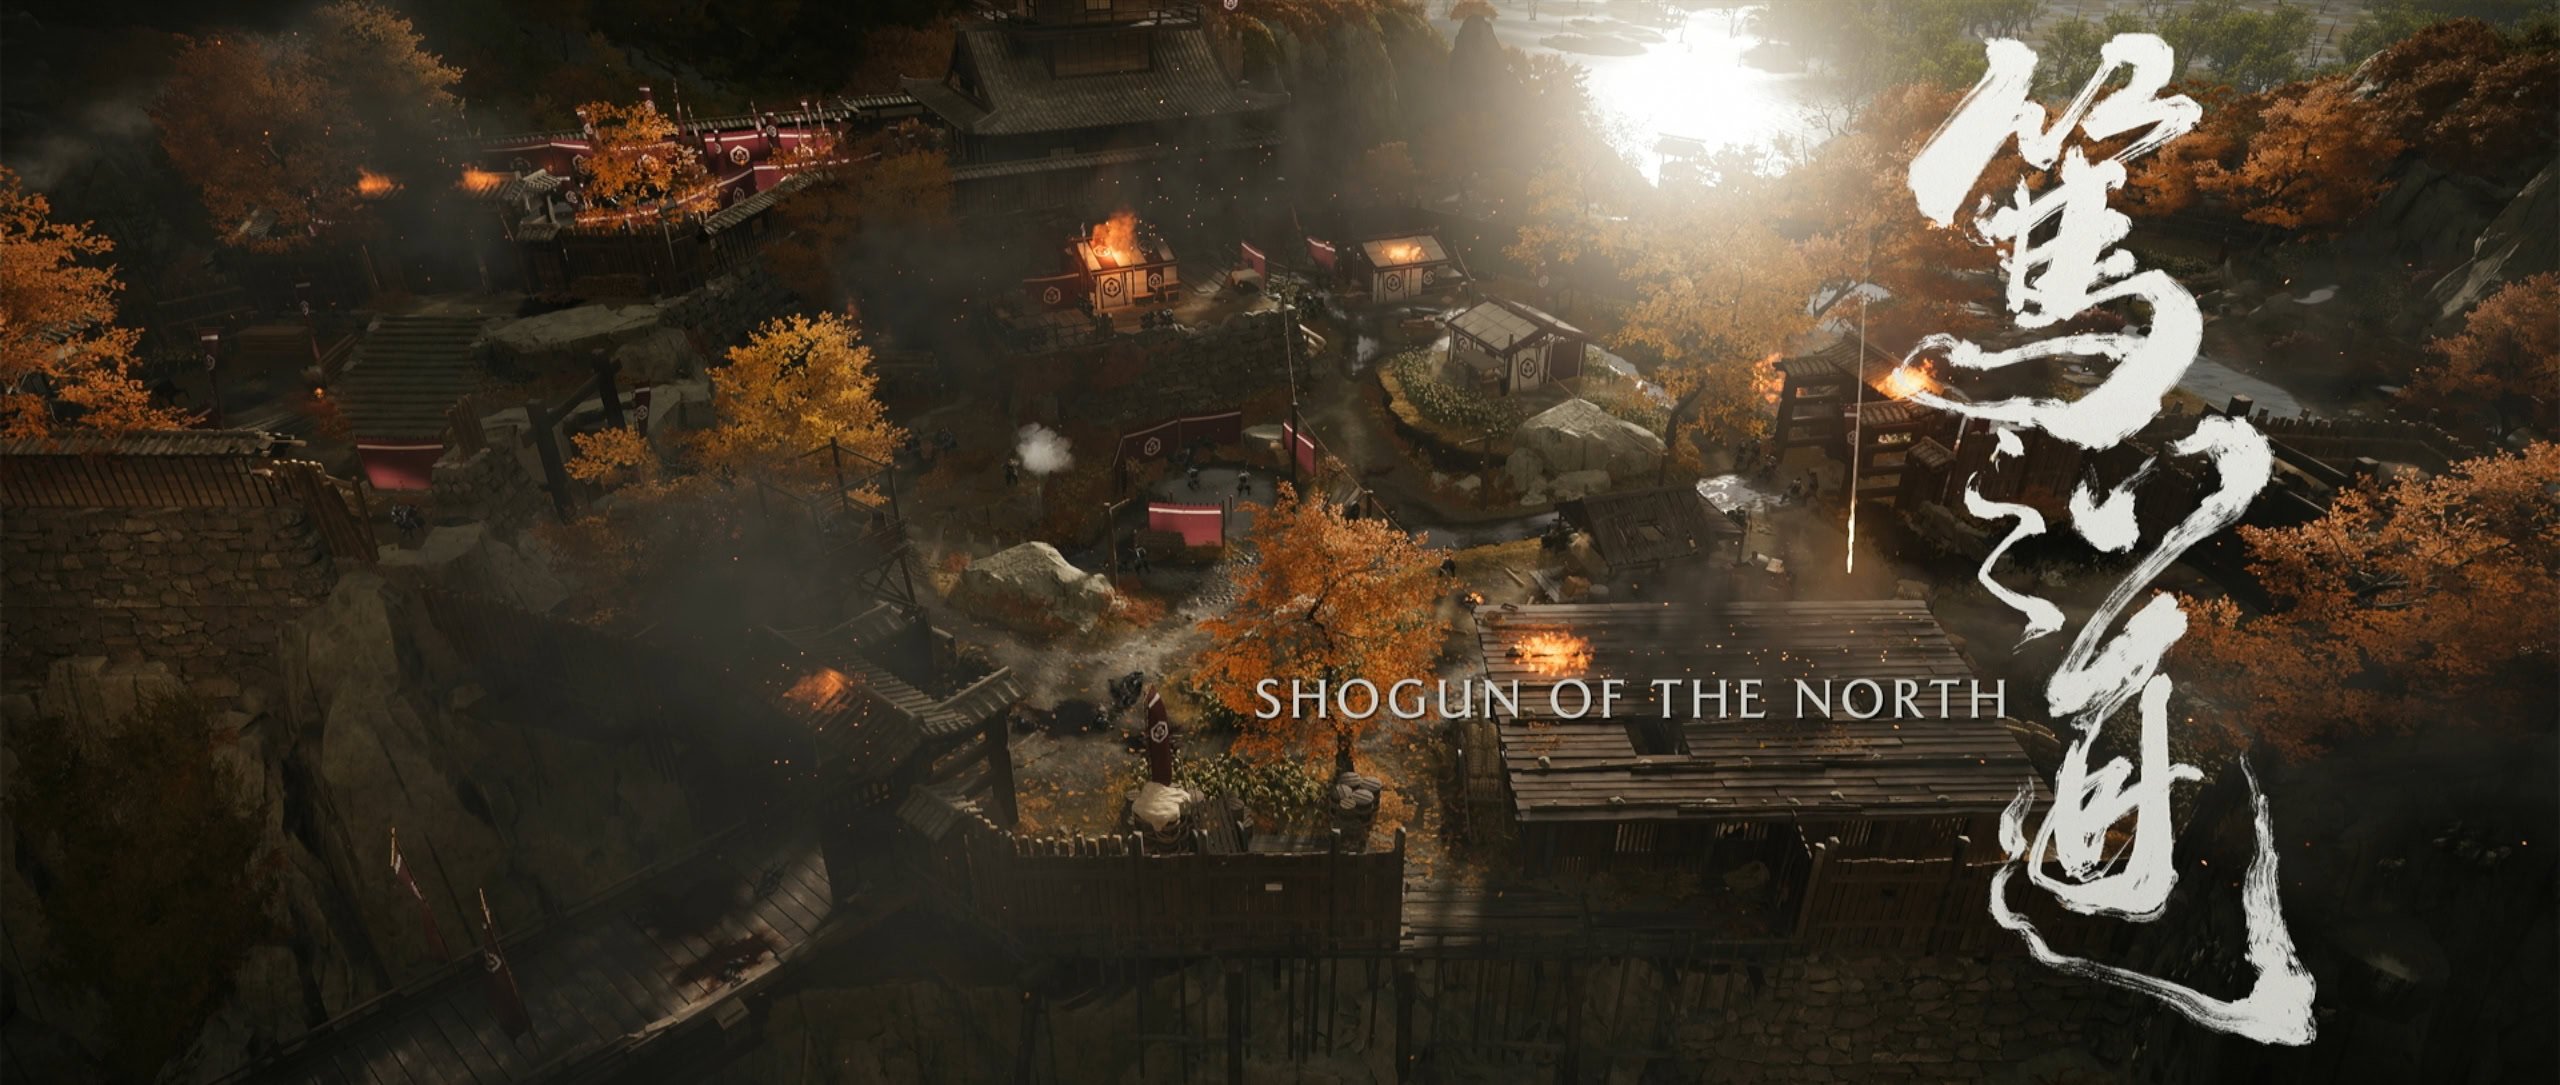
Learn how to infiltrate Saito’s Training Fortress for the mission, Shogun of the North, in Ghost of Yotei. This mission introduces the necessity of sneaking and assassinating to get by, but things only get more difficult as you proceed.
Table of contents
How to start Shogun of the North
To unlock Shogun of the north, you’ll need to unlock the Dual Katanas by training with Hanbei. He’ll point you towards the Tomamu Marshlands towards the east.
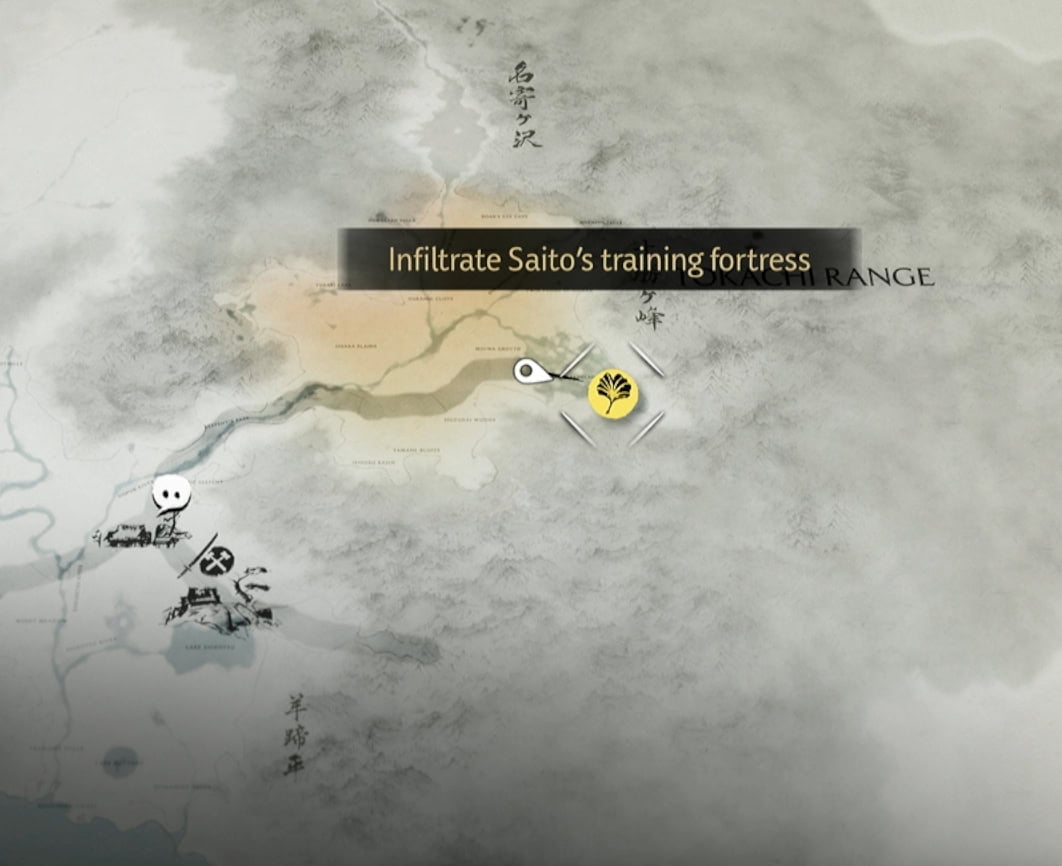
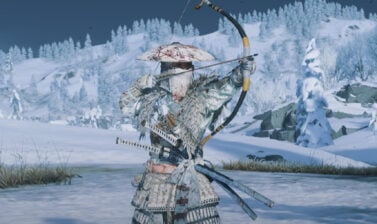
If you haven’t already, purchase the bow from Ran at the Old Inn. This weapon will be useful for getting quiet kills from a distance later on. If you lack the mon, do some exploration and help civilians being harassed by Saito’s men.
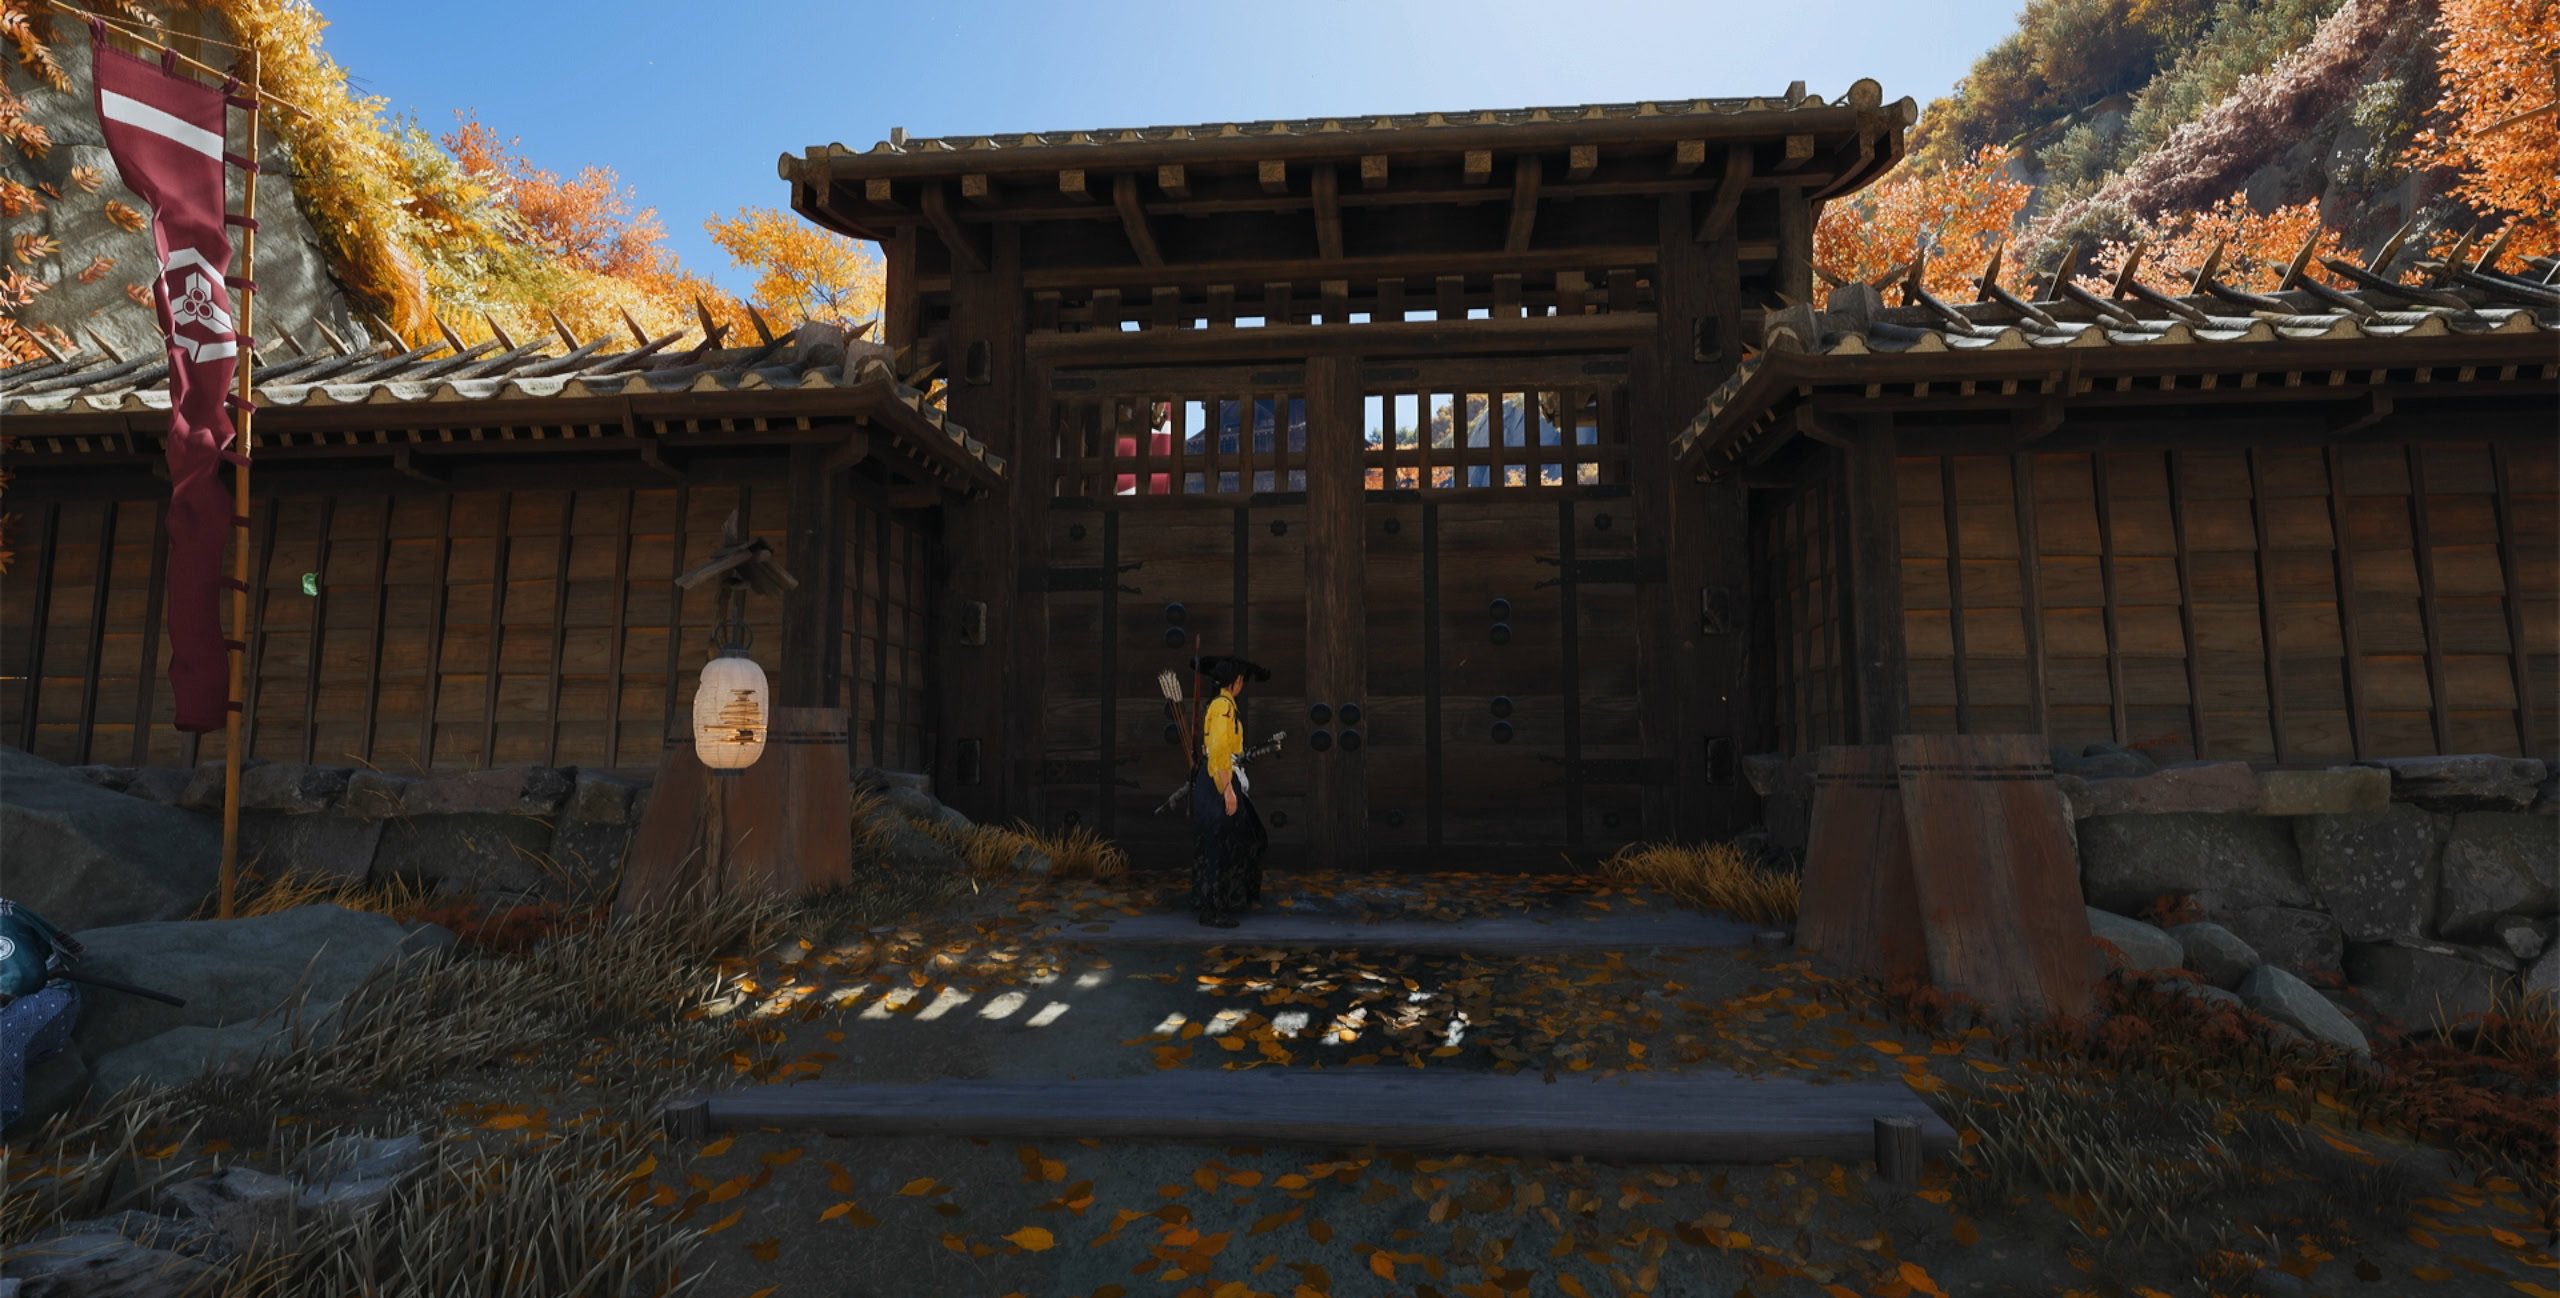
Travel your way there and you’ll run into a gate. Approach the gate and provide the password to be granted entry.
Infiltrating the Fortress
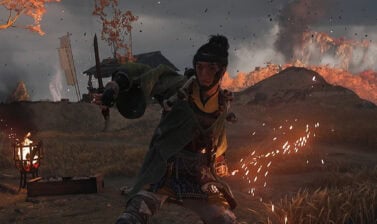
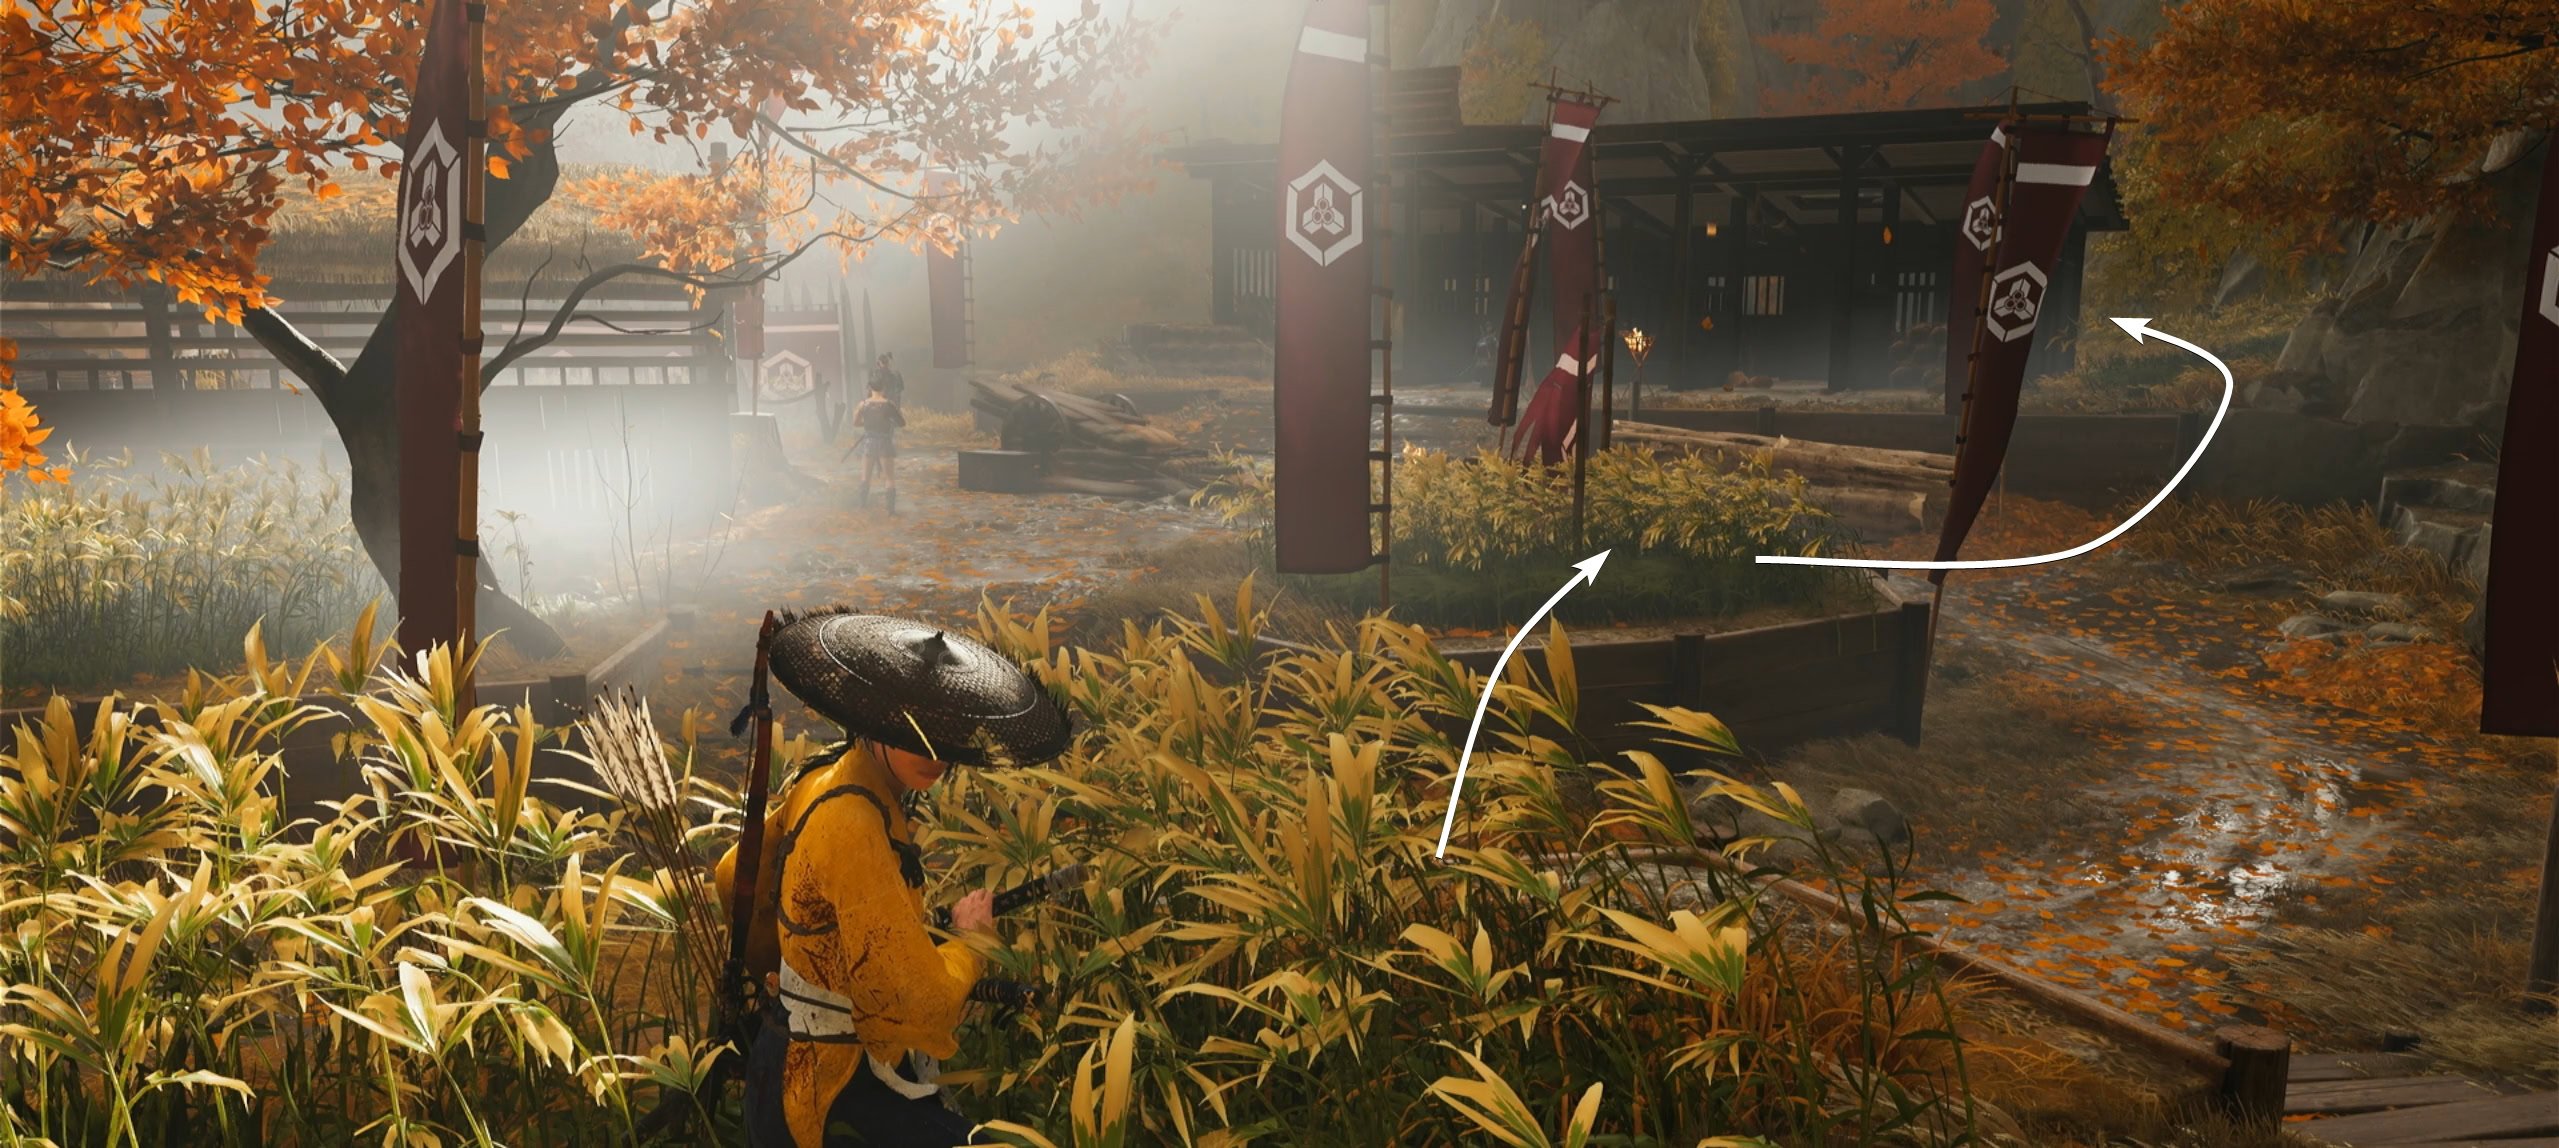
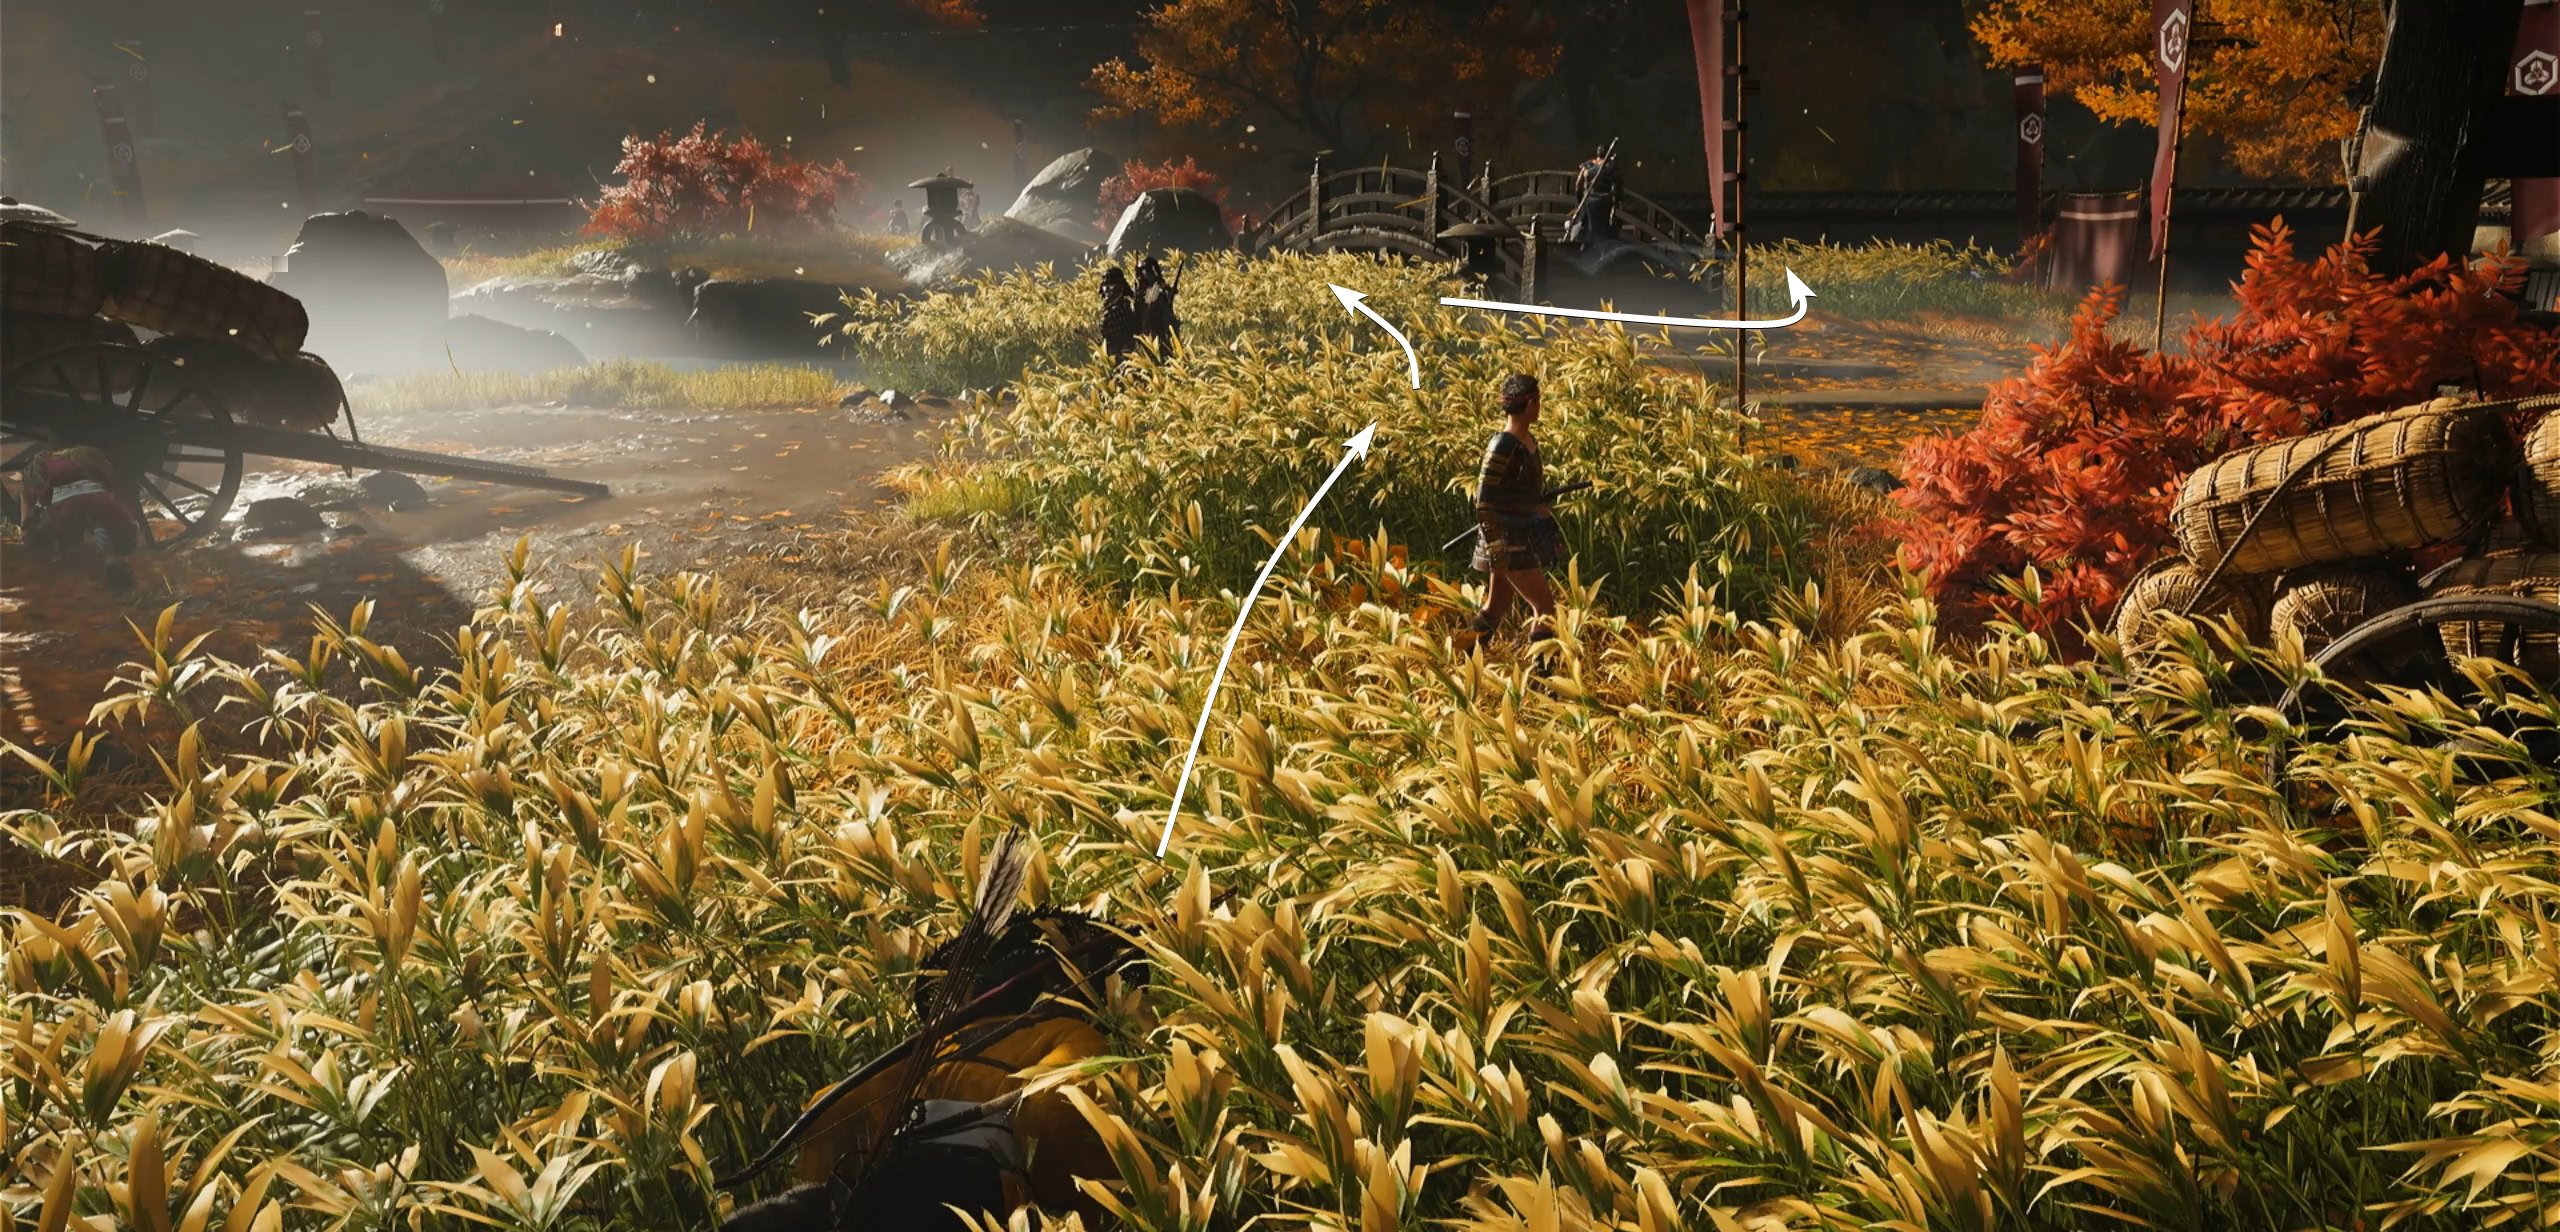
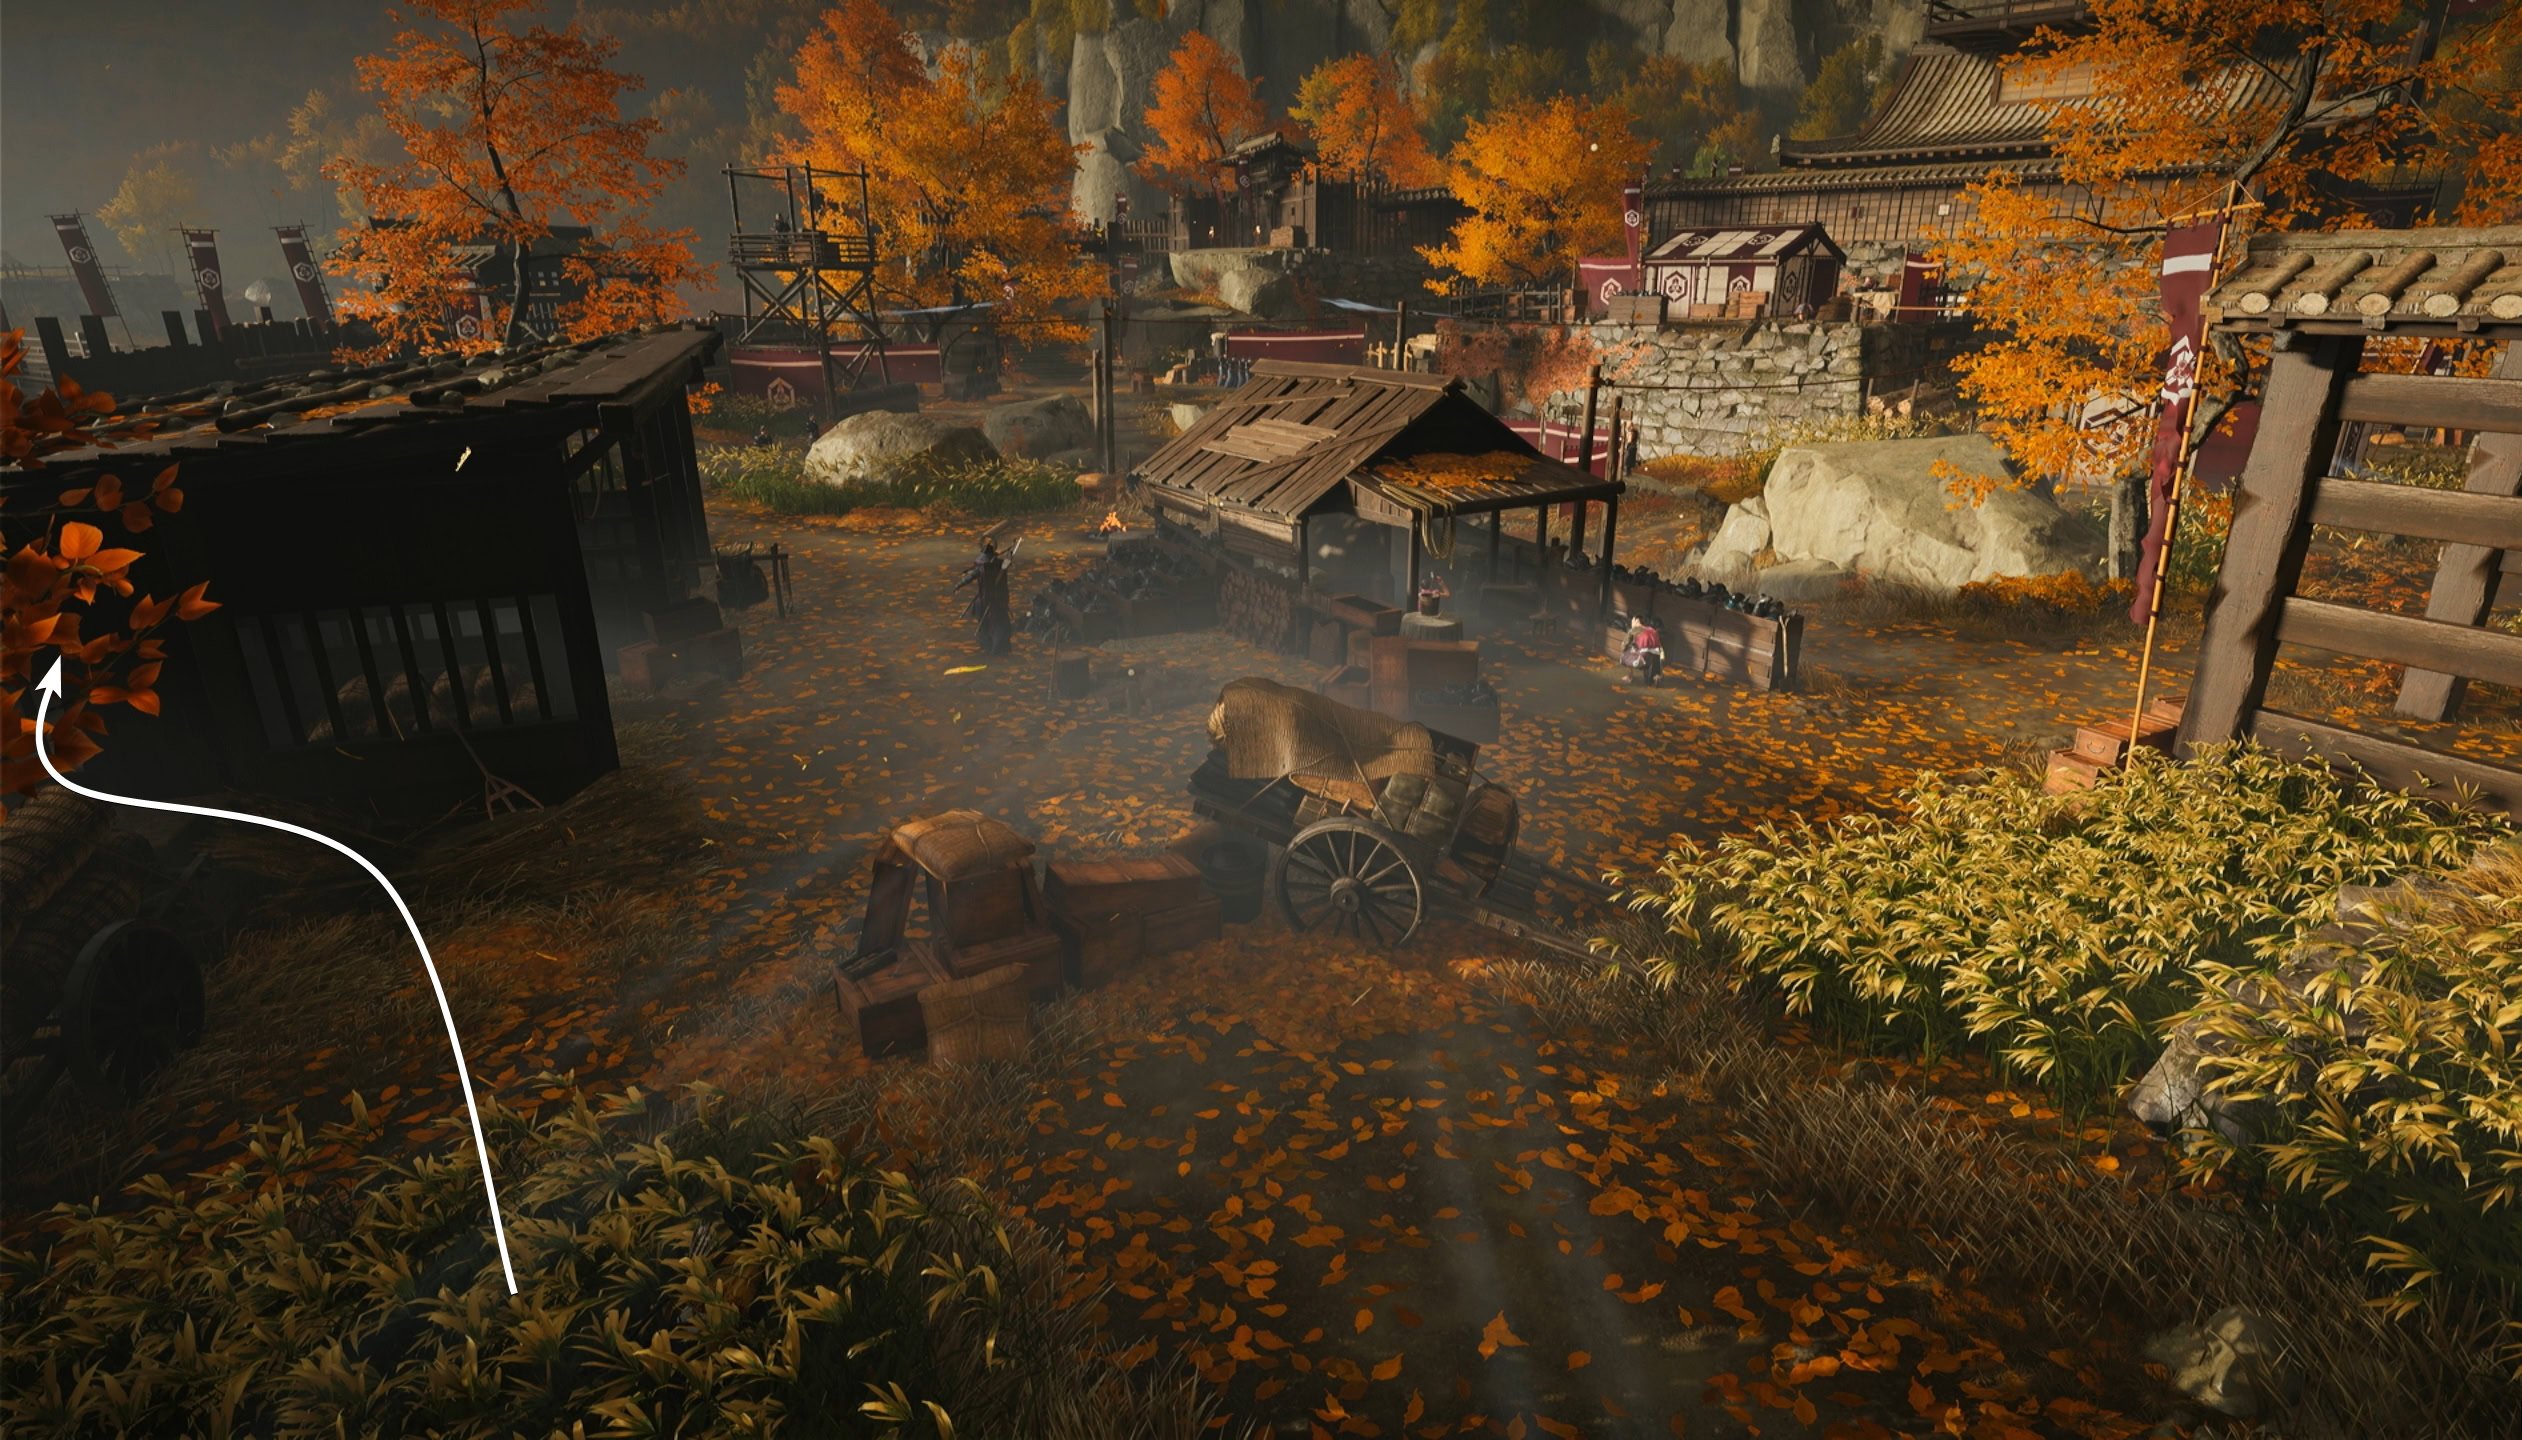
After dealing with the outlaw that recognized you, you’ll need to sneak your way through the first part of the fortress by hiding within the yellow grass. Follow the grass and stick to the right to get behind the stables ahead.
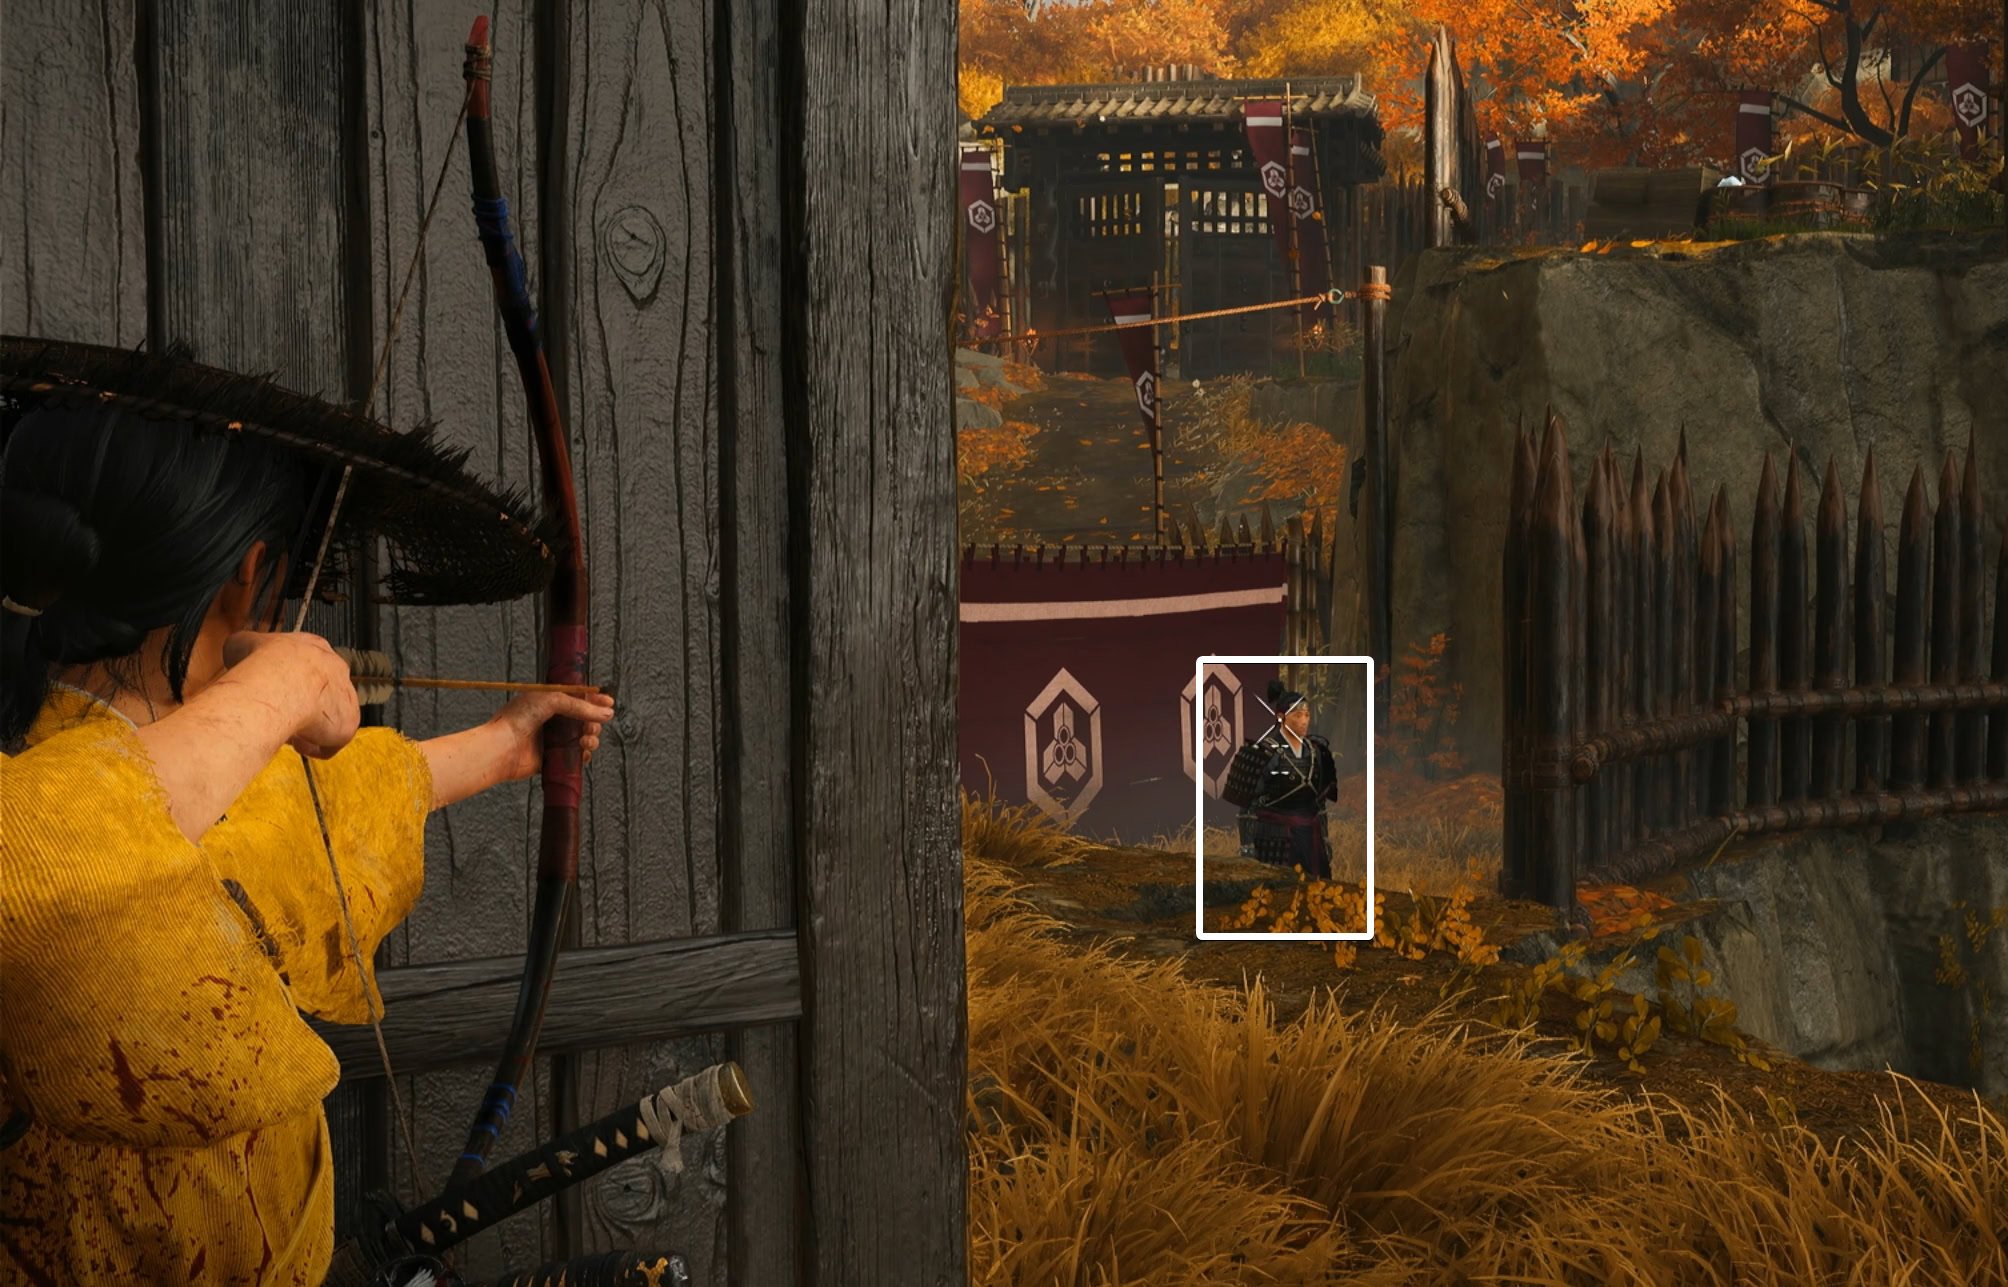
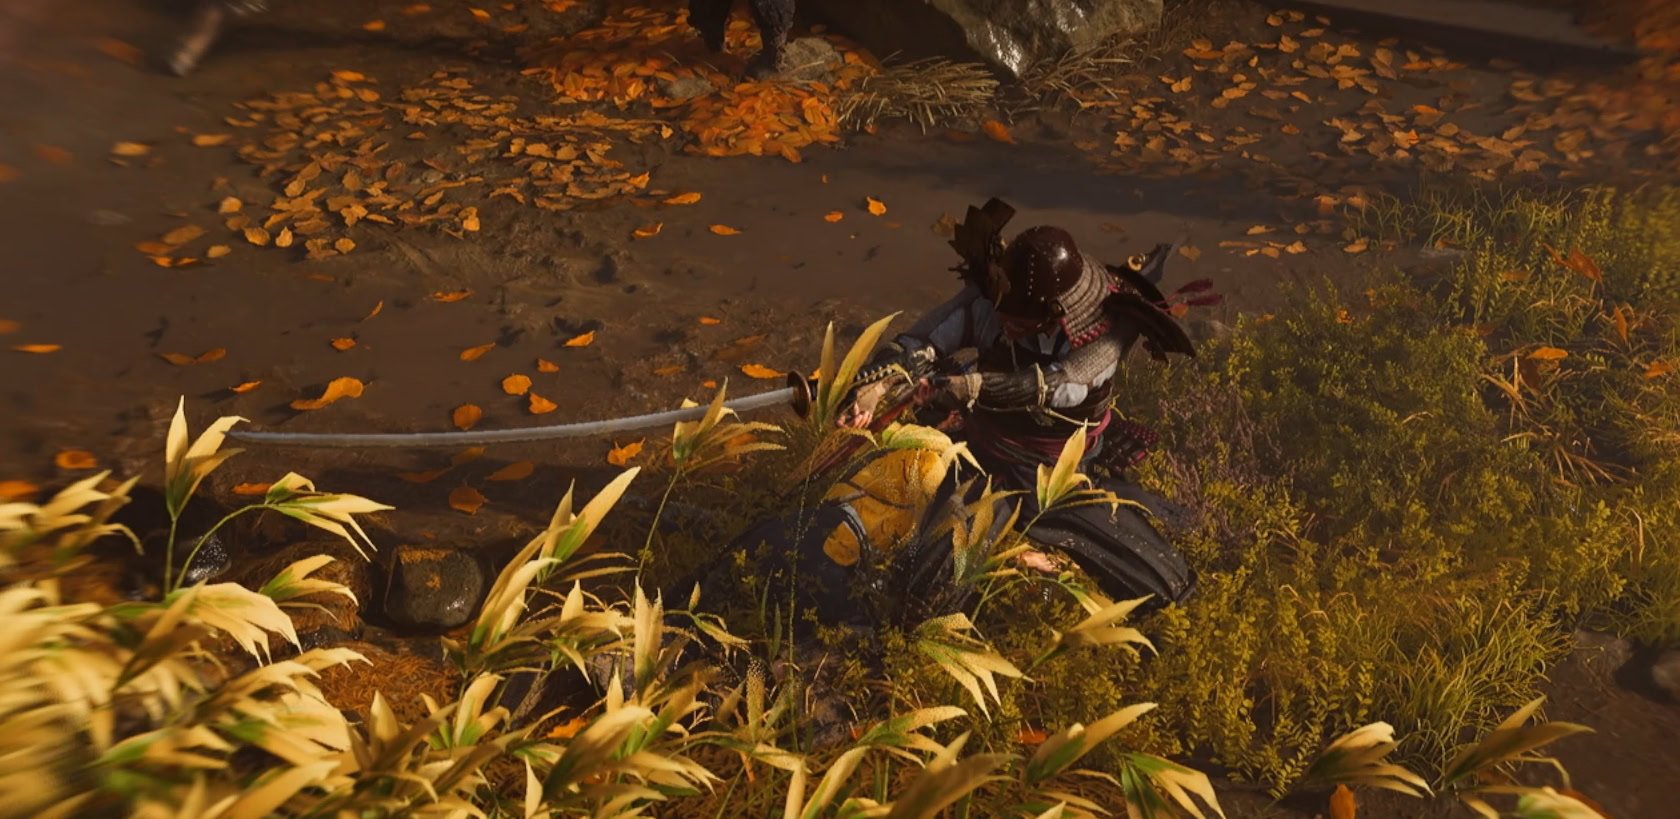
If you got the bow as recommended earlier, you’ll need to take out this outlaw from behind the stables. Another outlaw will check in on him, take him out as well. Don’t settle for anything less than a headshot.
If you’re finding it tricky to fine-tune your aim, you can turn on Aim Assist under the Accessibility Settings. Alternatively, you can enable Motion Sensor Function Aim under the Controls Settings.
You can continue sneaking through the yellow grass to reach the palisade wall, or you can take out the outlaws in the area. If you do, you can loot a good amount of iron in the area.
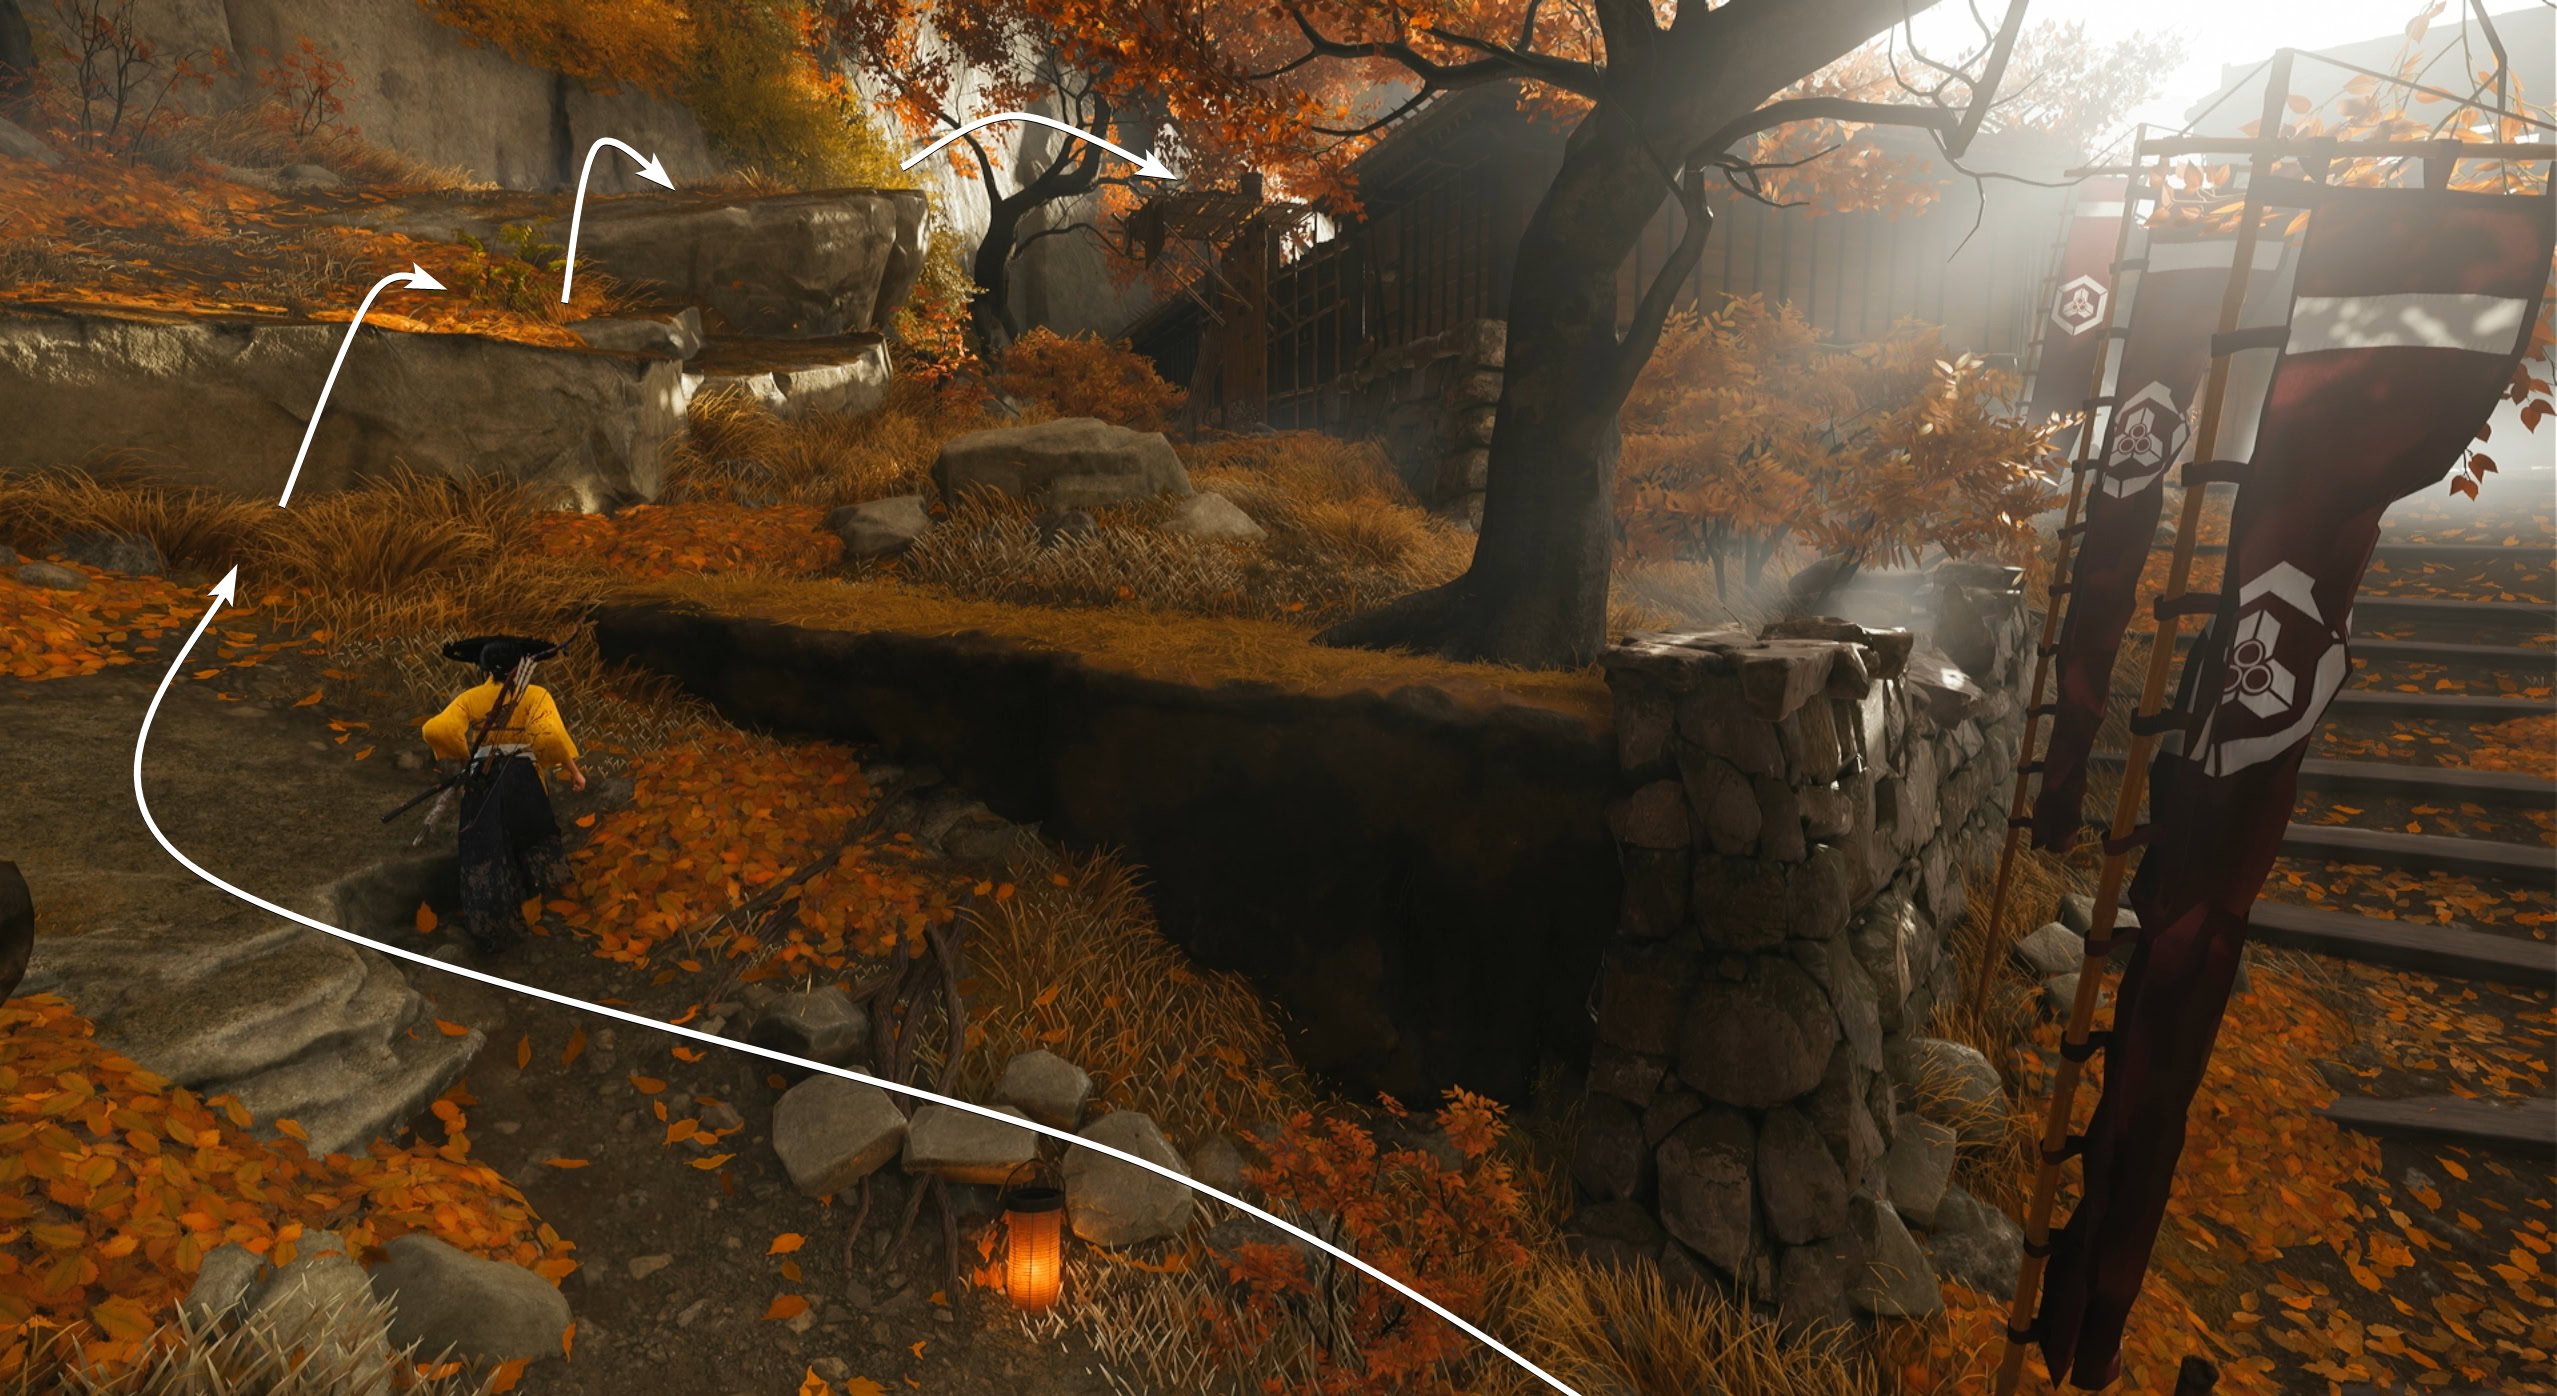
Squeeze through the gate then make a left. You’ll want to go up the outcrops then jump to the scaffolding on the wall to reach the next area.
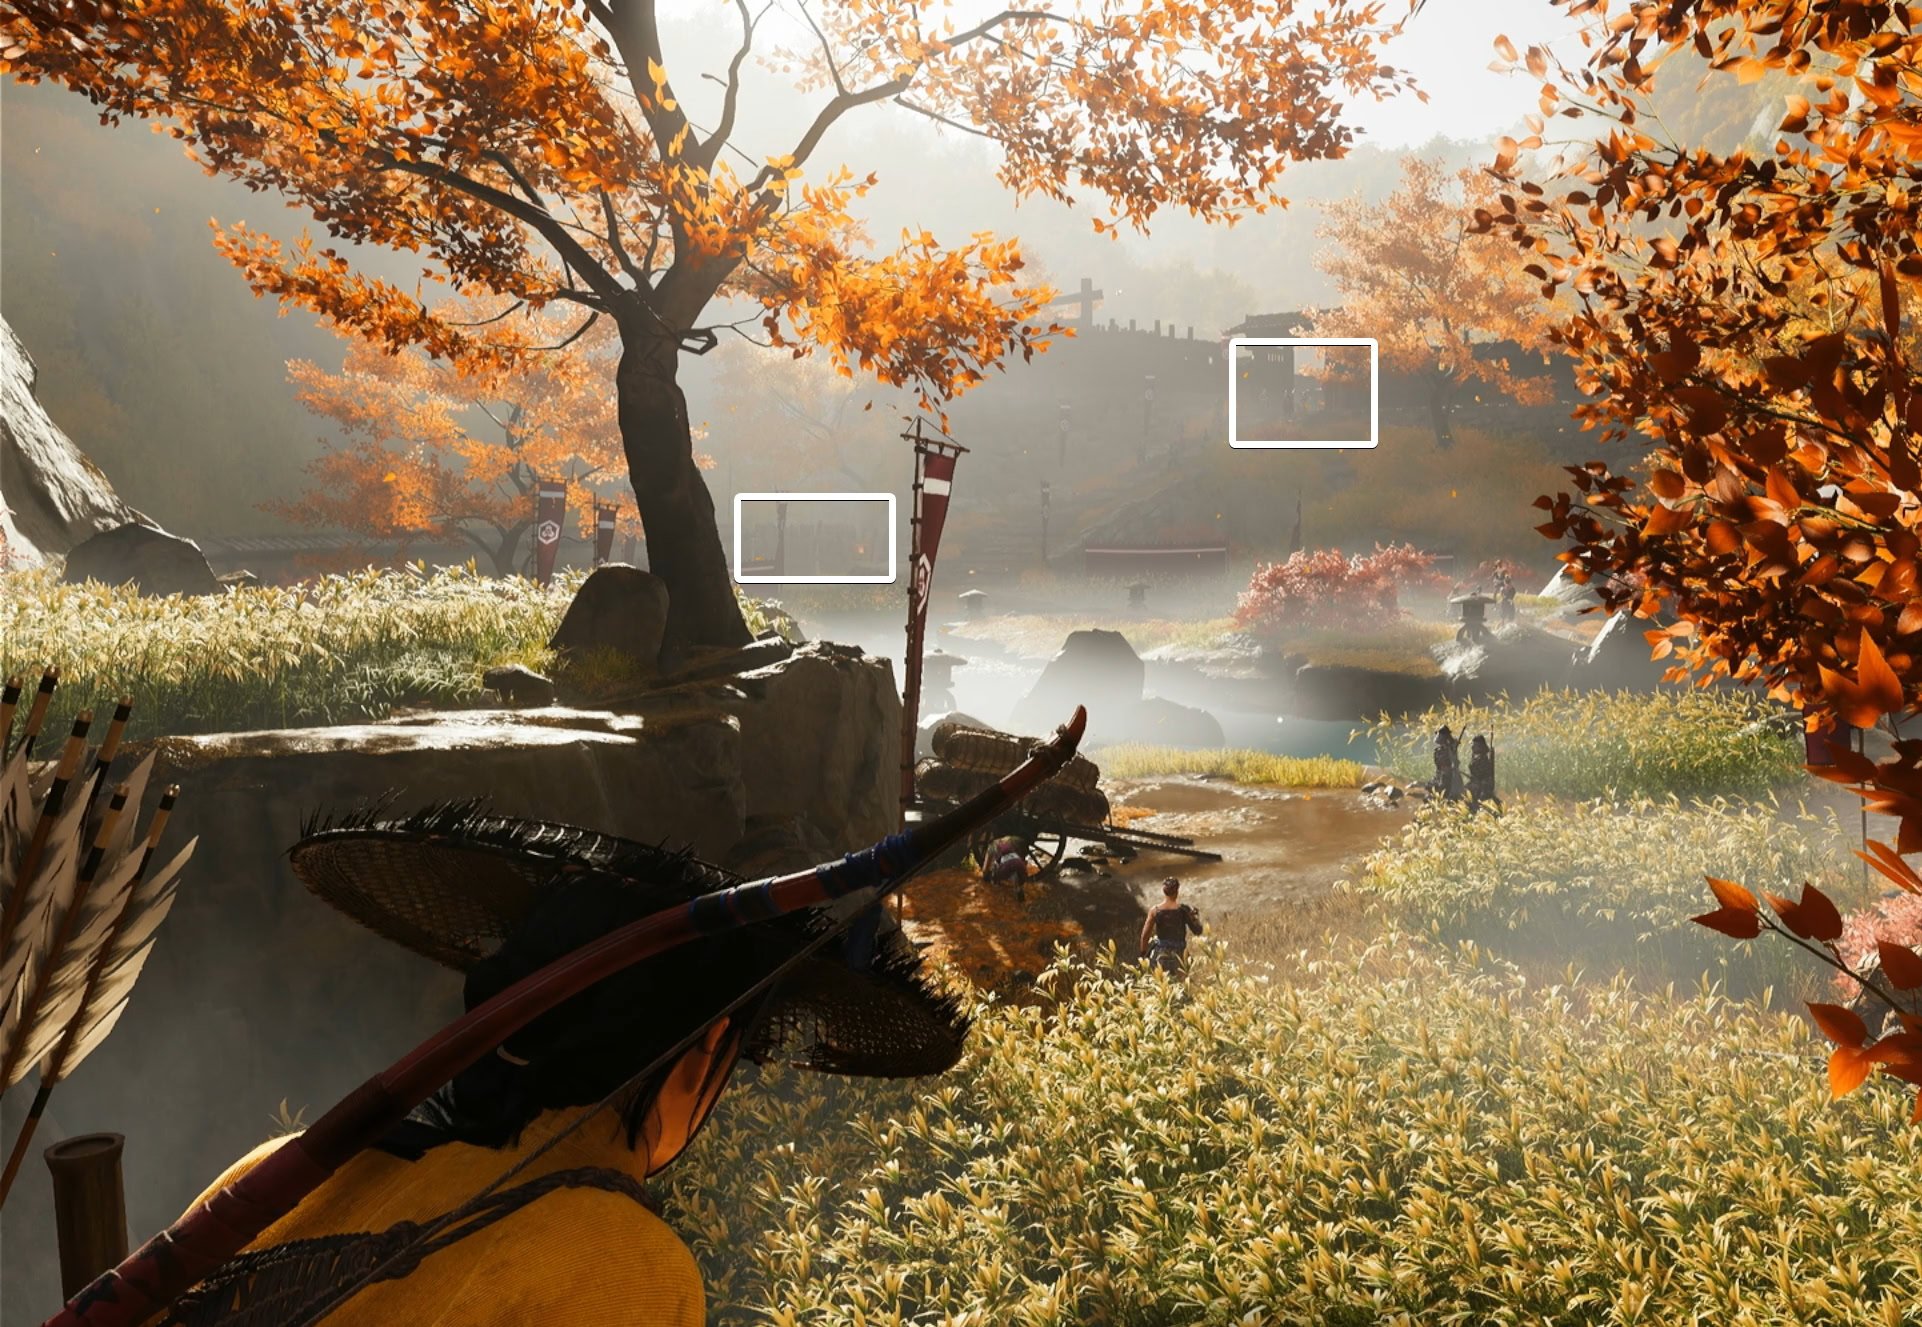
After a cutscene, you’ll need to use your spyglass and scout out two locations. The gate where Saito is at, and a palisade wall to the left.
It might be tempting to assassinate the outlaws one by one to sneak through, but this is exceptionally dangerous. It’s easy to alarm them all and be surrounded. The outlaw with the odachi (the long katana) can one-shot you if you’re not careful.
It’s far safer and easier to continue sneaking through the yellow grass. Get to the yellow grass to the right of the bridge, then keep sticking to the right.
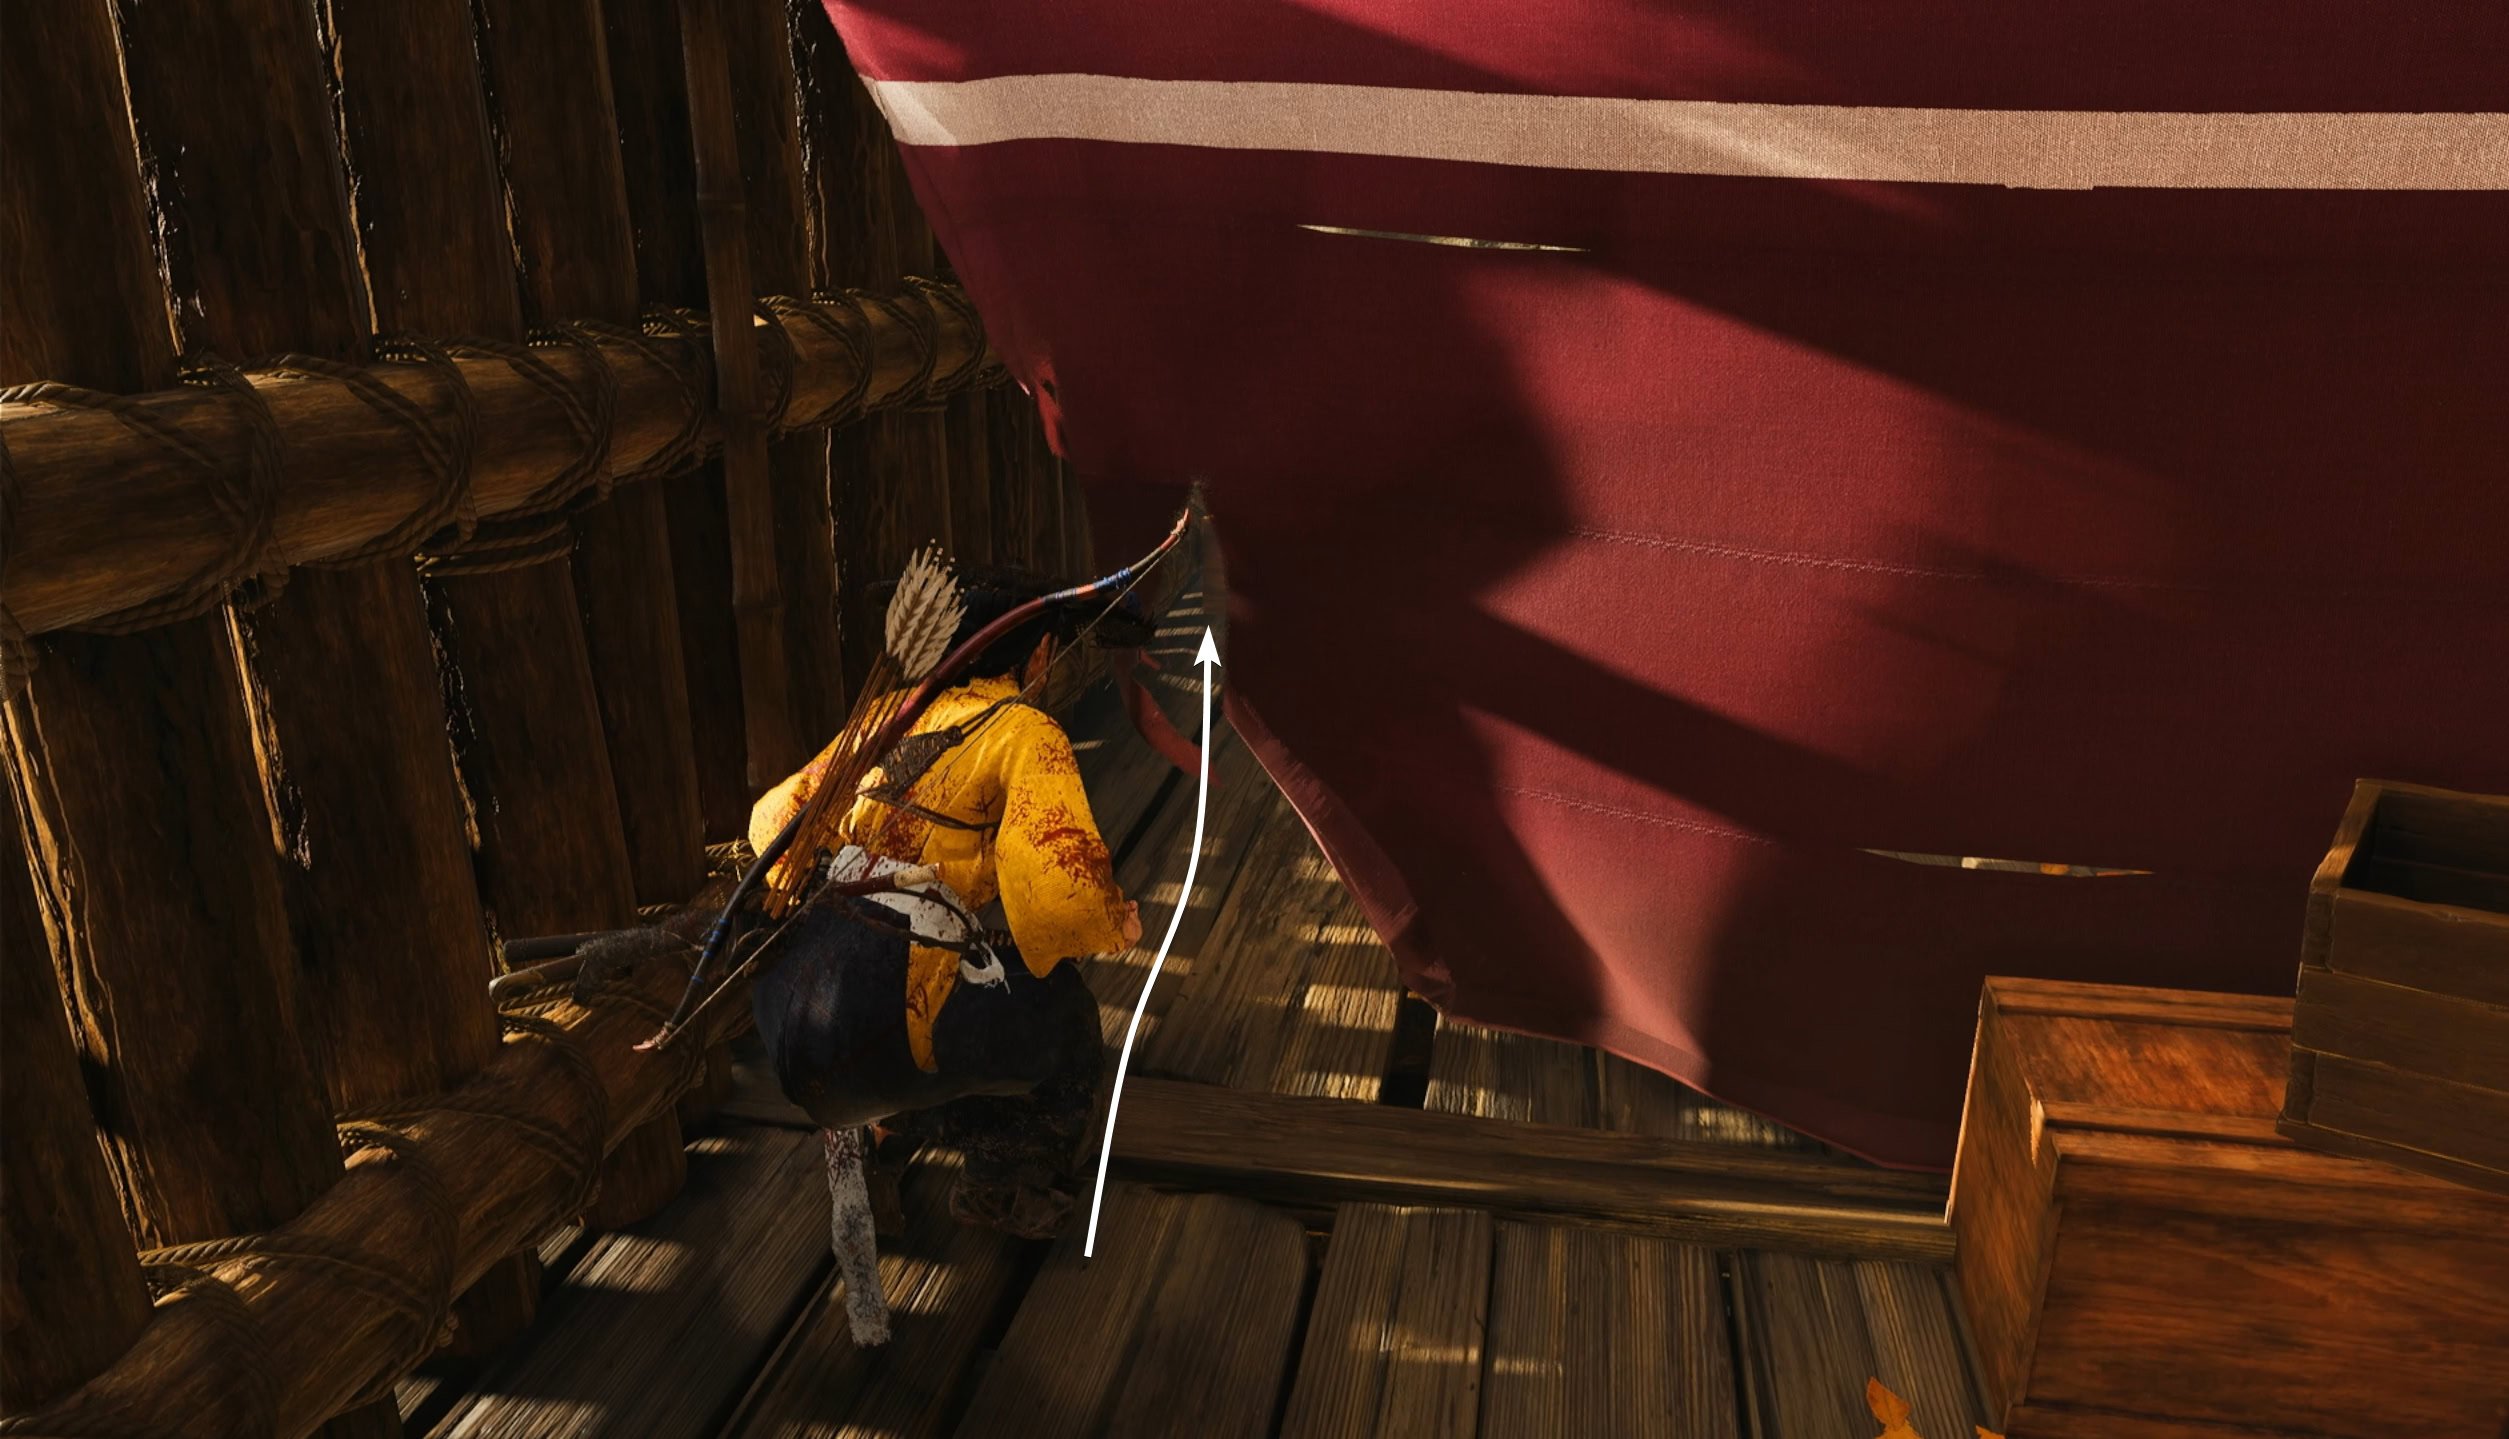
Assassinate the lone outlaw near the banner. Keep going through the grass until you reach the palisade, then squeeze through to access some cliffs.
Search the Fortress for Saito
You’ll need to jump across the ravine to reach the opposite cliff face, then climb up the rocks with the white markings. Once you reach the large tree, jump towards the other cliff and press △ to grapple to the branch ahead.
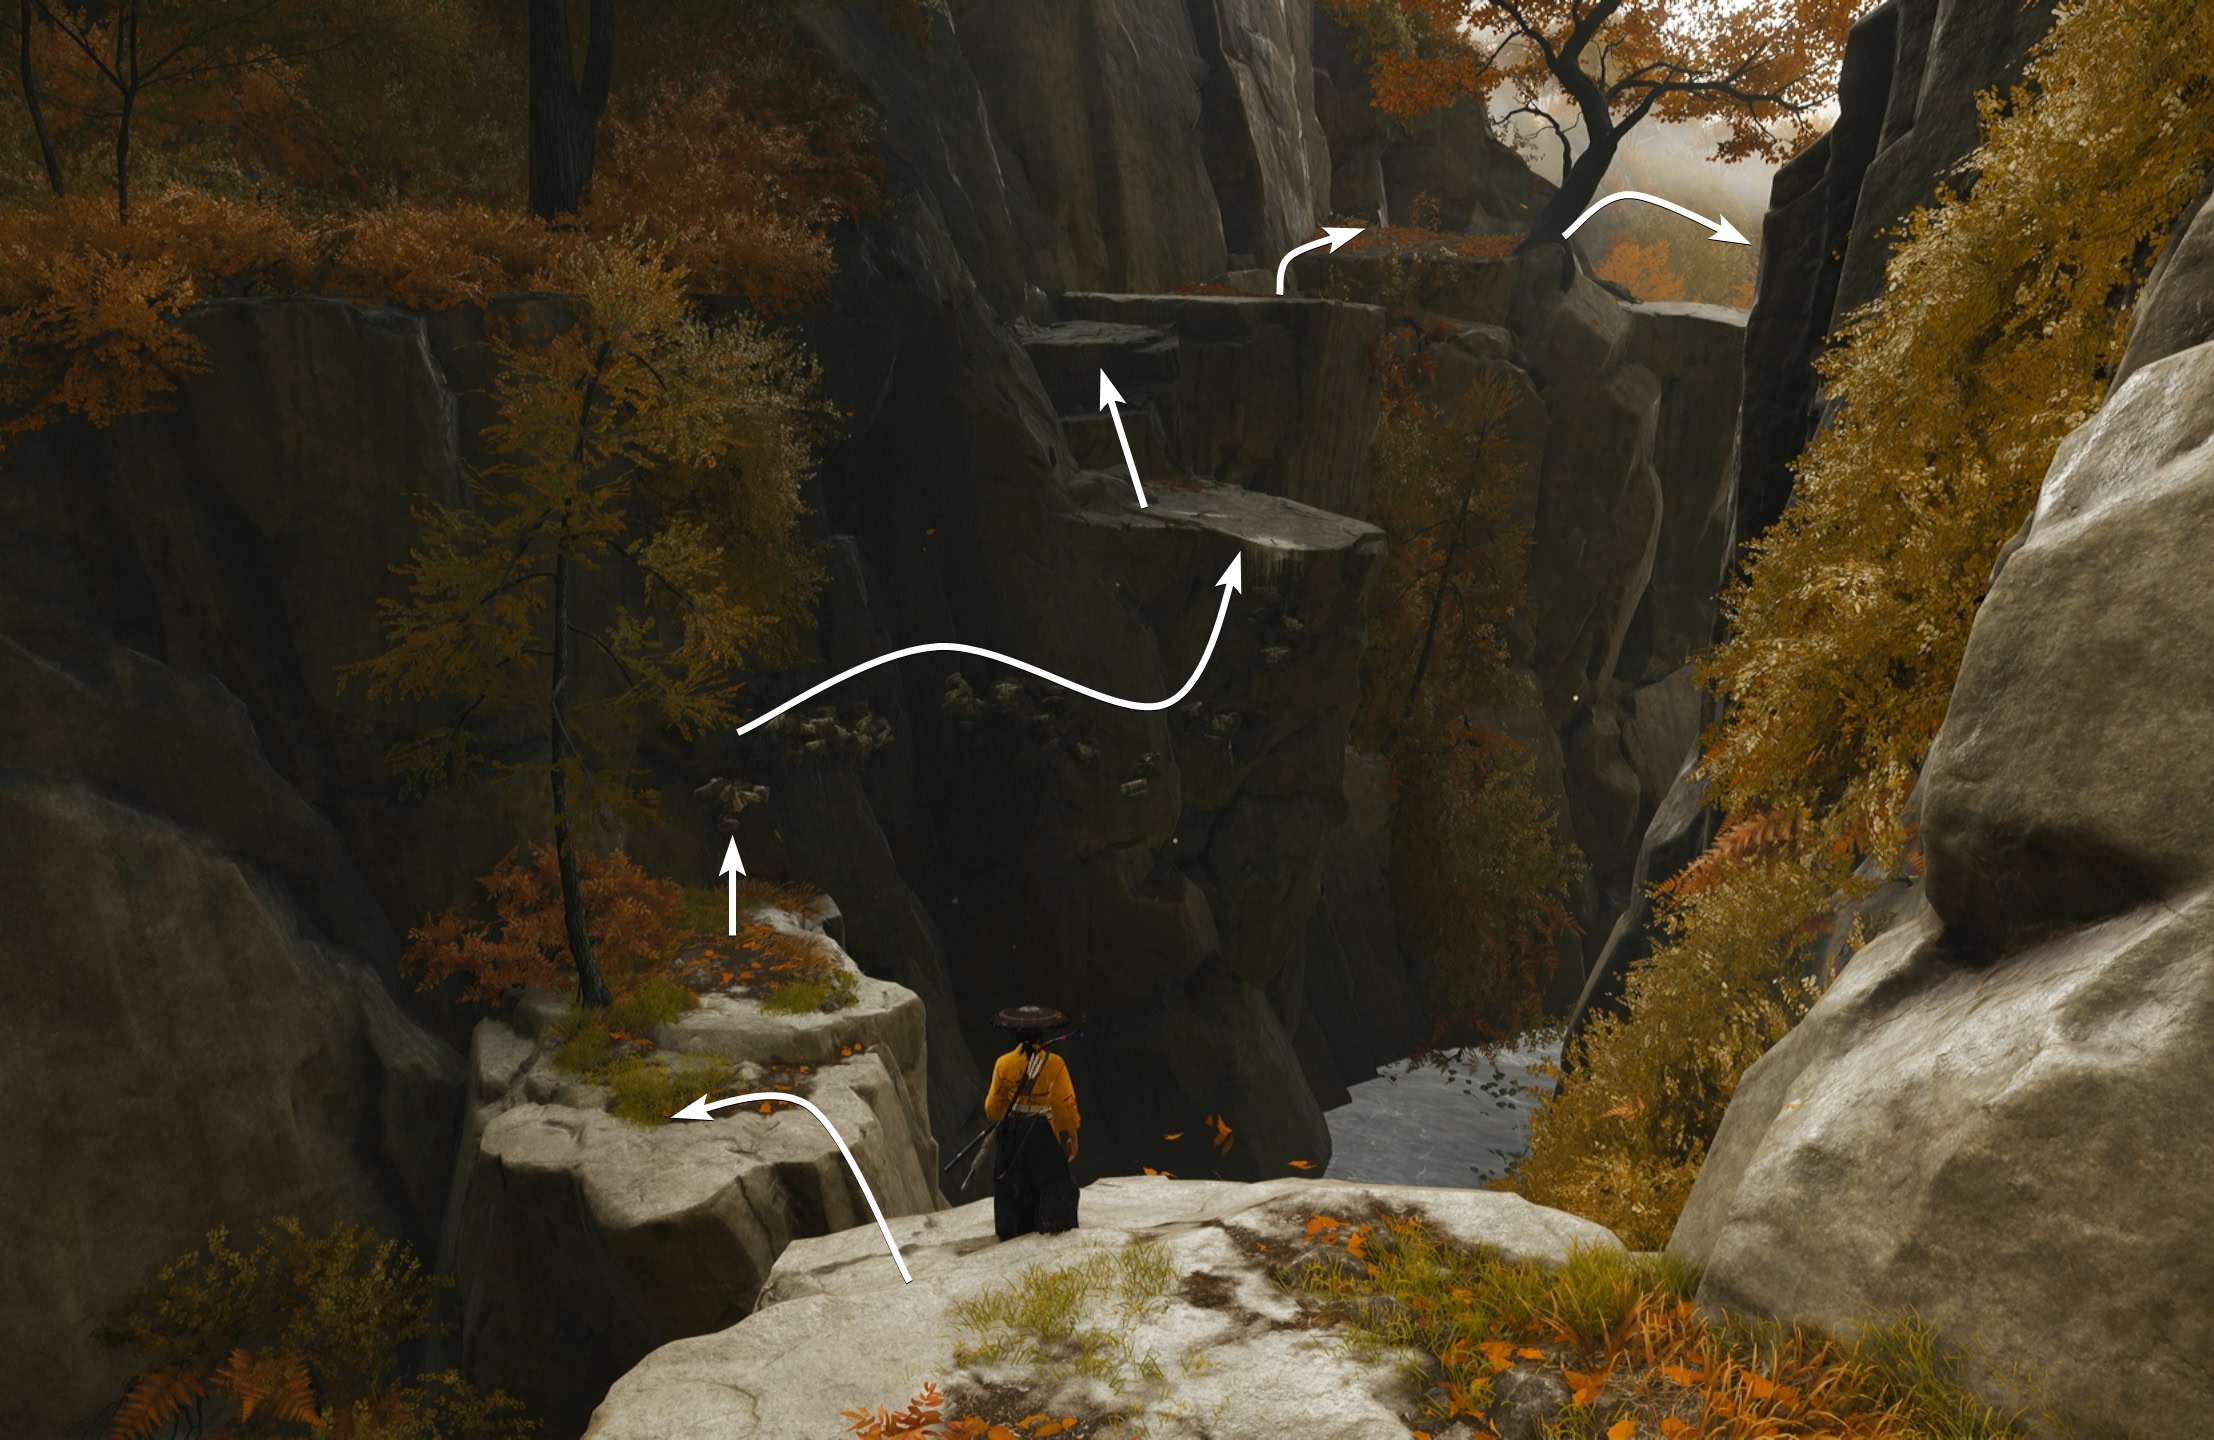
Continue climbing the cliff to access the fortress again. Wait for the outlaw opening the gate to turn away from you, then assassinate him. Up ahead, you’ll find numerous outlaws in the area. Stick to the left and go behind the stables.
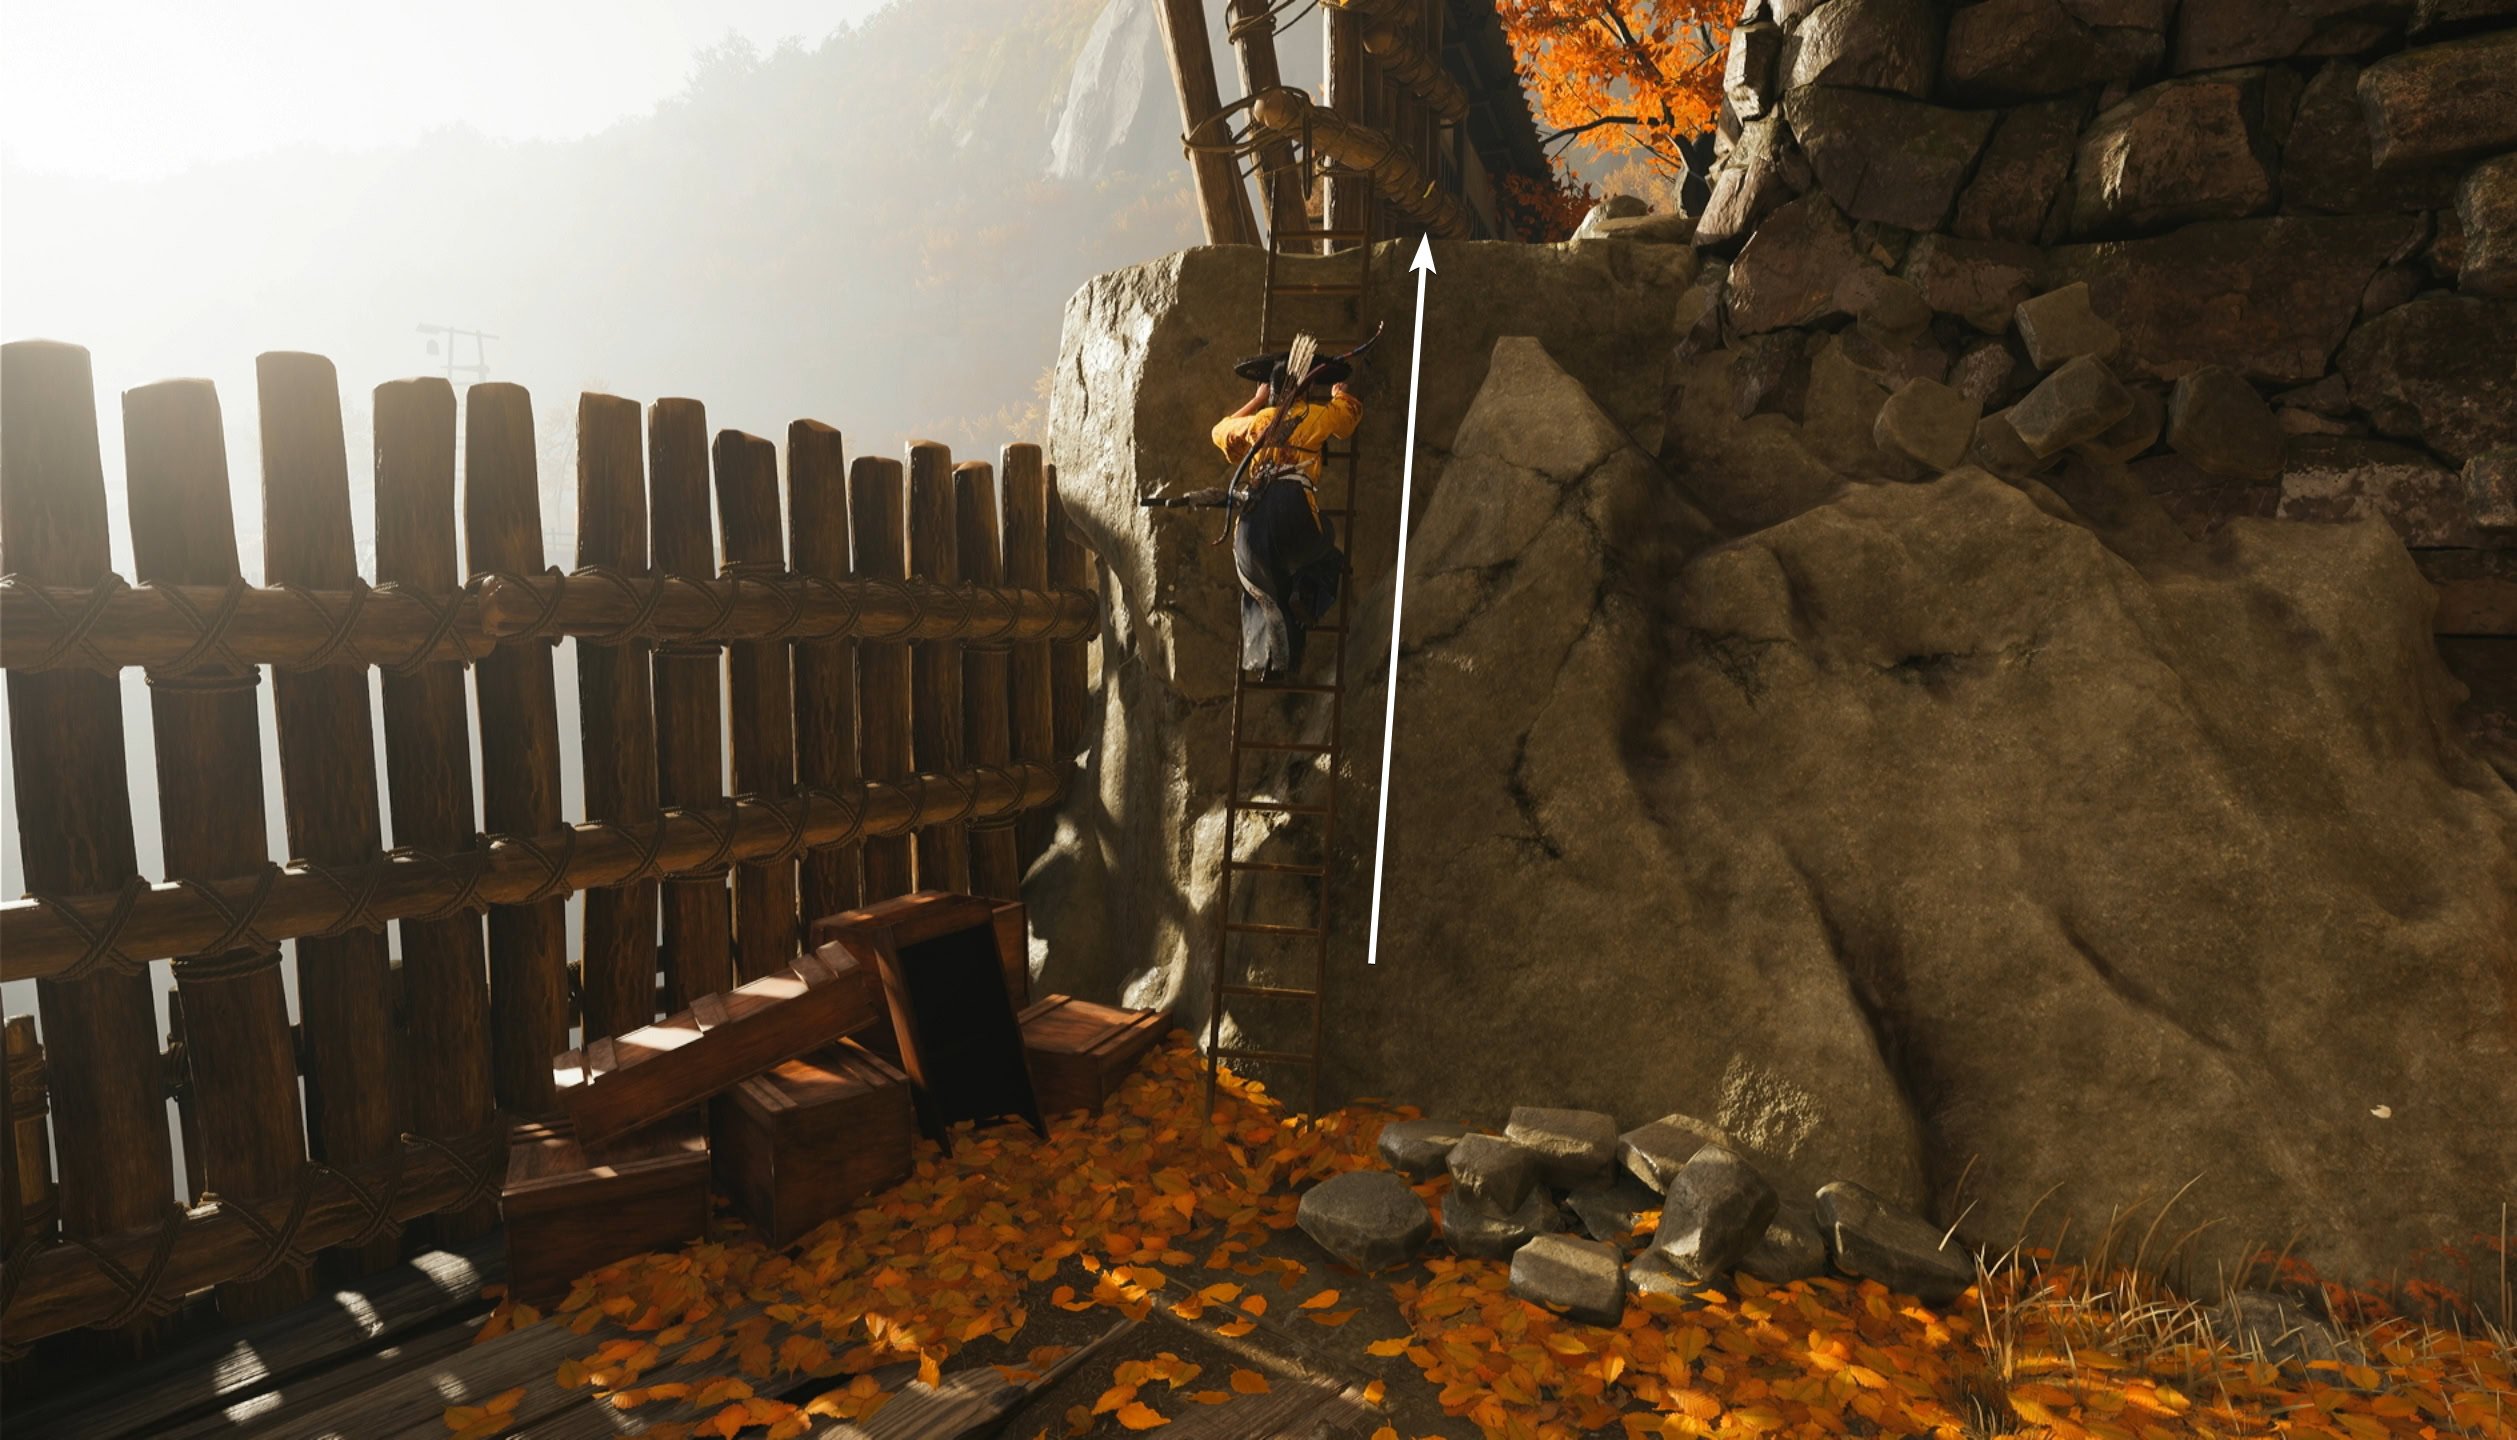
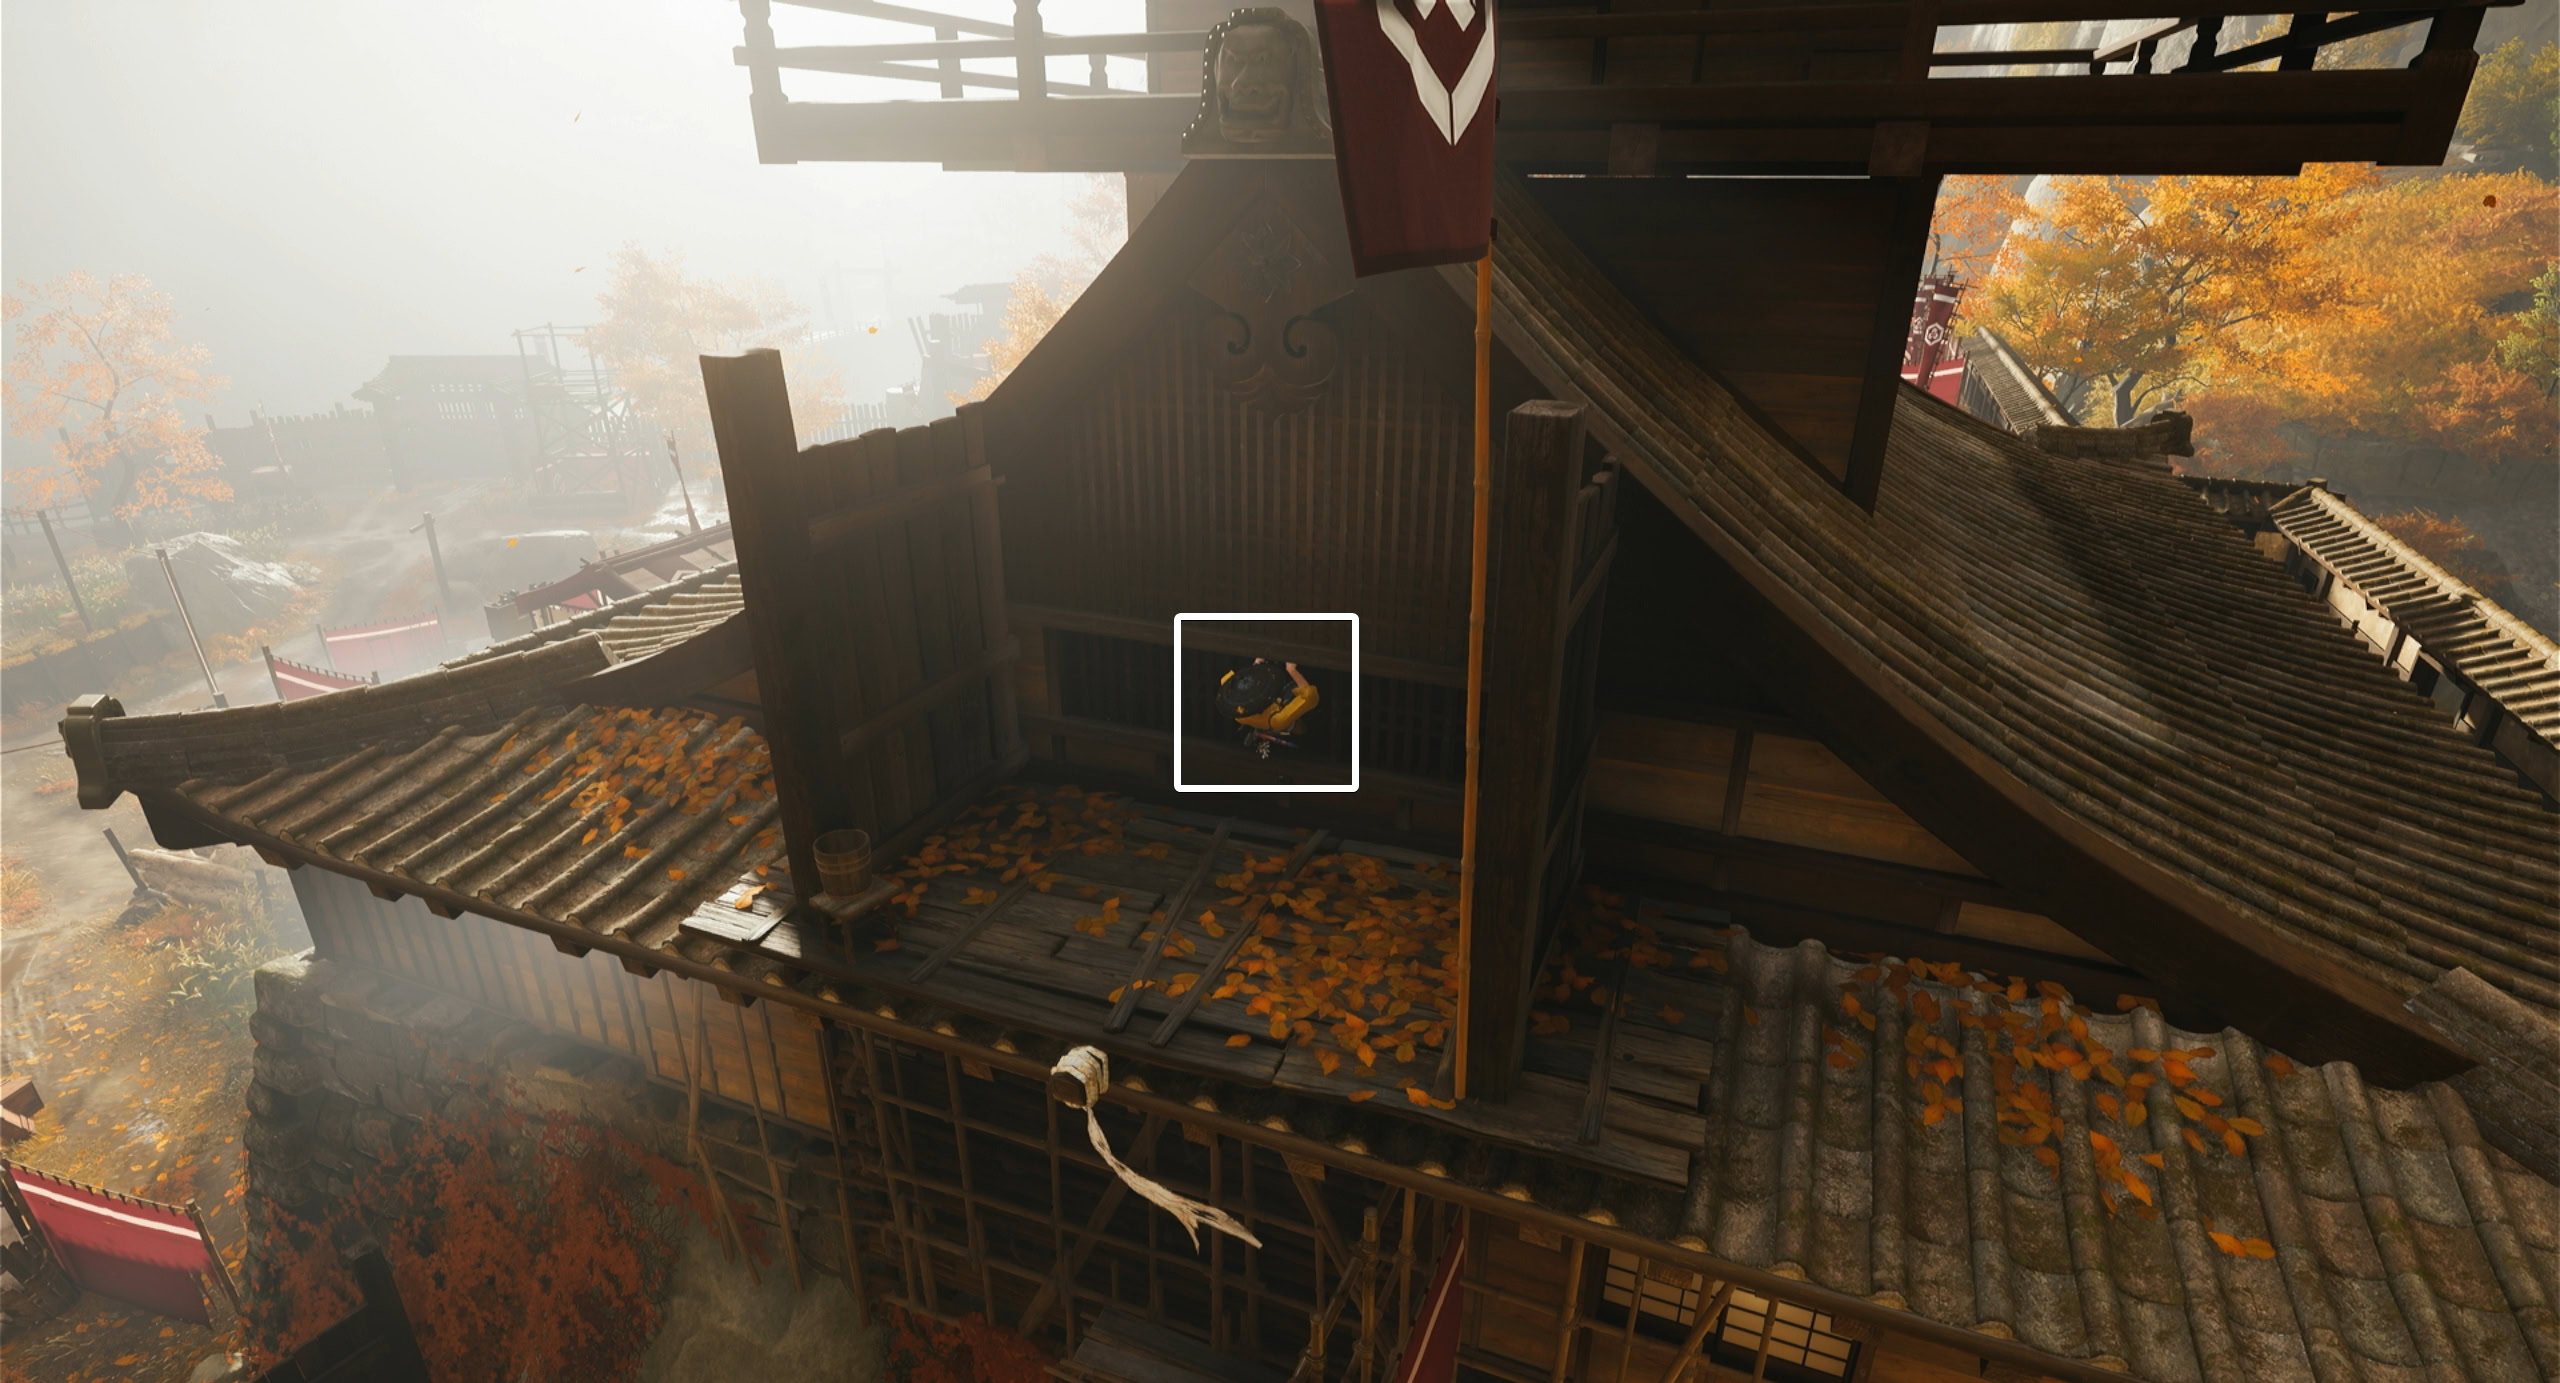
Assassinate the outlaw overlooking the ravine and continue sticking to the left, hiding in the yellow grass when available. Step through the cloth panel to find a ladder straight ahead. Go up the ladder and continue sticking to the left side.
Reach the Top of the Keep
Squeeze through the crack in the fence and proceed forward. The only way forward is going down a slope. When you fall off the slope, grapple onto the tree branch and swing to the other side. Climb up the rocks with the white markings.
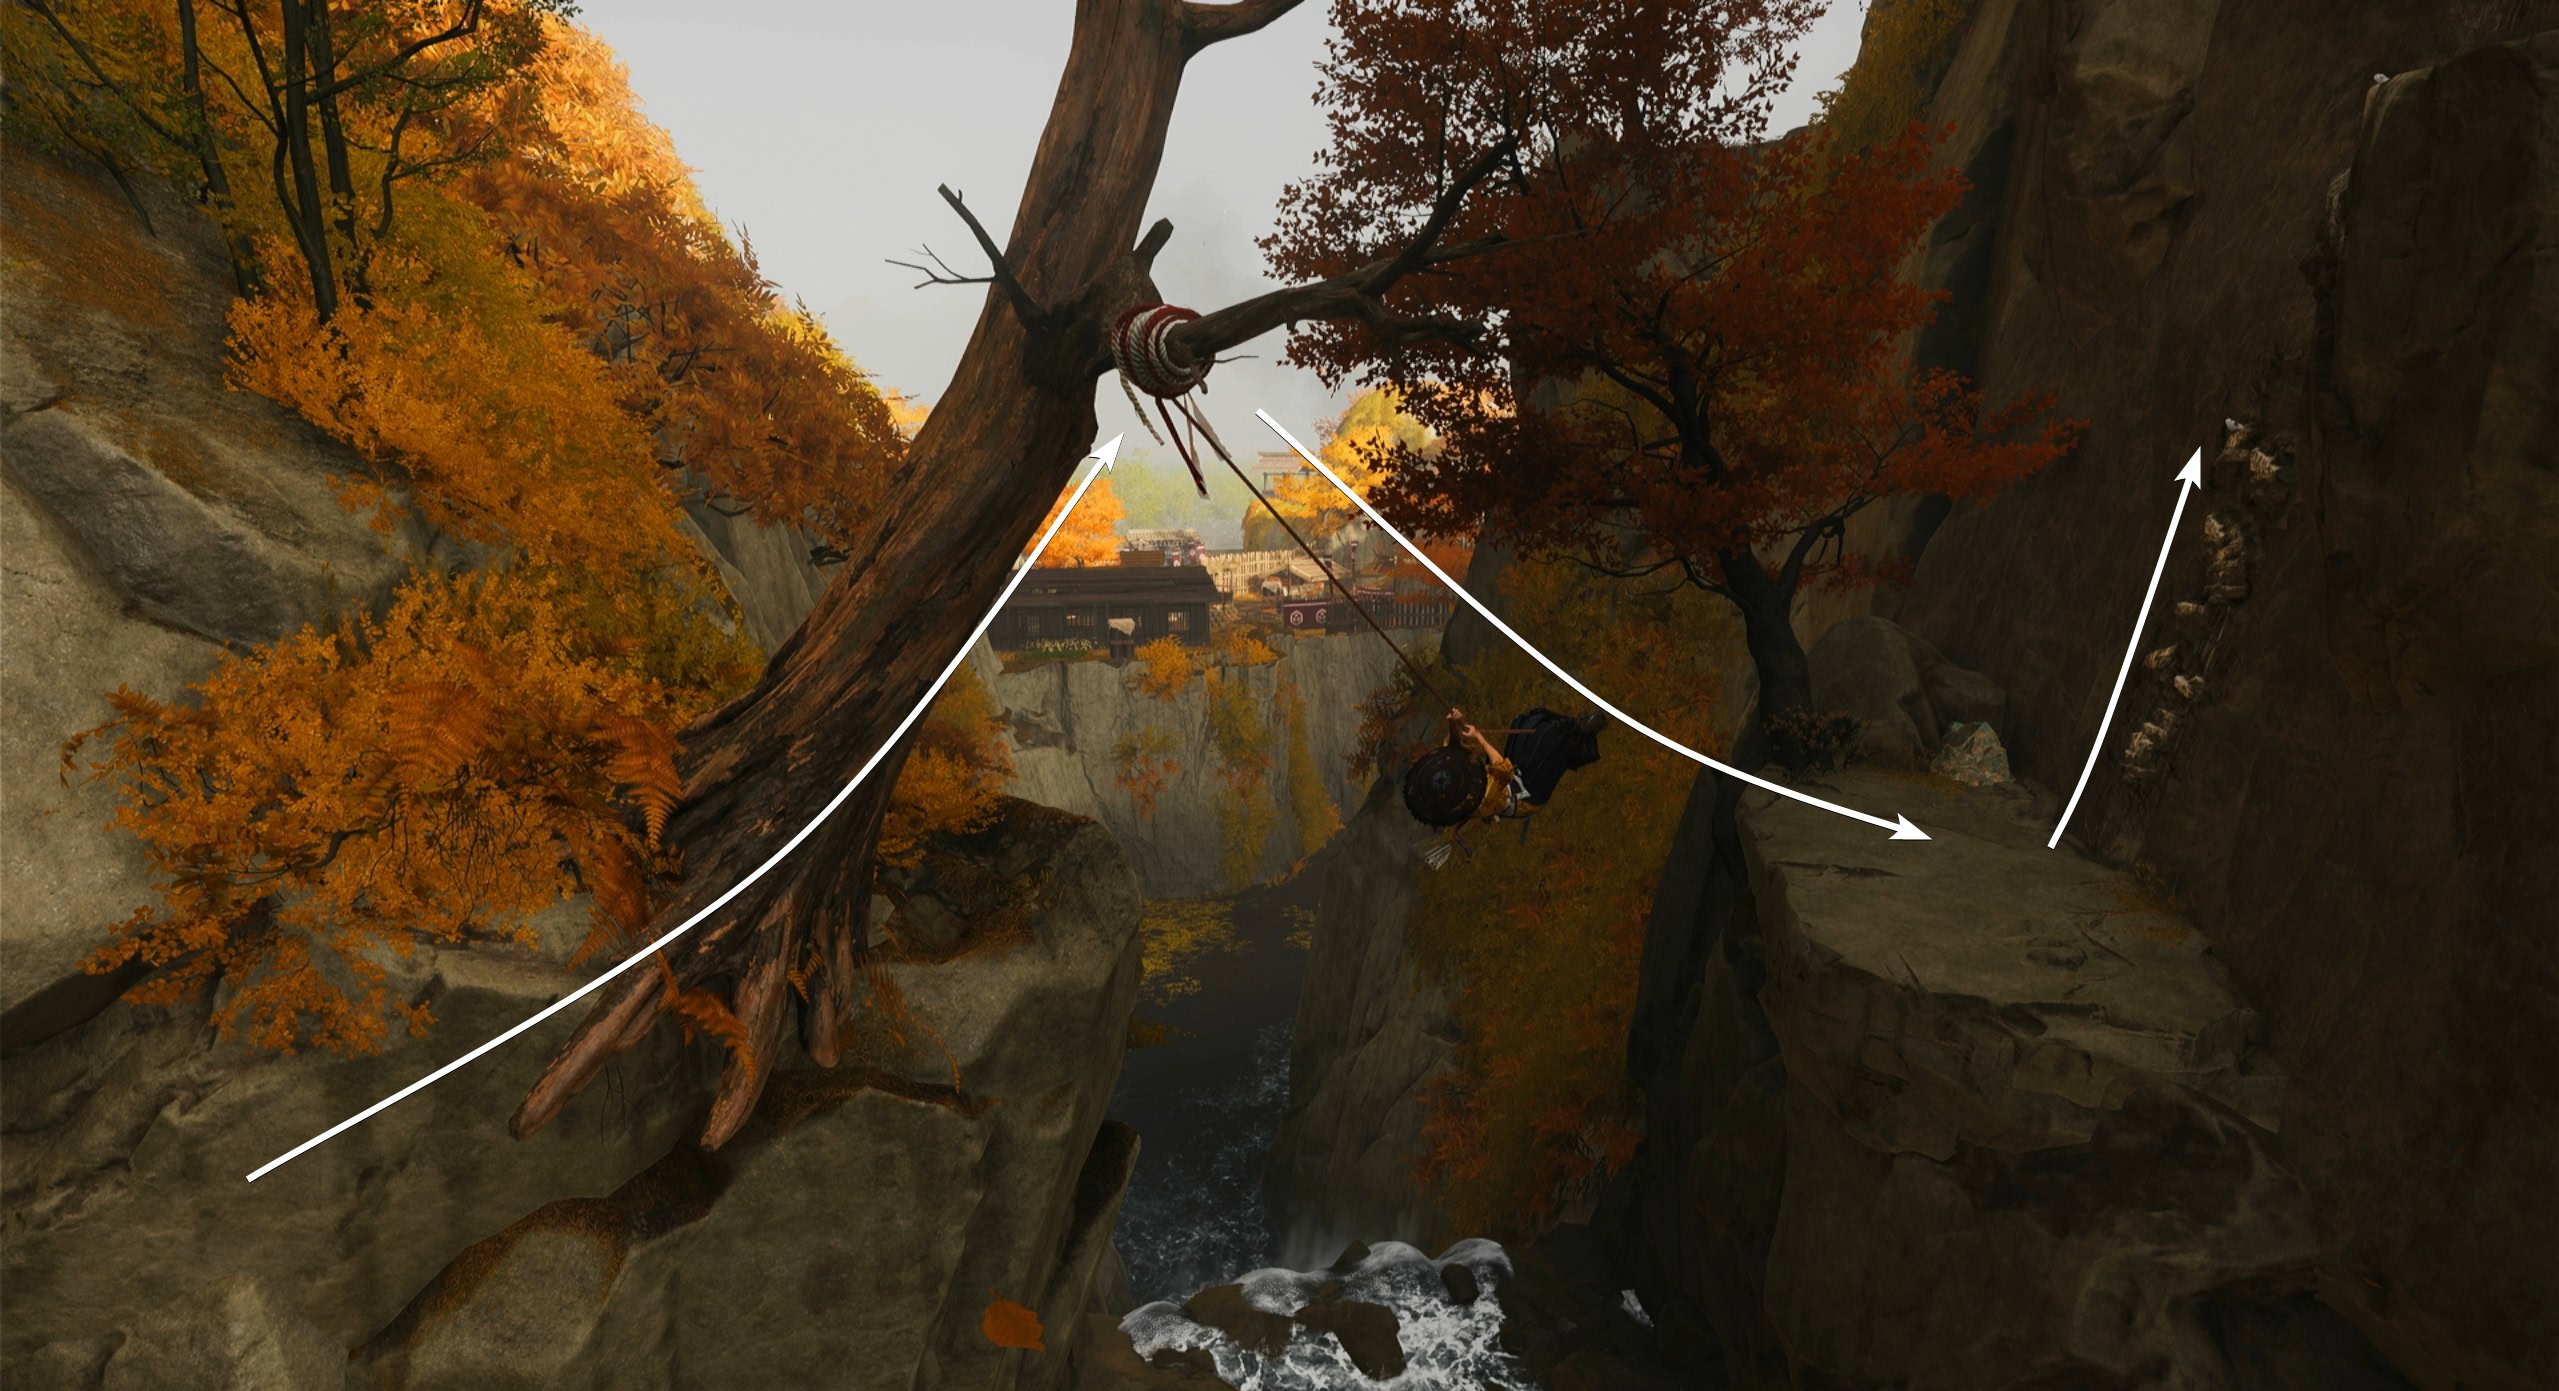
Swing across and to some branches and keep climbing up until you reach the top of the keep. Crawl through the opening to start a cutscene.
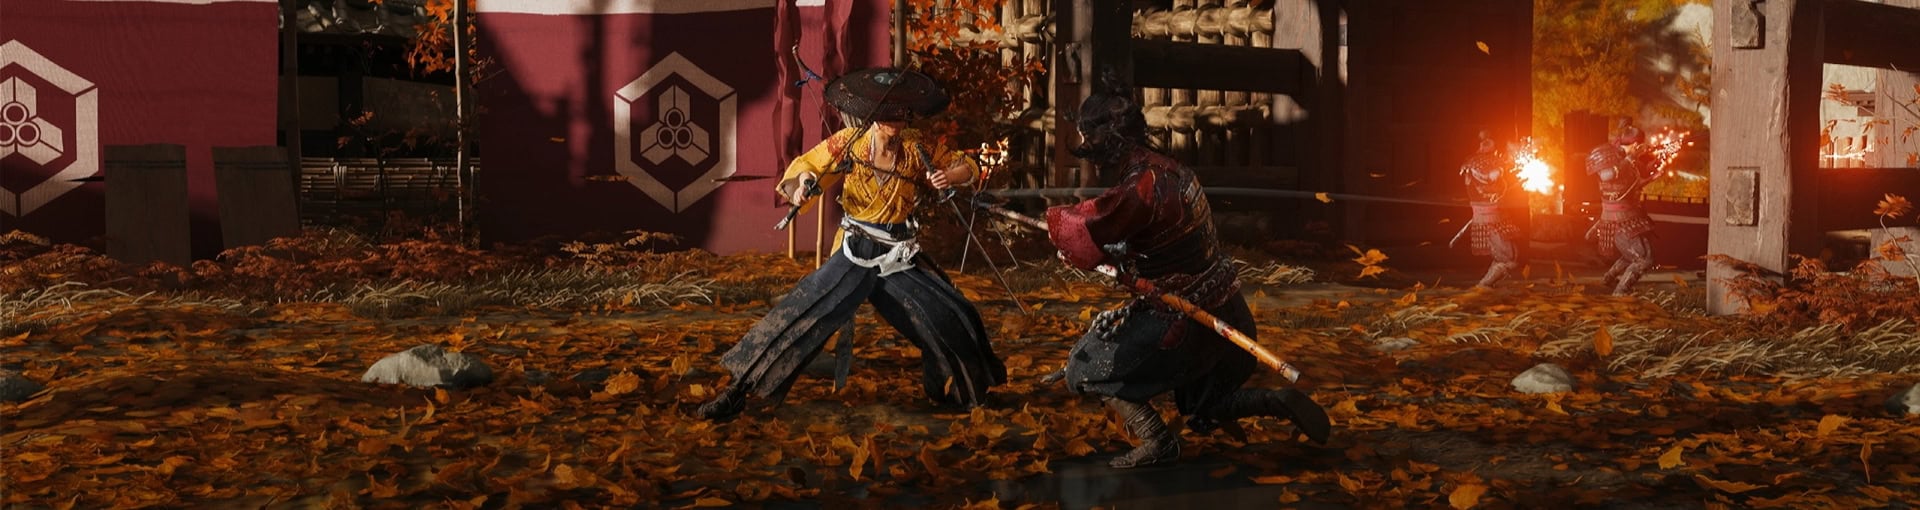
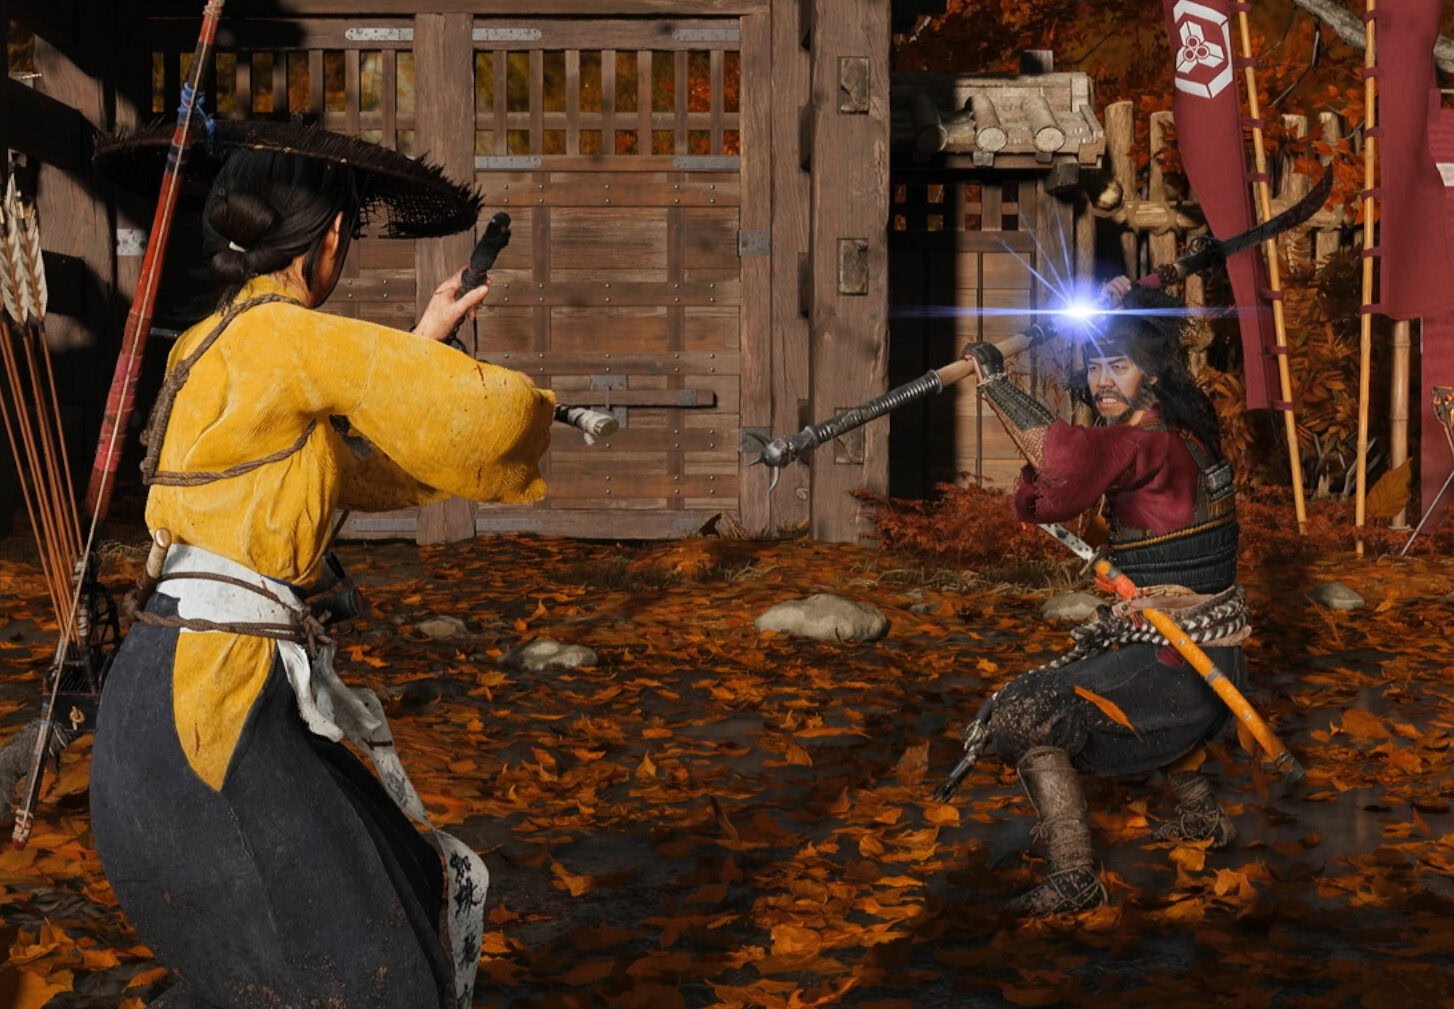
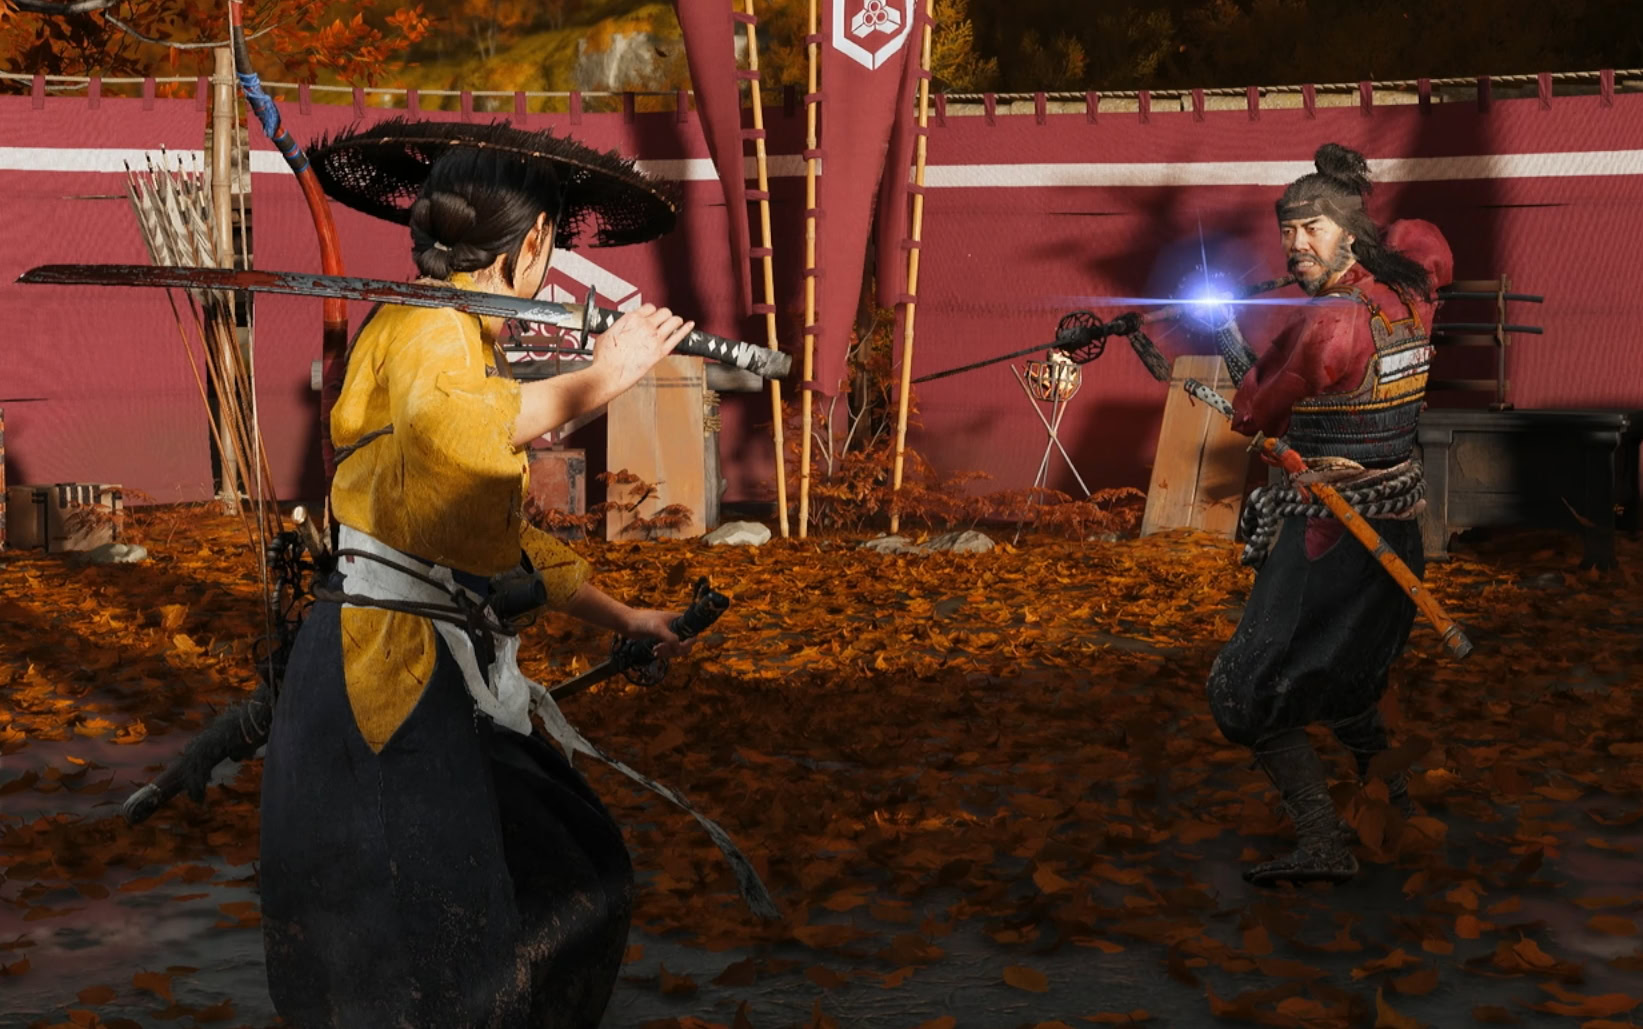
Lord Saito Boss Fight
After the cutscene, Atsu gets the chance to fight Saito. This boss can be very difficult until you learn his attack patterns. He often has a delayed opening attack followed by multiple quick attacks.
Don’t be too hasty when trying to parry the delayed attacks when you see the blue glint. Parrying too soon means you’ll miss and get hit. This guide will show you which stances Saito makes where he’ll use these delayed attacks.

Stick to Dual Katanas as Saito is using a naginata. Parry his attacks and use heavy attacks between his combos to break his guard. When his guard is broken, use light attacks until his guard is back up.
That’s all well and good in theory, but you’ll need to know his attack patterns to pull this off. Watch for this stance he makes, he’ll swing his naginata upside down in four quick attacks.
If he’s holding his naginata almost parallel to his body like this, his first swing will be delayed. This is followed by three quick attacks then one delayed attack where he sweeps around himself in a circle.
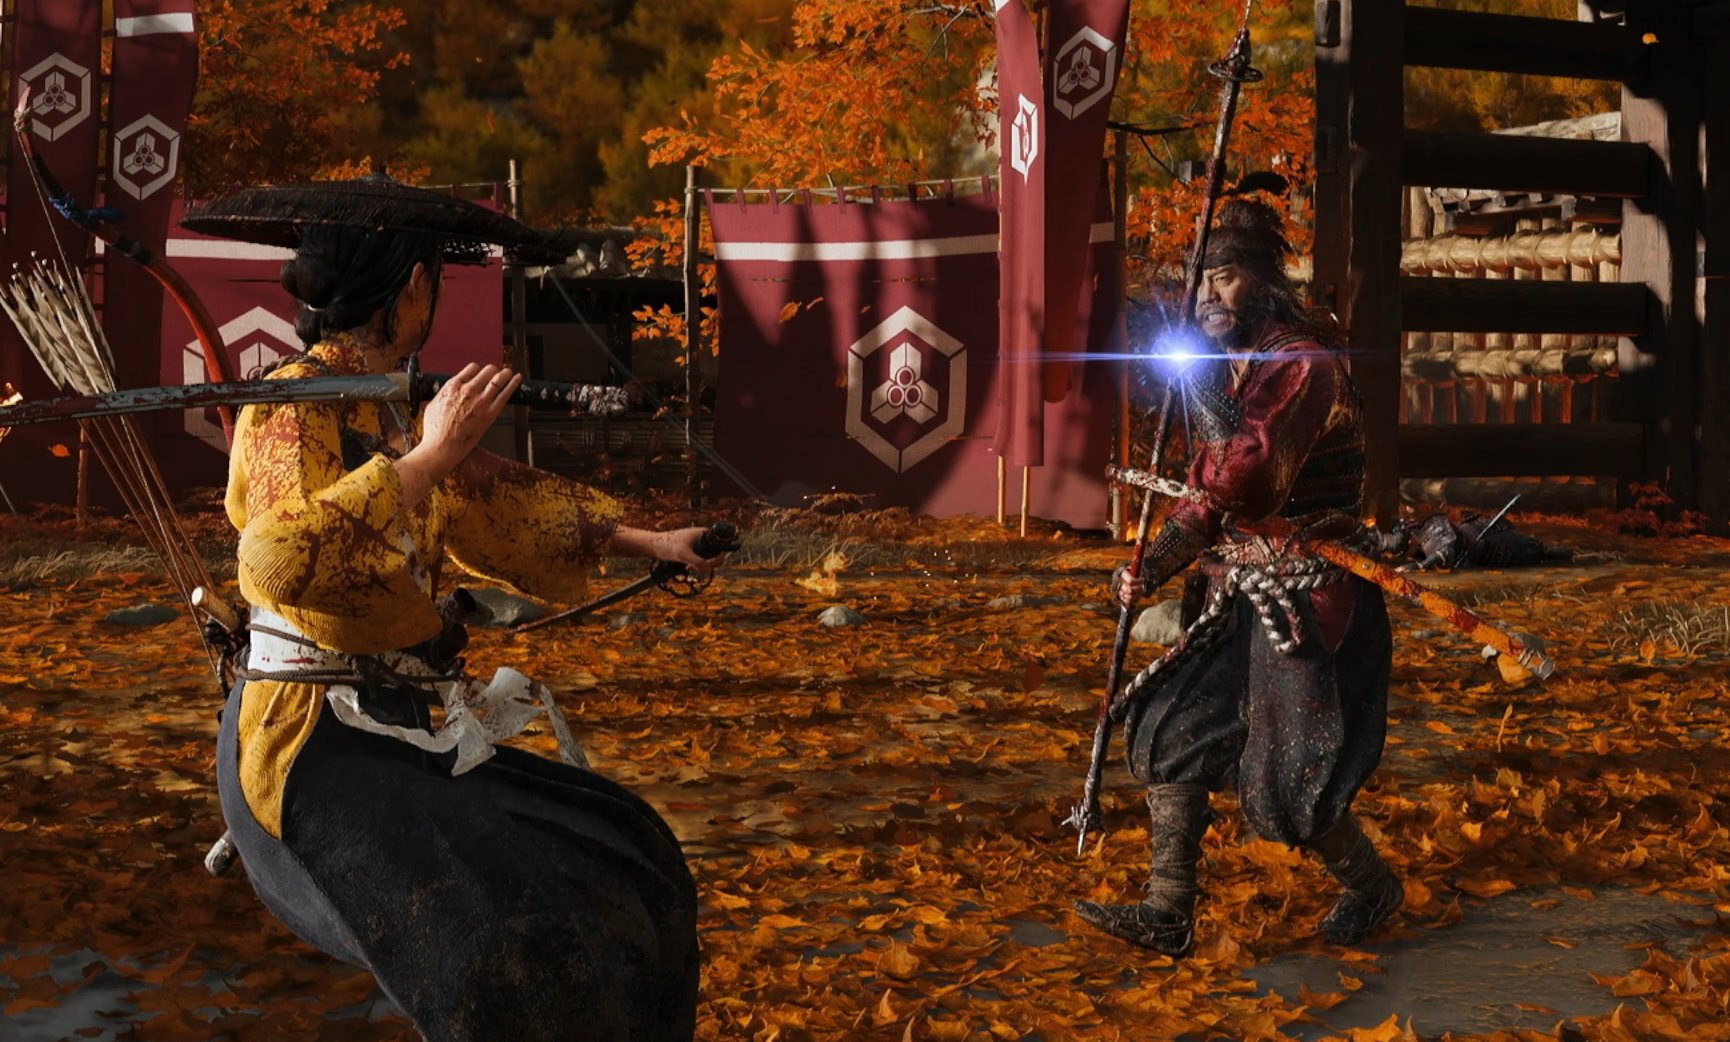
One stance you really need to watch out for is when he has his naginata at shoulder level, parallel to the ground. This is a delayed feint attack where he’ll pretend he’s ready to thrust, only to pull back and swing from above, followed by a thrust.
If he dashes back with his naginata over his head, don’t parry when you see the blue glint. Wait for him to charge and swing at you to parry this attack. Parry the following upward pommel strike after the swing.
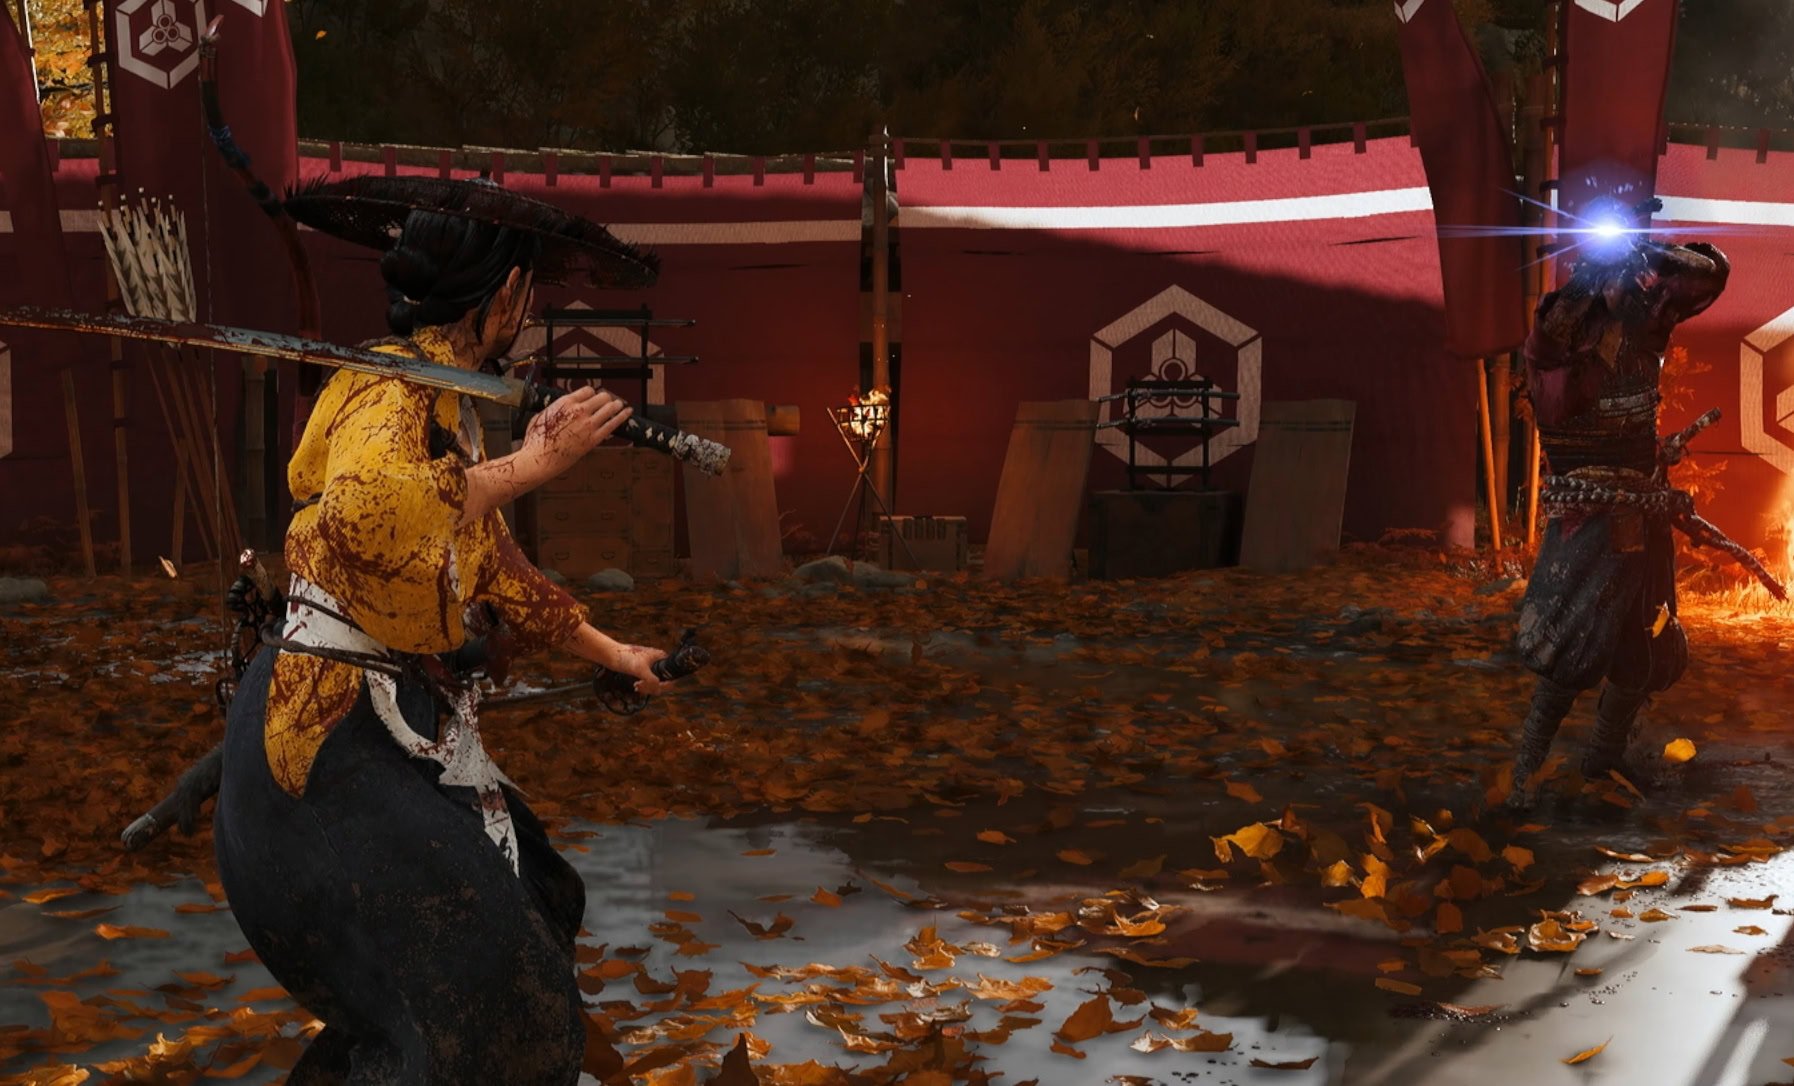
Keep these stances and attack sequences in mind, and you’ll do fine. Break his guard through parries and heavy attacks between combos, then light attack until he’s on the offense again.
Successfully accomplishing this will start a cutscene. You have now completed the mission, Shogun of the North! As a reward, you’ll upgrade the Onryo armor, allowing it to gain a boost to terrify enemies and summon the wolf.
If you were brave and did some exploring in the fortress, chances are you got a good few handfuls of iron. If you did, you can return to Atsu’s home and upgrade your katana at the forge there.
You’ll forge your weapon through a memory sequence like the first time you came back home. Tilt the controller to hammer the metal, use ⭘ to flip the metal, and ☐ to reheat the metal.

Continue this process until the metal has been extended and flattened entirely to receive your upgraded katana!