This guide will show you what the Bounty Master Armor looks like, what buffs it provides, and how to get it in Ghost of Yotei!
Table of contents
Cosmetic Appearance Tiers and Dyes
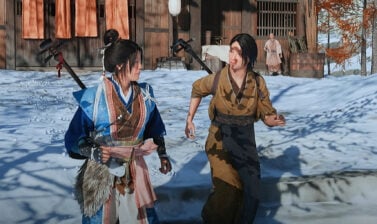
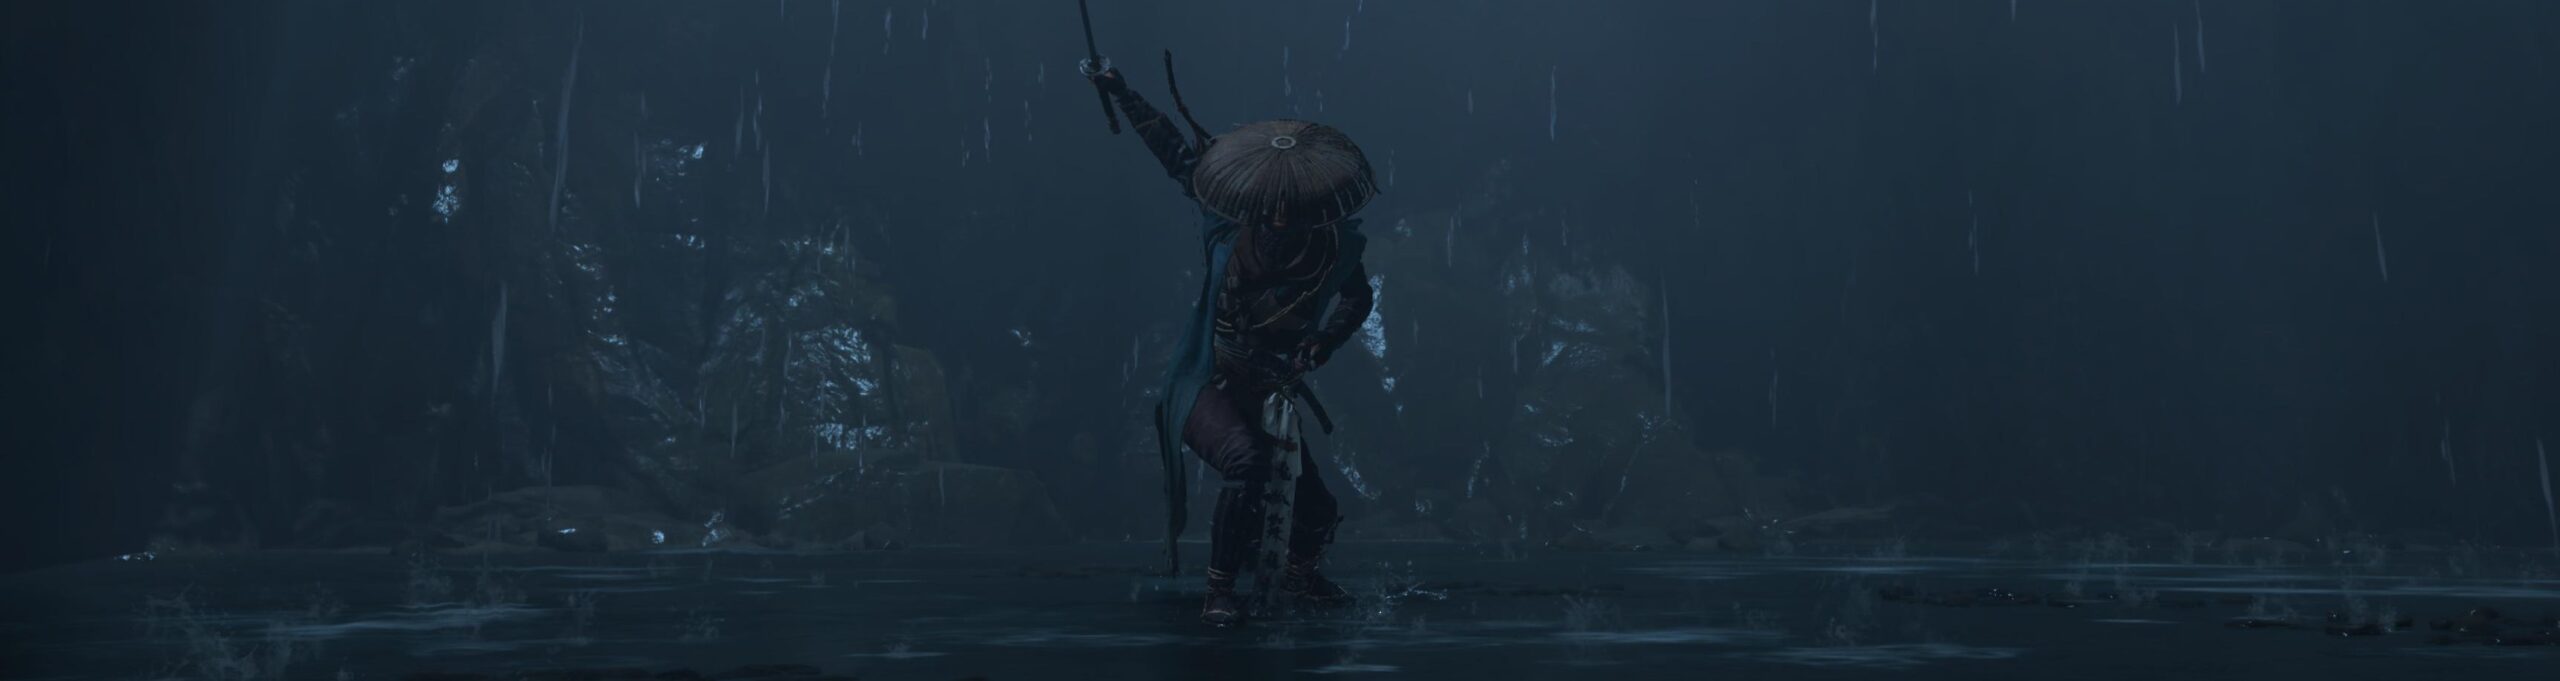
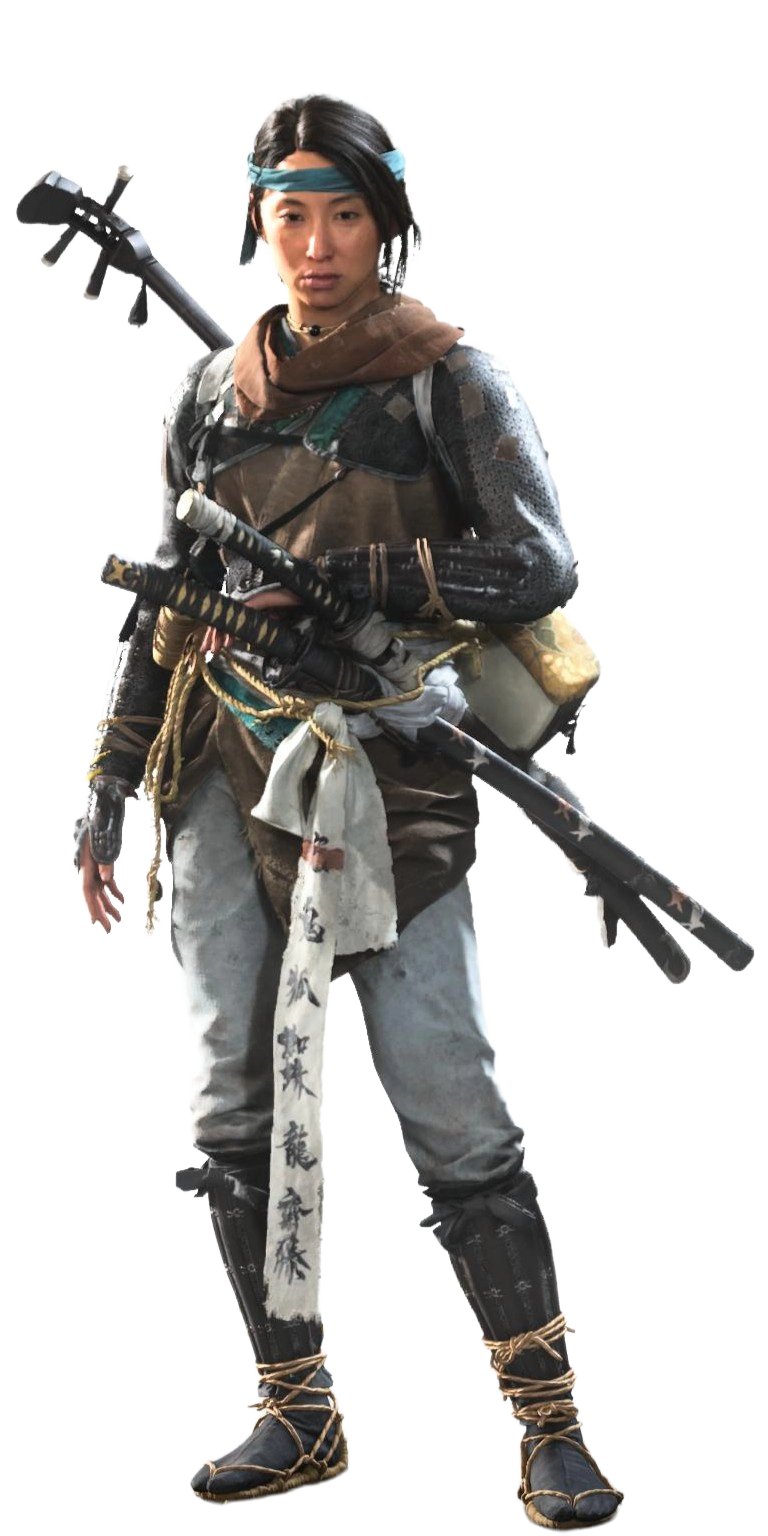
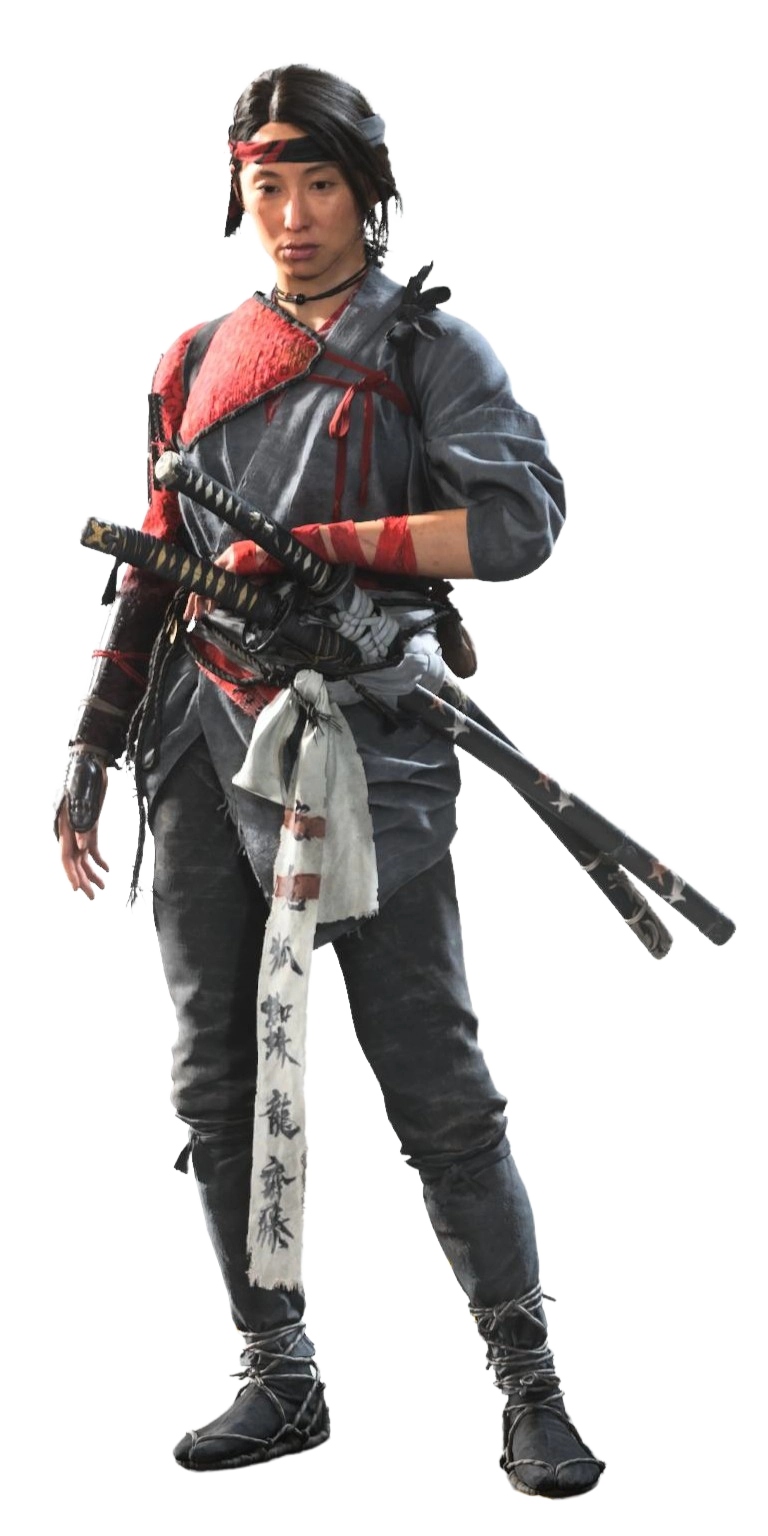
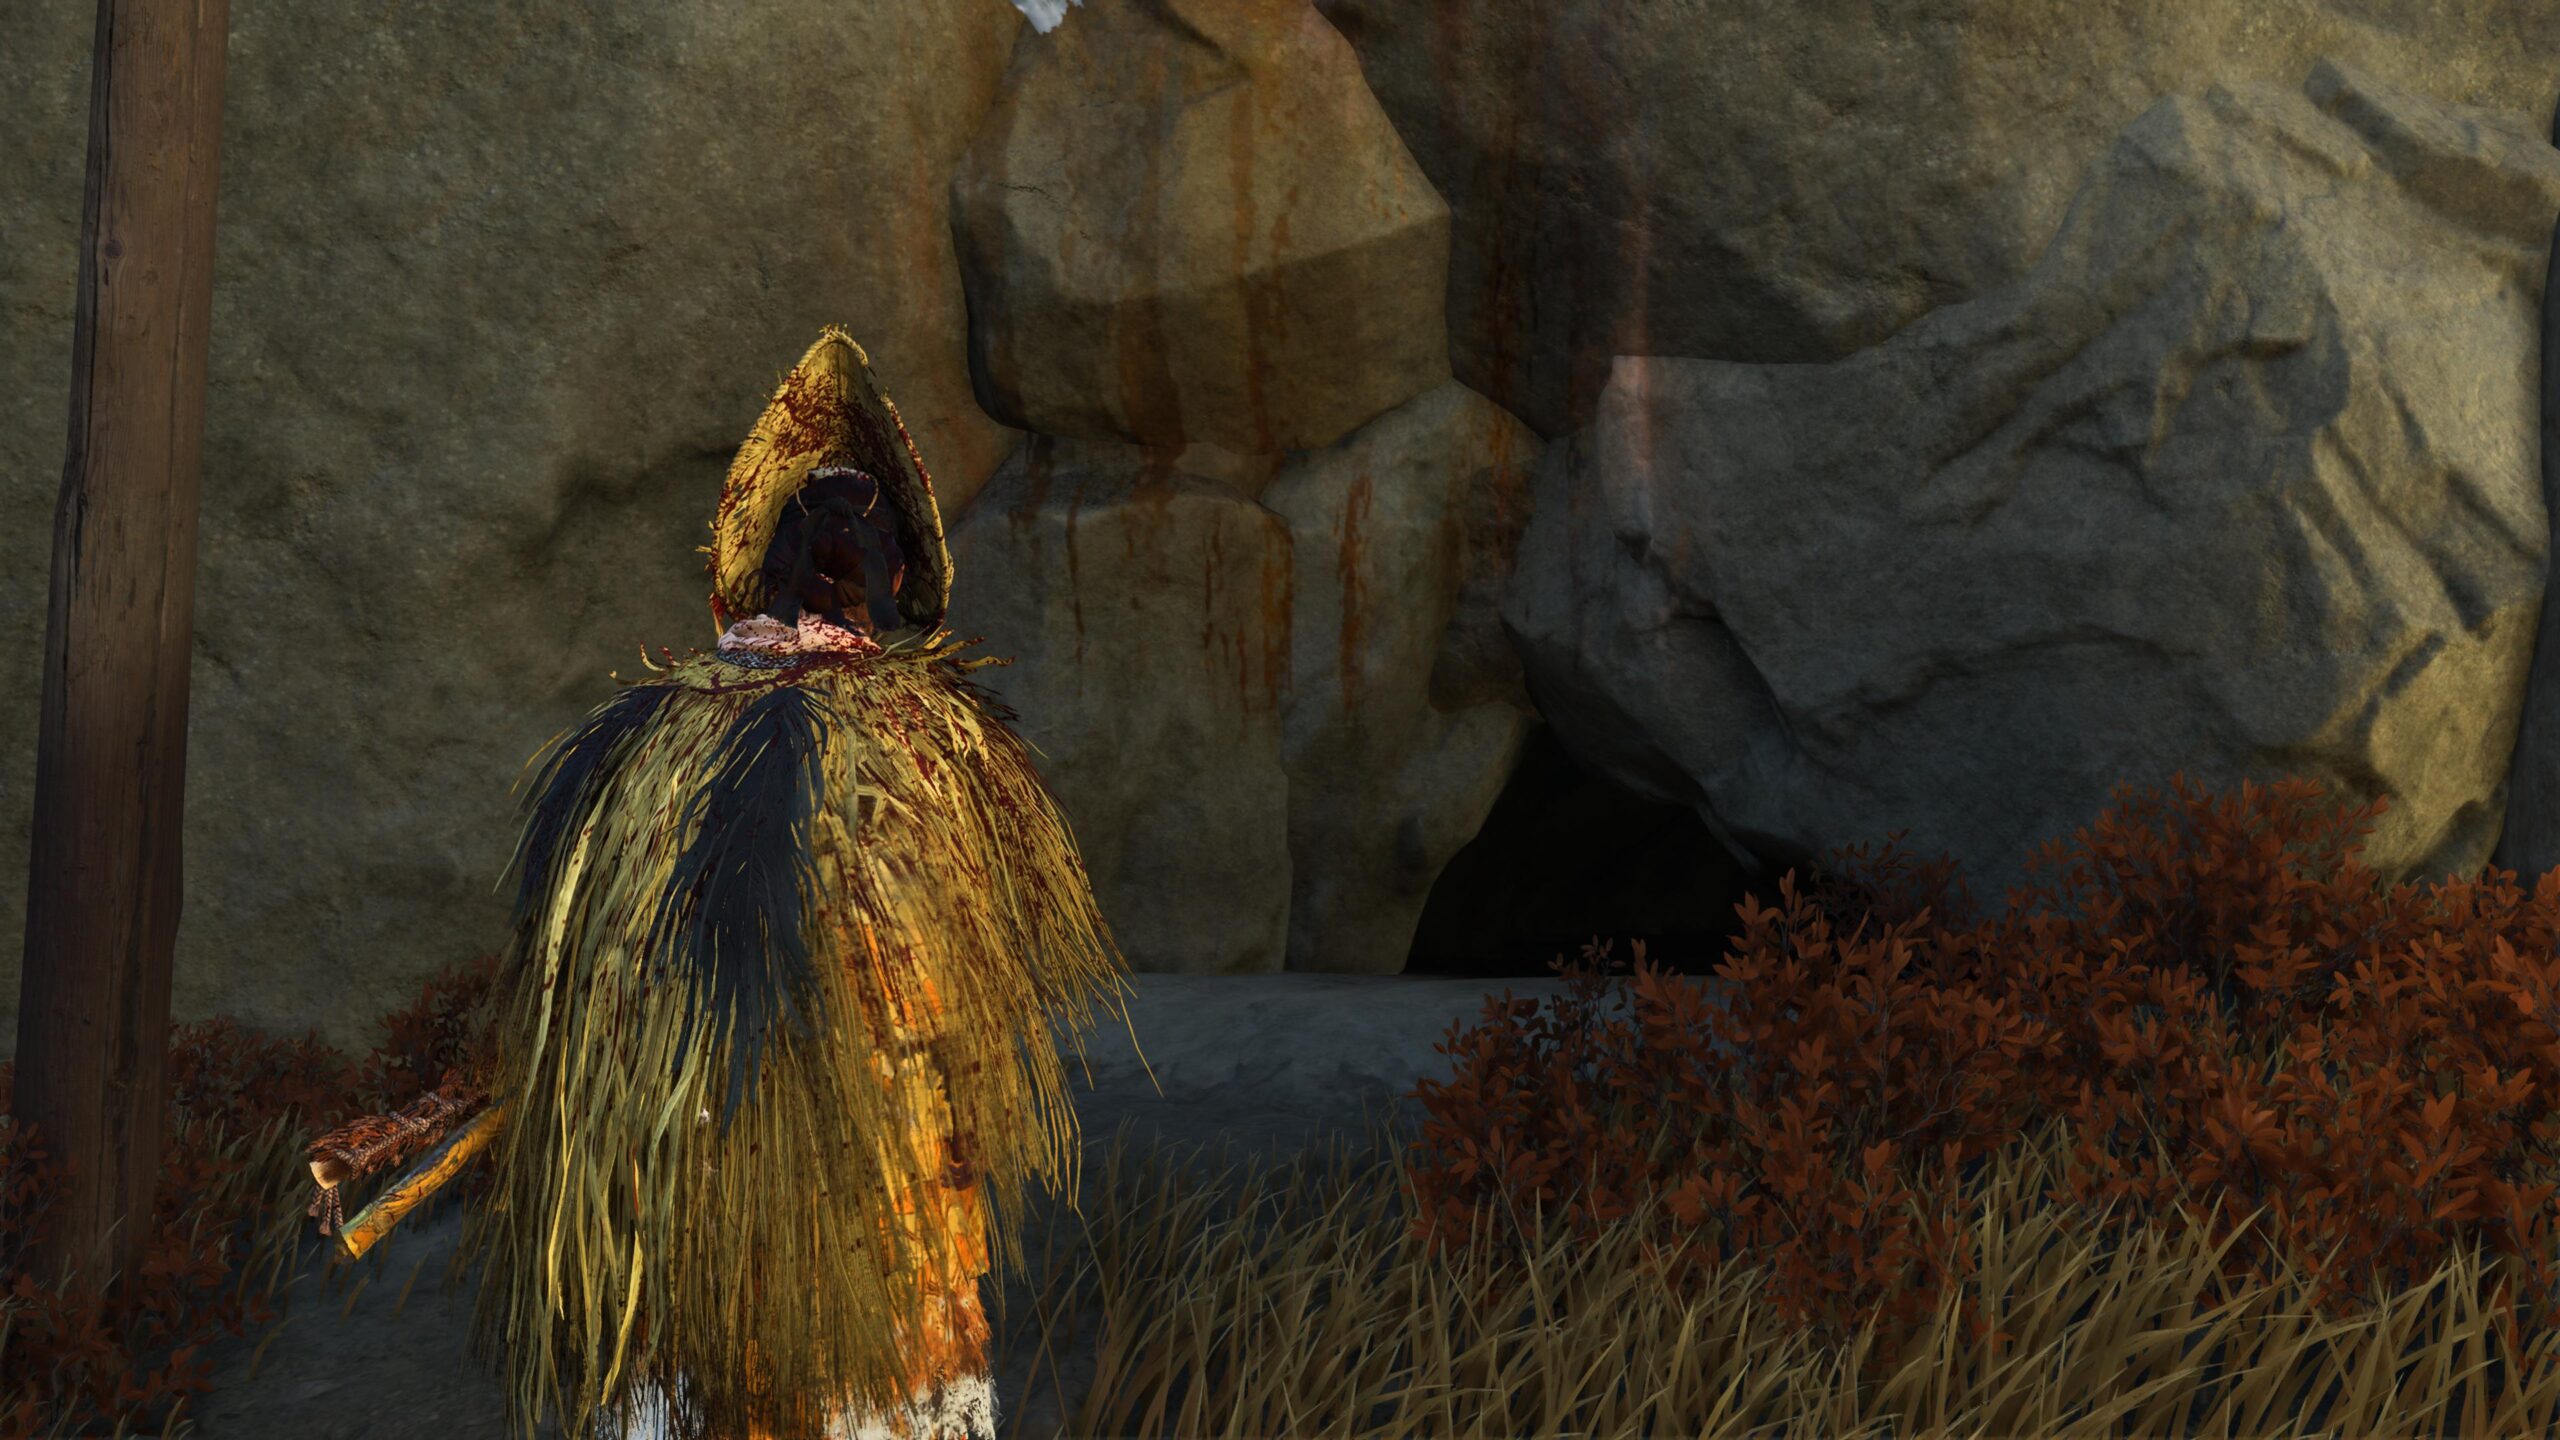
The Bounty Master set is obtainable by all players in Ghost of Yotei and features various layers of light, tattered fabric that trade protection for range of movement. Upgrading the set offers a headband, mask, and straw hat.
It’s clearly inspired by Wolf’s outfit from Sekiro: Shadows Die Twice, and its effects all but confirm that’s what the devs were going for.
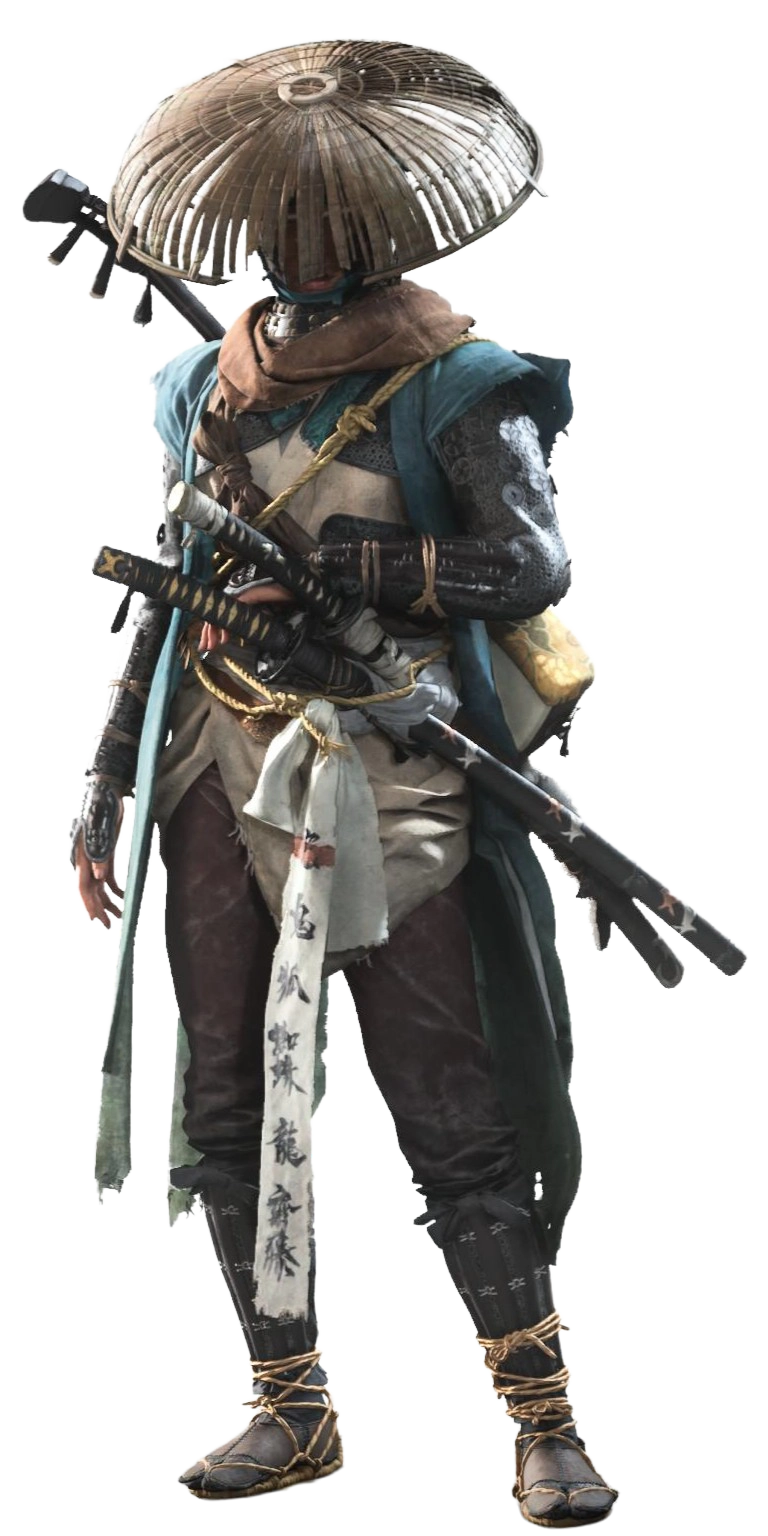
Grand Hunter Dye
The Grand Hunter dye is the default color scheme for the Bounty Master Armor, combining a striking blue/gray color with various shades of black and brown.
Click or tap on the images to enlarge them.

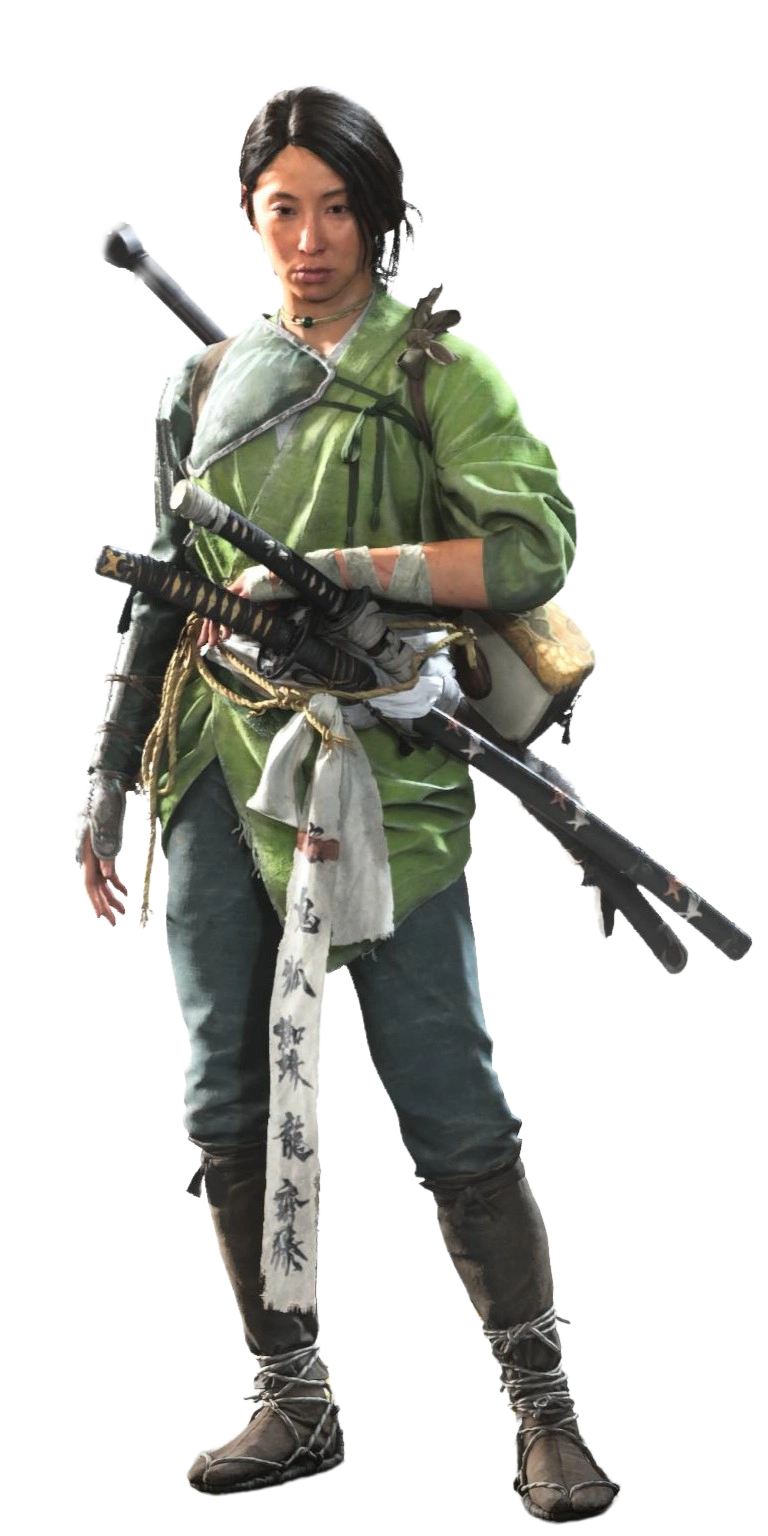
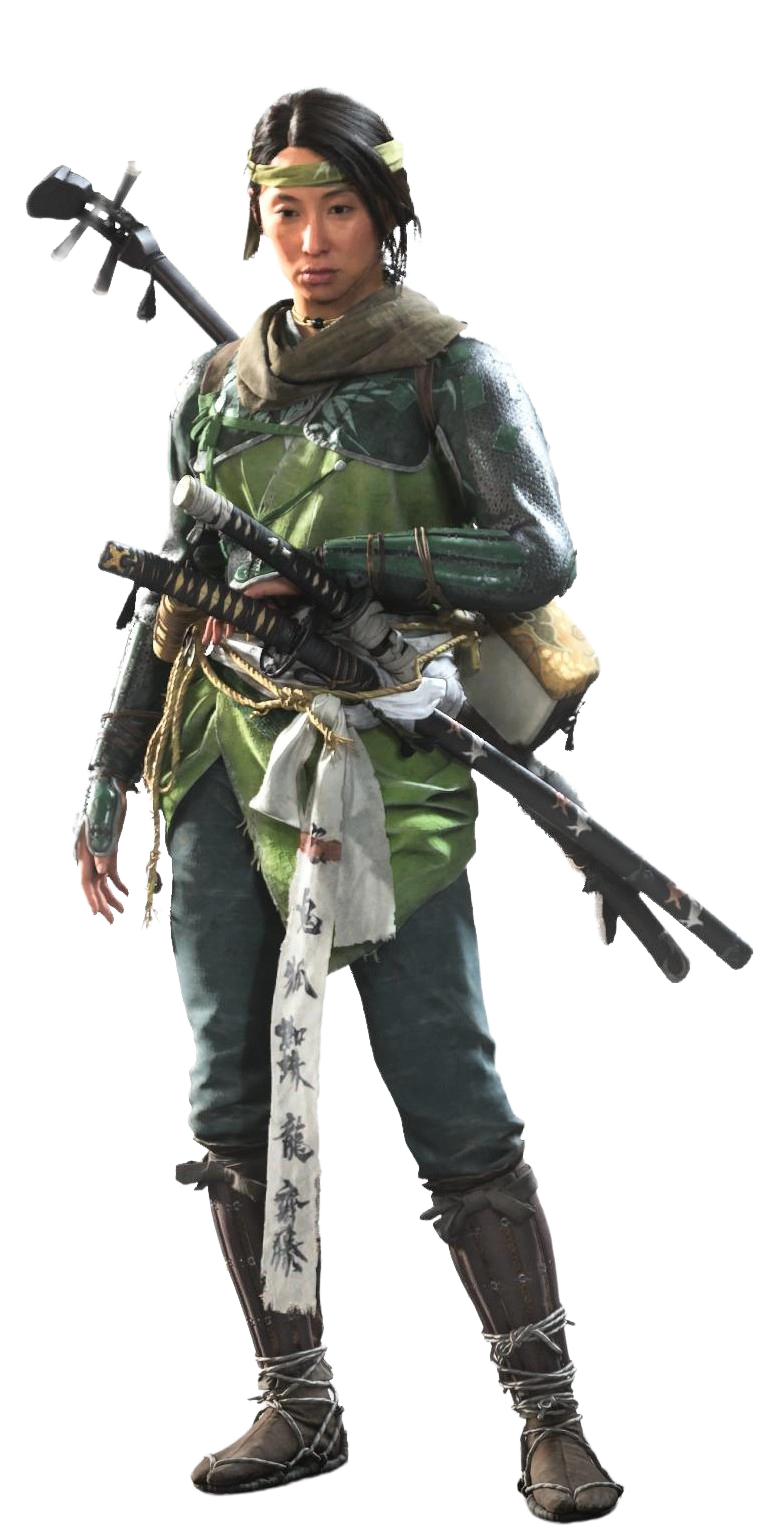
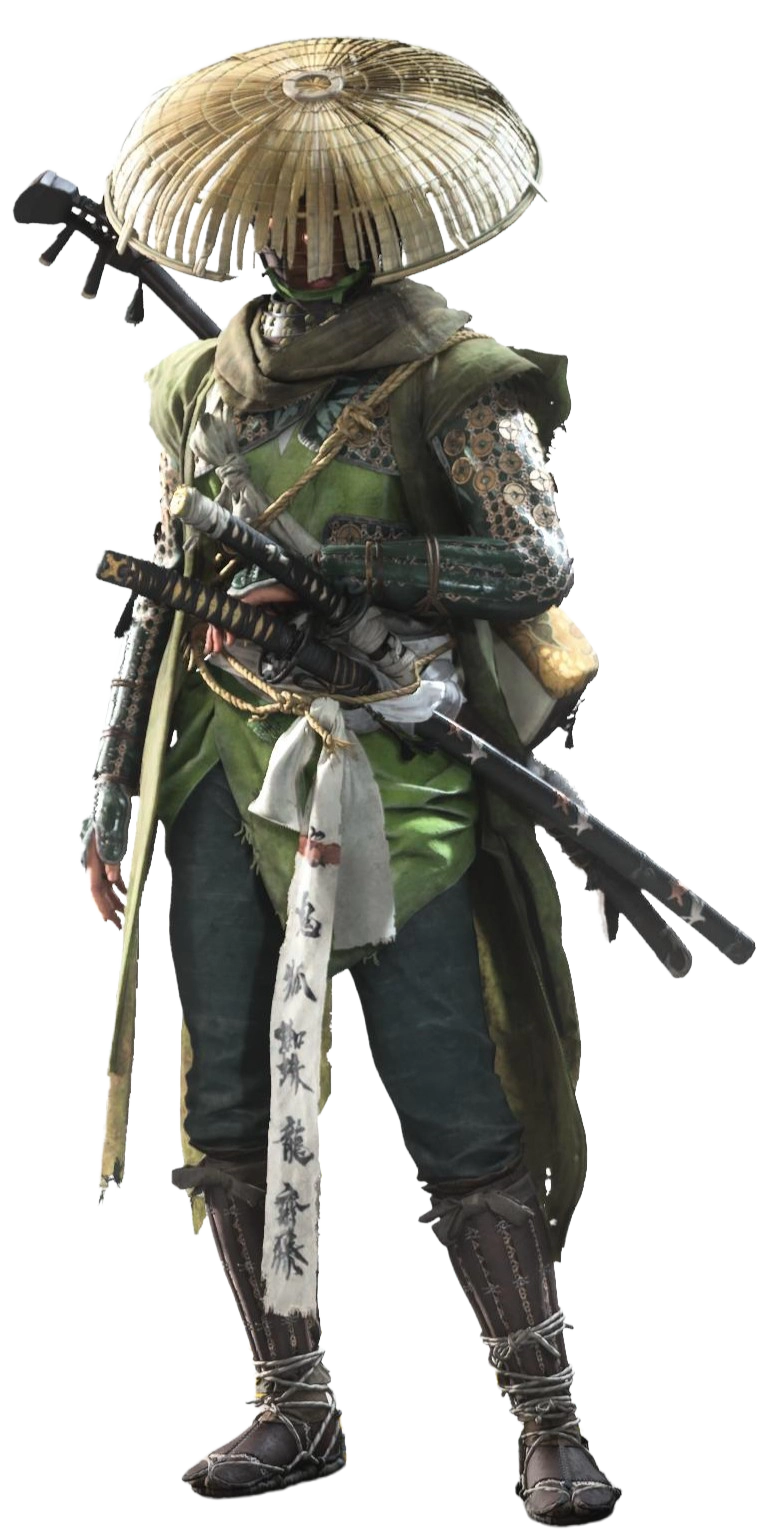
Mercy’s Burial Dye
Mercy’s Burial dye offers a grassy look swaps the placement of the most vivid color and combines lighter shades of brown with a verdant green base.
Prey’s Scent Dye
Prey’s Scent dye combines red and black for that classic edgy gamer look. It’s available from the Crimson Dye House in Ishikari Plain.


Armor Effects
Bounty Master Armor makes it easier to Perfect Parry and Perfect Dodge and improves follow-ups and Spirit Gains. Upgrading amplifies these effects. Basically, it makes Ghost of Yotei more like Sekiro: Shadows Die Twice with its deflections.
Tier I
- Perfect Parry and Perfect Dodge windows are increased by a minor amount, but regular Parries are disabled.
- A Perfect Parry enables 2 additional counterattacks.
- All Spirit Gains are increased by a minor amount.
Tier II
- Perfect Parry and Perfect Dodge windows are increased by a major amount, but regular Parries are disabled.
- A Perfect Parry enables 2 additional counterattacks.
- All Spirit Gains are increased by a minor amount.
Tier III
- Perfect Parry and Perfect Dodge windows are increased by a major amount, but regular Parries are disabled.
- A Perfect Parry enables 2 additional counterattacks.
- All Spirit Gains are increased by a massive amount.
Tier IV
- Perfect Parry and Perfect Dodge windows are increased by a major amount, but regular Parries are disabled.
- A Perfect Parry enables 3 additional counterattacks.
- All Spirit Gains are increased by a massive amount.
Make sure you have the Perfect Parry (Onryo ▶ Attacks) and Perfect Dodge (Onryo ▶ Survival) skills to fully benefit from this armor.
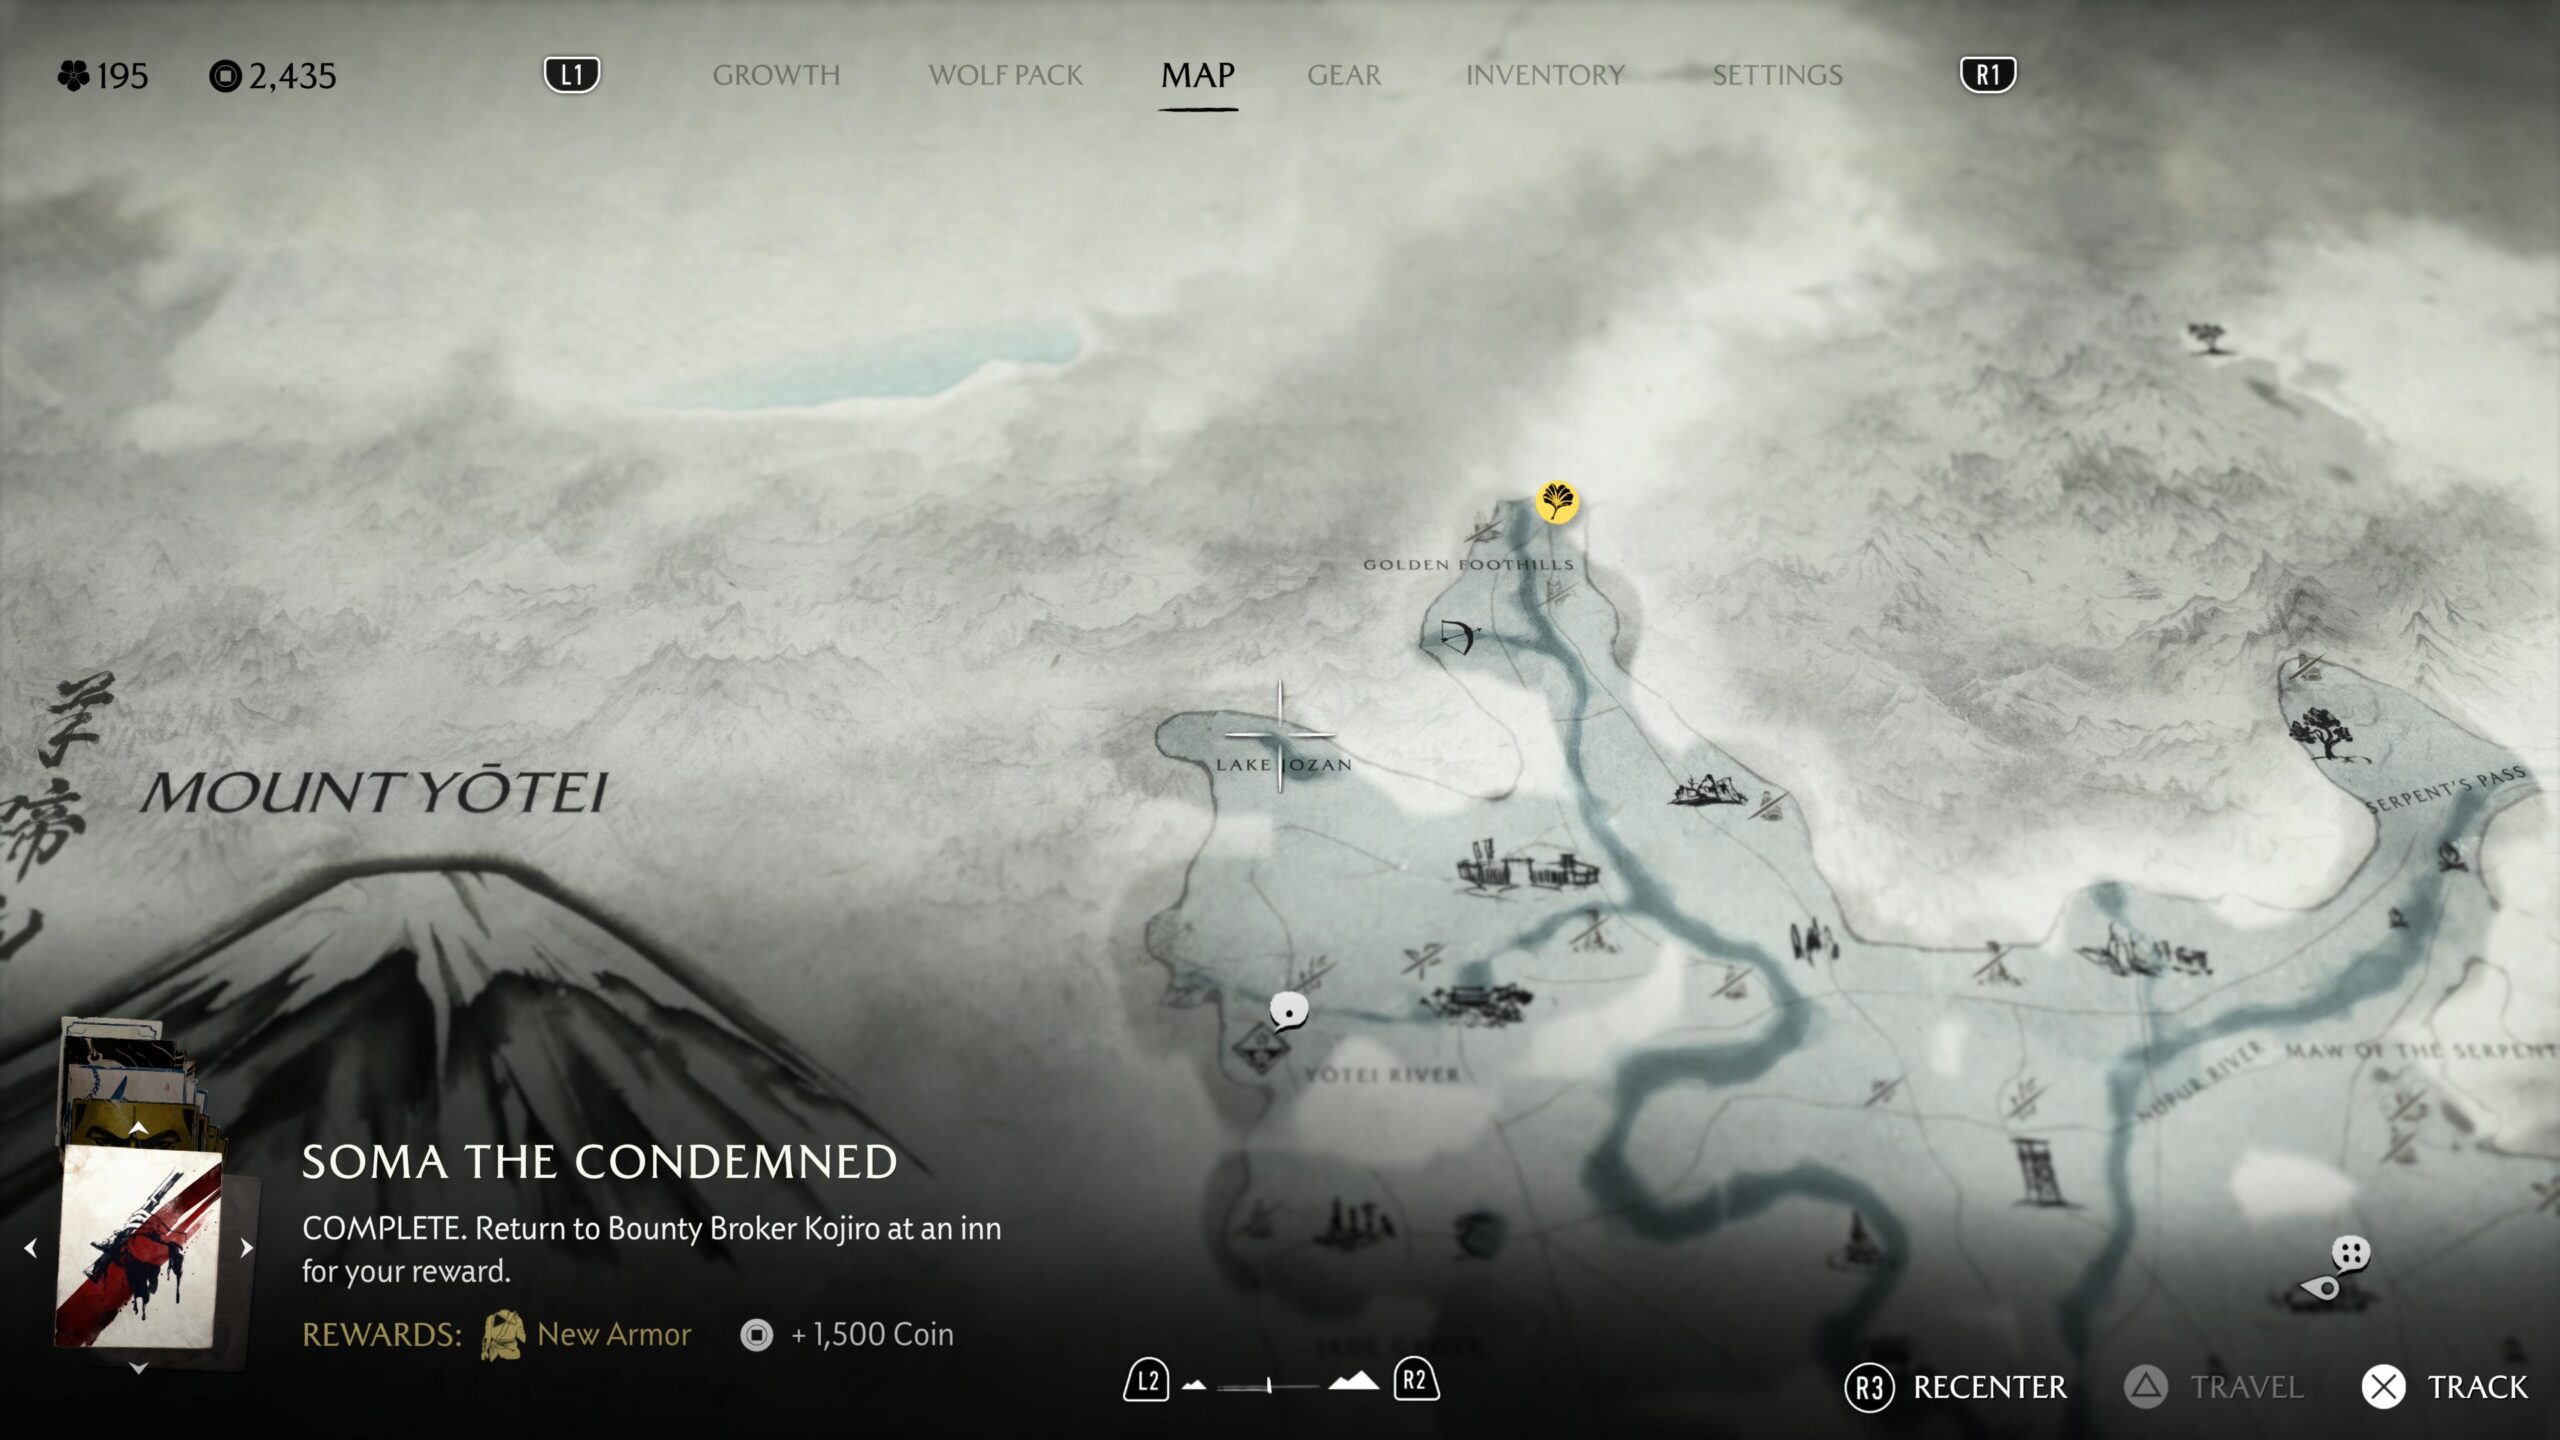
How to get Bounty Master Armor
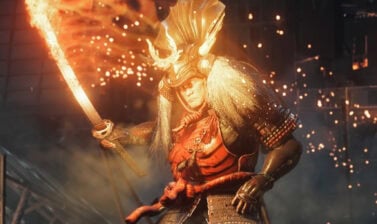
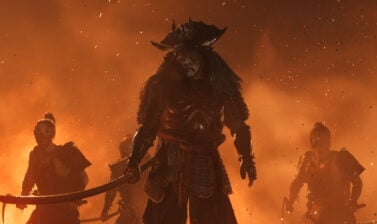
You receive the Bounty Master Armor, Soma’s Song, and 1,500 Coin for defeating Soma the Condemned in a cave at Lake Ozan in the northwestern corner of Yotei Grasslands.
You can only unlock his bounty after completing all other bounties in the Yotei Grasslands region.
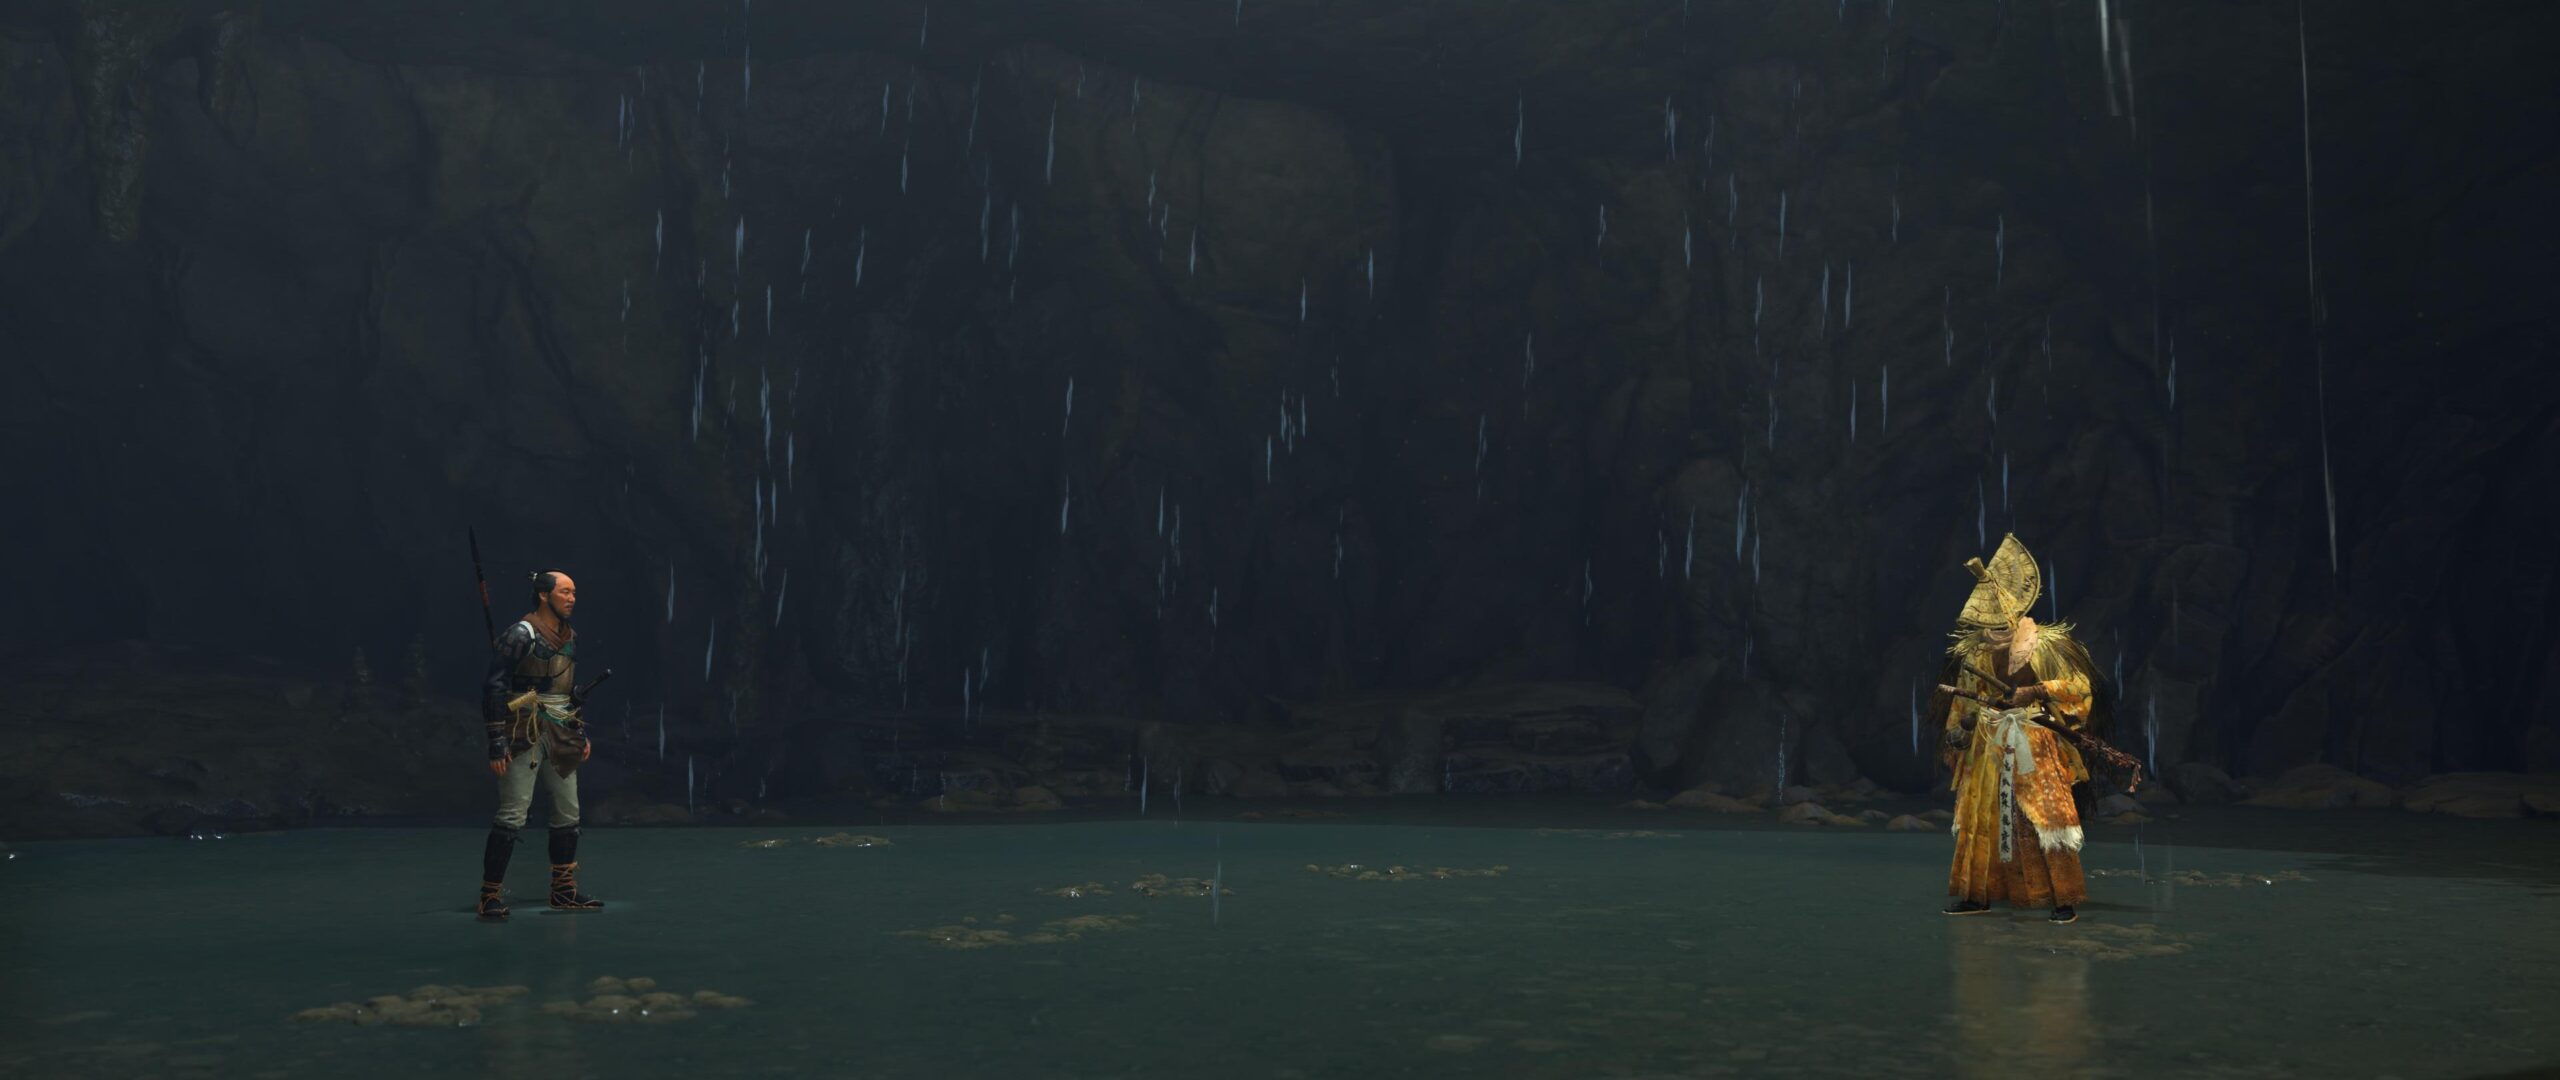
After defeating some other bounty hunters camped outside Soma’s cave at Lake Ozan, you’ll need to play Soma’s Song on your Shamisen at the door so he’ll let you inside. You won’t know how to play it yet, but it will be an option if you pull out your Shamisen here.
You have a couple of options to reach Soma, but it doesn’t matter which route you take. You’ll trigger a cutscene as soon as you get close.

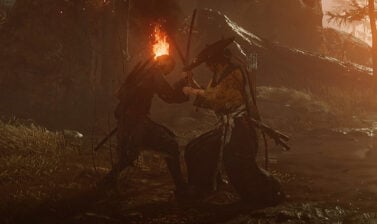
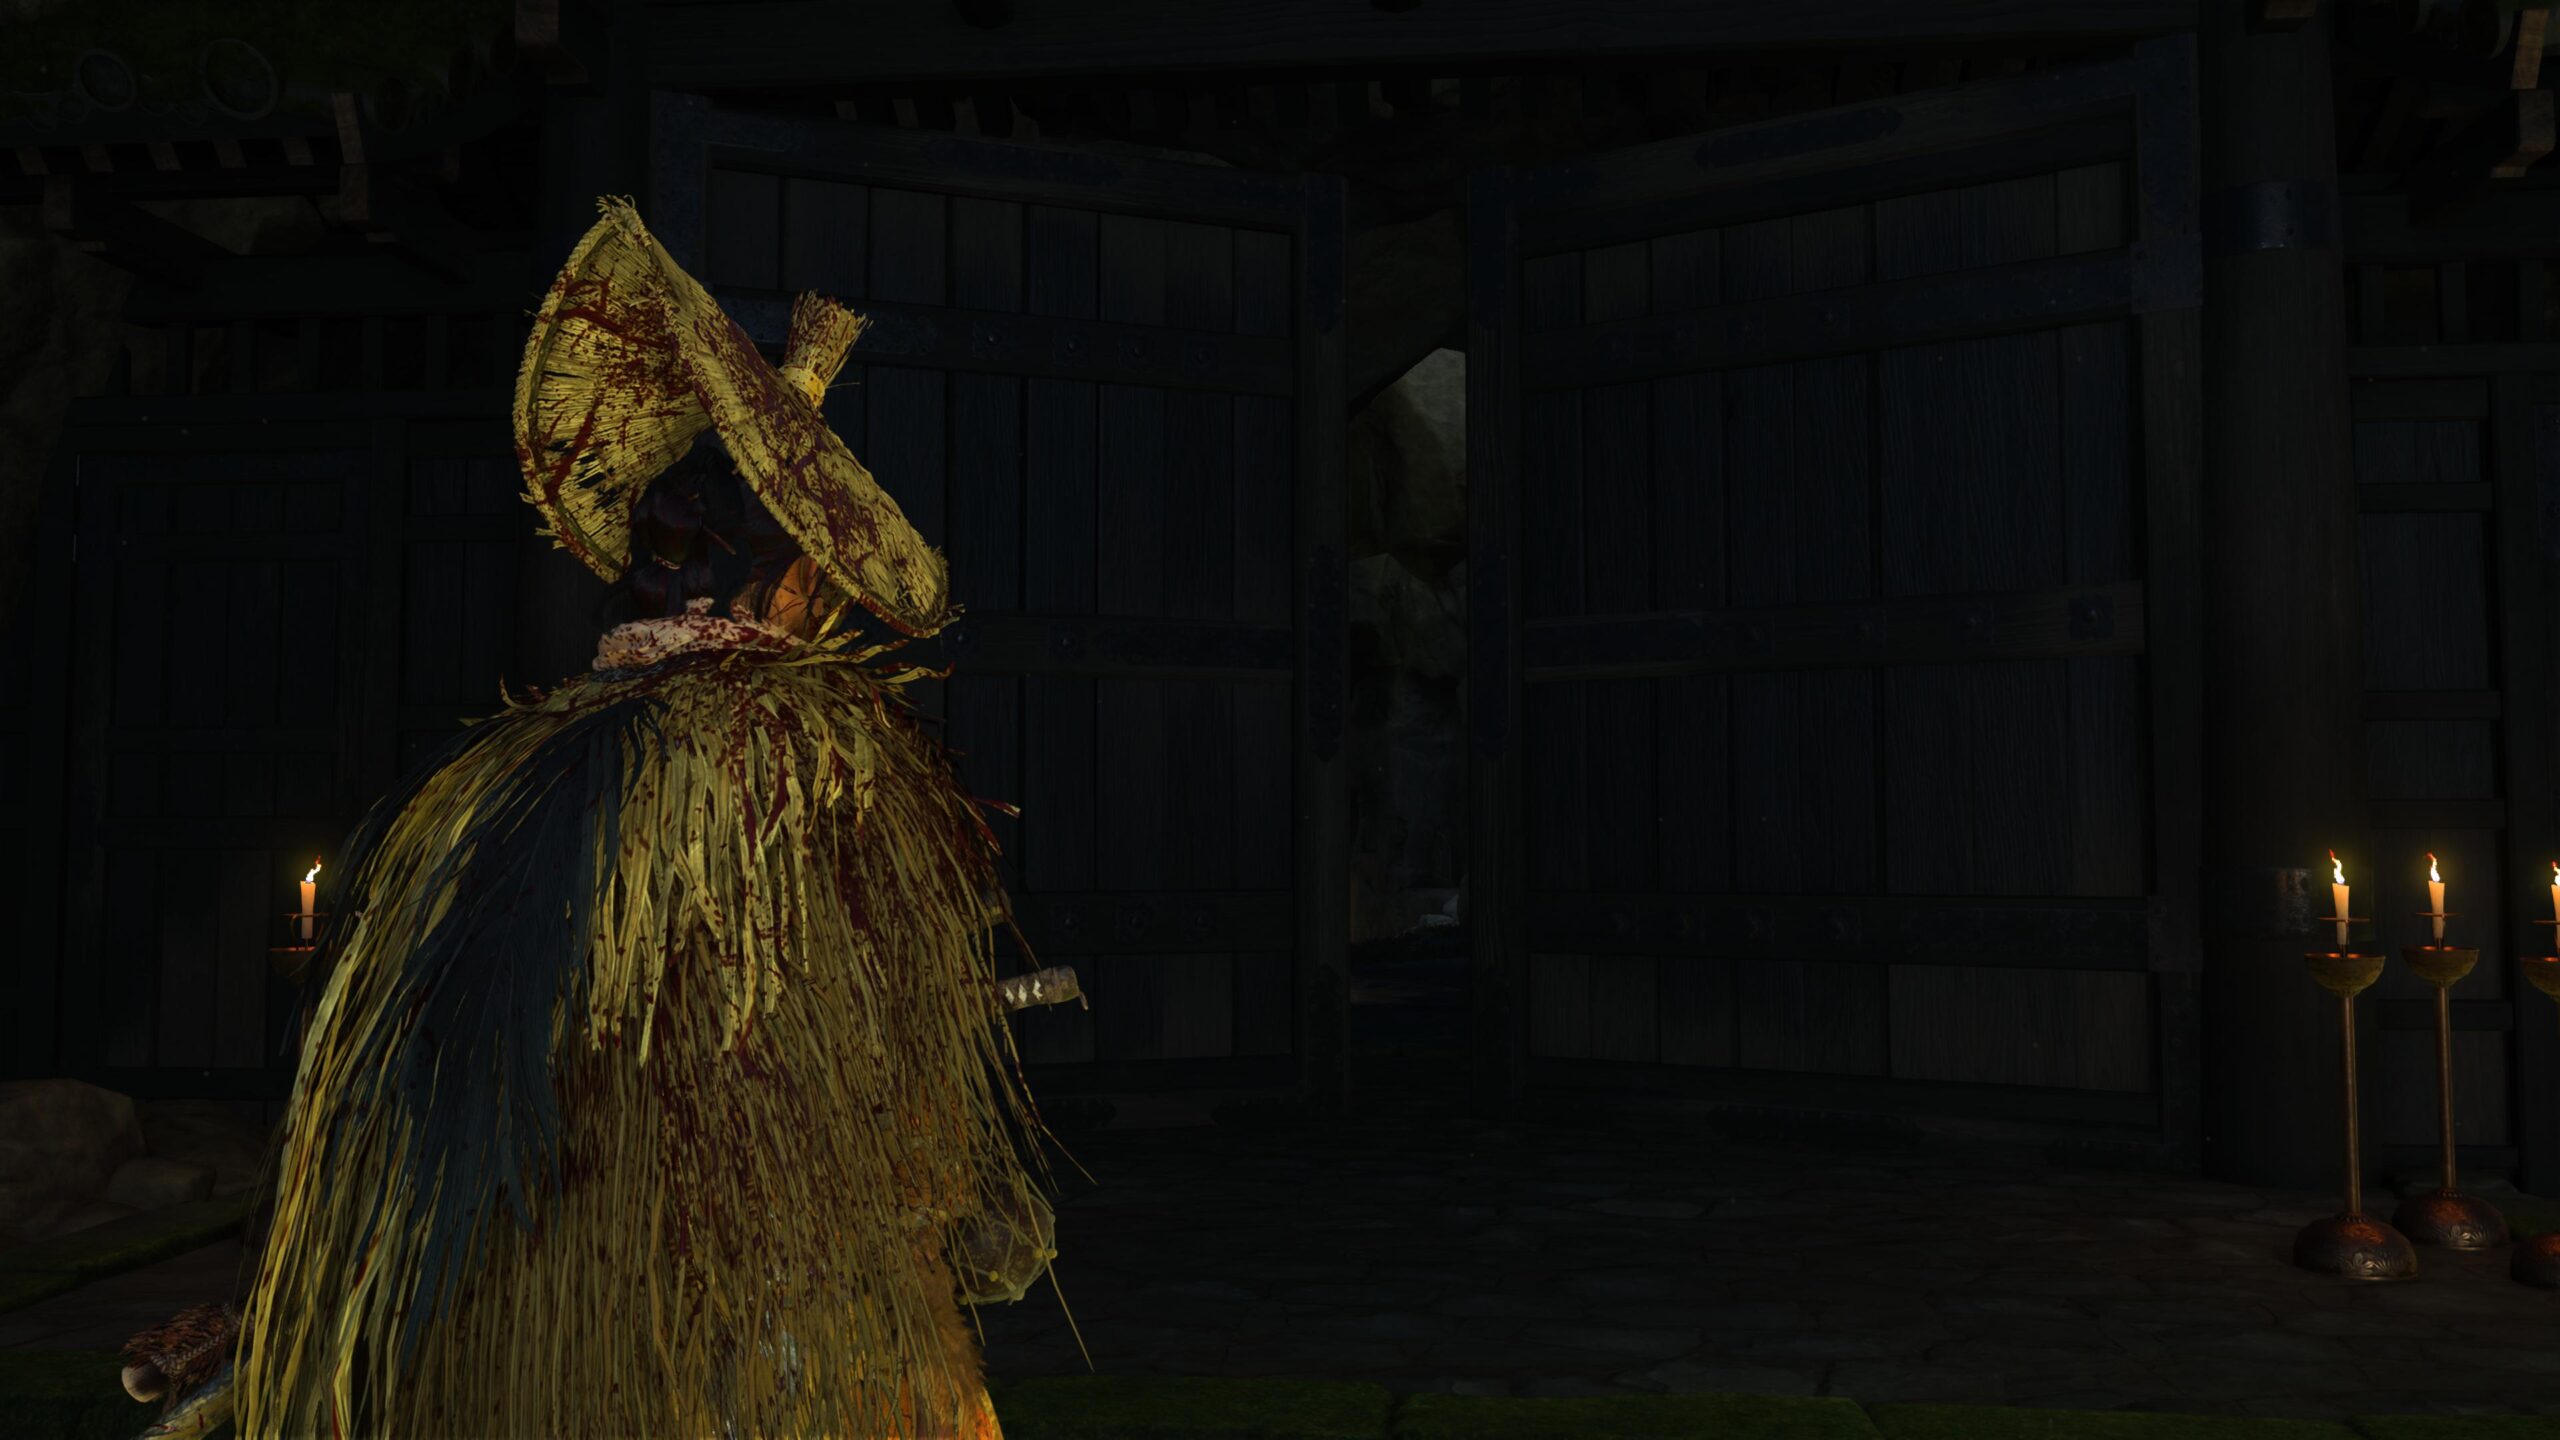
Soma the Condemned is far more challenging than any other enemy you’ll fight in the Yotei Grasslands. Make sure you’ve fully upgraded your equipment, cooked yourself some food at Camp, and have unlocked the The Way of the Dual Katana.
Use your Wolf Blade (single sword) against his katana and switch to the Dual Katana once he switches to his Yari (spear). He likes to use a fast series of parryable attacks in a row, followed by an unblockable attack, so be prepared to block a lot and wait for your opening.
I didn’t find a reason to use light attacks against him; perhaps that’s because he has lighter armor himself. Be prepared to heal yourself if ever you take damage. You’ll probably need to drink all your Sake to get through the fight.
After defeating Soma the Condemned, he’ll ask to play one last song with you, the one he plays on his cursed flute. Strangely, you don’t “learn” Soma’s song from doing this. Perhaps Atsu just doesn’t like serial killer music…
How Outfits work in Ghost of Yotei
In Ghost of Yotei, you can equip a helmet, a mask, armor, shamisen, and saddle as your outfit. Typically, only armor affects your performance in combat.
The other pieces are are purely for fashion, with a few exceptions. The rest of your combat performance is determined by your equipped charms, which have no effect on appearance.
Armor usually offers three different buffs in combat. Most sets can be upgraded three times (tier I to tier IV) by employing the services of an Armorer, like Ginji. Upgrading armor costs coin and resources, and doing so improves the strength of the perks it provides.
Upgrades also add more details and elements to the armor, including a adding a mask or helmet at tier III, and can choose which upgrade tier you want Atsu to wear independently of the effects.
For example, if you have Taro’s Armor upgraded to tier IV, you can benefit from tier IV while still make it look like Atsu is wearing the tier II version.
Most outfit pieces are dyeable, allowing you to change their color scheme. Dyes are always tied to a specific outfit piece, so you can’t just dye anything you want. Armors usually come with a helmet and/or mask, and they can use the same dyes.
If a piece isn’t directly affiliated with an armor, it may not be possible to dye it to match. Many different vendors sell dyes and you can exchange them for flowers you pick throughout Ezo. They often sell a mask that matches the dye so you can get something to match the dye you just bought.
You can also change how your weapons look using [Weapon Type] Kits, which are equipped to your weapons like dyes but alter their apperance to a similar extent to how outfits alter Atsu’s appearance.
Ghost of Yotei does not have a transmog system, so Atsu’s appearance will match her combat capabilities. The only things you can change are the worn upgrade tier of the armor, eqiupped hat and/or mask, and their color schemes via dyes.