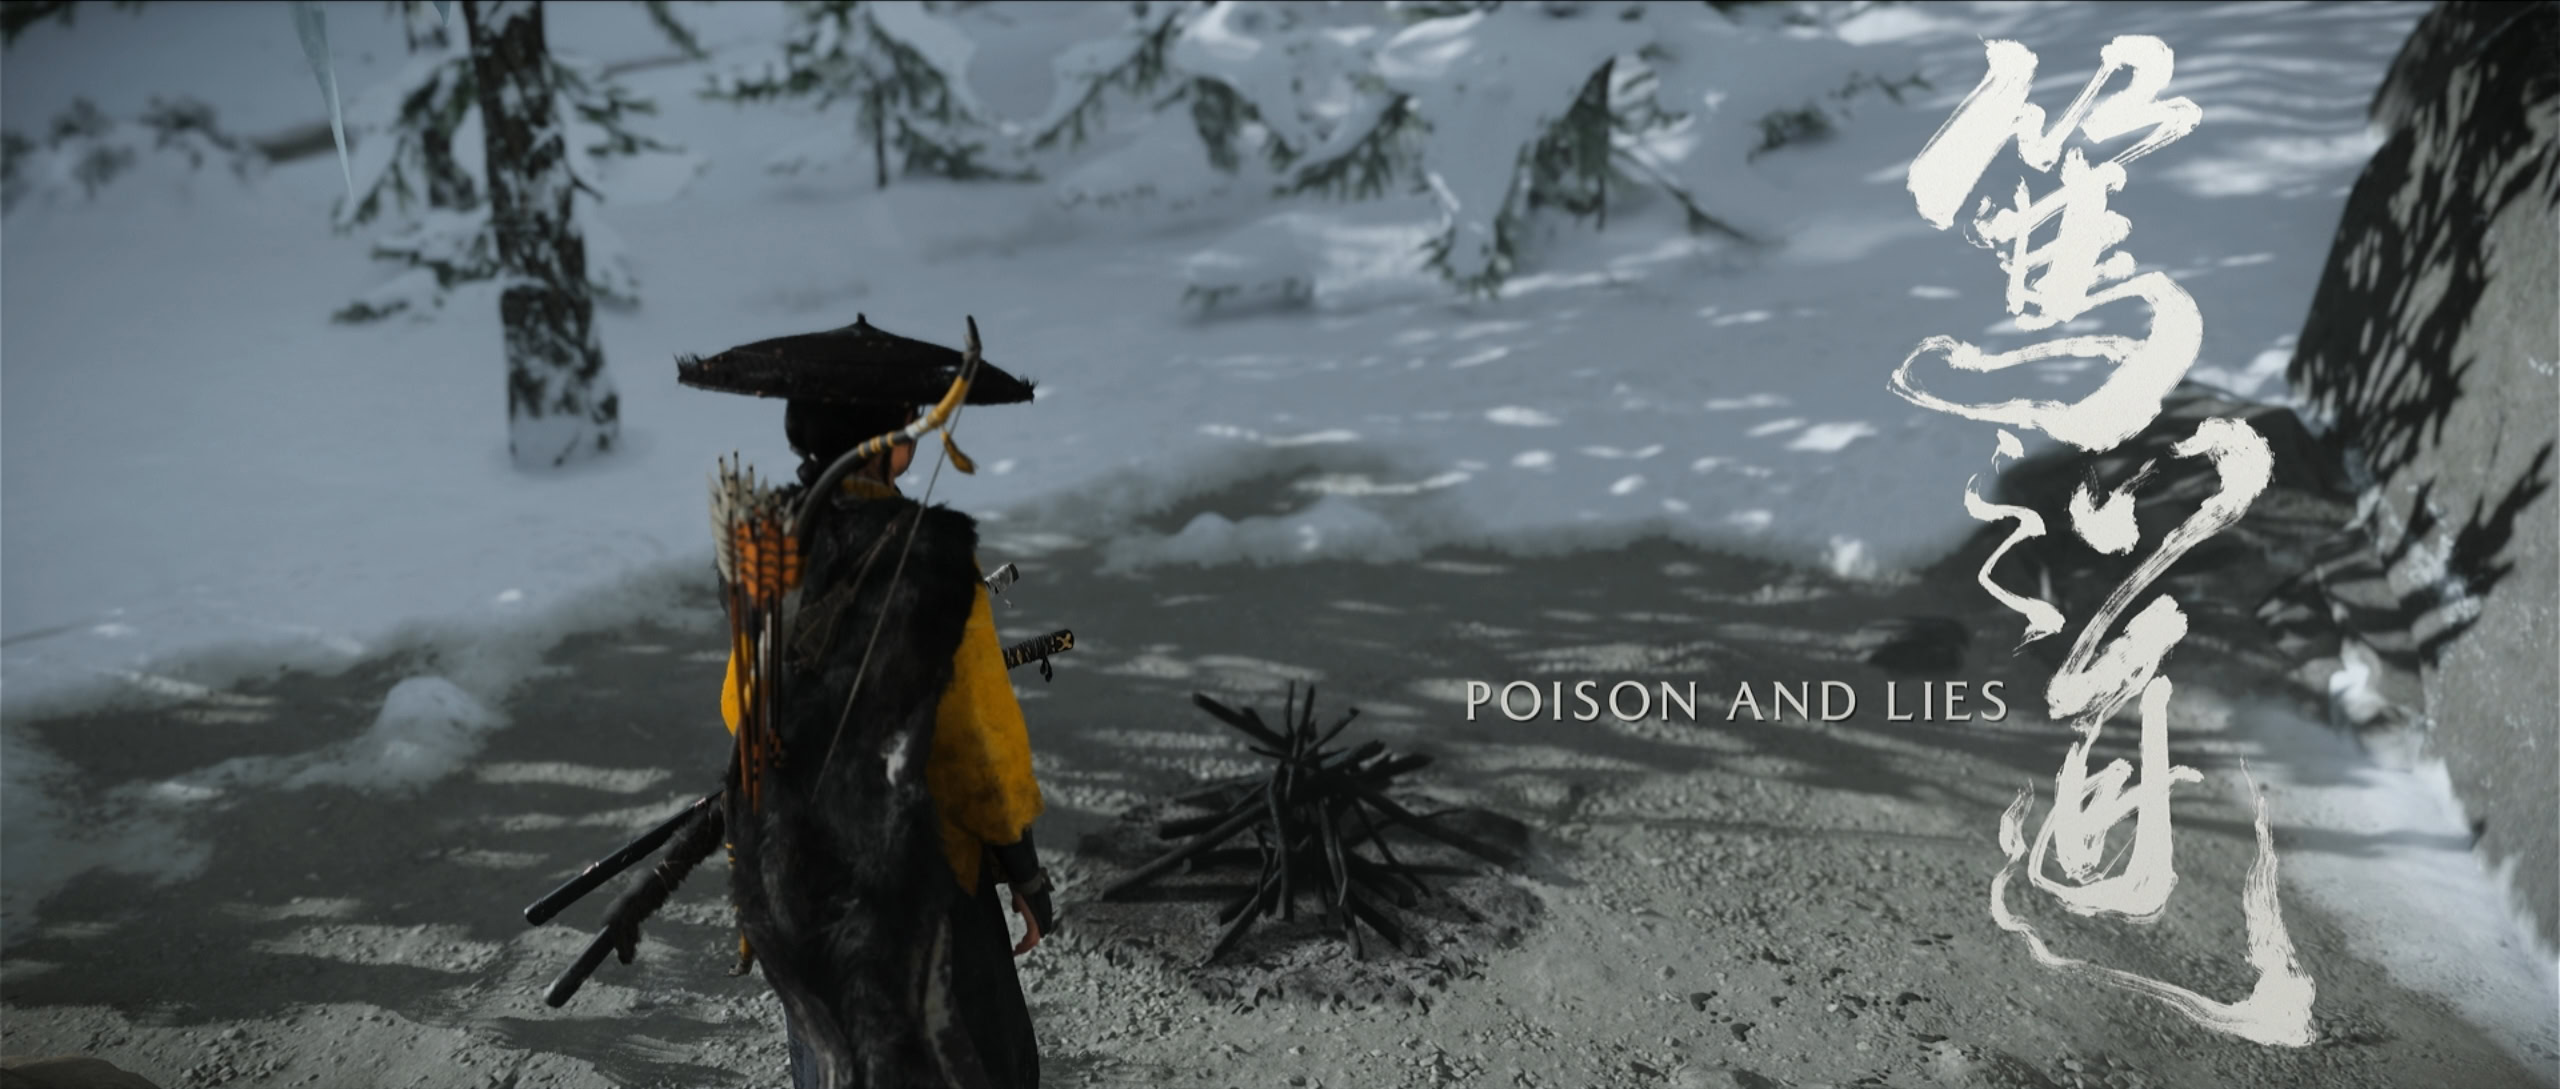
Learn how to complete Poison and Lies in Ghost of Yotei. This includes getting through all of the bamboo forest’s puzzles, how to avoid the traps, and how to fight the boss.
Table of contents
How to start Poison and Lies
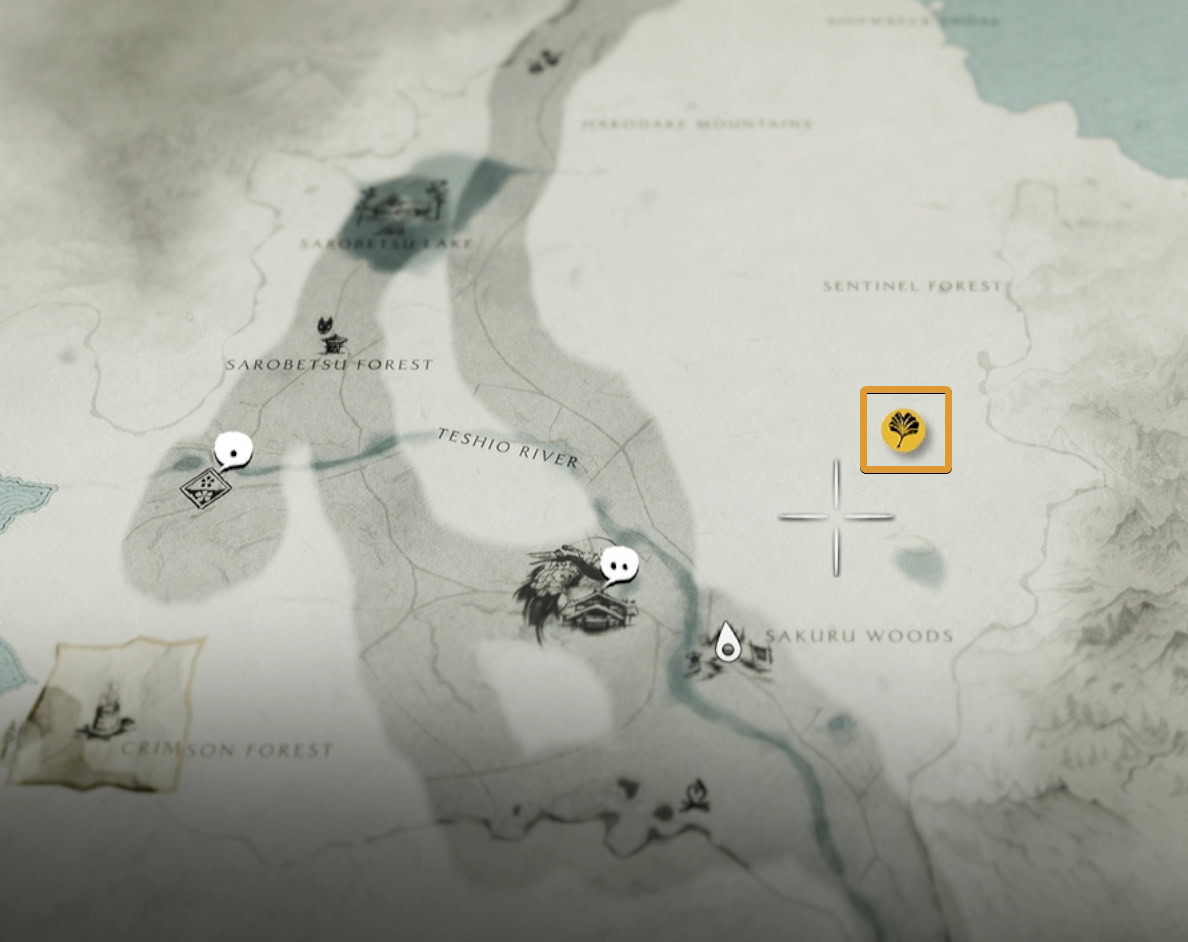
To start Poison and Lies, you’ll need to find the Kitsune’s Puzzle Box from their hideout beneath the Dye House. You then need to meet with Oyuki near the Kamikawa Trading Post.
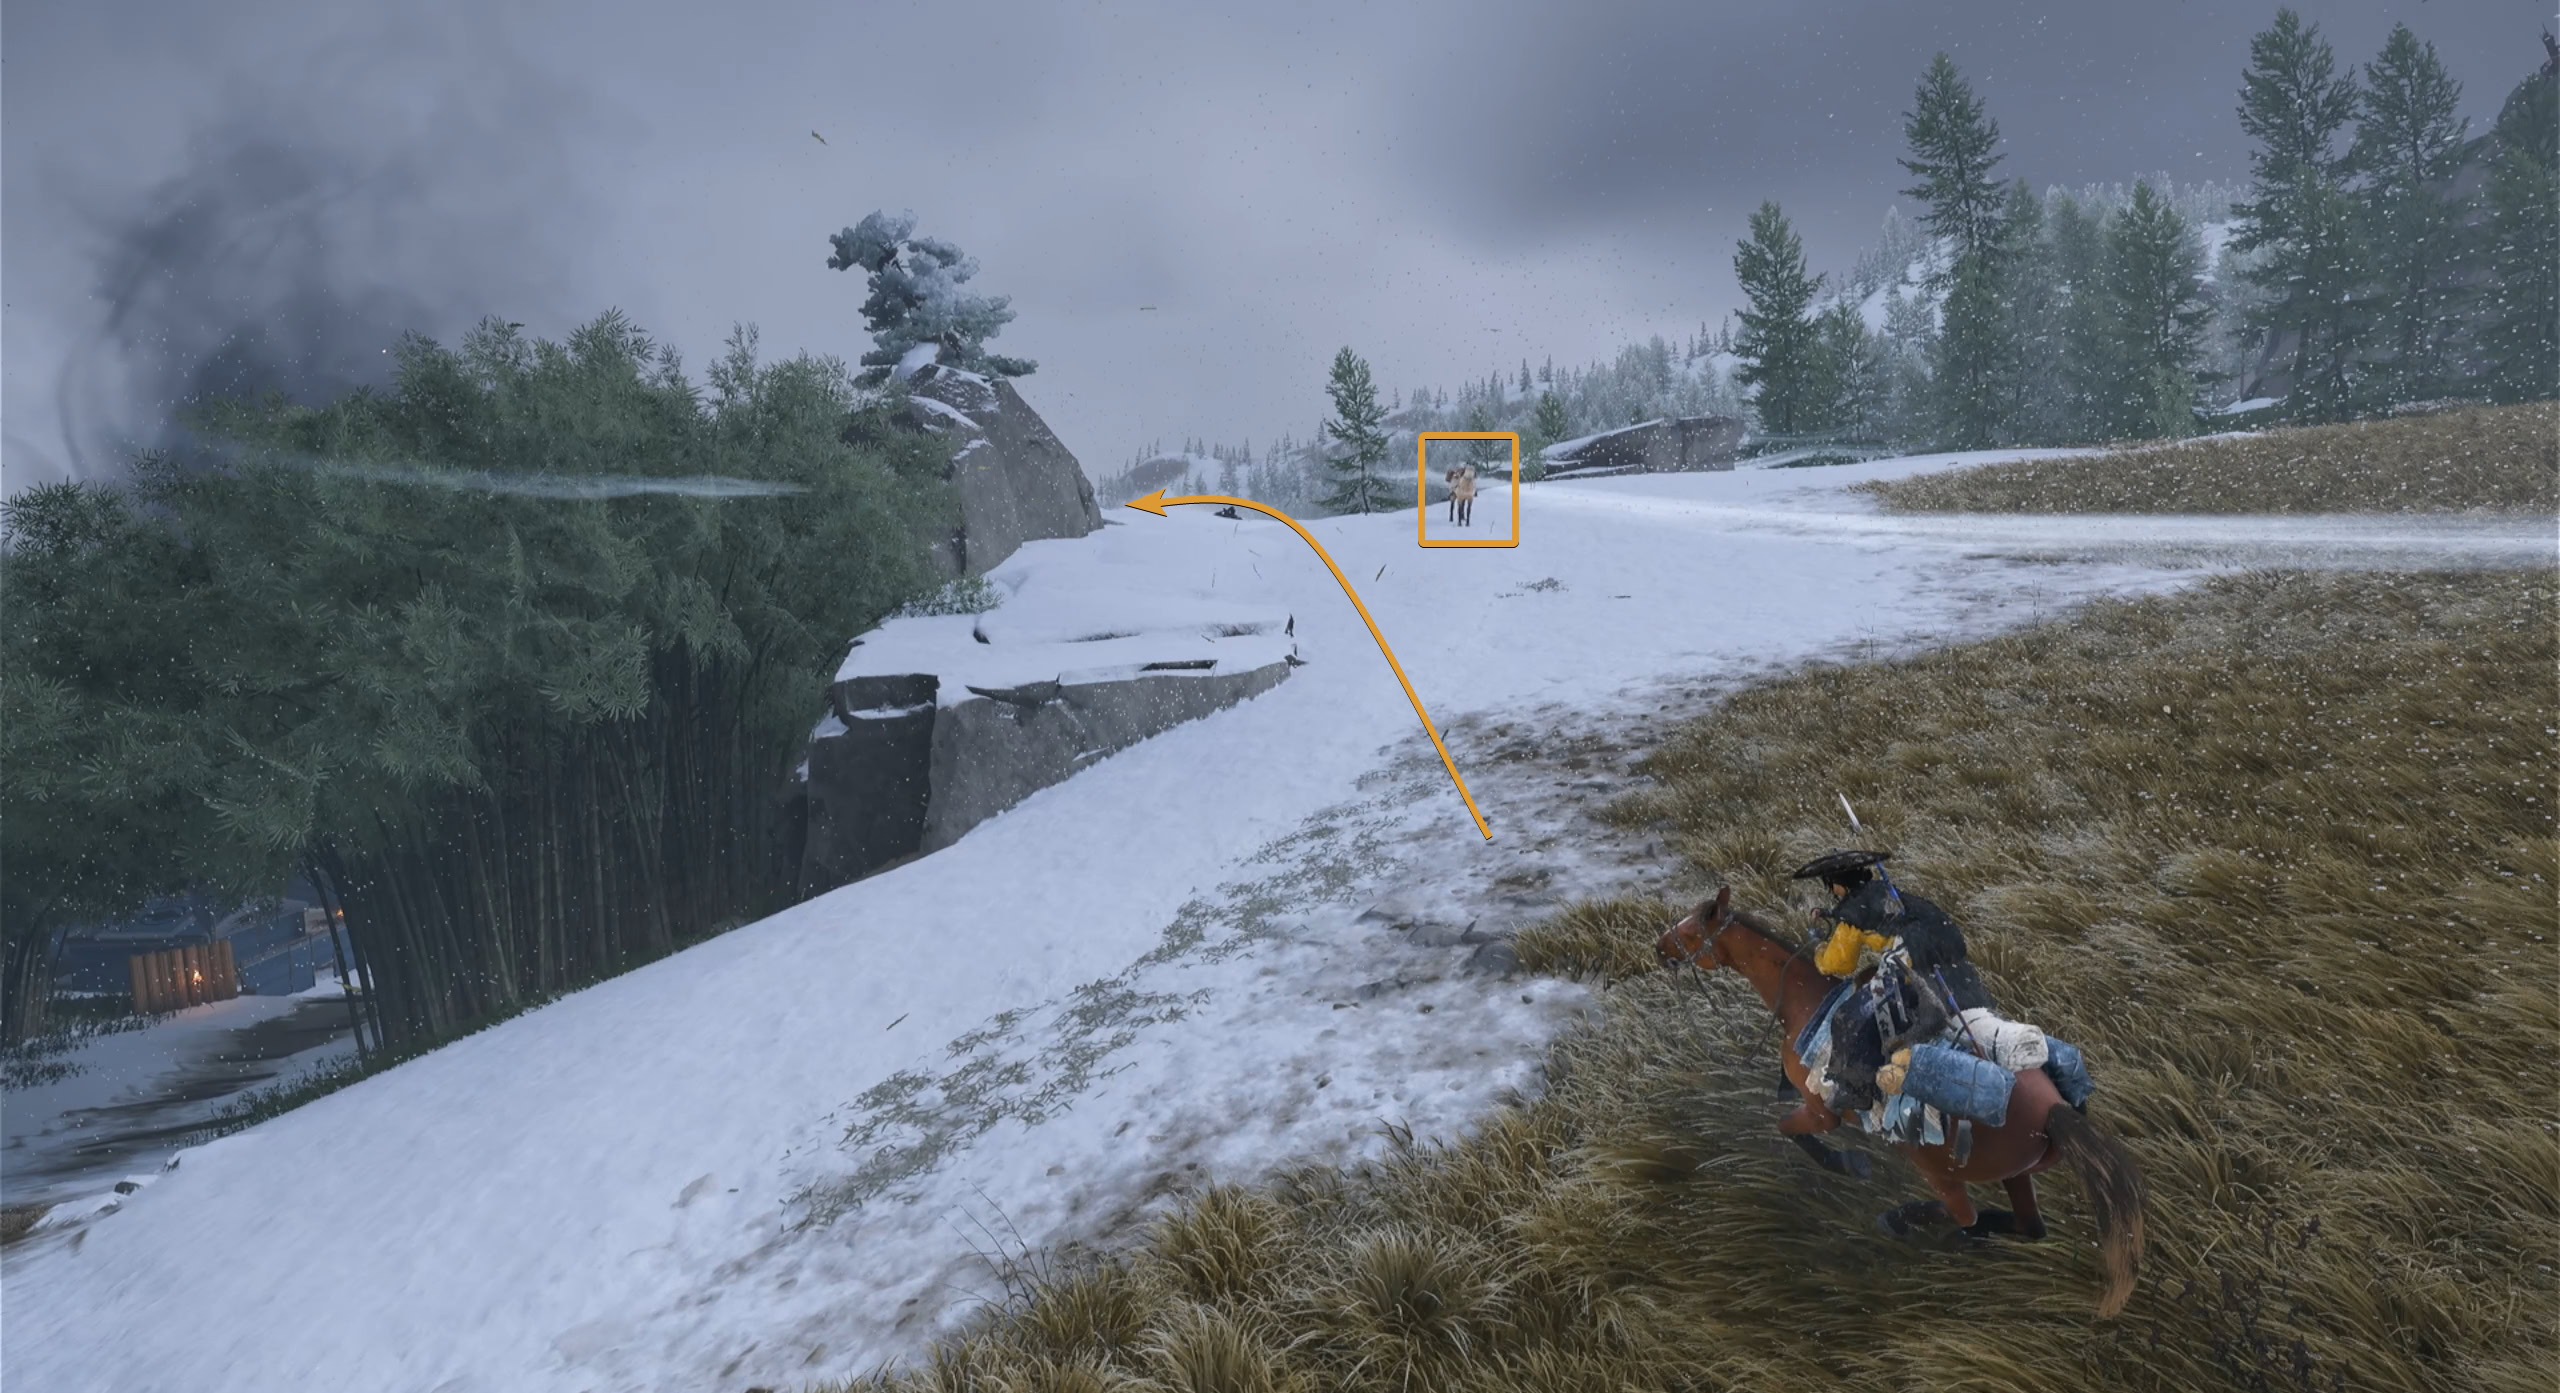
Oyuki will be on a snowy hill overseeing the area. You’ll be able to see her horse from a distance, go towards the horse to find her.
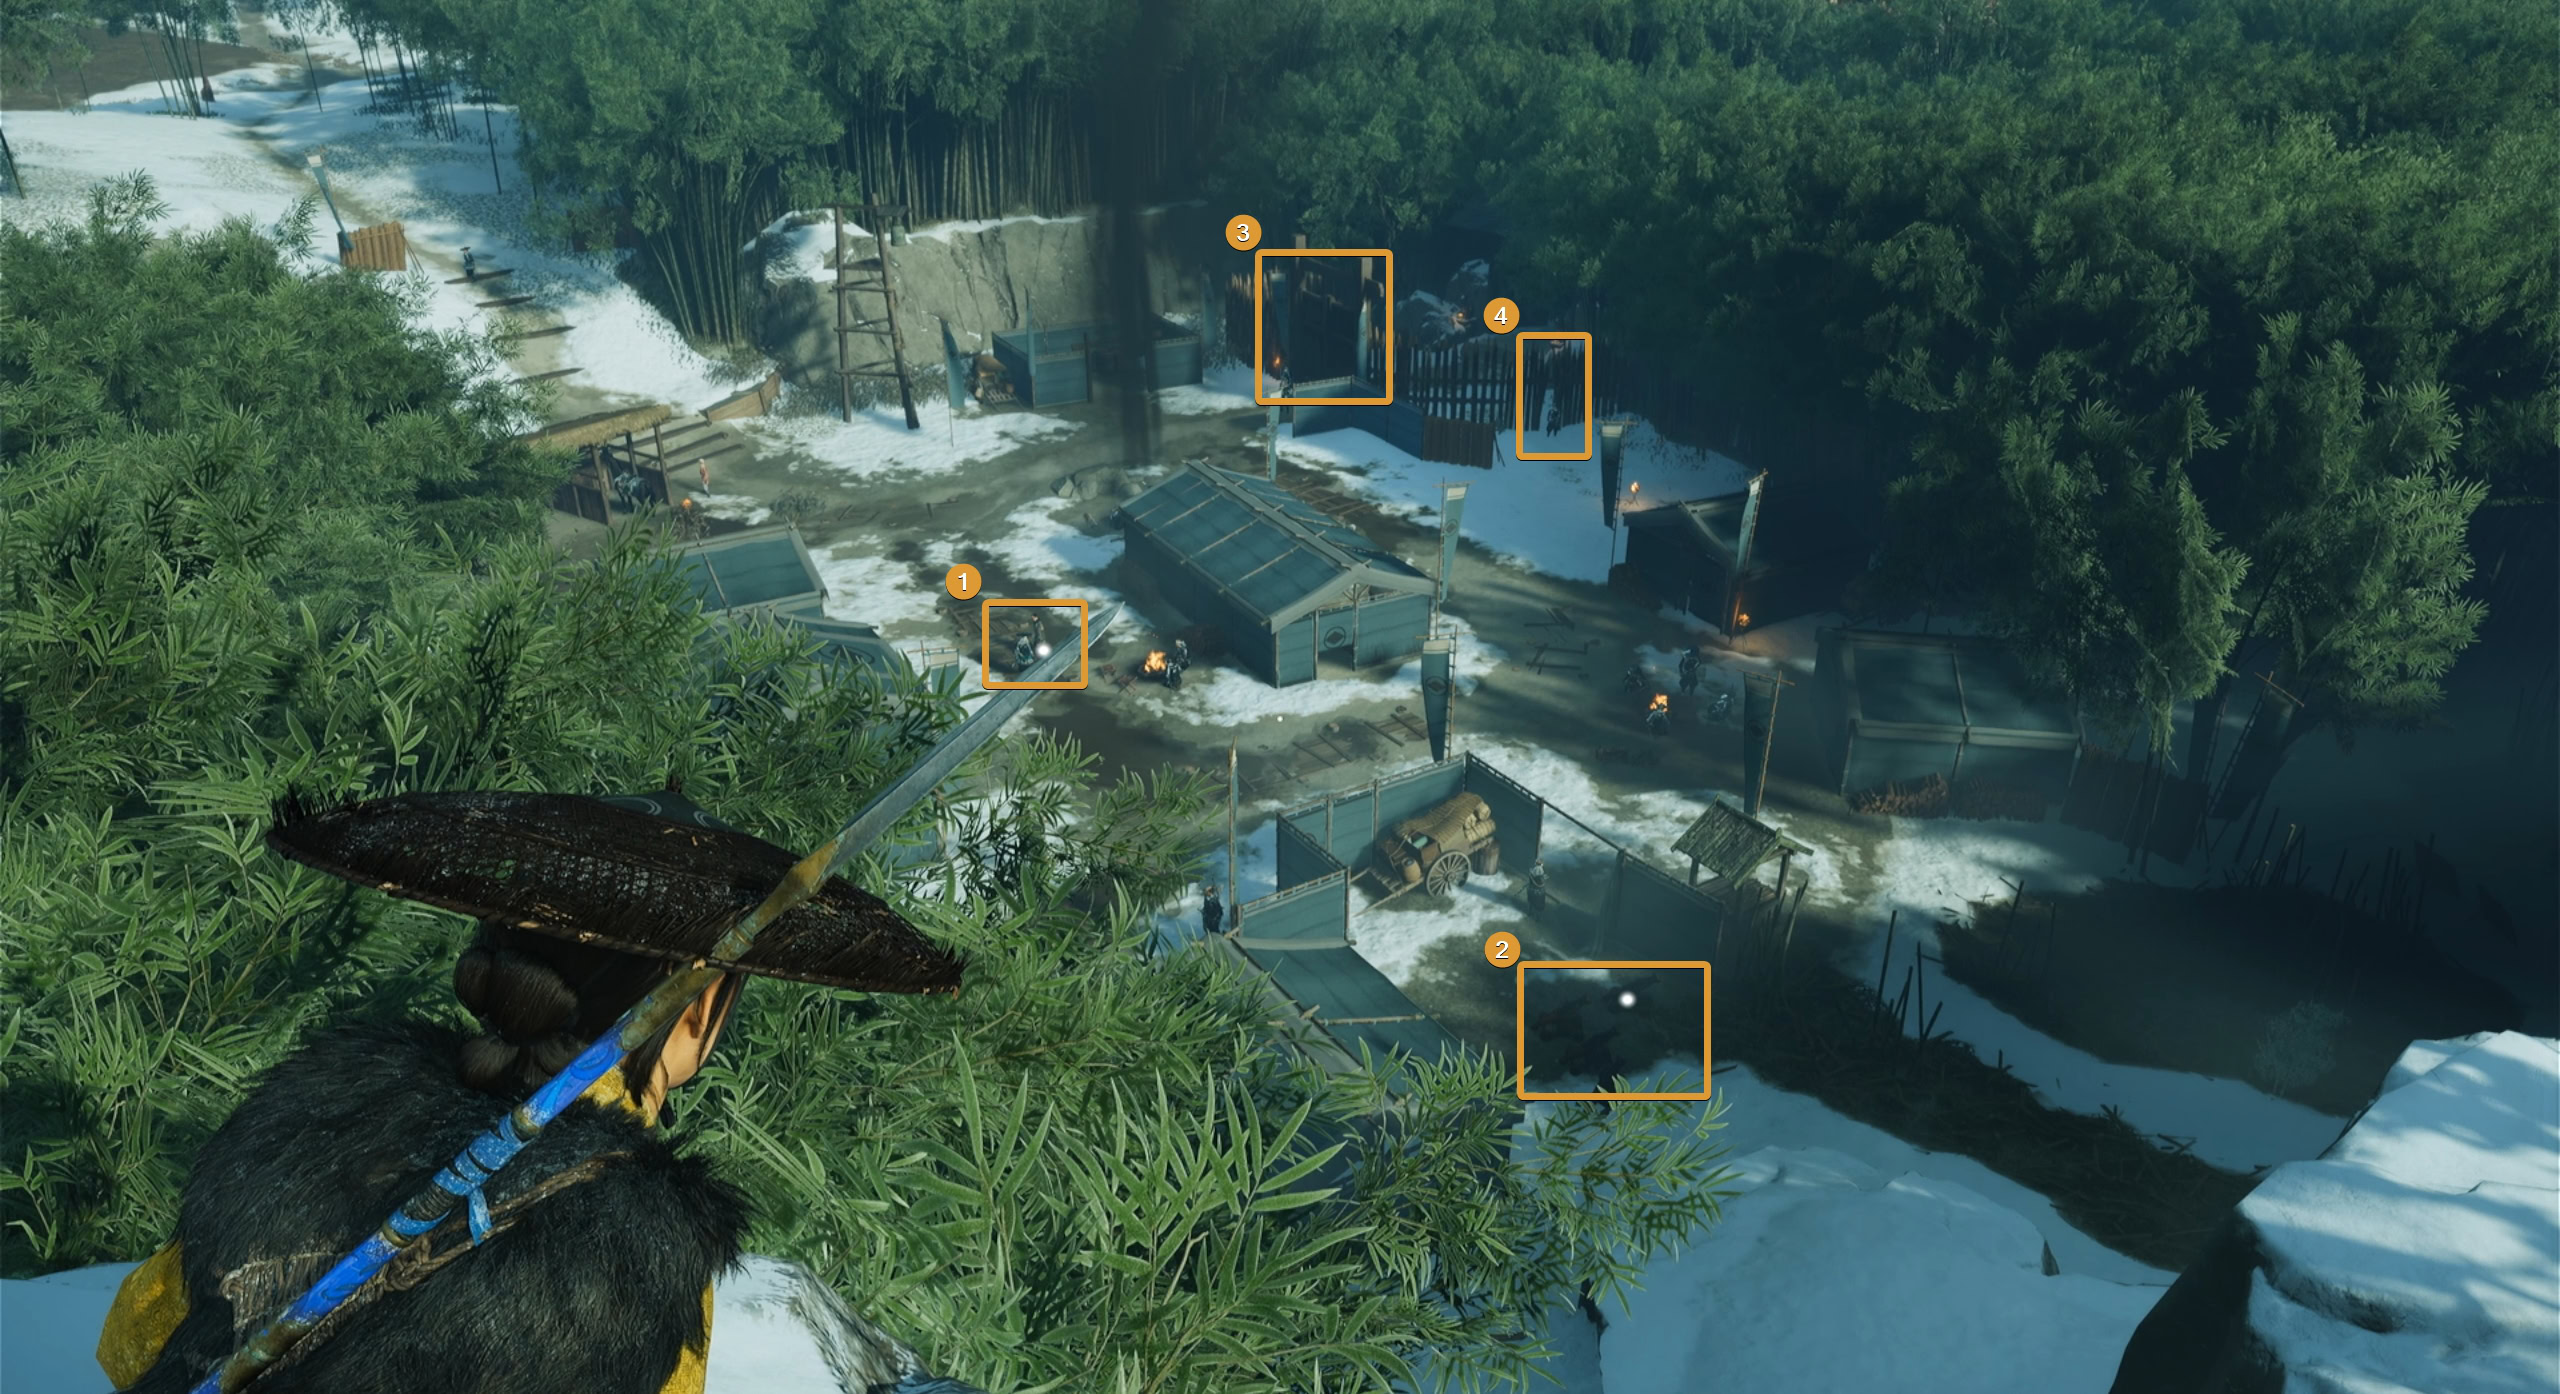
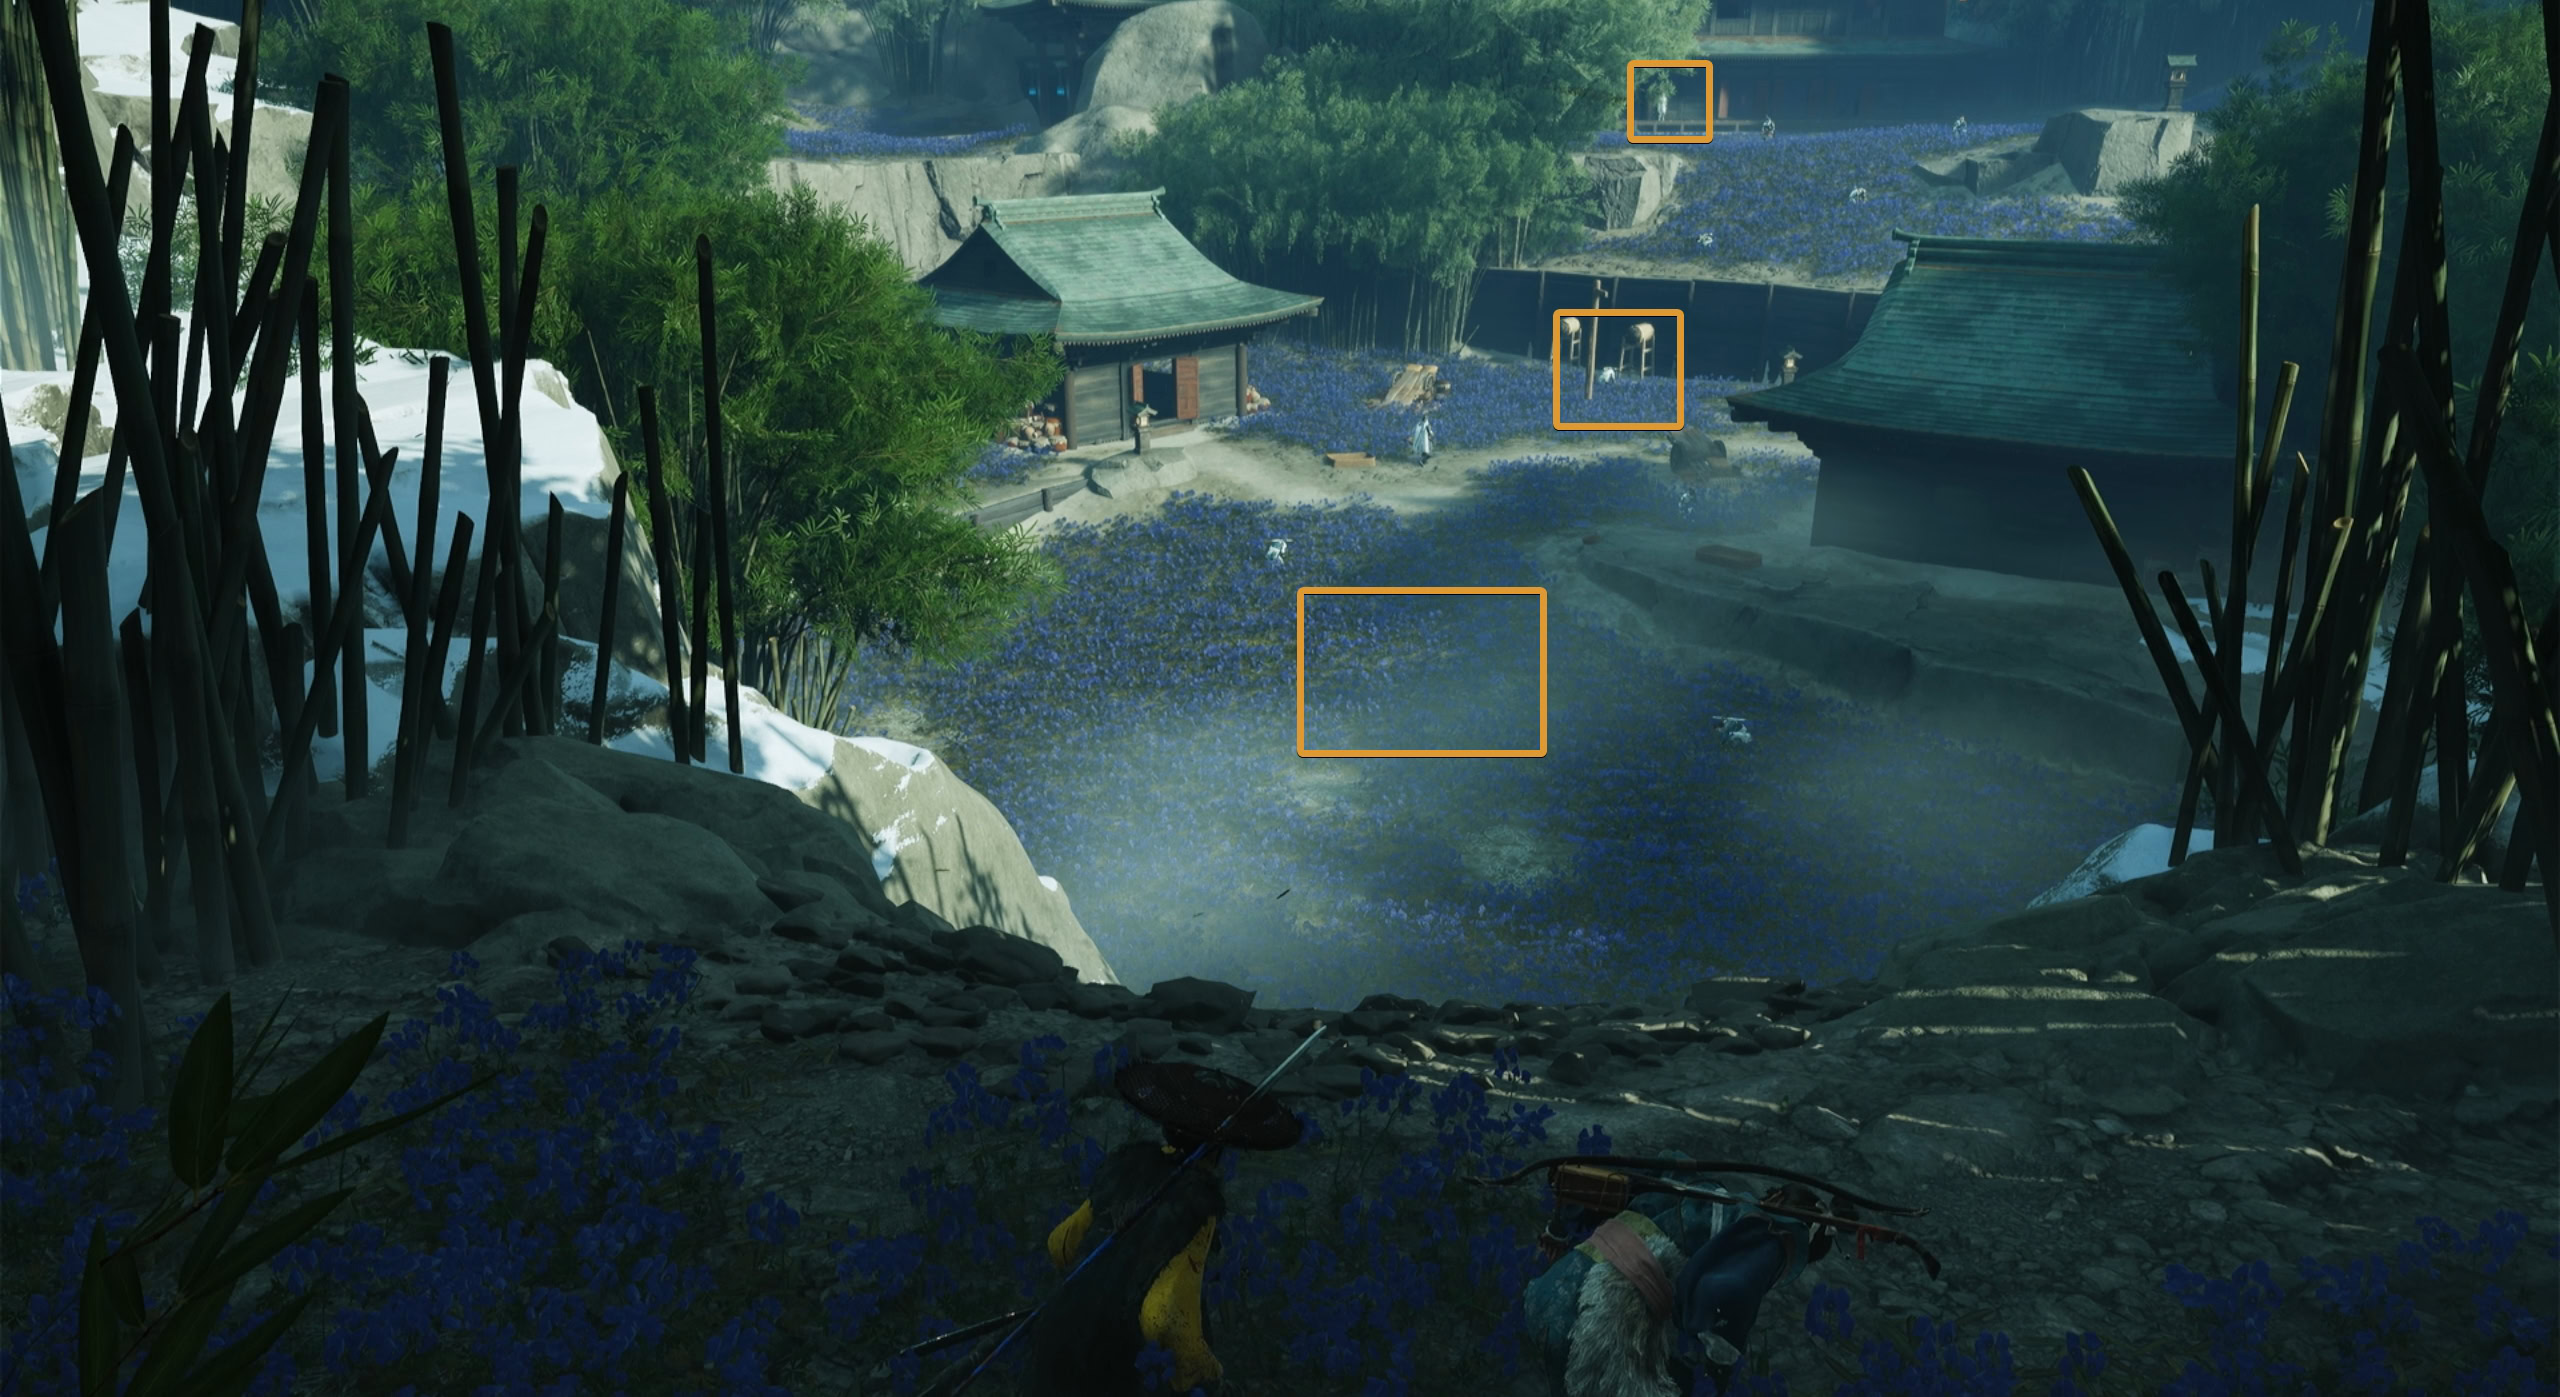
Survey the samurai camp to look for a way in. Look at their cannons and Chosuke in the center of the camp. Then look towards the wall near the entrance, there’s a guard near a gap that can exploited.
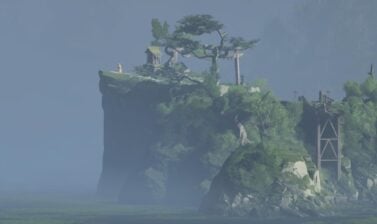
Entering the Bamboo Forest
Follow Oyuki into the camp and she’ll lead you towards the gap in the wall. Wait behind the bundles of bamboo while Oyuki distracts the guard. Slip through the opening once he’s gone.

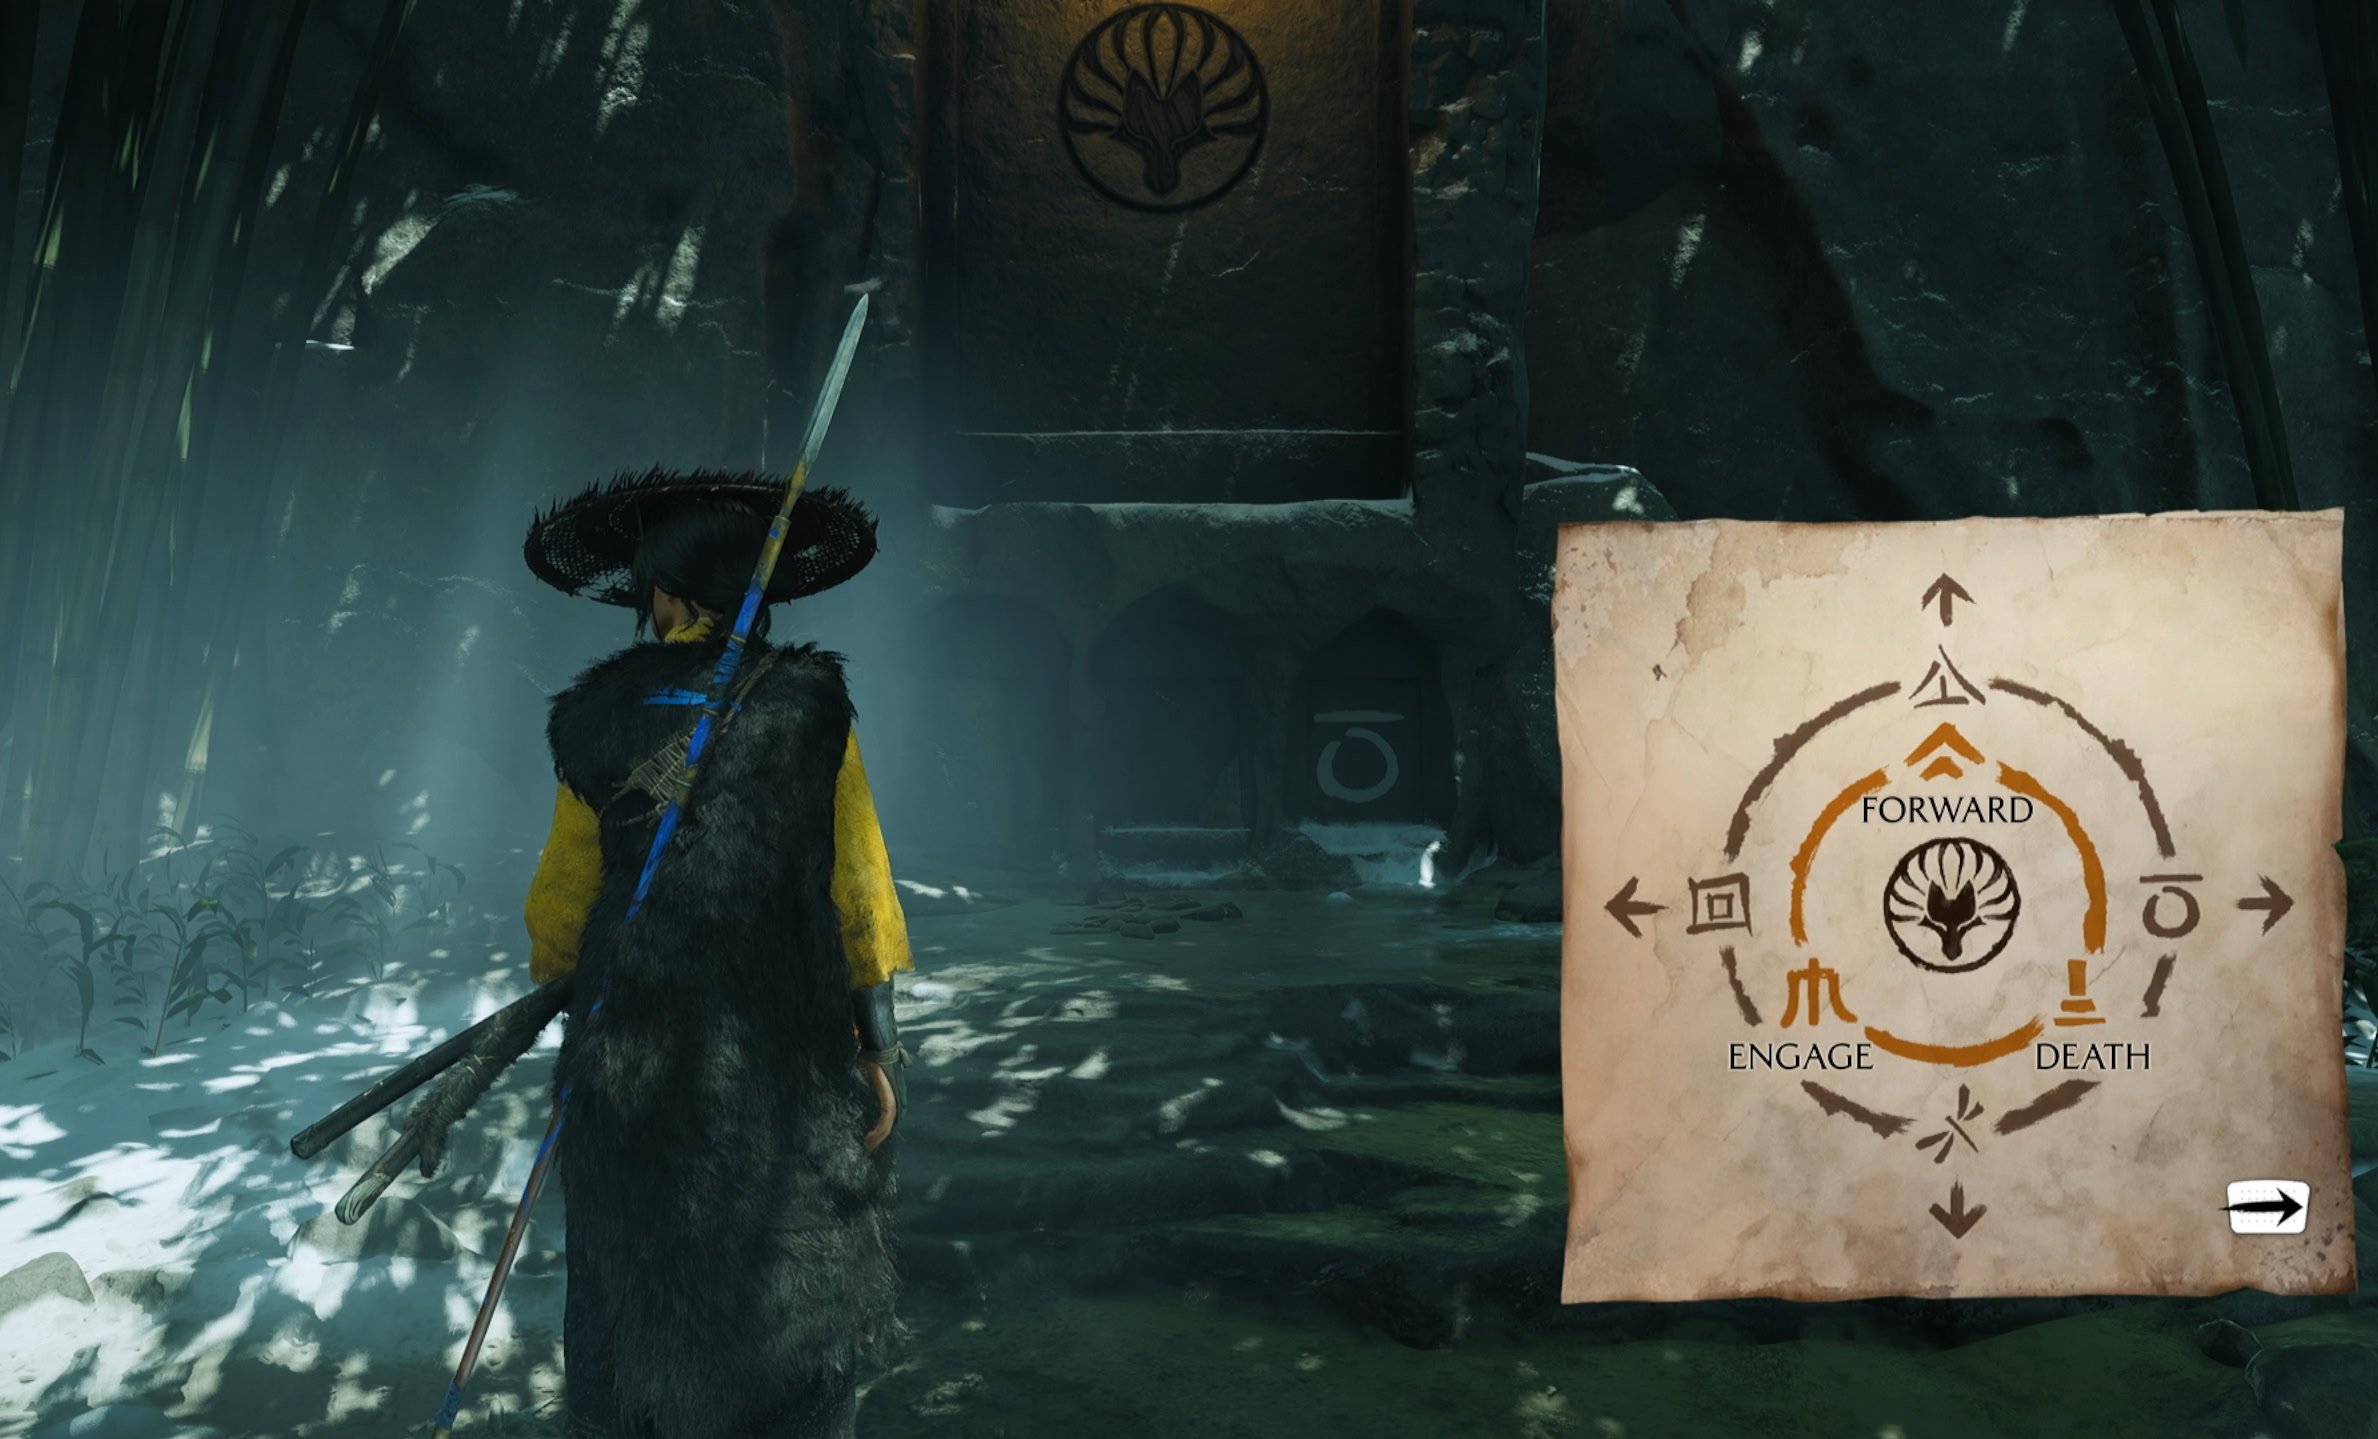
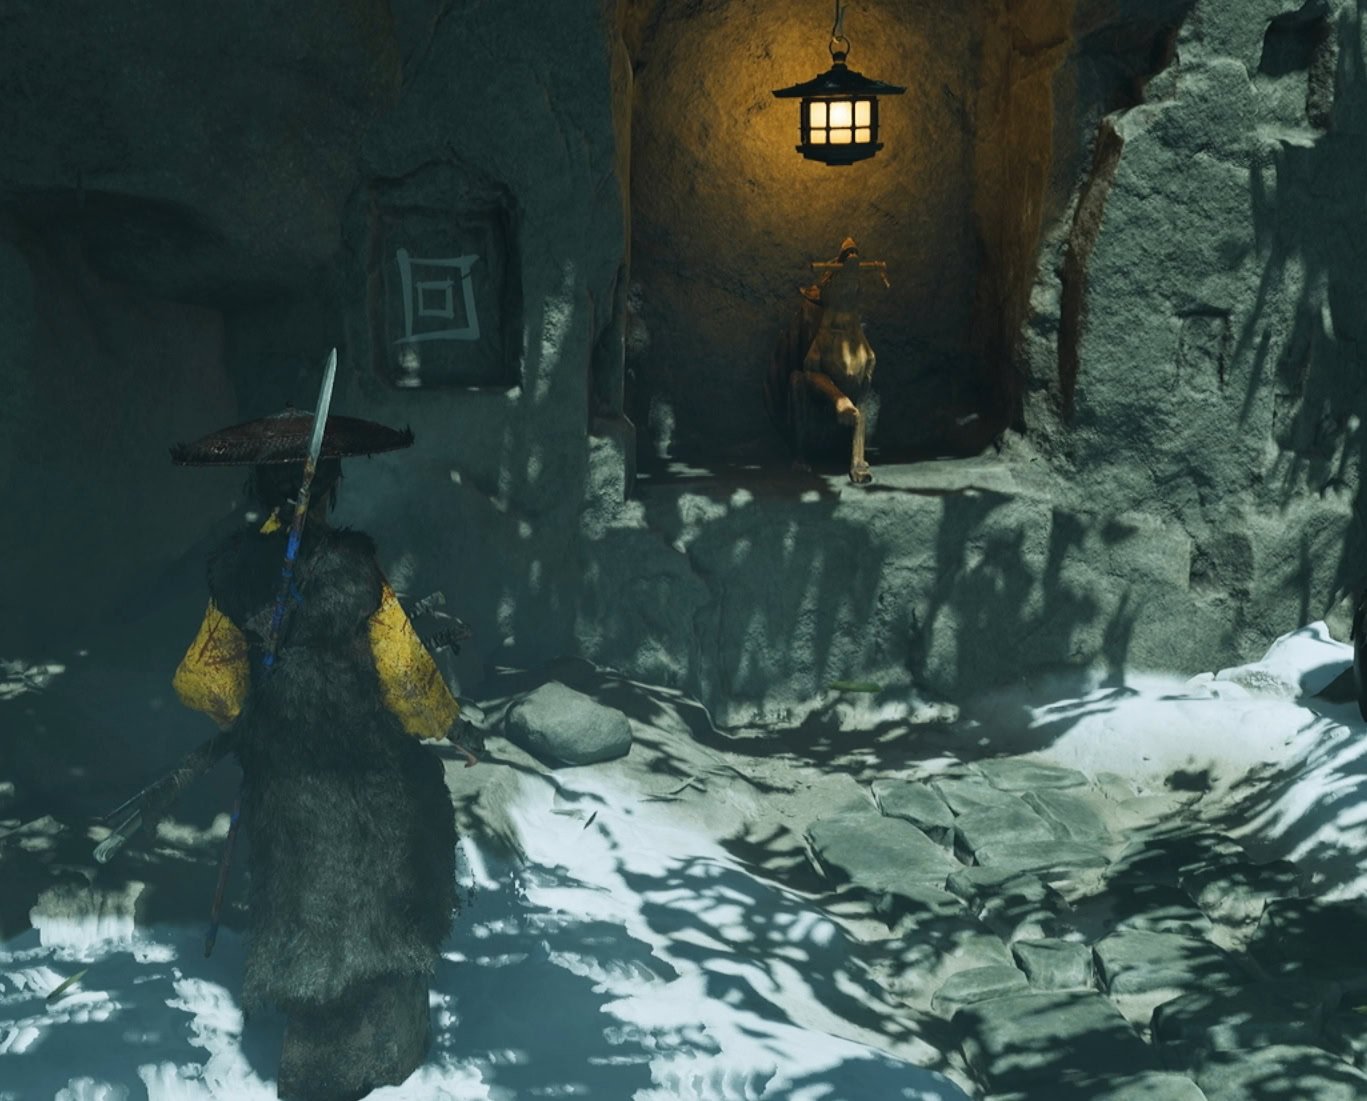
The first thing you’ll run into is a stone monument with the Kitsune’s symbol and the code for Right. Follow the path to the right and don’t step into the pitfalls.
The Tree Pedestal Puzzle
You’ll find a kitsune pedestal under a large tree. Surrounding the tree are numerous kitsune statues next to lanterns. Grab a torch from the lit brazier and light the lanterns next to the statues that match the ones under the tree.
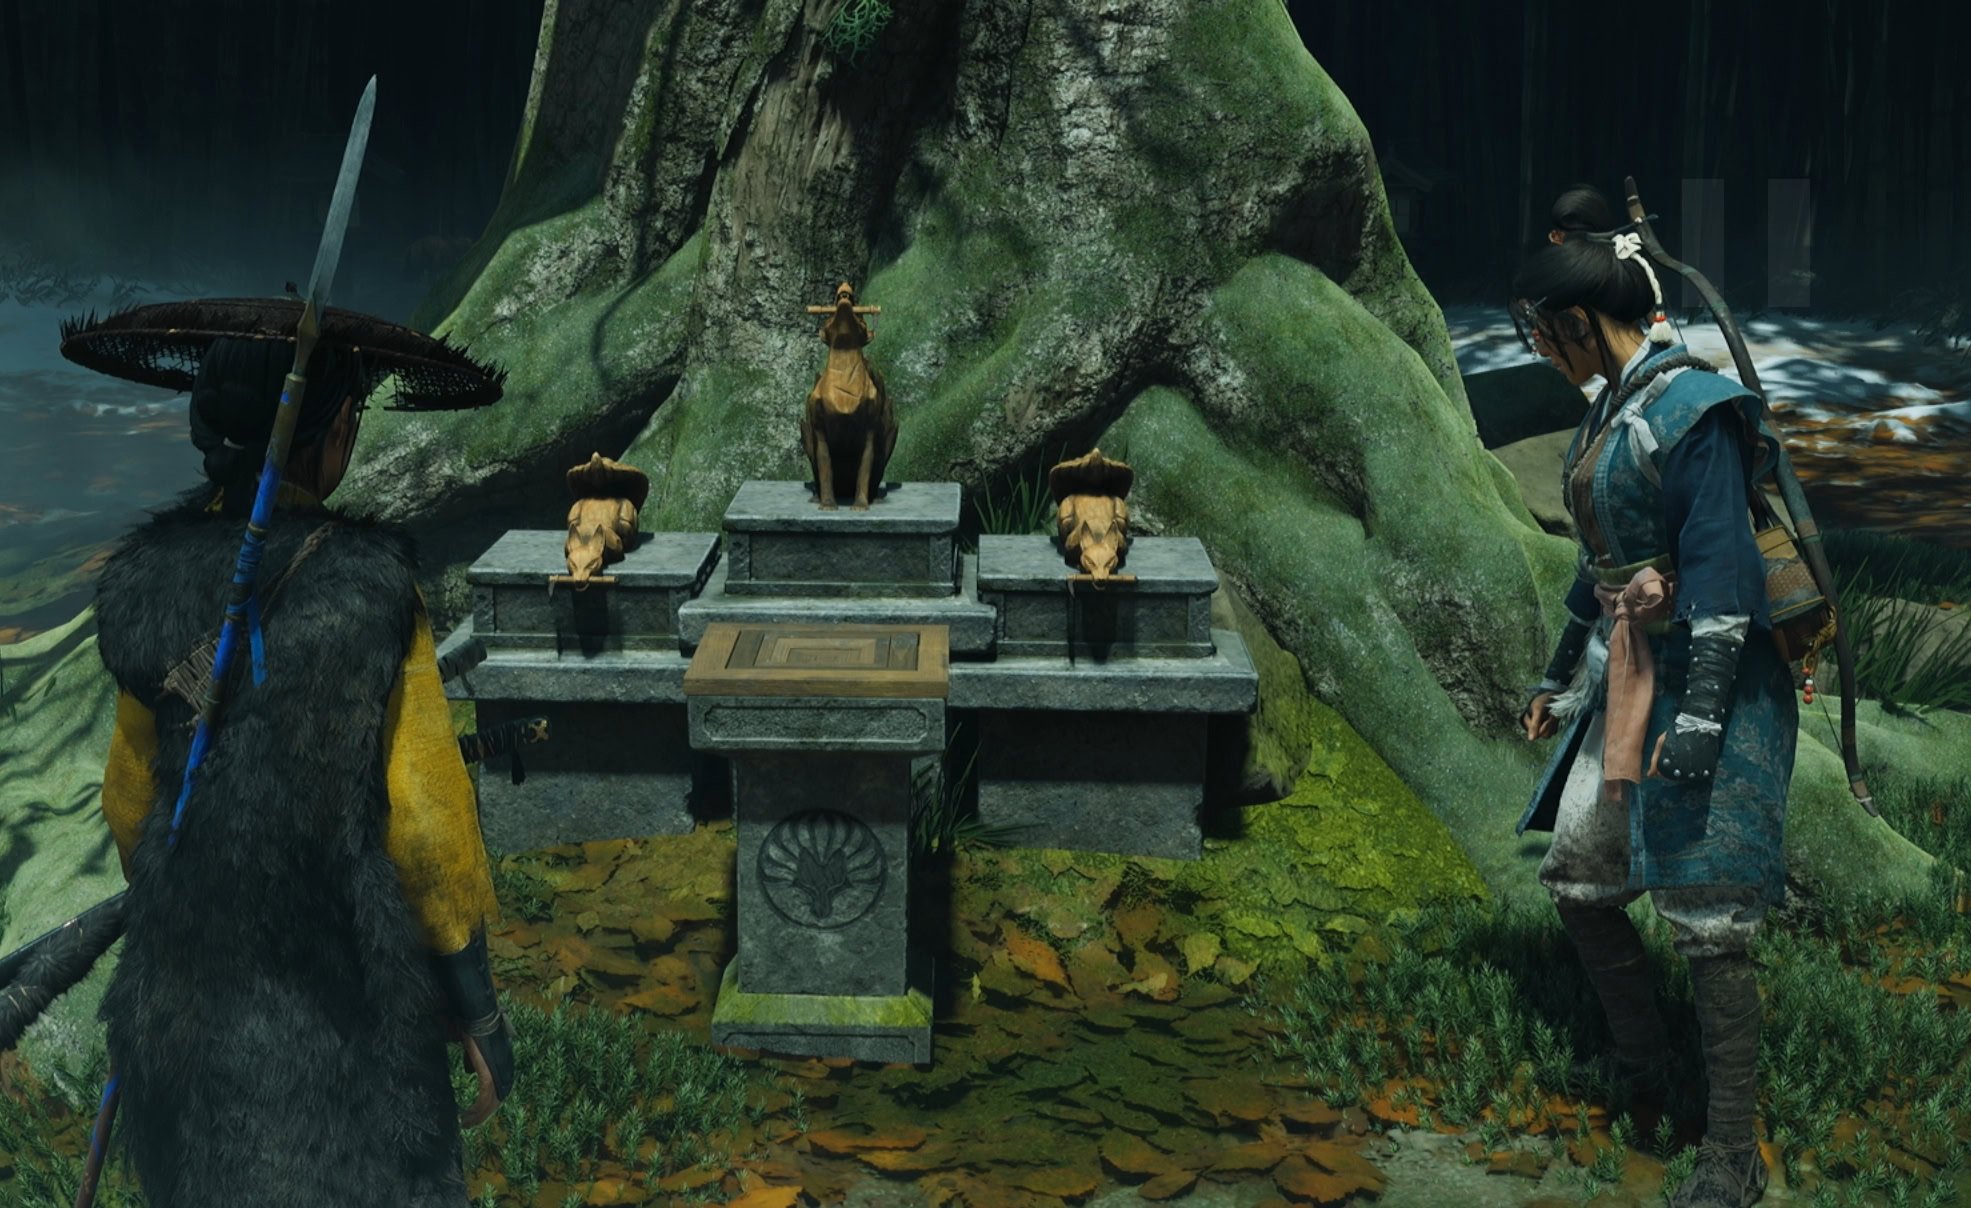
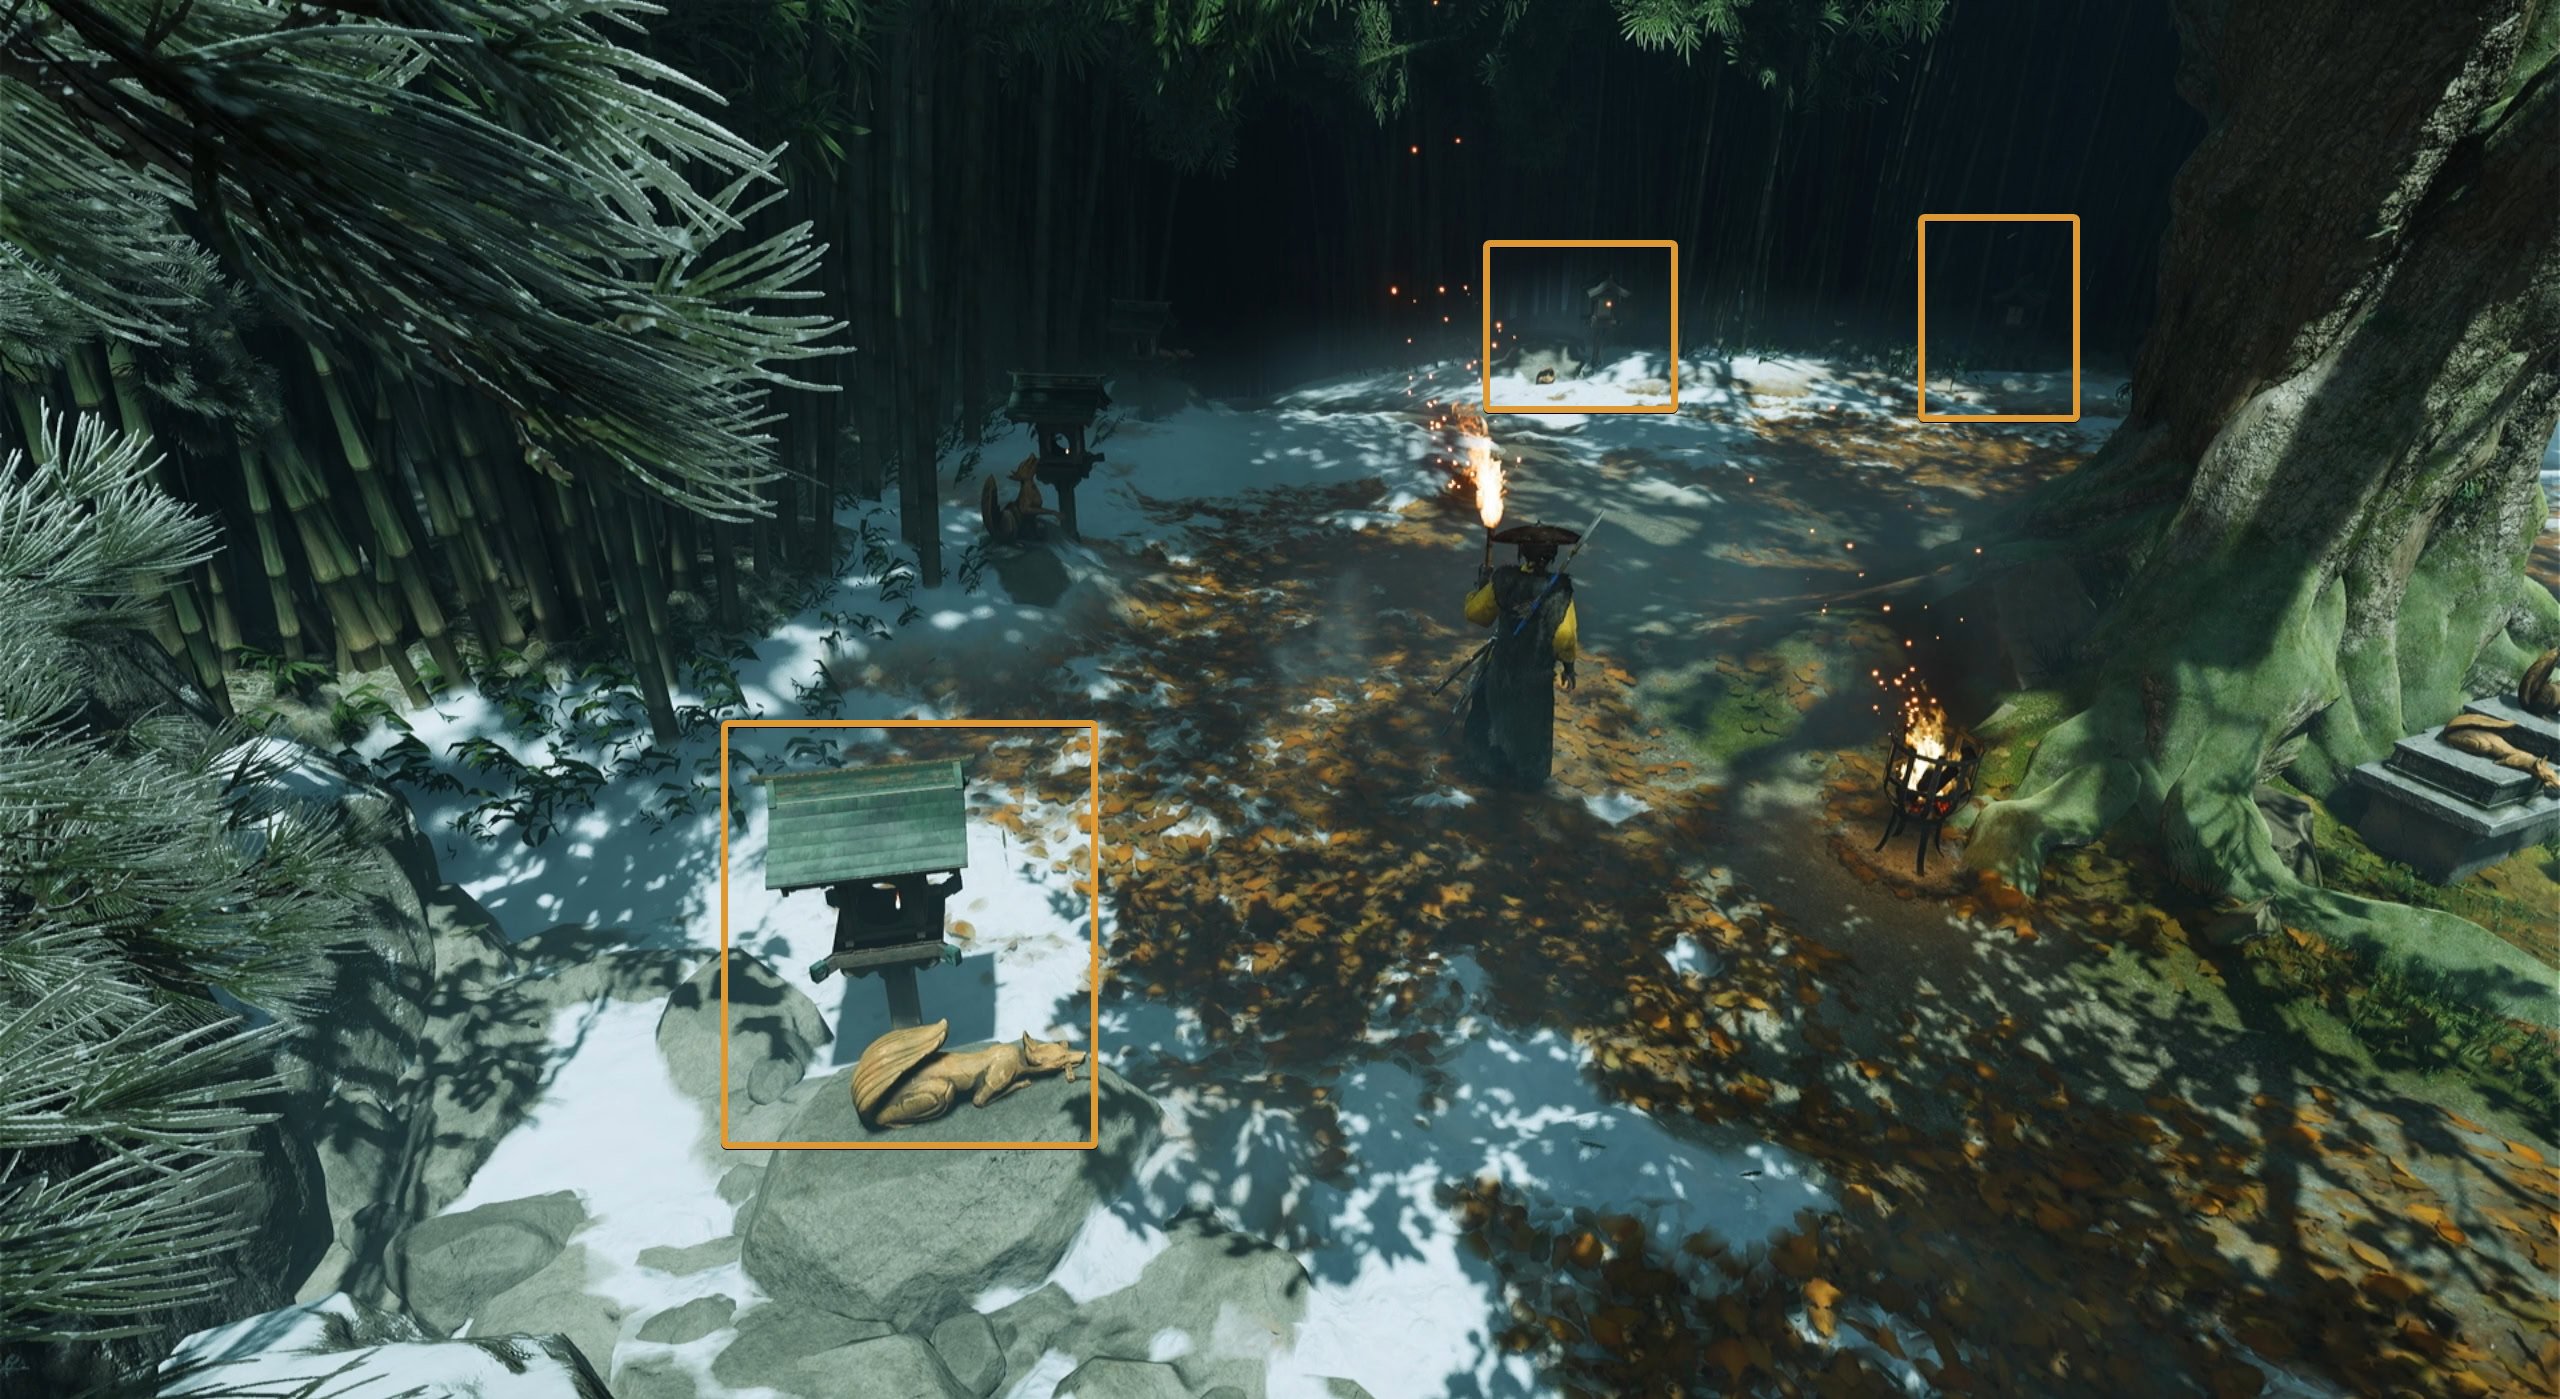
If done correctly, the pedestal will have a slot for the puzzle box you got in the last mission. Place it there to open the way ahead then go deeper into the forest.
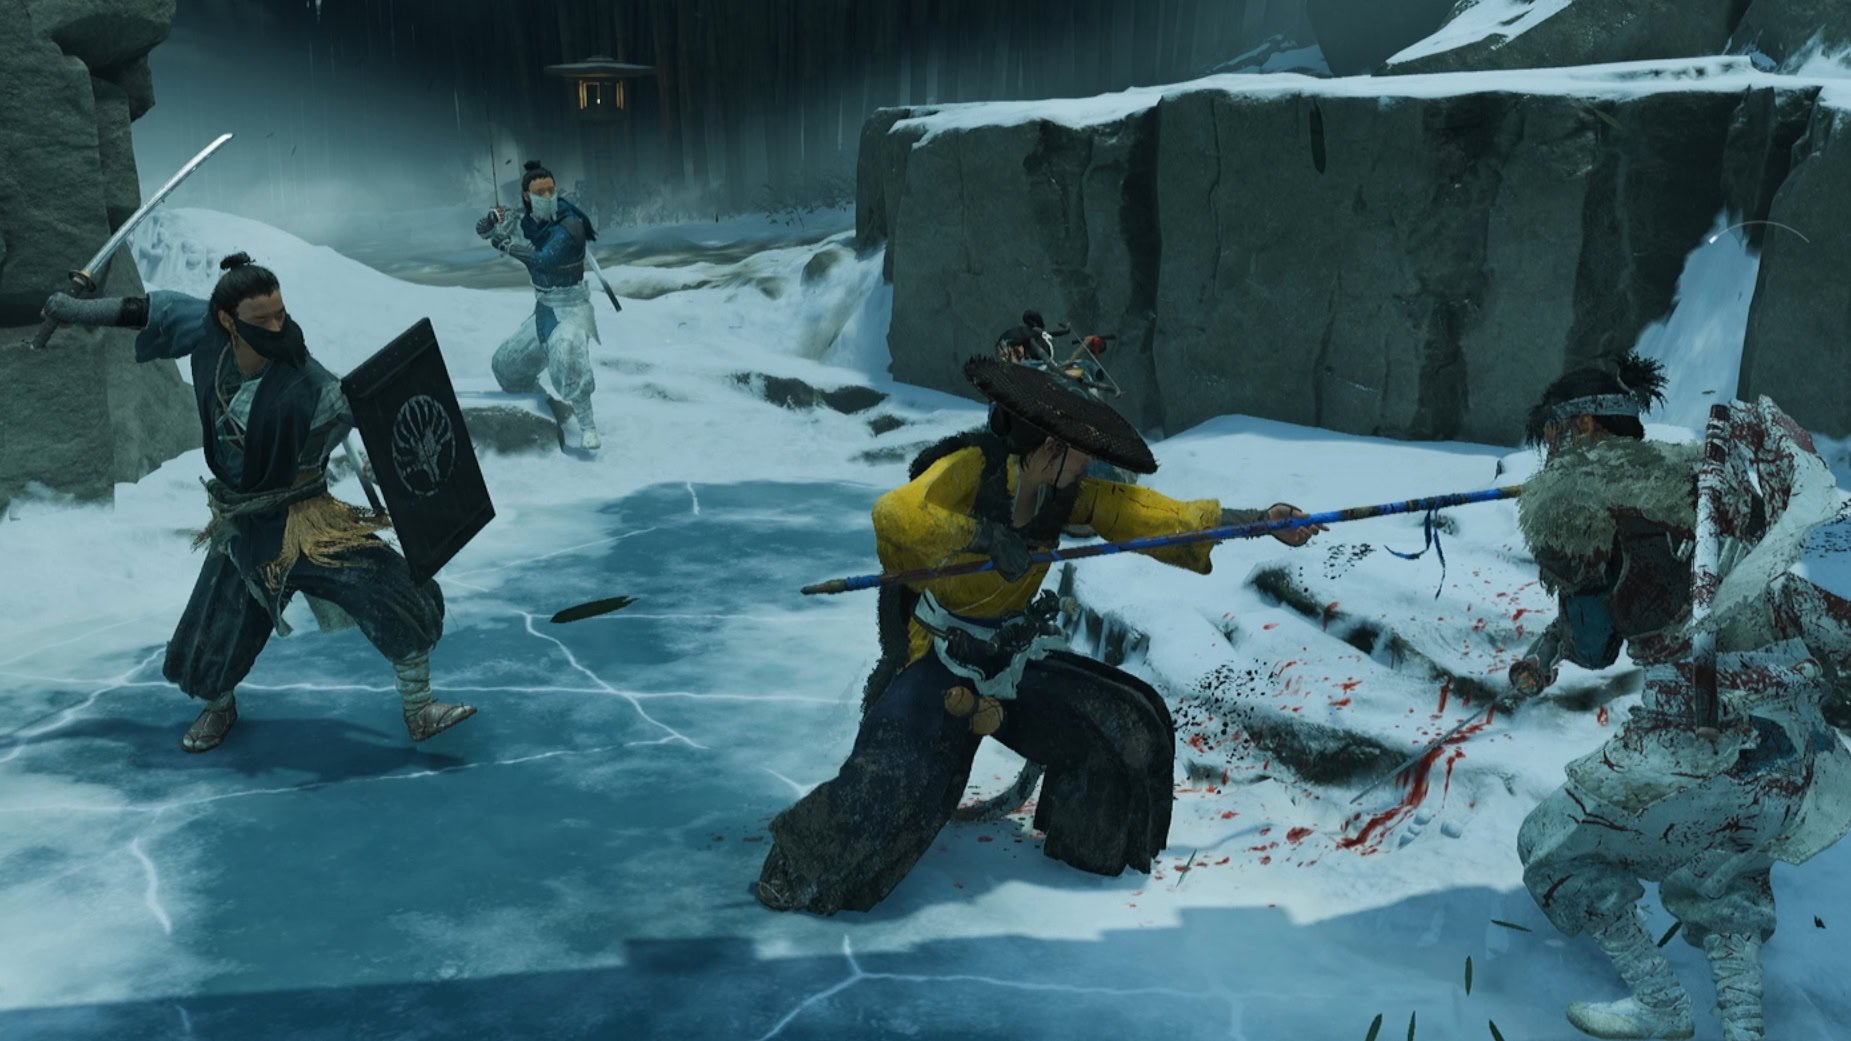
When you reach the area with the bridge, you’ll be attacked by a group of shinobi. Defeat them to start working on the next puzzle.
The Three Kitsune Puzzle
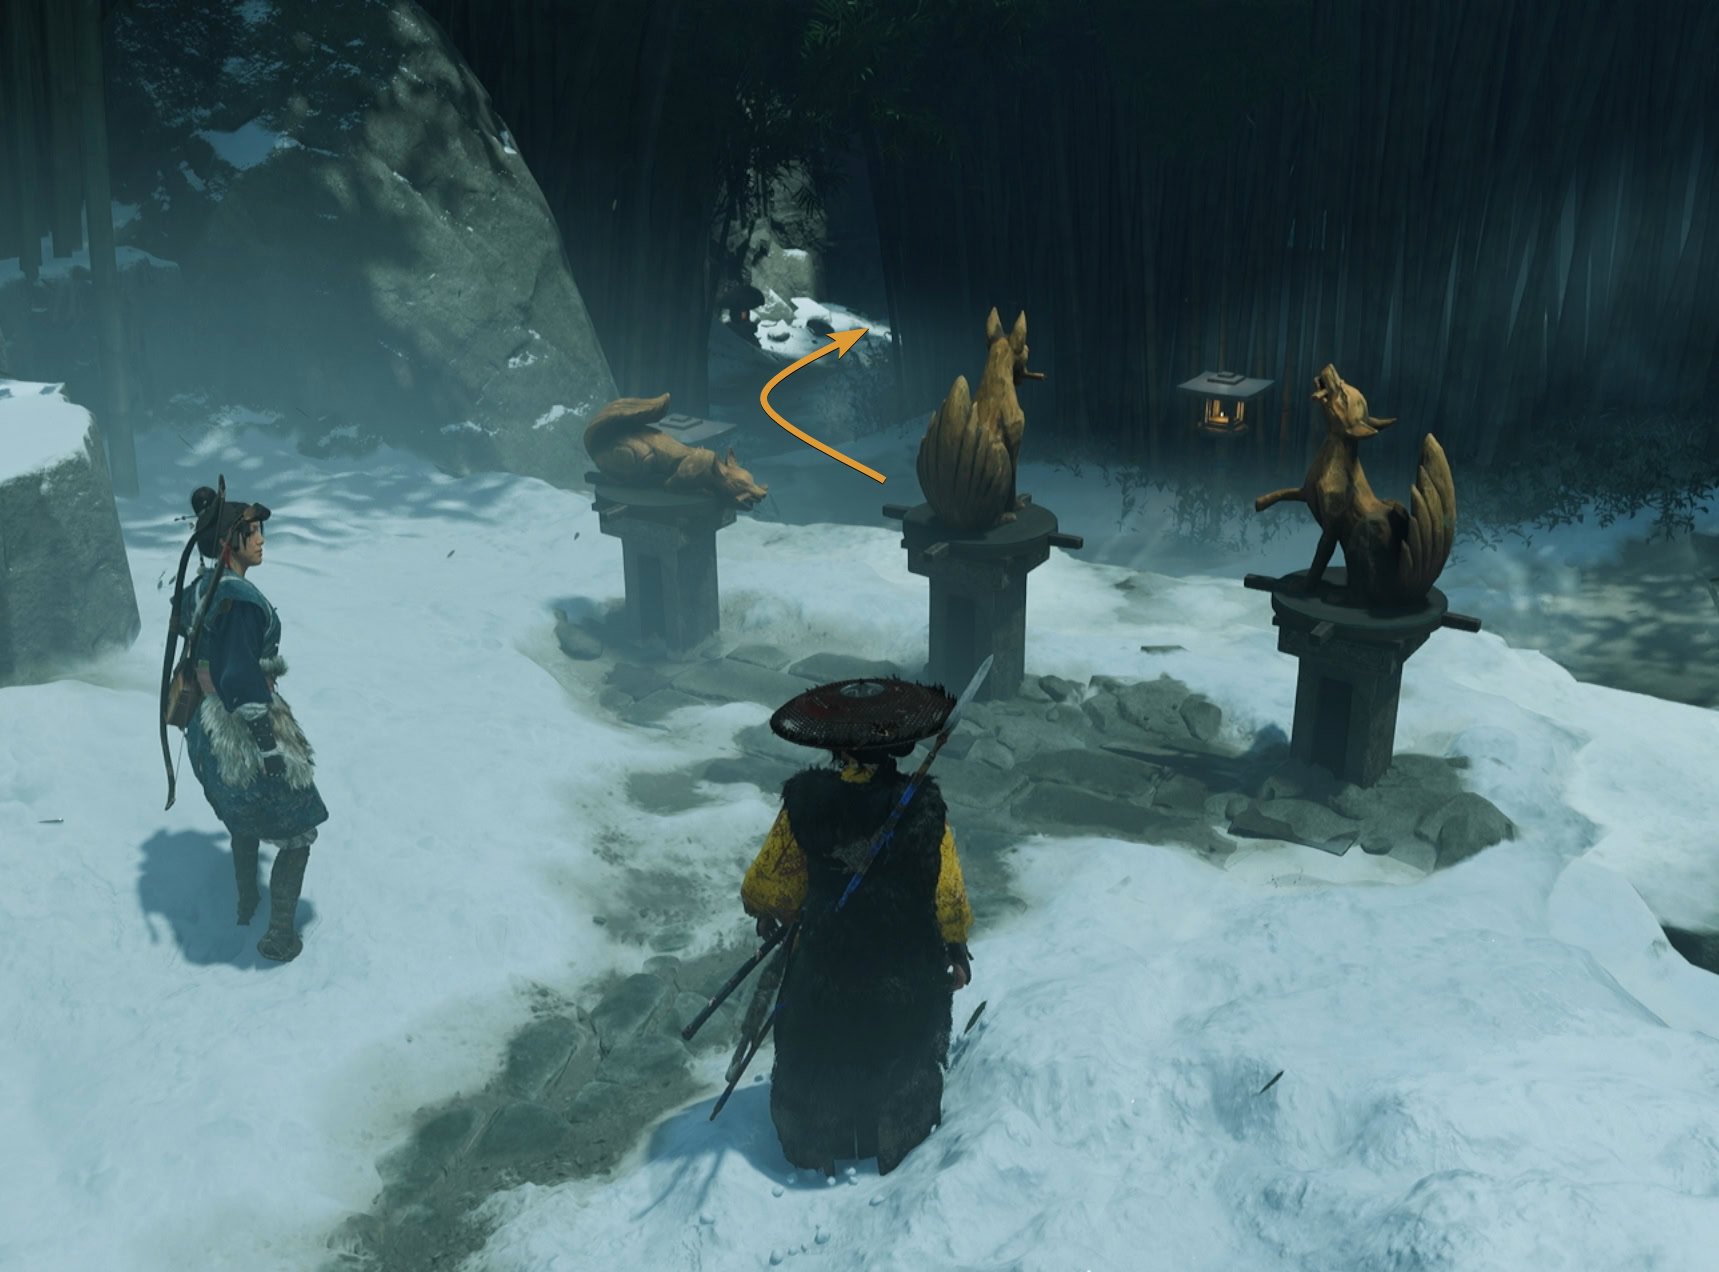
This puzzle is very simple as you need to find the three standalone statues in the area and memorize their pose and symbols.
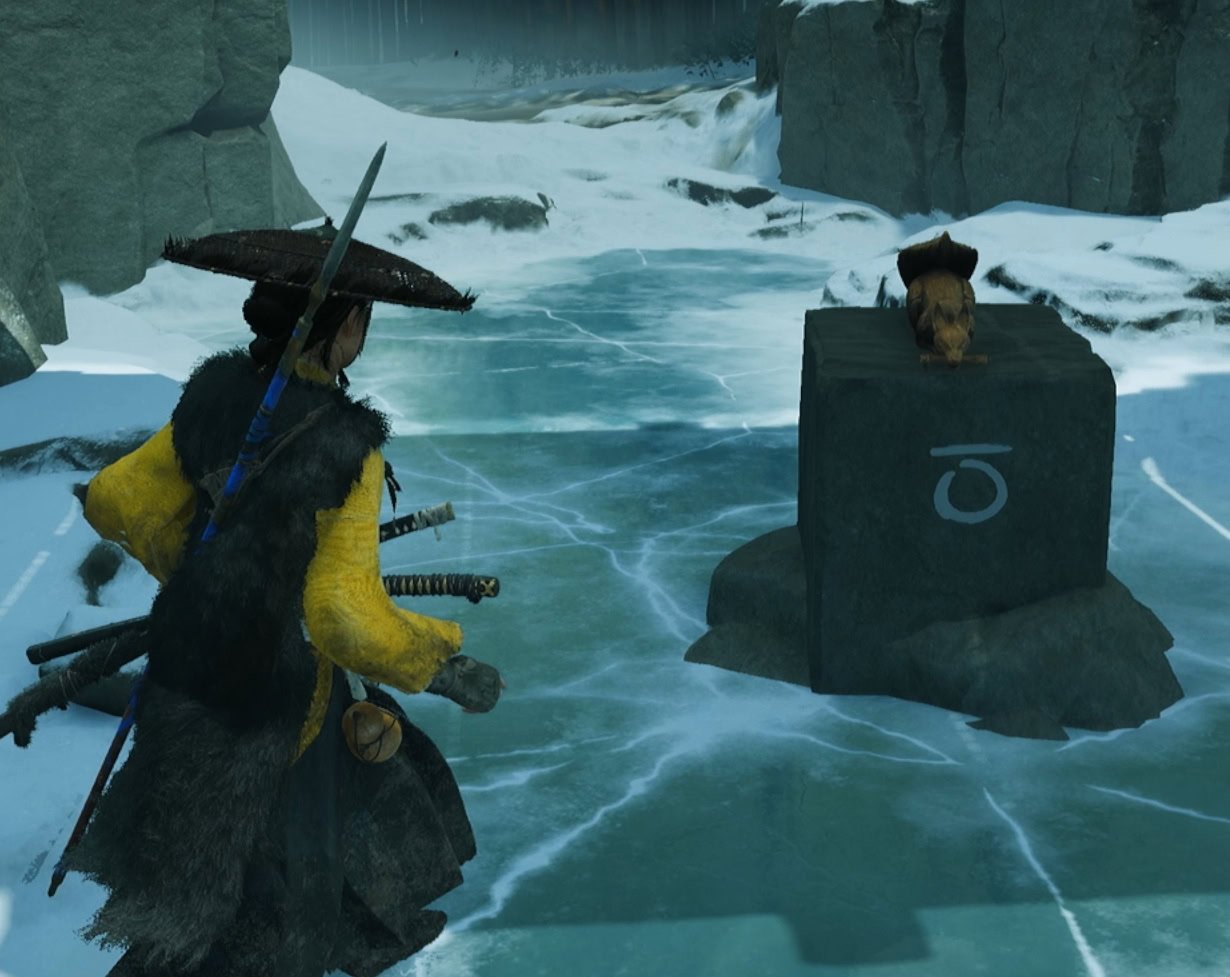
Go to the three statues on the outcrop and orient them to match their symbols. From left to right, the kitsune should face Right, Forward, and Left. Doing this will open the path ahead.
Pitfall Traps
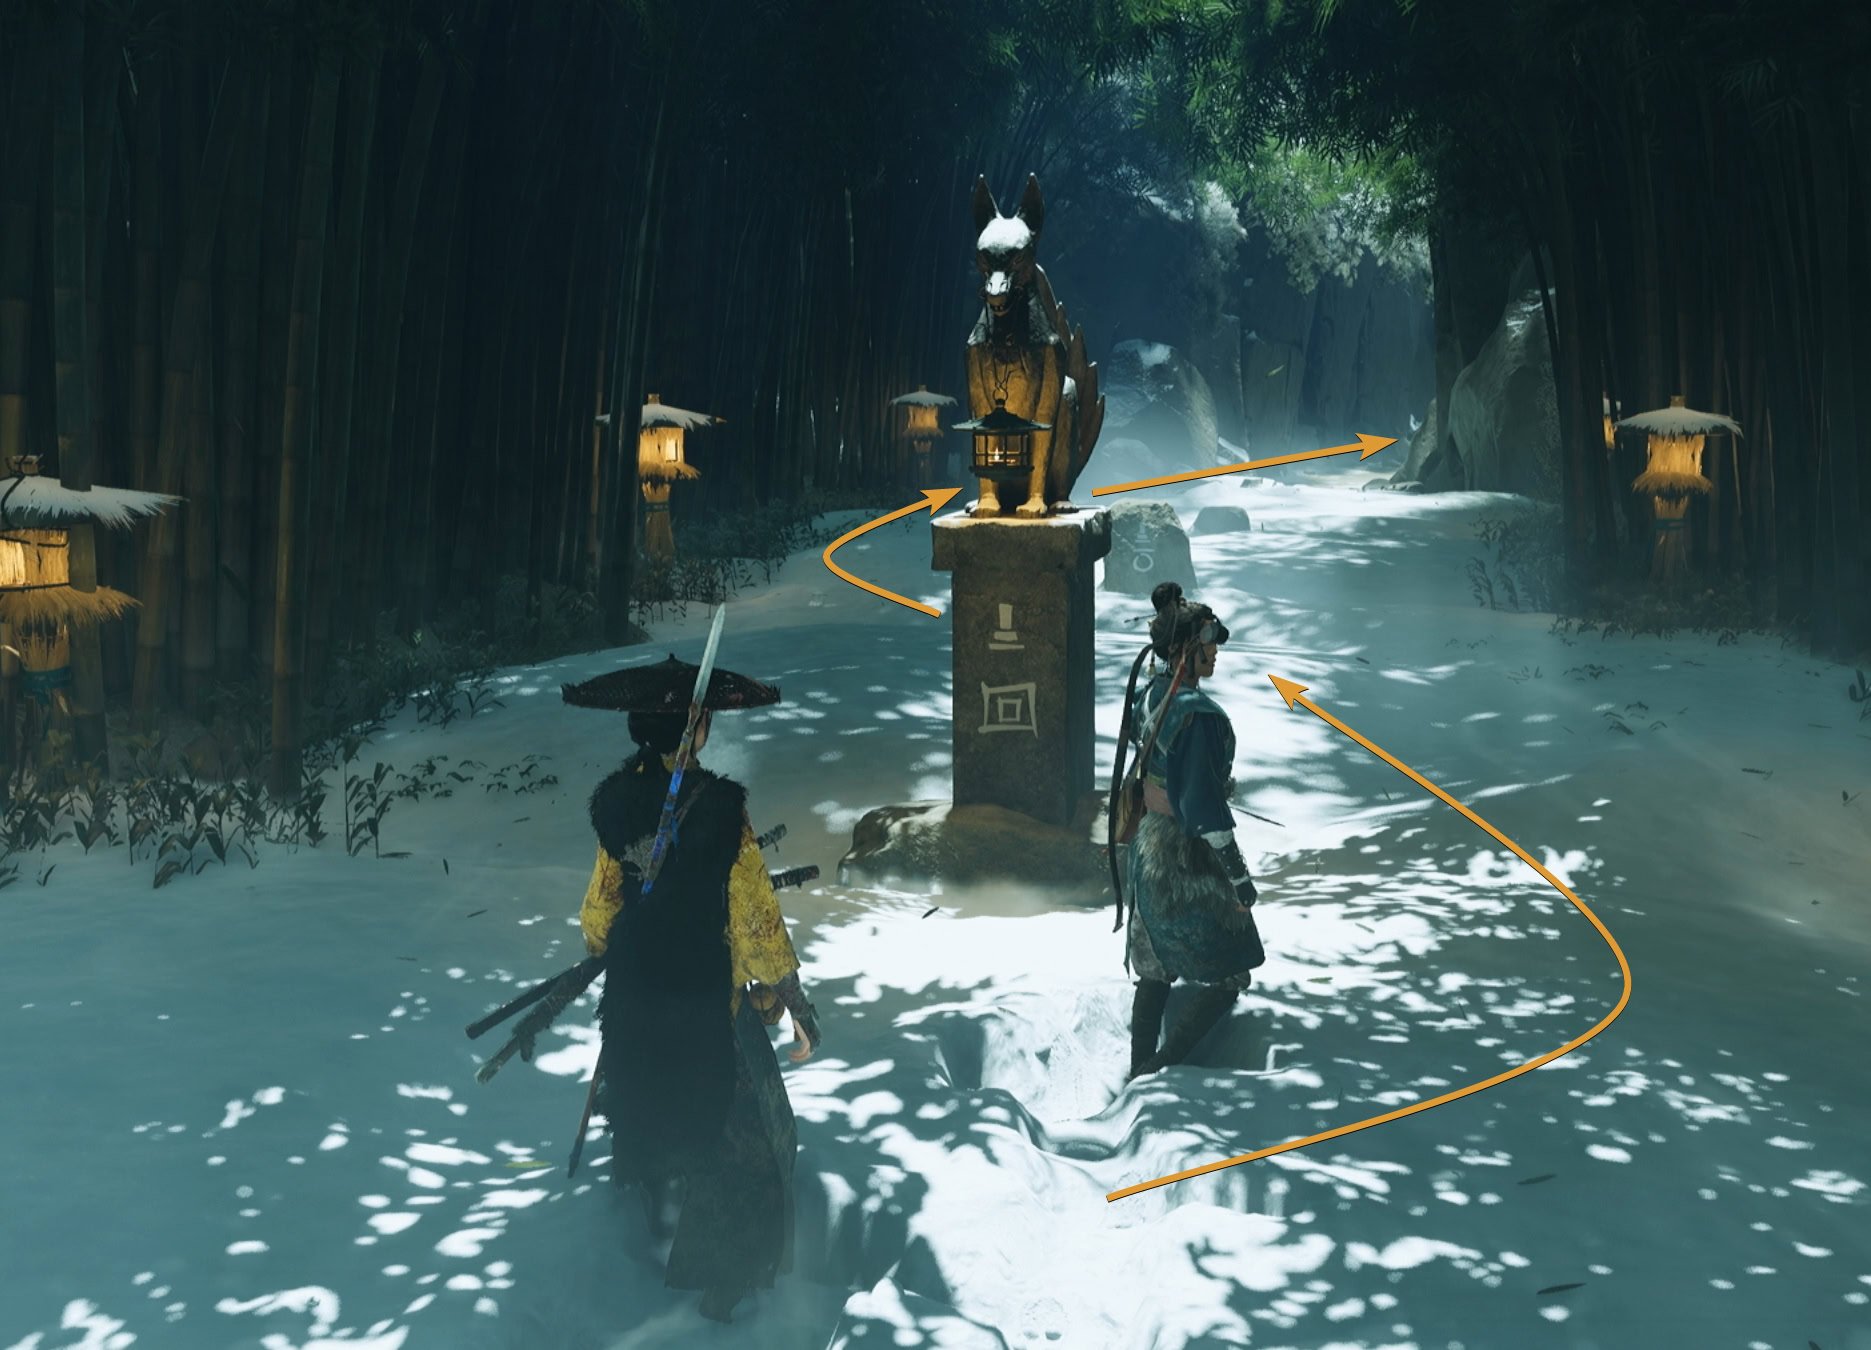
This next area has a pillar and a stone with the death symbol, along with directions. The pillar indicates there’s death to the left, while the stone indicates death to the right.
Heed these warnings and travel right then left to avoid falling into a pitfall trap. Once you’re on the other side, crawl under the boulder where you’ll find a large gate.
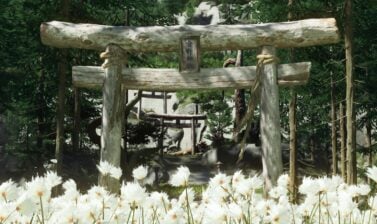
The Kitsune Gate Puzzle
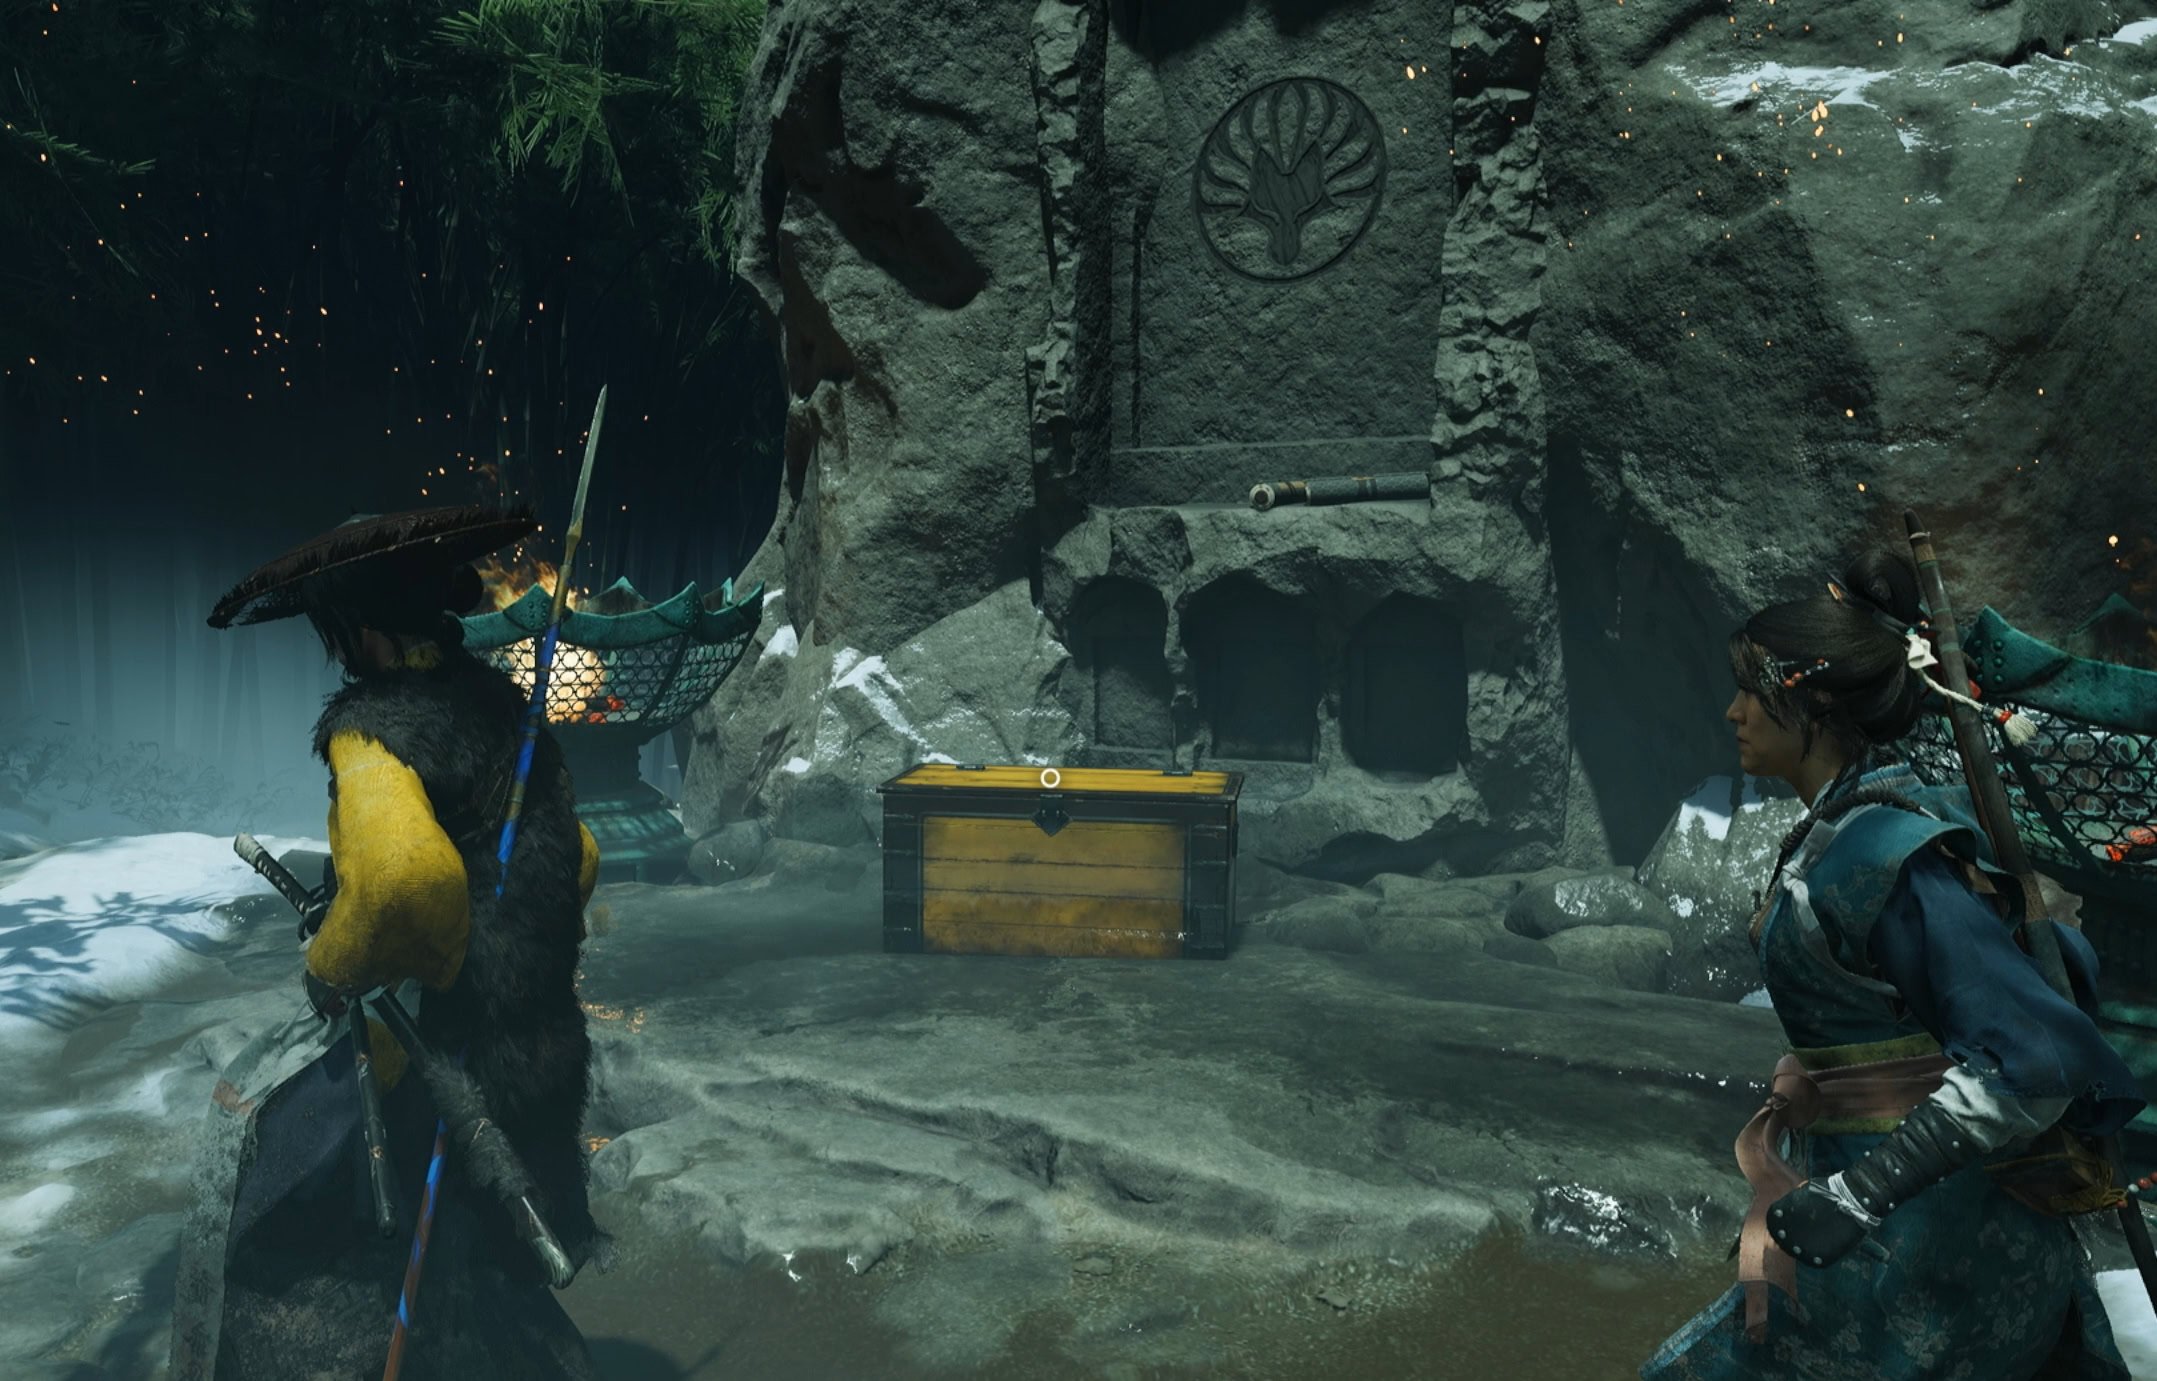
In front of the gate and behind the boulder is a large chest, loot it to get those precious upgrade materials.
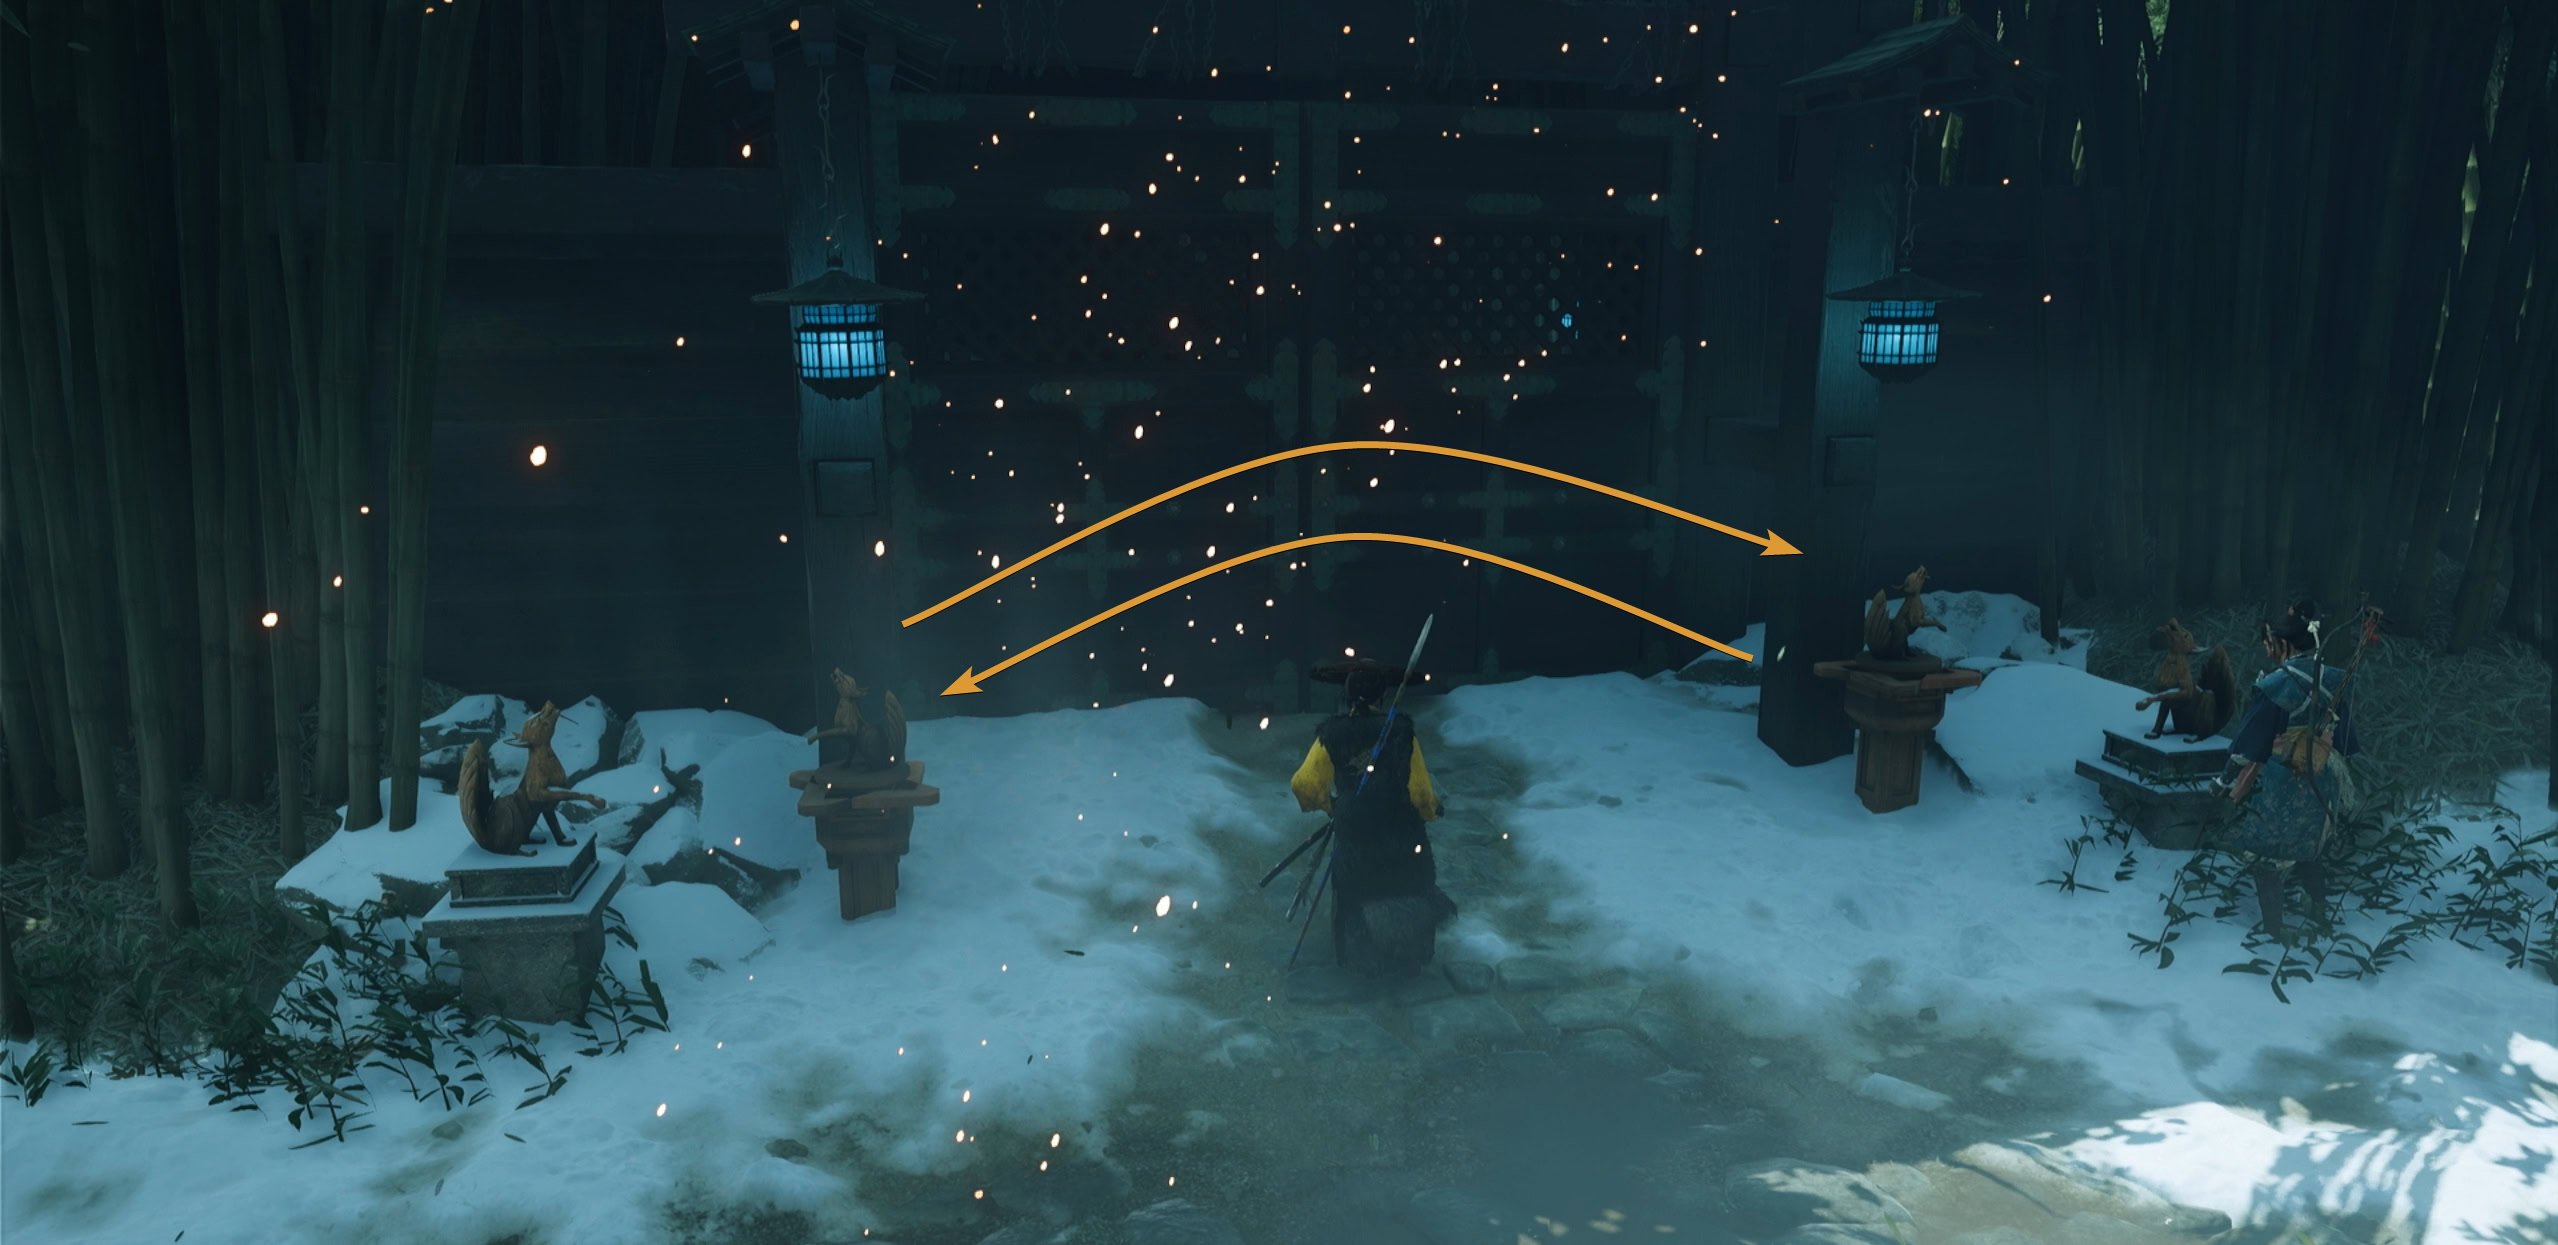
The solution for this puzzle is very easy, just swap the two statues on the pedestals so that they face towards the door.
The Bamboo Forest Path
Go through the gate, pry open the wall with your grappling hook, and defeat the shinobi ambush that appear when you’re outside again.
Show the pots no mercy
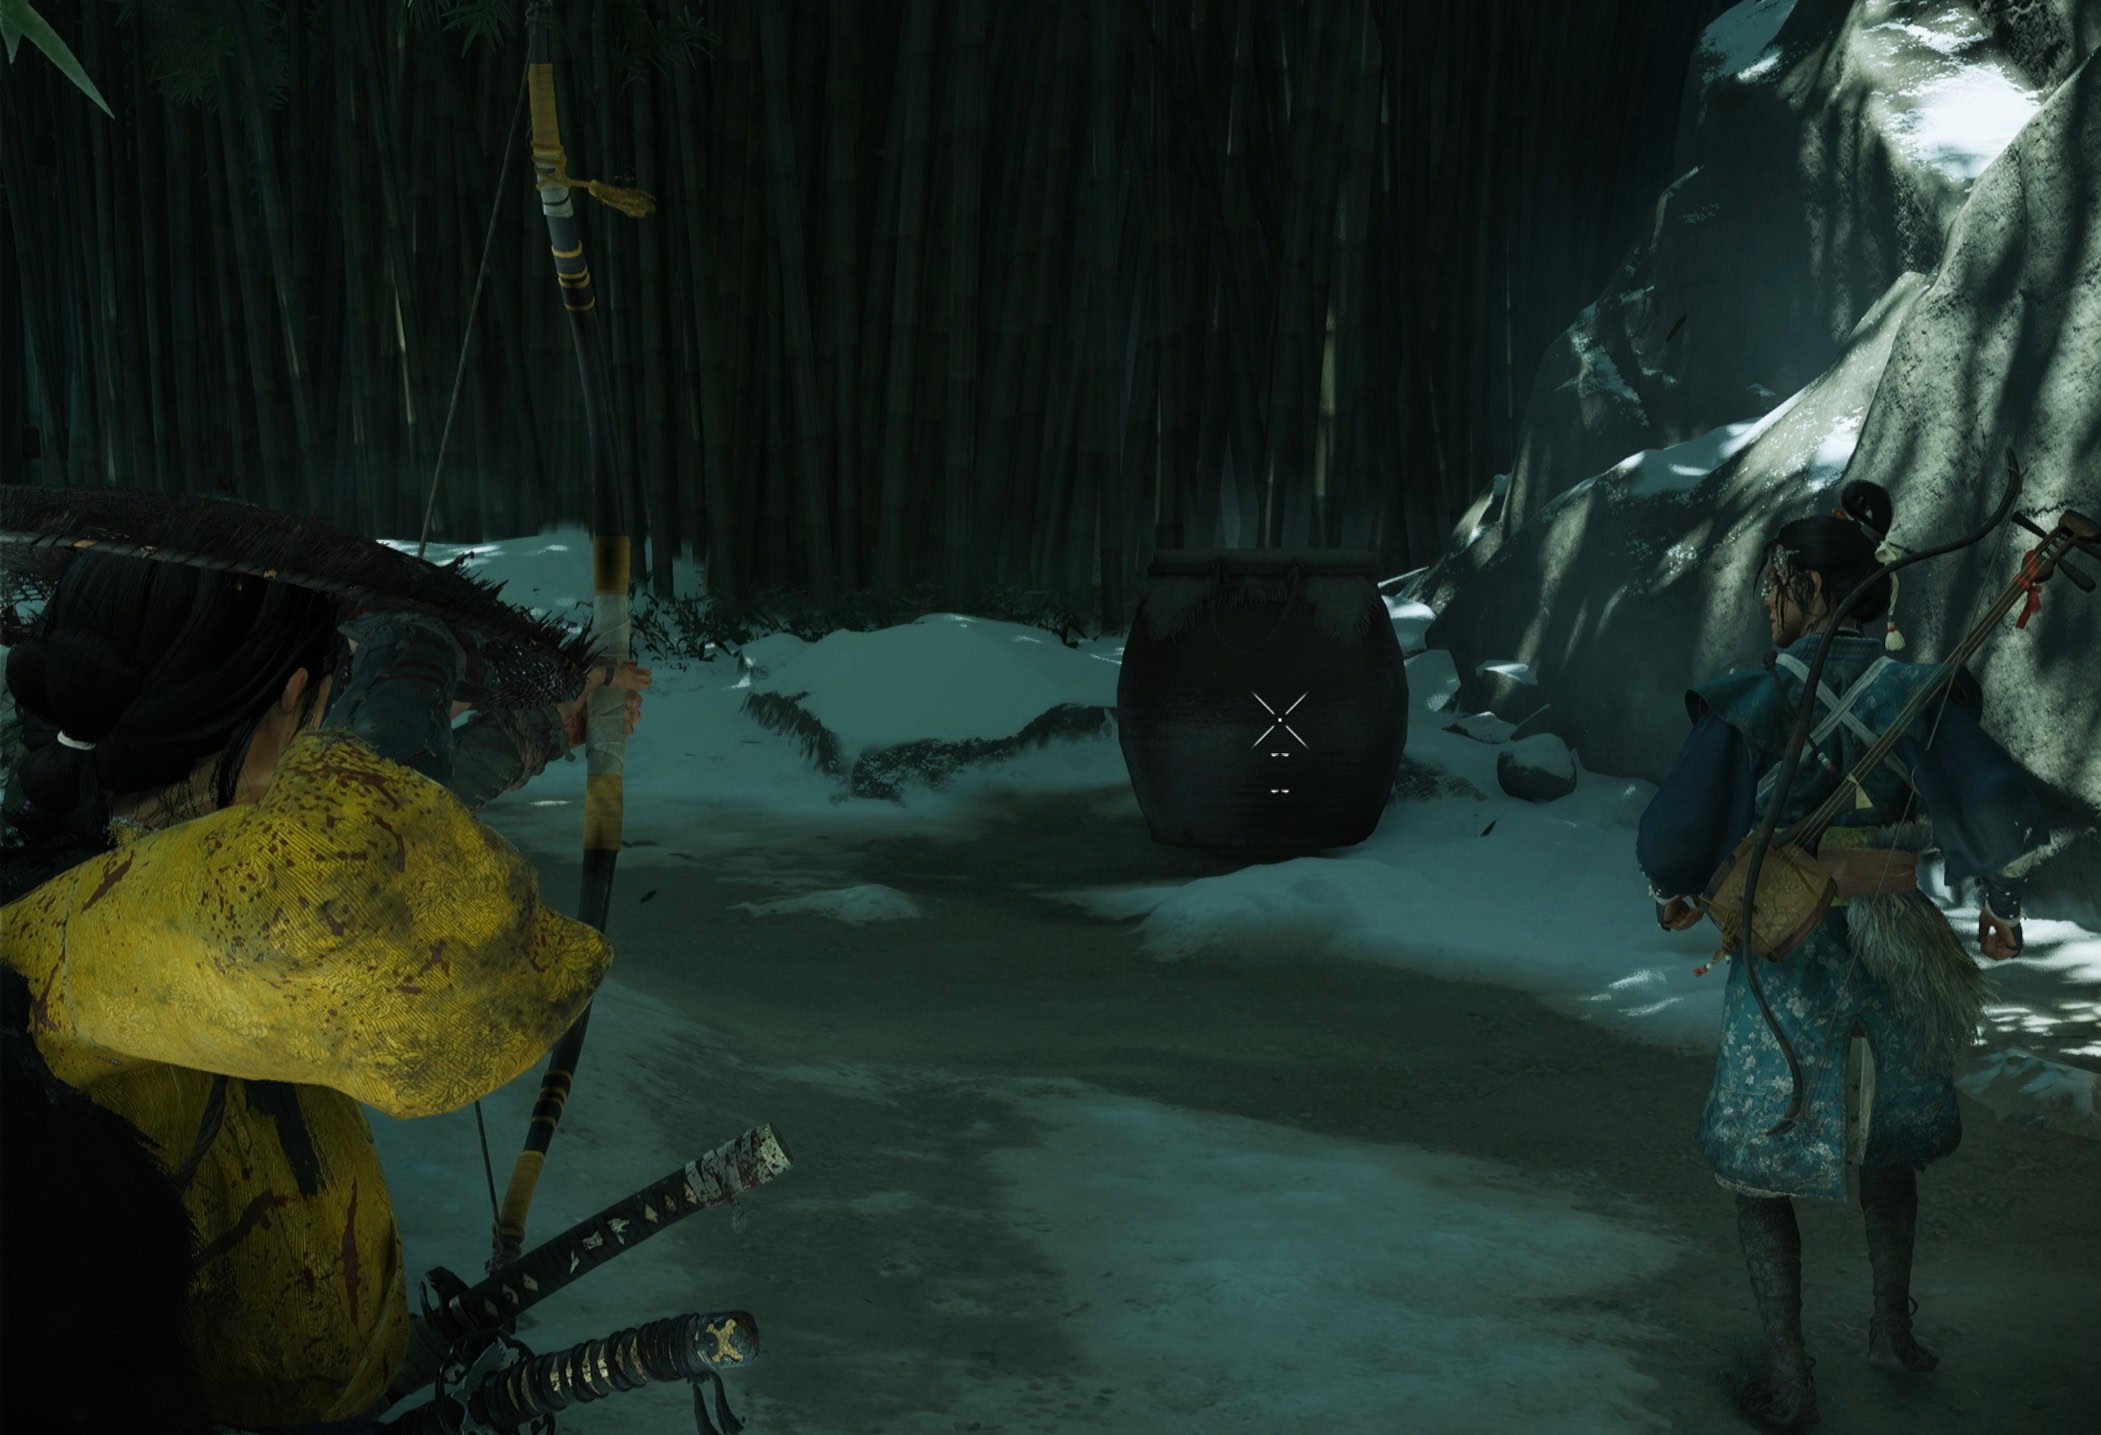
When you reach the path with pots, use your bow to destroy the second pot you encounter. There are shinobi hiding in it, so blow their cover to prevent them from ambushing you.
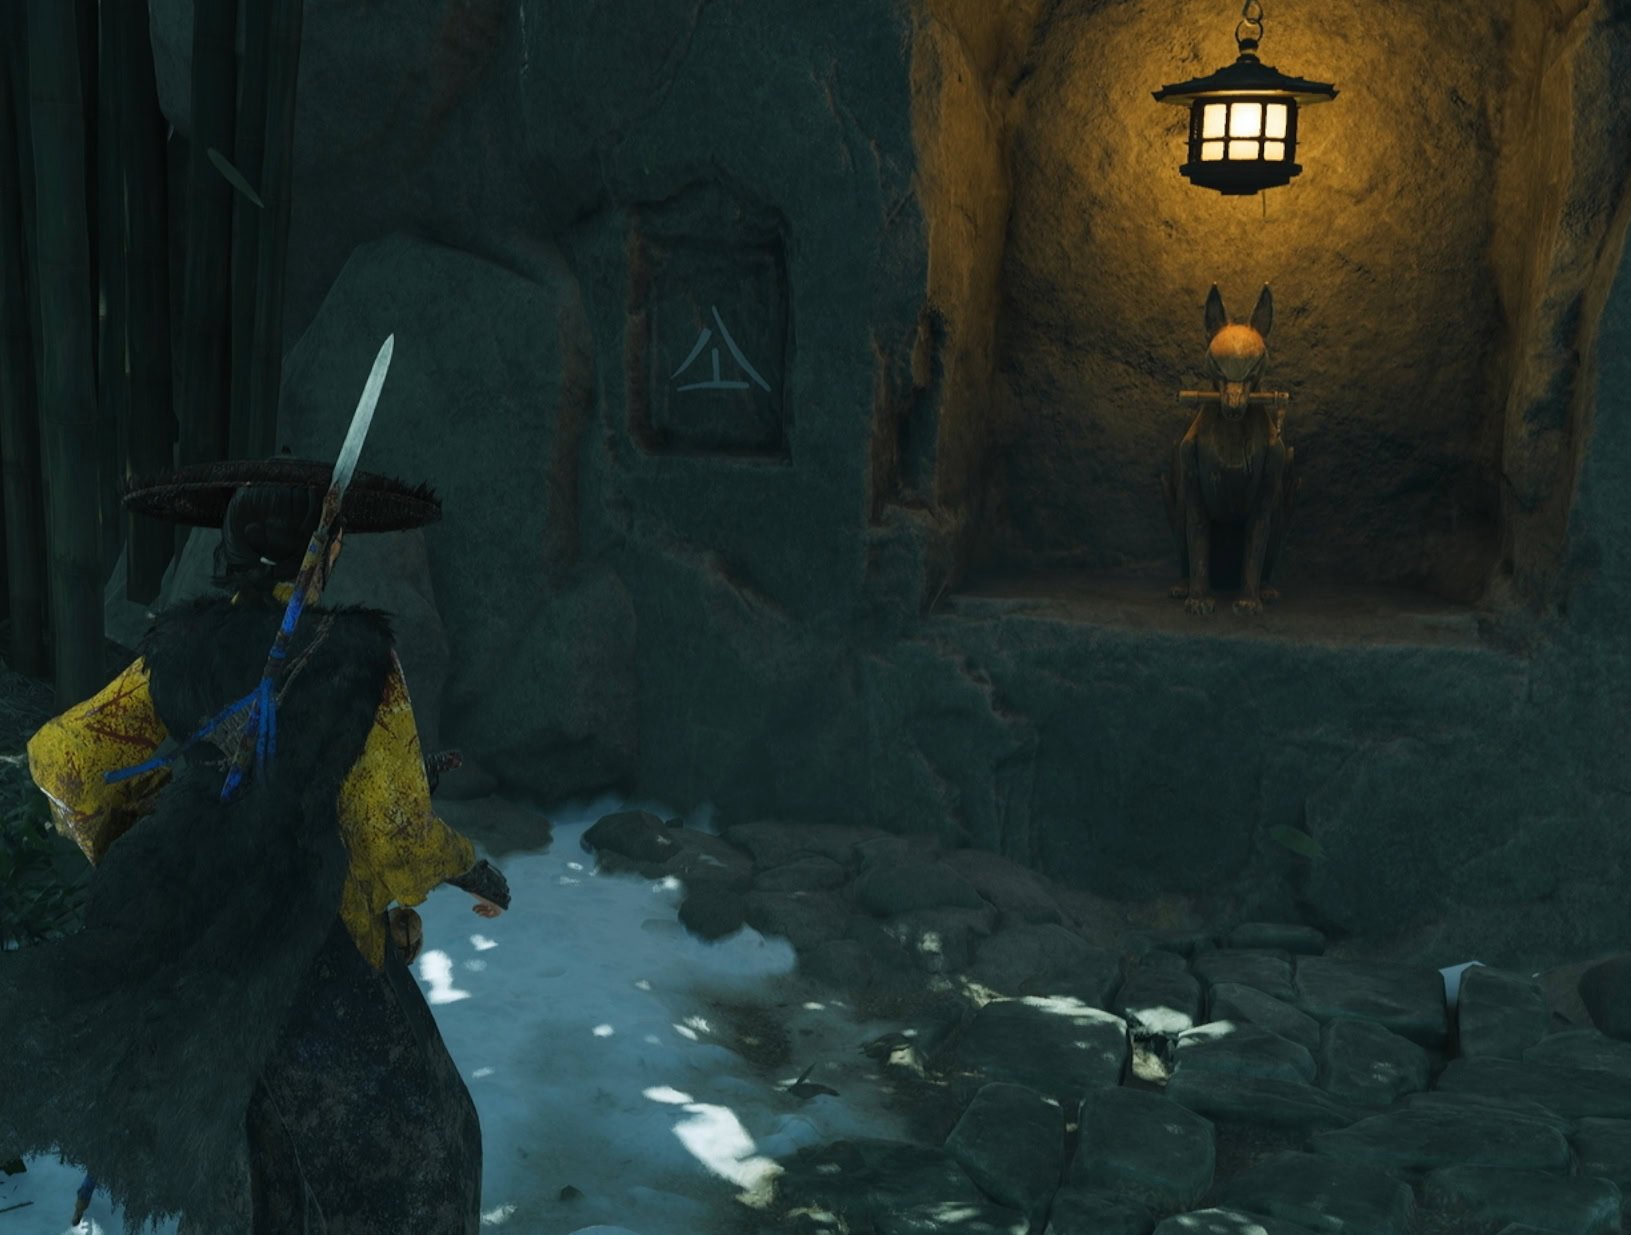
When you reach a dead end, pull the chain of the kitsune statue to open the way forward. It’s nice to encounter a simple door without a puzzle.

More Pitfall Traps
Ahead are more pitfall traps. Lead Oyuki through the traps by going left of the statue and right of the stone.

Platforming to the Gate
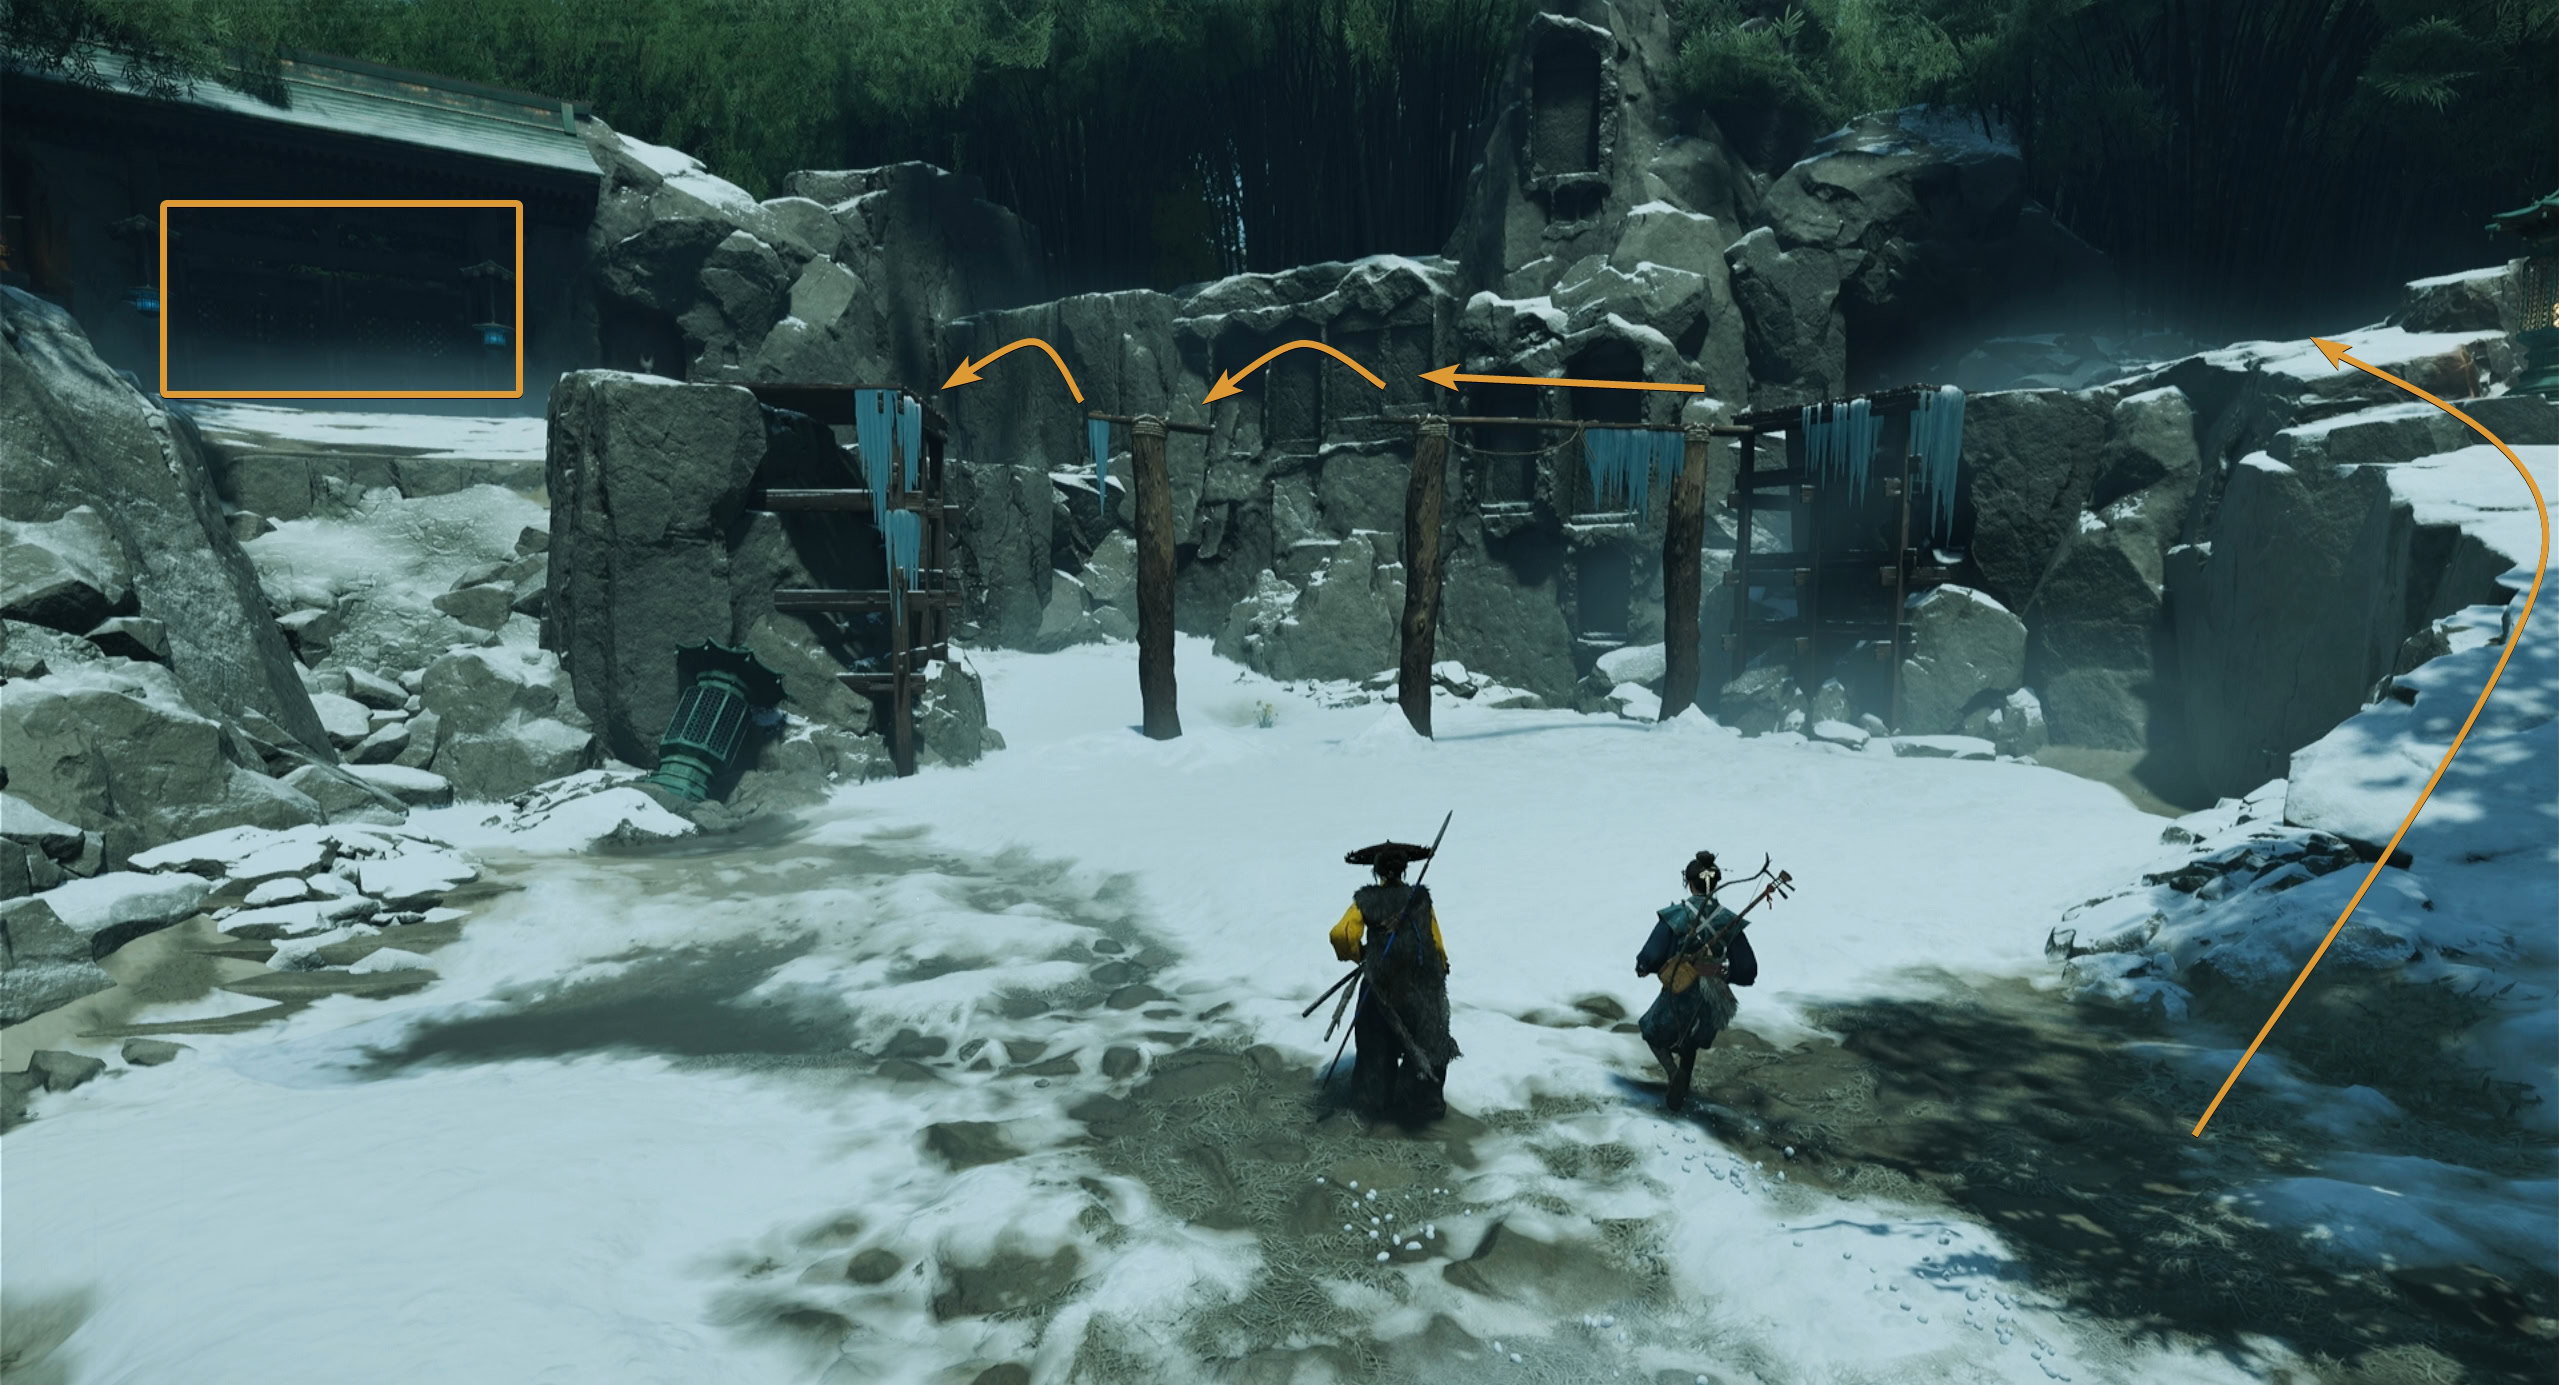
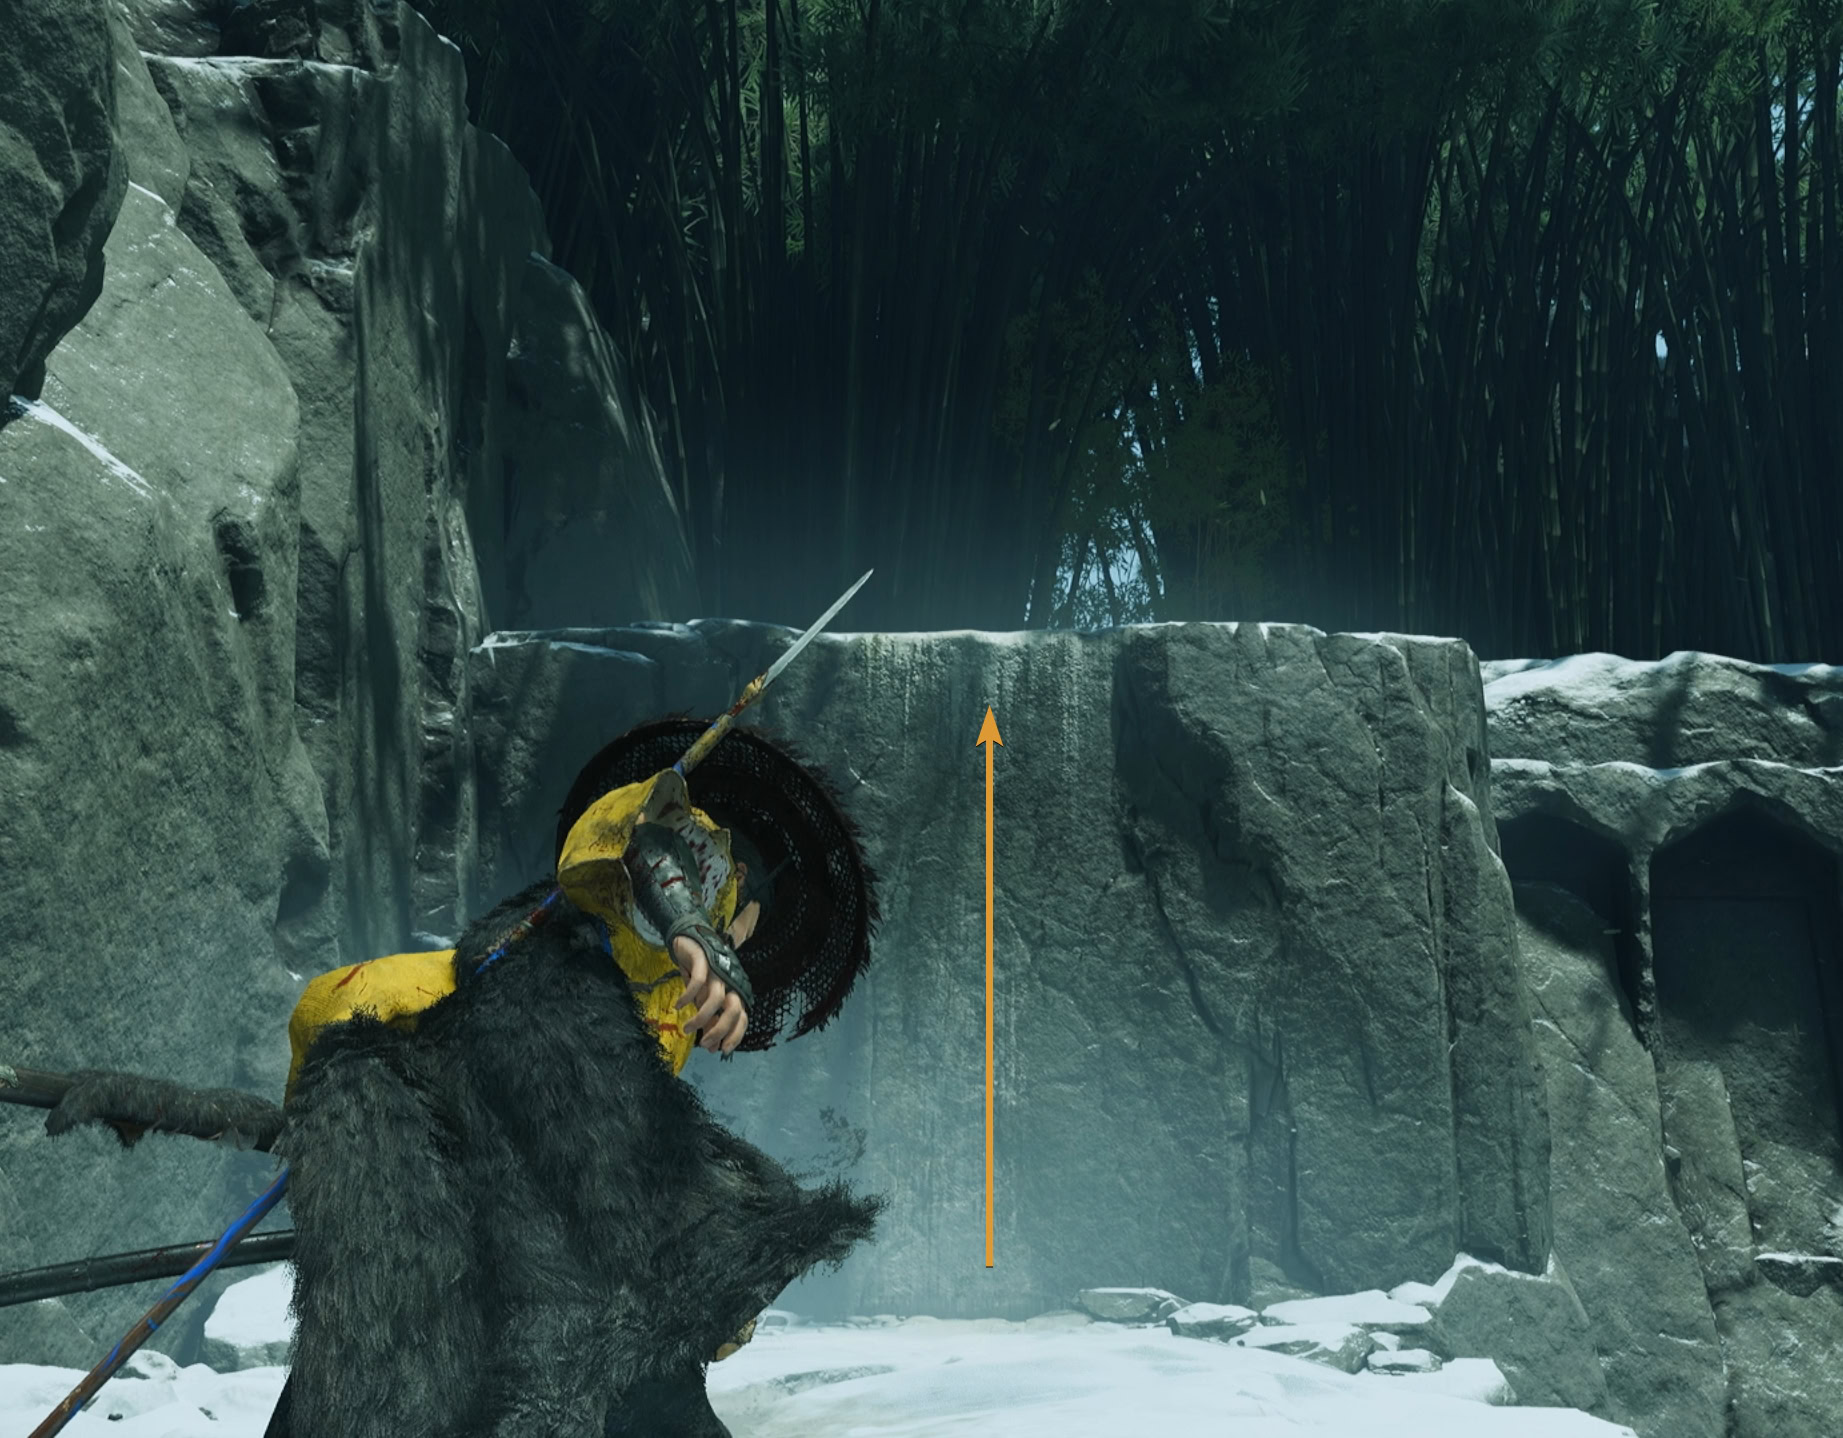
Platform across the wooden beams and interact with the locked gate. It won’t budge, so help Oyuki up the nearby ledge to the right of the gate, and cut the thin bamboo ahead.
The Wolfsbane Garden
You’ll run into the Wolfsbane Garden where the Kitsune harvests them to make his poison. Survey the area and focus on the flower field closest to you, the worker near the wooden wall, and the Kitsune next to the far building.
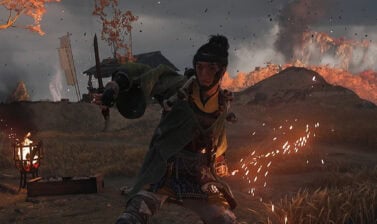
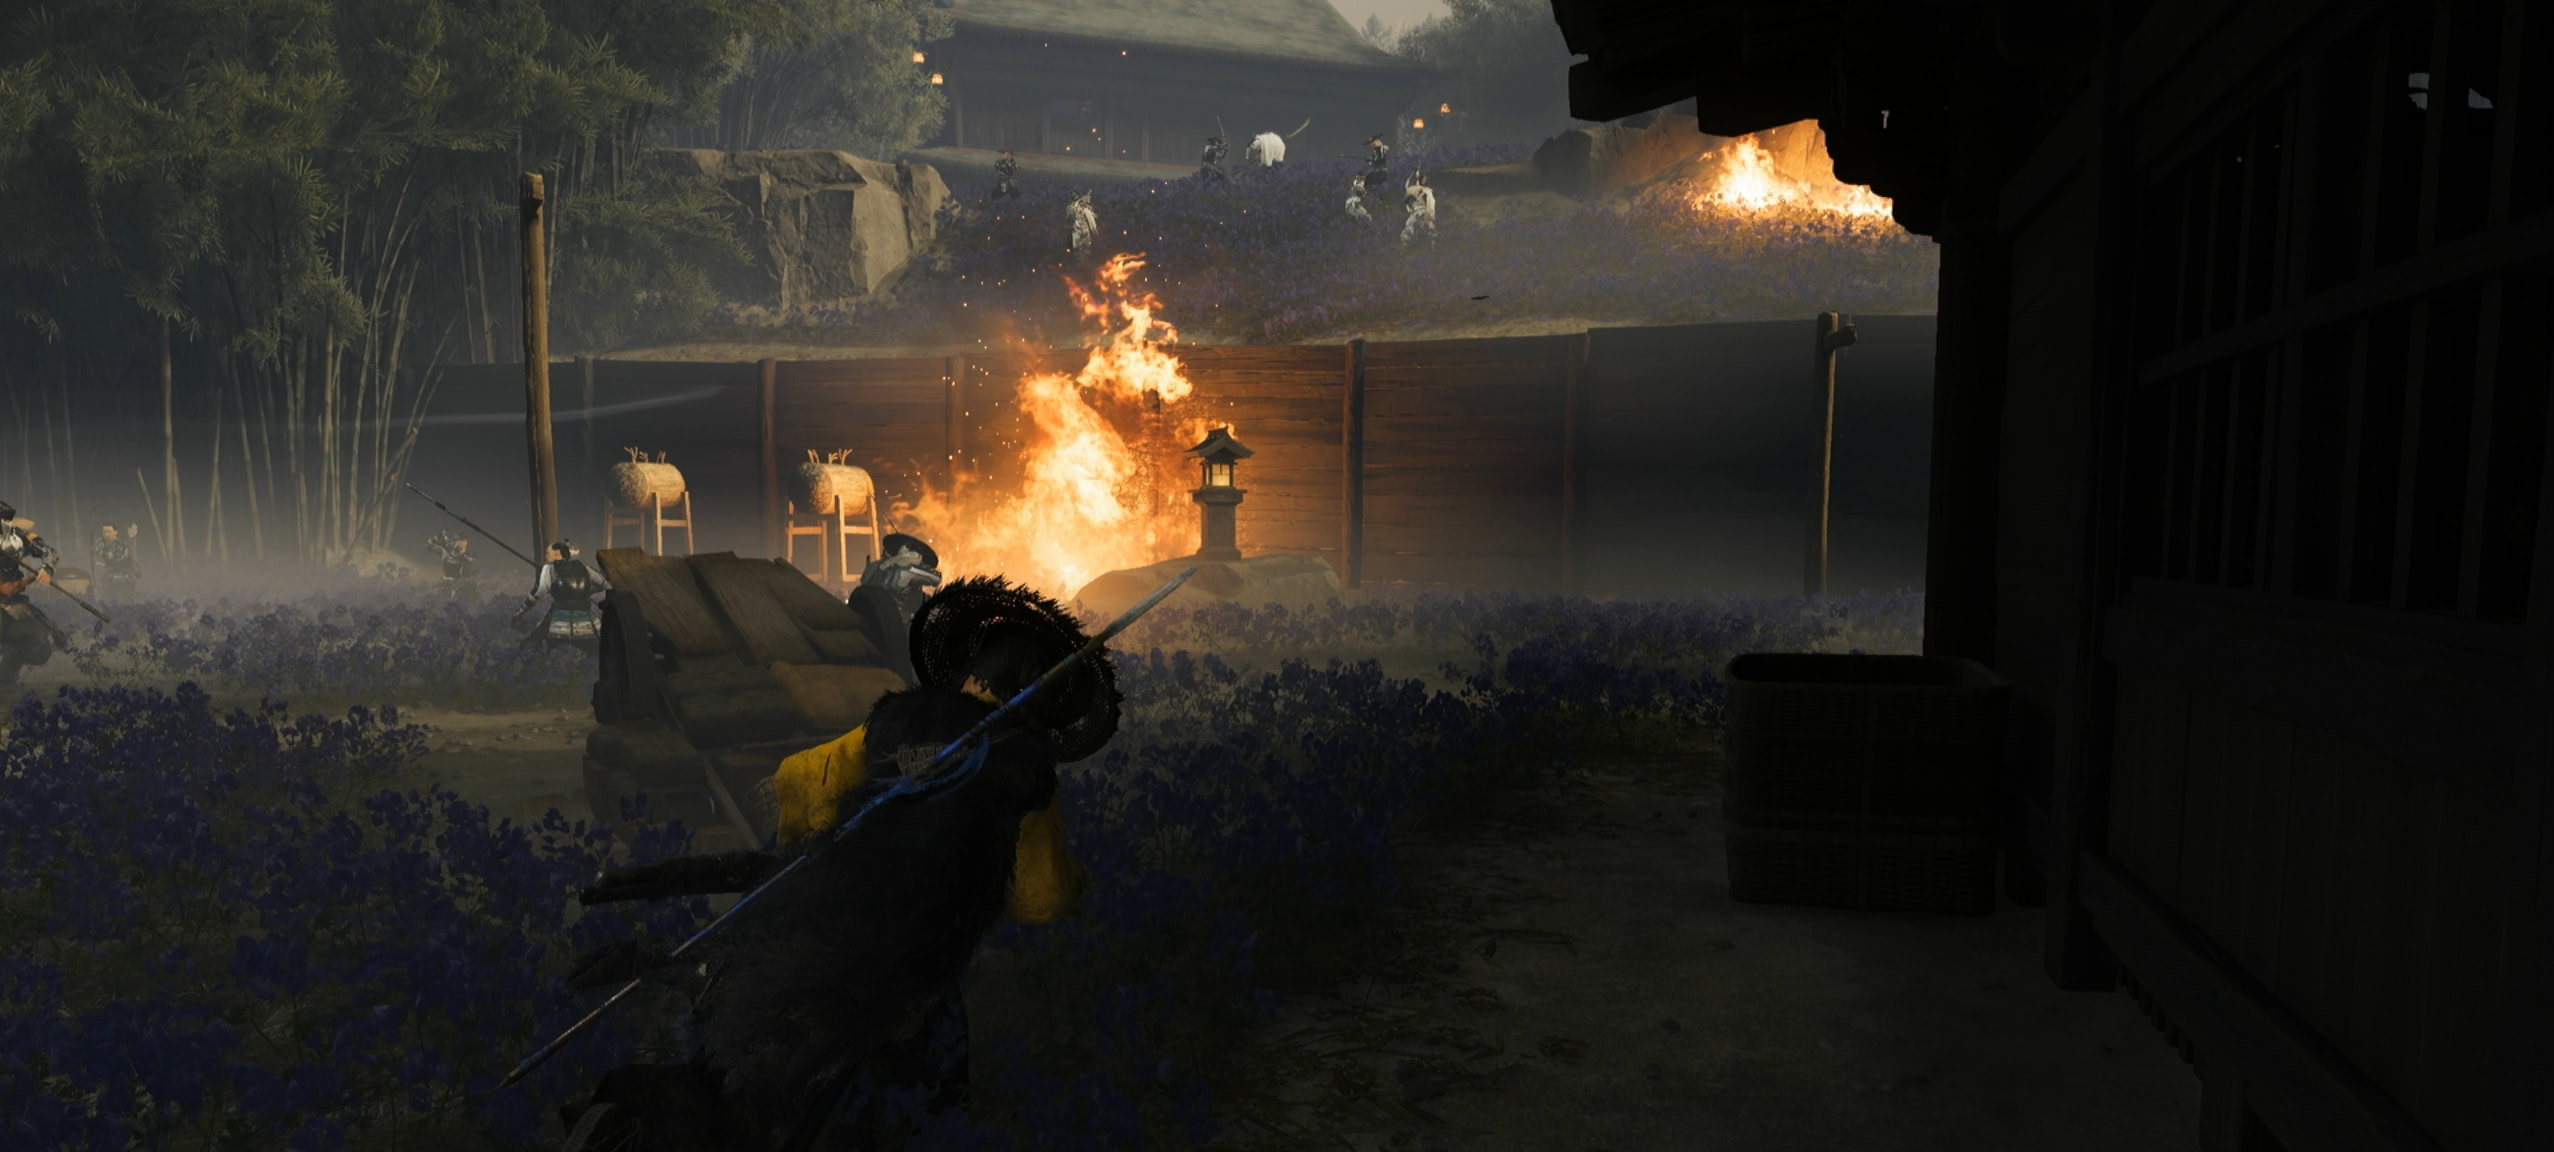
The samurai decide this is a good time to ruin things, and they’ll charge in to attack the garden. Just ignore everyone and run to the building where the Kitsune was.
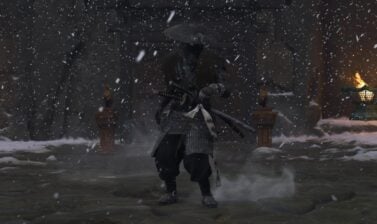
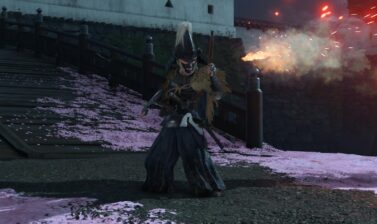
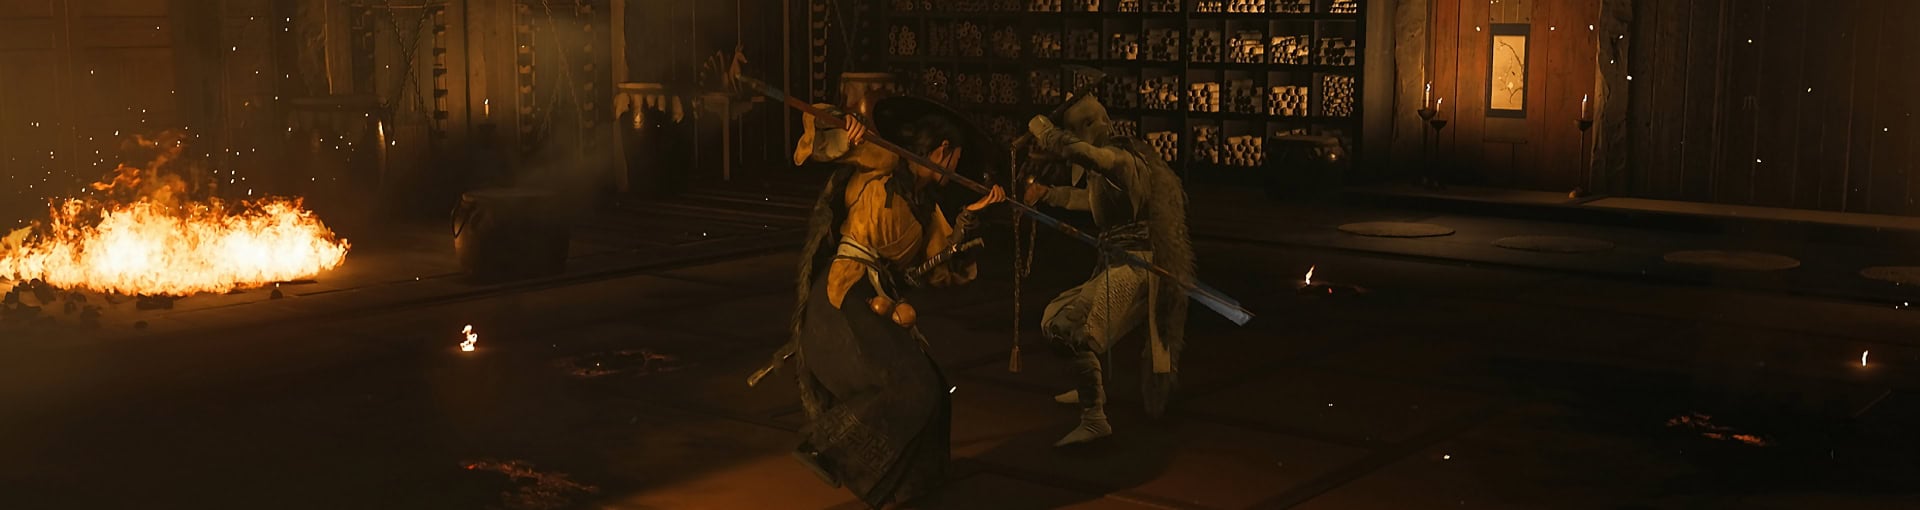
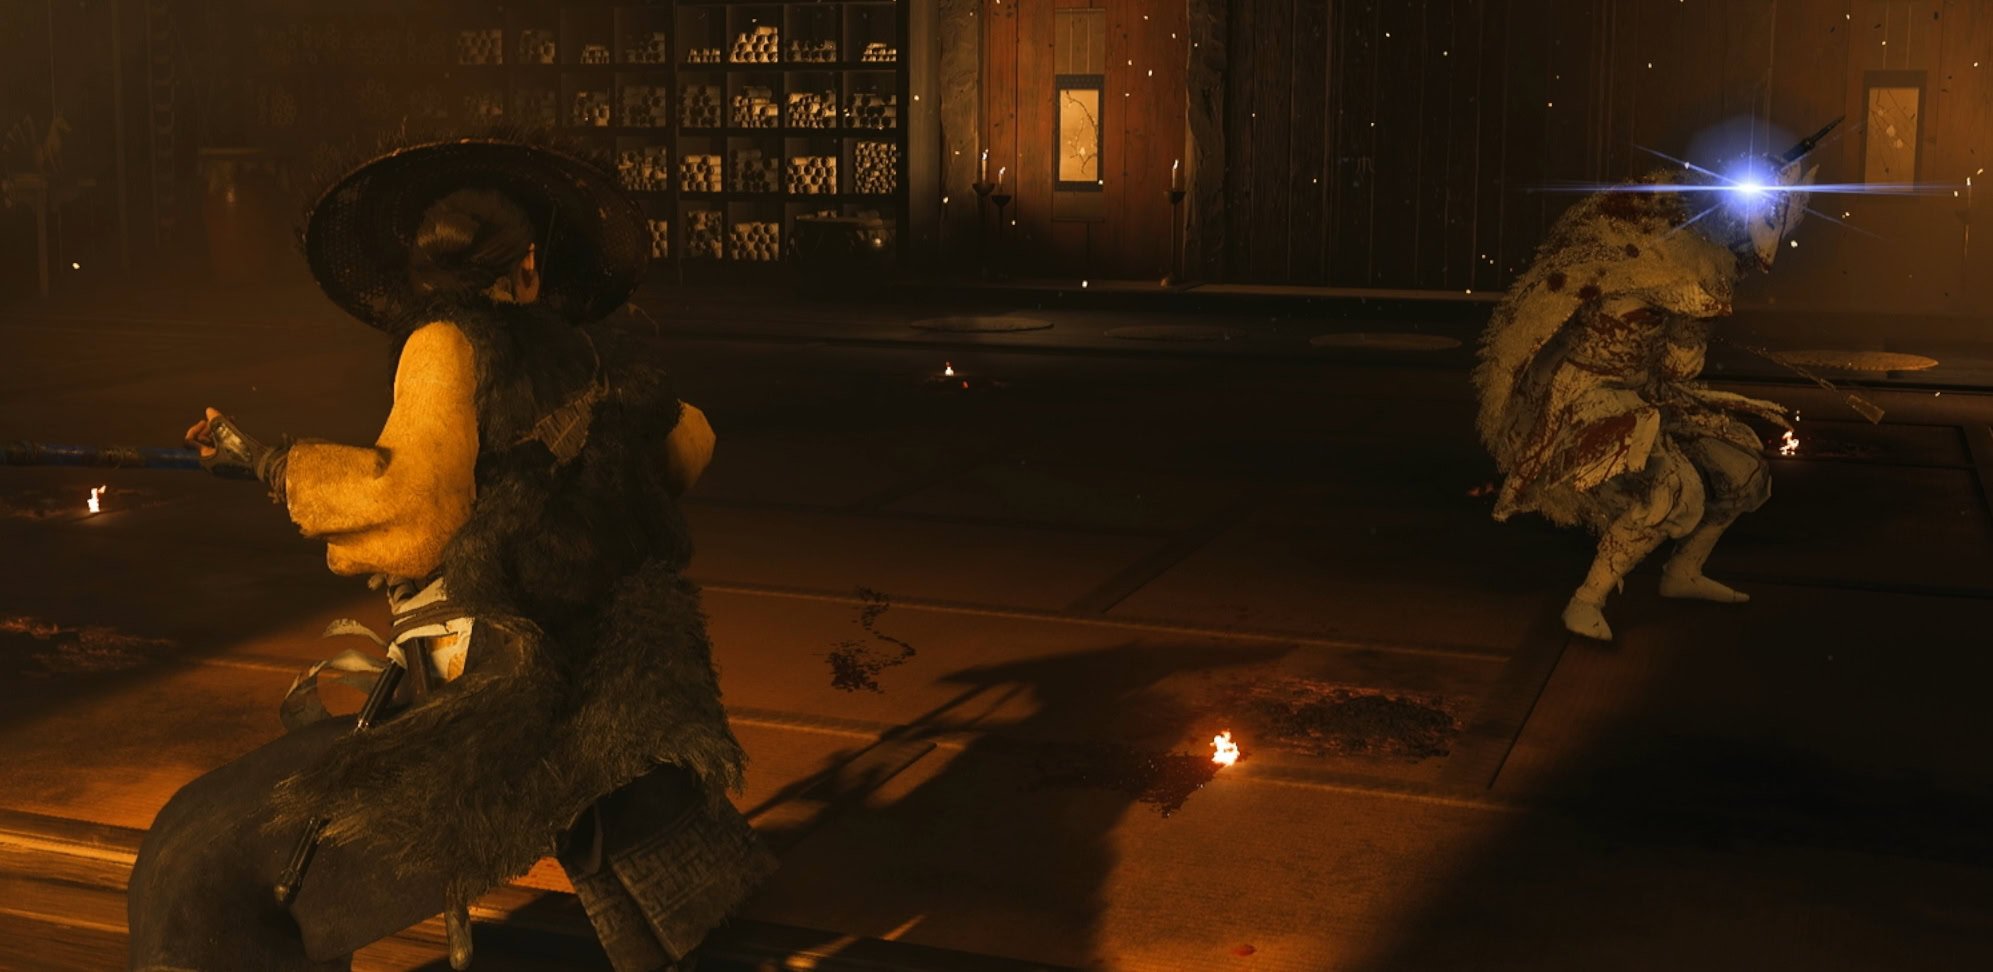
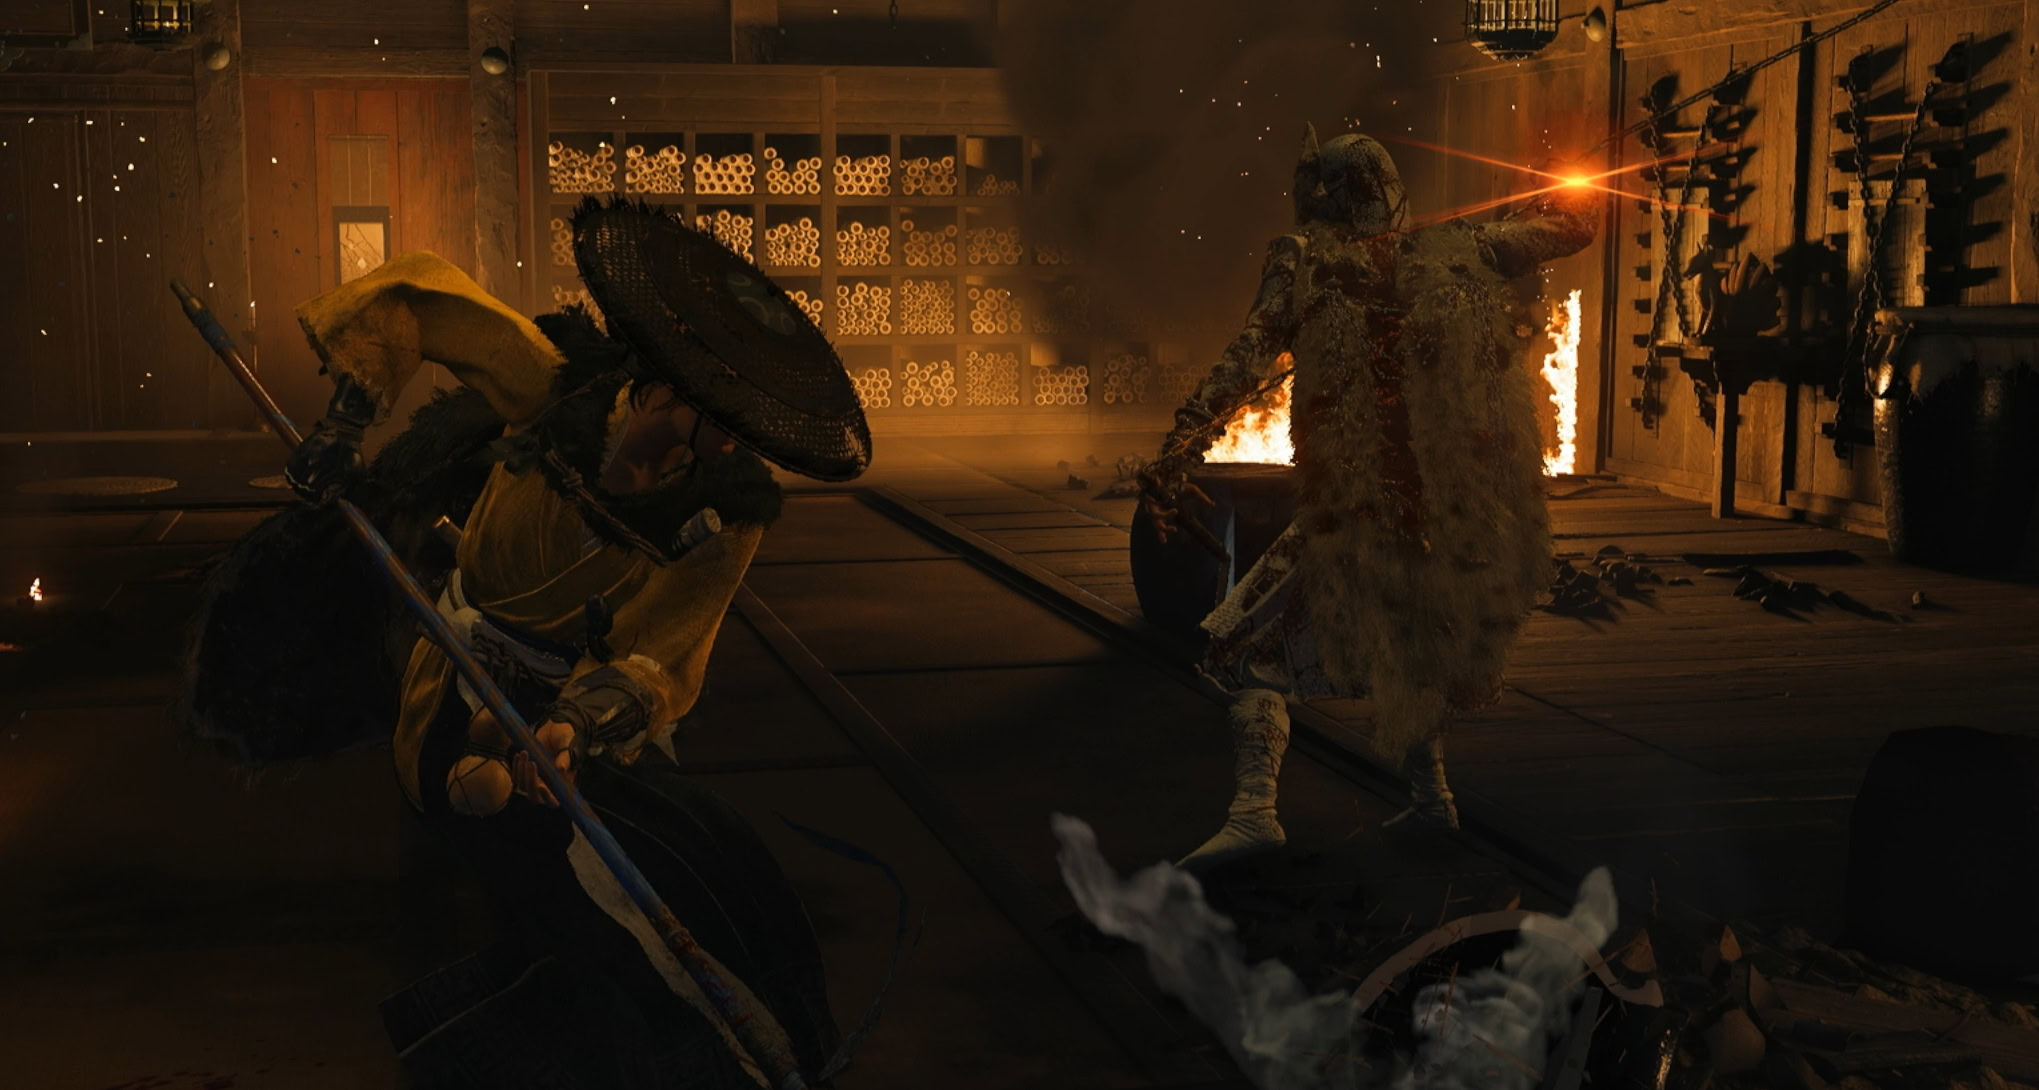
Kitsune Boss Fight
After cornering the Kitsune, you’ll proceed to fight him. His fighting style isn’t very different from other shinobi using the kusarigama. The Yari is especially effective here, use its heavy attacks to break his guard more easily.
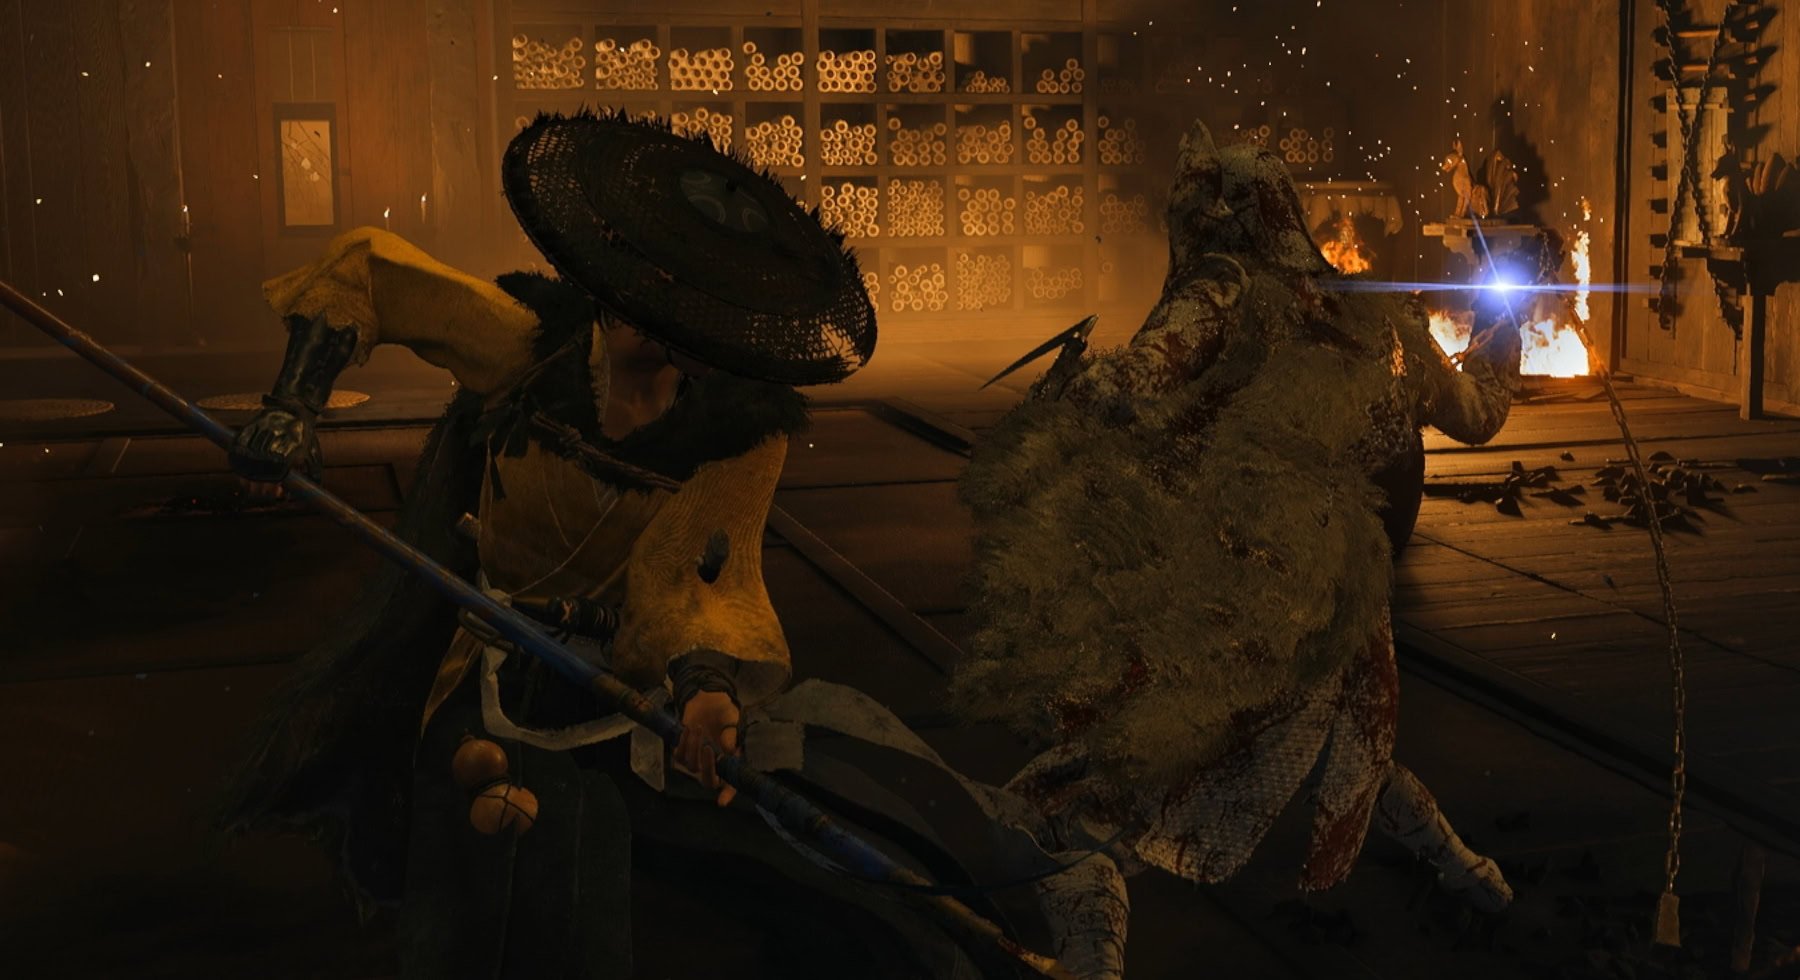
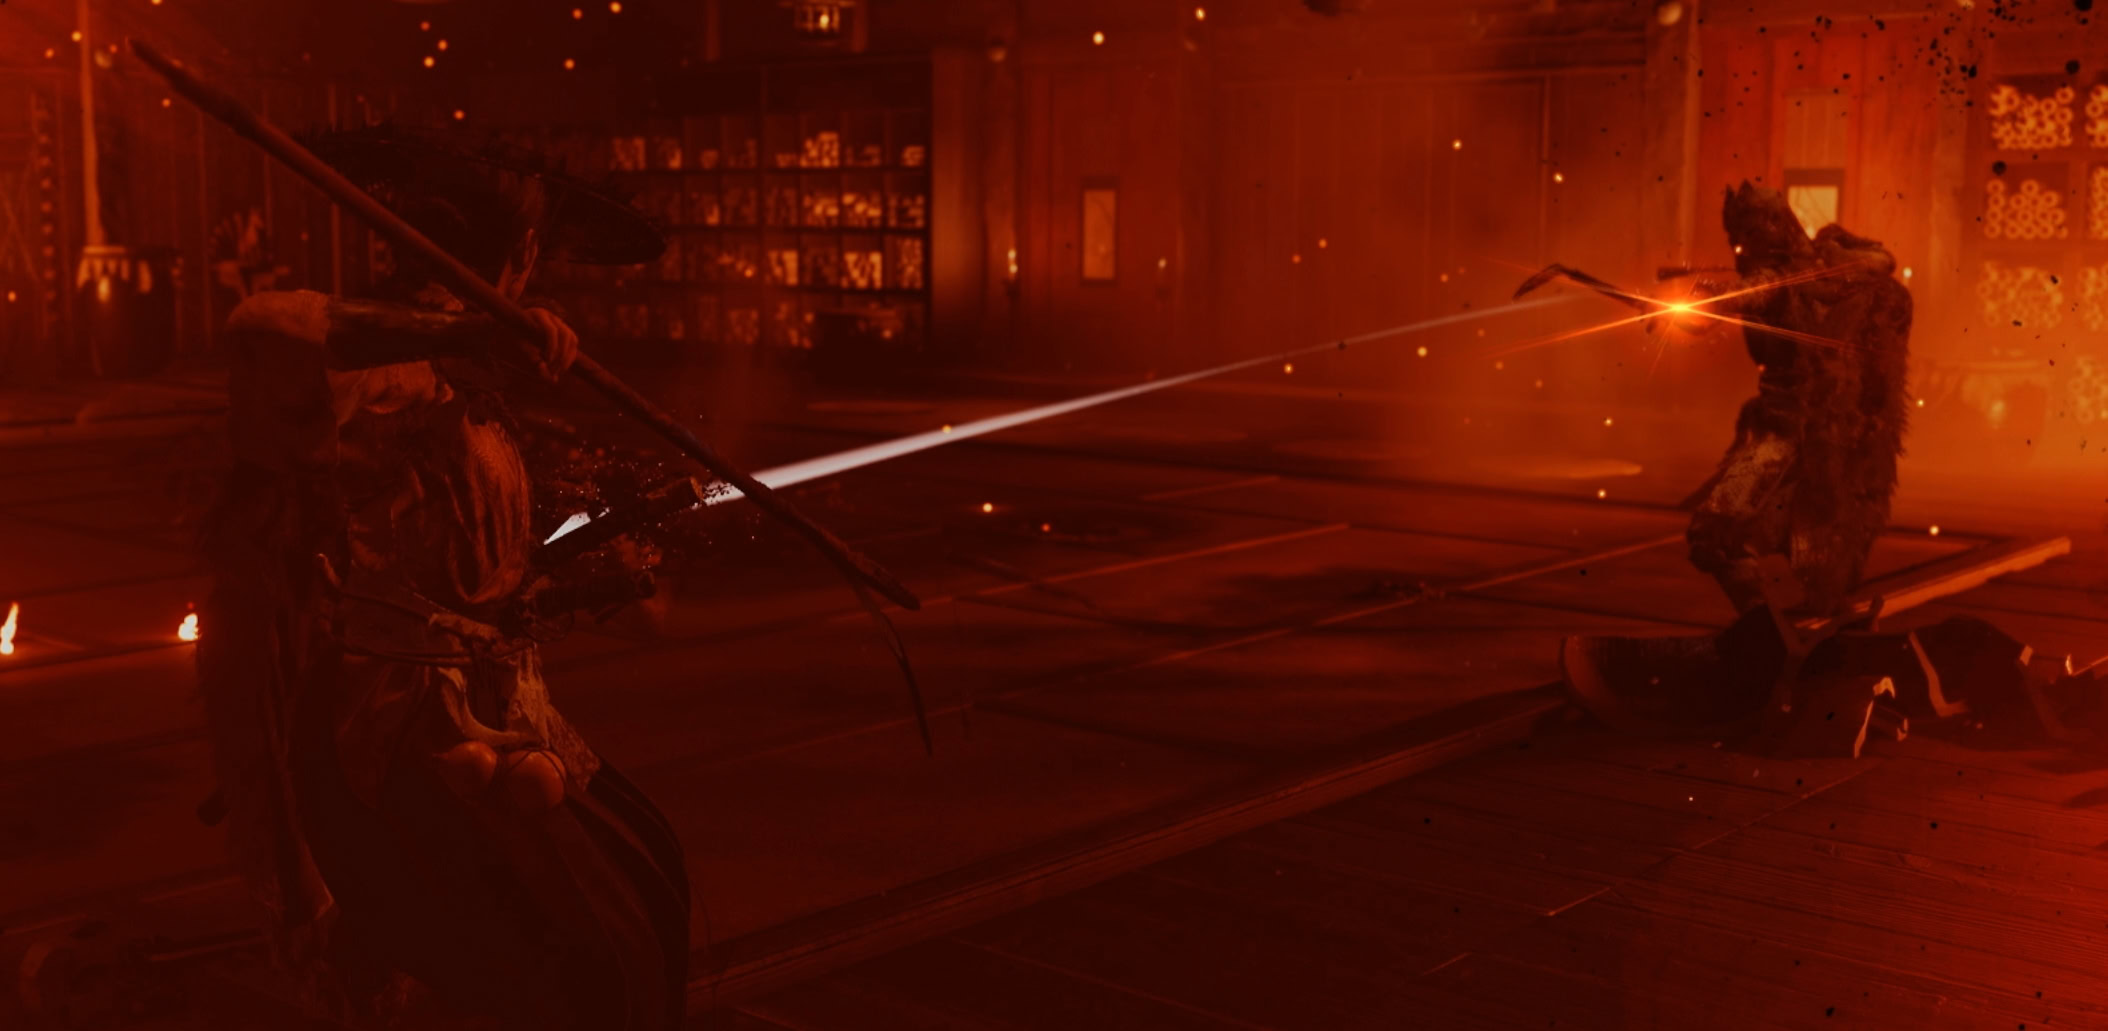
If you see him start with an overhead swing of his chain, he’ll be using a combo of two normal attacks, and two blue glint attacks.

If the Kitsune rears back with a blue glint on his kama behind him, he’ll do a basic two swing combo at you. As his health gets lower, he’ll add an additional swing.
When he swings his chain with a blue glint, he’s going to use a three piece combo of a blue glint attack, normal attack, and red unblockable attack.
When the Kitsune starts with a red glint attack, he’ll follow it up with a blue glint attack, a normal attack, and another red glint attack with his chain.
When he gets to half health, he’s going to pull a cheap move and throw a poisoned kunai at you, ending the fight.
After a cutscene, follow Oyuki out of the bamboo forest to start another cutscene. This is… a very sad cutscene where Atsu is remembering how her mom died.
After finishing the cutscenes and wiping away your tears, you’ll complete Poison and Lies! You know where the Kitsune is, now you must face them one on one.