Learn how to complete The Kitsune’s Fate in Ghost of Yotei. This includes solutions to puzzles, how to assassinate with allies, and tips on how to find the Kitsune of the Yotei SIx.
Table of contents
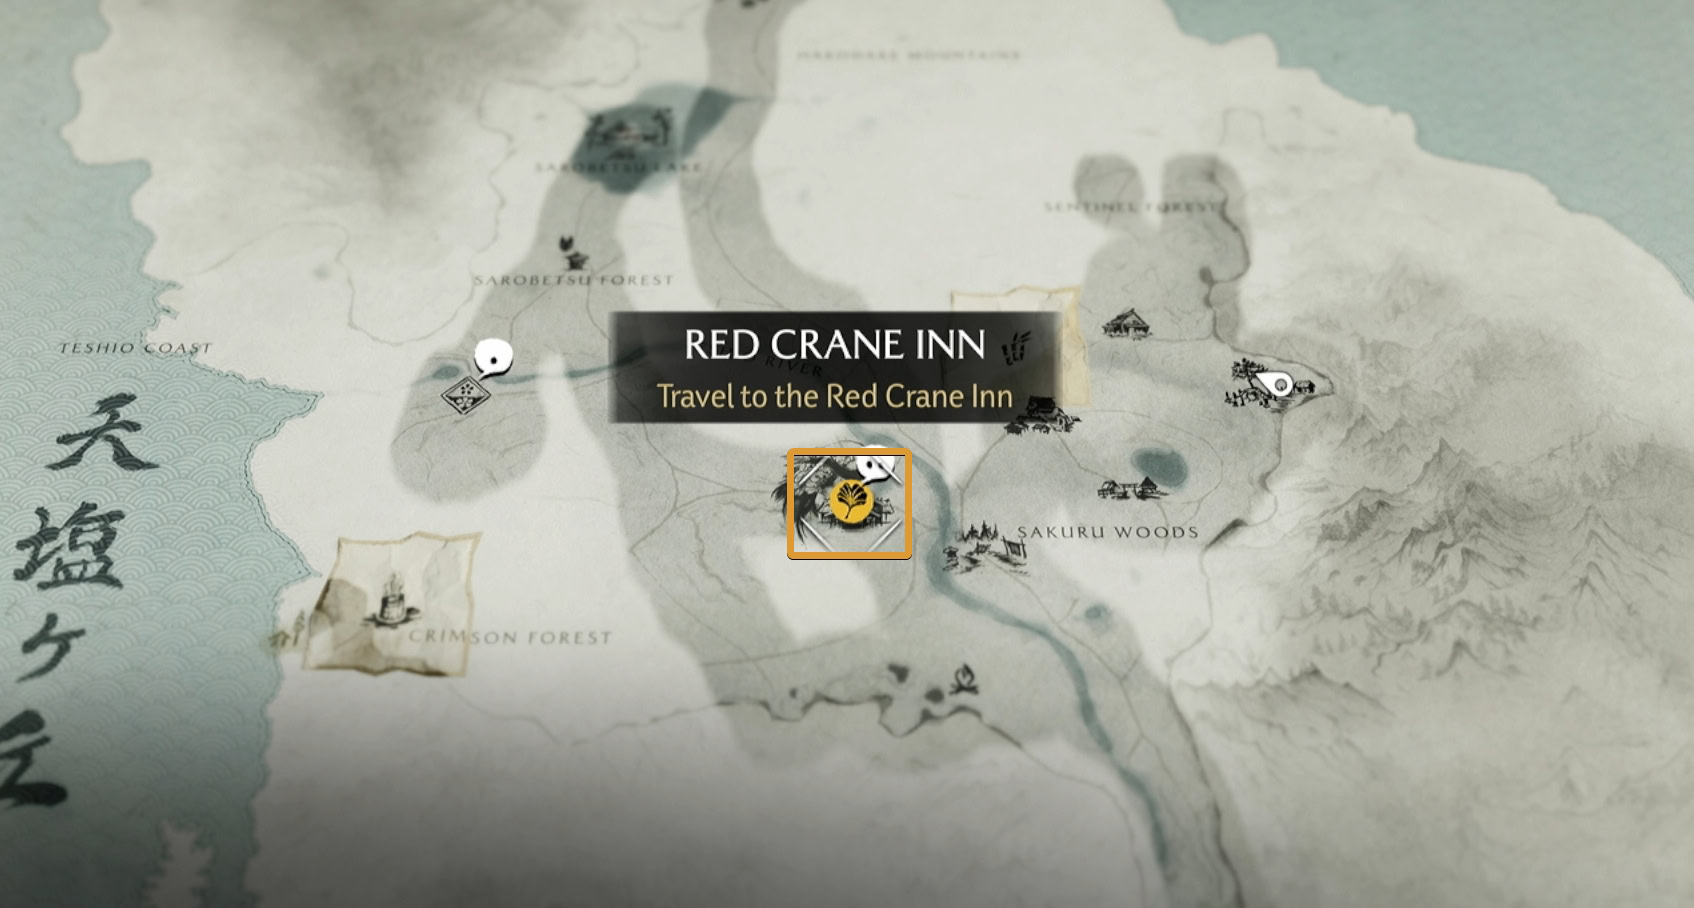
How to start The Kitsune’s Fate
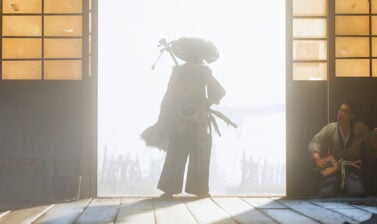
After you’ve acquired the ability to resist the Kitsune’s toxin, you’ll need to travel to the Red Crane Inn and meet up with Oyuki.
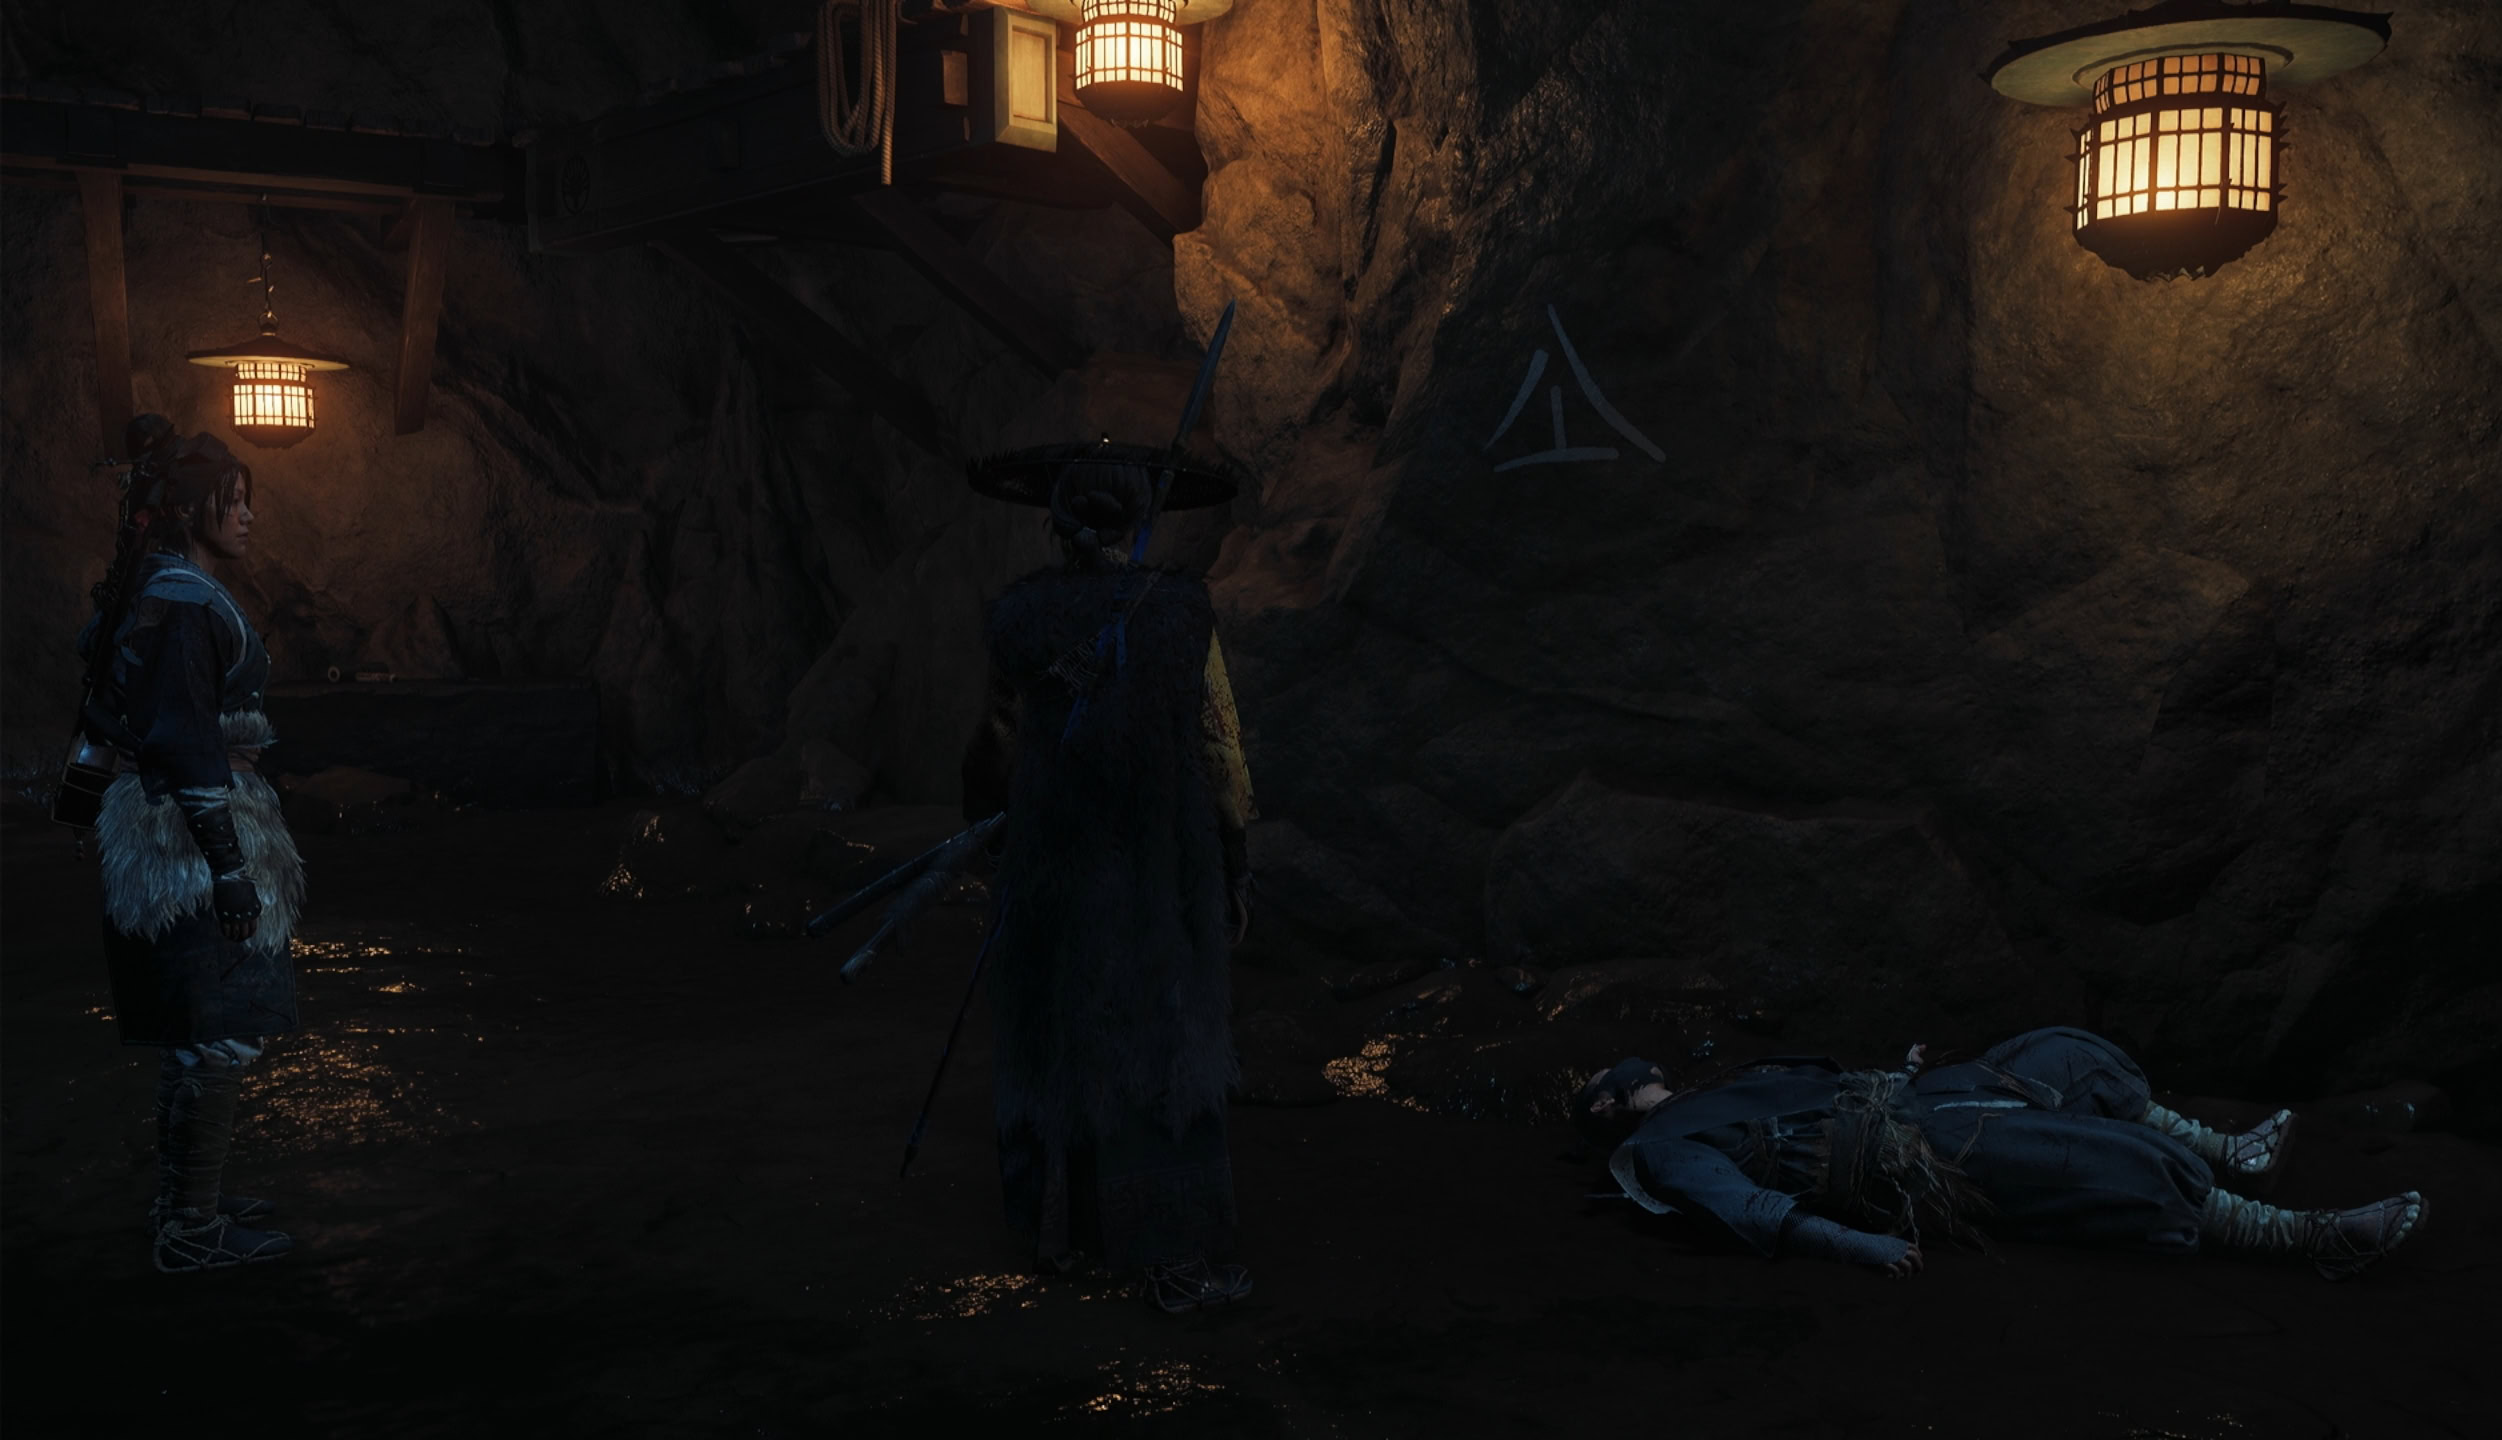
Inside the crane is a massacre with numerous bodies of samurai and the employee hanging from the wooden beams. Investigate the area and examine the hung woman, the crane screen, and the blood on the stairs.
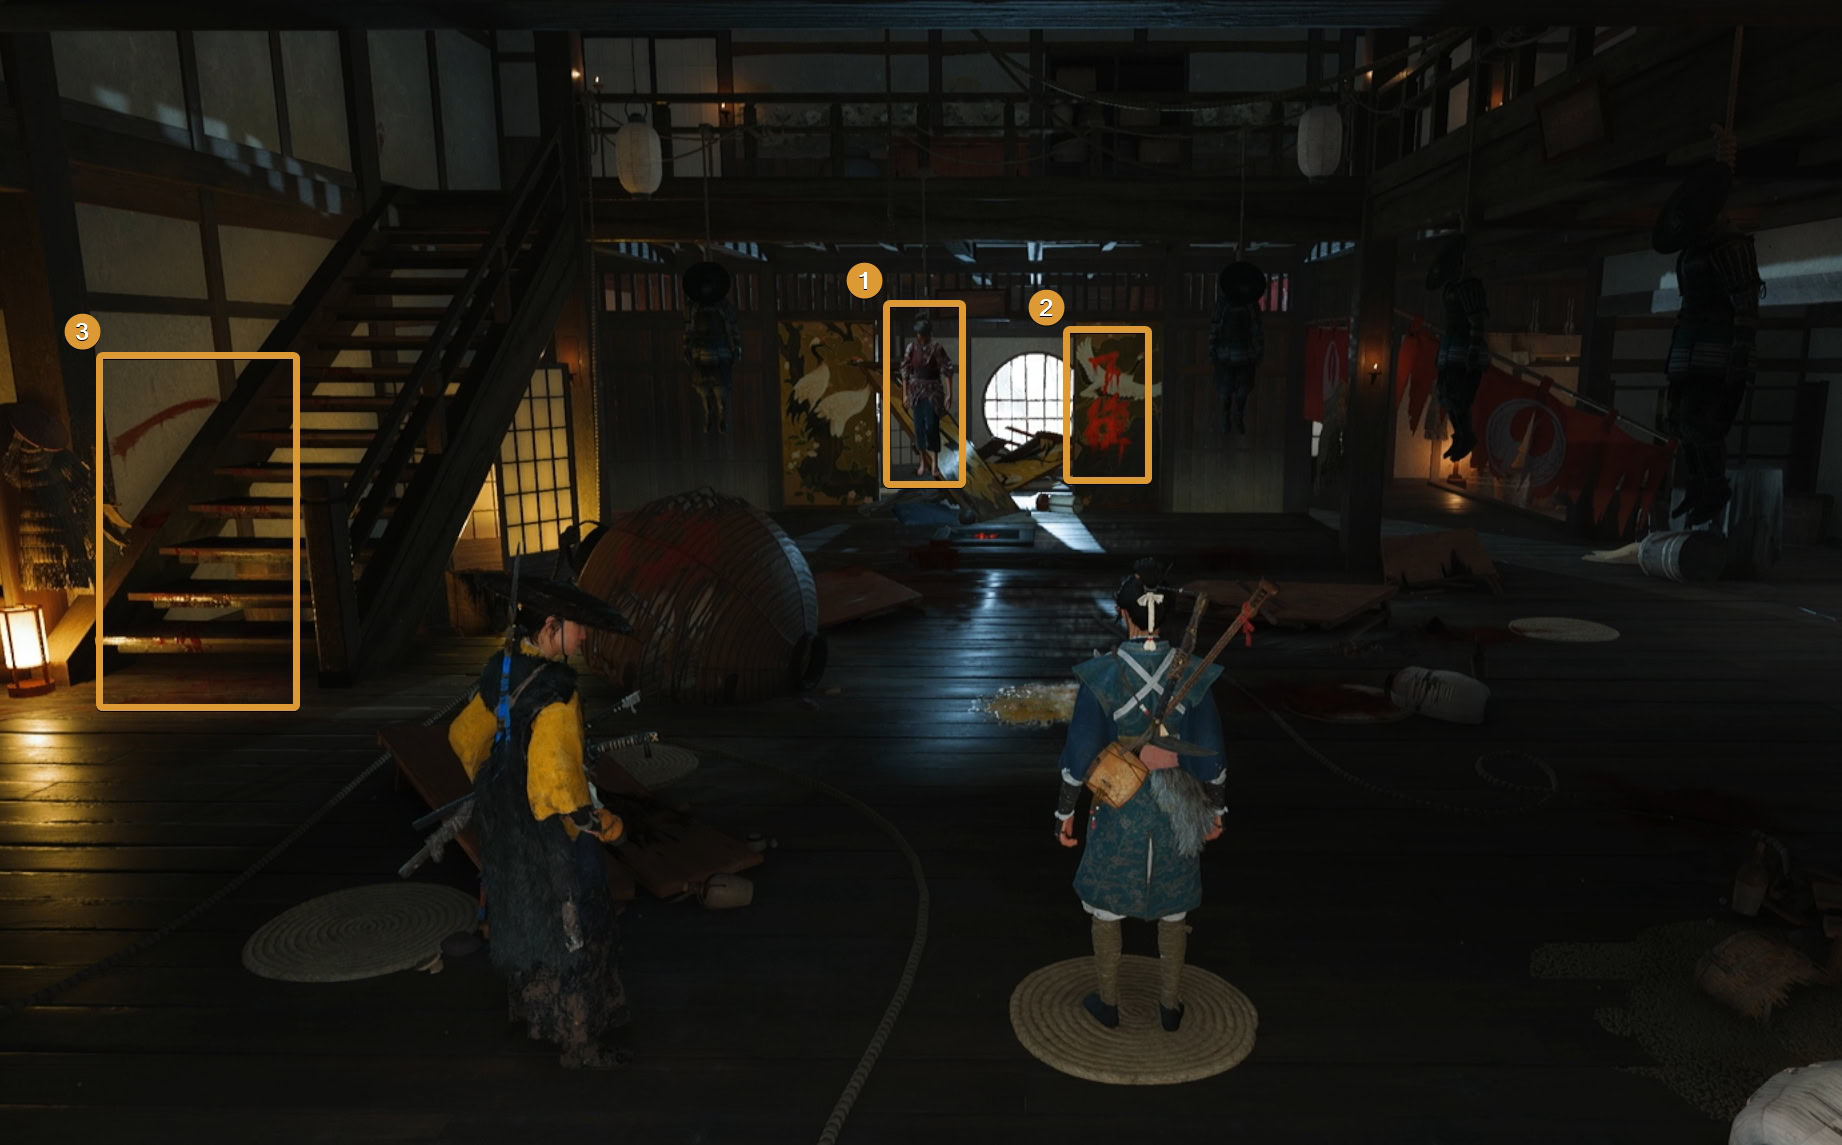
Use R3 to listen to see the location of Shunpei the stable boy. Go upstairs and into the room where you found the hidden passage in the wall. This will start a cutscene and start the mission.
Access the Nine Tails Base
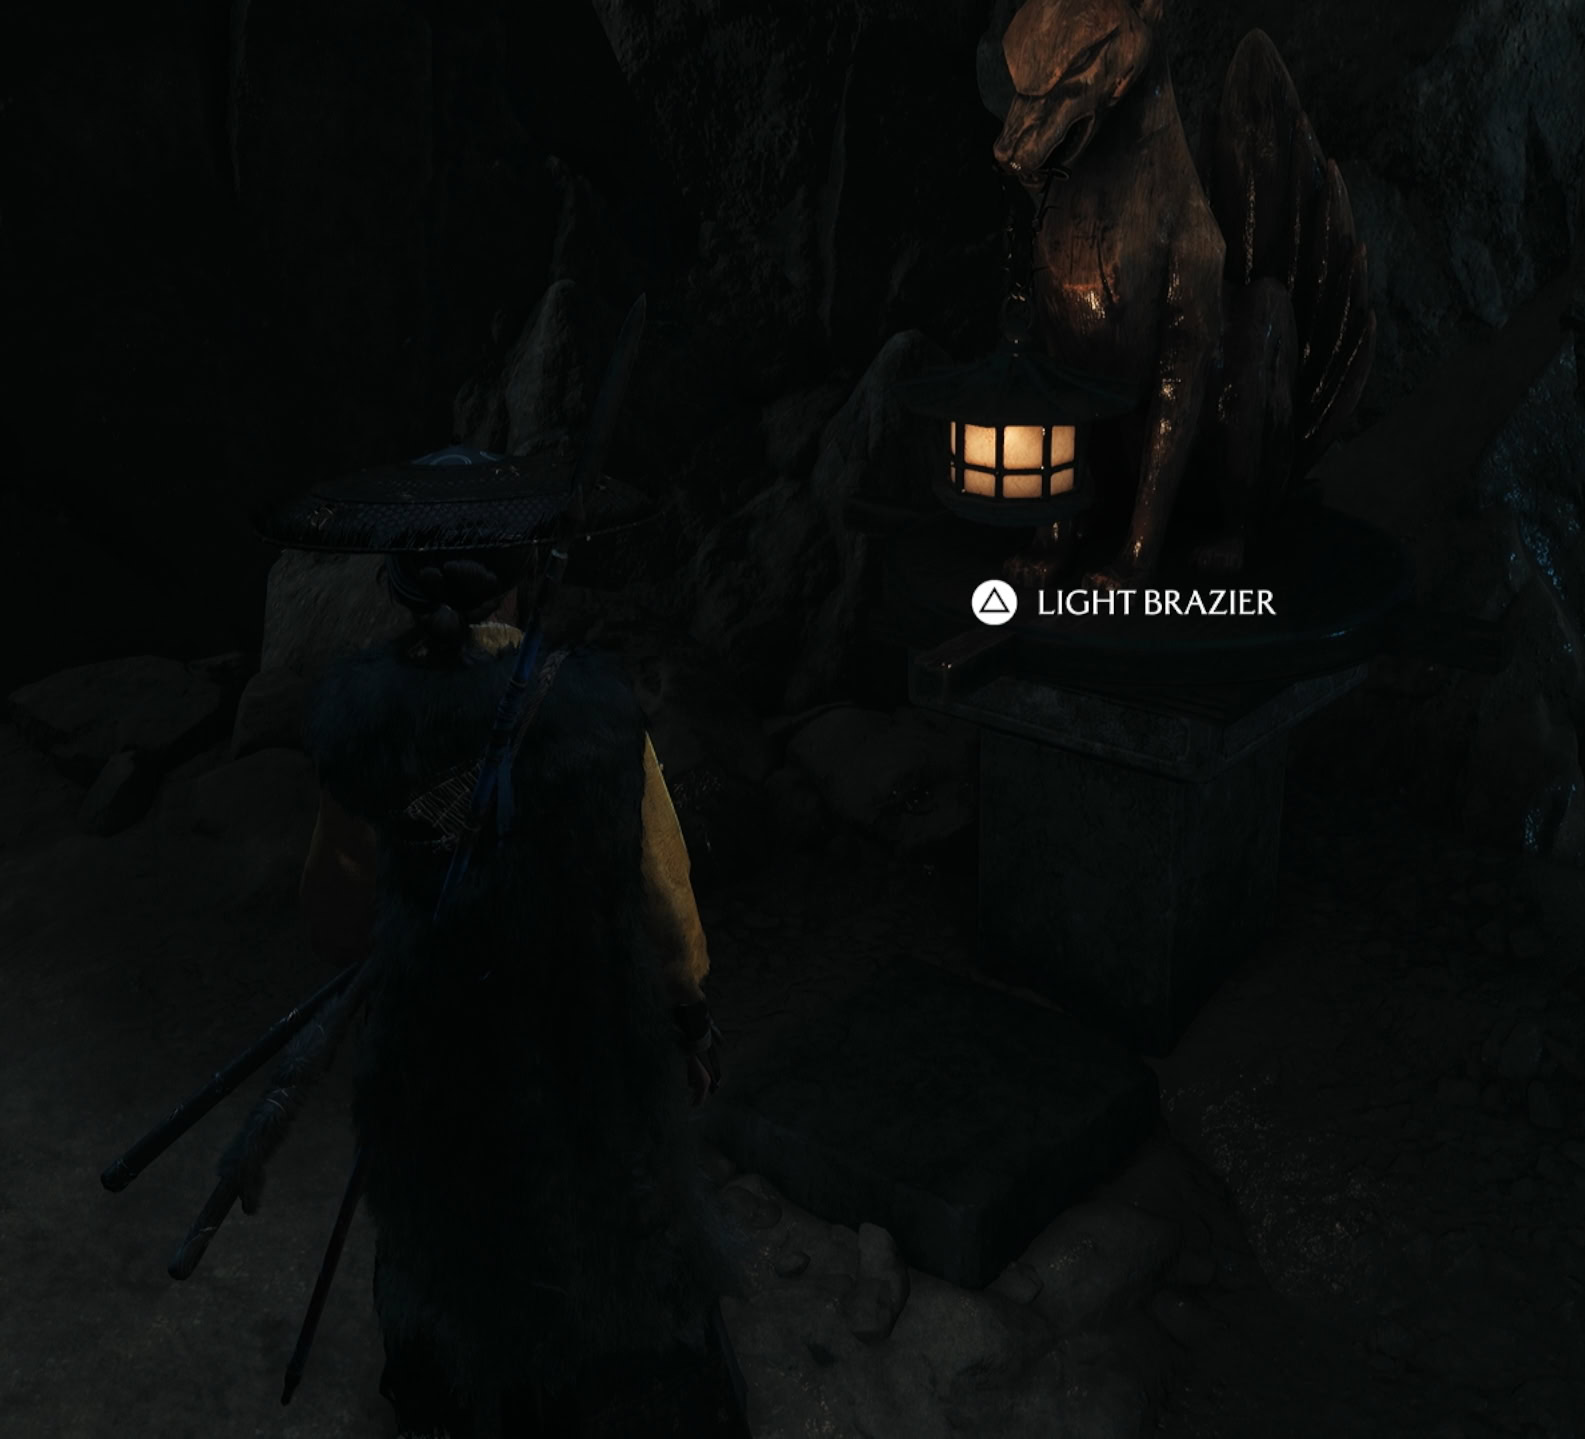
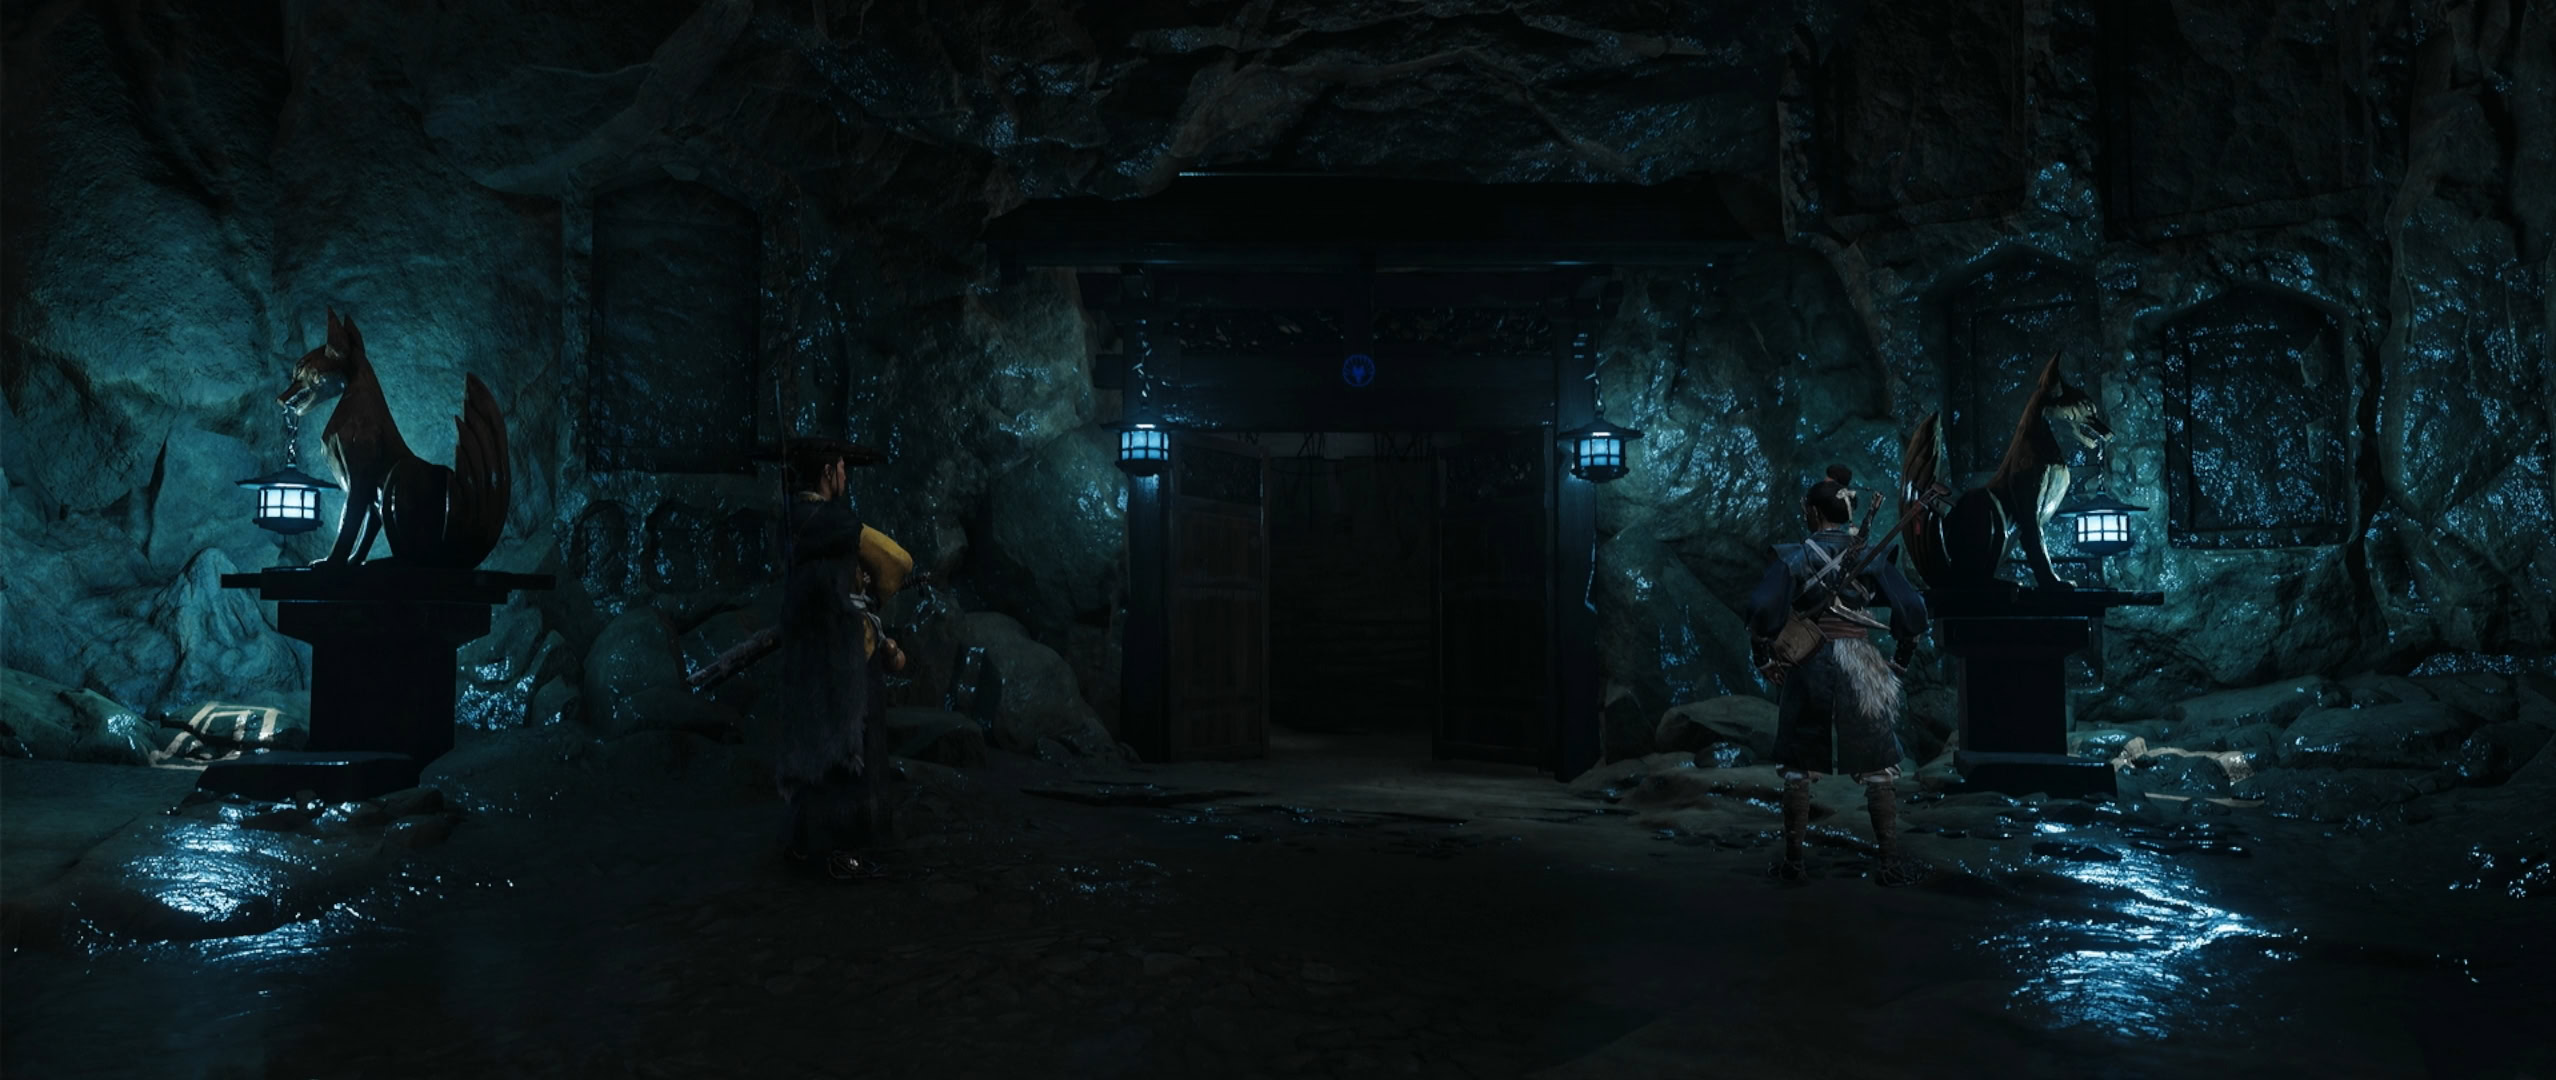
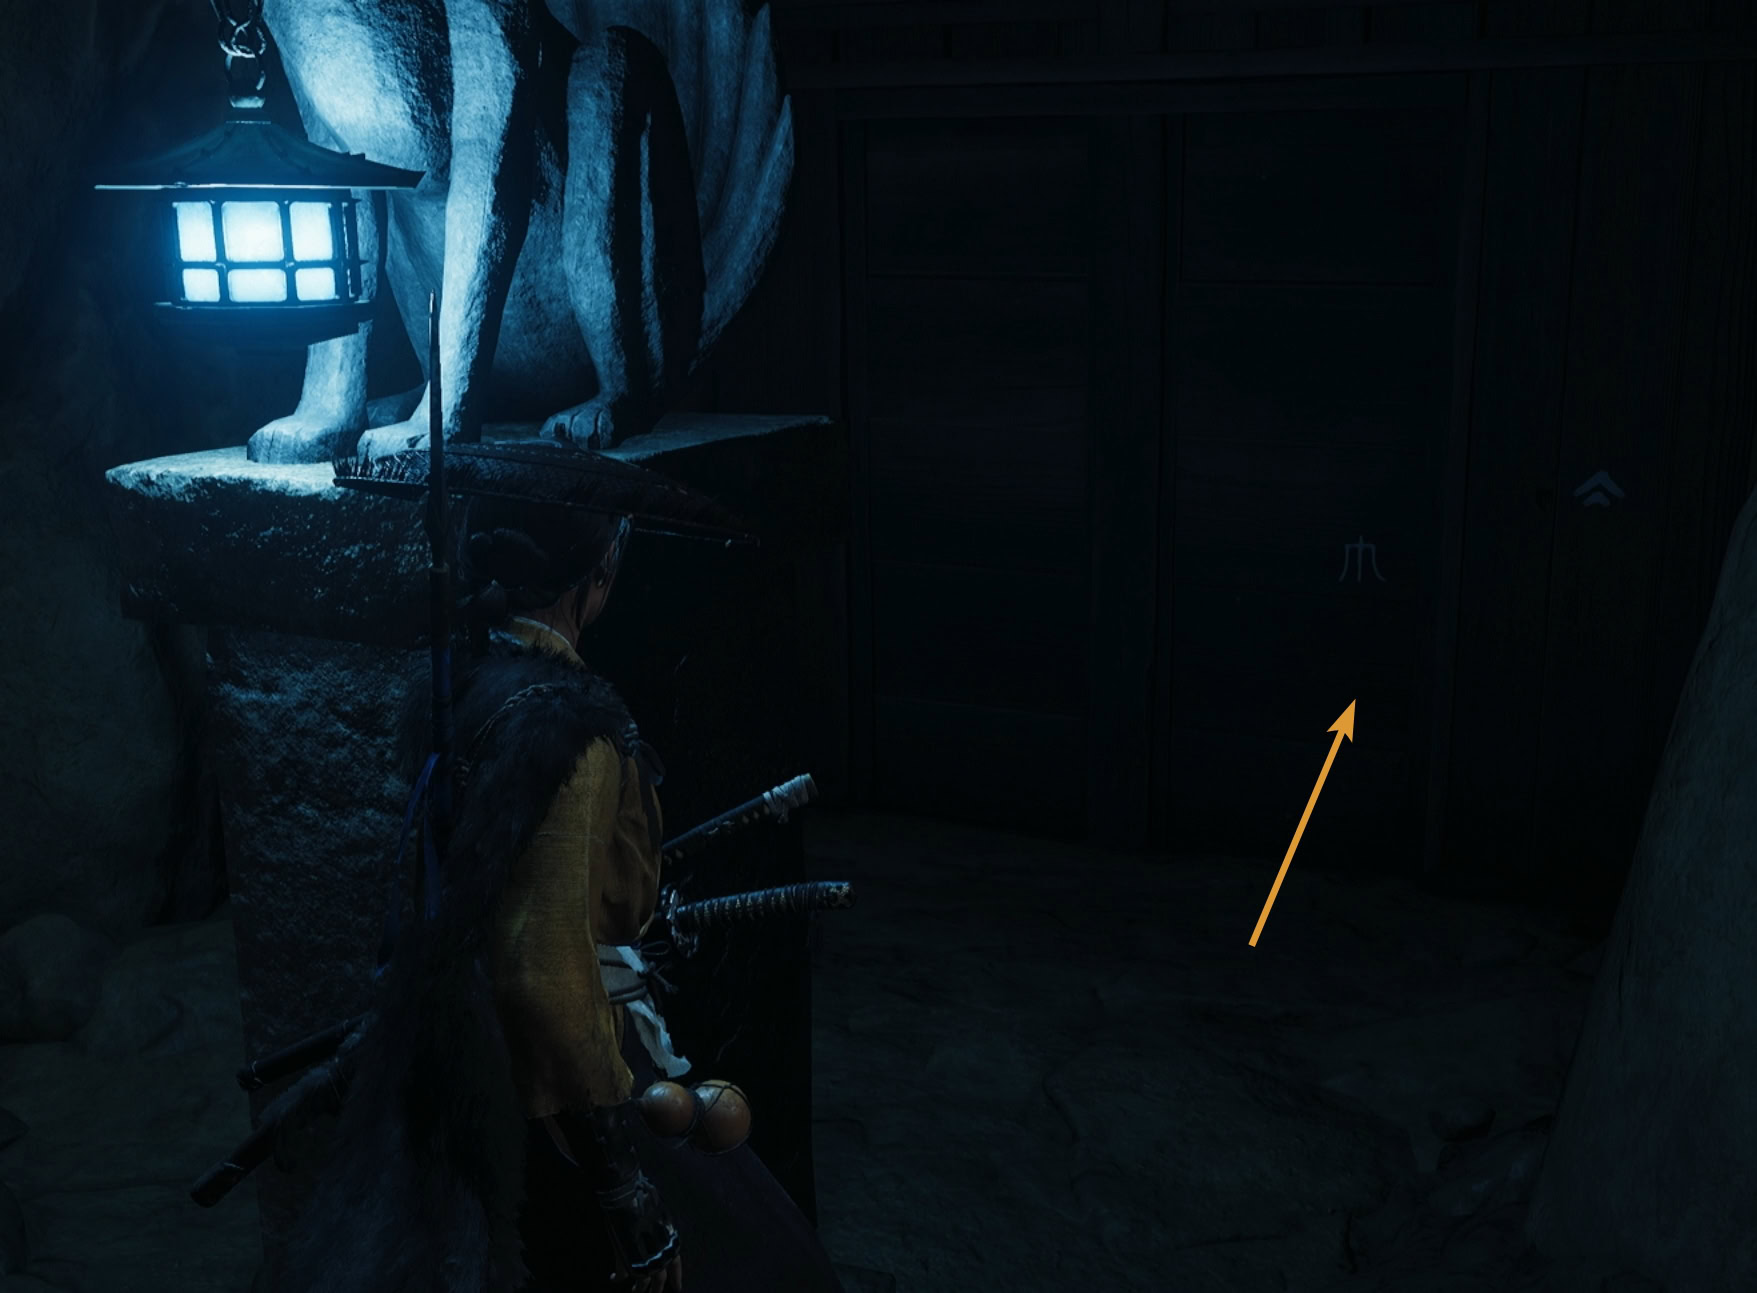
Get on your horse and follow Oyuki to the waterfall. Pry open the wooden gate and slip into the cave to find a large wooden door. To the sides of the door are two kitsune statues holding lanterns. Activate these to reveal hidden symbols with the blue light.
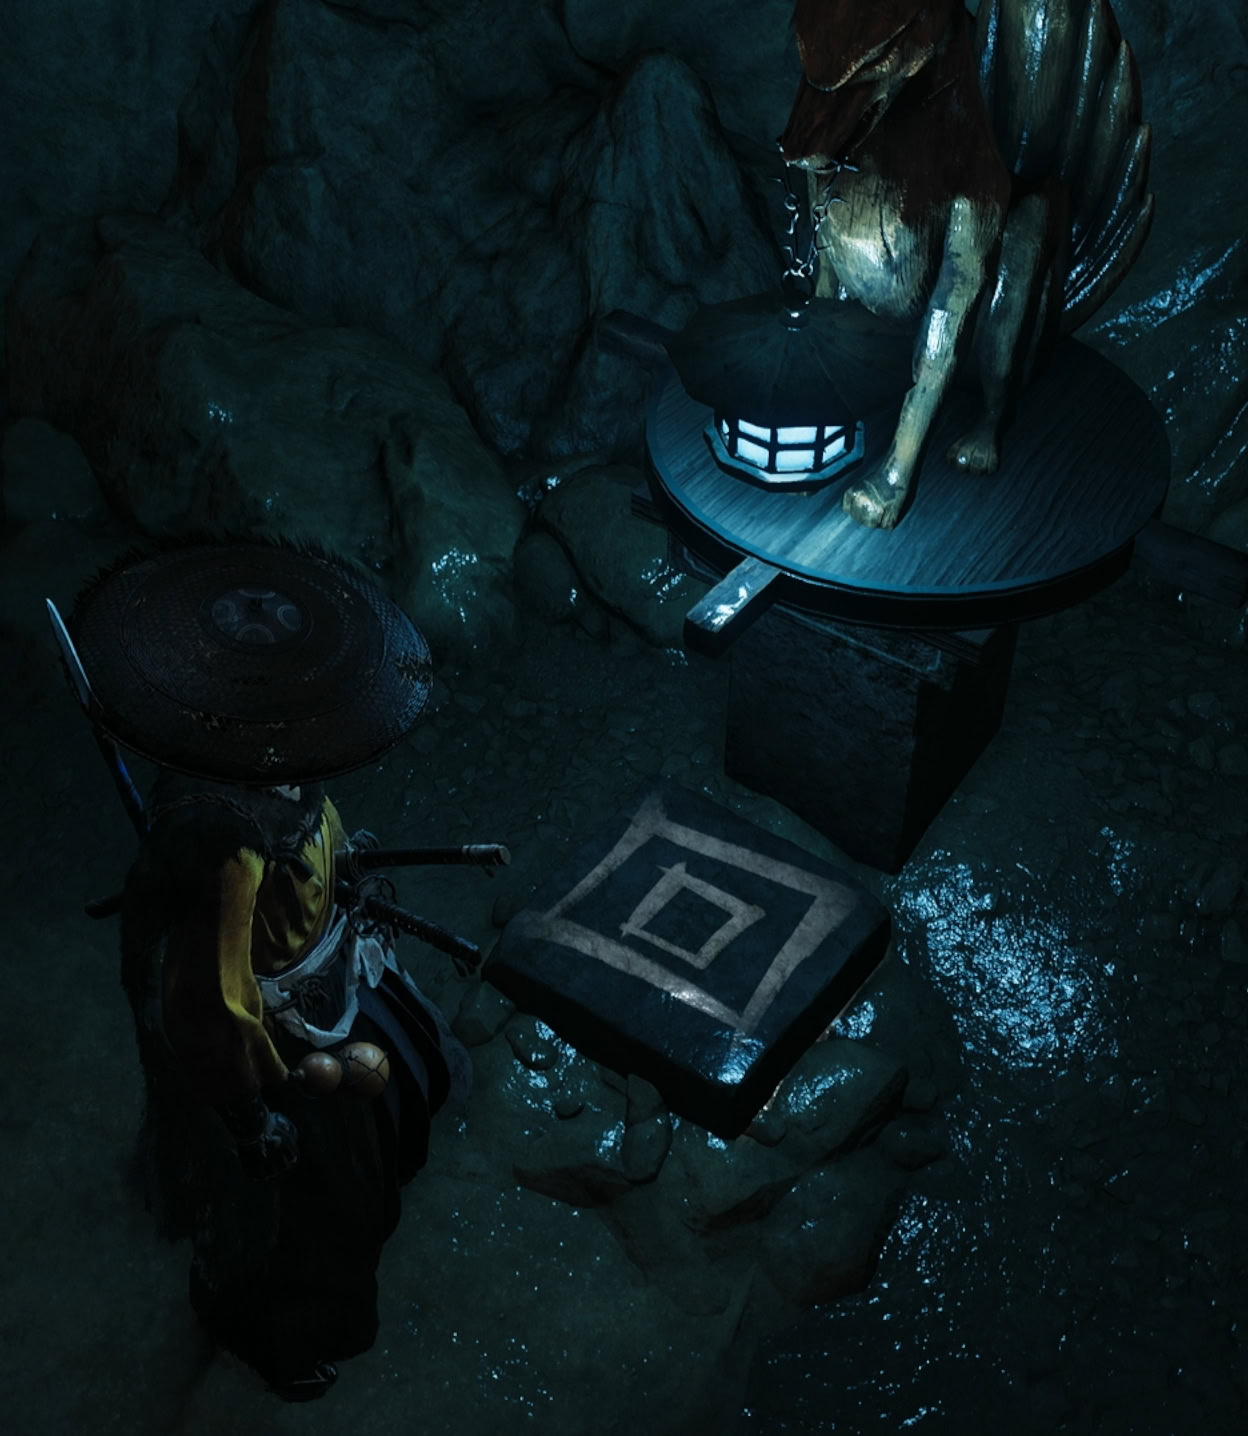
If you try activating either statue to rotate them, they’ll continue to move on their own. Use both to prompt Oyuki to help you activate the statues at the same time.
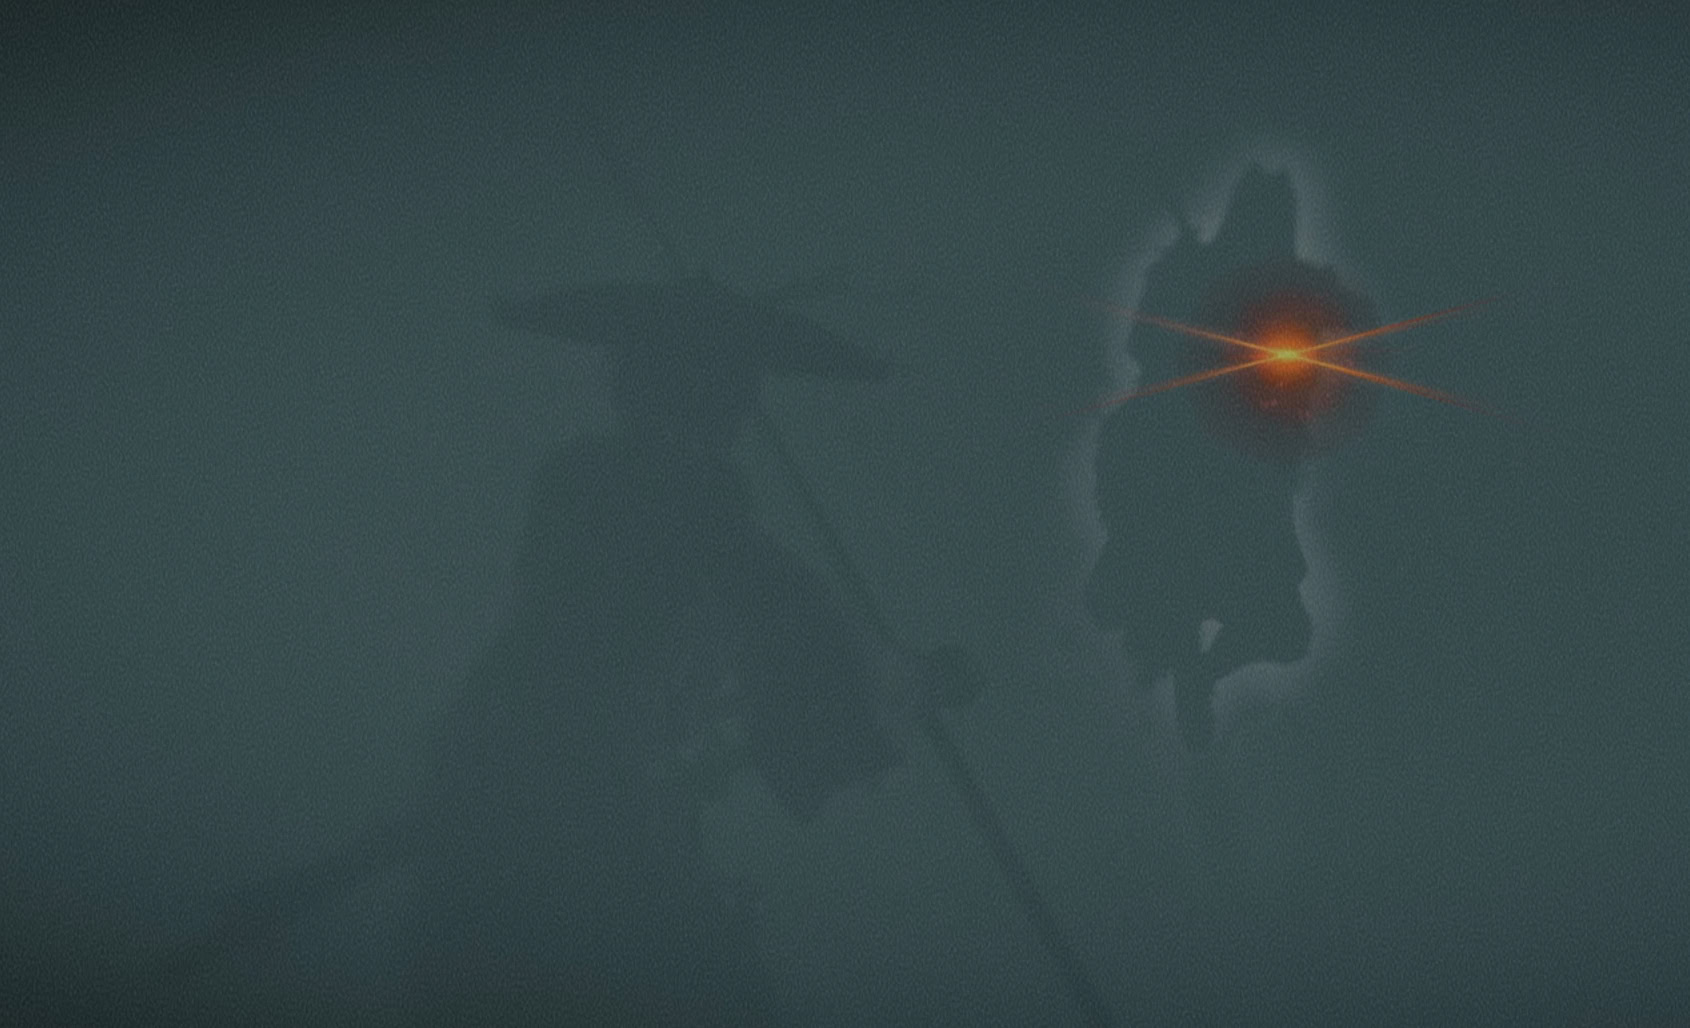
Once activated, the door will open very loudly meaning you can expect the Nine Tails to be ready for you when you walk in.
Assassinating with Allies
When you go down the hall with the blue lanterns, follow Oyuki’s advice and go through the hidden passage to avoid the inevitable ambush.
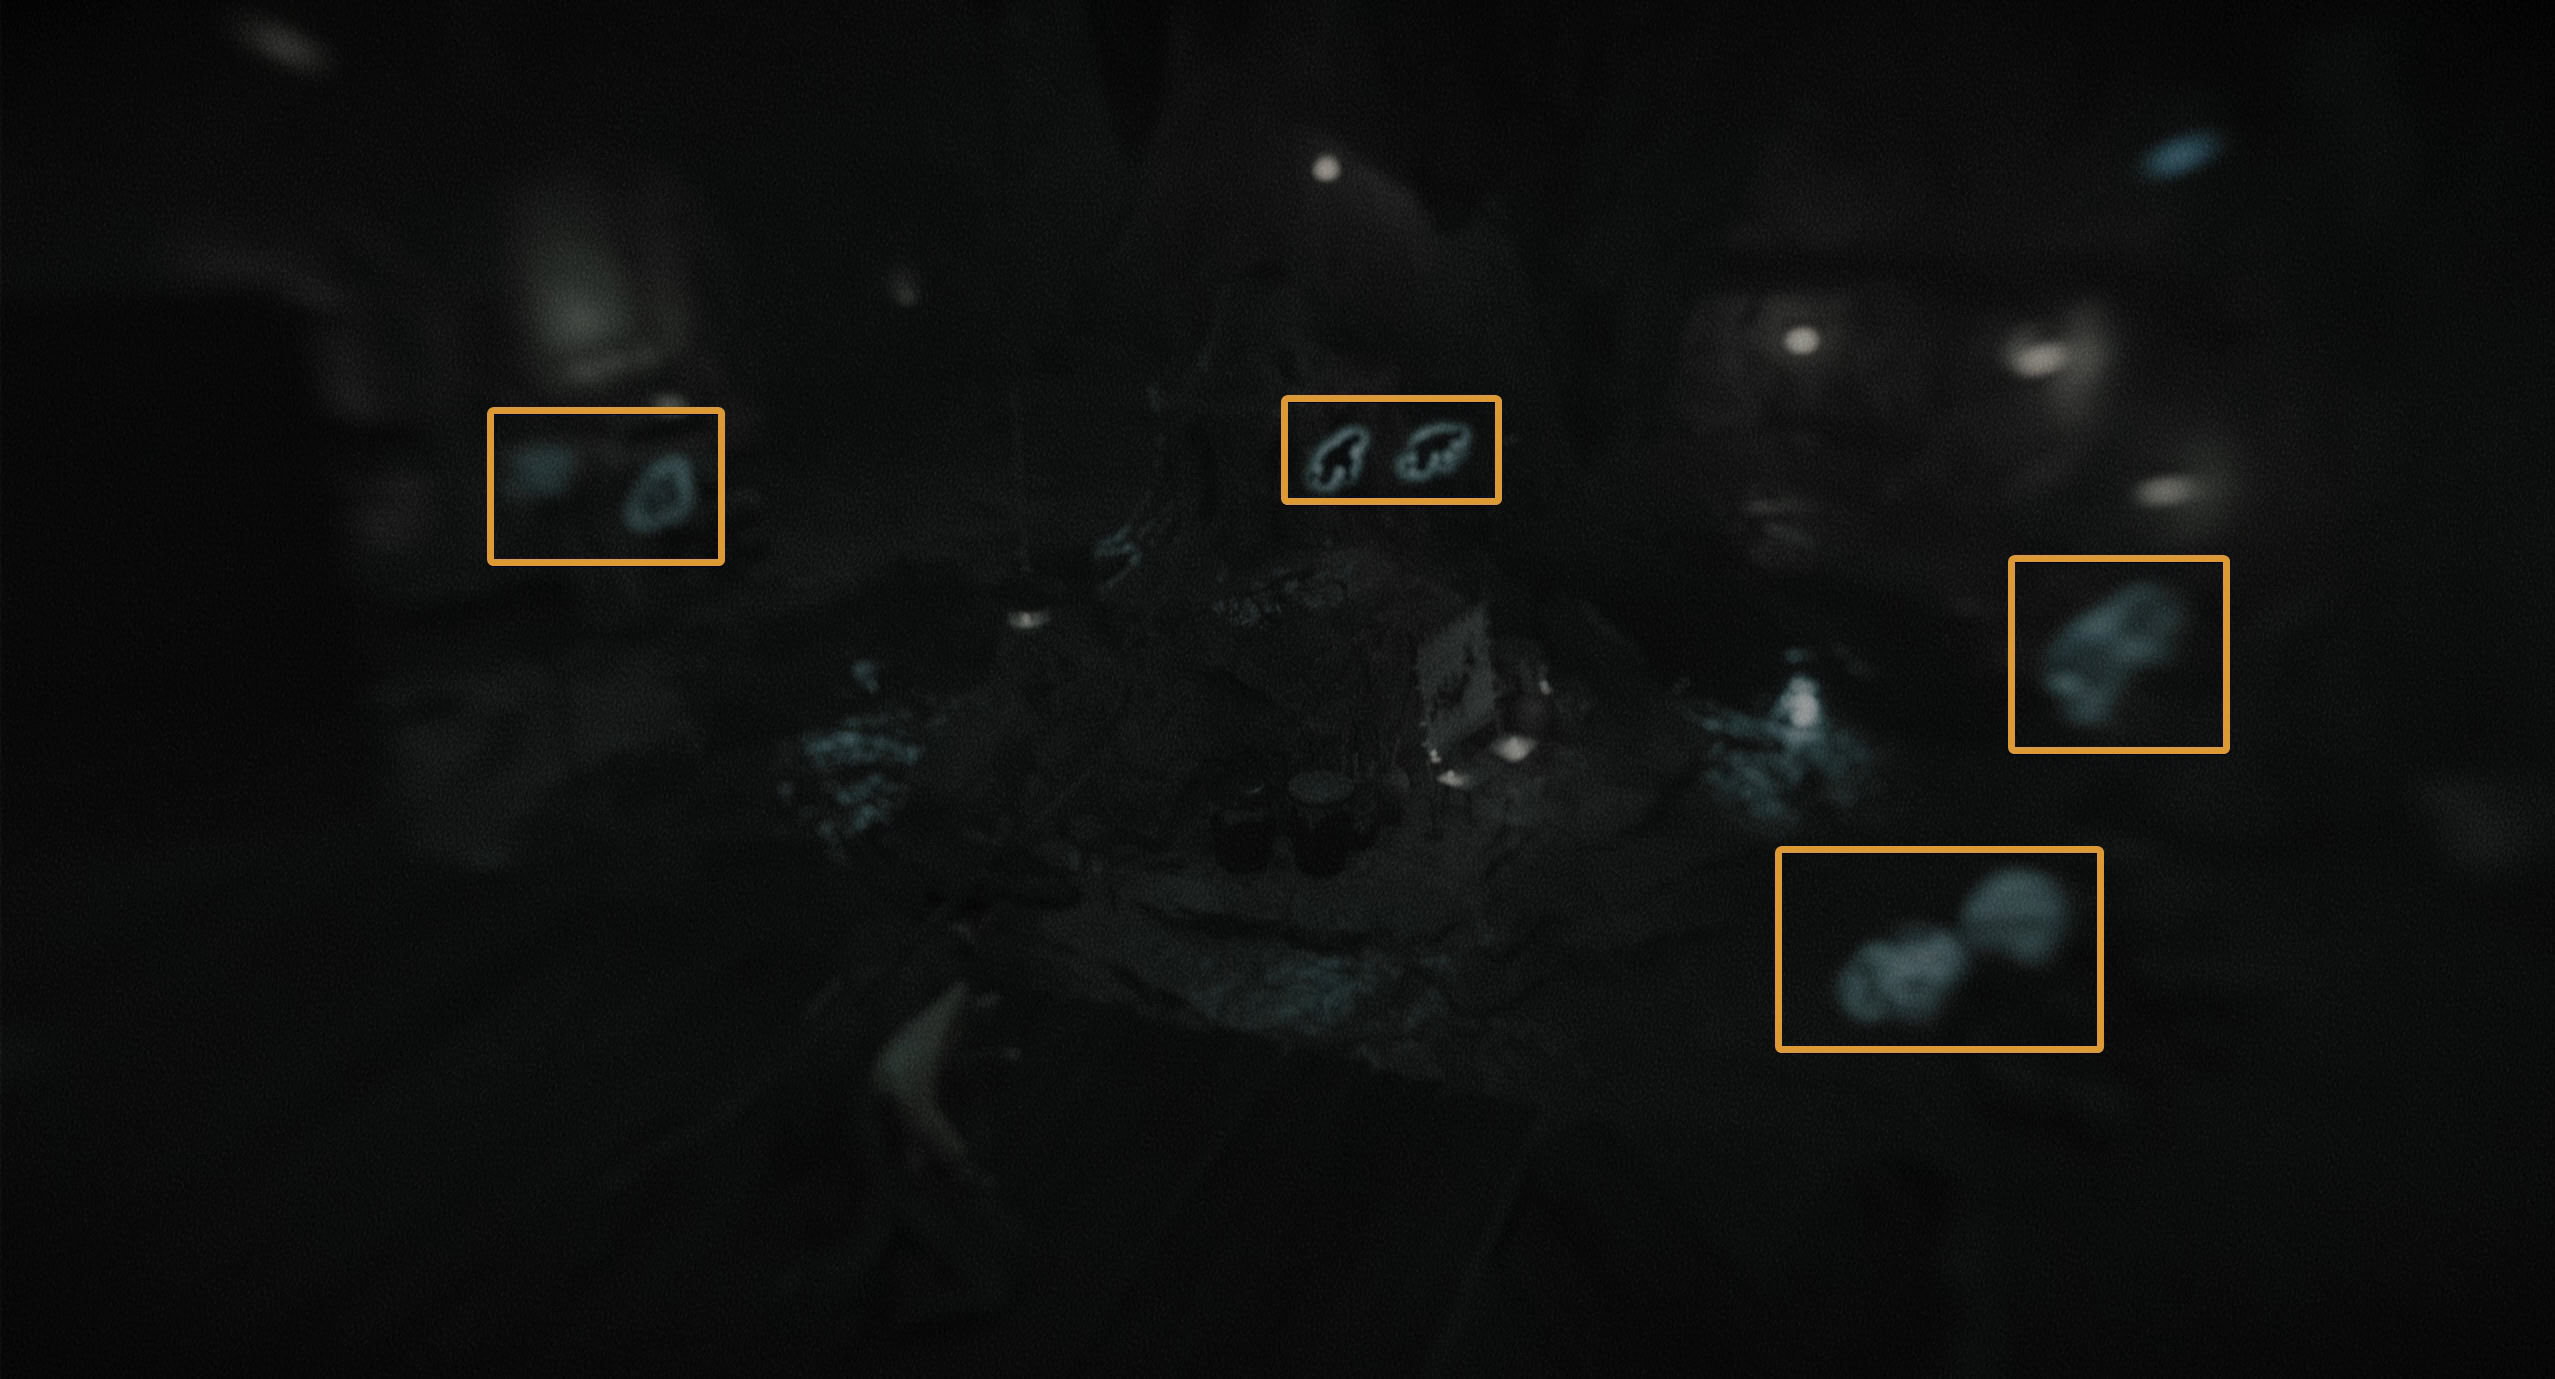
You’ll find yourself on an elevated wooden platform. Listen to your surroundings to find four groups of two hidden around the cave.
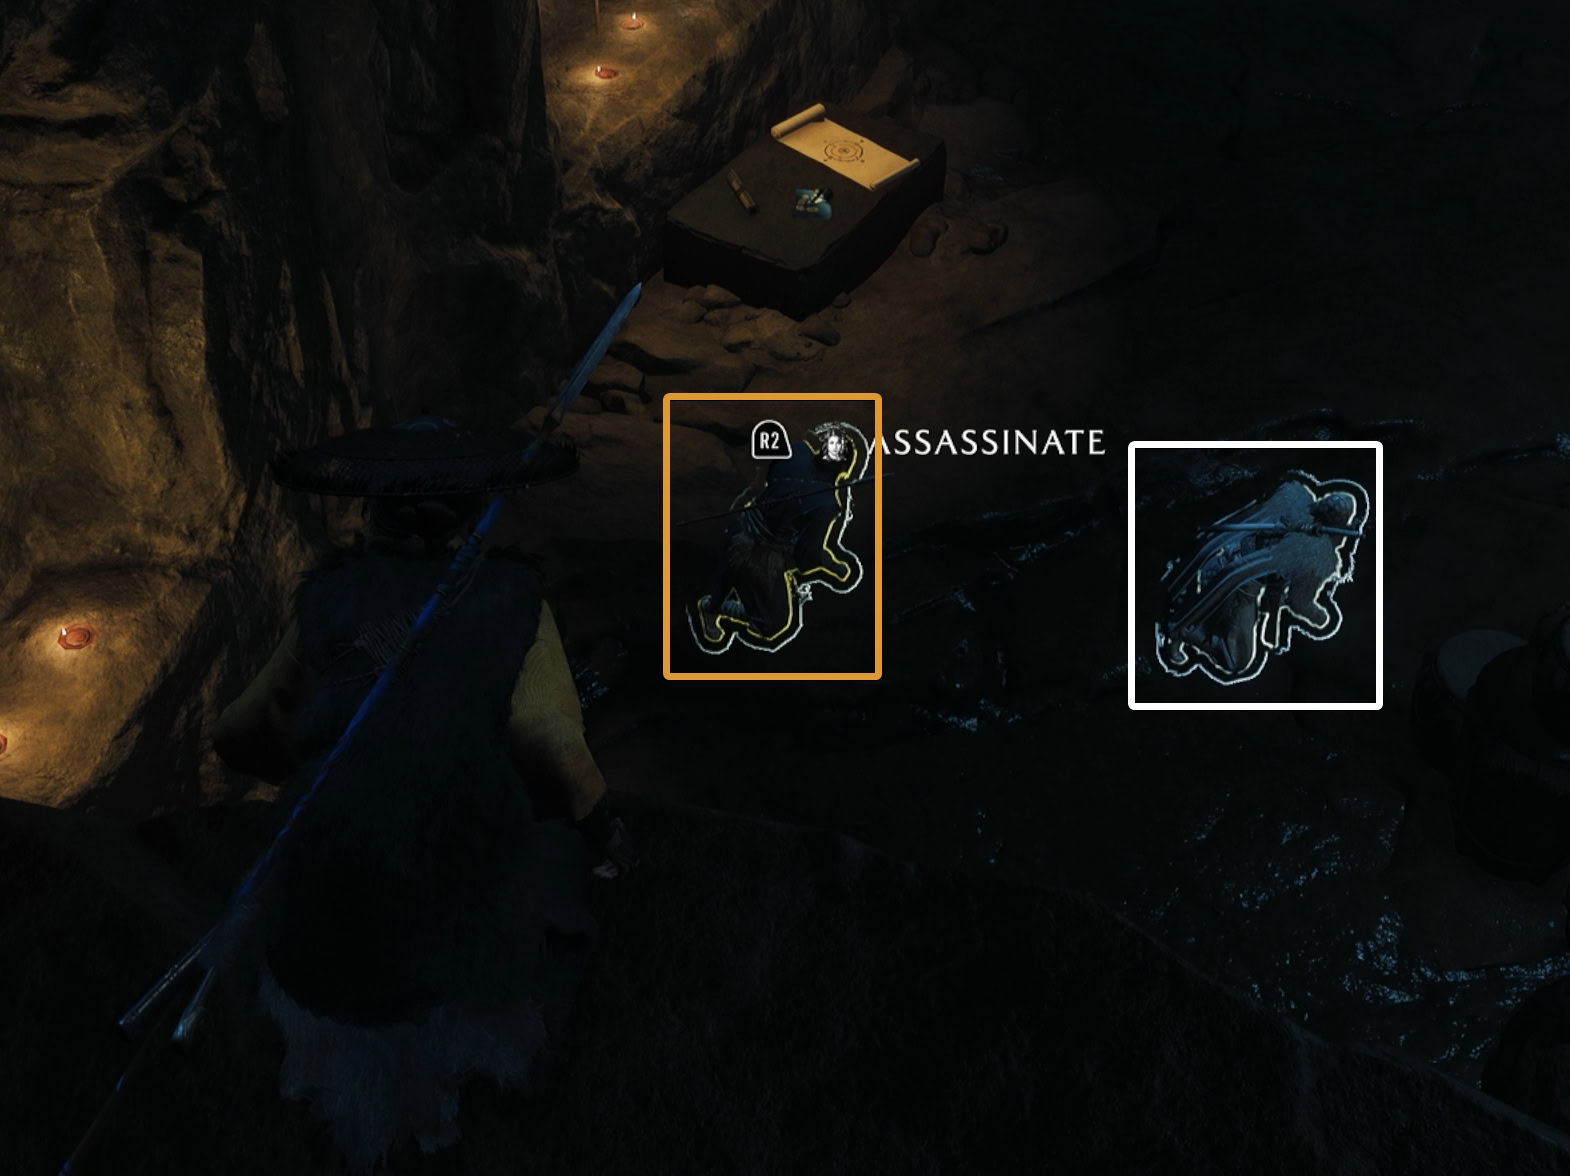
Go to the left along the platform and target one of the shinobi below. Your target will be highlighted yellow, while the other is highlighted white.
If you assassinate the yellow target, Oyuki will assassinate the white one. Together, you can assassinate the remaining pairs of shinobi without alerting them.
Reaching the Kitsune
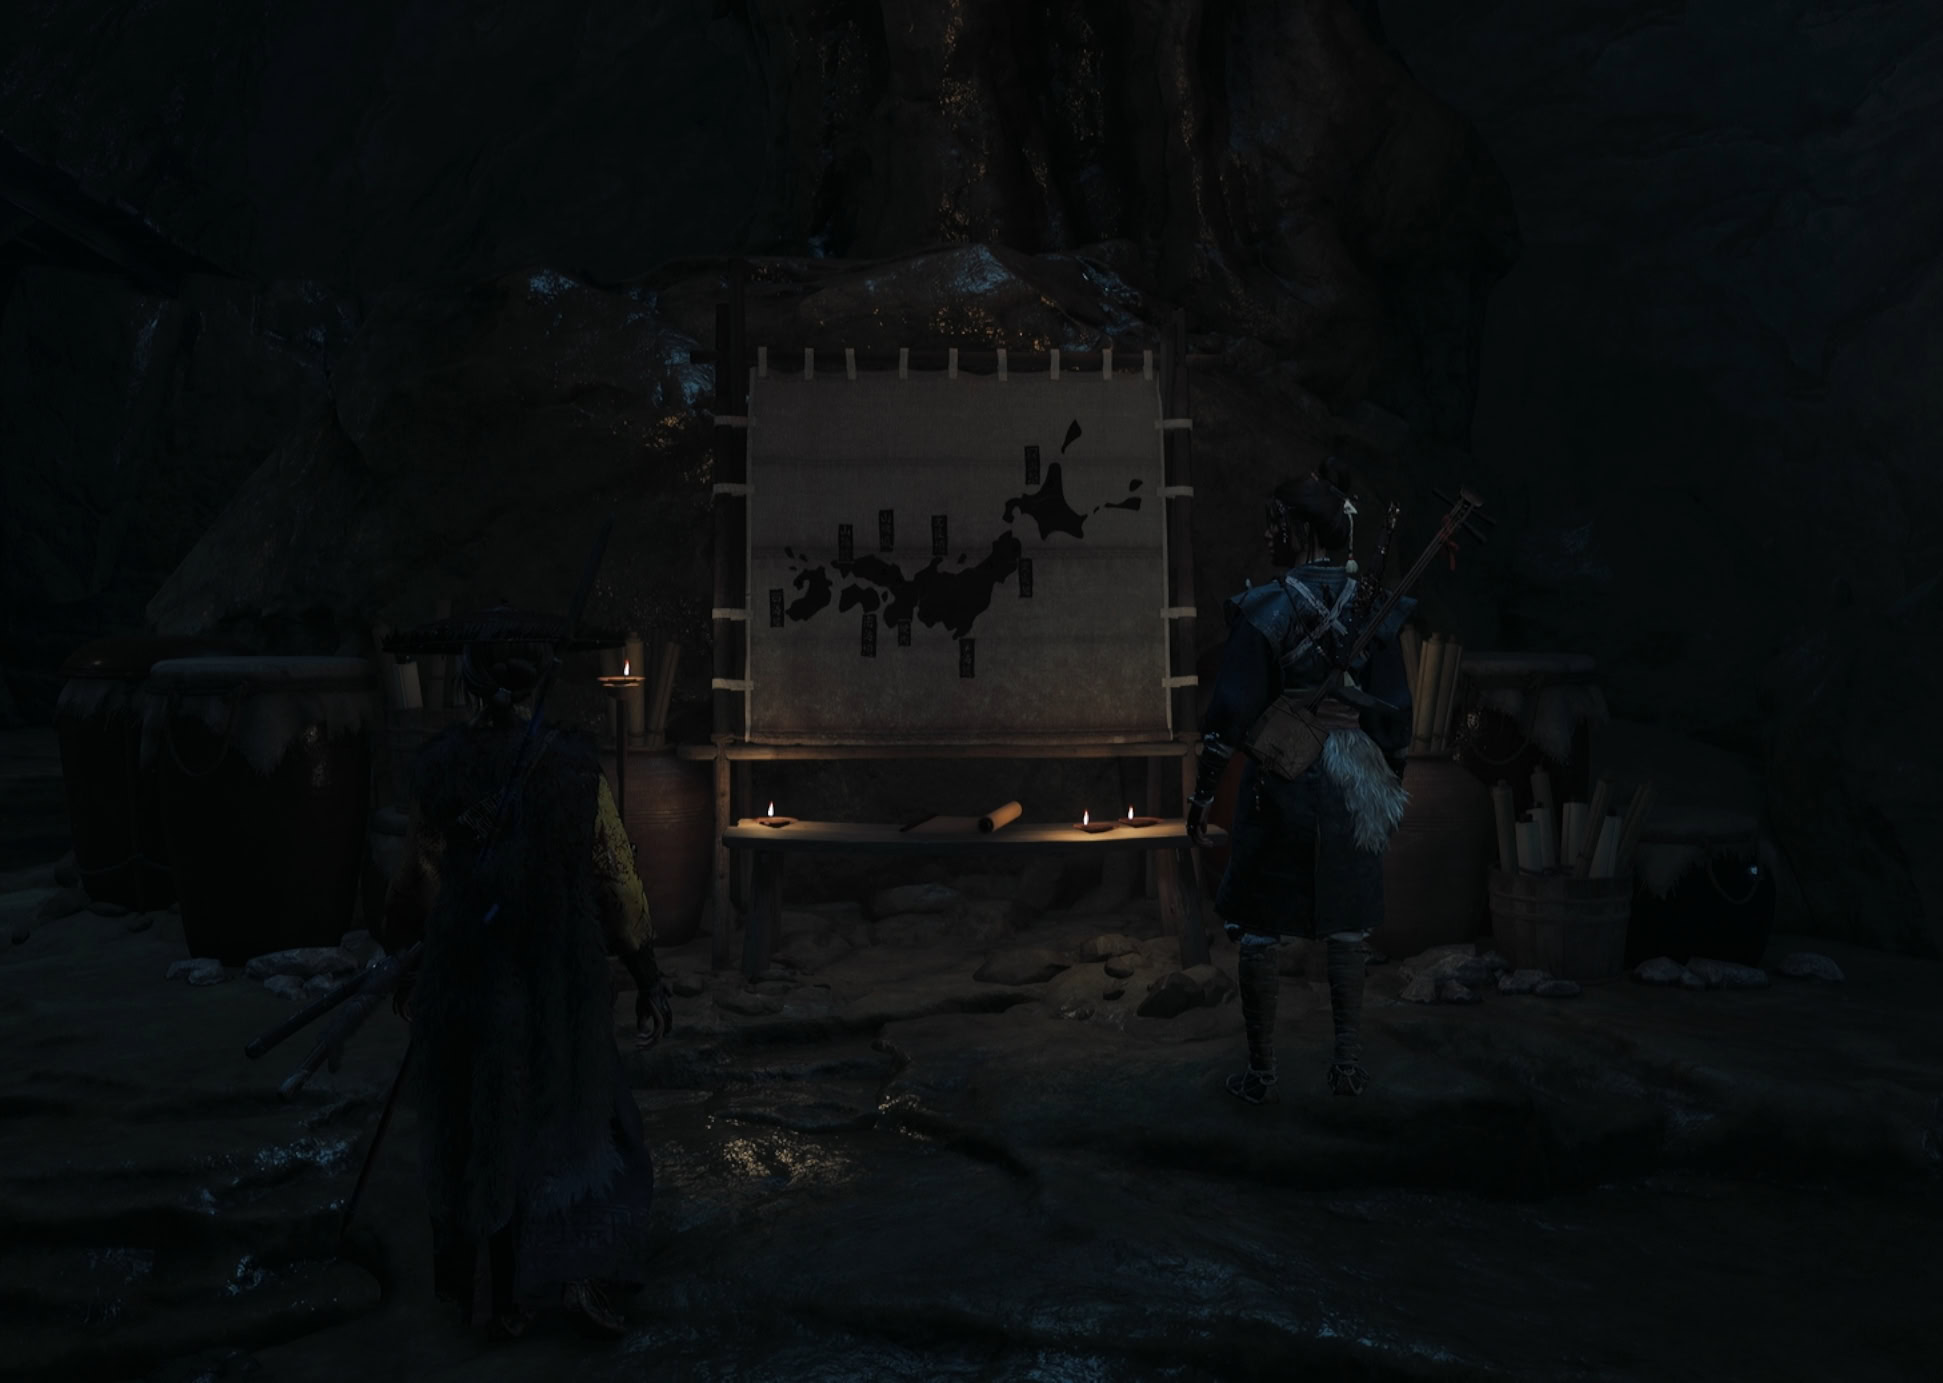
After assassinating the shinobi, follow Oyuki to the map of Japan and talk to her. Follow her to the wall with the “Up” symbol, give her a boost, then climb up the ladder she lowers.
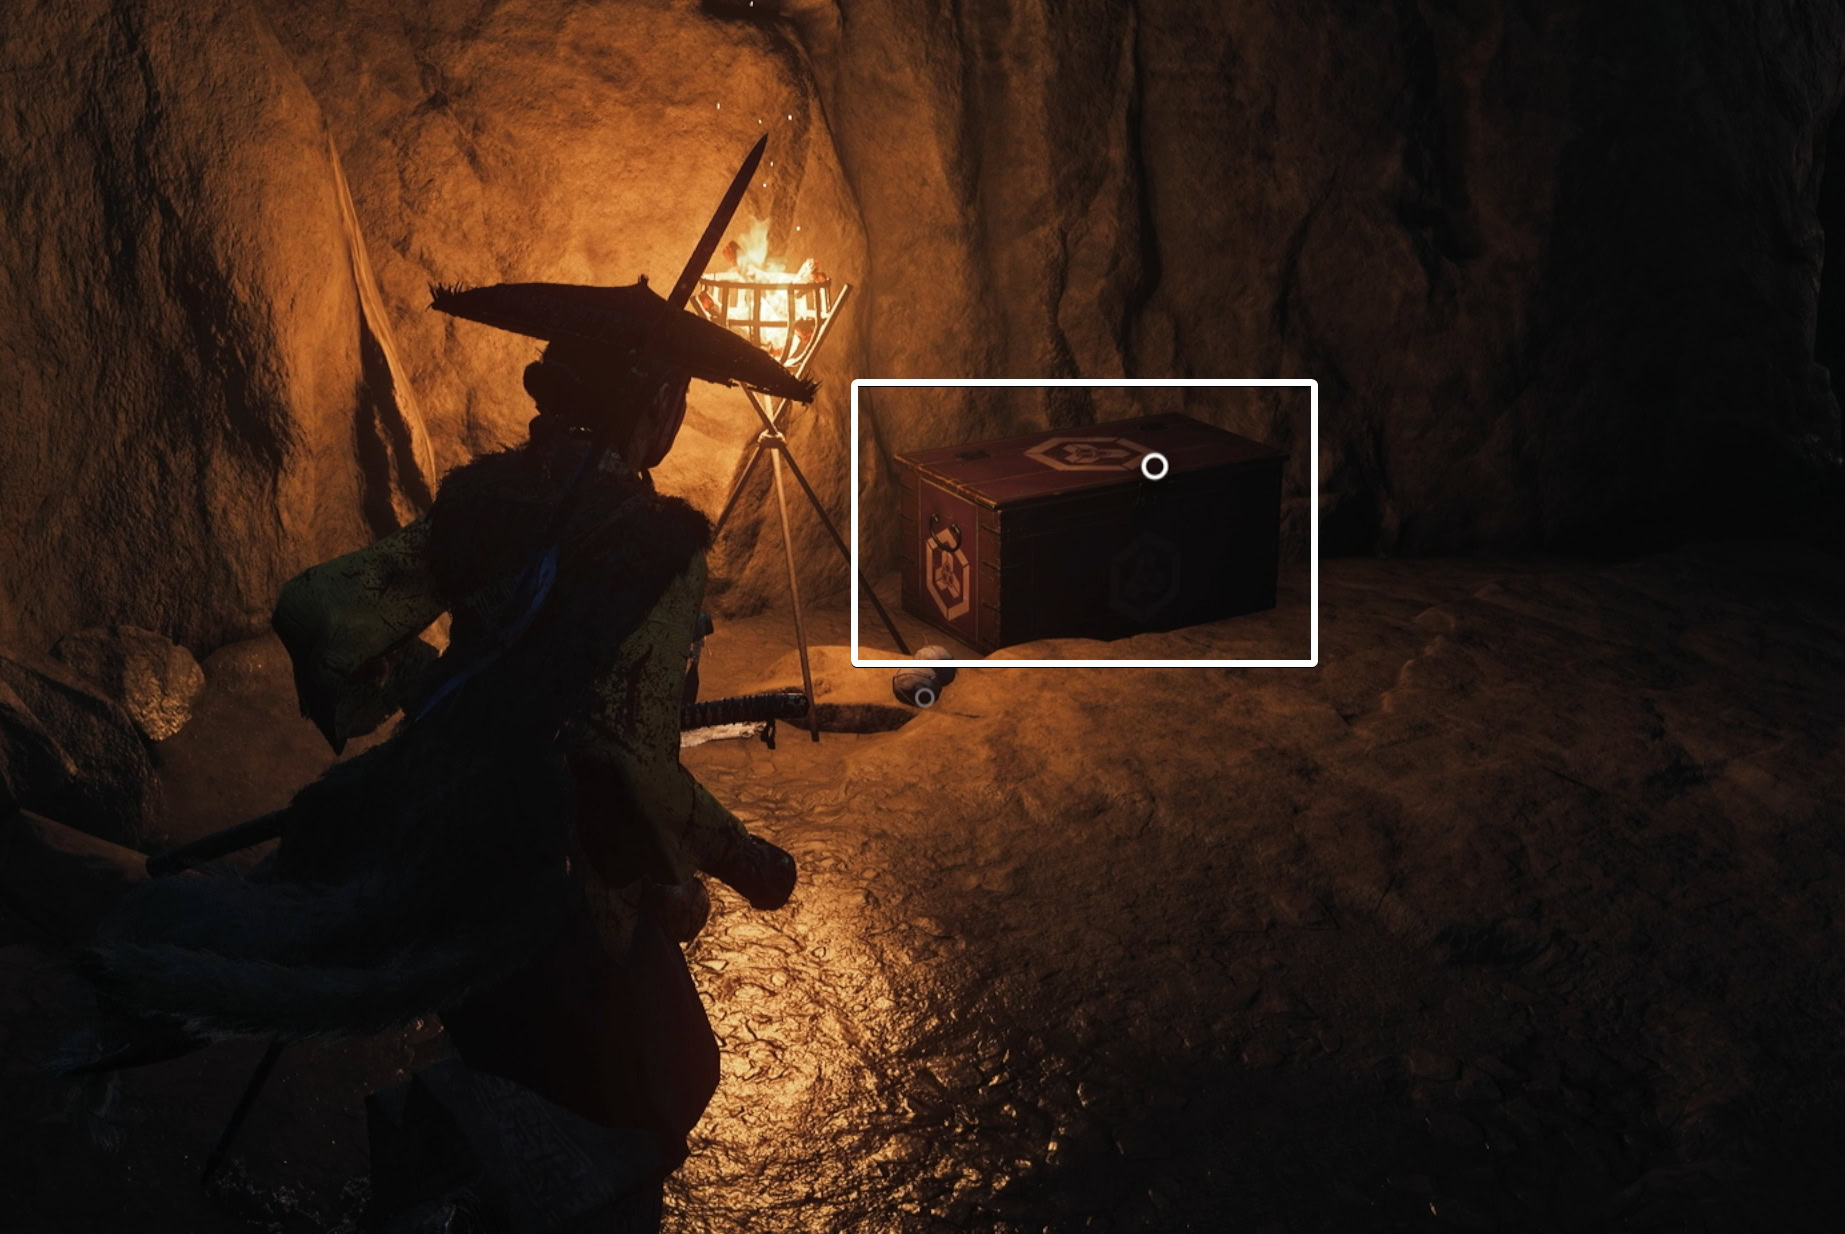
Travel along the wooden beams to reach a door with the “Engage” and “Forward” symbols on it and go through it. Don’t miss the purple supply chest on the left side of the tunnel.
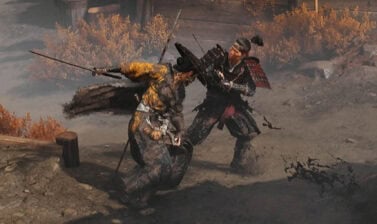
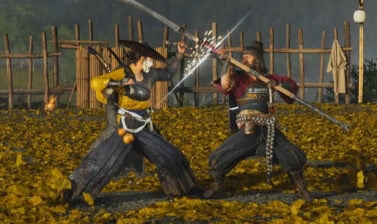
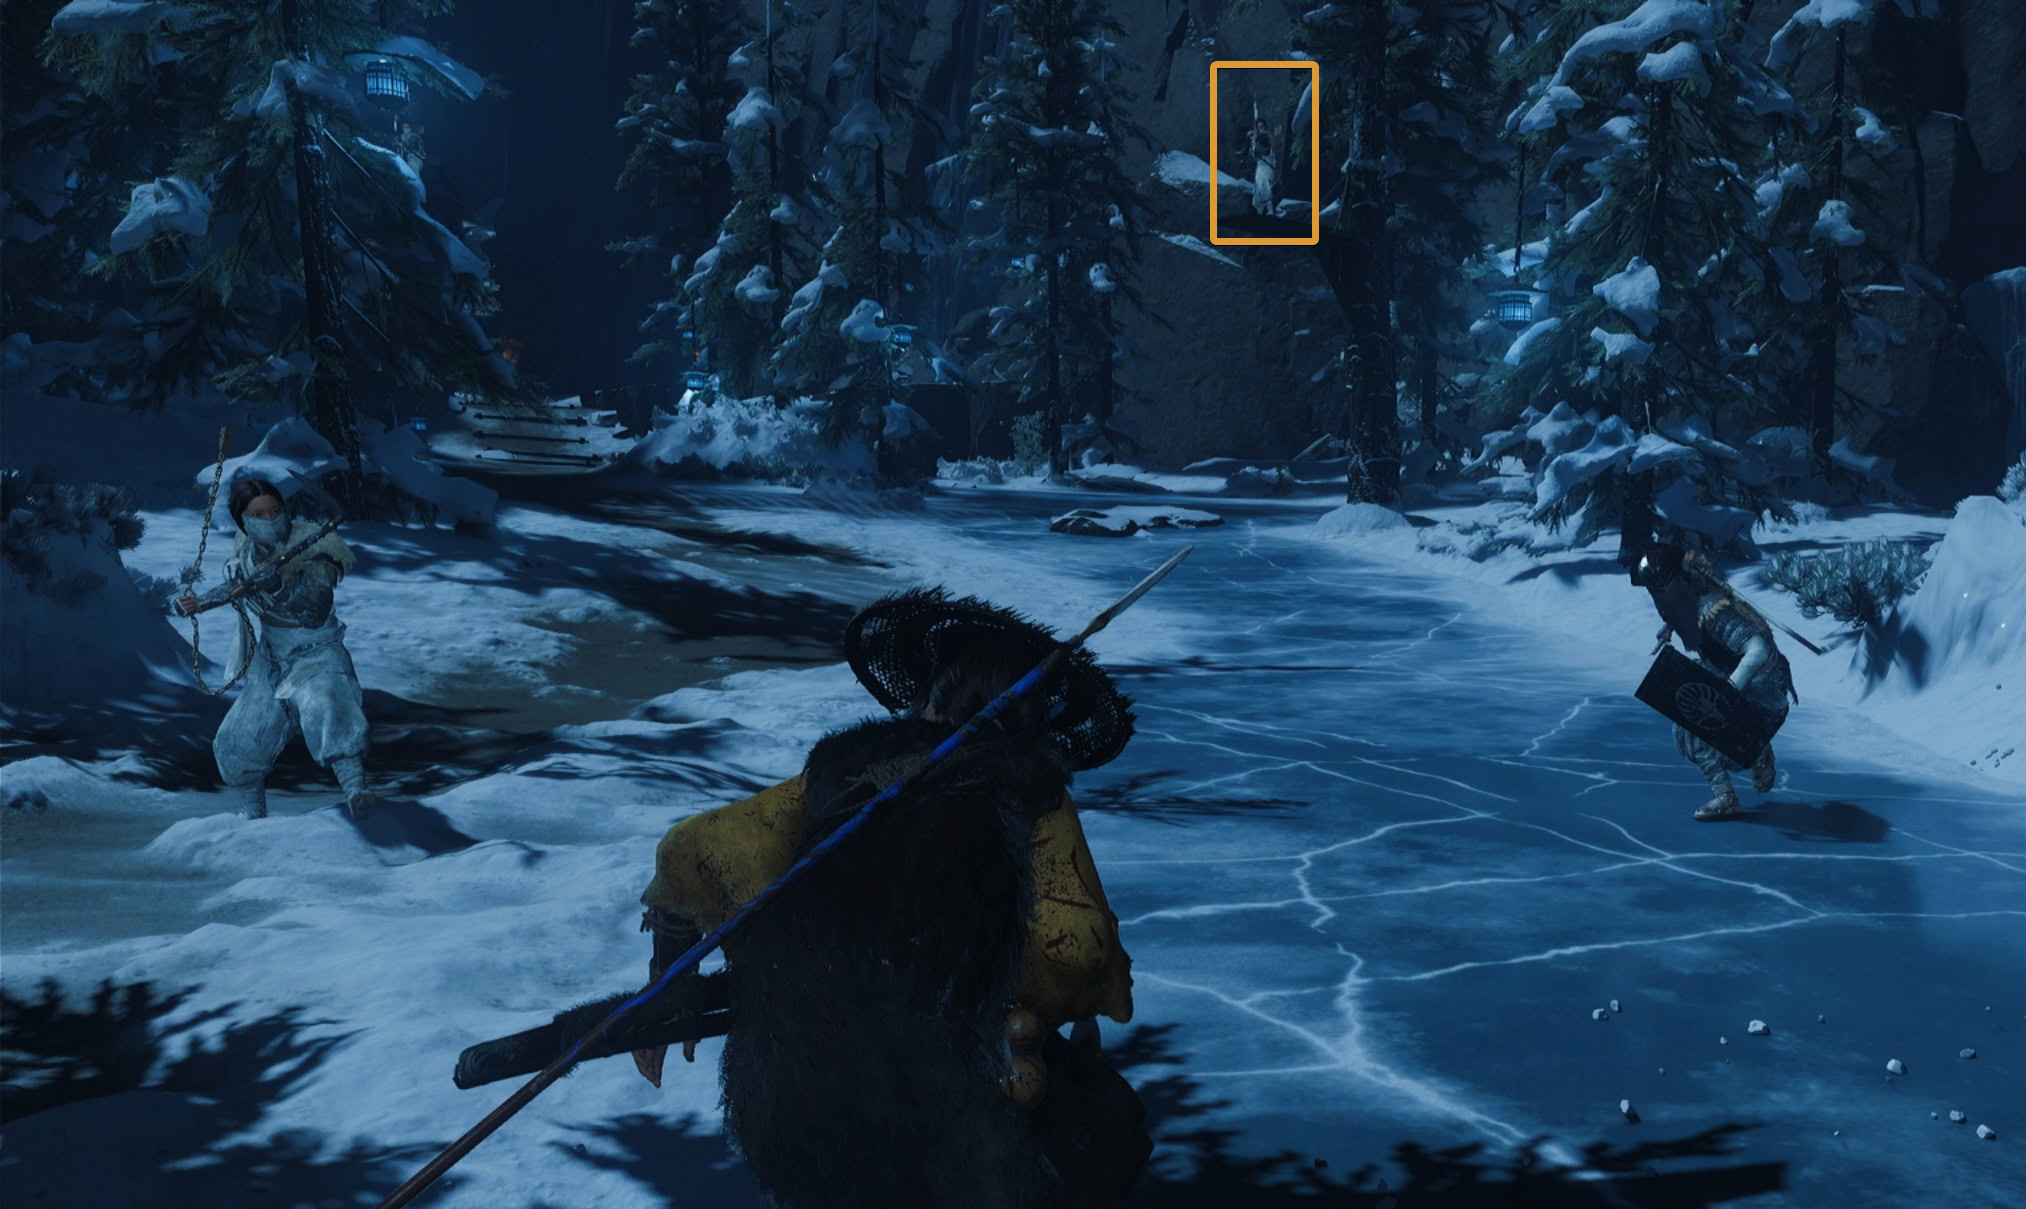
Fortunately the rest of the way involves no puzzles, you’ll just need to fight your way through a shinobi ambush once you’re outside again. Be careful of the archers in the trees, their camouflage can make them tricky to spot.
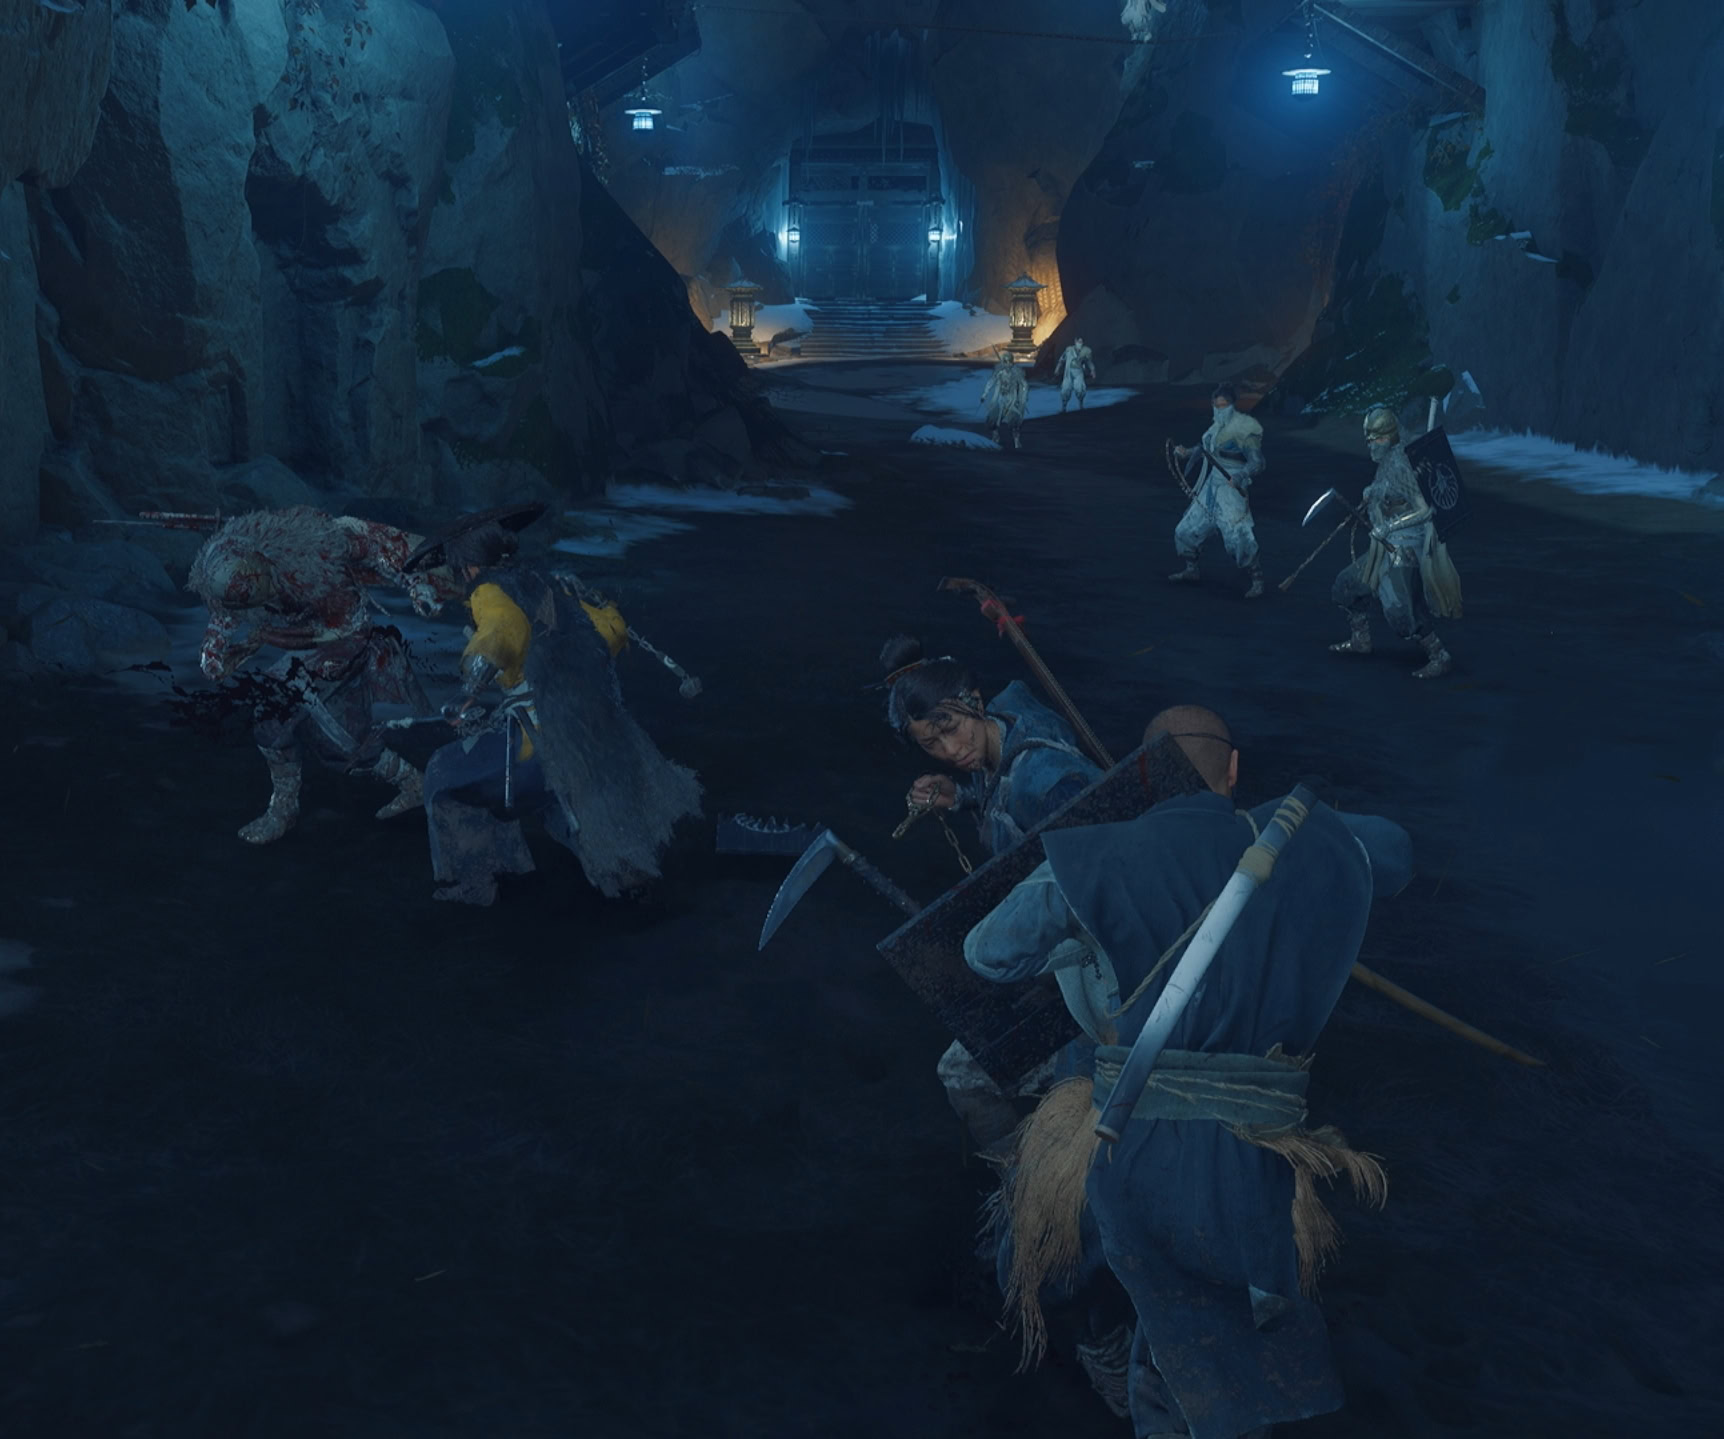
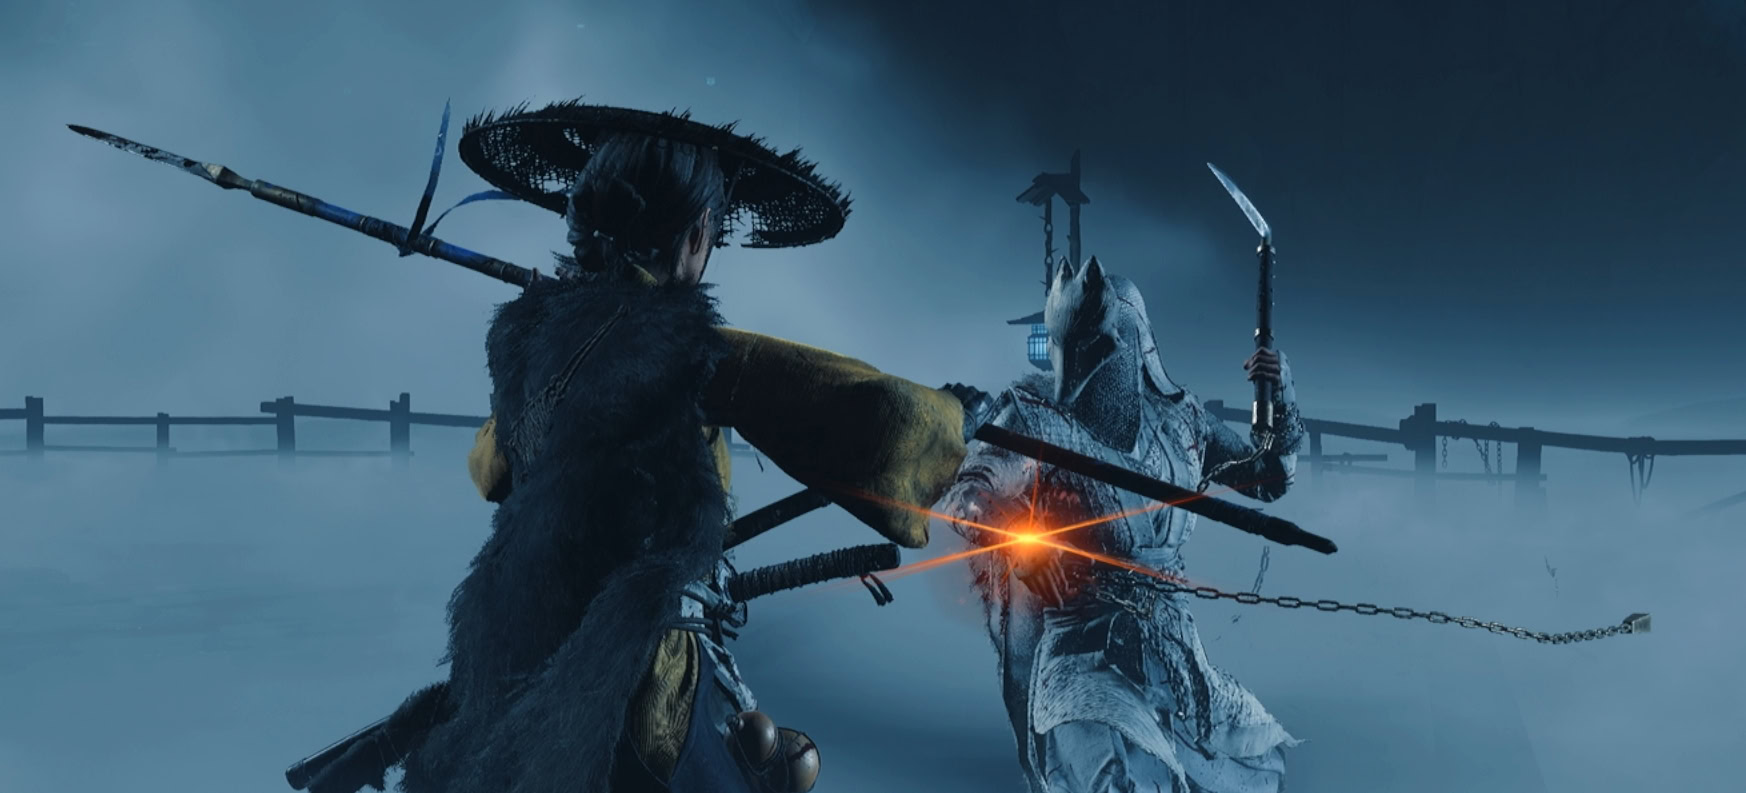
Go through a wooden door on the path ahead for a short dialogue and a standoff, then defeat this last wave of shinobi before reaching the Kitsune.
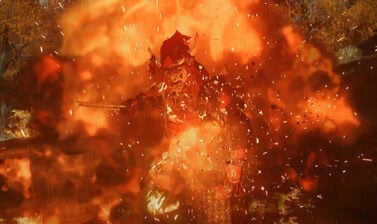
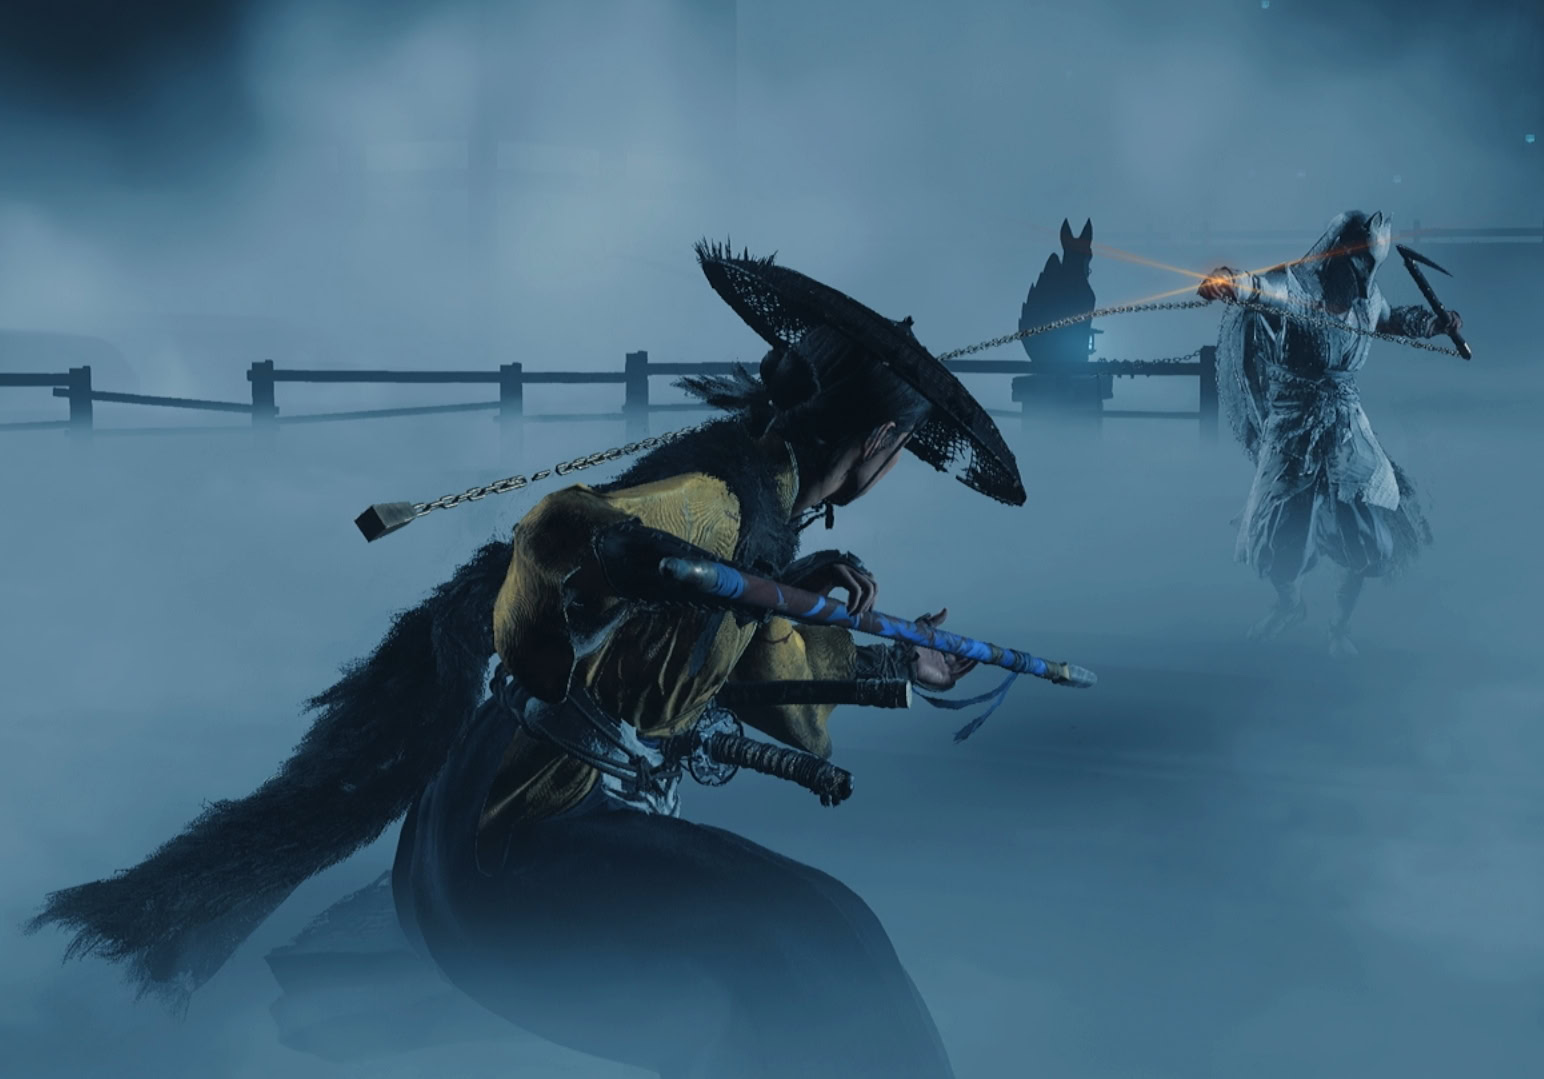
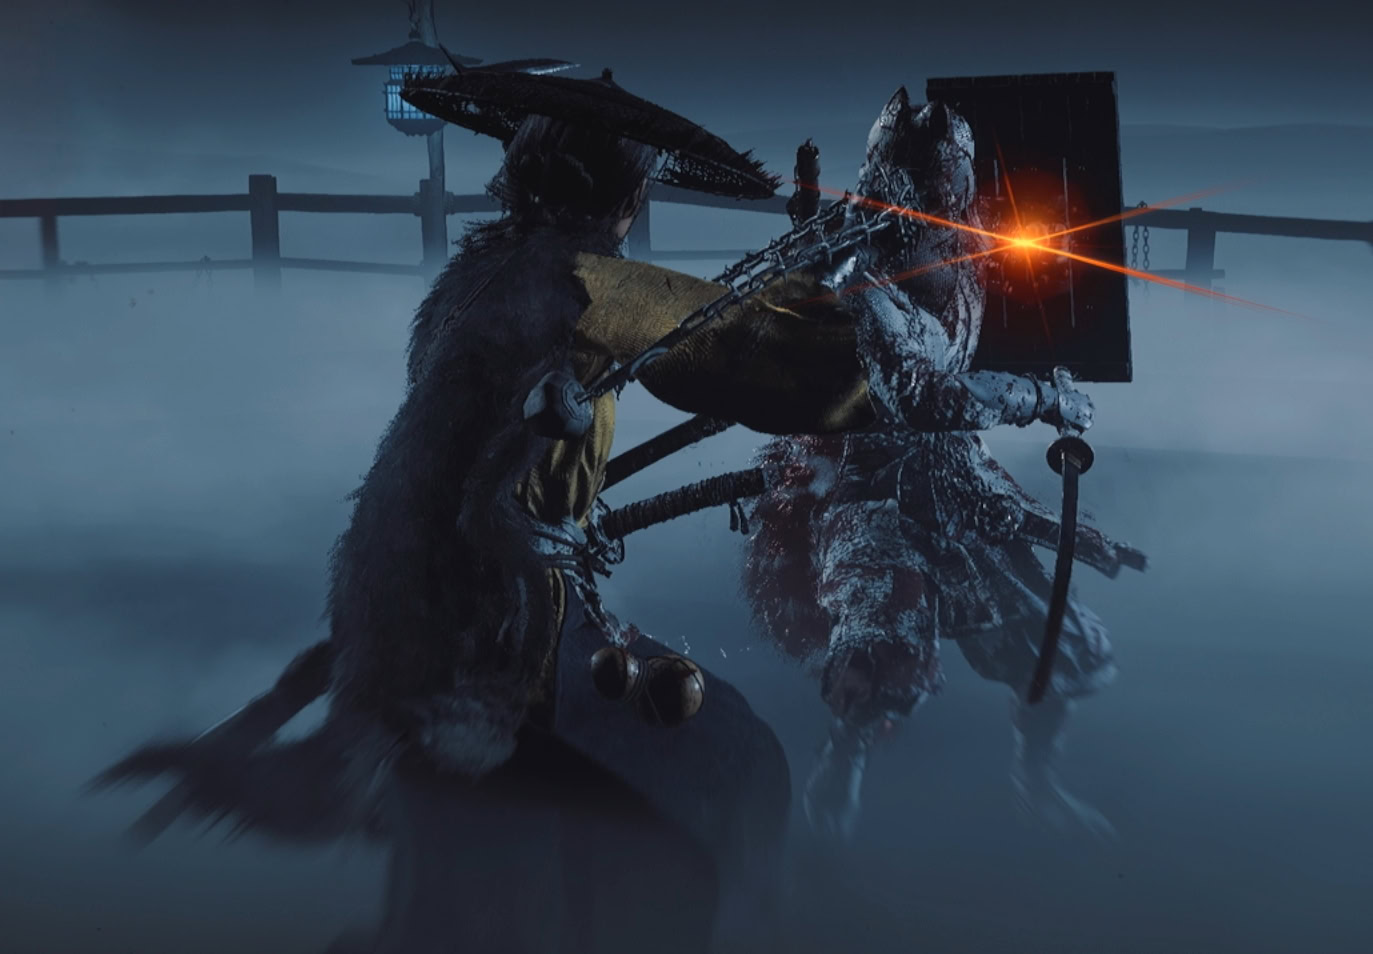
Kitsune Boss Fight: Salvation
Now it’s time for the fourth and final fight against the Kitsune. This fight will utilize more dangerous combos and the Listen mechanic, making it a tricky fight if you’re not careful.
Early Fight Combos
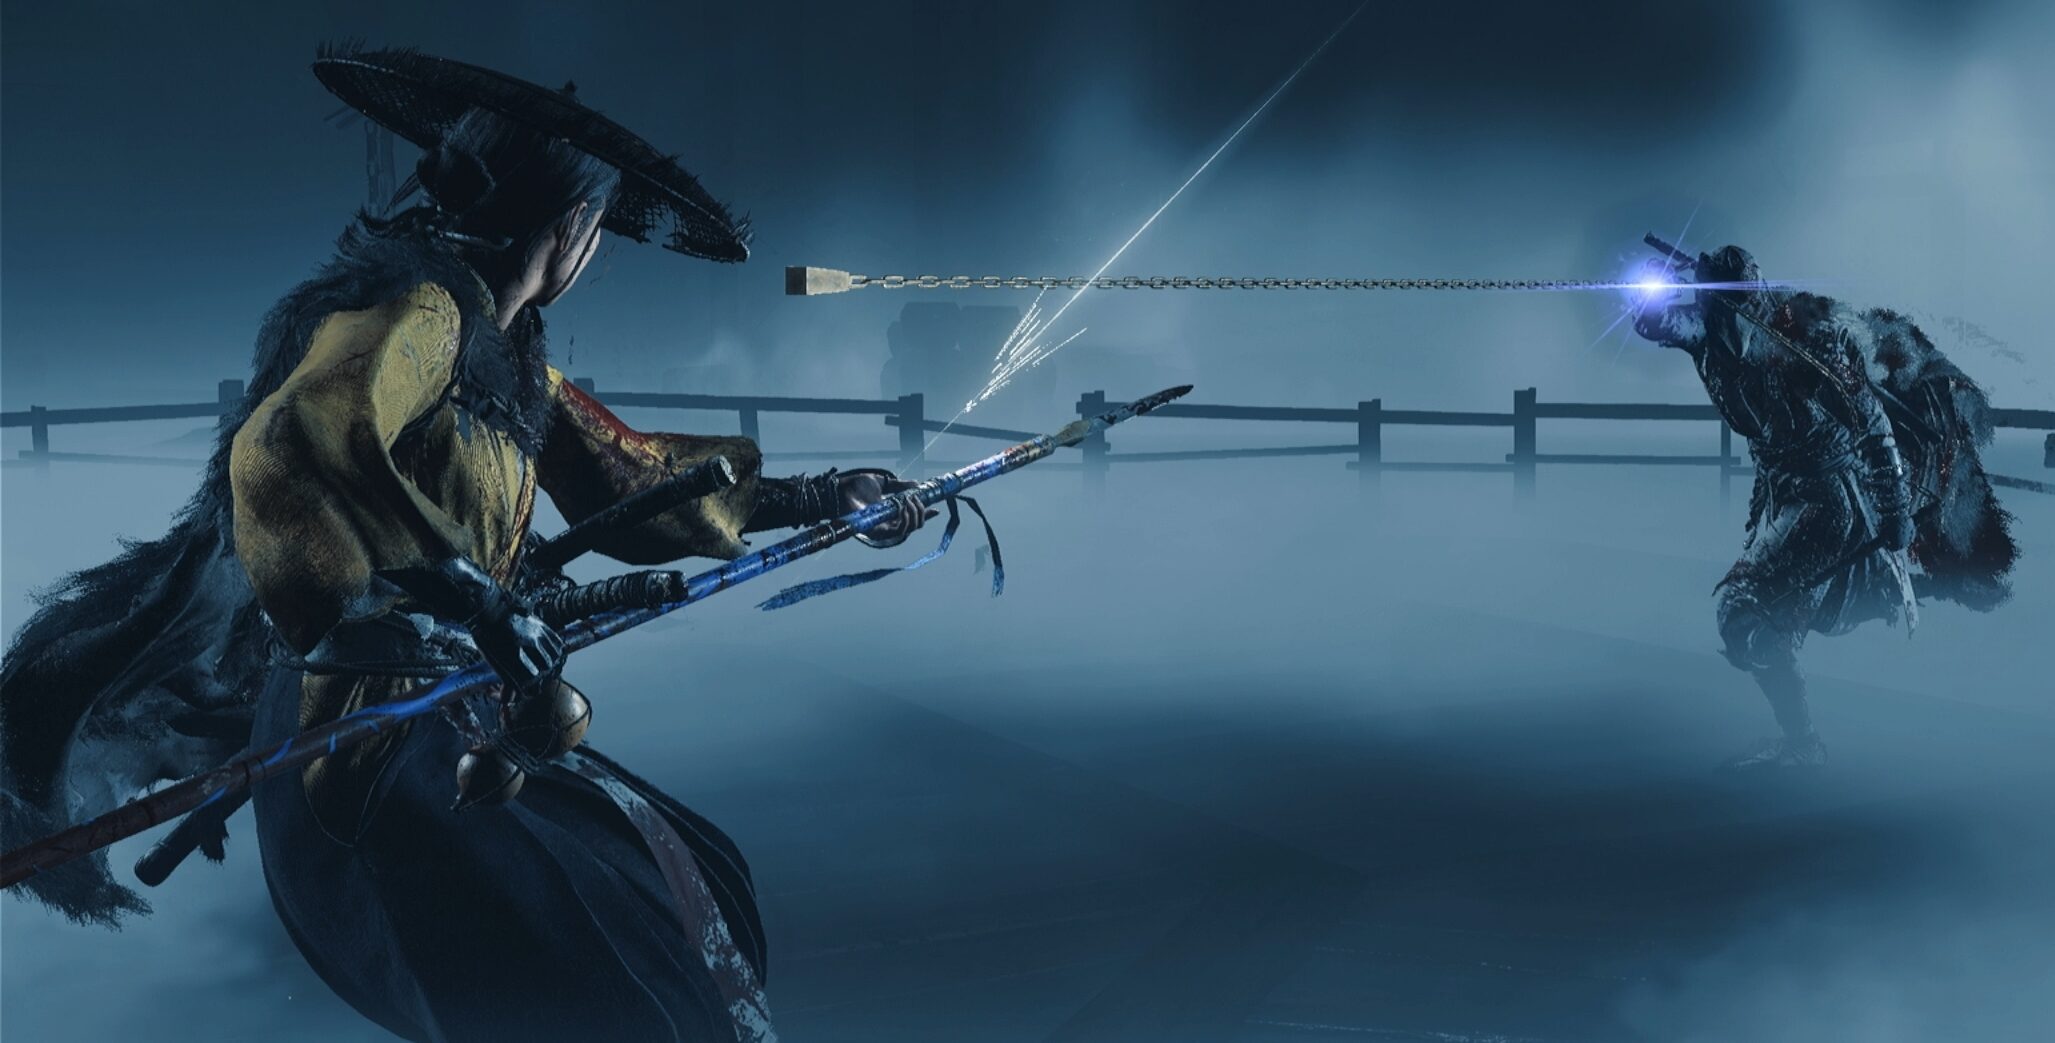
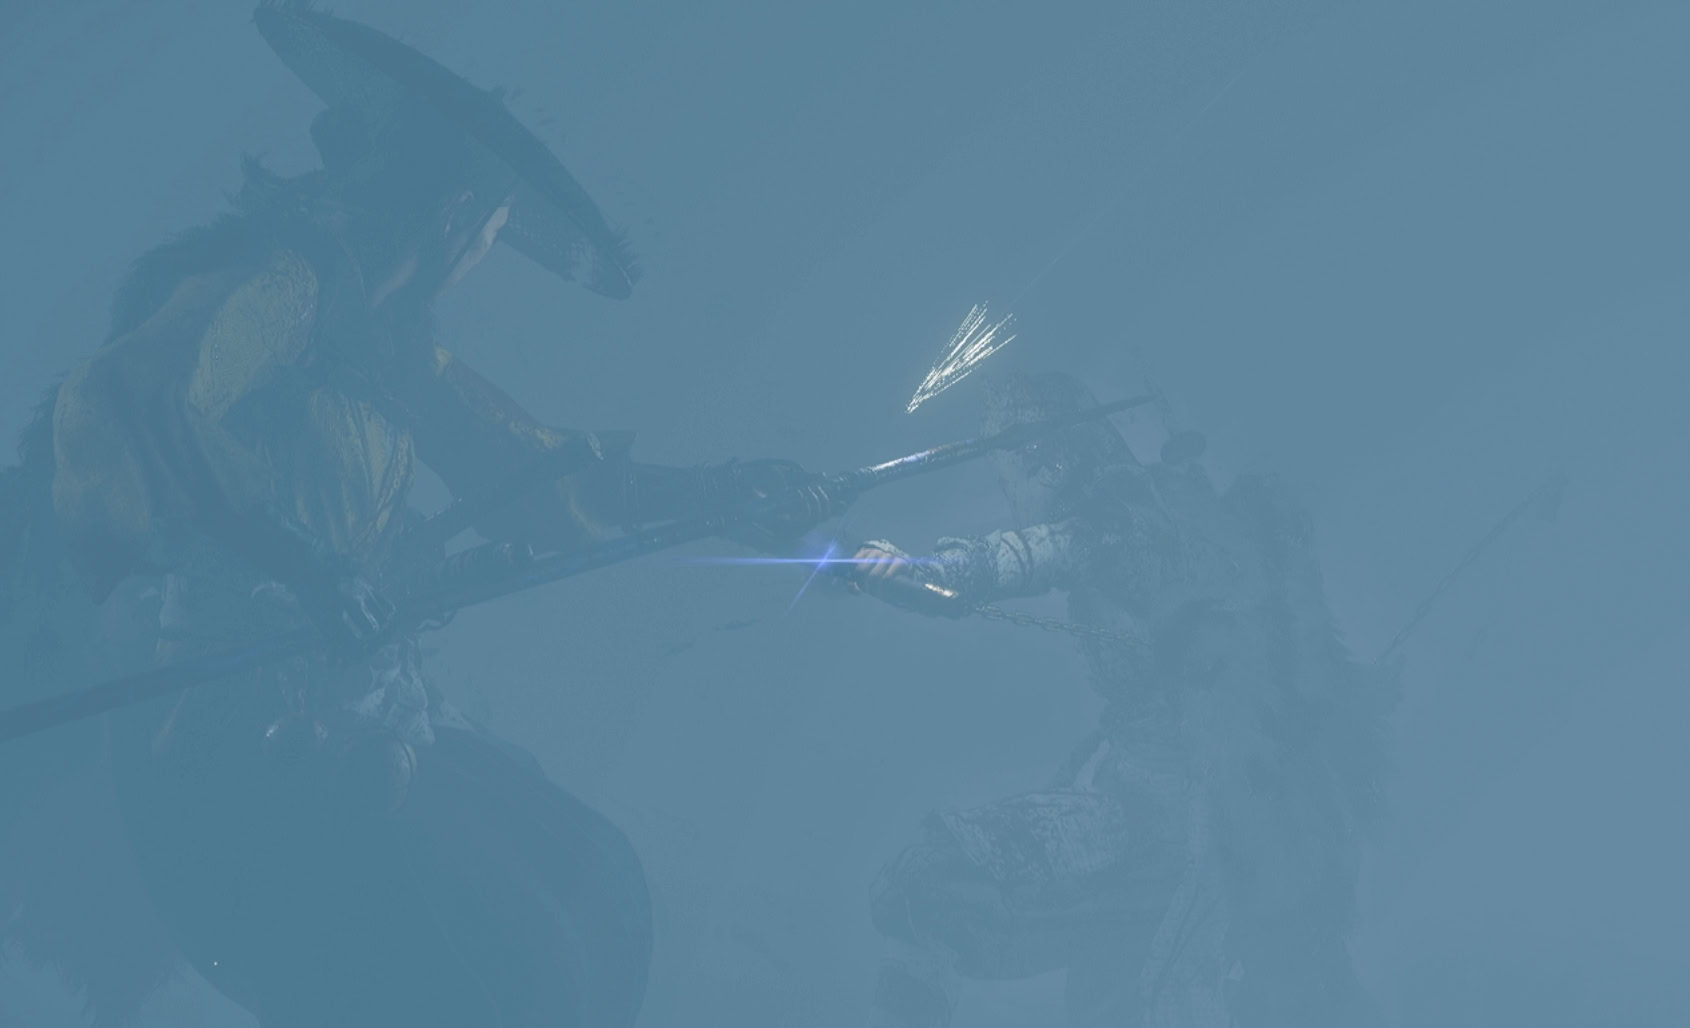
When the Kitsune swings his chain on his right with a red glint, he’ll make a long-reaching unblockable attack followed by two volleys of unblockable kunai.
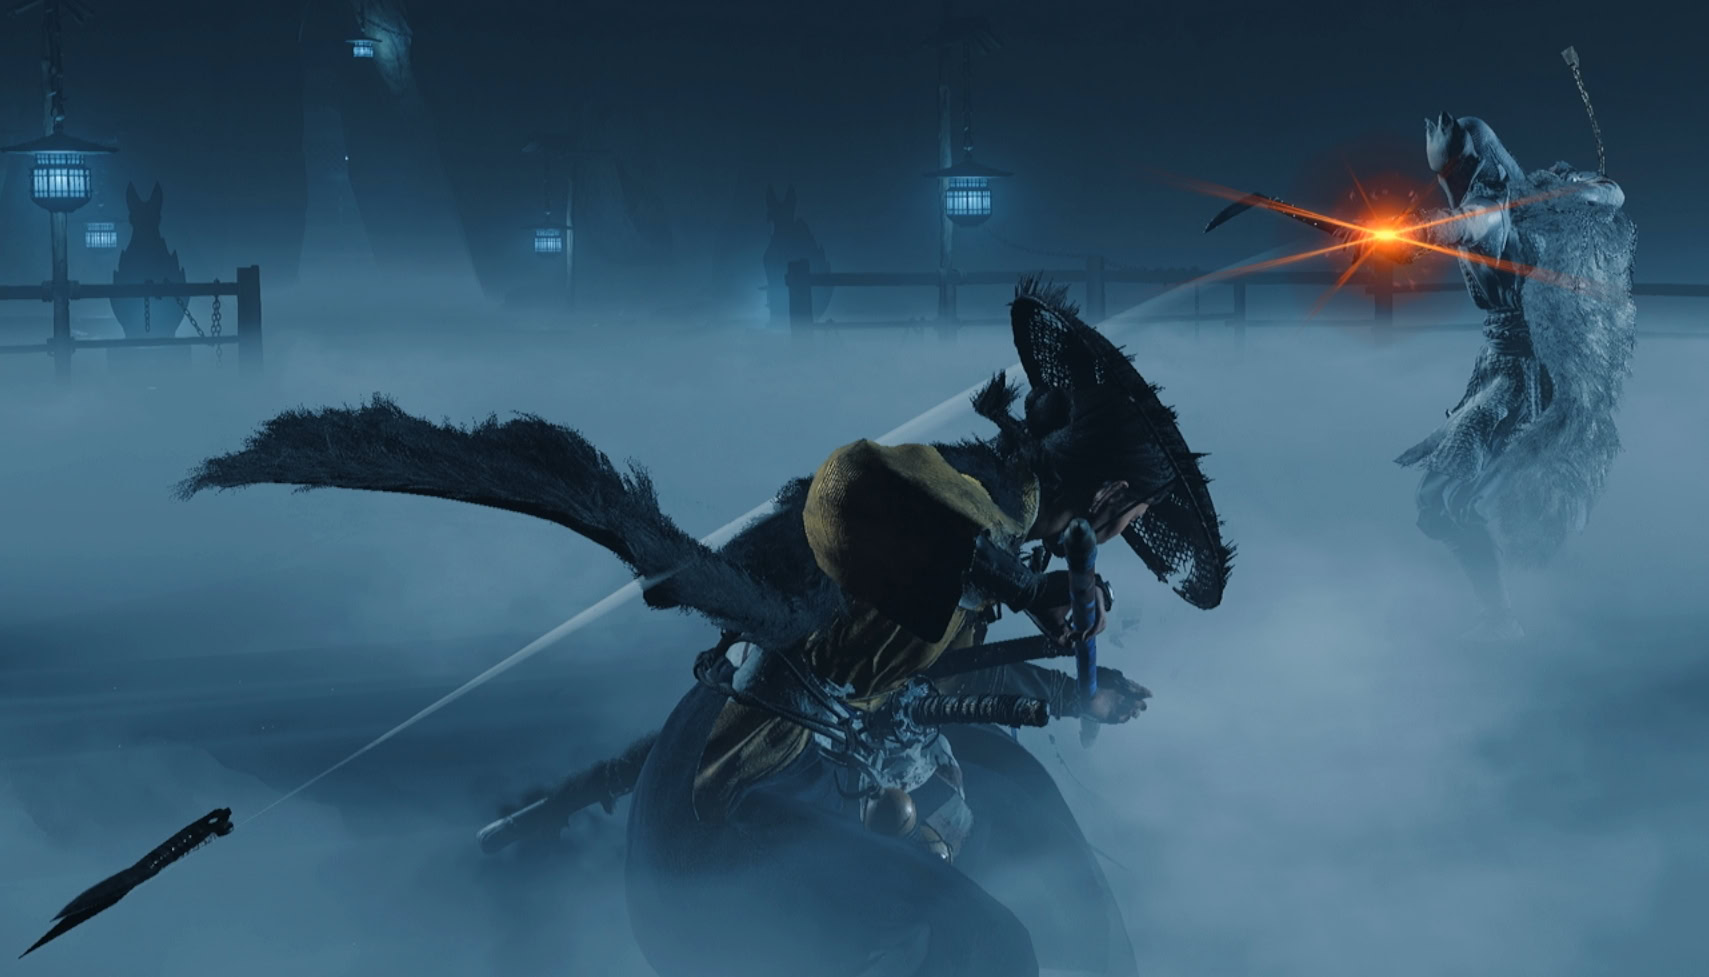
He can also start with his long-reaching unblockable attack and follow it up with two normal swings, a blue glint swing, and finishes off with throwing kunai.
A dangerous combo you need to watch out for is when he gets in close and swings his chain at you. This combo is made up of two normal chain attacks, two blue glint kama attacks, and finishes off with an unblockable chain attack

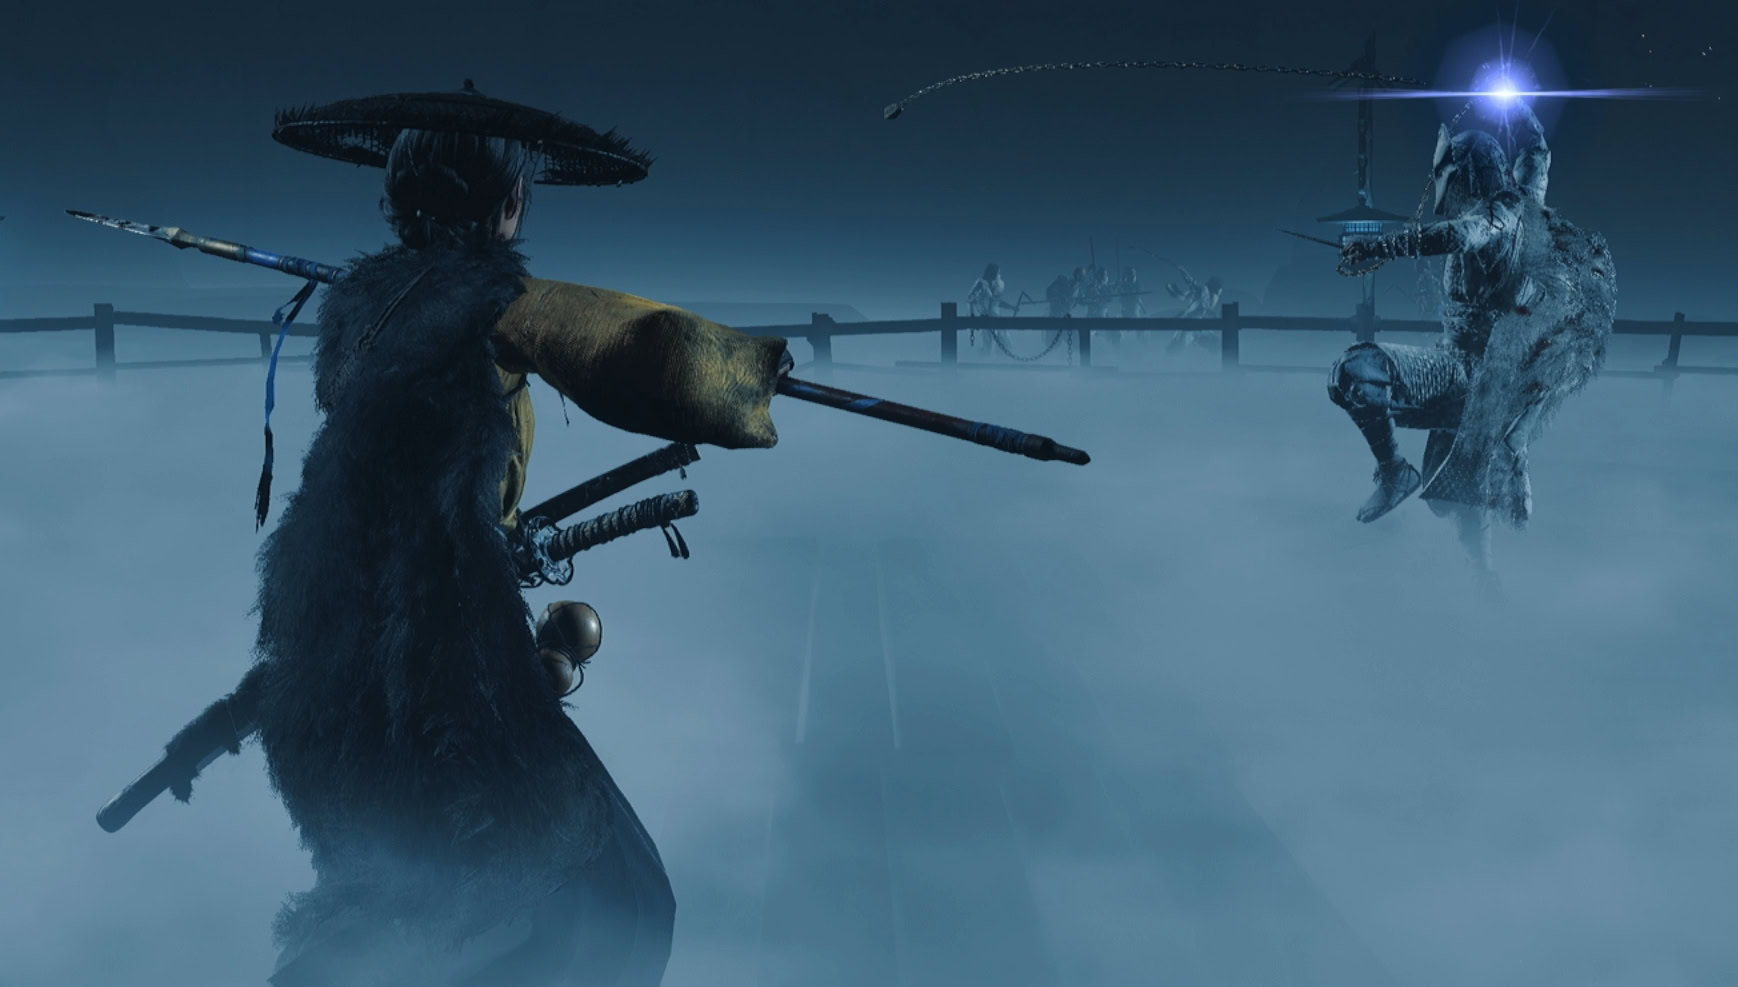
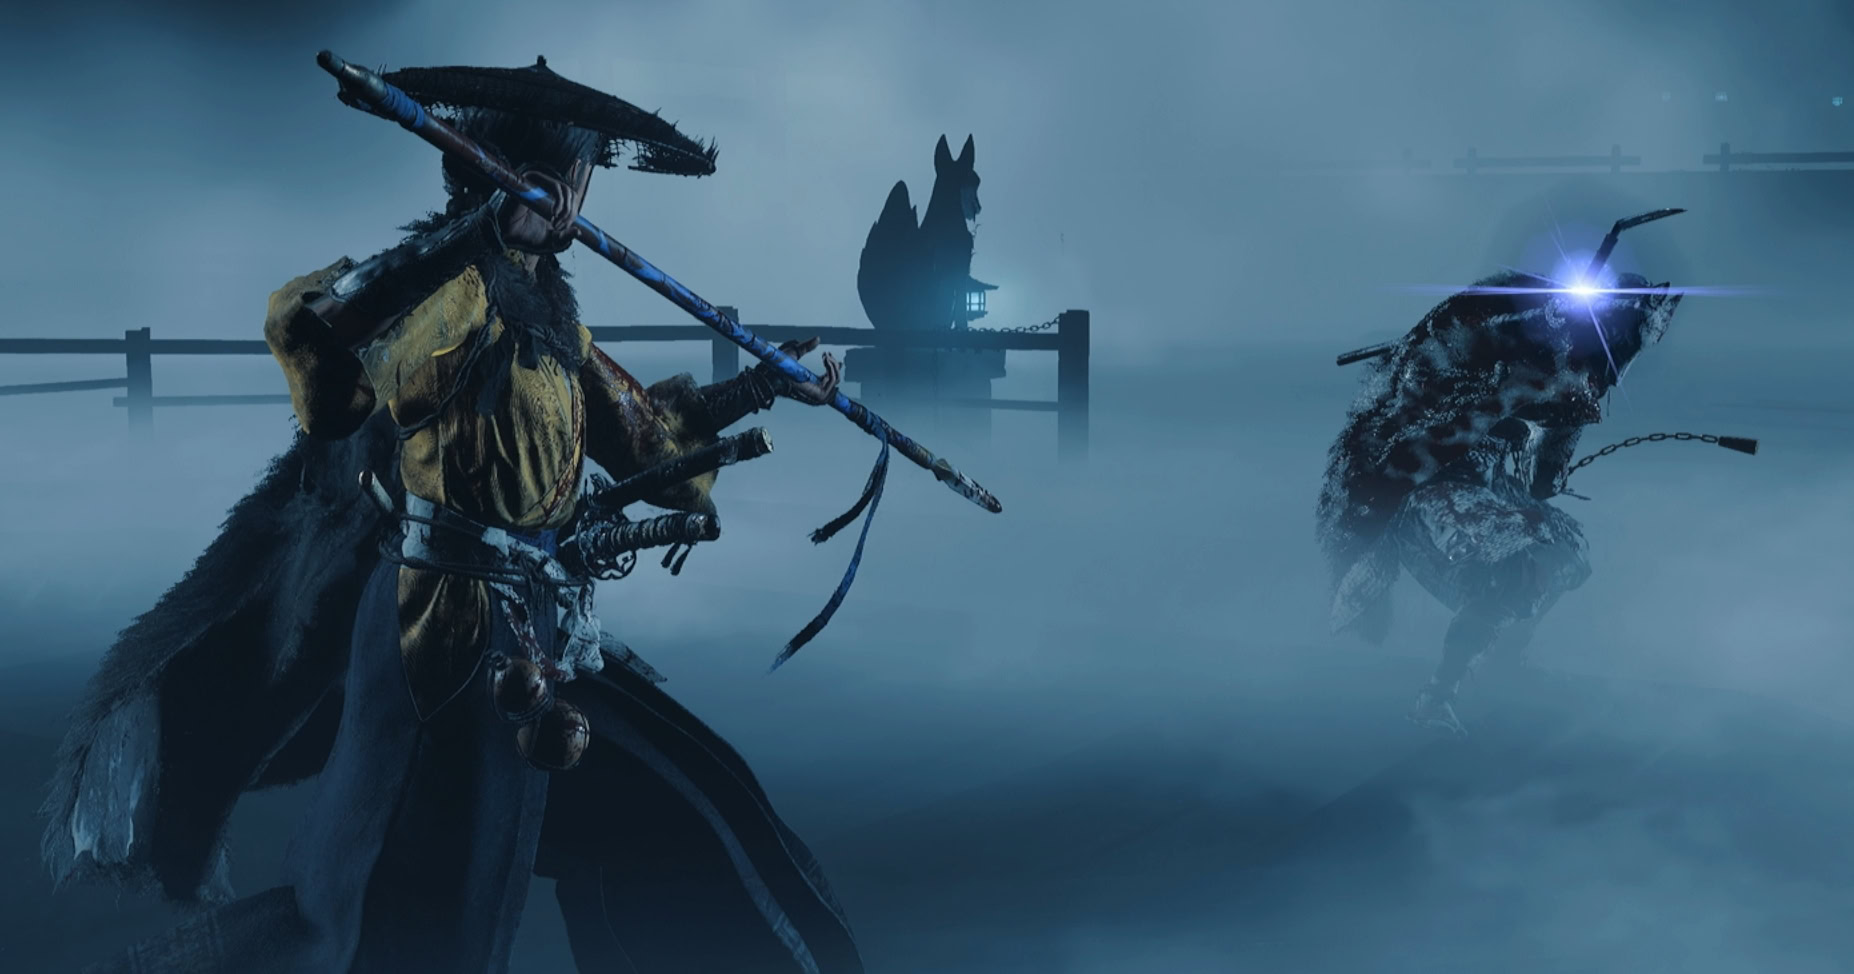
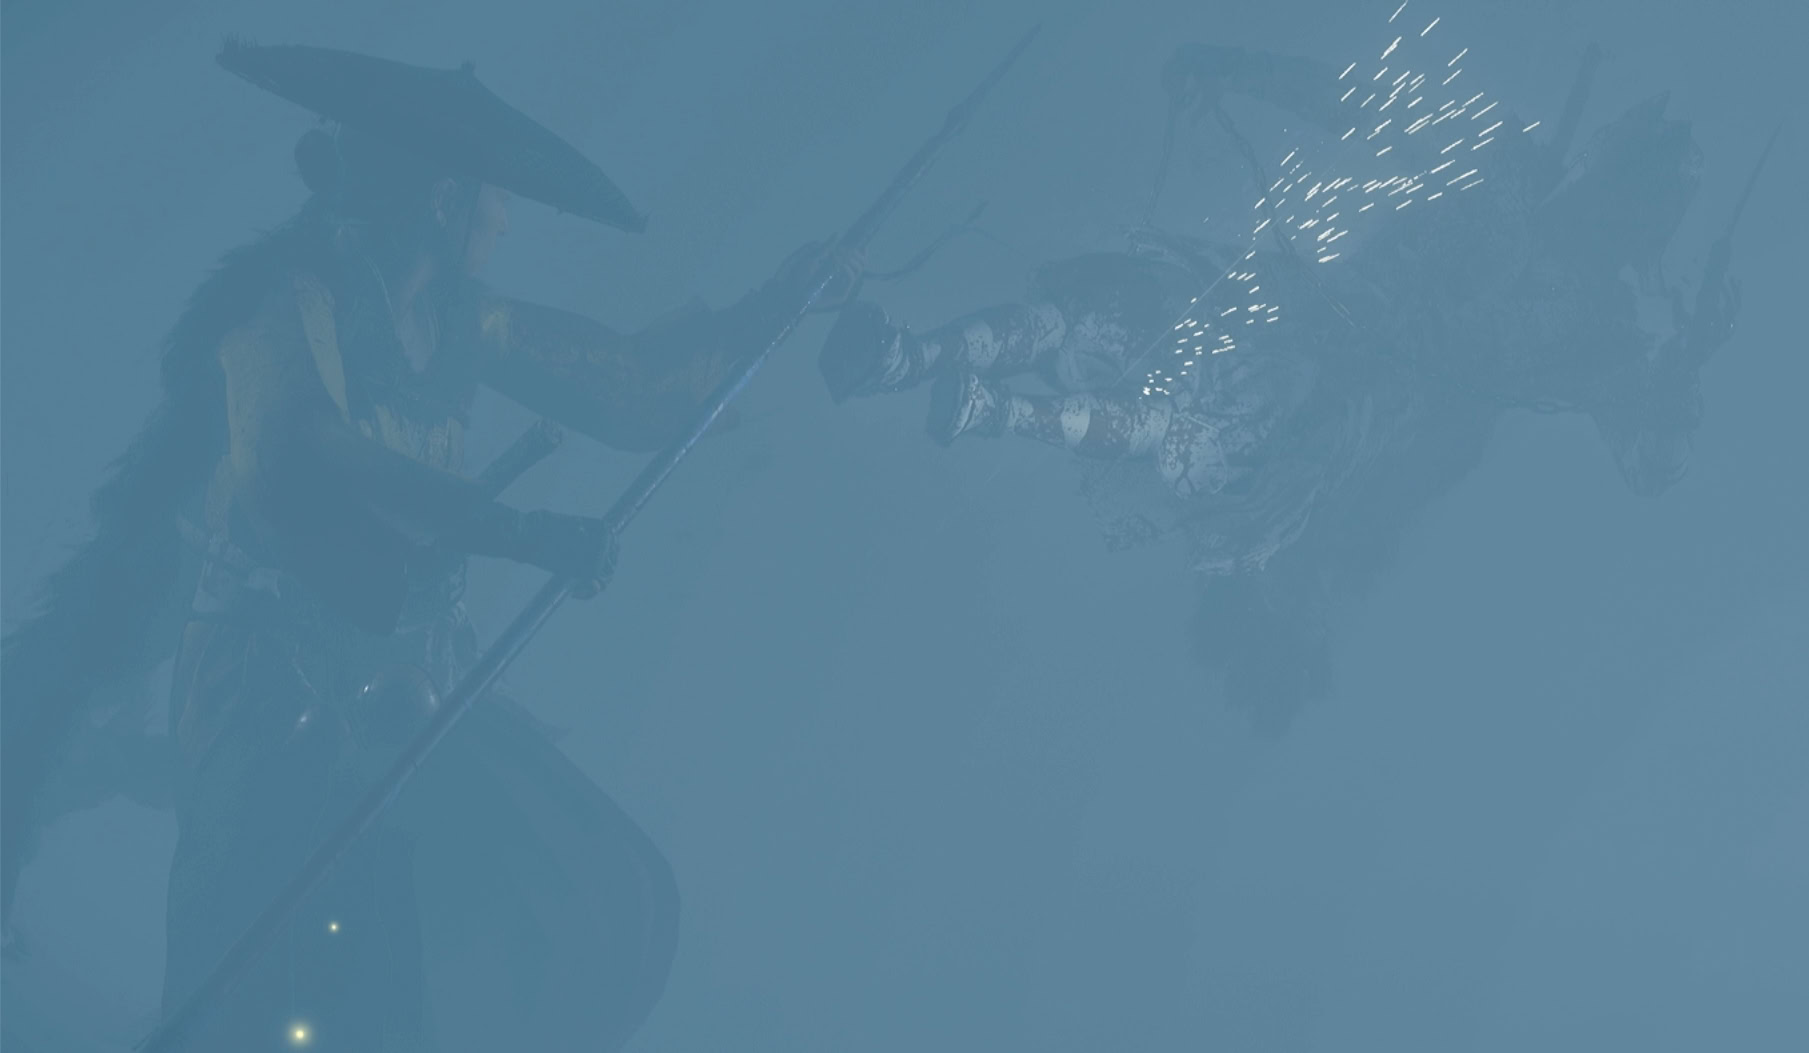
Listen during Smoke Bombs
After taking a few hits, the Kitsune will start using smoke bombs to obscure your vision. Press R3 to listen and find him through the smoke. Get used to this as this will be a recurring mechanic for the remainder of the fight.

A new combo he’ll use is he’ll slide in behind you with three kama attafcks followed by one blue glint chain attack.
Mid Fight Combos
When the smoke clears, he’ll have a katana and shield. You can easily break his shield with the kusarigama’s heavy attacks, or burn it away with an Oni’s Flame.
Ideally he shouldn’t have his shield for too long, but be careful of his normal swing, unblockable shield bash, normal swing combo.
Once the Kitsune’s shield is destroyed, he’ll switch back to the kusarigama. One new attack he’ll start using is doing some rather impressive jump kicks.
They aren’t particularly hard to parry, but he’ll be mixing in these jump kicks into his future combos.

A new dangerous combo he works in the mid fight is a blue glint and normal kama attack, blue glint chain throw, and two unblockable kunai throws.
When the Kitsune gets around half health, he’s going to use another new combo during smoke bombs. This is an unblockable jump attack, blue glint kama slash, and a jumping kick.
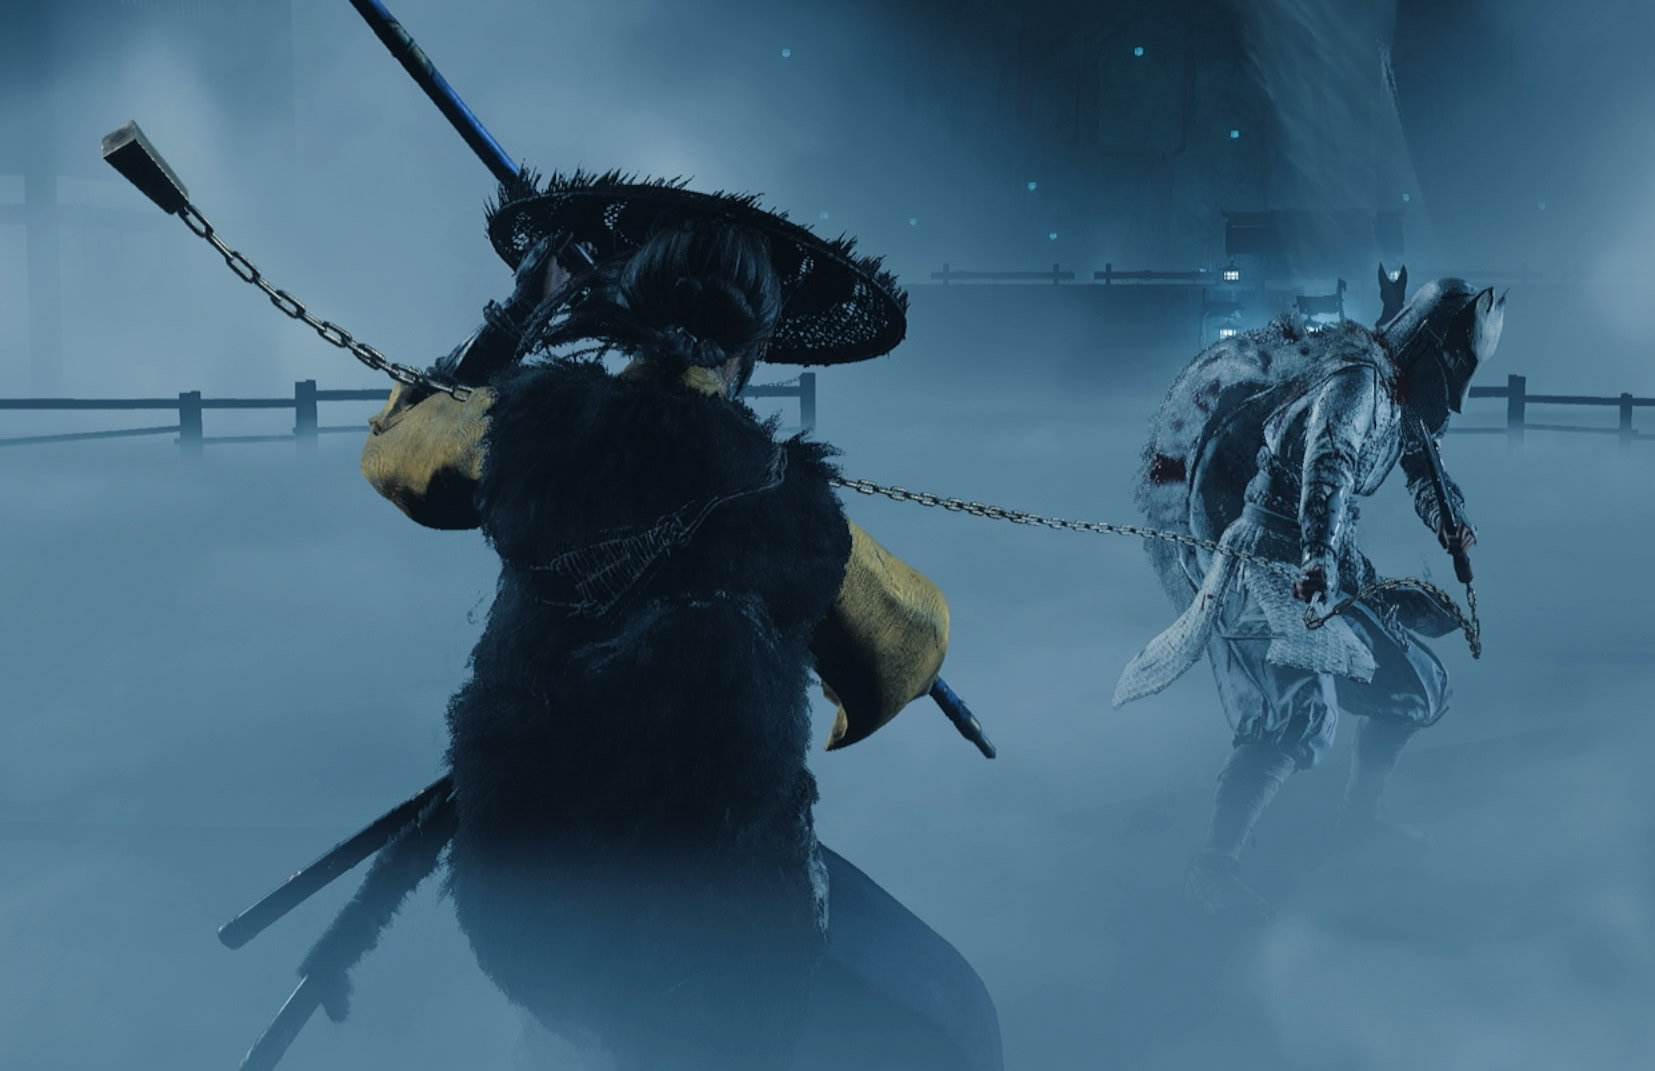
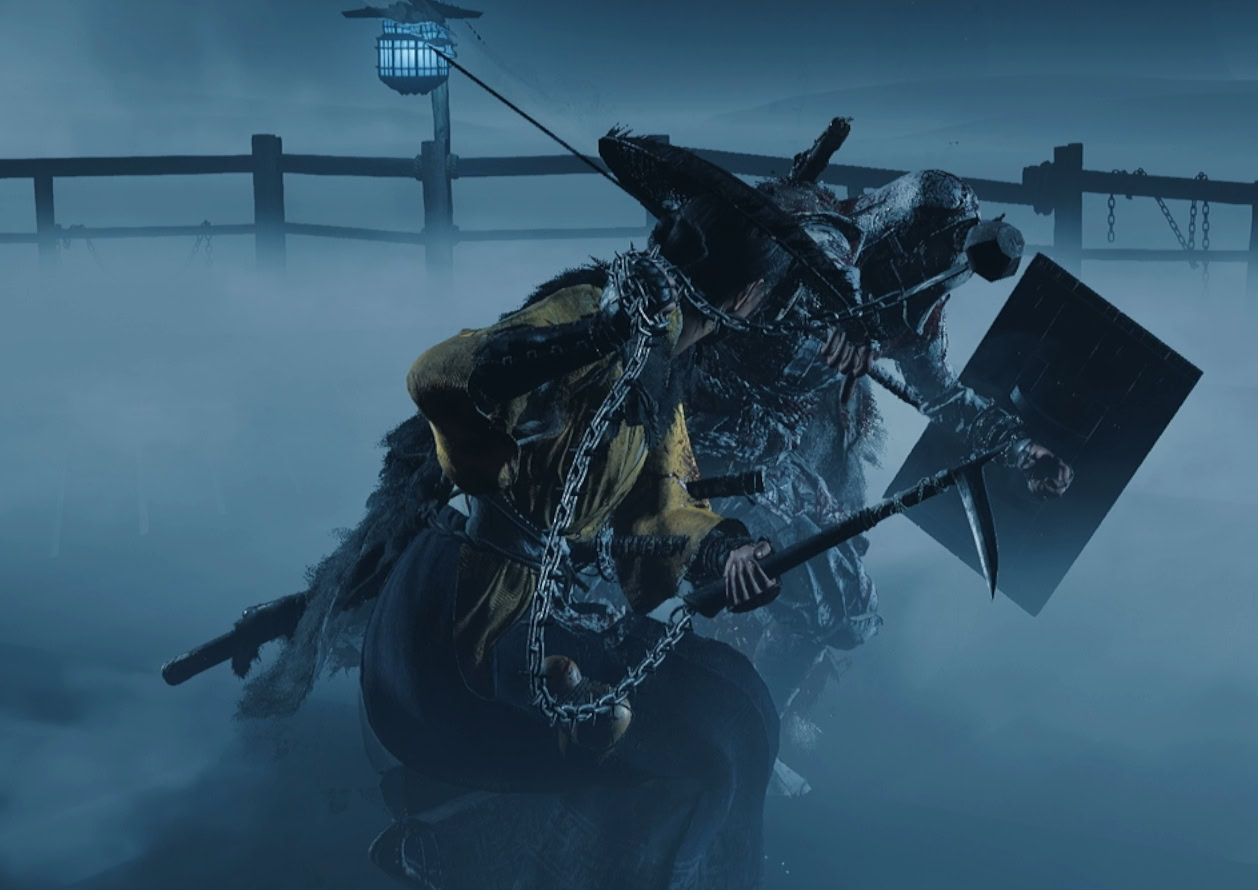
Finish off the Kitsune
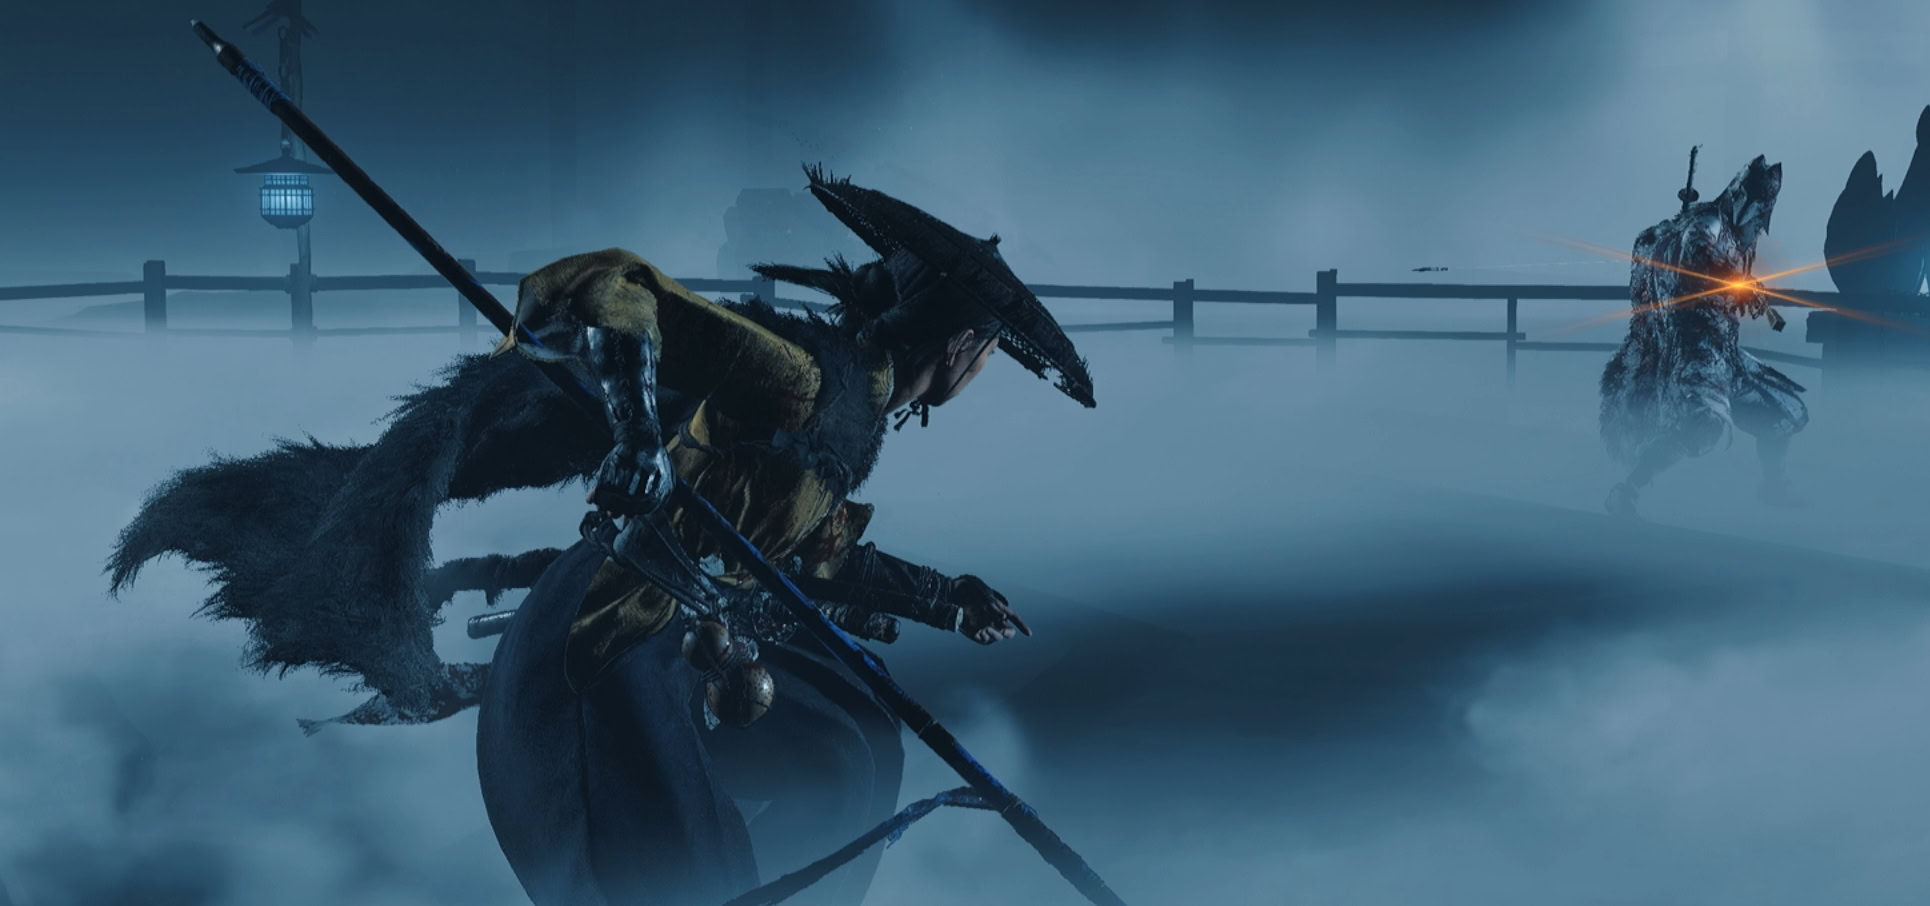
When he gets low on health, the Kitsune will smoke bomb away. Find him past the small gate into the pond full of blue lanterns. For this fight, Oyuki will fight by your side.

The Kitsune will be using all previous combos mentioned and won’t use any new ones for the final phase of the fight.
Oyuki makes this final phase much easier with her added damage and ability to interrupt his combos. Together, you can make short work of the Kitsune.

After a cutscene, you’ll complete The Kitsune’s Fate and have your Onyro Armor upgraded. If you haven’t already, now is a good time to start hunting The Oni or the Saito Brothers.