Learn how to complete The Final Hunt of the Onryo in Ghost of Yotei. Includes tips for how to reach Koga Fortress, how to find Jubei and Oyuki, and how to fight the final boss.
Table of contents
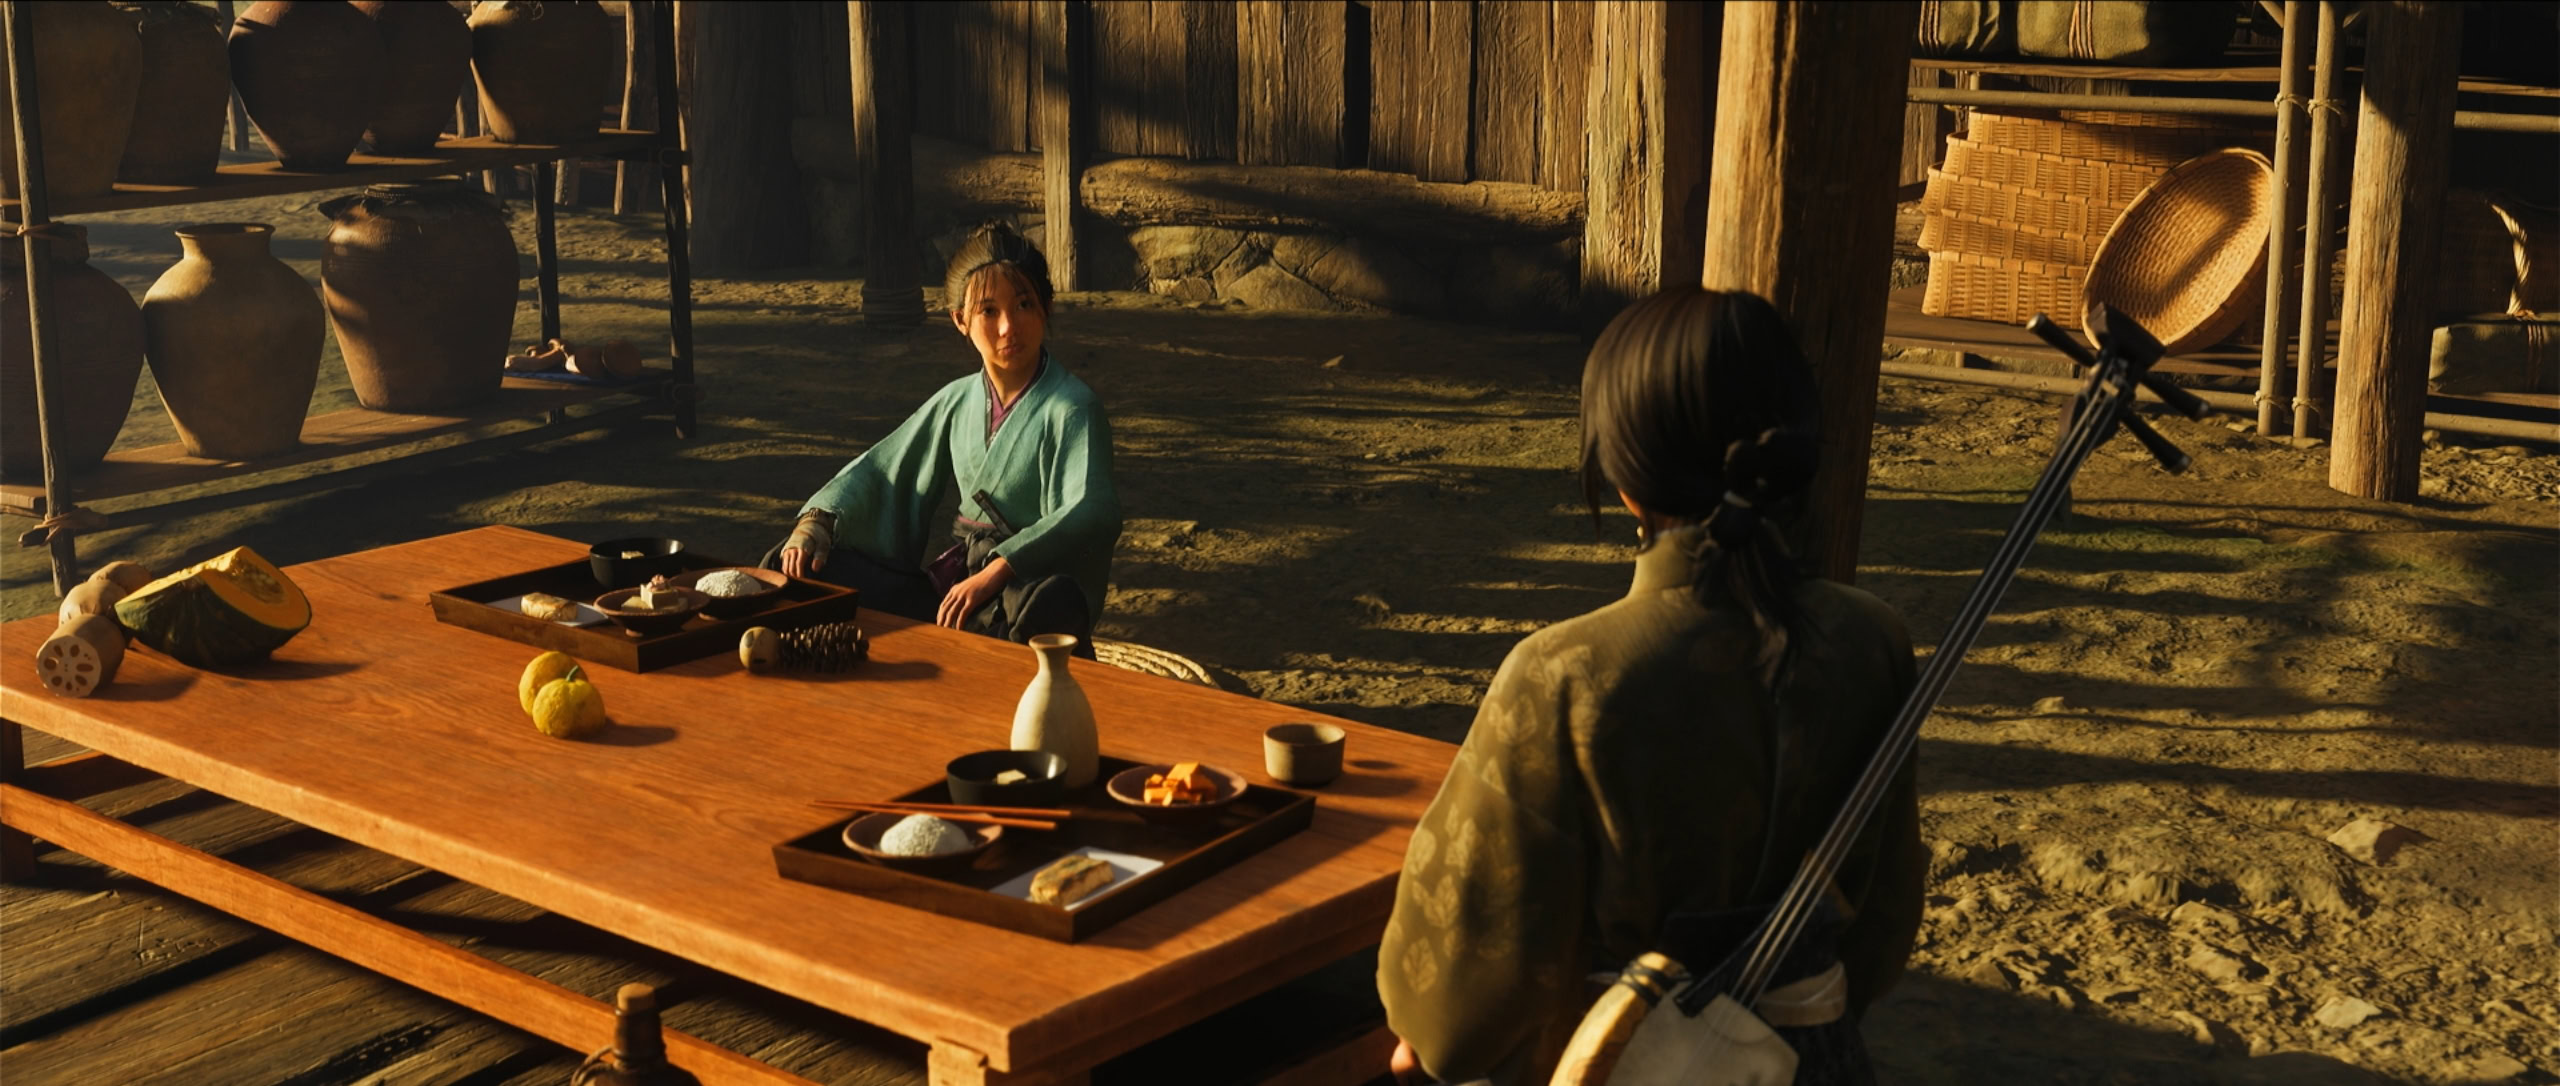
How to start The Final Hunt of the Onryo
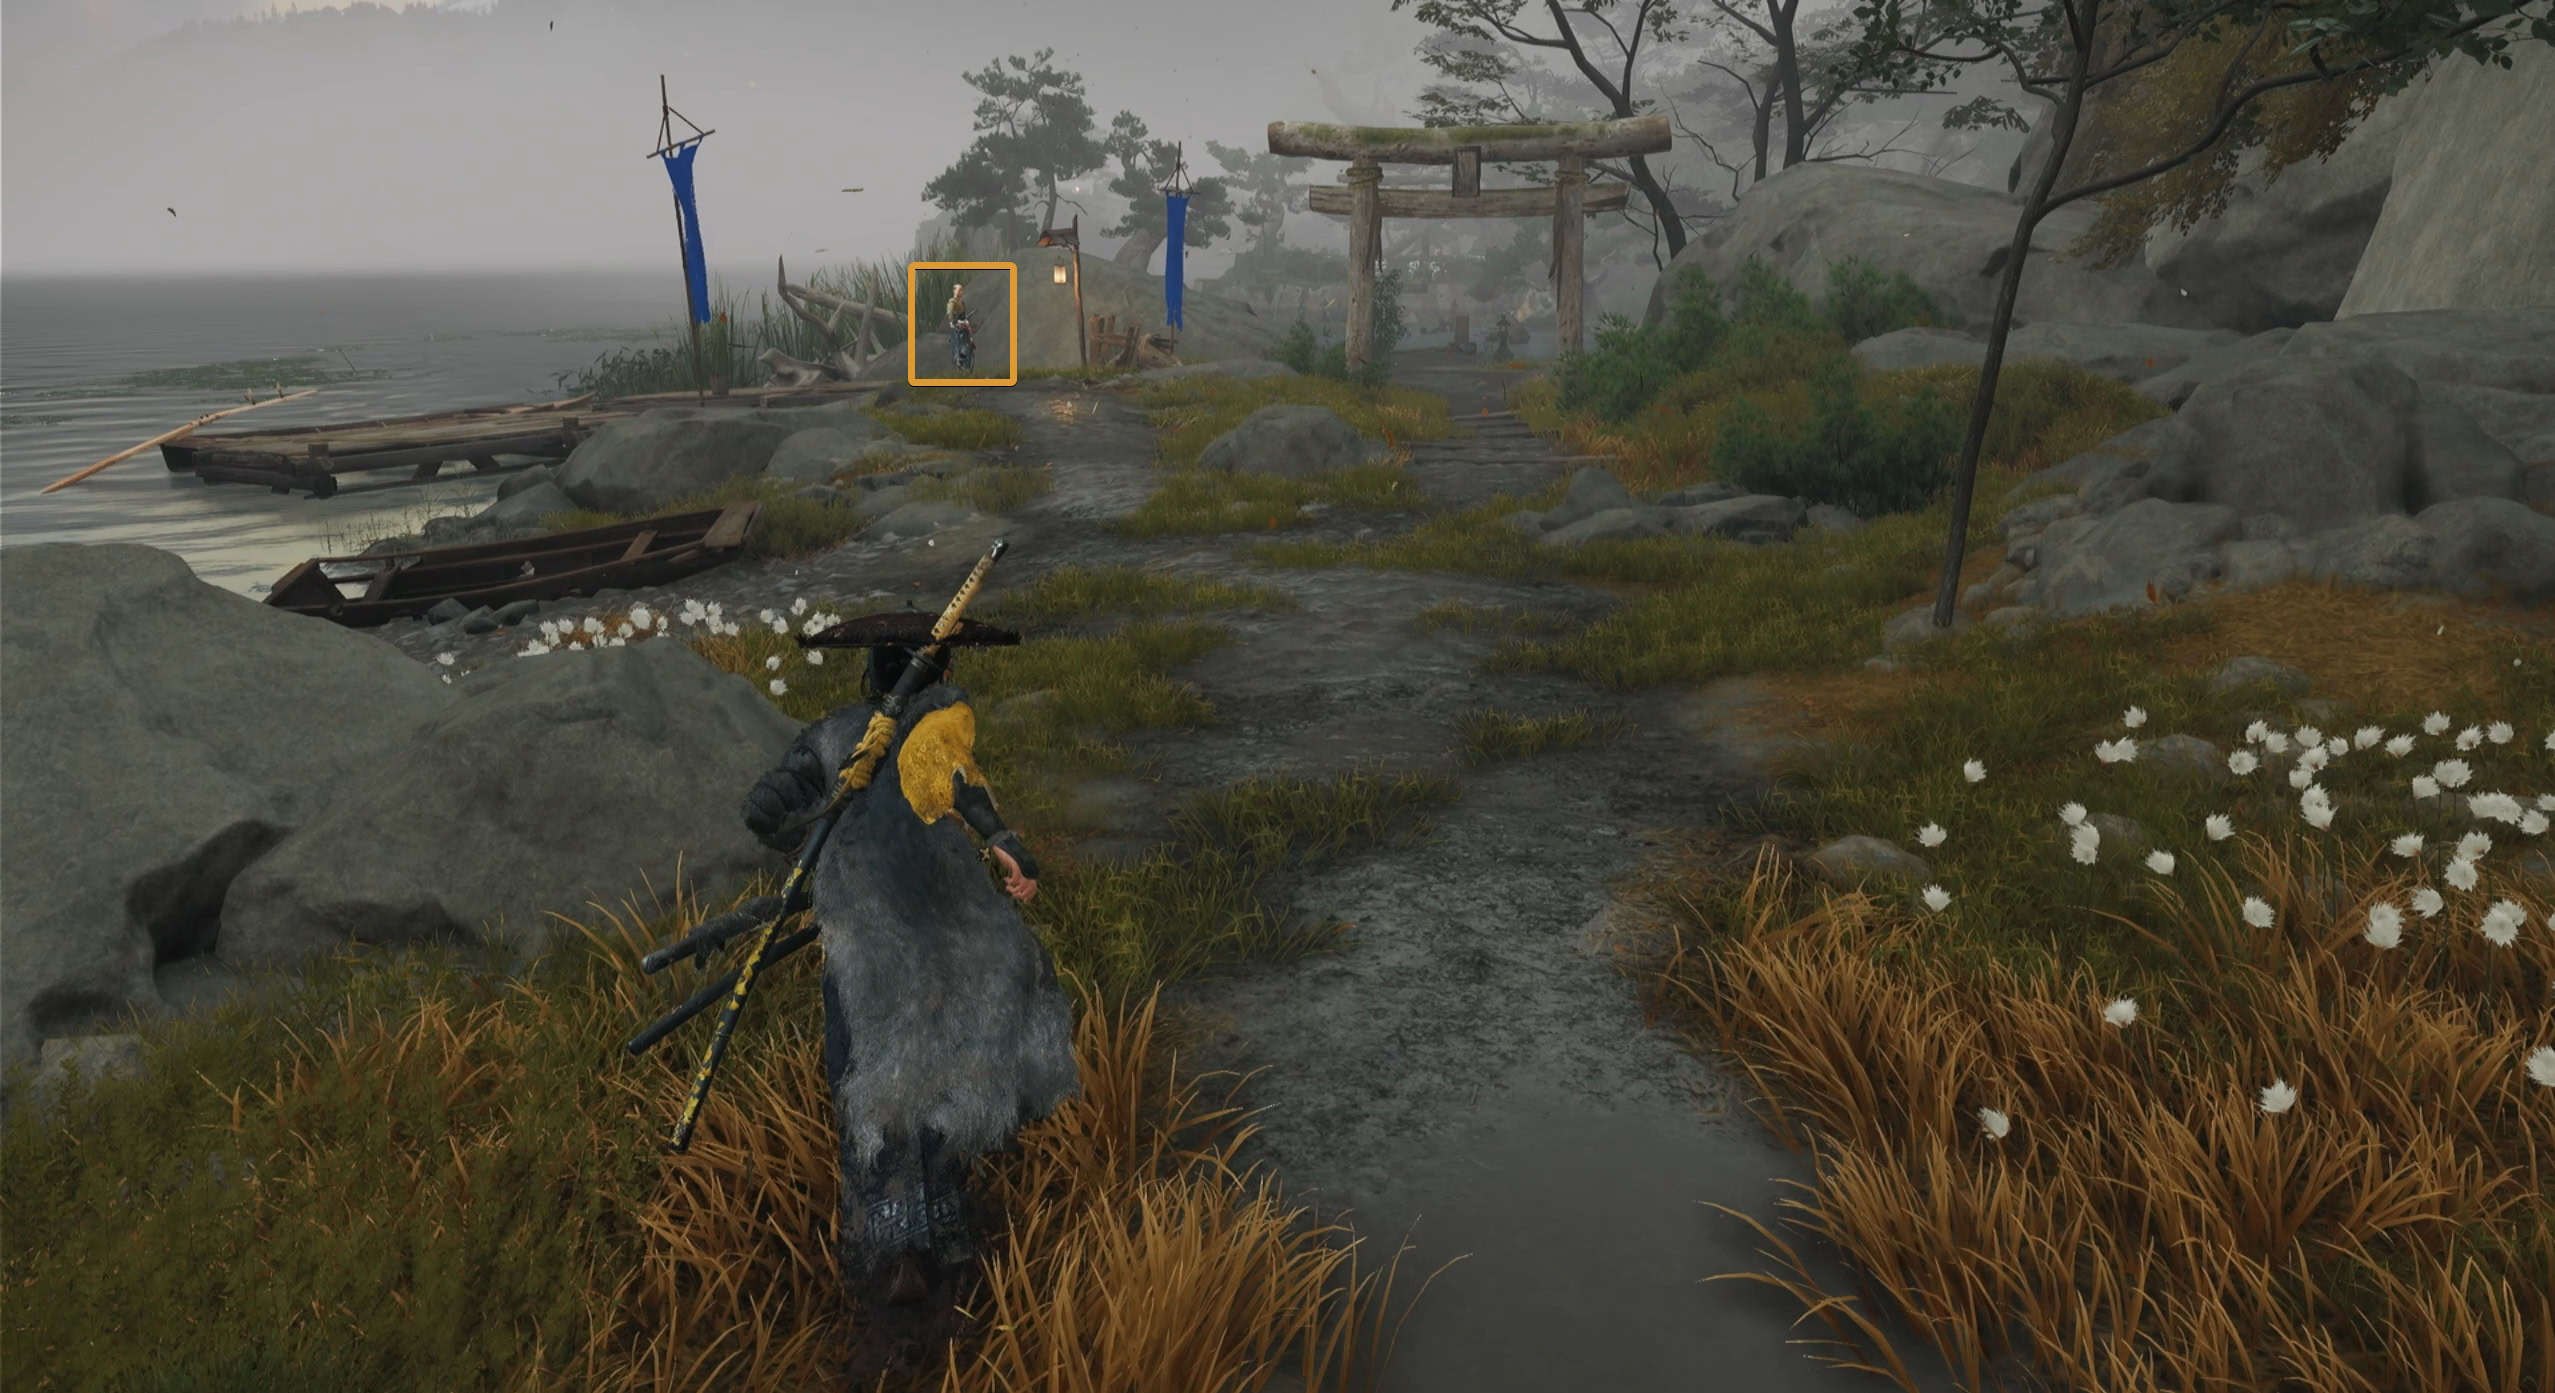
Defeat the Spider and then meet him near the Central Ferry. This is the same ferry you initially took to reach Teshio Ridge. You’ll find him near some blue banners next to an old torii gate.

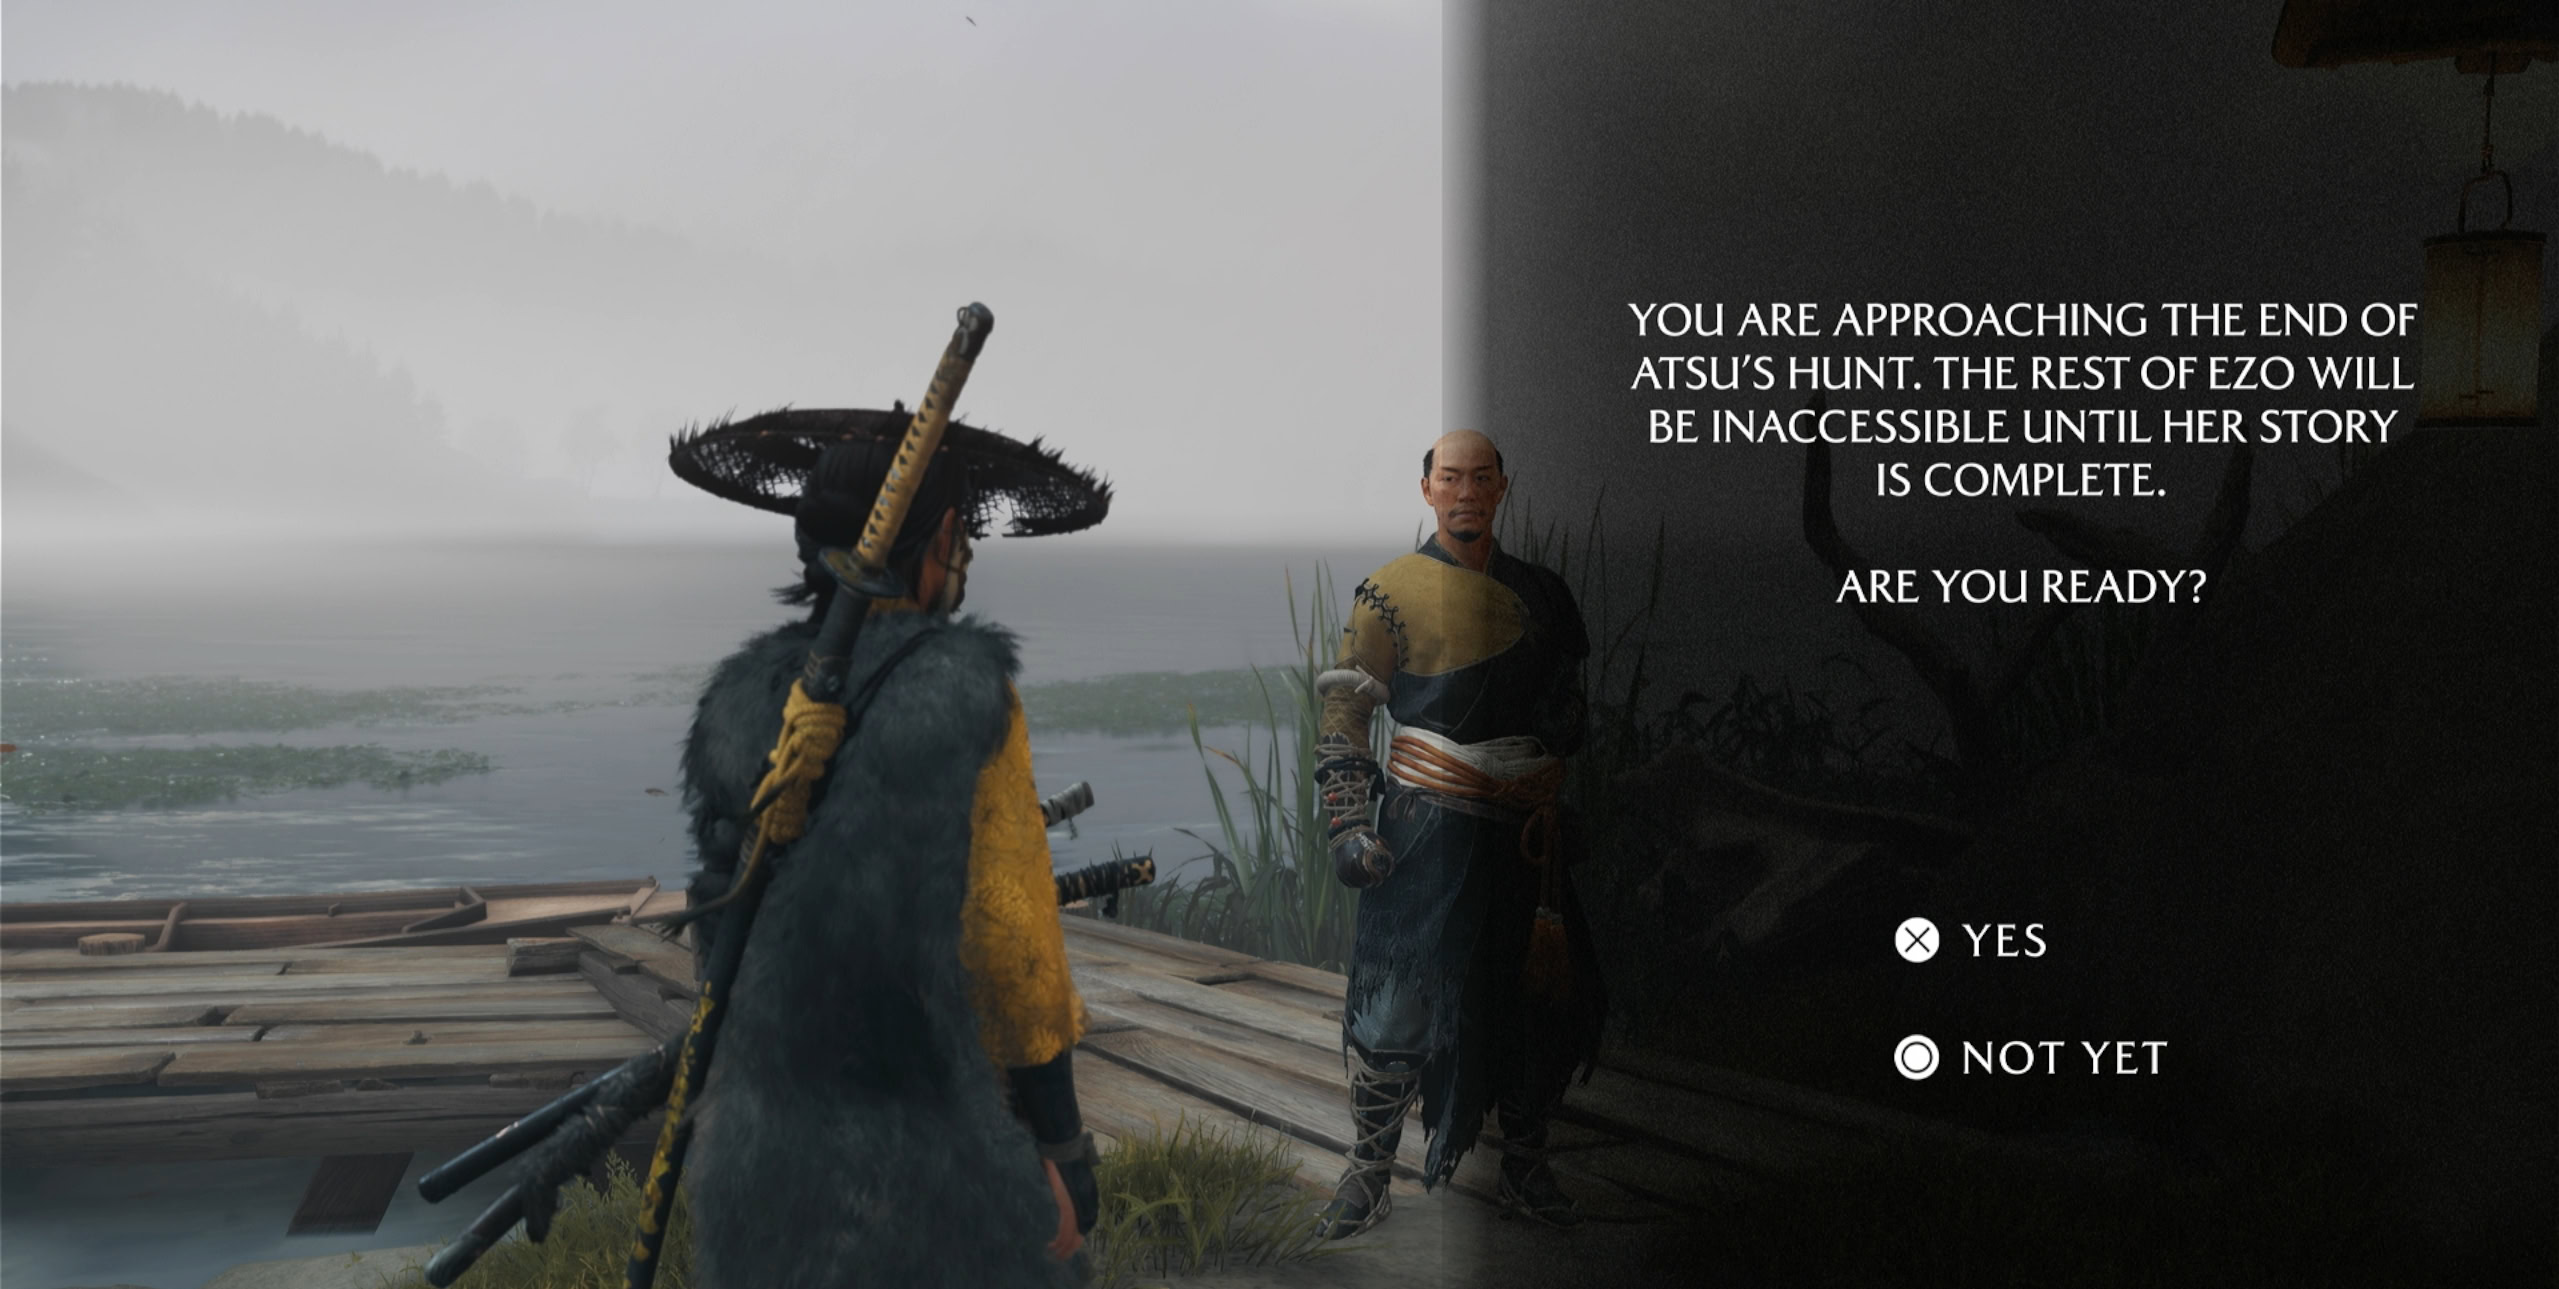
When you talk to the Spider, you’ll get a prompt confirming if you’re ready to proceed. This mission is longer and more difficult than all previous ones, so now would be a good time to unlock more skills, increase your health, or upgrade your charms if you have not done so already.
If you are feeling confident and are ready to begin, select Yes to continue with the story. You will not be able to return to the rest of Ezo until the mission is complete.
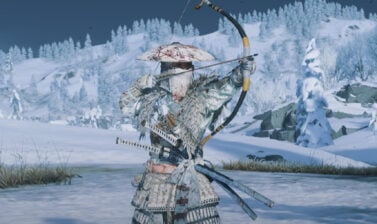
Before taking off, you should take the time to collect and upgrade the Armor of the Undying and the Charm of Futshunushi. Upgrading these will help you more easily parry and perfect parry for the fight ahead.
Reach Koga Fortress
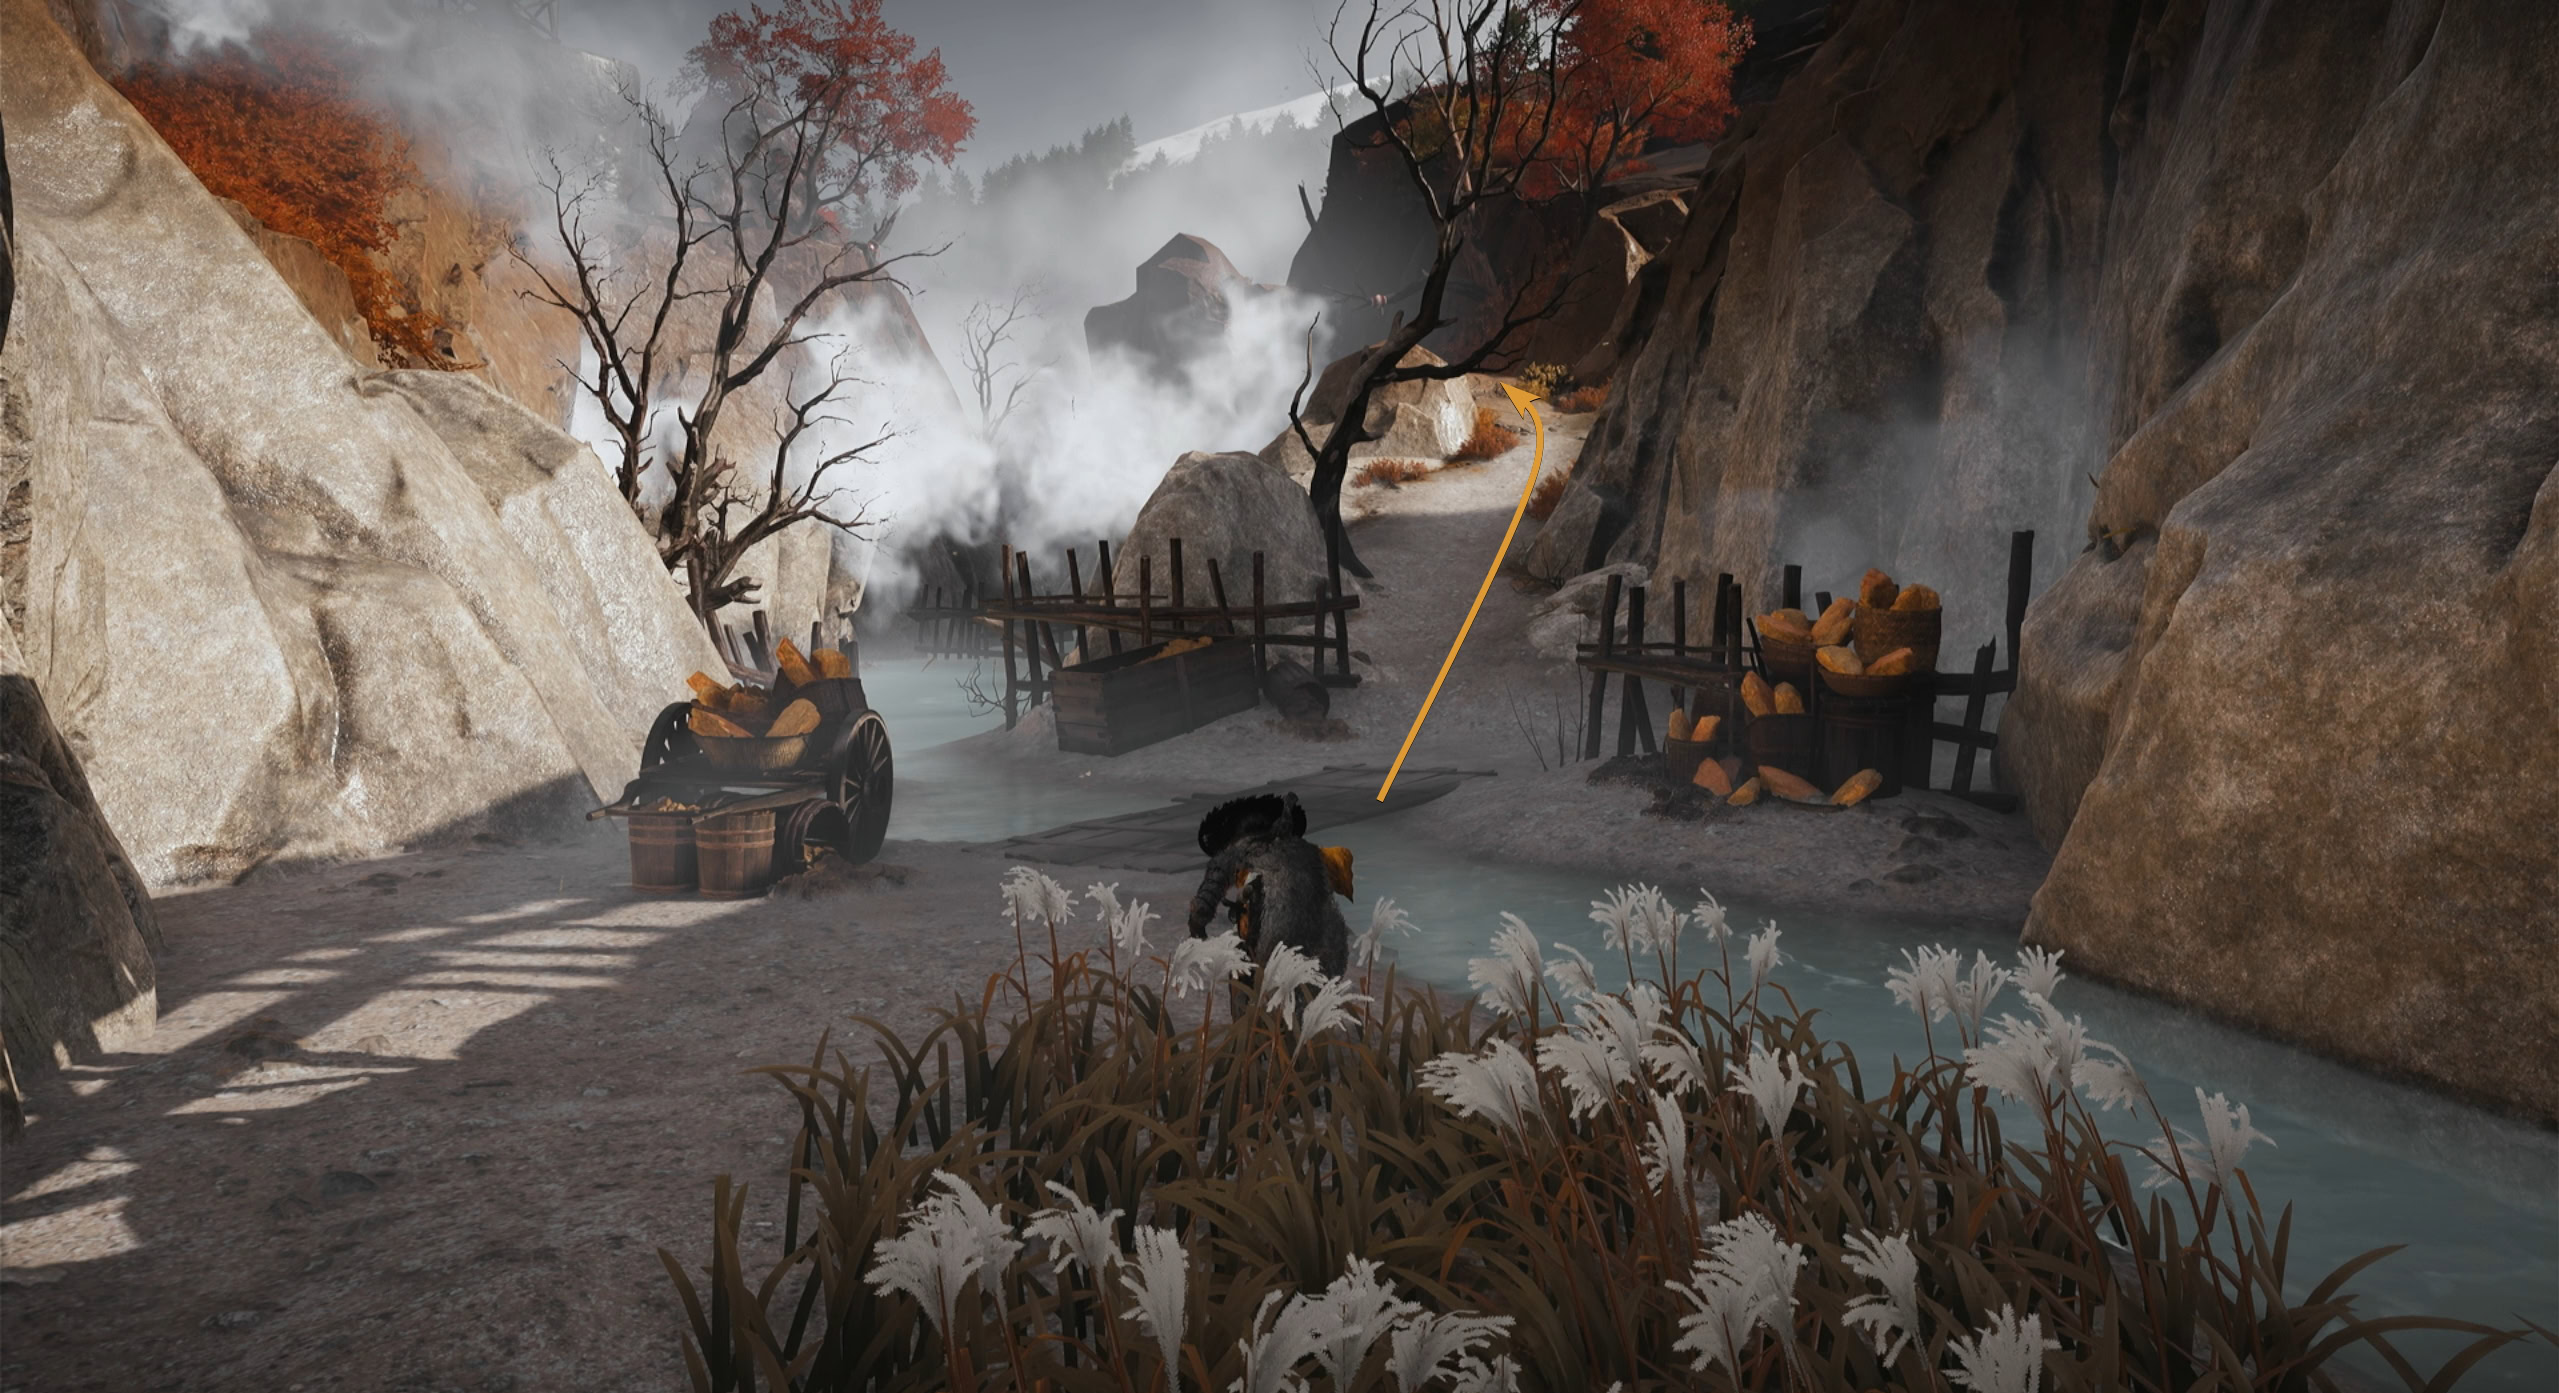
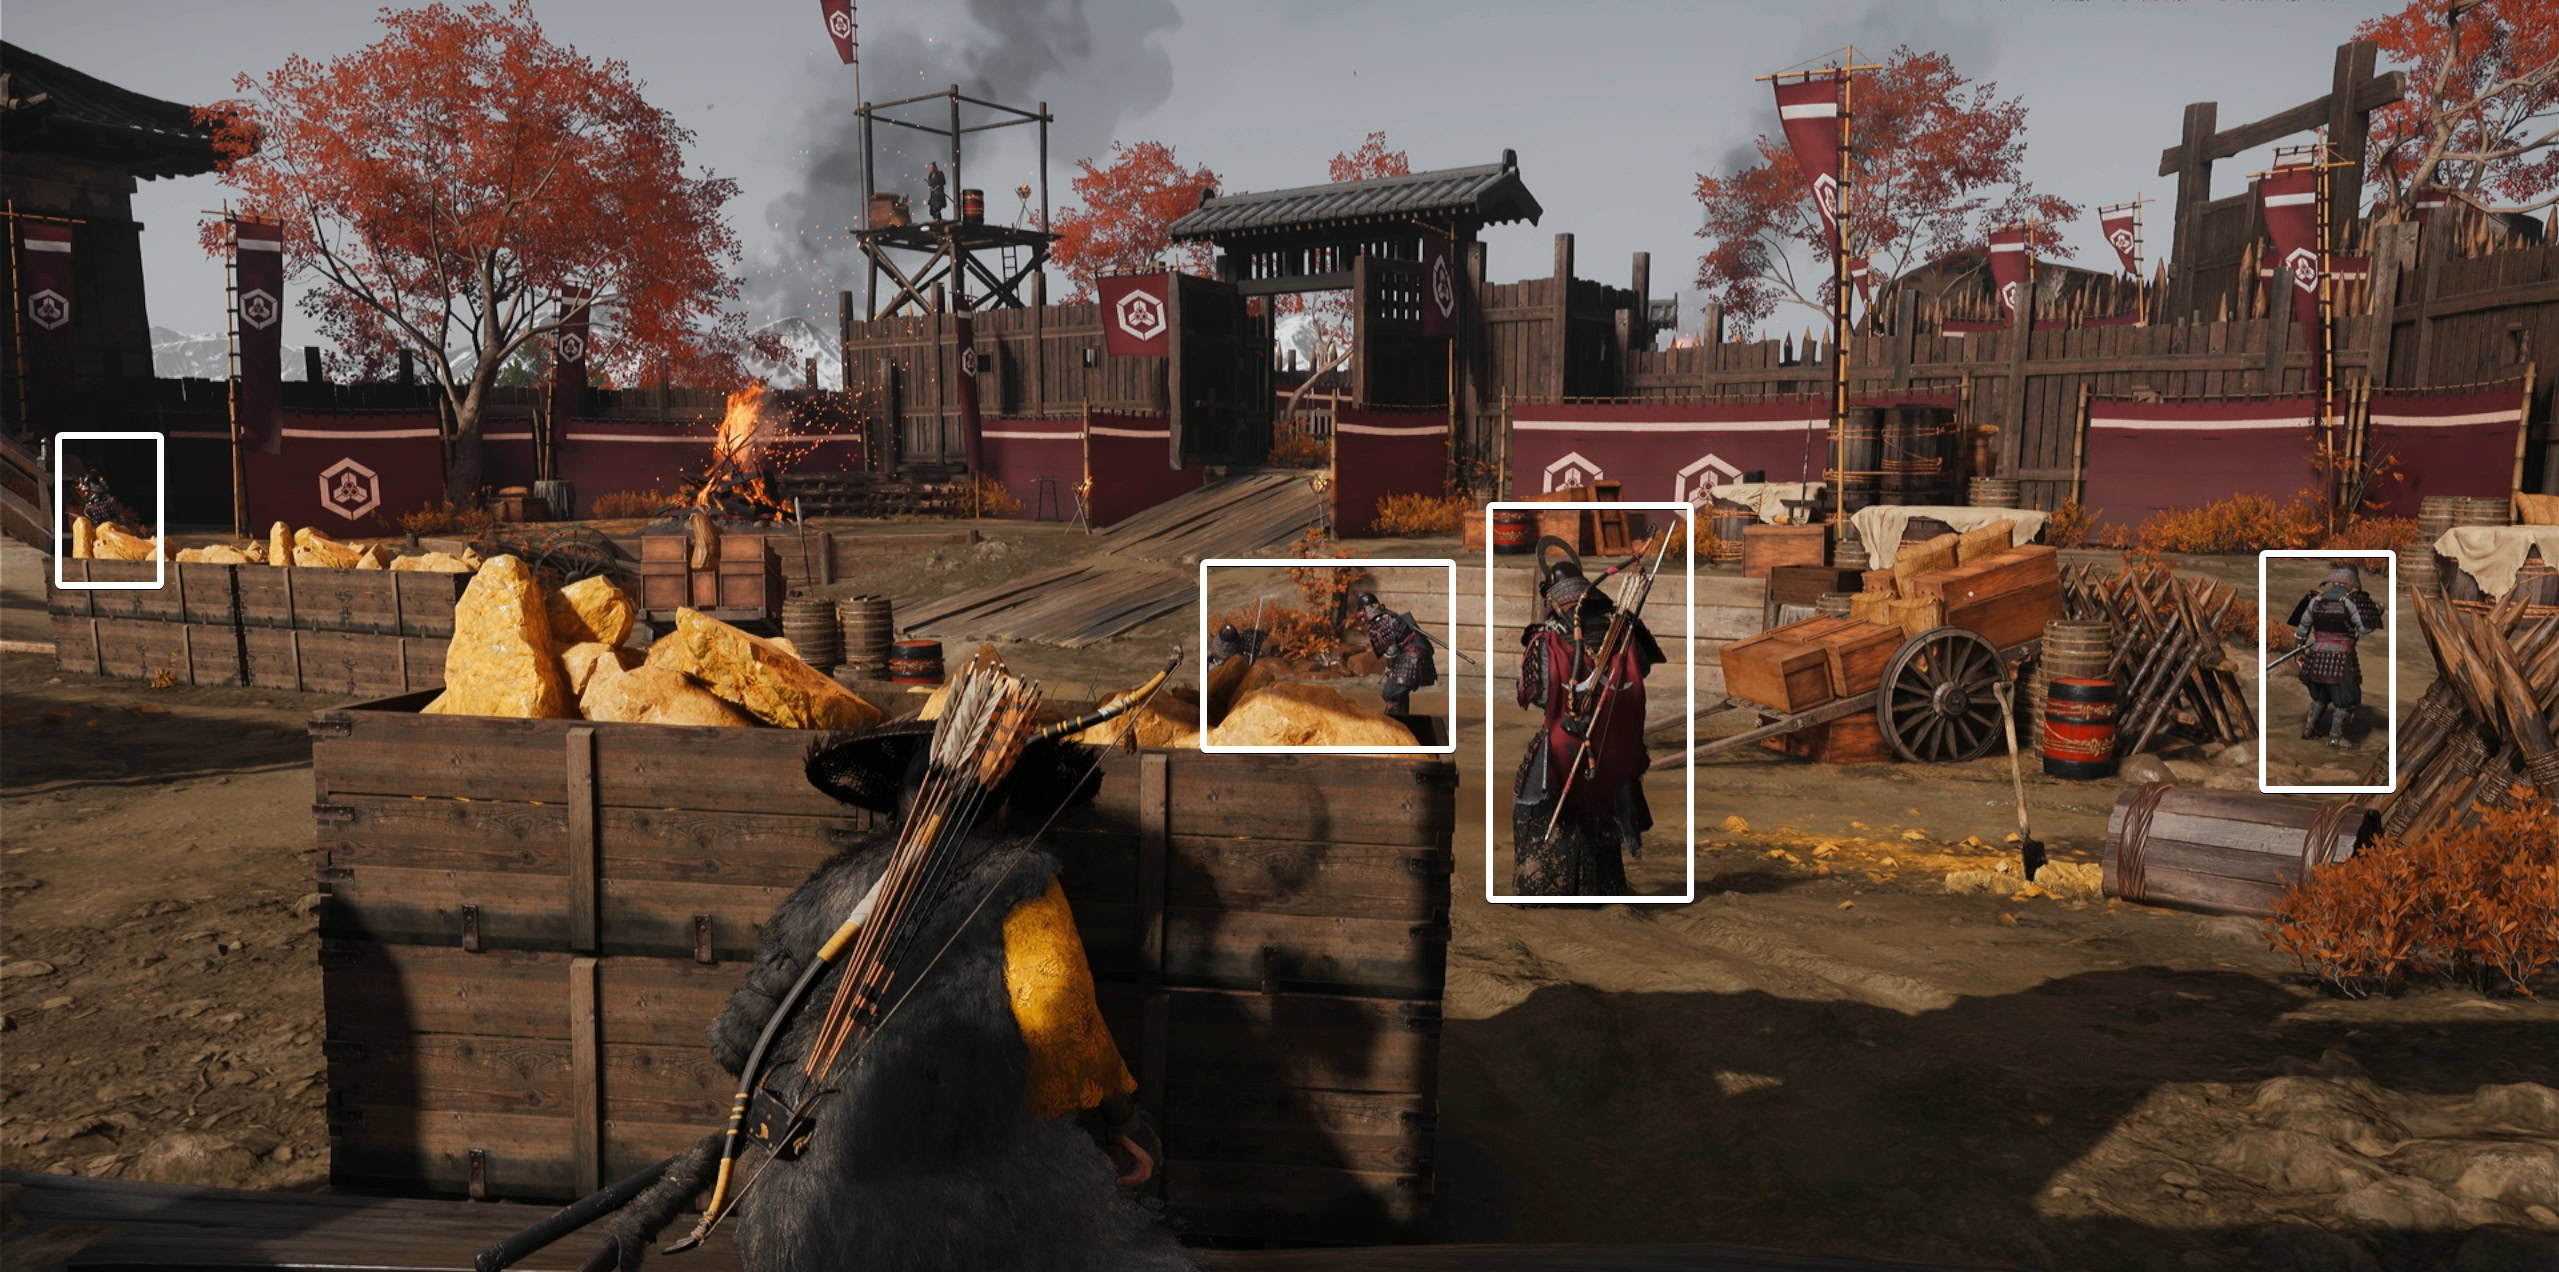
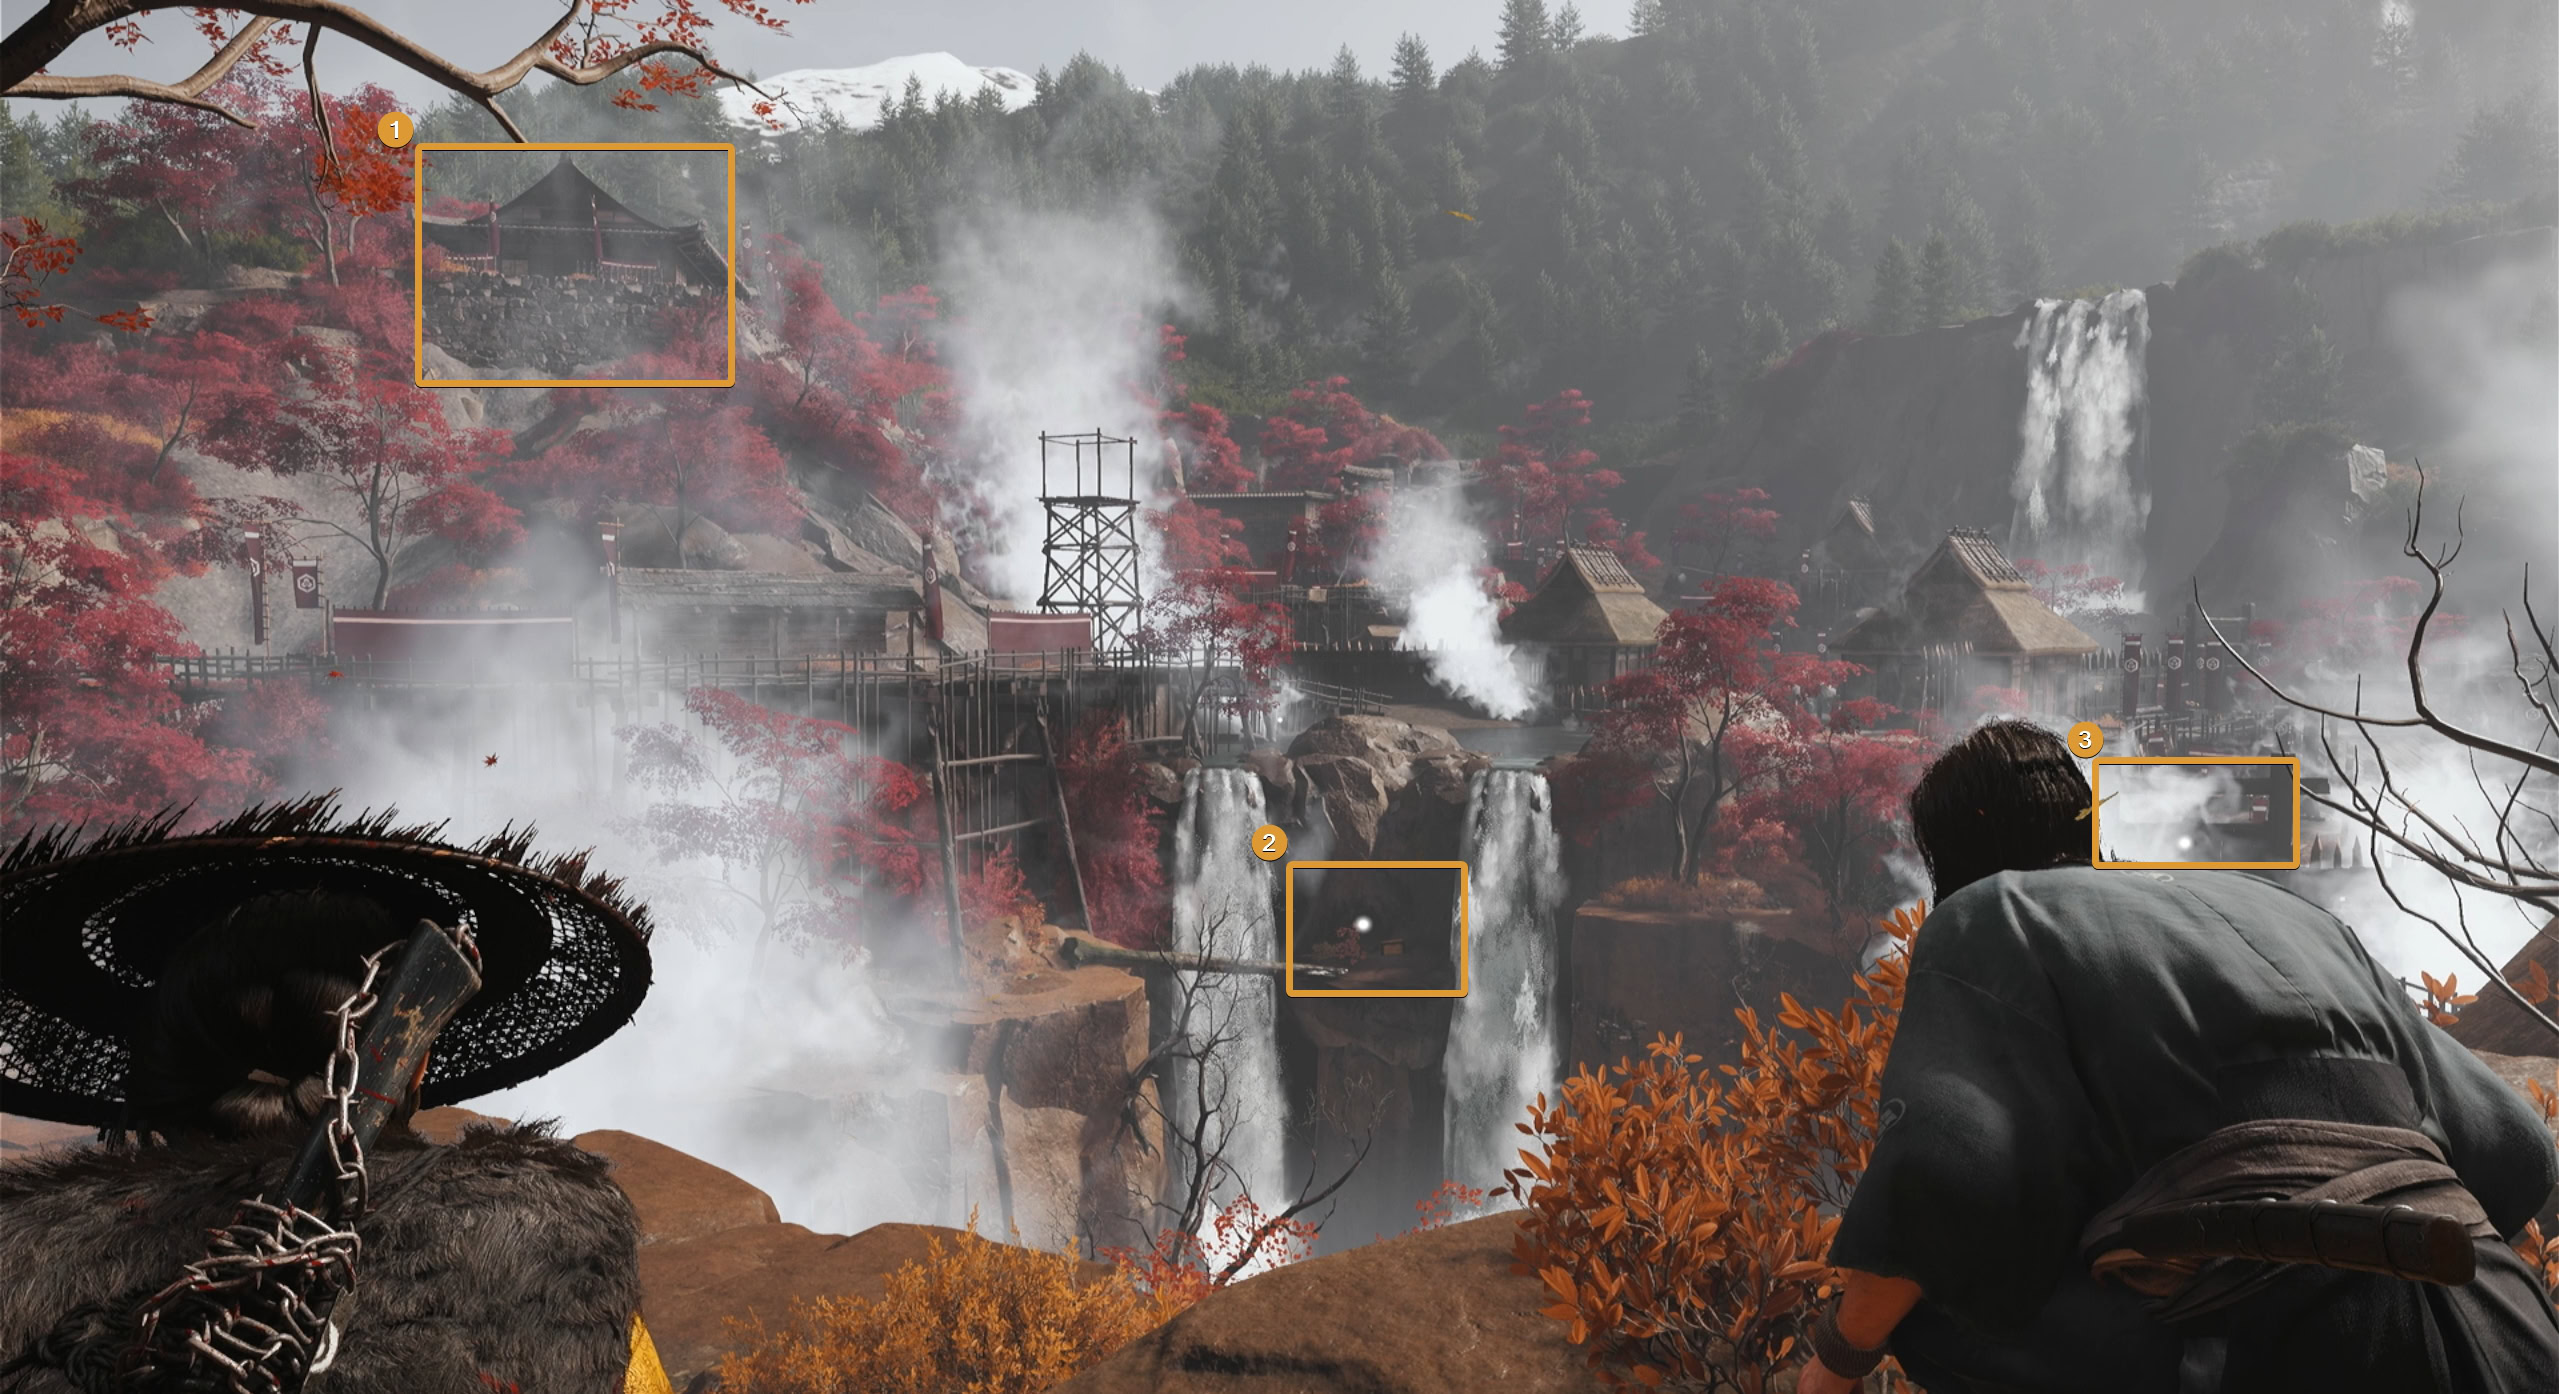
The mission starts out with you climbing up a cliff. Once you’re climbed on top, follow the path ahead and you’ll get a view of Saito’s slave labor.
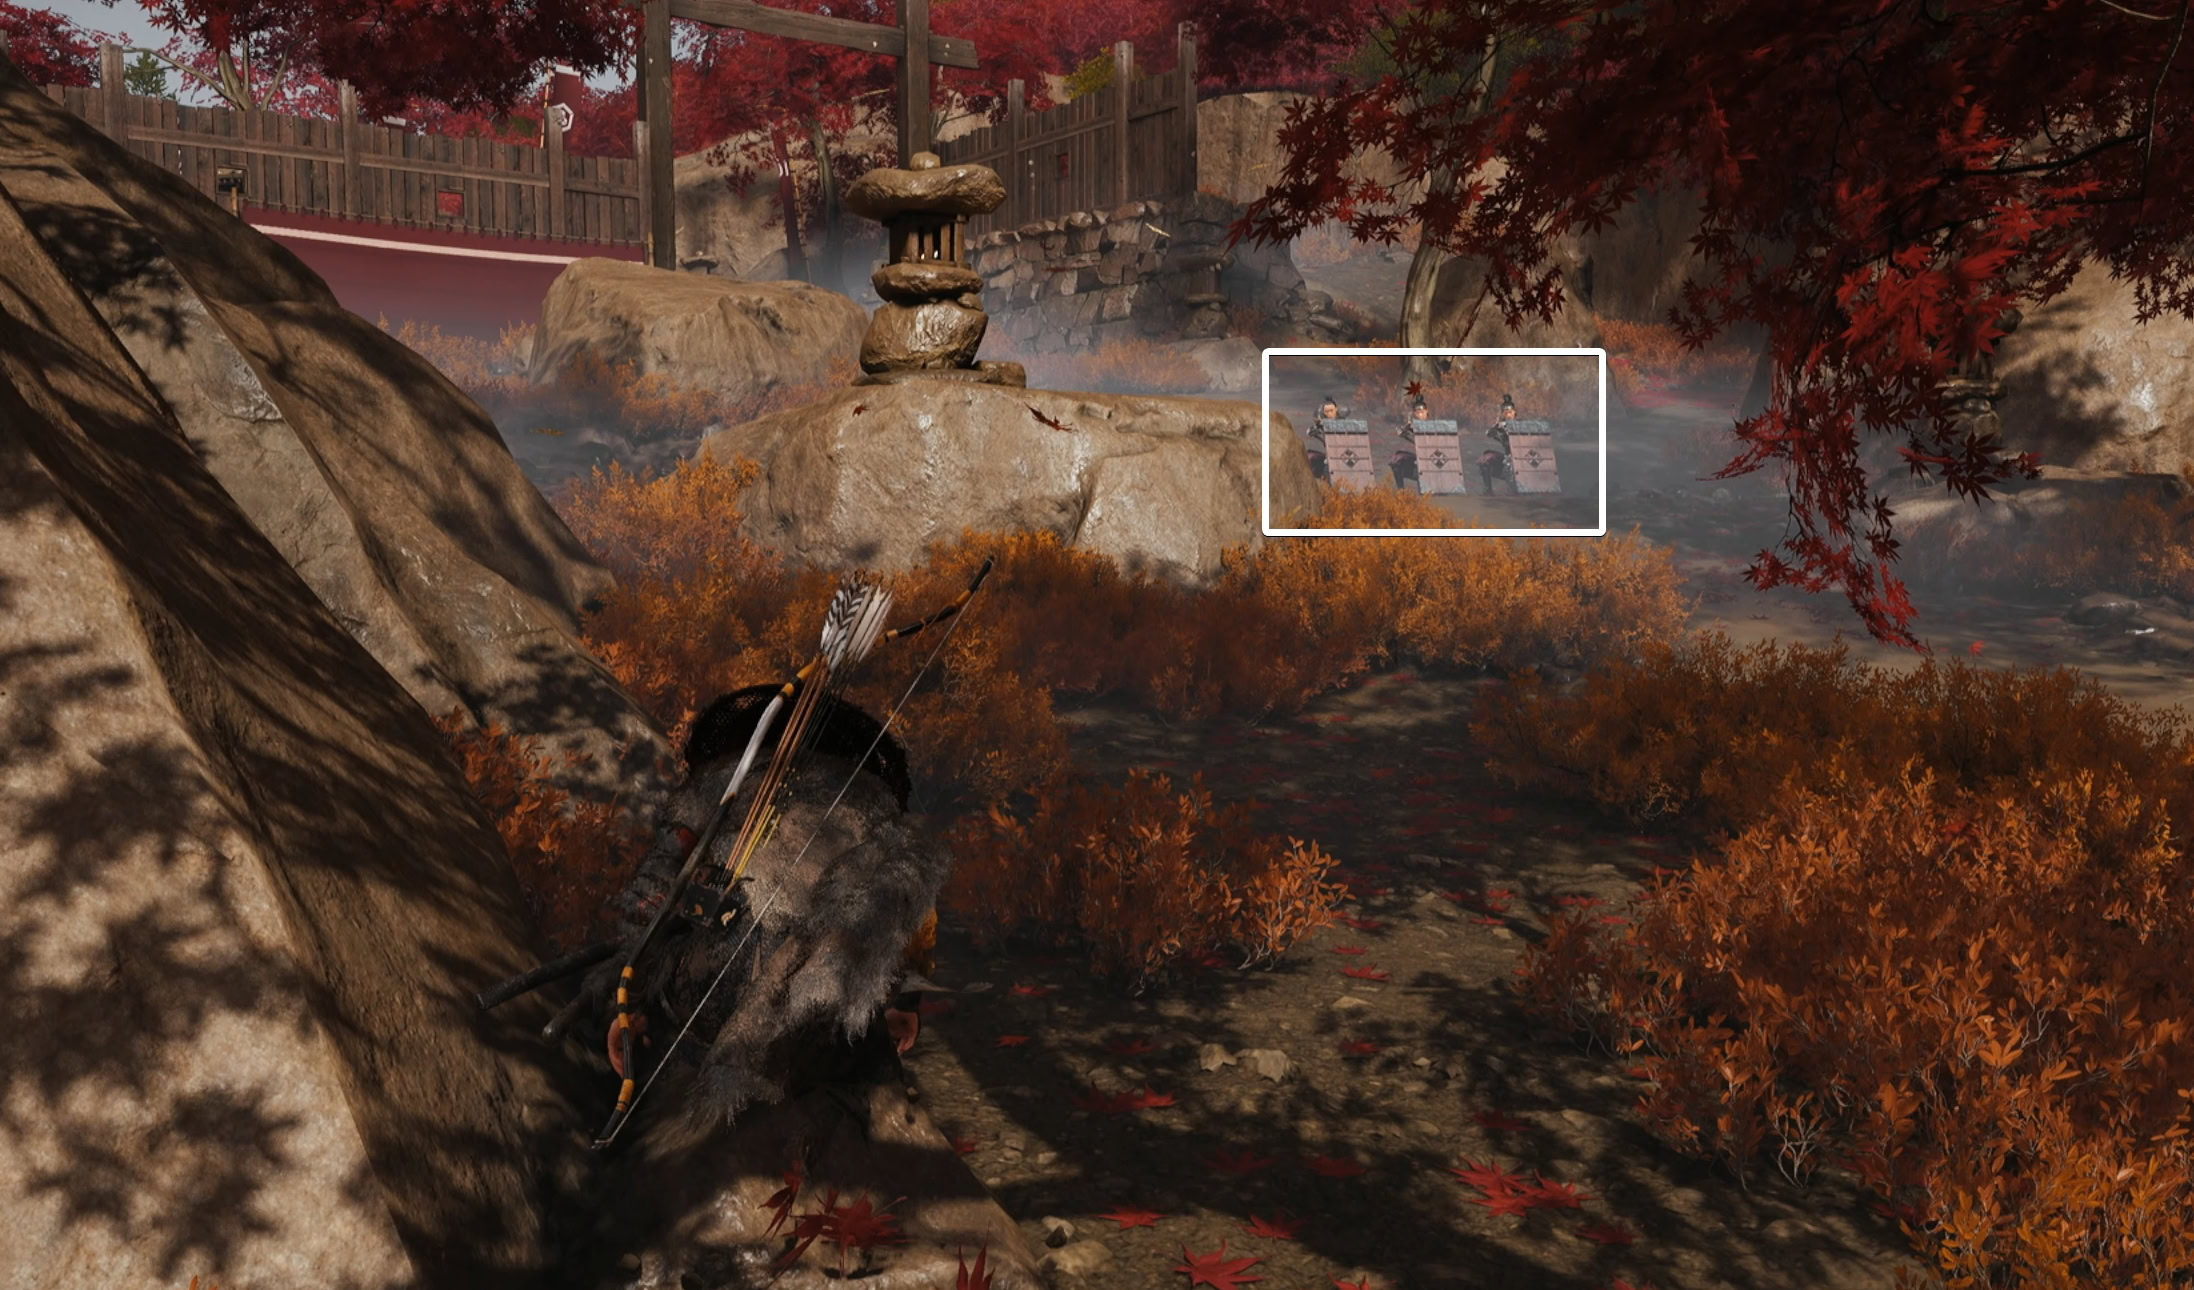
Pull out your spyglass and observe the slaves to the left, the pile of ore straight ahead, and the fortress tower to the right.
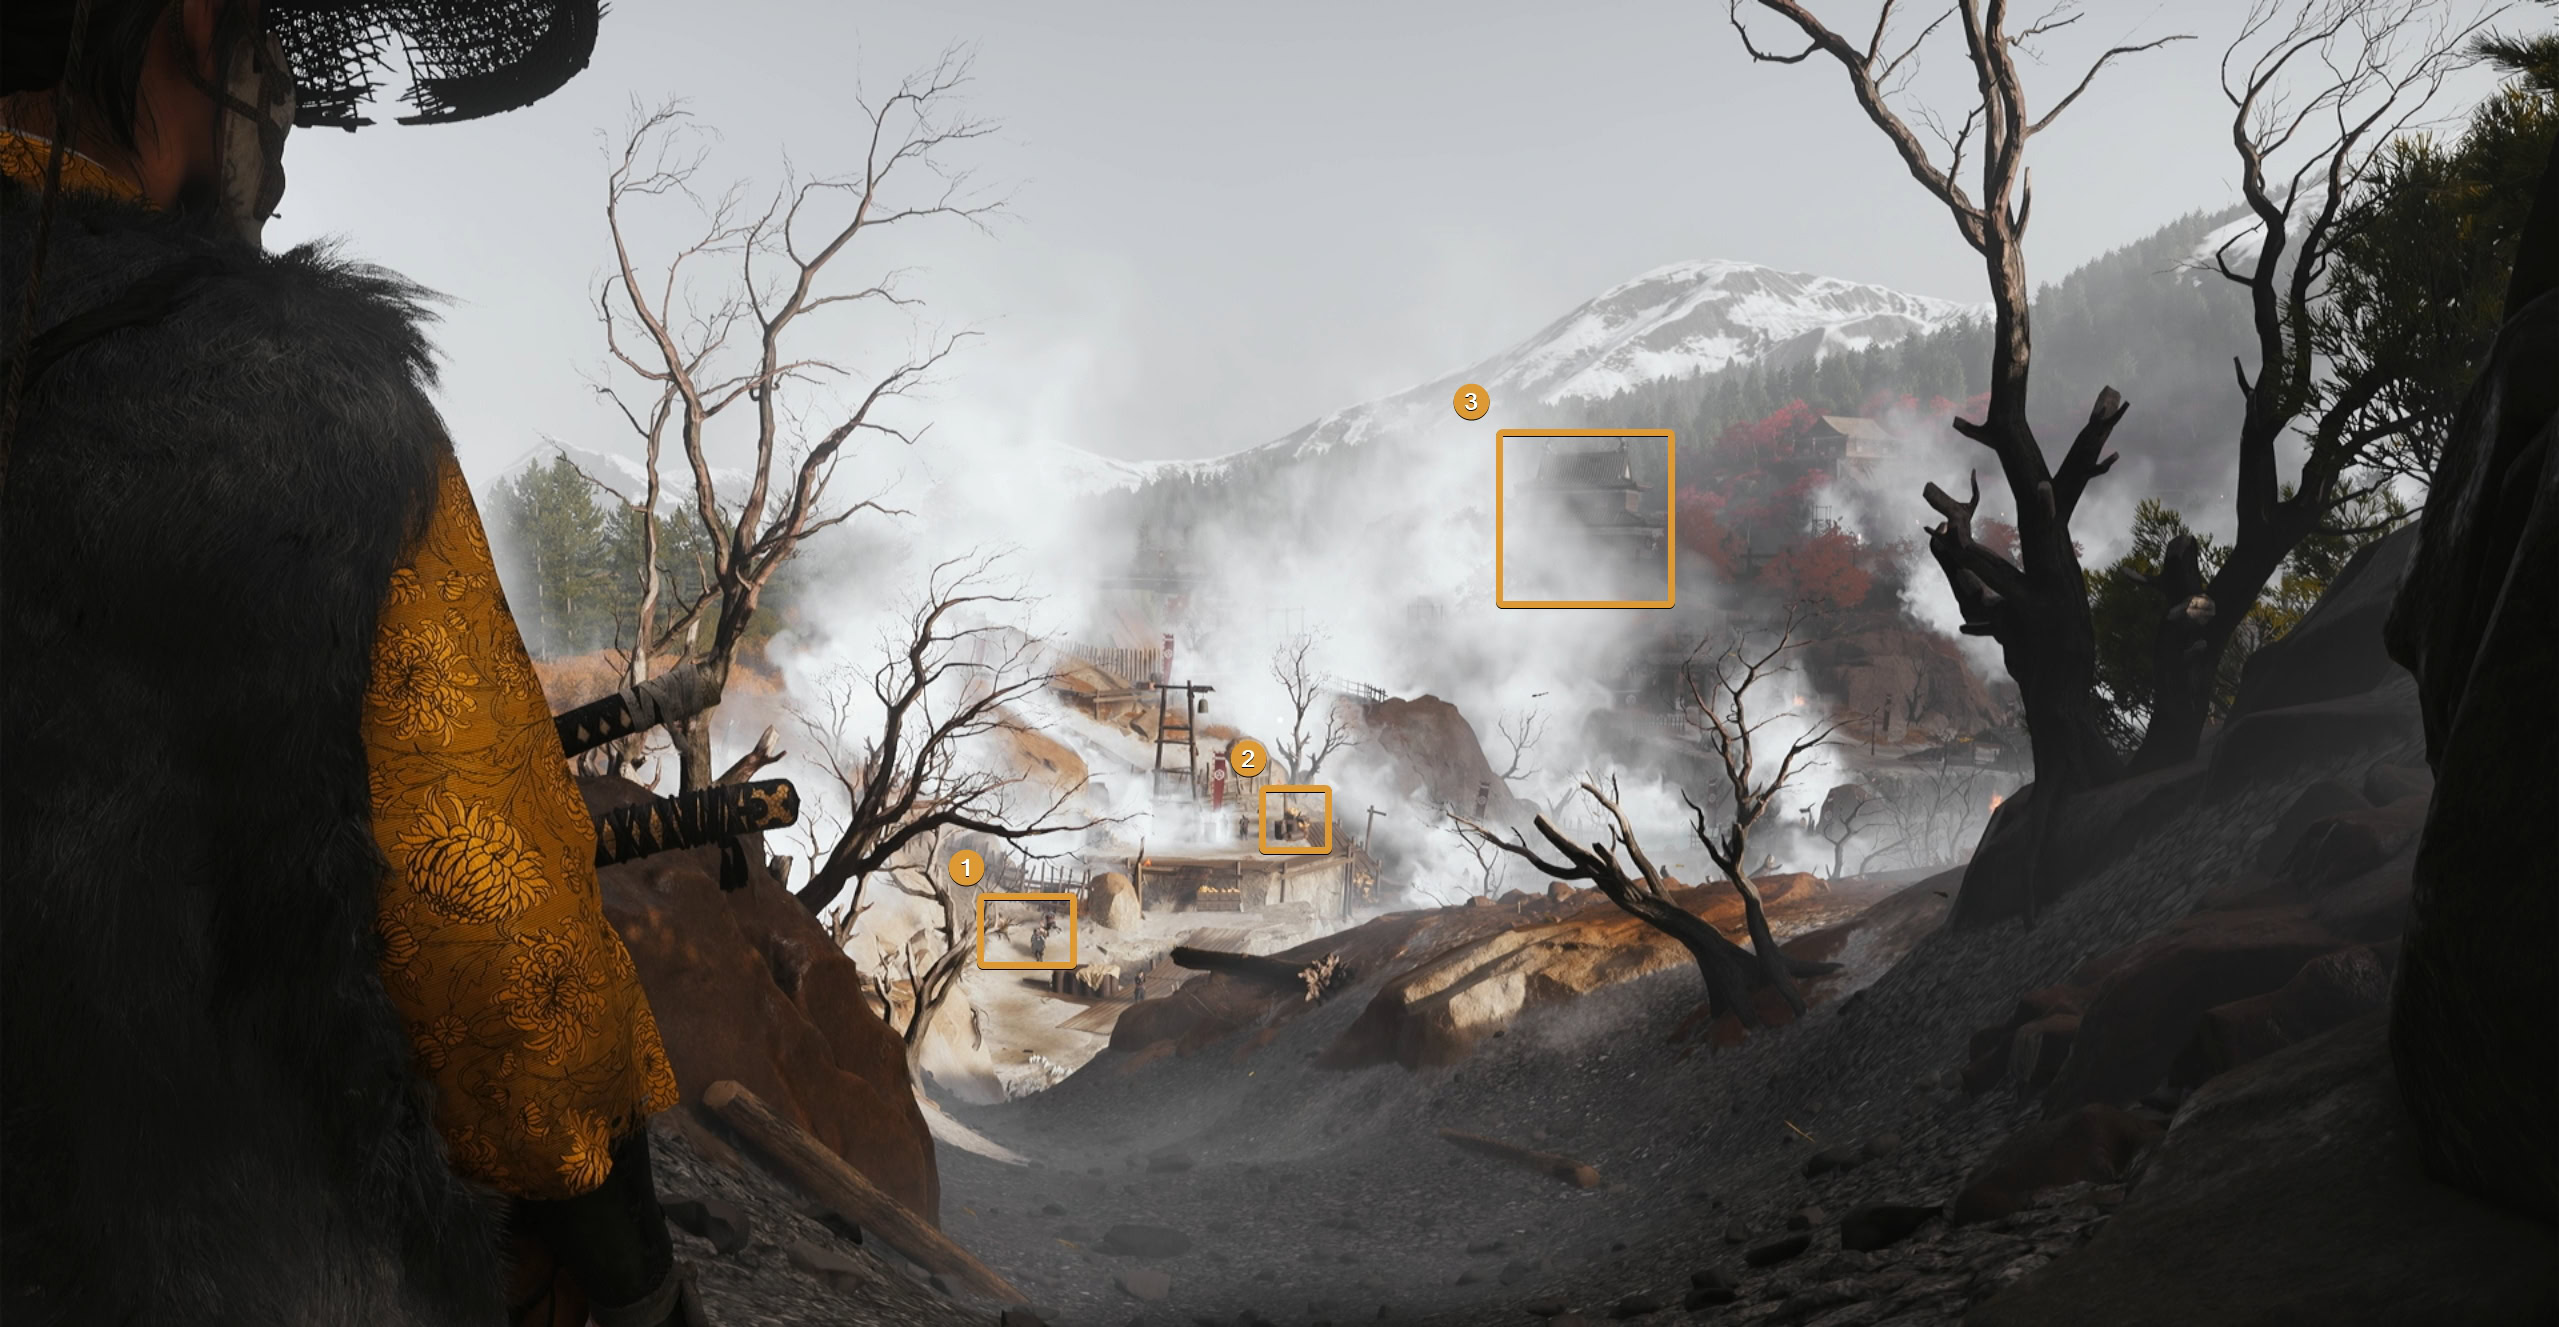
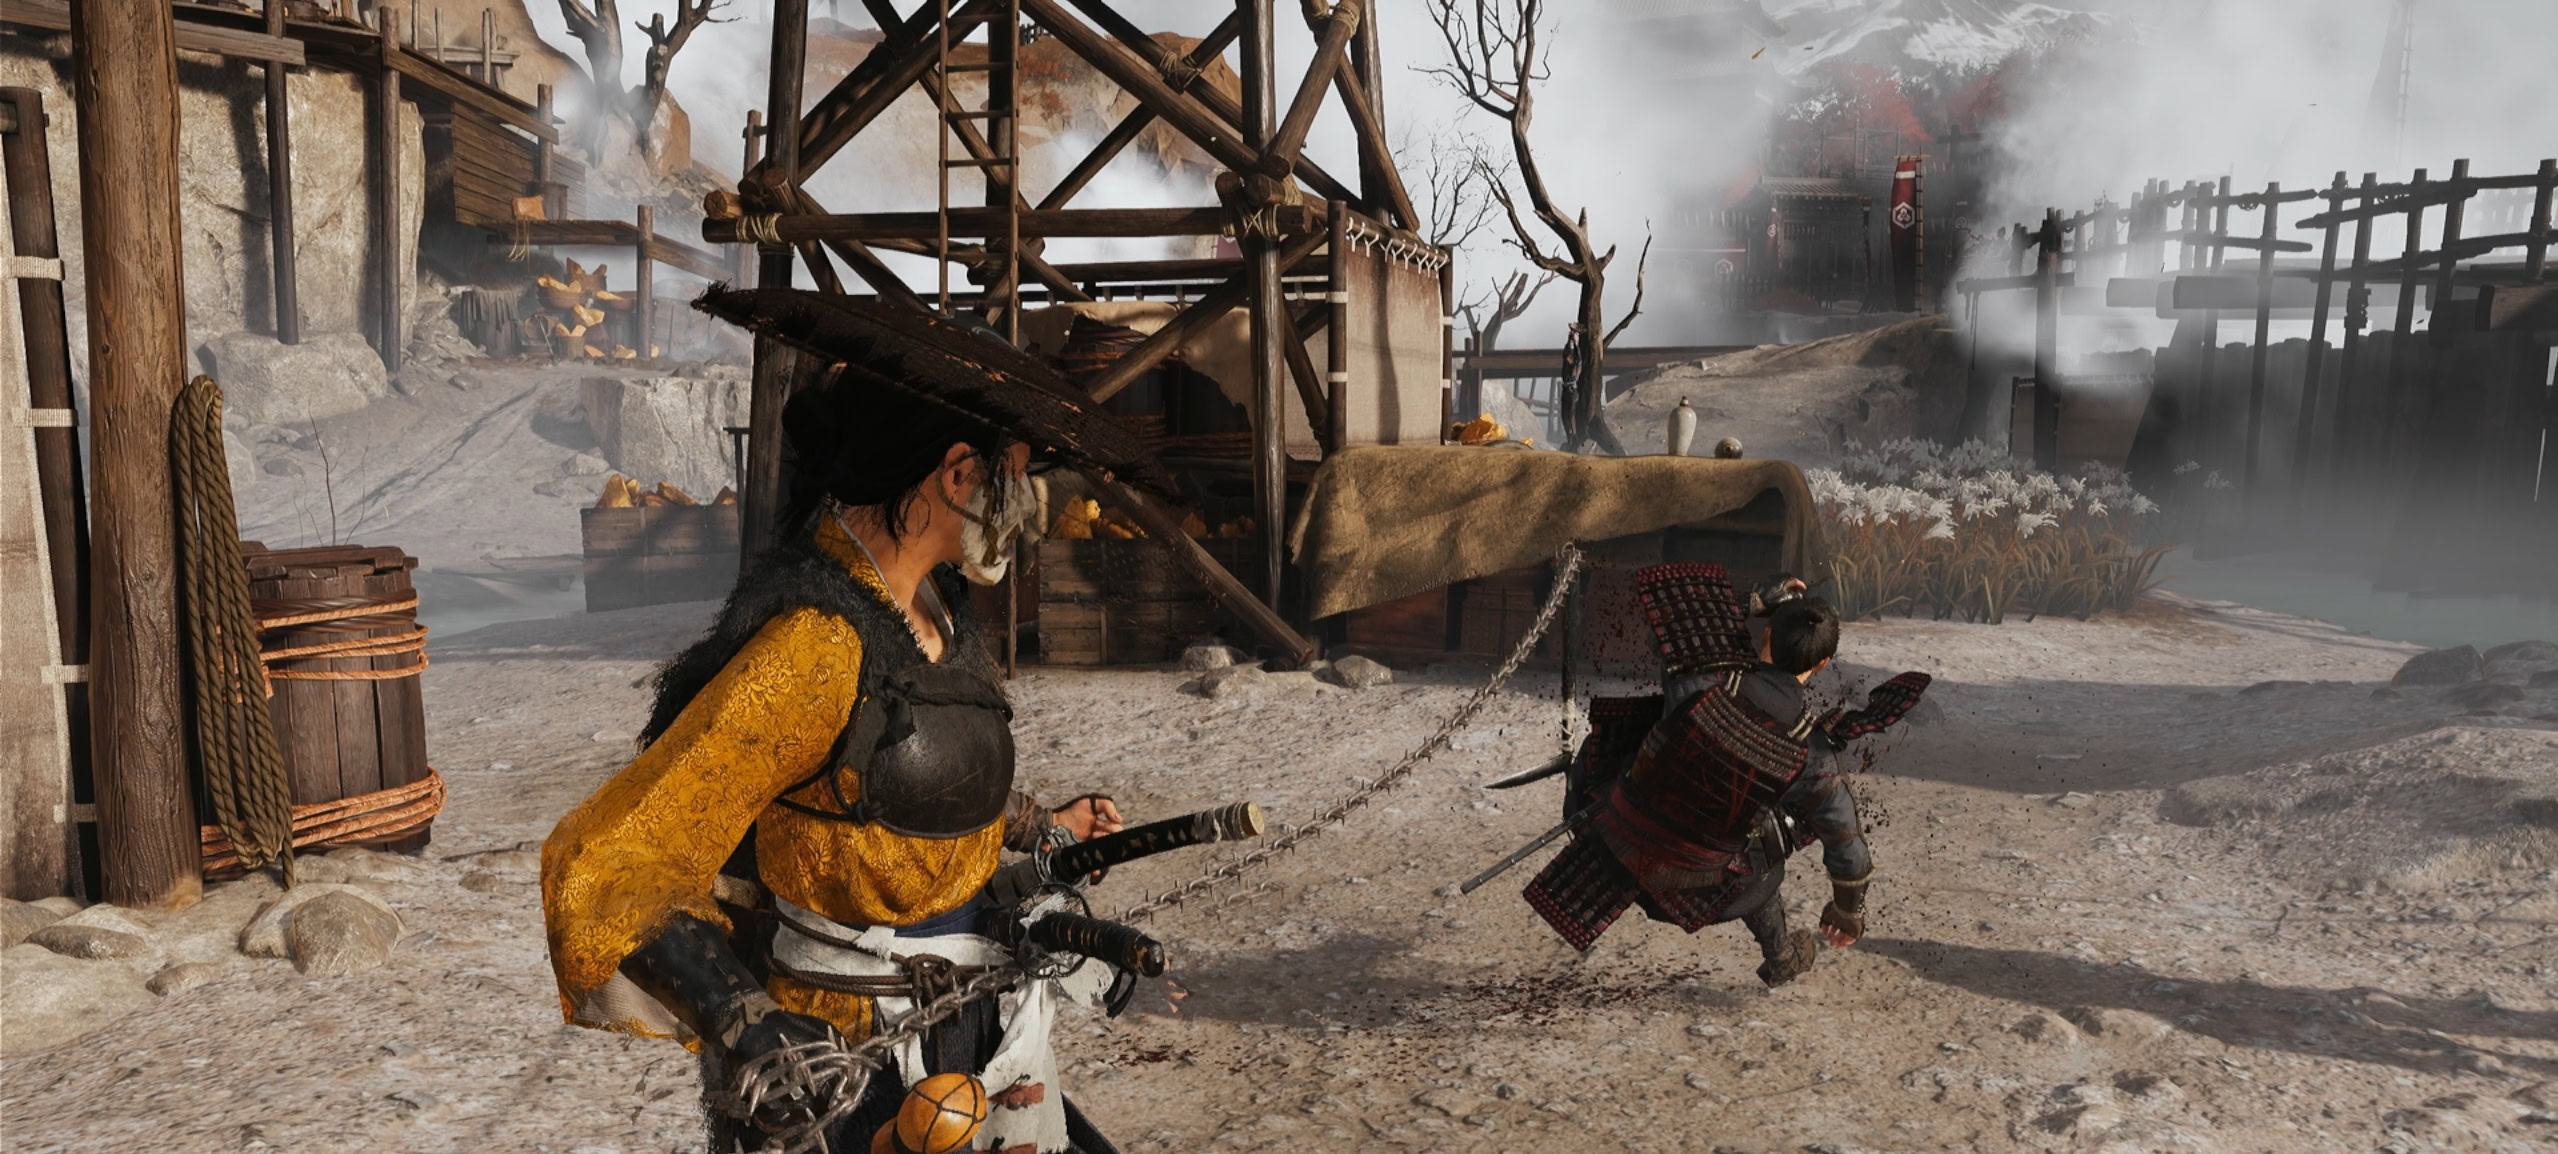
This area is packed with Saito’s men and a good way to clear the area is to quietly take out the men on the right side, then the left side from where you start.
You don’t want to start fighting out in the open near the right side as there’s a raised platform where Saito’s Black Guards are patrolling. If they see you, they’ll attack and make things significantly harder for you.
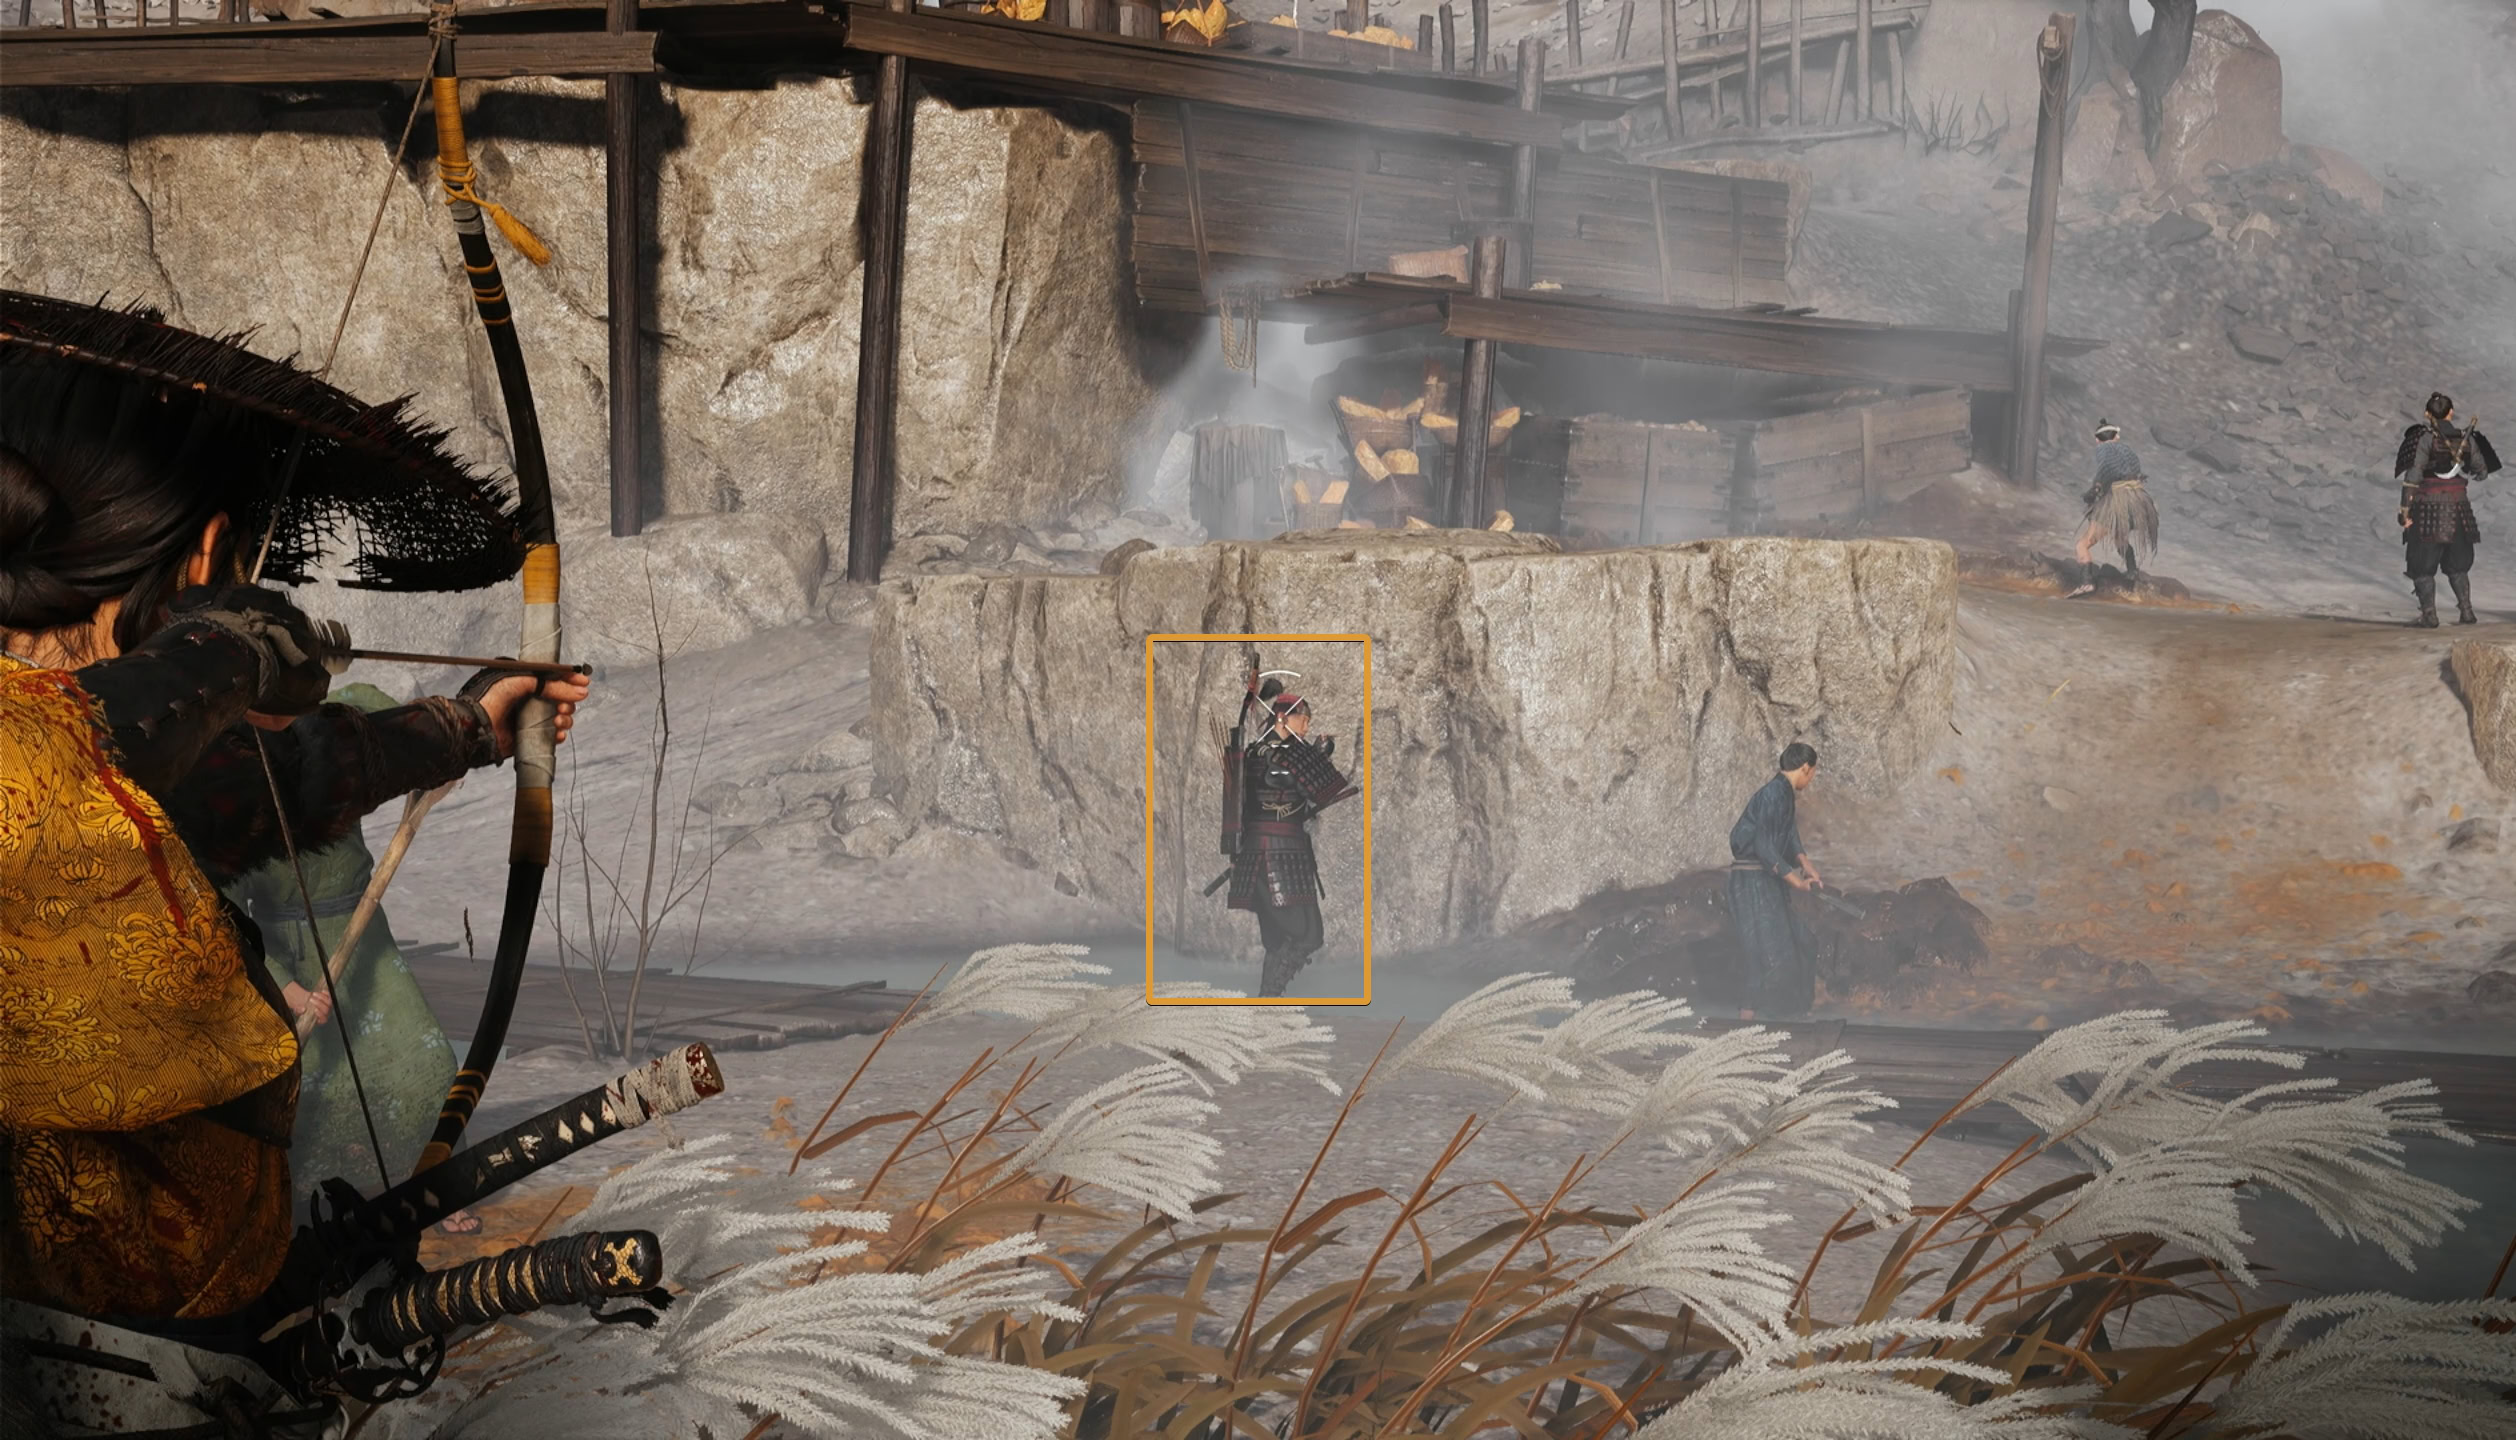
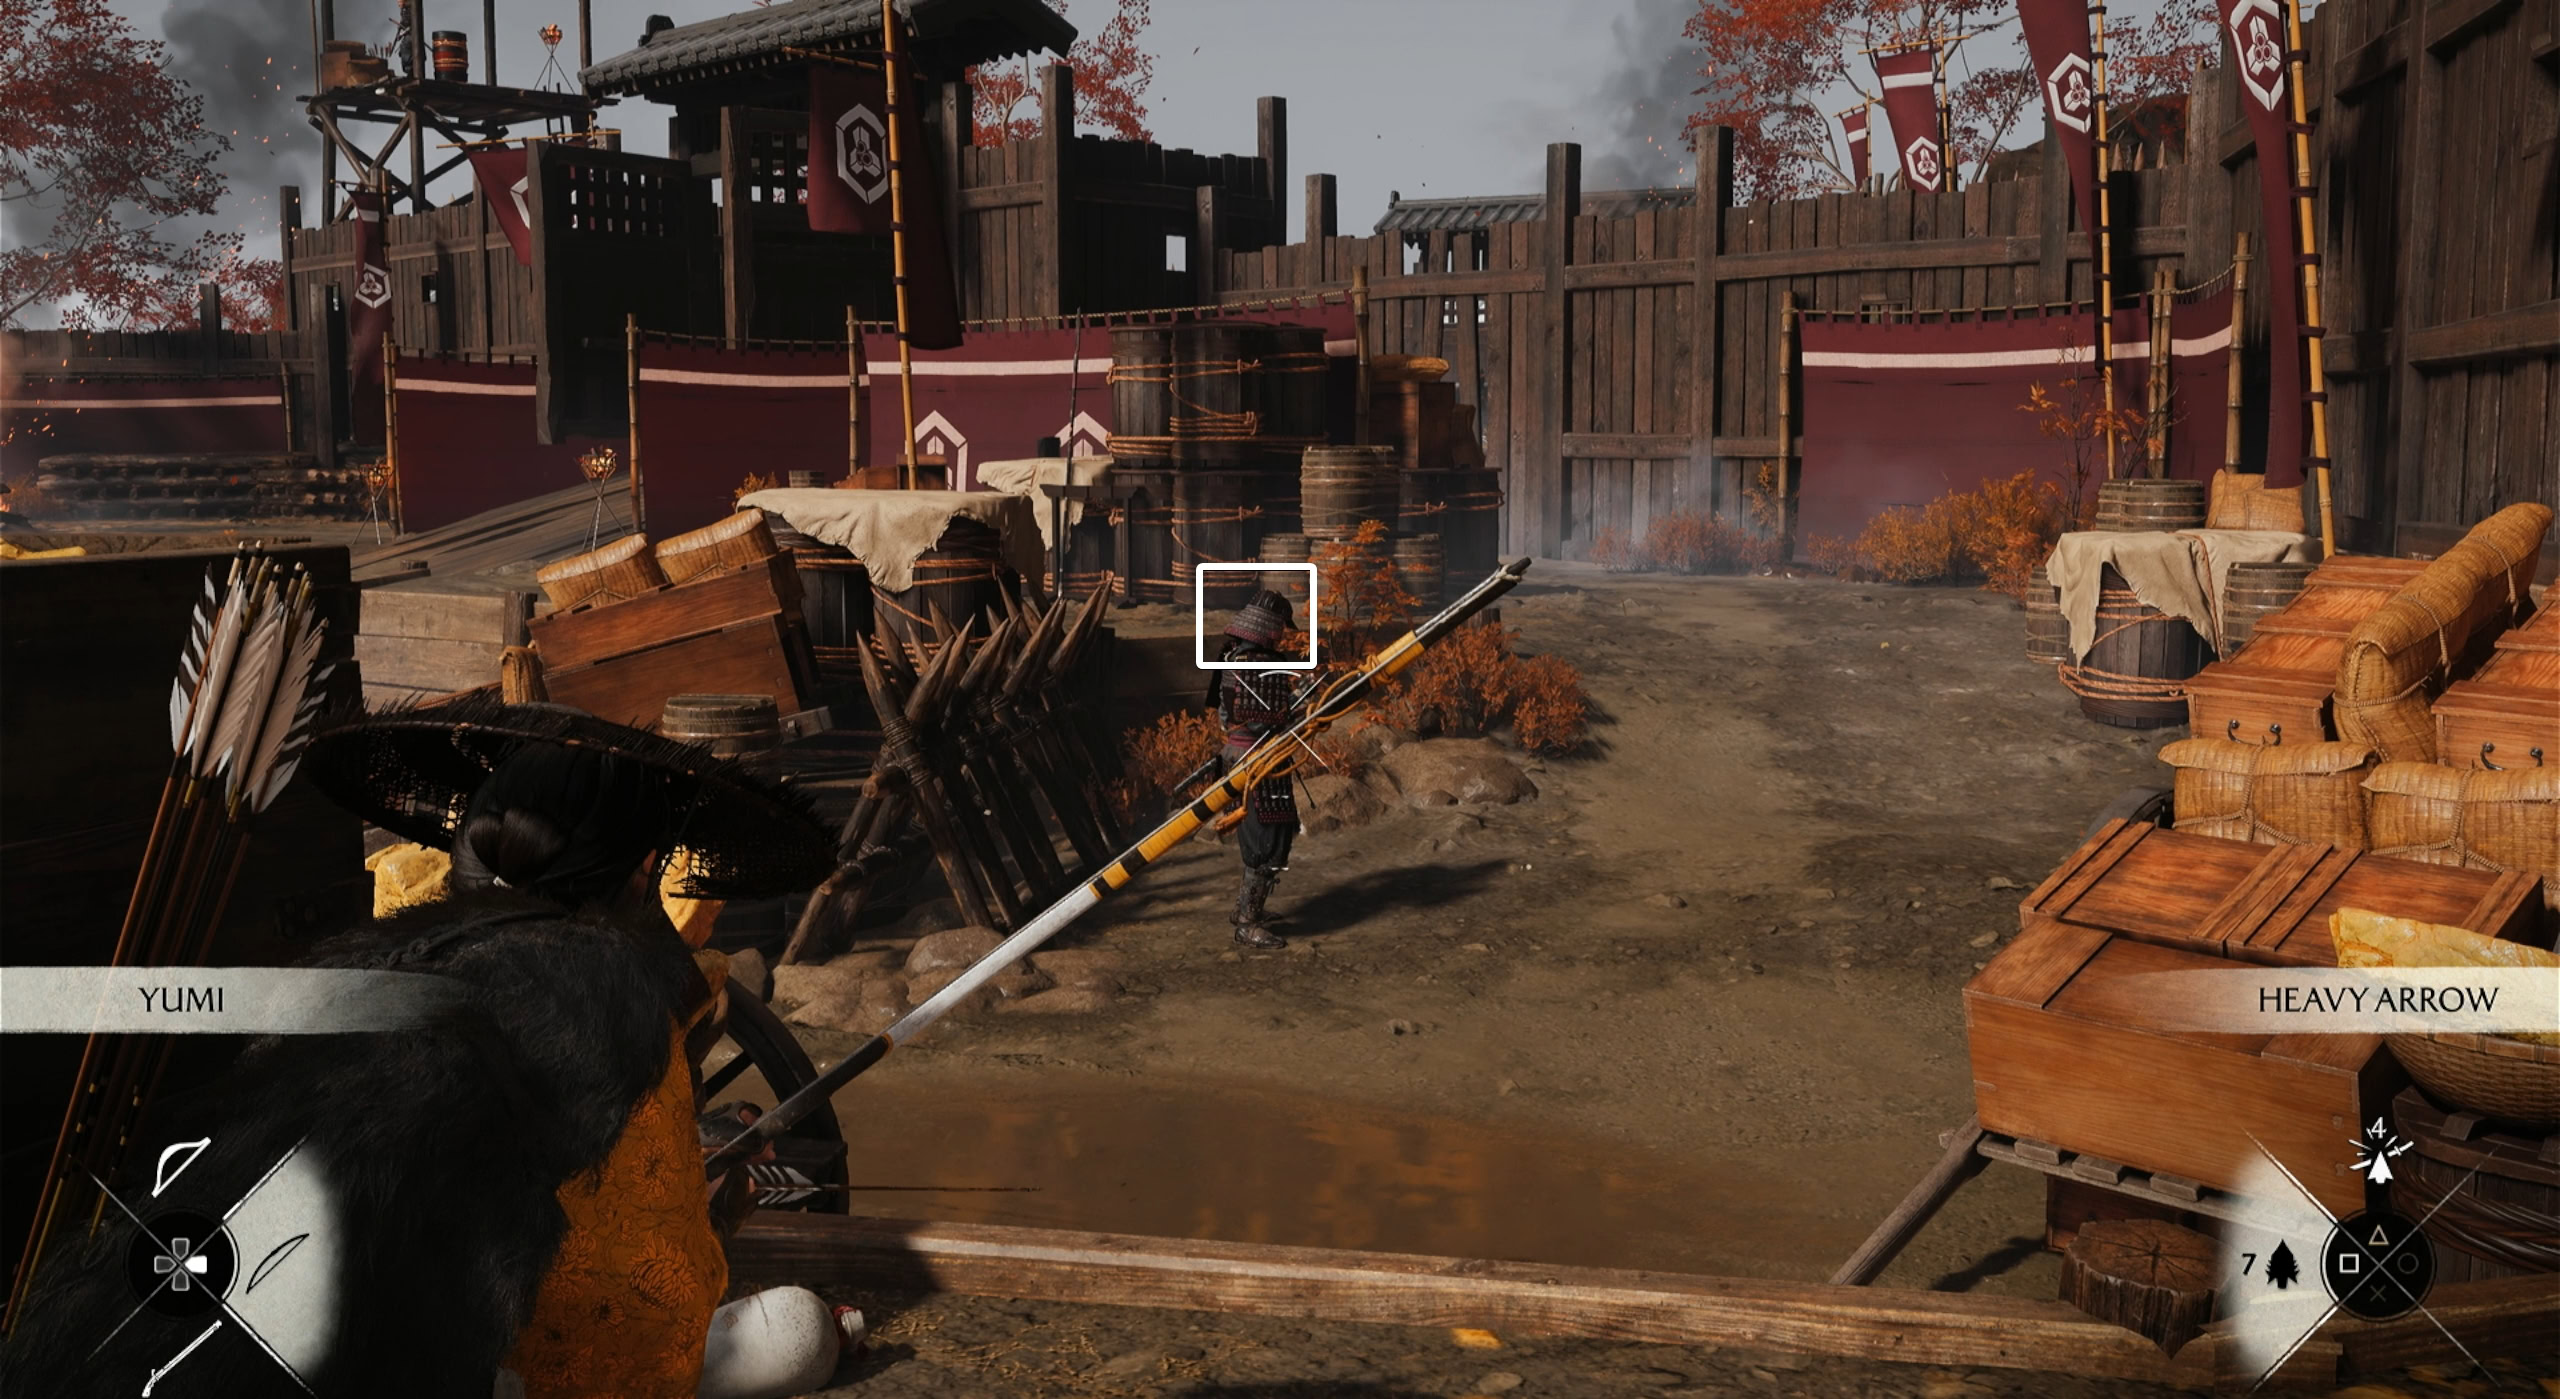
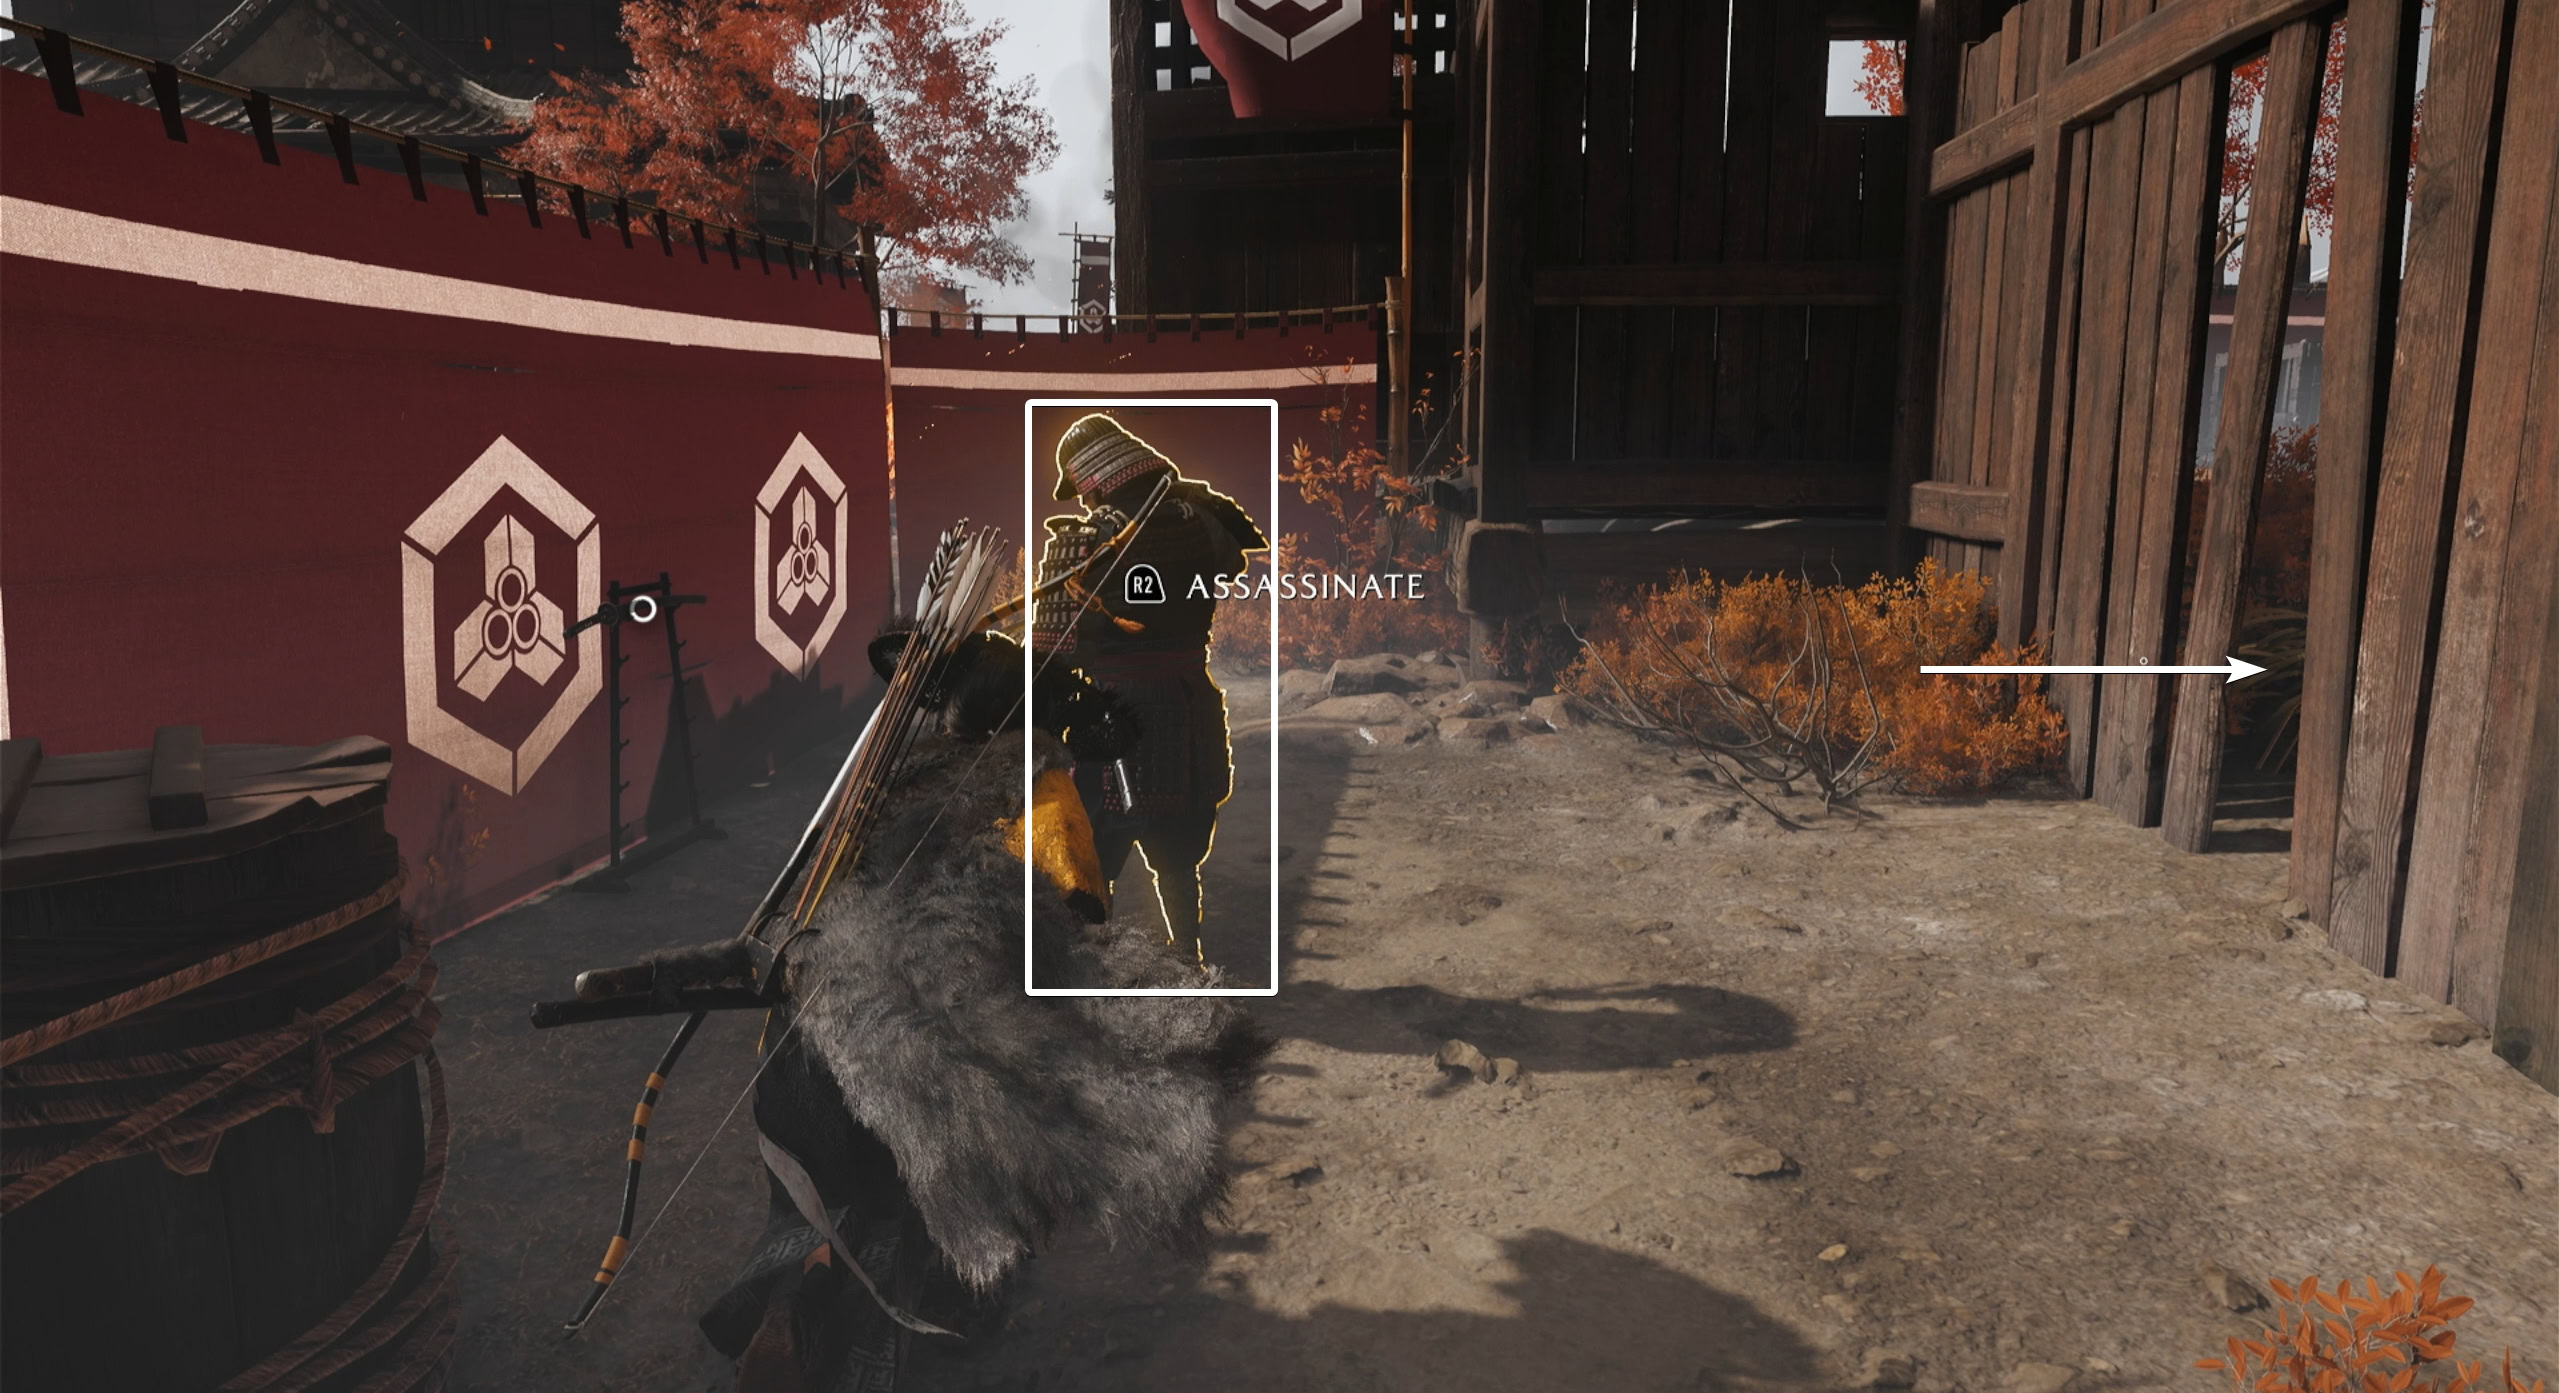
Starting from the tall grass you slide into, use the yumi to snipe the soldier in the tower, then go through the right path where more grass is. Go down the ledge and assassinate the lone blackguard you find.

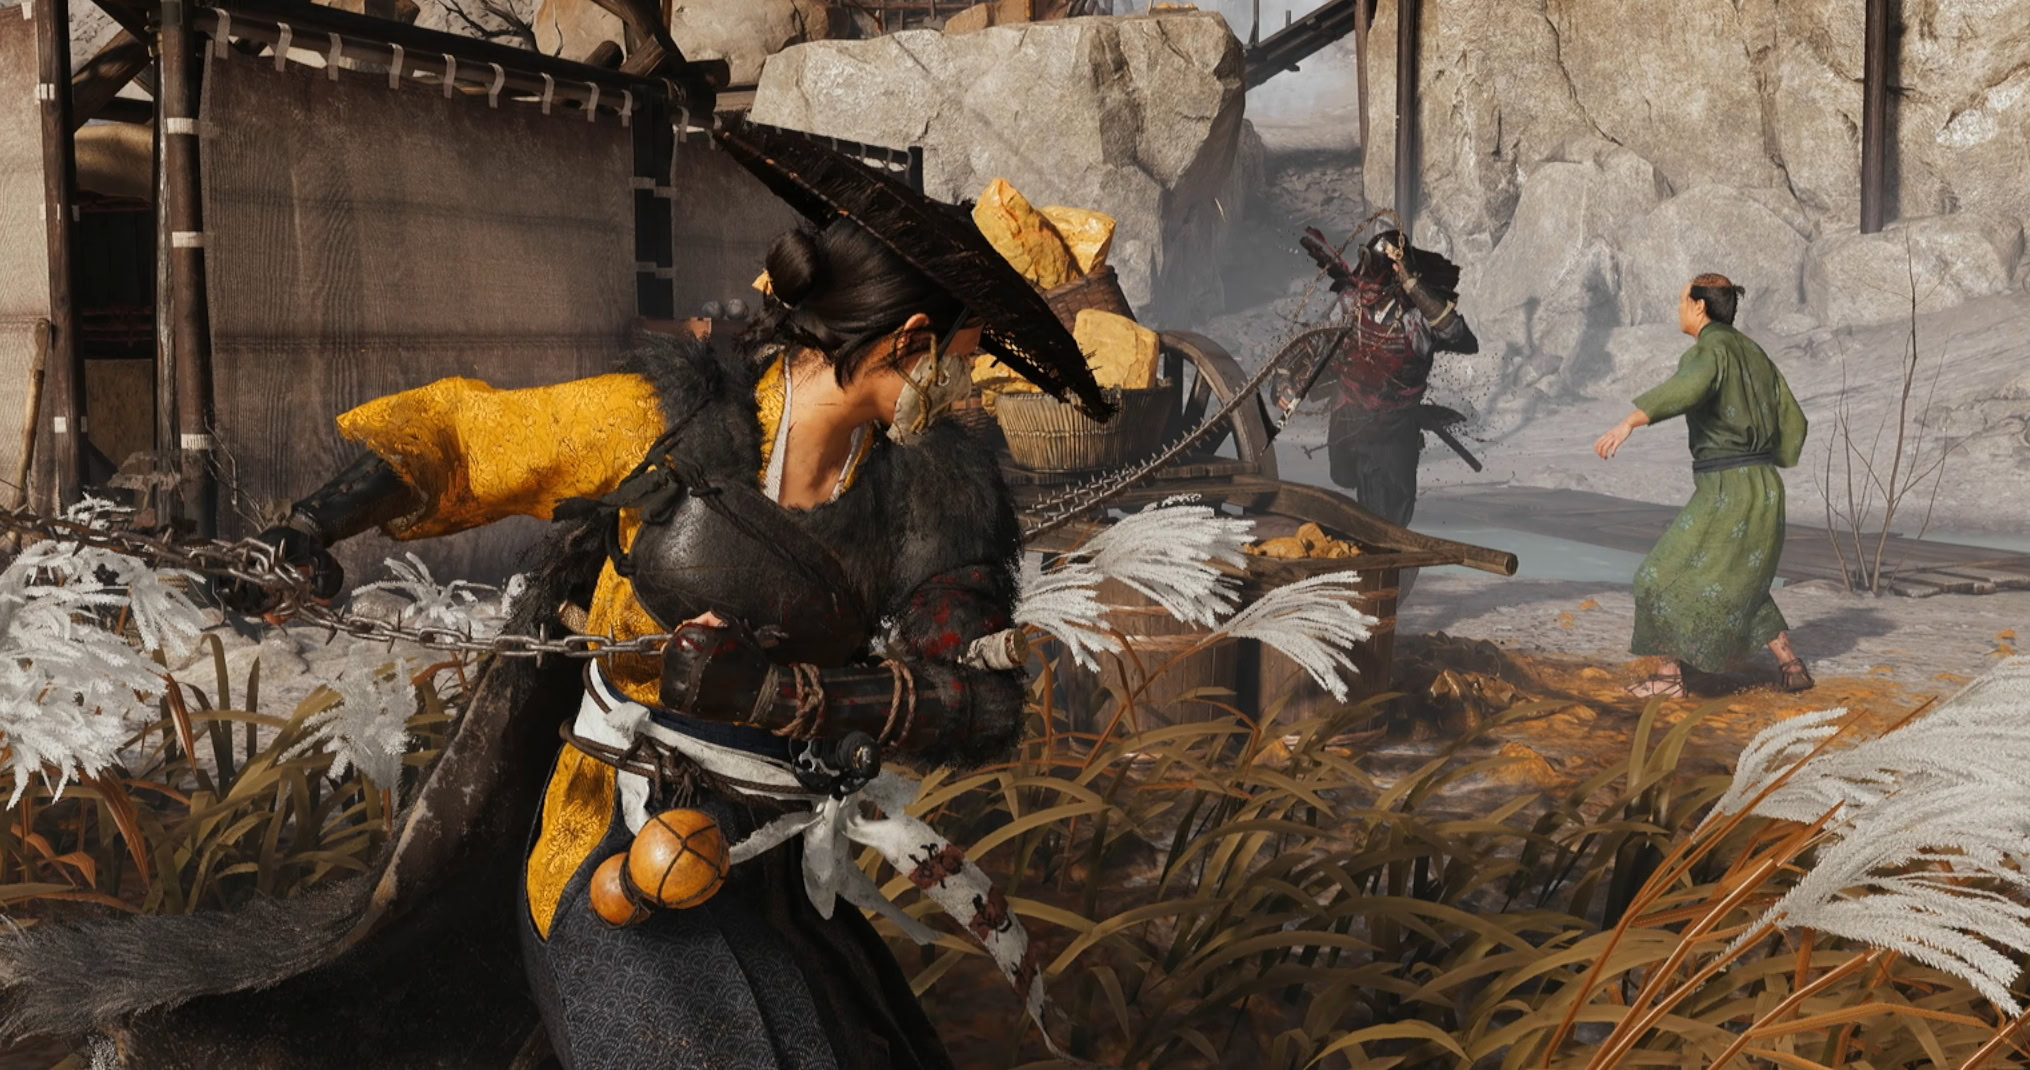
Sneak to the tall grass ahead and kusarigama kill the soldier next to the sulfur cart. Use the bow to headshot the soldier near the stream of water, then when a guard from the left follows up to check on him, use concentrate and headshot him as well.
From here, you can return to the starting area and assassinate everyone else as they’re either alone or in pairs. Use chain assassinate to take out the pairs, or use a bow headshot followed by concentrate with another bow headshot.
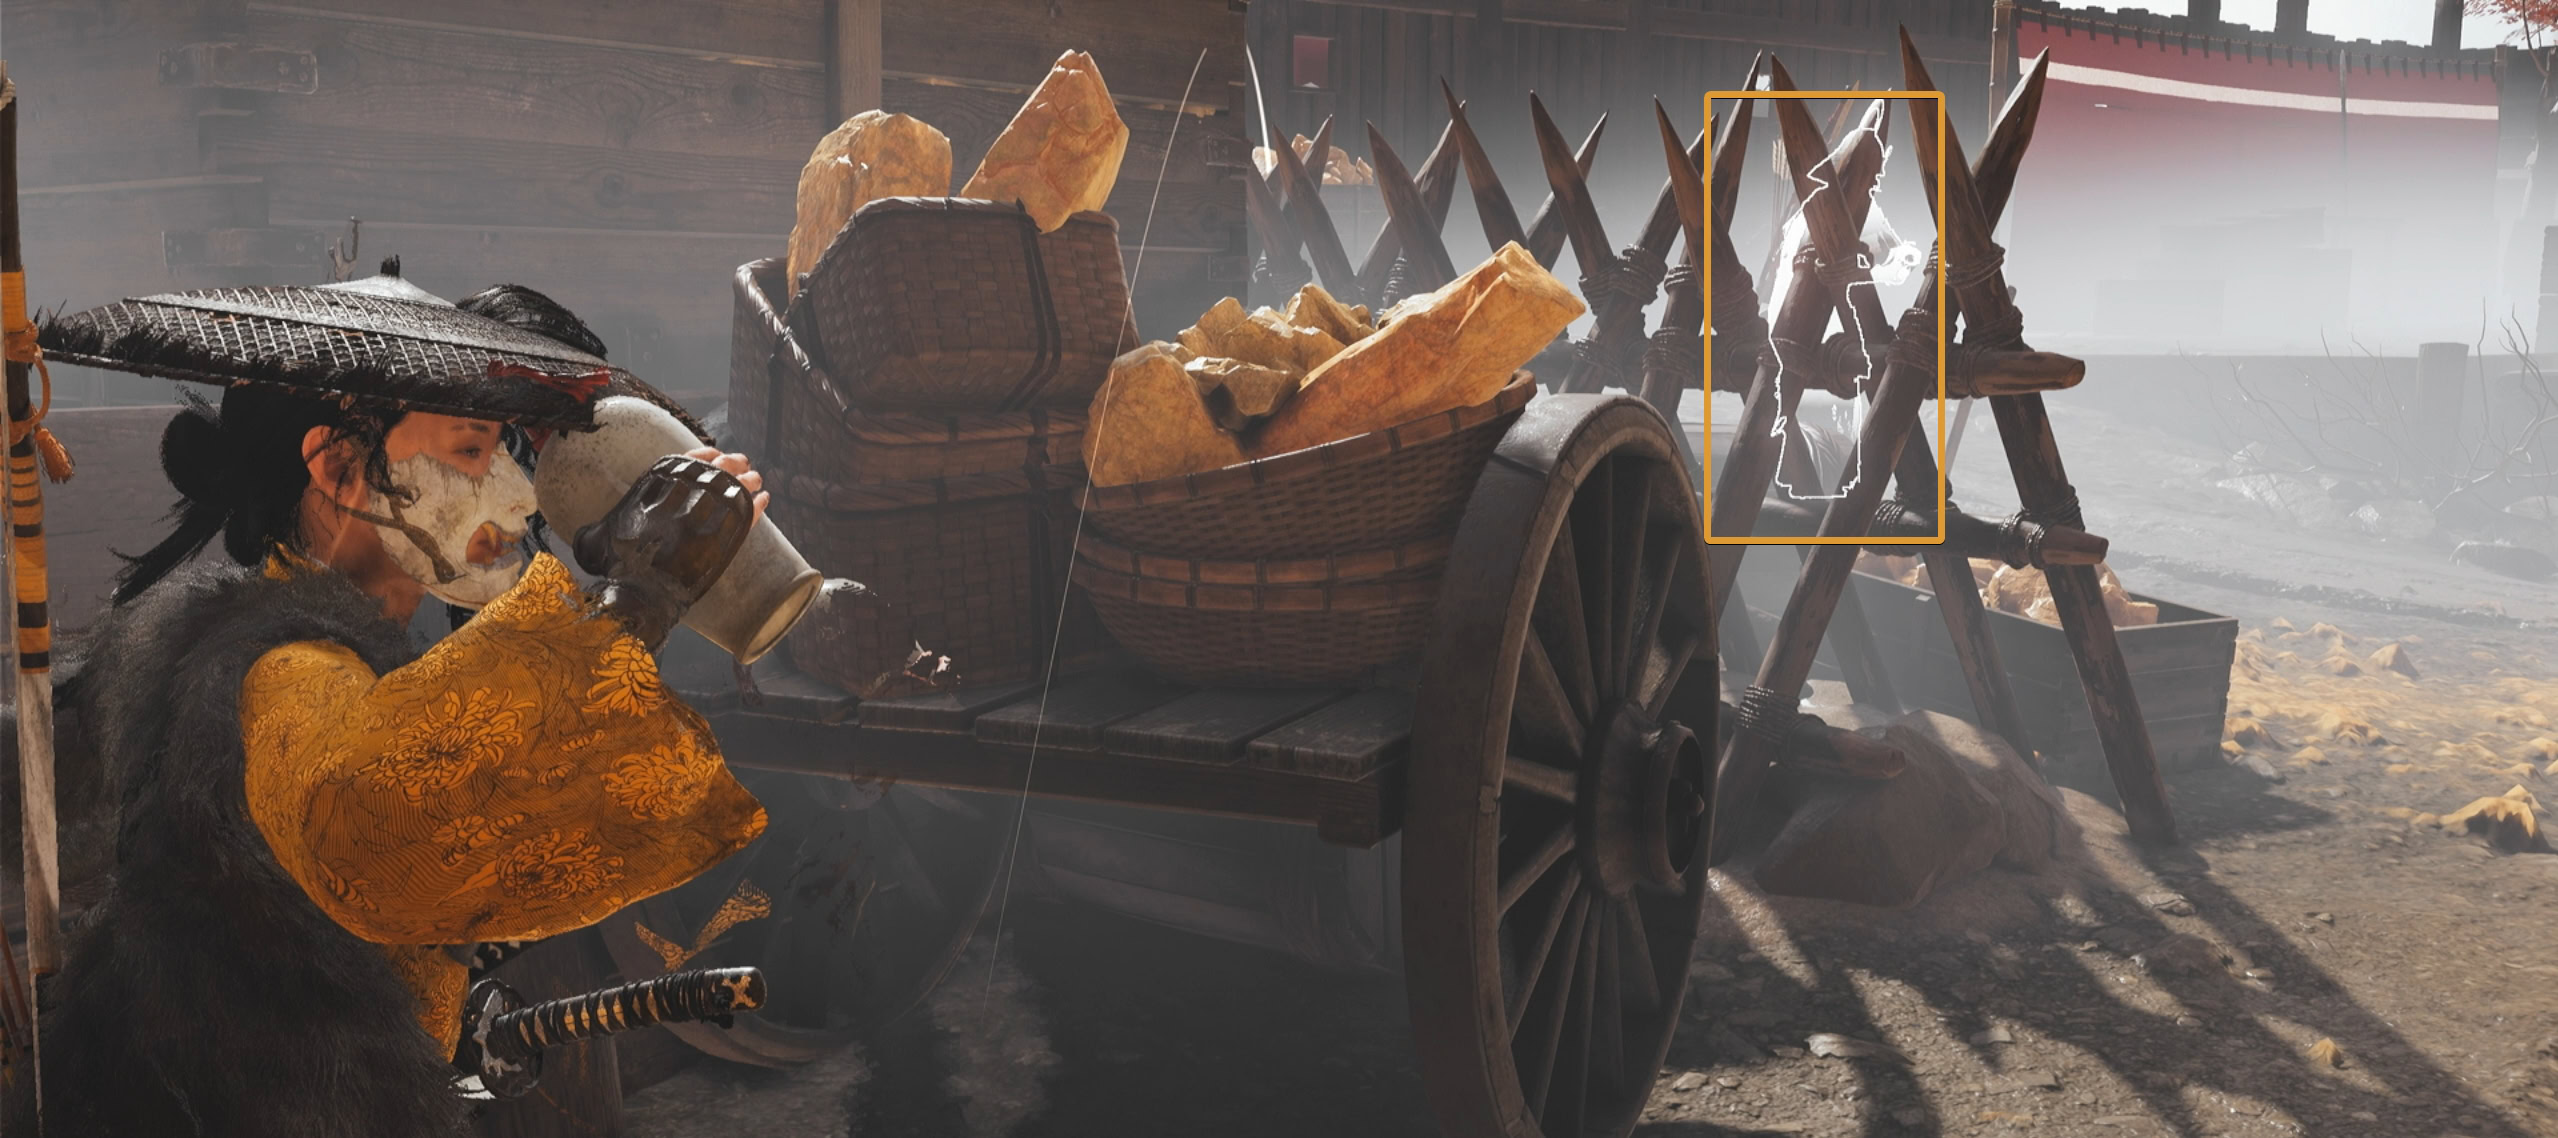
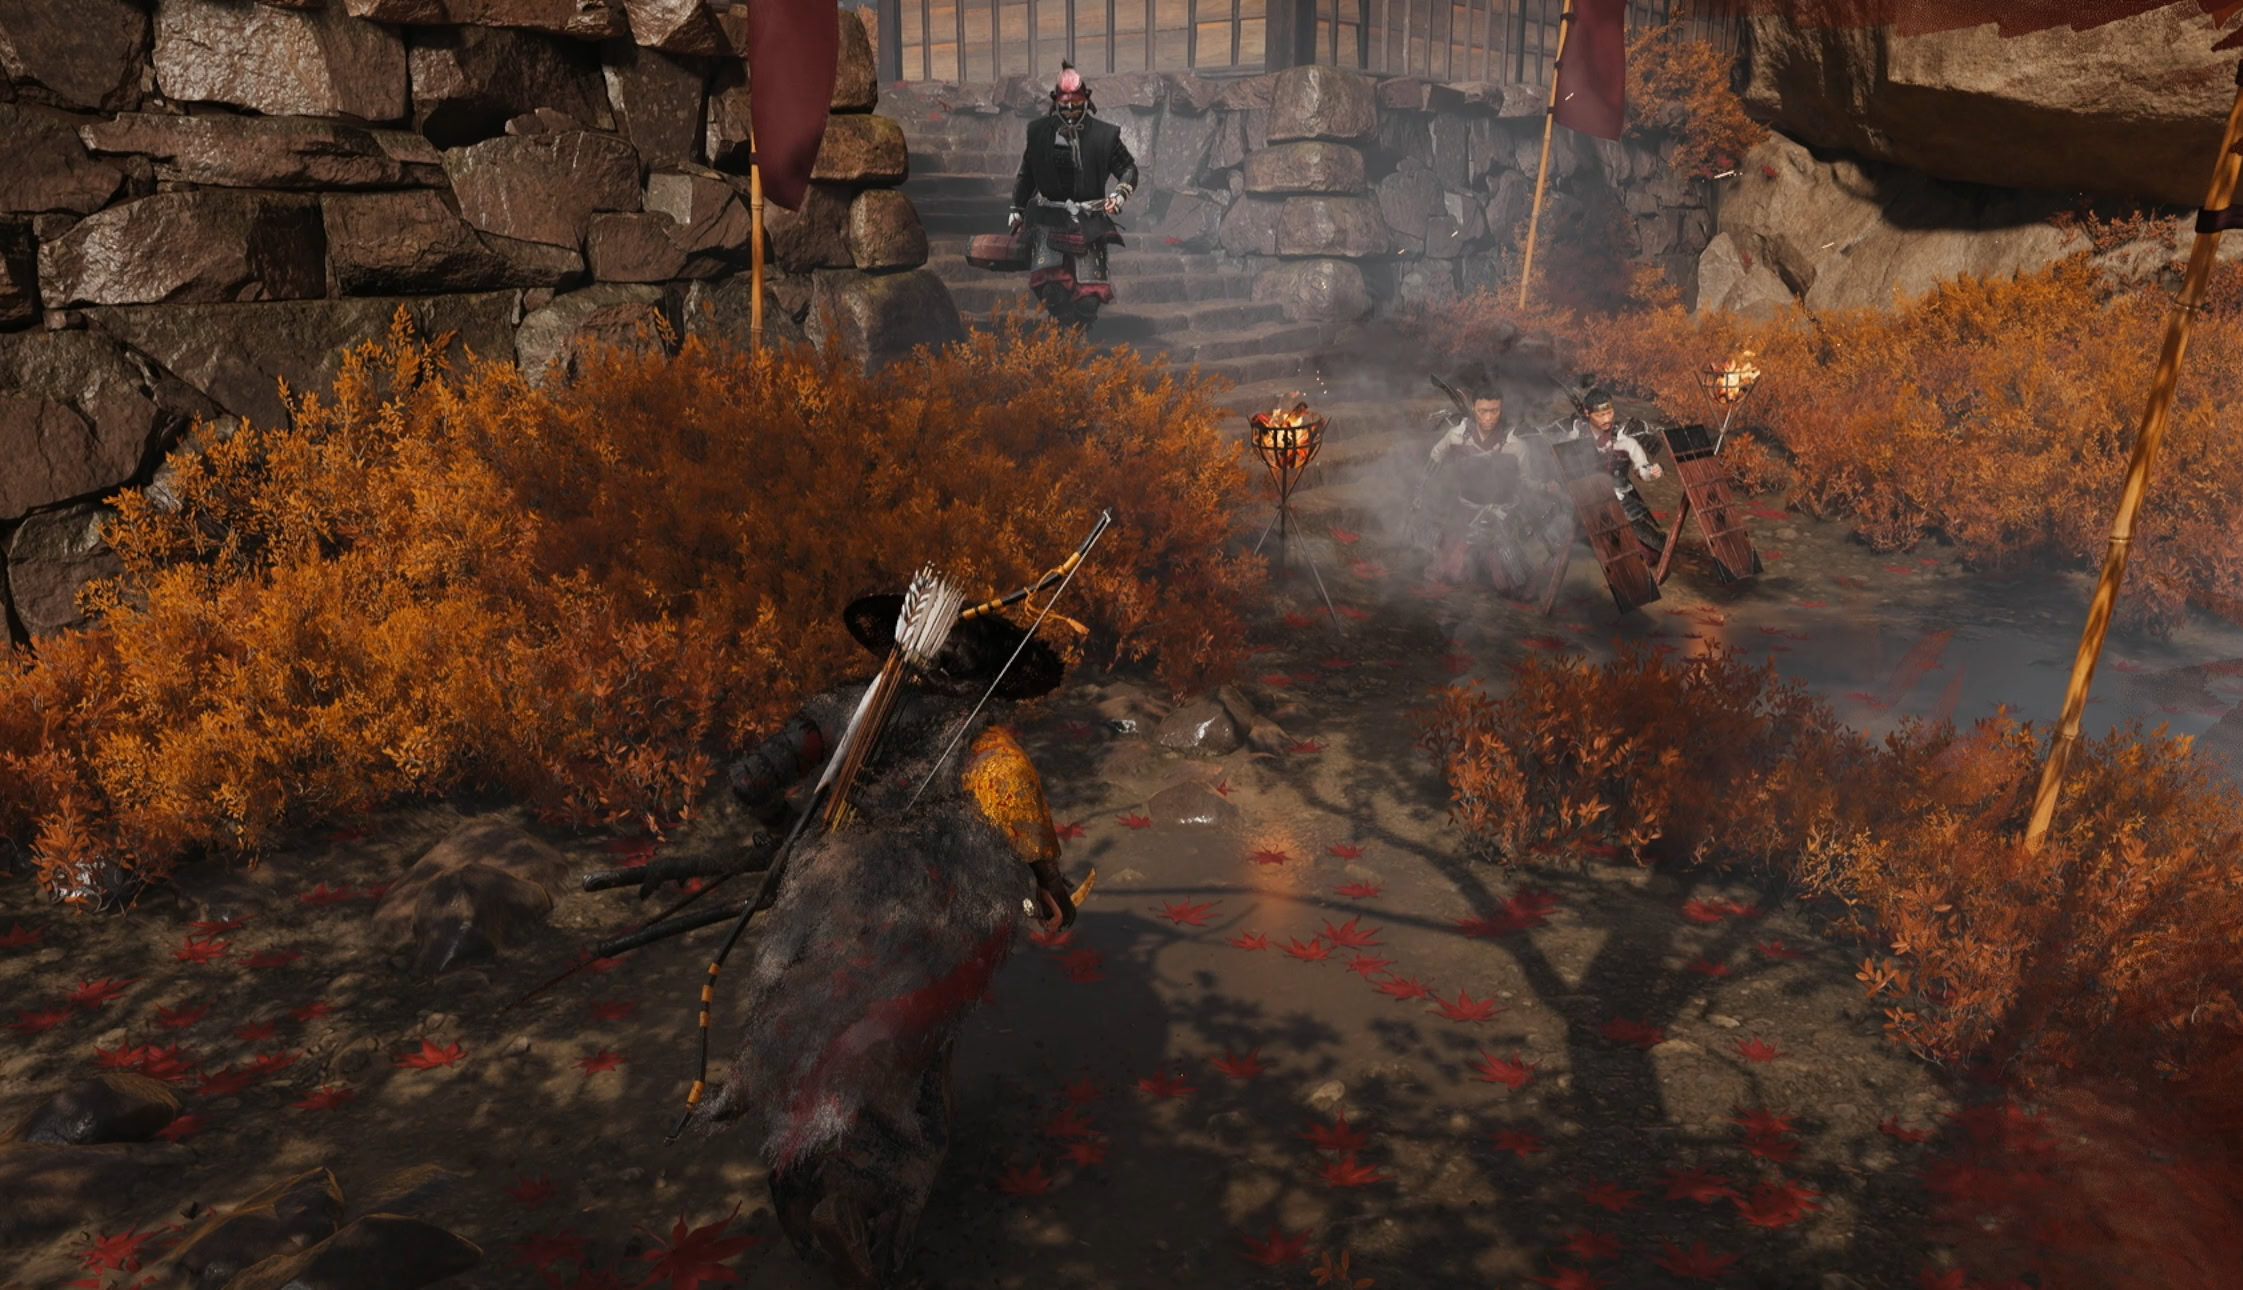
While you can reach the elevated platform, you’ll want to avoid this to prevent the Black Guard from spotting you. Instead, stay low and go through the tall grass under the bridge.
Stay within the tall grass patches in the next area, assassinate the soldier on the small bridge, and look around for Saito’s Black Guard. Only assassinate the soldiers watching the slaves until you’re out of the Black Guard’s line of sight.

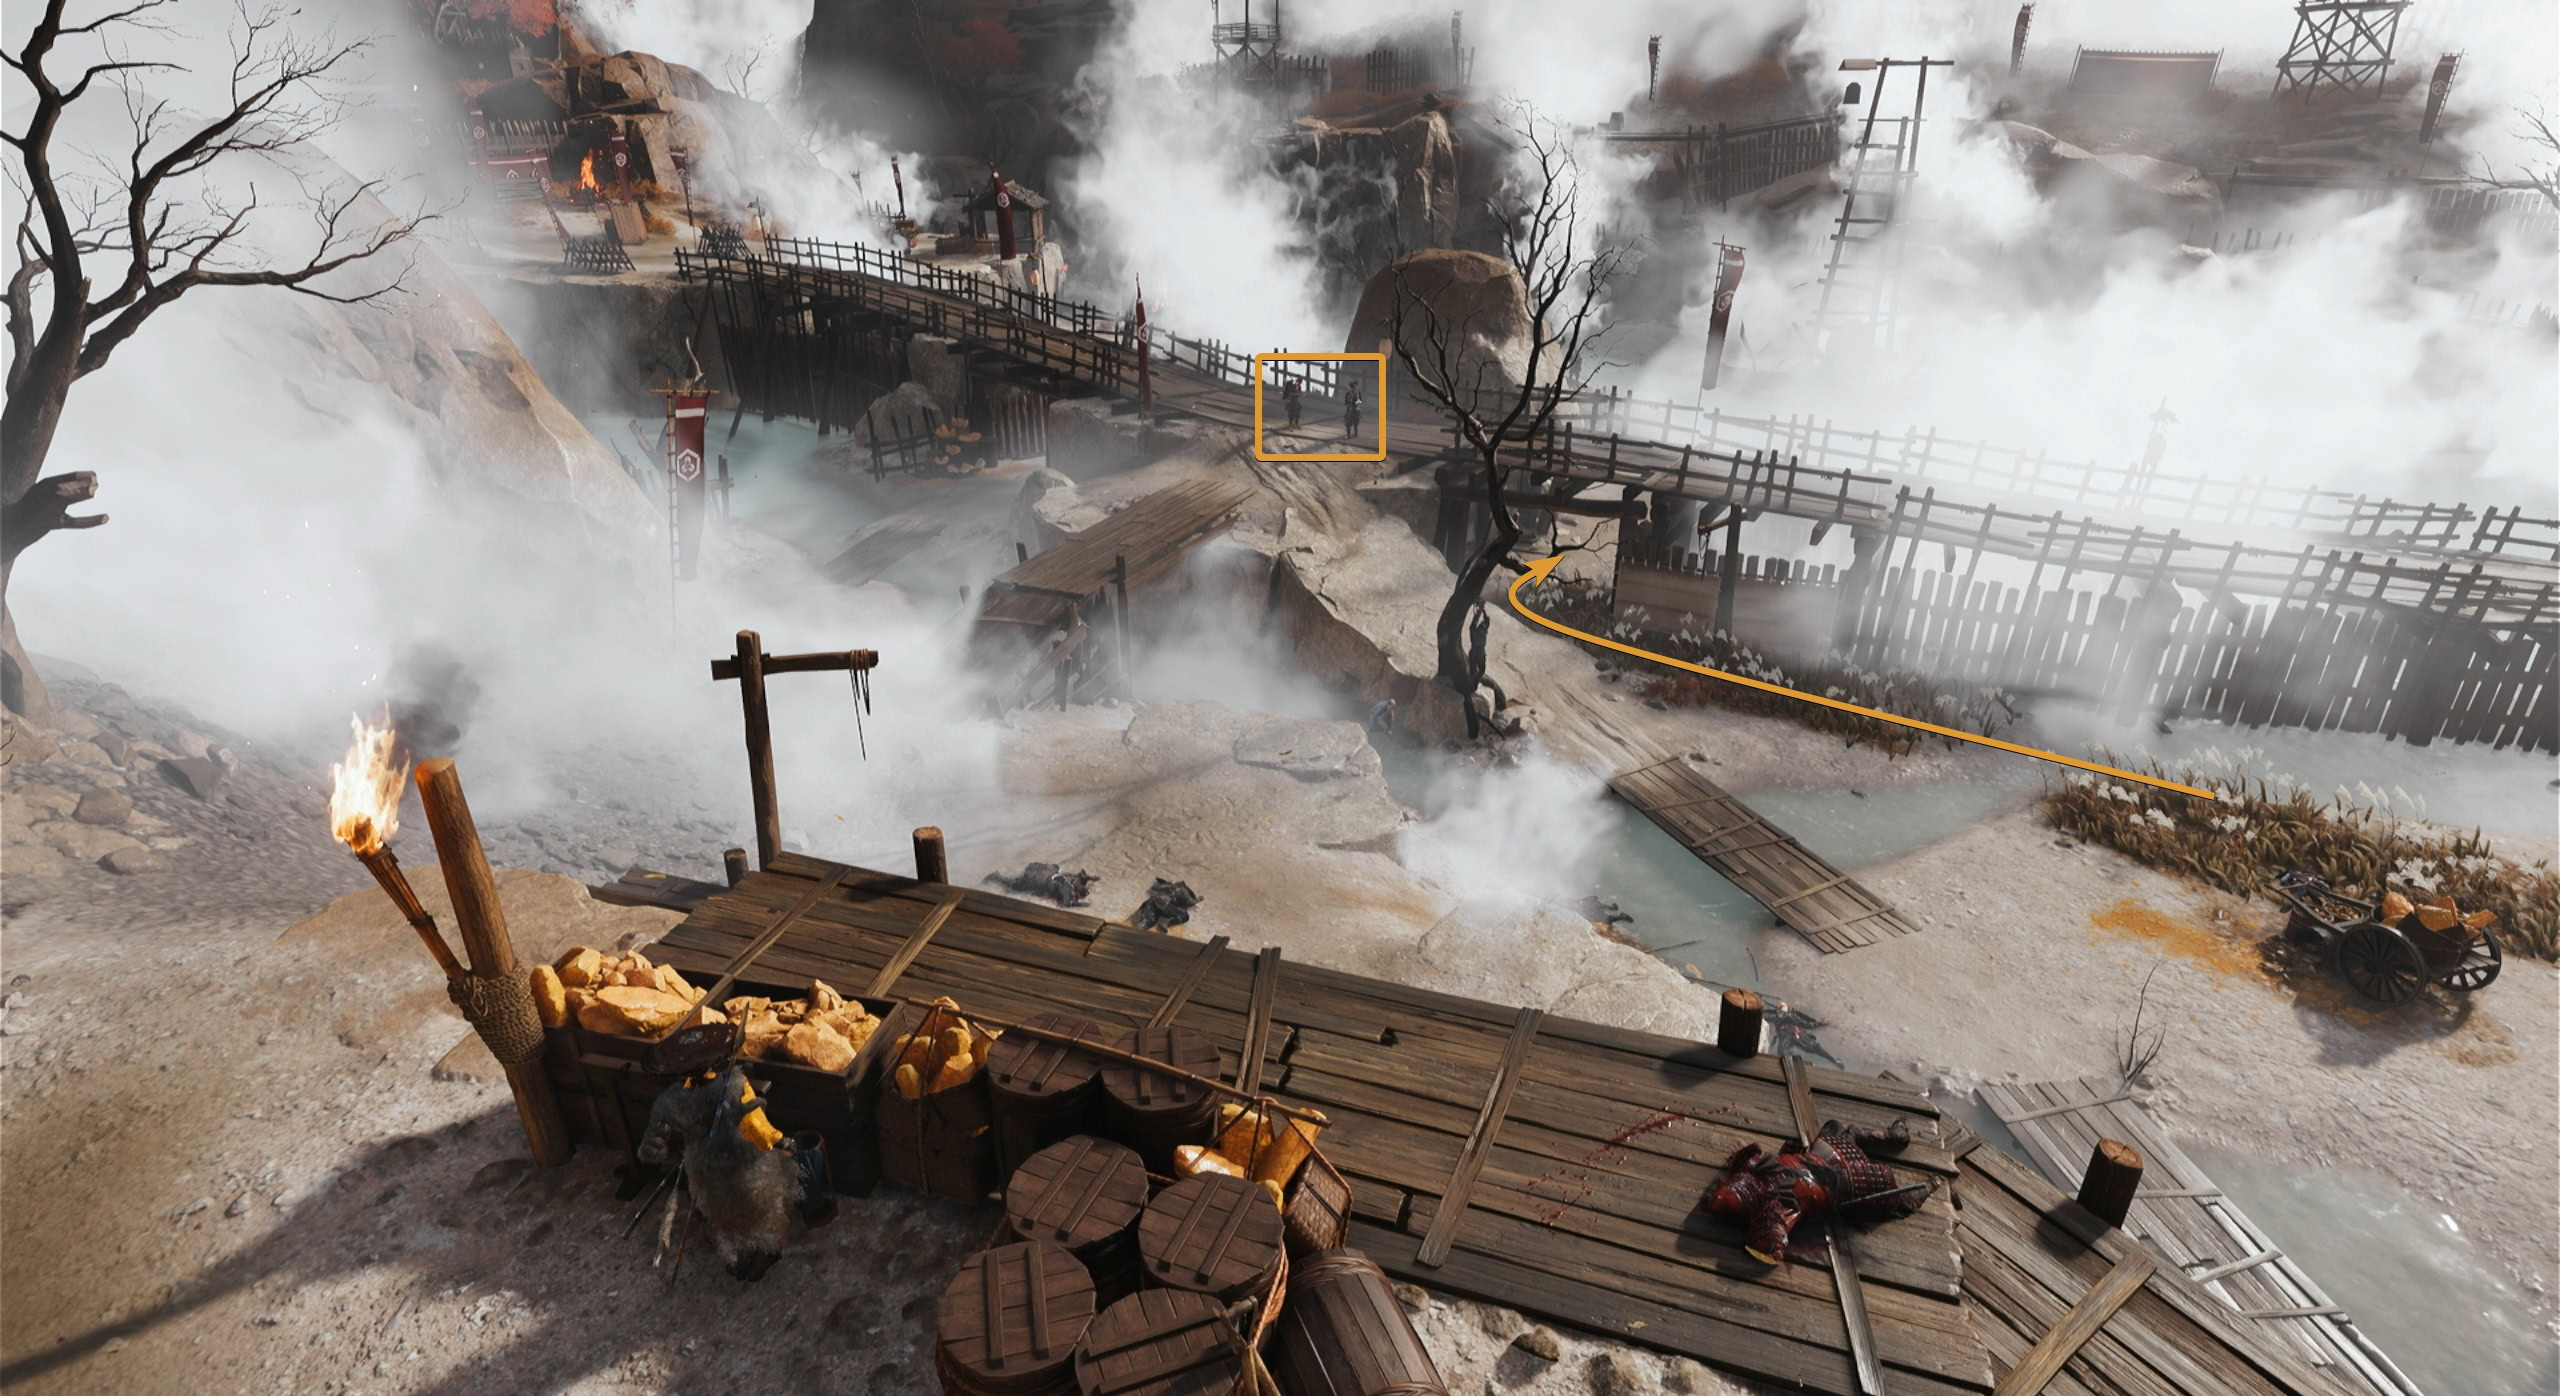
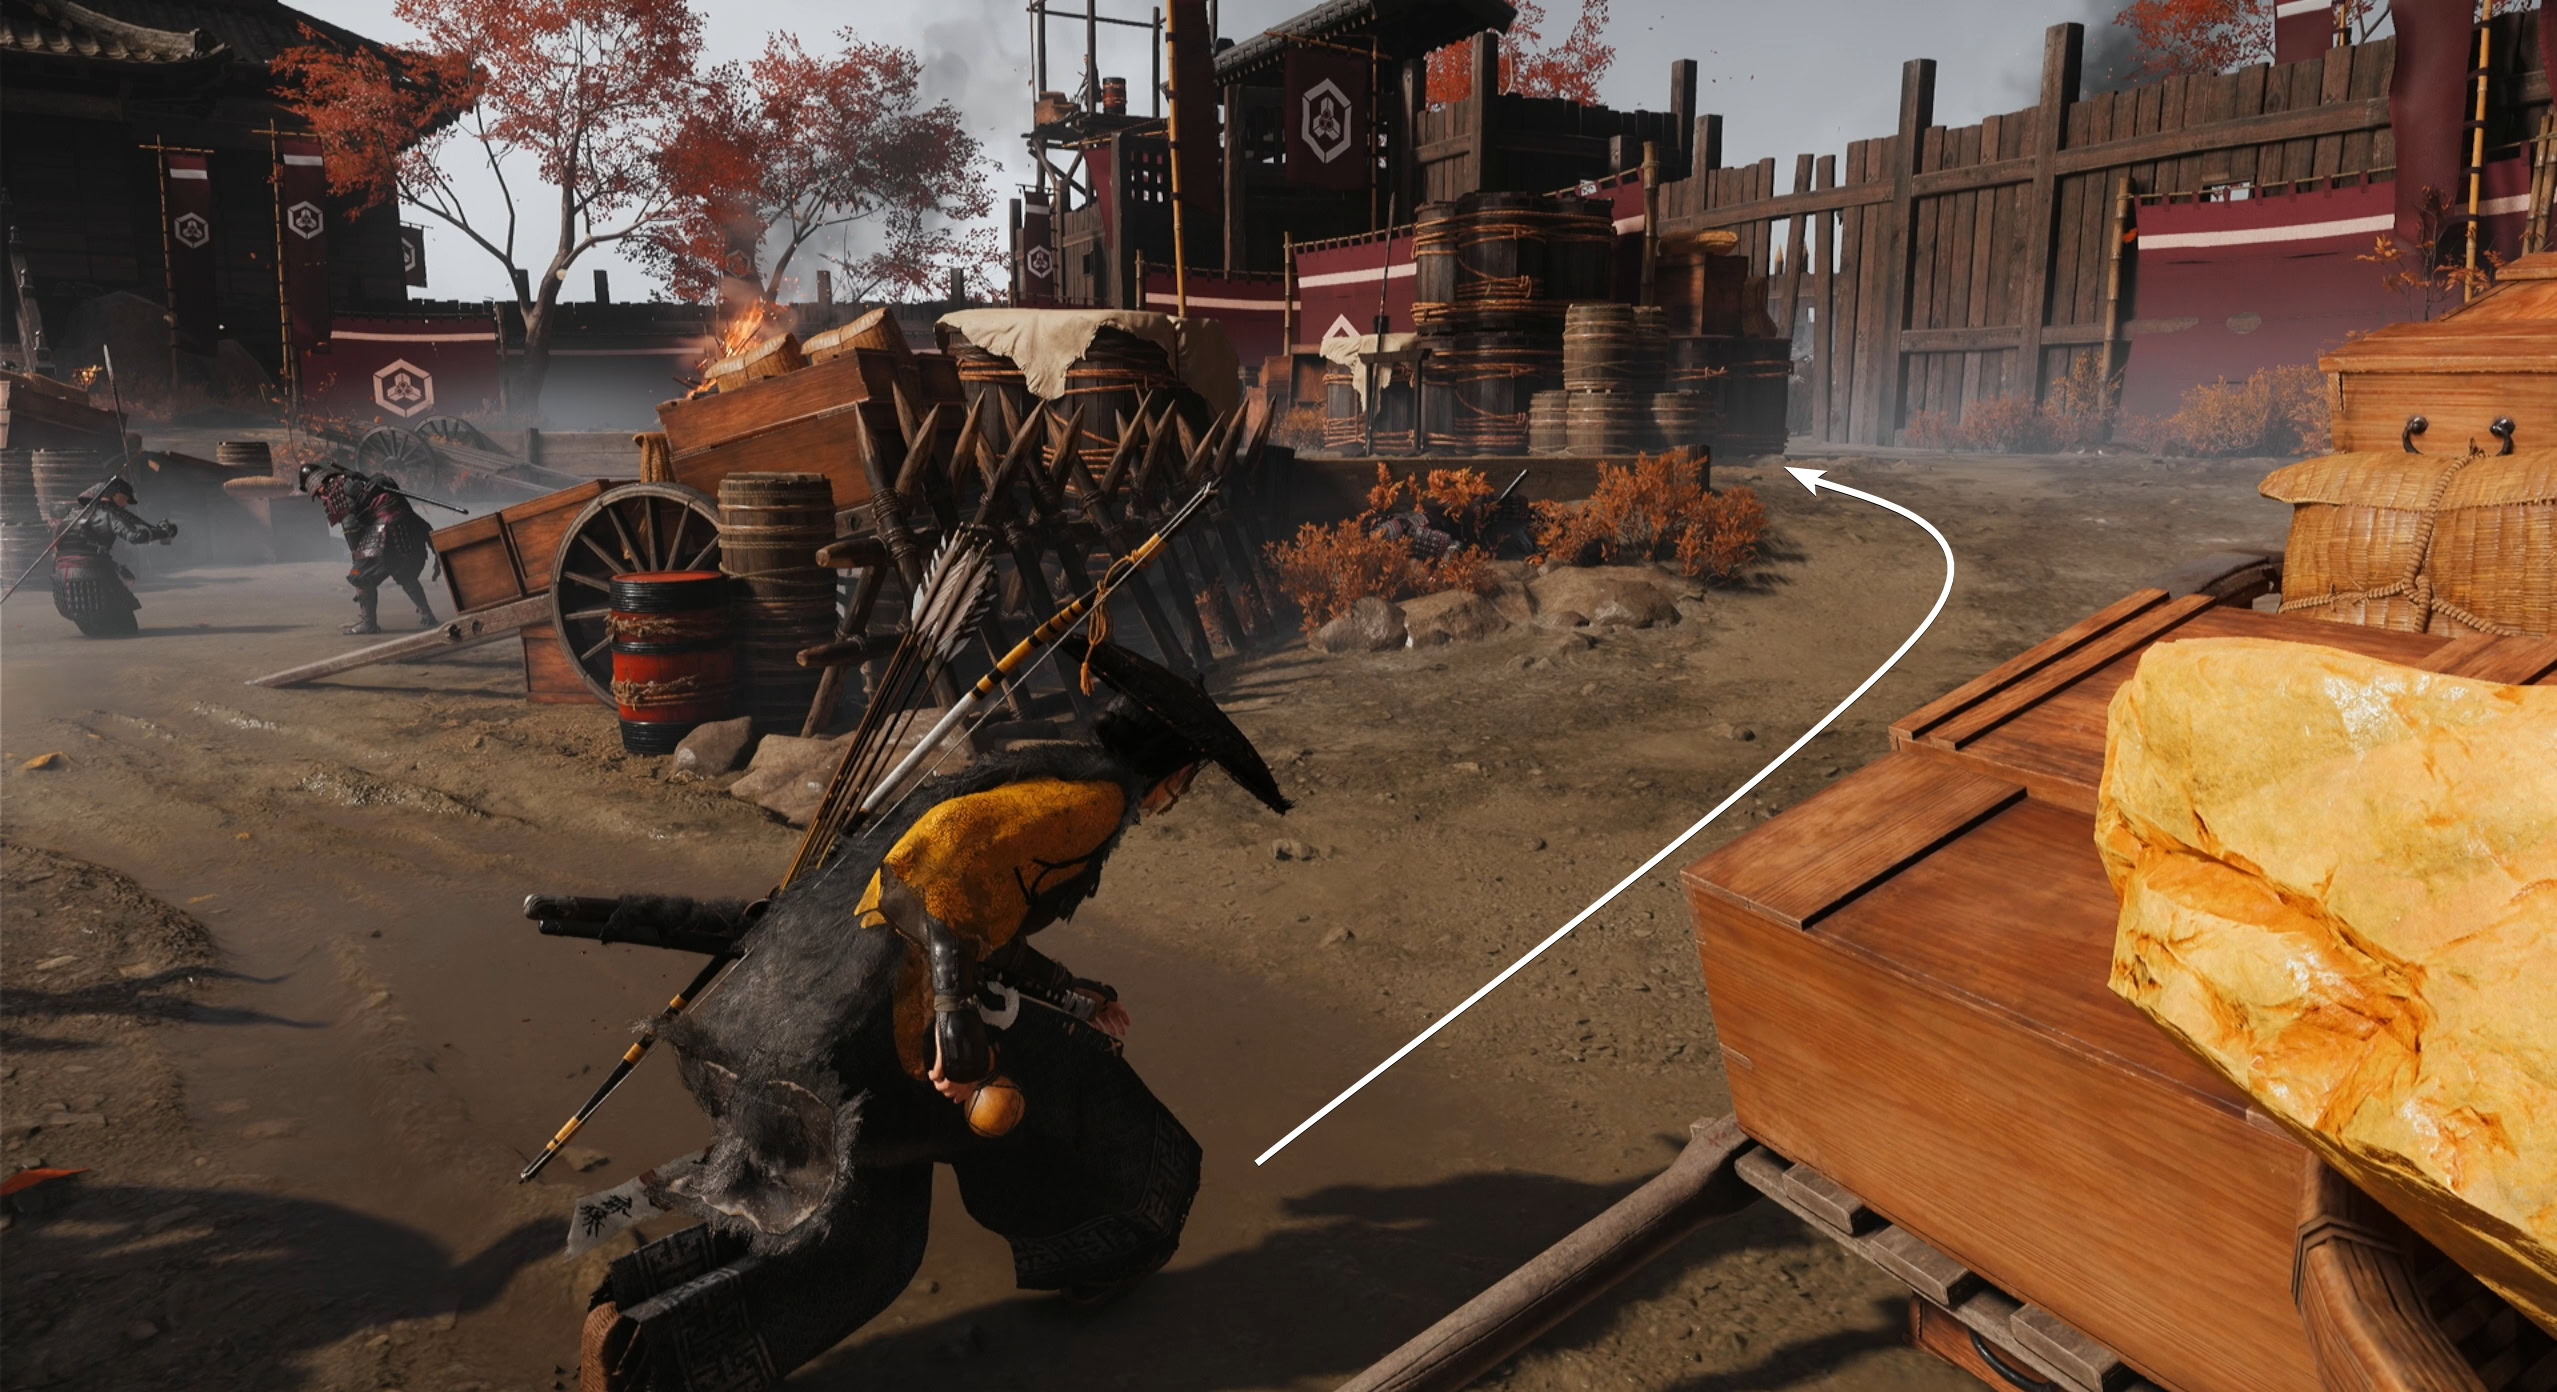
Once the area is clear, follow the right path past the small bridges and grass and go uphill. Swing across the wooden branch and climb up the ledge.
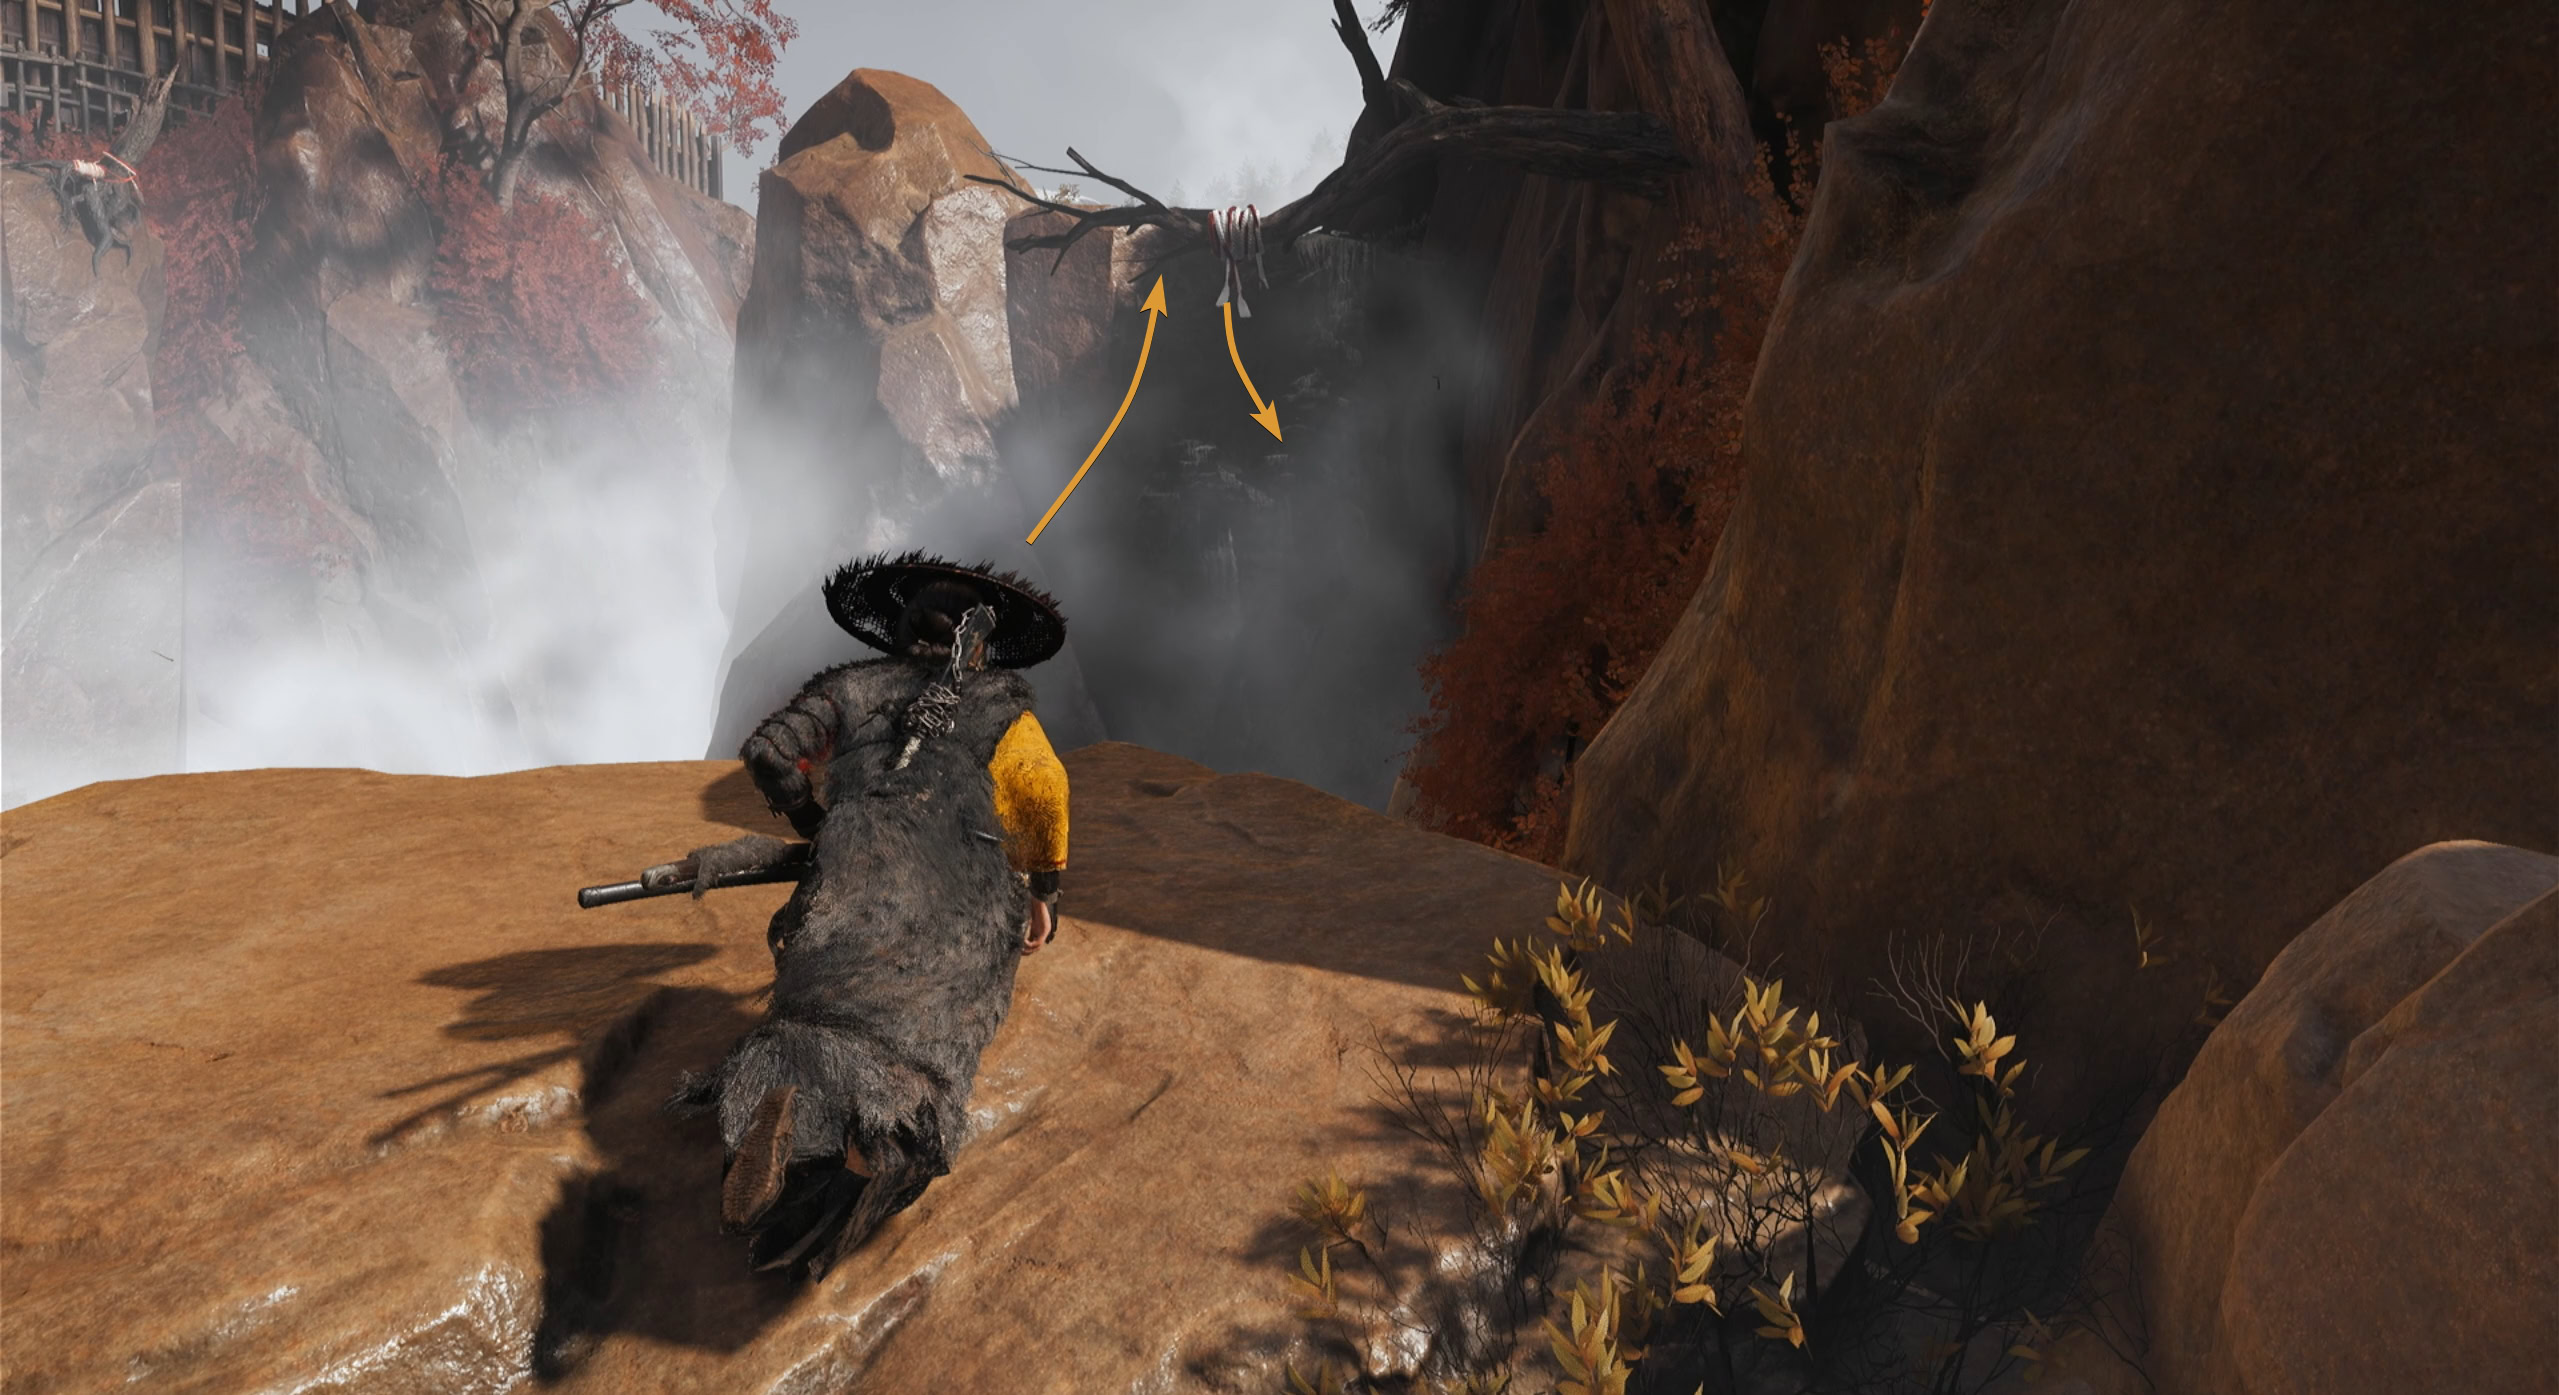
Proceed to jump off the ledge, grapple onto another tree branch, climb up, then go across the log that extends to Koga Fortress, and grapple onto the elevator platform.
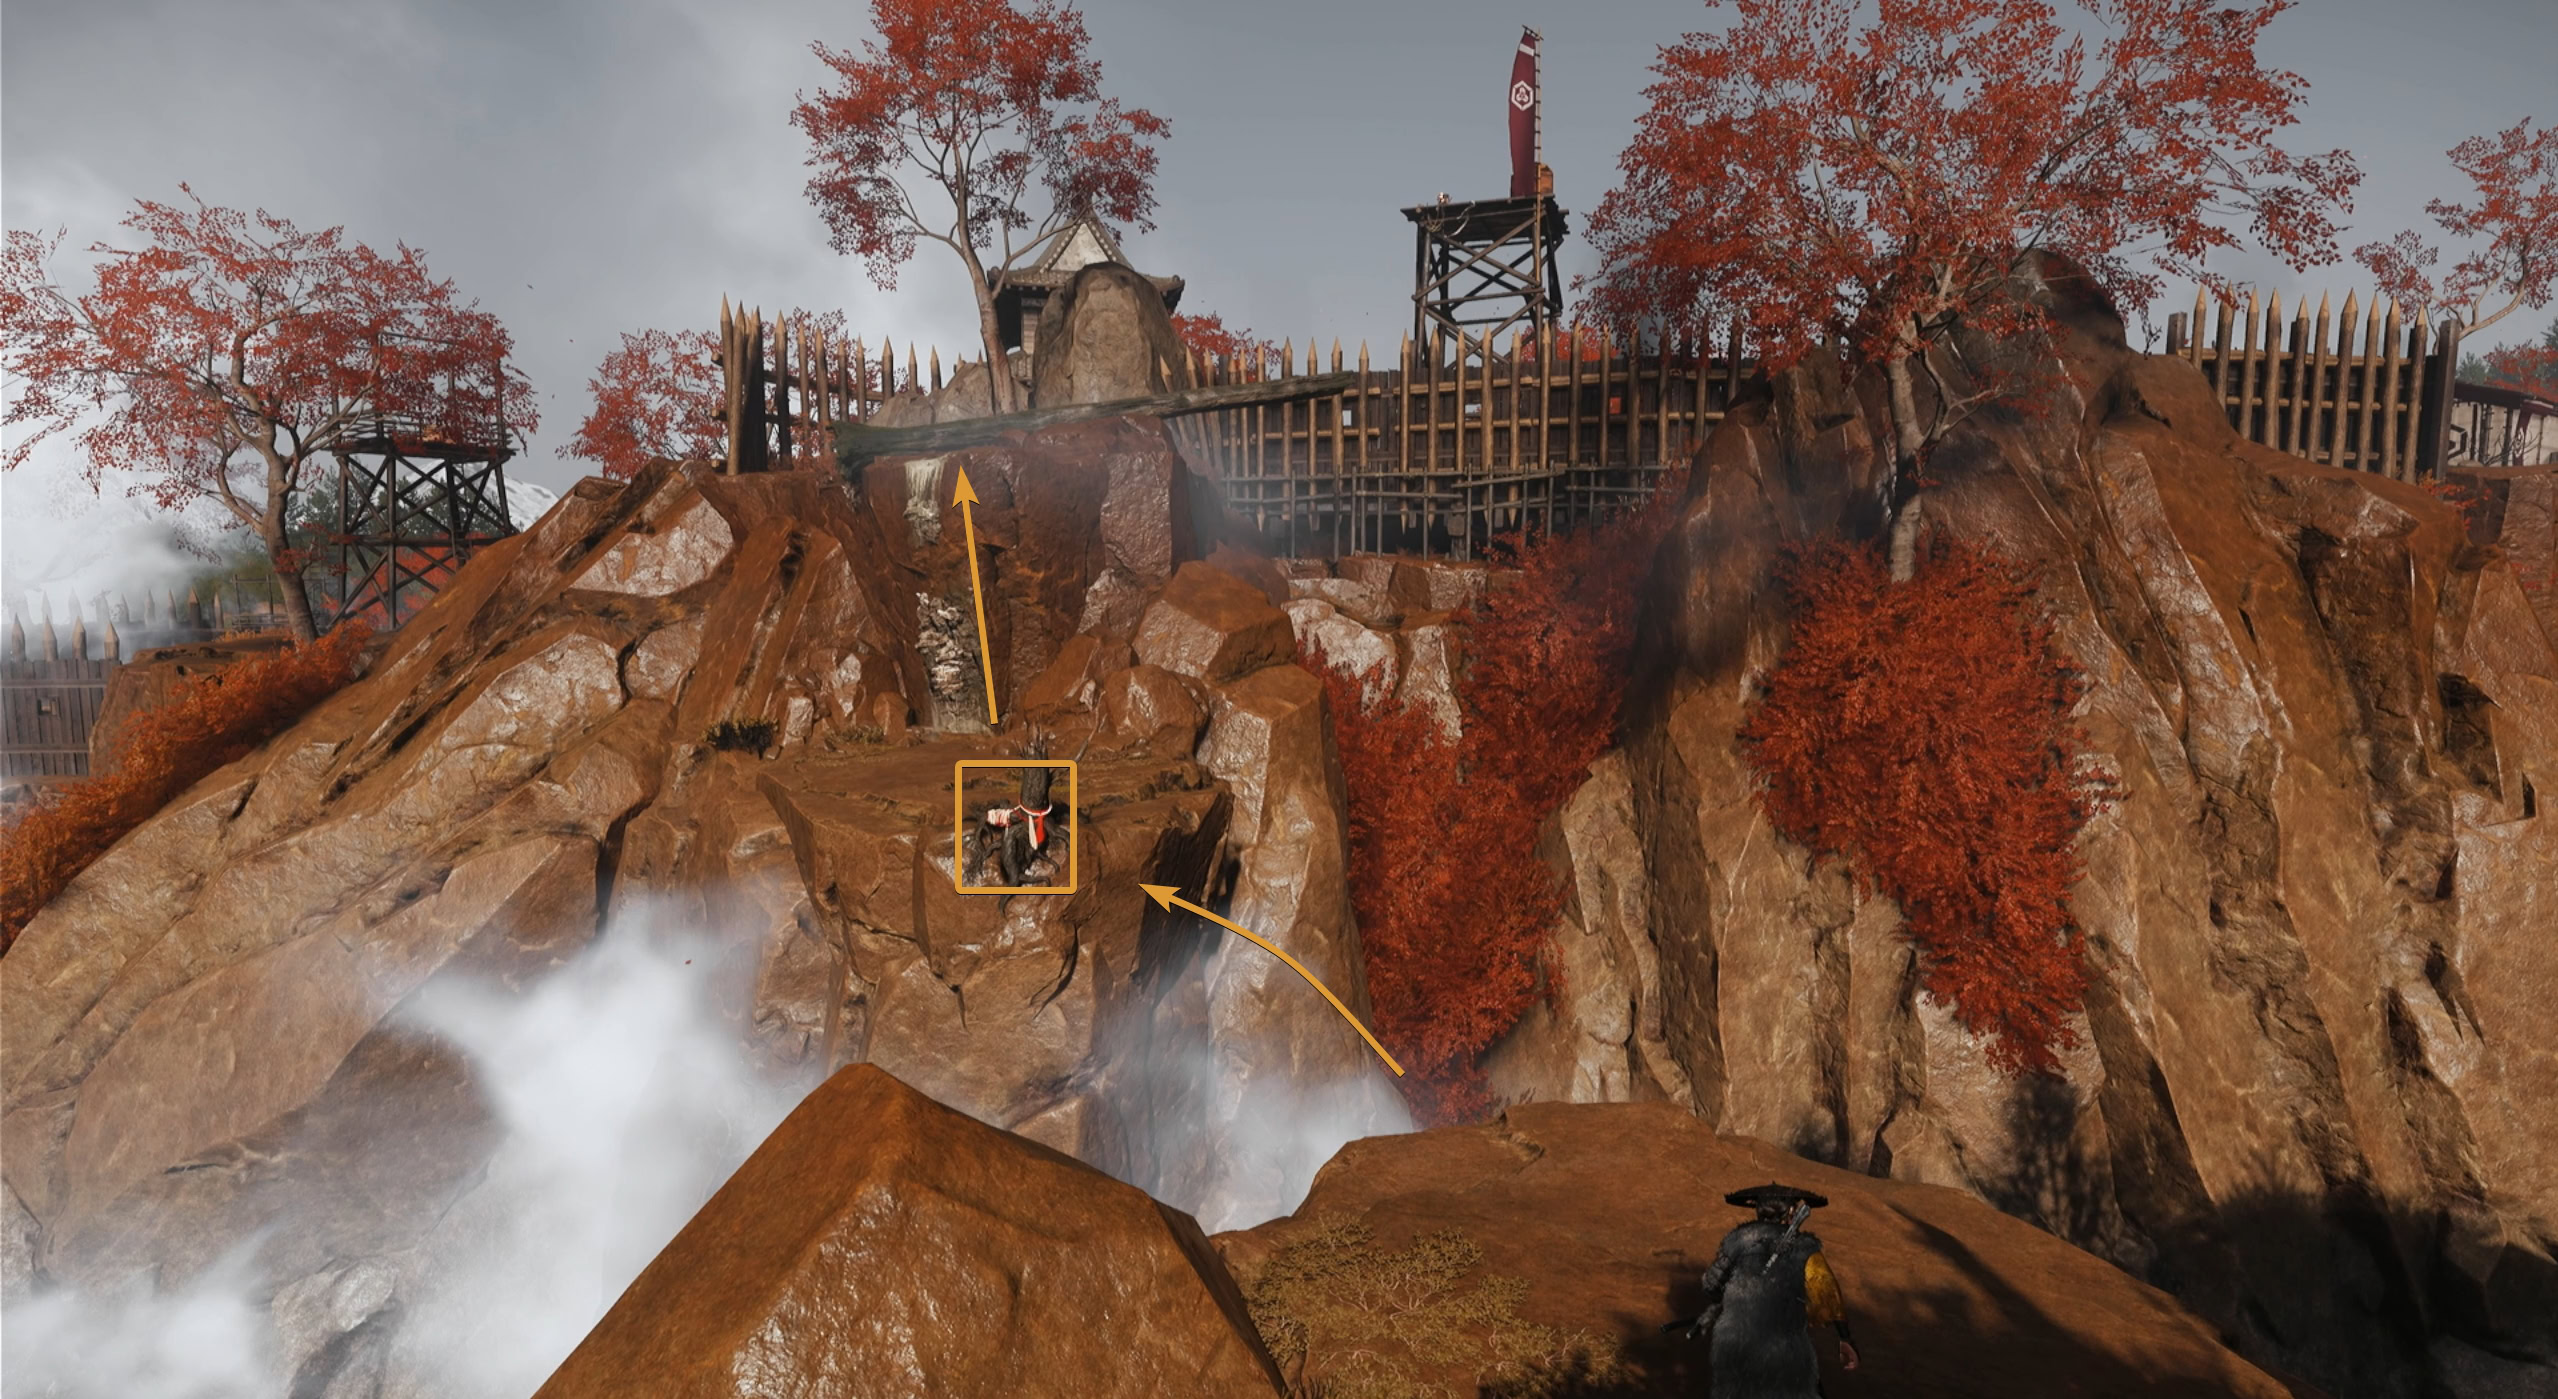
Pull out your spyglass and look slightly to the right to find the execution site. Jubei is being brought in for execution and you need to rescue him.
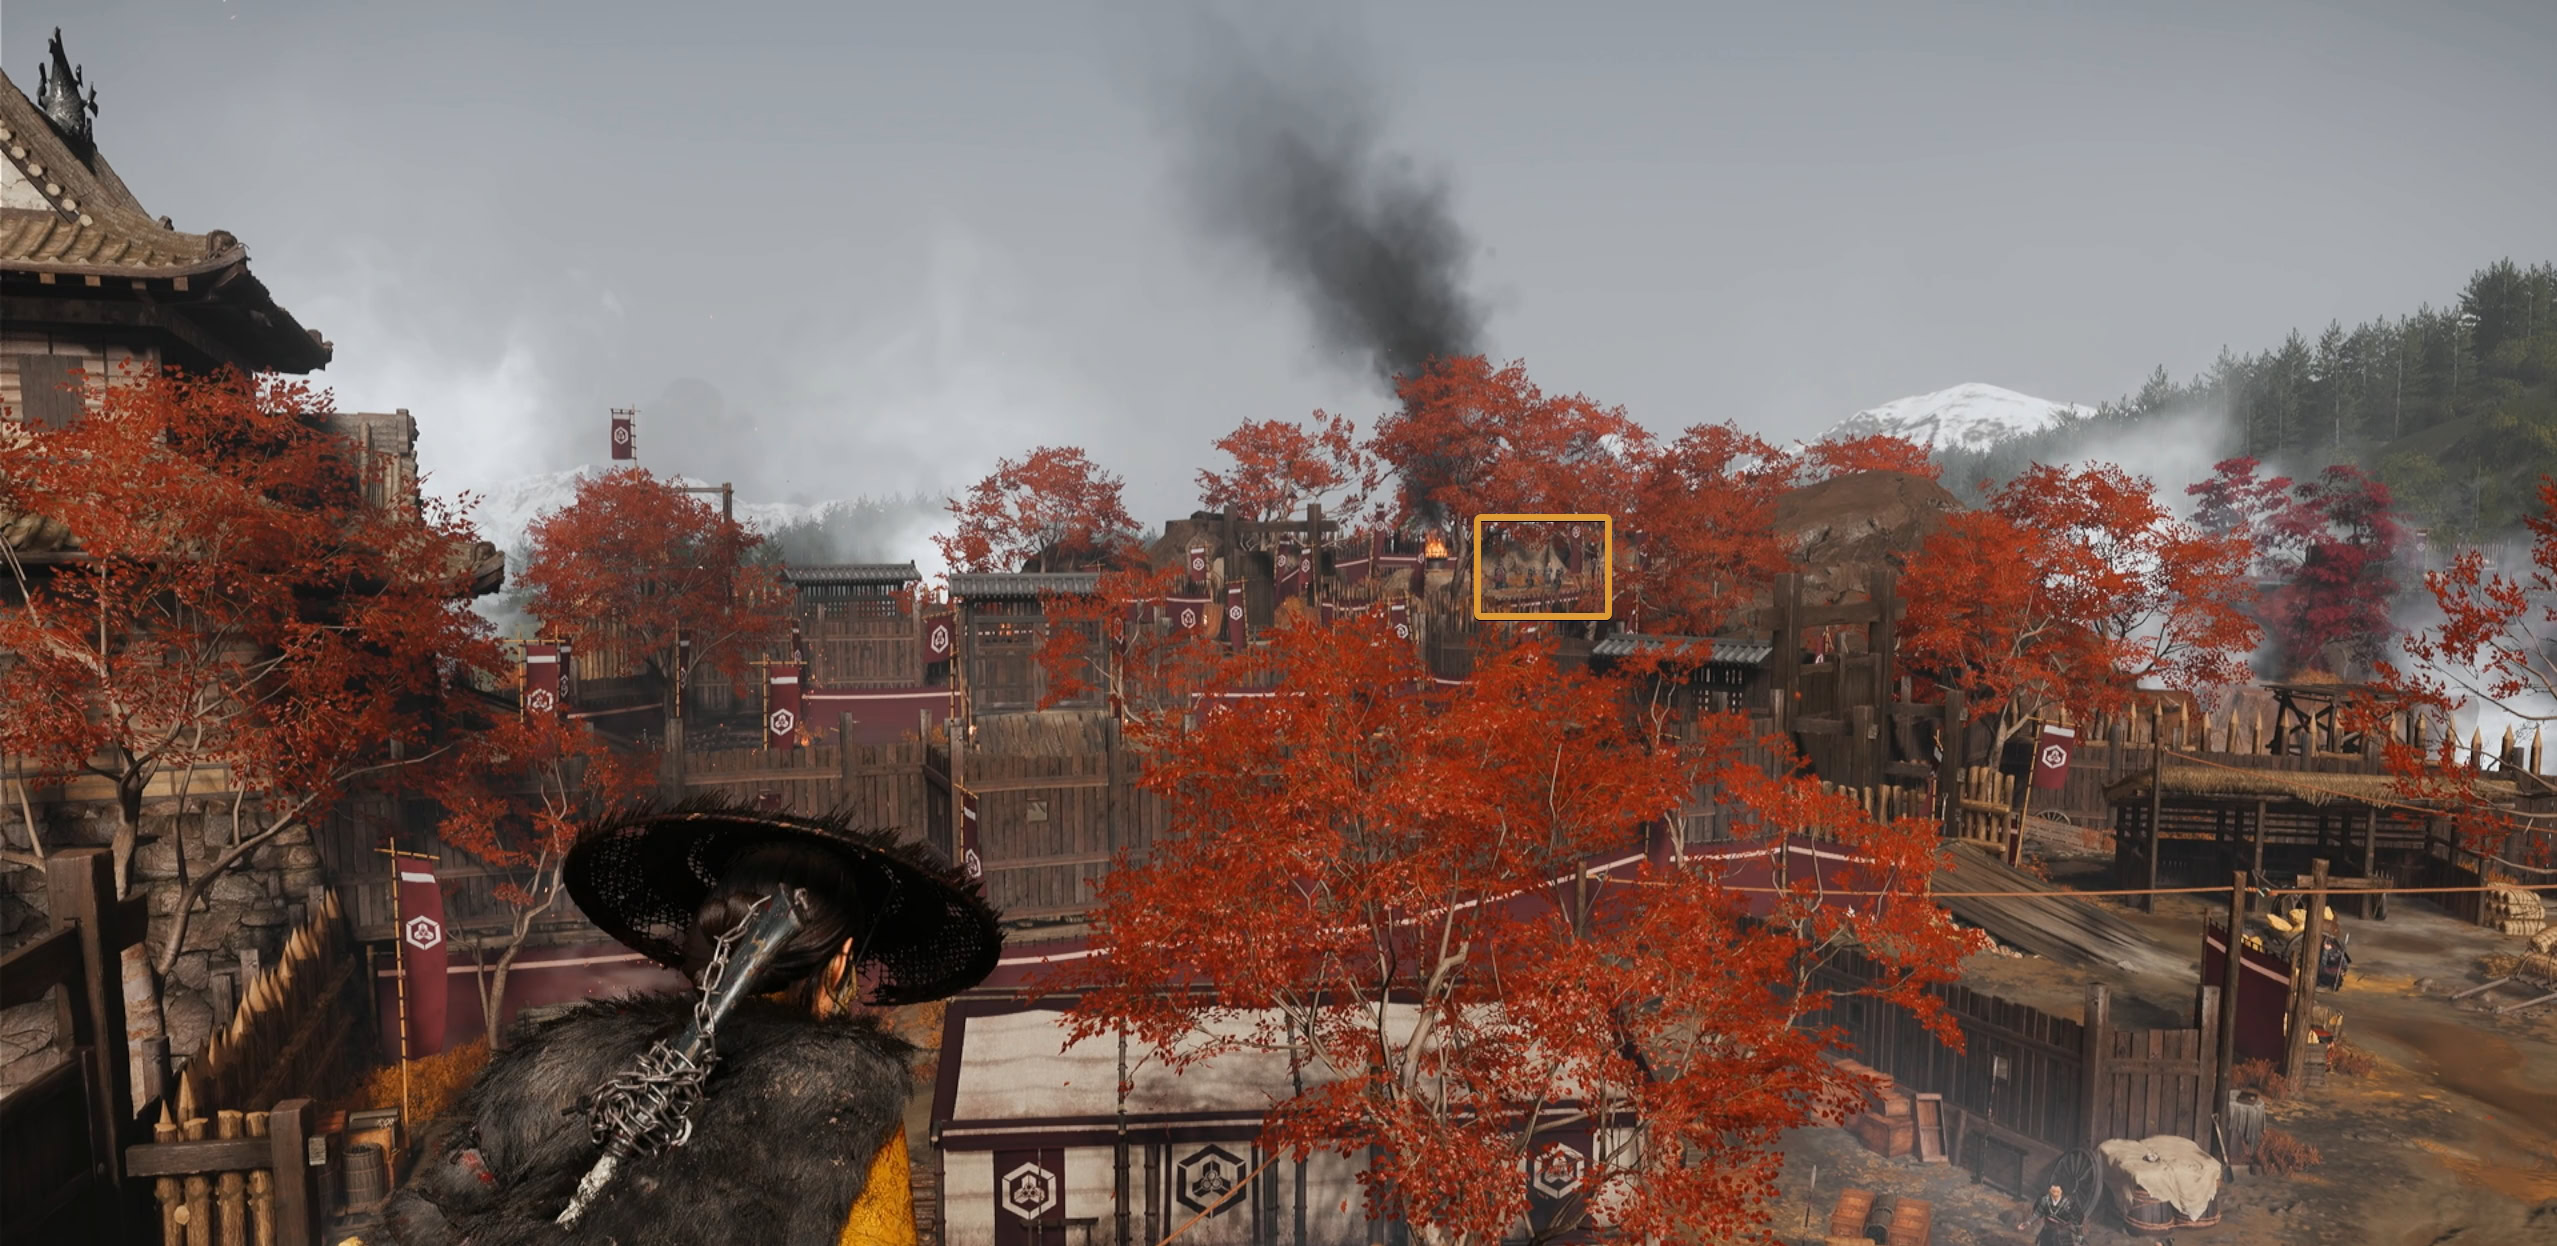
Rescue Jubei
It’ll be very hard to get through this next area without alerting anyone, so a good way to clear it out is with smoke bombs.
If you’re surrounded, pop smoke bombs to assassinate whoever you can and repeat this process until the area is clear. When their numbers are more manageable, you can defeat them, saving smoke bombs for later.
Loot the area for supplies then head through the wooden gate and crouch down behind the crate with sulfur in it.
To sneak your way through, go to the right and hide behind the crates. Pull out your yumi and headshot the soldier in front of you. Stay elevated and don’t jump down to snipe the soldier.

Look at your feet to find an empty sake bottle. Grab it and jump down the small ledge, then throw the sake jar to distract the soldier to your left. Once he turns around and walks away, run past the soldier you sniped earlier.
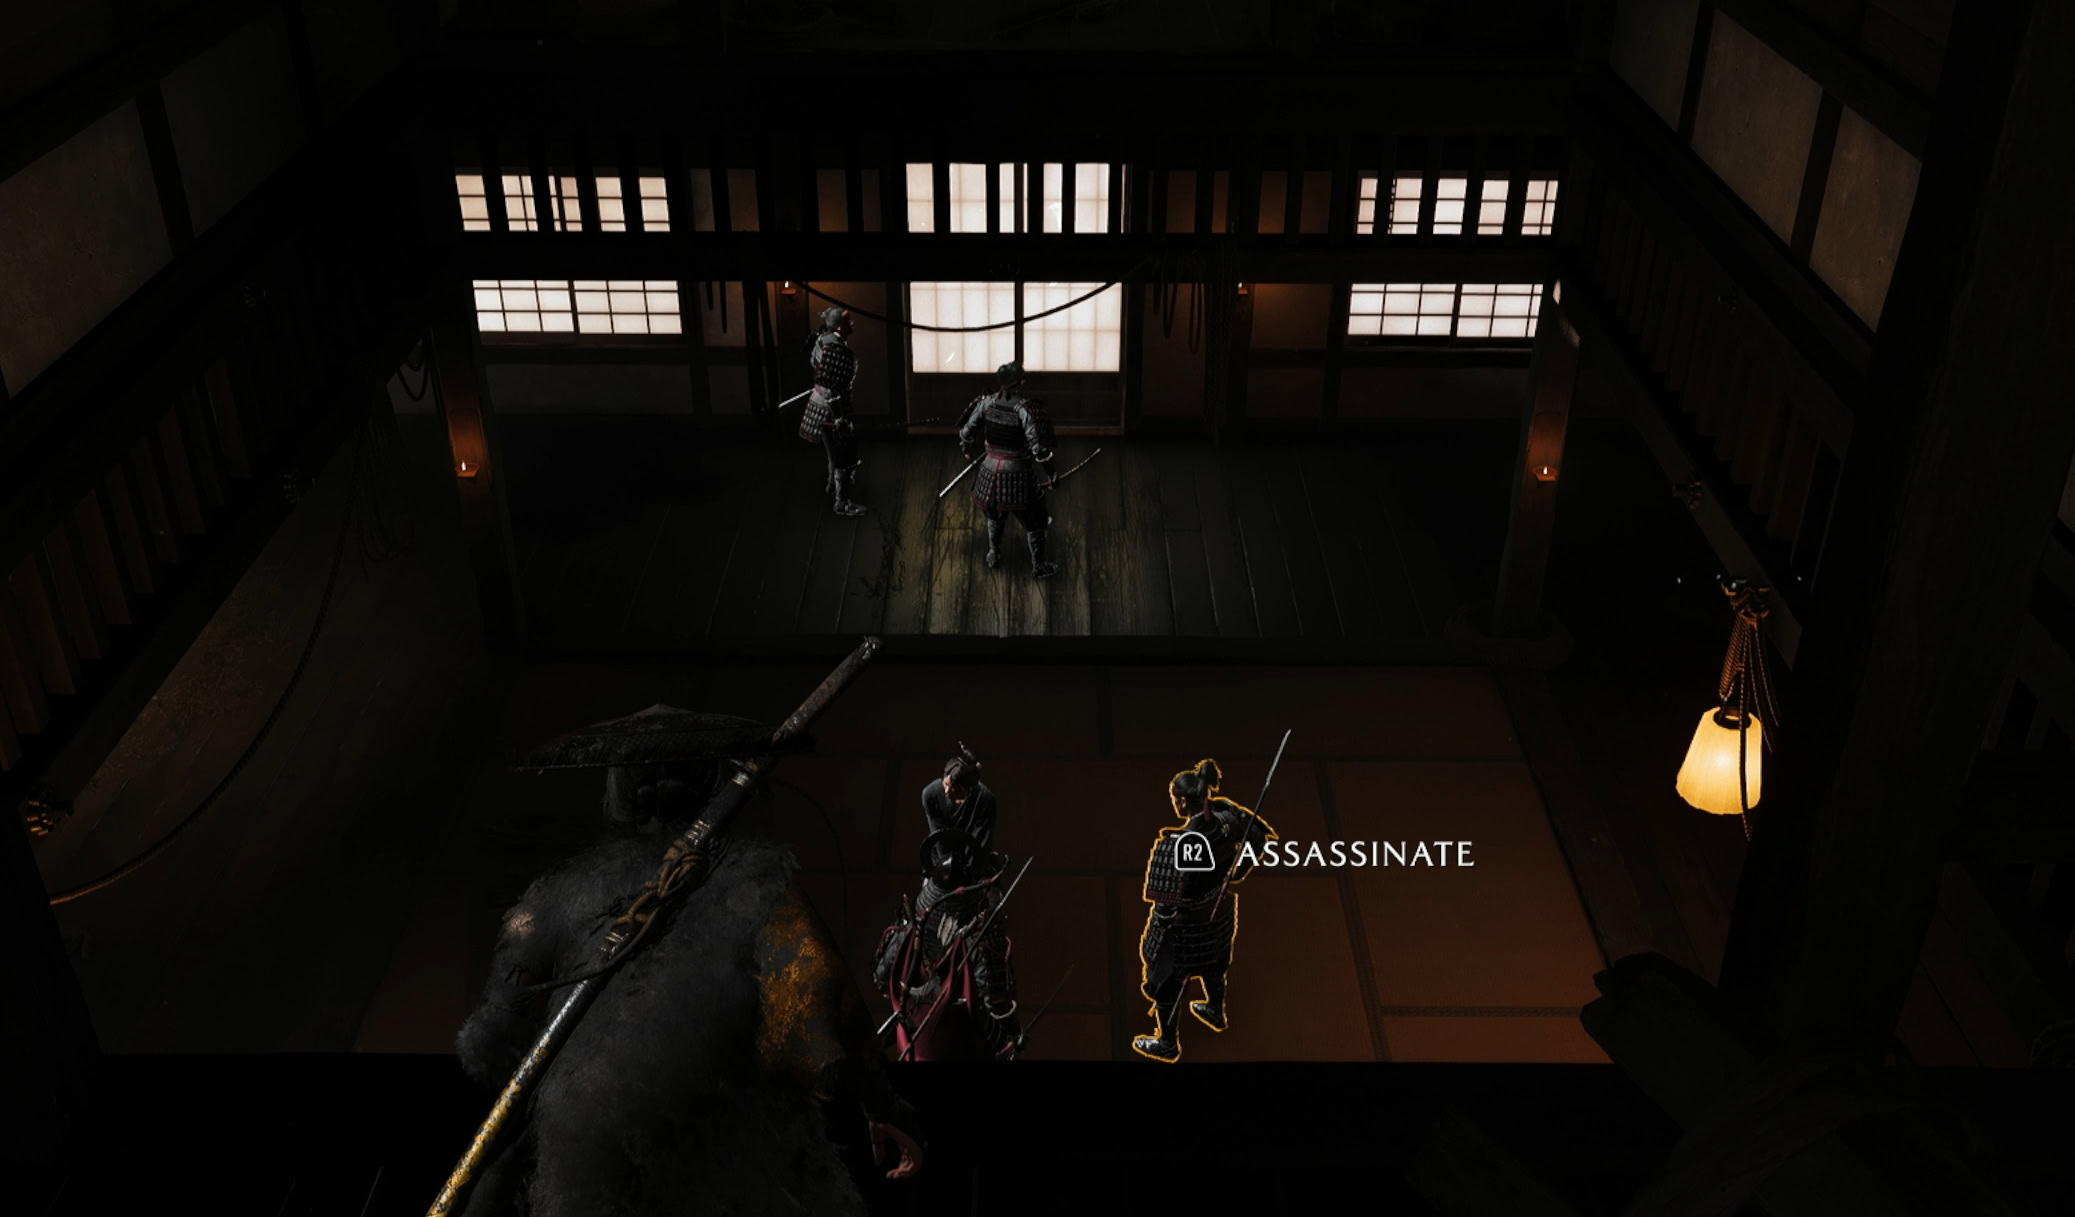
Assassinate the soldier behind the cloth walls and squeeze through the crack in the fence. Remain crouched in the tall grass to avoid detection.
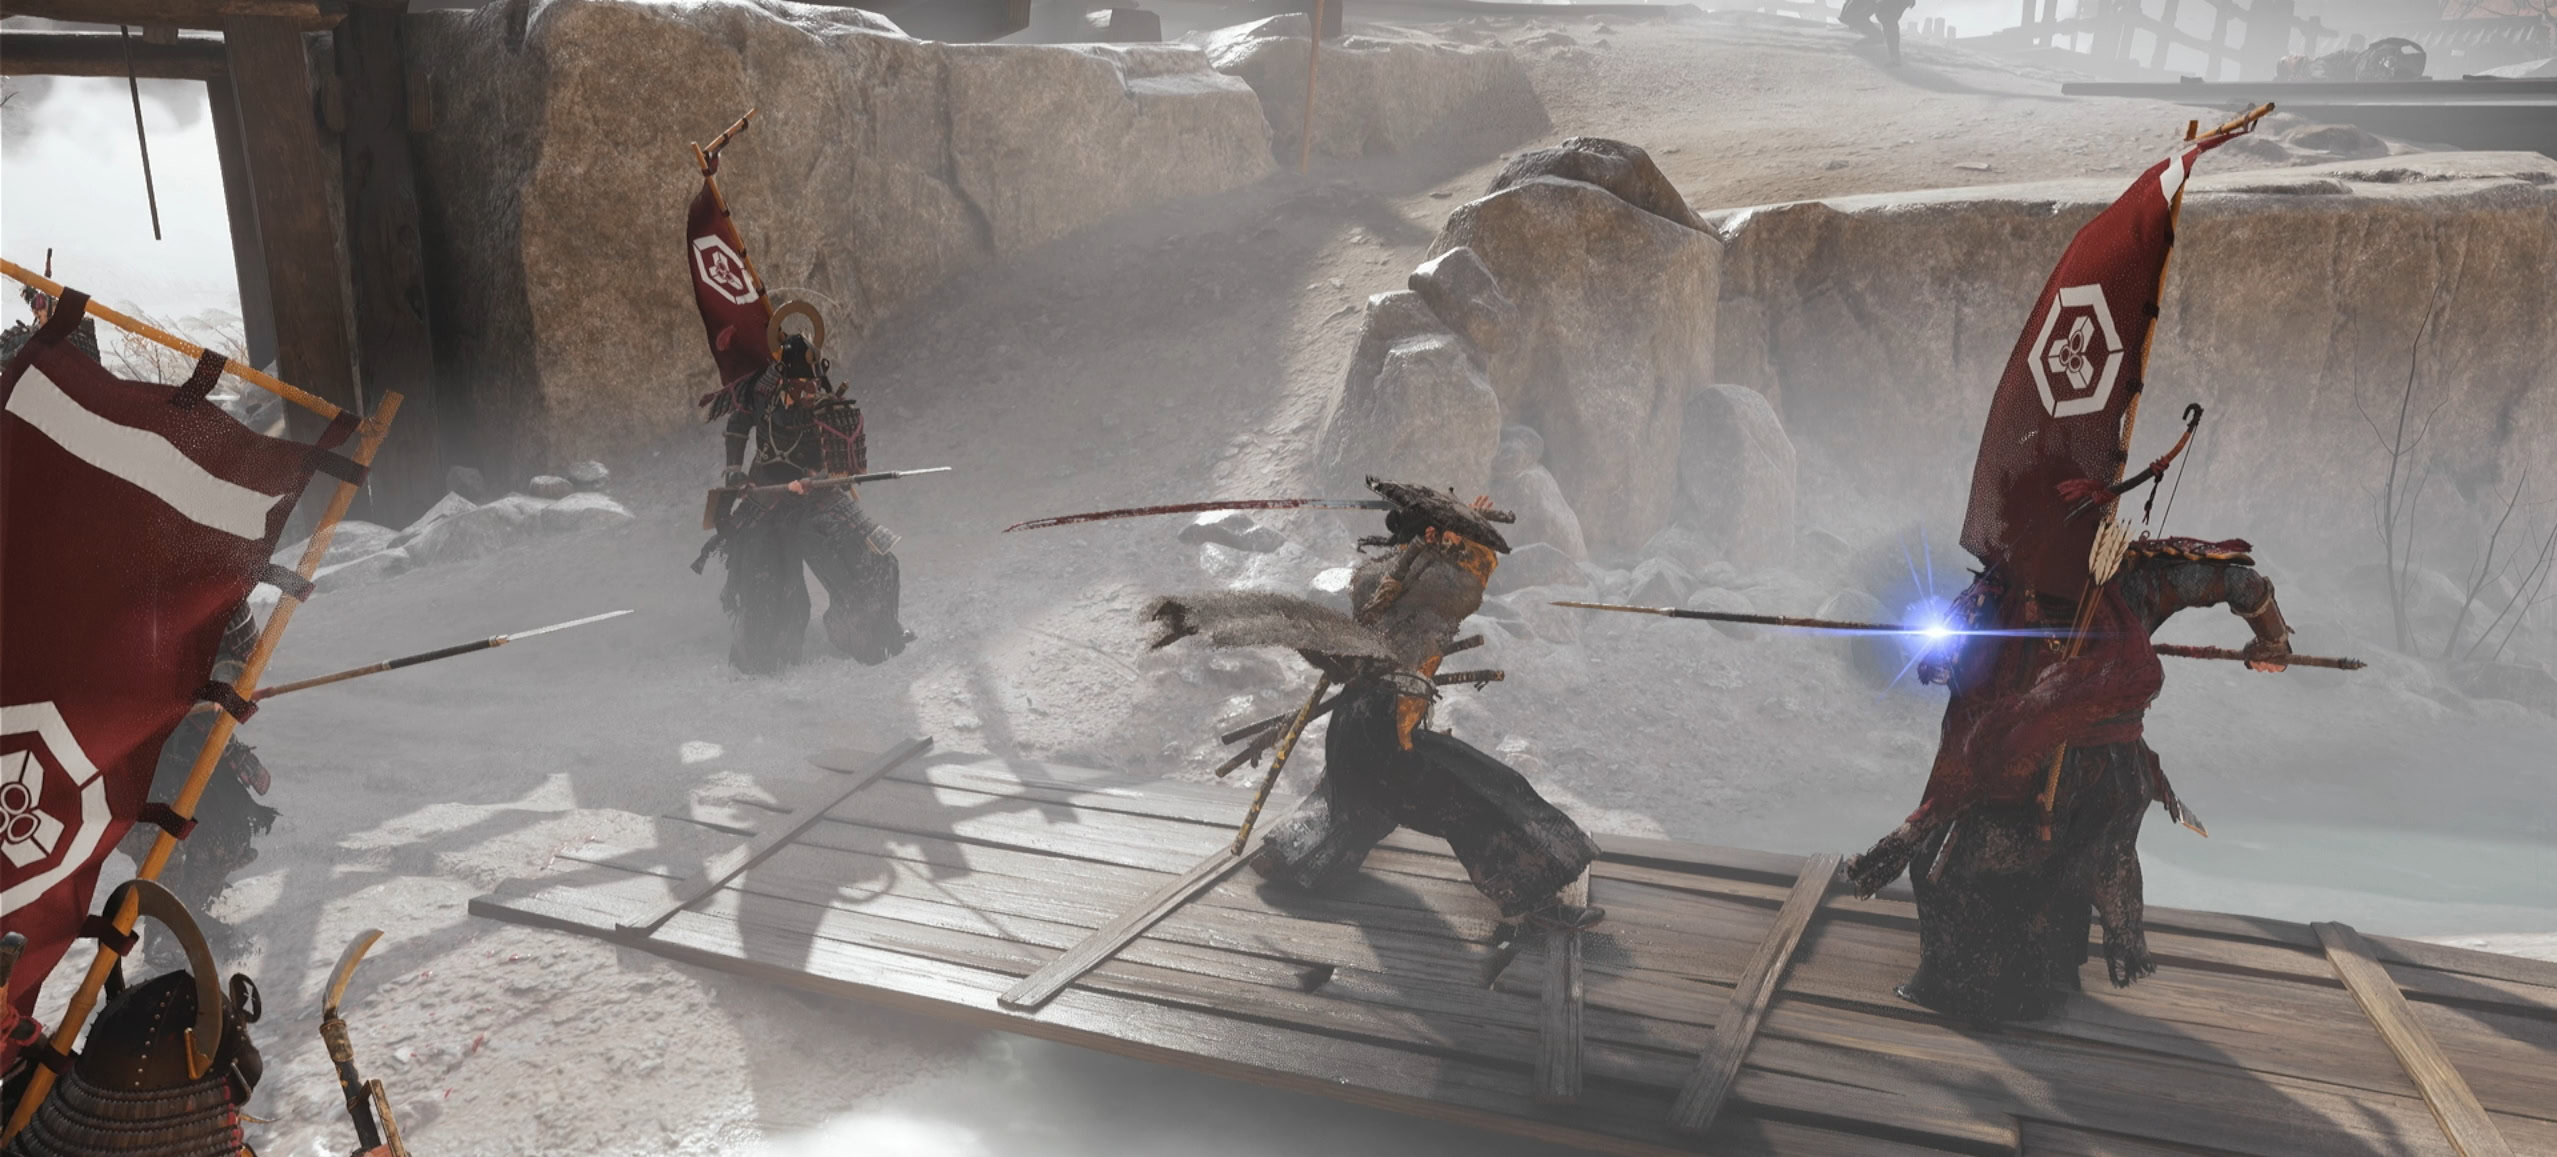
Ahead of you are three soldiers, feel free to kill them as you see fit. Ideally, you’ll want to chain assassinate them if you have the upgrade. Once they’re dead, go up the ramp to the right and open the gate.

When you reach the other side, use Ghost Stance and kill all the soldiers in the area. A cutscene will start and you can begin working to rescue Oyuki.

Reach Oyuki at the Upper Keep
With Jubei safe, squeeze through the fence and survey the area full of waterfalls ahead. Observe the tower to the left, the chest near the log near the waterfalls, and the gate leading into the fort on the right.
Follow the path with Jubei to reach the gate, and loot that yellow chest past the log. Stand off against the soldiers with Jubei then finish off everyone else.
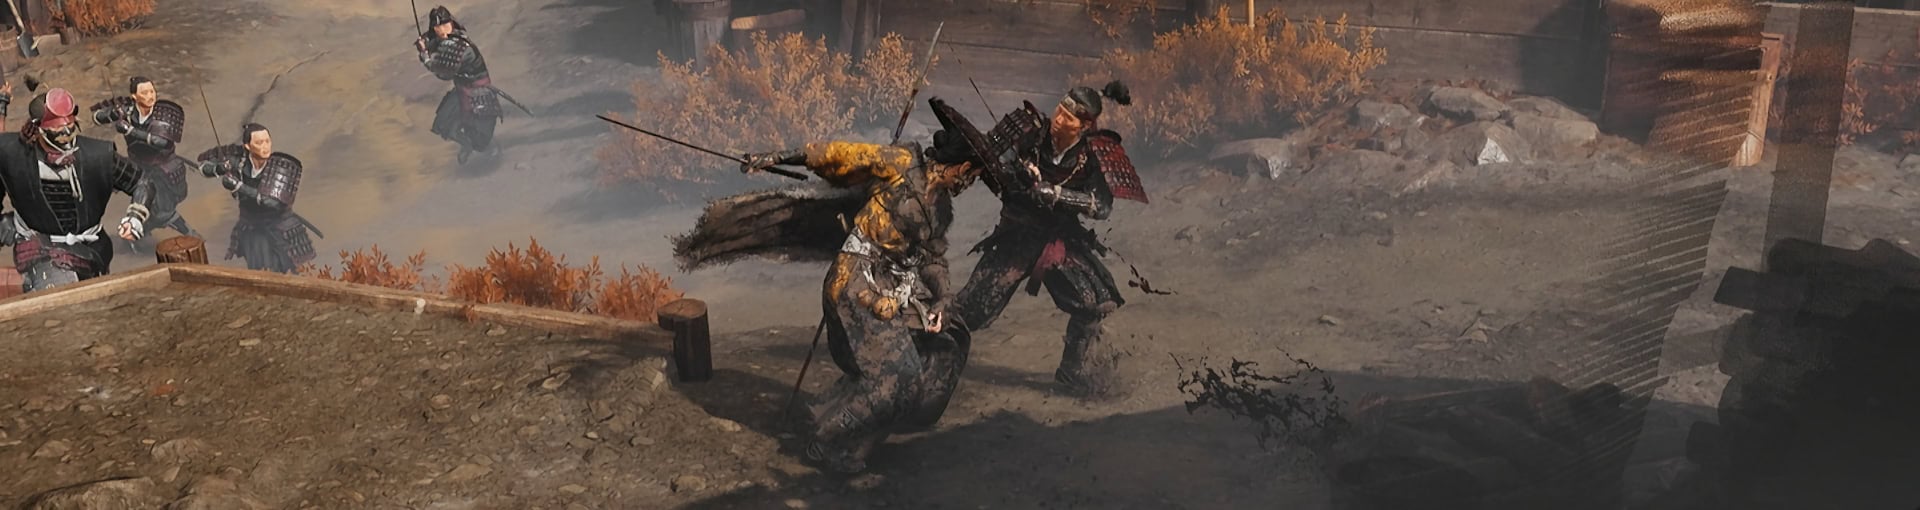
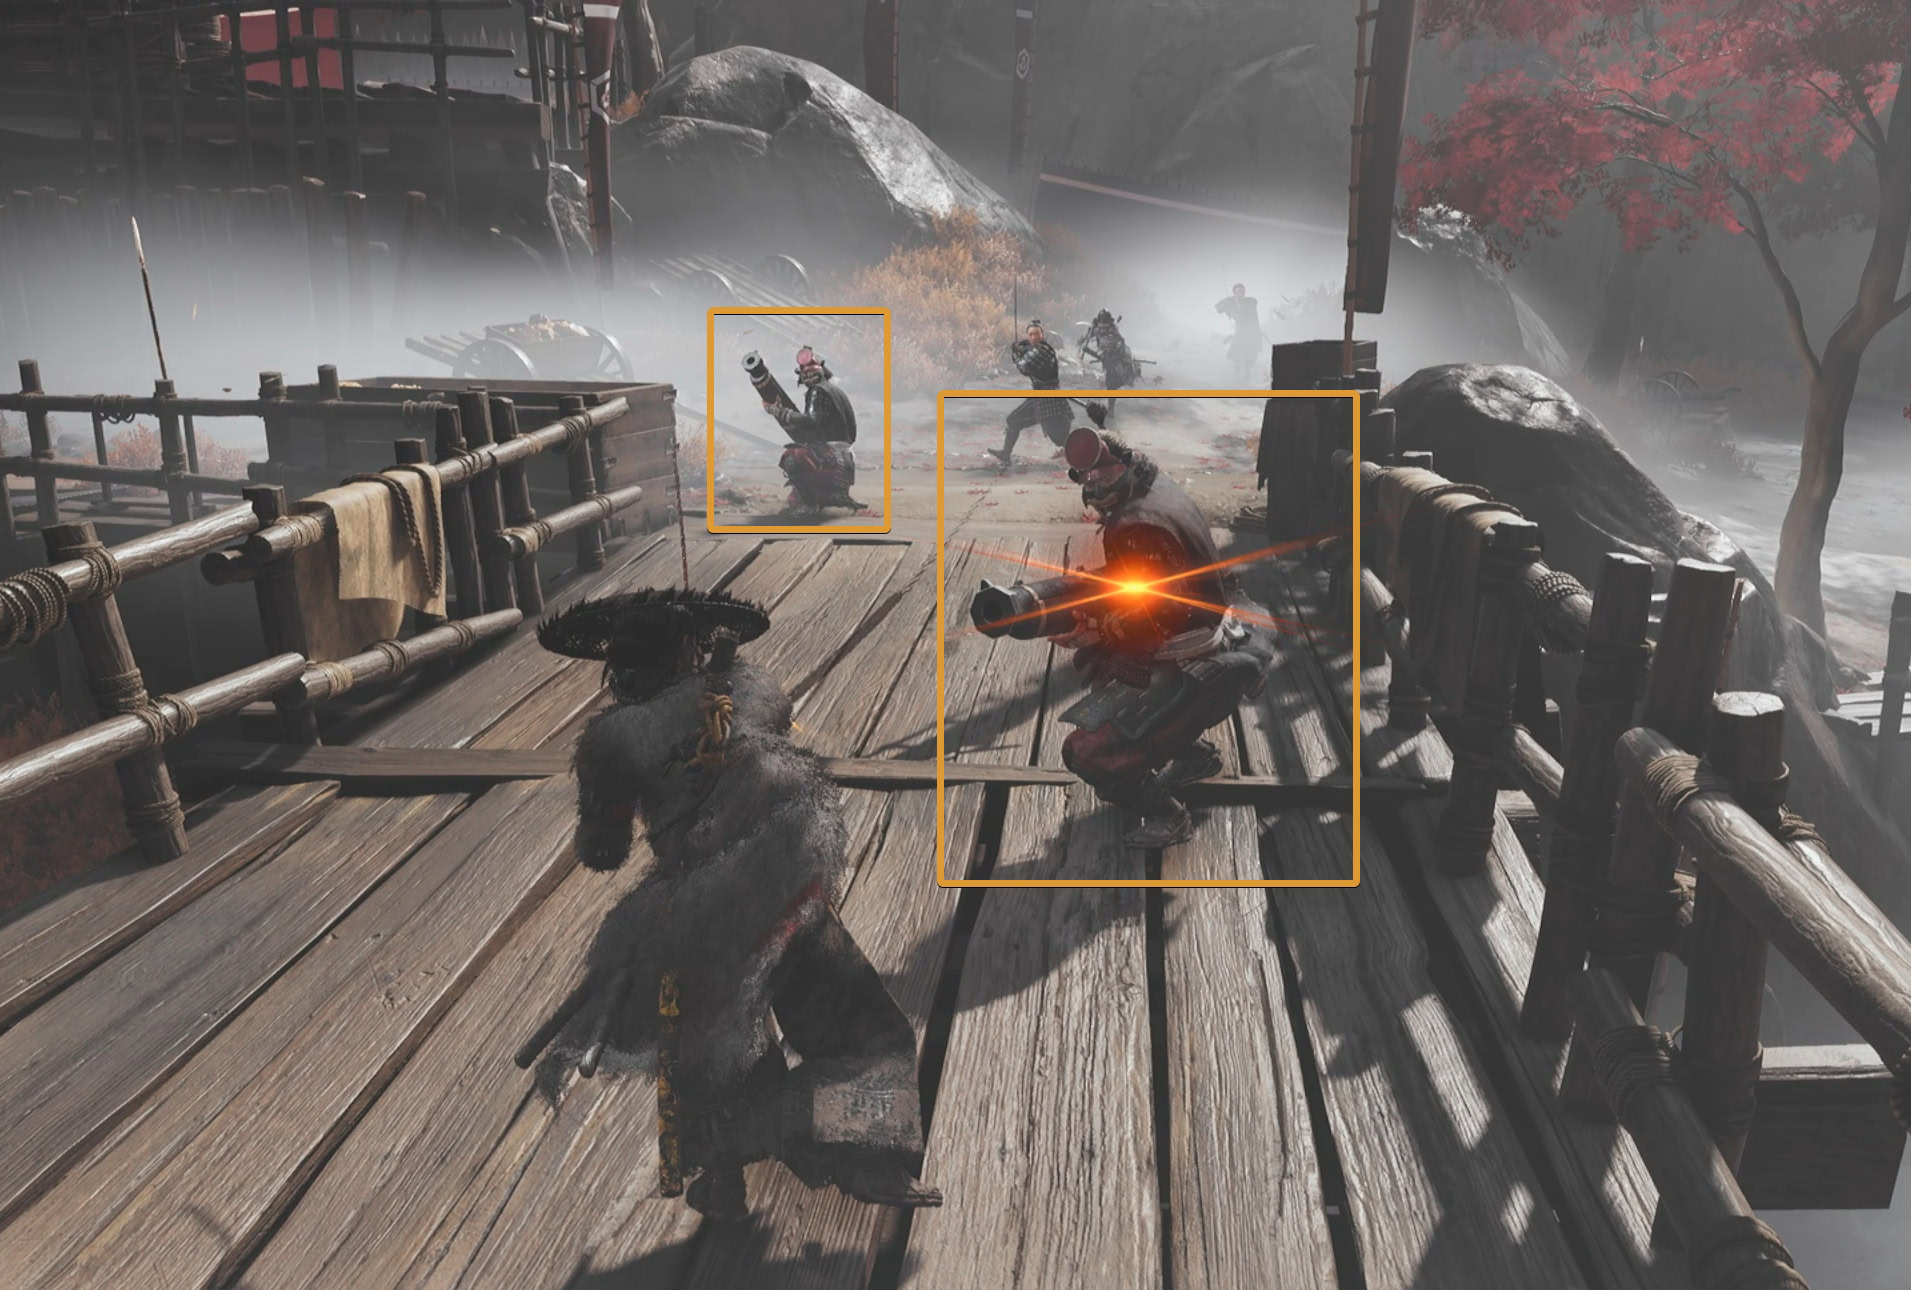
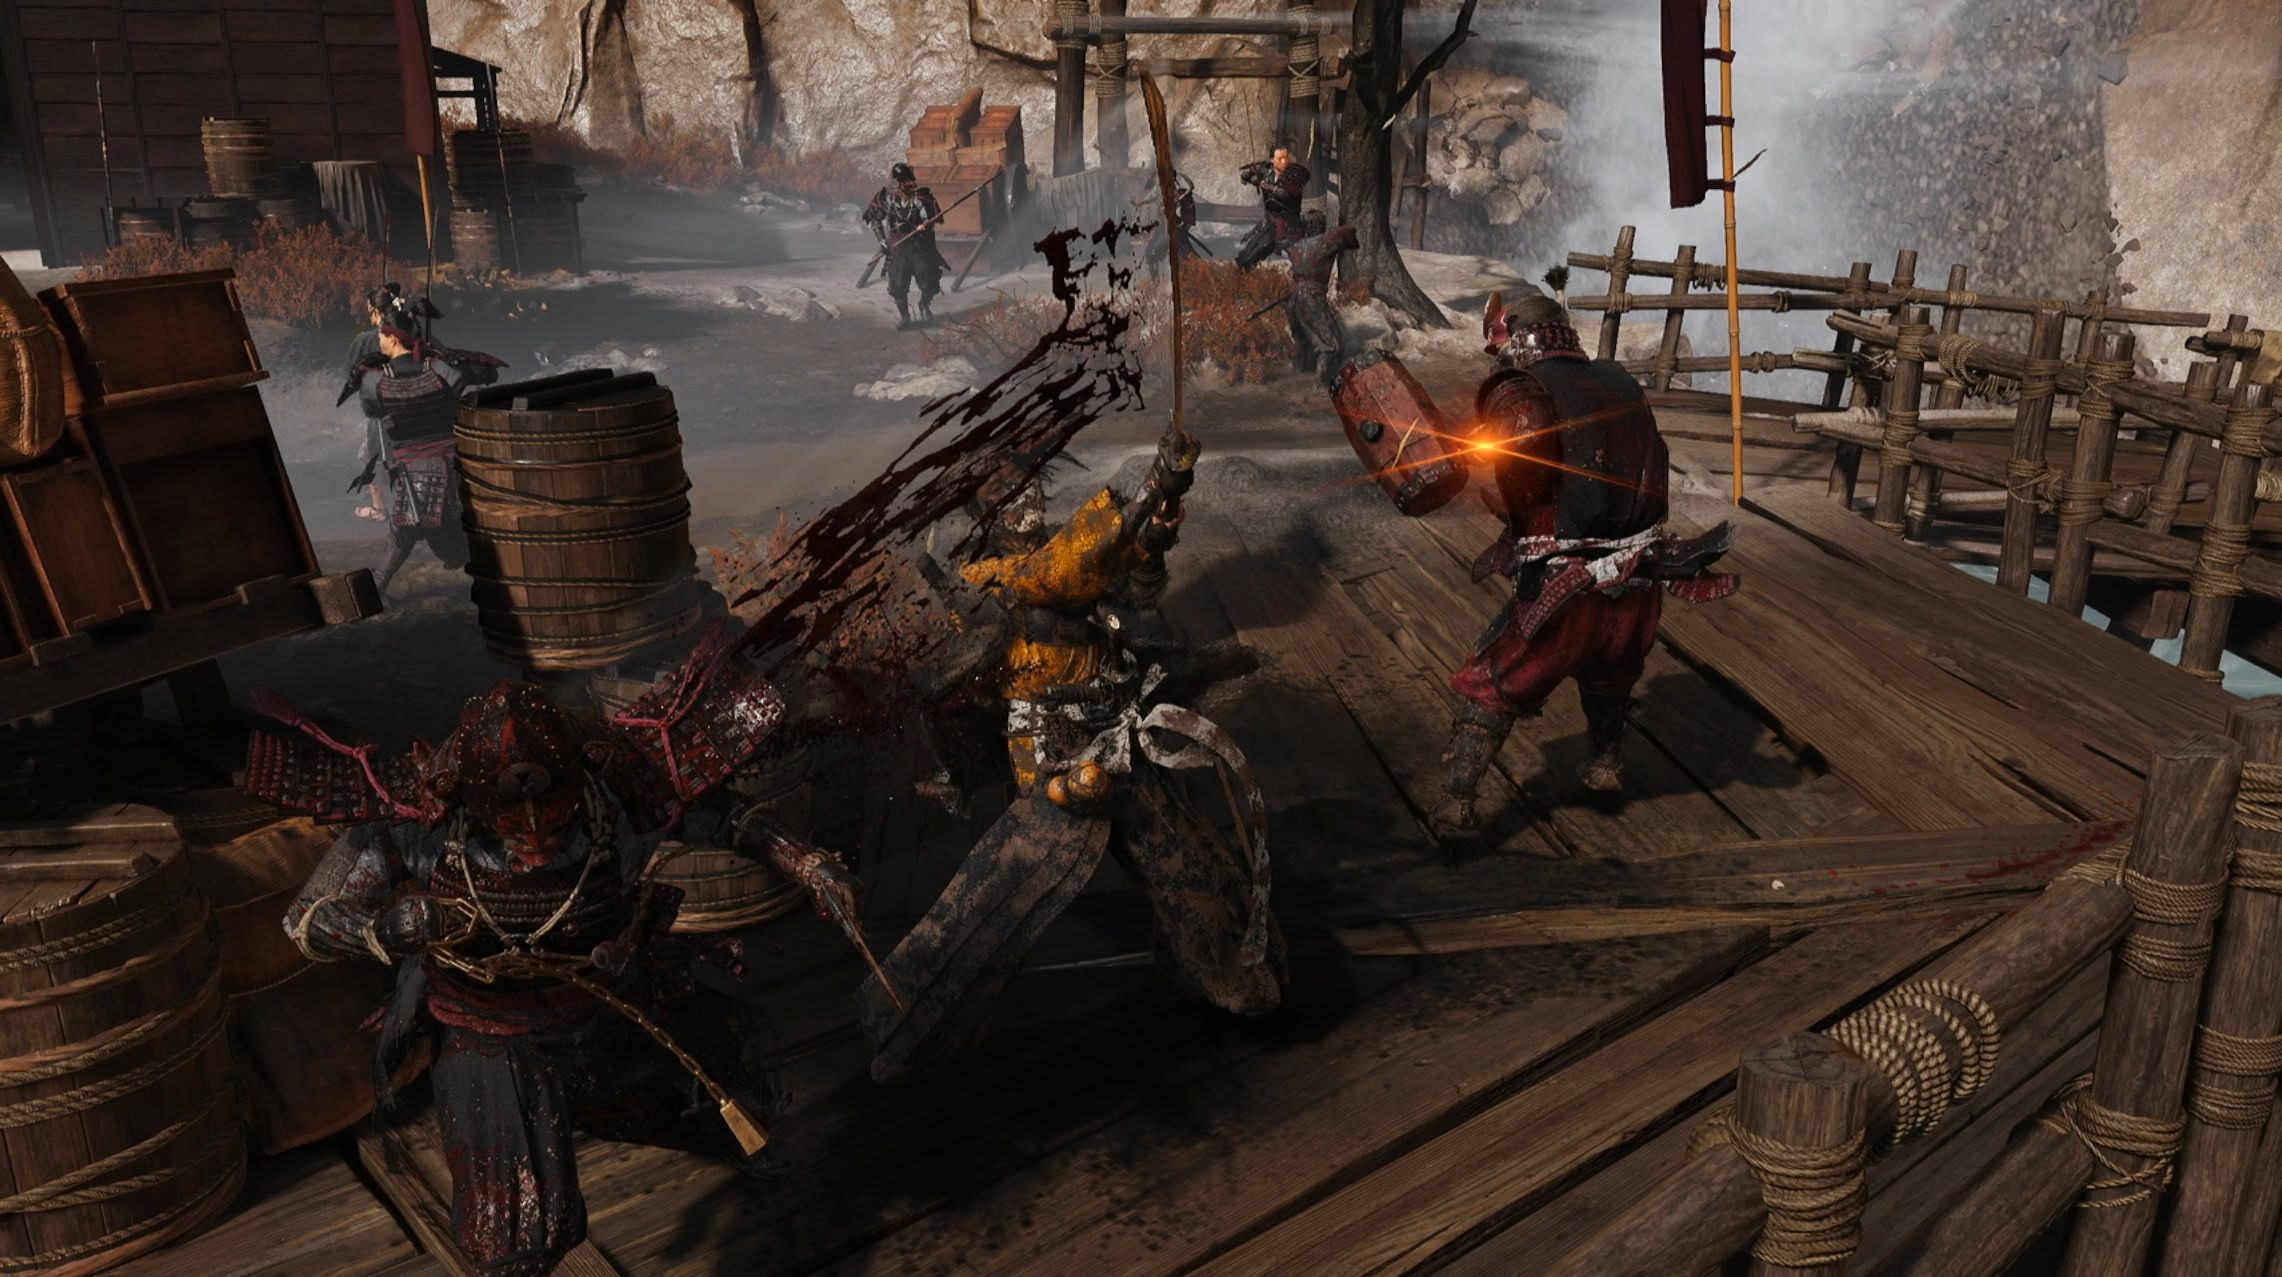
This part of the mission lacks any subtlety as you’ll be fighting your way through to reach Oyuki. Go through the gate and fight through Saito’s forces.
Take down the soldier with the fan first as he’s buffing his allies. From there, focus on anyone with a bo-hiya and avoid being near the red explosive barrels.

Avoid fighting in tight areas such as the bridge, draw out the soldiers to open areas so you have more room to dodge if needed. When they’re defeated, continue going uphill and go through the gate near the banners.
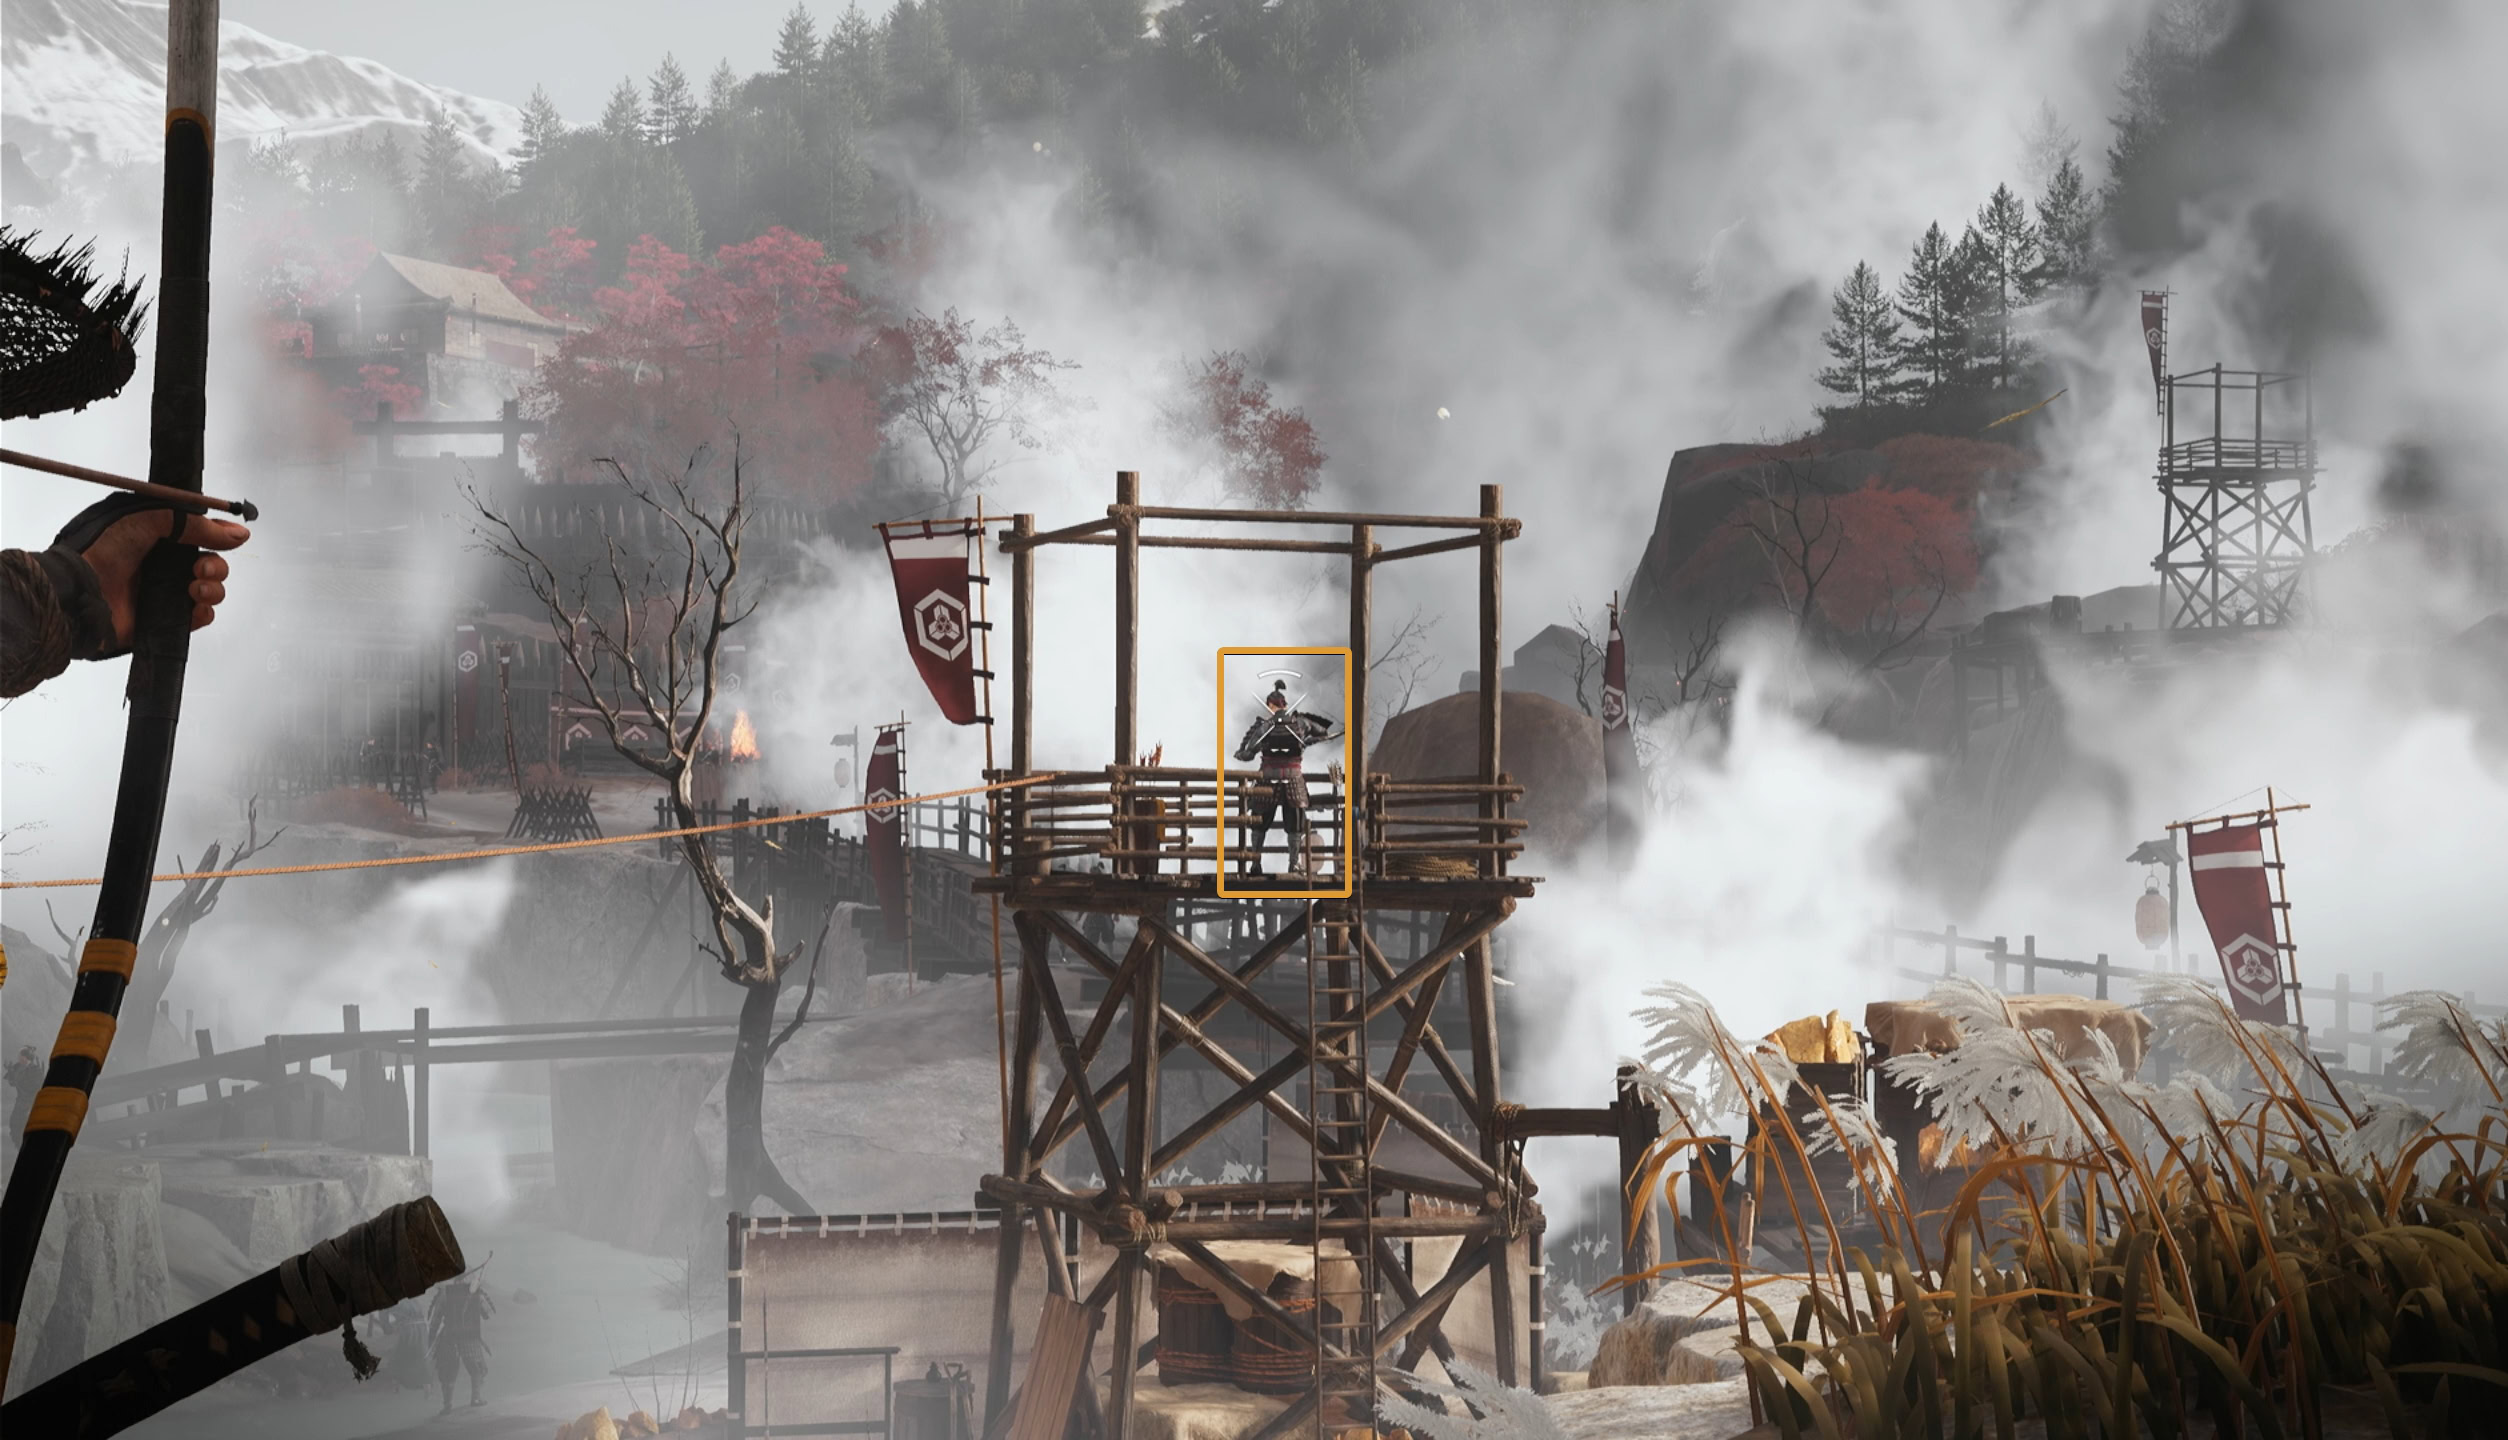
When you enter the next area, look for cover to avoid the gunners. Only move between their volleys. Get close to them so they’re forced to draw their swords and defeat them.
Past the wooden wall is another set of gunners, but there’s only two of them. Repeat this process and defeat them and the brute with the hammer.
Take Jubei’s boost up the bamboo wall to reach the upper keep and rescue Oyuki. After a cutscene, it’ll be revealed that Saito is waiting “where it all started”.
Escape Koga Fortress
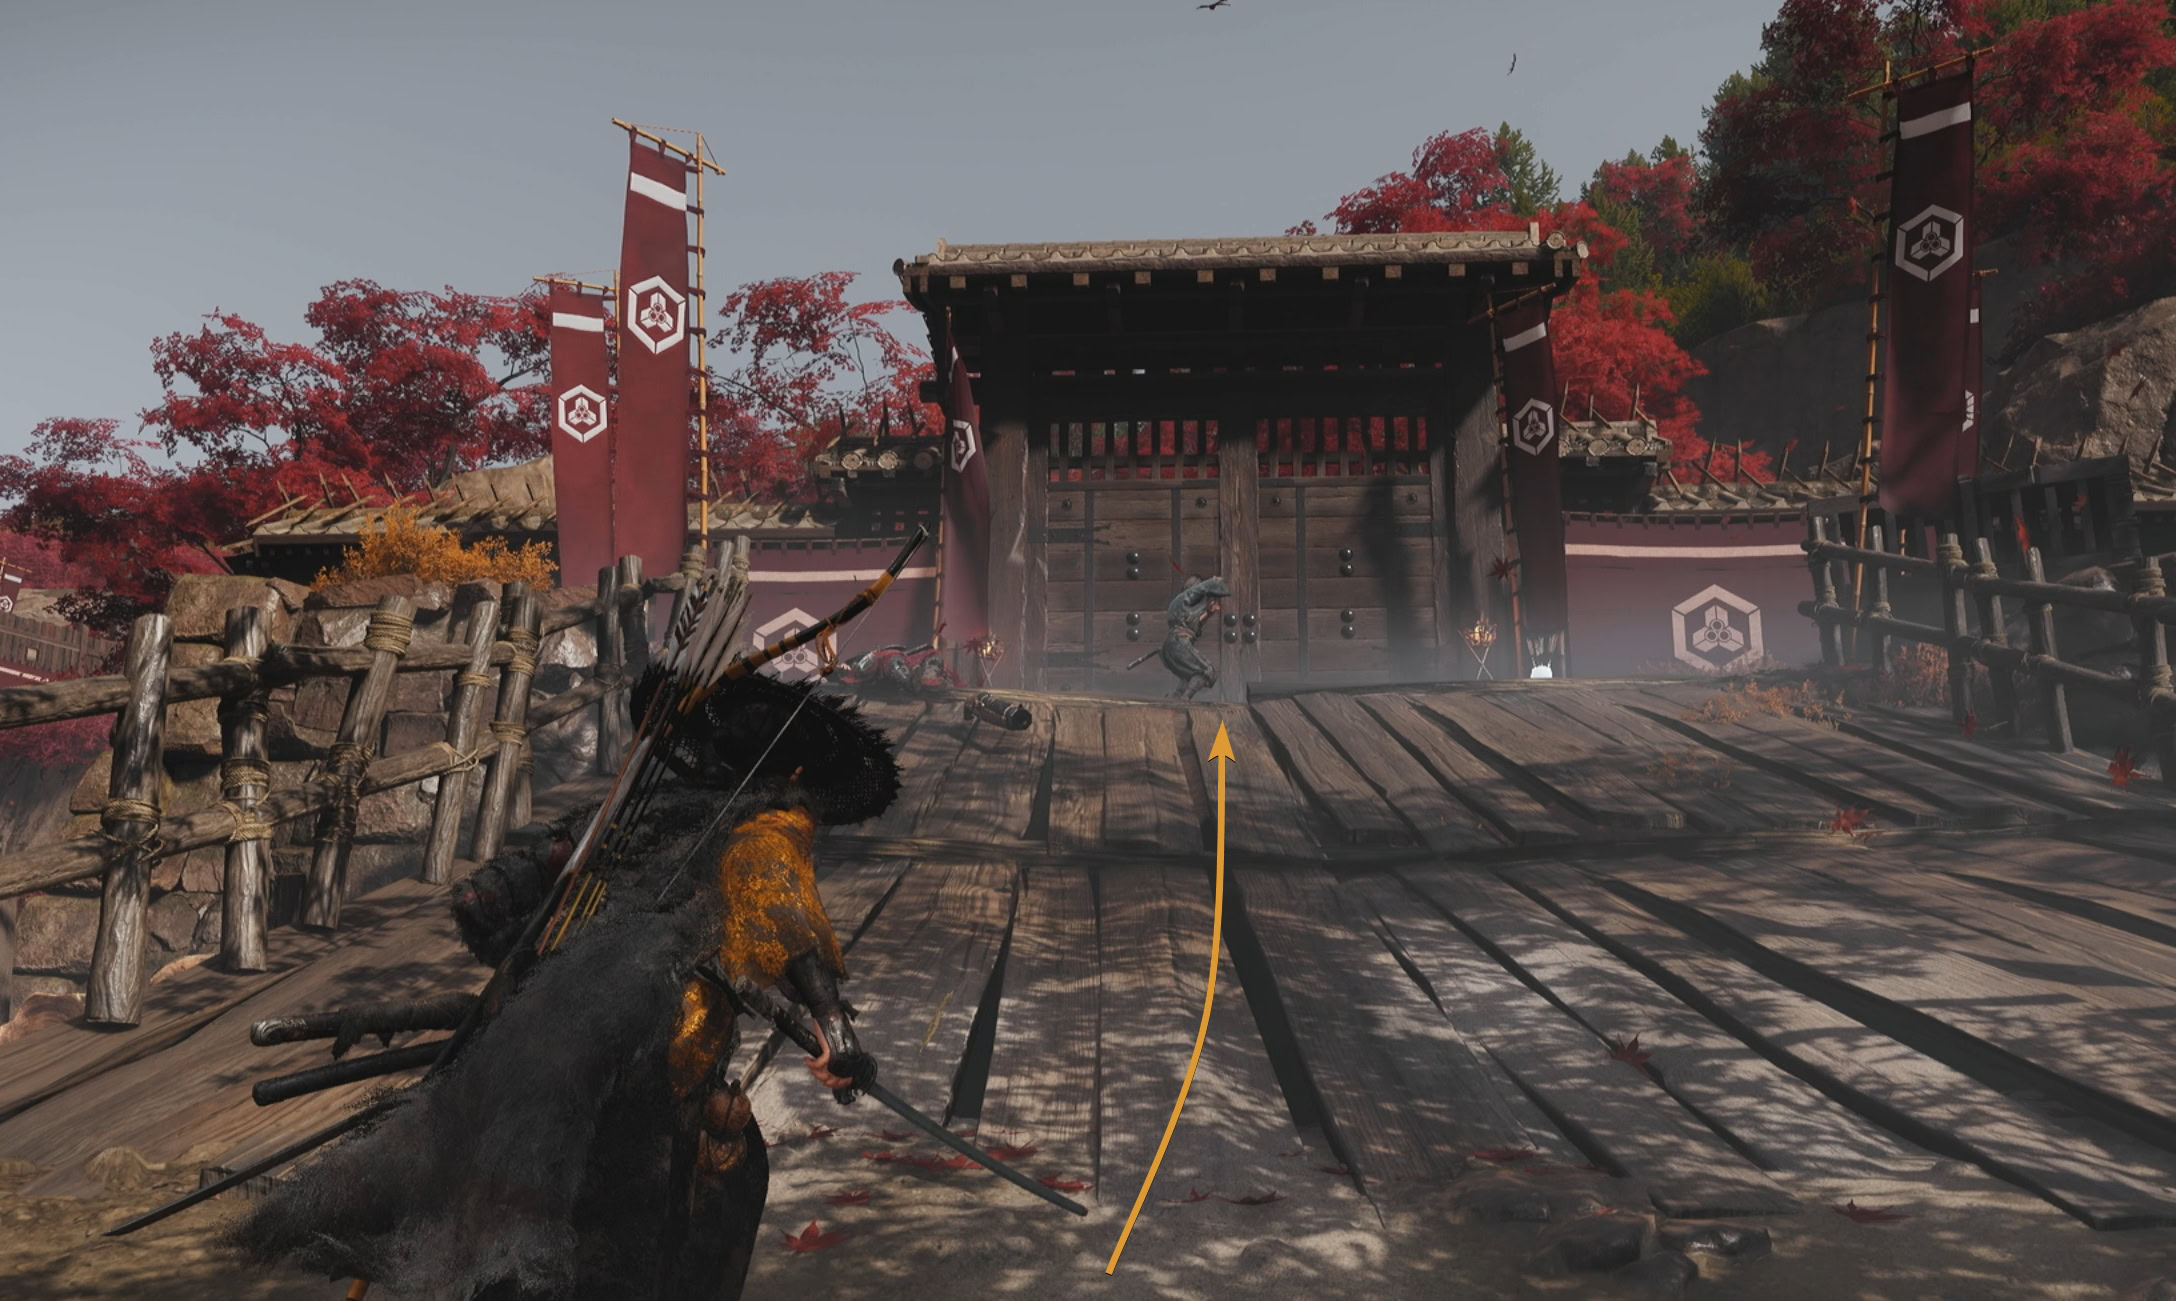
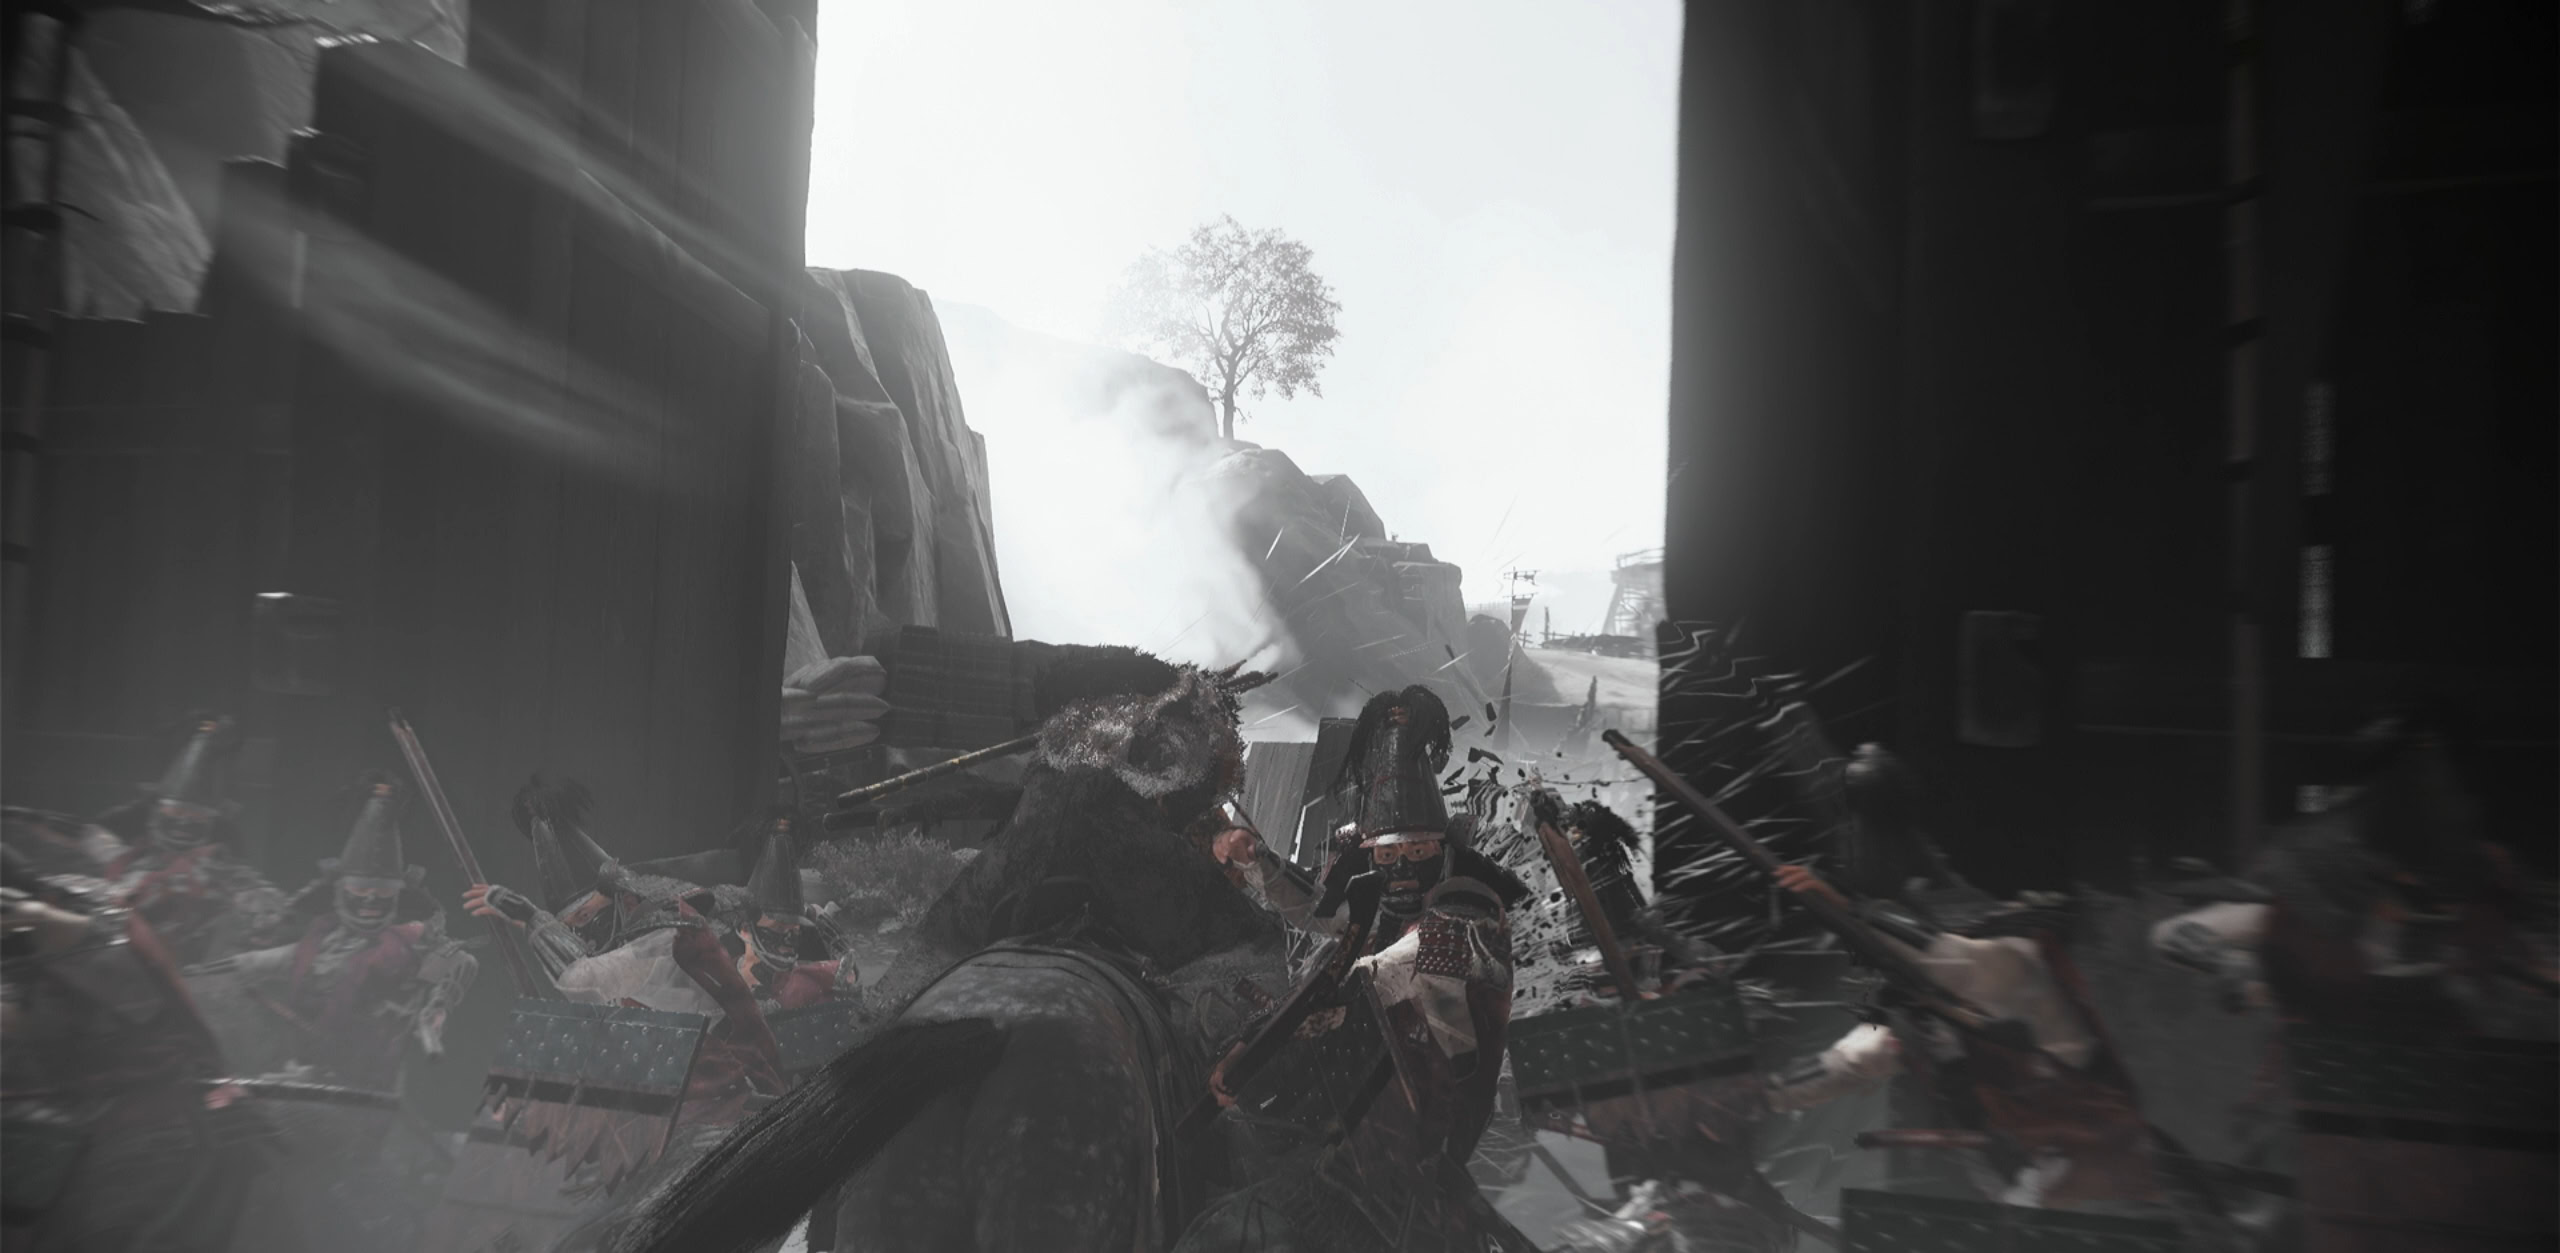
There’s only one way out and that’s through all of Saito’s men coming your way. Slide down the slope and fight your way through to the closed gate. Once all enemies are defeated, a cutscene will start.
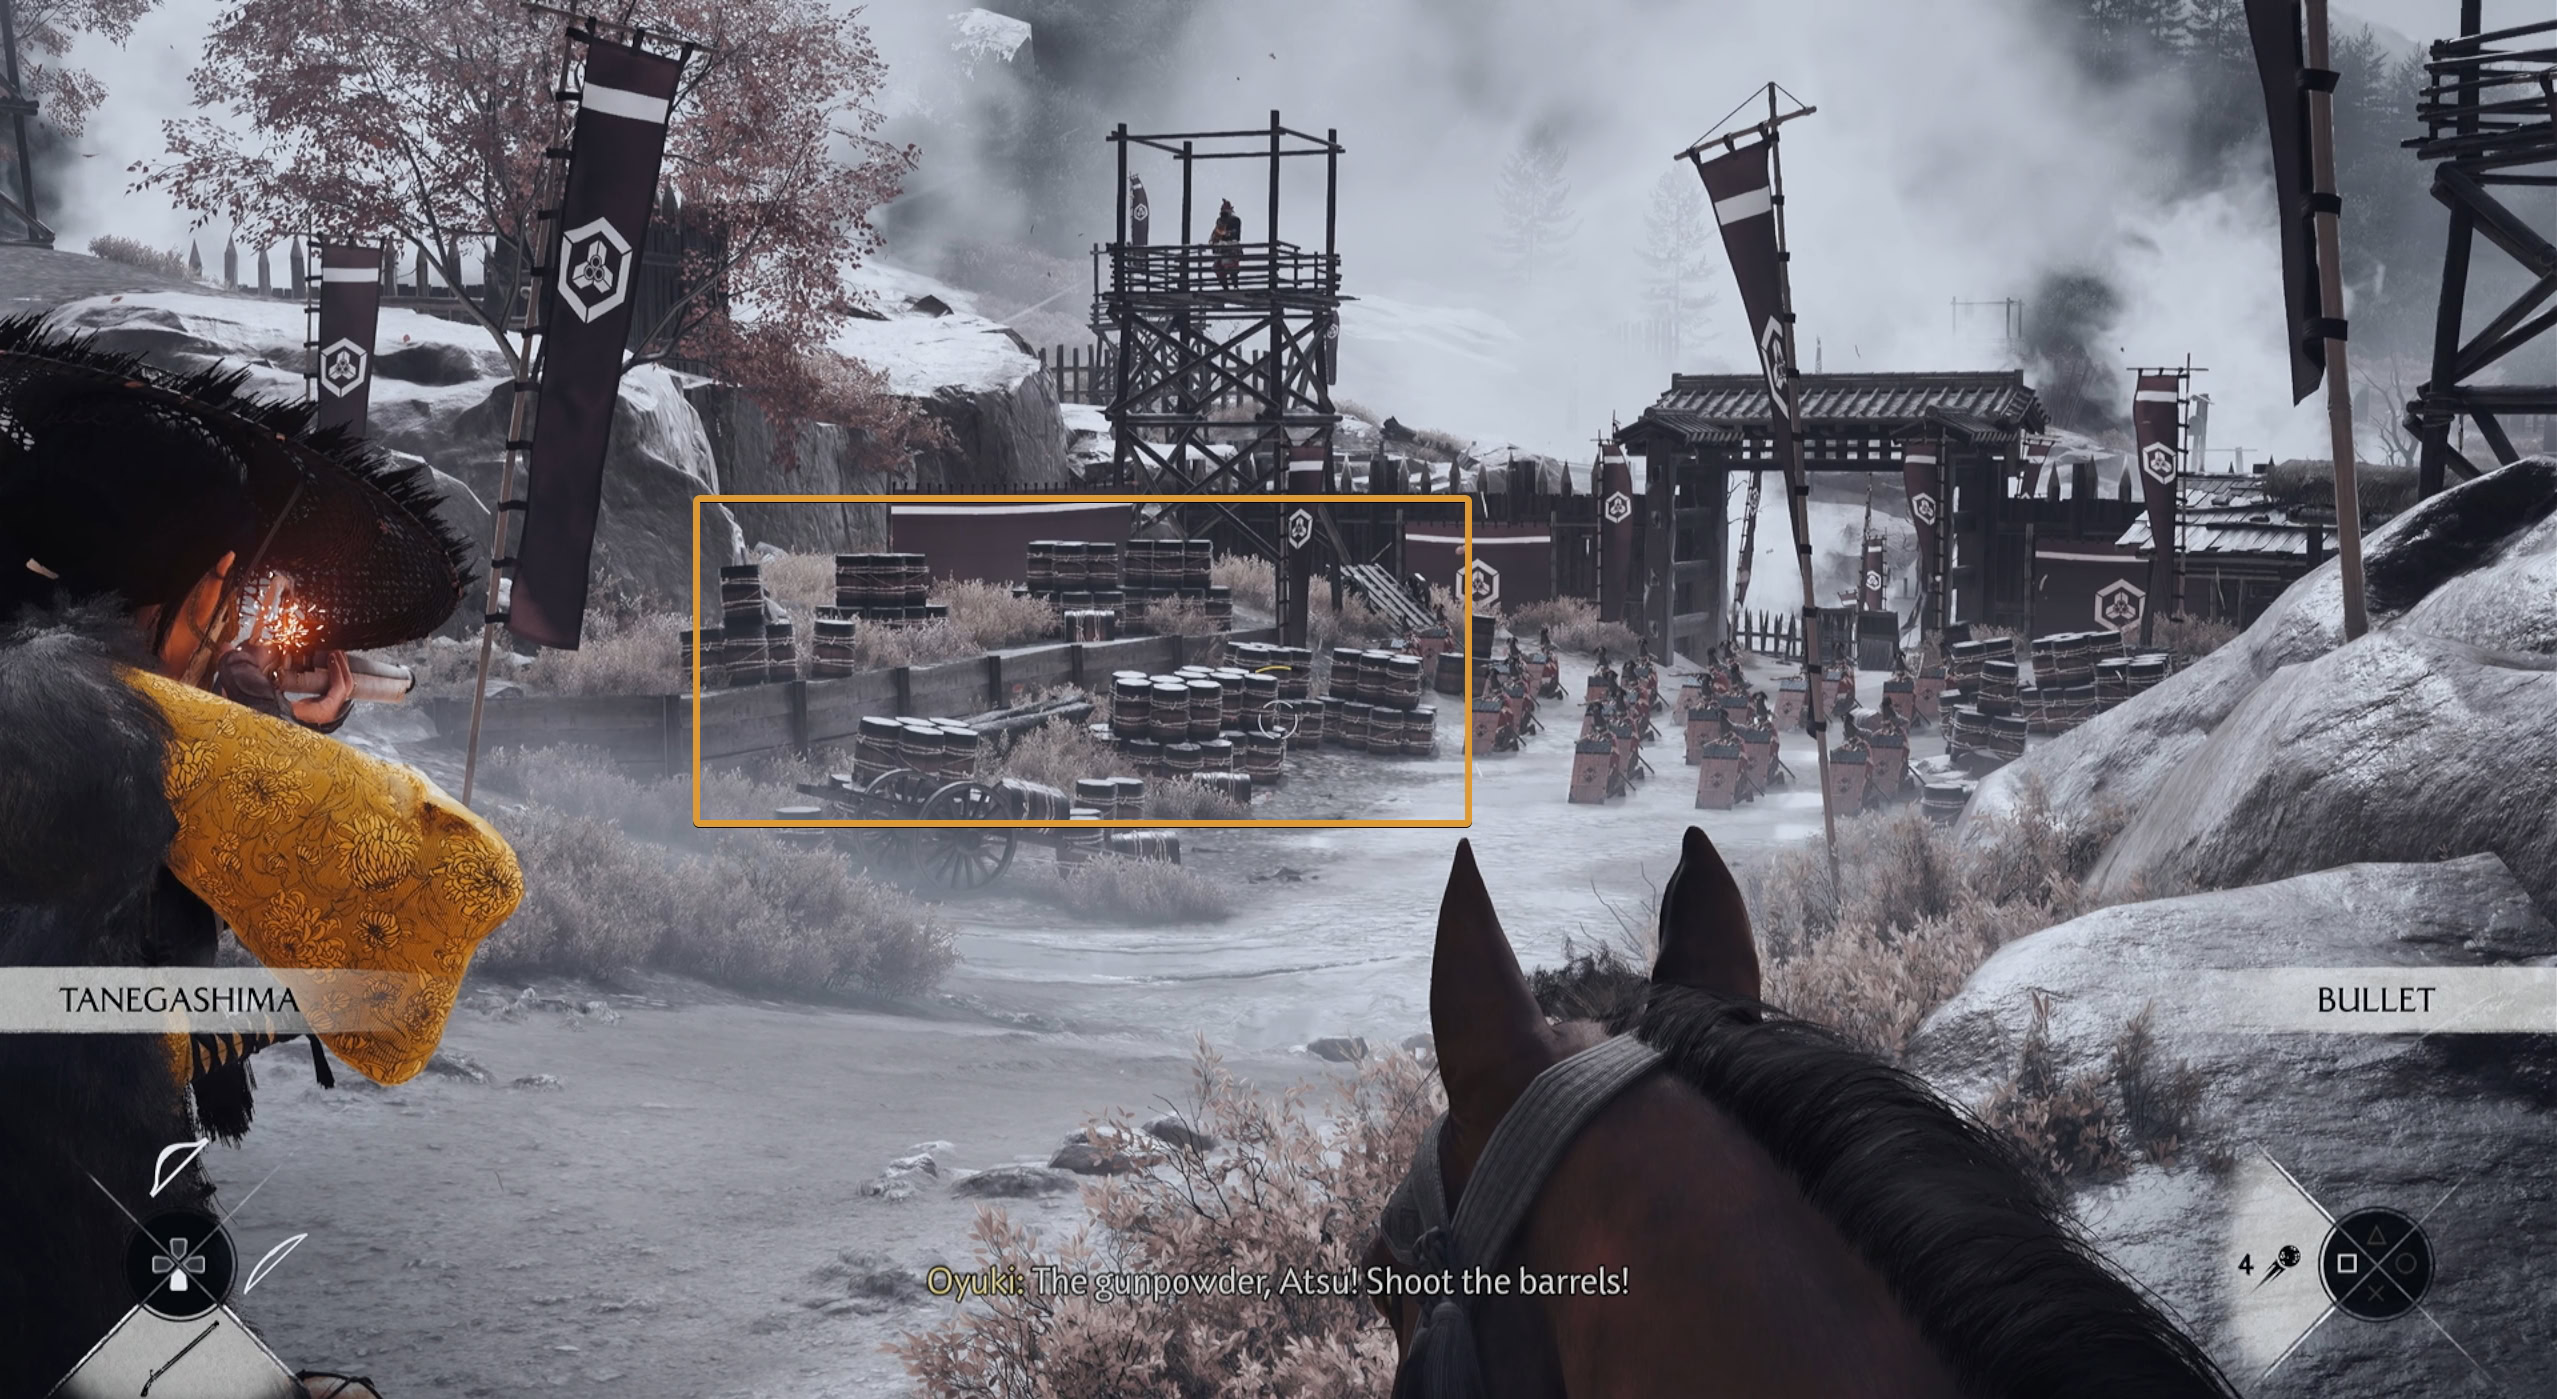
With your horses, charge through the line of gunners at the gate and don’t stop for anything.
When you see a second wave of gunners ahead, pull out your rifle and shoot the barrels. This will allow you to escape Koga Fortress once you make it past the bridge.
Lord Saito Boss Fight
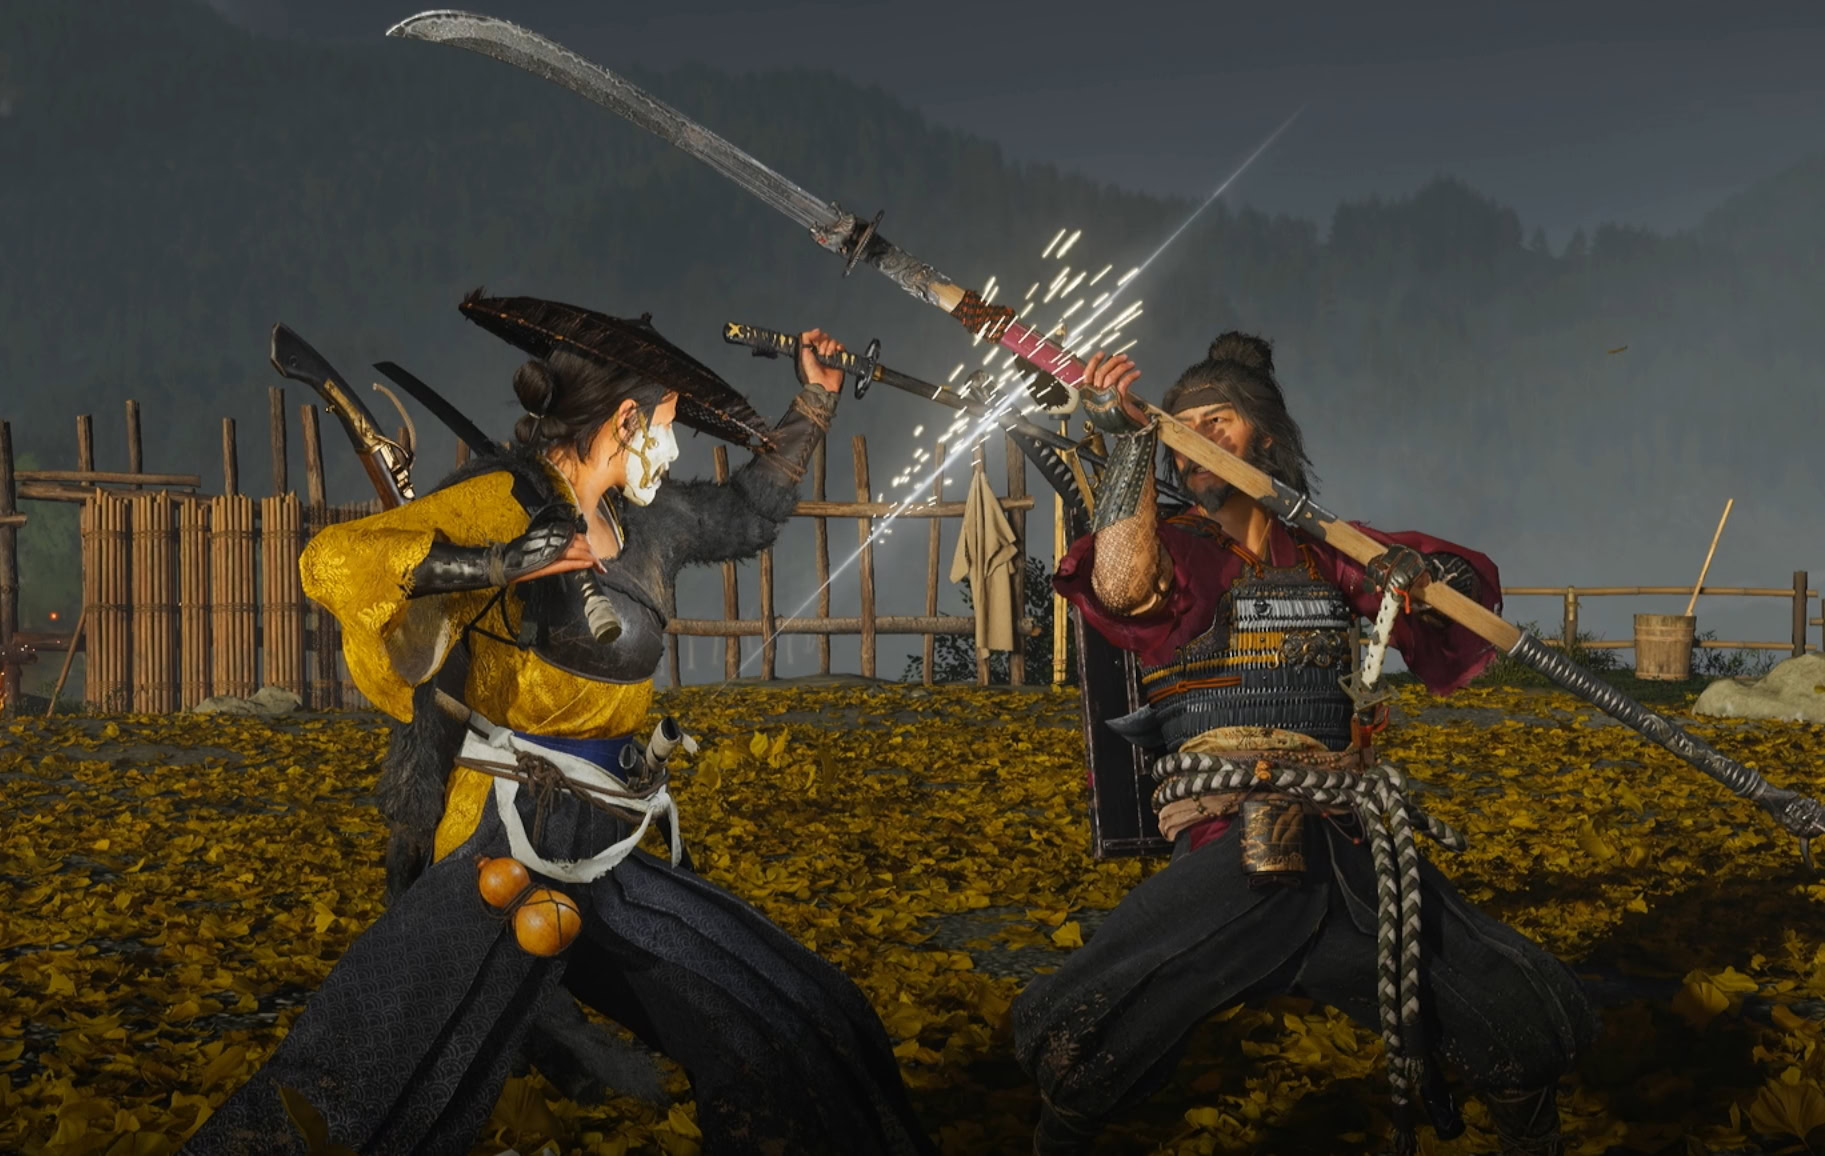
After reaching home and watching a cutscene, it’s time to have the final fight with Lord Saito. There are two phases to this fight, the first of which he’ll be using various weapons.
He’ll be swapping between the naginata, odachi, kusarigama, and shield. Remember to use weapons to counter his own to break his guard.
In the second phase, Saito gets a Spirit meter like Atsu and uses it to disarm her in a scripted event. After picking up your weapon, Saito only uses his katana and pistol and uses extremely mobile and aggressive attacks.
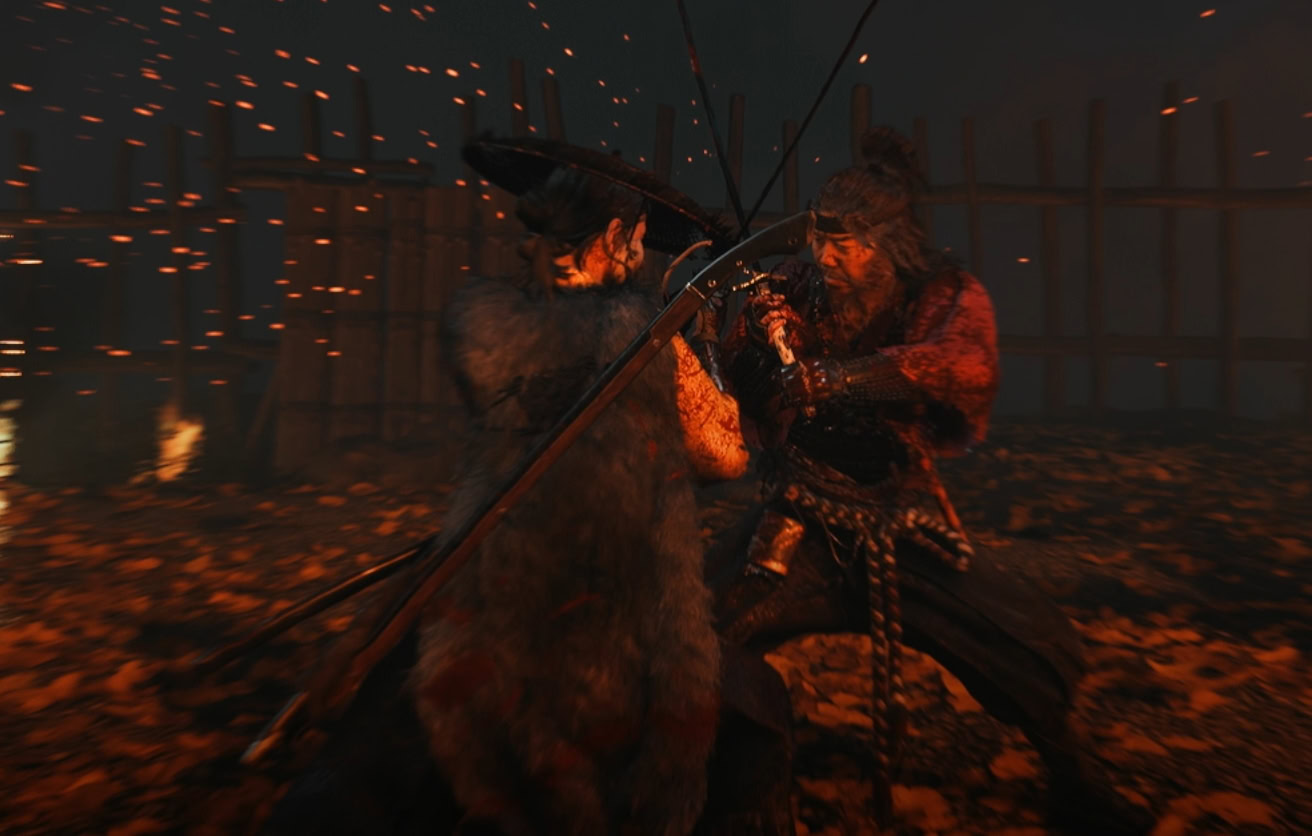
Parries and perfect parries will be extremely helpful in this fight, so equipping the Armor of the Undying and the Charm of Futsunushi will be lifesaving.
The Aftermath
Once the fight is over, you’ll watch some cutscenes which will not be explained here to avoid spoilers. The camera pans to Mount Yotei and starts the credits. Congratulations on completing Ghost of Yotei’s story!

The credits are unskippable and run about 14 minutes, but they have some great artwork throughout. Once all is said and done, Atsu will be telling Kiku her story about events prior to fighting Saito.
This is how the game transitions back to normal gameplay. Your actions are now a flashback prior to the final fight and you can roam freely. This also unlocks the Blood and Flies die for the Onryo Armor.

Any incomplete side missions will be revealed along with their prerequisites to access them. Get out there and wrap up those missions!