Learn how to get Fury Green’s Master Teleporter Key in Metroid Prime 4: Beyond! Find out what upgrades you can find in Fury Green, solutions for puzzles, and how to beat the boss, Carvex.
Table of contents
Explore Fury Green
After leaving the Chrono Tower and accepting the task of finding all 5 Master Teleporter Keys, you’ll be transported to Fury Green. You’ll receive an alert for your map that will show the location of the Teleporter Key.
In the Cliffside Gate area, you’ll find a locked gate with two statues beside it. Keep this location in mind as you’ll need to find a way to unlock this later.
If you look east of the gate, you’ll find two Psychic Platforms you can scan. You’ll need to return here once you’ve unlocked the Psychic Boots. Until then, go north of the locked gate to find a door you can go through.
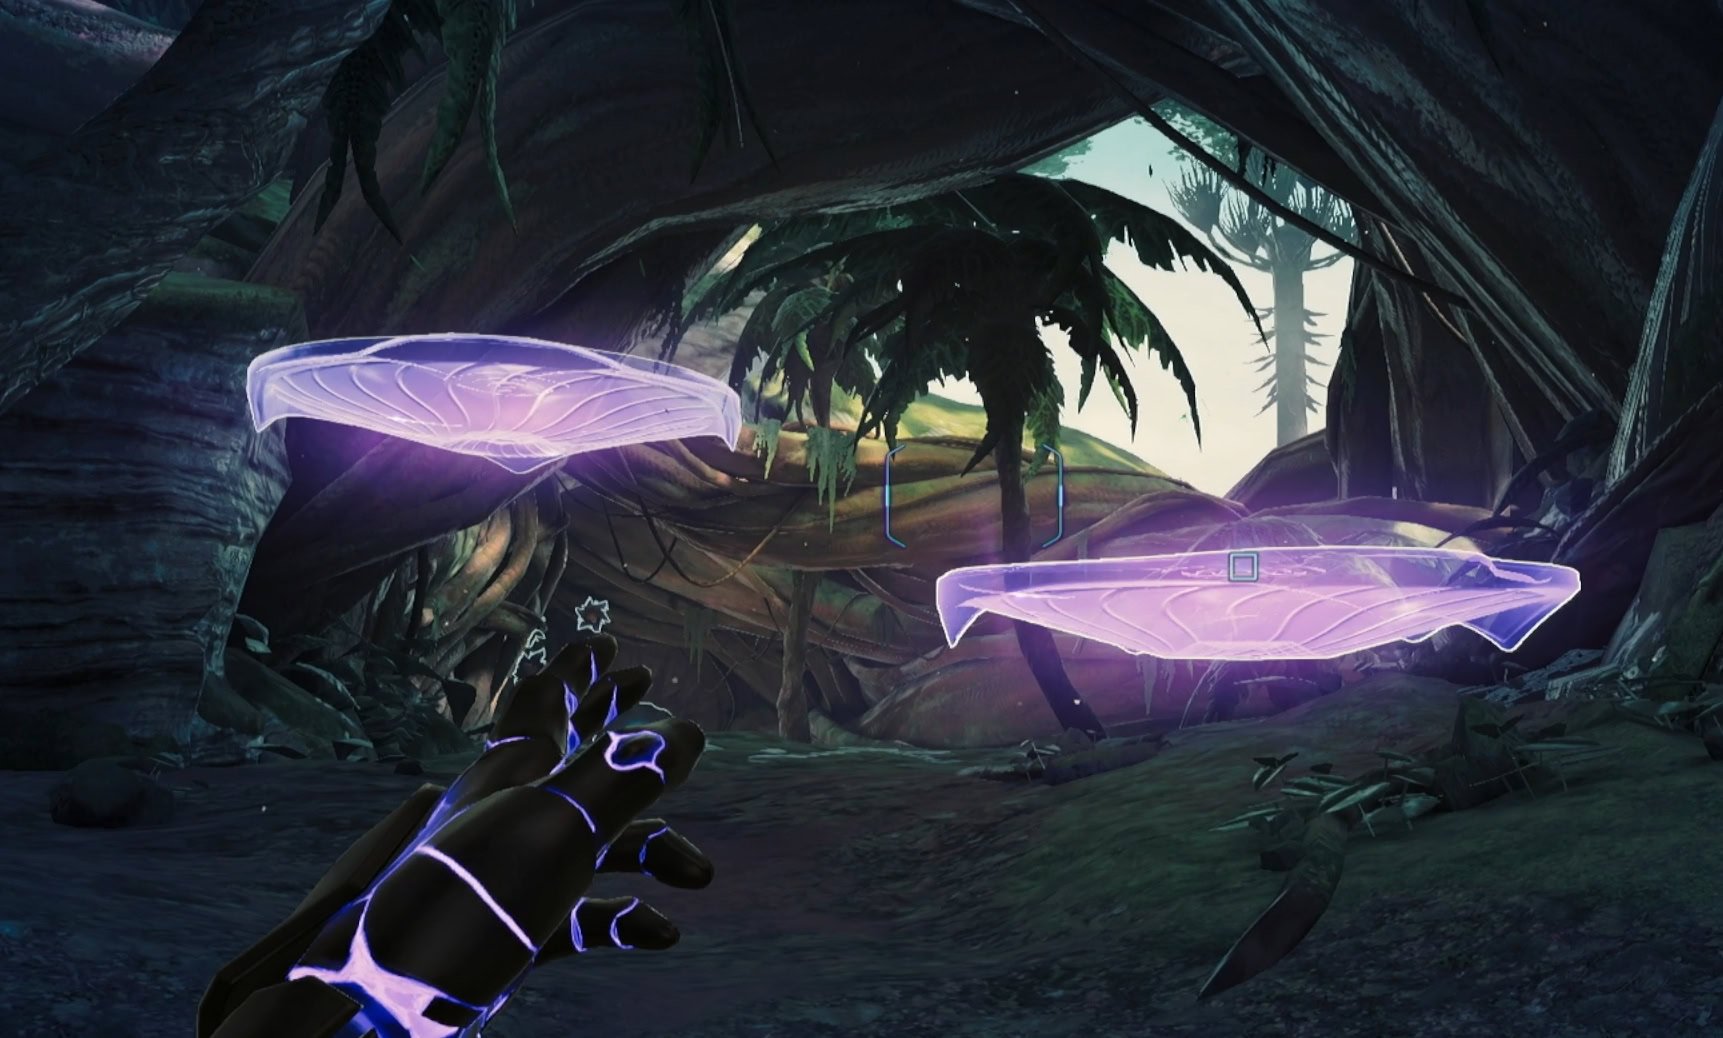
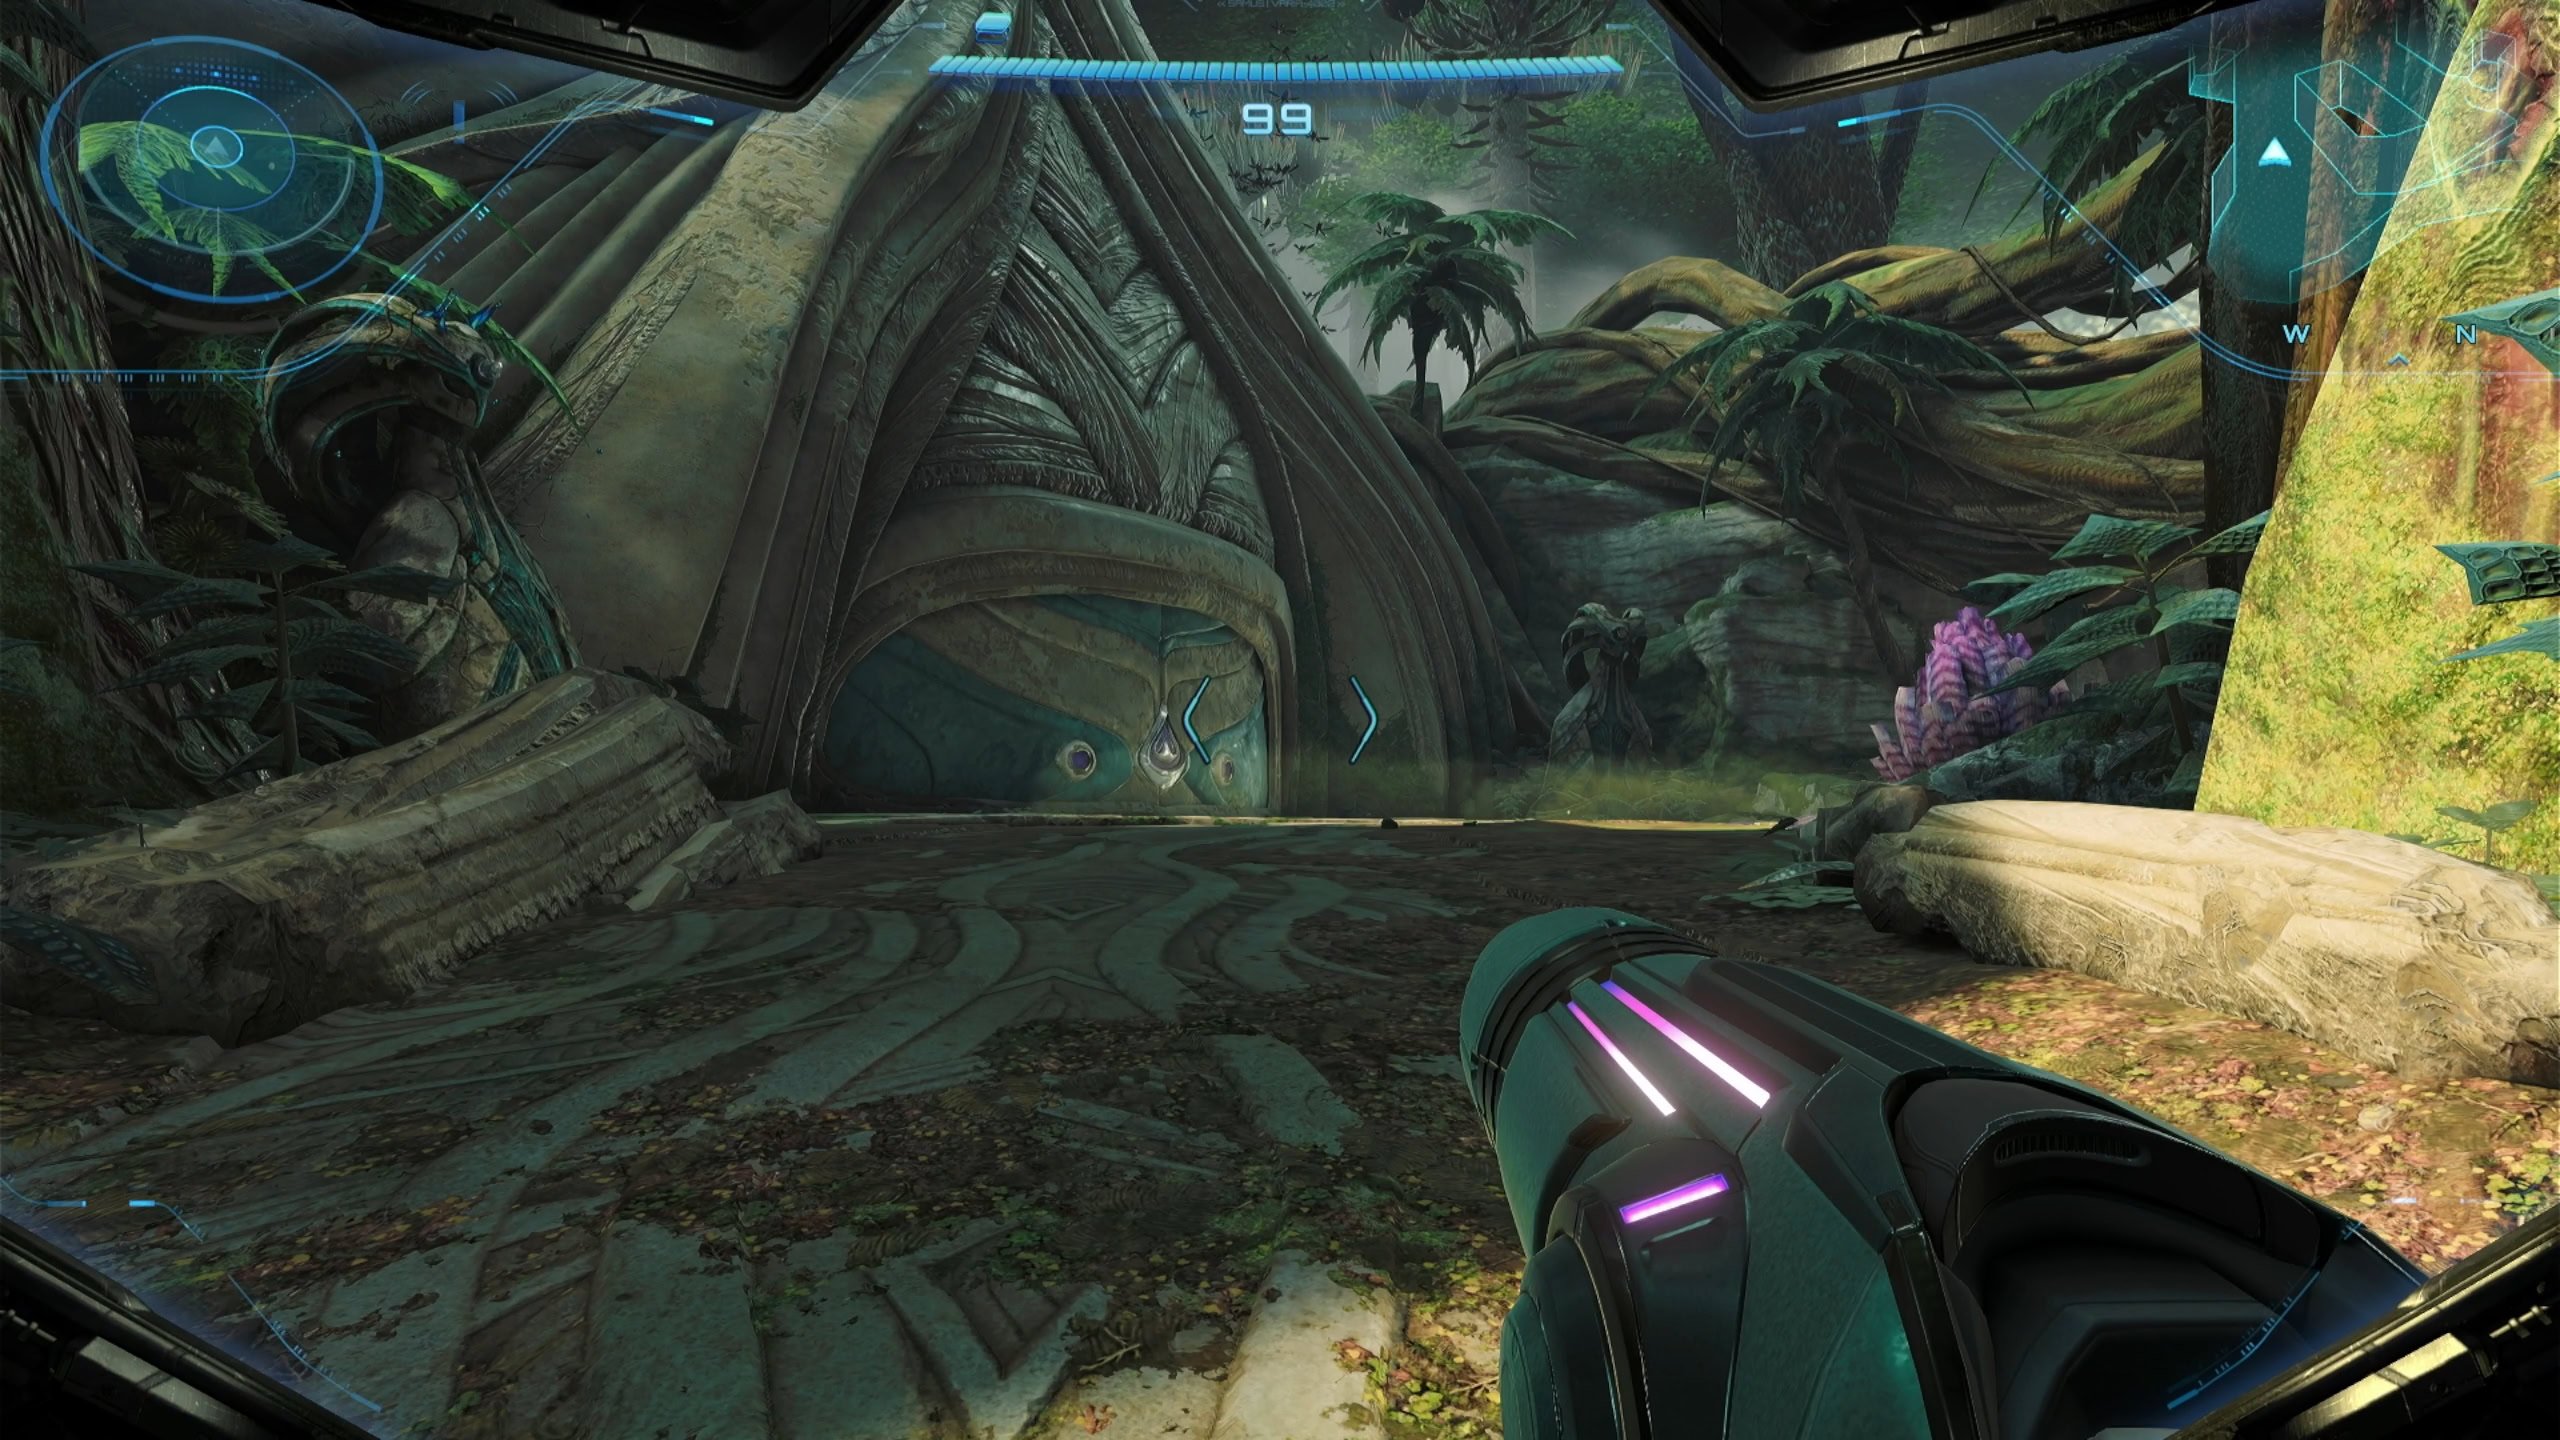
Go through the Ancient Path to reach the Arboreal Chapel where you’ll find another locked gate. Go northwest and Morph Ball through the hole beneath the roots. Follow the path to find a small locked door and scan the Psychic Sensor above it. Inside the chapel interior will be the Psychic Glove.

How to use the Psychic Glove
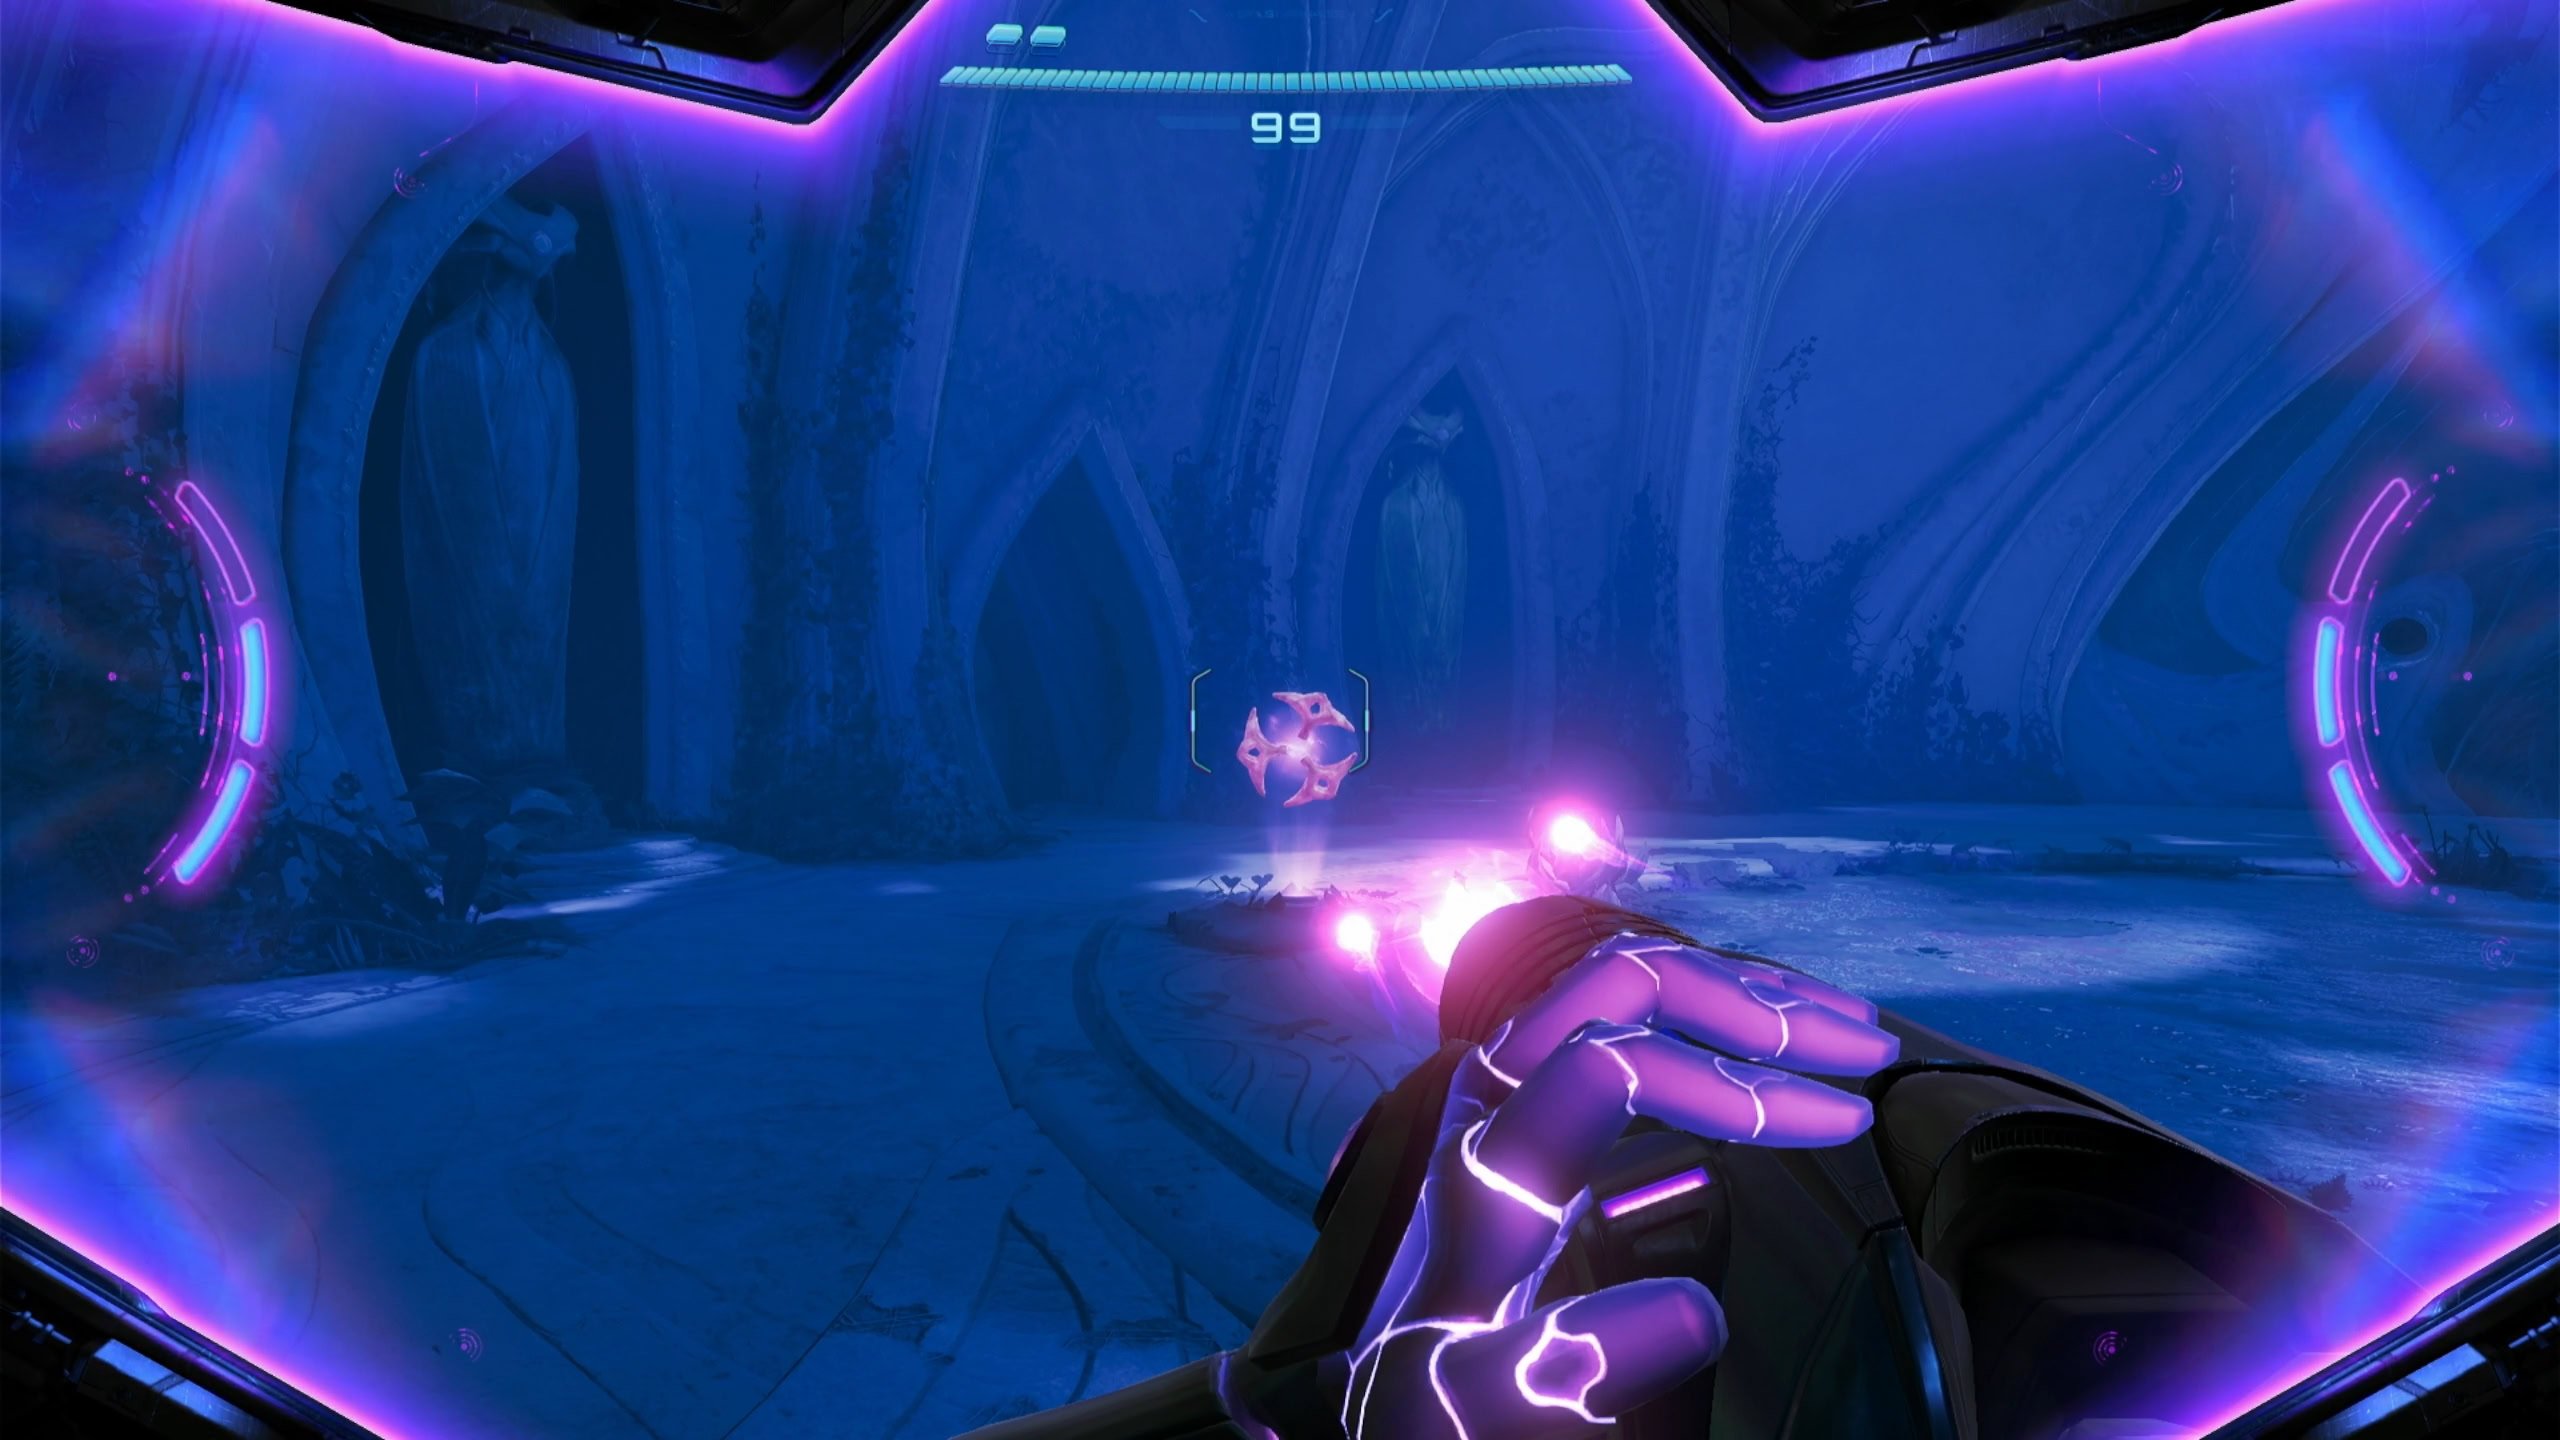
With the Psychic Glove on hand, you can now gain access to Motes that can be found on Lamorn statues. Simply pull a Mote out, then release when aiming at a Mote Socket.

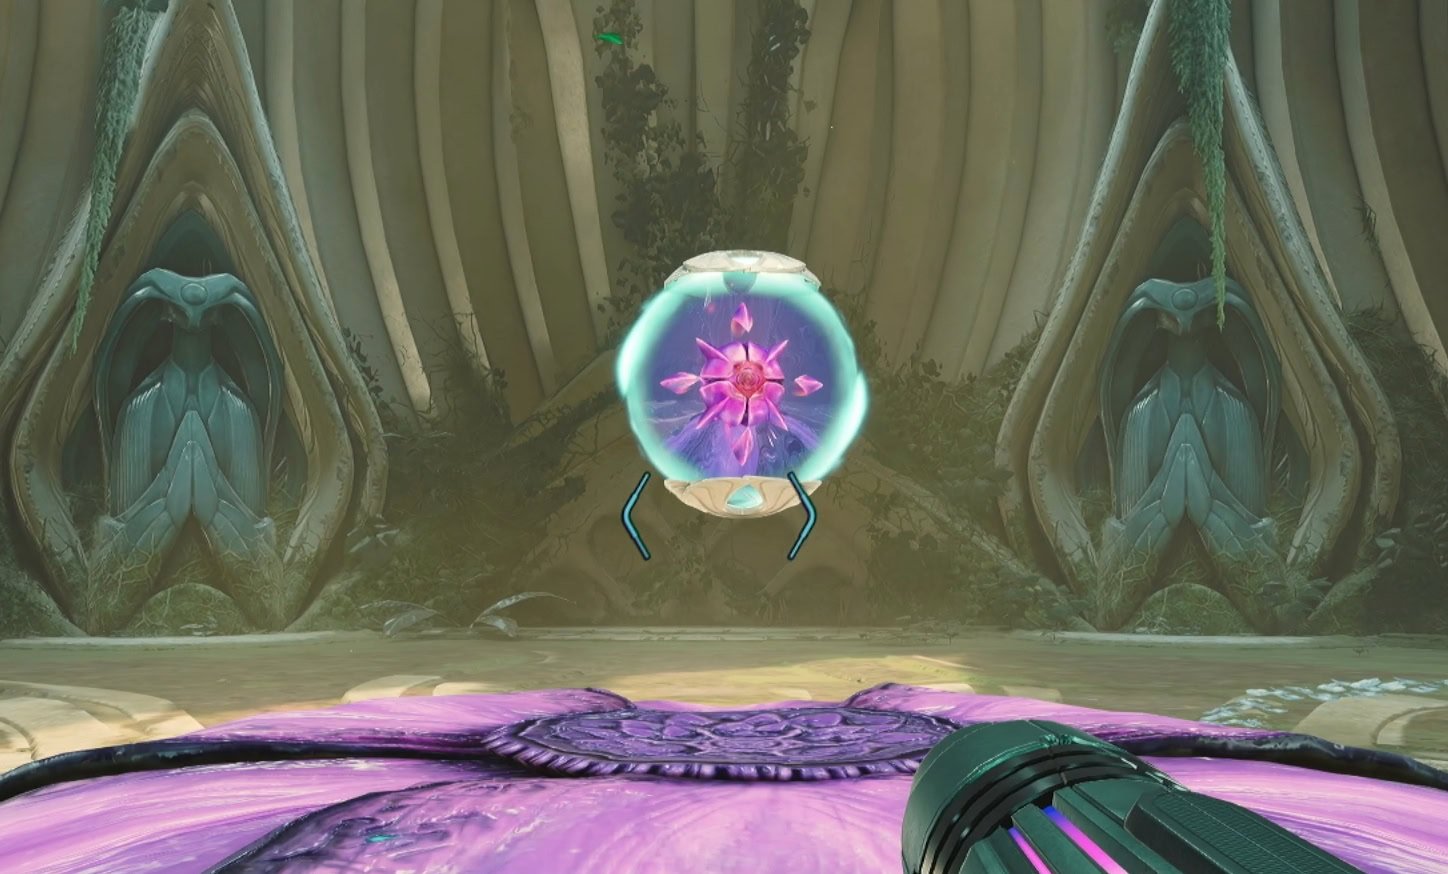
Return to the Cliffside Gate and switch visors, the two statues will each have a mote you can use to unlock the gate. Within will be a Psychic Container that you’ll need to use the Psychic Glove to unlock.
Grab onto the orb as you would a mote and follow the line to open the container. You’ll unlock an Energy Tank to increase your maximum health!
Investigate the Distress Beacon
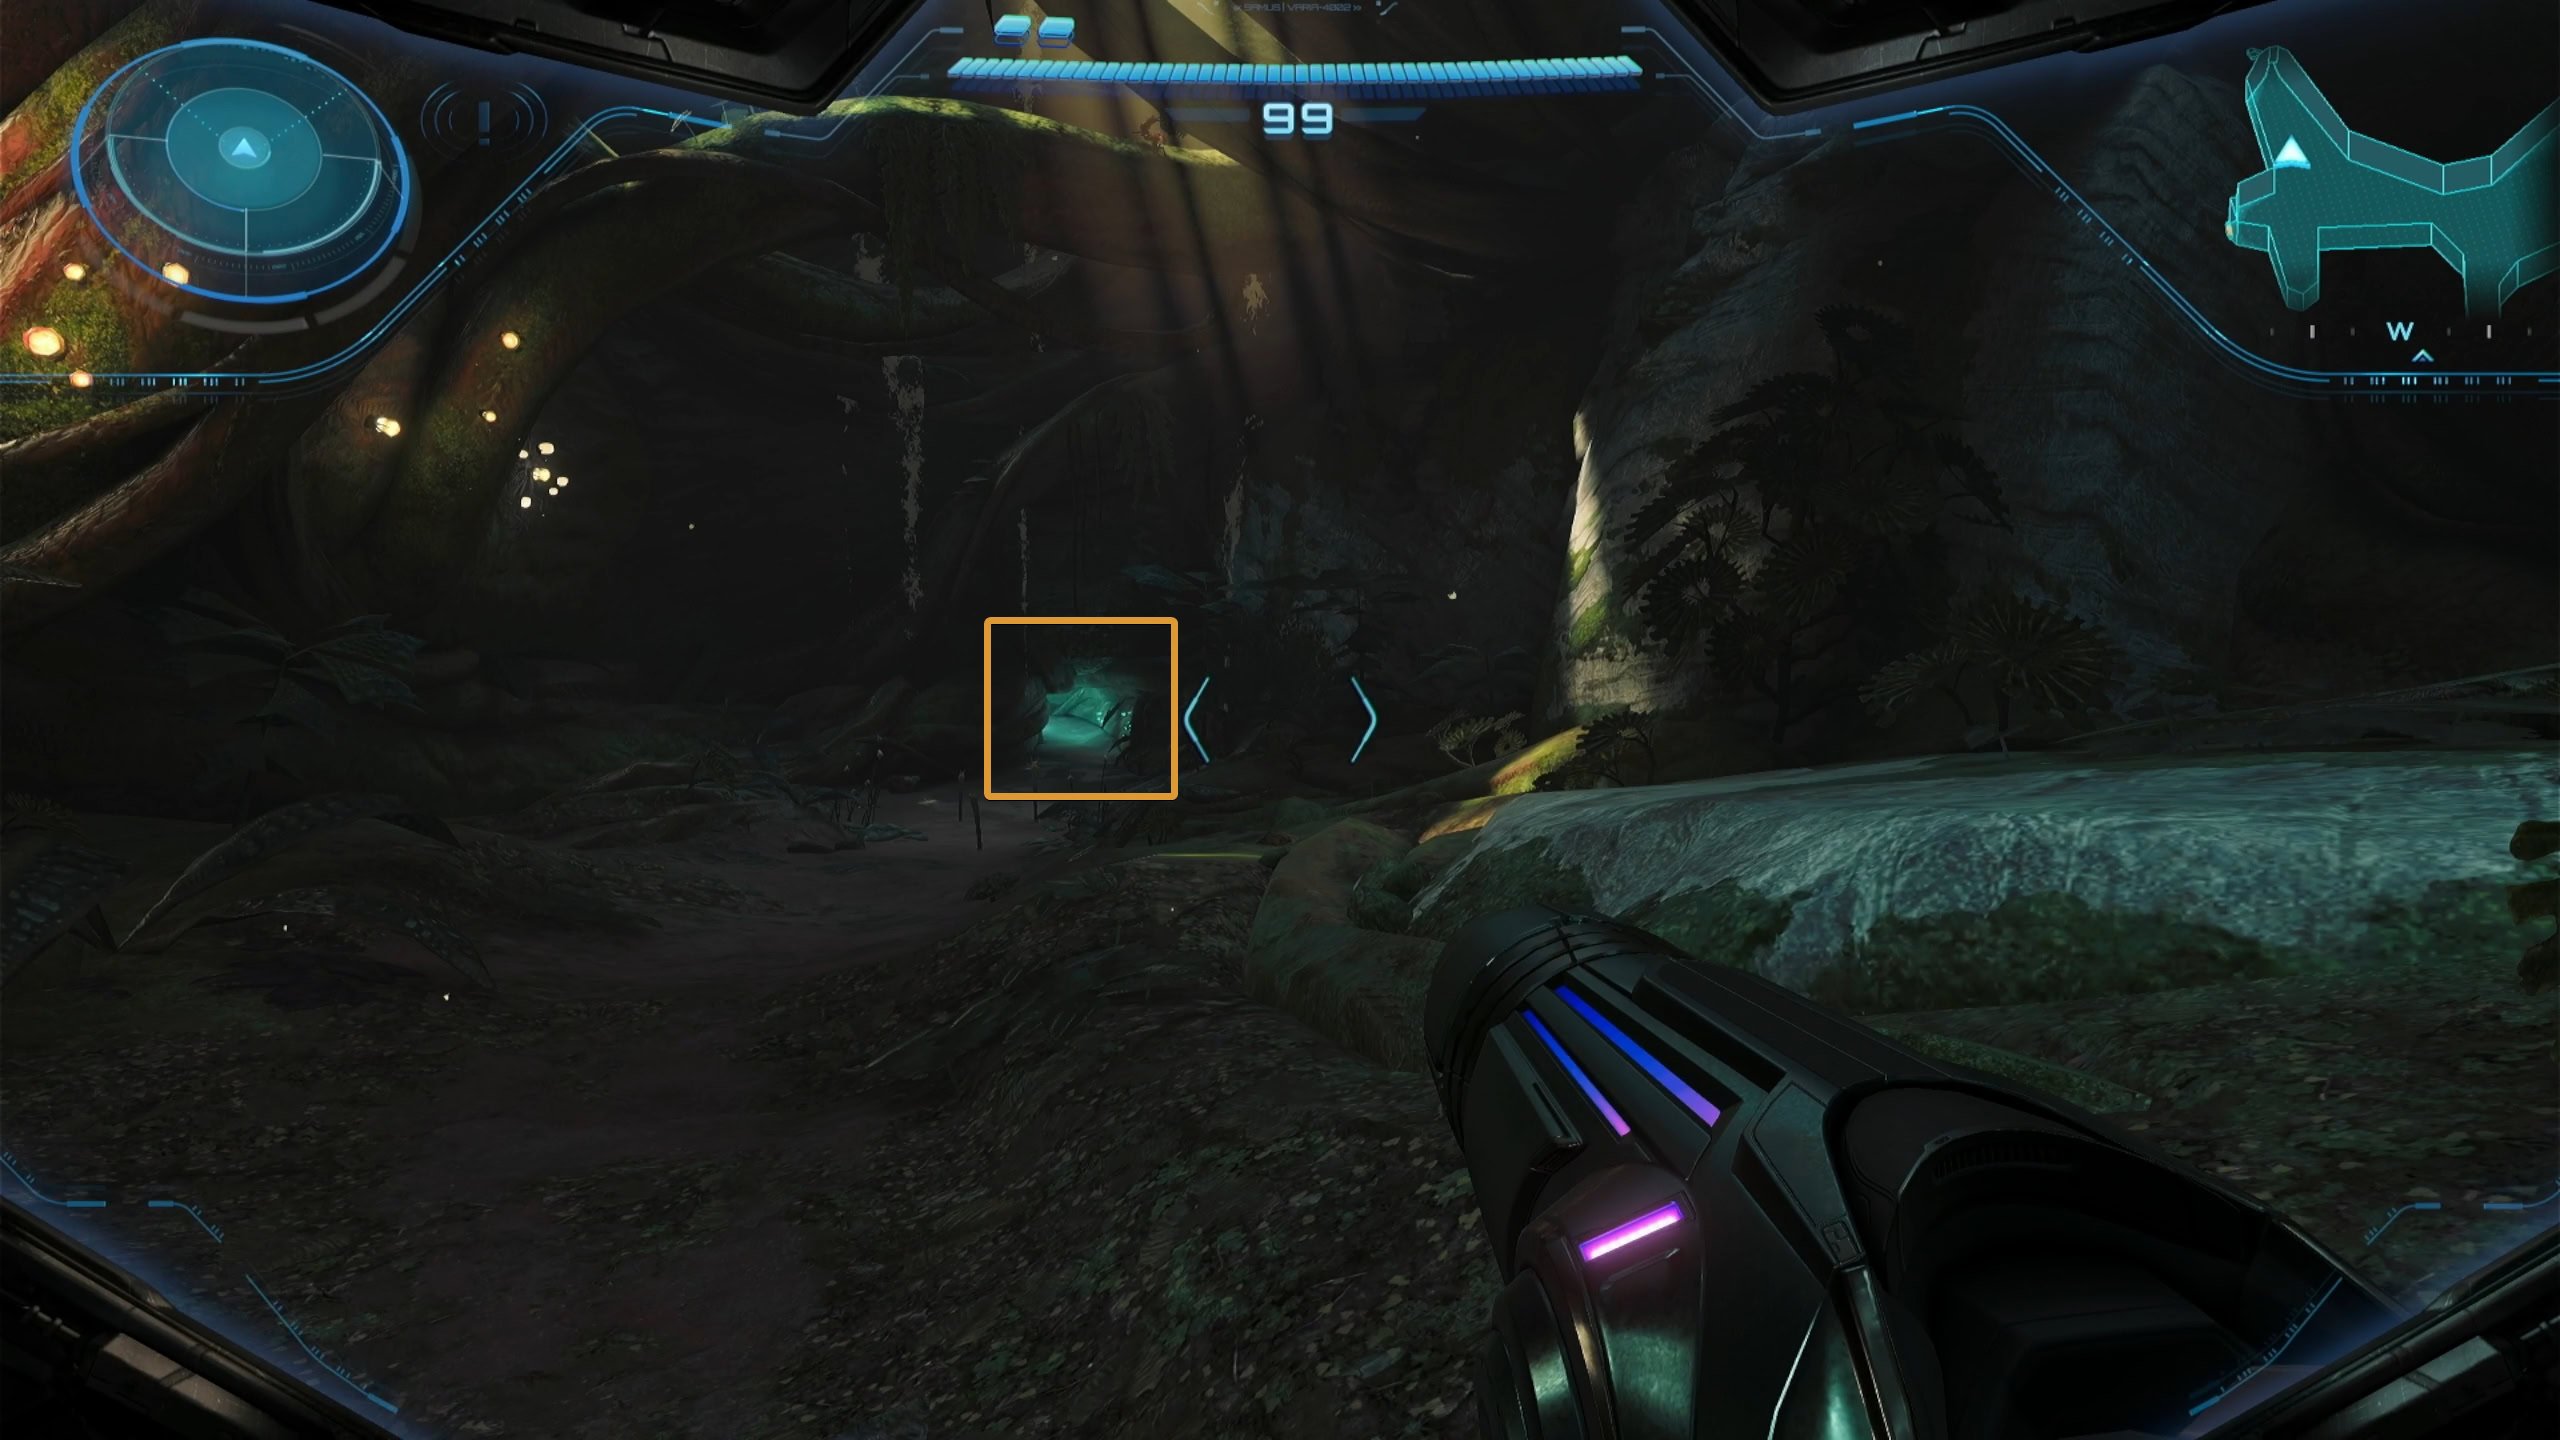
When you enter the Grove of the Sacred Tree, you’ll receive a Galactic Federation distress beacon and the location of the beacon on your map. Go into dark alcove on the west side of the grove to find a small tunnel. Go through via Morph Ball and the path will lead you to the beacon location.
You’ll encounter webbings that require high-heat weaponry to destroy. Ignore these as you cannot destroy them at the moment. The Beetle Nests that block your way can be destroyed with a charged Power Beam.
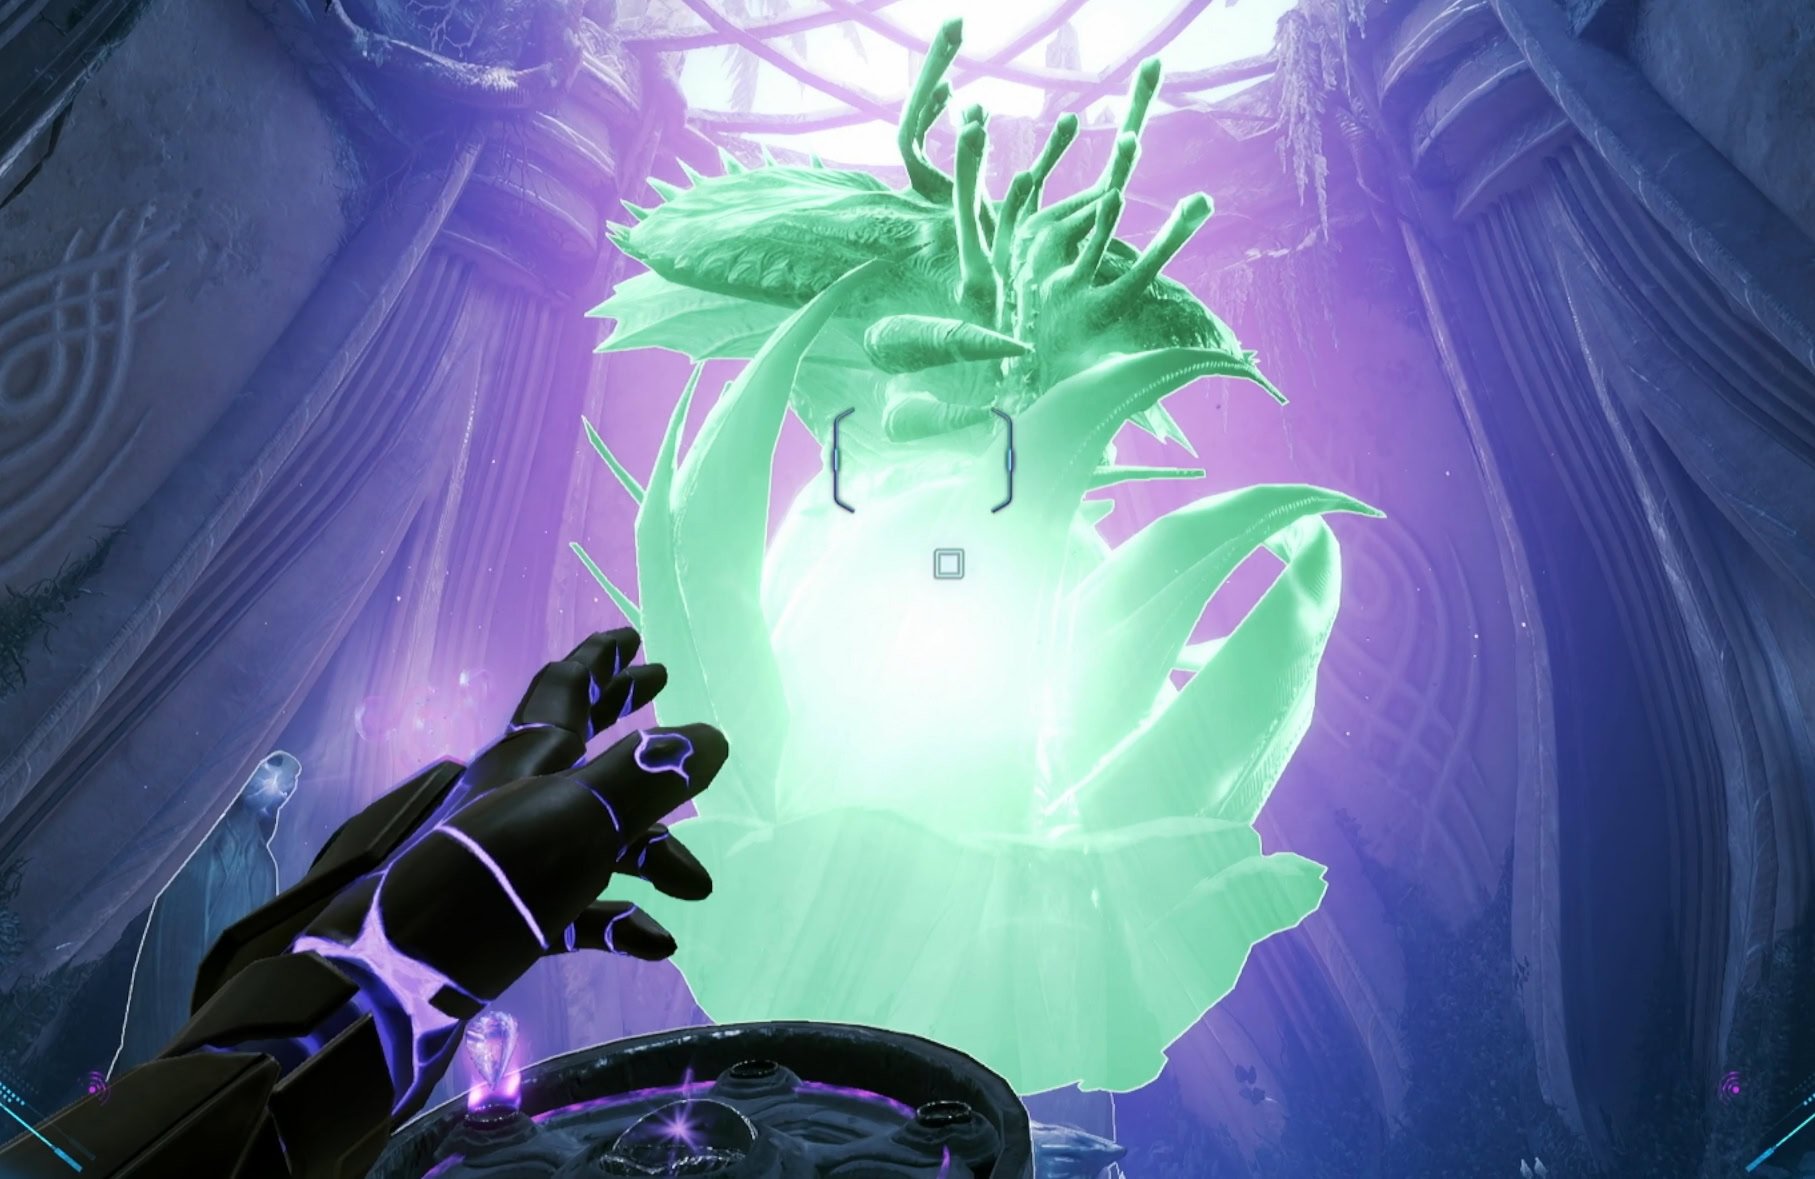
Upon reaching the beacon location, a cutscene will start where you’re introduced to the Galactic Federation Engineer, Myles MacKenzie. Help him out of his predicament by shooting the Swollen Vine Growths.
Defeat the Jungle Grievers then blast the arm of the shuttle’s cargo bay hatch. Inside you’ll get the Missile Launcher. While you only start out with 10 missiles, you’ll be able to find more Missile Upgrades as you progress through the game.
How to use the Missile Launcher
A key word to keep in mind with the missile launcher is “Explosive“. If you scan something and it says it can be destroyed by an “Explosive Force”, that means you’ll need to use your missiles on it. One such example are the walls of hardened resin.
This will be a recurring theme as you unlock more weapons. Some are explosive, high-heat, concussive, etc. and you’ll need to remember this when scanning destructible obstacles.
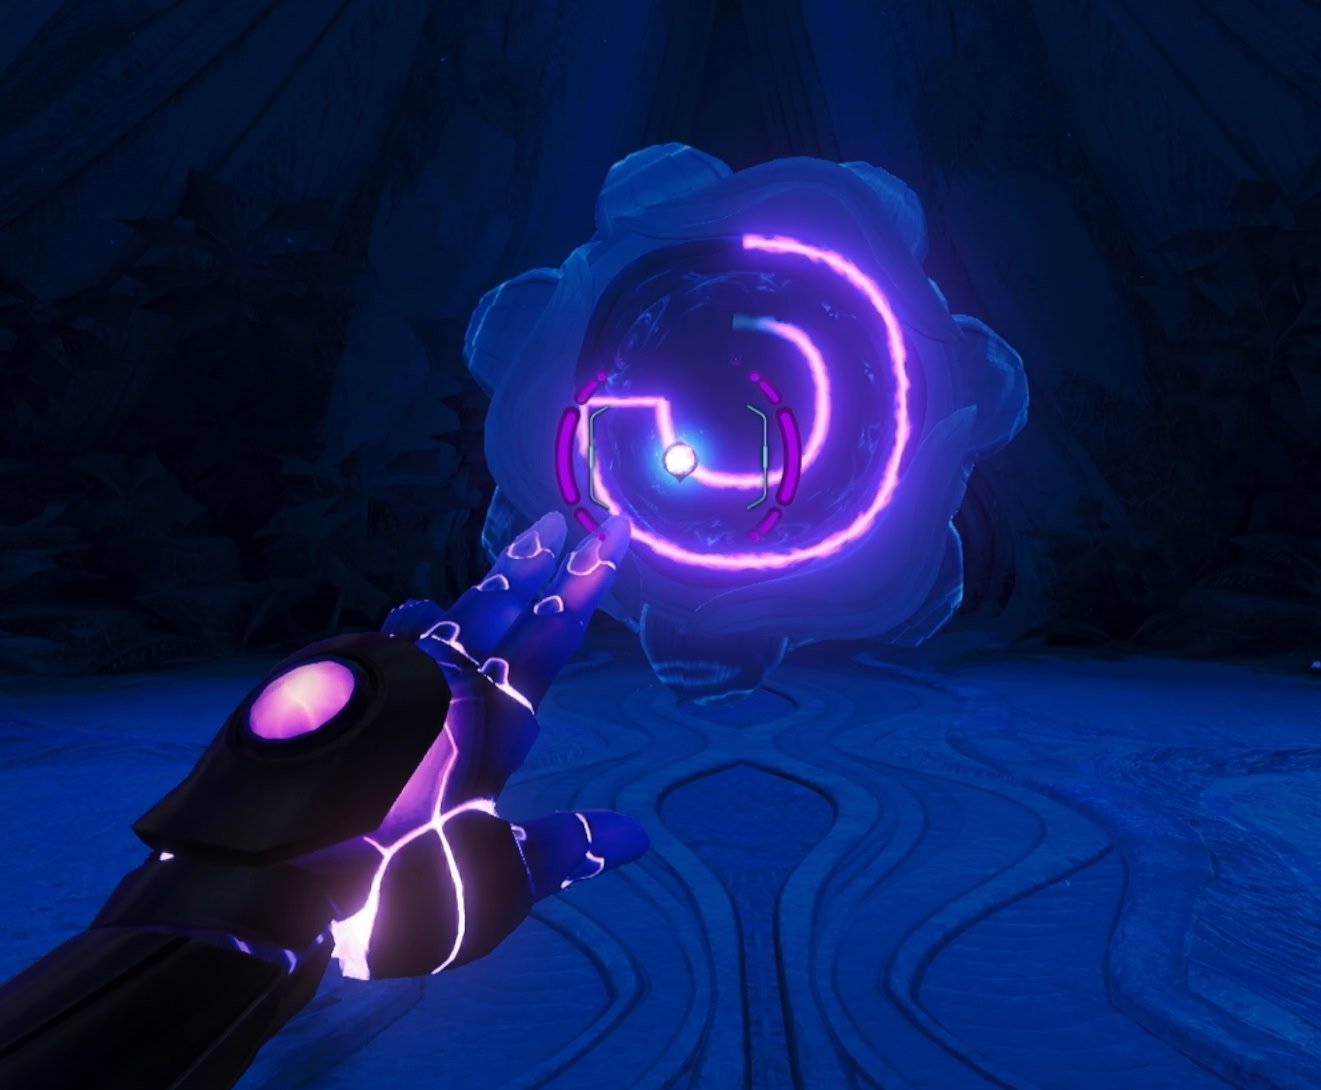
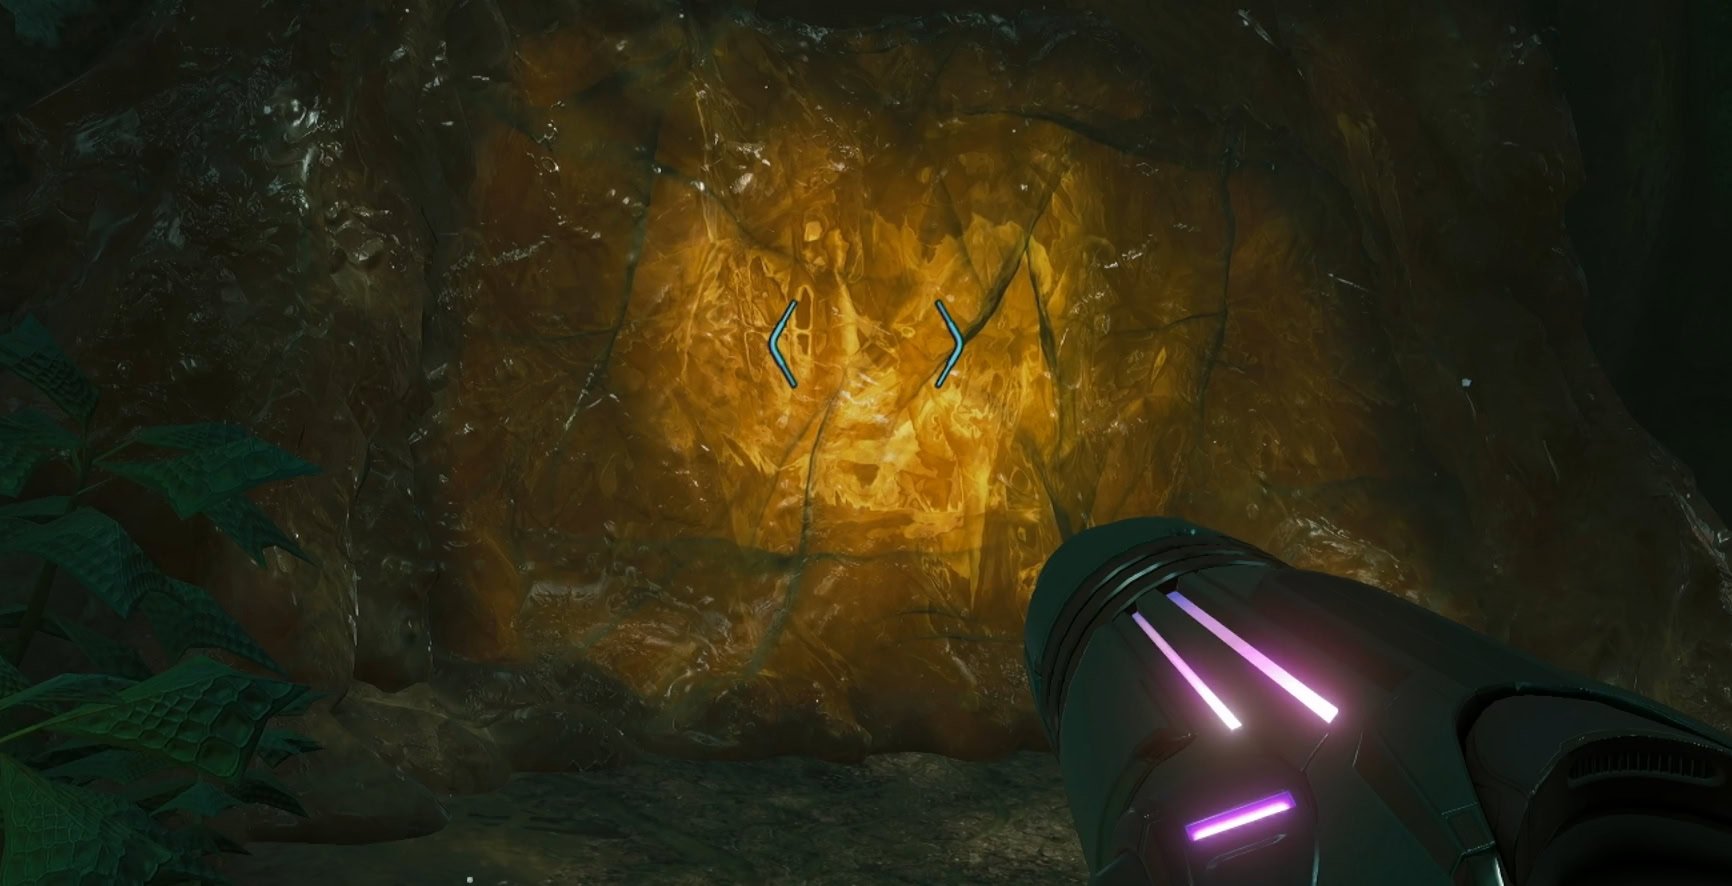
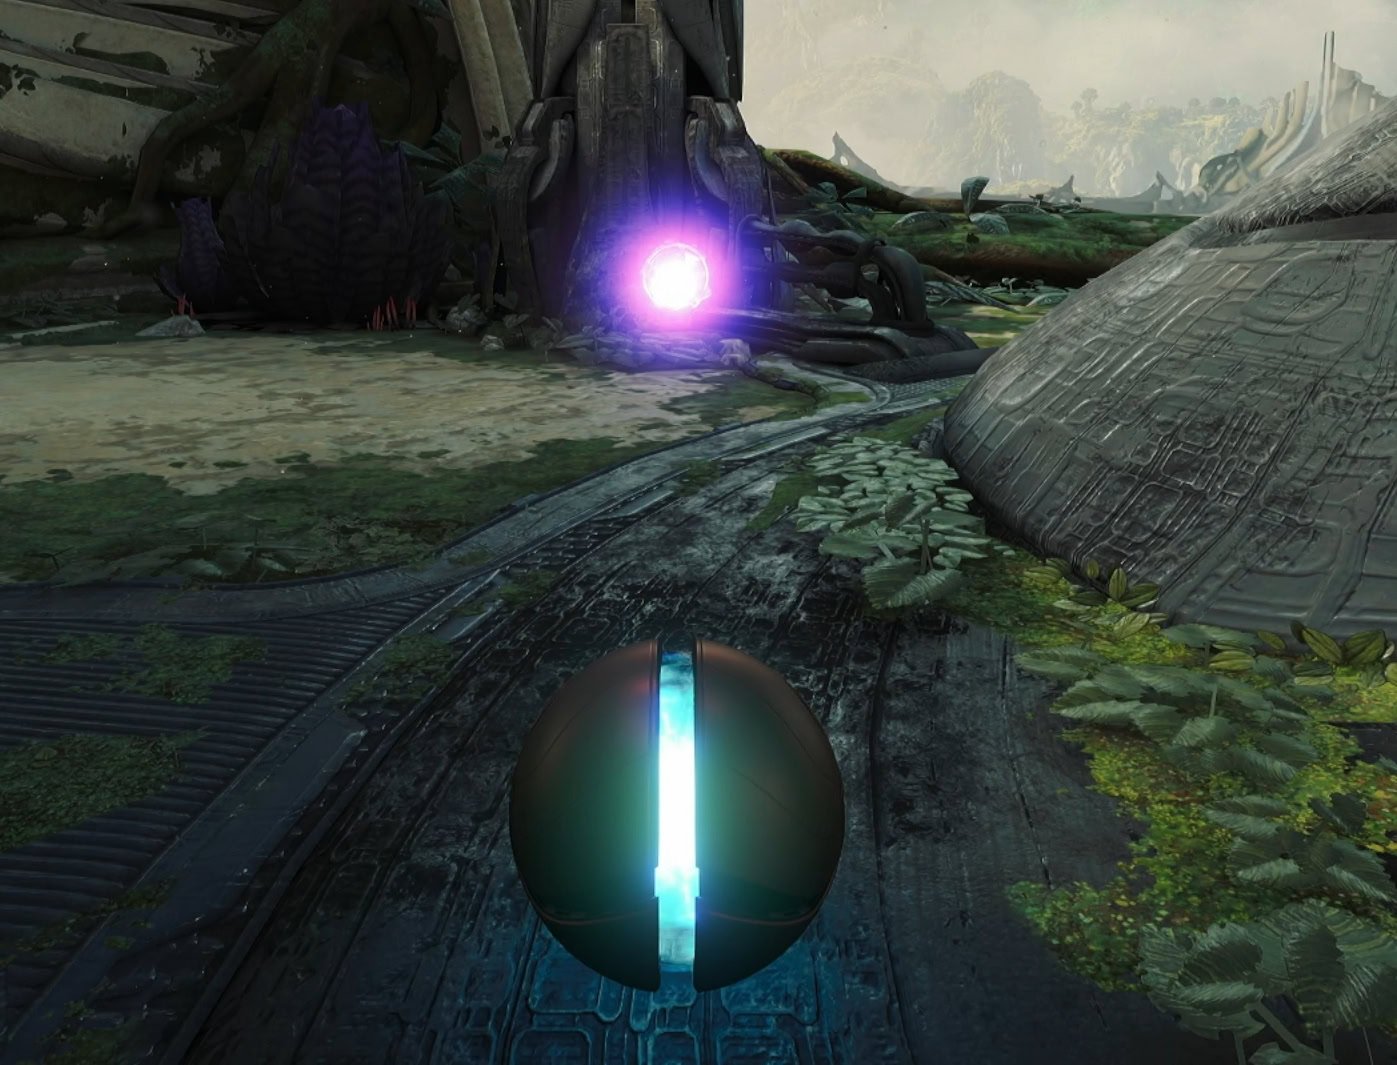
Follow the trail of resin walls and blast your way through. At the end of Resin Creek, you’ll find a Psychic Shutter. Use the Psychic Glove to open the shutter by moving the node in a clockwise manner. This will unlock a Save Station where you’ll save your progress, restore your energy, and refill your weapons such as missiles.
When you return to the Grove of the Sacred Tree, blast the resin wall ahead to the south and go through. You’ll encounter a Lamorn Psychic Door in the Bridge Landing. Simply use your Psychic Glove to pull the node down to unlock it.

Explore the Lamorn Temple
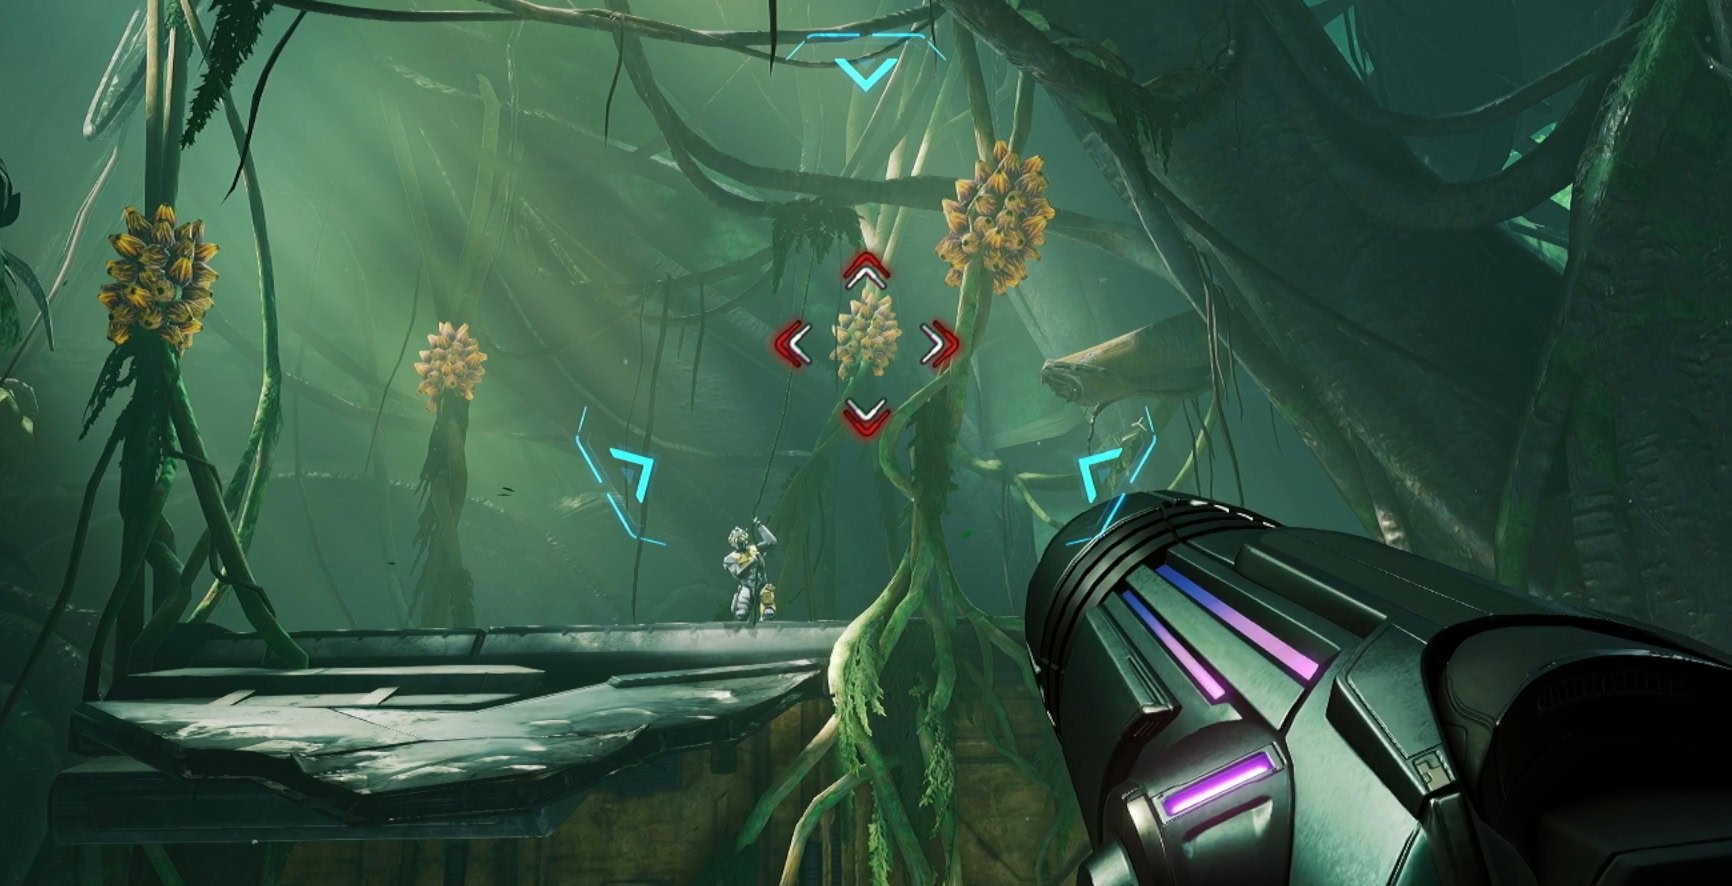
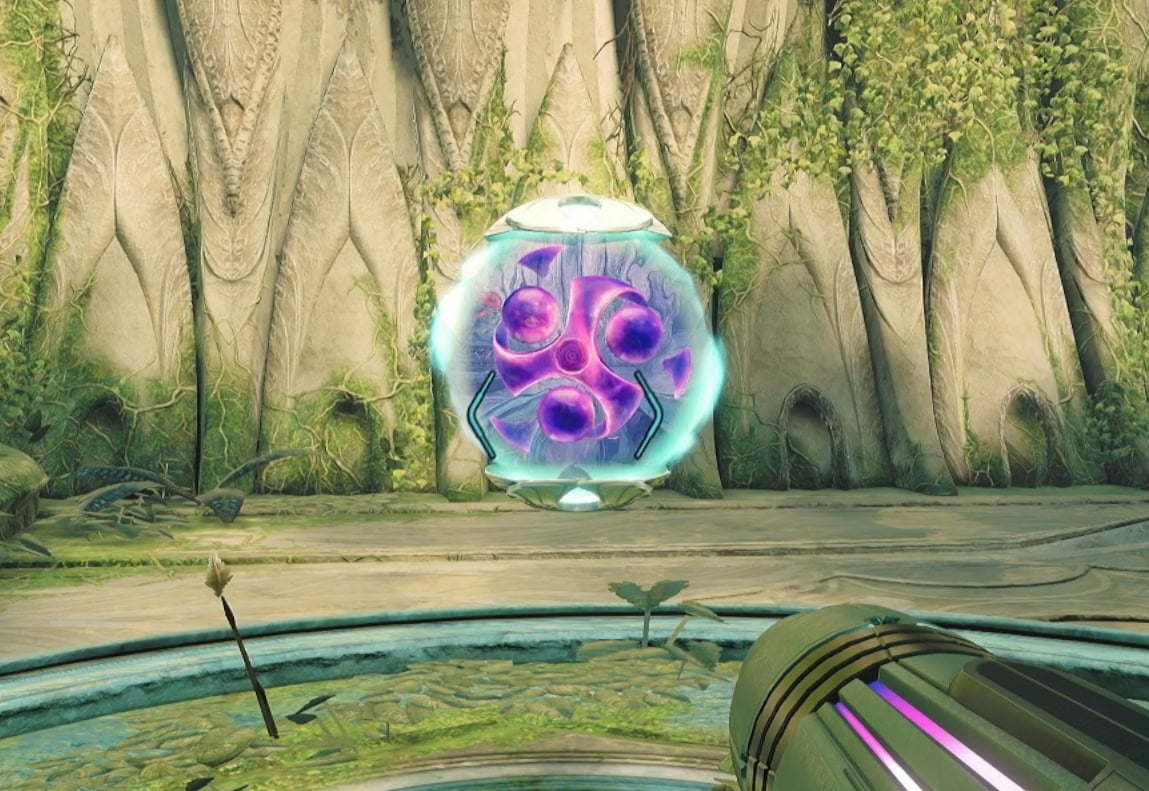
Defeat the Jungle Grievers on the bridge then go to the Lamorn Temple. At the Temple Entrance will be a Lamorn Object with sockets for two motes. One mote will be found to the left, while the other is behind rubble on the right. Destroy the rubble with a missile then launch the motes into the sockets.
Upon activating the Lamorn Object, it’ll disappear and reveal a new upgrade, the Control Beam. This ability is a beam that can be used while using your Psychic Visor.
How the Control Beam works
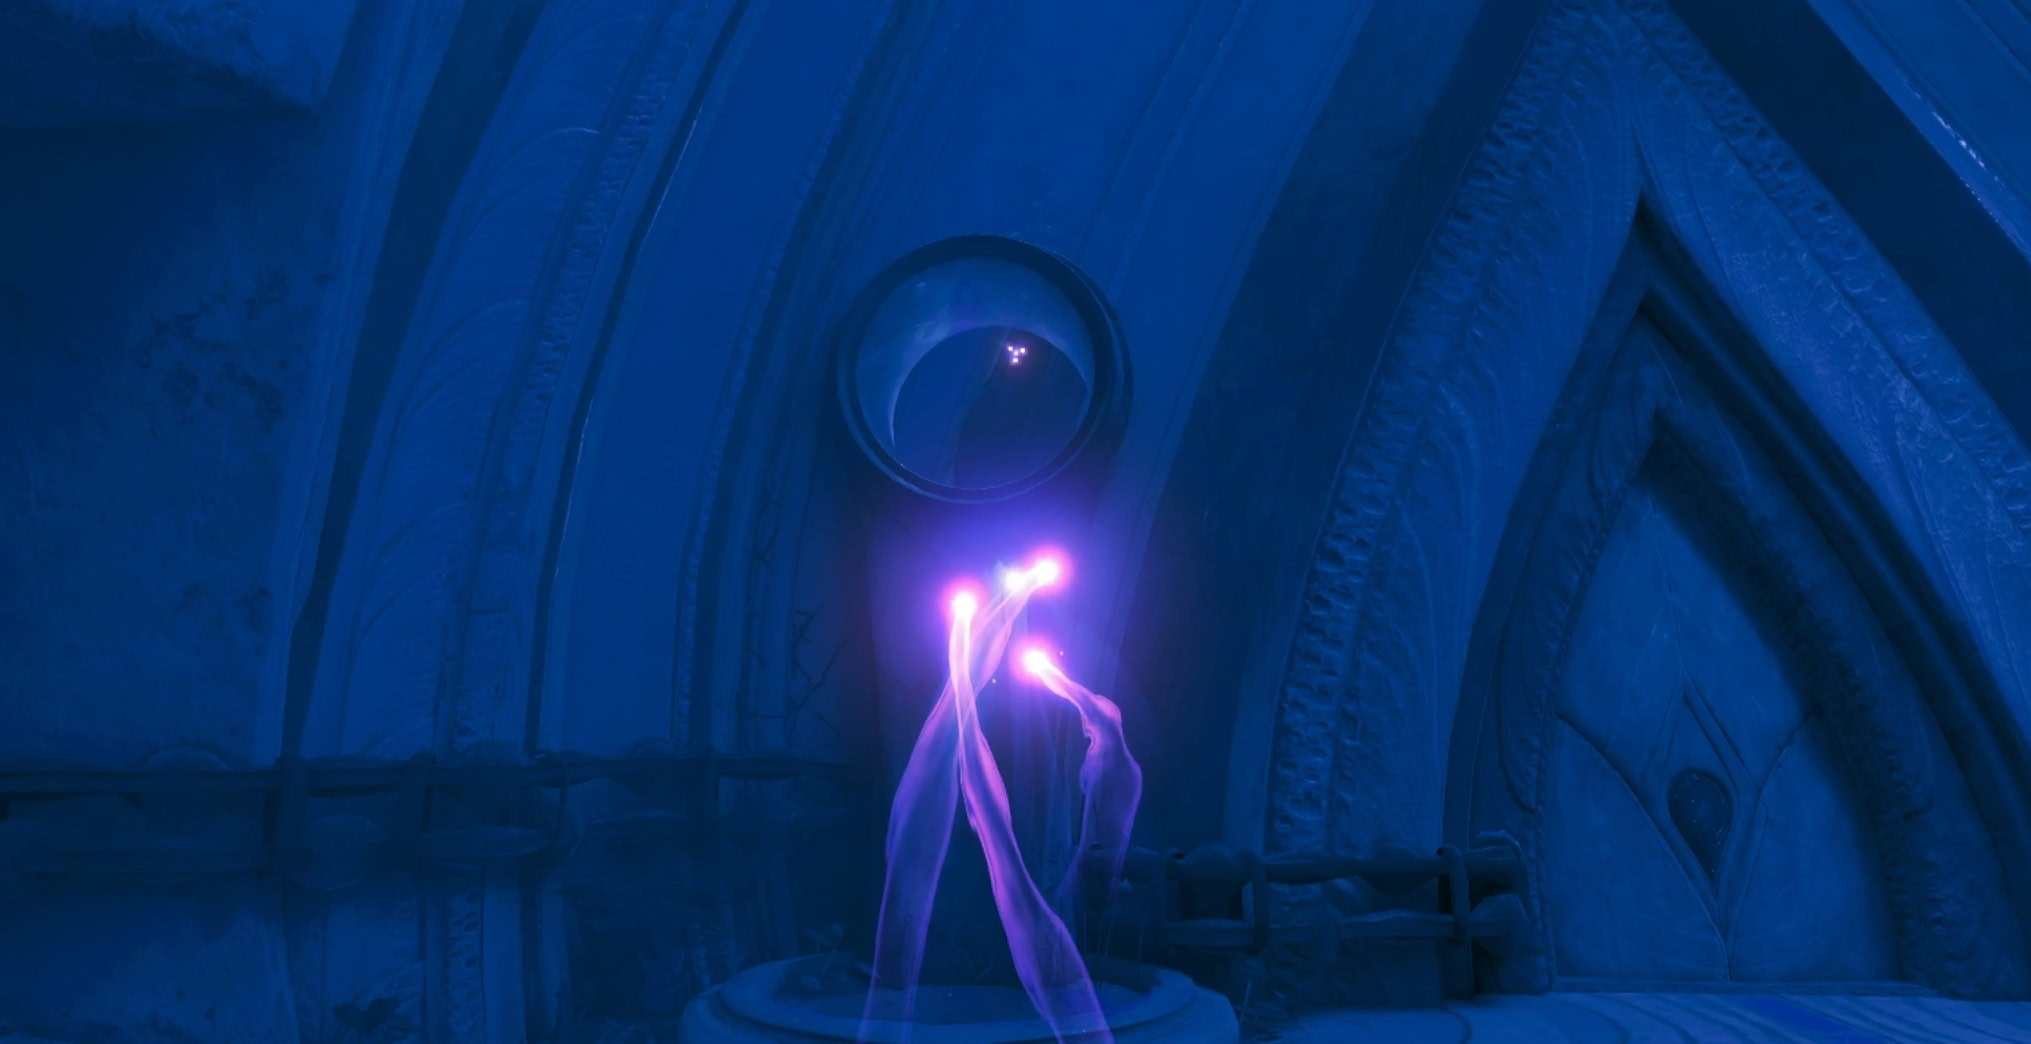
This beam has a unique mechanic where it slows down your perception of time while allowing you to control the beam as it flies. Charge your beam and direct it into a socket above the locked door ahead.
You’ll reach a room in the temple with a machine console that MacKenzie will fiddle around with. Interact with the console when prompted and the room will be powered up. To the east is a Morph Ball Socket you can’t use yet, the west is a save room, and to the south is a broken door.
Fire a control beam and guide it through the hole to the left of the broken door. Circle around and activate the door from the other side to proceed.
You’ll run into a room called the Altar of Legacy where there will be a plant motif altar with two Lamorn statues near it. Scan the one highlighted yellow on the left to start a cutscene. In time, you can return to this Altar to deposit Memory Crystals you find on your adventure.
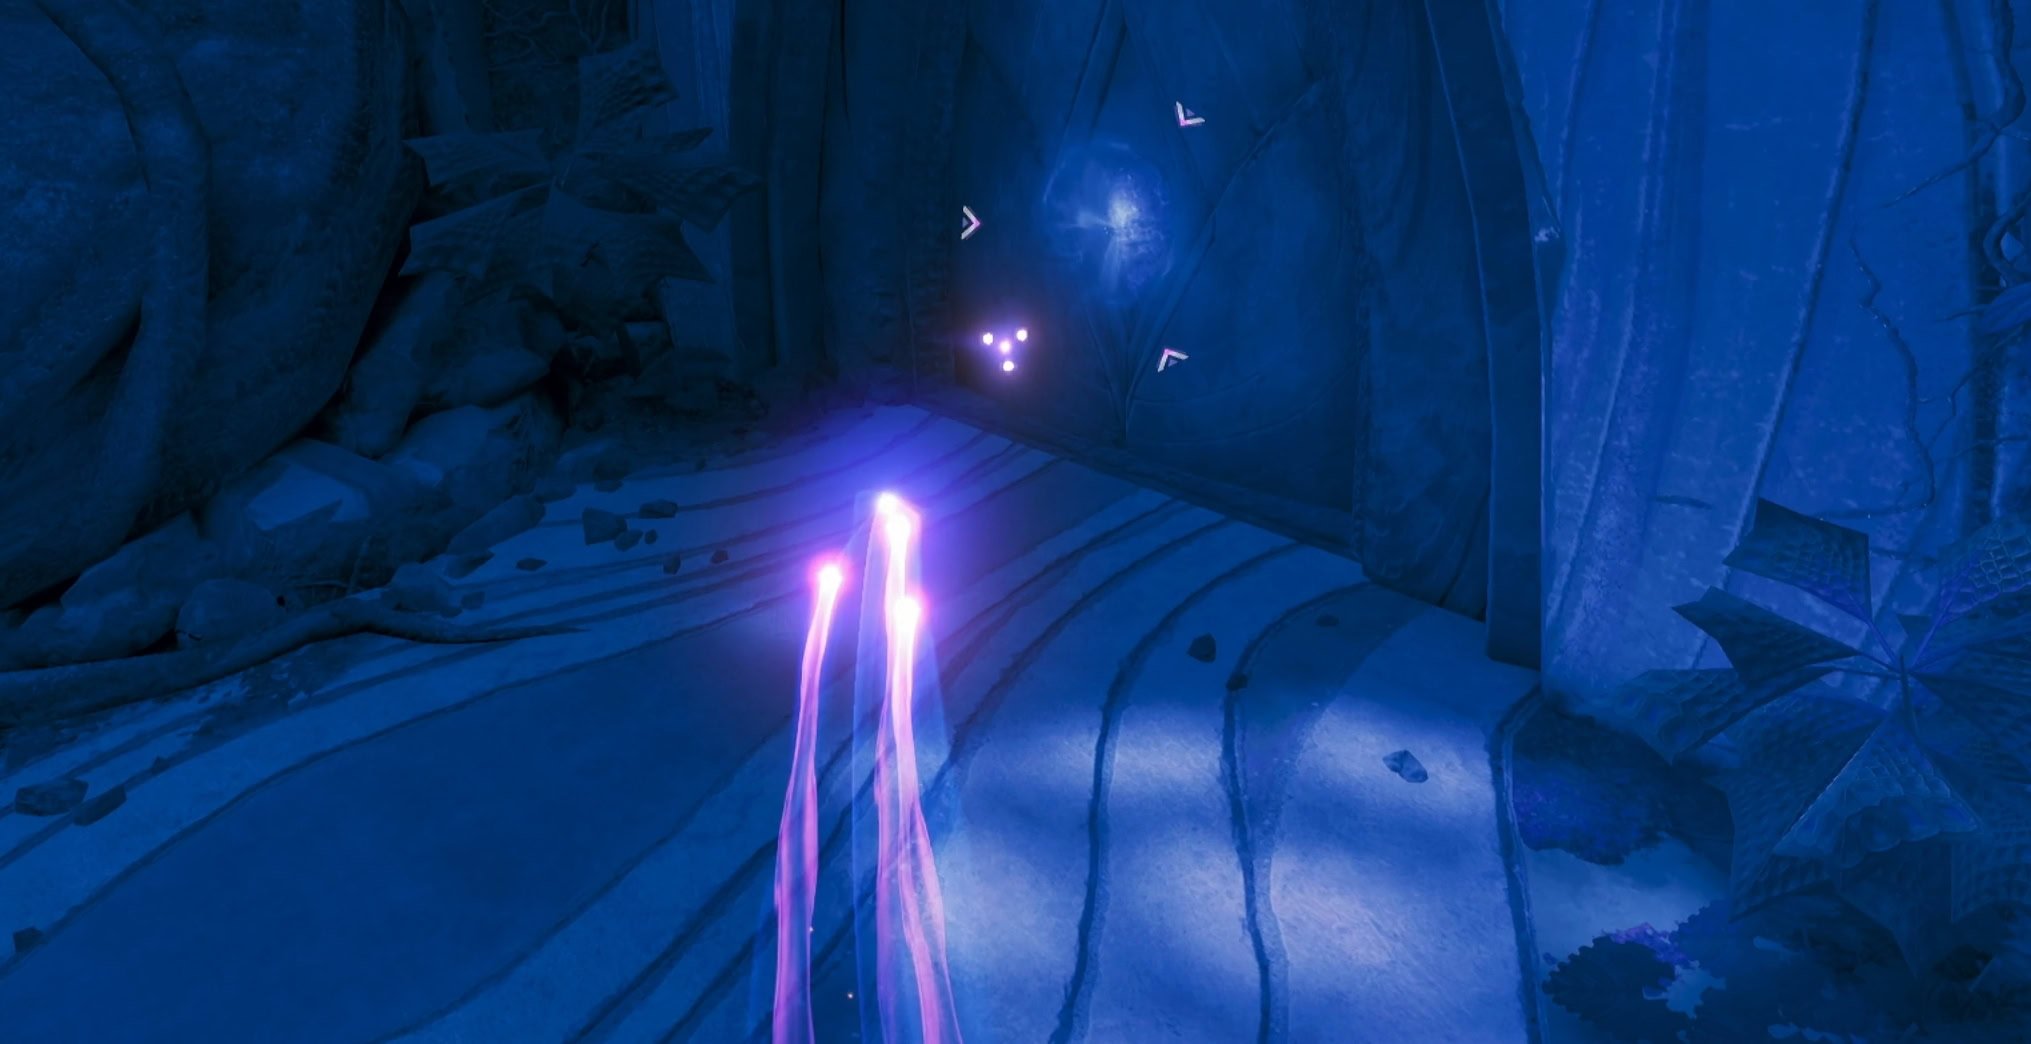
Proceed to the Ceremonial Chamber and stand on the pressure platform. This will activate a Triple Target Psychic Lock. Use the control beam and fly through each of the locks to unlock the gate ahead.
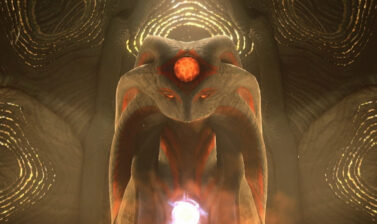
Defeat Carvex
Go through the Path of Reflection and enter the Garden of Remembrance, the room where the Master Teleporter Key is located. Inside will be Carvex, the boss of Fury Grove.
If you want to get 100% scans, be sure to scan Carvex, its Vines, and the Pollen Sacs! Focus on the vine and blast off the scales surrounding the bulging portion. When you do this, two Pollen Sacs will follow you, destroy those then blow up the vine growth. Jump over the vine when it’s swung around the room’s floor.
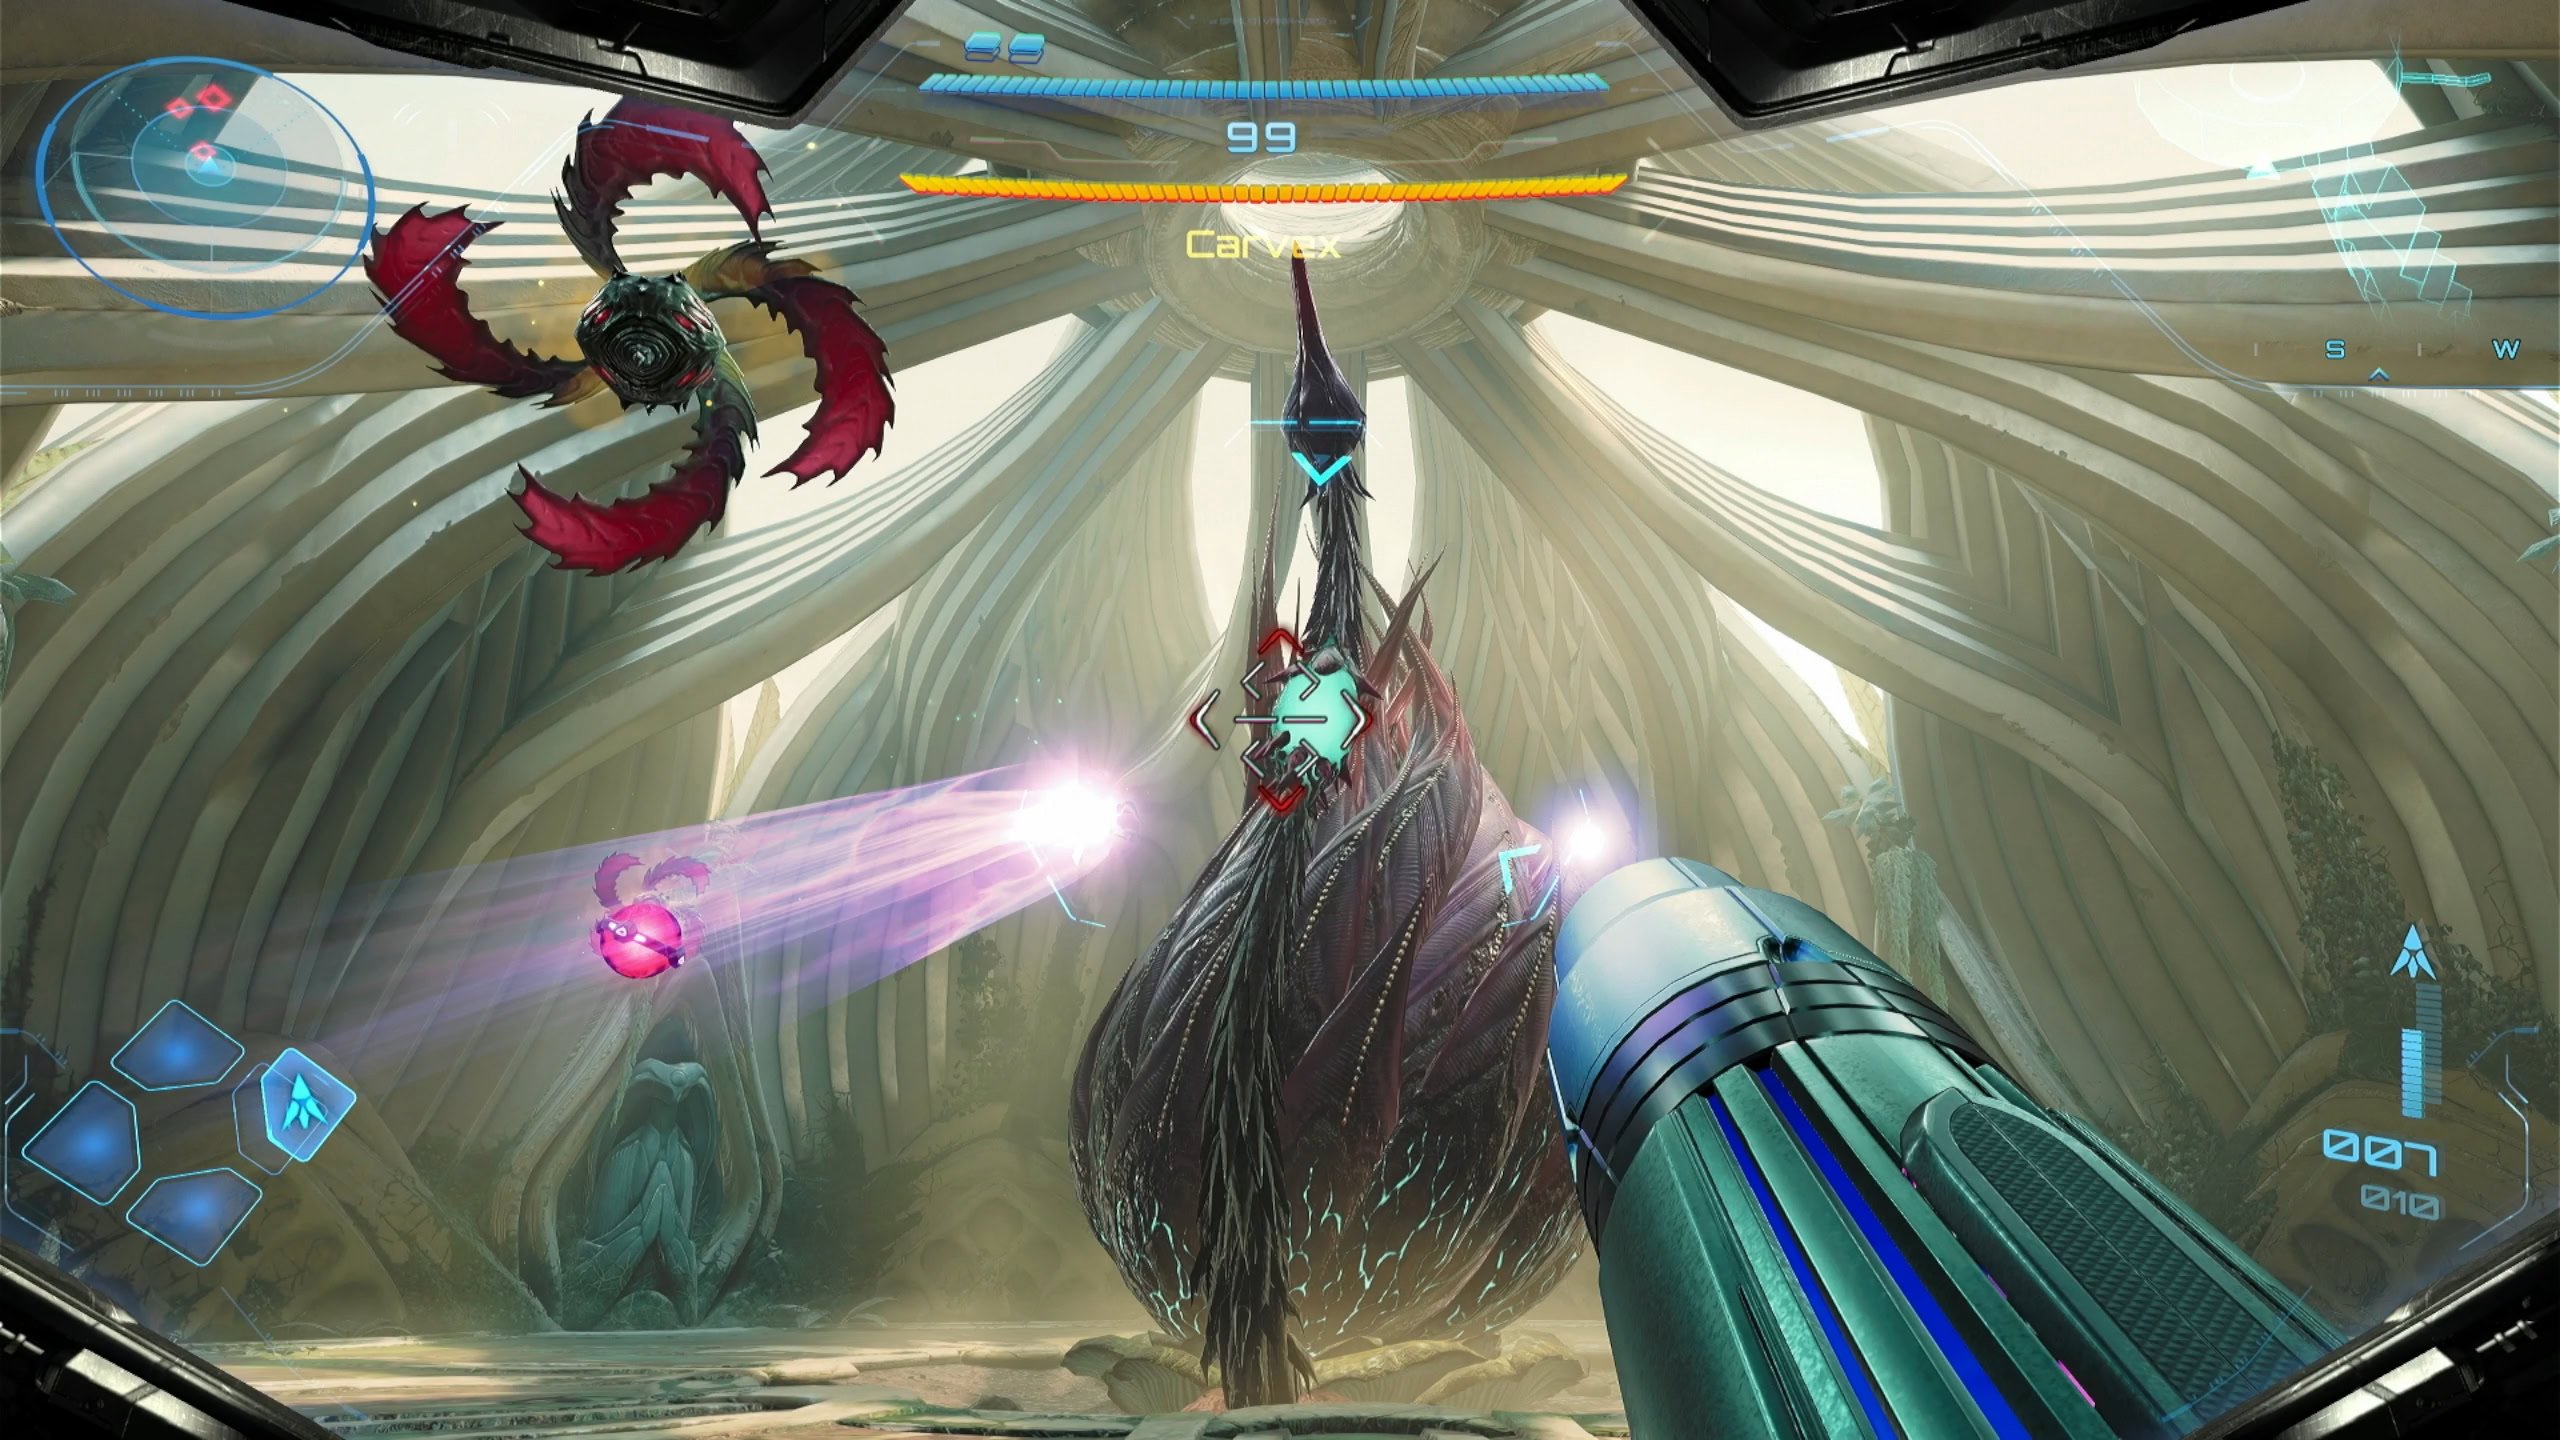
With the vine destroyed, Carvex will open up and expose its weak spot, the Metroid growth. Sidestep and dodge the thorns from the ground and shoot the growth until Carvex closes up again.
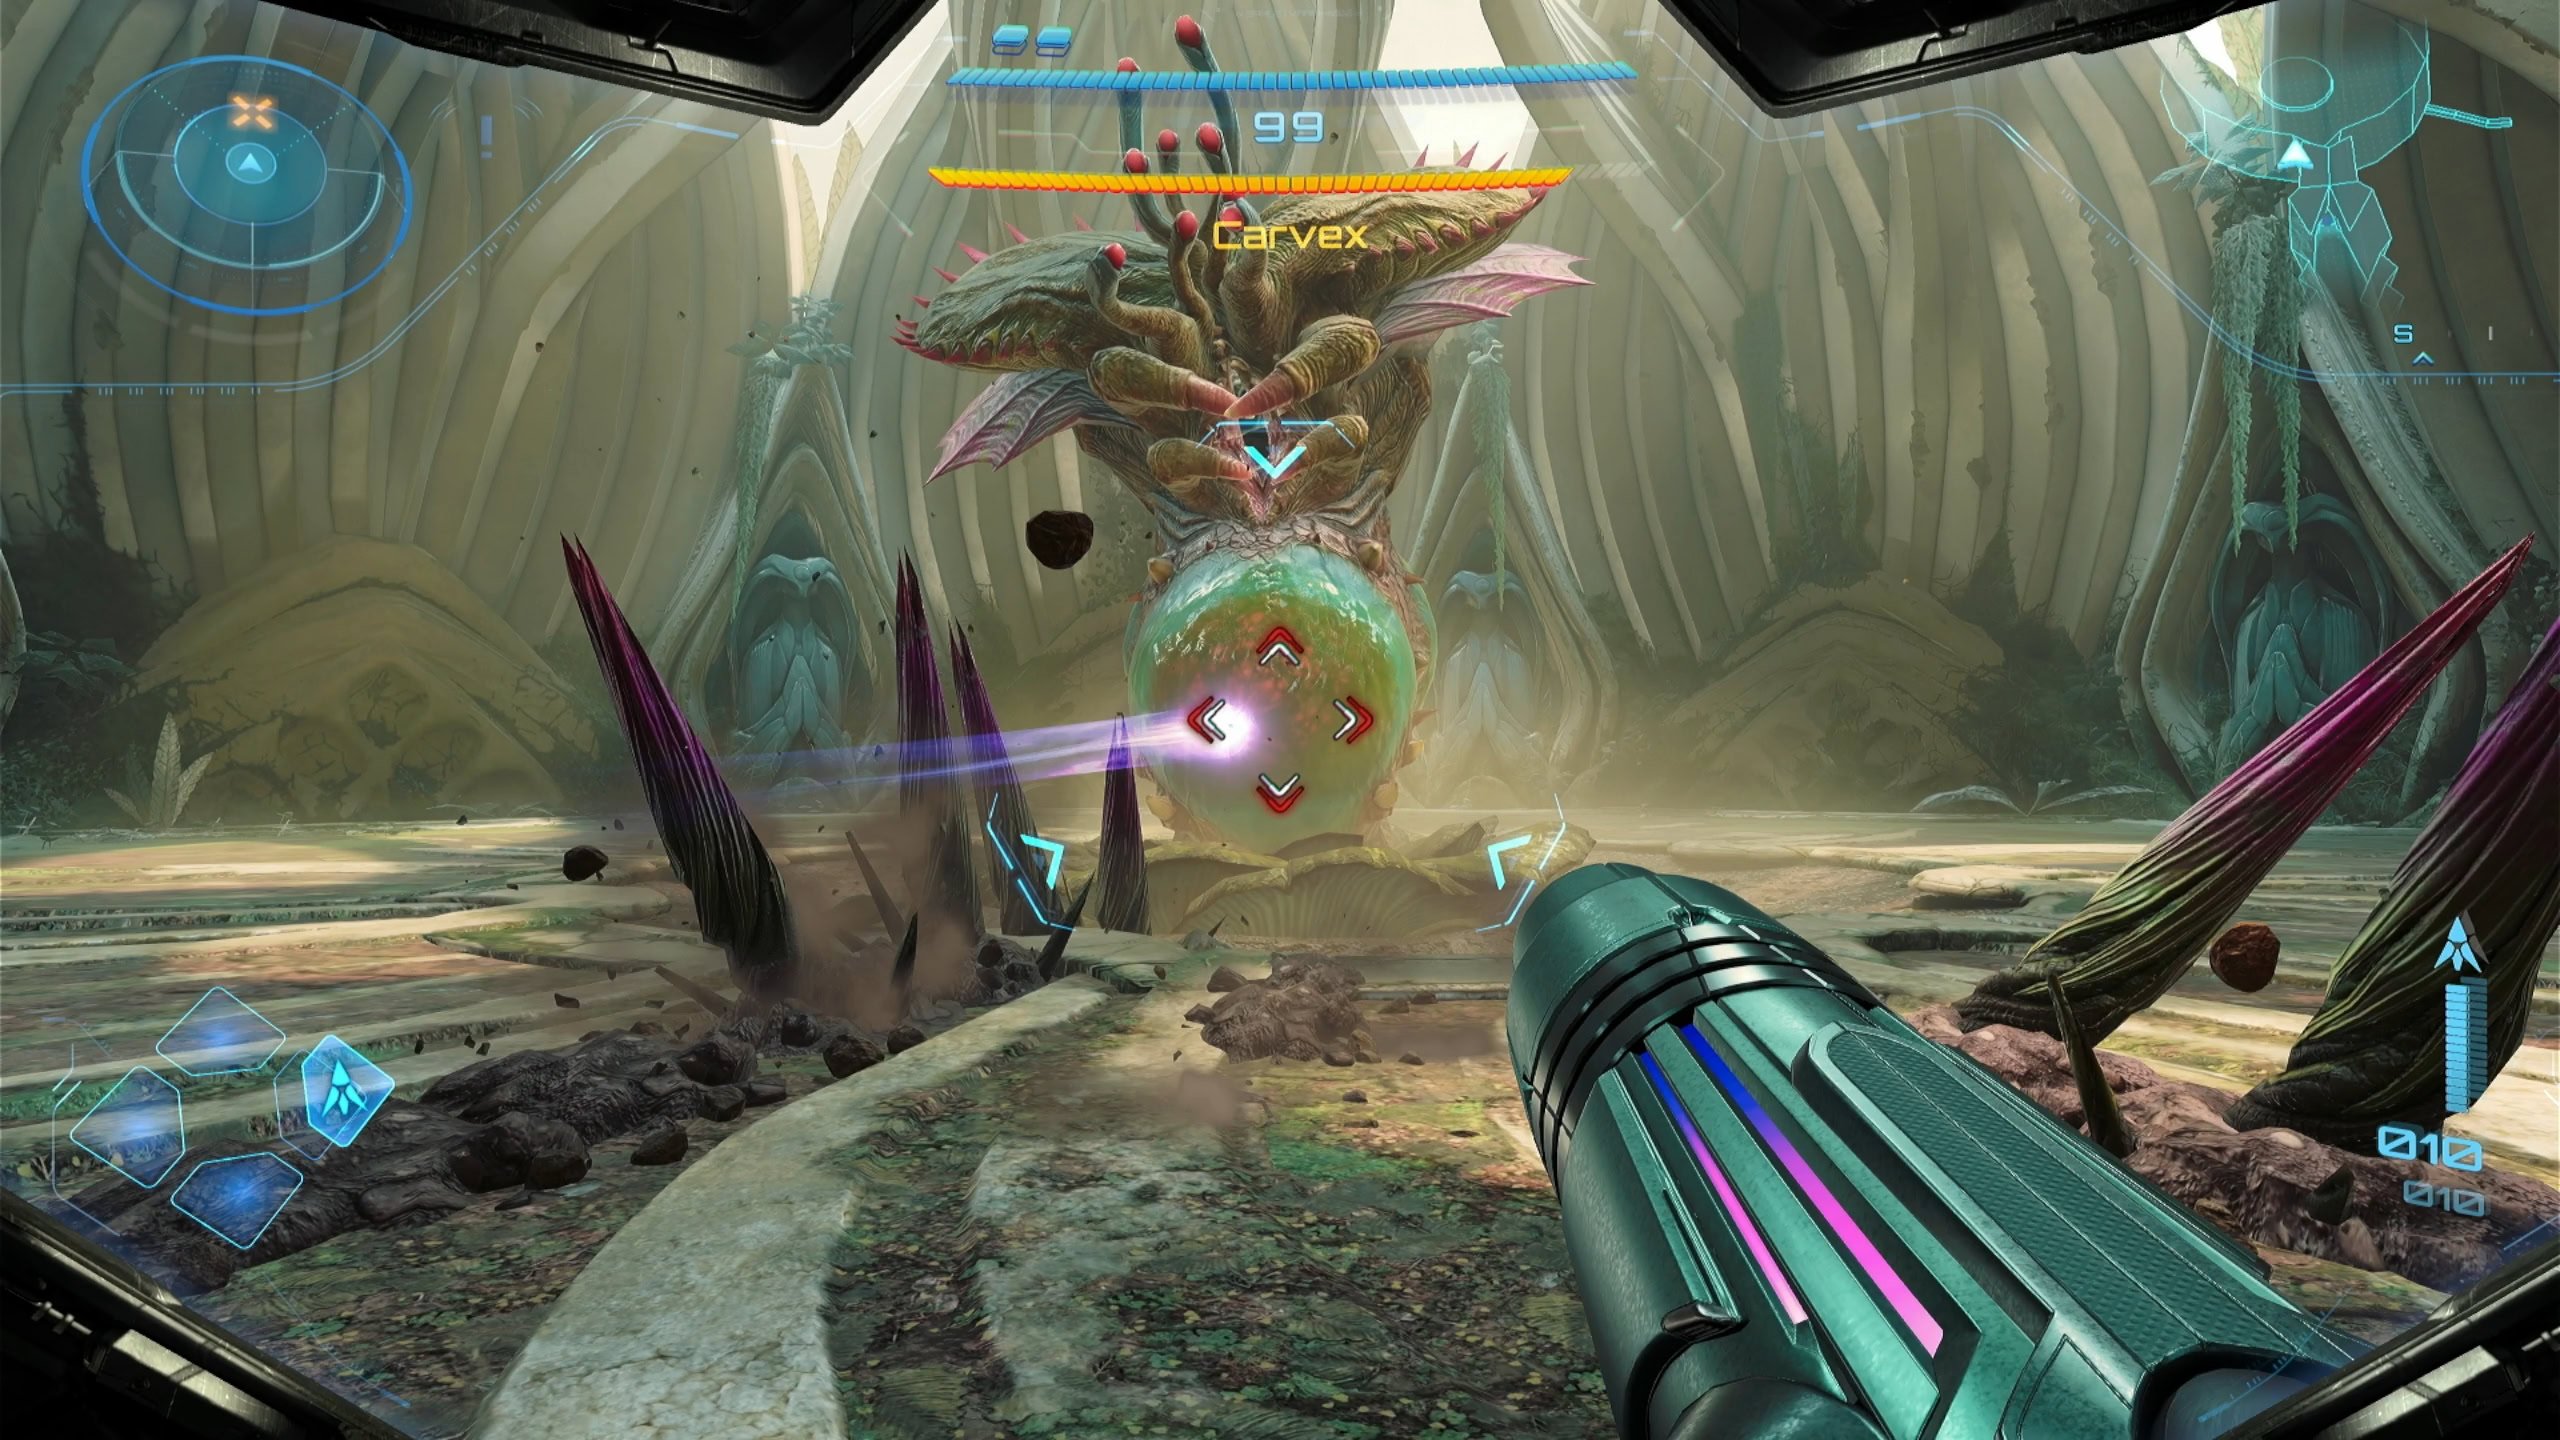
Carvex will now spawn two vines. You’ll need to destroy both of them quickly otherwise they’ll regrow. Take down both of the vine growth’s armor, then use missiles on both to open up Carvex.
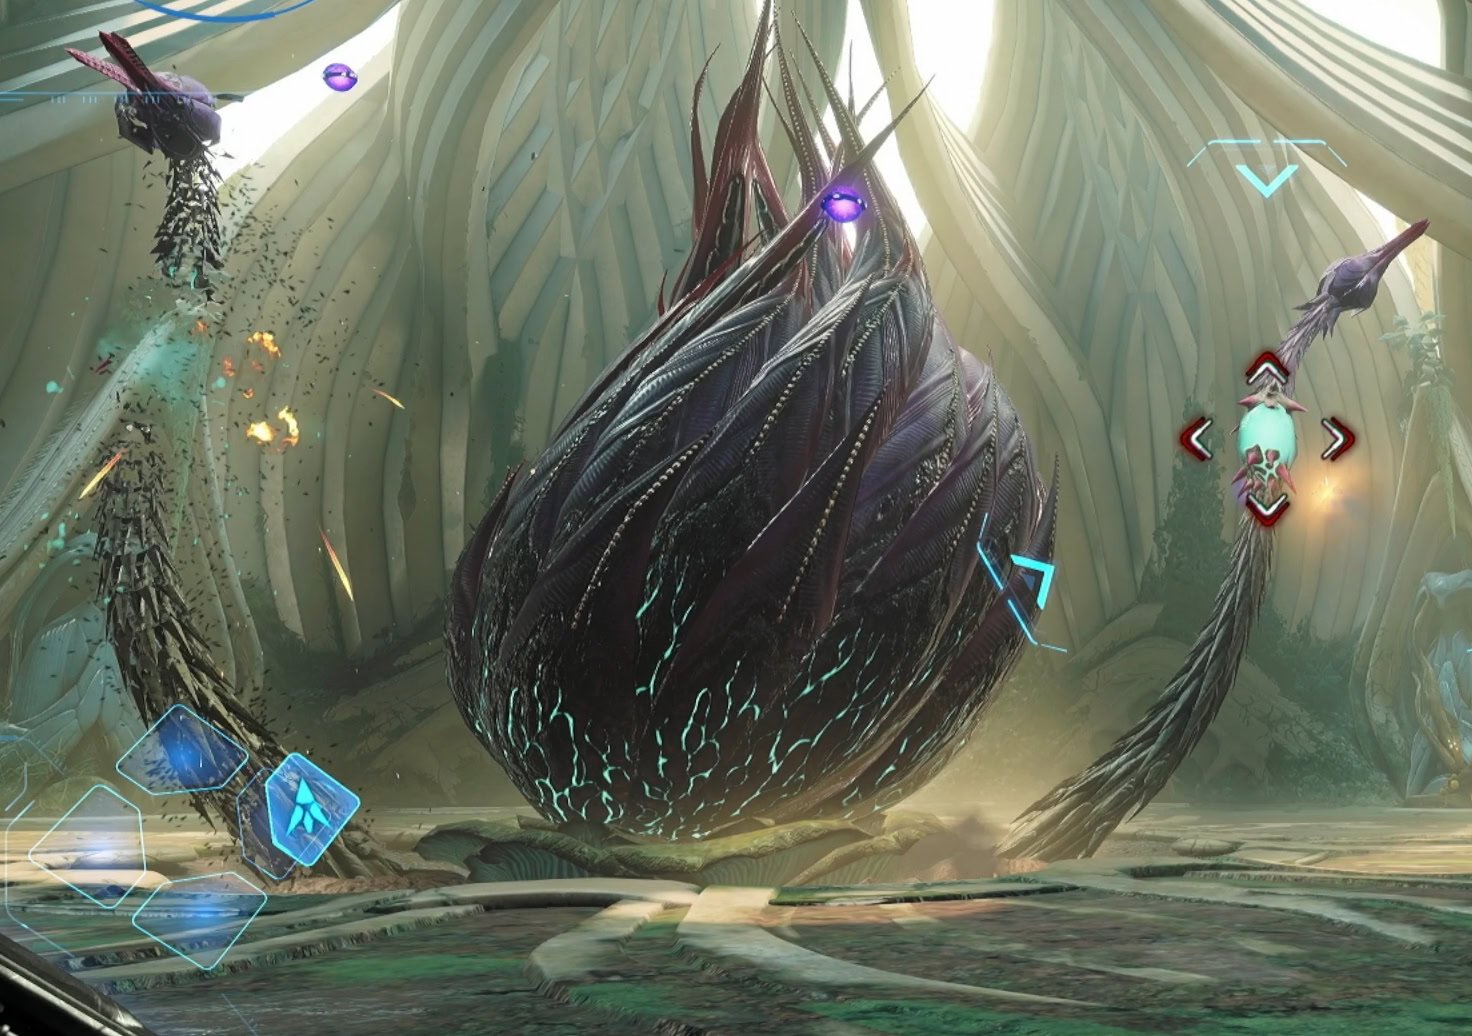
After closing up again, Carvex will now have 3 vines. Destroy their growth armor and wait for them to start swinging around the floor. Use missiles on the growths as the vines spin around the room as they cannot grow back while Carvex spins.
When Carvex gets to 25% health, it’ll create root walls. Just repeat what you did last time by destroying the armor and use missiles against the three vines as they spin. With Carvex opened up, finish it off to gain the Psychic Bomb.
The Psychic Bomb
The Psychic Bomb is this game’s version of the Morph Ball Bomb and deals Concussive damage. Turn into a Morph Ball, roll into the bomb slot and pop a psychic bomb to activate the Sacred Shrine.
Step onto the shrine platform where you’ll be in a psychic realm where the Master Teleporter Key lies. Pick it up and make your way back to Base Camp.

To the west is a red plant growth that can be destroyed with a Psychic Bomb. Bomb it open then roll through the tunnels to return to the Ceremonial Chamber.

Now’s a good time to check out the Sanctum of the Guardians, just east of the Ceremonial Chamber. One of the statues will have a mote you can launch into the console. Rotate the crystal to the activated statue’s location to unlock a hologram of Carvex. Scan the hologram to get some backstory!
Leaving Fury Green
Return to Base Camp, talk to MacKenzie and activate the bomb socket on the east wall to unlock a door. Follow the path going east and you’ll eventually find the Cargo Launcher. There’s an activation switch on the left side that requires a mote to power up. Fortunately for you, you can now make your own!
While in Morph Ball mode, press and hold the bomb button to create a mote. This will disappear if you’re not quick enough, so quickly switch to your Psychic Visor and launch the mote into the socket.

Interact with the Cargo Launcher where you’ll then be launched into Sol Valley. This ends your time in Fury Green for now and you’ll need to find your way to the next destination, Volt Forge.