Learn how to find Volt Forge’s Master Teleporter Key in Metroid Prime 4: Beyond! This walkthrough will help you navigate the forge and aid you in your combat encounters against the many tough enemies here.
Table of contents
Enter Volt Forge
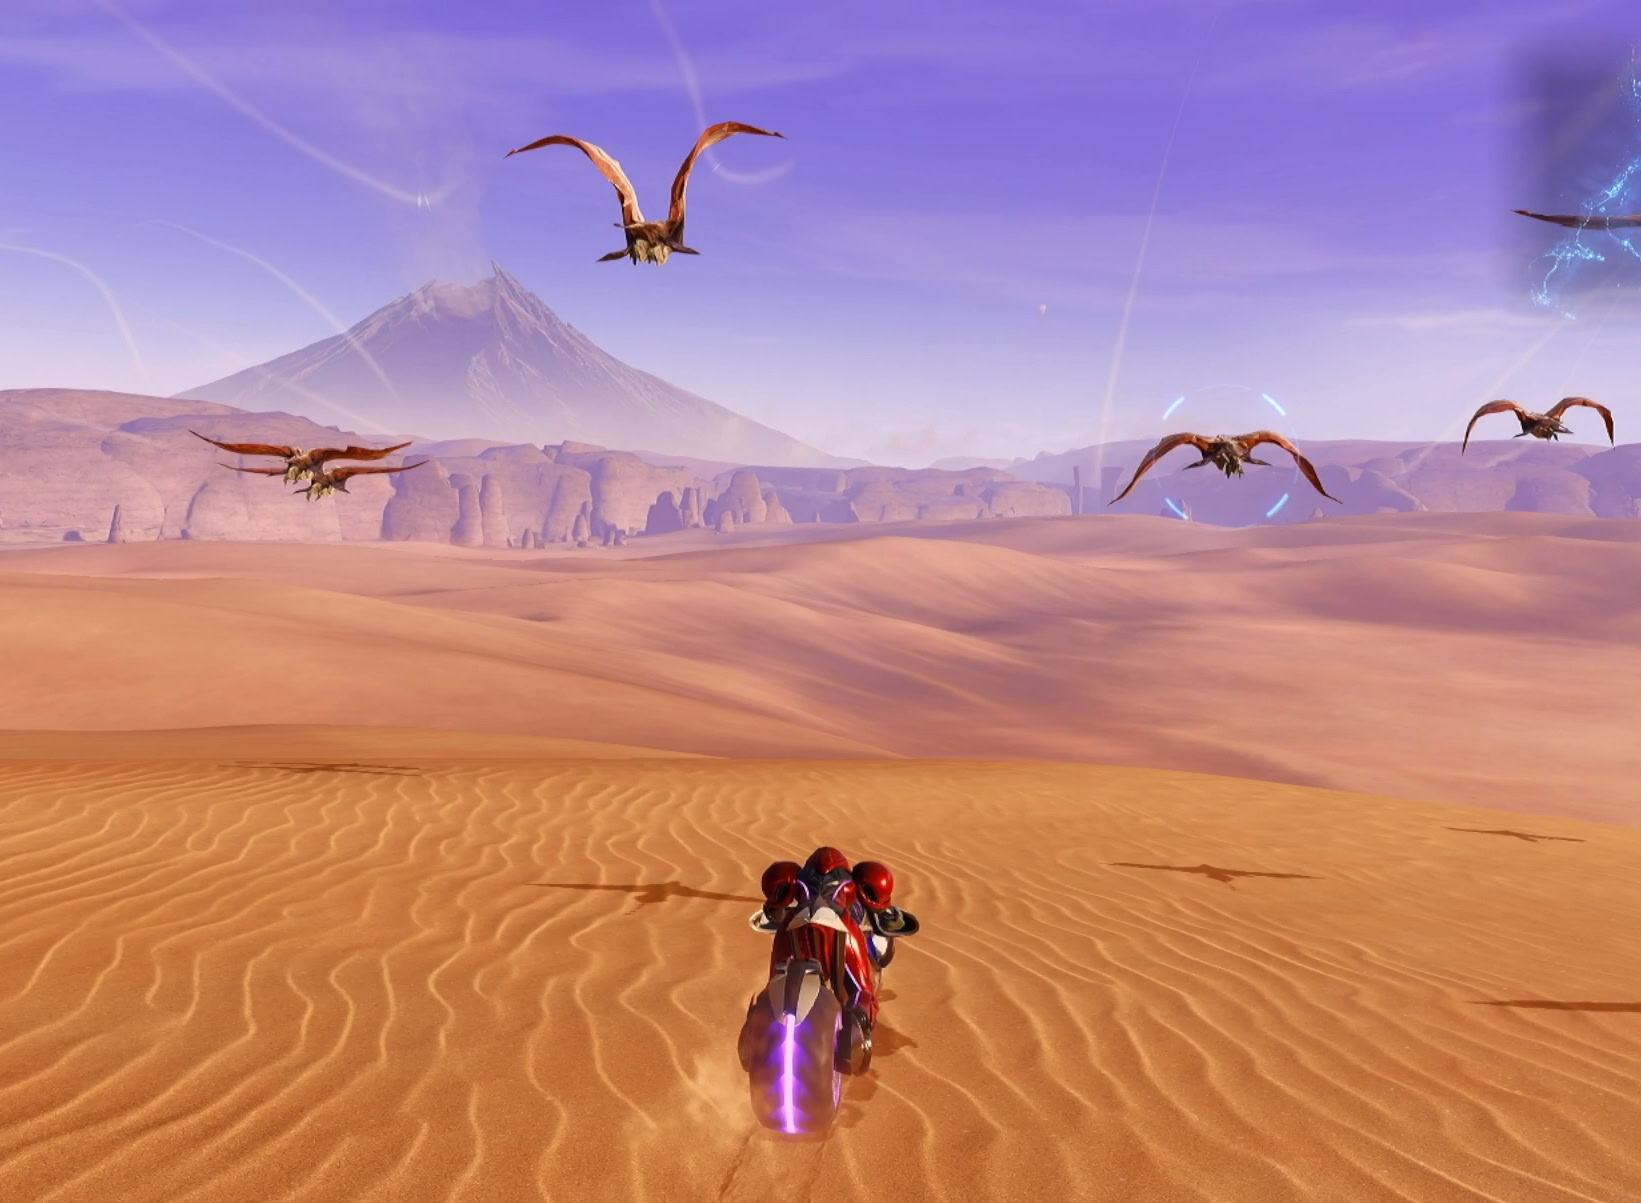
After being launched from Fury Green’s cargo cannon, you’ll find yourself in the sandy dunes of Sol Valley. To the south will be a Lamor building that you’ll need to enter.
When you enter the facility, a cutscene will play and some pods will launch towards you from the Chrono Tower. They’ll contain Psy-bot Soldiers that use hard-hitting laser beams. Focus on one Psy-bot at a time, side-dashing away from the lasers.

Once the area is clear, go towards the large Vi-O-La tunnel and up the ledge on its right side. Morph Ball through the open tunnel to go inside, and blast the shattered window open with a Charge Beam.
Jump down and blast open the tunnel with the metal grates, then Morph Ball through. Run down the large hallway, destroy the crates to the left that block another tunnel, and roll on through to reach the Volt Forge.
Upon reaching the Showroom, you’ll see numerous Neuro Bikes on display. You’ll be unable to use the main console here due to a lack of power, but there’s a console with an area map near the large window. Download the map and use the save station on the west side of the Showroom.
Activate Tower 1’s Power Generator
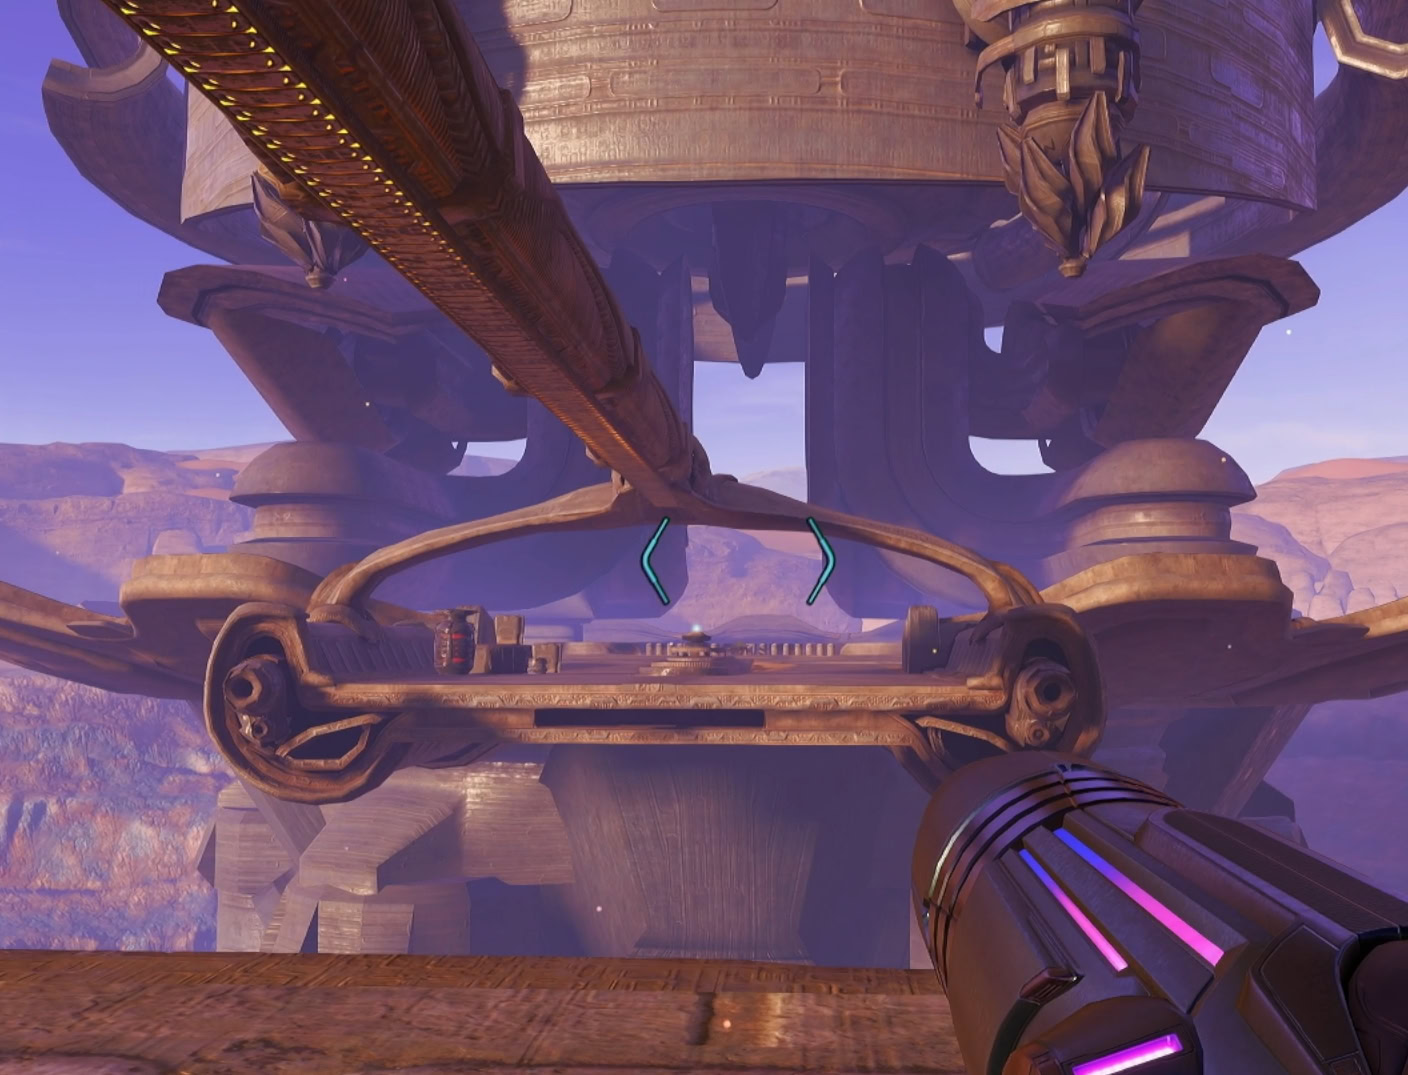
Take the east door to the elevator and descend. Jump down the platforms to reach the bottom of the Irradiation Floor and you’ll find yourself stuck. Stand on the inactive platform closest to the ledge near the door and use the Control Beam to direct a shot to the Backup Power Socket.
The platforms will lift for a limited time, so jump up the ledge and go down the next elevator. Travel through the Assembly Floor, using missiles to break red locks on doors.
Jump down into the room full of mecha rats and take the east hall to the next elevator. Watch out for the lightning electrifying the water surrounding the elevator.
Jump down into the Manufacturing Floor where the various 3D Printers are. Ignore the door to the southeast as it leads to a dead end, and go through the Morph Ball tunnel to the northwest. This tunnel will lead you to the Tower 1 Generator.
You’ll find two anchor cable spools with Bomb Slots. Bomb the slots to open a tunnel and roll through to the very end. You can ignore the circular rooms on the sides of the tunnel for now.
Bomb the slot at the generator to activate the power generator, then carefully make your way back. As lightning hits the antenna, electricity will go through the tunnel. You’ll need to seek cover in those circular rooms during this time.
Manufacturing Floor
Once power is up, return to the Manufacturing Floor and scan the main console to activate the 3D printers. Look for the 3D printer that’s producing wheels and roll into the hologram as a Morph Ball. The arm will place you into the tunnel above.
Go through the tunnel while avoiding the power transformers along the way, then take the elevator up to the Assembly Floor. The electrified water around the elevator will still be a hazard, so be careful.
Assembly Floor
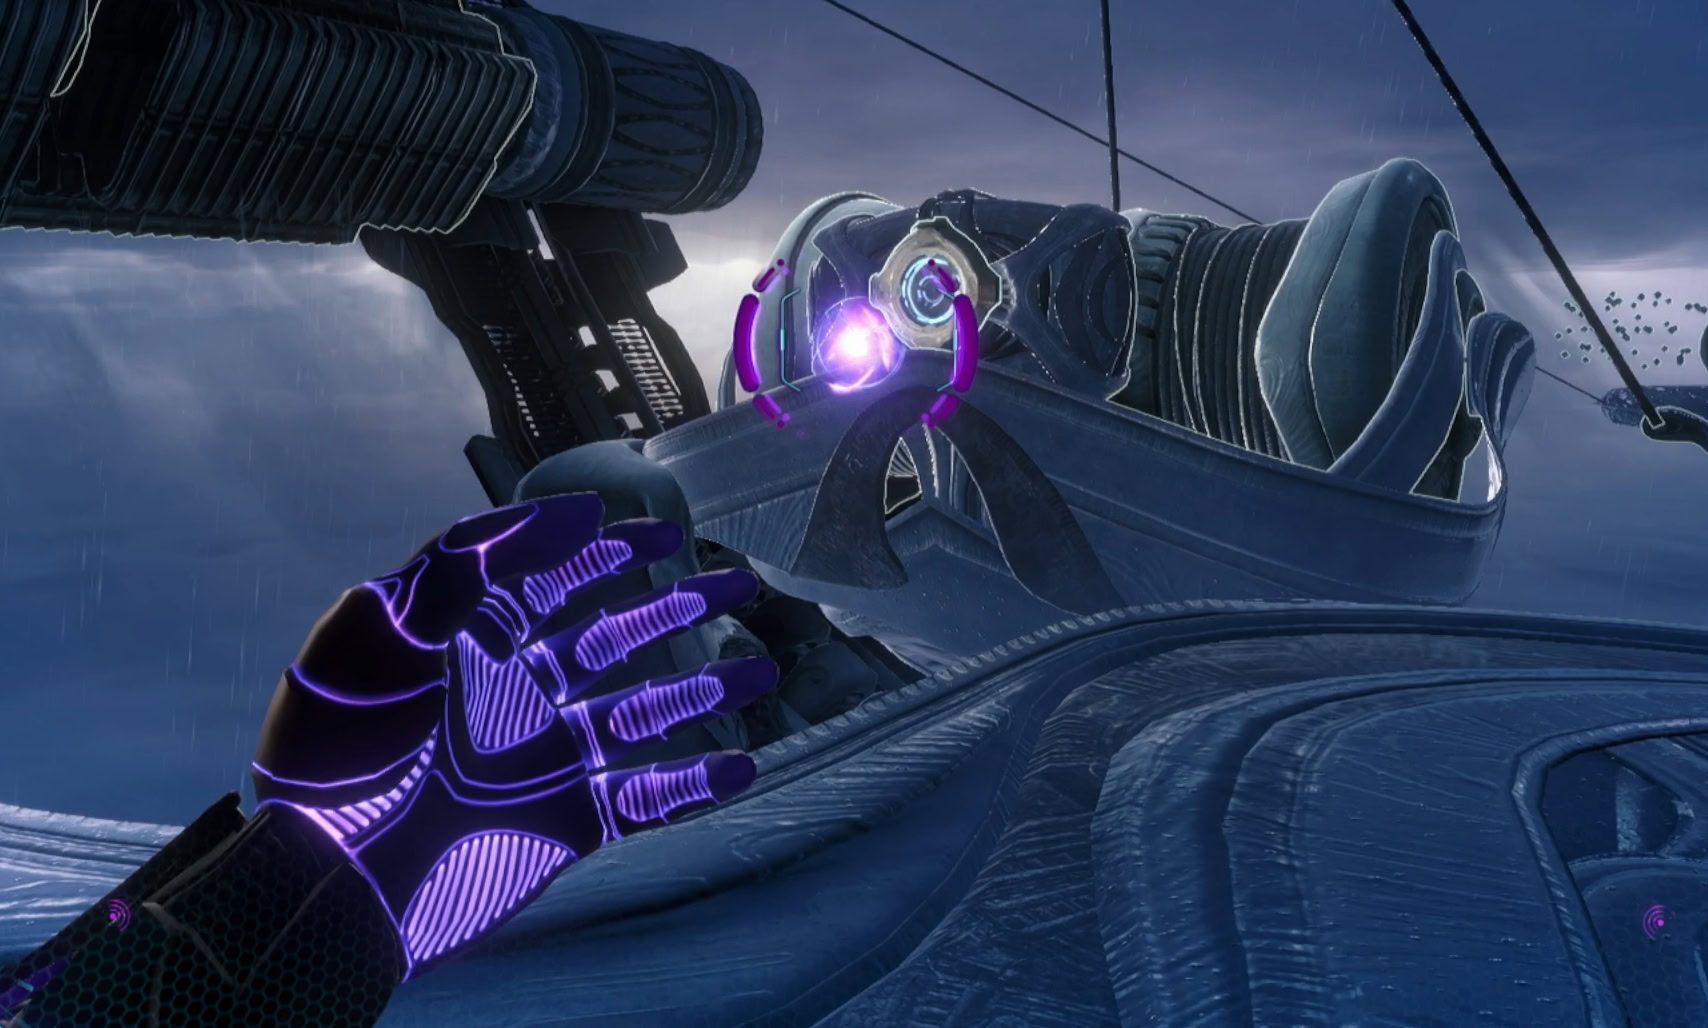
Fight off the Maintenance Tanks in the Assembly floor, and look for the bomb socket on the wall. Create a mote with the Psychic Bomb and use the Psychic Glove to launch the bomb into the socket, the same way you did with Fury Green’s cargo cannon.
Go through the newly opened tunnel and roll into the assembly mechanism to be tossed up into the trash. Slip past the laser gates when they’re blocked off by Neuro Bike parts. The third and fourth gates will require you to roll under and jump over respectively. Take the elevator up to the Irradiation Floor.
Irradiation Floor
The platforms on the irradiation floor will power up and act as a hazard. When they’re off, jump onto the platform ahead before it ascends. As they ascend, keep jumping until you reach the last platform, then jump to the alcove to wait out the power up sequence.
Repeat this process one more time, going to another alcove for safety. When the elevators ascend, only jump onto one platform ahead then look to your right ford the door that leads to the elevator.
Vi-O-La and the Vi-O-La Suit
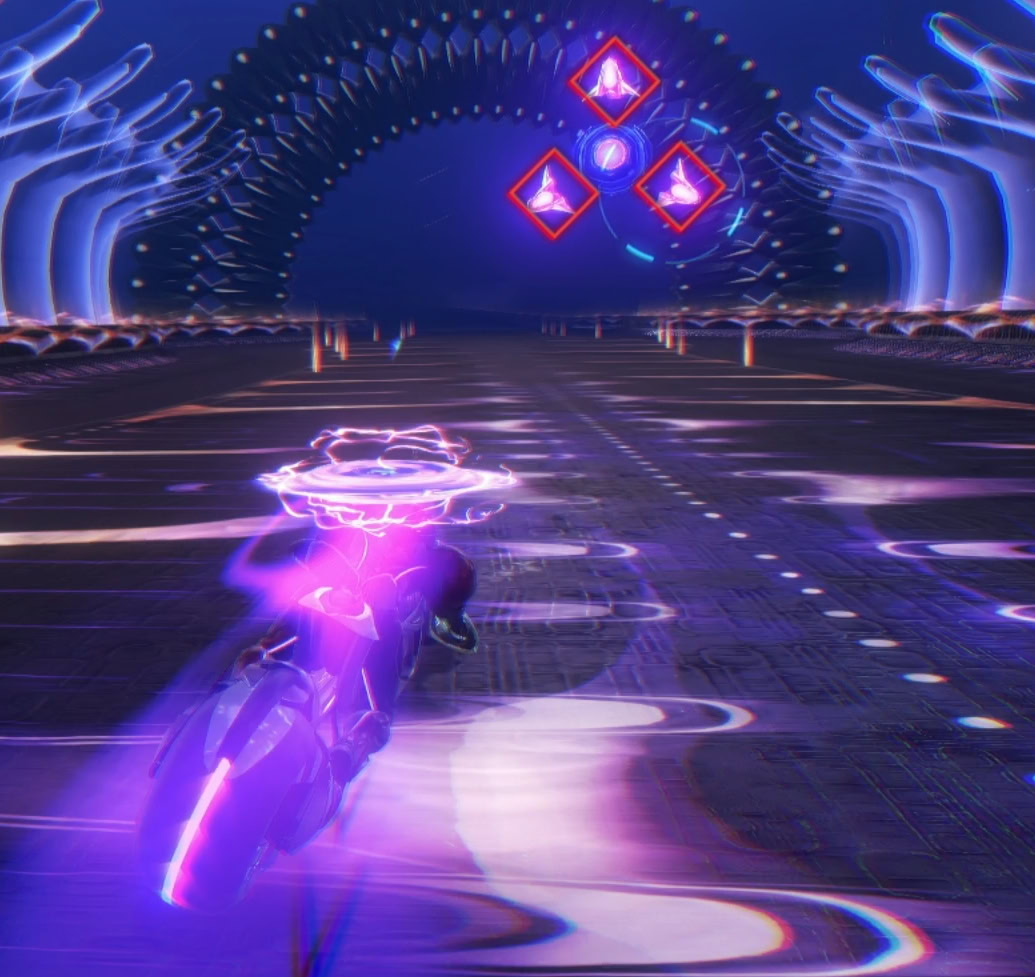
When you reach the Showroom, interact with the console in front of the bike. A cutscene will start and you’ll get your obligatory new suit that caters to this Prime’s gimmick, the Vi-O-La Neuro Bike!

With this suit, you can now use the Vi-O-La bike on display. Mount that bike and take her for a spin! To open the door ahead, hold ZR to accelerate and take off! Hold ZL to activate the brake, move around slowly with the Left Stick while not holding ZR, and press + to dismount.

There are three locations you can visit to pick up Vi-O-La Motorcycle Speed Boost Upgrades spread across Sol Desert. They increase the number of Boost charges that Samus’ motorcycle can hold, allowing you to chain together up to 4 speed boosts in a row.
Activate Tower 2’s Power Generator
Taking the right exit of Tower 1 with the bike will get you into Tower 2. Dismount and activate the console in front of the window to download the Tower 2 map. There’s also another save station on the northeast corner of the Receiving Lobby.
Go down the elevator to Processing and defeat the Psy-Bot Warriors. Take the next elevator down to the Storage, making sure to not stand under the crates while they’re magnetized to the ceiling.
Psy-bot Teleporter
Upon reaching the Storage room, you’ll encounter a new type of Psy-bot Soldier, the Psy-Bot Teleporter. It’s extremely fast and will open the crates around the room to release Maintenance Tanks. Focus on destroying the tanks before attacking the Psy-bot.
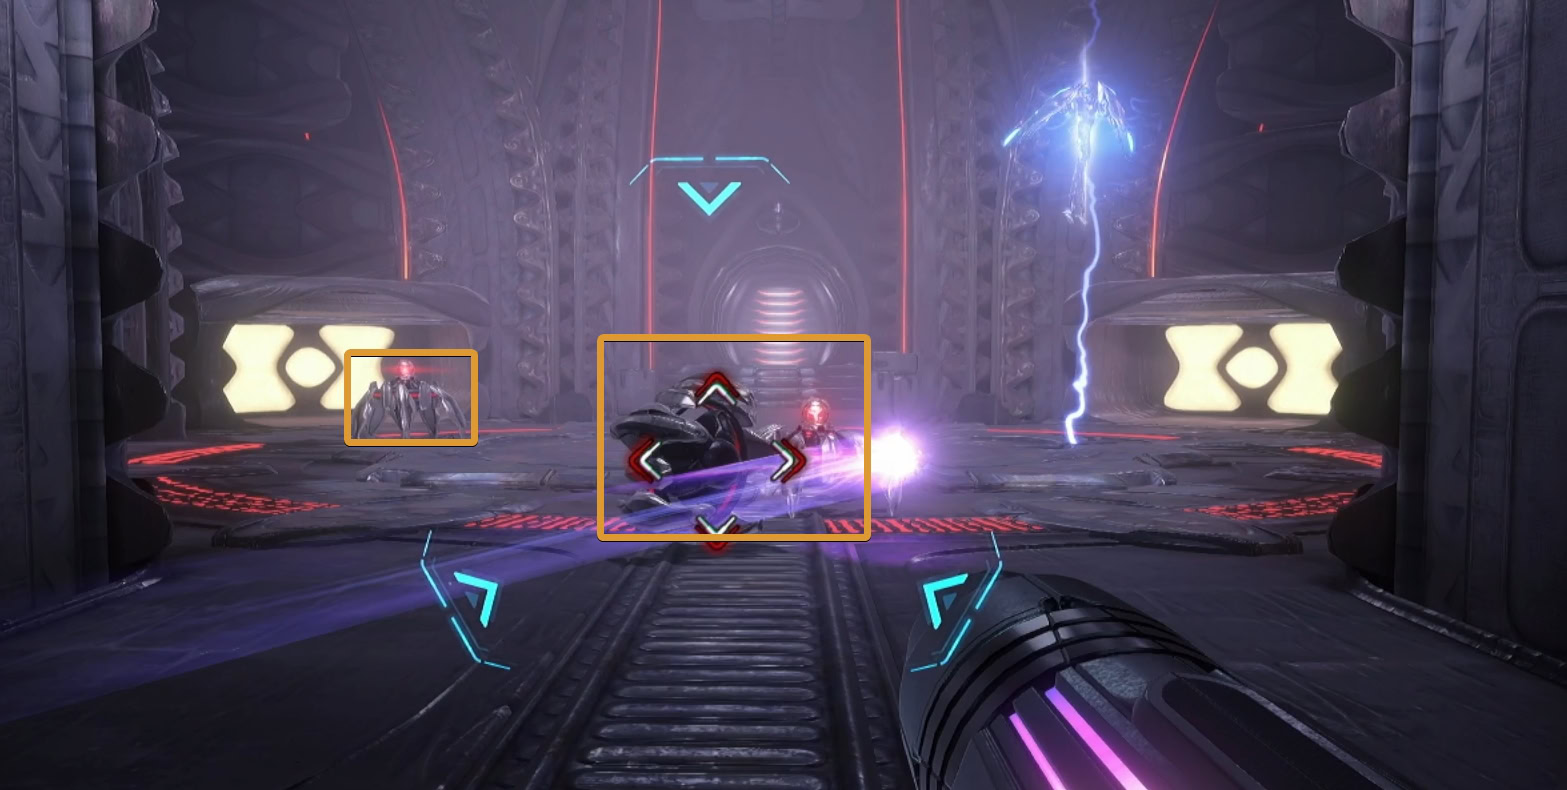
With the Maintenance Tanks destroyed, the Psy-bot will teleport to throw you off, shooting X-shaped beams at you or teleporting in for a melee strike. Don’t stop moving and dash away when it teleports on top of you. Get shots in wherever you can until it’s down.
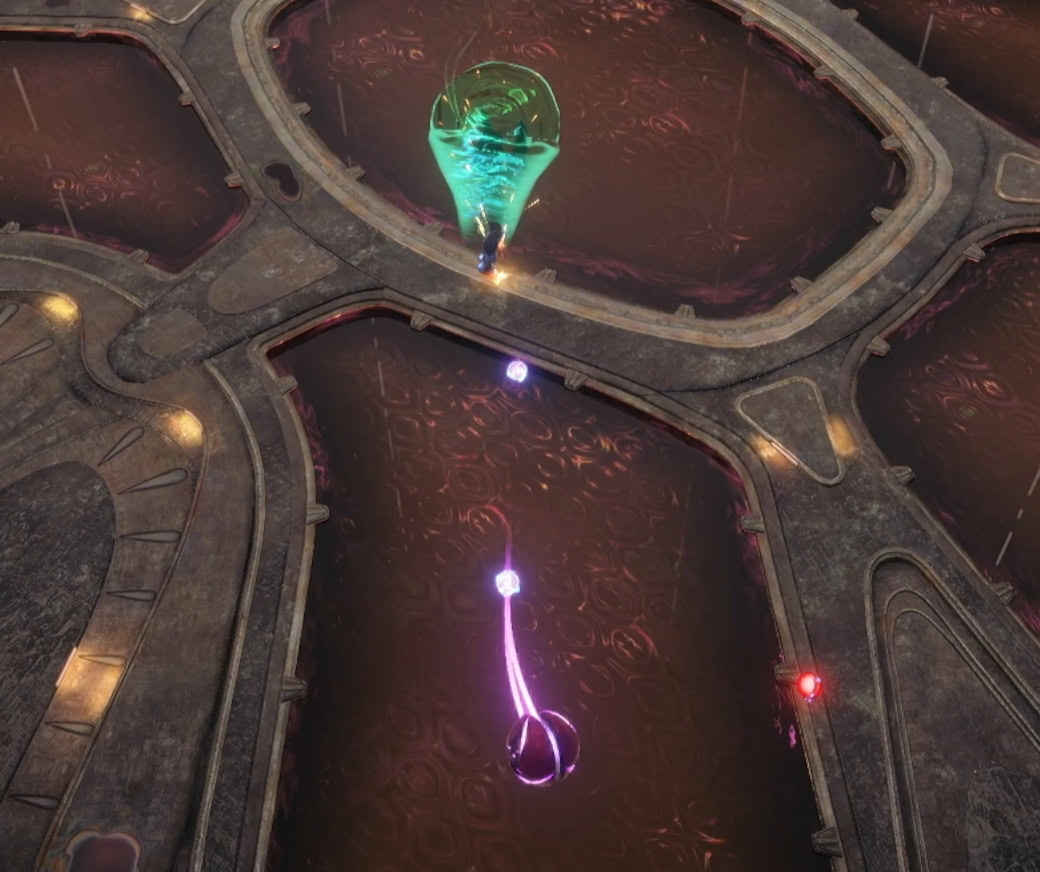
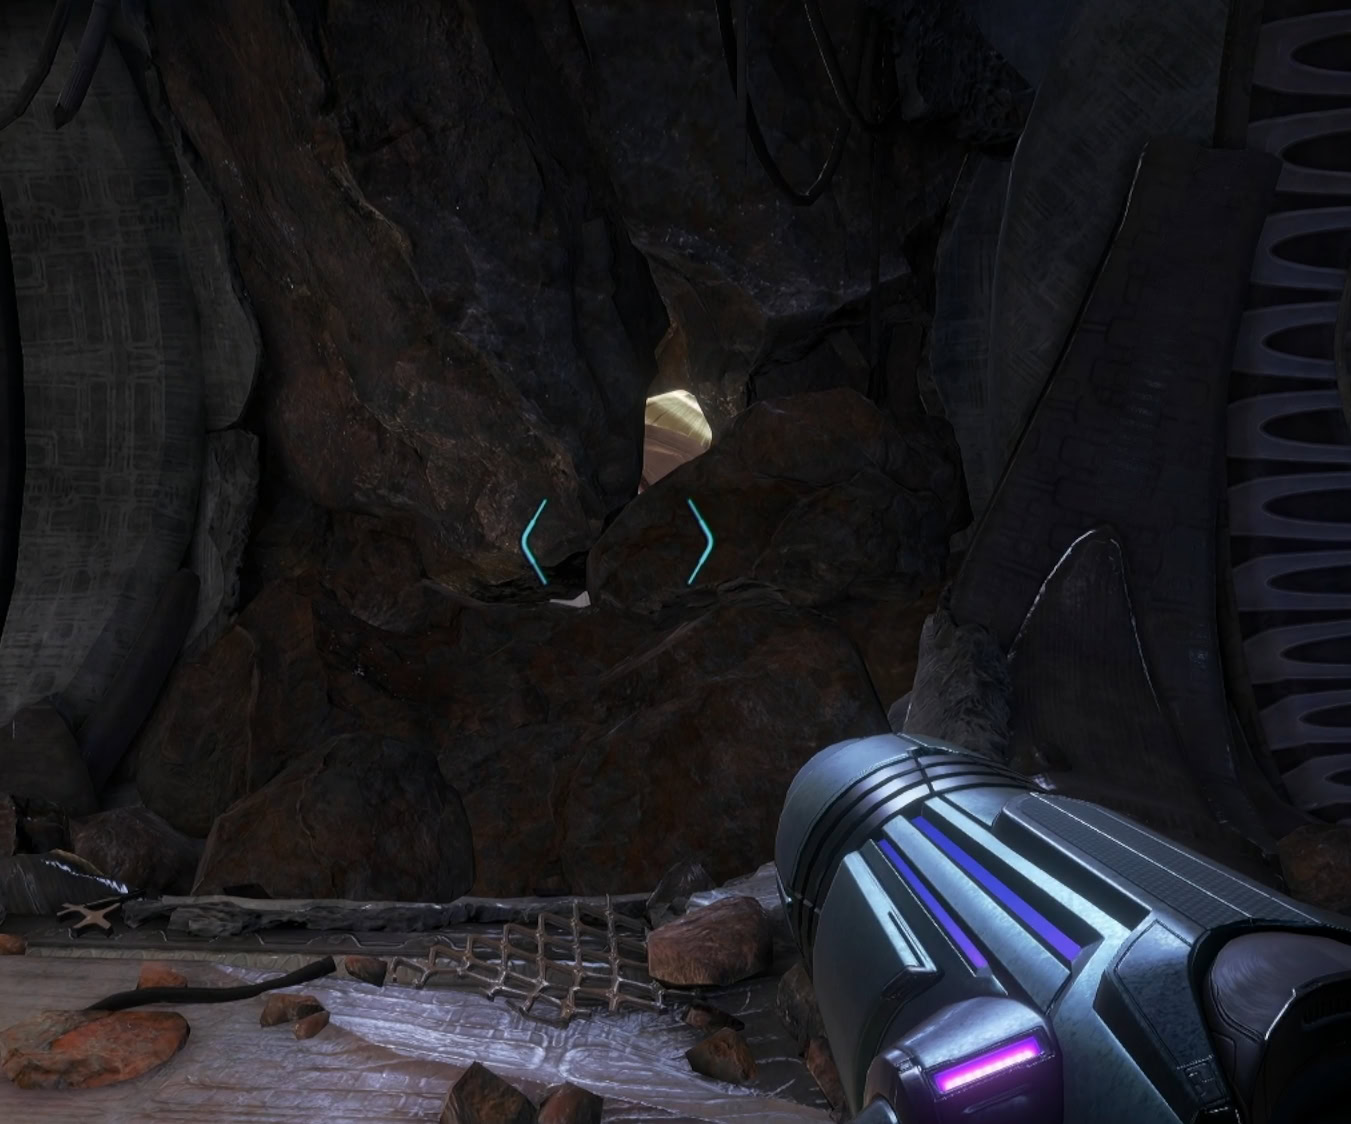
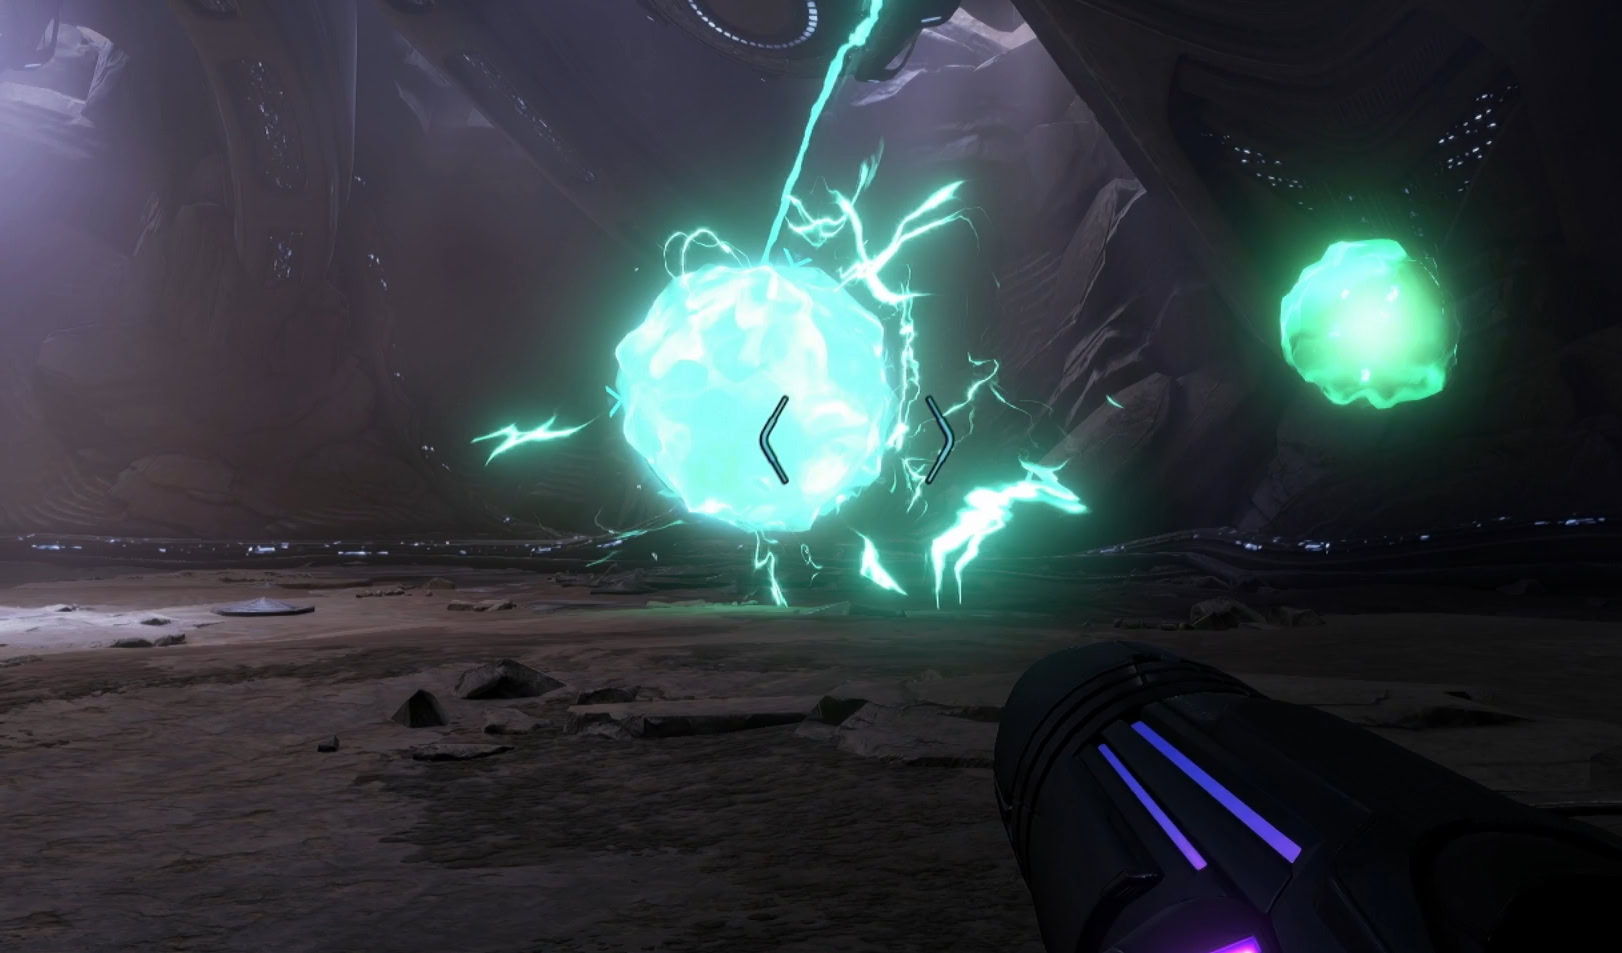
Continue your descent to reach the Archives and go through the tunnel with the Morph Ball. When you’re outside, you’re going to power up the generator the same way you did last time. For the left spool, use a charged Psychic Bomb and throw it into the slot to activate it.
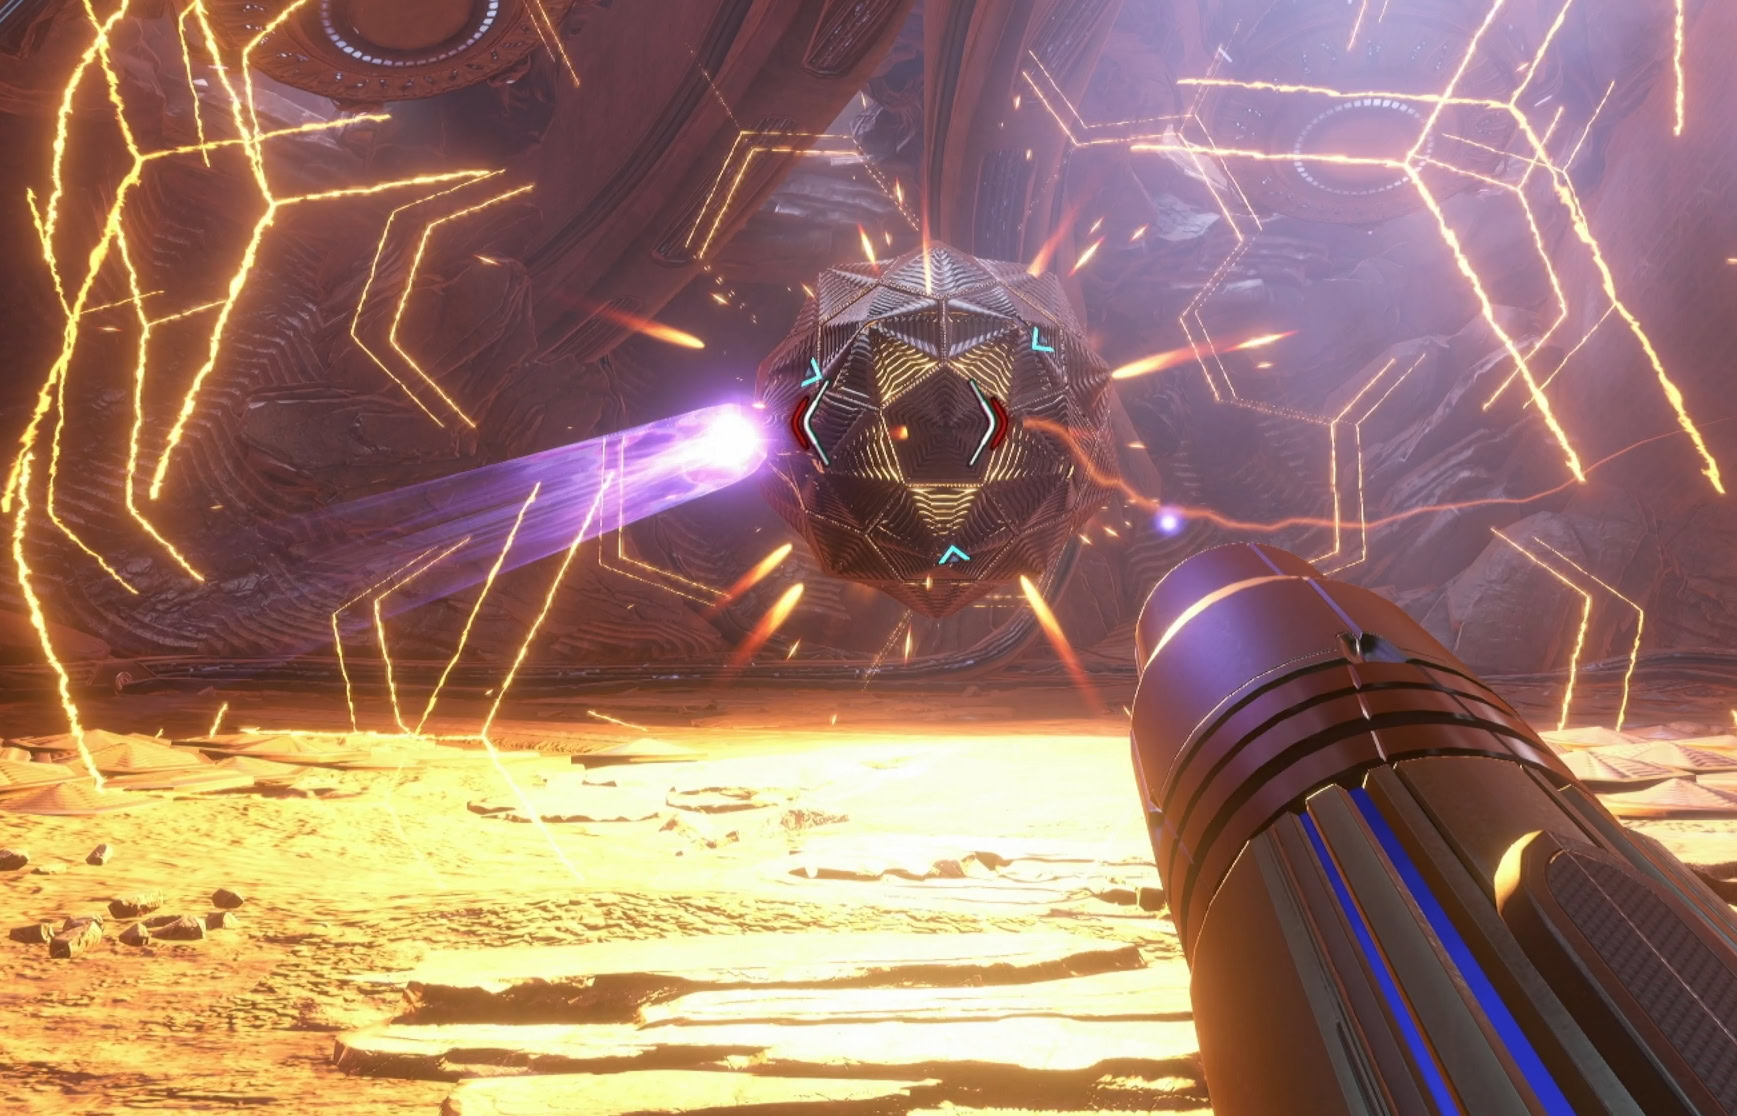
Flight Drone MCU
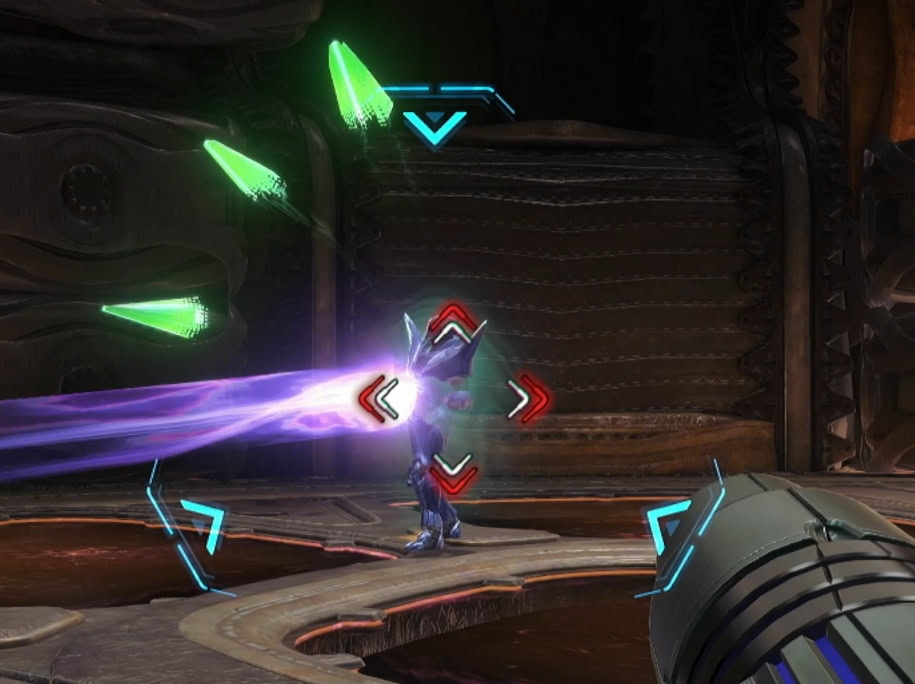
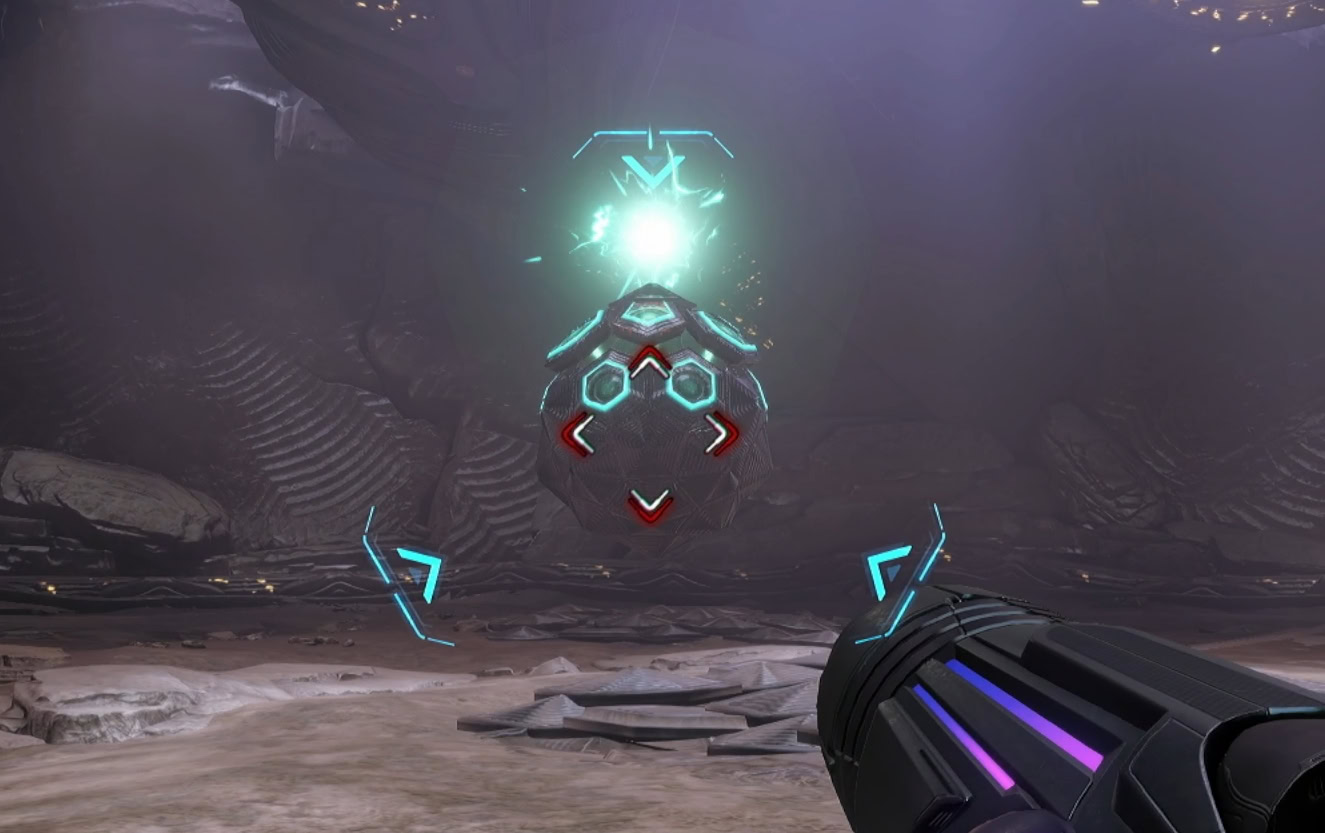
After activating the power generator, you’ll be interrupted by another mini-boss on your way back. The Flight Drone MCU is surrounded by mini drones that you’ll need to blast away with Charge Beams.
Be mindful of your footing as you fight or you might fall off the ledge. You’ll respawn as if nothing happened, it’s just annoying to deal with. When enough mini-drones have been cleared, use the Control Beam to take out the three energy spheres.

With its spheres down, its shield goes with it. Fire at it and repeat this process until it’s defeated. Go through the tunnel and back into the Archives.
Sylux
When you get back to the Archives, Sylux will descend from the heavens in the dramatic manner that Metroid Prime fans have dreamed of for almost two decades. Now it’s time for a rematch after 19 years (if you’ve played Metroid Prime: Hunters).
Sylux’s Shock Coil will behave similar to Samus’s power beam, being easily avoided if you side dash. Dash away when he charges at you and jump over the electrical ring he generates.
When he launches seeker missiles, use a Charge Beam to quickly destroy all three as they manifest and get any Energy or Missiles they drop.
When he’s down to around 70% health, he’ll break out a new trick. He’ll start spinning and generate a shield weak to concussive force. Turn into the Morph Ball and plant bombs as he’s following you. Do this enough times to knock him out of the spin, leaving him vulnerable to attack.
After being knocked out of his spin for the first time, Sylux will gain one more trick. He’ll launch charges in an area that become increasingly bigger around him. You can avoid this easily by staying at the edge of the arena.
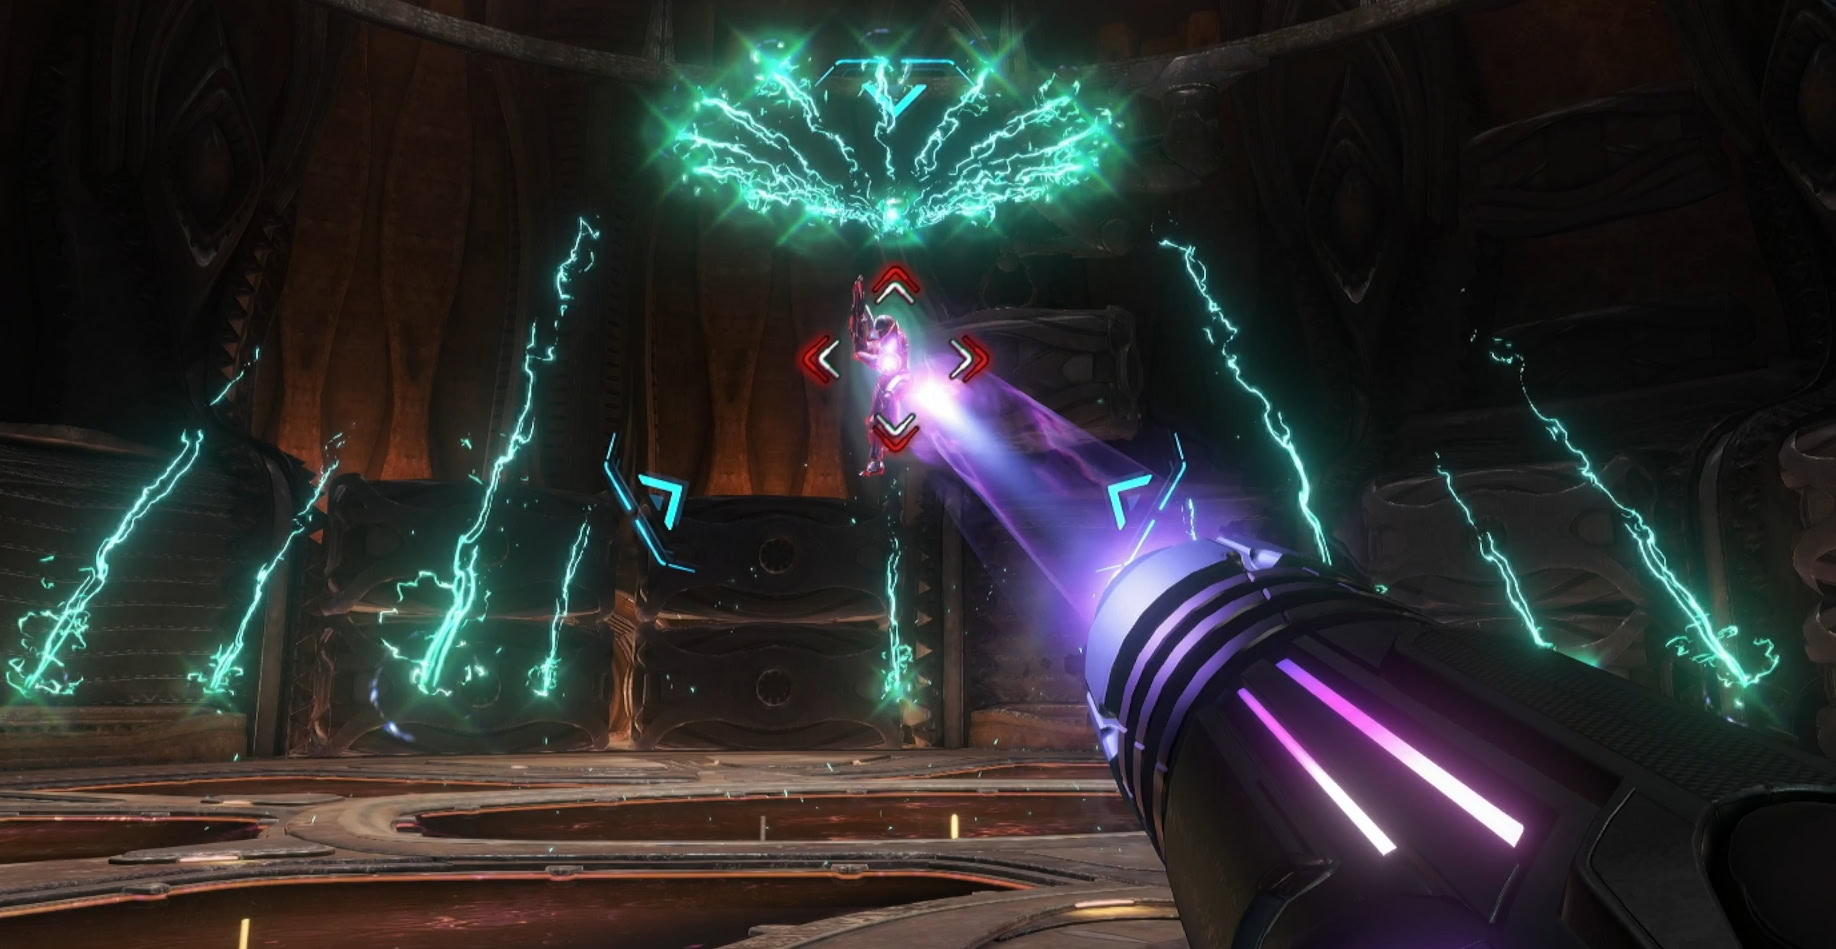
He’s overall fairly easy once you know his tricks, defeat him to find out why it was so easy! At the end of the fight, you’ll be rewarded with an Energy Tank. Take the elevator up to Storage.
Psy-bot Shield
I heard you like mini-bosses, well get ready for the fourth one! This fight is easy so long as you take out the regular Psy-bots first, then attack the Psy-bot Shield from behind after it makes a dash attack.
After that disappointing fight, go up the elevator to Processing, destroy the Psy-bots and turrets, then take some time to save when you’ve reached the Receiving Lobby.
Receiving Lobby Missile Expansion
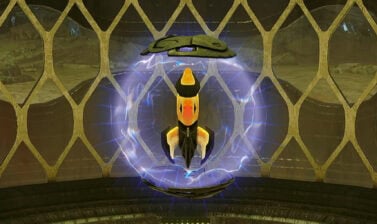
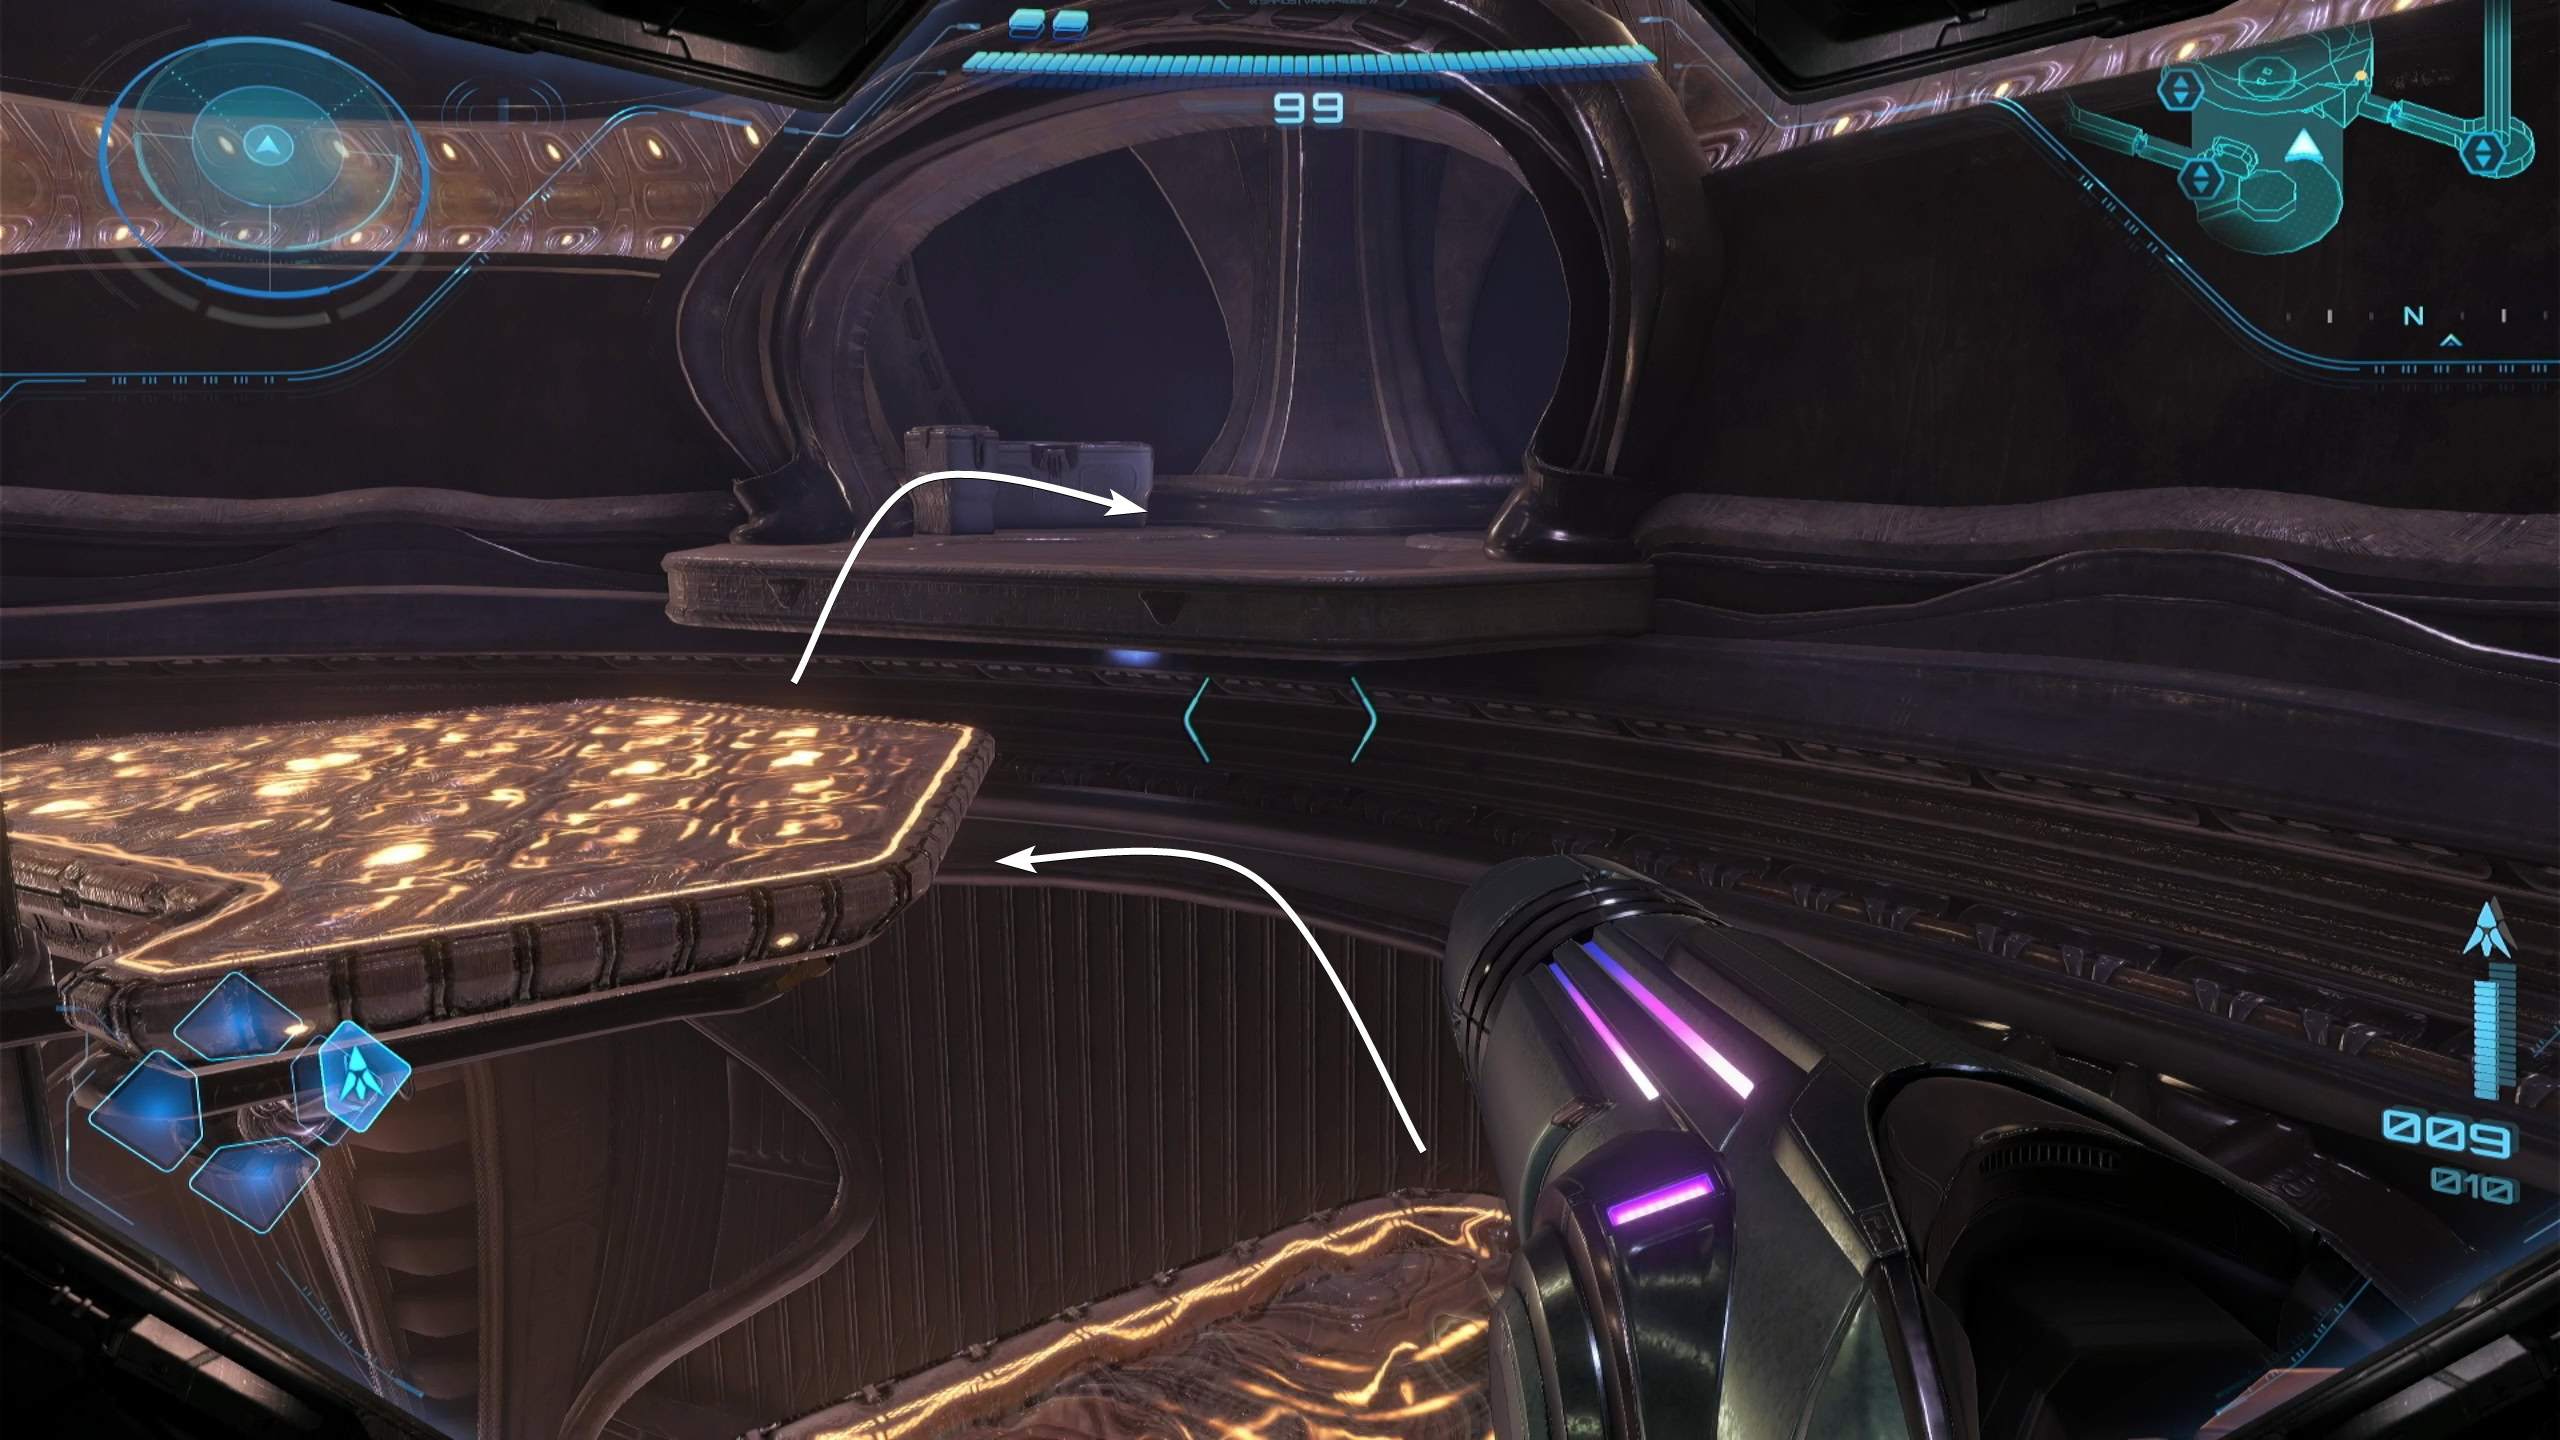
Beneath the floor of the Receiving Lobby is a Missile Expansion upgrade. To access the maintenance hatch, interact with the nearby terminal then enter the hologram while in Morph Ball mode.
Spiral your way in, pausing in the area without the coils to wait out the electricity, grab the Missile Expansion, then get back out. Now your ammo capacity for Missiles is permanently expanded by 5! When you’re done, take Vi-O-La through the right door and head to Tower 3.
Tower 3: Vi-O-La Certification
When you reach Tower 3, you’ll find a strange console near the front window. This is a Vi-O-La Suit Upgrade System which will grant heat resistance. Unfortunately, you lack the Boost Ball ability to activate the console (for now).
Instead, activate the console with the purple hologram to gain entry to the Test Circuit. It’s time to wind down with some fun Vi-O-La tutorials! Ride your bike into the newly opened entrance and rev up in the elevator to reach the first Test Circuit.
Test Circuit 1
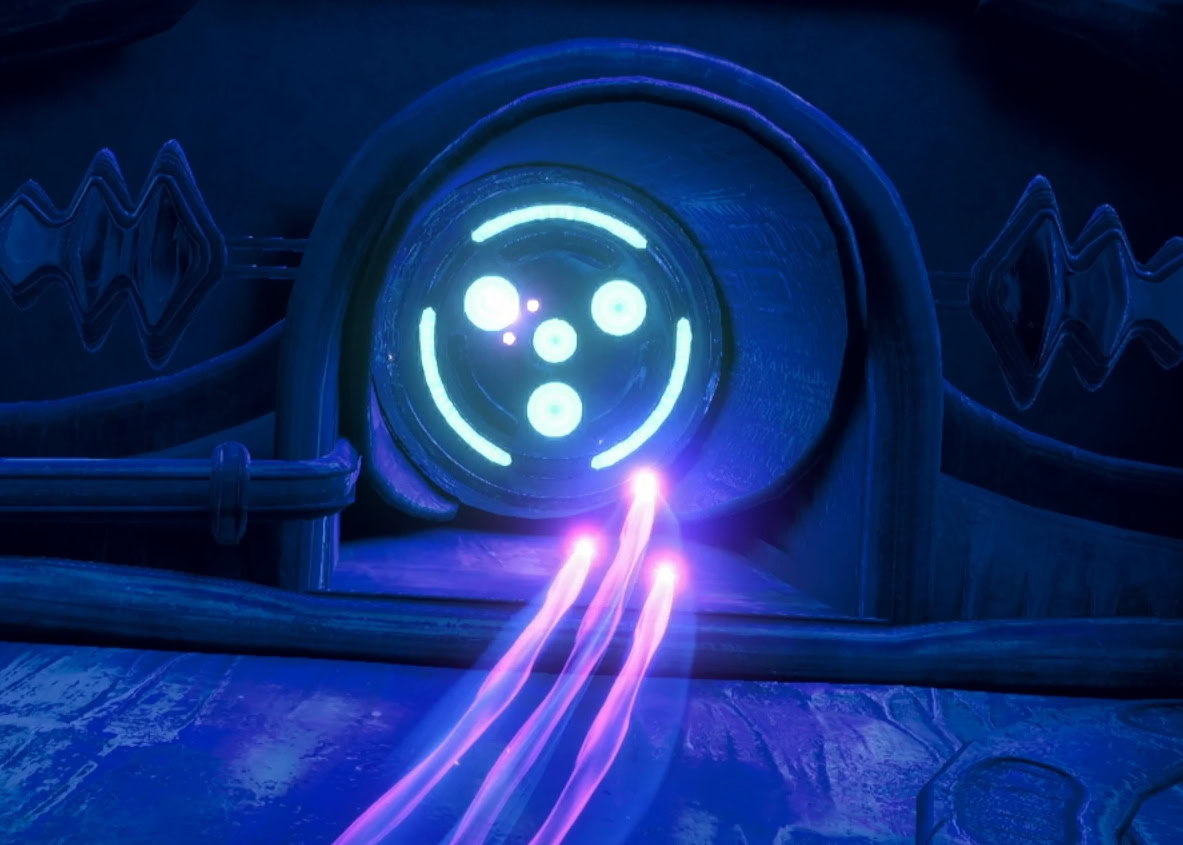
The first objective of Test Circuit 1 is very easy, just make a loop around the track under 50 seconds. Once successful, you’ll unlock the Boost ability for the Vi-O-La. Press B to activate the boost and destroy 3 targets with it.
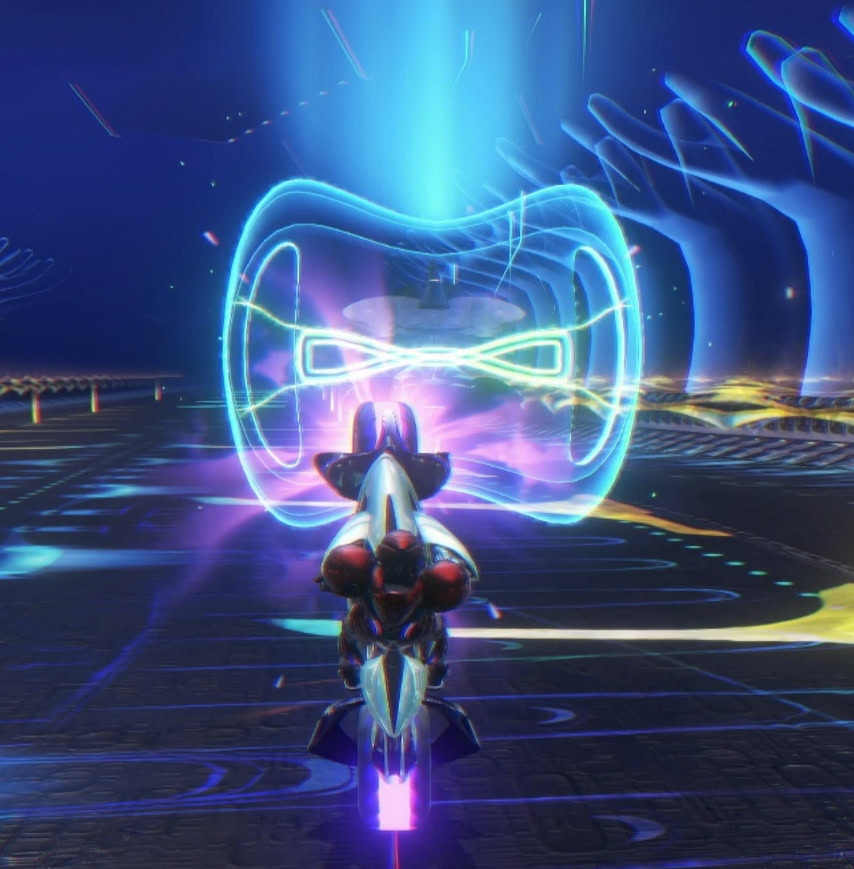
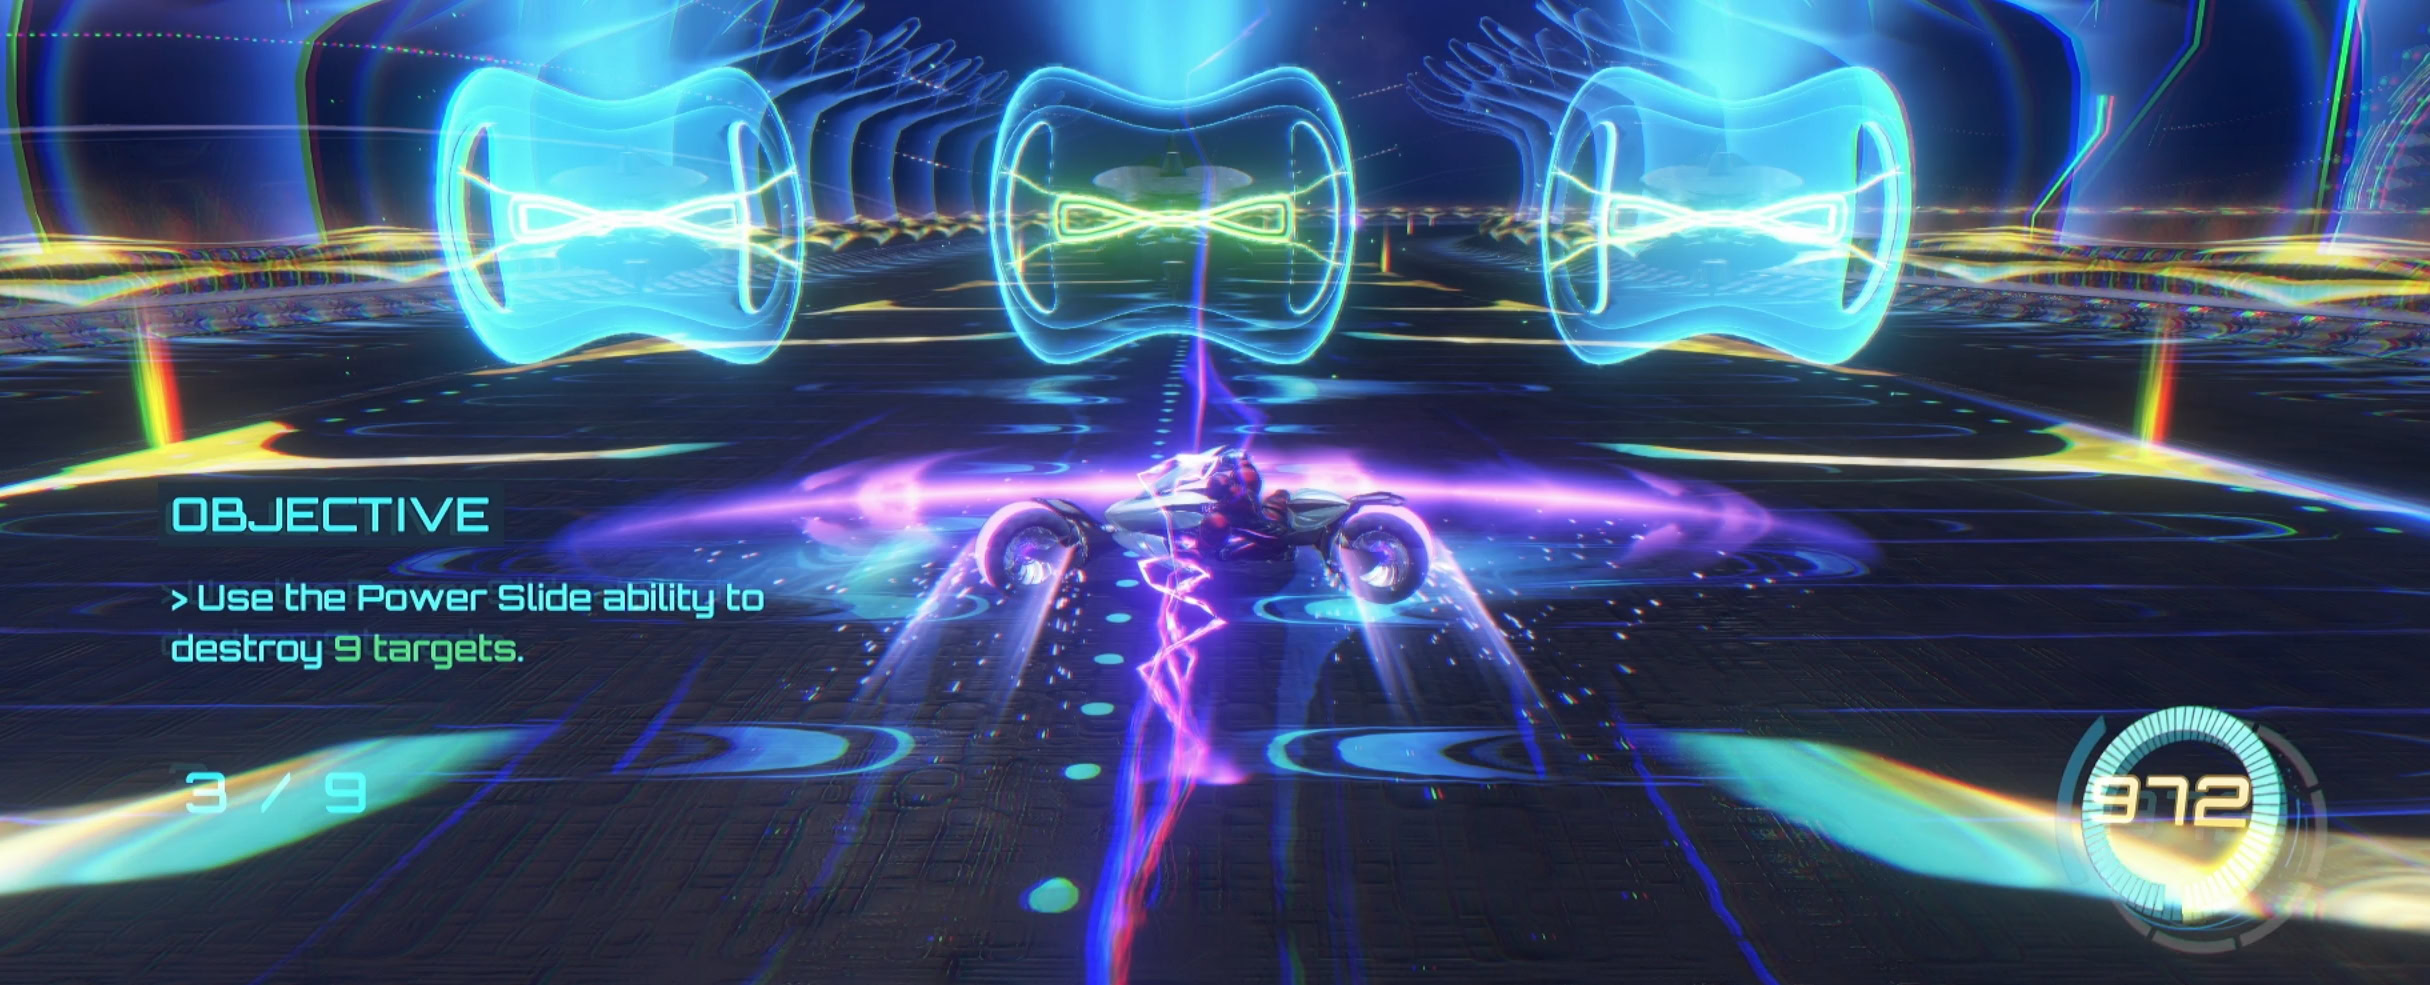
Pressing B again after boosting will let you perform the Power Slide. This creates a horizontal area which you can damage multiple targets. Destroy 9 targets with the Power Slide to proceed.
After an immersion breaking “Objectives Complete” screen, take the bike onto the elevator and rev down into Test Circuit 2.
Test Circuit 2
Test Circuit 2 will teach you how to scan and attack targets with the Vi-O-La Projectile. Tap A to shoot the projectile, using the boost if you need to catch up to a target. After destroying 2 targets this way, destroy 3 targets with the projectile’s Multitarget Functionality by holding down A.
Test Circuit 3
After completing Test Circuit 2, descend to the third and final circuit. This one is simple as you’re using what you’ve learned to destroy waves of ground-based and air-based targets that attack with non-hostile holograms.
Once complete, it’s time to get your Driver’s Certification from the Supervisor. Take the elevator down to enter the Certification Room.
Certification Missile Expansion
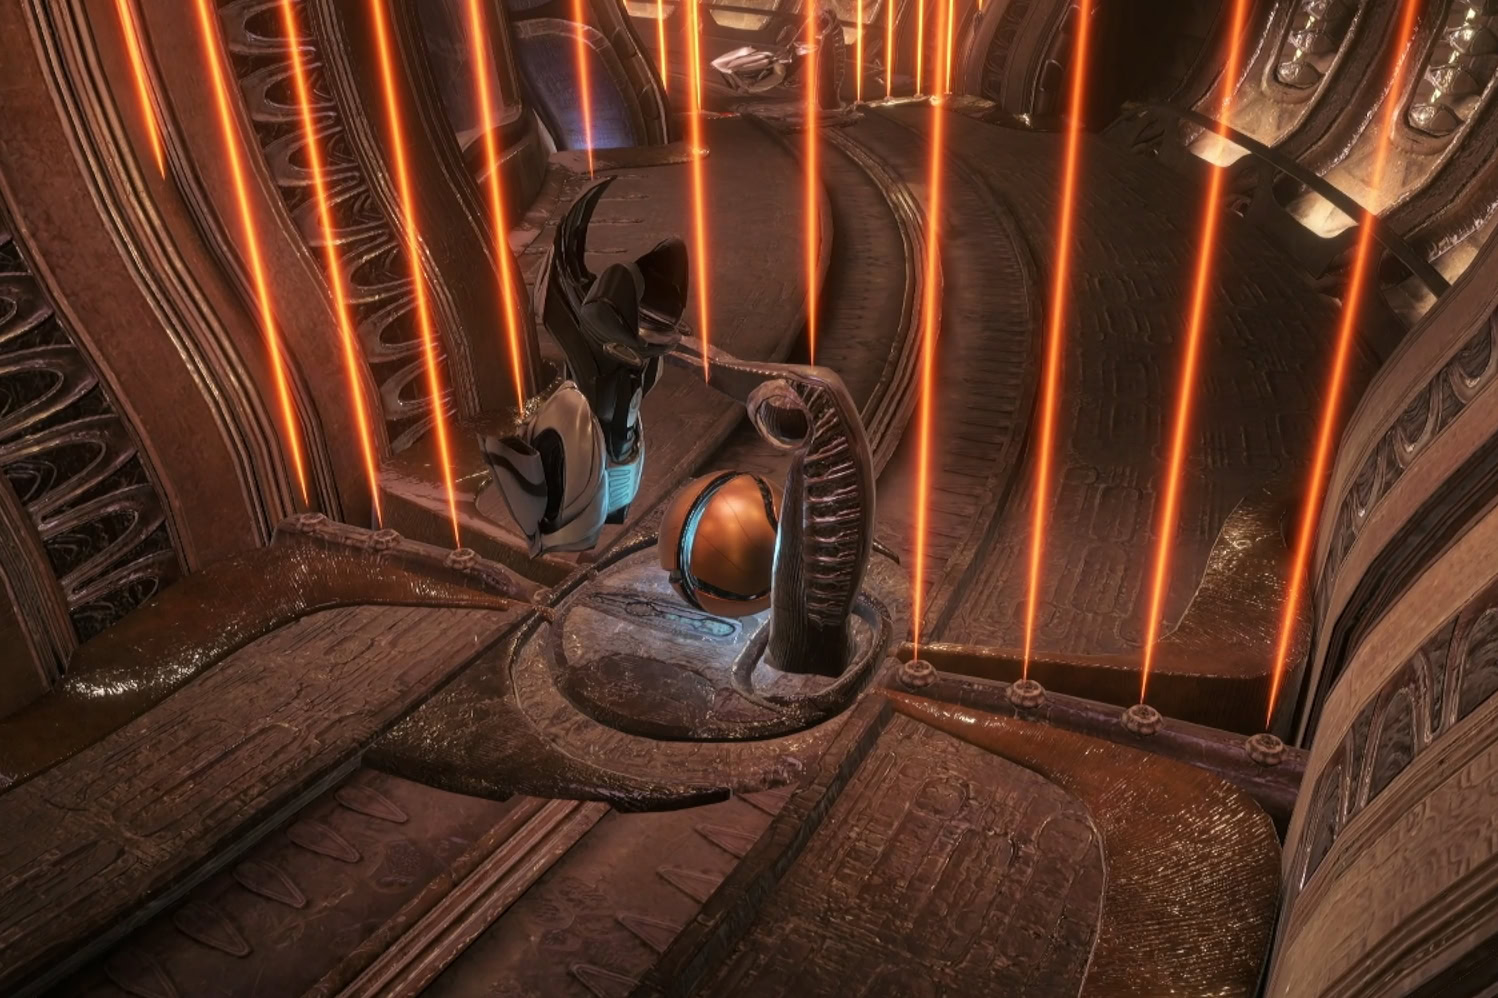
When you reach the Certification room, dismount and go through the north door to use the save station. Fight past the Maintenance Tanks and descend down the maintenance shaft by jumping down the platforms.
You’ll run into some bedrock on the right side of the hallway, use a missile to blow it up to receive another Missile Expansion after unlocking a Psychic Crate! Go through the next door to enter the Facility Core.
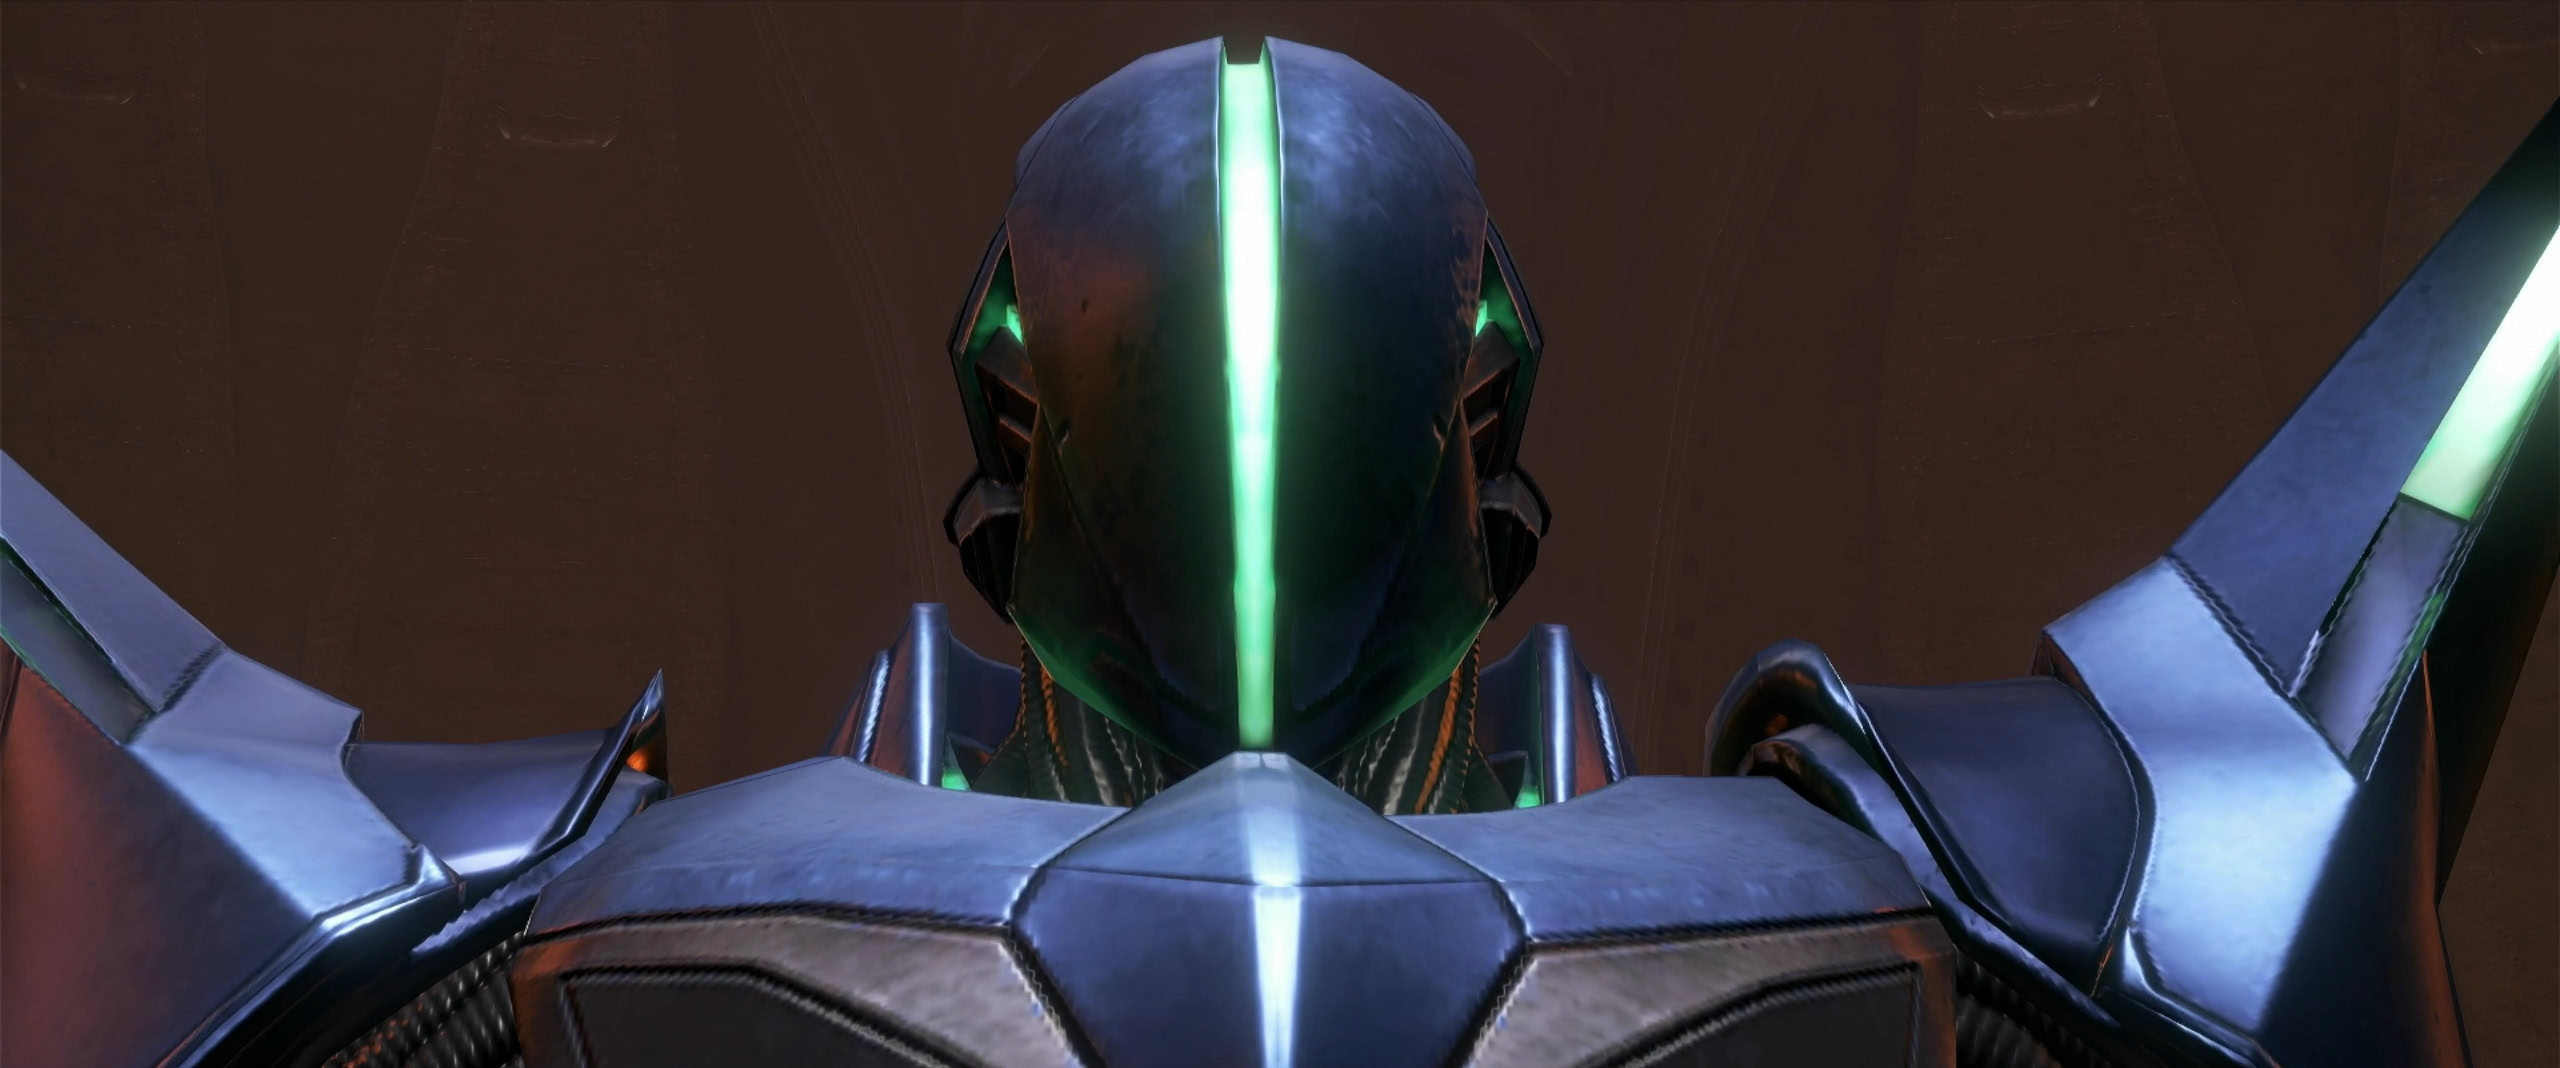
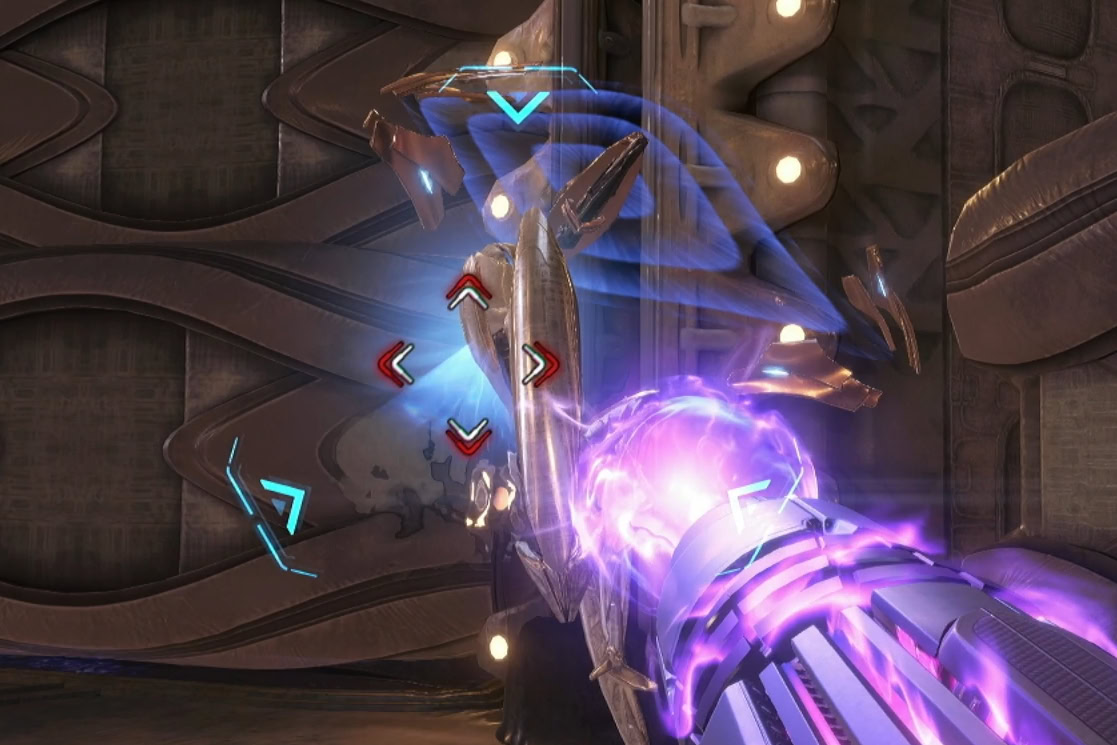
Defeat Xelios
Jump down into the Facility Core to encounter the boss of Volt Forge, Xelios. Instead of giving you a Driver’s Certificate, the AI will instead try to kill you as its organic components have been fused with a Metroid.
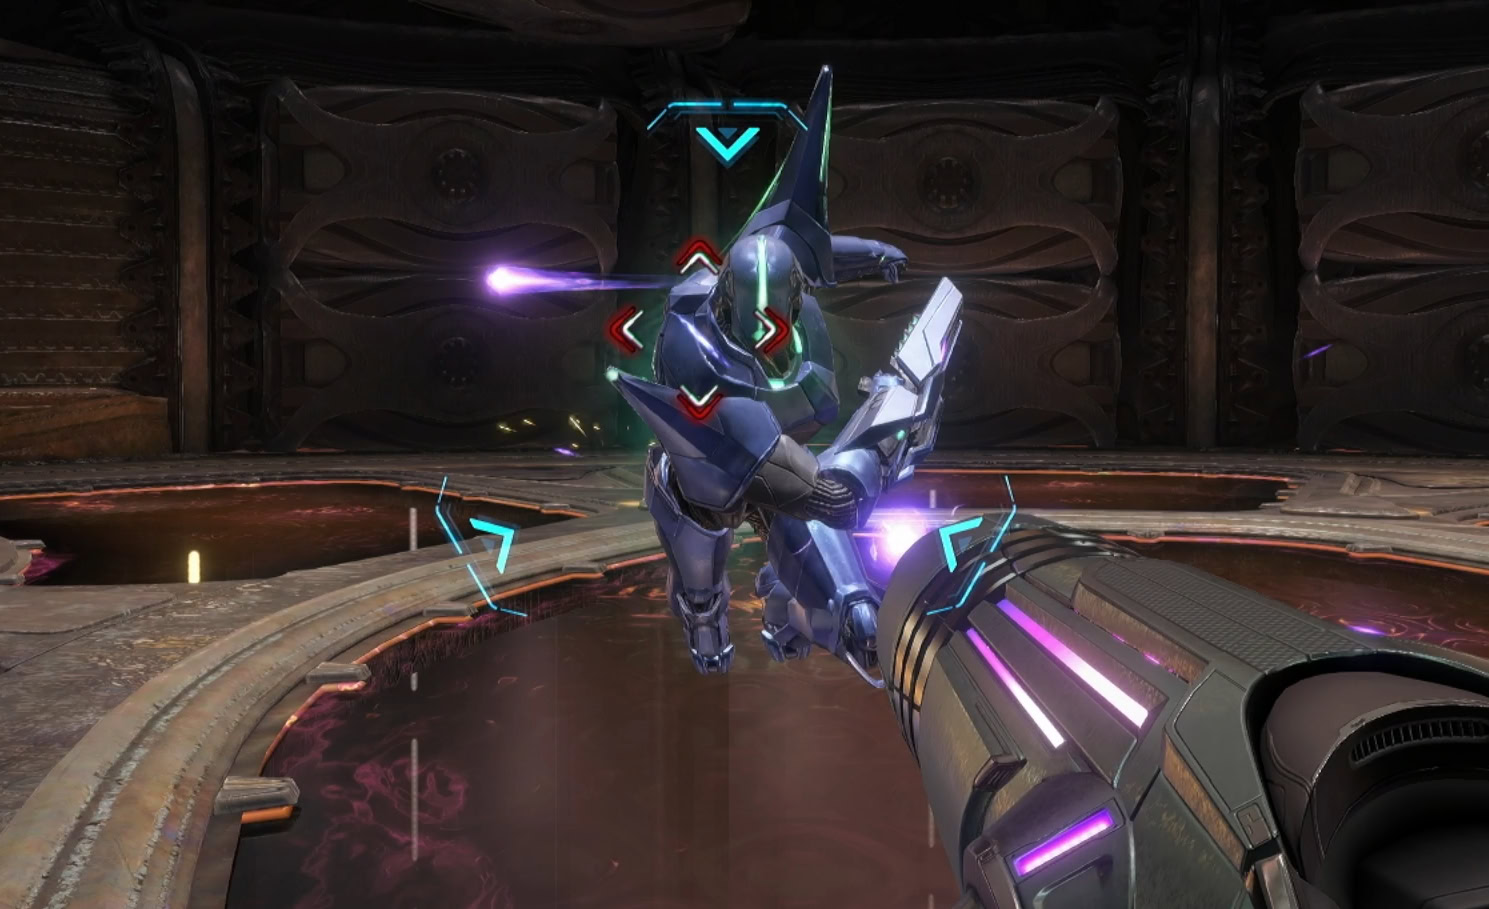
You’ll need to expose the organic core by destroying the panels that are currently lit up. Charge Shots can take out multiple panels, but they’ll also pull in the energy orbs toward you.
Alternatively, you can use free aim and use standard attacks to destroy the panels. If the energy orbs get too close, shoot them to receive Energy or Missiles.

Xelios will sometimes go underground and create a ring of energy. Jump over the ring and when Xelios pops back up, it will replace all of its lost or damaged panels.
Shoot the core whenever you can. Don’t bother trying to take down all the panels, just take down enough to shoot at the core. When Xelios charges up with amber light, that means it’s about to explode in that area. Dash backwards until you’re out of the blast zone.
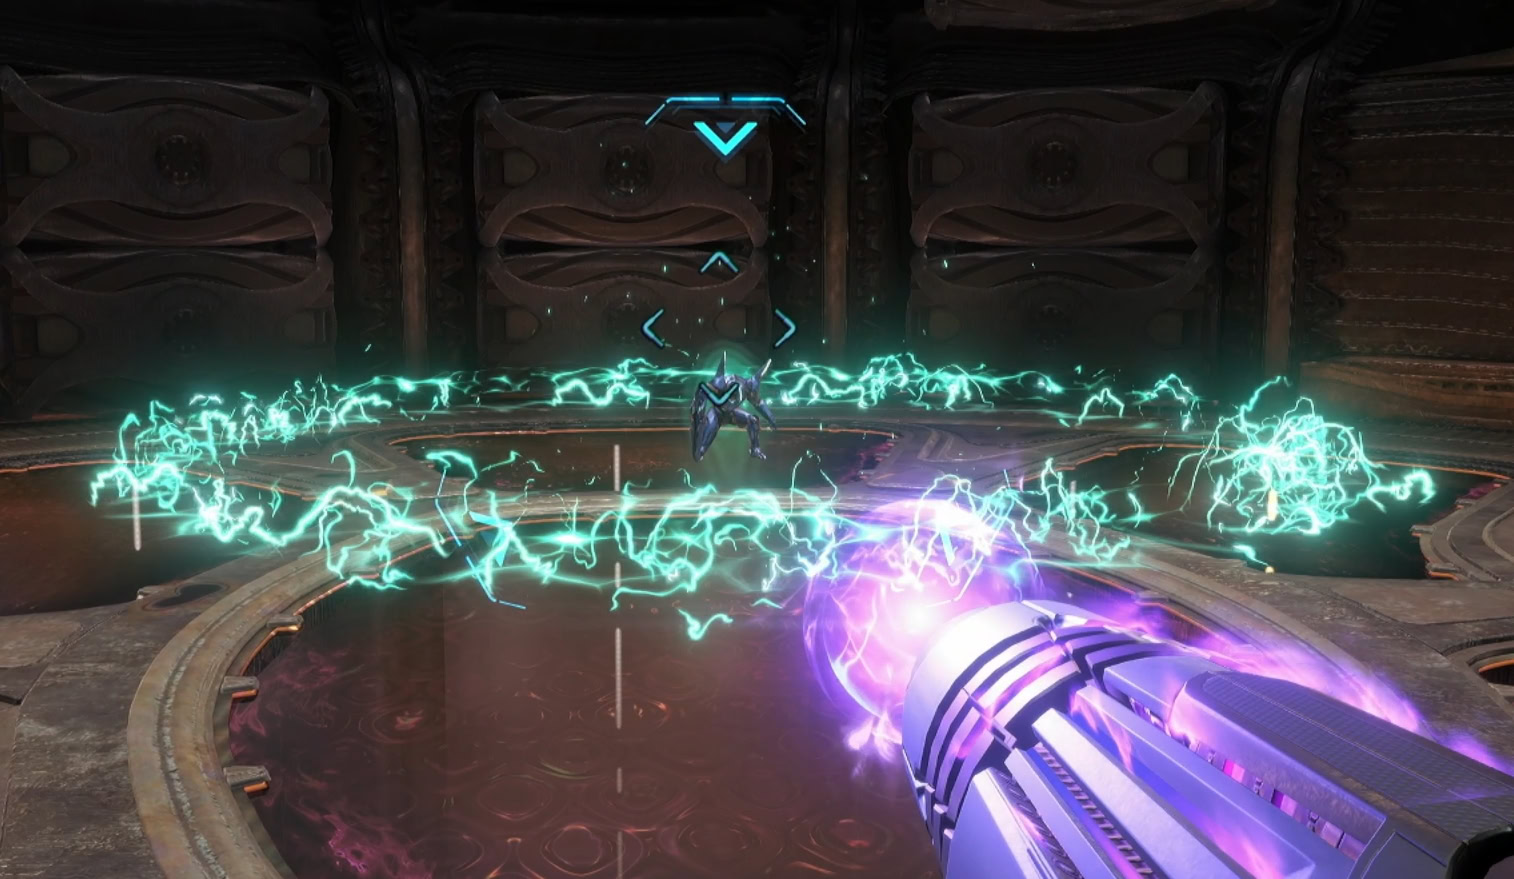
If Xelios creates a massive green orb, side dash a little bit after the orb fully expands. There will be a short delay before it launches towards you at a high speed.
An annoying attack Xelios uses happens when it charges up a medium sized orb above it. Like the large orbs, there will be a delay before it launches.
If you don’t side dash away from this, you’ll get stunned and Xelios will create an explosion on top of you. If you get stunned, turn into a Morph Ball, pop a bomb, and roll out of the blast zone.
As Xelios gets low on health, it’ll start to shoot out multiple arcs of electricity around it. Additionally, whenever it launches its large orbs, it’ll launch 3 orbs in quick succession instead of 1.

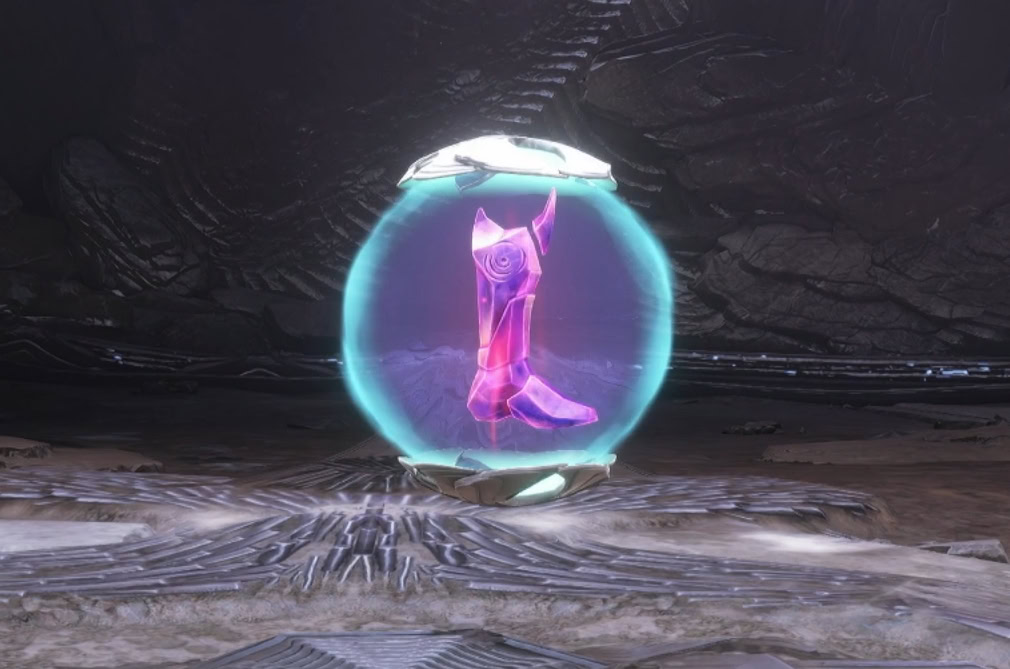
Psychic Boots
Once Xelios is defeated, you’ll gain the Psychic Boots as a reward! These will allow you to jump on top of Psychic Platforms when manifested, and allow you to Double Jump.
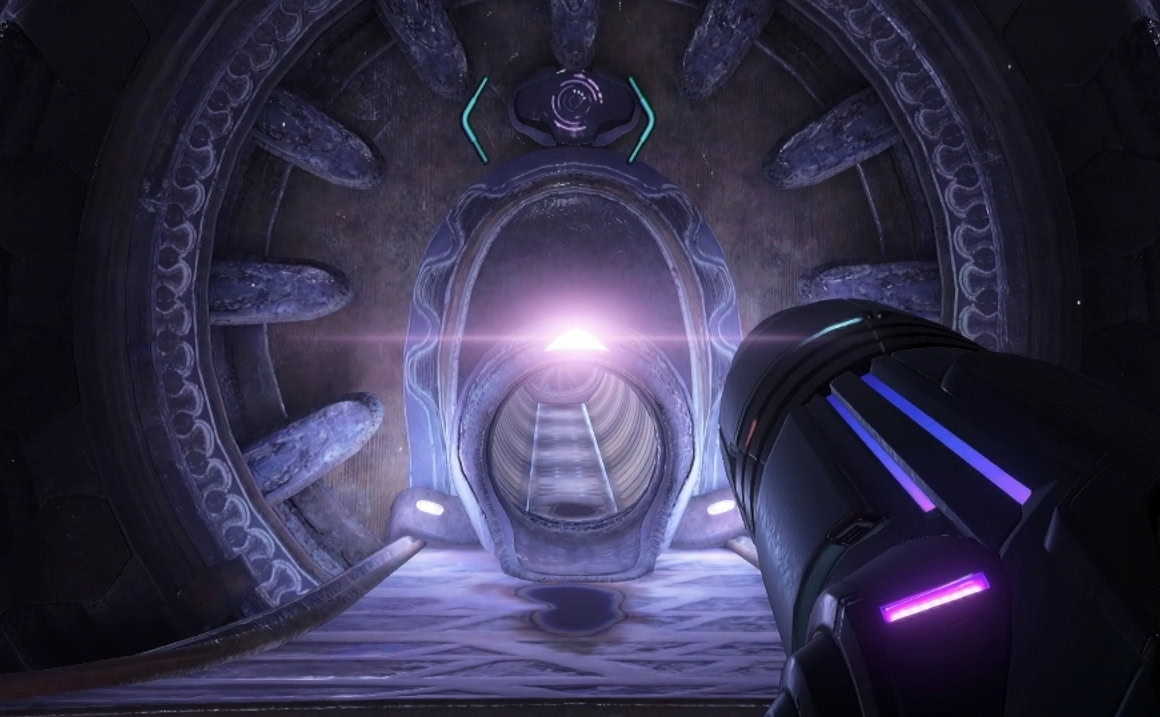
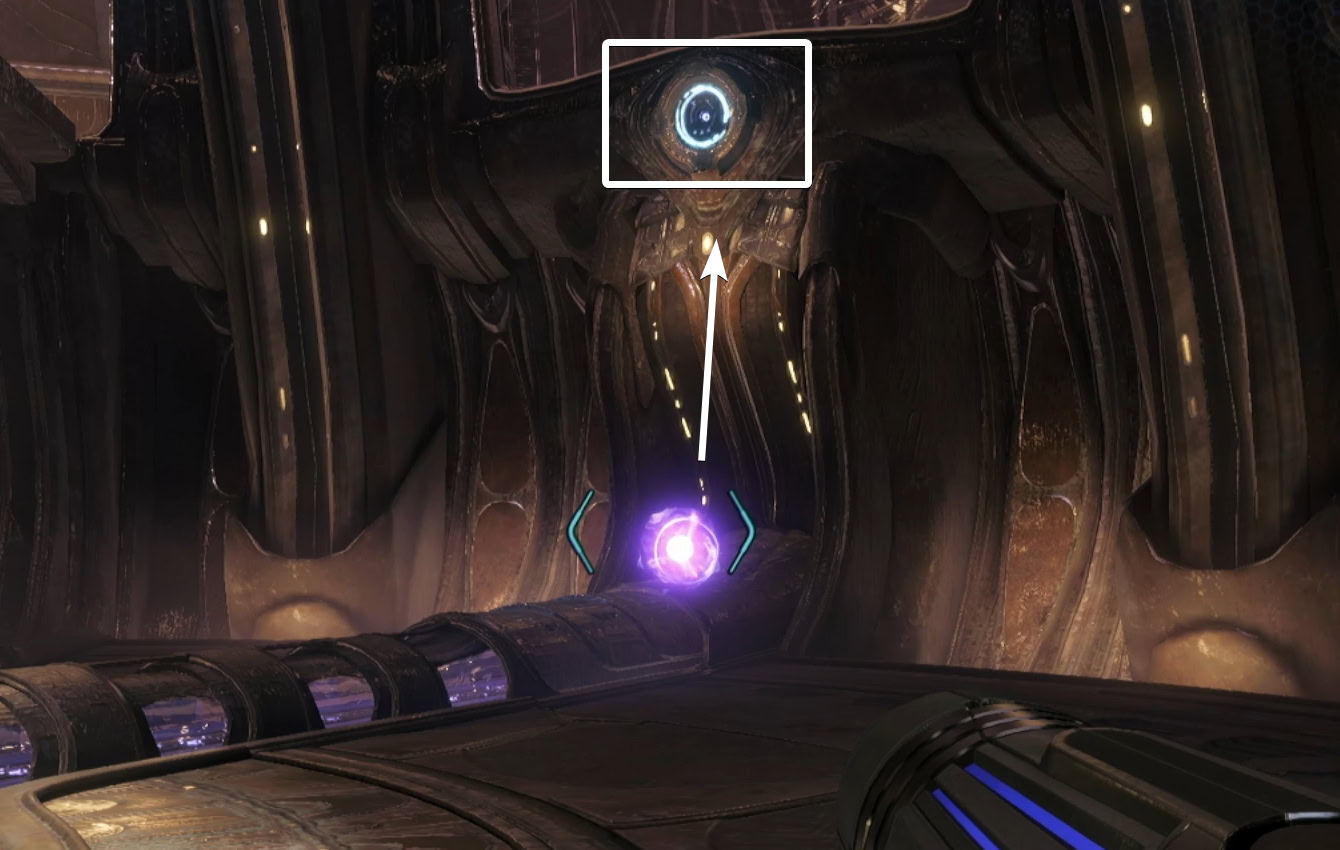
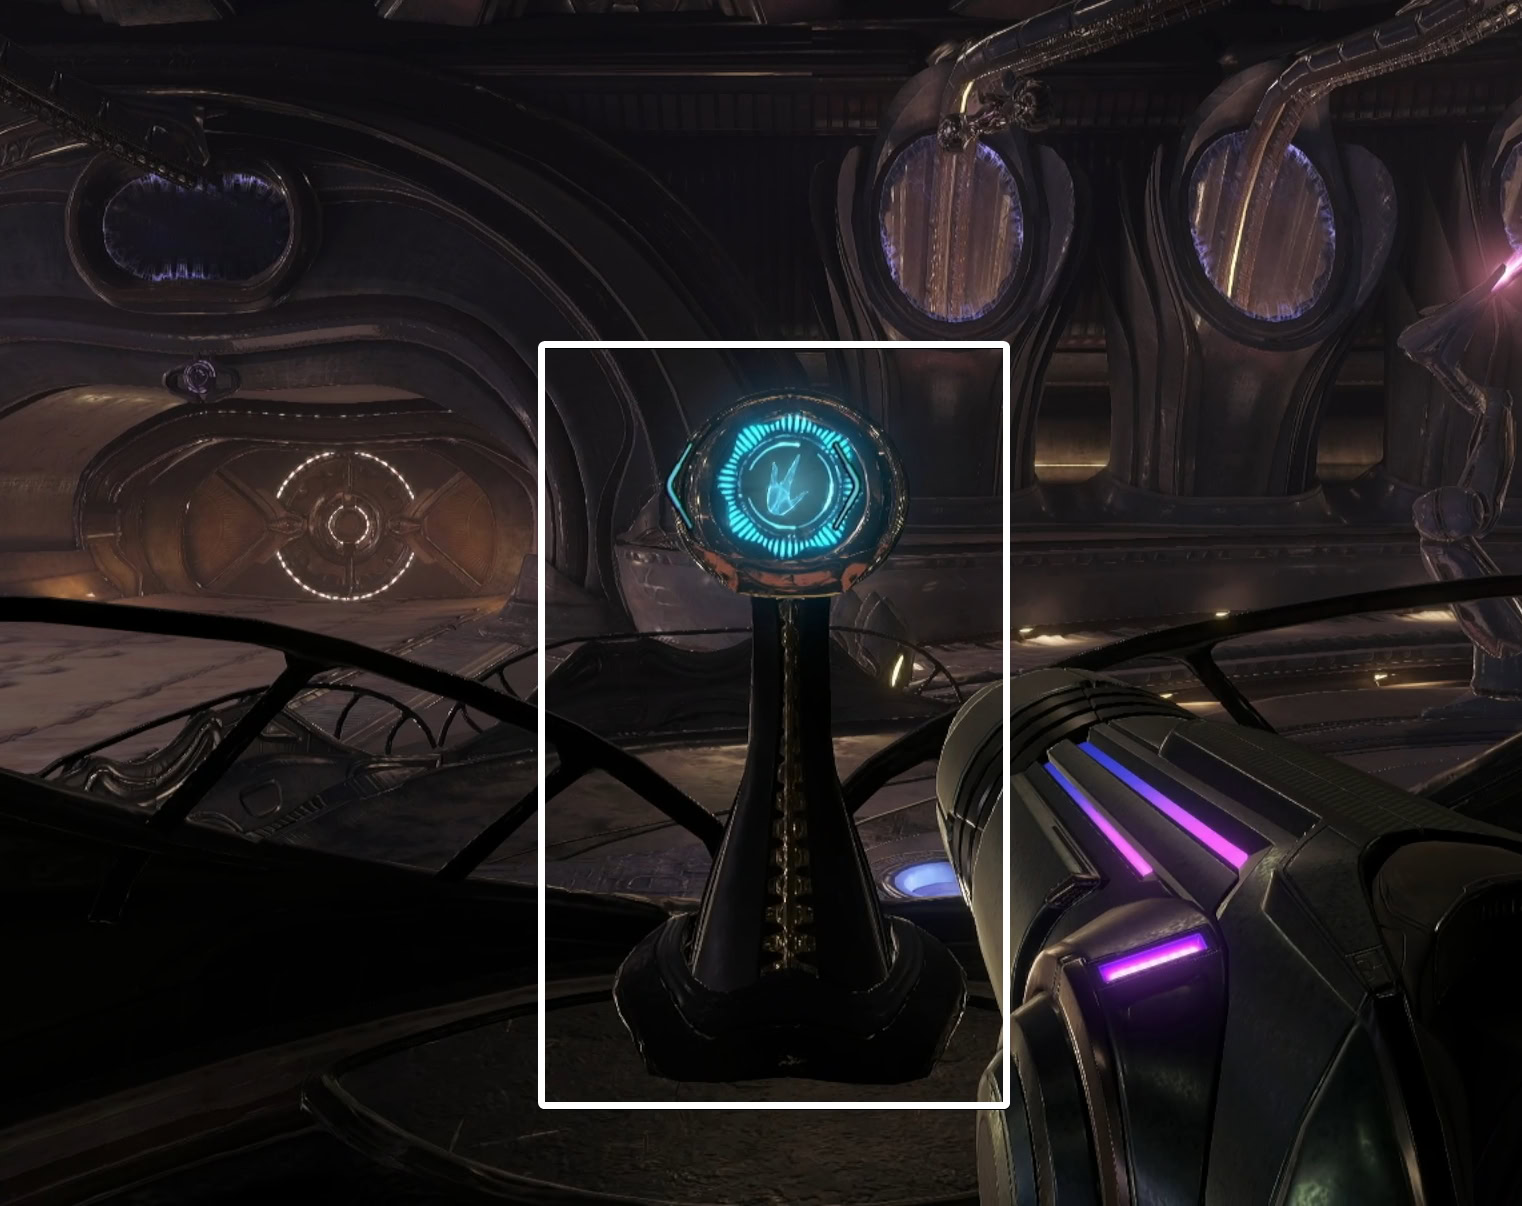
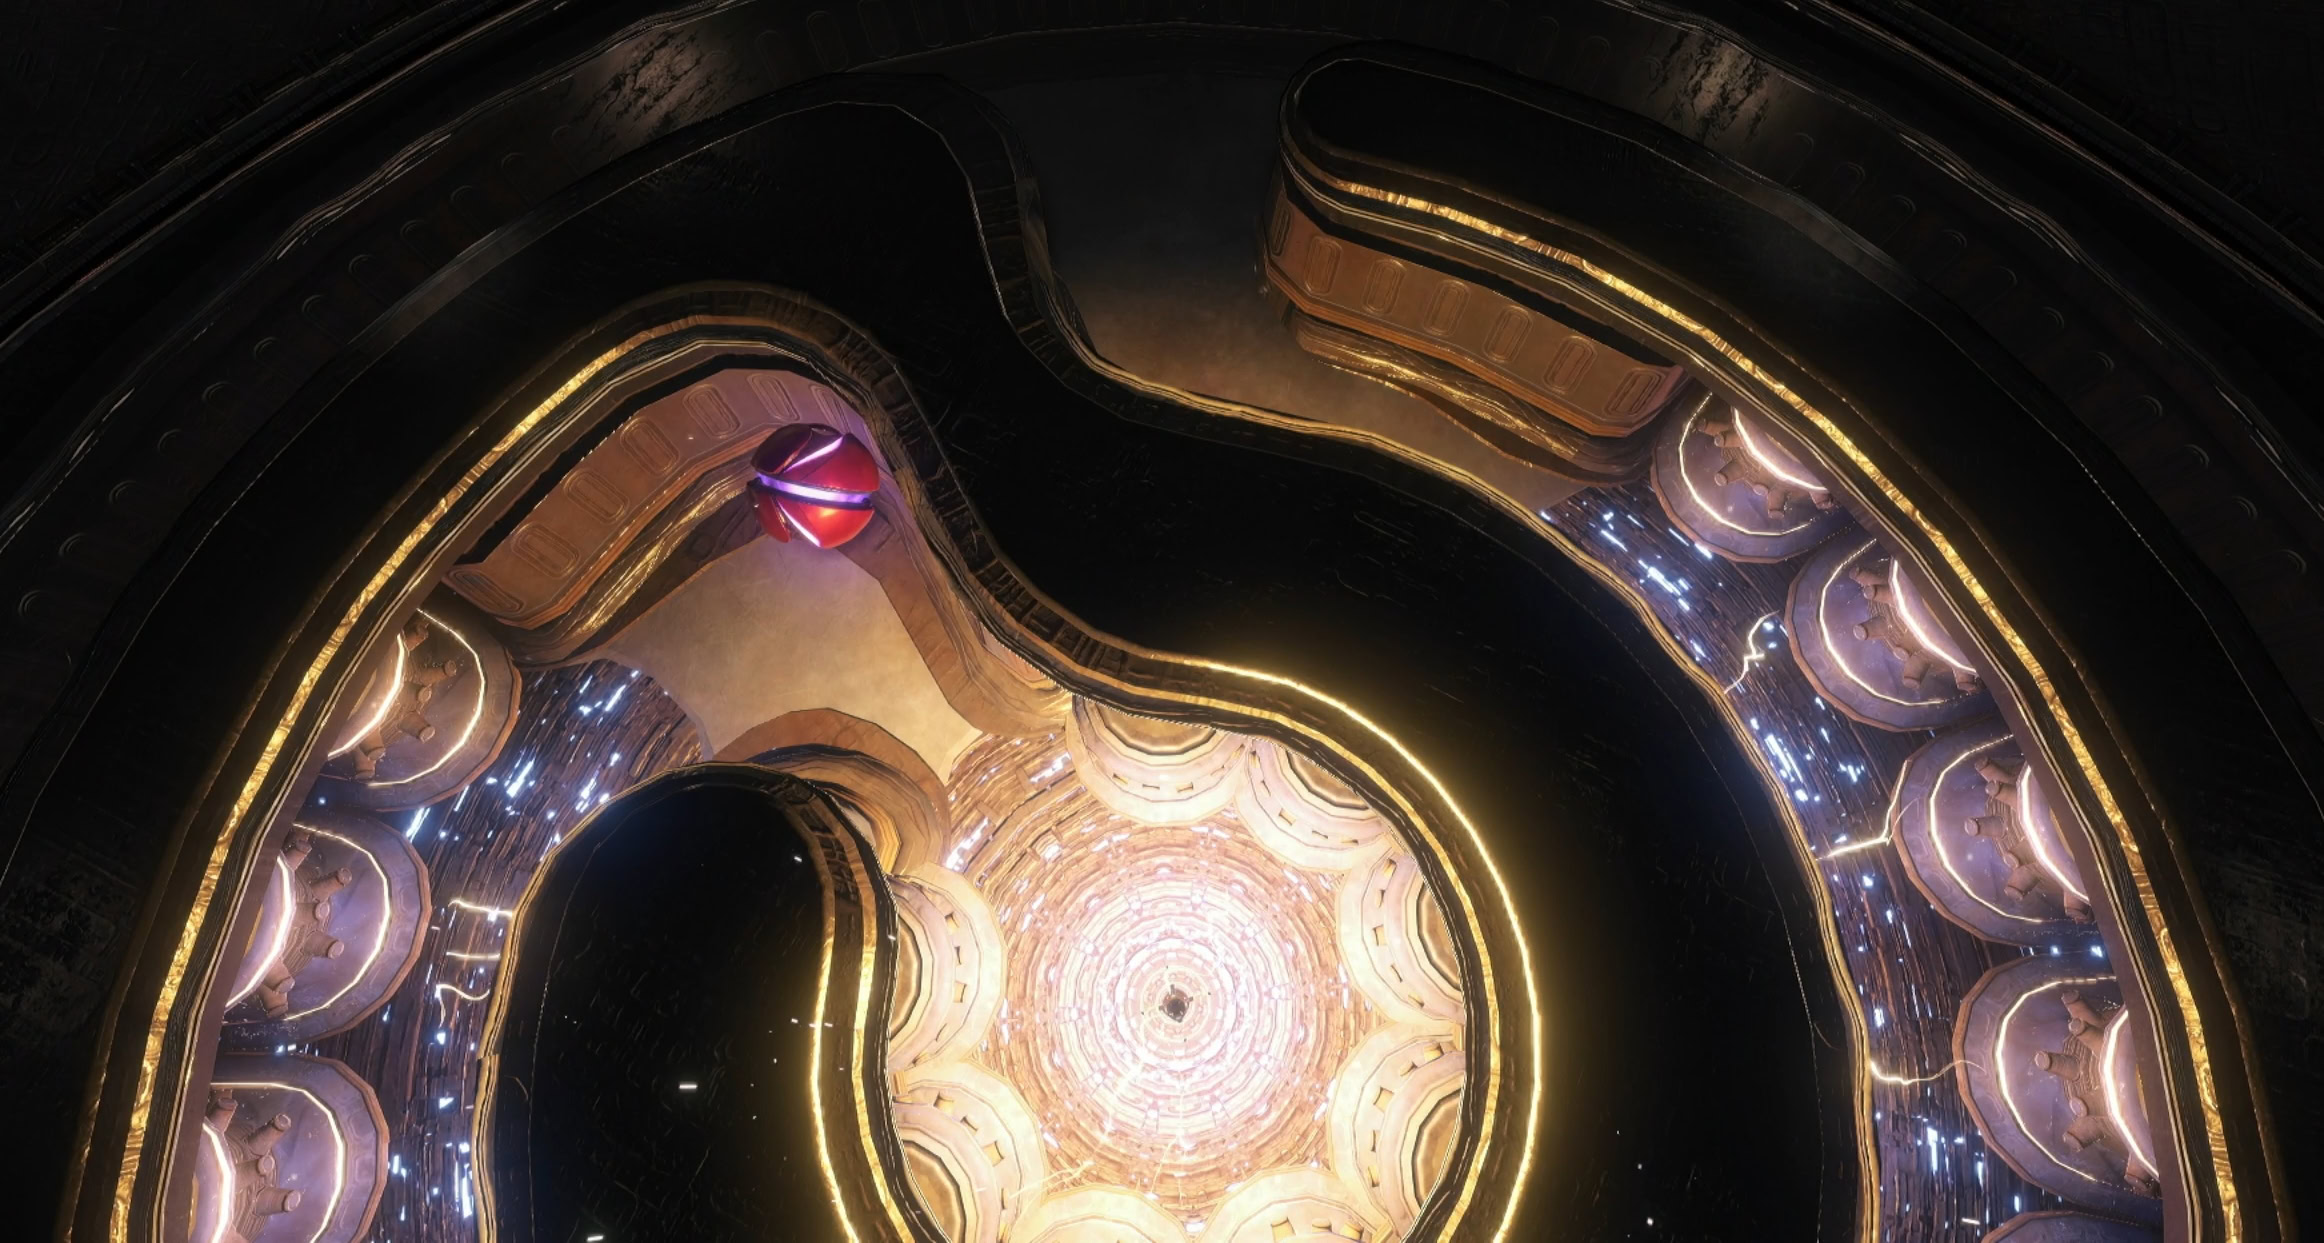
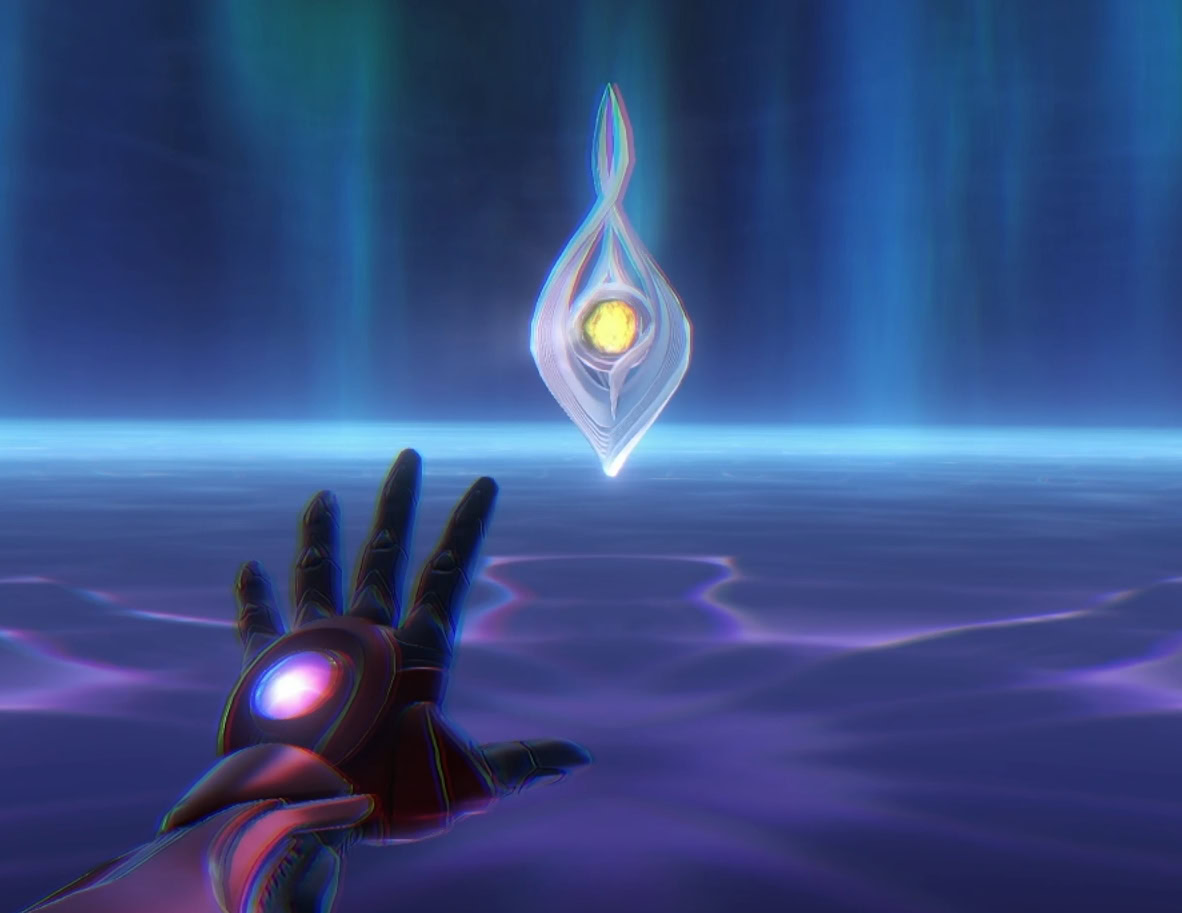
Double jump onto the Sacred Shrine that appears then stare into the eye of the statue. You’ll receive your second Master Teleporter Key!
Use the Psychic Visor to activate the Psychic Platforms and double jump your way up out of the Facility Core and up Certification. Use the save station and take the elevator up to Test Circuit Security
Leaving Volt Forge
Take your bike out through the right door and boost up the ramp to get past the gap, returning to Tower 1. Reach the Vi-O-La tunnel entrance and jump up the crates and go into the Morph Ball Tunnel. Bomb the socket to activate the entrance and exit Volt Forge.

With Vi-O-La, you can now explore Hyrule Field Sol Valley more easily! Vi-O-La will be your means of transportation to get from one zone to another. You can find Galactic Federation debris, Lamorn ruins, Green Energy Crystals, and other goodies out here.
MacKenzie will tell you that there are 3 keys left and it’s up to you where to go next. There really isn’t a choice despite what the game says as your next destination will be the Volcano to the southeast of Sol Valley. This will lead you to the next zone, Flare Pool. Make your way to Flare Pool and do some exploring!
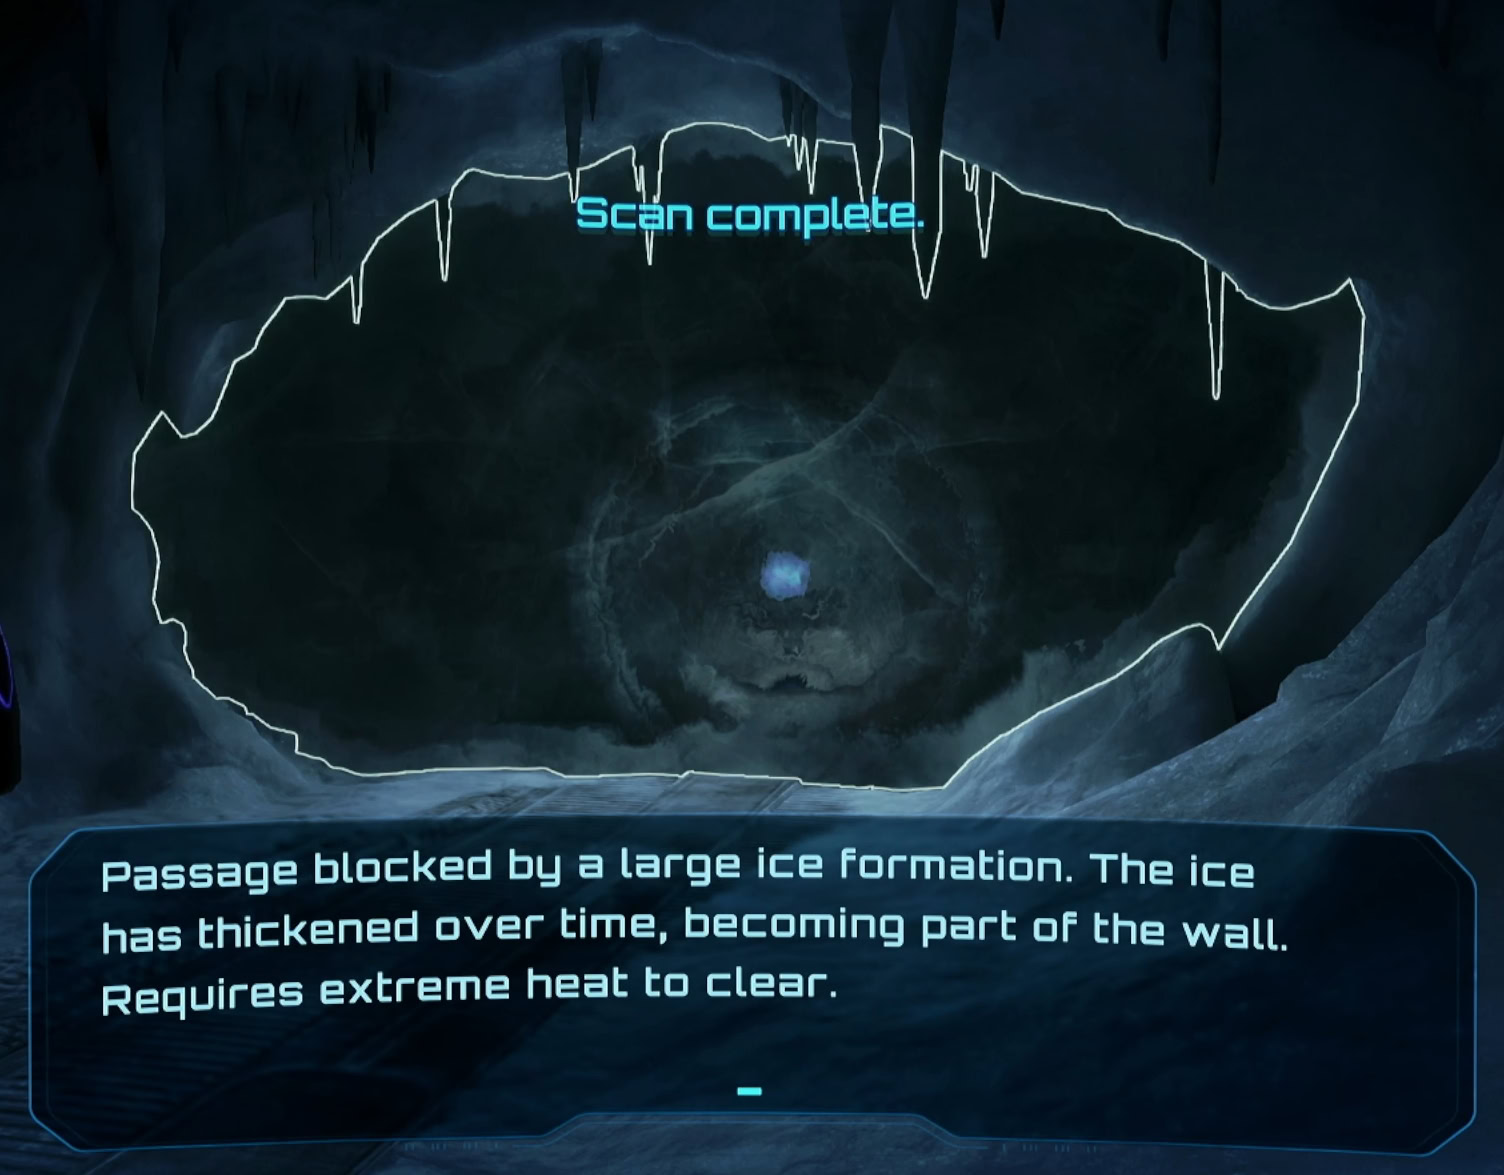
While you can check out the other areas, you’ll be unable to fully access them. Going northwest will have you take an lift that leads to Ice Belt. Though the path leading into Ice Belt is blocked off by a wall of ice.
The location to the northeast requires the Spider Ball upgrade to traverse. It’s a shame that this game isn’t as open ended as something like Breath of the Wild, but it is what it is. Make your way southeast to the volcano and enter Flare Pool.