Learn how to get the Flare Pool’s Master Teleporter Key in Metroid Prime 4: Beyond! Includes information on navigation, tips for beating enemies, power up locations, and what upgrades you’ll unlock.
Table of contents
Unlock the Ice Shot
After getting the Ice Belt Teleporter Key and acquiring up the Ice Chip, return to MacKenzie in Fury Green. Talk to him and he’ll unlock the Ice Shot upgrade for your arm cannon.
The Ice Shot is a subweapon that shoots icy projectiles that freeze targets. This is a good weapon to slow down mobile enemies such as Psy-bots, temporarily solidify lava and magma, and disengage Ice Locks. Airborne enemies that are frozen will receive fall damage.
The Ice Shot shares the same ammo pool as the Fire Shot, so keep that in mind as you use either of these weapons.

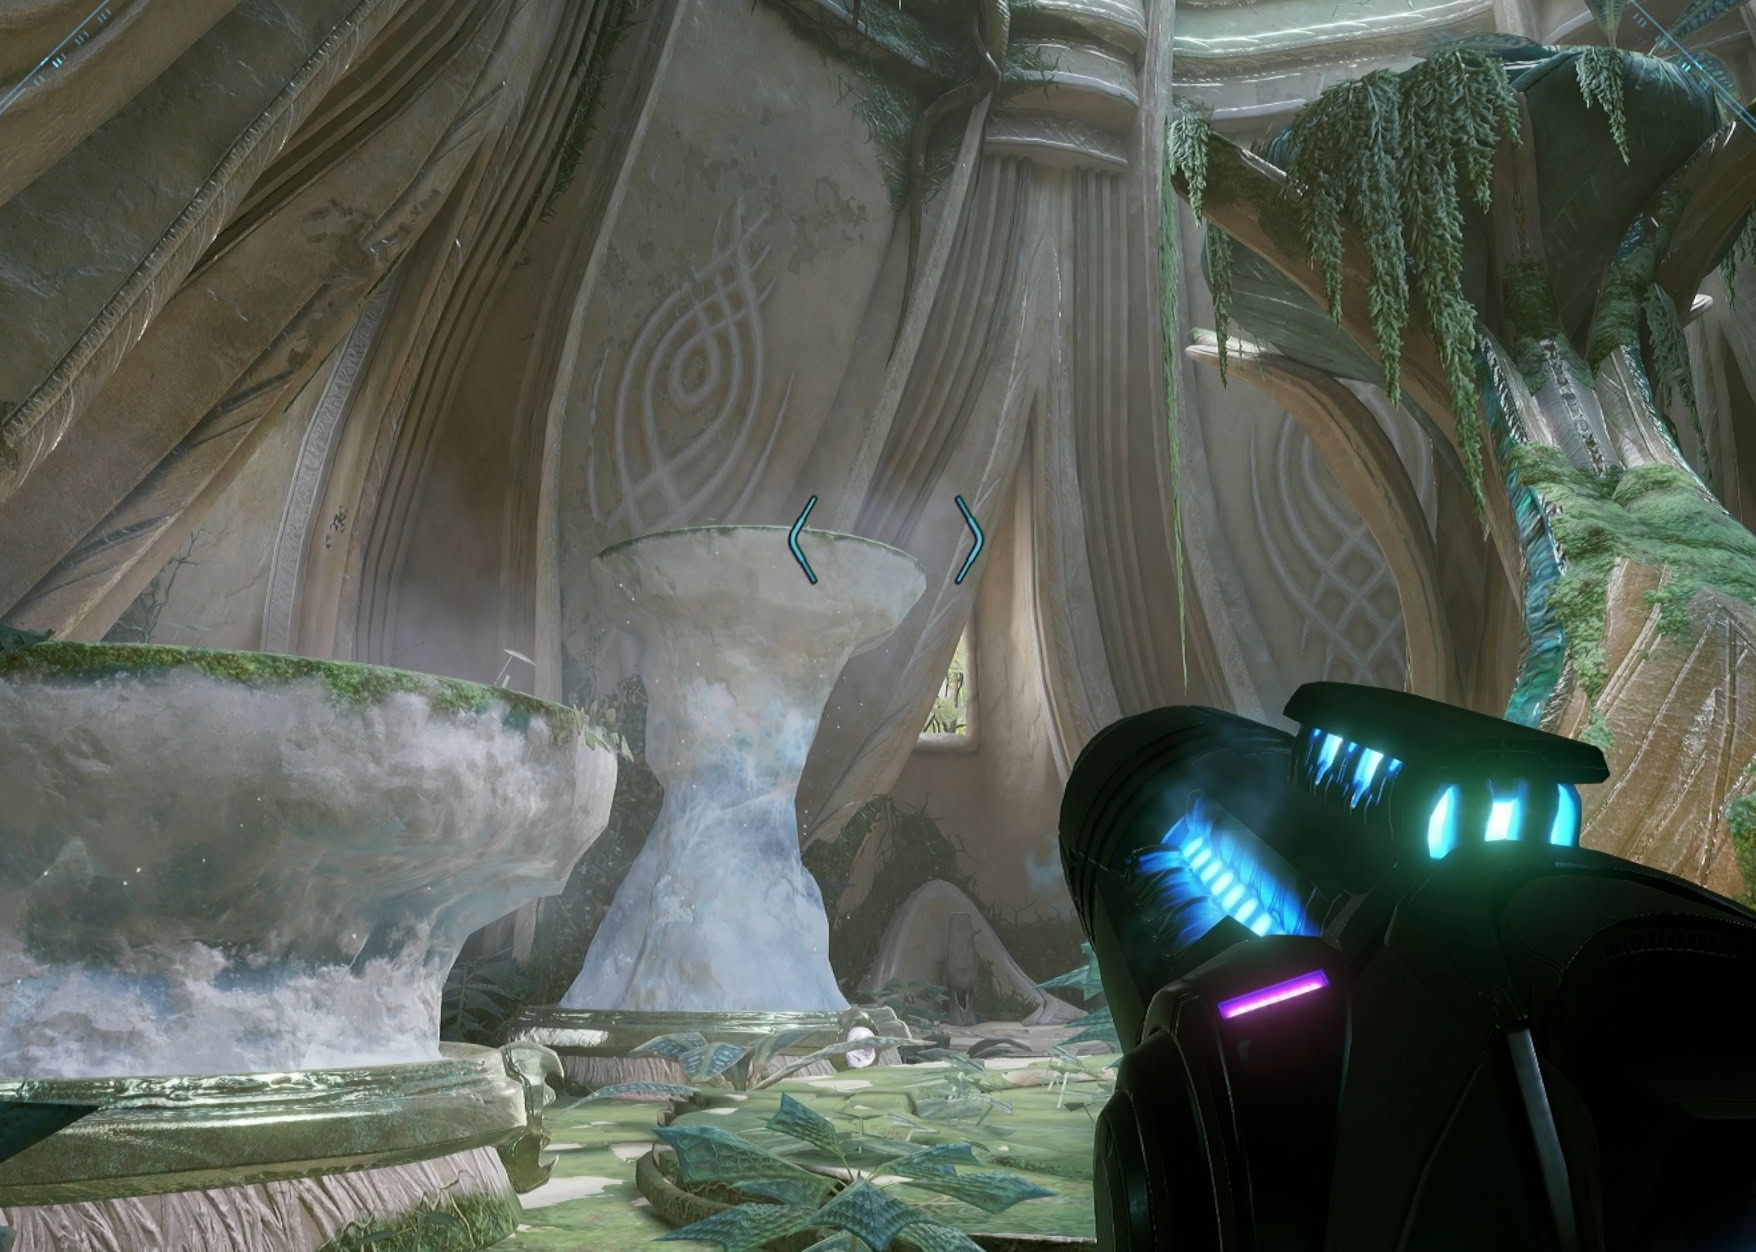
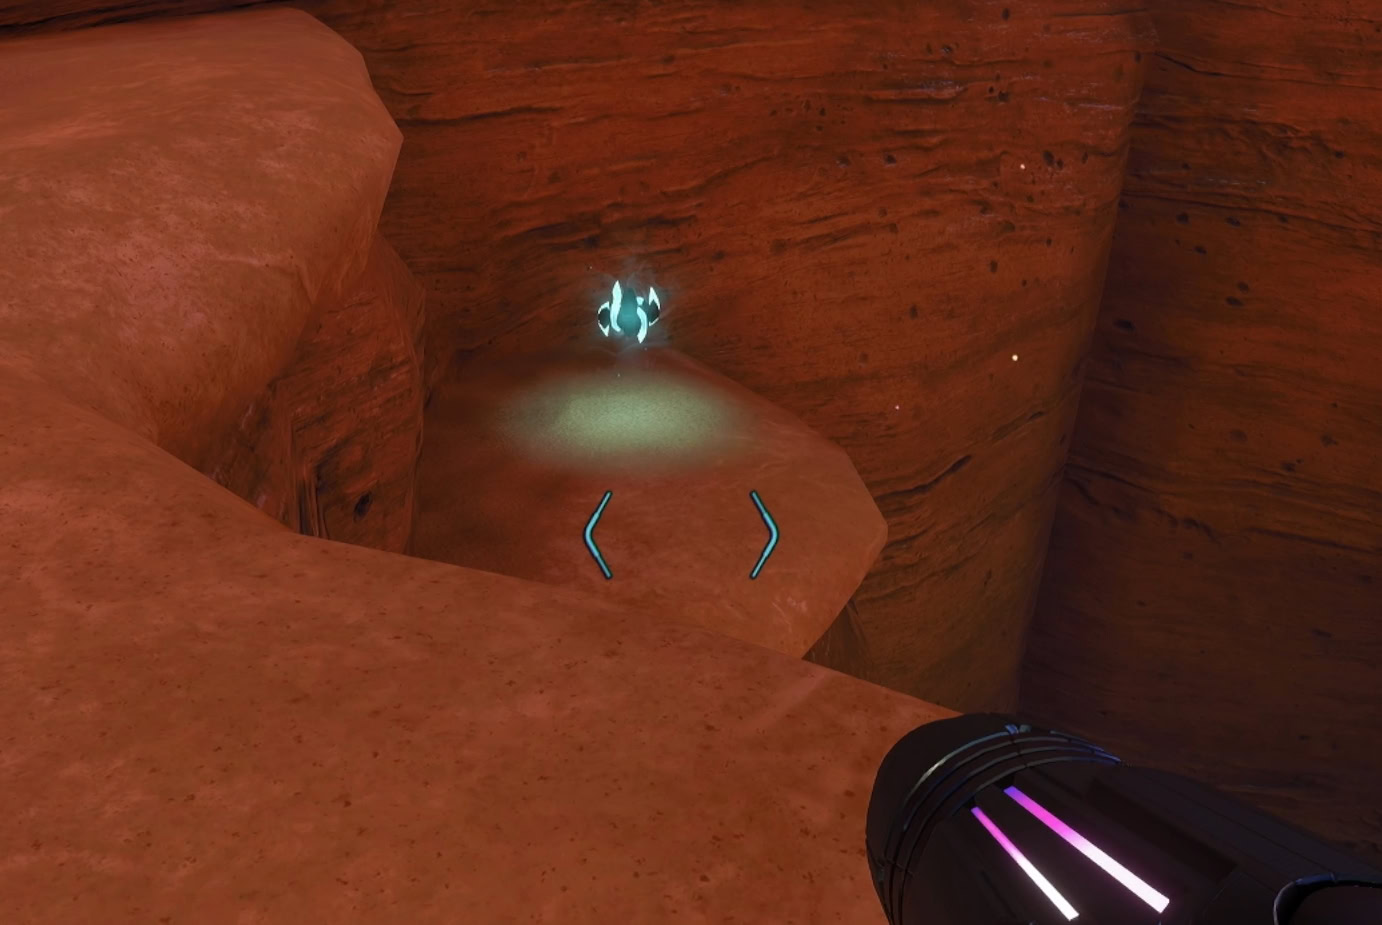
Return to the Sacred Flame Ceremony room nearby and shoot the ice lock on the east door. This room is the Fountain of Tranquility where you’ll find a Shot Expansion at the top of a structure.
To retrieve it, freeze the short fountain on the left. Use the Psychic Glove to pull out the mote from that fountain and place it in the other fountain. Freeze the tall fountain then jump up the platforms before the ice melts. Pick up your Shot Expansion and head to Sol Valley.
Unlock the Vi-O-La IC Suit
Before you can safely traverse lava, you’ll need a heat resistant suit. Return to Volt Forge and go to Tower 3. Use the Spinner in front of the window to unlock the Vi-O-La IC Suit.

This suit provides heat resistance and allows Vi-O-La to transform into Vi-O-La IC when traveling over lava. Yes, the name is a pun of the word “Icy”. Return to Sol Valley and start your journey to Flare Pool.
Loading Airlock Missile Expansion
When you’re leaving Volt Forge, stop at the Loading Airlock. Use the Spinner to ram one cargo crate into another, knocking it down, revealing a Missile Expansion. Defeat the Flight Drone MCU then return to Sol Valley.
Sol Valley Large Shot Expansion
When you’re at the entrance to Flare Pool in Sol Valley, look for the Morph Ball hologram to the right. Roll into it and activate the Spinner to be launched to the ledge on the opposite side. Pick up the Large Shot Expansion to increase your Shot Ammo by 20.
Regain access to Flare Pool
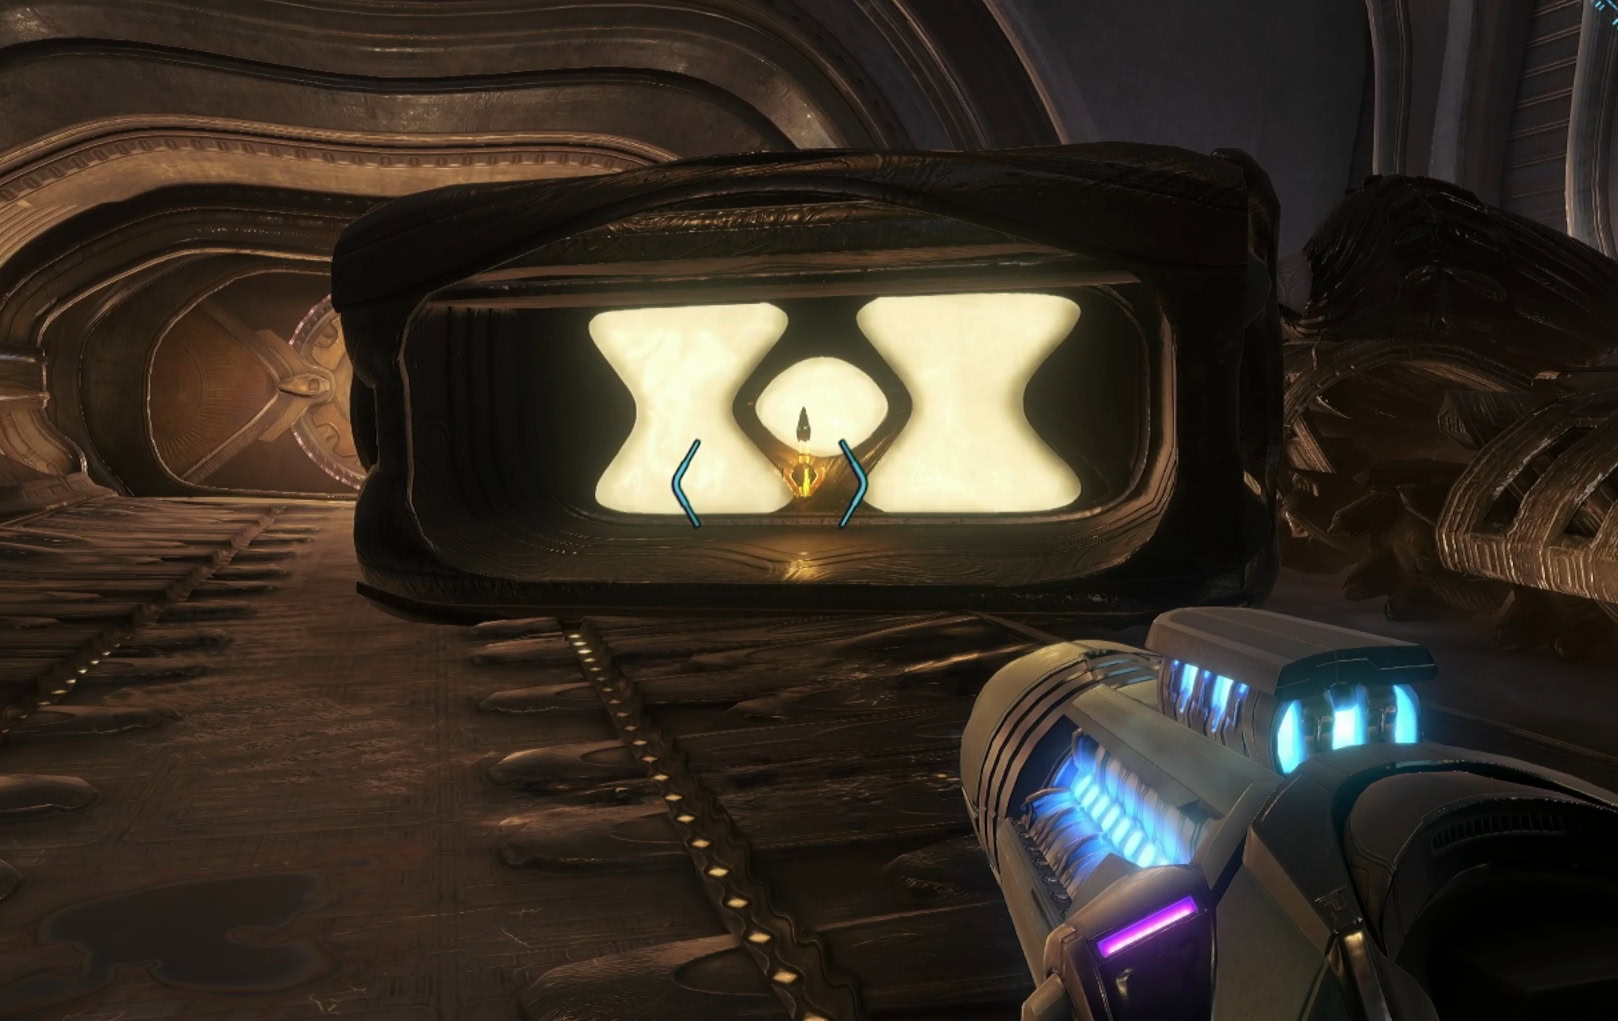
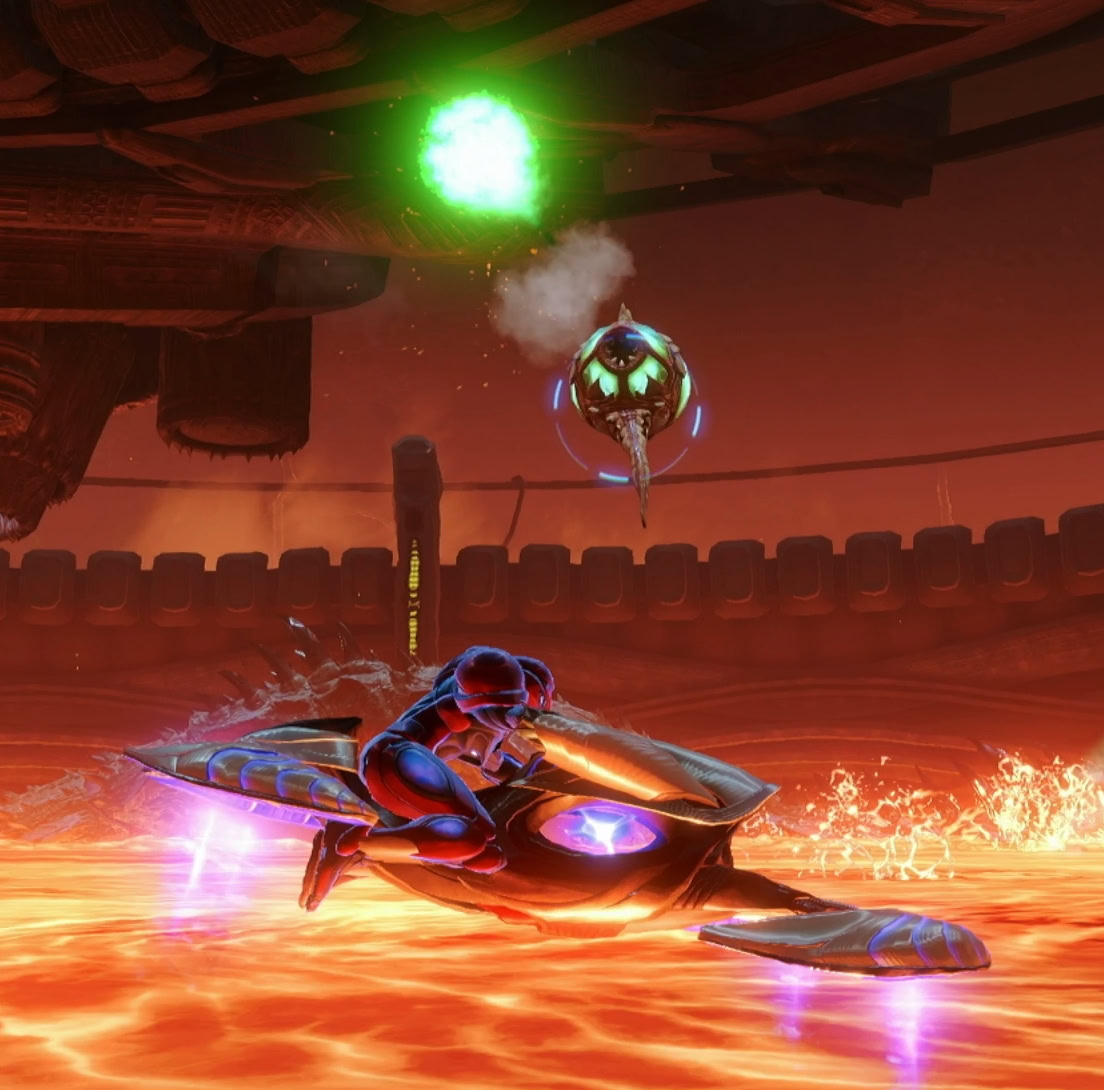
When you enter Flare Pool, use the Ice Shot on the wall of lava blocking your path. When it’s solidified, blow it up with a missile and use the Spinner to turn off the lava flow.
Return to Lava Lake Bridge and drive Vi-O-La over the lava. It’ll transform into its hoverbike form, Vi-O-La IC. Drive across the lake and stick to the left side to find a door into the facility.

Investigate the Distress Beacon
Go up the elevator and you’ll receive a Galactic Federation Distress Beacon. Use the Fire Shot to melt the panel blocking a maintenance hatch and roll through to the Ventilation Works.
Activate the Spinner and watch your right side as there will be a turret on the ceiling. Freeze it with the Ice Shot then finish it with a Charge Beam. Unlock the doorway to the west for later use, then blast away the shattered window.
Undercarriage Shot Expansion
Boost ball up the half pipe then go up the elevator. At the upper level of the Undercarriage, look to the north for a Pull Lock on a gate. Pull it open and go down the elevator. Free the Shot Expansion with a missile and pick it up.
Heavy Maintenance Tank
Return up the elevator and go through the Inspection Station and into the Entry Bay. Here you will encounter a new enemy, the Heavy Maintenance Tank. Unlike other varieties, this one likes to shoot lasers while it’s rolling around. Use the Psychic Beam when it’s rolling around, and missiles when it’s slow or stationary.

Once defeated, take the south door and destroy the turret in the middle of the hall. Use the save station in the room ahead and return to the Entry Bay. Do note that this turret will eventually respawn after getting a certain distance away from the area.
The Boiler Room
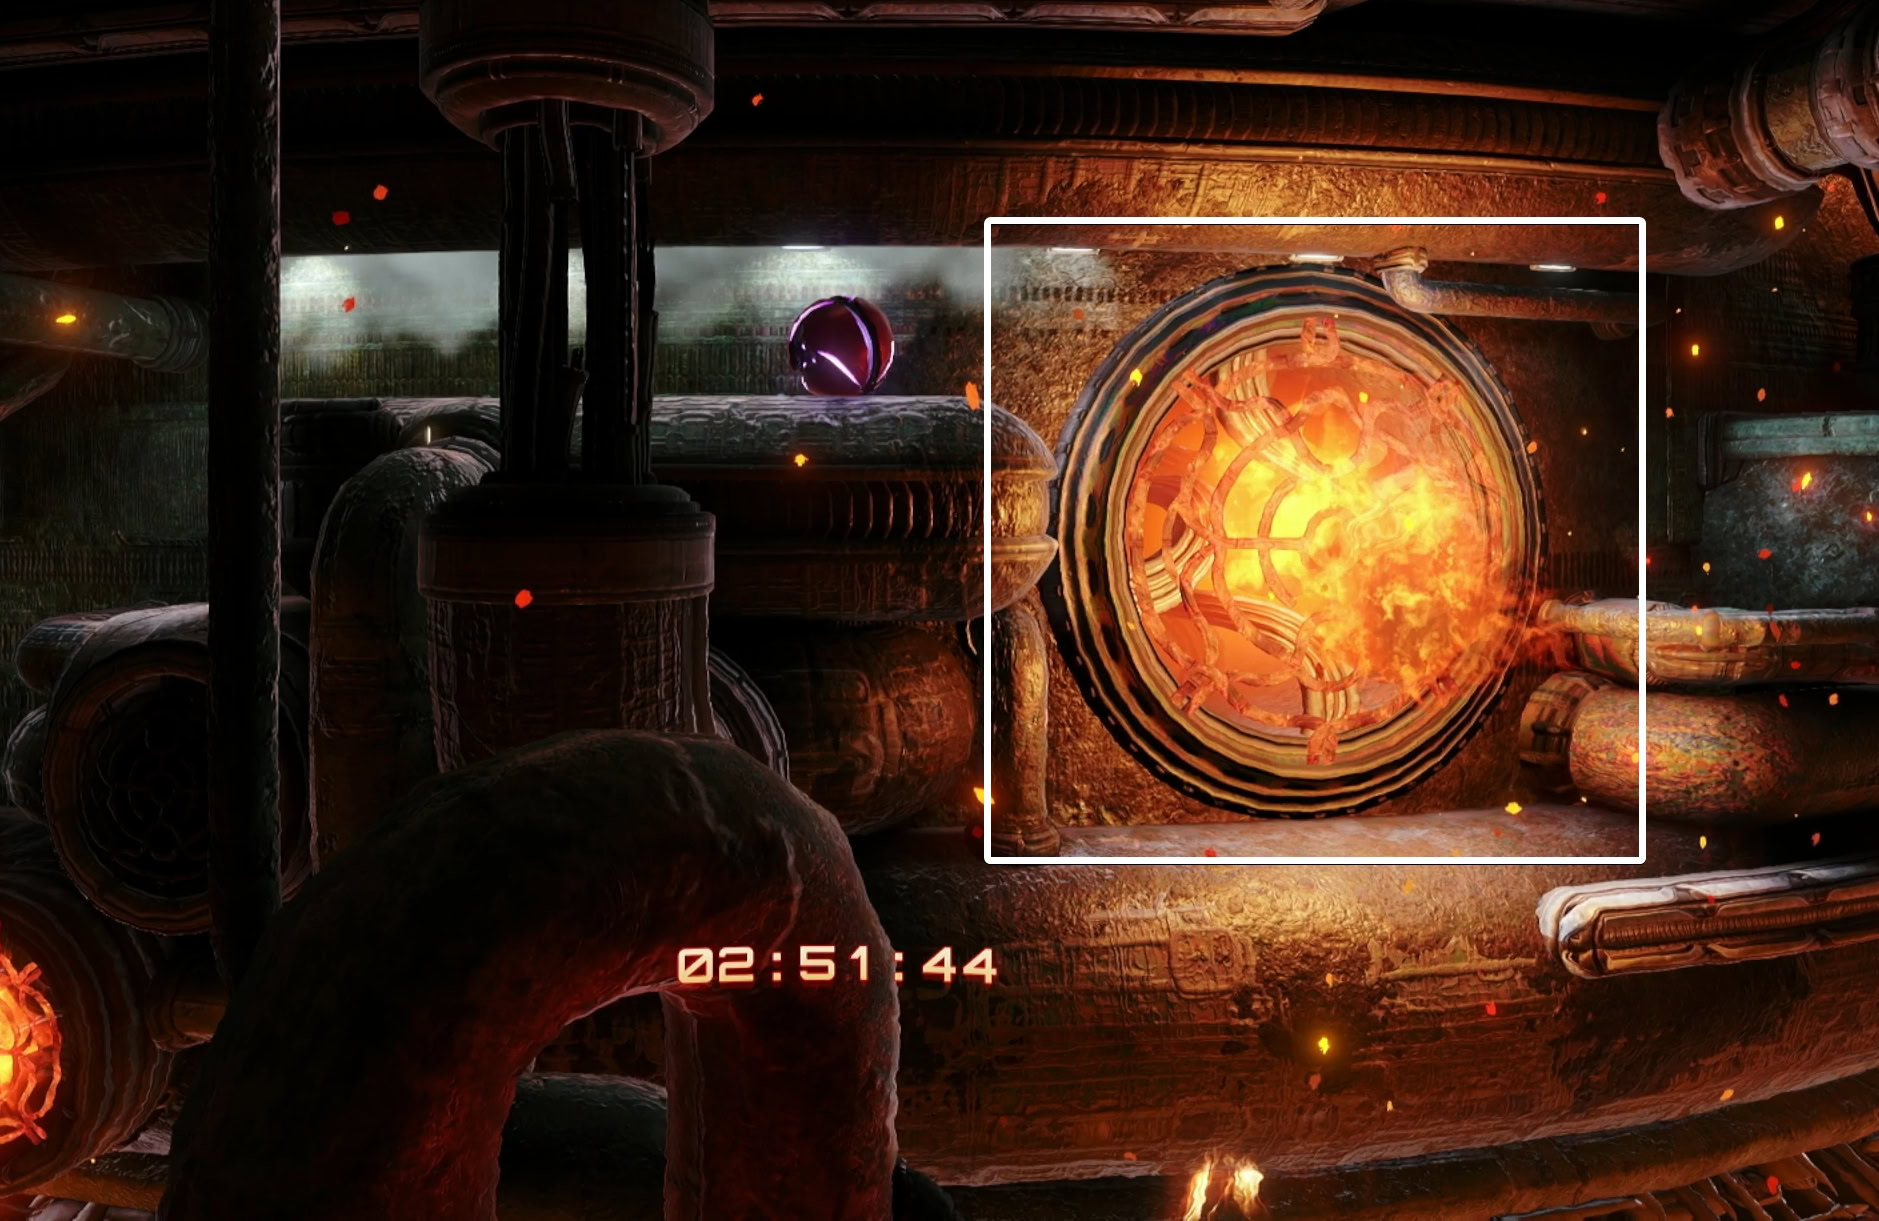
Go to the Boiler Room and roll into maintenance hatch, go past the boiler, then roll into the control room. Here you will meet Sergeant Ezra Duke. He’s stuck in the Boiler Room and you’ll need to get him out.

Scan and use the terminal to activate the Spinner. Return to the boiler and activate the Spinner to expose the boiler’s internals. The vents shooting flames will alternate over time, be mindful of them as they hurt a lot.
Shoot one of the four areas exposing the lava within and immediately turn into a Morph Ball. All the vents will activate and the boiler will spin rapidly above you. Repeat this process to turn off the boiler and return to the Entry Bay with Duke.
Reach the Control Room
You’ll get a call from a Private Armstrong who’s stuck in the South Clamp. Your next objective is to rescue her, but first take the time to use the save station. Go through the double door to reach Energy Extraction.
On the left side of Energy Extraction is a Work Report that looks like the Research Diaries from Ice Belt. Scan it if you’re looking to 100%, then go up the elevator into the control room.
Destroy the turret, activate the terminal, and blast away the damaged grate with a missile. Use the Control Beam to hit the Power Socket across the room and the door below.
Destroy the turret in the hallway and go north to reach the Map Station. Download the map, return to the hallways and take the east door into Energy Injection. Reach the other side of the room to find another Work Report then go up the elevator.
The Psy-bots in the area will activate, equip the Ice Shot. If you don’t freeze the Psy-bots, you’ll be easily overwhelmed by their numerous lasers. Fight your way further up the room to enter the Overseer Room.
Storage Room Energy Tank
Take the north door in the Overseer Room to enter the Storage Room. Unlock the Psychic Crate to pick up an Energy Tank. When you turn around to leave, you’ll find another Work Report.
Psy-bot Gunner
Take the east door in the Overseer Room to reach the Control Room Bridge. You’ll face a new type of Psy-bot, the Psy-bot Gunner. Destroy the energy spheres it launches and turn it into scrap metal.
Another one will come out from the room ahead alongside two Psy-bot Shields. Take out the gunner first before worrying about the shields. Now that you have a Psychic Lasso, you can rip the shields off the Psy-bots to expose them. This also removes their shield charge attack.
When the area is clear, enter the Control Room. Destroy the Lamorn Heavy Turret, freezing it then pelting it with Charge Beams. Defeat the Psy-bots, then activate the main control panel. This will trigger a cutscene and you’ll download another area map.
Release the Clamps
Take the north door of the control room then go west to use the save station. Go to the South Tram Dock and activate the tram to reach Private Nora Armstrong at the South Clamp.

Pull open the conduit access hatch and activate the Spinner in a clockwise motion to release the clamp. Return to the tram and go to the North Clamp. Walk to the Maintenance Tank Elevator Hatch to have Duke and Armstrong open it for you.
Go down the elevator and roll into the large glass tube. Activate the bomb socket to the right, then make your way up to the other bomb socket and activate it. Return up the elevator and use the Spinner to release the final clamp.
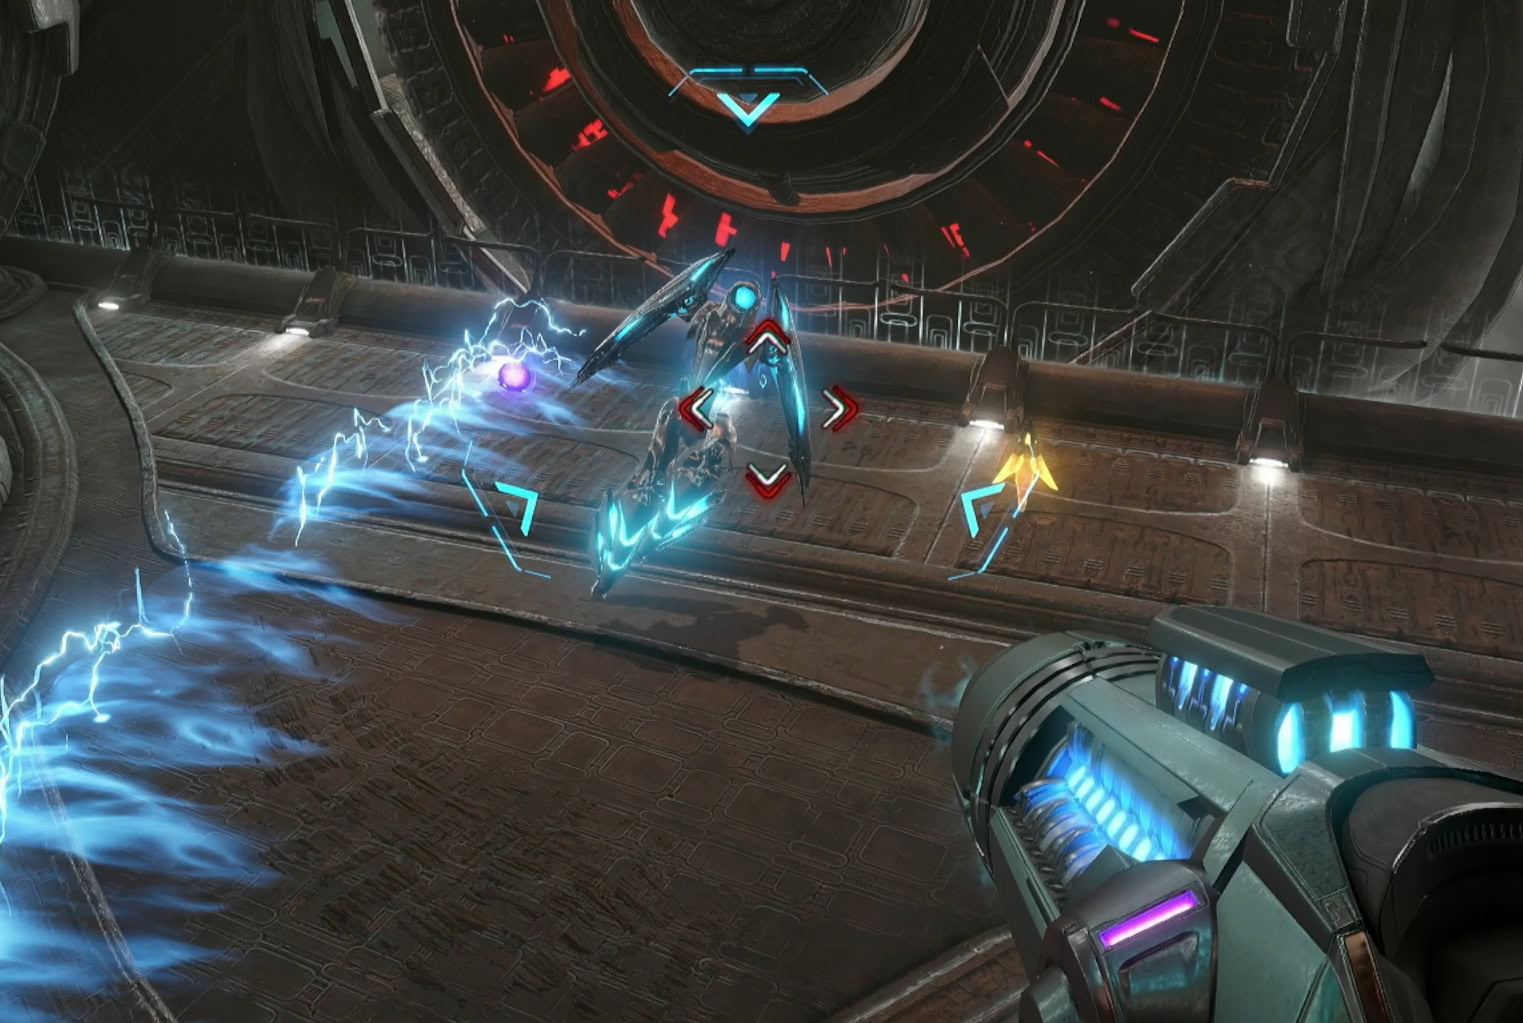
Hover Shuttle Transport Fight
Take the tram back to the North Tram Dock, save, and go to the Control Room Bridge. That shuttle from earlier is trying to finish you off. Defeat the Psy-bots it drops and watch out for its laser beam. Hide behind the guardrails or pillars as a Morph Ball to avoid getting hit.
Keep an eye on the shuttle’s four sockets. If you see missiles loaded inside them, prepare to shoot them when they’re launched. At first, only two will spawn at a time. As the fight progresses, it can launch four.

Your target is the cockpit of the shuttle as it’s the only weak spot. Use your missiles against it as their tracking property helps account for the movement of the shuttle. When the shuttle is destroyed, it’ll open a maintenance hatch.
Psy-bot Shocker
Roll inside the maintenance hatch and activate the bomb slot to return to the Entry Bay. It’s time for another new enemy type, the Psy-bot Shocker. Every time this thing lands after it flies around, an arc of electricity will emit from it. Jump over the arcs, destroy it, then use the save station.
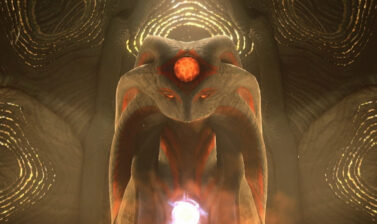
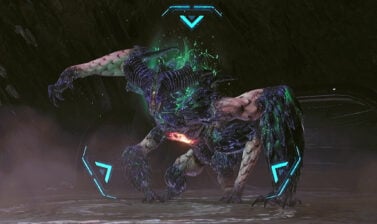
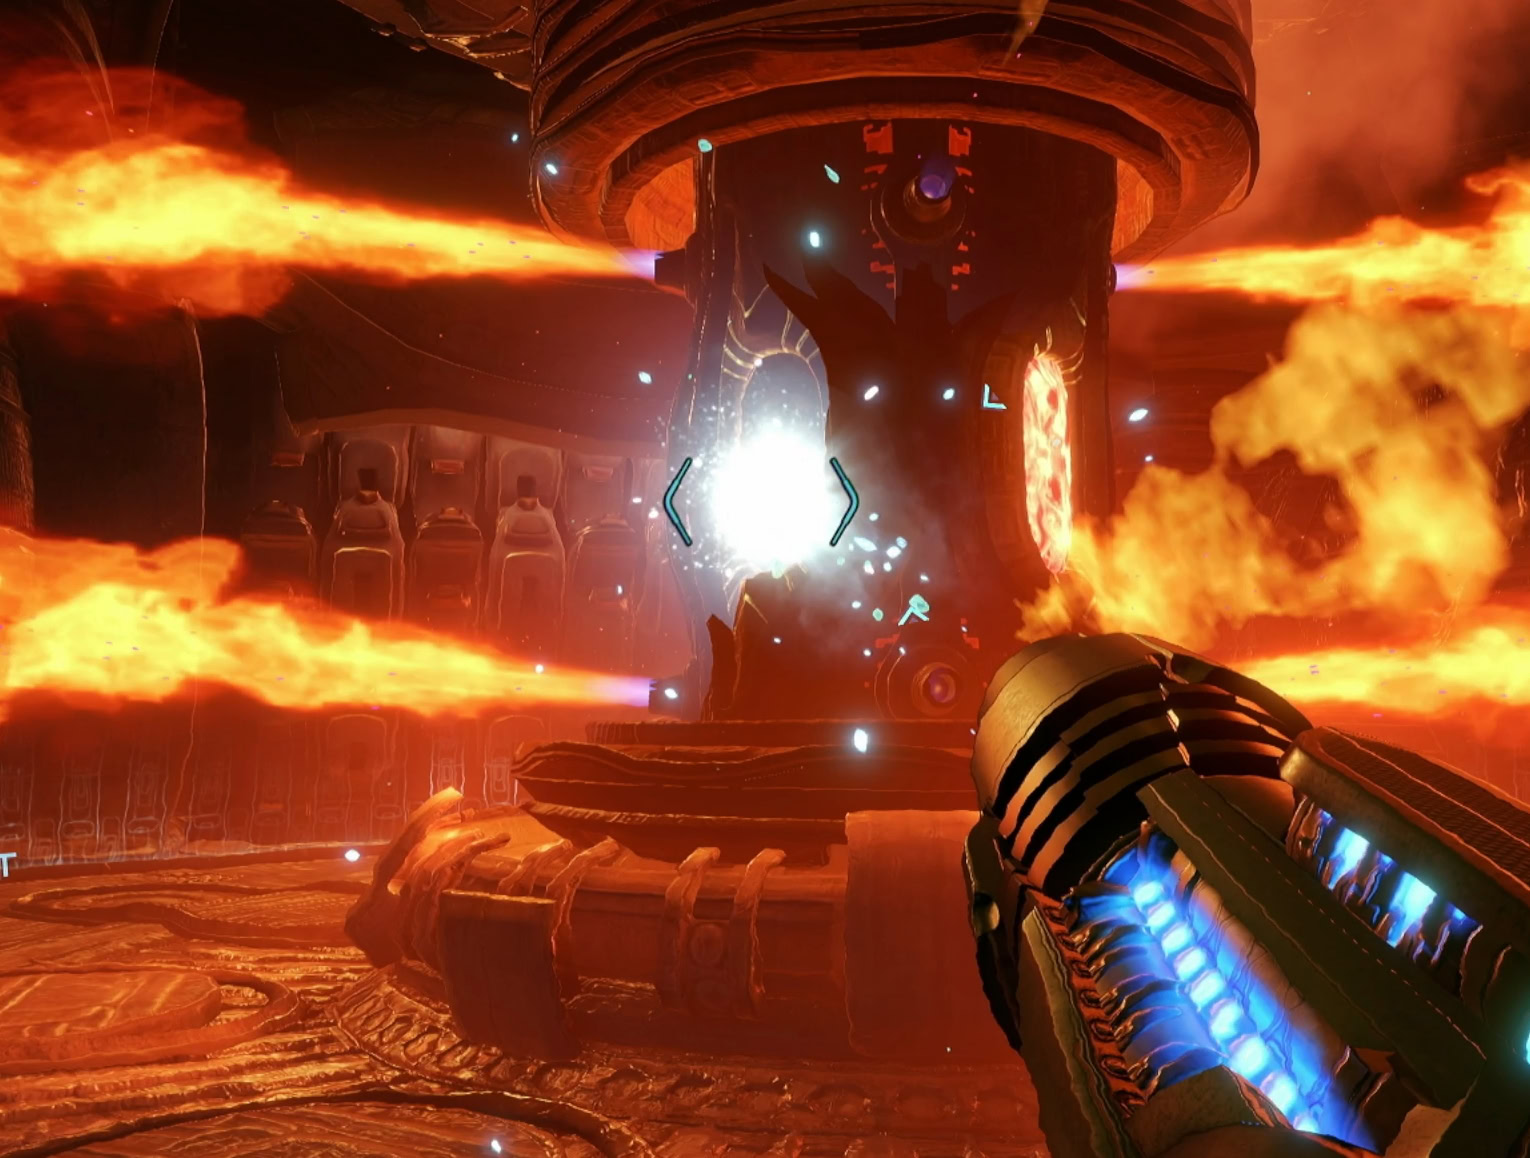
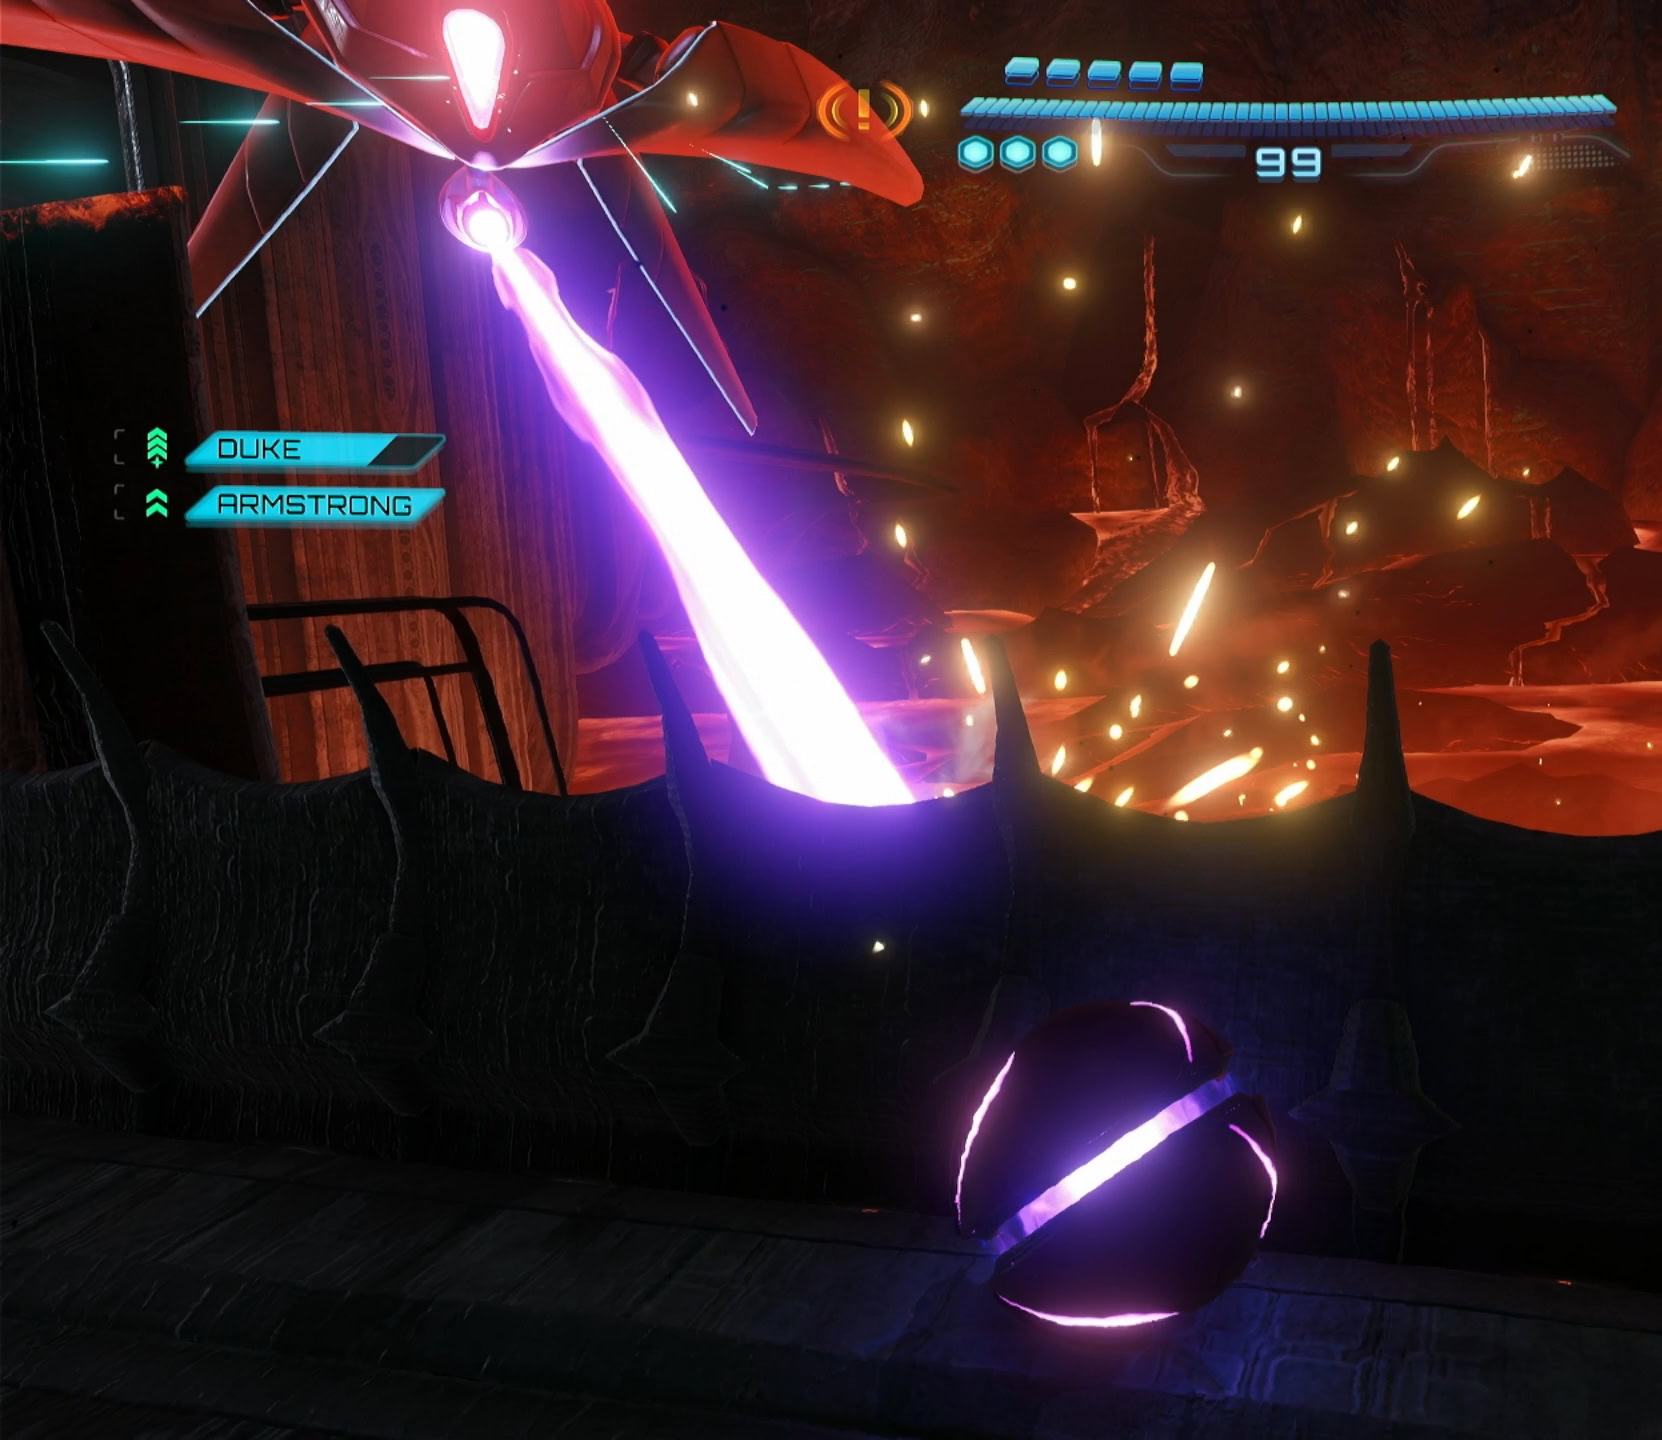
Phenoros Boss Fight
Return to Lava Lake Bridge, mount Vi-O-La, then enter the Volcano Heart. It’s time to fight the Flare Pool boss, Phenoros. Your first goal is to use Vi-O-La’s projectiles to destroy the blue growths beneath Phenoros.
The easiest way to do that is to look for a part towards the front of Phenoros that arcs up. Stop in front of that area and pop the growths as they pass by. As these are destroyed, you’ll get Boost Energy to recharge Vi-O-La’s boost.

Boost to the other side of the room where Phenoros slithered to. If you need more boosts, destroy the Blow Hoppers floating around. They’ll drop Energy and recharge your boost.
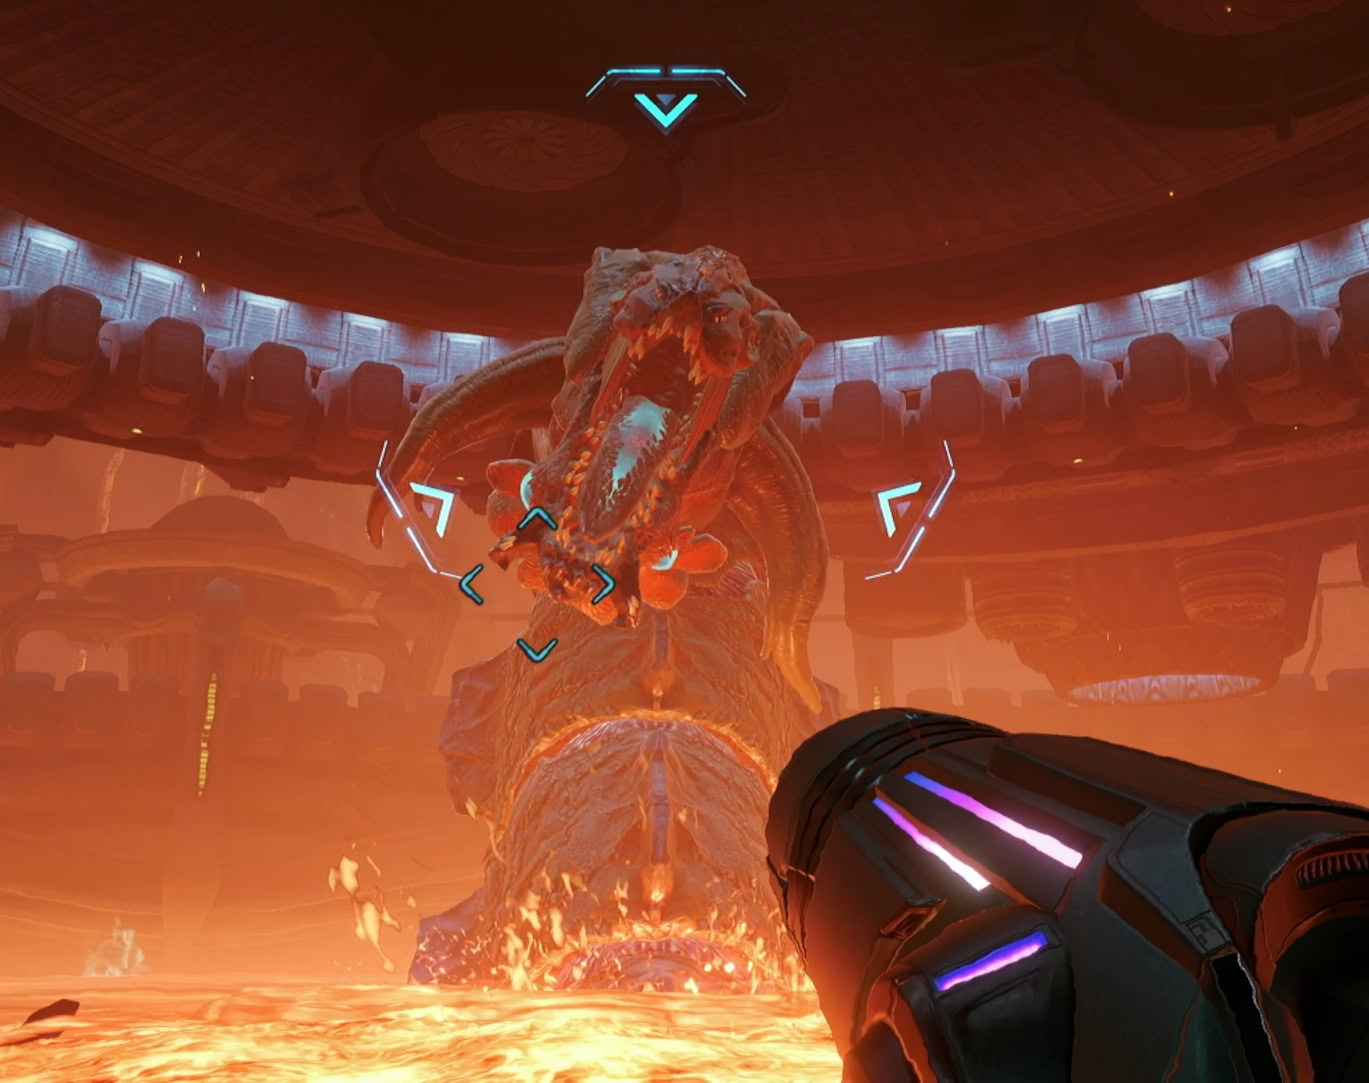
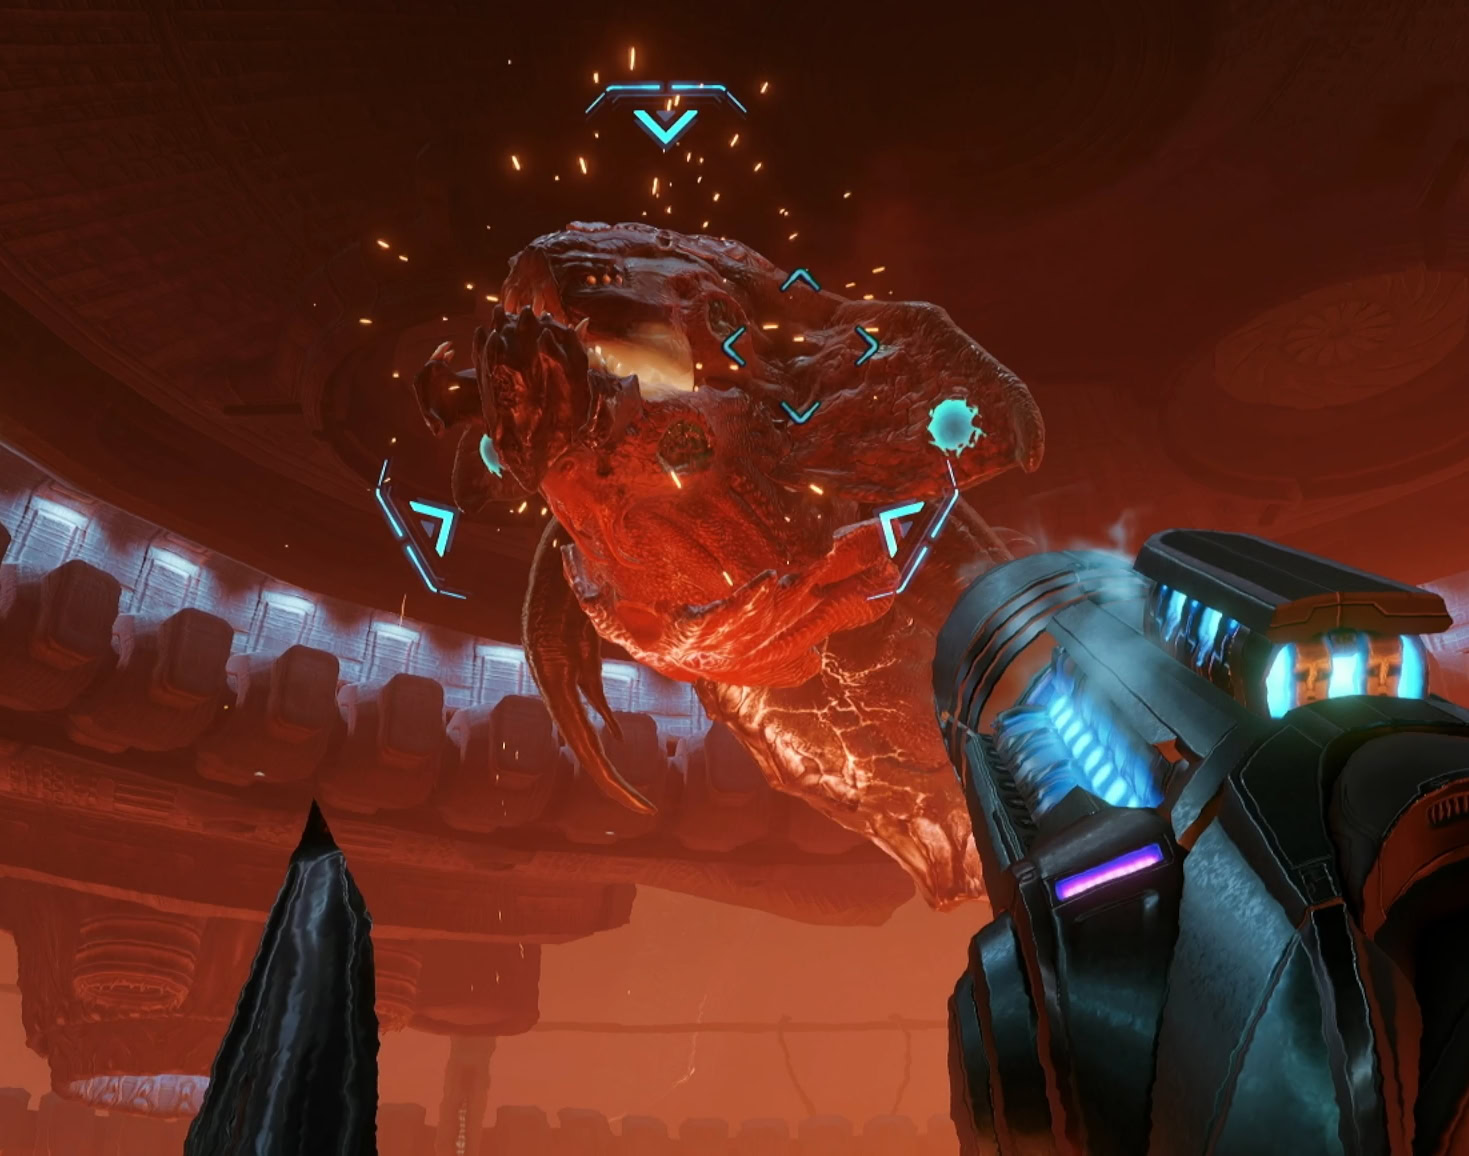
Continue chasing down Phenoros until all of the growths are destroyed. You’ll now be fighting him on-foot. Lock onto Phenoros and use Free-Aim to destroy one growth on his face. This will have him roar and expose his weak spot, his tongue.
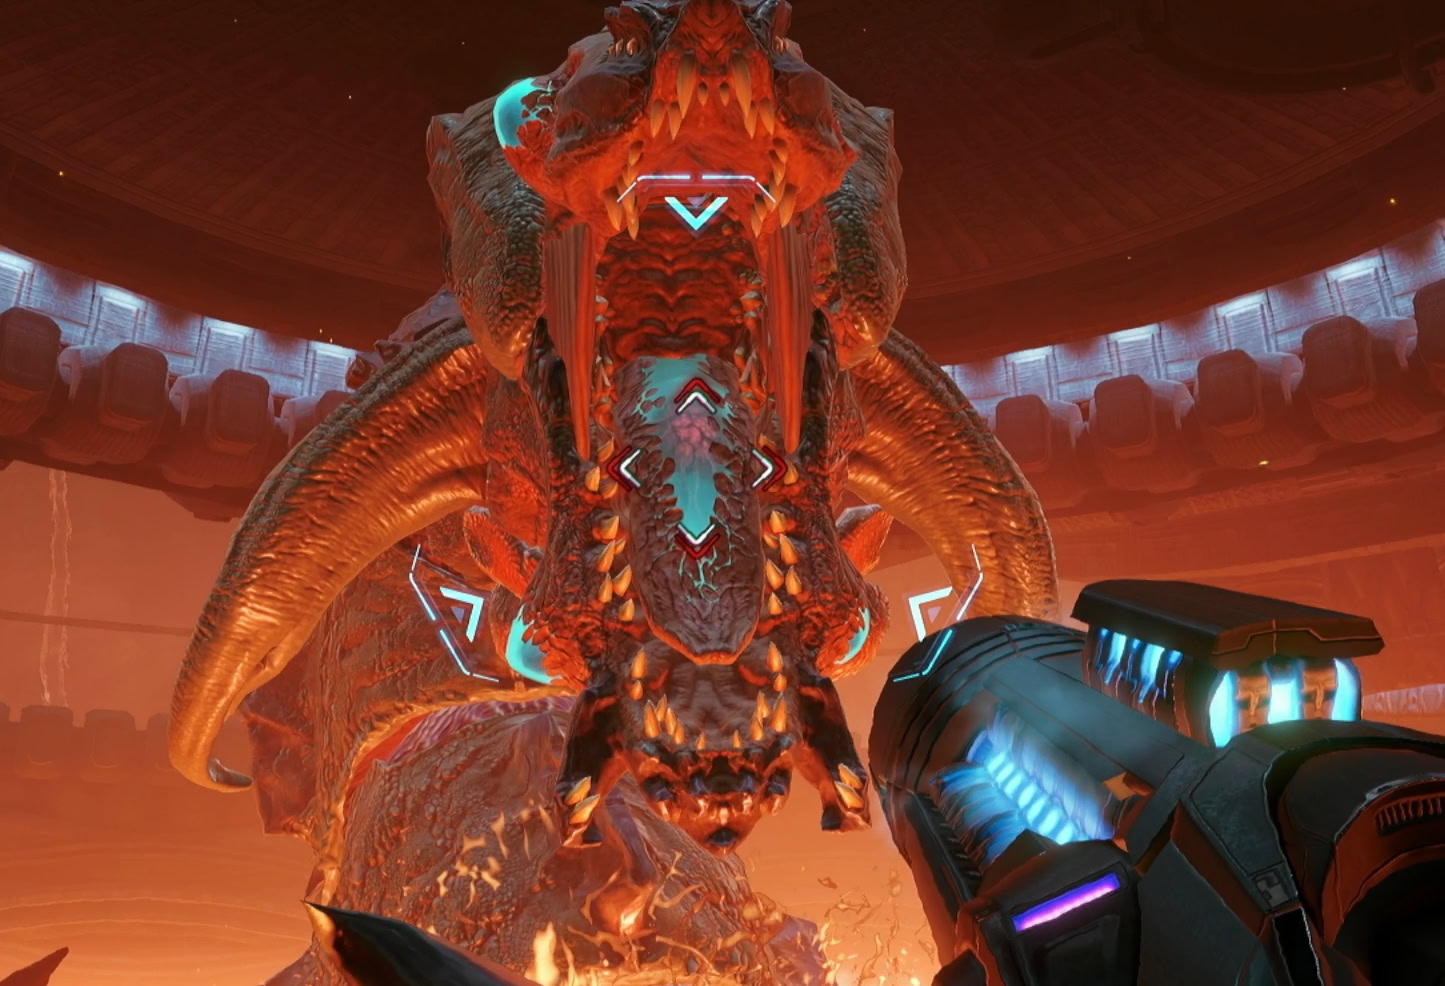
Only destroy one growth at a time so you’ll have more chances to shoot his tongue. Use your Psychic Beam’s normal shots to get the best rate of damage. While he doesn’t resist them, Ice Shot and Missiles aren’t super effective against him.
When Phenoros shoots a sweeping beam across the platform, turn into a Morph Ball and hide behind the spikes to avoid damage.
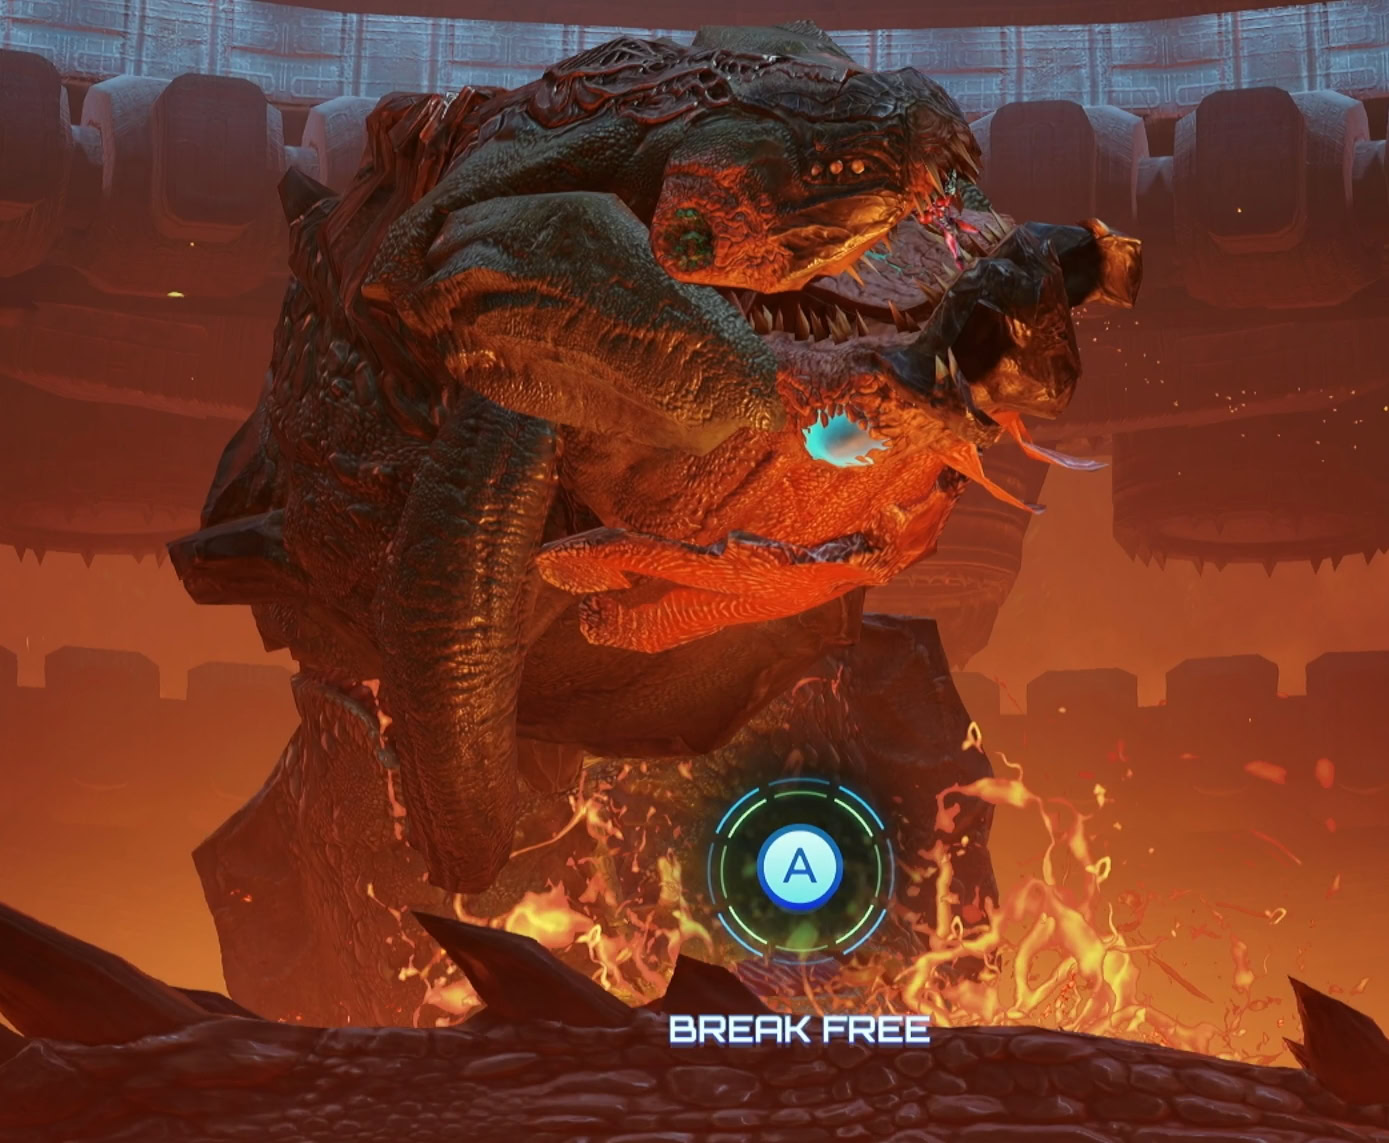
When he lunges back and opens his mouth, get ready to side dash away. If you fail to dodge this attack, you’ll need to break free from his mouth before he does too much damage to you. Tap that button as fast as you possibly can.
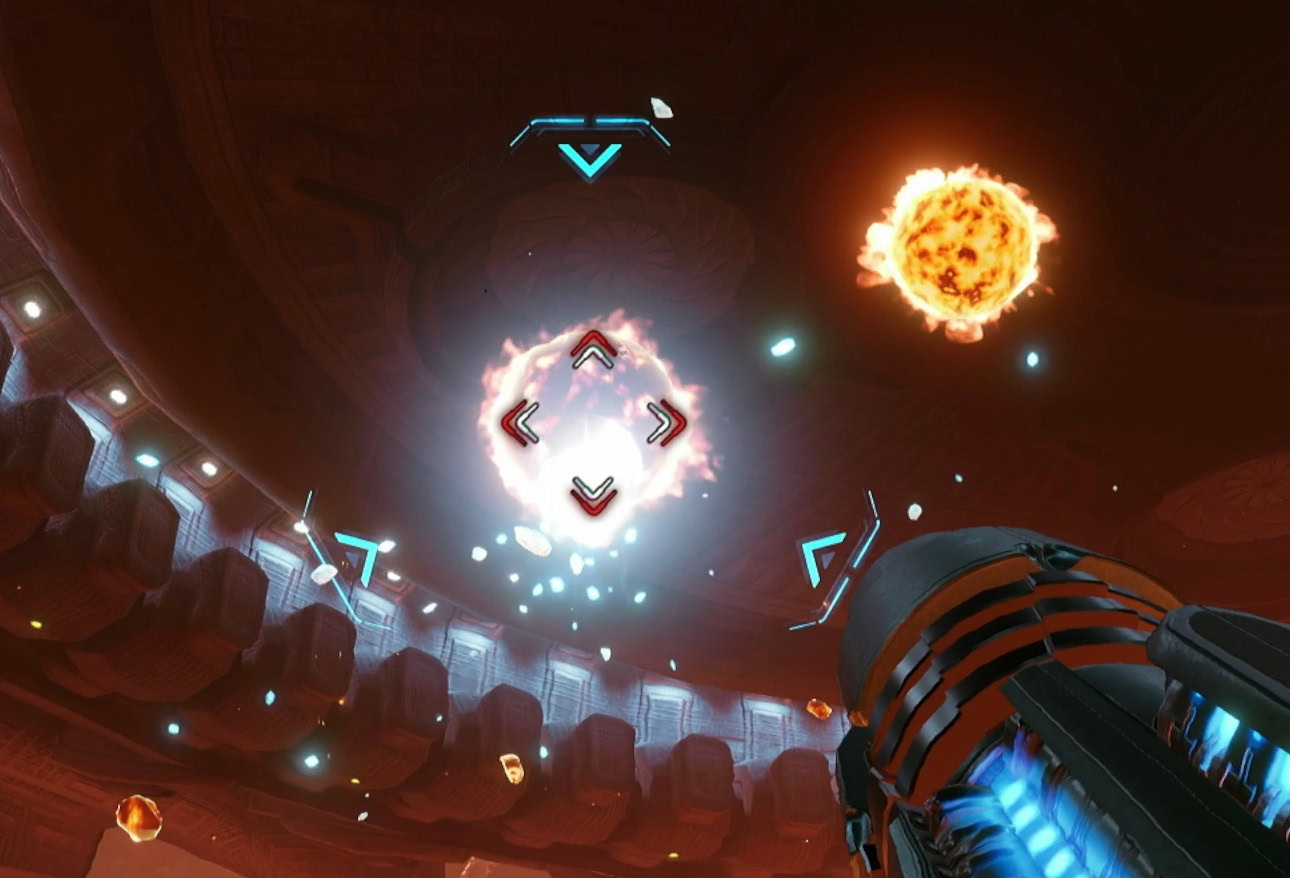
Use your Ice Shot to instantly destroy the fire balls that Phenoros coughs up. These will be your way to gain Energy and help you stay in the fight.
When all of his face growths are destroyed, Phenoros will be stunned with his mouth wide open. Get in as many shots as you can while he’s stunned. When he’s no longer stunned, he’ll return to the lava and pop out with more growths.
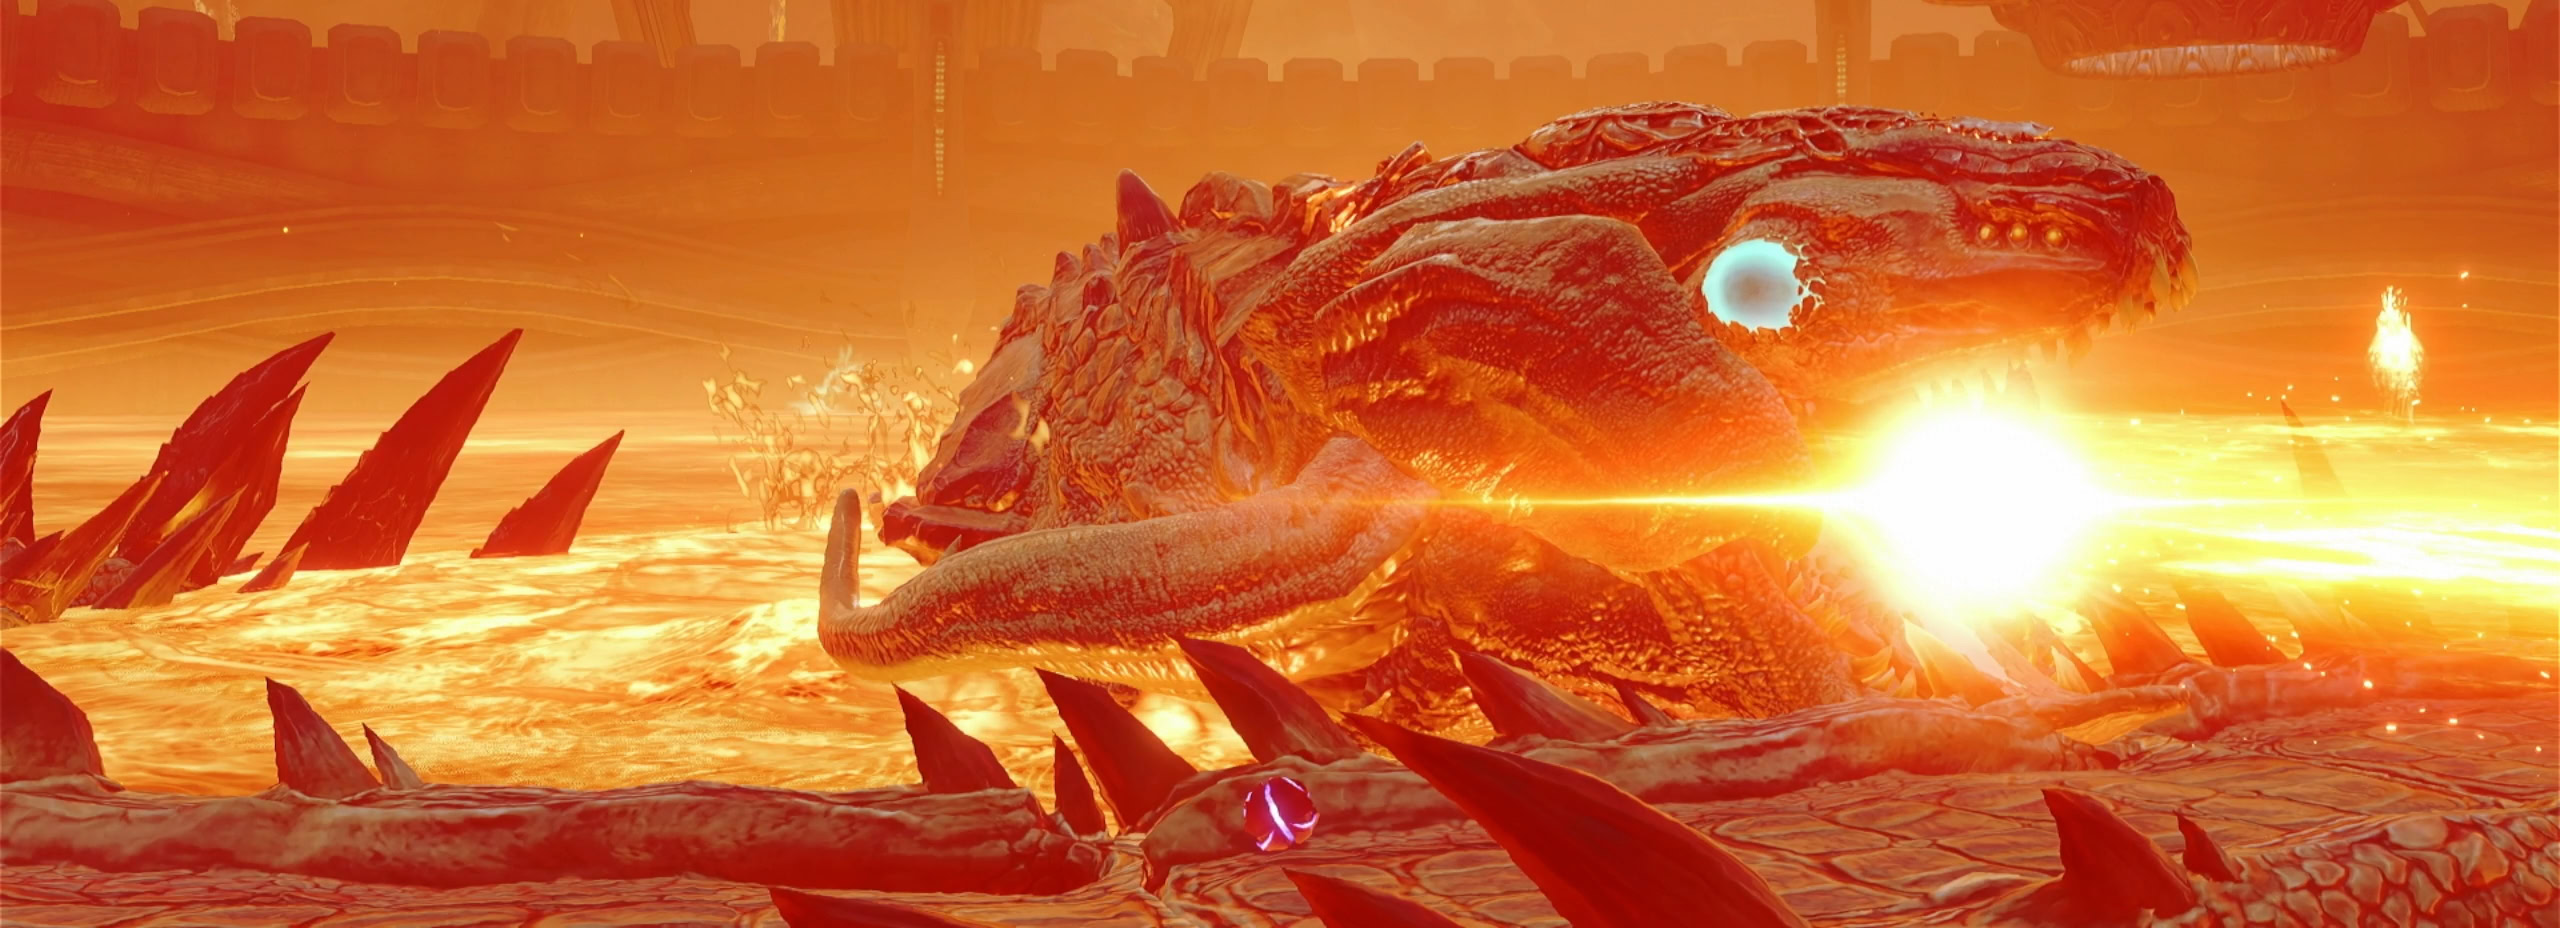
When Phenoros reaches half health, he’ll flare out his hood and expose new growth locations. This also indicates that the fight is going to get even harder as he’ll shoot energy from the growths, make multiple sweeping beam attacks, and make multiple attempts to eat you.
He’ll now use a close range beam attack that’s very hard to dodge. You’re most likely going to have to take the hit and hope you can restore health by destroying fireballs.
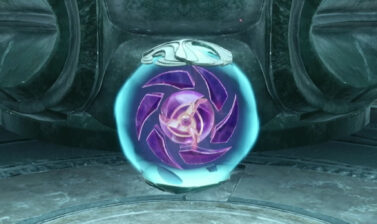
When he gets super low on health, he’ll be incapacitated with his mouth wide open. Use the Control Beam to fire a shot into his mouth and hit the Metroid within to end the fight. Upon his defeat, you’ll earn the Psychic Grapple.
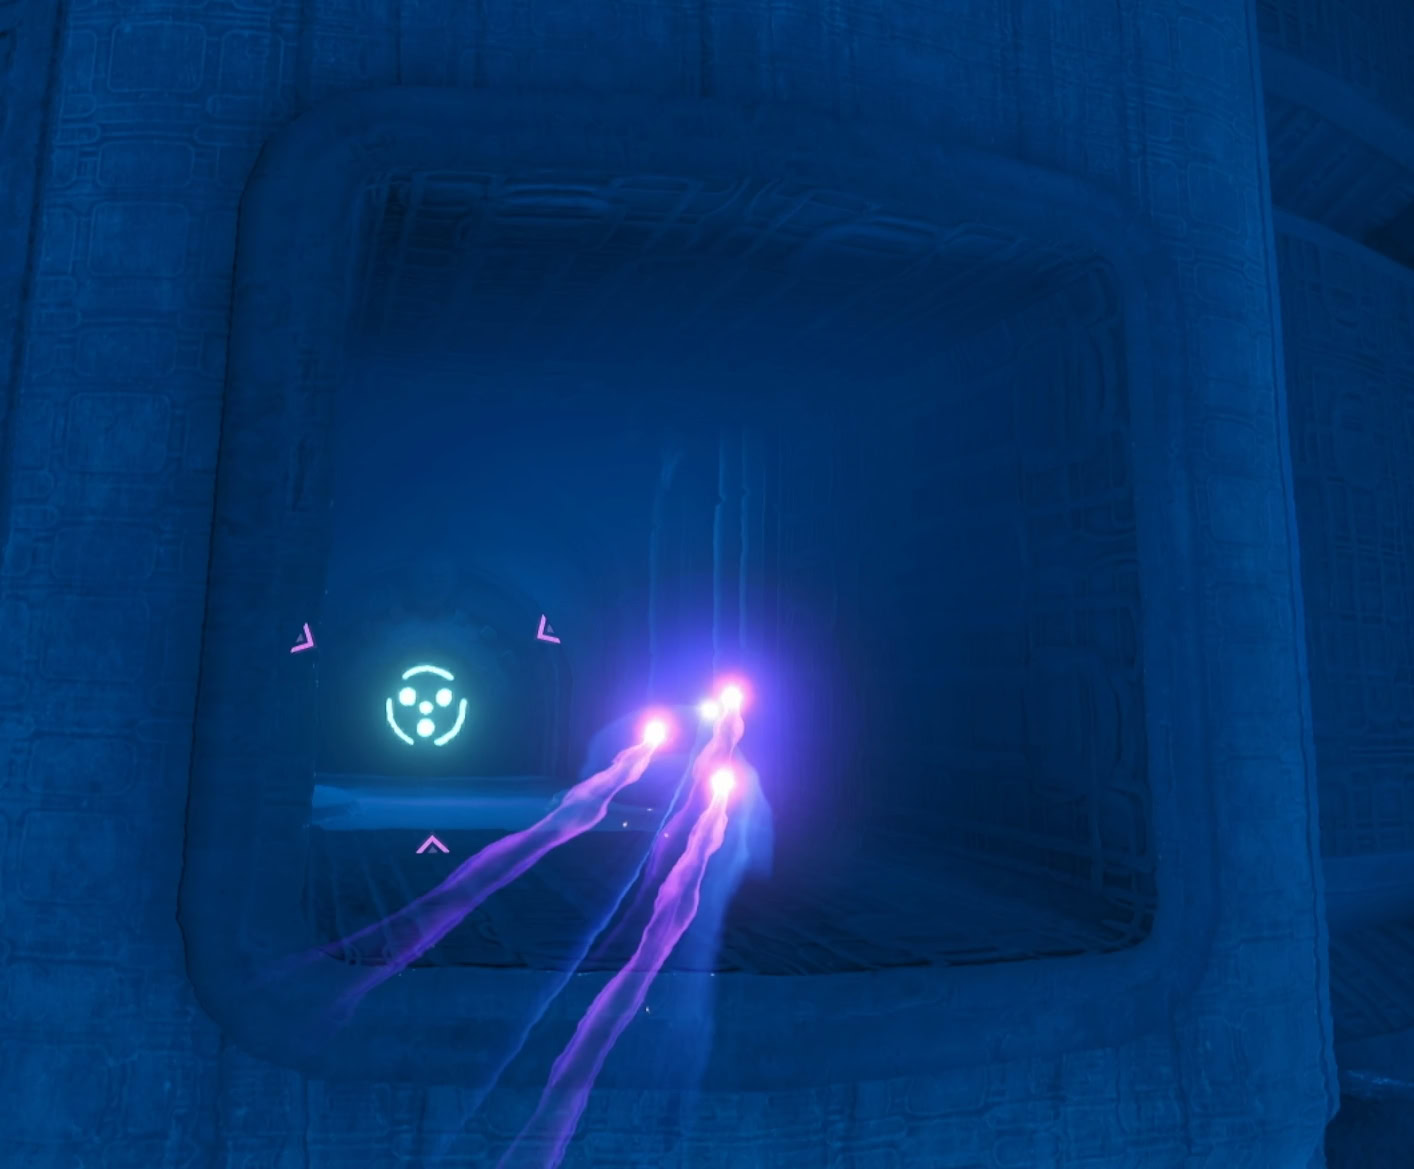
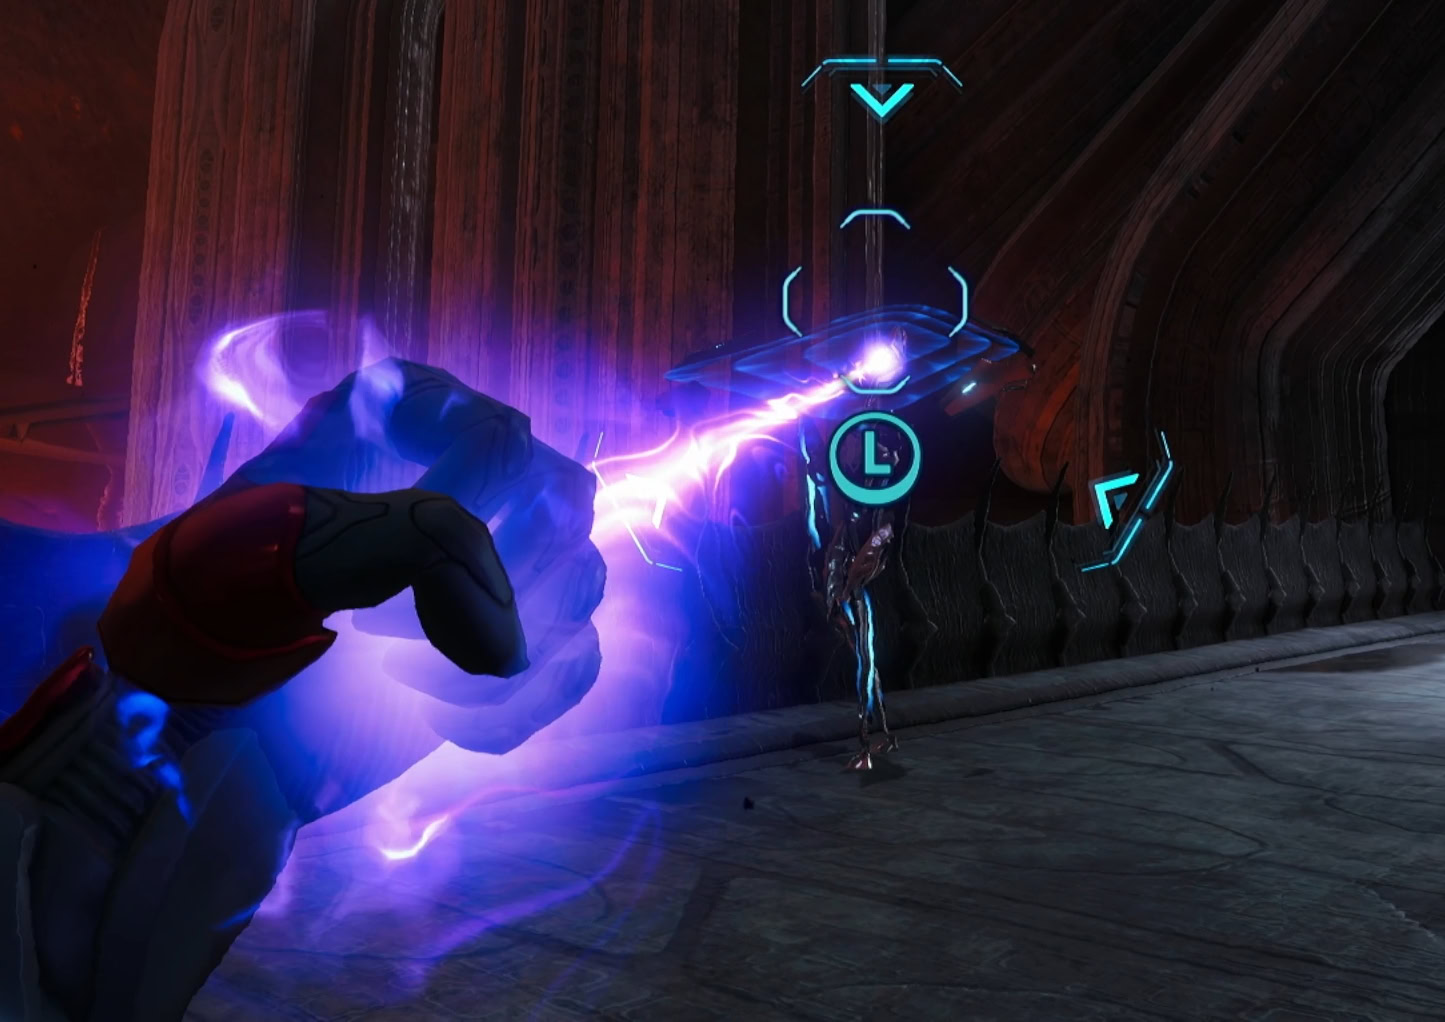
The Psychic Grapple
The Psychic Grapple works similarly to the Psycho Lasso, but it’s primarily used for platforming. You’ll be able to hook onto grapple points to get up ledges, jump off a wall, or swing across a gap.
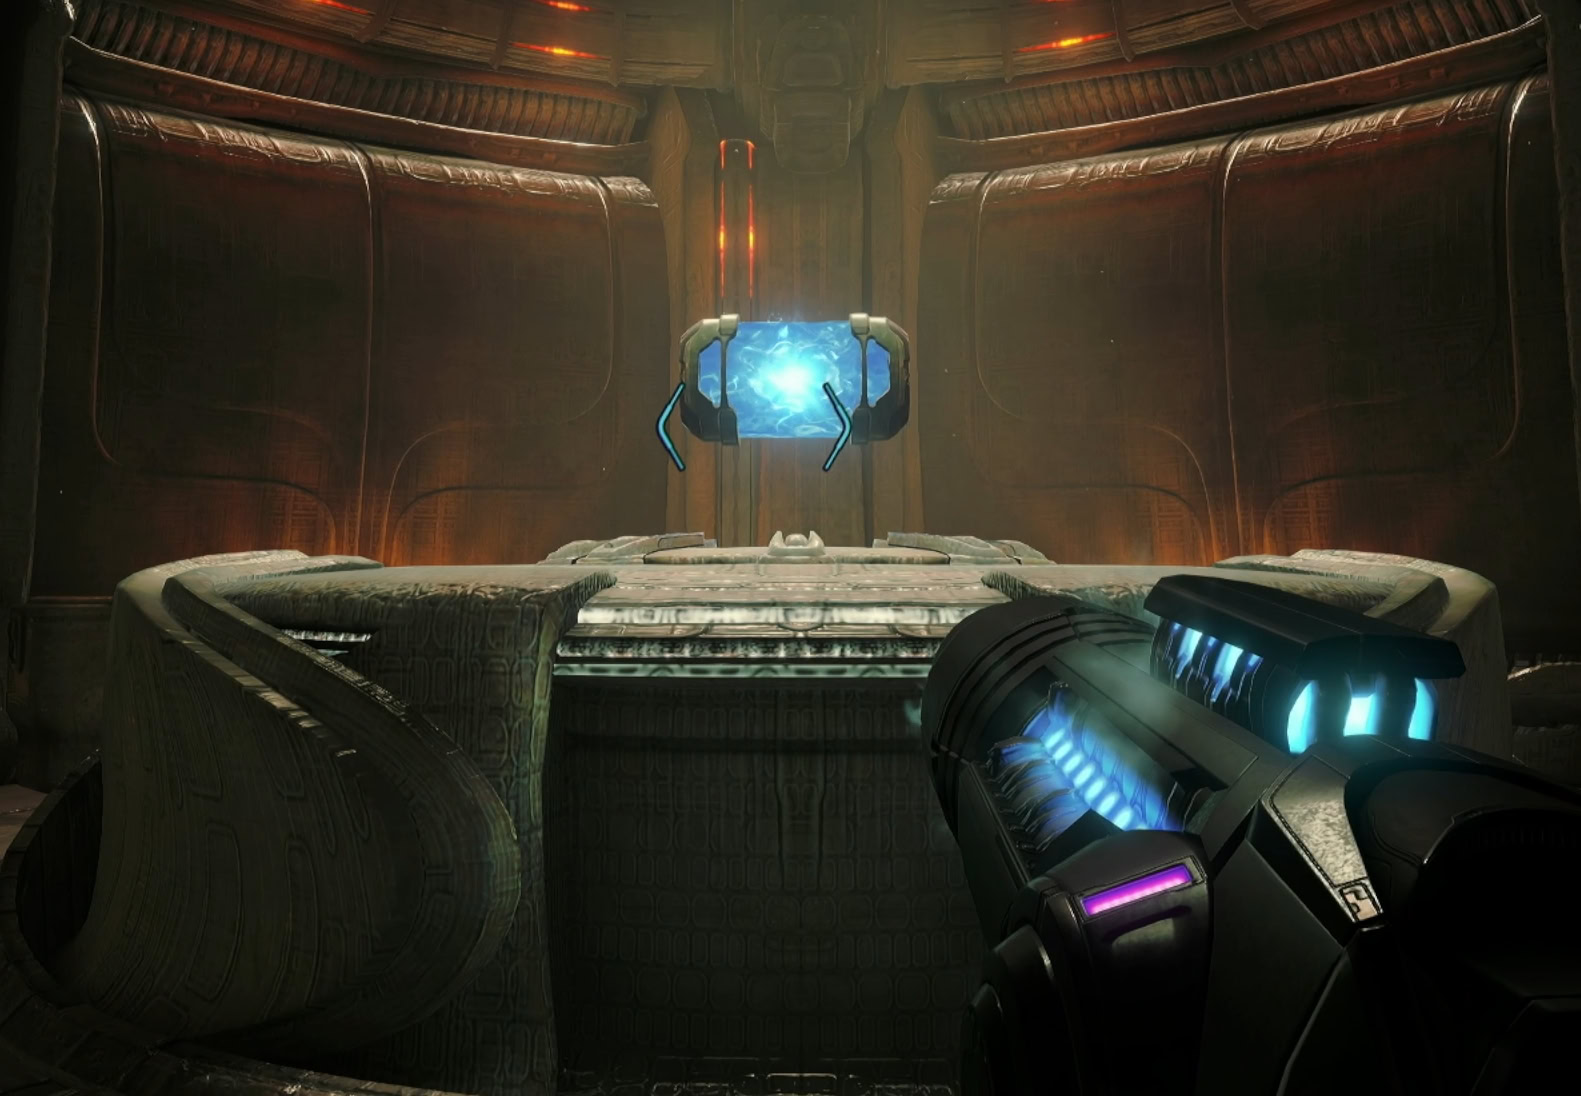
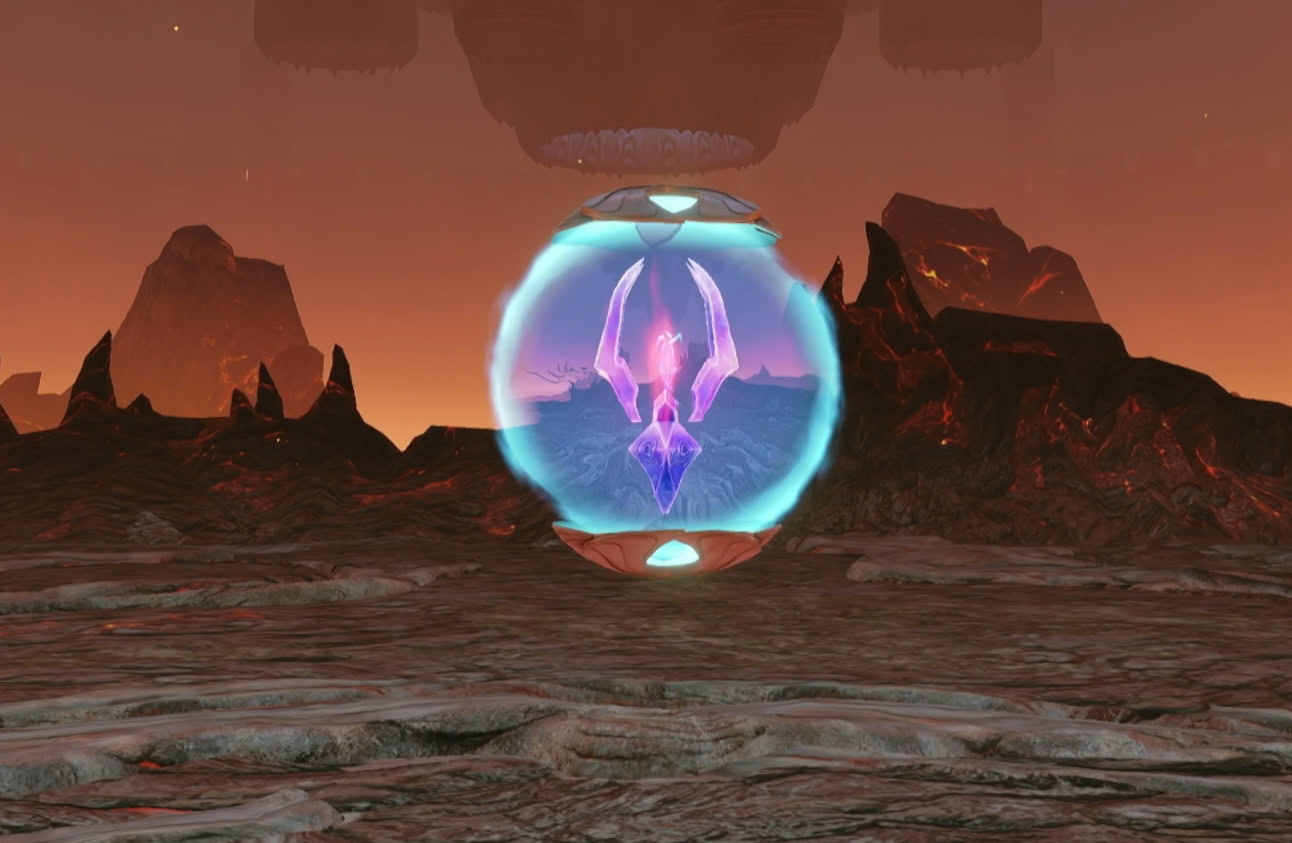
You’ll know you can interact with an object this way if you see the Grapple Node symbol on it. You’ll need to use this to reach the Sacred Shrine floating above.
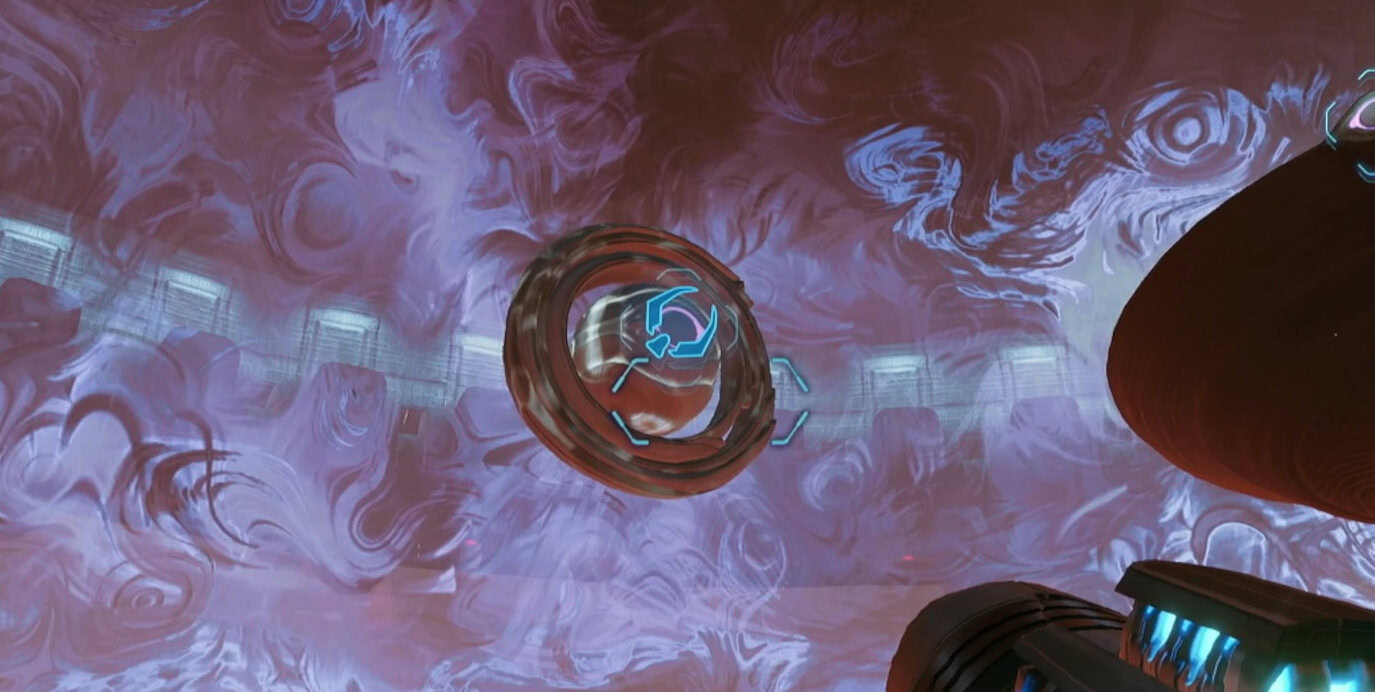
When you’ve reached the Sacred Shrine, stare into the eye of the statue to claim the fourth Master Teleporter Key. When you return to the physical word, don’t jump off the shrine.

The cannon is about to blow and you have 5 minutes to reach the Control Room. Grapple onto the Cannon Lift next to the shrine to reach the Cannon Exhaust room. Blast away the debris and start running down the path, using your grapple to climb up ledges and swing across gaps.
You’ll run into a grapple node is blocked by a protective cap. Pull it off with the Psychic Lasso, swing across, then Morph Ball through the maintenance hatch.
Grapple across the lava until you reach a damaged power cable. Blow it up and Morph Ball into the tunnel. Watch out for the exhaust vents in this tunnel as they’ll take out a massive chunk of health.
When you reach the Control Room, get to the escape pod and activate the nearby console to get Duke and Armstrong out of there. After a cutscene, you’ll be back out in Sol Valley.
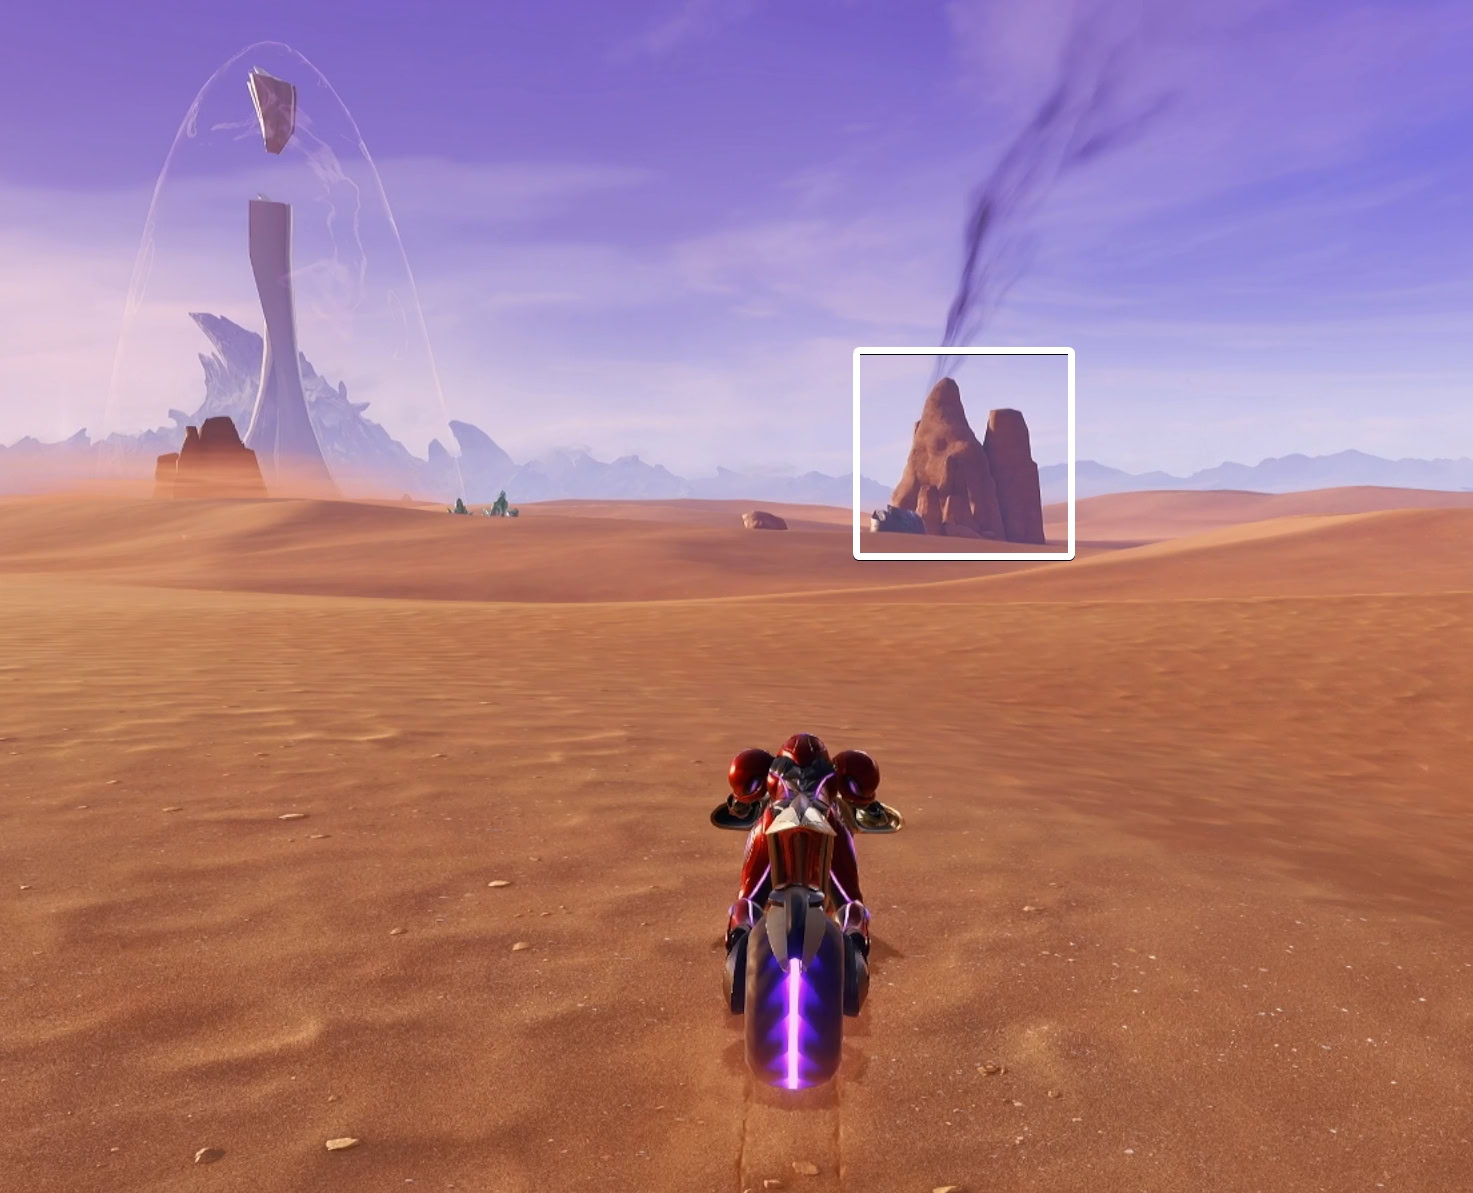
The Teleporter Chip
When you leave the Flare Pool entrance, you’ll see some smoke in the distance. Ride towards it to find Tokabi camping out here. He’ll talk about his family’s history then give you a Teleporter Chip.
You can give this chip to MacKenzie to unlock the Teleporter Patches. These are used to teleport Mech Parts to Base Camp. With six patches available, there will be 6 mech parts you’ll need to find. Until then, you’ll need to return to Volt Forge to find something that can help you reach the next area.