Learn how to find the Great Mines Master Teleporter Key in Metroid Prime 4: Beyond! Includes information on accessing the Great Mines, upgrades you’ll find, and tips on beating the boss.
Acquire the Thunder Chip
Go to Tower 1 in Volt Forge and when you’re in the Showroom, make a left to the elevator. To the right of the elevator is a panel you can rip off with the Psychic Lasso. Use this unlocked Morph Ball Elevator for a shortcut to Tower 1’s Power Generator.
Swing across the Grapple Points and Morph Ball through the tunnel to reach the Manufacturing Floor. Take the east door and use the Grapple Points along the walls to traverse the Collapsed Catwalk. Take the elevator down to the Power Core.
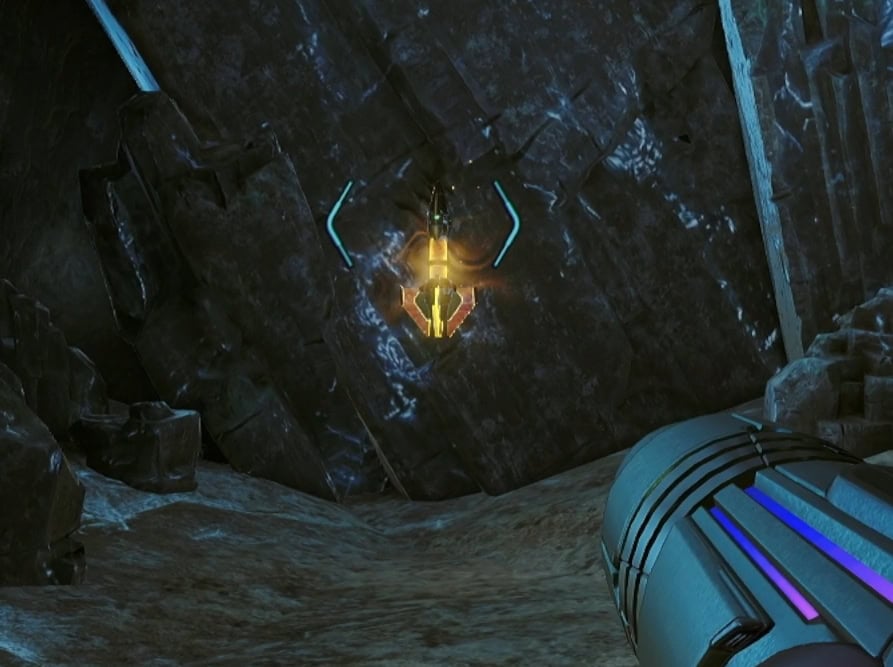
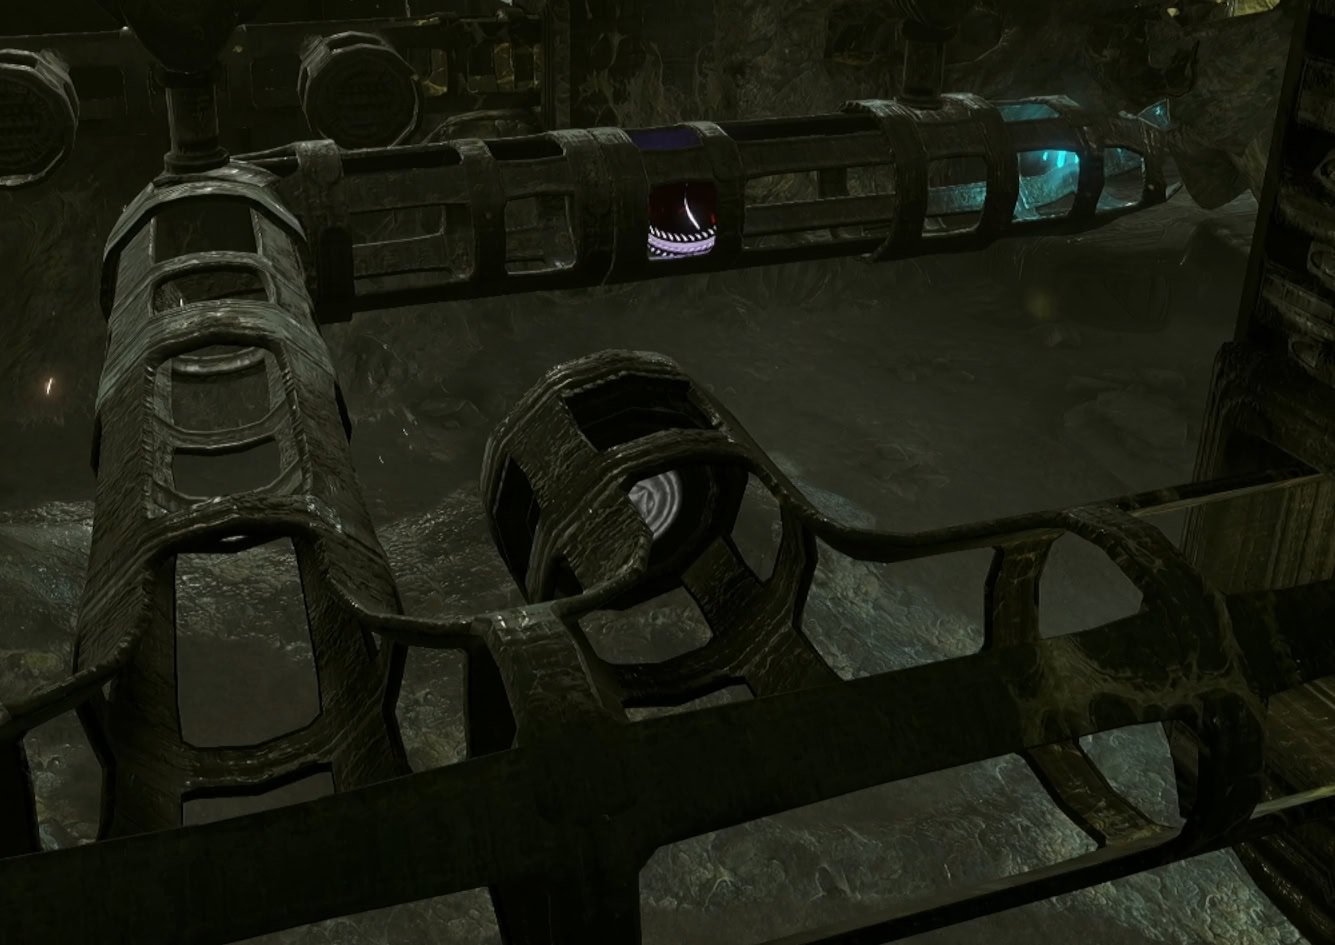
On the left side of the Power Core is a malfunctioning power cell. Pull off its protective cover and interact with the device to retrieve the Thunder Chip.
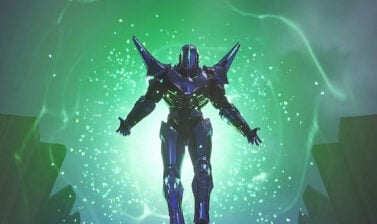
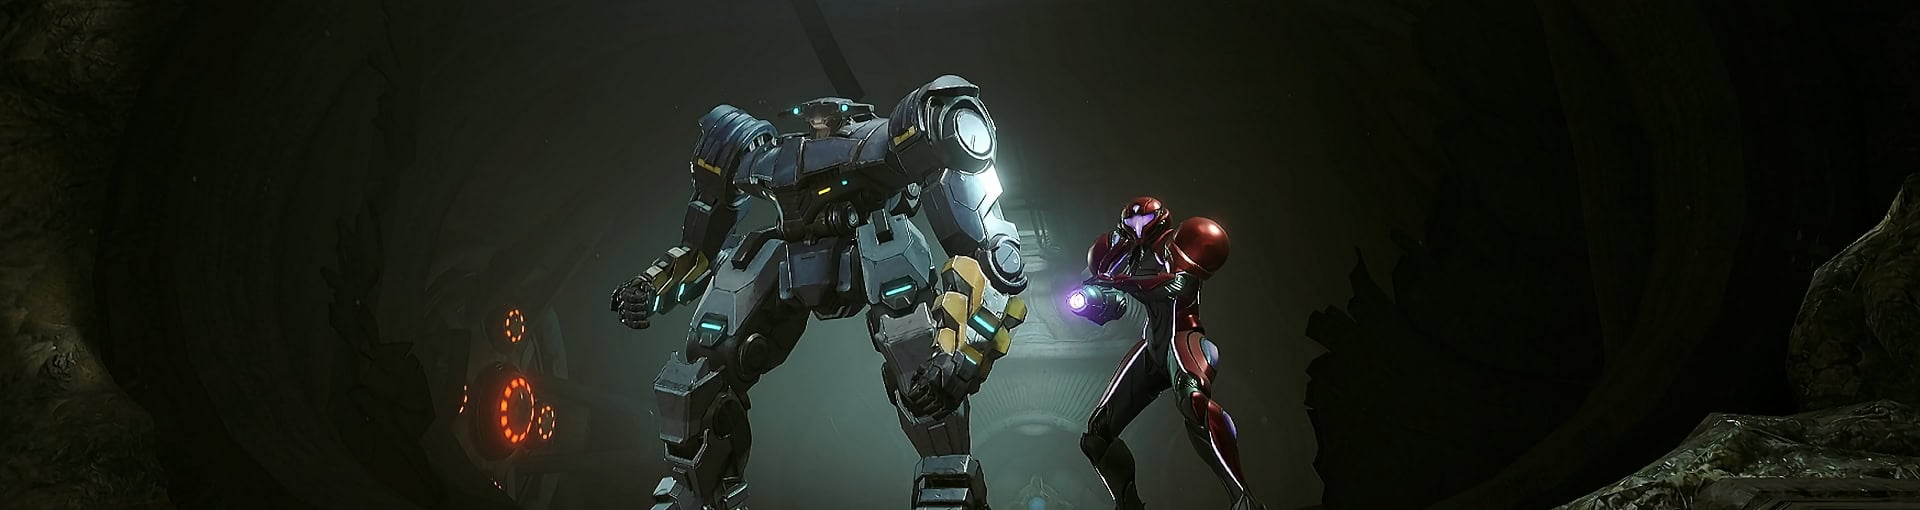
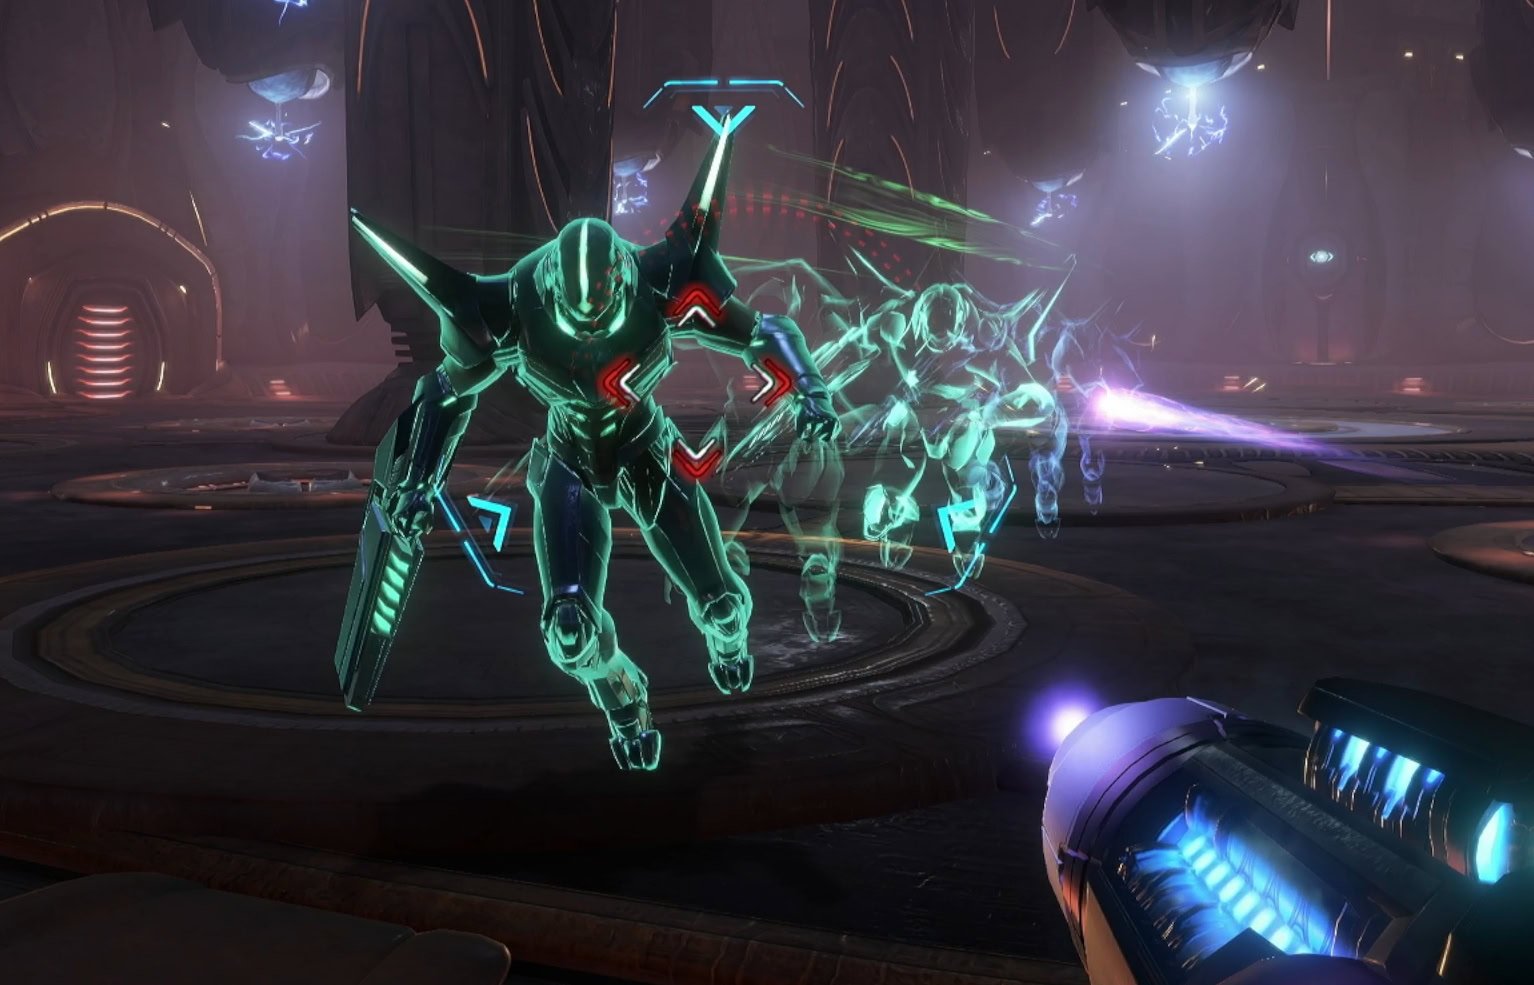
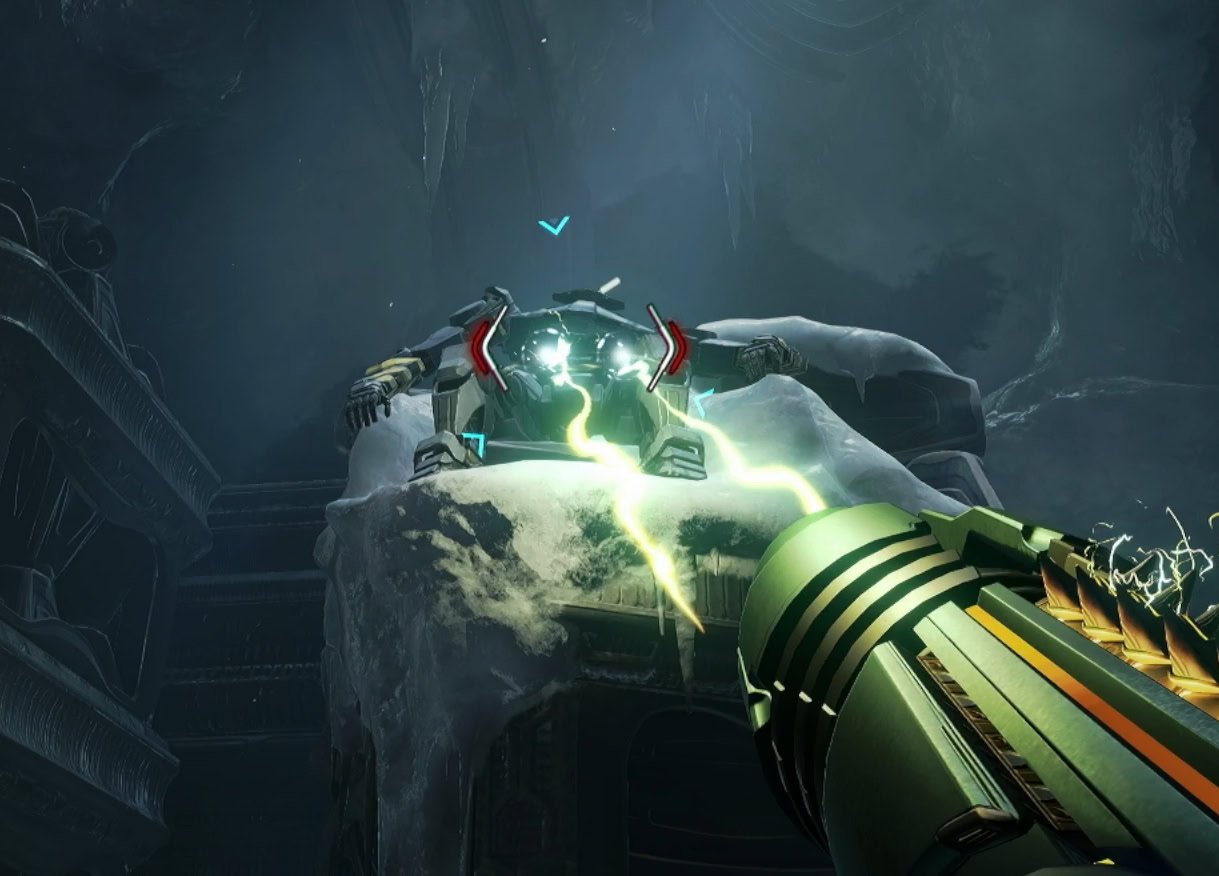
Defeat Sylux
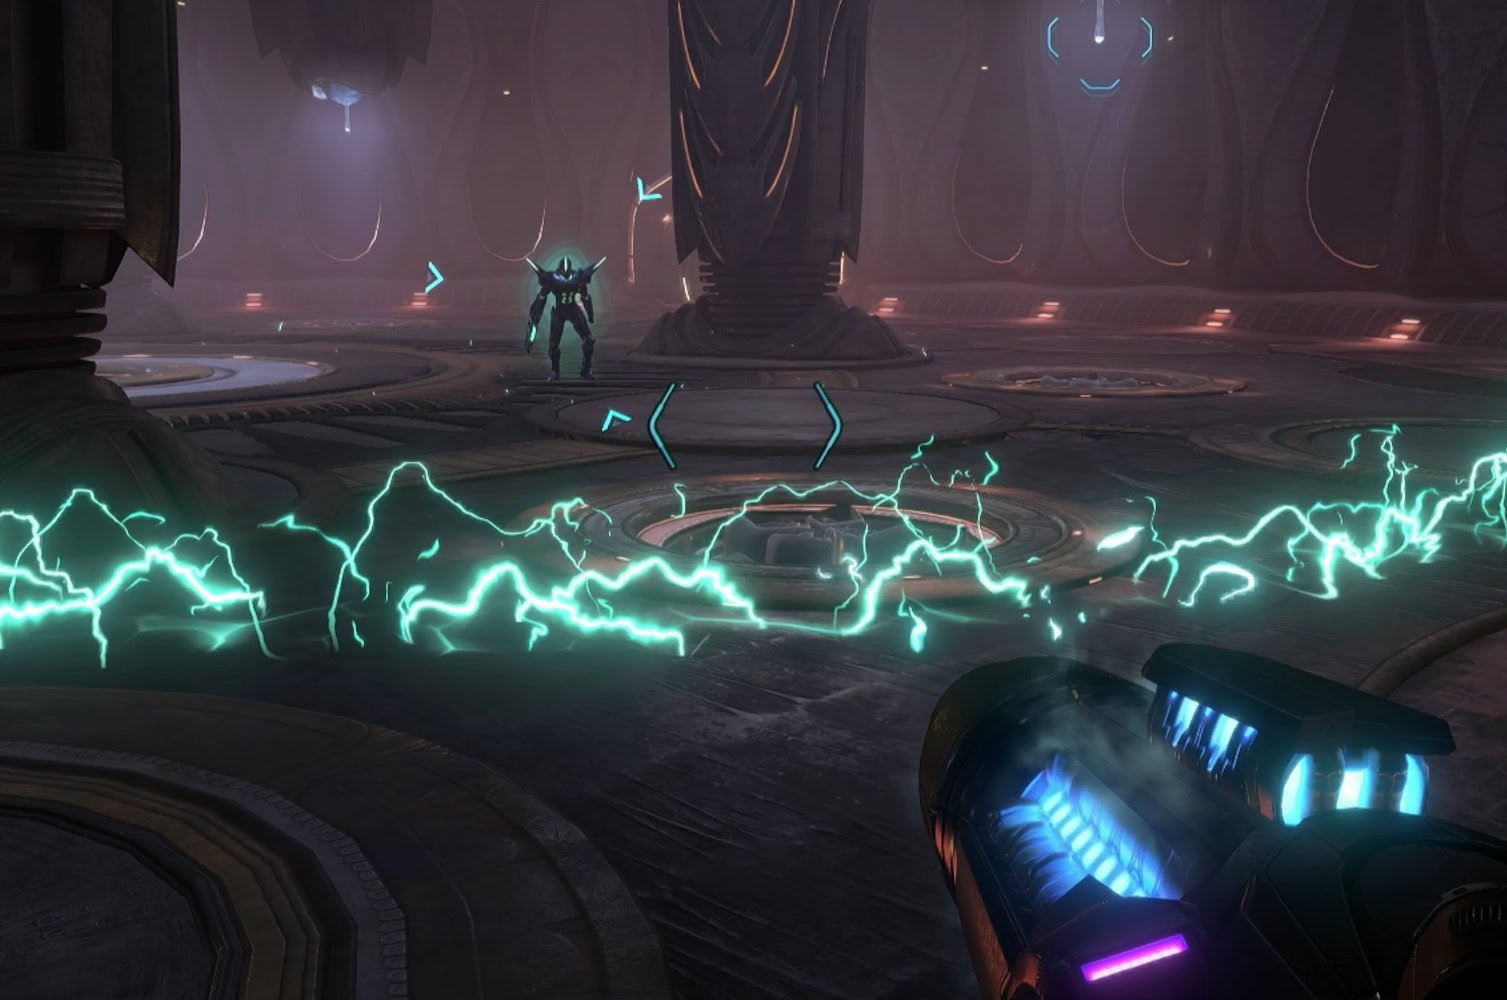
Slyux is back for another fight and he’s much tougher this time around. Just use your Psychic Beam as it’ll offer the best rate of damage for this fight. Along with most of his old tricks, he’ll jump to an area and release an arc of electricity that you’ll need to jump over.
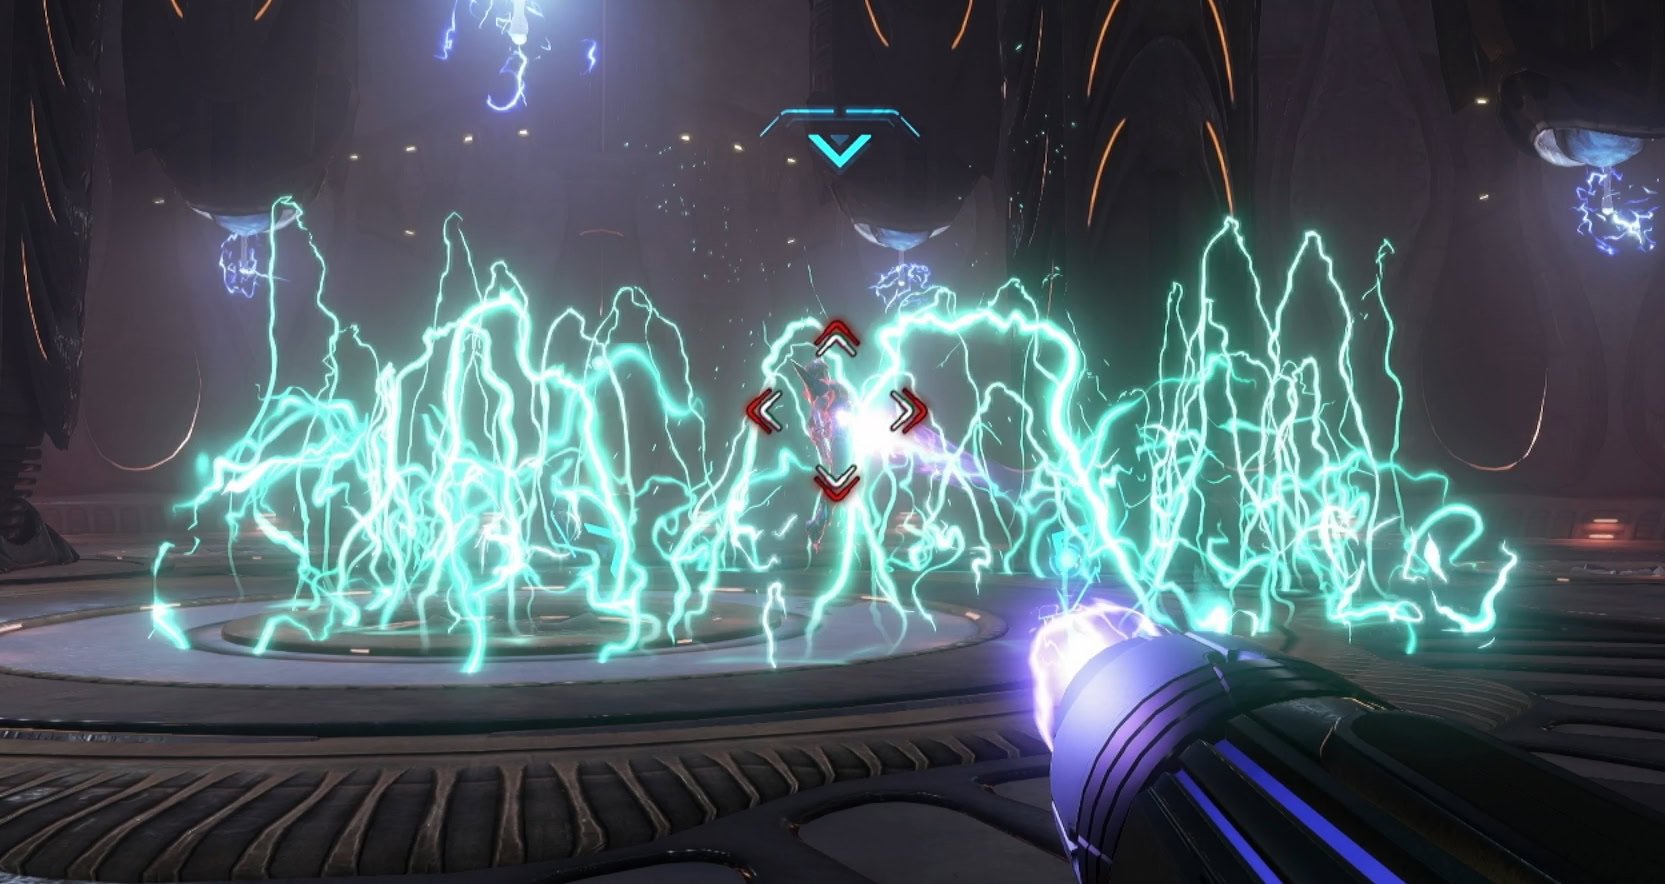
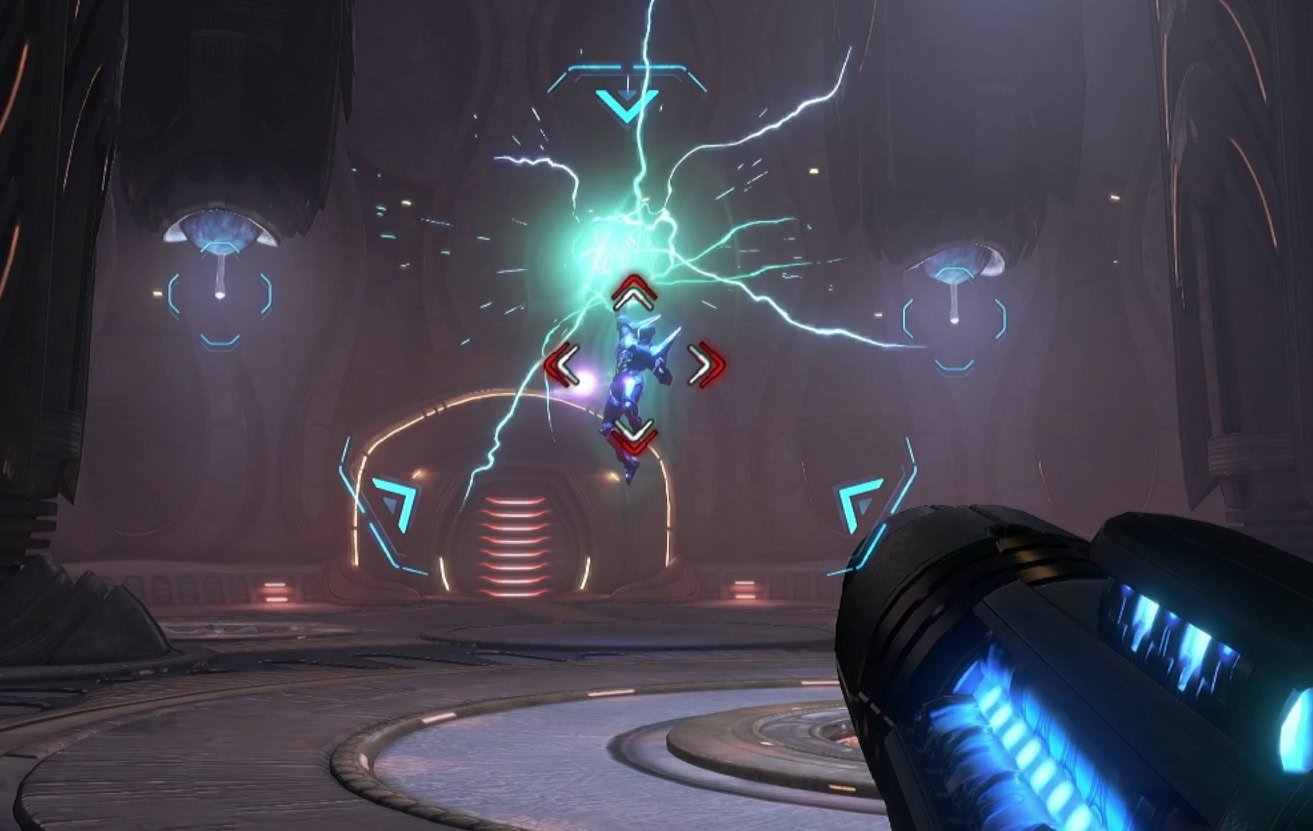
He can make an even taller wall of electricity that you’ll need to double jump over, or use a pillar for cover. This exhausts him and will leave him vulnerable to attack.
His melee charge attack now has him move so fast, you’ll lose your lock on him. Just step backwards and dodge his swing when he’s on top of you.
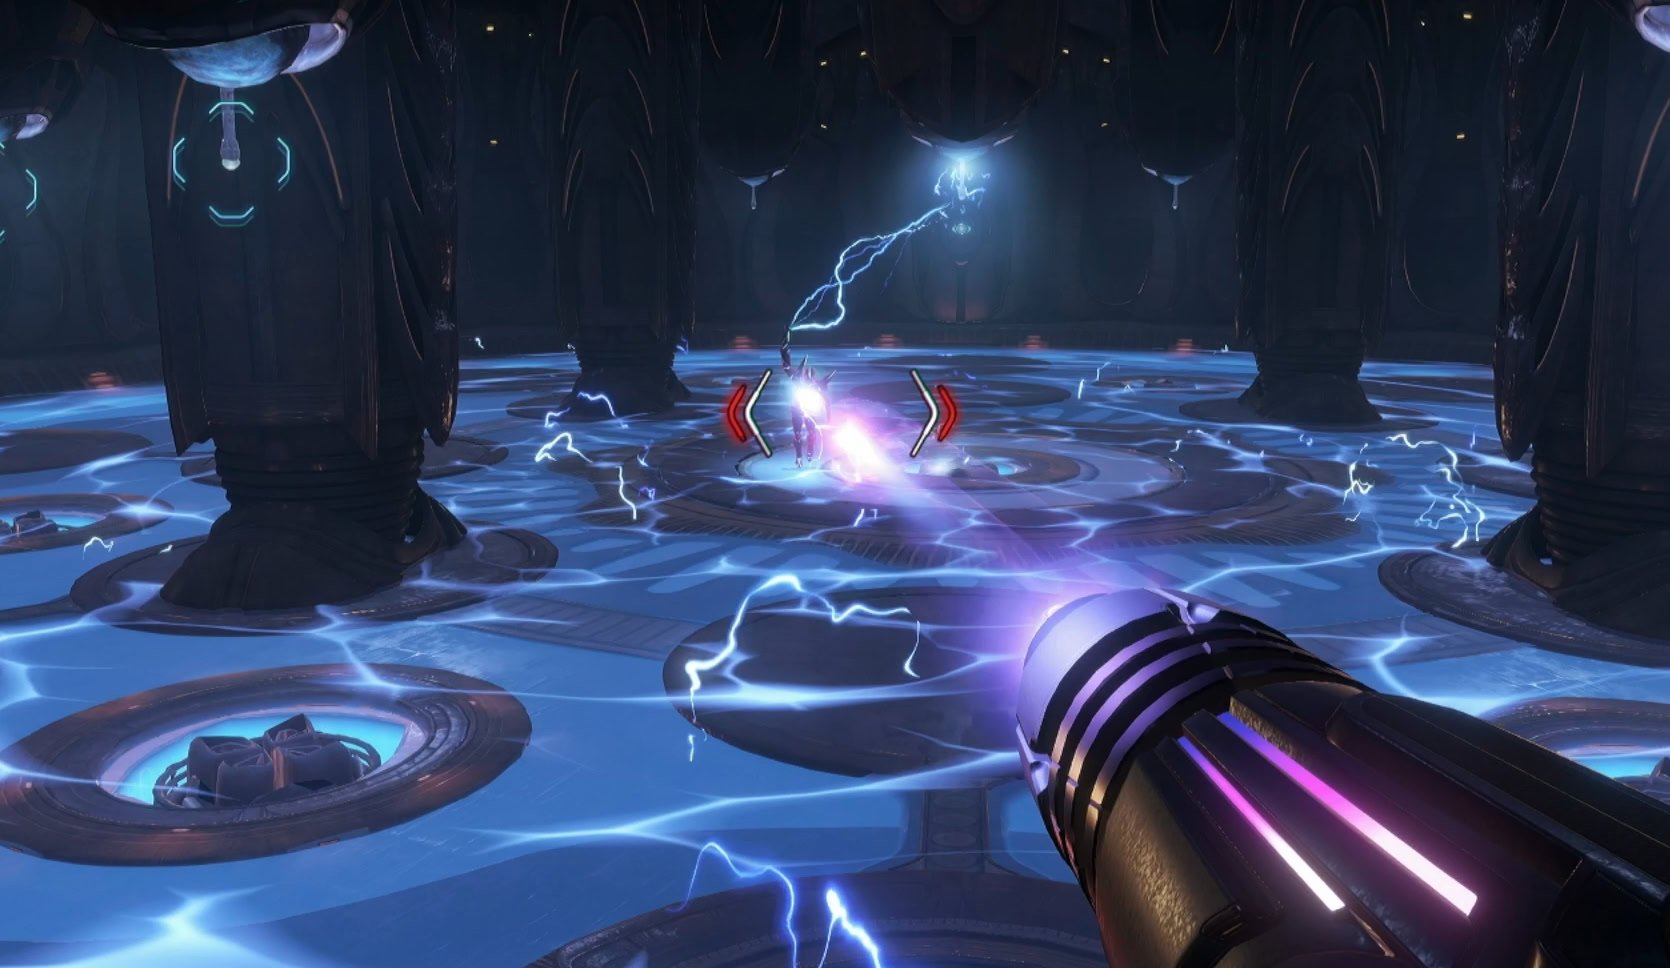
If he starts charging his arm cannon while floating in the air, drop everything you’re doing and get onto a grapple point. He’ll electrify the whole floor and deal serious damage if you’re on it. He’ll walk towards you, electrifying the nearest grapple point.
Either keep swinging around until he stops electrifying the floor, or reach one of the grapple points on the wall so you shoot him until he stops.
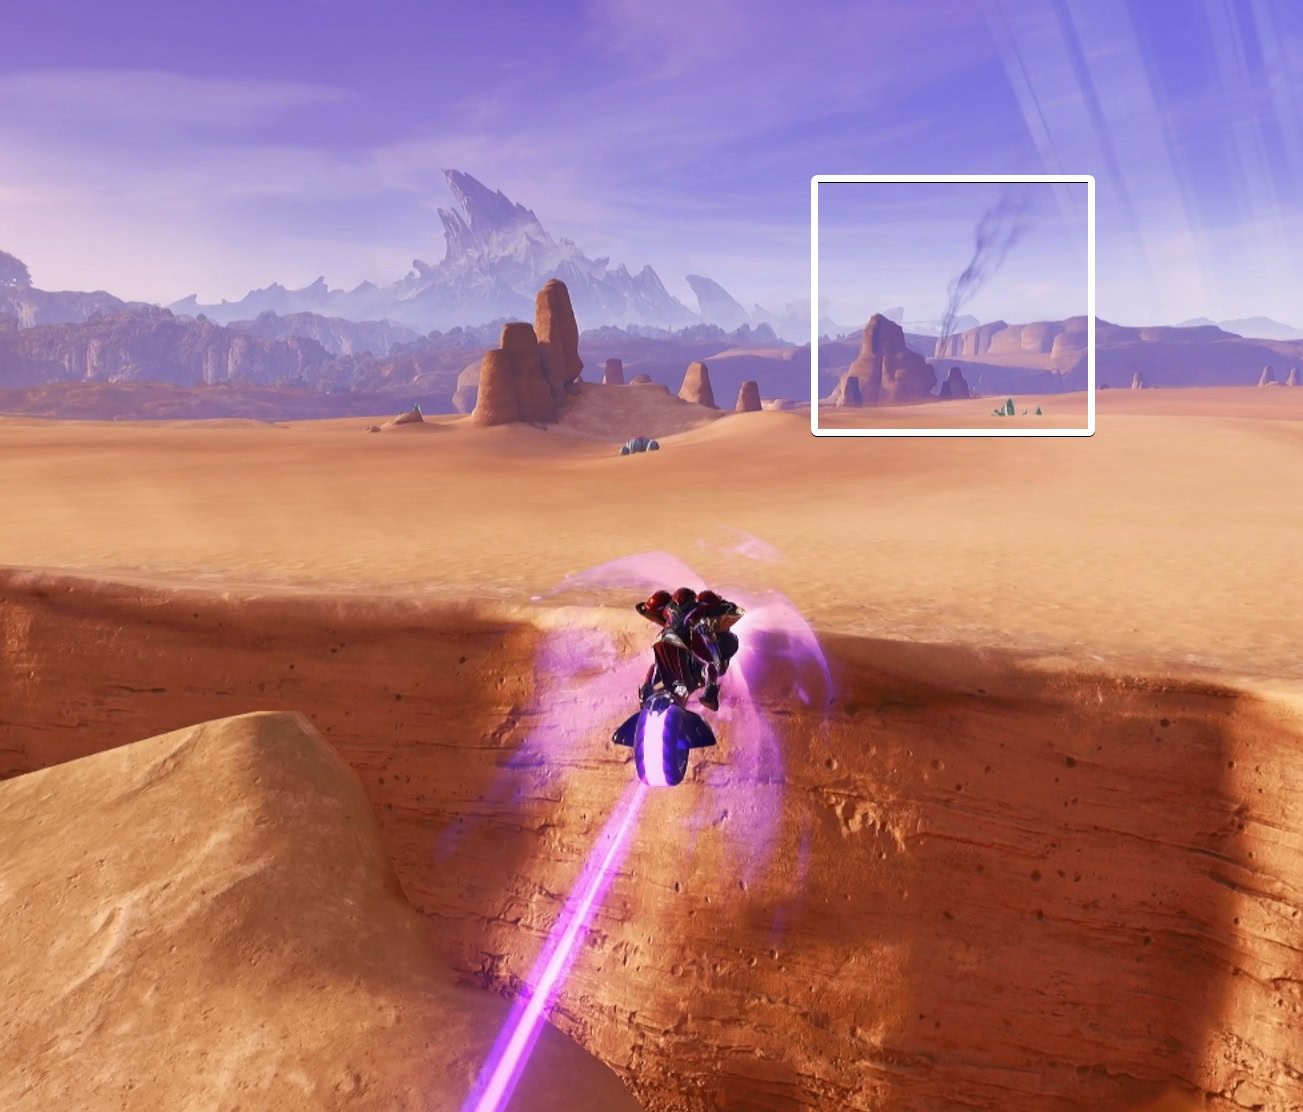
When Sylux is defeated, you’ll be rewarded with an Energy Tank. Return to Fury Green and talk to MacKenzie to unlock the Thunder Shot. On your way back to Fury Green, you’ll see a pillar of smoke to the north. Tokabi has another camp, talk to him for a Missile Expansion.
The Thunder Shot
The Thunder Shot is a subweapon that shoots electricity to shock enemies. It’s also able to power electrical devices. Like the Fire Shot and Ice Shot, it has limited ammo and uses the Shot Ammo pool.
The Thunder Shot has a much better rate of fire than the Fire or Ice Shots. It also has the unique ability to arc between targets. It’s a great weapon for fighting enemies that are clumped up together.
Cargo Staging Area Shot Expansion
In the Cargo Staging Area next to Base Camp is that Lamorn Storage Locker that’s been taunting you for some time. With the Thunder Shot, shoot both ends of it to receive a Shot Expansion.
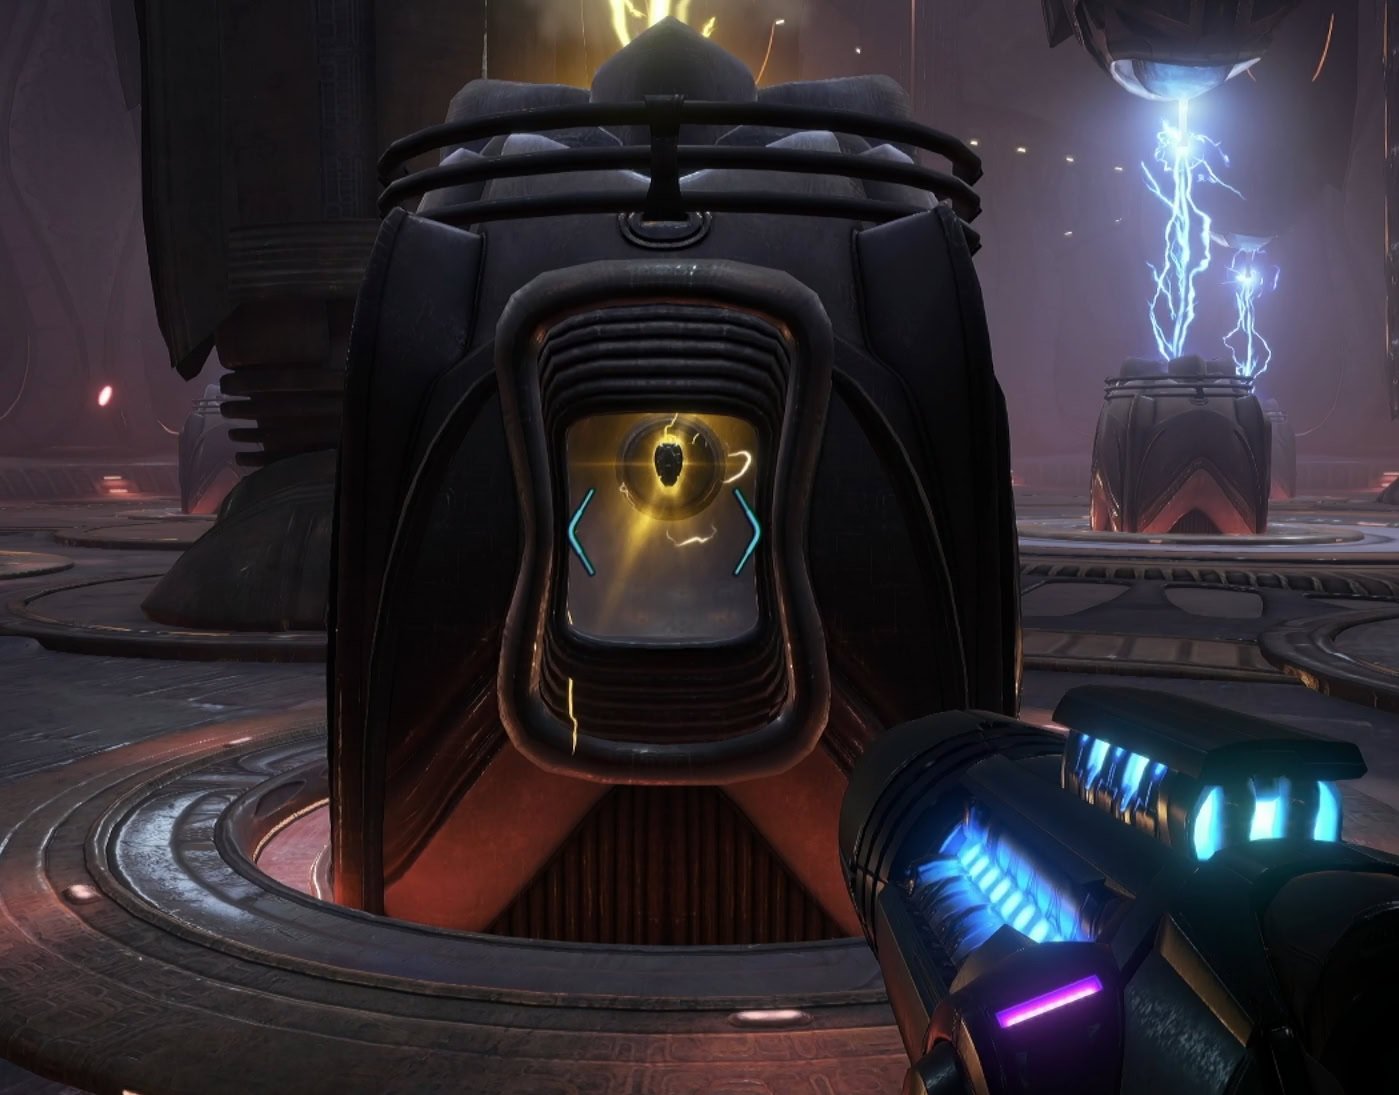
Rods of Transference Shot Expansion
Go to the Sacred Flame Ceremony room and unlock the last door that has a thunder lock. In the Rods of Transference room, you’ll encounter a central statue surrounded by 3 objects made of conductive metal.
Use the center nodes to pull them down, then use the outer nodes to rotate the points towards the statue. Shoot each one with the Thunder Shot to unlock the statue for a Shot Expansion.
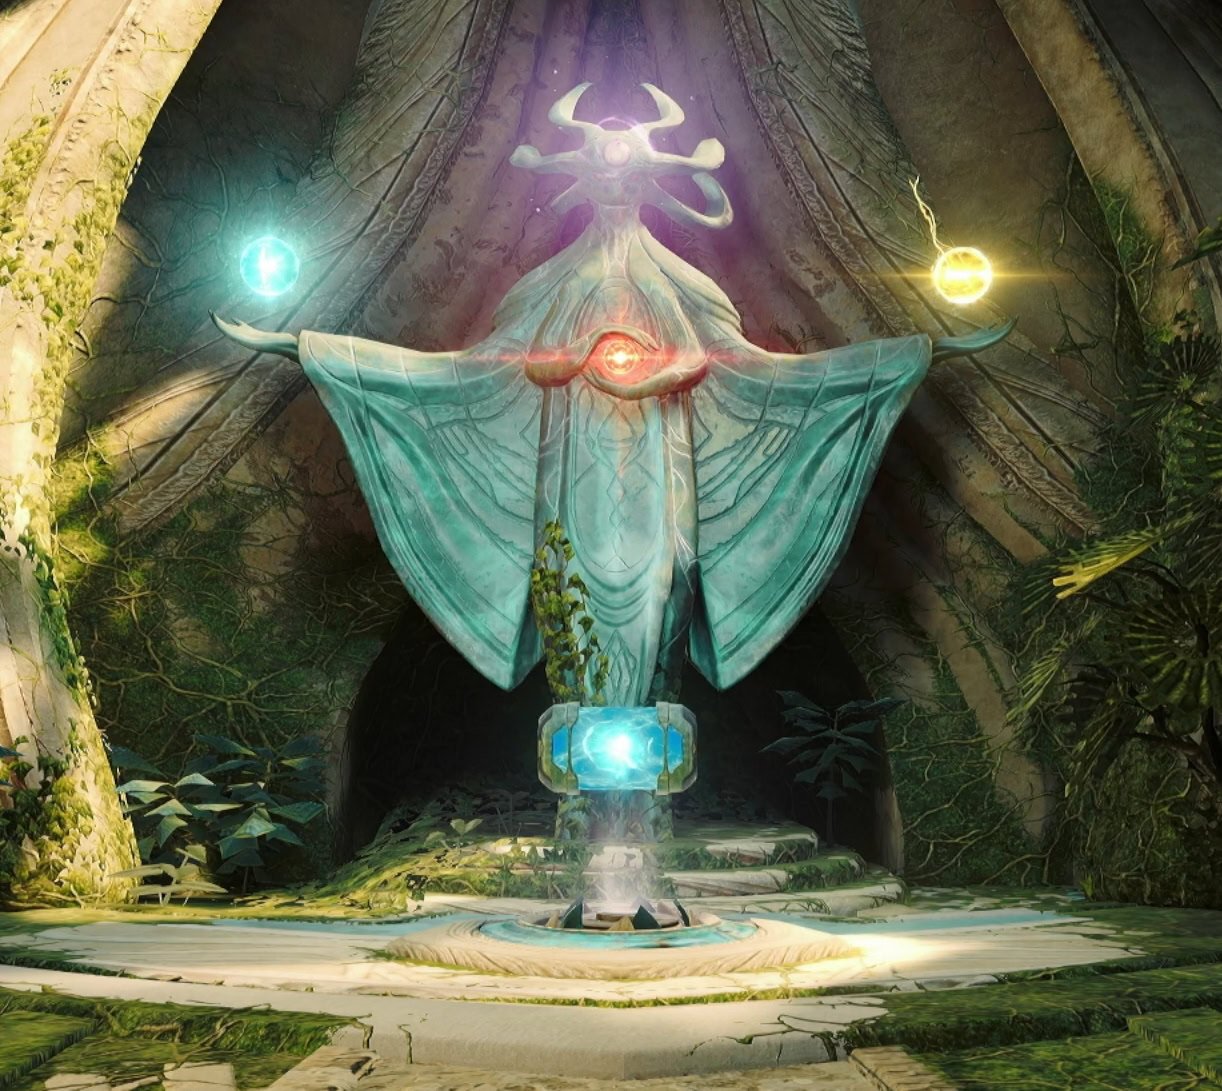
Sacred Flame Ceremony Energy Tank
Assuming you’ve completed the Flame and Ice puzzles in the adjacent rooms, the central statue will have all orbs activated to reveal an Energy Tank. After getting your upgrades, go to Ice Belt.
Acquire the Psychic Spider Ball
When you reach the Lobby of the Lamorn Laboratory, open the thunder lock on the east door of the upper level. Take the right path in the hallway into the Equipment Storage.
Clear the crates blocking the maintenance hatch. Morph Ball inside then jump up into the tunnel above. When you’re in the storage room, look up and to the right, then shoot the android, VUE-995 (henceforth referred to as VUE).
This battle android has immense strength that you’ll need. To command him to break something, scan it while you’re near him. Scan the door leading out and he’ll break the path open.
Bring him to the large Lamorn lock in the hall, scan it, and enter the Cliffside area. Scan the window to your right to have VUE shatter it, then blast it open. Swing across the Grapple Points to access the Ancient Temple.
Don’t let go of grapple while the wind blows, otherwise you’ll be pushed off into the depths below. You won’t die and get a game over, you’ll just respawn and lose a small chunk of health.
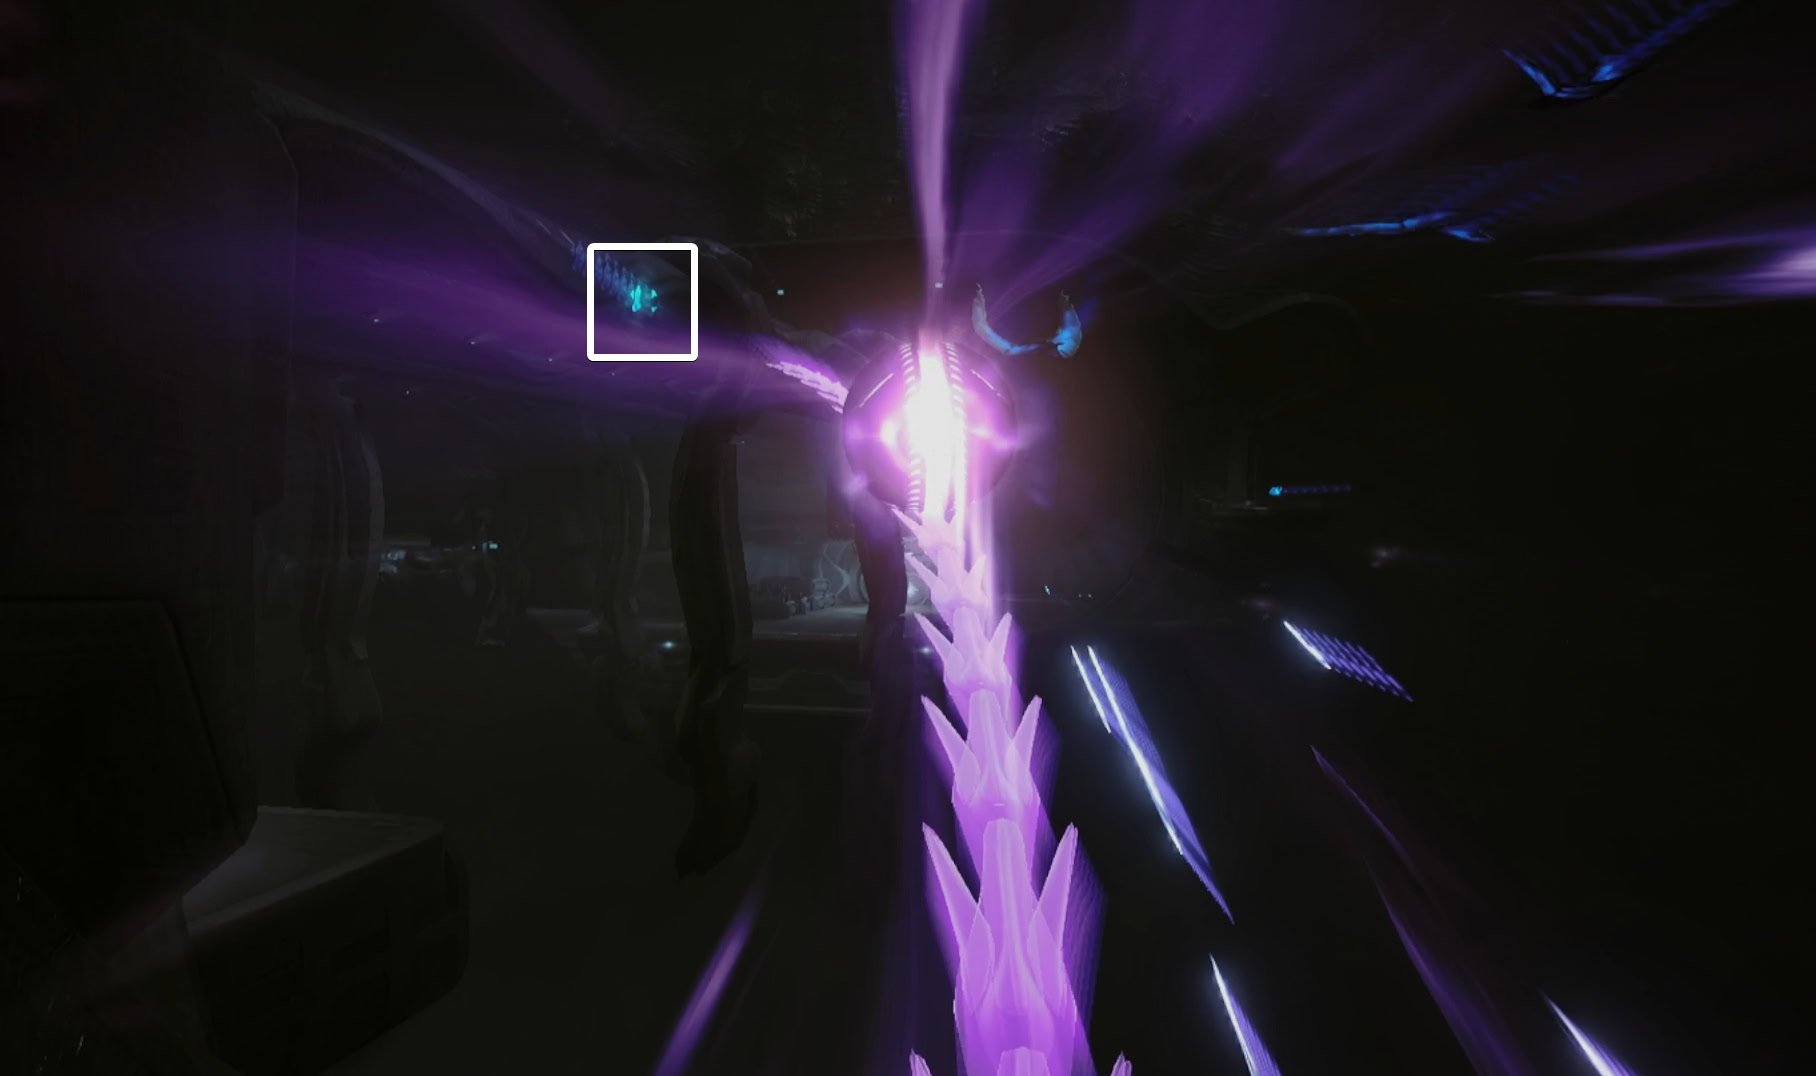
Melt the ice at the entrance and in the Ancient Lift. Inside the temple is a statue with two mote sockets at its base. Melt the ice encasing the statues with a purple light, and place their motes into the sockets to unlock the Psychic Spider Ball.
Read our dedicated guide explaining step-by-step how to get the Psychic Spider Ball and utilize its potential in various situations and puzzles.
How to get the Psychic Spider Ball and how to use it: Full GuideOnce you have it, roll up the vertical psychic spider tracks and bomb up to the horizontal track. Roll back to the entrance and manifest the Psychic Tether Nodes to get up the shaft. With both of these major upgrades acquired, you can now enter the Great Mines. Go to the northeast of the Sol Valley map to meet up with your team.
Great Mines Level 1
The path ahead is inaccessible as the bridge is retracted. You’ll need to get across to activate it but first, there’s a Missile Upgrade at the start of this room.
Main Shaft – Level 1 Missile Expansion
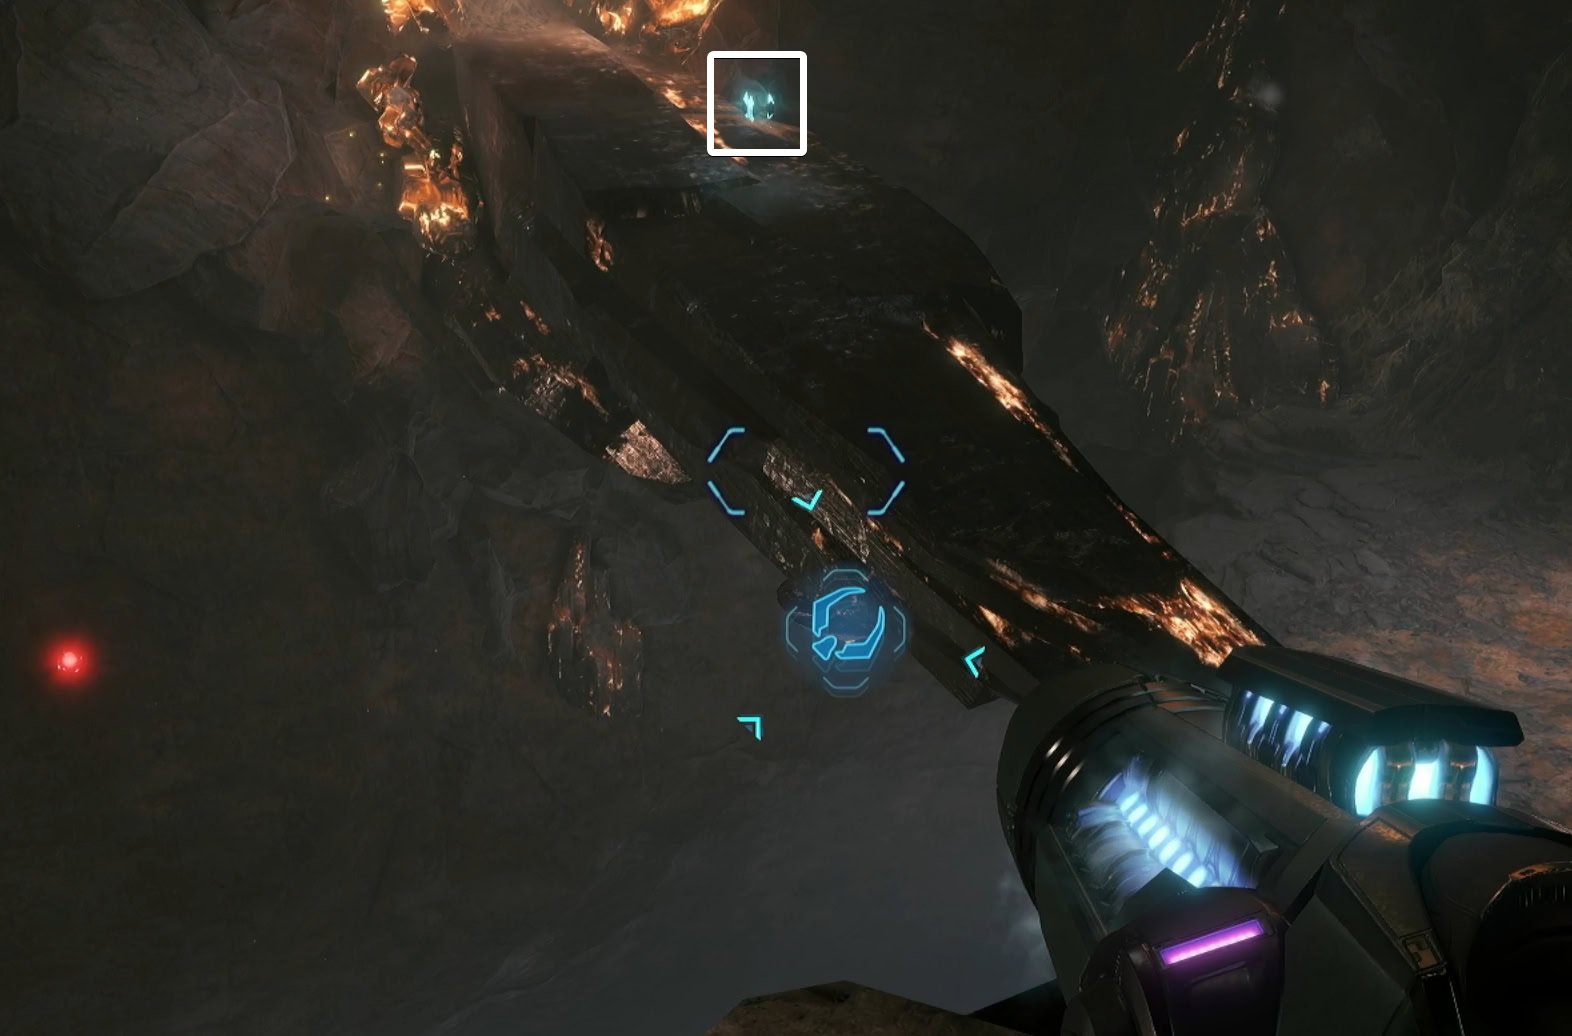
Go south on the platform you’ve started on. Go up the spider tracks, then follow the path north. Jump across the gap, jump down below, then jump across the gap ahead to find a Missile Expansion at the end of some spider tracks.
Activate the Bridge
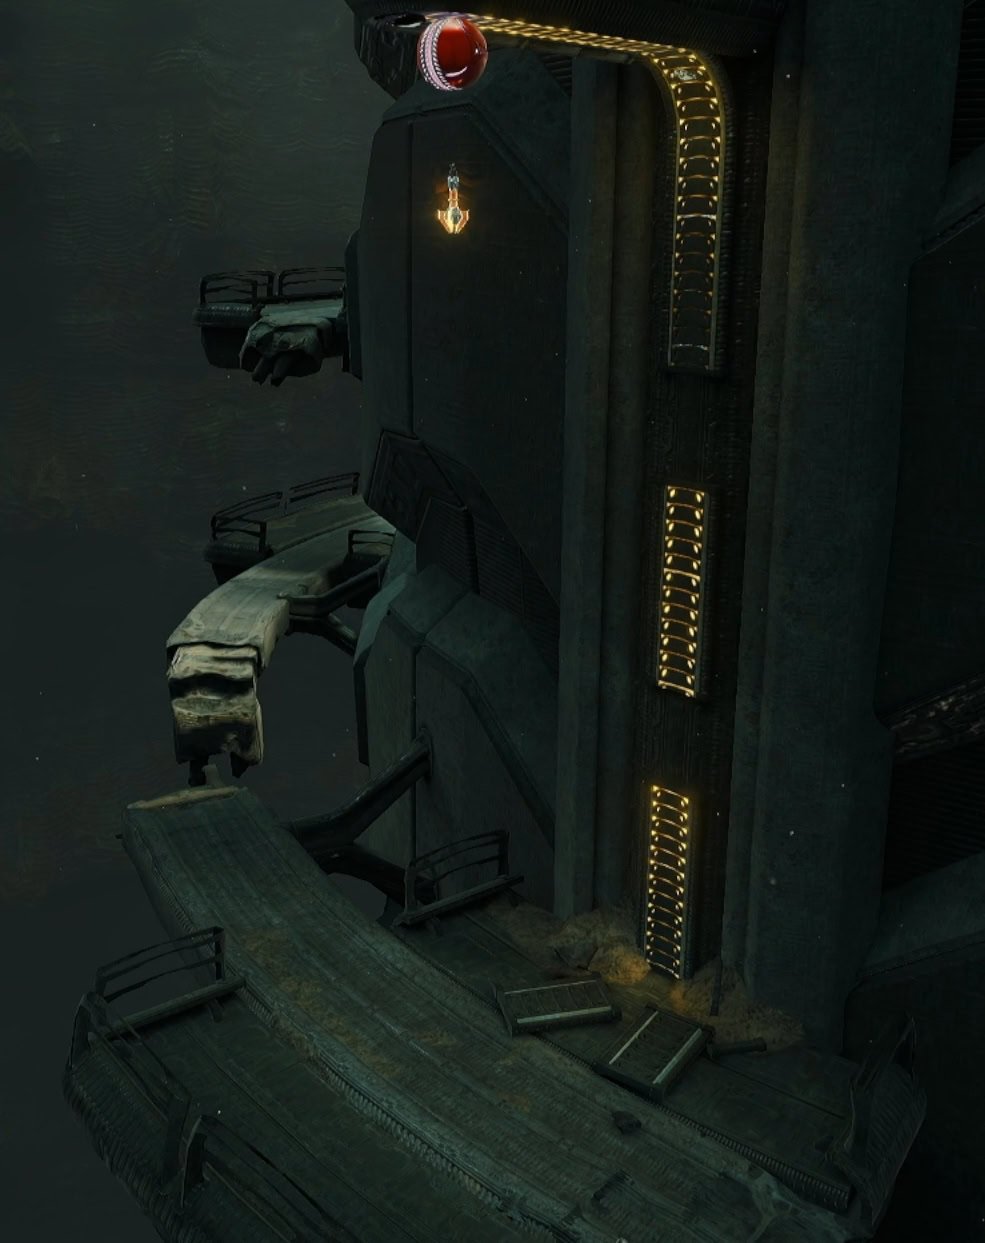
Return to the upper level and use the spider tracks that go across the bridge and start following them. To get across the gaps between rails. fully charge the Boost Ball then release to launch yourself. On the other side of the bridge, use the Spinner to get Duke and Armstrong across.
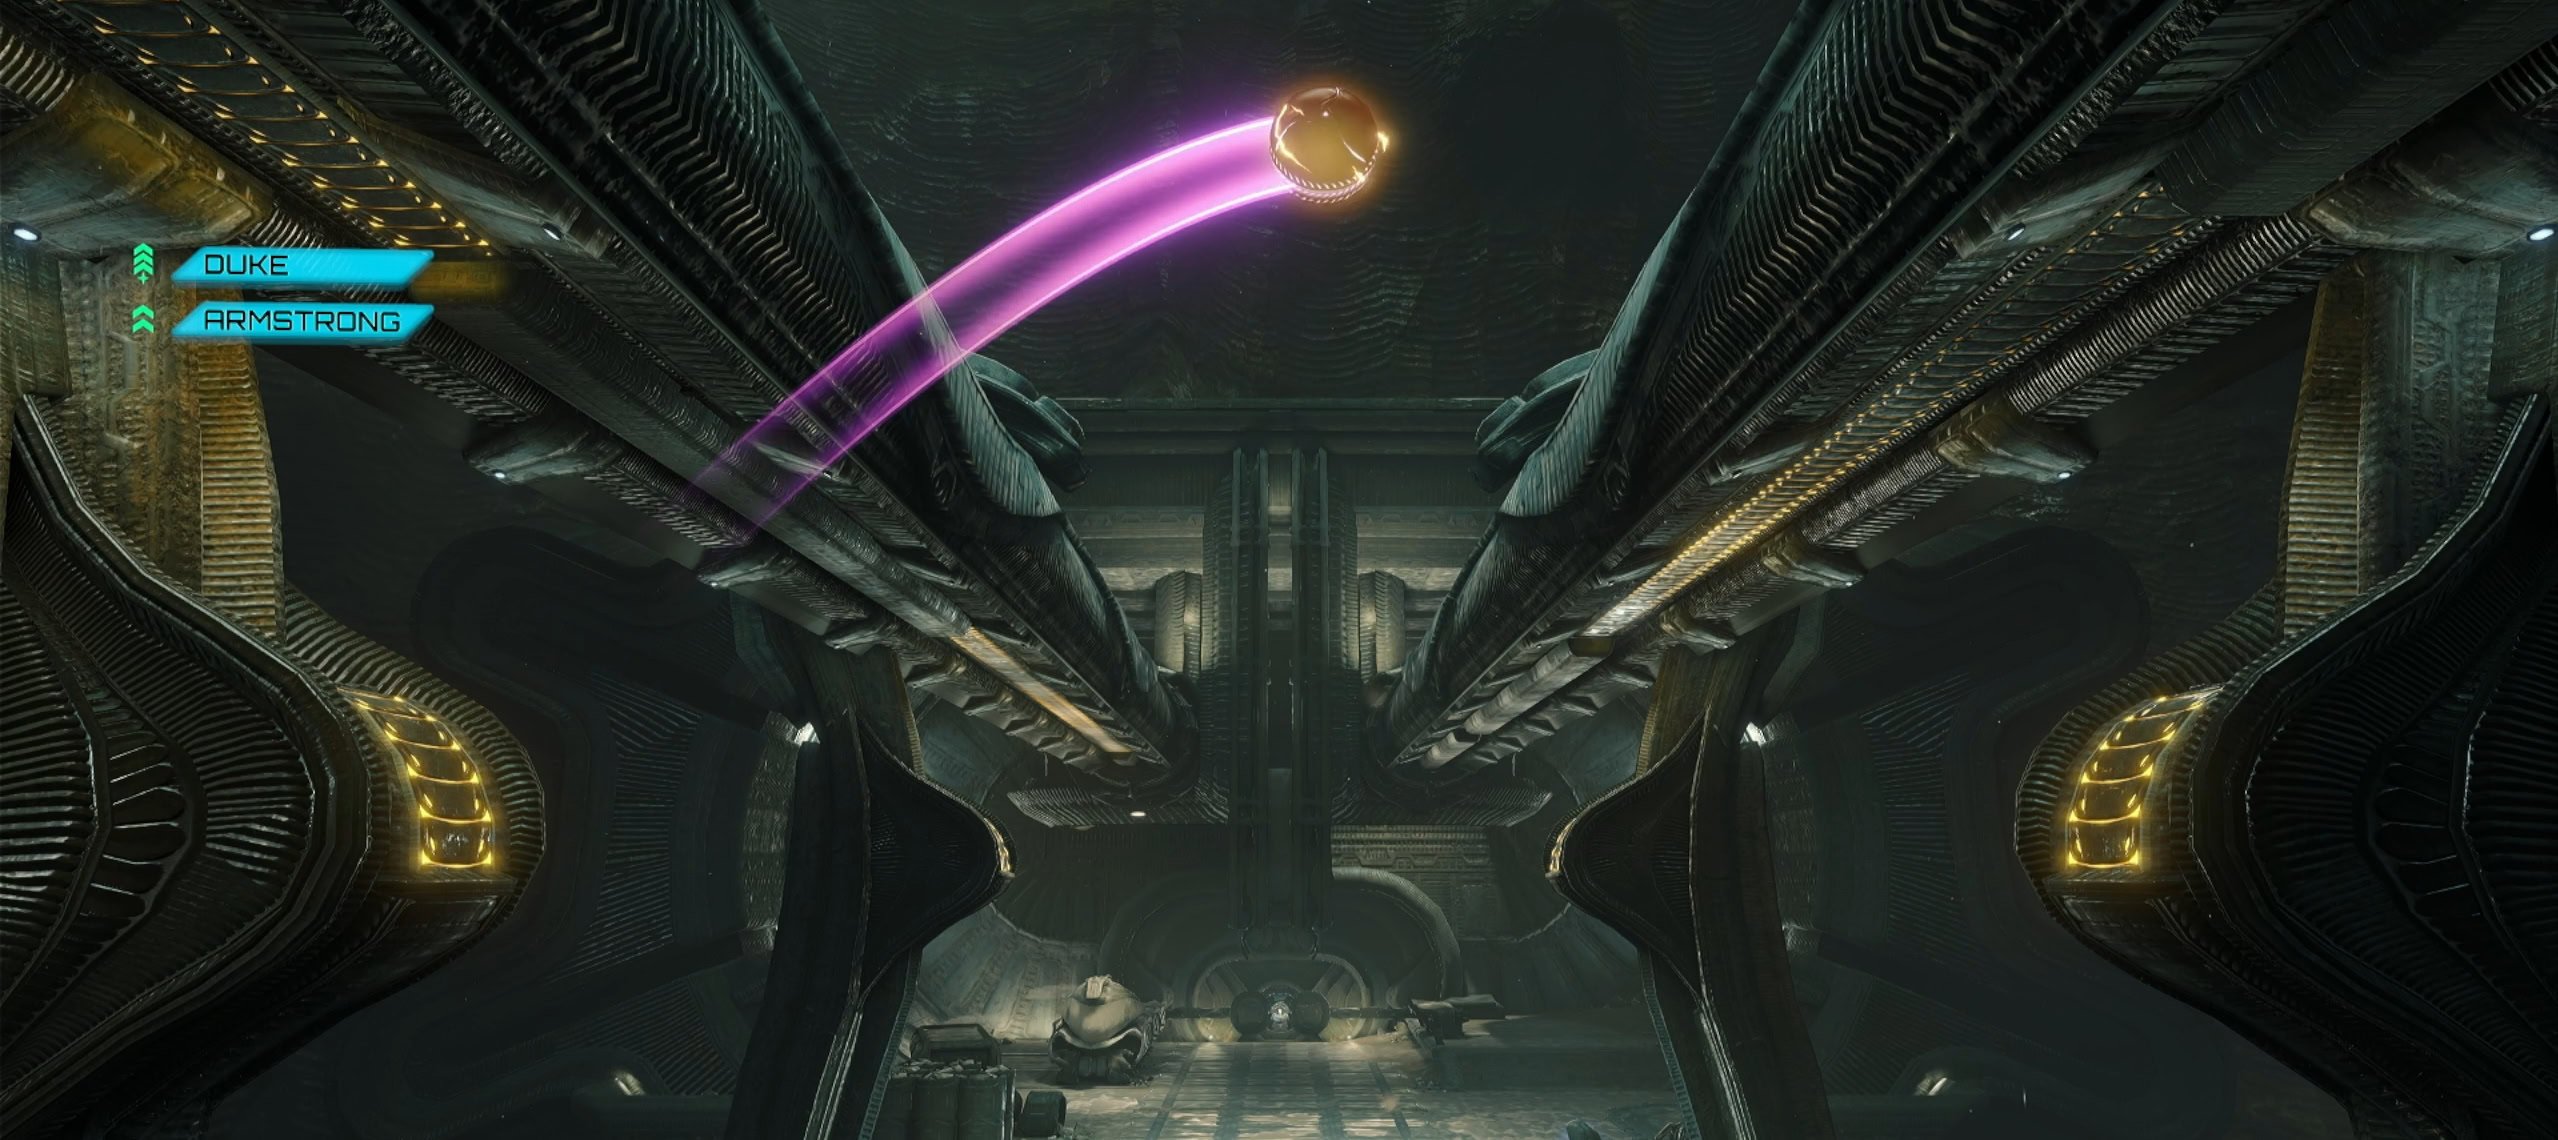
Have Duke and Armstrong hold open the door, then shoot the lock with the Thunder Shot. Take the door on the left of the Entry Tunnel and go straight ahead to use a save station. After saving, use the east door to access the Command Center.
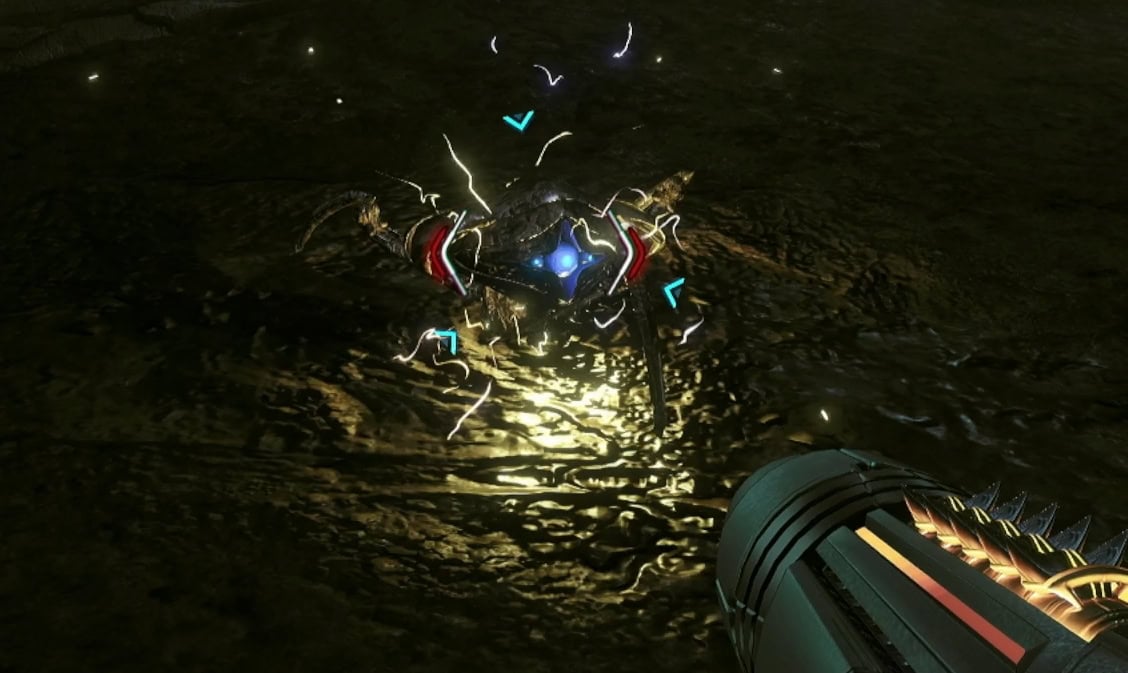
Scan the central terminal to start a cutscene and download the area map. Activate the nearby bomb socket and dodge the Spin Darkwings that come your way. When you reach the Drilling Site, use the terminal north of the drill to activate the Spinner tube.
Activate the drill by using the Boost Ball in a clockwise manner. When the drill is jammed, jump up the two elevated platforms and pull the drill down with your Lasso.
Fight off the Maul Griever Swarm
It is here you’ll encounter the Maul Grievers. They aren’t particularly strong and are easily killed, the issue here is that they come in large numbers. Use the Ice Shot to slow them down, or the Thunder Shot if they’re grouped together.
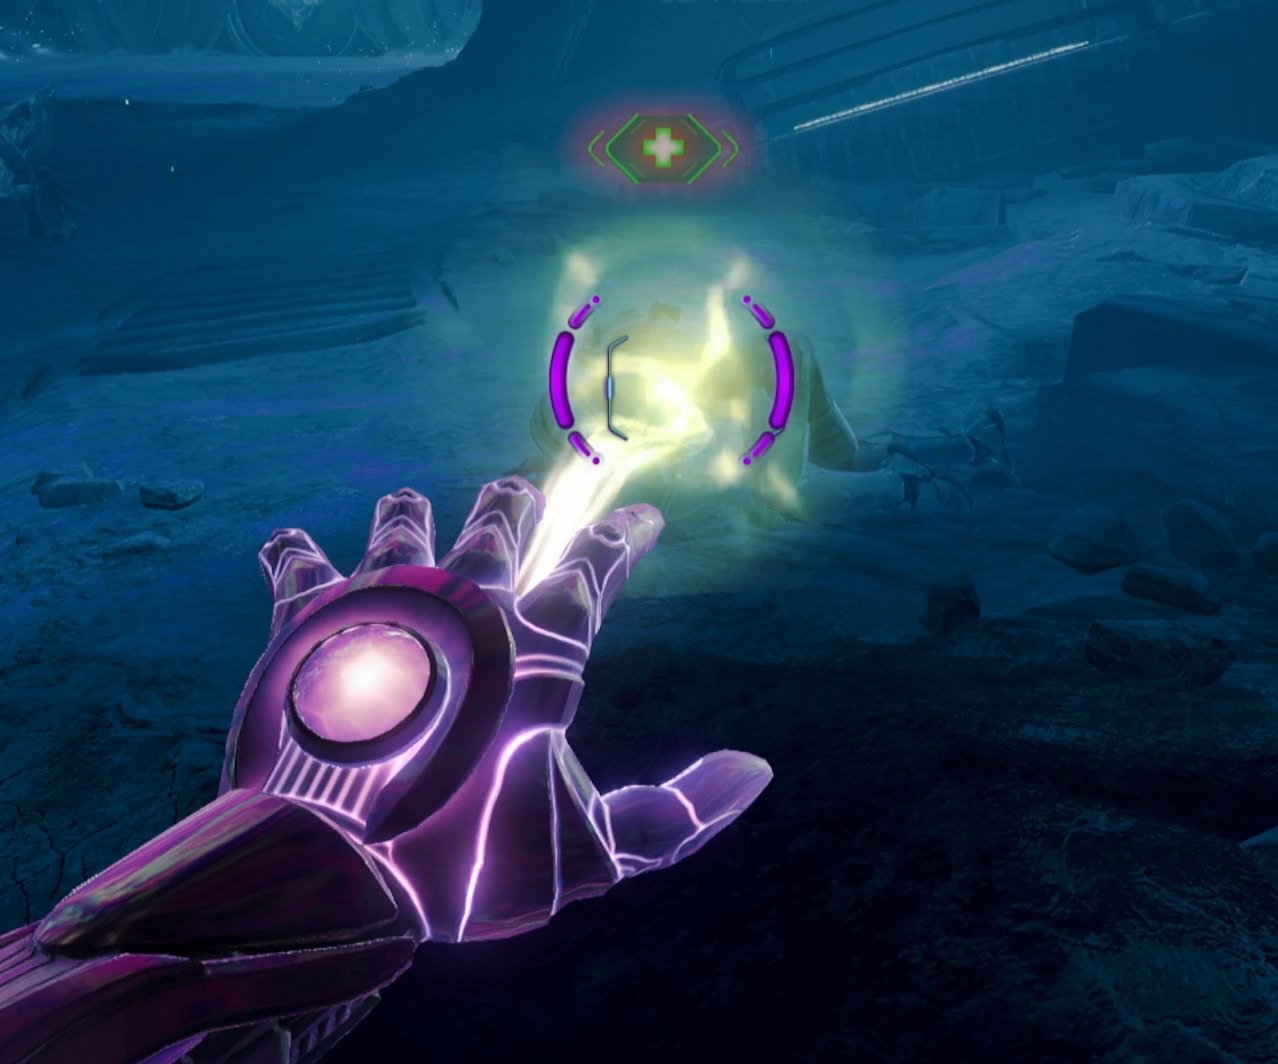
If one of your allies gets downed by them, switch to your Psychic Visor and lock onto them to heal them. Hold off the grievers until you are able to go down the tunnel.
After going down the tunnel, it’s just you and Armstrong as Duke is holding off the grievers. Proceed through the tunnels and use missiles to destroy the green Broyrral Ore blocking the path.
This will summon more grievers you’ll need to fend off. Now is a good time to mention that you should avoid using missiles unless they’re absolutely necessary. For the majority of the Great Mines, creating explosions with missiles and other heavy weapons will attract a swarm of Maul Grievers.
Just use your Psychic Beam, Charge Beam, or non-missile subweapons for the most part. If you see a Maul Griever that’s glowing green, freeze it with the Ice Shot immediately. These are Griever Bombers and they will explode on you to attract more grievers. Keep them frozen and blast them until they’re shattered.
The Garnbocask Sites
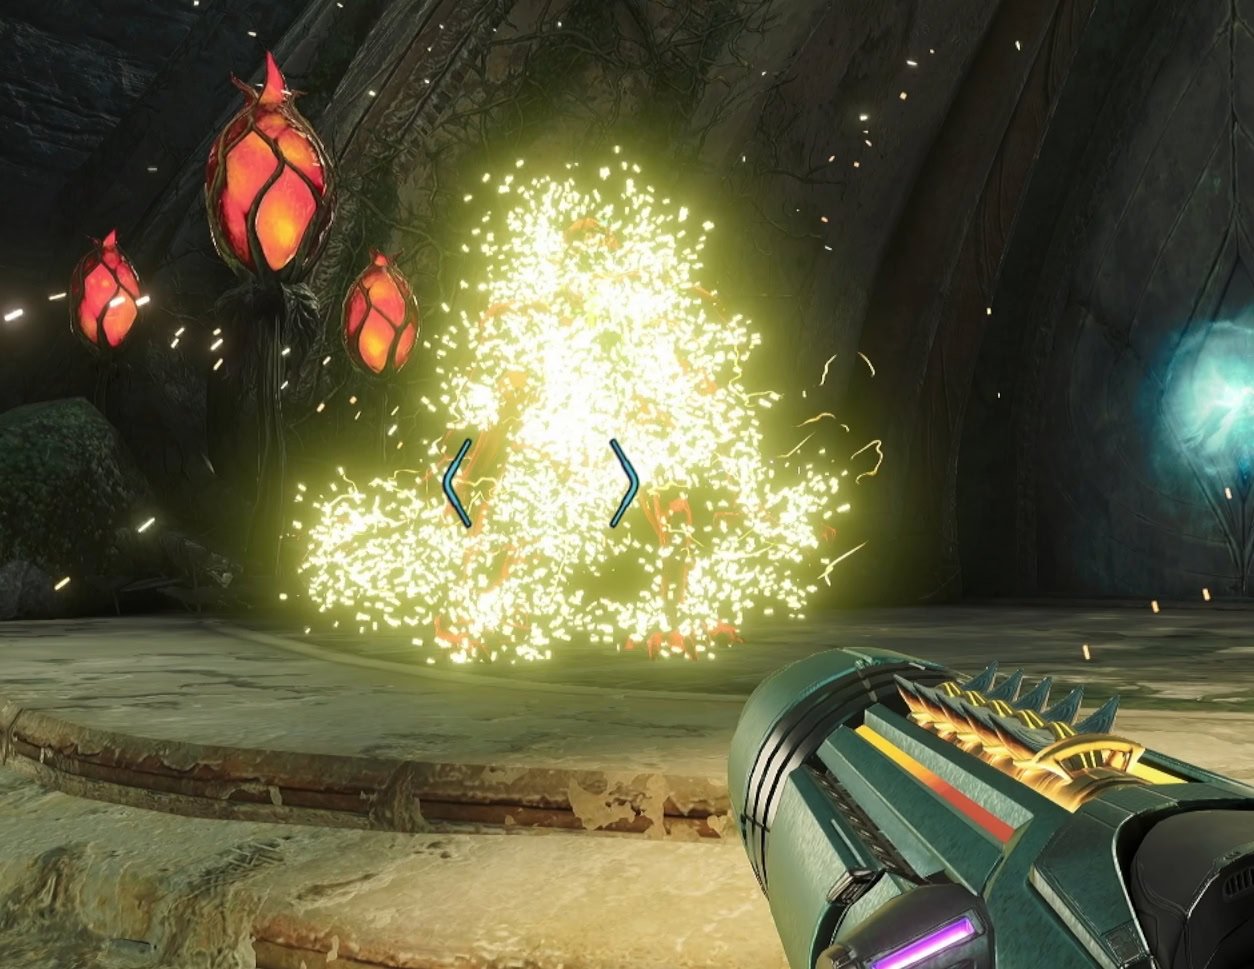
At the end of Garnbocask Site A, you’ll run into a Garnbocask. Destroy the unripe pulps along the vines to expose the calyx, then blow up the calyx to open the path ahead. Jump down to enter Garnbocask Site B.
Whatever you do, do not shoot the Shriekbugs in the room. Doing so will attract grievers. Destroy the first unripe pulp at the end of the room, then look at the vines going up the walls into some holes.
There are two pulps that are out of sight. Use the Control Beam to follow the vines and destroy the remaining pulps. Pop the calyx then jump into the tunnels below.
Use the Fire Shot to clear the snare weeds for Armstrong. Pull off the fiber bundles blocking the way forward and jump down the hole to reach Level 2.
Great Mines Level 2
At the start of the second level, you’ll run into the Cave Shren. Use the Fire Shot to burn the hives then proceed down the tunnel. Another crystal formation is blocking your way, so prepare yourself for another wave of grievers.
Narrow Crevice Missile Expansion
Destroy the crystals and fend off the grievers, then jump across the small gap in the Narrow Crevice. Look to the northwest to find some Crystal Crawlers. Use the Psychic Grapple to platform off the Crystal Crawlers to find a Missile Expansion.
Activate the LS51 Rock Eater DJIII
Return to Nora then enter the Construction Site. Follow the path until you find a bomb slot blocked off by Cave Roach webbing. Burn it away with the Fire Shot, create a mote as a Morph Ball, then toss it into the bomb slot to open the door ahead.

Keep burning through the roach webbing until you find and activate the Lamorn vehicle. Defend Armstrong as she works on getting through the blockage. This area gets cramped and with the amount of noise the vehicle makes, there’s no sense in holding back. Use the Thunder Shot or missiles to clear the area.
After breaking through the first pile of debris, you’ll need to defend Armstrong at the second pile. When the path is clear, run to the door to start a cutscene. Armstrong will block the path by piling debris at the entrance.
This would be a heroic sacrifice but I think she forgot that these grievers can dig through the walls. Regardless, you’re alone again and must proceed without her. Take the west door of the Transit Junction to use a save station.
Destroy the small crates on the south wall of the Transit Junction to expose a tunnel. Roll through it to access the Main Shaft – Level 2. Don’t step too far out as there are some Cave Shren nests ahead. Burn the ones to the sides then the ones across the bridge.
Main Shaft – Level 2 Shot Expansion
Jump to the platform to your right in the lift, then go left to find a Psychic Boost Rail. Use the Boost Ball in it to launch yourself to a Shot Expansion.
Spider Ball across the Chasm
Use the Tether Nodes along the wall to reach some Spider Tracks, then launch across the tethers along the line to reach the other side of the chasm. Drop to the platform below, grapple across to the platform ahead, and activate the Spinner to deploy the bridge.
Main Shaft – Level 2 Energy Tank
On the north side of the bridge, you can manifest some Psychic Platforms. Follow them to get an Energy Tank. Return to the platform with the Spinner below and take the door to Transit Tunnel D.
Freeze the Griever Bomber to prevent a swarm, then go to the Quarry. Approach the Maul Griever Cocoon to start a cutscene and mini-boss fight.
Maul Griever Brute
The Maul Griever Brute will shoot acid at you or smash the ground in front of it. If it smashes the ground, it’ll do damage in a cone area in front of it. It’s hard to avoid, so keep your distance to make it use ranged attacks.
After it summons some other grievers, VUE will arrive to save the day. Use the Ice Shot to freeze the brute as VUE punches it to death.
Scan the membrane blockage near VUE to have him destroy it. Go through the Easing Tunnel and into the Blast Mining room.
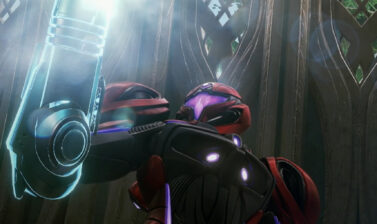
Acquire the Super Missile
Above you is a cage containing the Super Missile upgrade. To get it, jump down and shoot the Metareettas off the spider ball tracks. Go up the half pipe near the entrance then follow the tracks the go up the vertical track.
Roll into the slot and use the Boost Ball to release a clamp. Return to the spider tracks and follow them to the spinner on the other side. Release the other clamp to drop the cage.
Defeat the Grievers and scan the glass of the cage so VUE shatters it. Blast it off with a Charge Beam then claim the Super Missiles.
The Super Missile and Blast Mining Missile Expansion
The Super Missile is an upgrade for your Missile Launcher. Press and hold your subweapon button to charge a Super Missile. Once released, it’ll deal huge damage and be capable of destroying obstacles that require Strong Explosions to break.
While each super missile costs 5 missiles to use, you’ll end up needing 6 as you shoot one missile when you press and hold the subweapon button. Charge a super missile to blow up the wall of Koornicite Ore to claim a Missile Expansion.
Quarry Shot Expansion
Use the half pipe to return to the door and go back to the Quarry. Blow up the Koornicite Ore gain access to Ghaspore Habitat A. Once the area is clear, it will be a good time to get a Shot Expansion.
Use the Super Missile to blow off the large lock near the door that led into the Quarry. This will expose a Pull Lock that you can go through to access a shaft as a Morph Ball. Defeat the grievers that spawn, then go into the shaft.
Roll along the shaft and you’ll find 2 dull white panels. These will rotate the suspended shafts up ahead when you bomb either panel. The left one will rotate the left and middle shafts, while the right panel rotates the middle and right shafts.
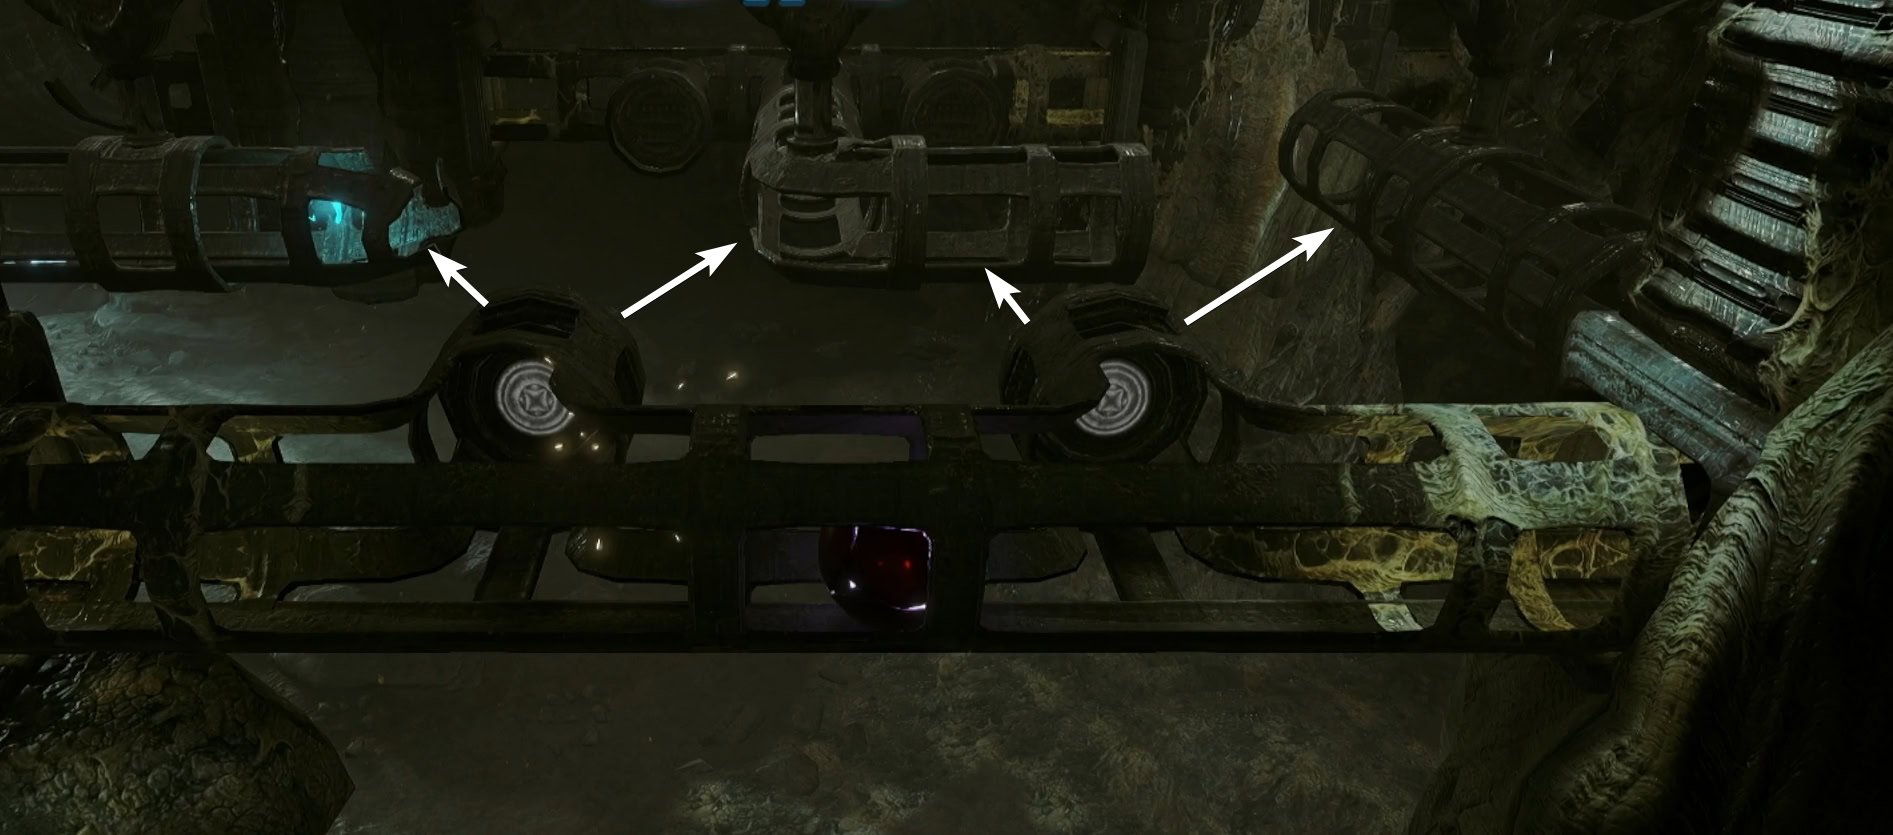
Bomb the right panel then the left panel to reach the shaft ahead. Roll to the shaft across from you, bomb the right panel and you’ll get a Shot Expansion. Exit the shafts then go through Ghaspore Habitat A to reach the Crystal Crevice.
Crystal Crevice Shot Expansion
When you reach the Crystal Crevice, look to your left and up. You’ll find a Crystal Crawler overhead. Grapple to it then jump across the crystals to reach a Shot Expansion.
Jump down to the platform with the membrane-covered entrance. Look for the shatter point on the large crystal and break it with a super missile to grant VUE access across the chasm. Have him destroy the membrane to clear the way to Level 3.
Great Mines Level 3
When you reach the Hive Entry, you’ll encounter the Ghaspore. You will be unable to destroy these directly, so use a Charge Beam to reflect their Sporangium back at them. Keep clearing your way through the tunnels until you reach the Main Nest.

Defeat the Maul Griever Brute
When you approach the membrane blockage, VUE will become incapacitated and you’ll have to defeat another Maul Griever Brute. Since it makes so much noise, you might as well use your Super Missiles on it so you can keep going further down Level 3.
Cross the Chasm
Fight the grievers with VUE at the Chasm. Eventually he’ll ask you to enter Morph Ball mode. When he does, roll to him and he’ll throw you across the Chasm as he fends off the grievers.
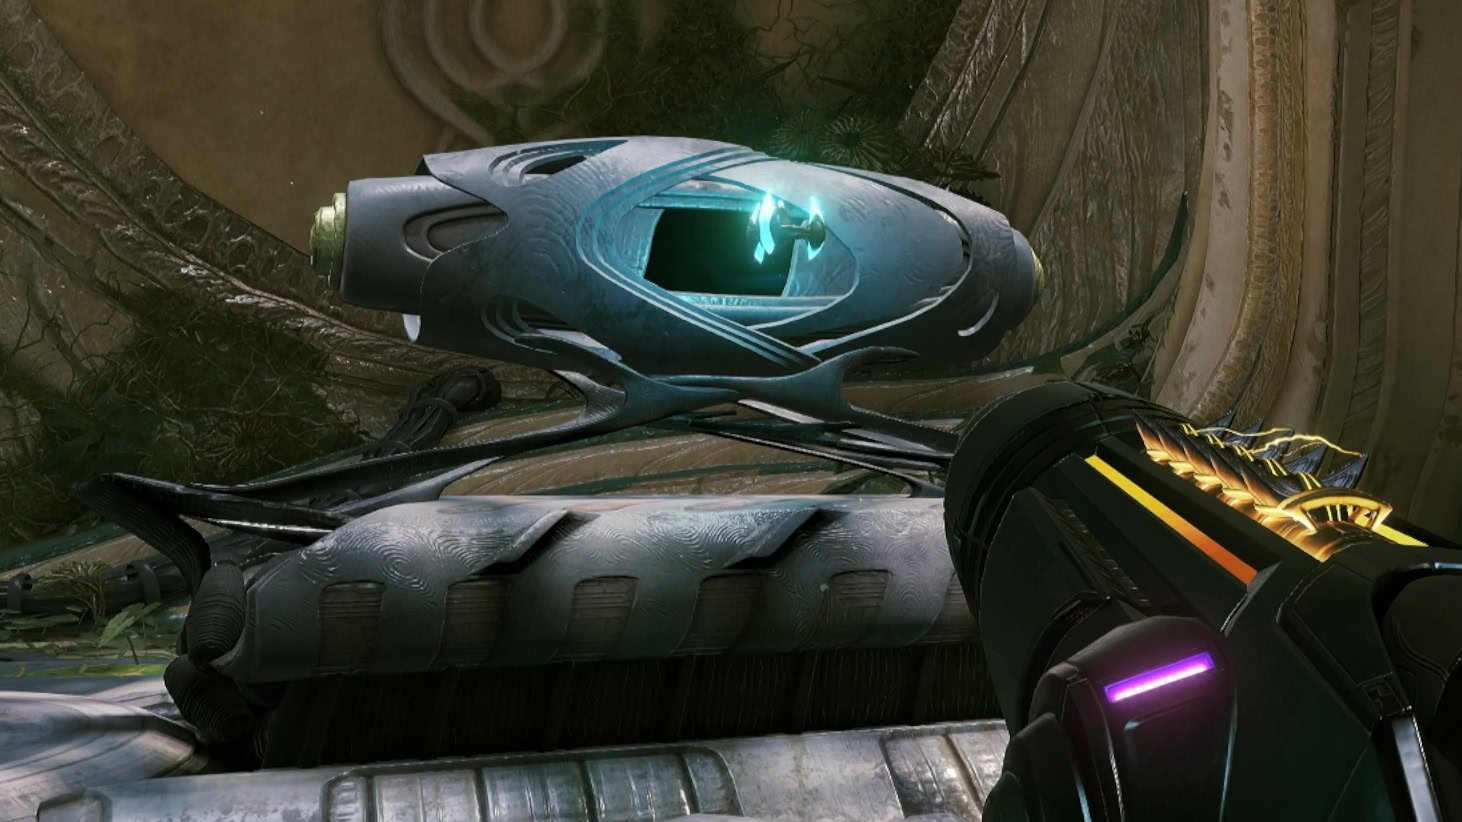
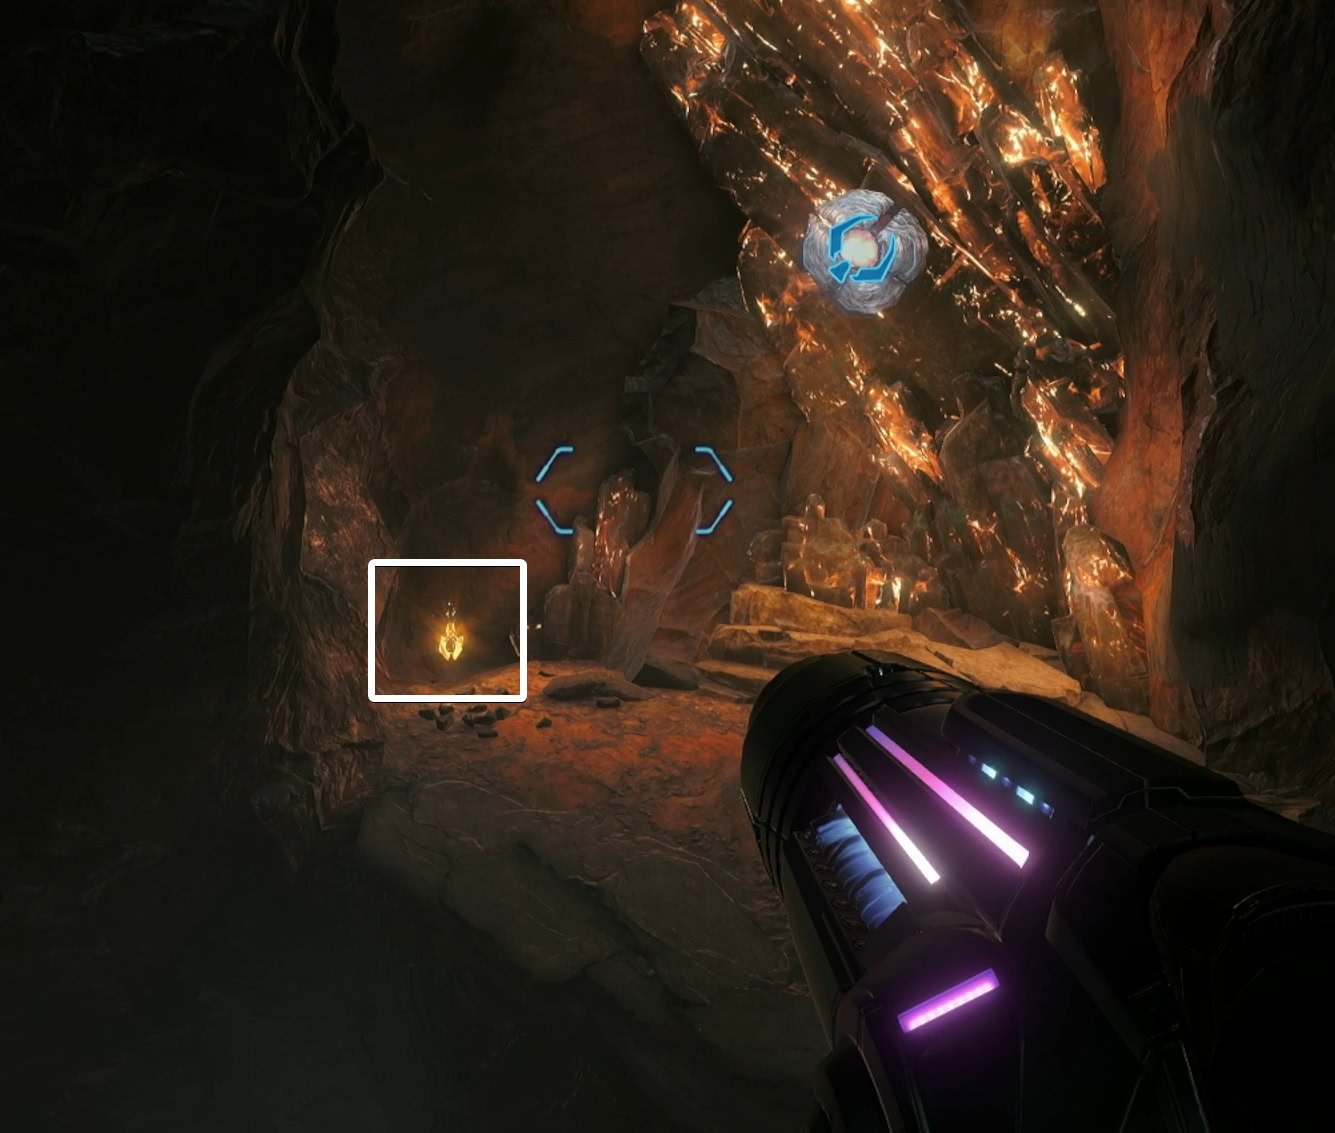
Rip off the pull lock and Morph Ball through to reach the Main Shaft – Level 3 room. Enter the lift shaft and jump to the door on your right. You’ll find a rather large cocoon that’s been open, but more importantly there’s a scout bot to your left.
Activate the Scout Bot
Shoot the scout bot with your Thunder Shot to activate it. Scan it and it will reveal all the upgrade locations remaining in the Great Mines. These can also be found in the other zones if you’re wanting to find Energy Tanks, Shot Expansions, and Missile Expansions.
Transit Tunnel E Missile Expansion
When you reach Transit Tunnel E, look to the south and pull the Pull Lock off the tube. Roll inside and to the left to get a Missile Expansion. Use the save station in the room to the north and prepare for the boss battle.
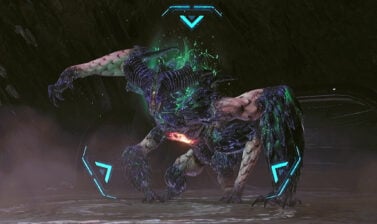
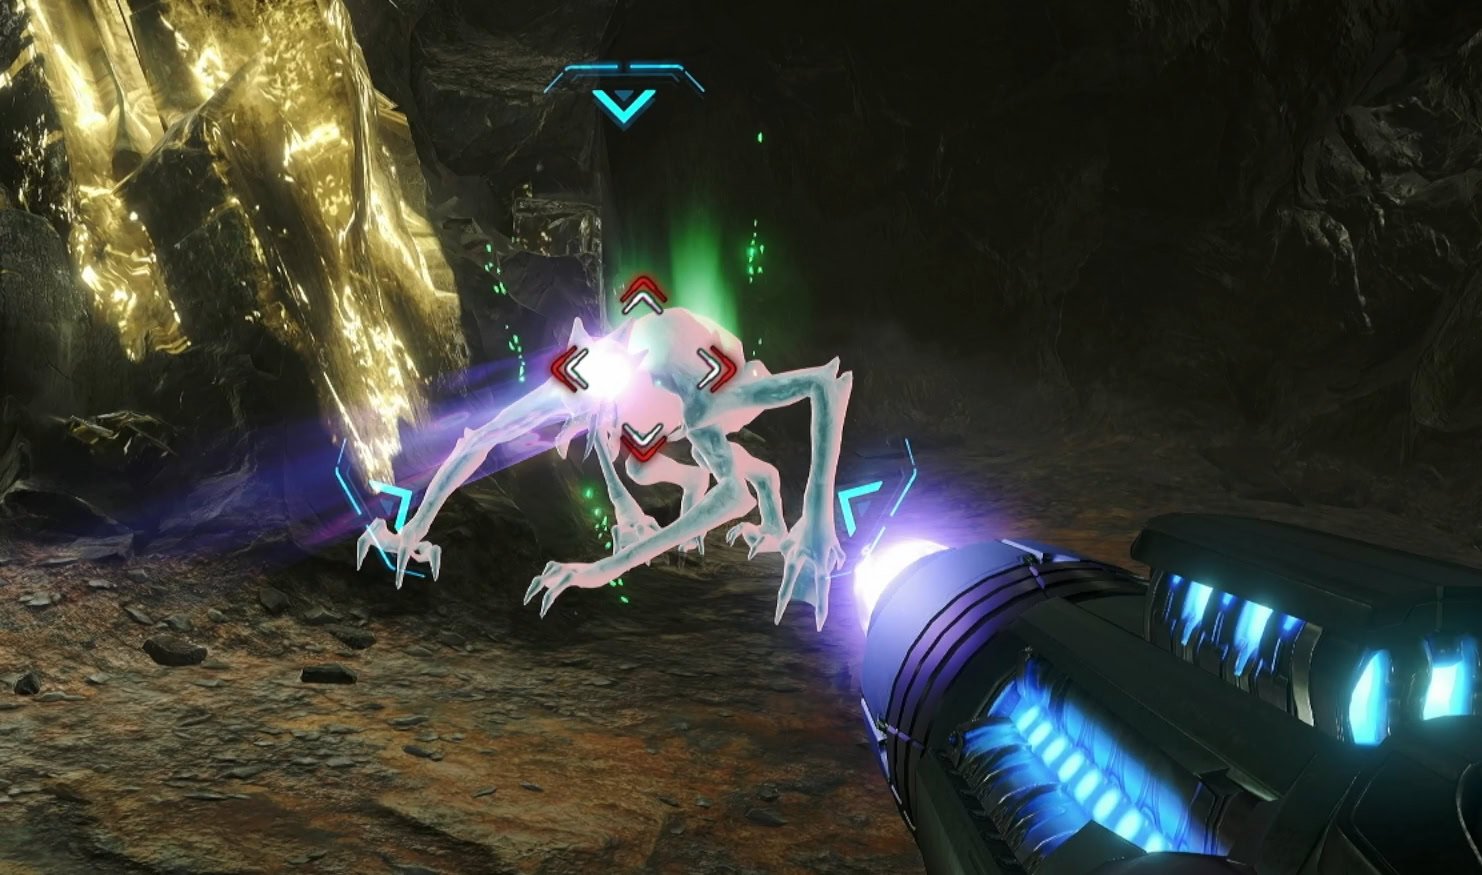
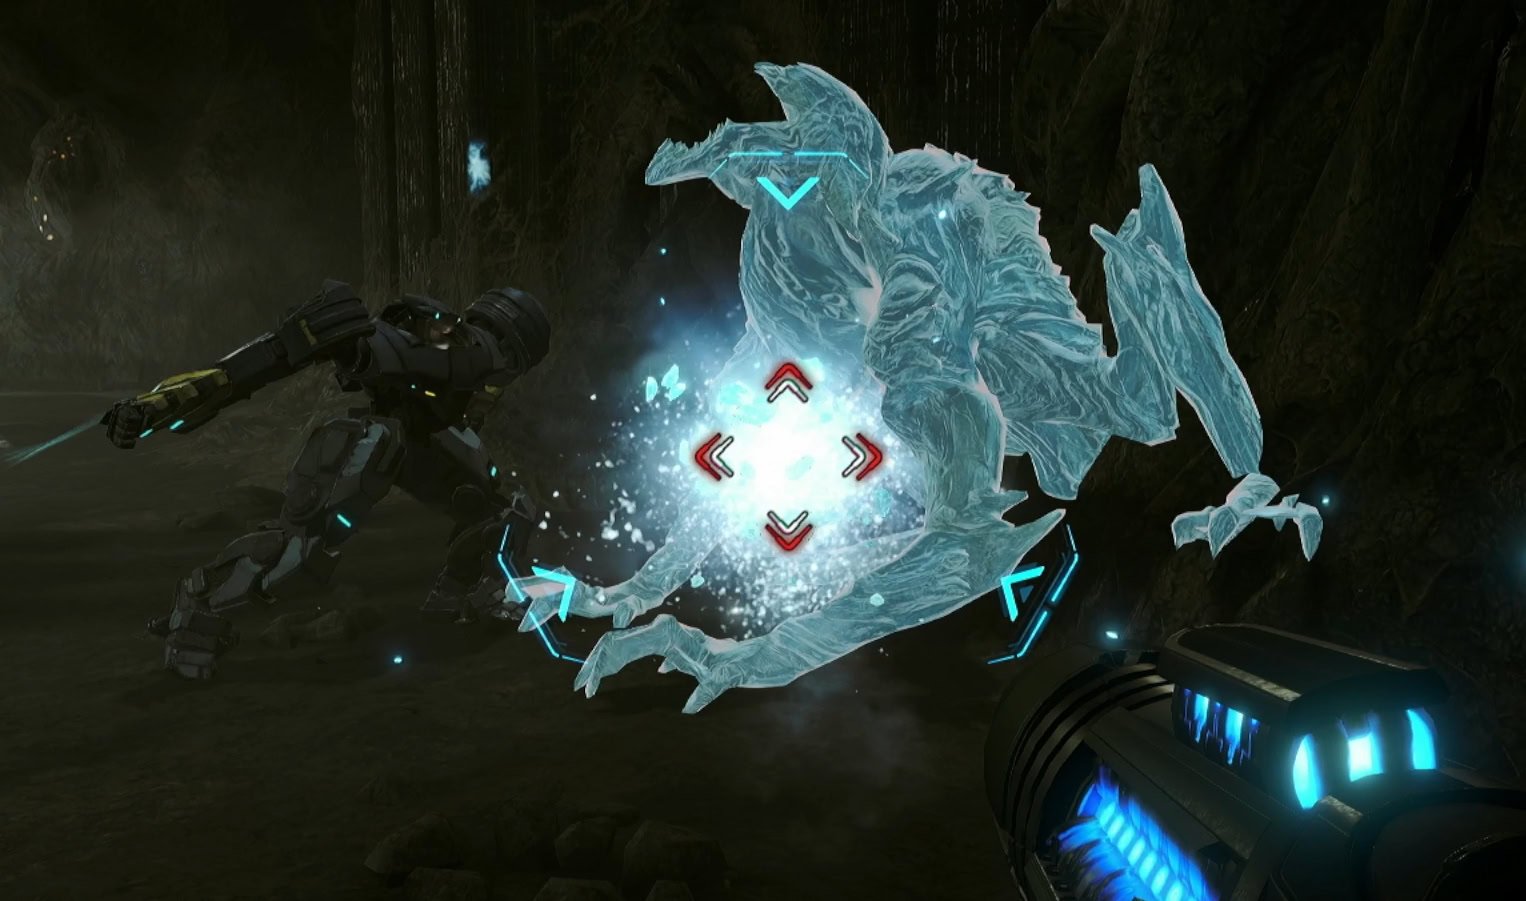
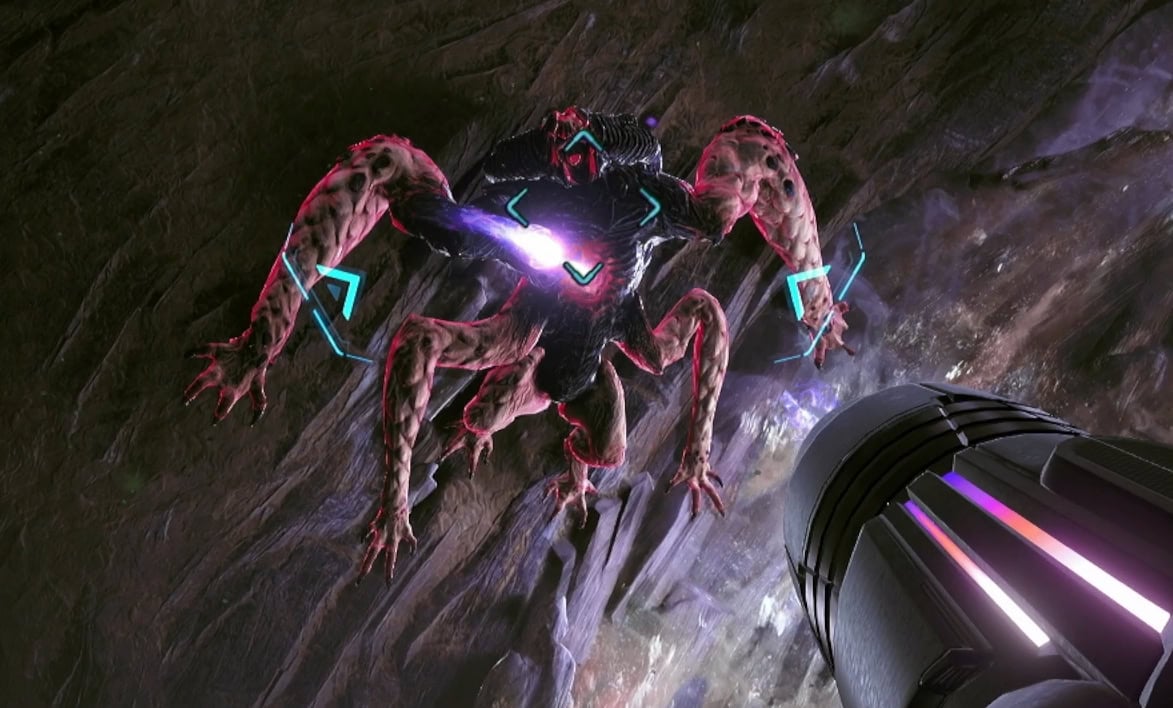
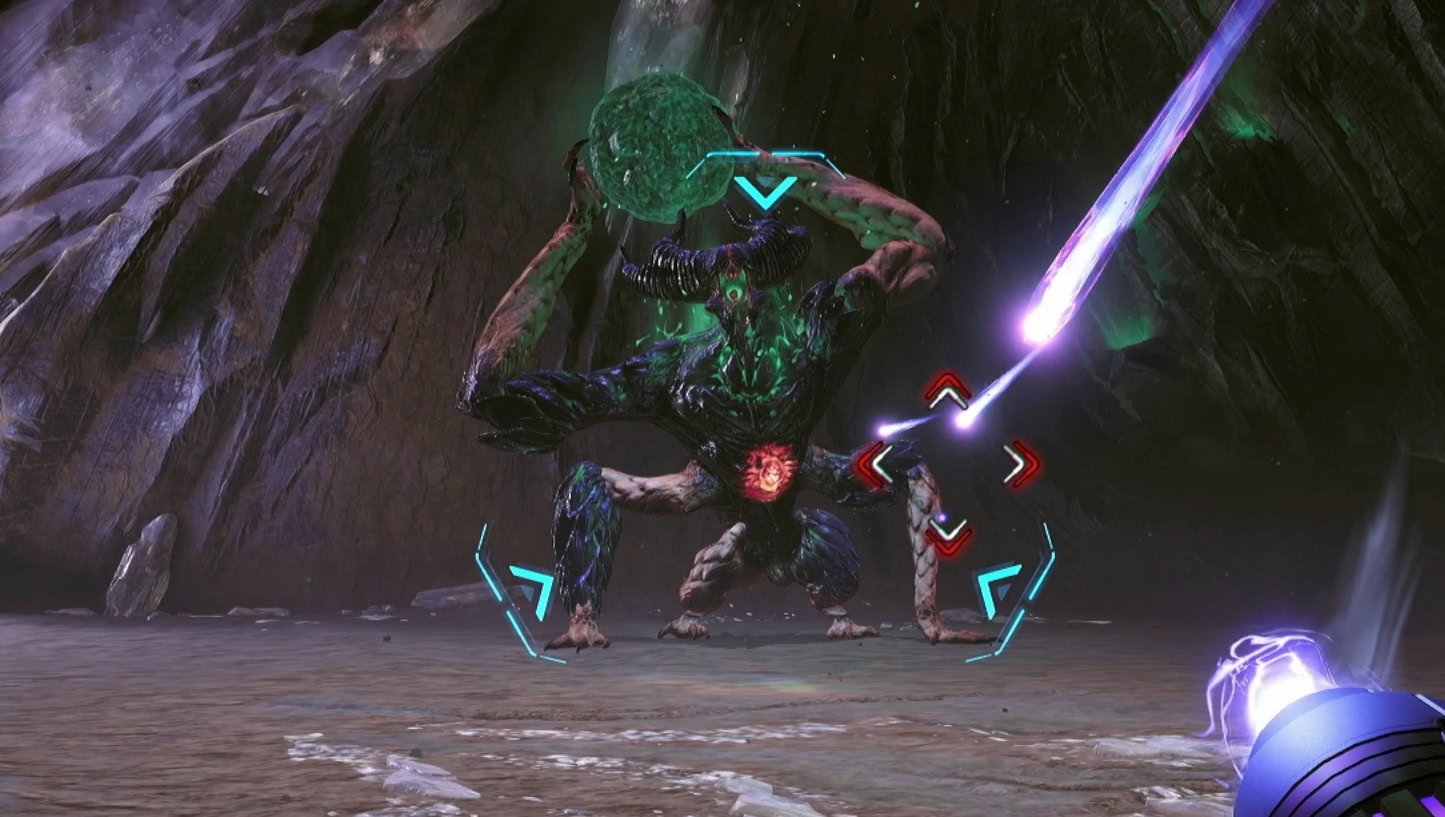
Omega Griever
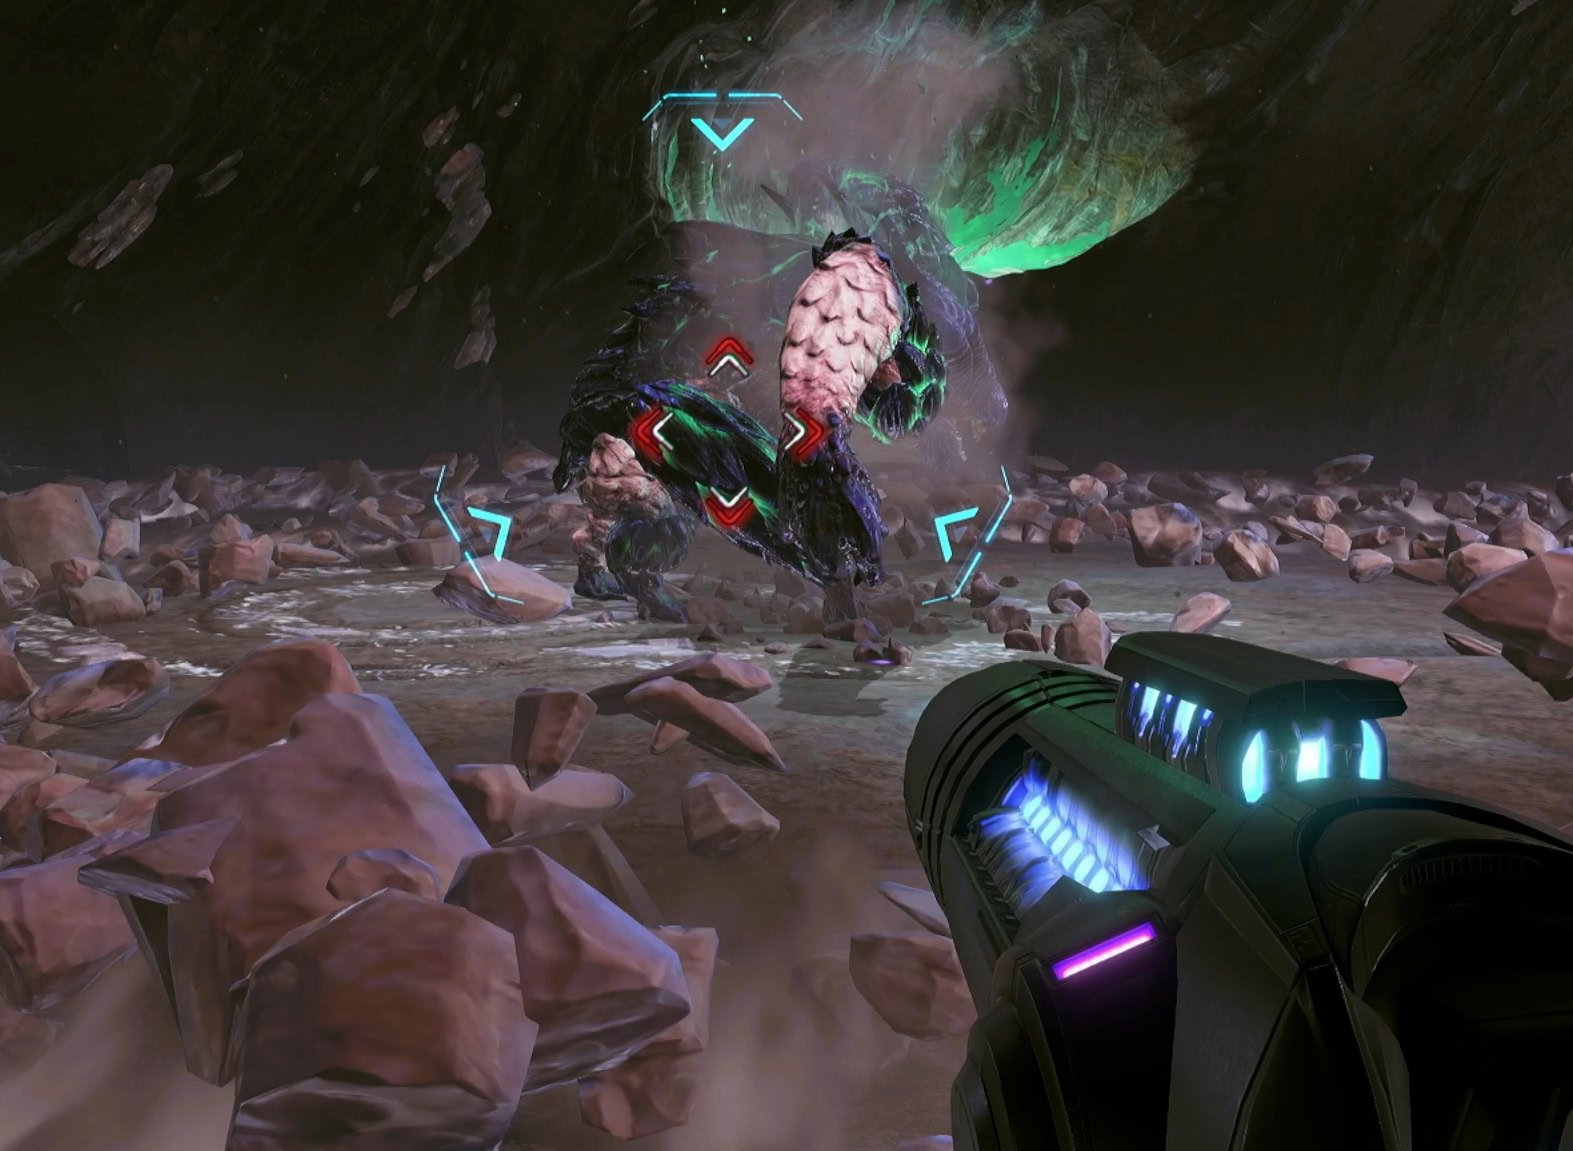
Enter the Crystal Extraction room and a cutscene will start as you approach the Sacred Shrine. You’ll now need to defeat the Omega Griever.
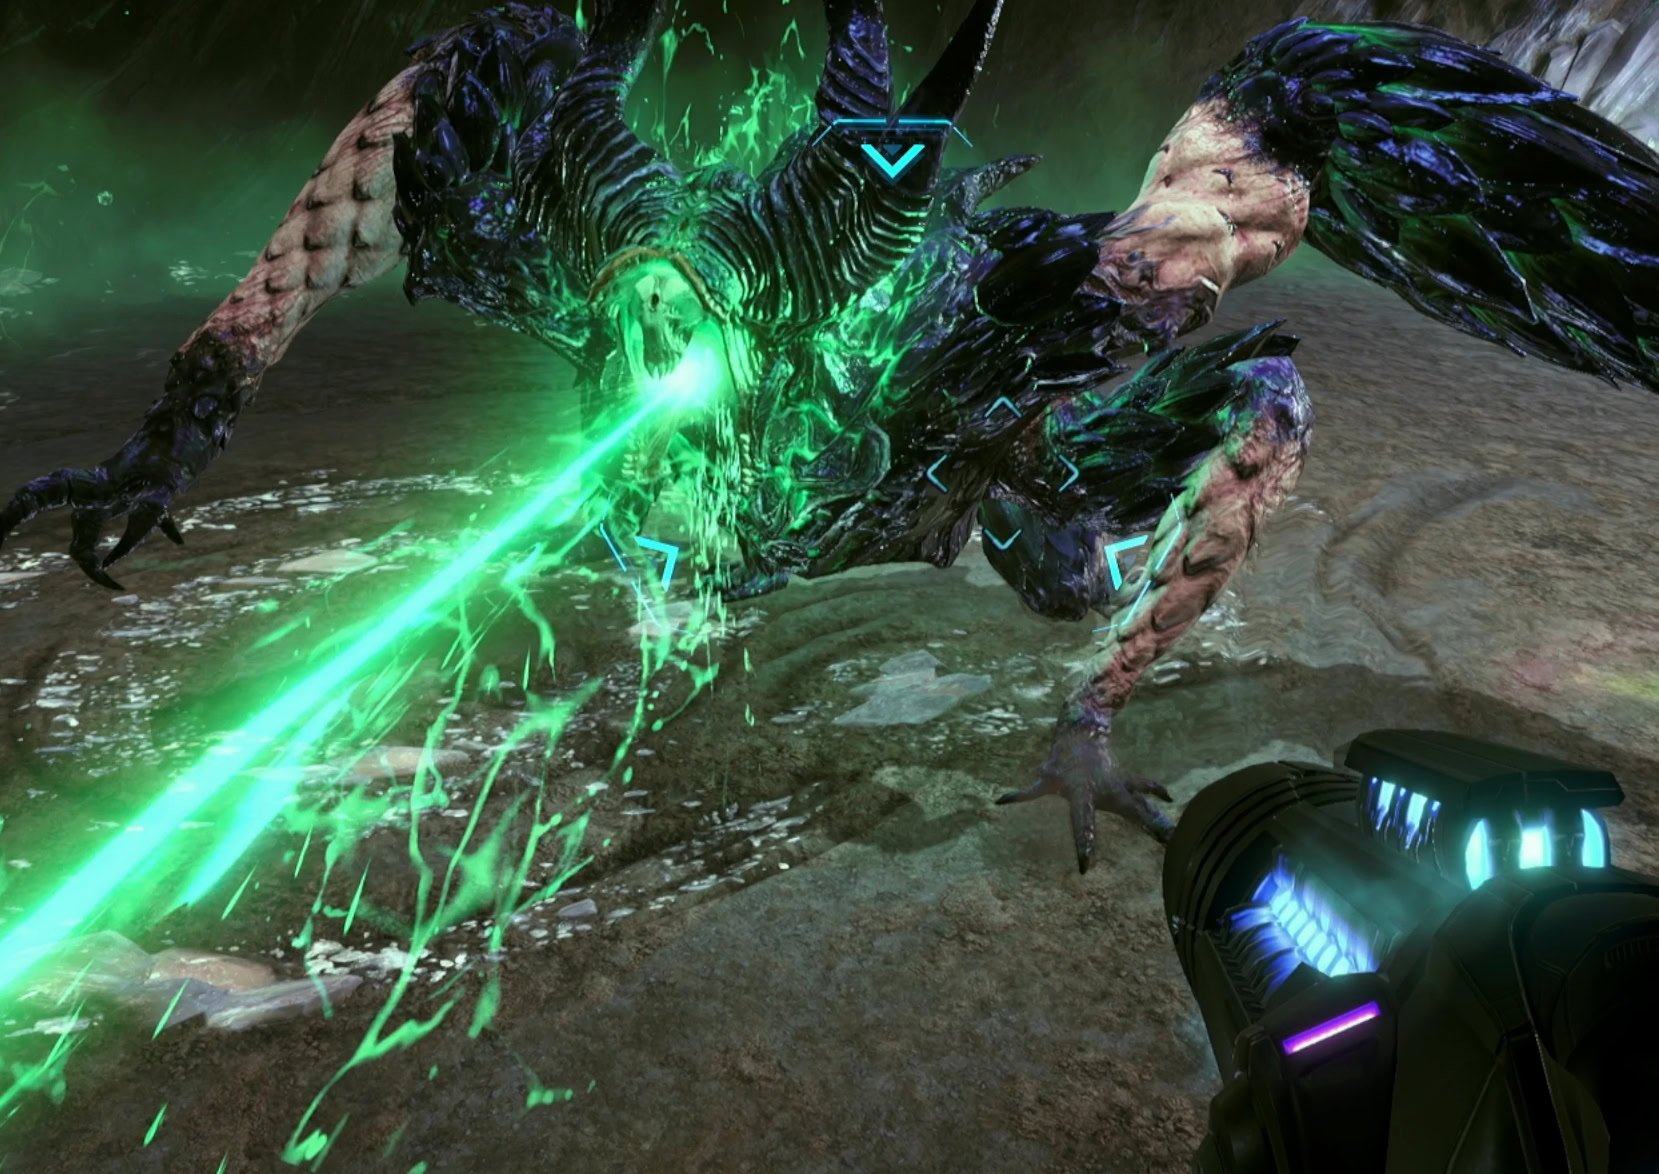
This isn’t really that bad of a fight, all you have to do is shoot the pale parts of his body to expose his weak spot. Don’t shoot the dark parts as your shots will bounce off.
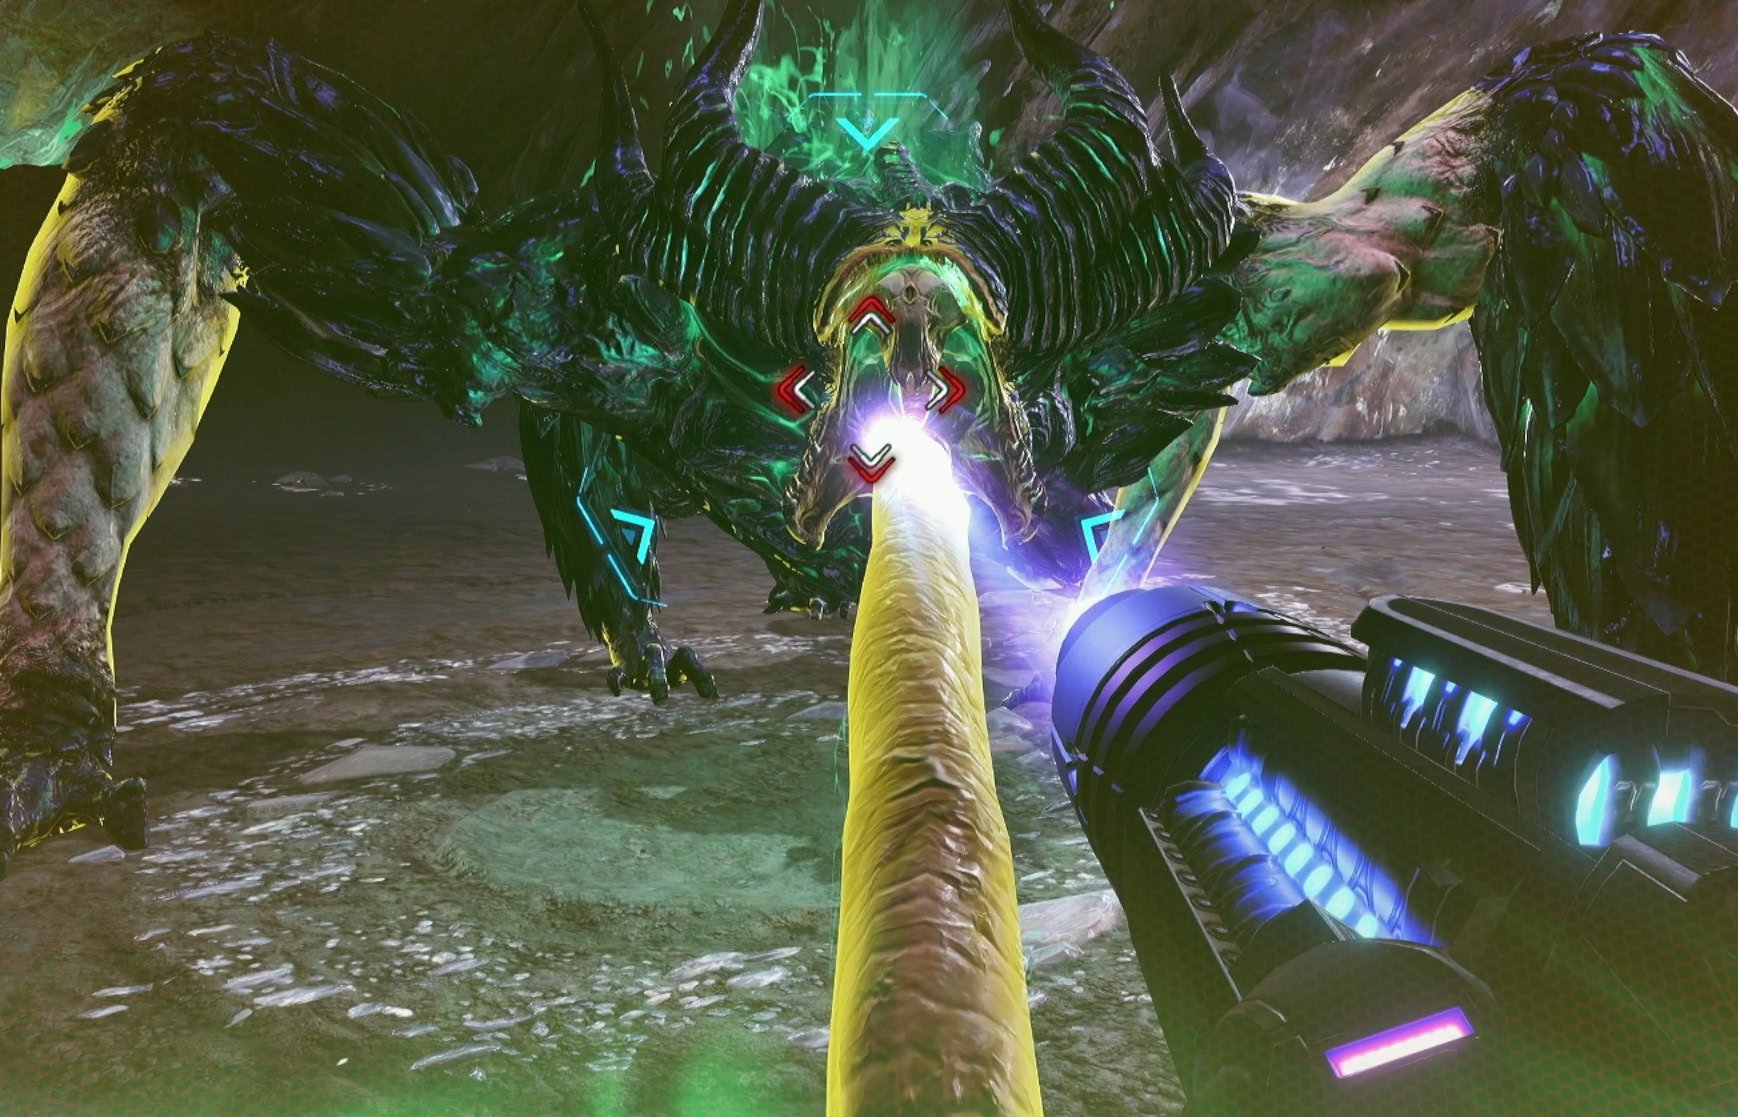
Do your best to avoid its spit as this will slow you and make you vulnerable to attacks. Keep shooting his pale parts, shoot his weakspot, and he’ll go onto the ground. It might be tempting to use your new Super Missiles for this fight, but a stream of standard Psychic Beams will yield a faster rate of damage.
Jump over the shockwaves the Omega Griever makes. As the fight goes on, he’ll eventually make two of them.
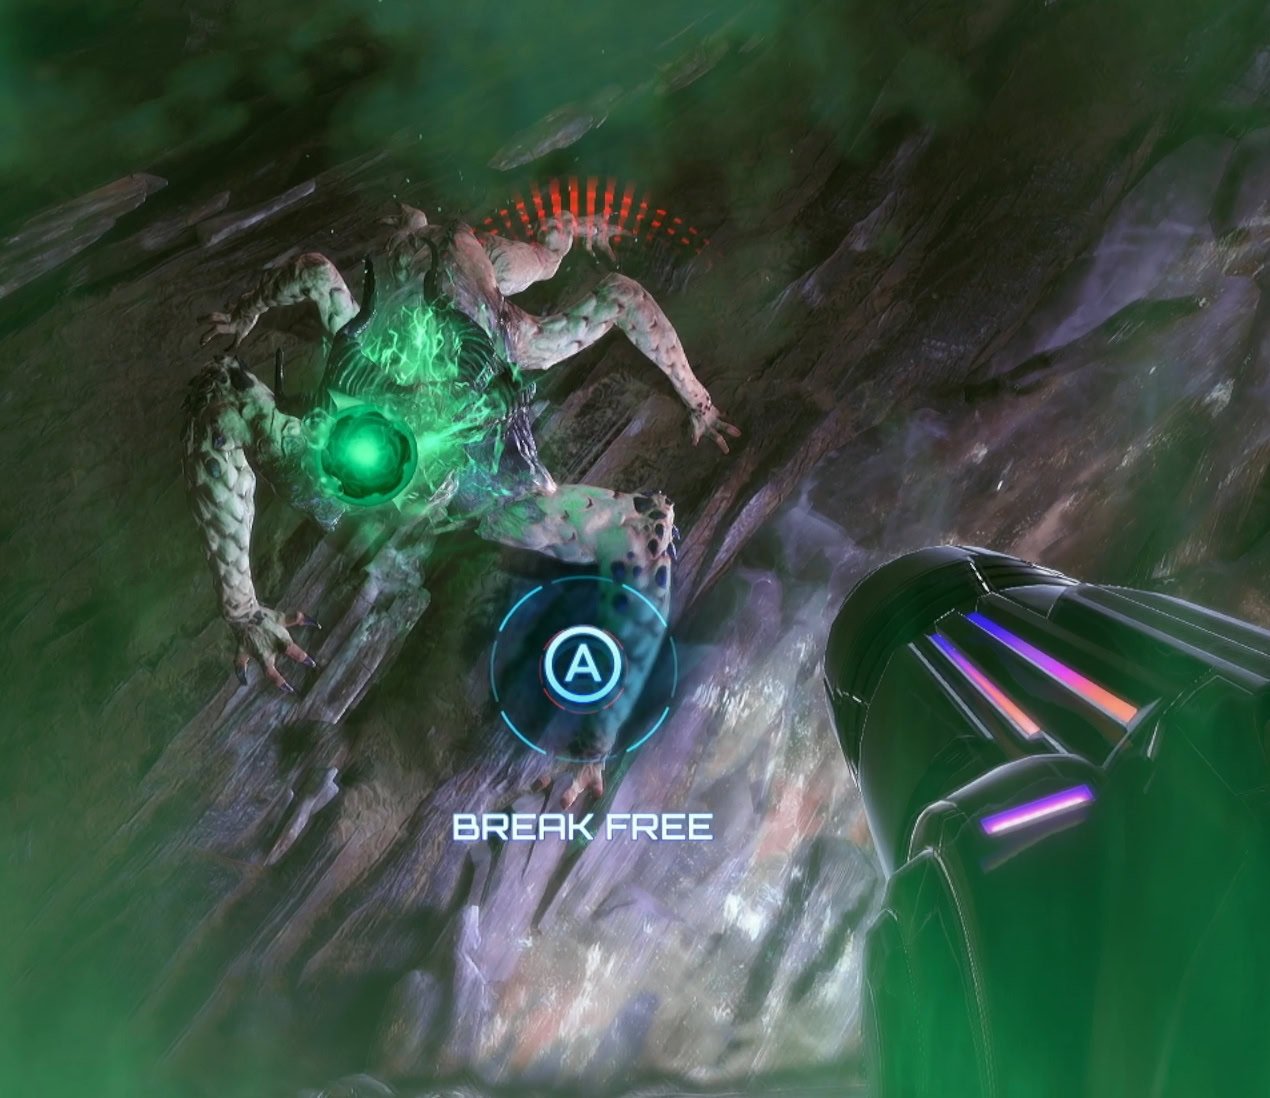
Side dash away when he lashes out his tongue. If you fail to do so, you’ll be pulled in and if you get to close, he’ll take a bite out of you. Shoot him in the mouth to break free if he gets you this way.
When he’s on the ground, there are two ways you can go about exposing his weak spot. The safe way is to keep your distance, shoot his pale spots, them pop some psychic bombs beneath his chest when he’s stunned.
If you don’t mind taking risks, don’t bother shooting the pale spots and just roll underneath him while he’s active to plant a bomb and expose his weak spot.
When the Omega Griever is down to two-third’s of its health, it’ll summon a swarm of Maul Grievers and a Griever Bomber. Freeze the bomber first and take it out, clear the other grievers, then focus on the Omega Griever once more.
After you shoot it off the walls, the Omega Griever gains a new ability. It can great a massive ball of green goo that it throws at you. It’s easy to dodge with your side dash.
When it’s down to one-third of its health, it’ll summon more grievers. Repeat the process of freezing the bomber bomber, defeating grievers, then shoot the Omega Griever off the walls. It’ll now use an Acid Beam attack and will circle around the room. Jump over the acid beam to avoid it.
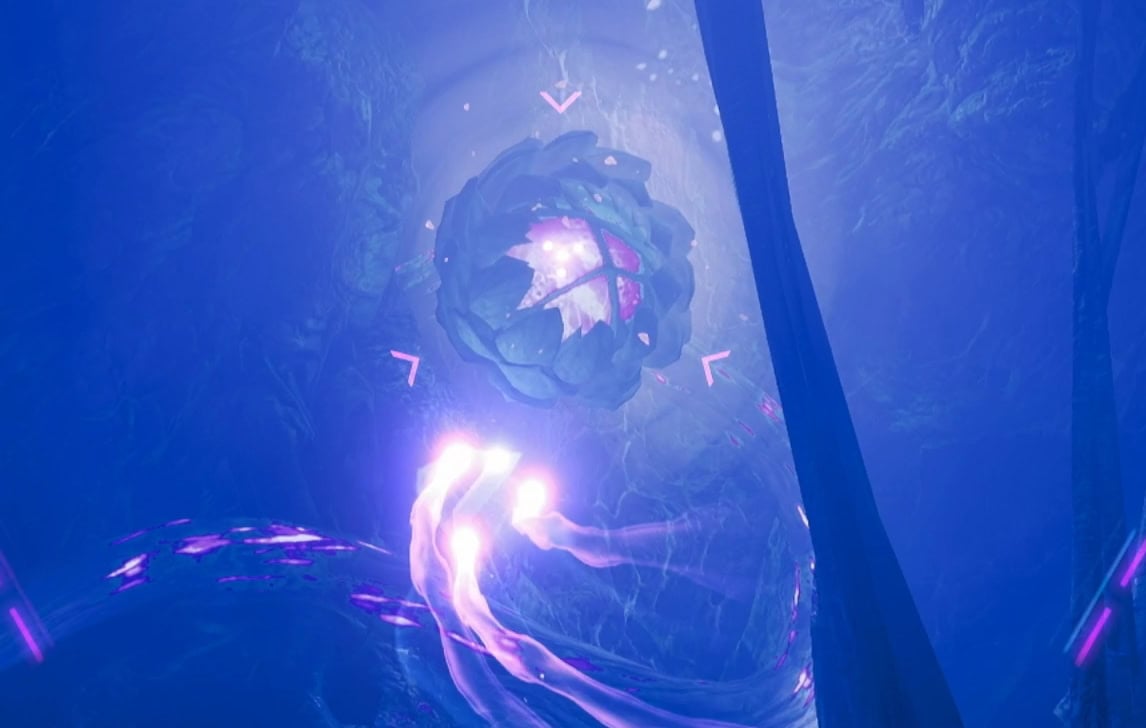
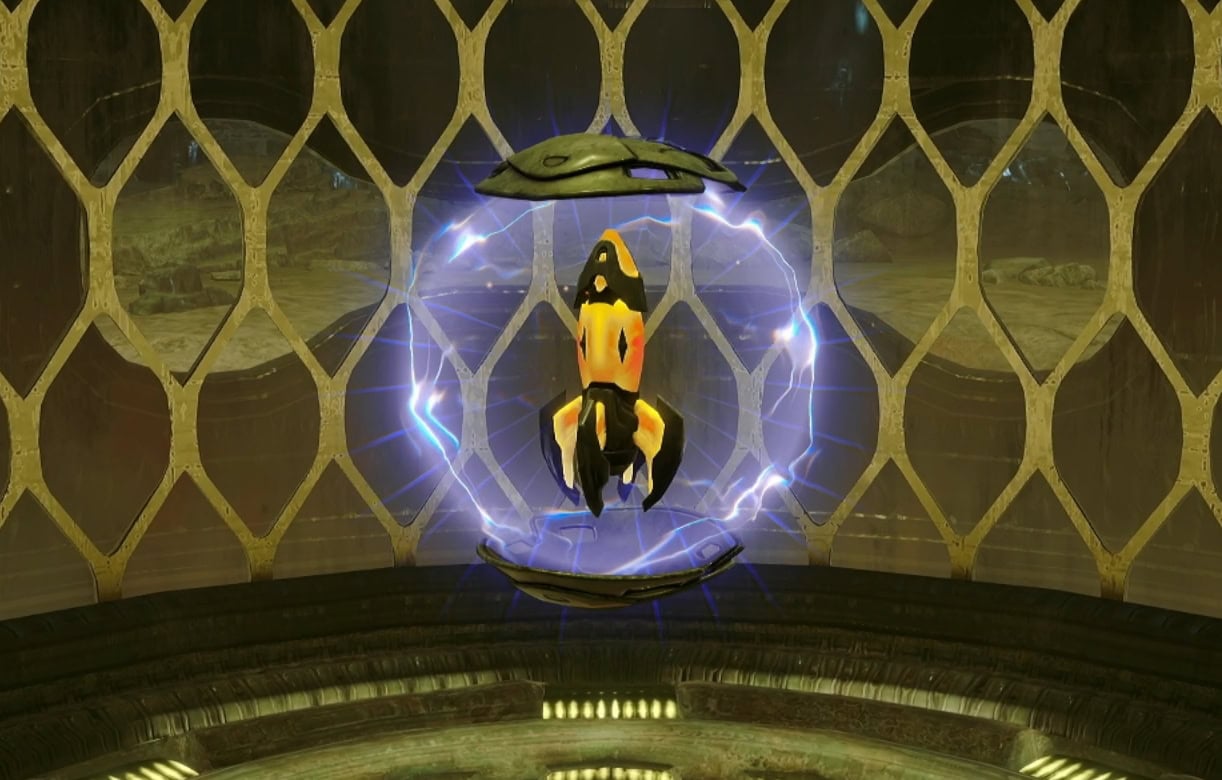
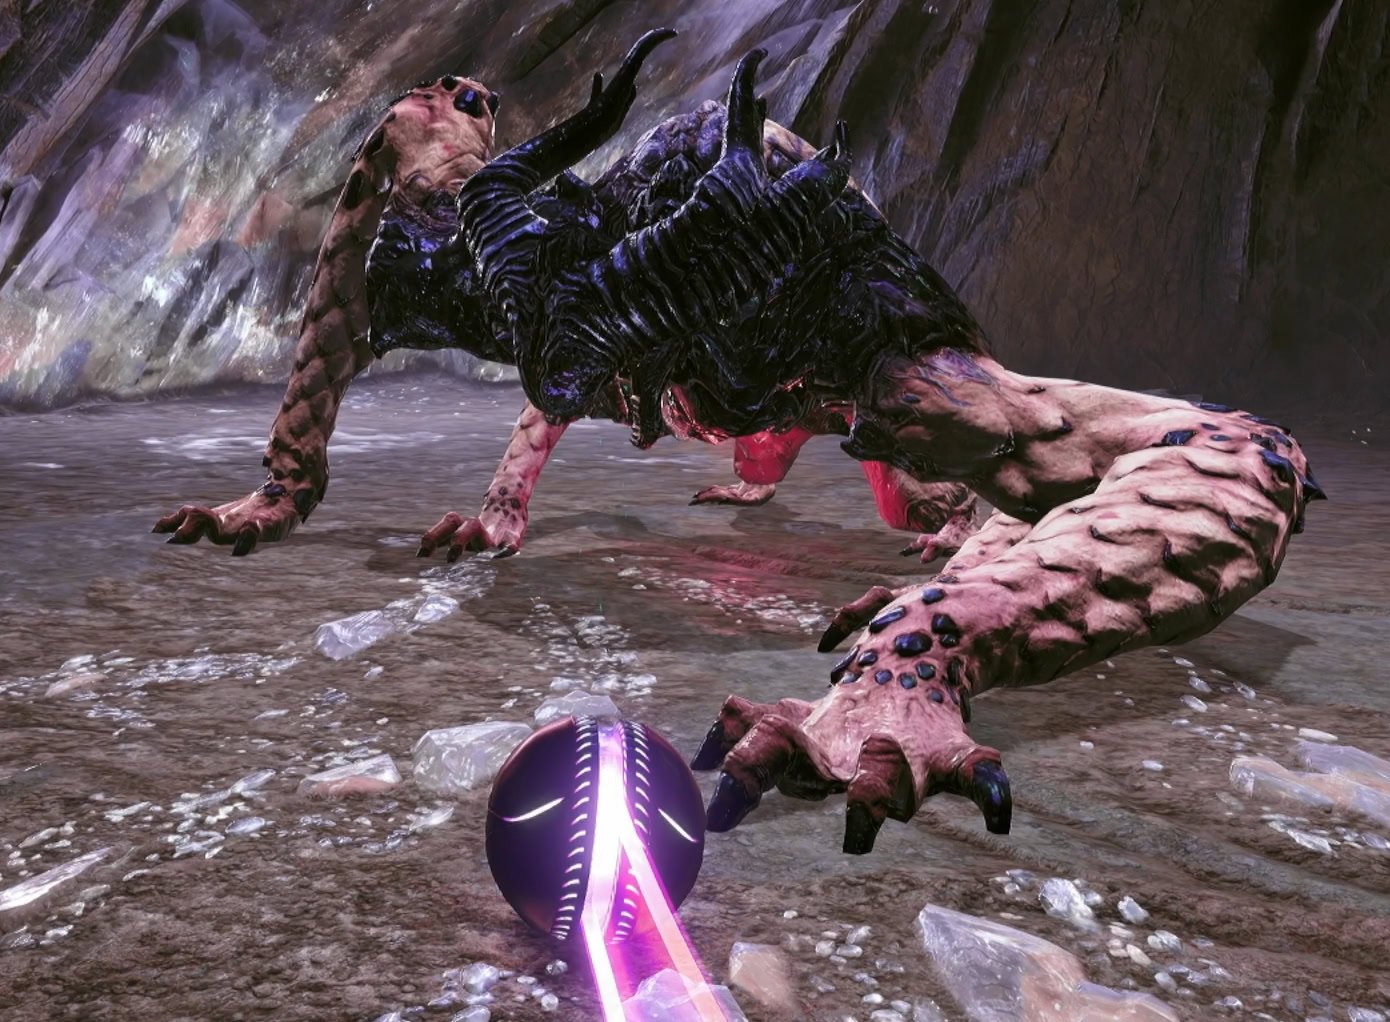
When it gets low on health, it’ll feign its death and reveal a Psychic Power Bomb on its tongue. Approach it and it’ll rear back up, finish it off to claim that Psychic Power Bomb.
The Psychic Power Bomb
The Psychic Power Bomb is a subweapon for the Morph Ball. It is an immensely powerful bomb. Unlike the Psychic Bomb, it does not refill automatically and you’ll need to find ammo for it or reload at a save station.
The Psychic Power Bomb deals a Powerful Diffused-Oscillation Blast. This is used to clear specific obstacles and activate some generators. Do note that using this within the Great Mines will attract Maul Grievers.

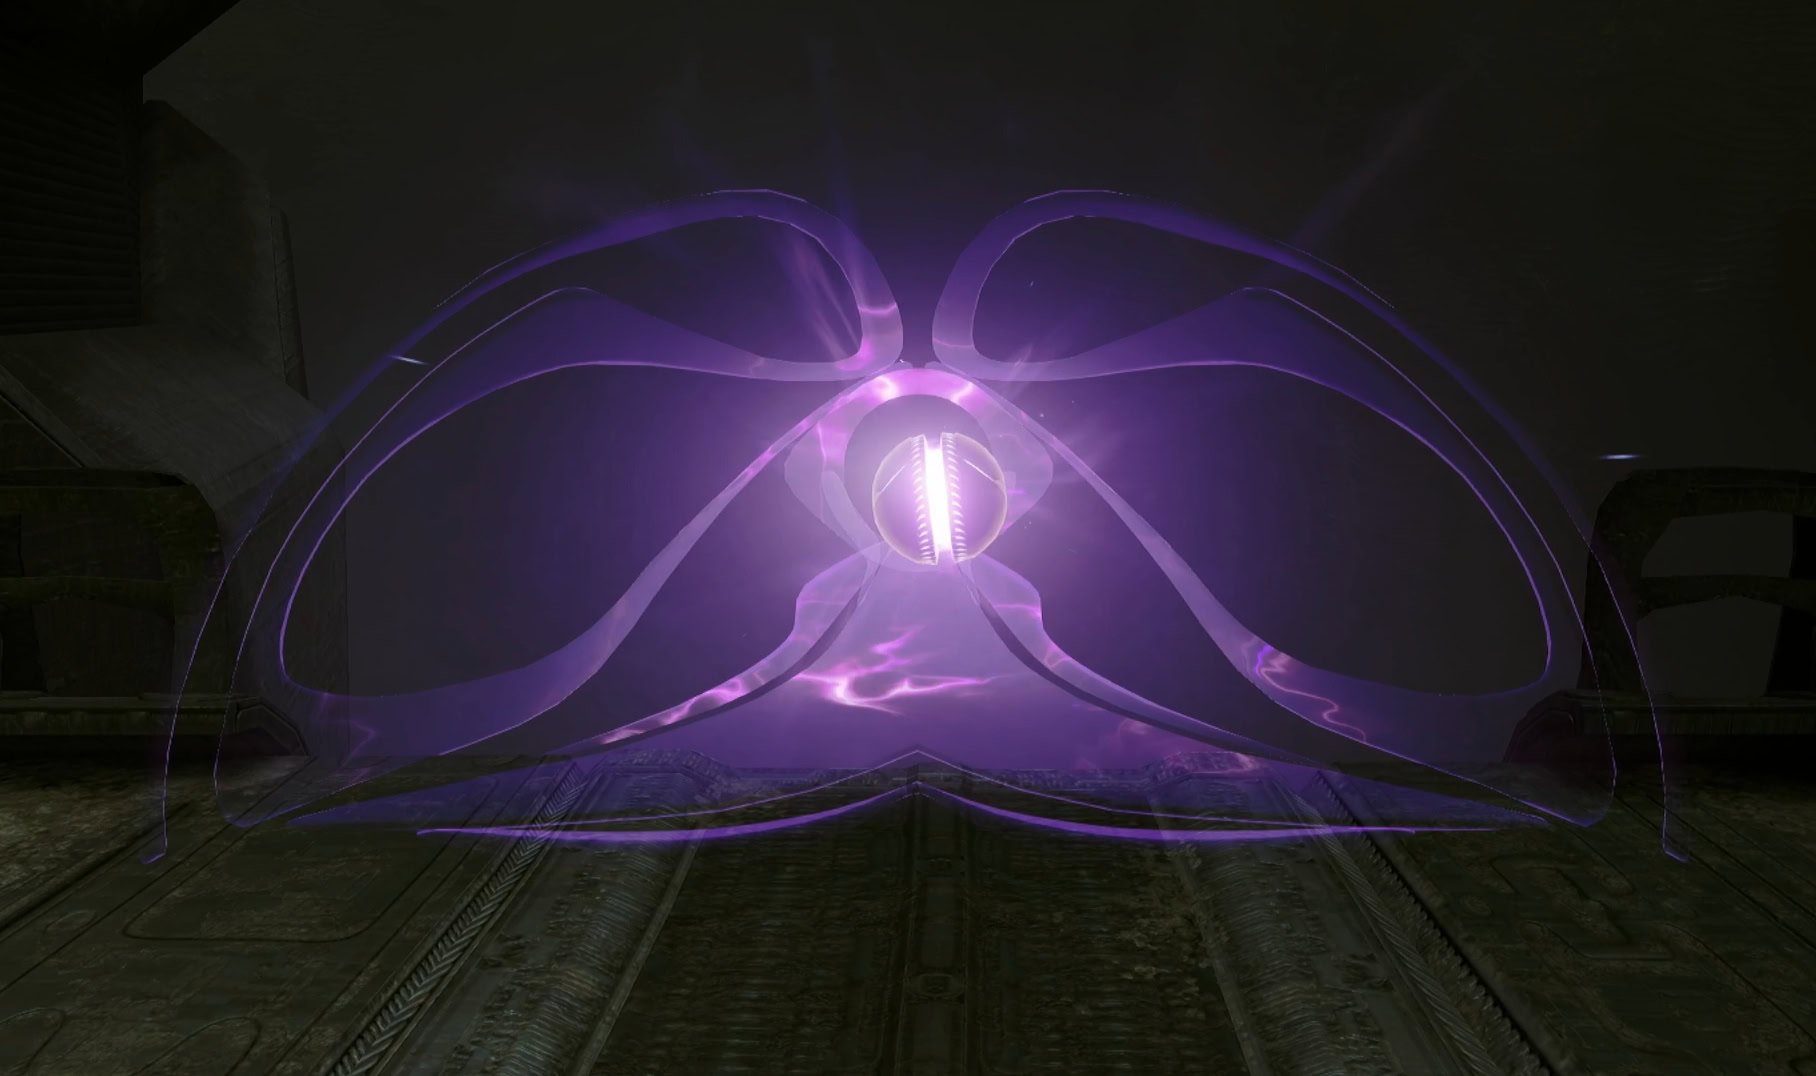
For full details on the mechanics of the weapon, controlling its ammo, and destroying the Gibardaum Rocks, check our dedicated guide.
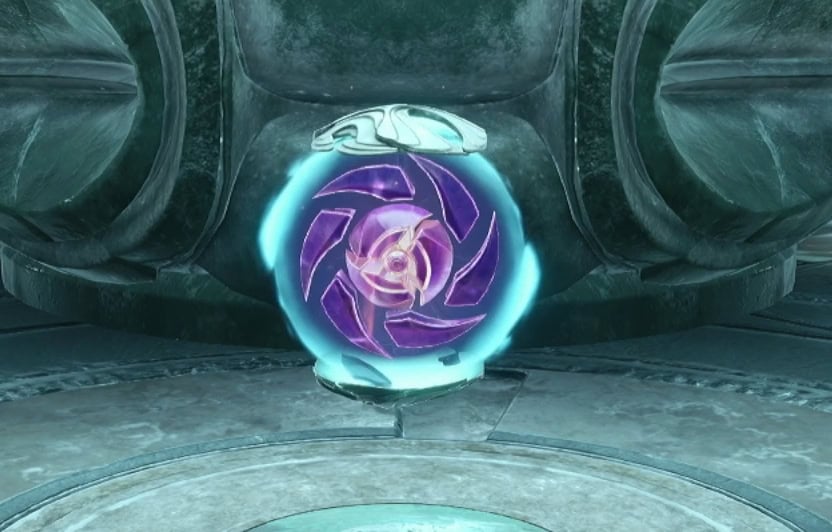
How to use the Psychic Power Ball in Metroid Prime 4Roll into the Sacred Shrine and pop a Power Bomb in the slot to activate the shrine. Look into the eye of the shrine to receive the final Master Teleporter Key.

Leaving the Great Mines
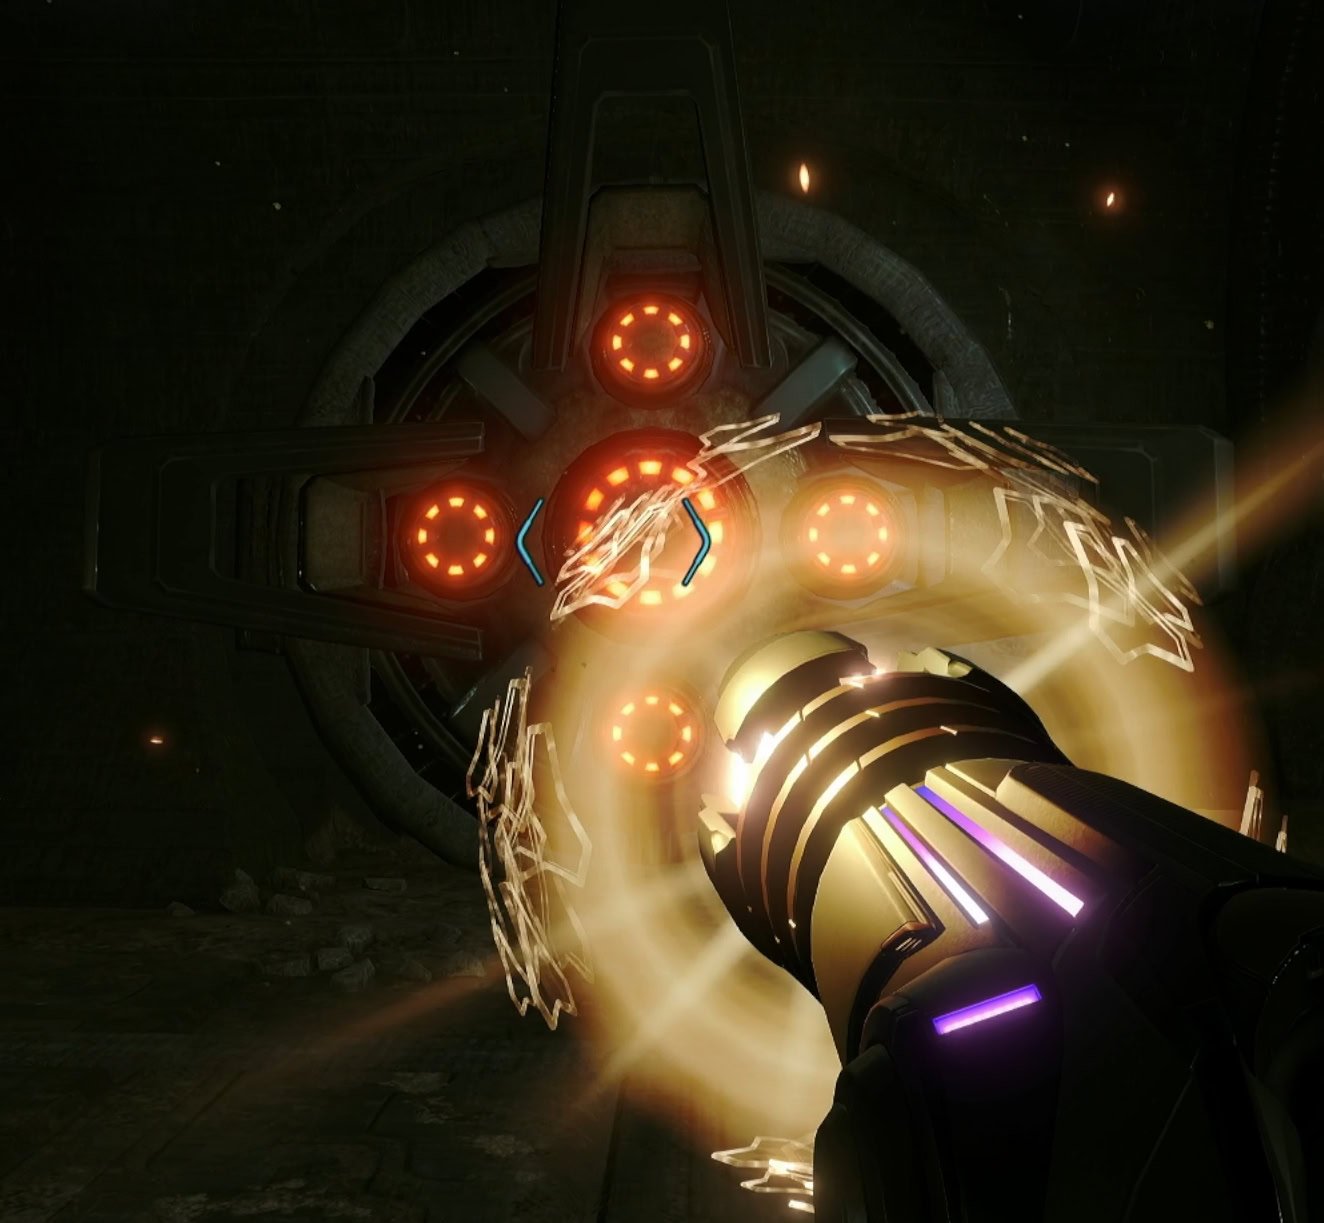
Blow up the shutter blocking the exit with a Power Bomb then return to the Main Shaft. Go to the bottom of the shaft, blow off the lock with a Super Missile, then plant a Power Bomb in the bomb socket to activate the power.
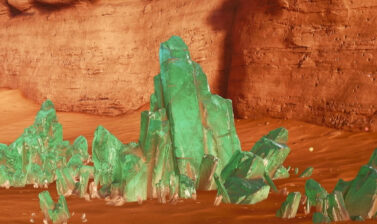
Take the spider tracks up to the platforms and summon the lift with the terminal. All that’s left to do now is to find the missing Mech Parts and get enough Green Energy Crystals to grow the Memory Fruit. Once that’s done, you’ll be able to enter return to the Chrono Tower.