Extinguishing the Flames is a detective quest for the Goldleaf Merchants is one of the most rewarding early sidequests to do. Find out how to complete it and why in this walkthrough.
How to start this questline
Extinguishing the Flames begins when we speak to Shakatu, within the main Goldleaf Camp. This quest will also mark the Camp with their Faction symbol when it becomes available after defeating Kailok, the Hornsplitter, during the “Cheers Echoing From the Edge” Quest in Chapter 2.

Extinguishing the Flames is the sole questline for the Goldleaf Merchant Faction in Hernand, and the final reward is quite valuable early on.
How to complete each Quest
Below are all the quests that are part of this questline, and how to complete them, and the order we recommend tackling them, as all but the first and last steps are available simultaneously.
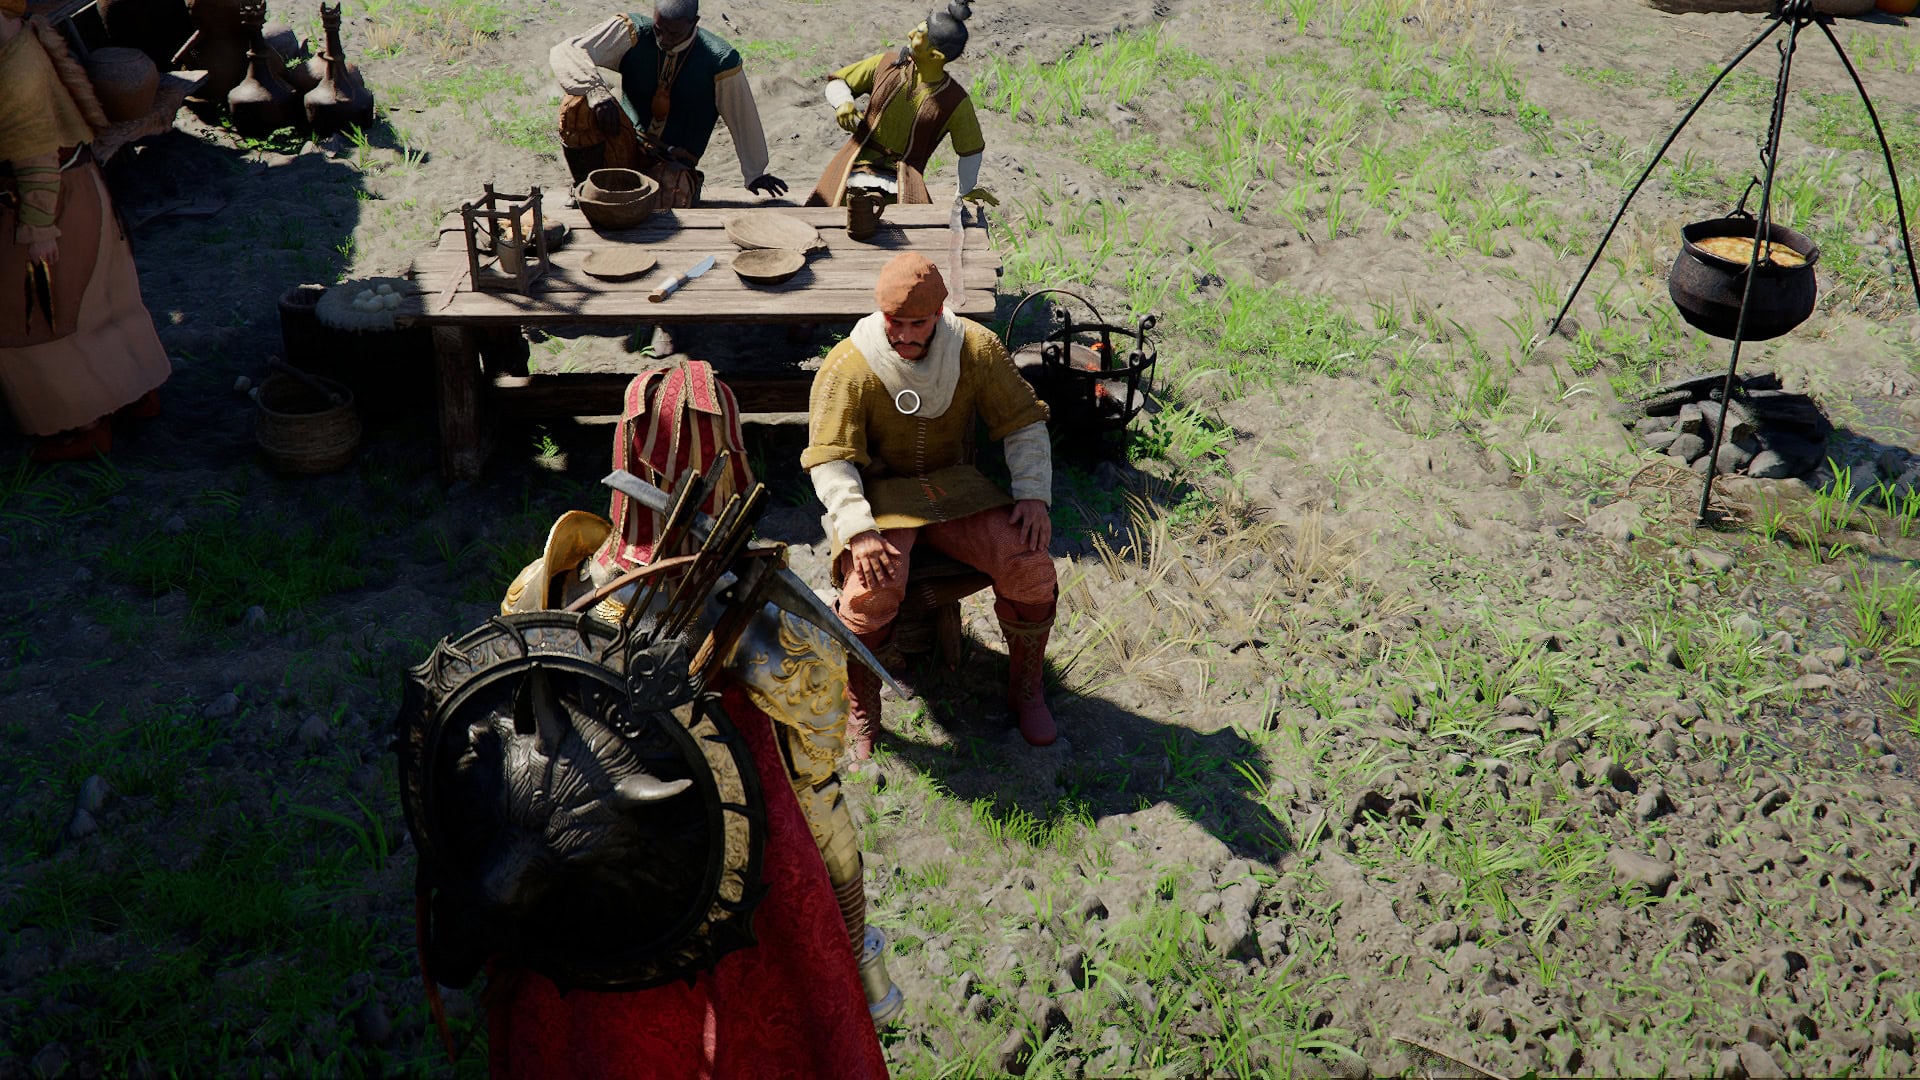
Troubled Shakatu
After speaking with Shakatu, he’ll task us to interrogate the Goldleaf Merchants he suspects of betraying the Goldleaves hand us an Investigation Log. Examine each page of the log to get an idea of the situation.
We’ll need to examine every piece of evidence to progress the upcoming sections, so be prepared to do a lot of it.
Nogle, the Trade Manager
Nogle is our first stop, as he’s within the main Goldleaves camp alongside Shakatu. He’s just off to the East of Shakatu, so head over and speak with him. He’ll mention speaking with Grimzle over drinks, but doesn’t suspect him as the traitor.
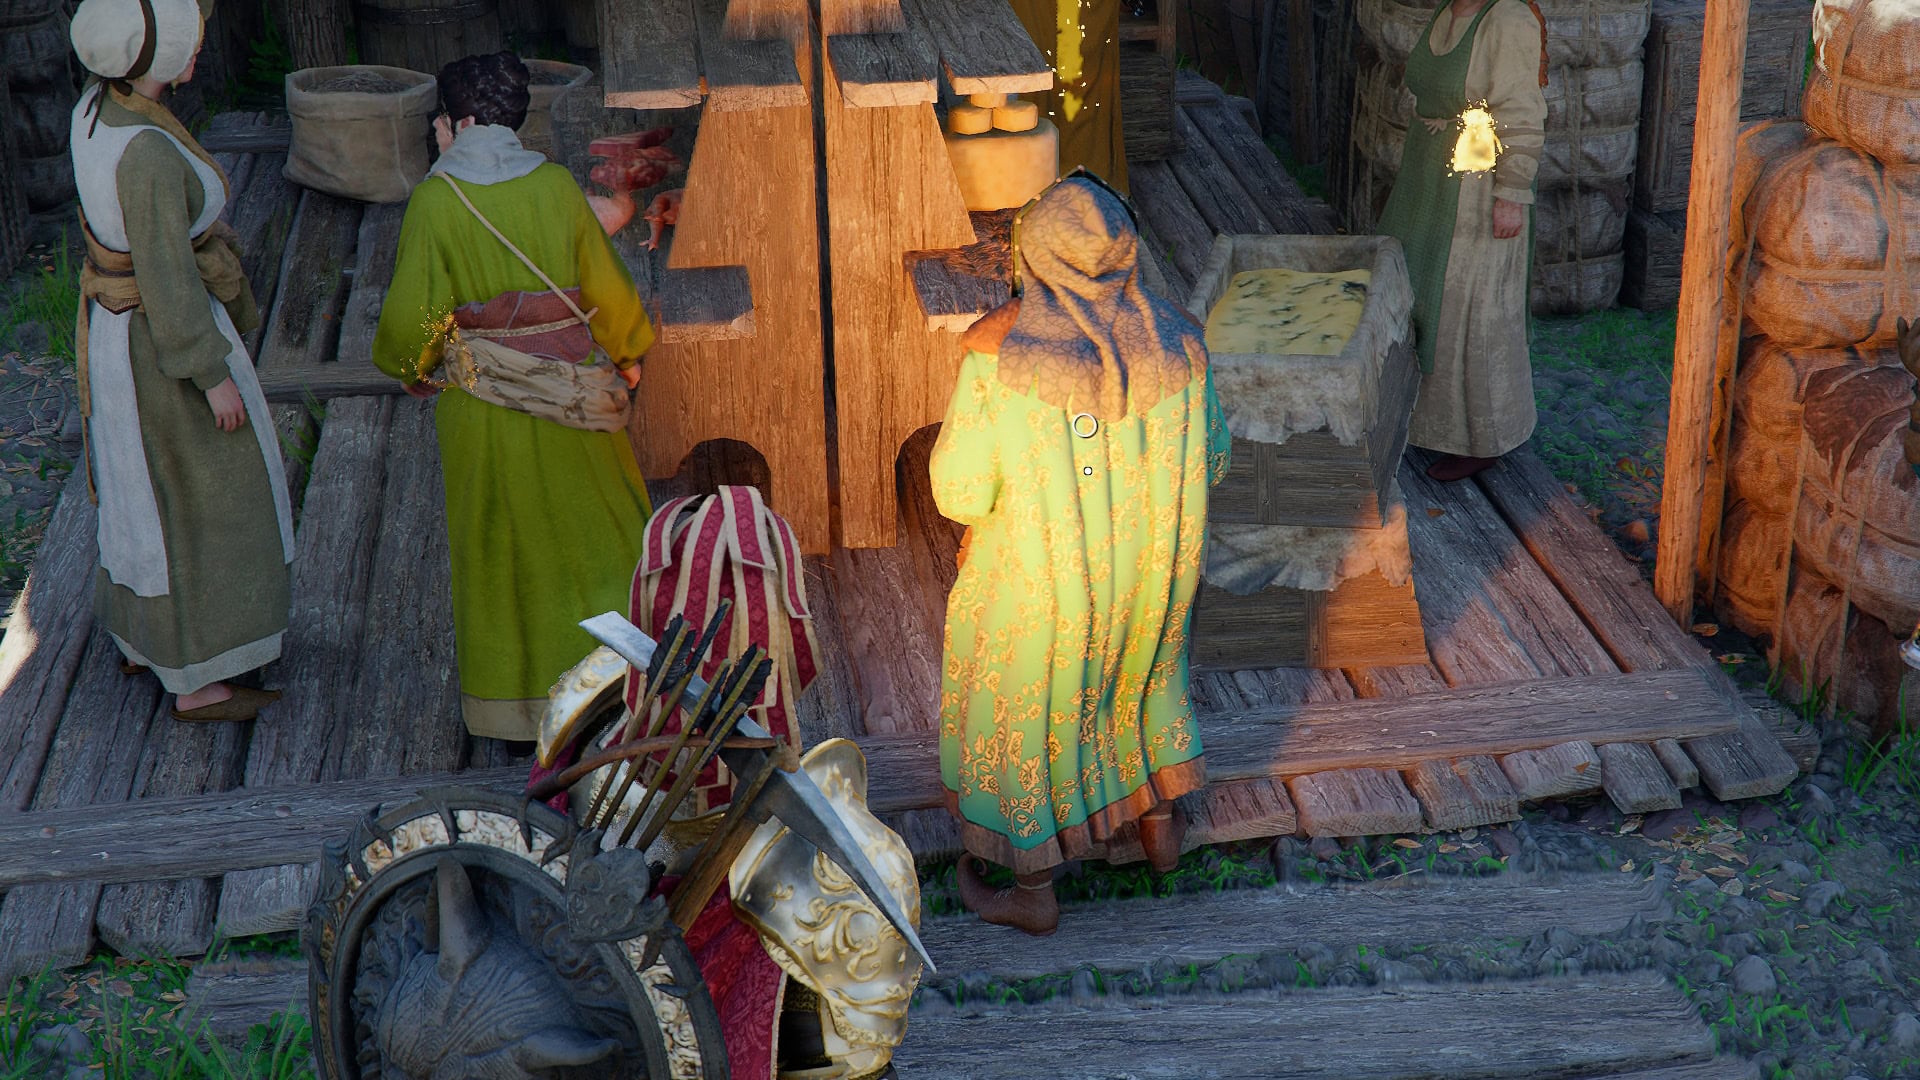
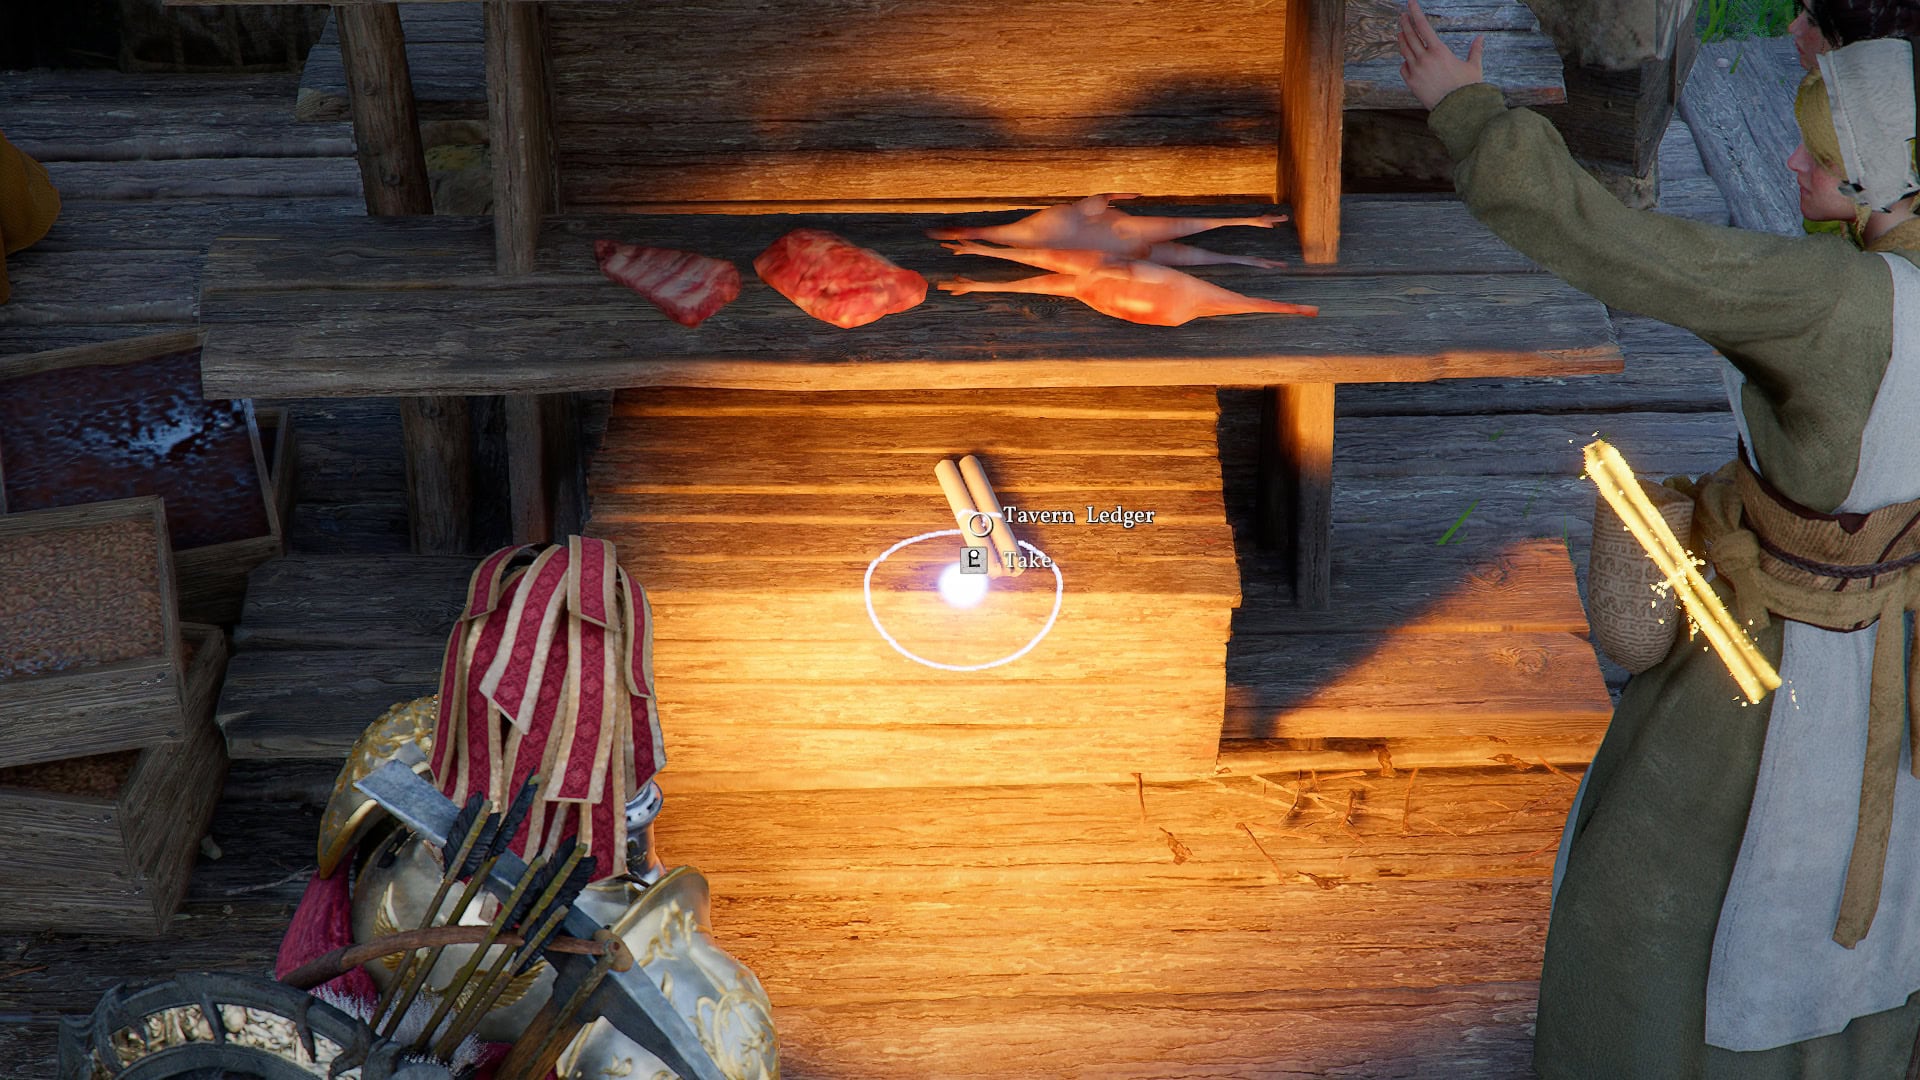
Now we gather evidence to prove Nogle’s Story, starting with the Tavern Ledger on a box under Mechant Stall just to the left. Examine it and put it away for now.
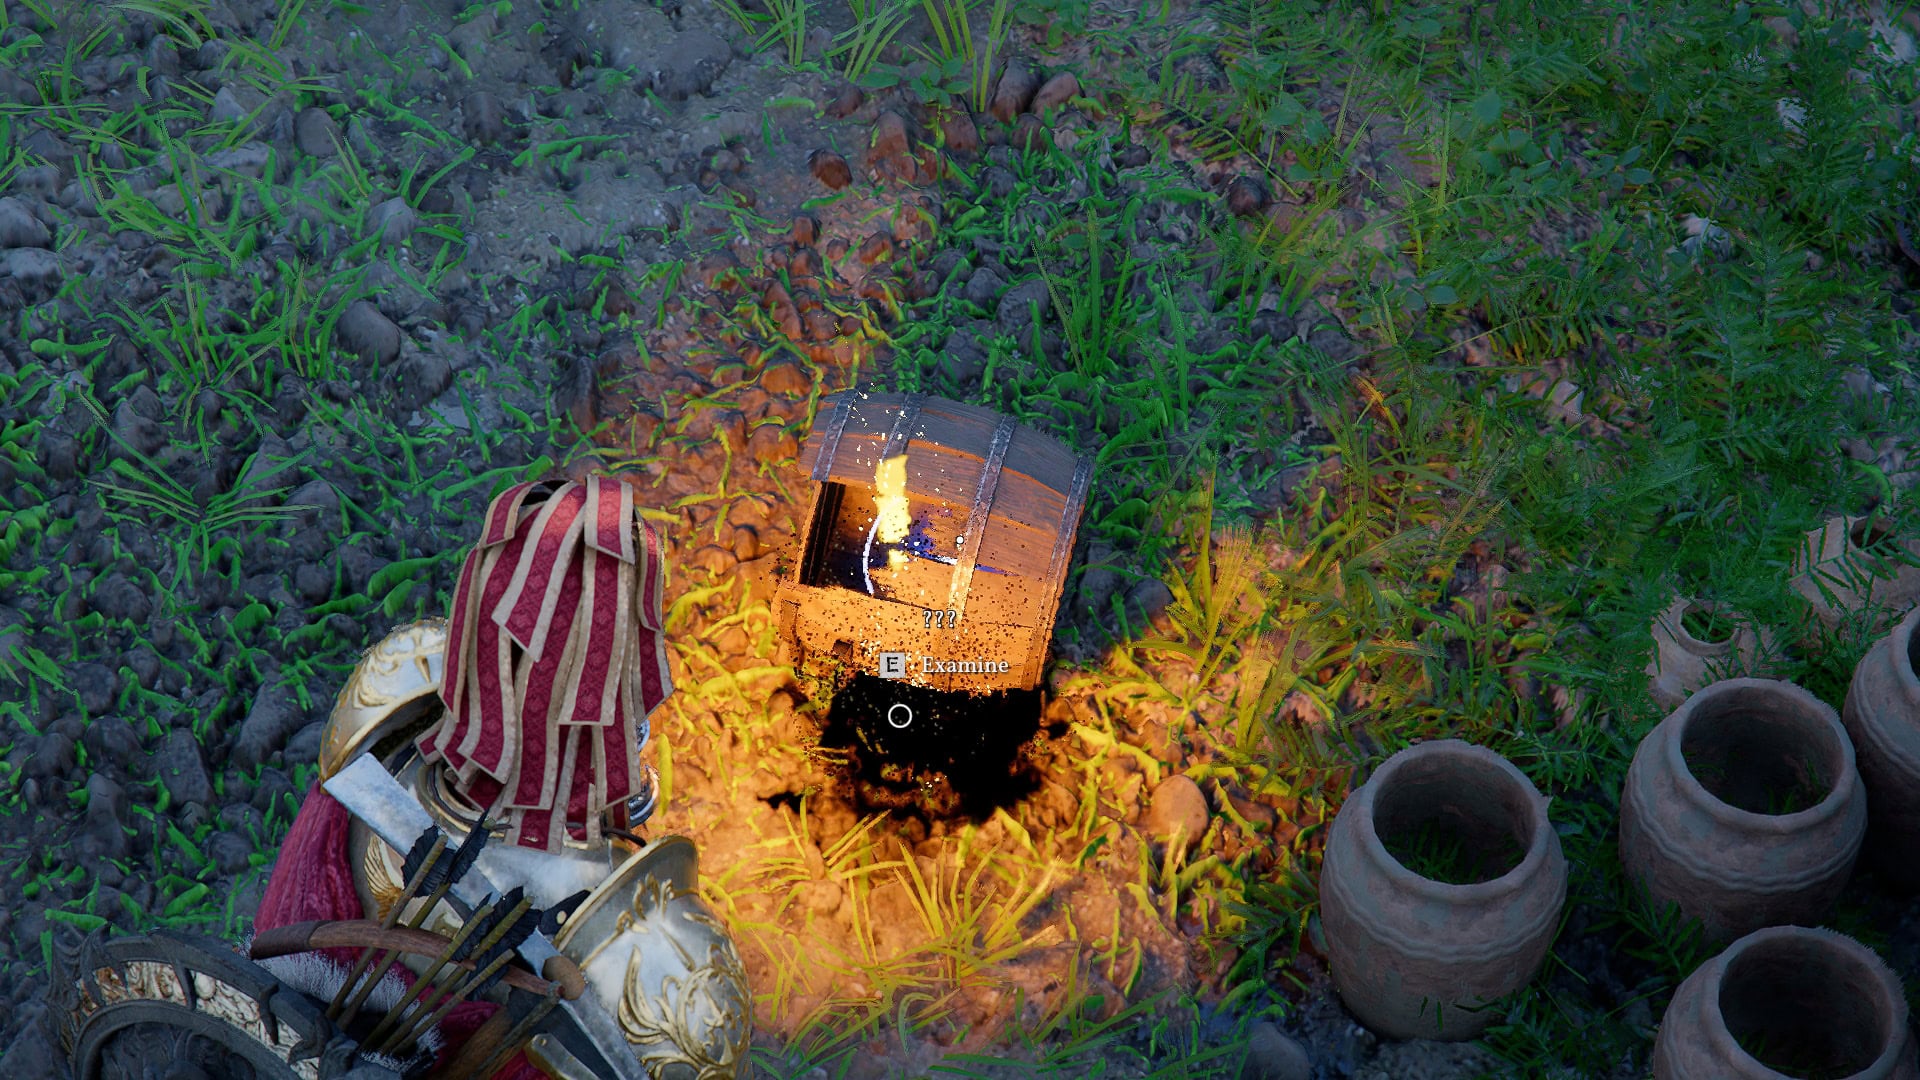
Just behind us is a Broken Barrel, which we also need to investigate.
And our final piece of possible evidence, the Tax Notice located by the bottles of Wine at the back of the merchant stall.
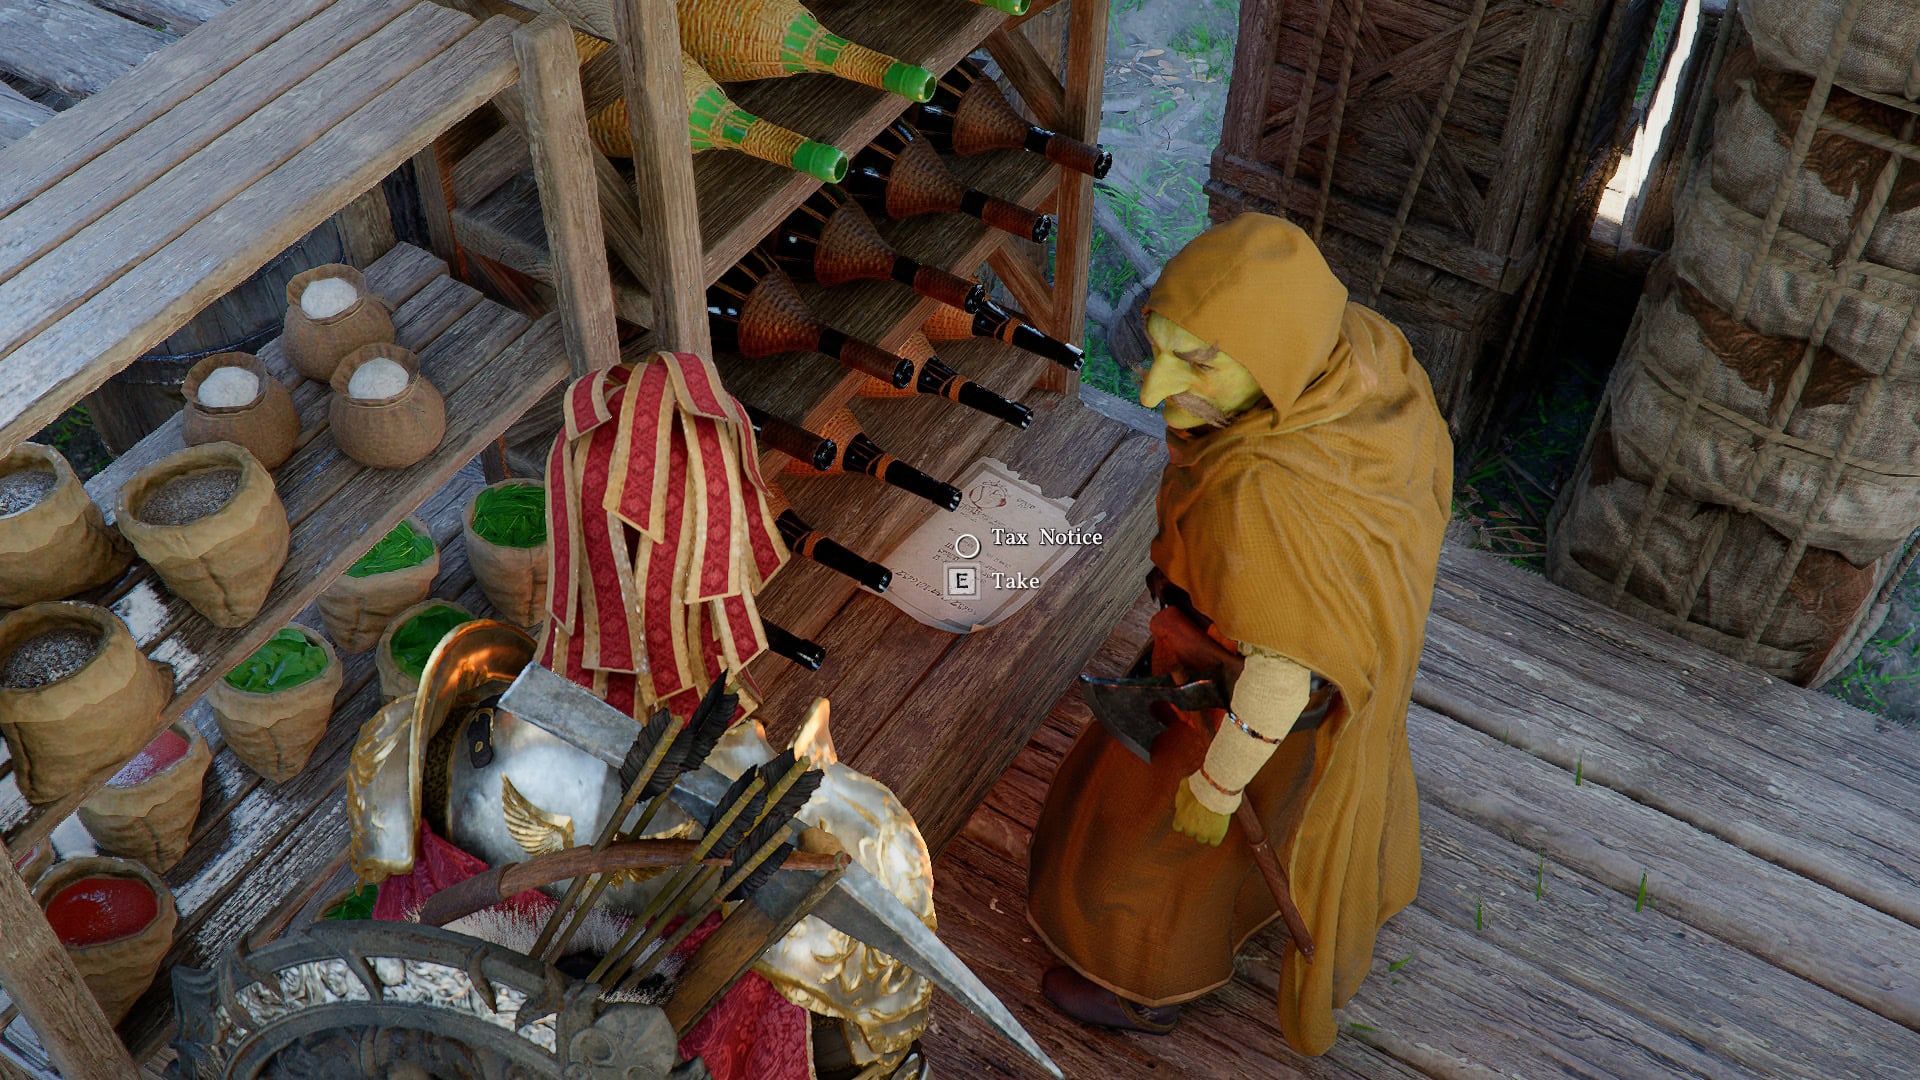
Evidence in hand, we can move on.
Kathan, the Goldleaf Private Soldier
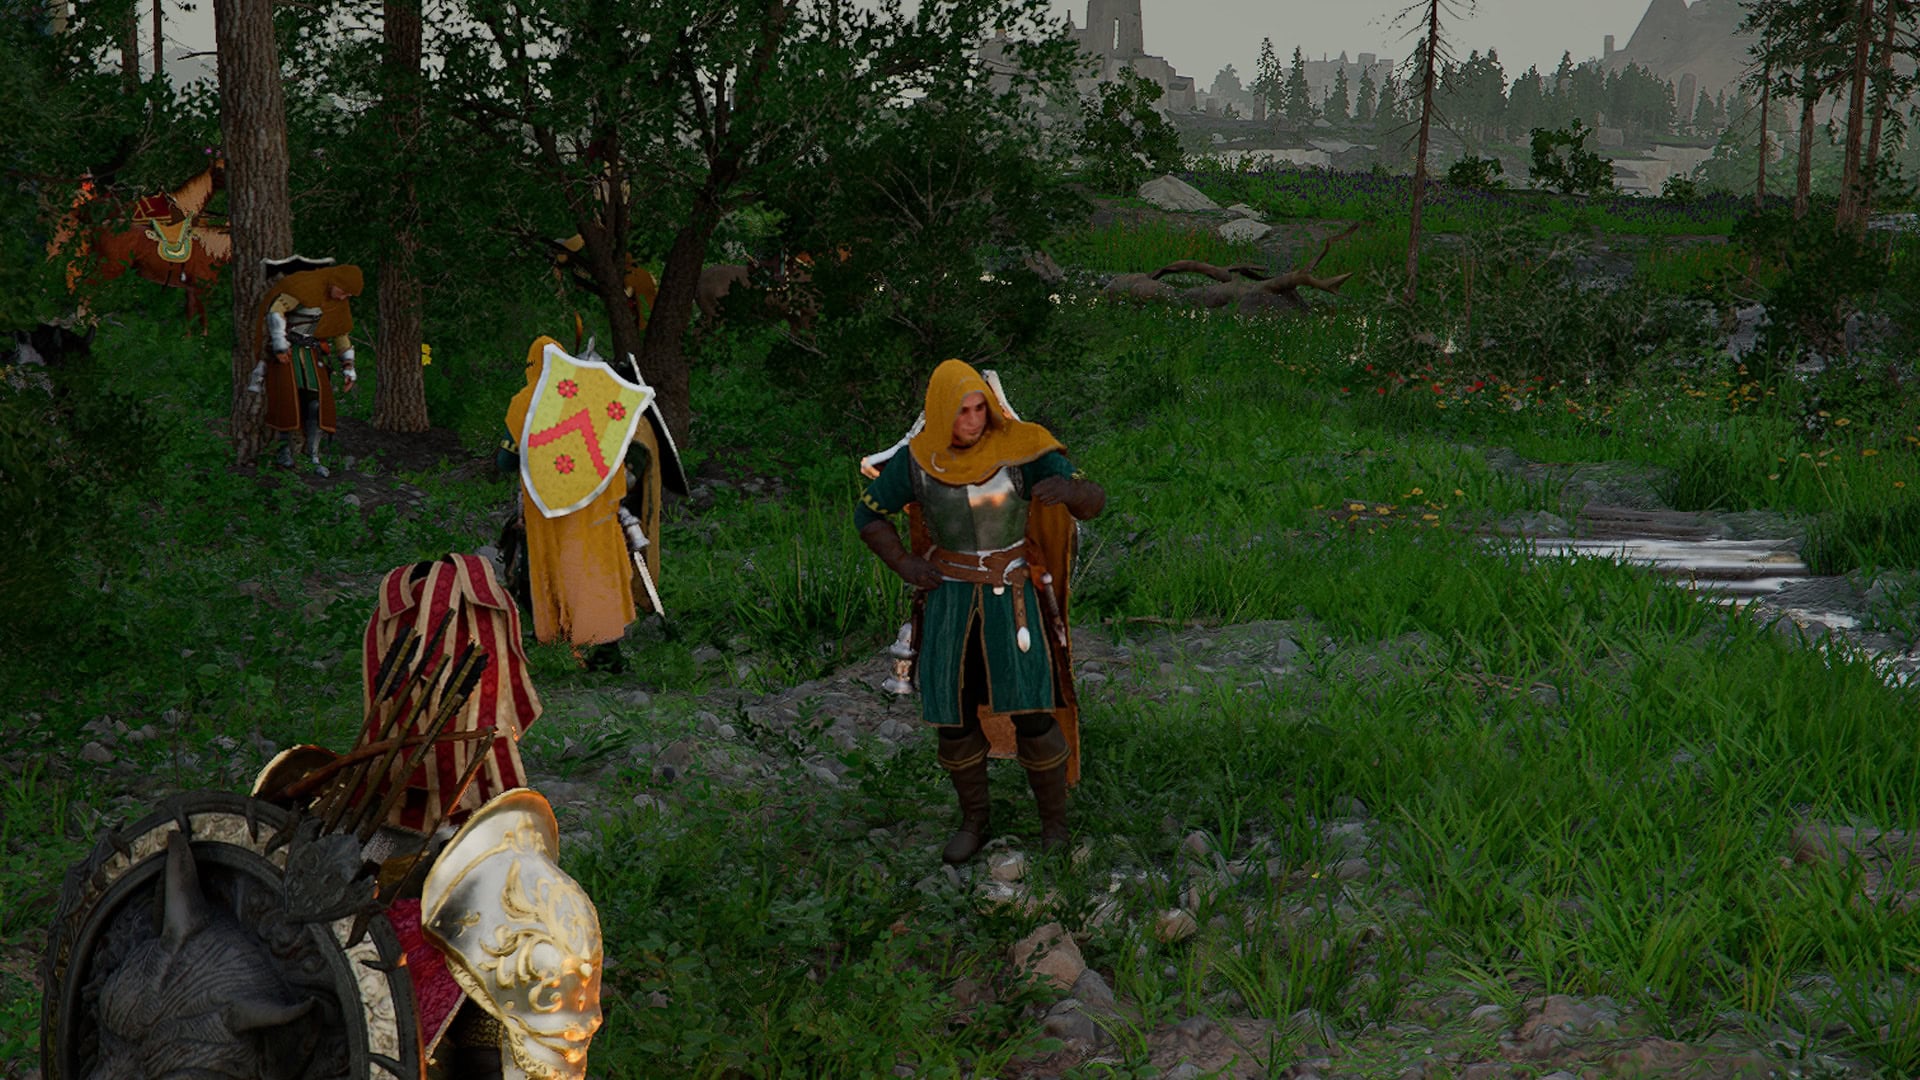
Kathan is the next closest person we need to interrogate. He’s located in the secondary camp just outside the Western Wall of the main camp. Speak with him, and he’ll divulge that he suspects a guard.
To gather evidence for his section, we’ll start by grabbing the Guard’s Letter, located over by the anvil.
Next up is the Guard’s Report, found over by the white tent just a bit to the left of the Guard’s Letter.
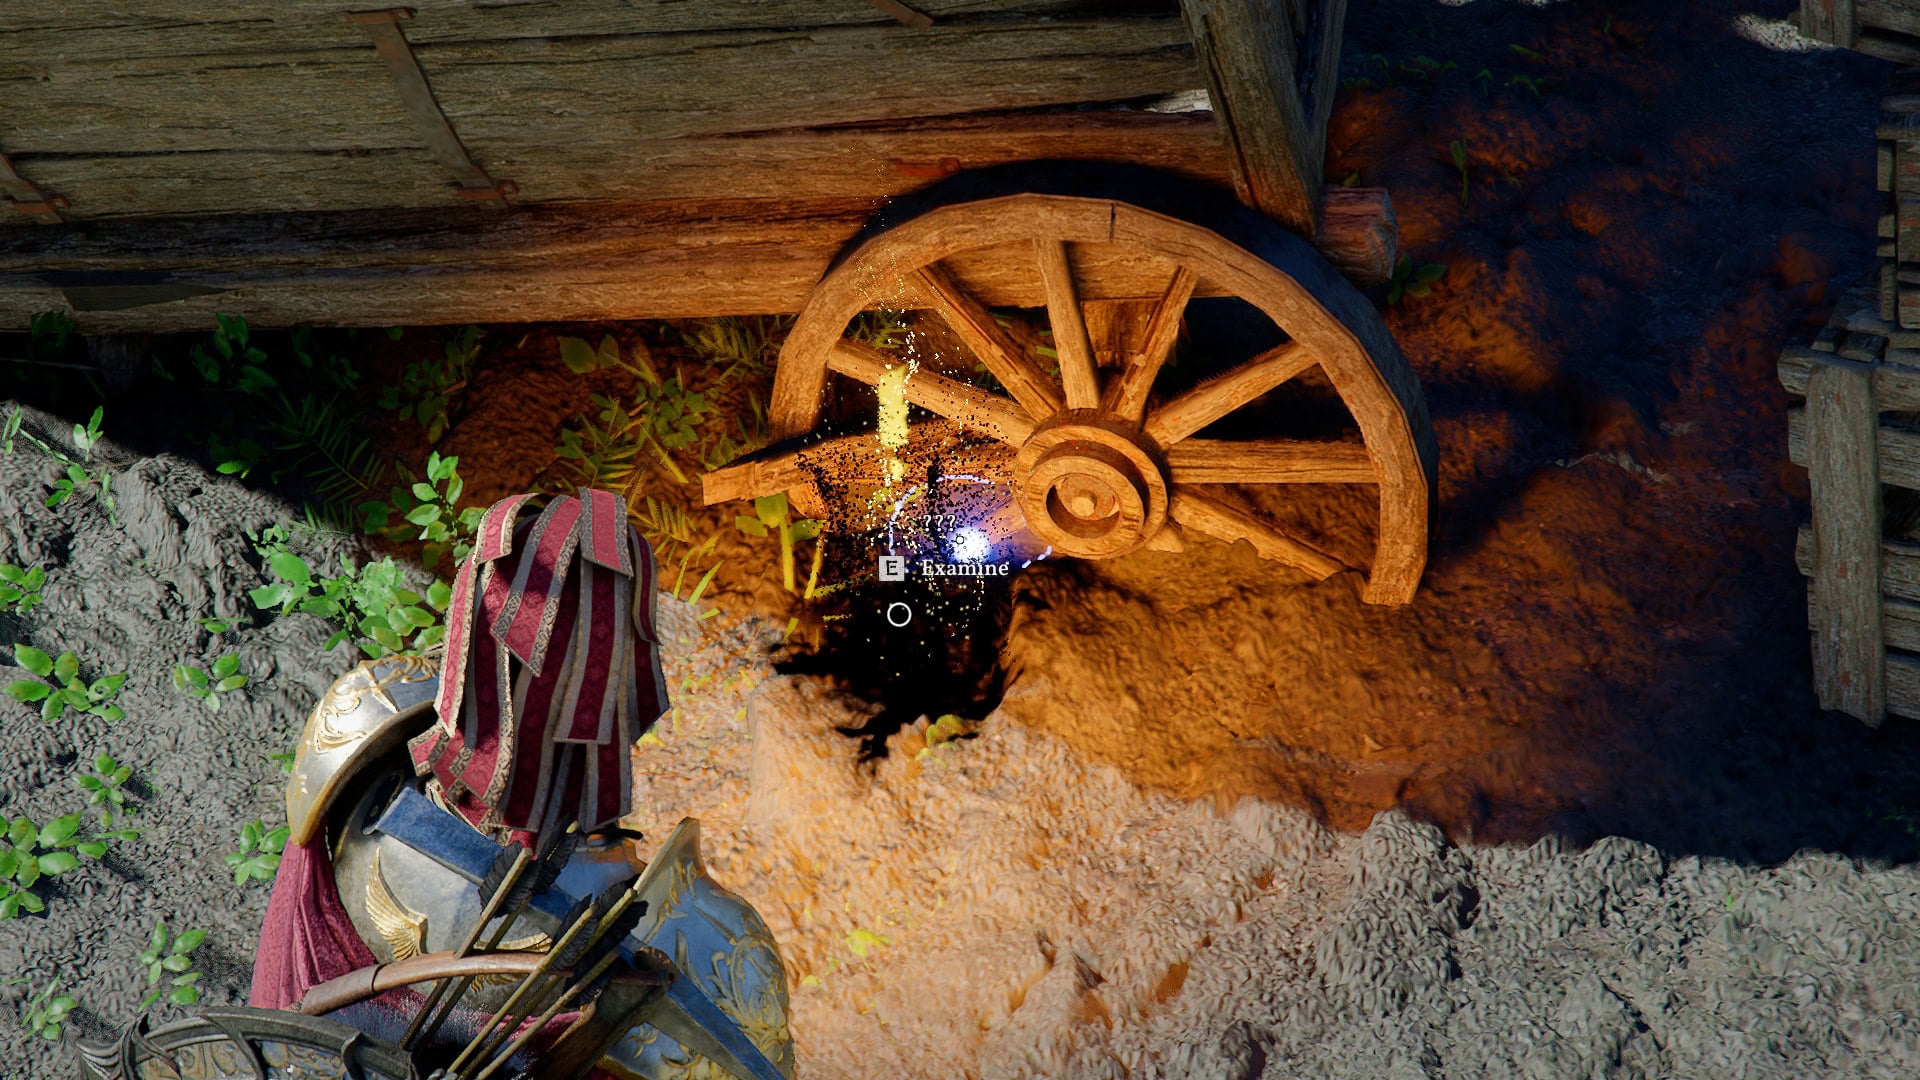
Finally, we’ll head just across the road from the camp to the Broken Wagon and investigate it before we can move on.
Grimzle, The Ledger Manager
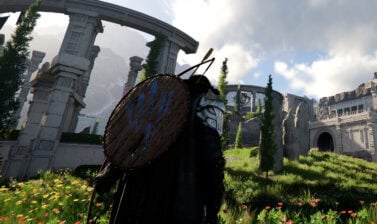
Next, we’ll talk to Grimzle, who is located in the Coalvale Workshop. He’s the next closest thanks to being able to glide down the cliff. He’ll say he suspects Nogle as the traitor as part of his interrogation.
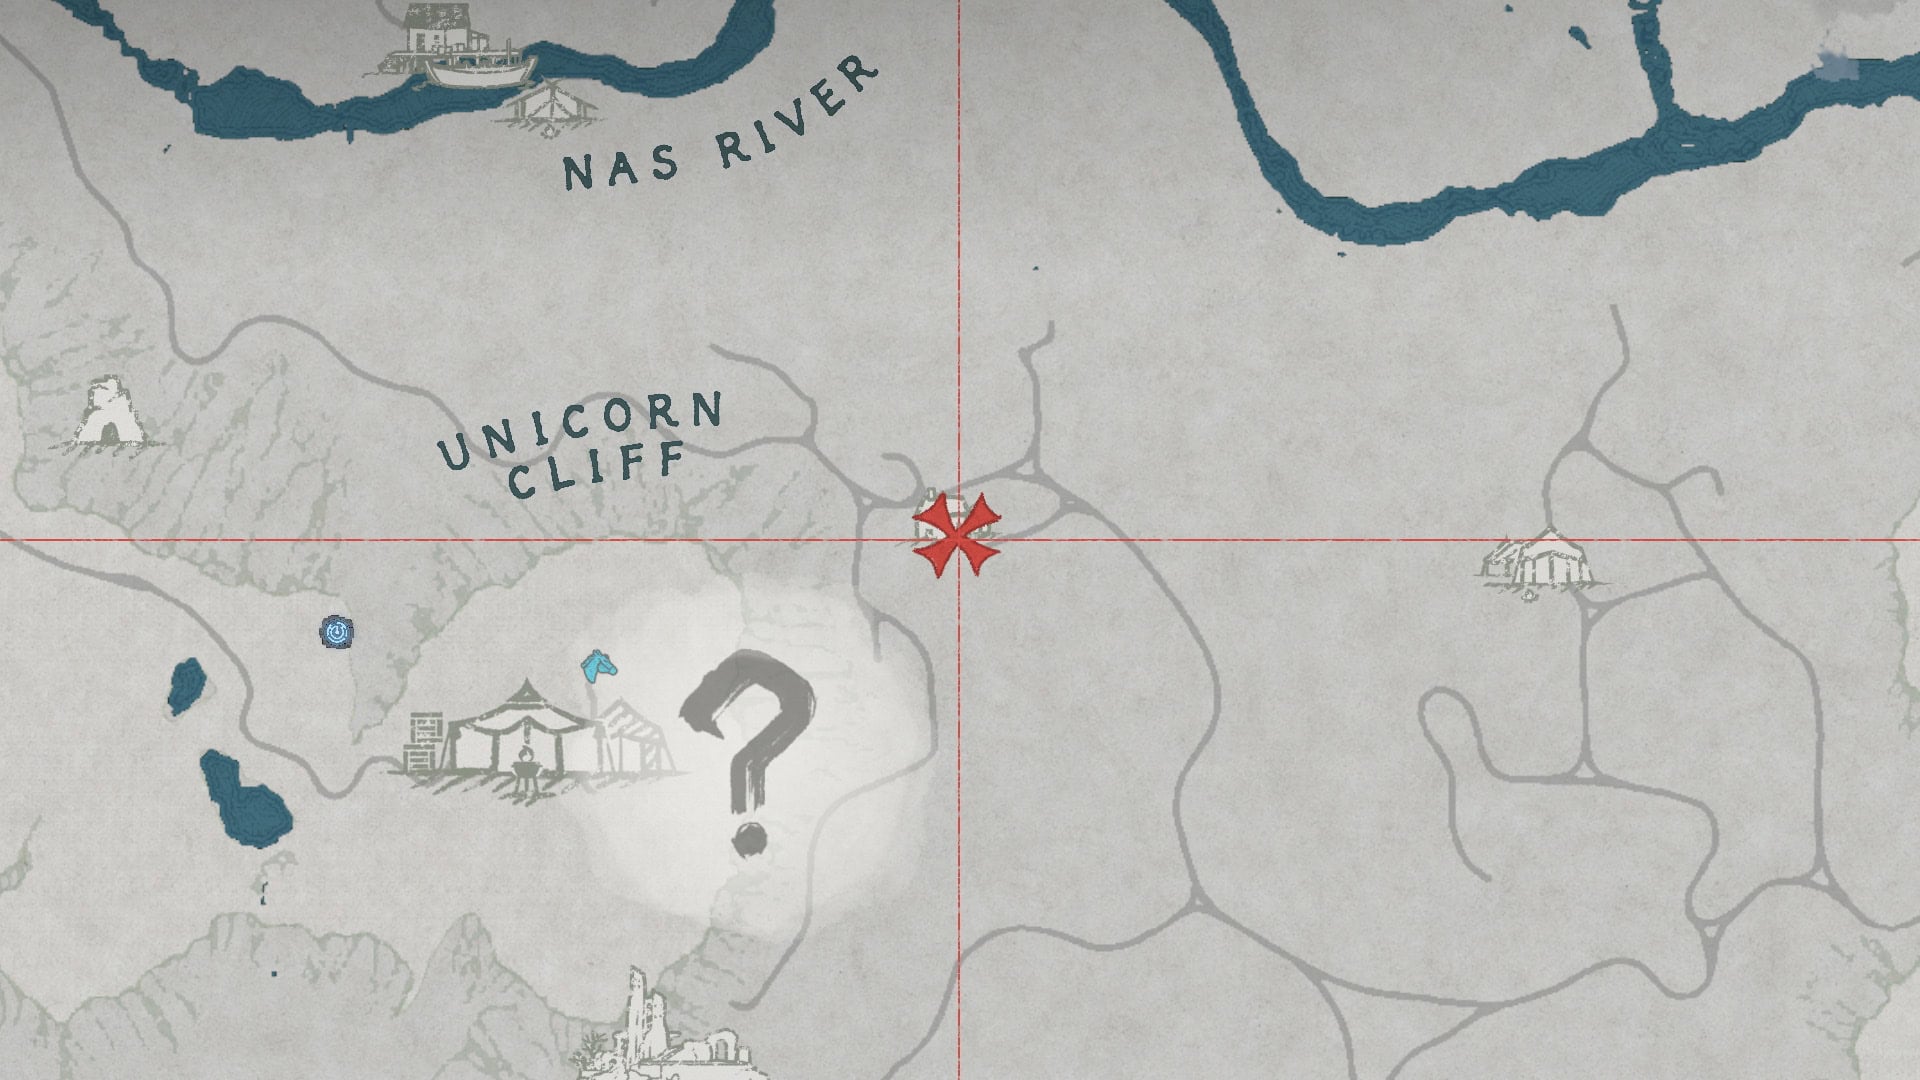
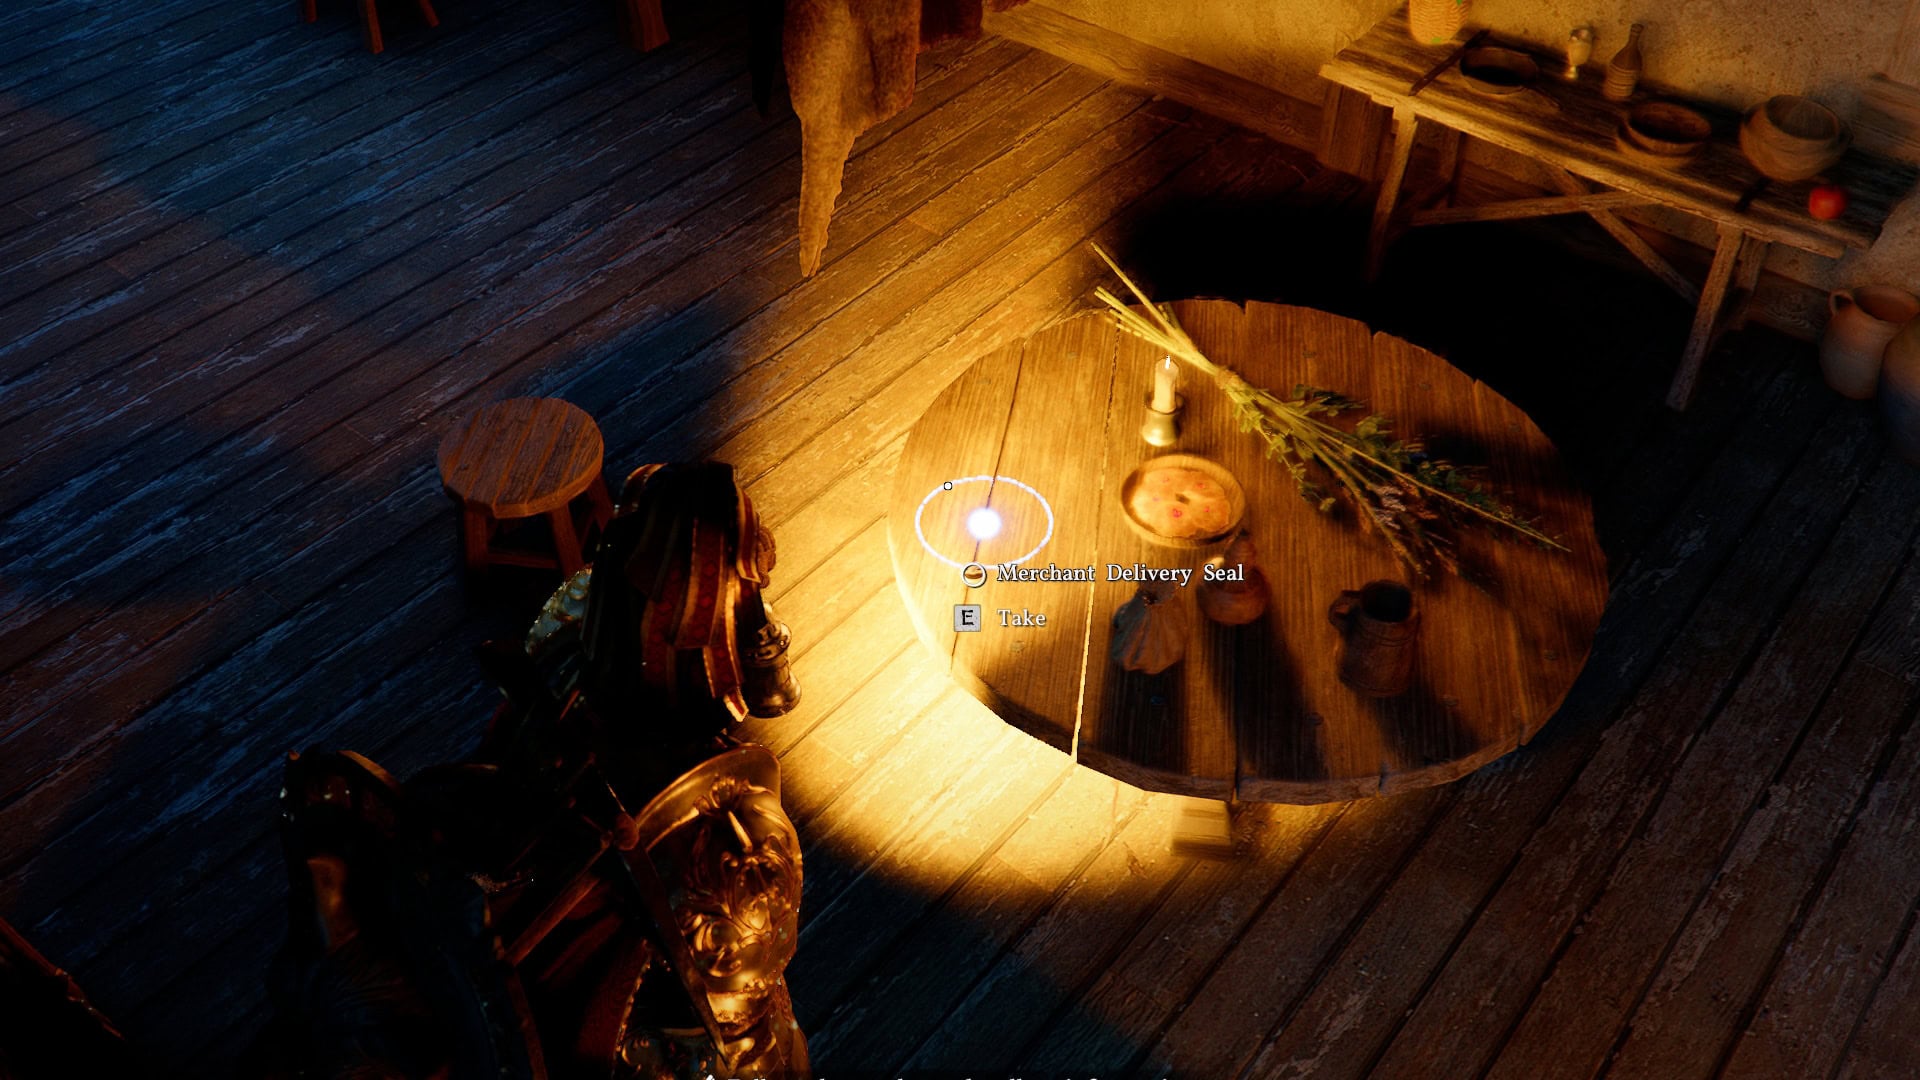
All of Grimzle’s evidence can be found in the building just behind him. So head inside, and we’ll start with the Merchant Delivery Seal on the round table in the middle. Be sure to fully examine it, despite it not being a paper; it is required.
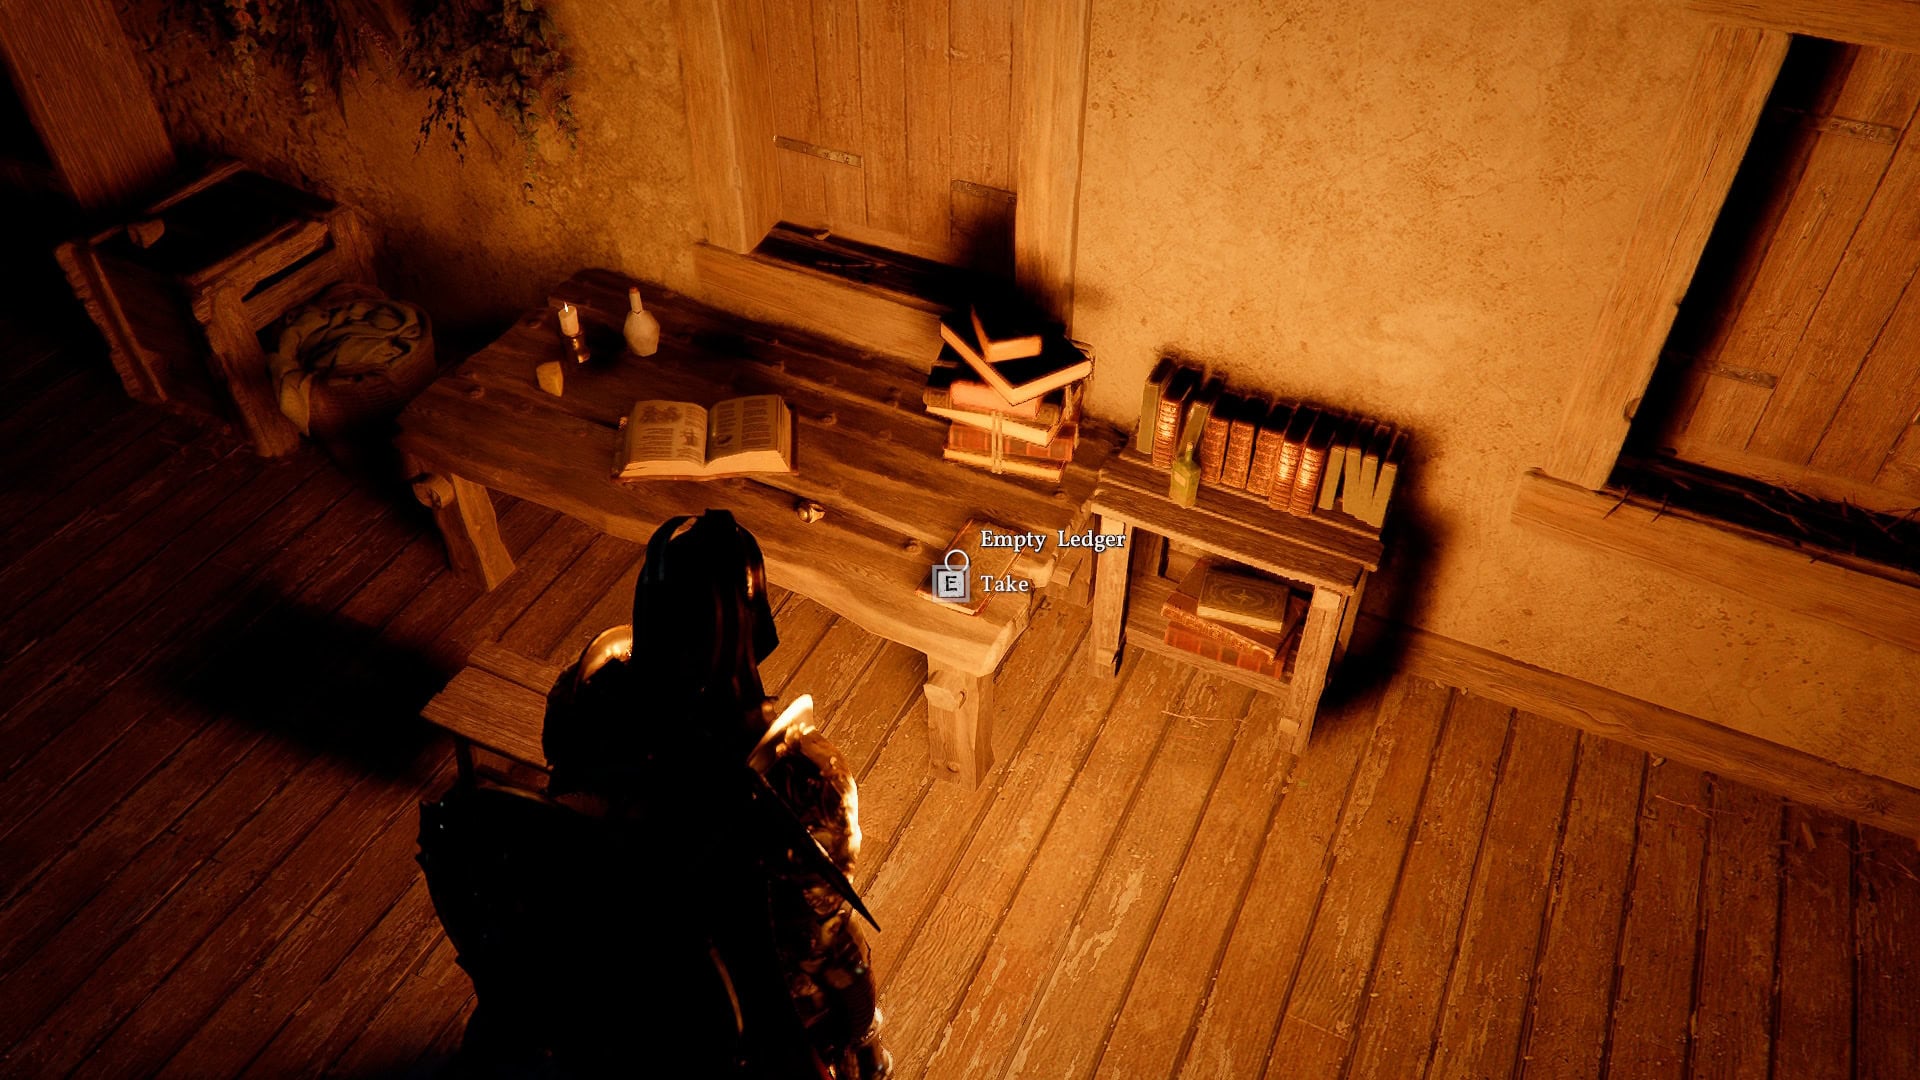
Next is the Empty Ledger, found on another table to the left.
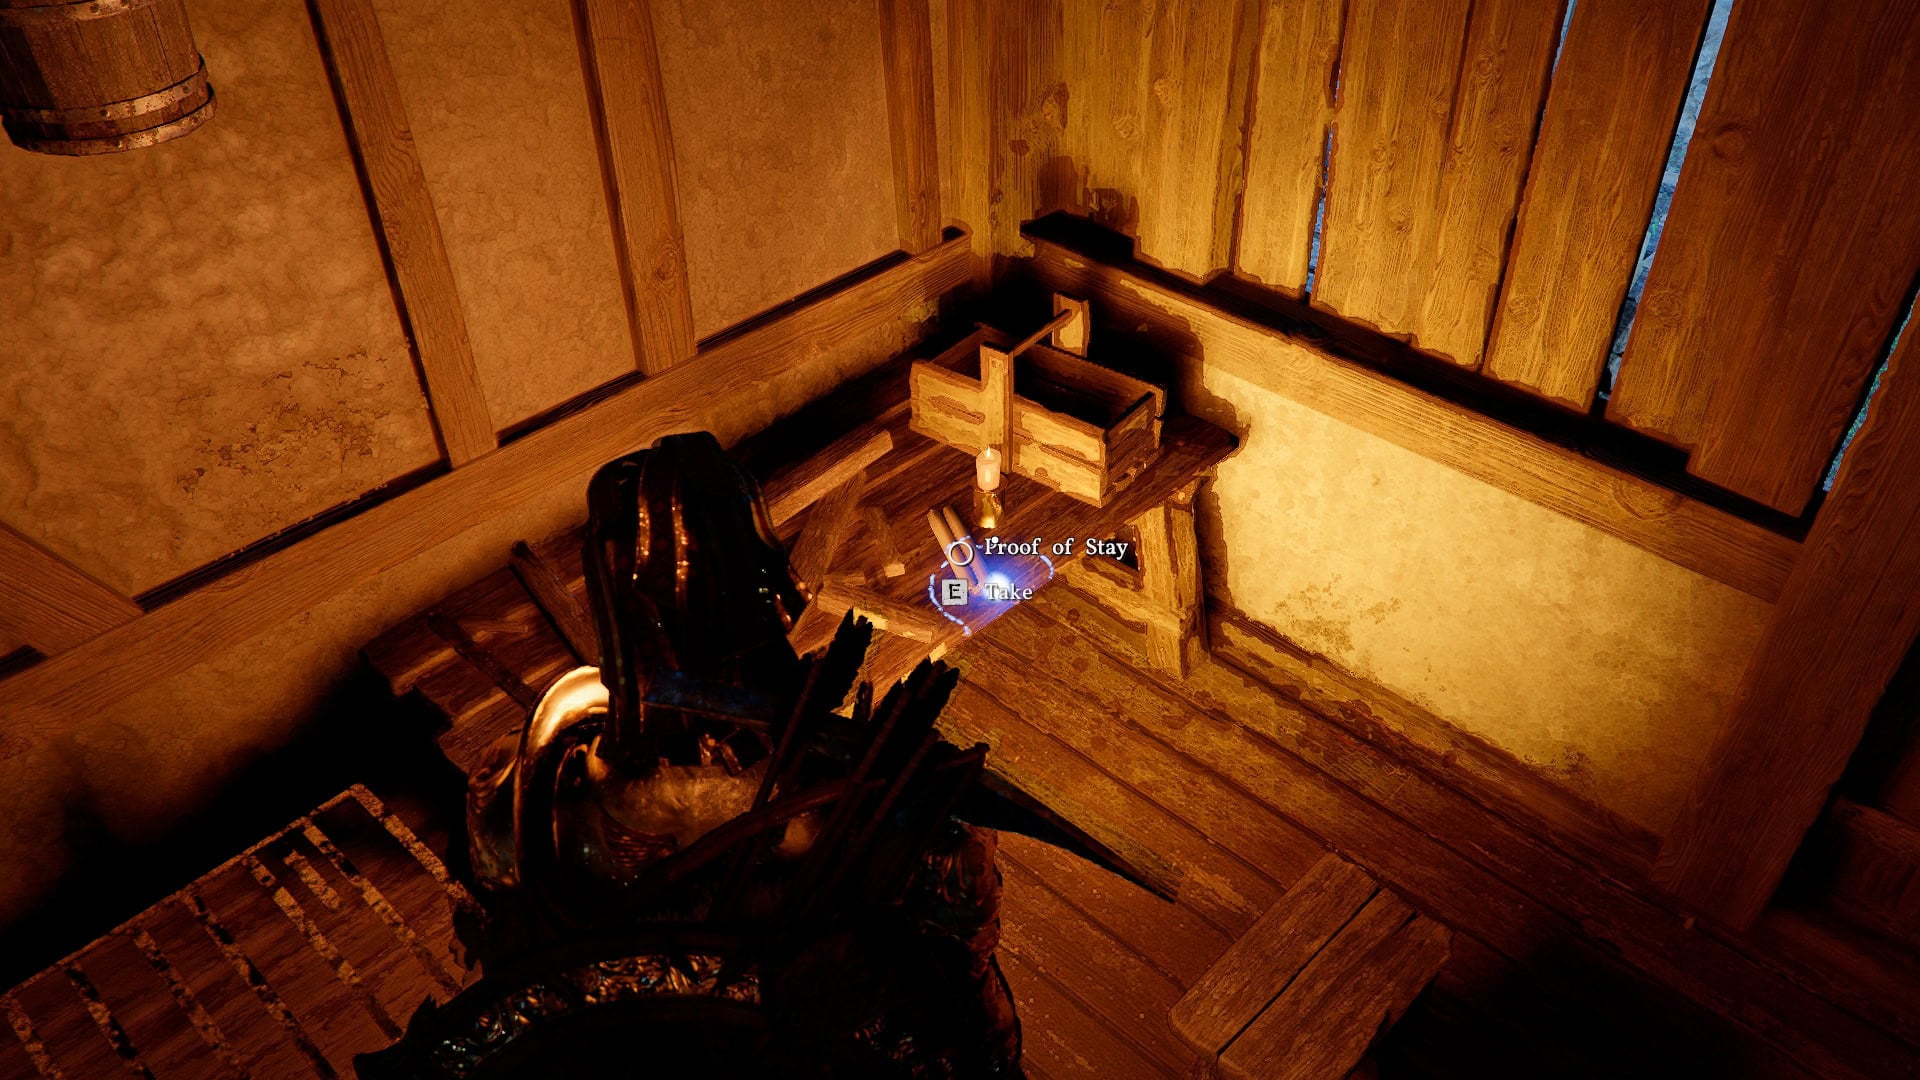
And the final Evidence we need to collect here is the Proof of Stay, located just to the left of the door as we leave.
Blique, the Horse Manager
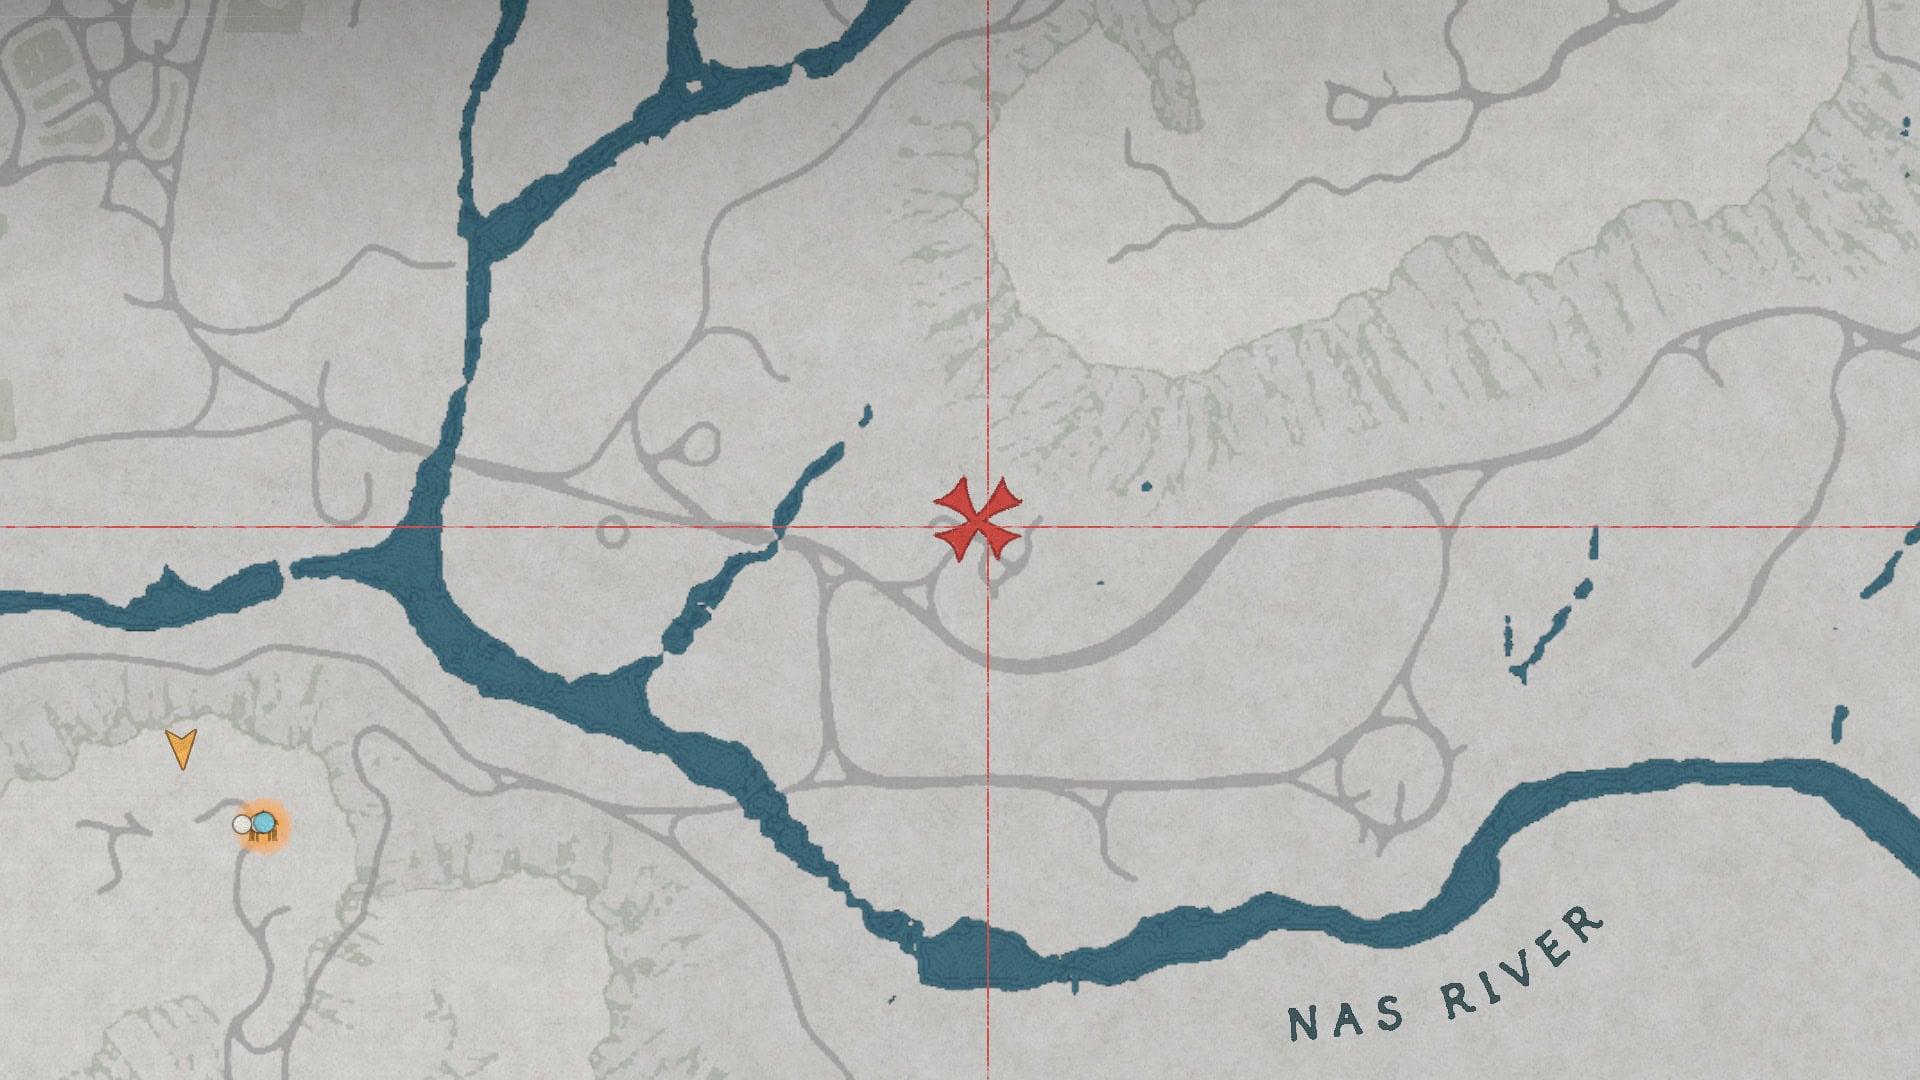
Blique is located at Bloomwood Ranch, near the large house at the back. Speaking with him, he’ll mention some suspicious folks that came for a horse, and one in particular that seemed familiar from the Merchant Guild.
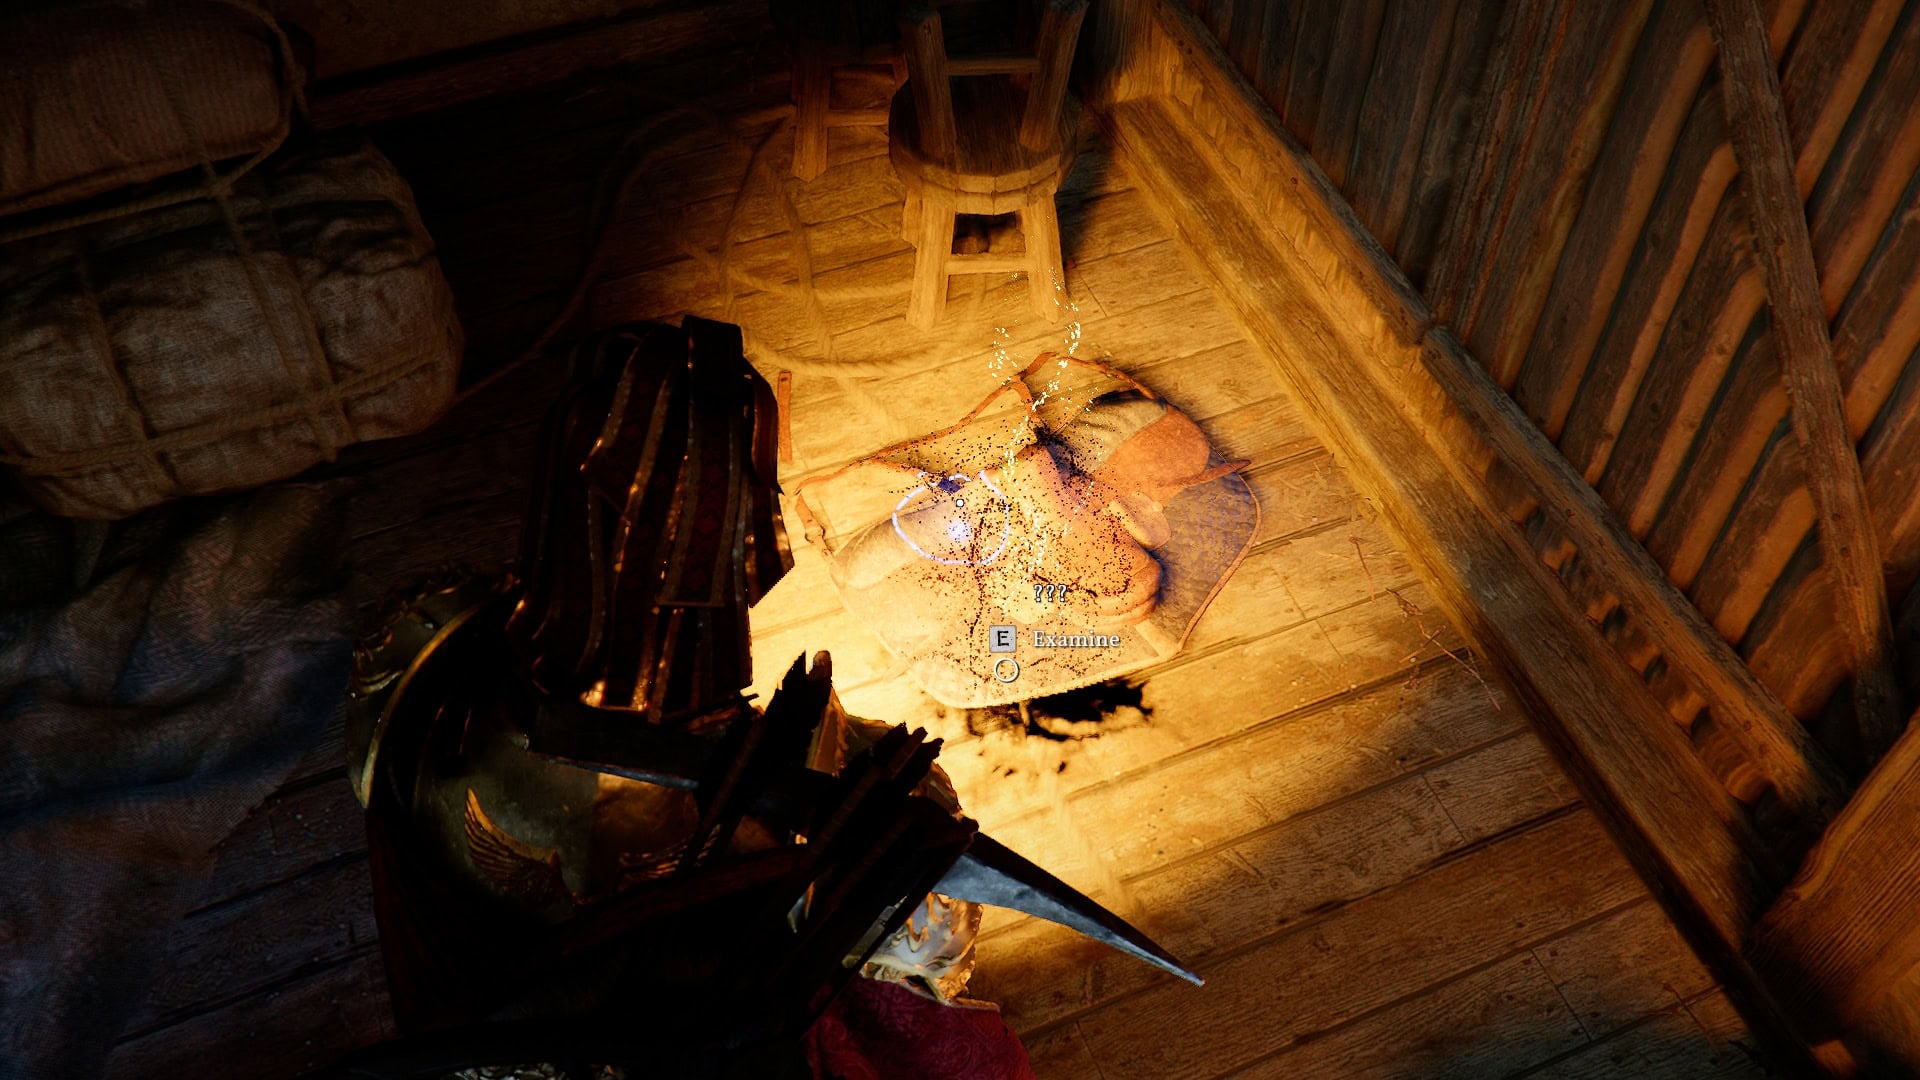
Similarly to Grimzle, all of his evidence is located in the nearby house. Just inside the door to our right and on the floor is the Old Saddle.
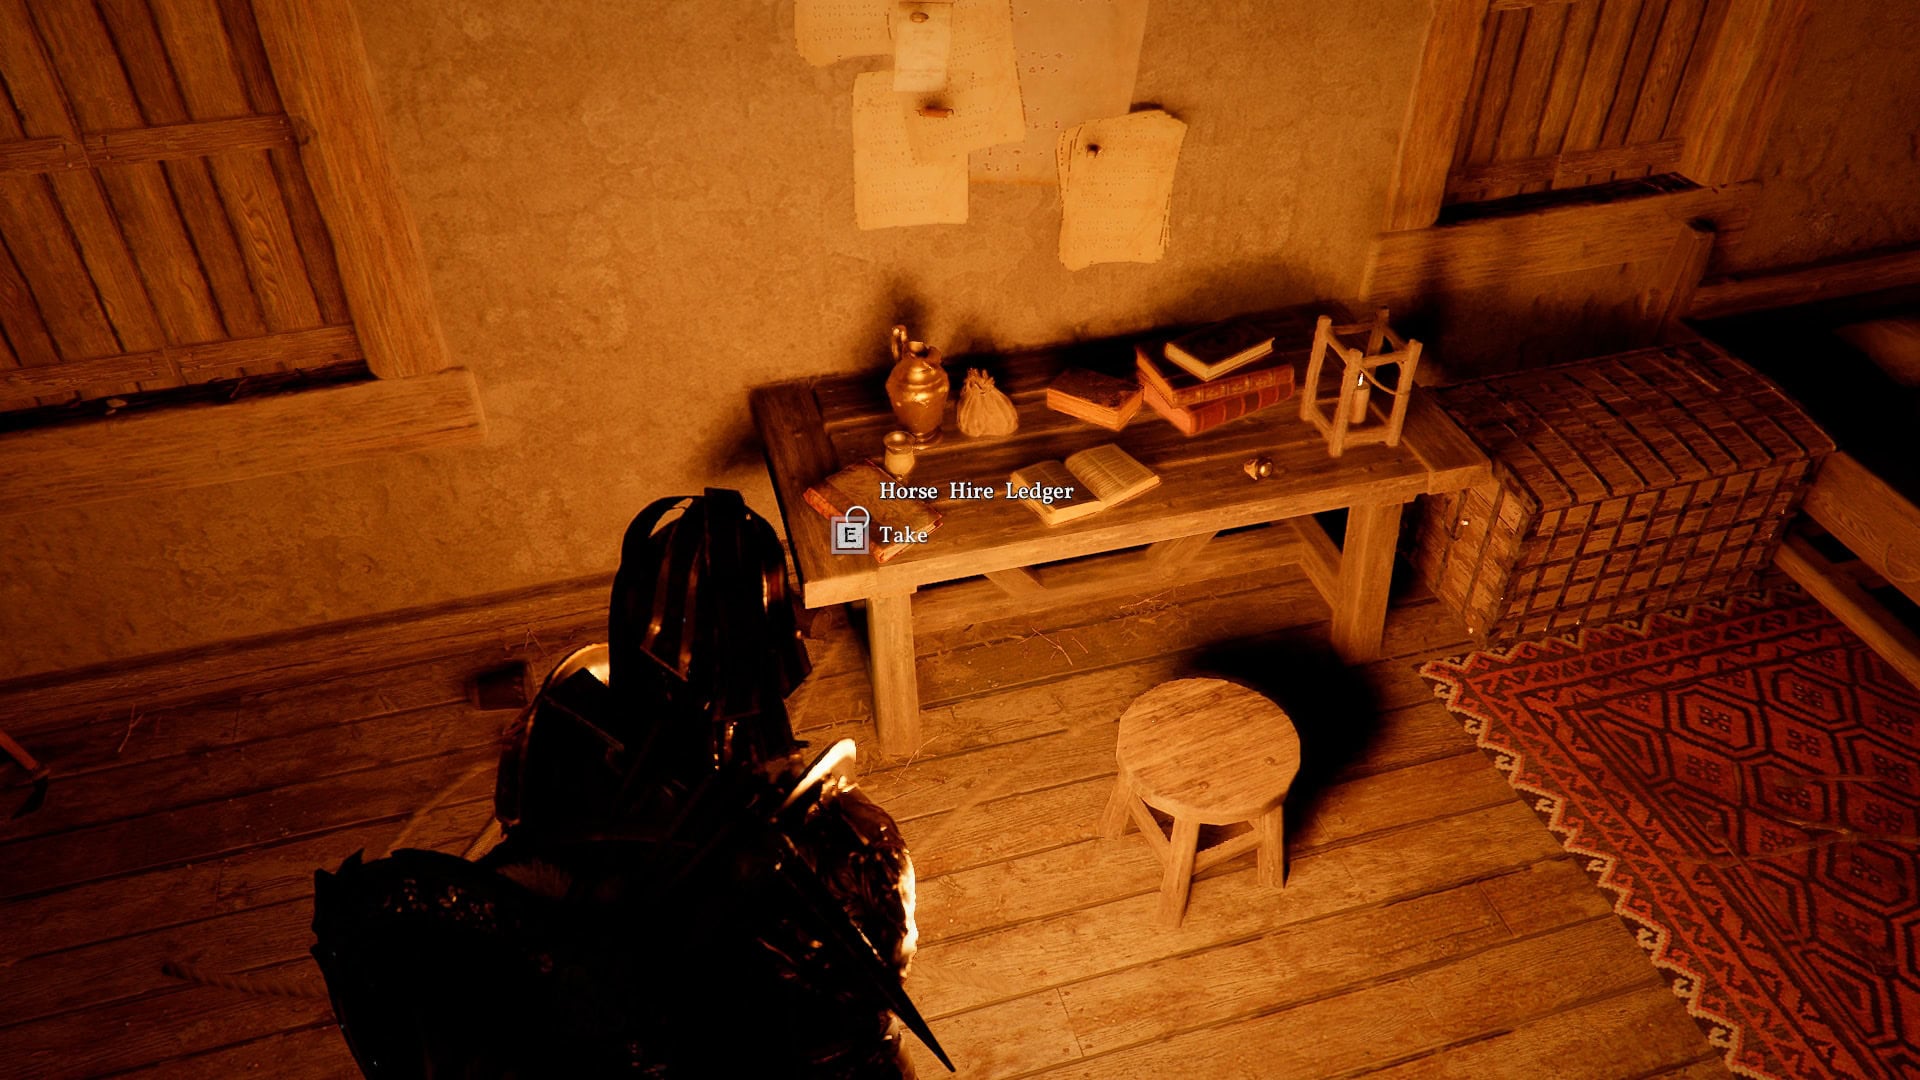
On a table near the back of the room is the Horse Hire Ledger.
Just as we leave, we’ll find the final piece of evidence, the Feed Purchase Receipt, just to the right of the door. Collect it, and we can move onto out final interrogation subject.

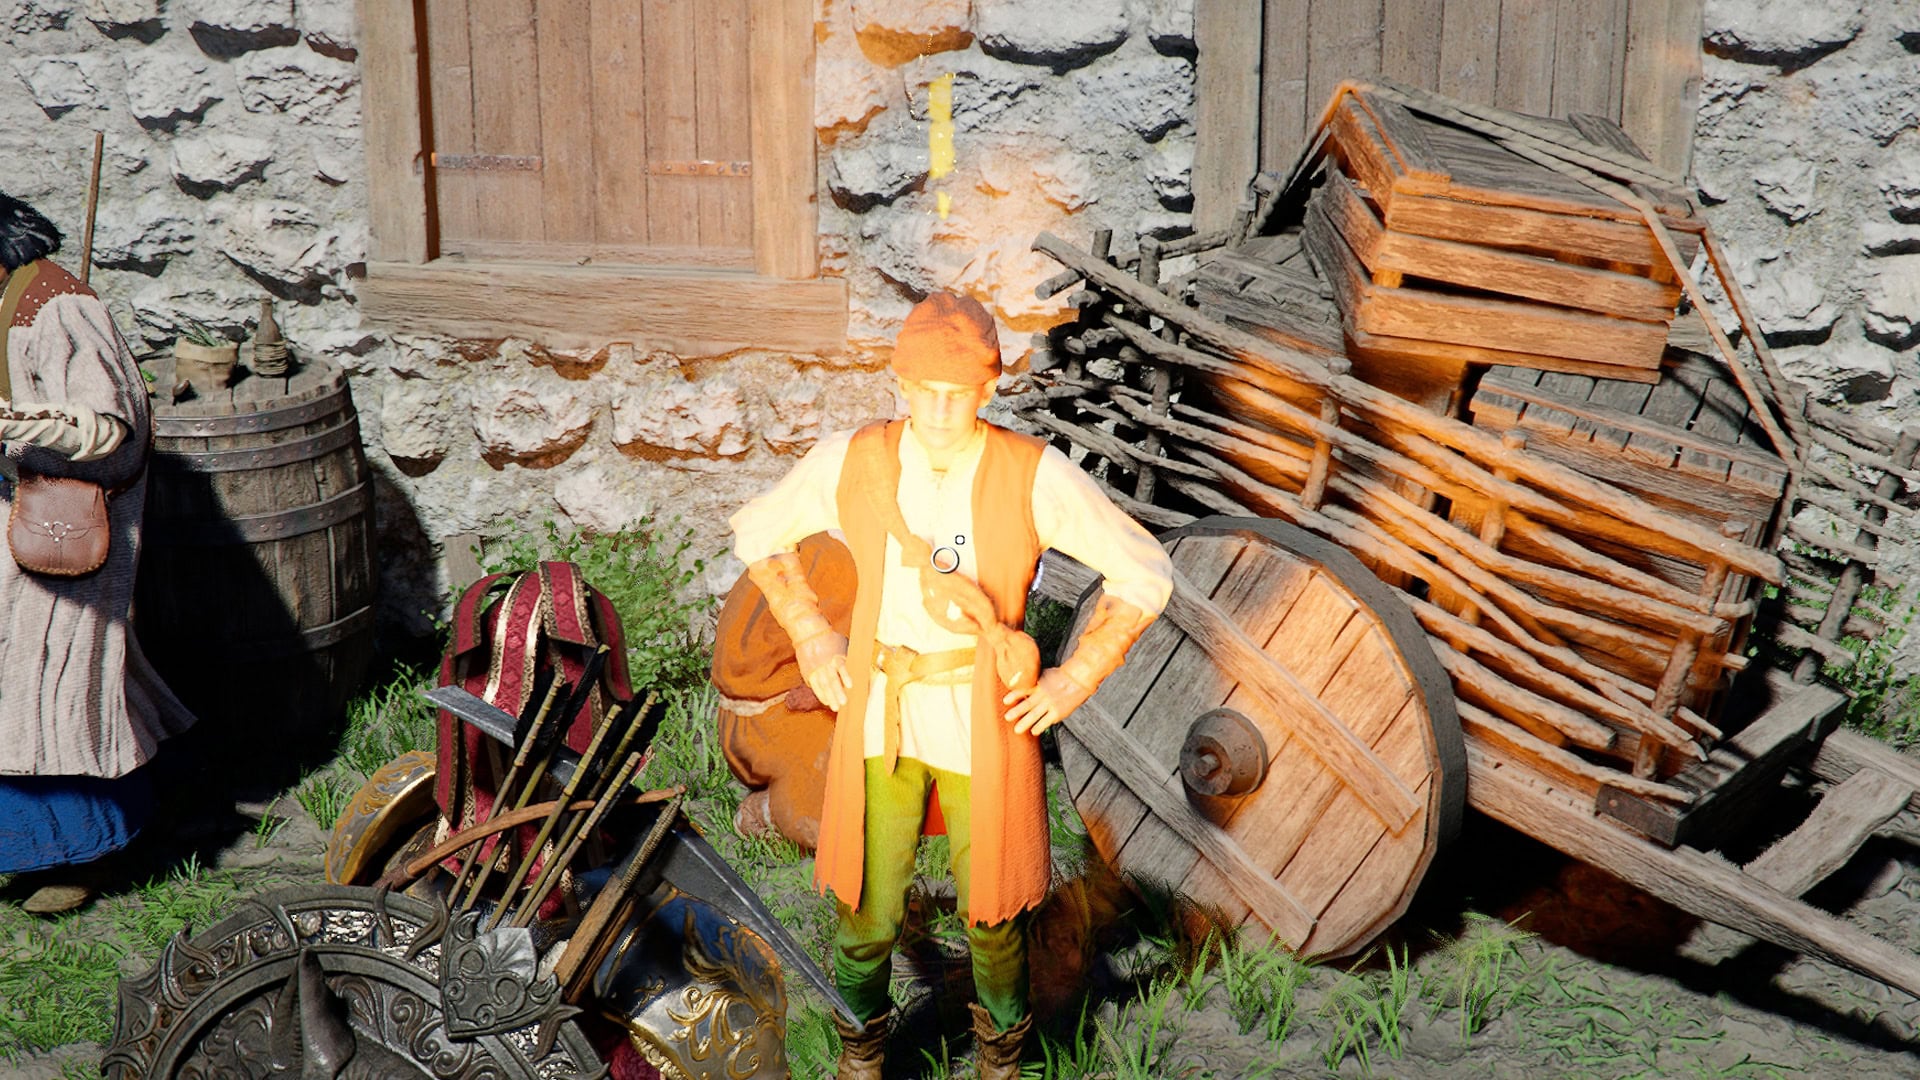
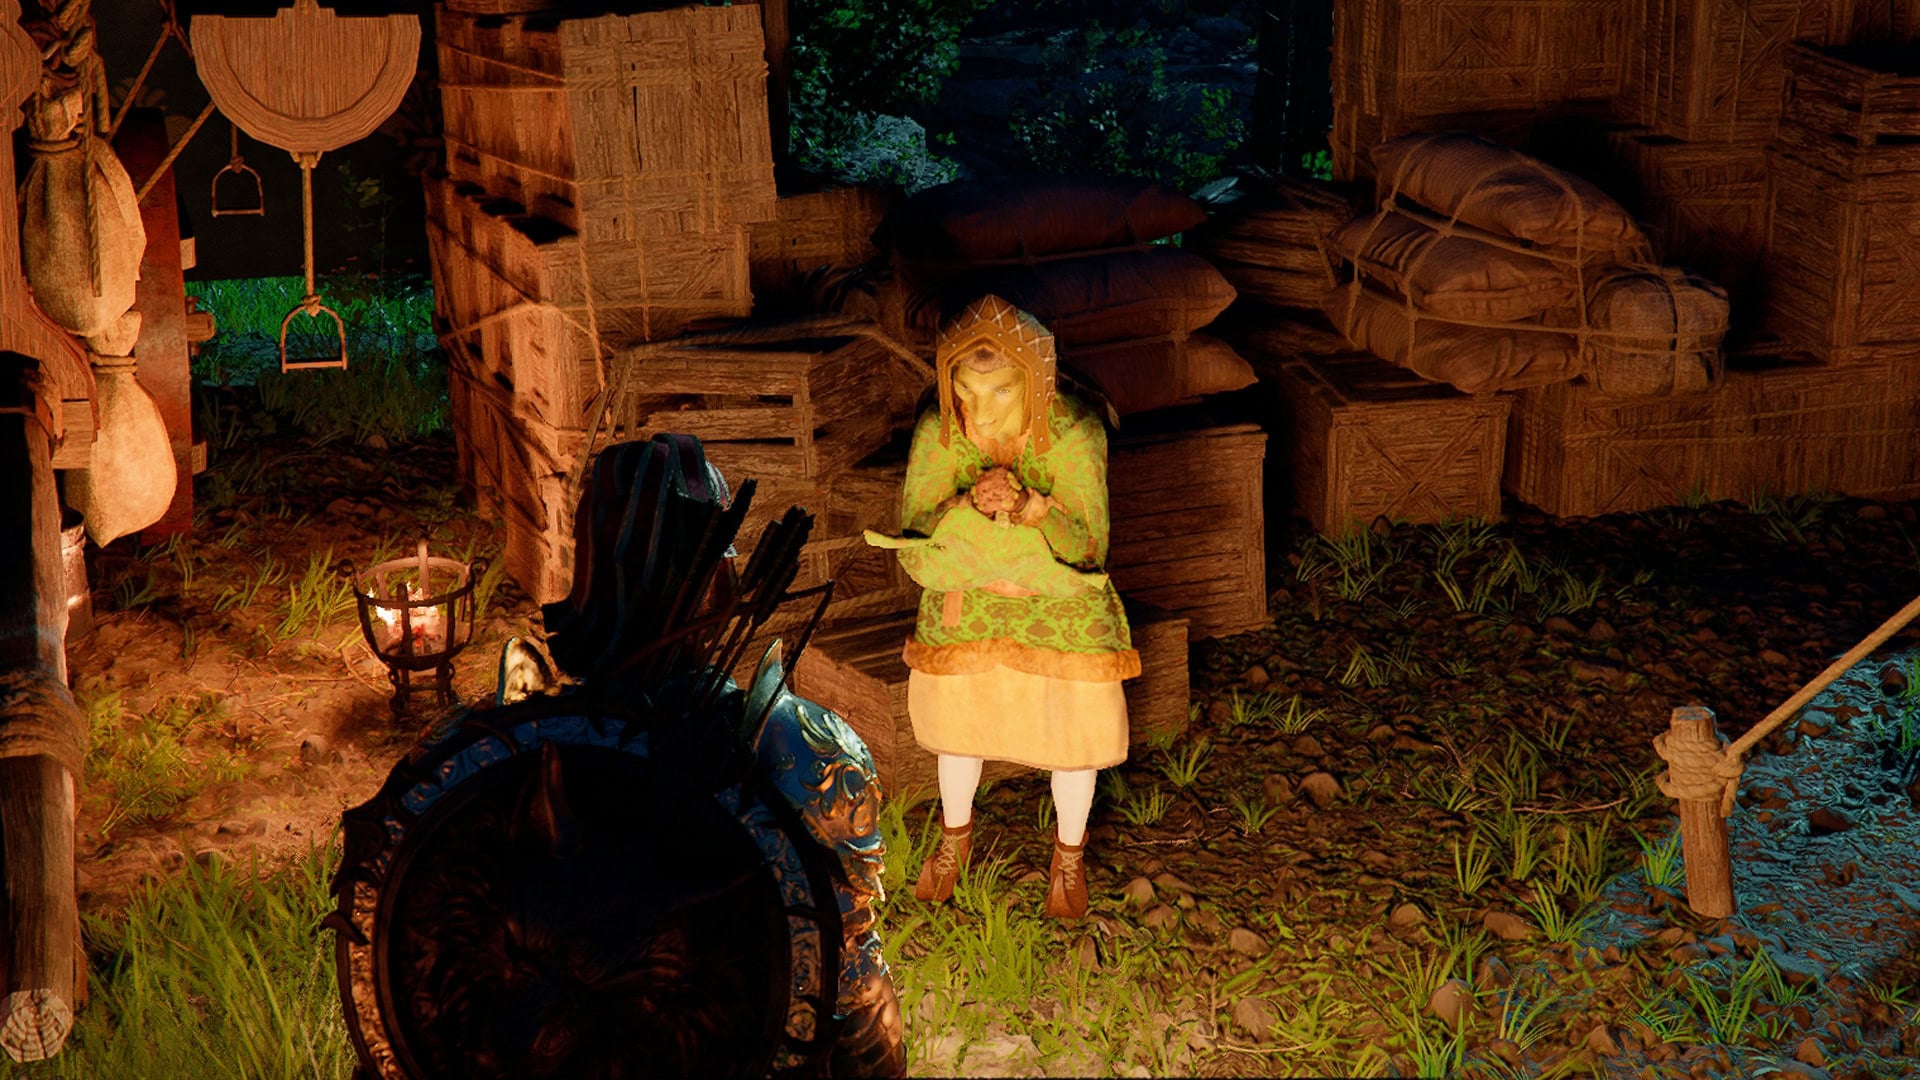
Skrav, the Trade Manager
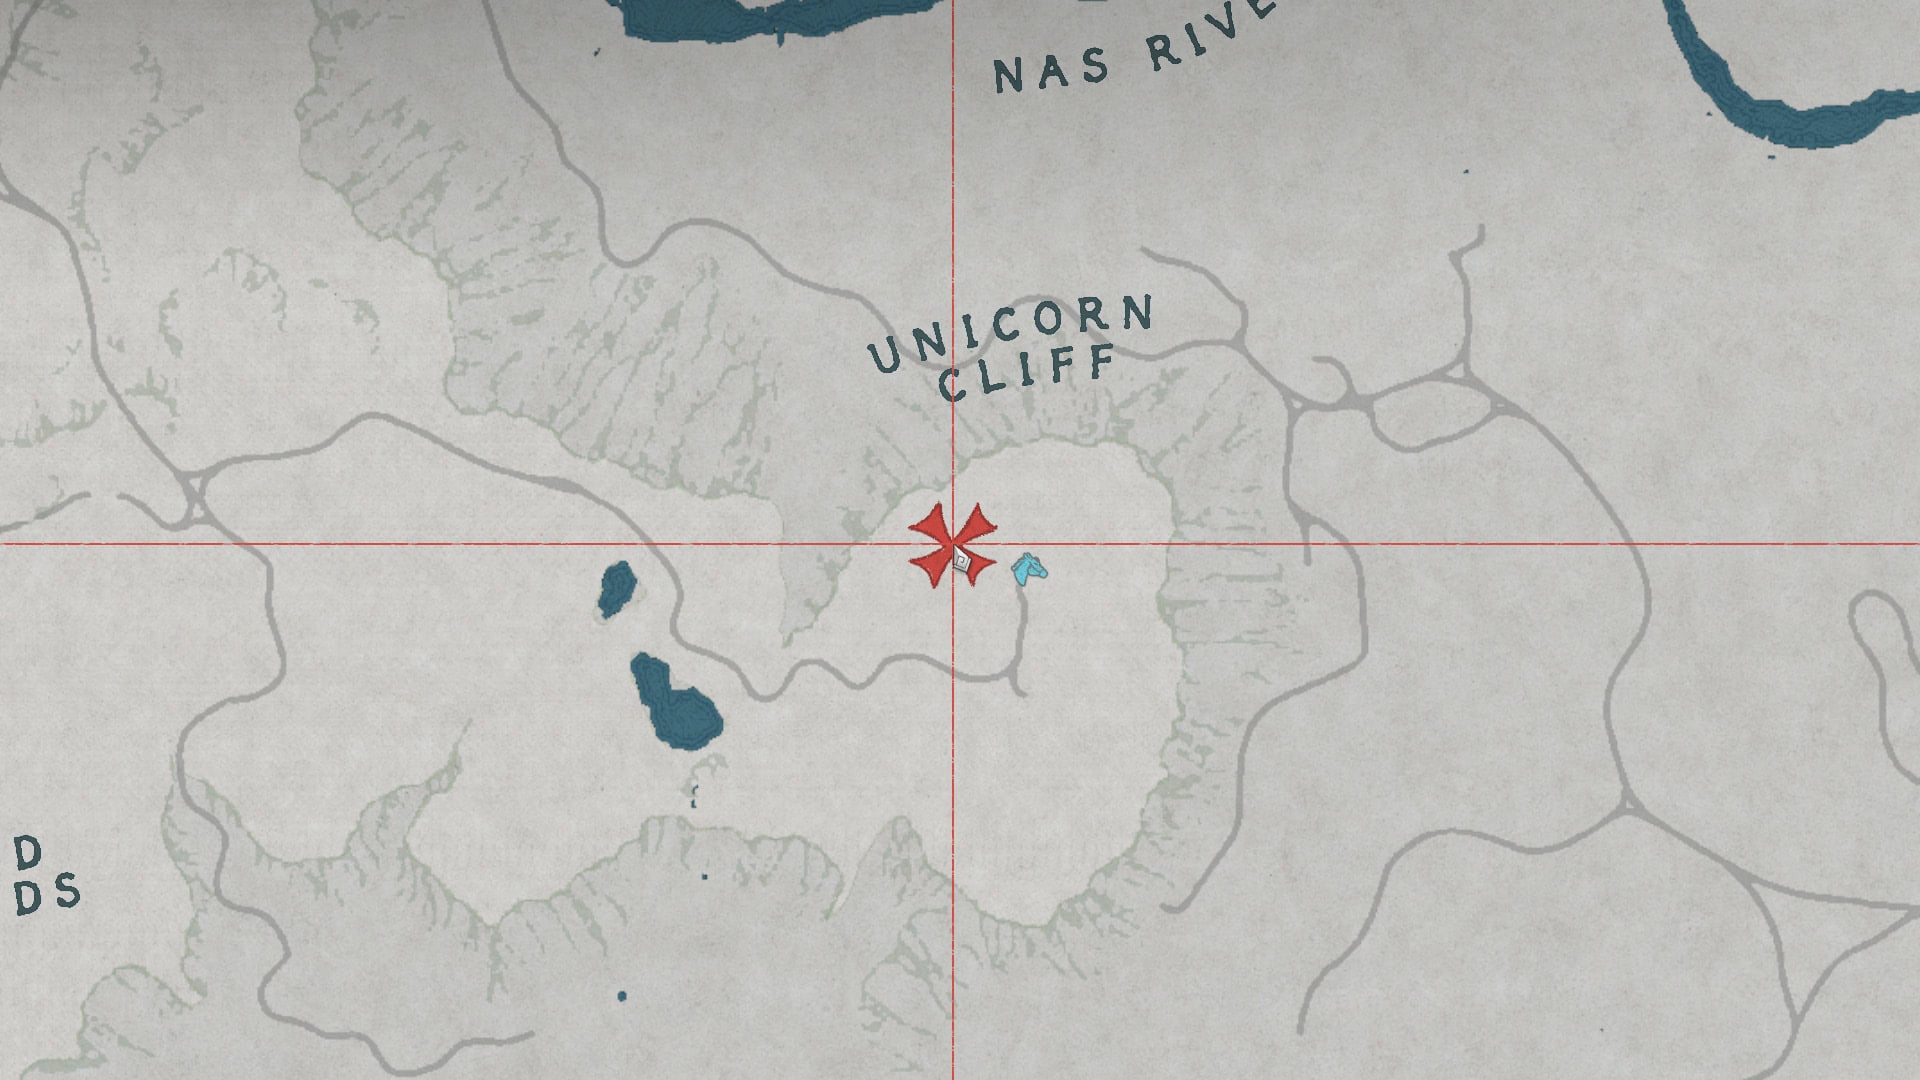
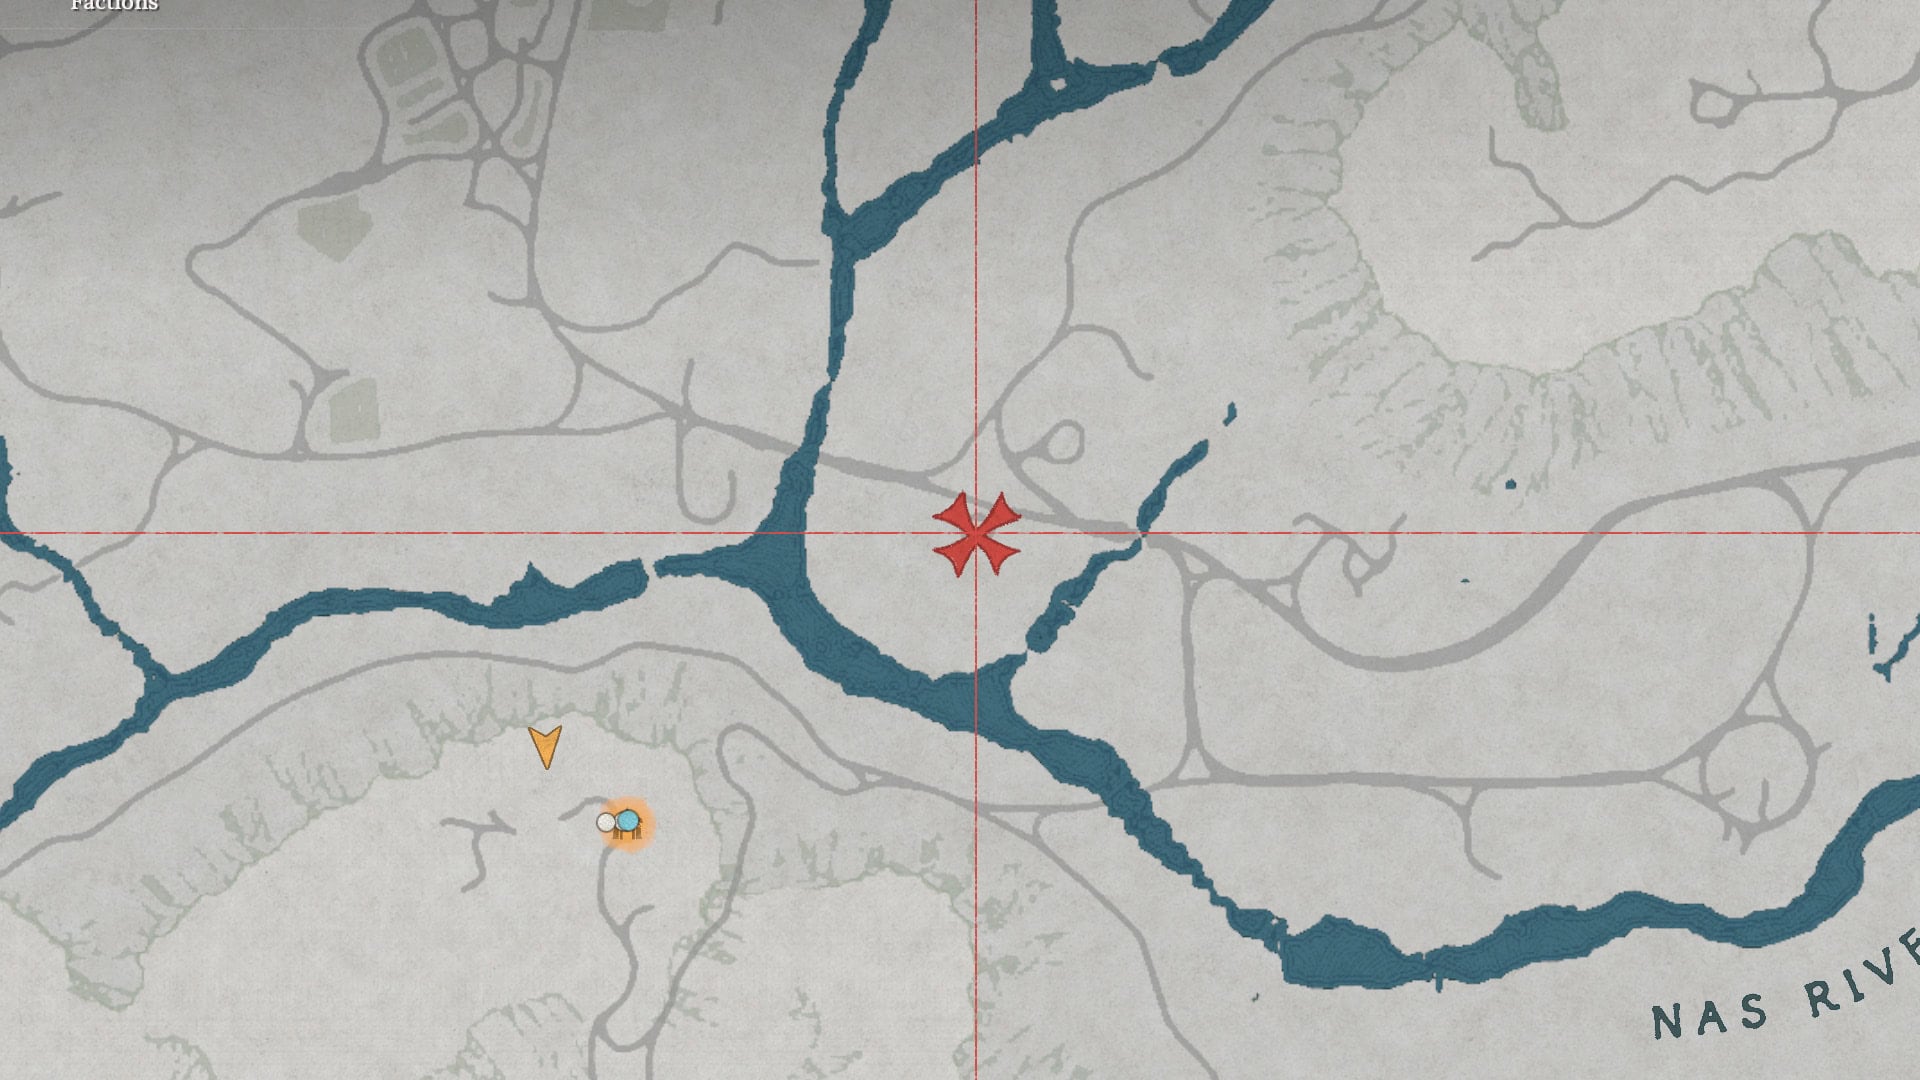
Skrav is located at the Goldleaf Trading Post Southeast of Hernand. Speaking with Skrav will reveal that he suspects Nogle as the traitor.
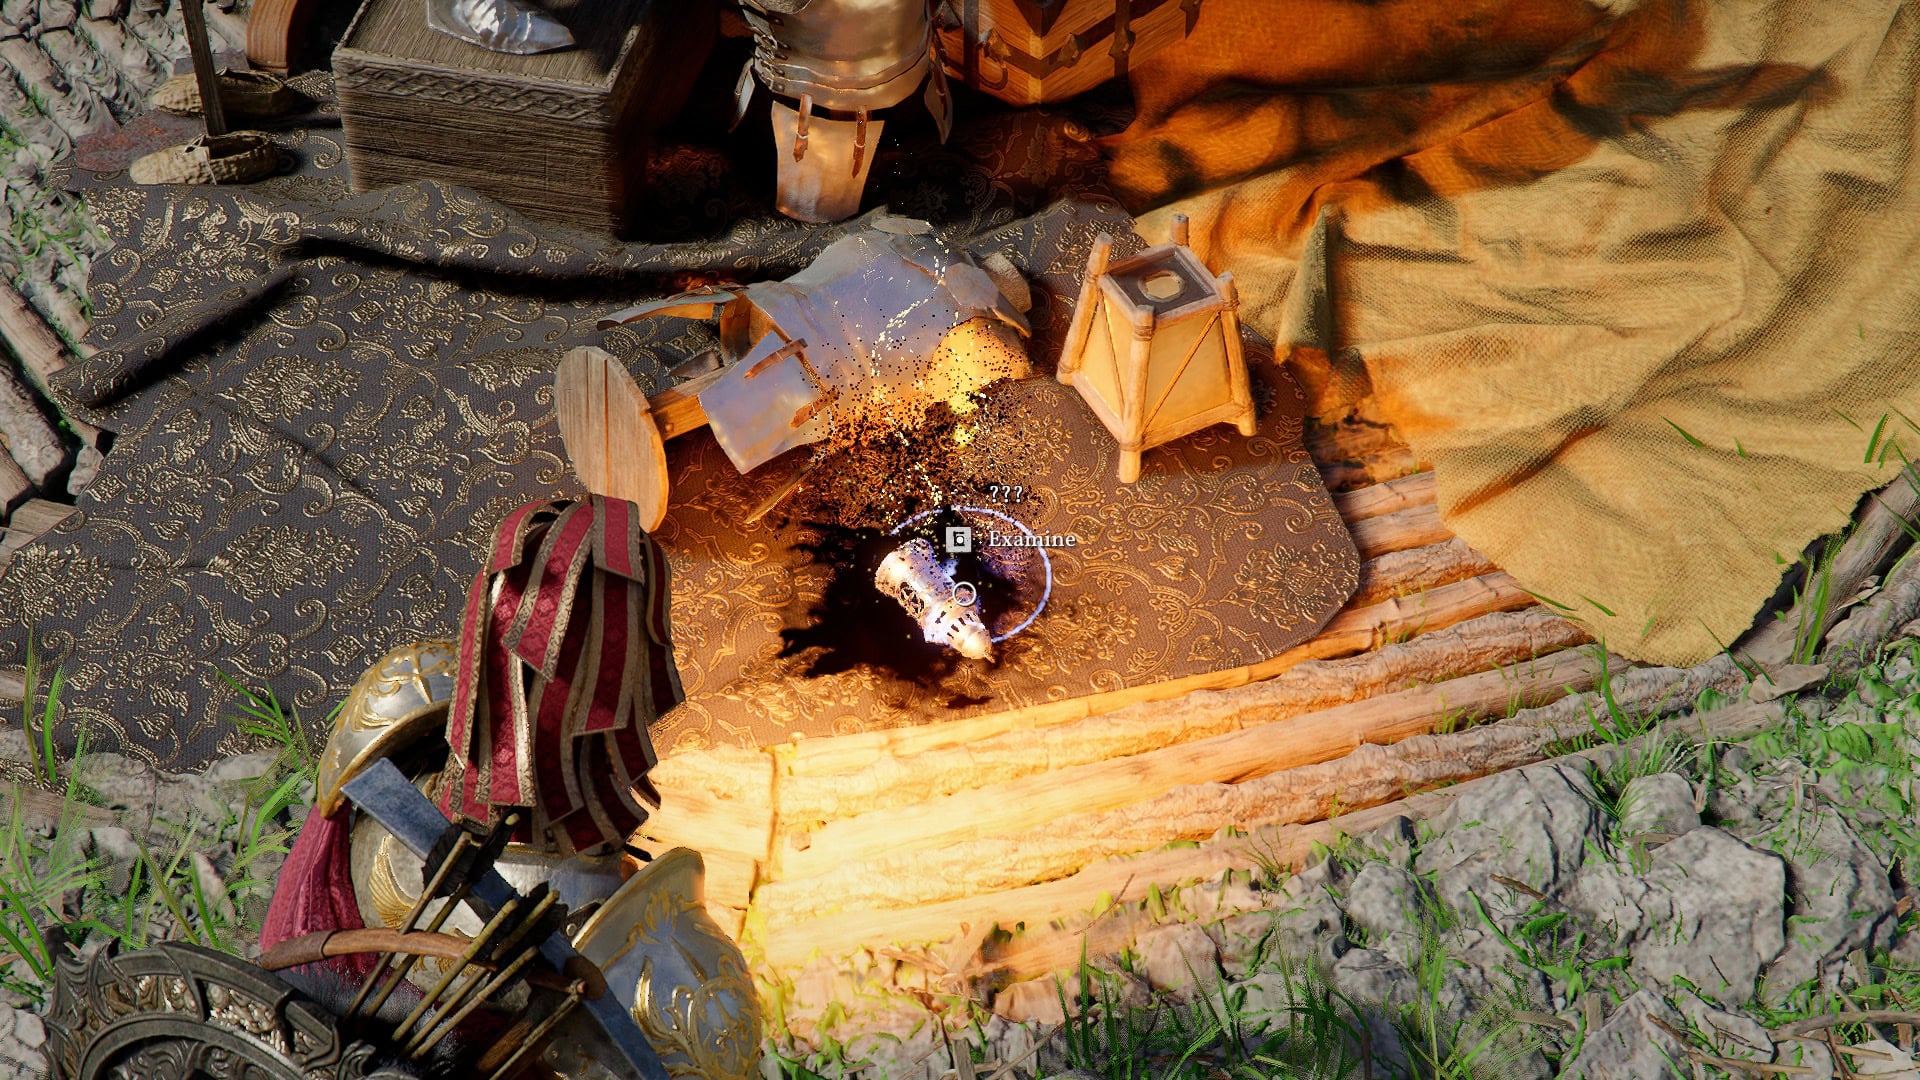
For his evidence, we’ll start with the Lantern, located near the middle of the Trading post.
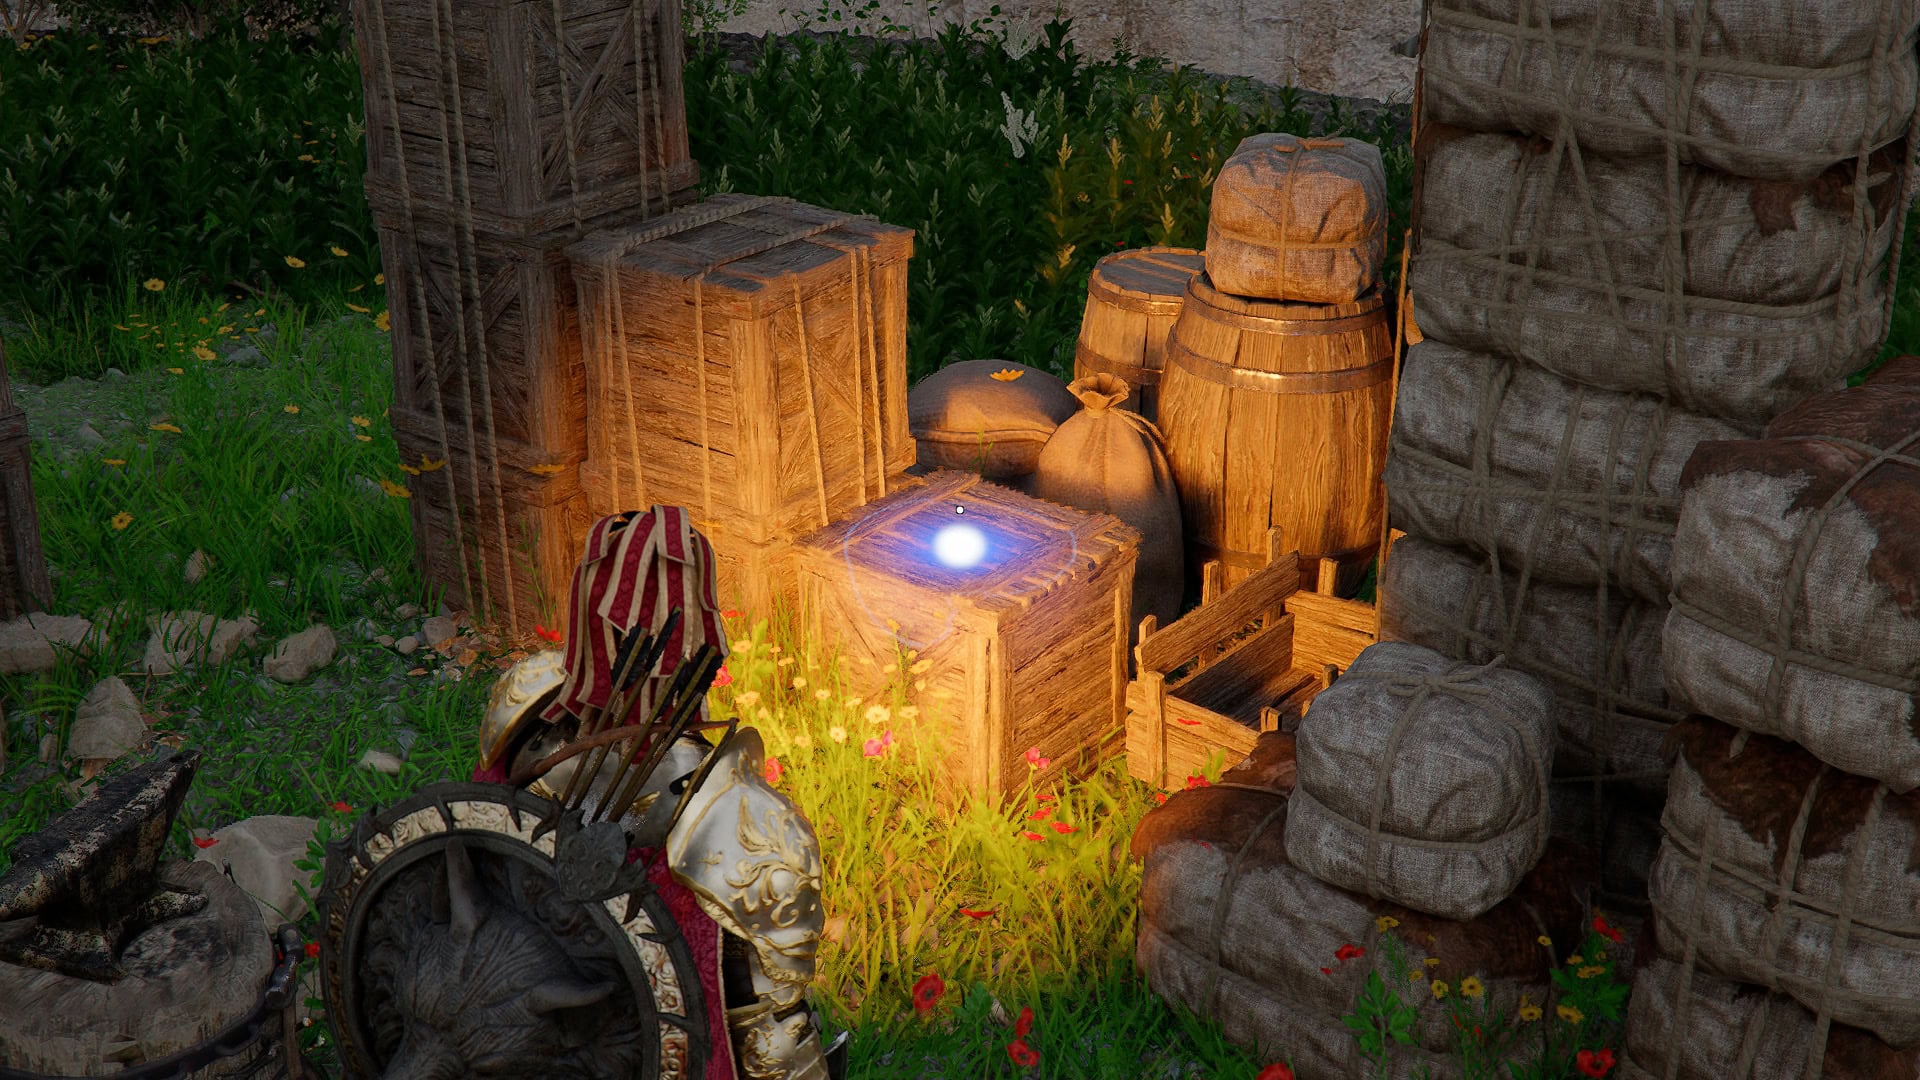
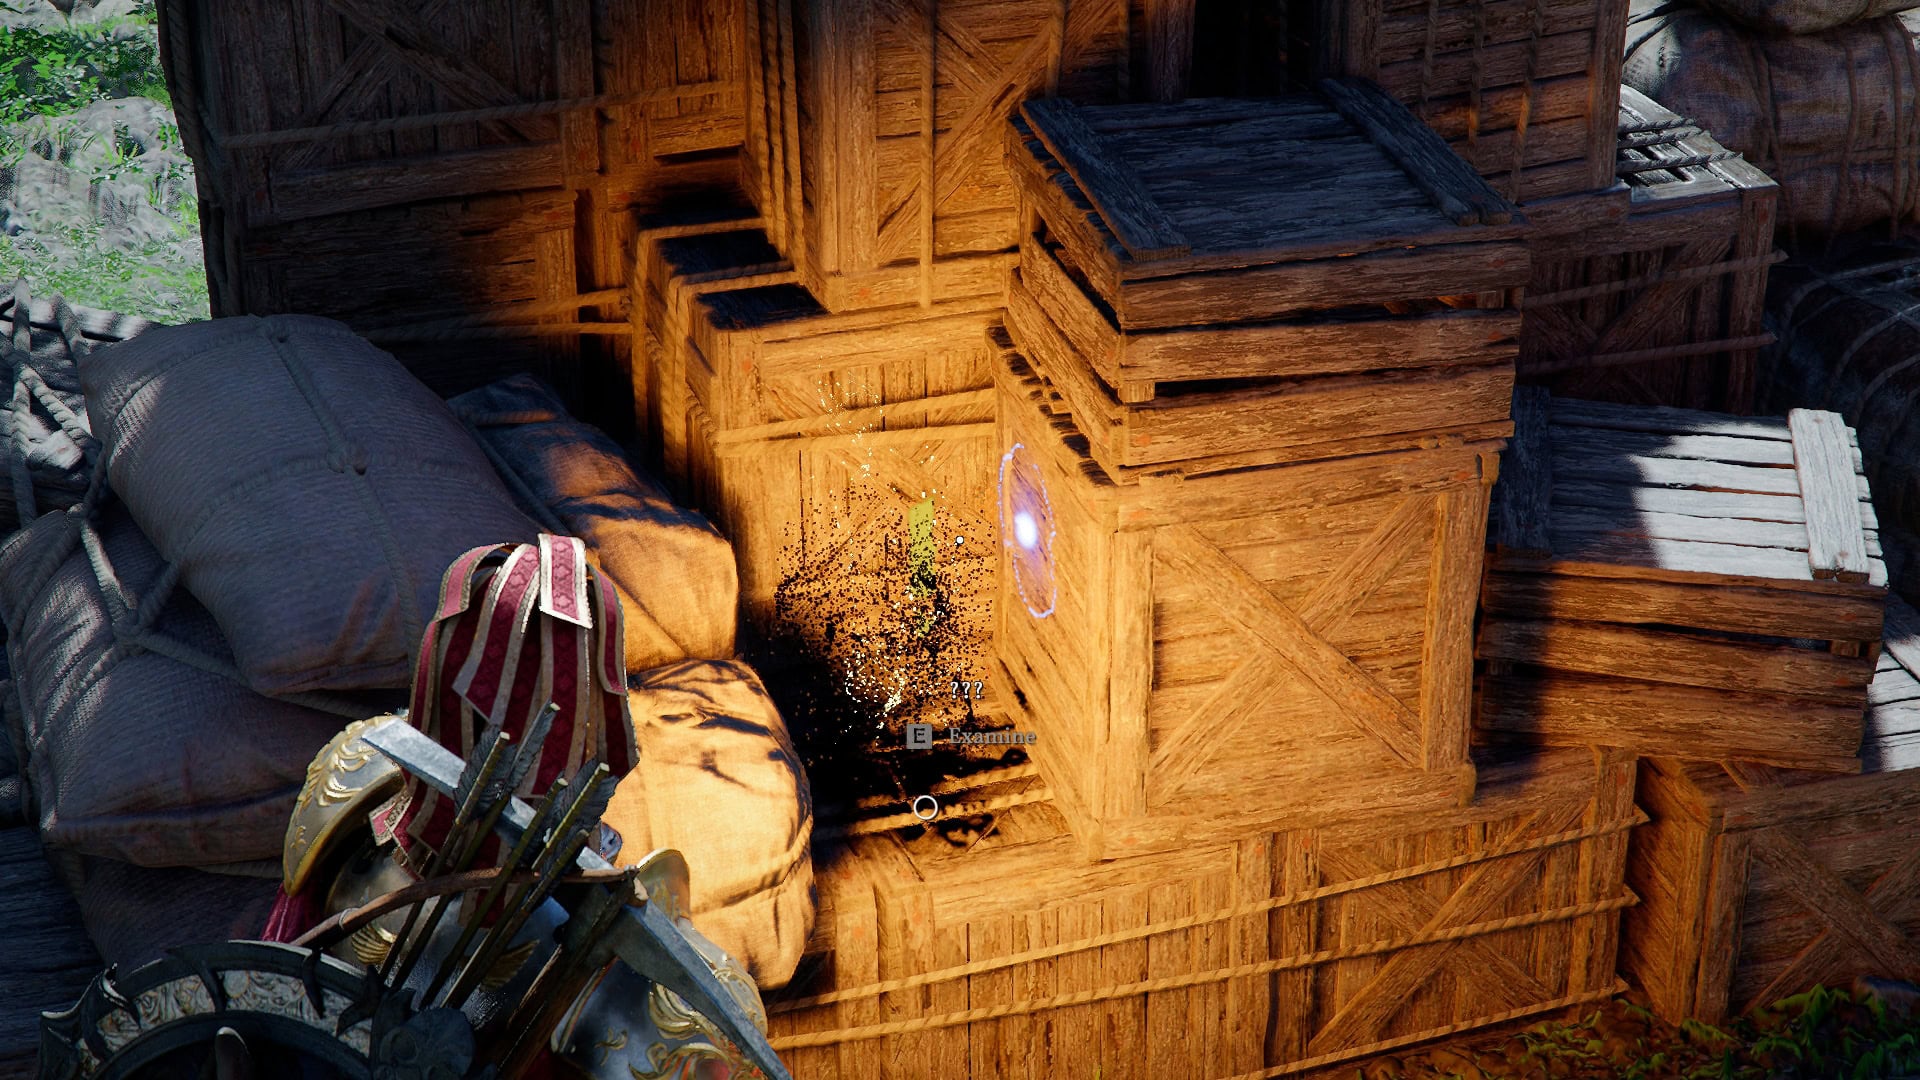
On the far left side of the camp, we’ll also need to examine the Stacked Goods.
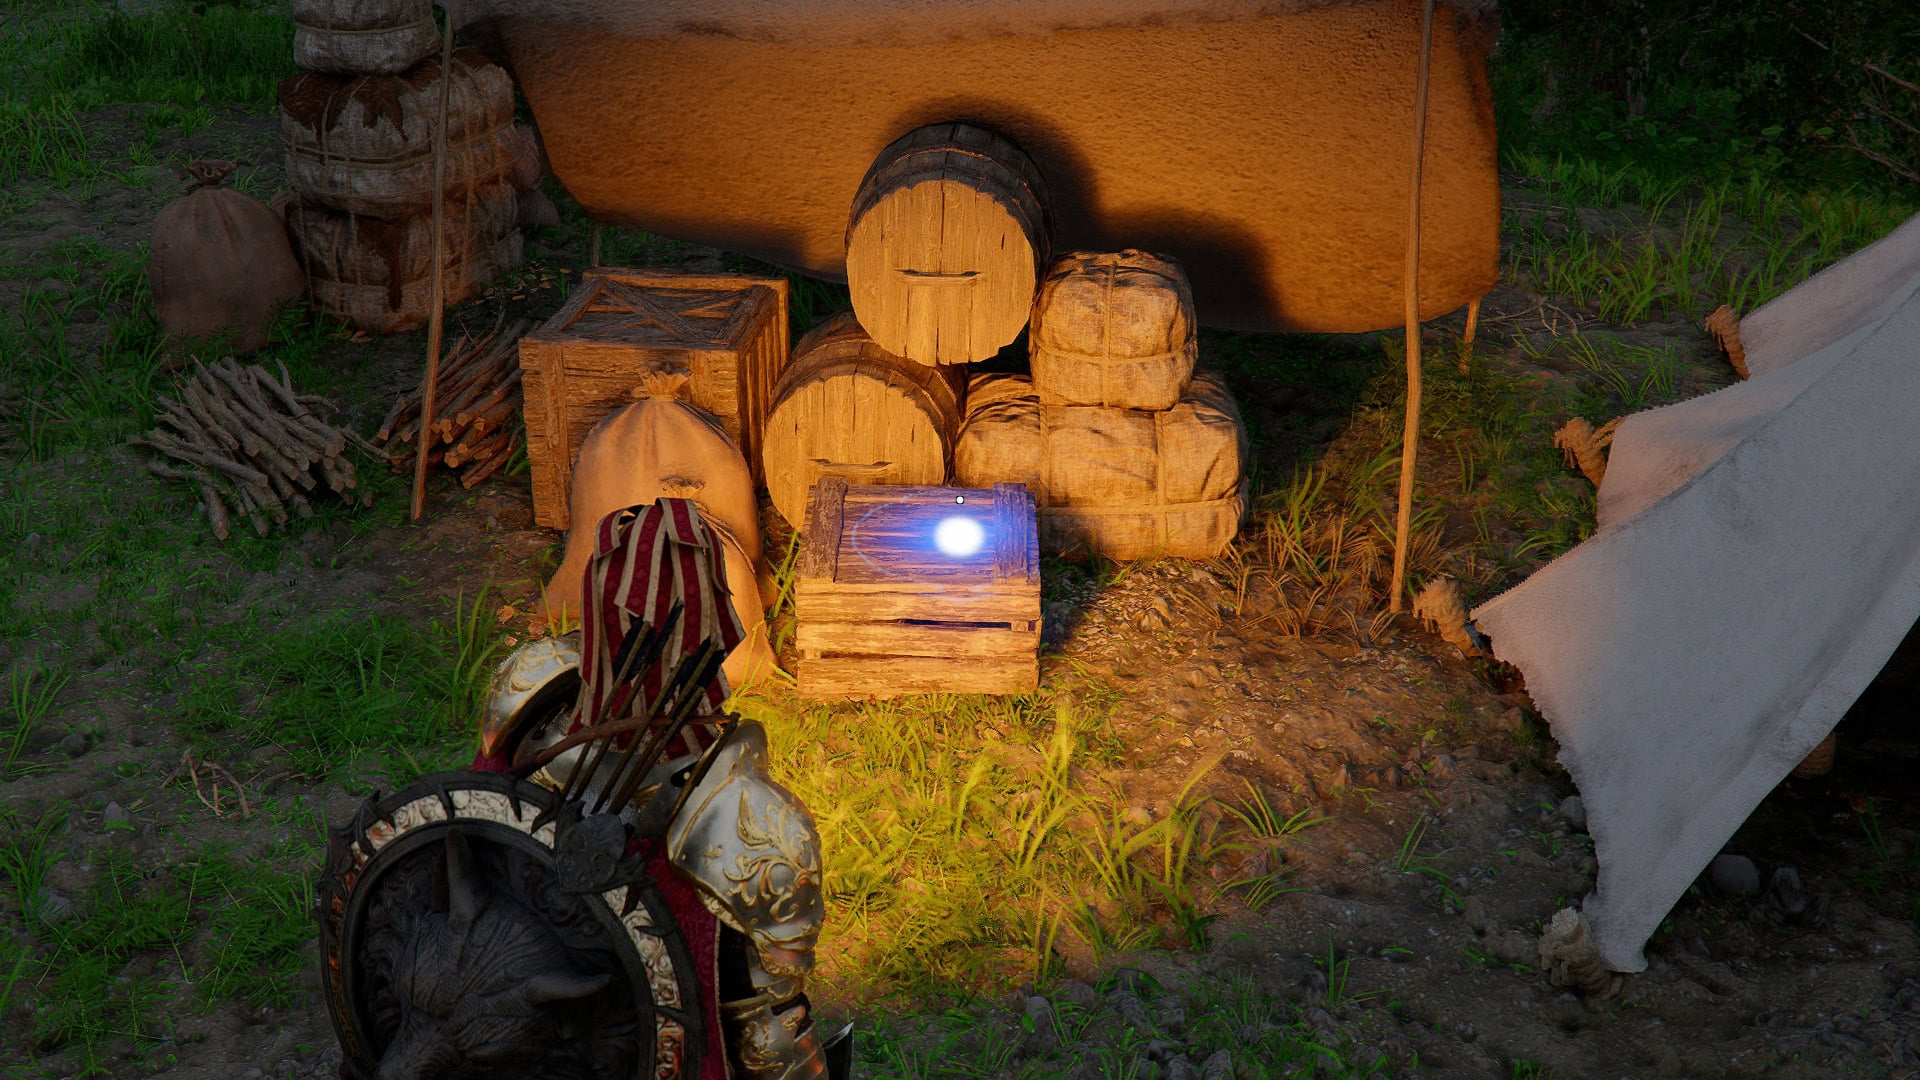
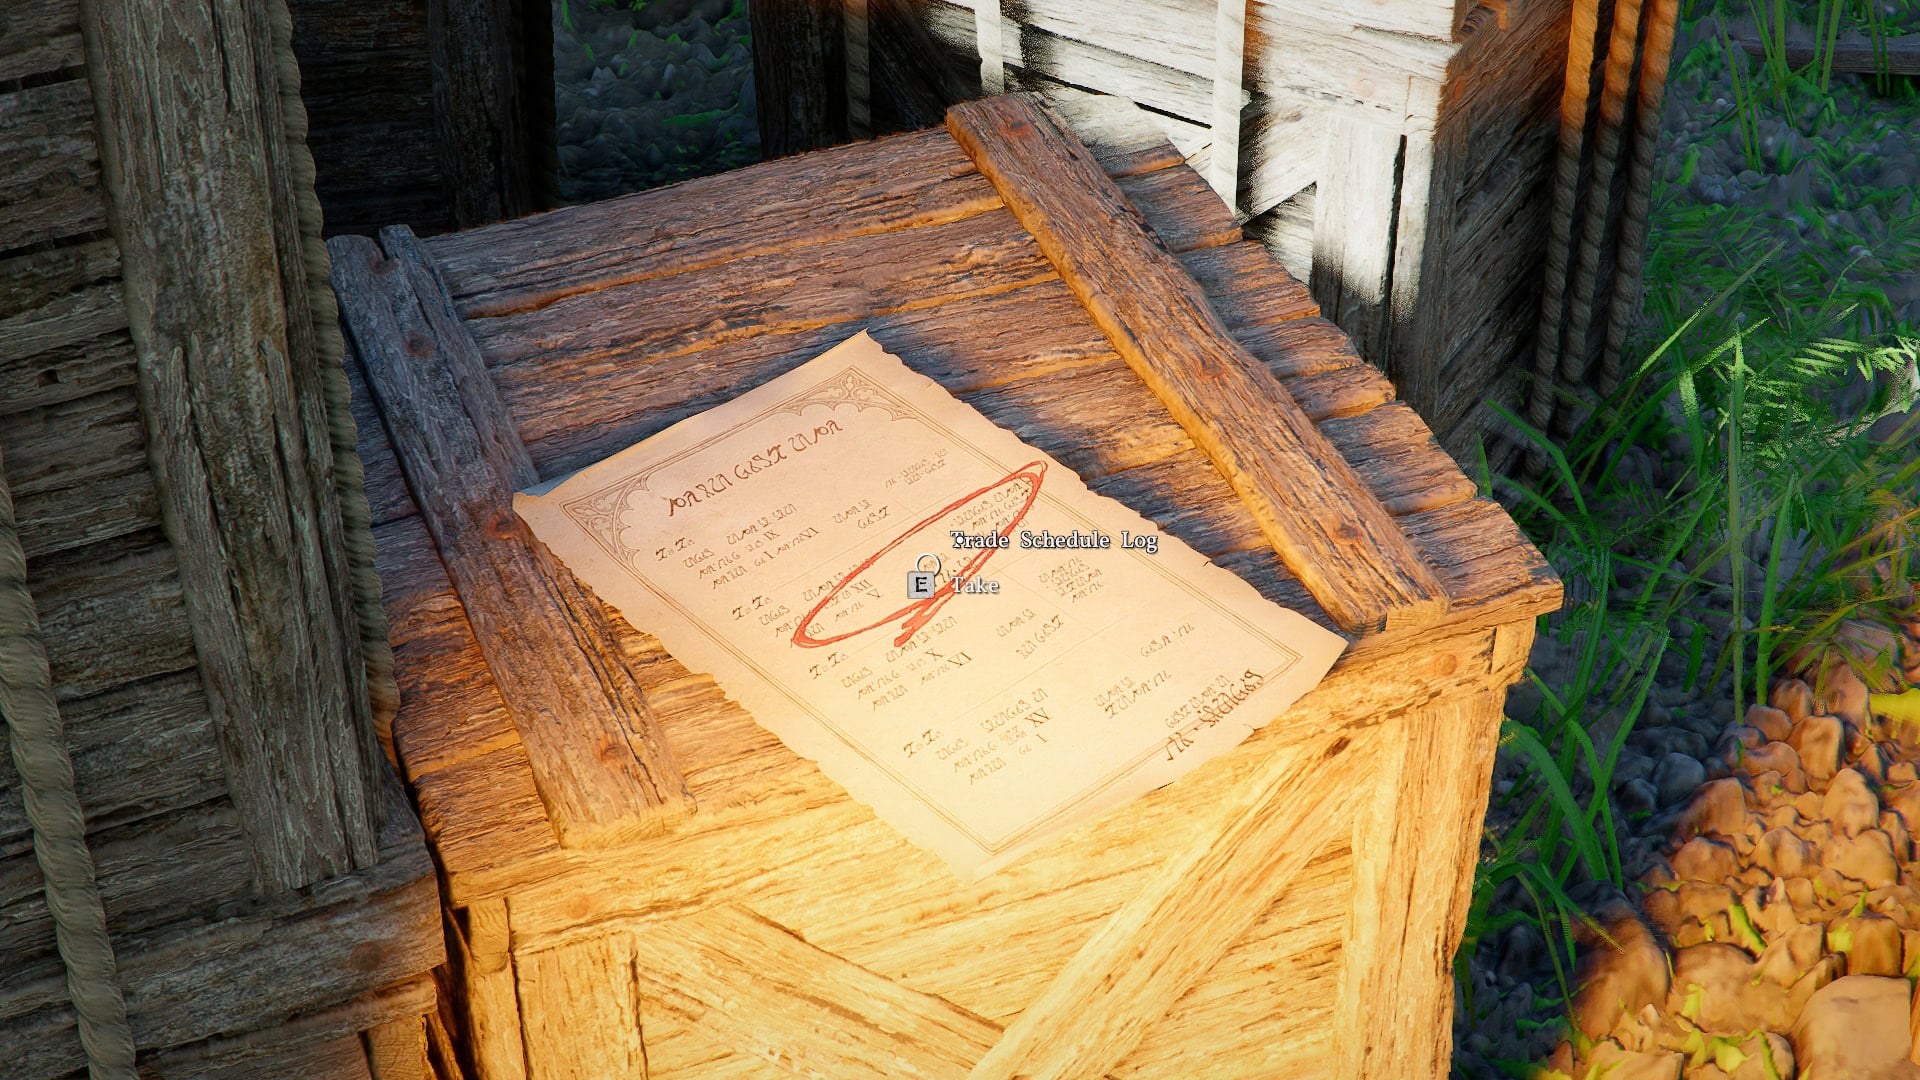
The final piece of evidence we need to gather, the Trade Schedule Log, is just behind Skrav’s tent.
Close Threat
With all our Evidence in hand, it’s time to return to Shakatu in the Main Camp. If we paid careful attention while we examined the evidence, the culprit becomes clear. However, Shakatu needs to confirm your thoughts and evidence first.
Note: during this question and answer Sequence, make sure to press Interaction 1 (E / X / A) To continue. The menu will not pop up automatically, and may appear broken because of this.
Below is a list of how we need to respond to each of Shakatu’s questions. There’s no penalty for guessing wrong if we think we’ve figured it out.
- Blique’s Testimony: Horse Hire Ledger
- Skrav’s Testimony: Trade Purchase Log
- Nogle’s Testimony: Tavern Ledger
- Grimzle’s Testimony: Proof of Stay
- Kathan’s Testimony: Guard’s Report
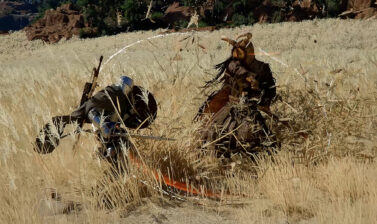
If it wasn’t clear enough from dialogue, all of these implicate Grimzle as the traitor. So Shakatu sends us to apprehend him. He’s still at Coalvale Workshop, but we’ll catch him in the act.
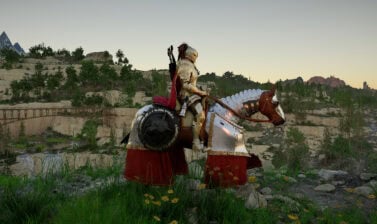
Following this cutscene, we’ll have Grimzle pinned to the ground. Similar to a Bounty Contract, we may have to rough him up a little before we’re allowed to select the Tie Up option and take him back to Shakatu. Since we’re carrying him, we will unfortunately have to ride all the way back using our horse.
Rewards
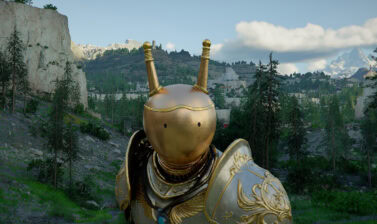
Upon our return, a short cutscene will play before we’re given our Reward: the Hernandian Banquet Cloak and the Kinetic Counterweight.
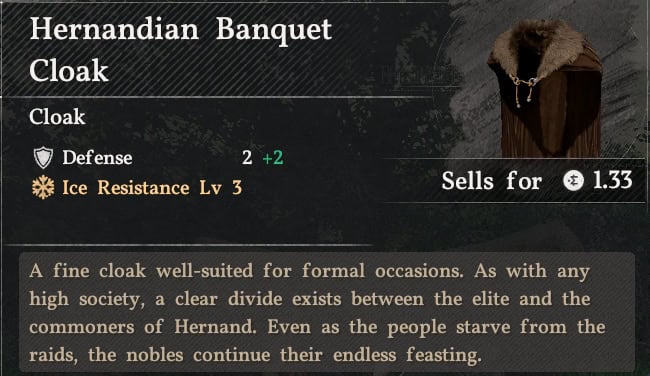
The Hernadian Banquet Cloak isn’t anything too special, but it does come with some base Defense and some Resistance. A nice early game upgrade for sure.
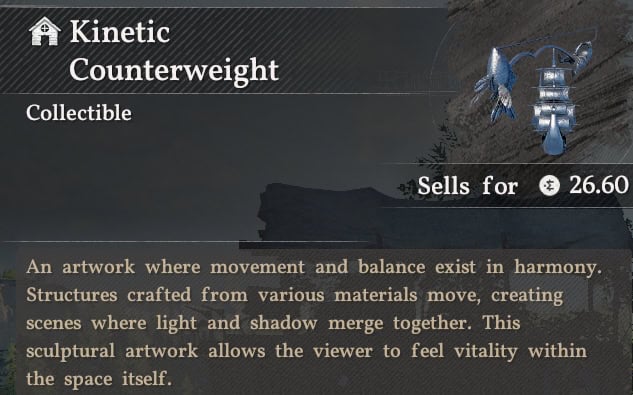
The Kinetic Counterweight is the real star of the show as an early-game reward. In the early game, we may not have much Silver yet, and this gives us a significant amount for selling it and may kickstart our way towards opening a proper bank account in Hernand.
Just make sure not to accidentally donate its to the Provisioner at our Howling Hill Camp!