A complete guide to the Witcher 3 Mutations explaining how to unlock the mutations system, how to research and use Mutations, which are the best ones to use and some advanced tips.
This guide is up-to-date for The Witcher 3 Next-Gen version (Update 4.04)
Table of contents
- How to start the Mutations Quest in The Witcher 3
- Visit Professor Moreau’s Grave
- Go to Professor Moreau’s Laboratory
- Search the Ruins
- How to solve the Four Protruding Stones Puzzle
- How to solve the Portals Puzzle
- Learn about Professor Moreau’s experiments
- How to activate Professor Moreau’s machine
- How to activate the Mutations process
- What happens if you complete the quest in NG+
- How the Mutations System works in The Witcher 3
- List and Descriptions of all available Mutations
- How to get Mutagens Quick and Easy
- Great Builds using Mutations
How to start the Mutations Quest in The Witcher 3
The Mutations system is available in the Witcher 3: Wild Hunt – Blood and Wine. The starting quest is for level 35 and begins with Geralt receiving a letter in Toussaint.

For more information on how to unlock and access Toussaint, read the dedicated guide. It will explain the two possible ways you can play the Blood and Wine content.
It’s quite a long quest and the system is clearly more designed for New Game +, considering how greedy it is for mutagens and skill points to unlock the specific mutation perks. More about these later in the guide.
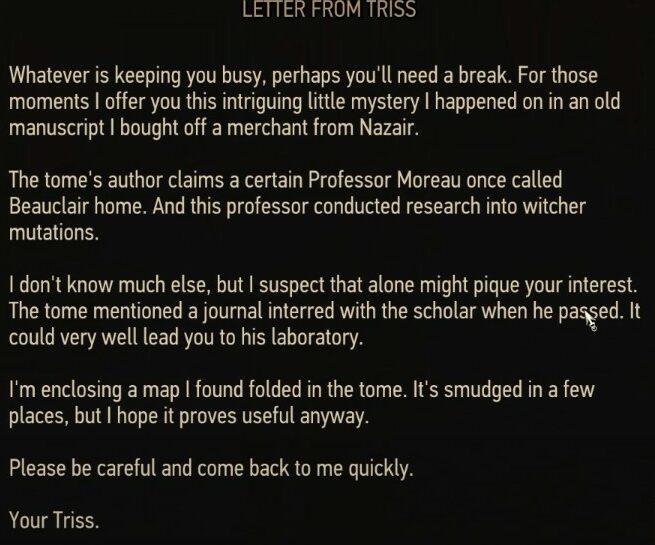
The quest starts with you receiving a letter. The sender is different depending on what choices you have made in your romantic relations in the base game storyline.
Based on that which character you romanced in the base game, this same character would be the sender of the letter.
- If you romanced Triss, she will write to you about the Mutations.
- If you romanced Yennefer, the letter will be signed by her.
- If you did not end up in a romantic relationship with either of them, the letter will be signed by Yennefer, but as “Your Friend Yennefer”. Ouch!
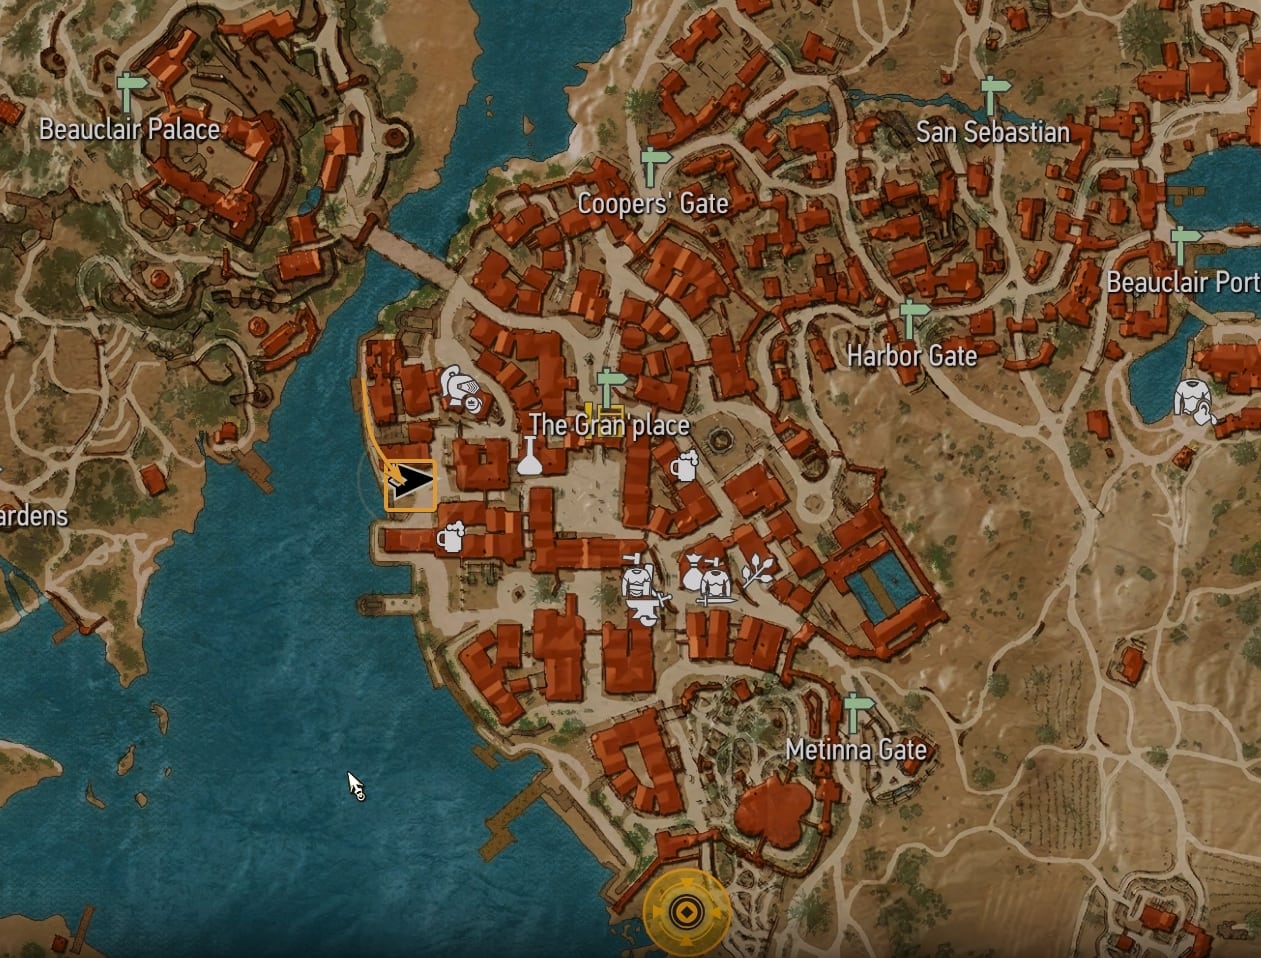
This side quest starts automatically as you pass by this small square on the east bank of the river that passes through Toussaint.
You will likely run through there as you exit the warehouse where you meet Dettlaf and Regis for the first time in Blood and Wine. The main quest I am referring to is called La Cage au Fou. The name of the side quest that unlocks the mutations system is Turn and Face the Strange.
In your inventory, you will find the same written letter and a map about professor Moreau, who conducted research into witcher mutations.
Visit Professor Moreau’s Grave
You now have to visit professor Moreau’s grave at Orlemurs Cemetery and discover more about his work. The cemetery is in the southernmost part of Toussaint.
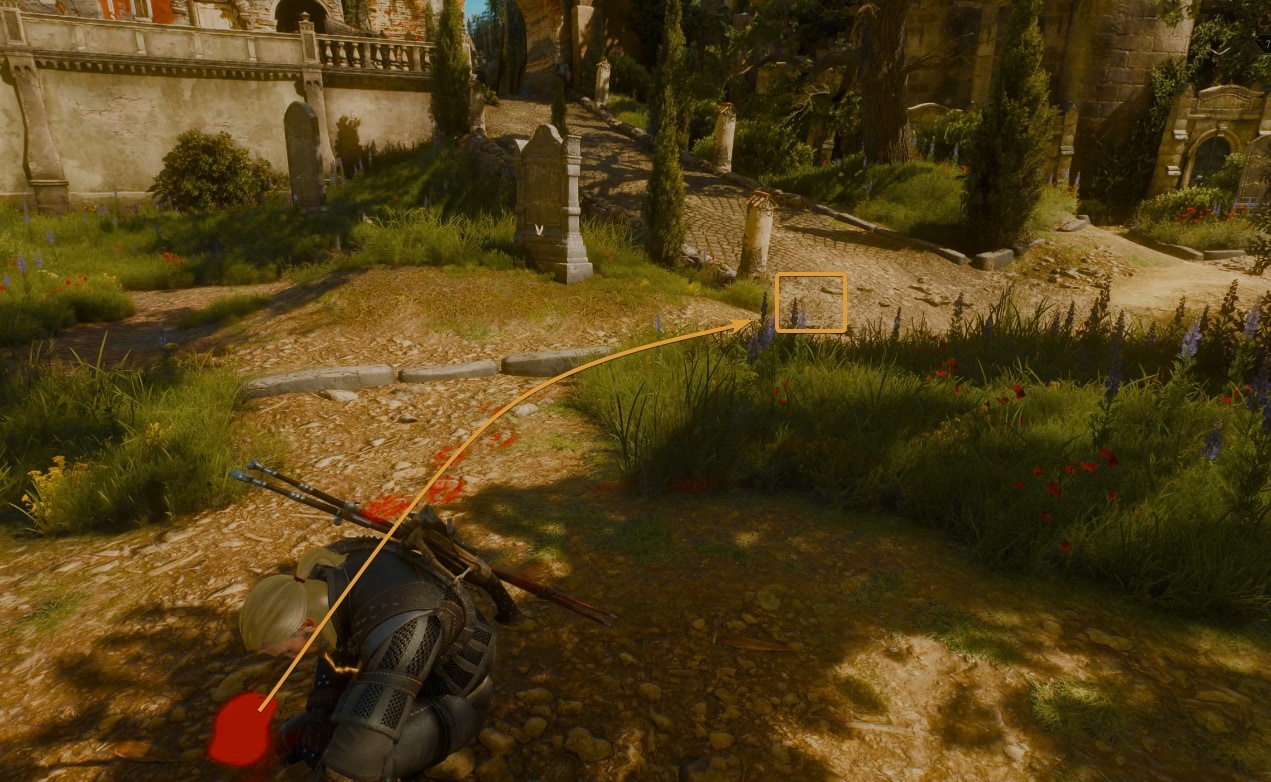
At the grave, use your witcher senses to spot the tombstone and the grave itself. Inspect them.
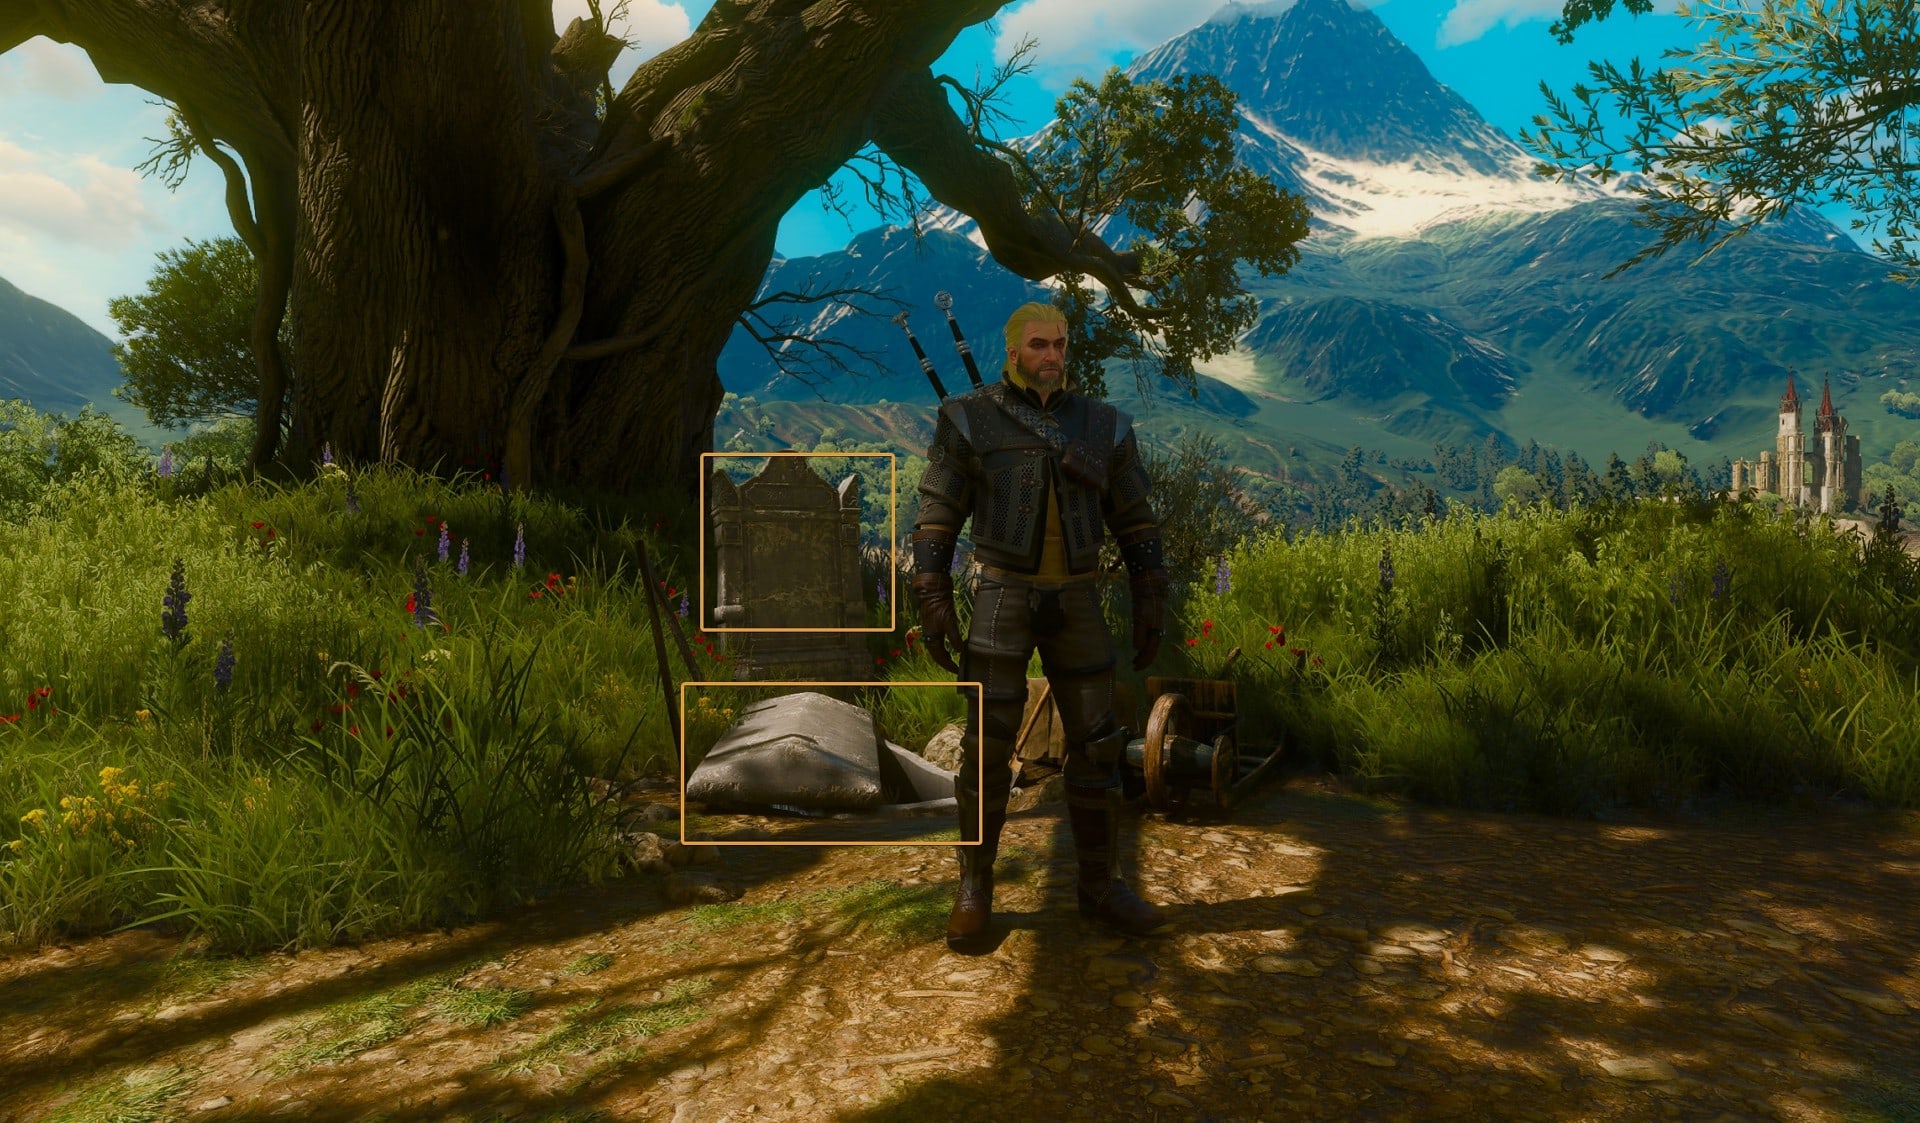
You will find footprints – a trail left by a grave robber. The footprints lead to nowhere.
After the trail goes cold you will have to open your Inventory. In the Quest Items tab, select and open the map that you received earlier at the start of the quest.
You will not actually see a clue on the image (the map itself). Geralt will get to the conclusion that you have to find the entrance to the professor’s laboratory in the flooded ruins of the Vallen of the Nine.
Go to Professor Moreau’s Laboratory
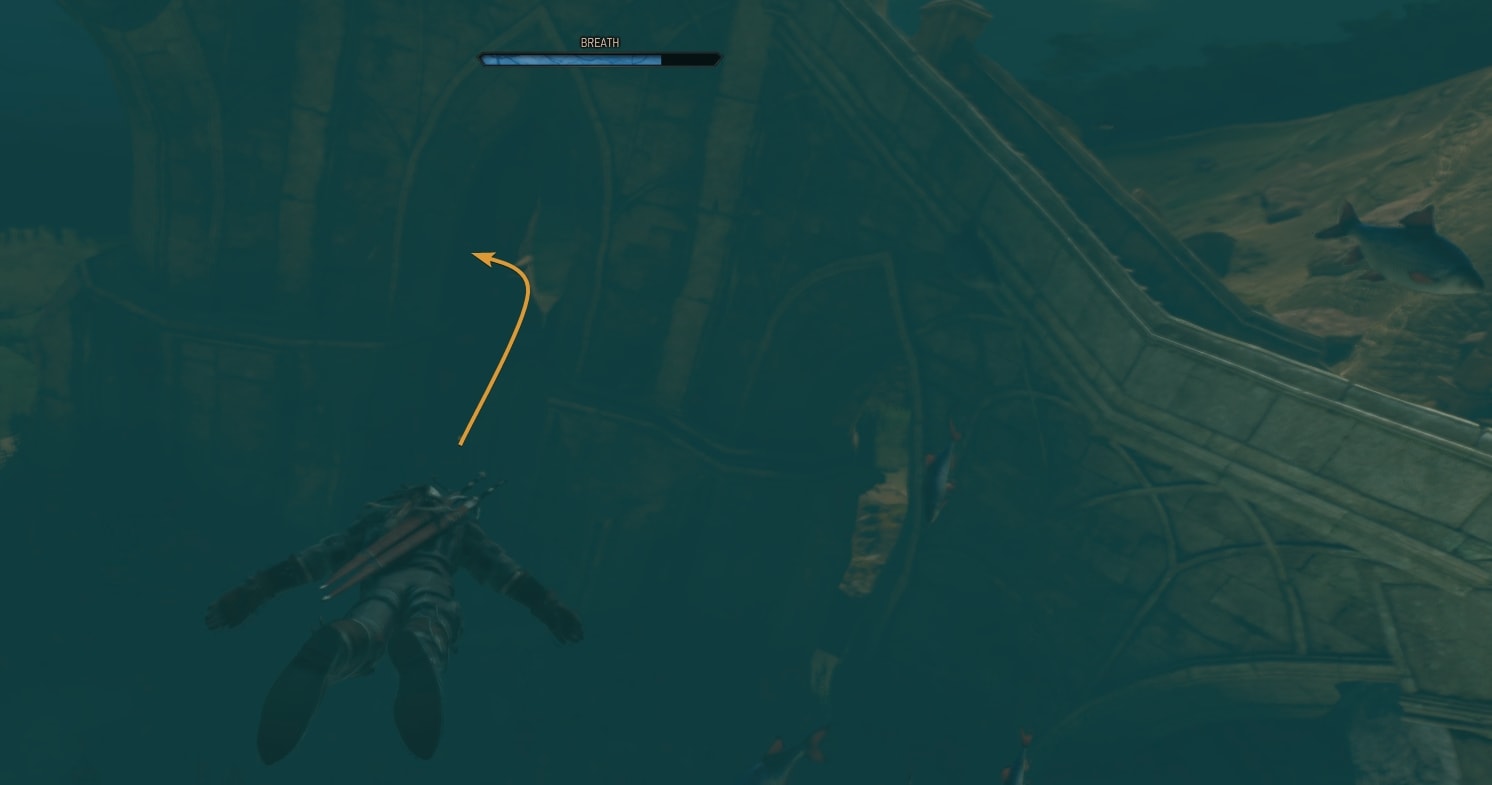
Head south from the graveyard towards the river. Get to the marked spot and dive underwater to find the ruins and the entrance to the flooded laboratory. There’s a teleport hidden in the middle of the ruins, below the stone staircase there. Go through it.
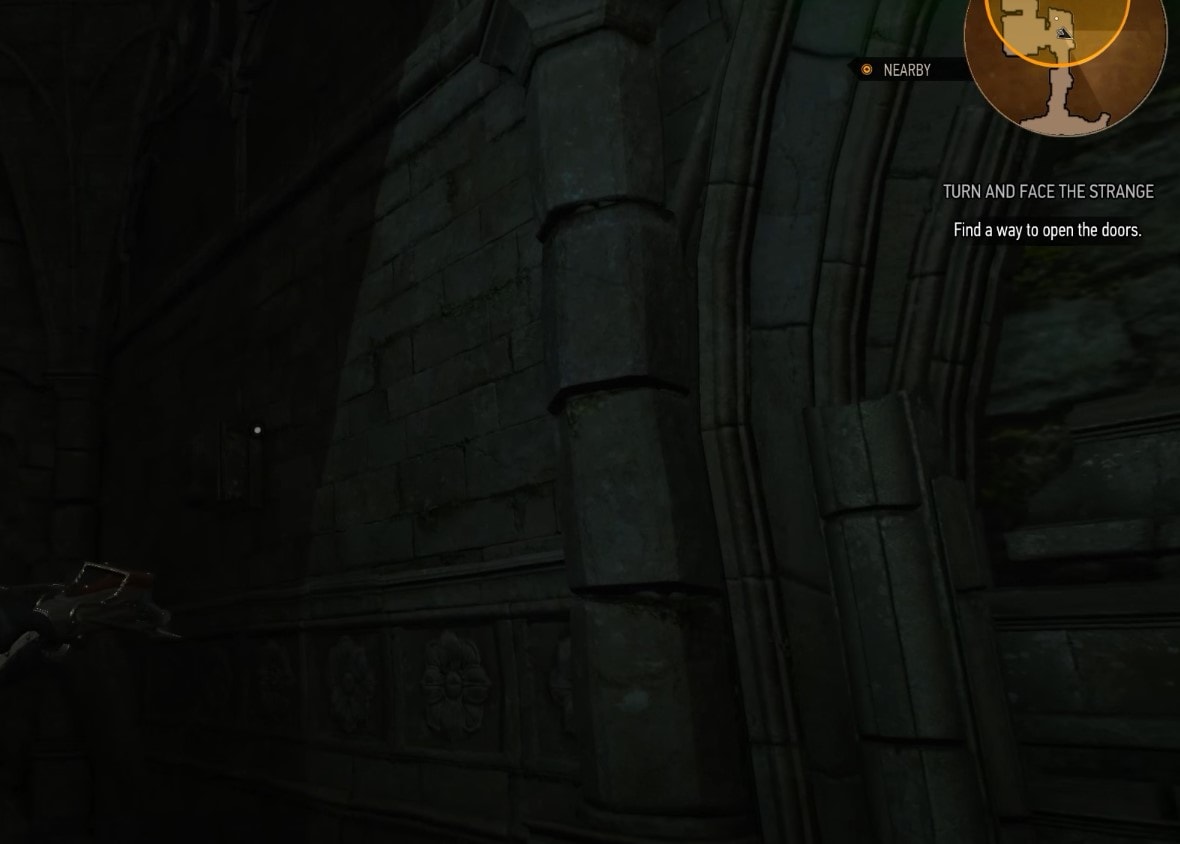
Search the Ruins
After you go through the teleport, you will arrive at an old underground complex. It’s ruined, of course. Jump through the spikes that will spawn from the floor on the bridge.
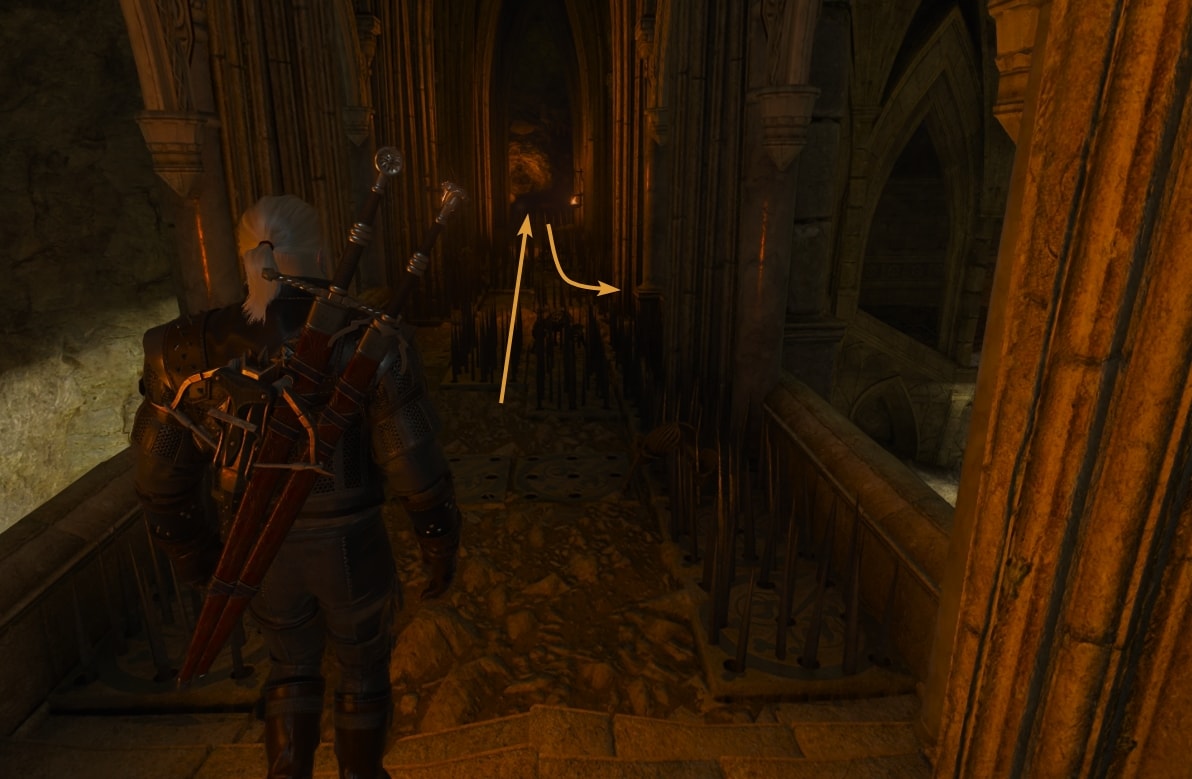
Go to the very end of this path to loot a treasure box, then turn around and take a left turn. Go down the stairs to continue to the next objective.
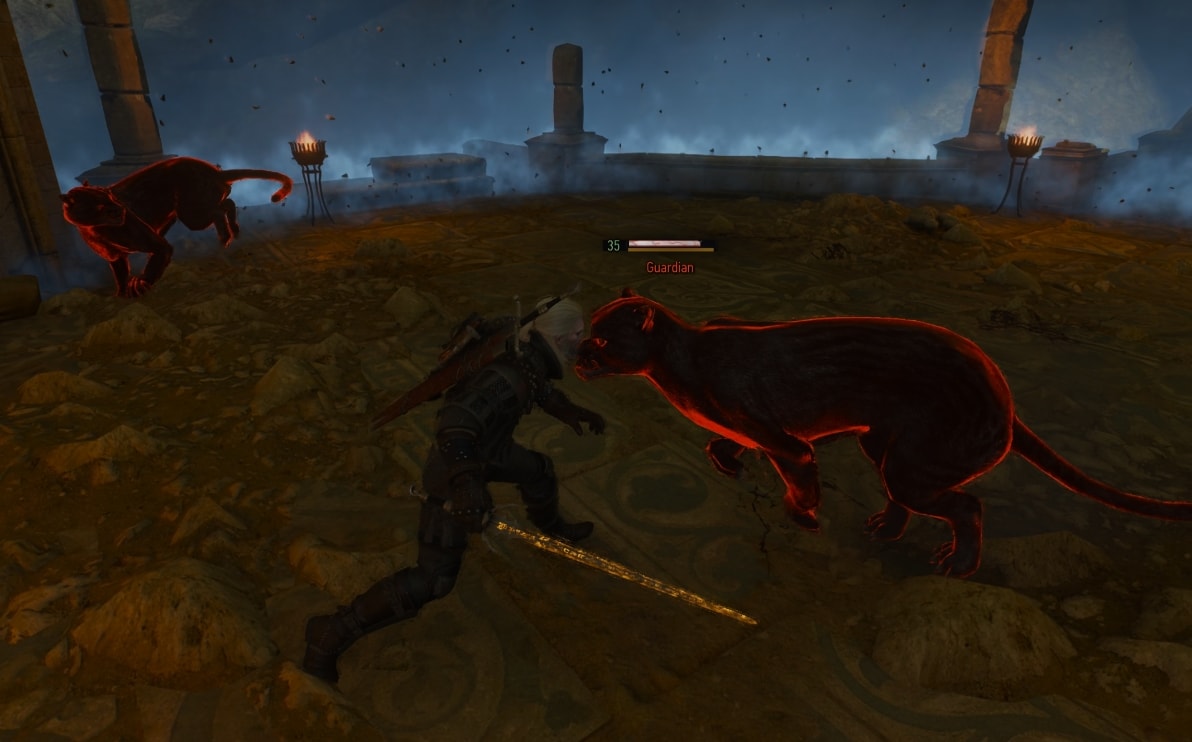
When you set foot in that octagon at the end of the stairs, two Guardian panthers will spawn and start attacking you. The monsters are Specters level 35, thus Specter Oil would be helpful here on your silver sword.
After the fight, continue straight forward to the end of the corridor. It’s a dead end, but you will find nice loot in a box there. After that, turn around and make a left turn at the first chance.
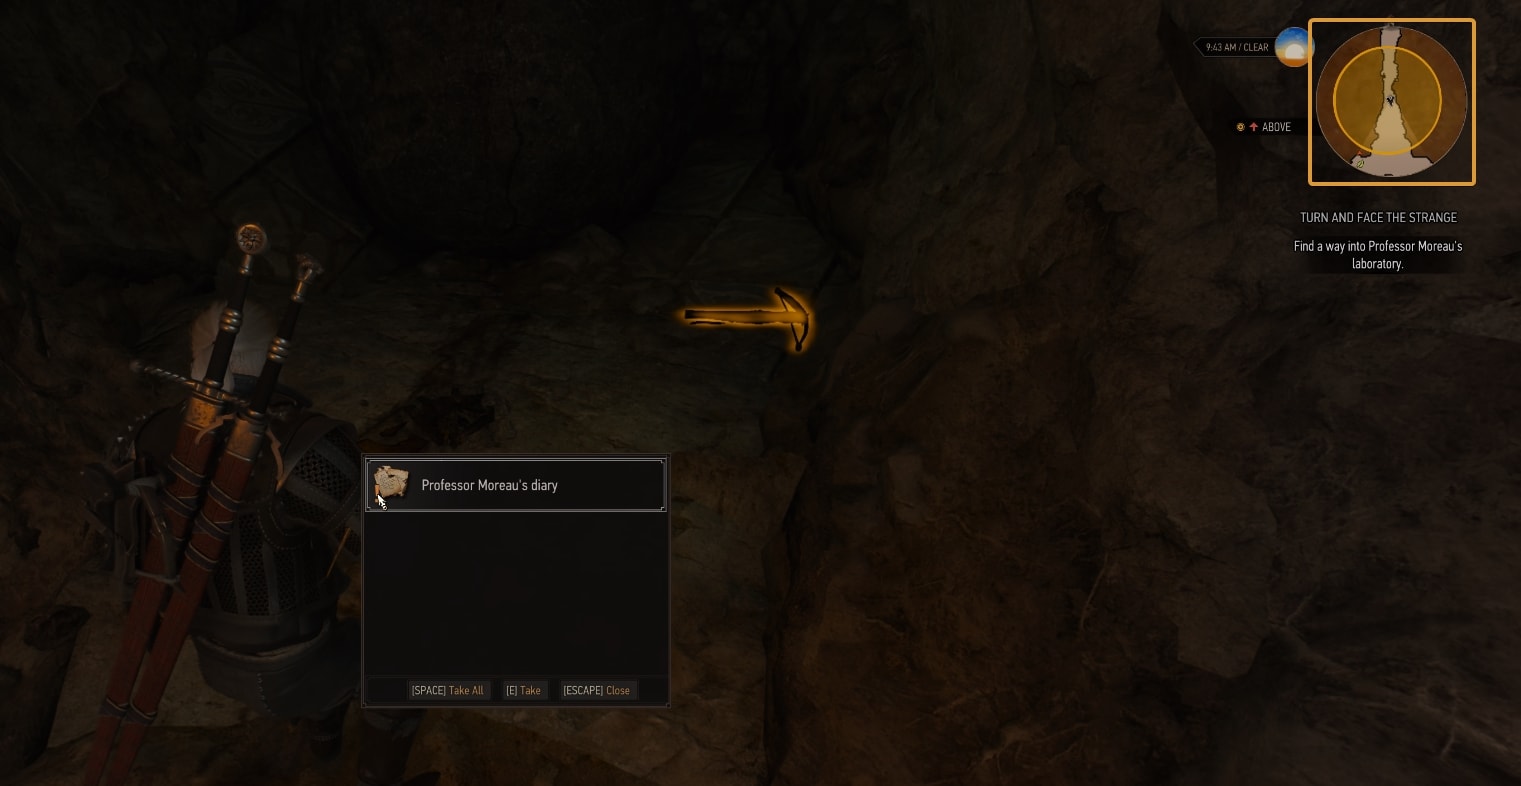
Down on the lower level, make a right turn at the first chance and reach the end of this short corridor. There is an item you can pick up there. This is a clue that the graverobber was also here.
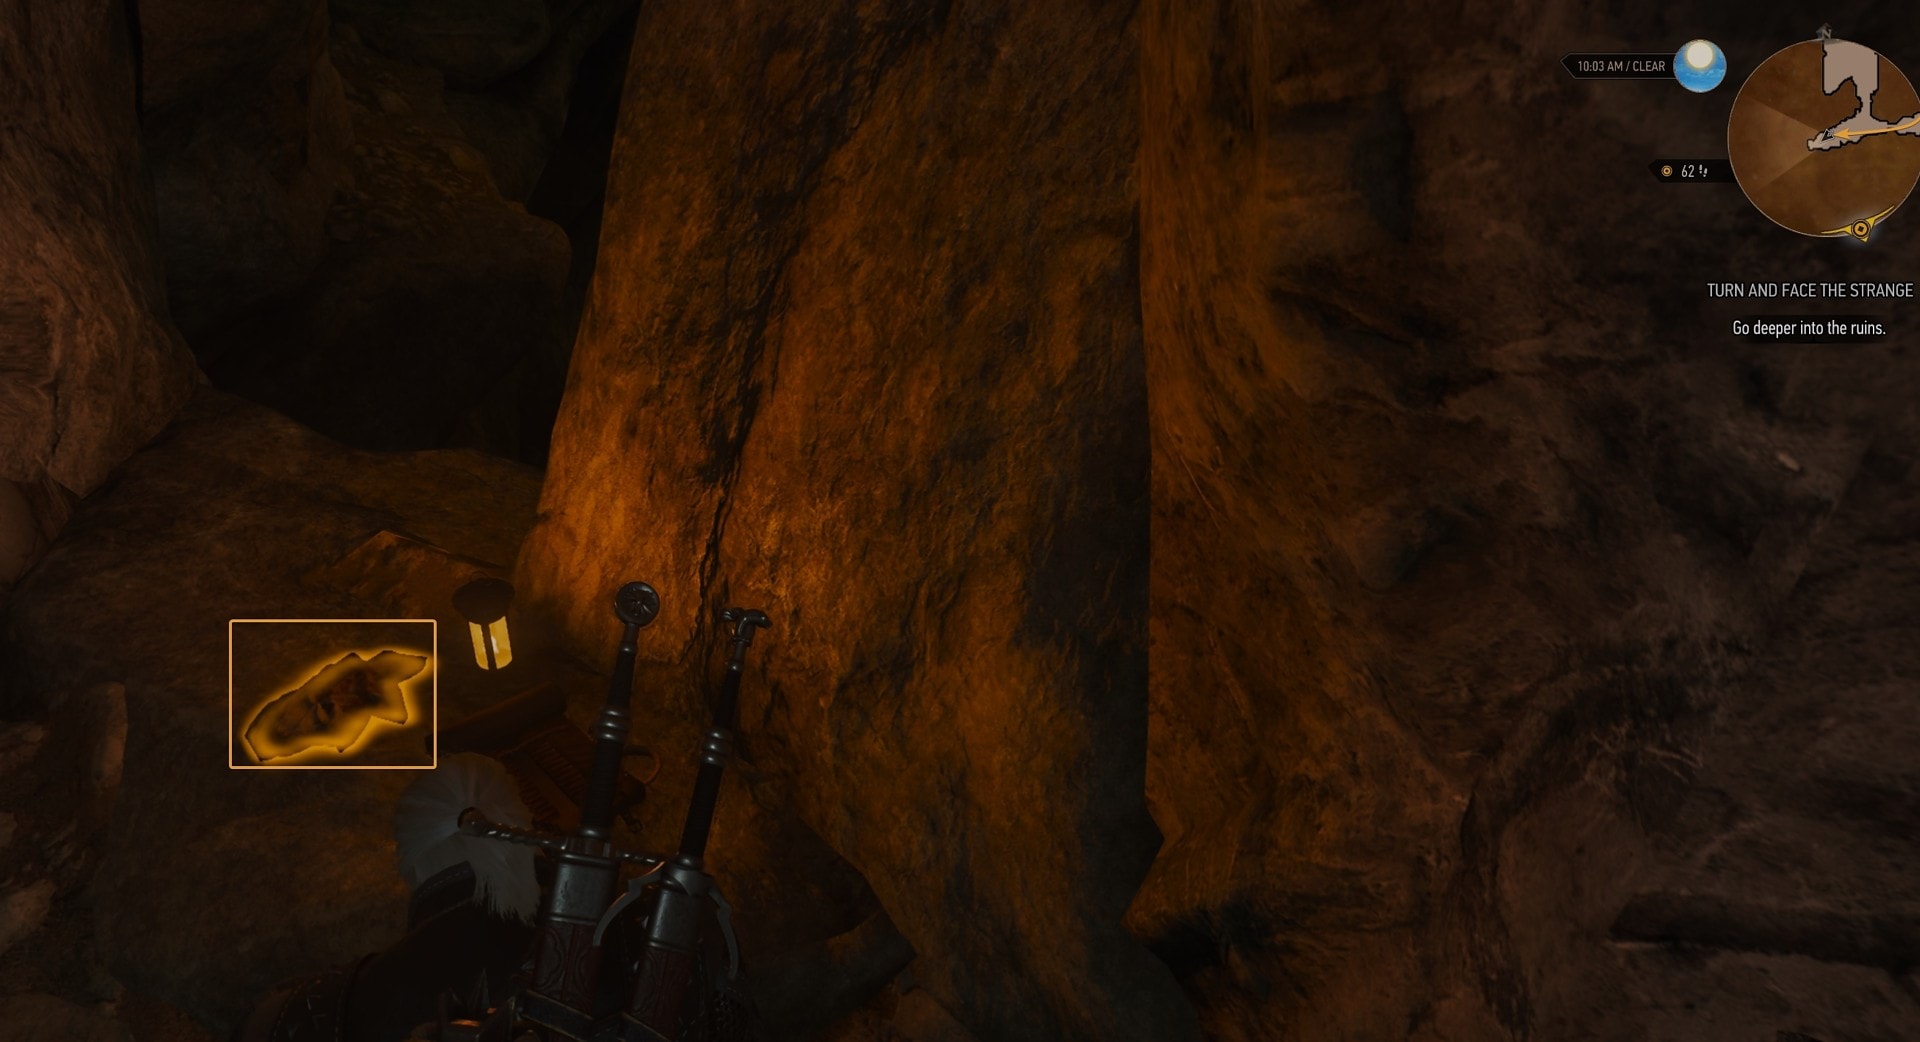
On the ground in a narrow rocky passage, you will find Professor Moreau’s diary. Pick it up and read it.
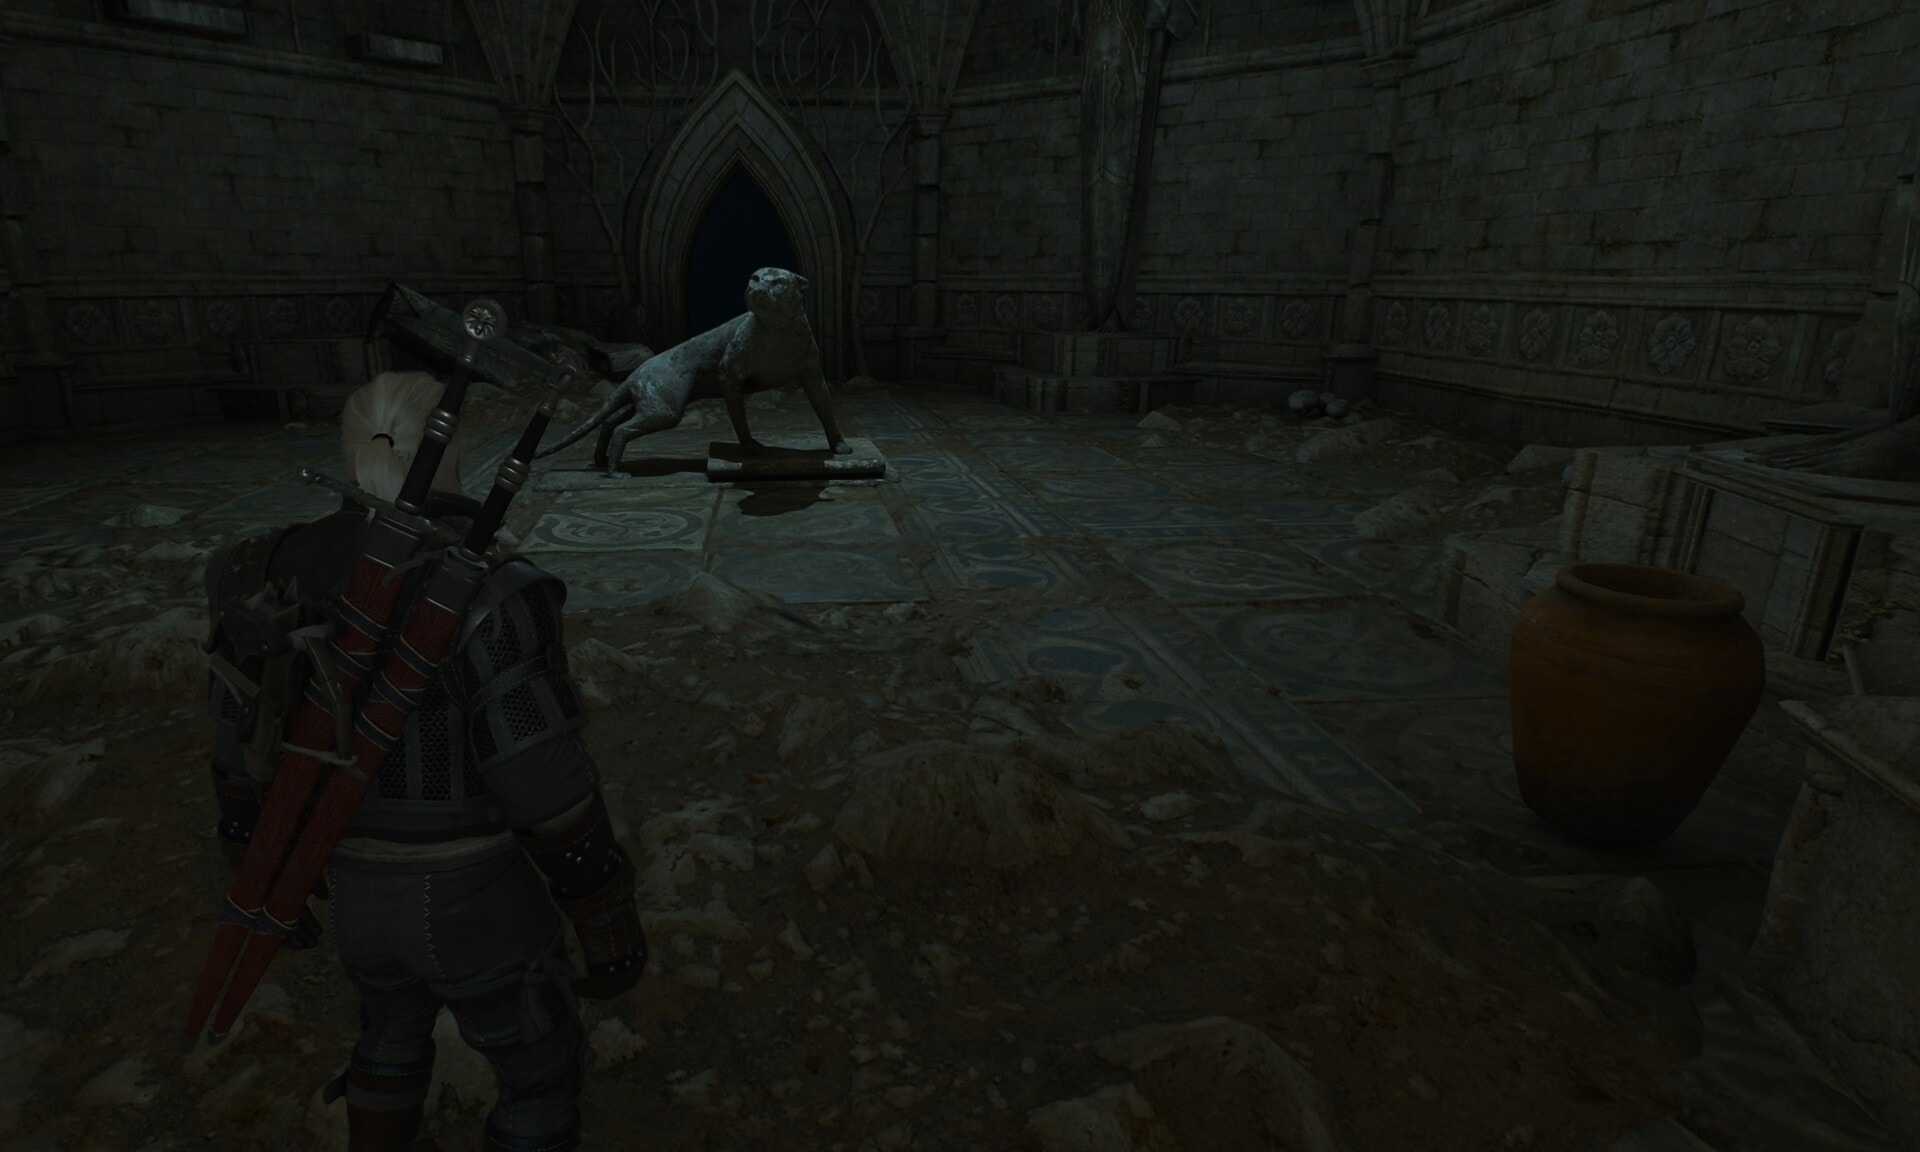
As soon as you climb into the next round room with a Panther statue in the middle, the area will turn into a locked circle-shaped arena and the Panther will attack you. It’s another Specter level 35.
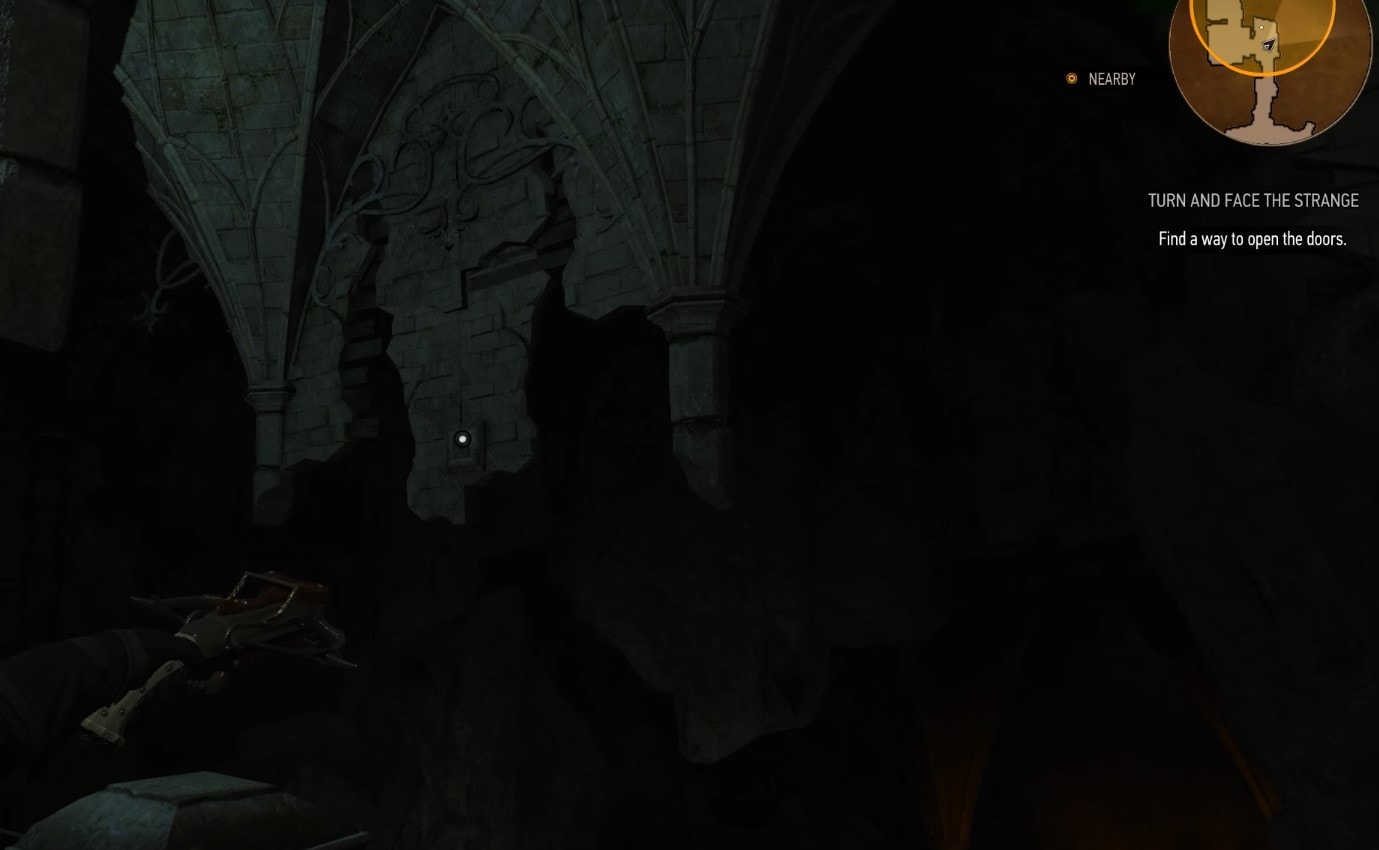
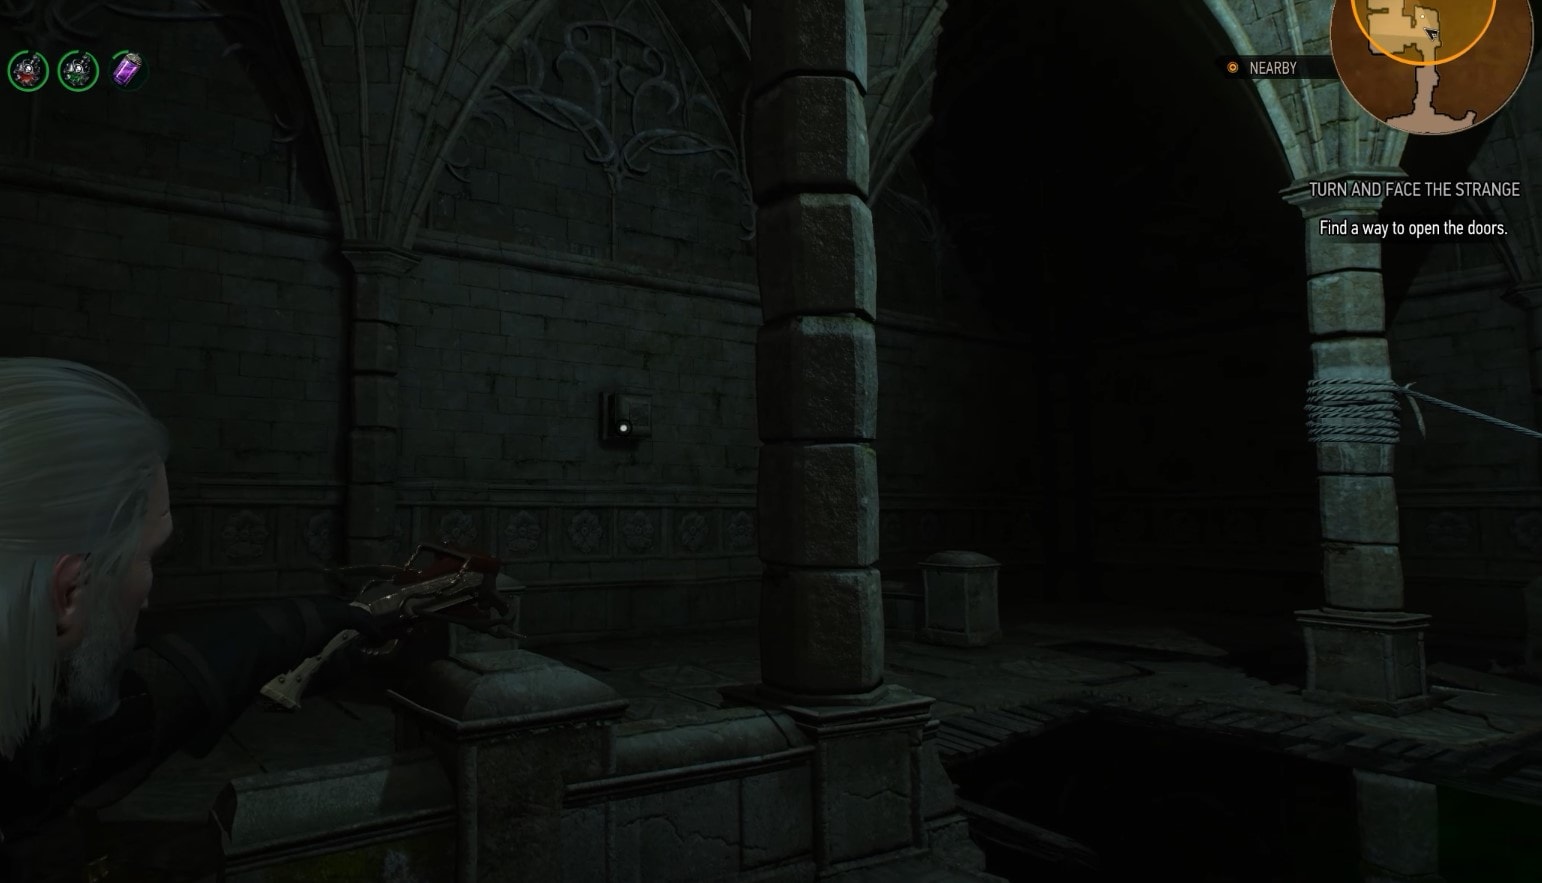
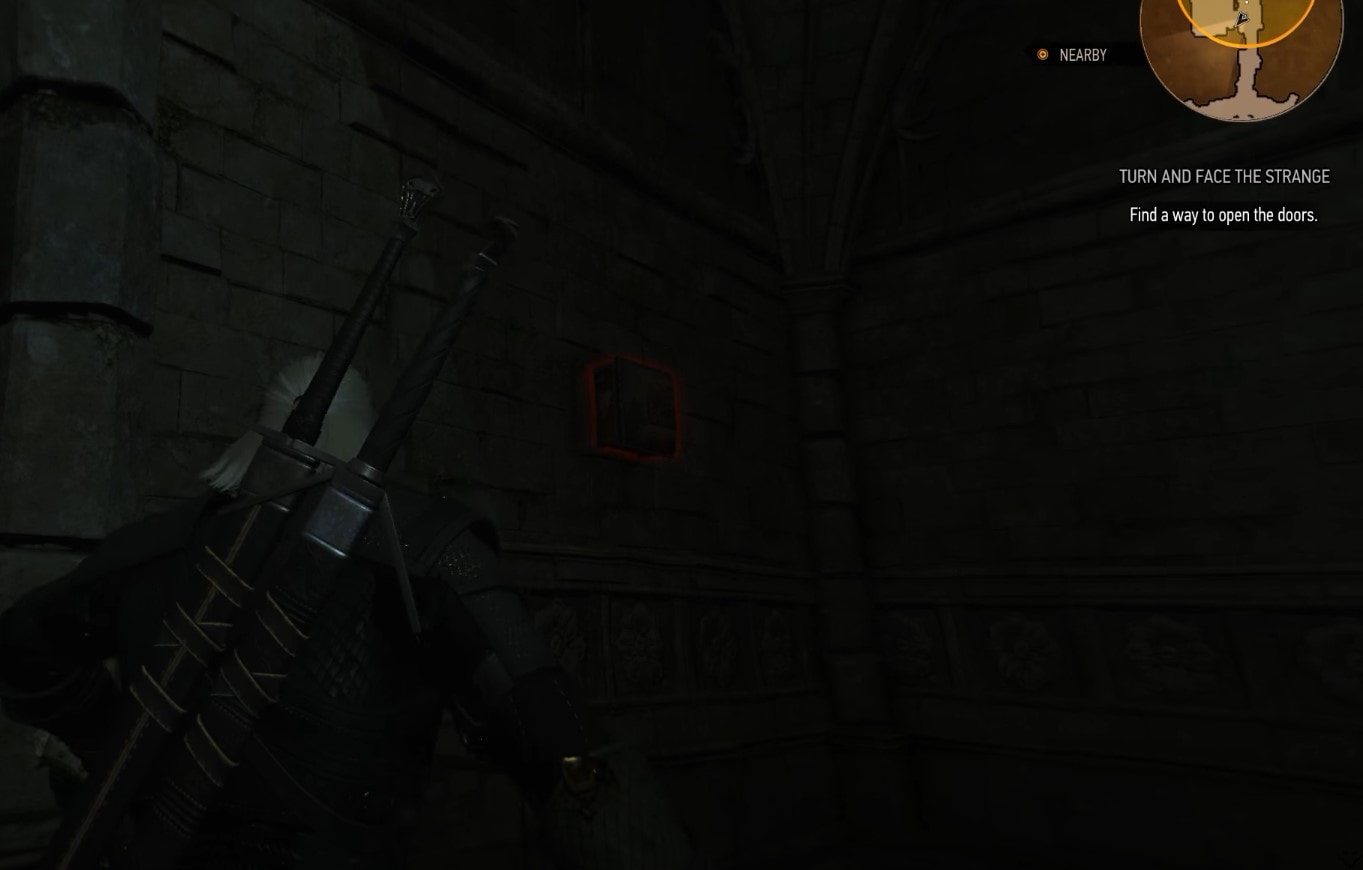
How to solve the Four Protruding Stones Puzzle
In the room right after the fight with the Panther, there is a secret locked entrance with four stones blocking the door.
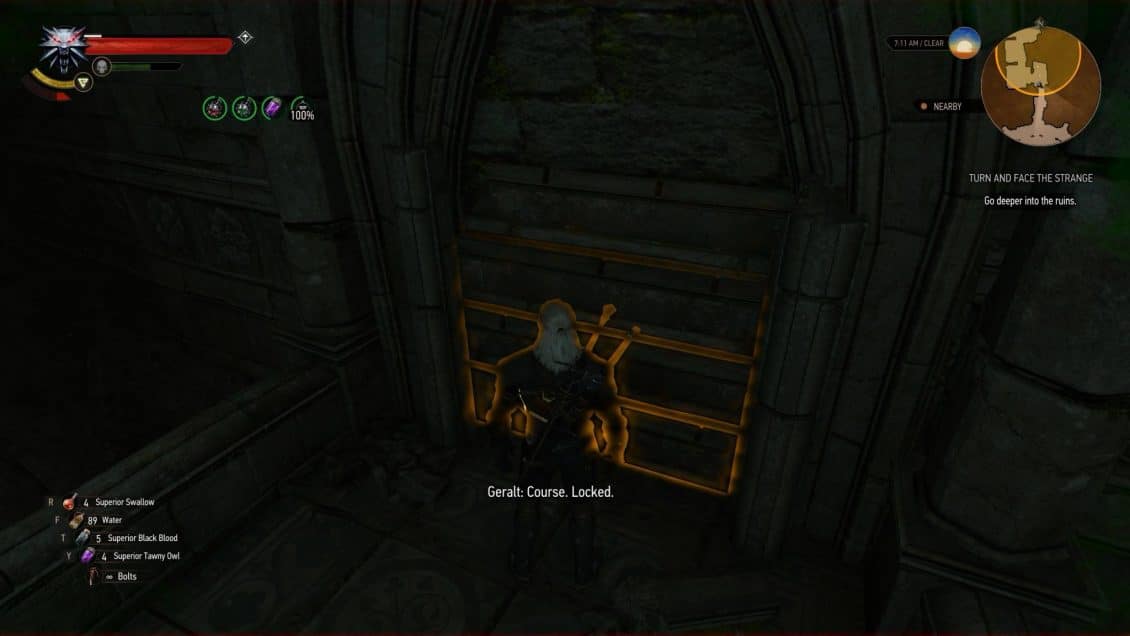
By using your Witcher sense, you will find a few tablets spread around the room. Firing at these four protruding stones with a crossbow will unlock the door
Below you can find images with their location as Geralt is sitting right in front of the locked door and is turning to the left four times.
How to solve the Portals Puzzle
The next room has a Gargoyle in it. It will activate as soon as you approach it. Defeat it and loot the hand of the creature. Use Elementa Oil on your silver sword to increase the damage you deal to this creature. Quen is helpful in this fight as well.
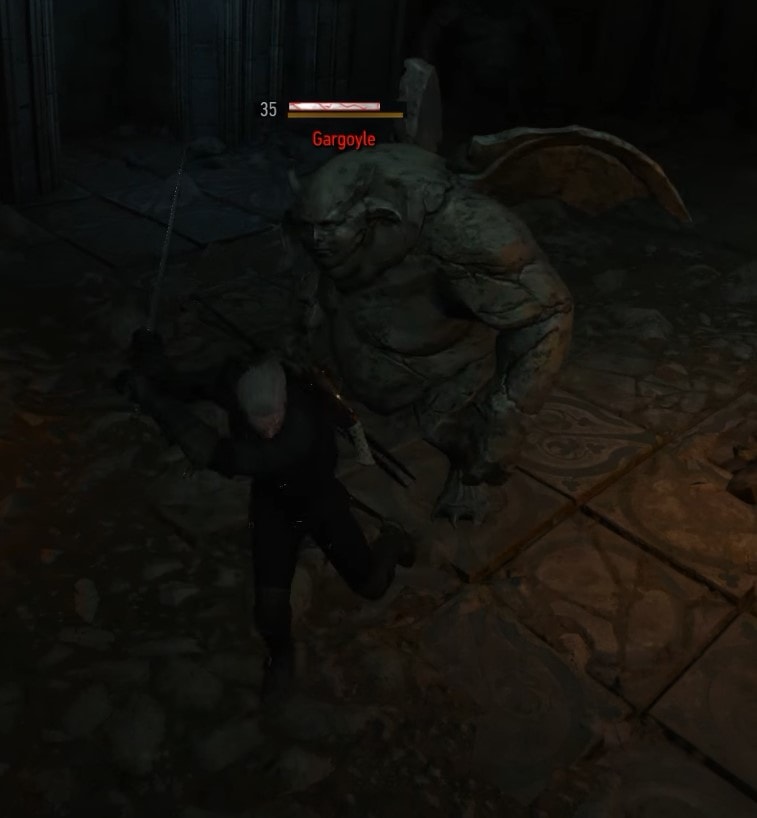
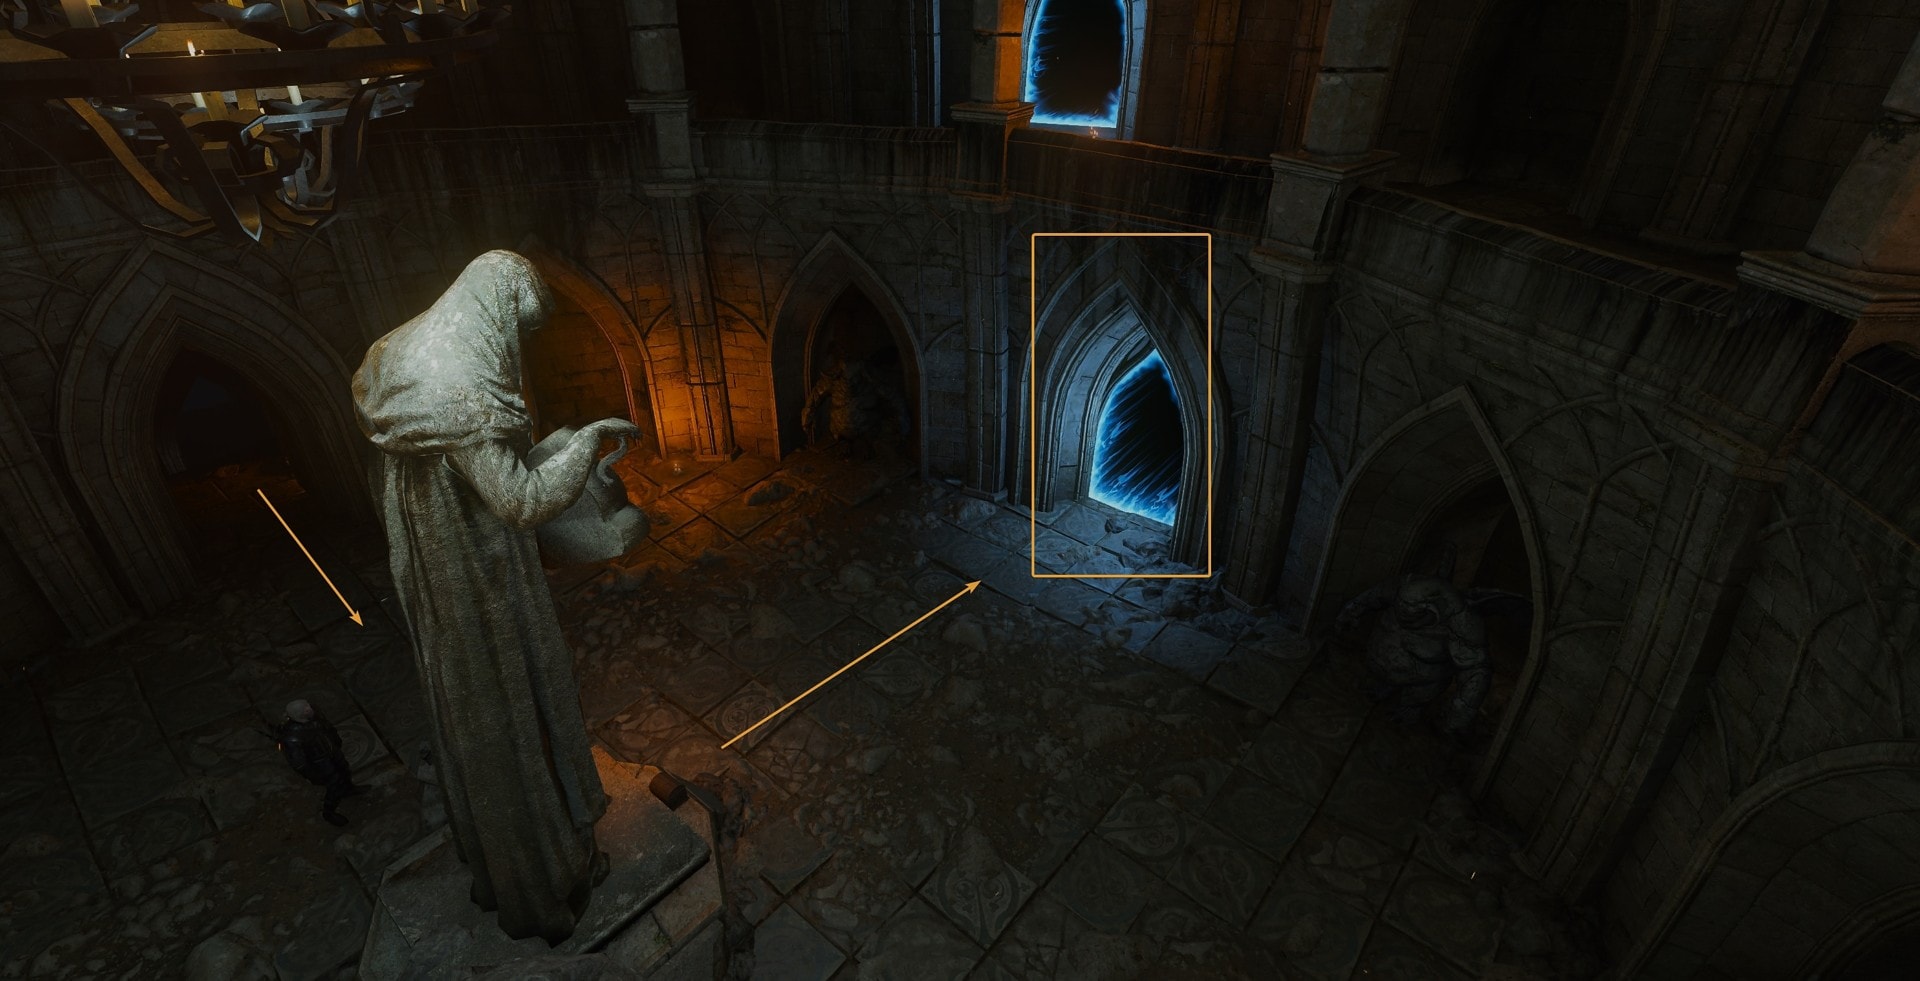
Place it on the pedestal next to the giant statue to unlock the puzzle – a game of portals. Only one portal is the correct one to go through and all others return you to the starting point.

The trick to this puzzle is to always enter through the portal that the statue in the middle of the room is facing. This is always the correct direction.
On the ground floor, enter through the portal that is on the left side of the entrance. The statue is facing it.
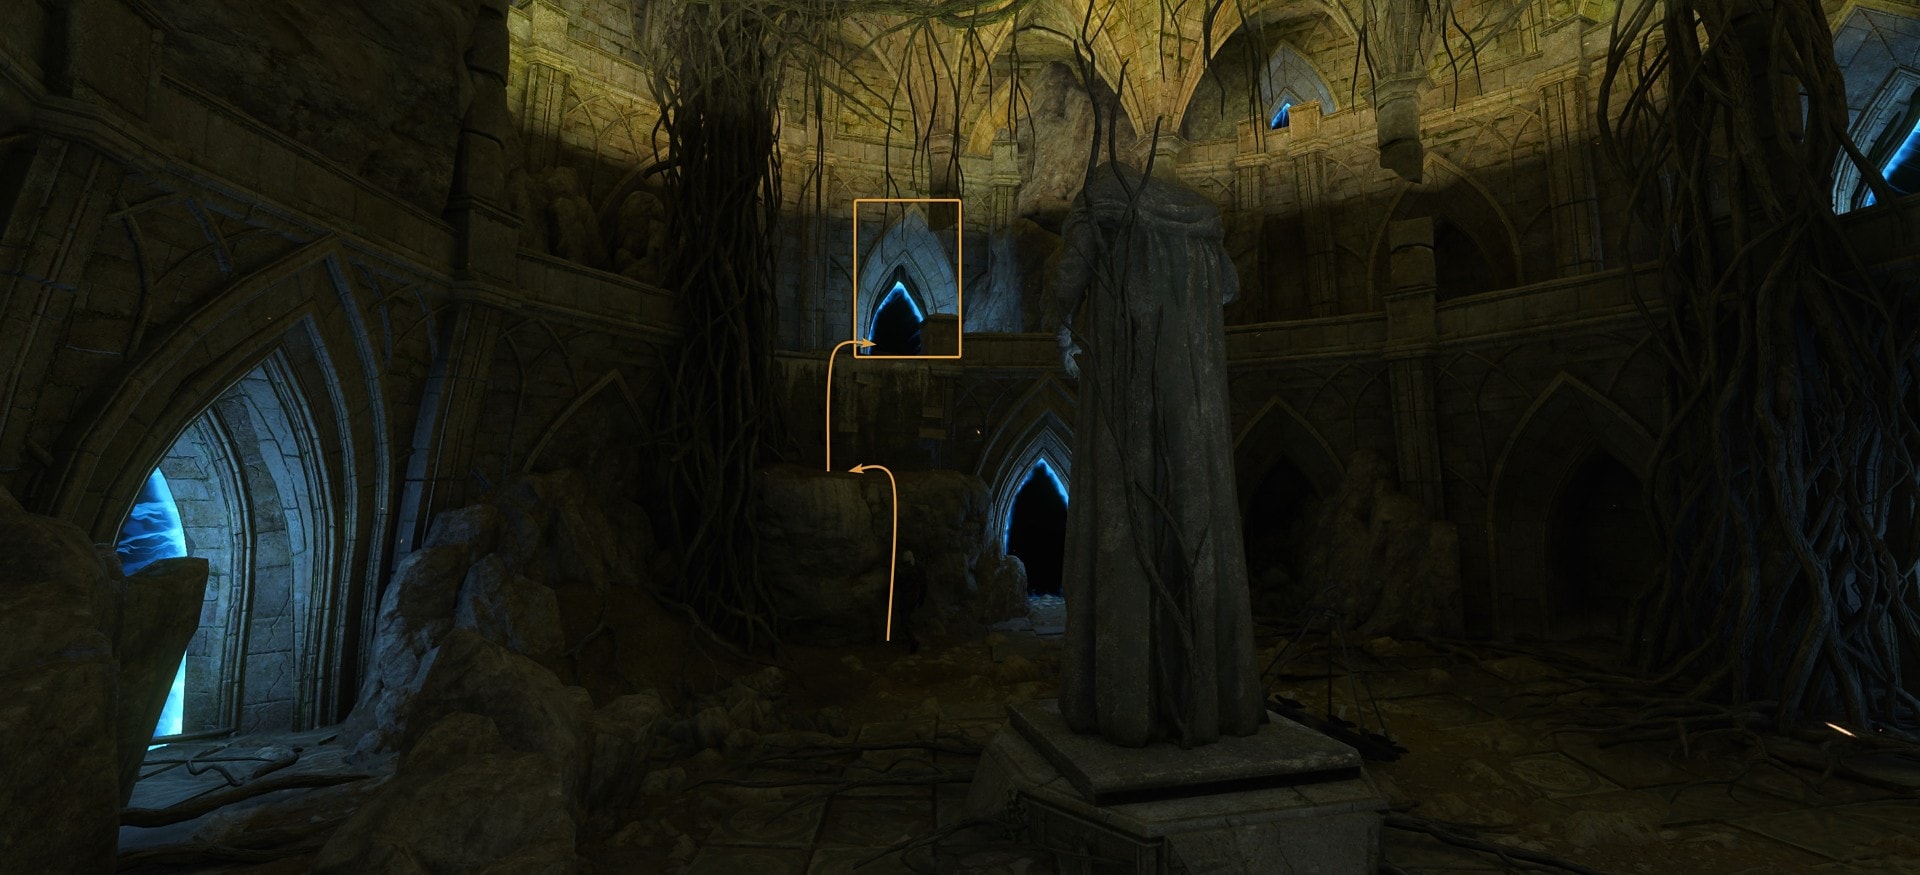
The next portal is on the second floor, but you will not be able to reach it from the place where you exit the first portal. Jump back down on the ground floor and climb up to get to the portal the statue is turned to on the second floor.
The third portal is on the third floor. From where you spawn, turn left. Run past two active portals, jump over a hole in the ground and enter through the third active portal.
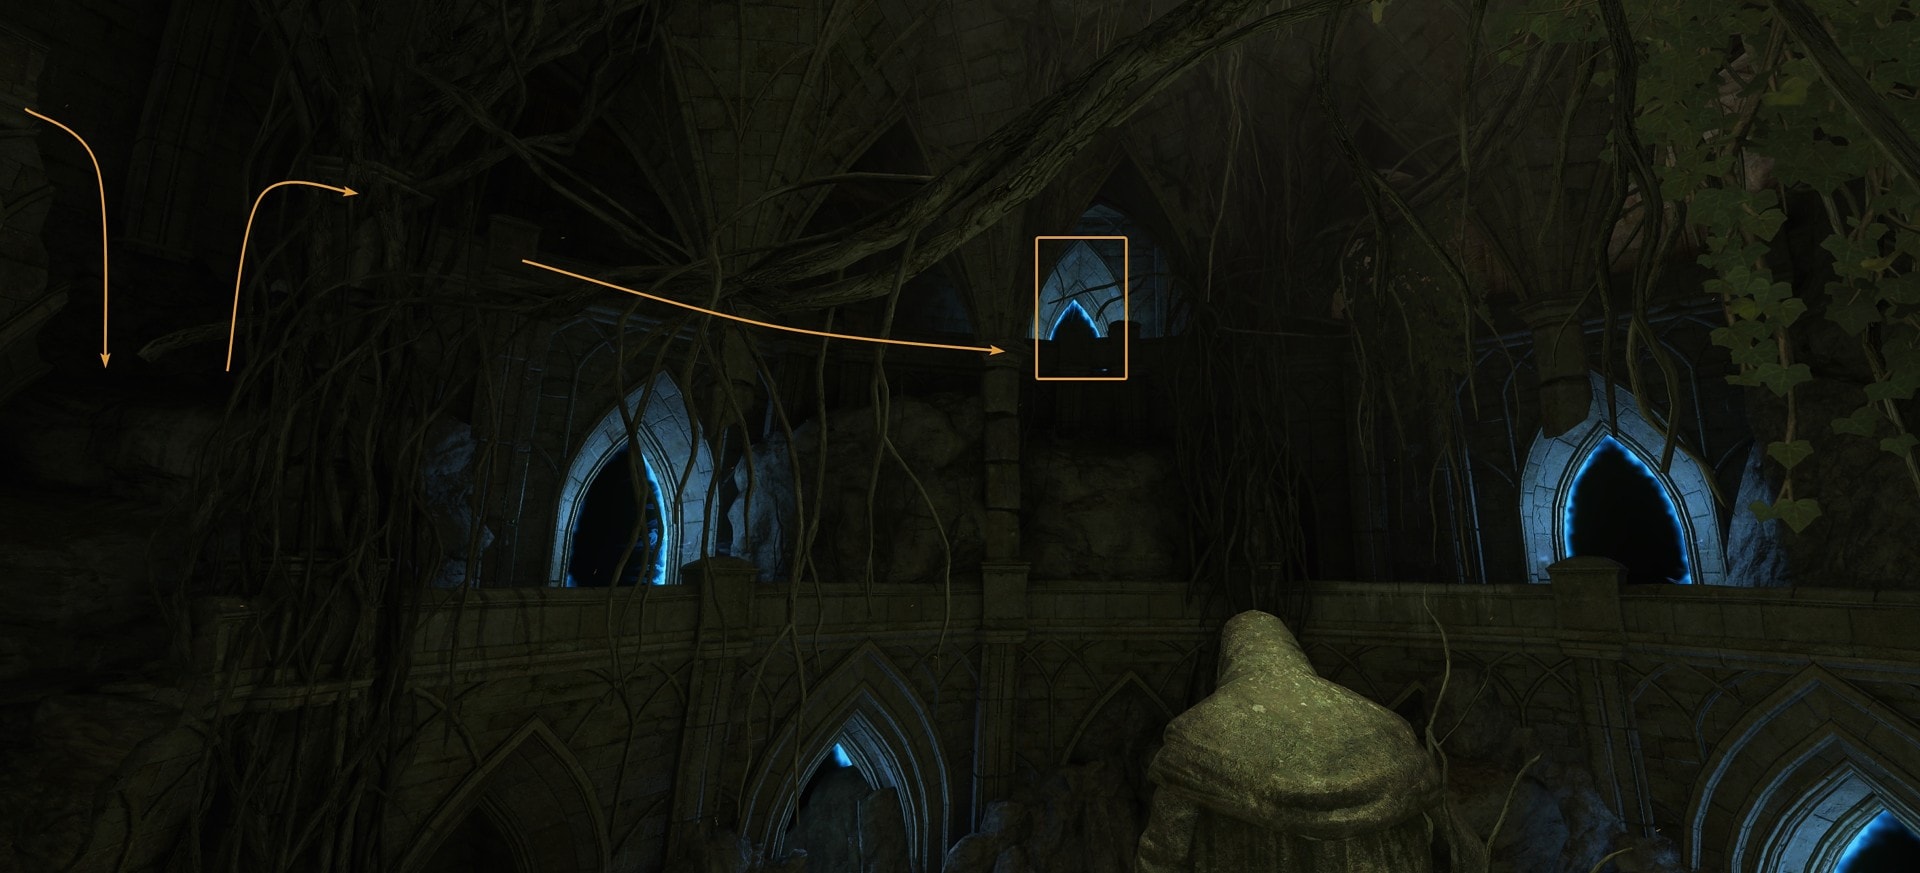
This is the last portal. It will finally lead you right into the laboratory of professor Moreau.
Learn about Professor Moreau’s experiments
Inside the laboratory, you have to find the two missing crystals for the megascope. Once that’s done you can learn the full story of the professor – why did he start his research, what was he trying to accomplish, and who he was doing all this for.
This is an optional objective, but it gives you the lore behind the mutations system in the game and why Geralt is willing to subject himself to this procedure.
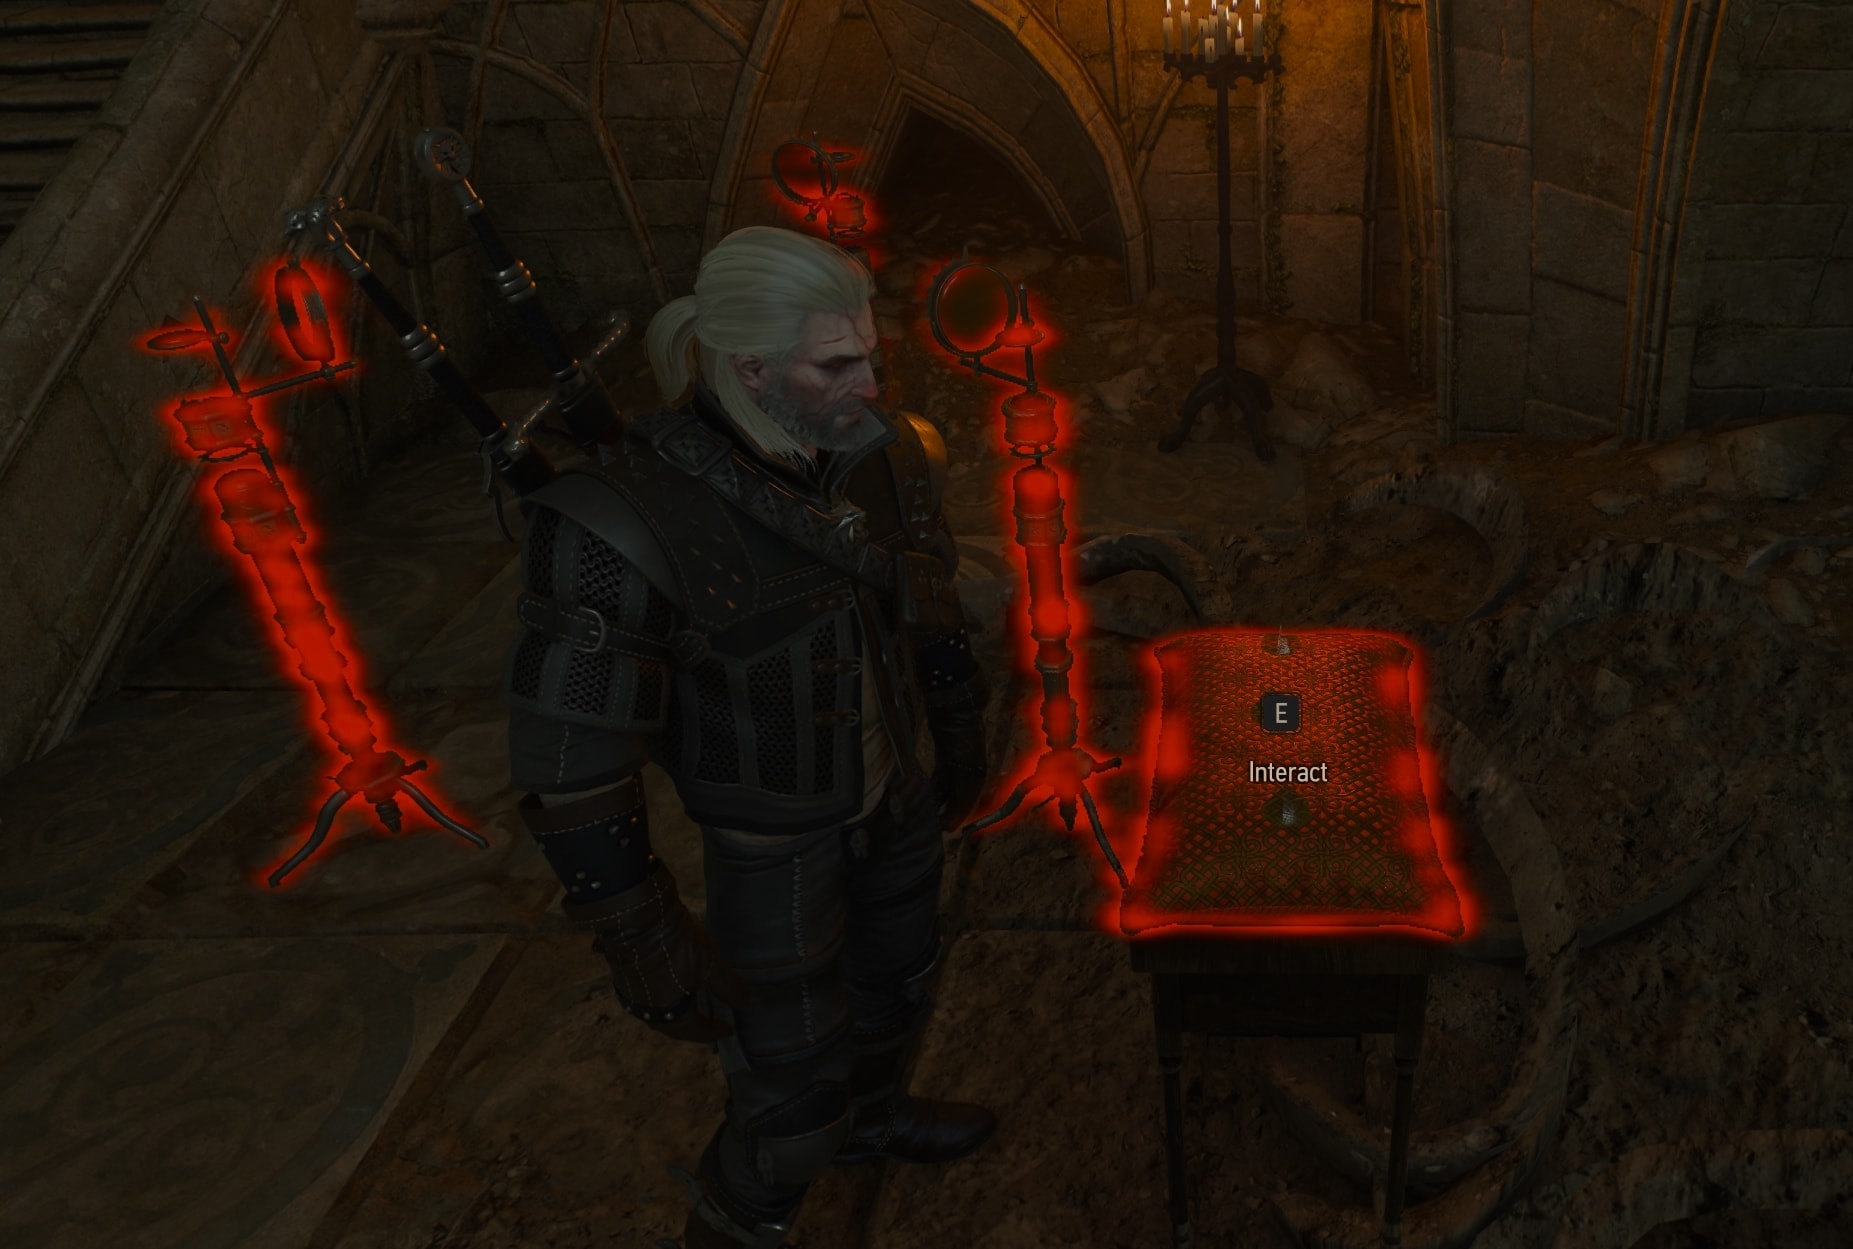
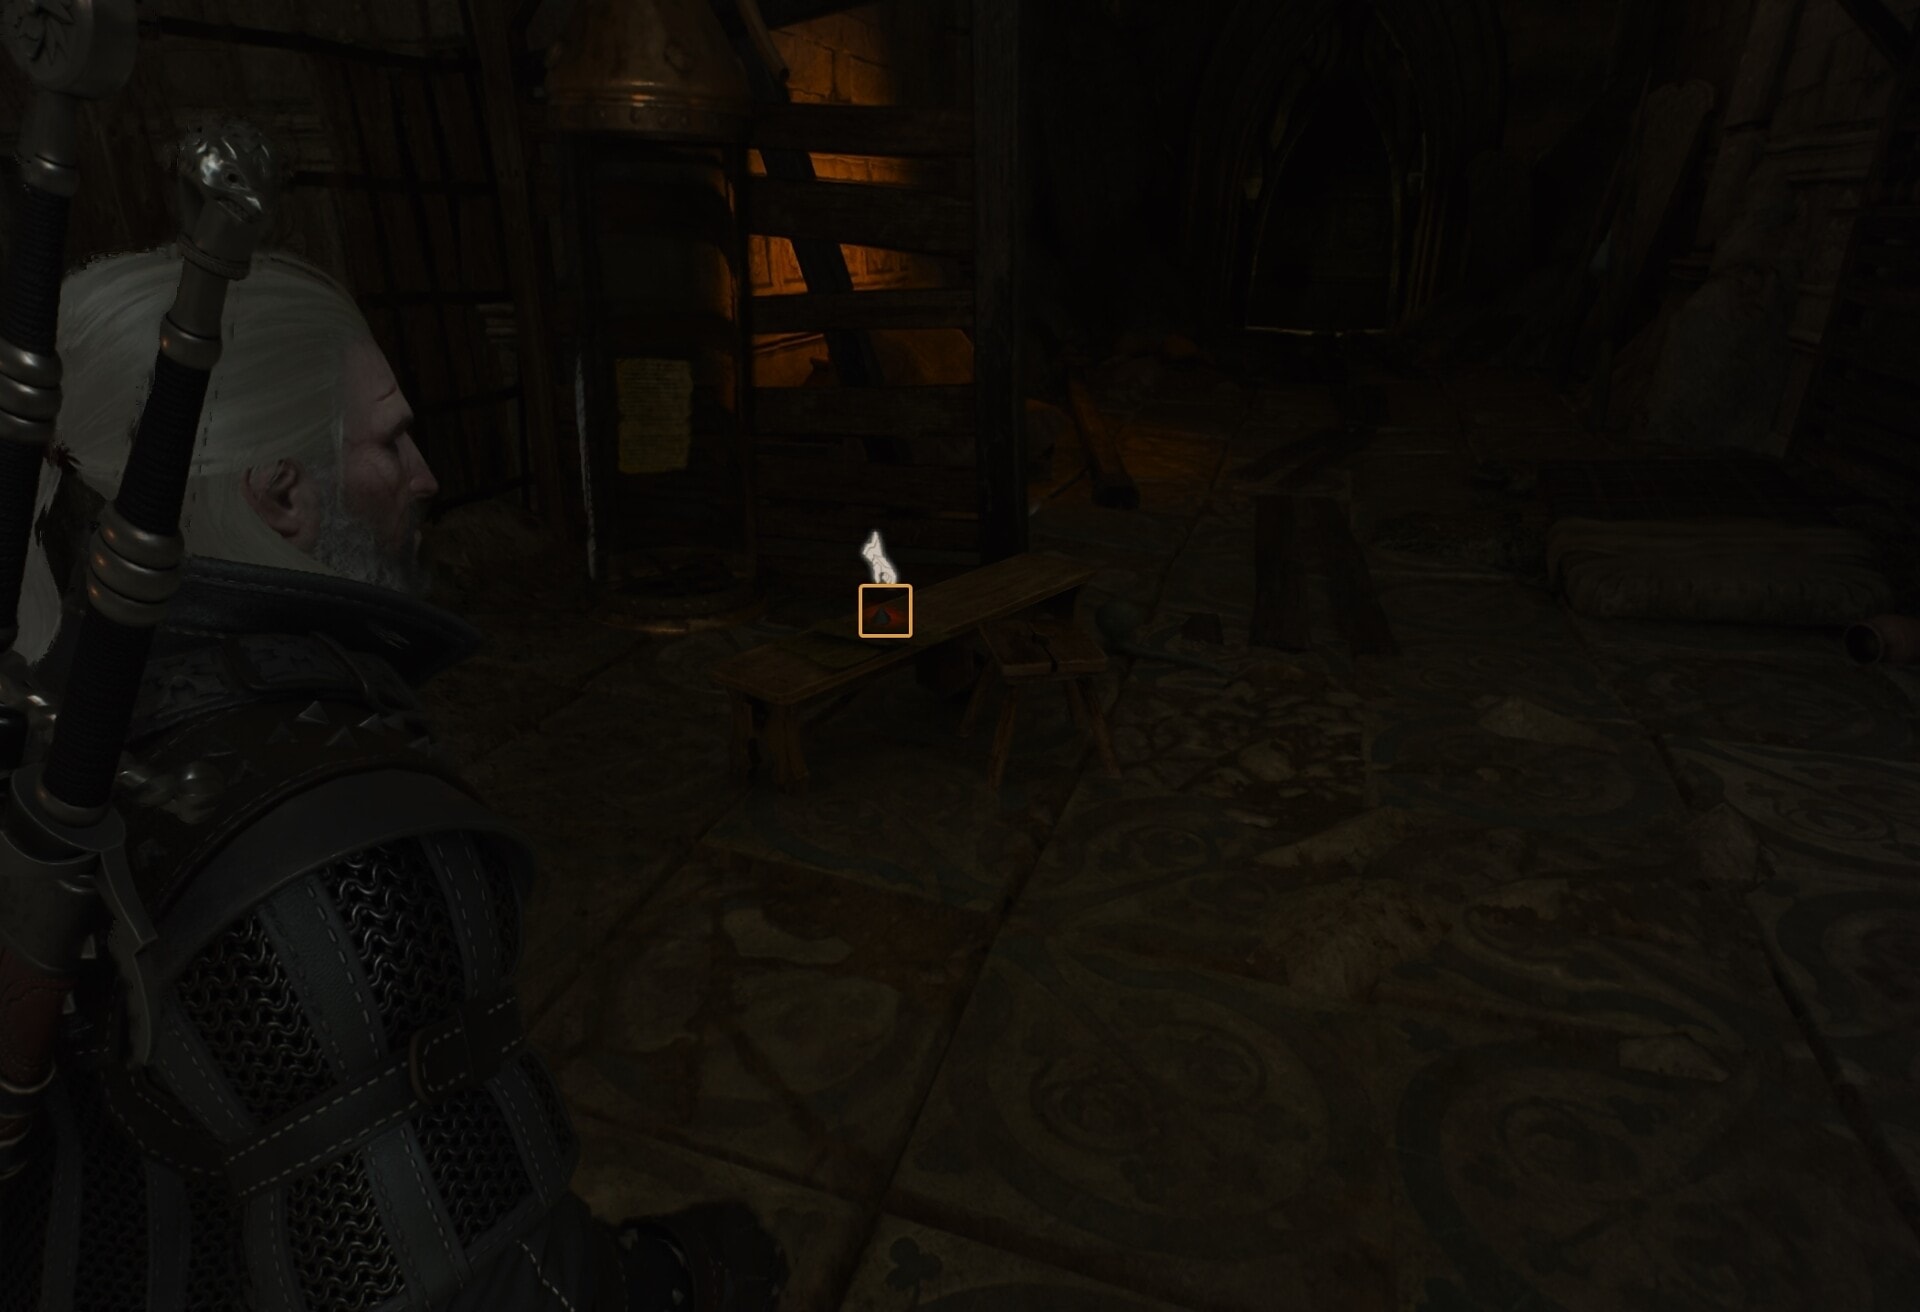
The two missing crystals are entry 4 and entry 5. You can use your witcher sense to find the red-marked items and inspect them.
The first Crystal is on the edge of the large wooden table in the middle of the room.

The other missing Crystal is on a small wooden bench in front of the portal that will teleport you back outside (it’s inactive at the moment, but you can activate it with Aard at any point).
How to activate Professor Moreau’s machine
The last thing you need before Geralt can use the Mutations system are eggs from mutated giant centipedes. In one of the cages in the laboratory, there is a breach into the wall where a narrow corridor leads to the nest of these creatures.
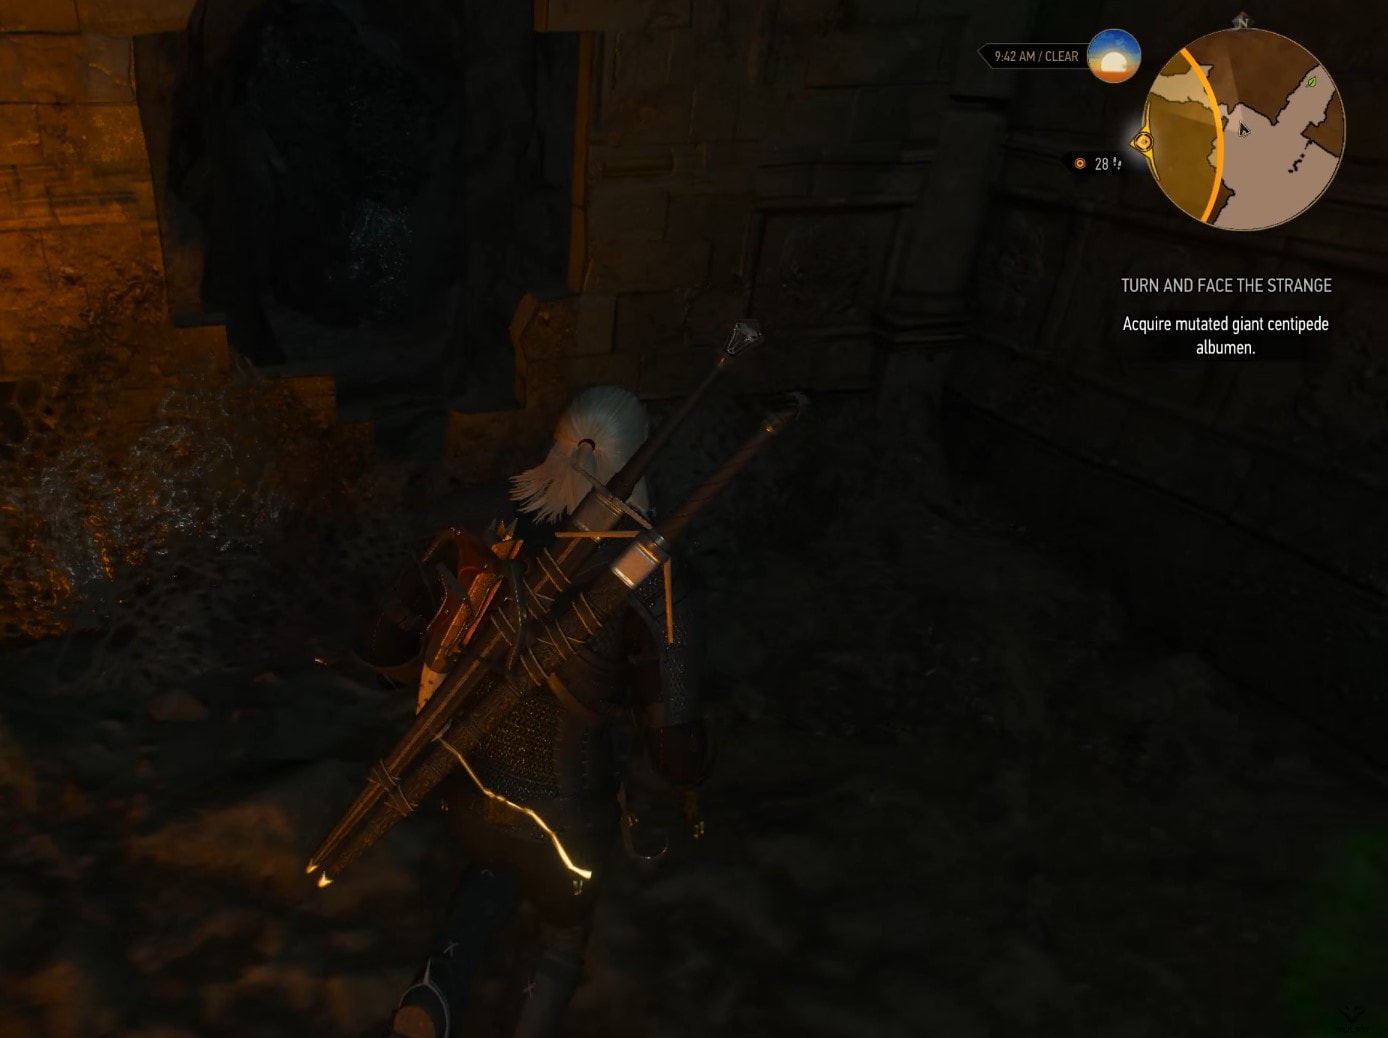
Defeat the centipedes and pick up the eggs. They are weak against Insectoid Oil and Yrden. Placing the sign on the location of a centipede will stun it for a brief moment. Enough for you to deal a lot of damage.

The three eggs are at the end of the corridor. The first encounter is against two centipedes, the second one, where the eggs are, has only one creature guarding the eggs. With all the items obtained, it is time to begin the process. Get back to the laboratory.
How to activate the Mutations process
The professor was trying to reverse the effect of the mutations on his own son, who became a Witcher, but he learned that the device he constructed doesn’t remove the effects from the Trial with the Grasses, instead it enhances the mutations of the Witcher.
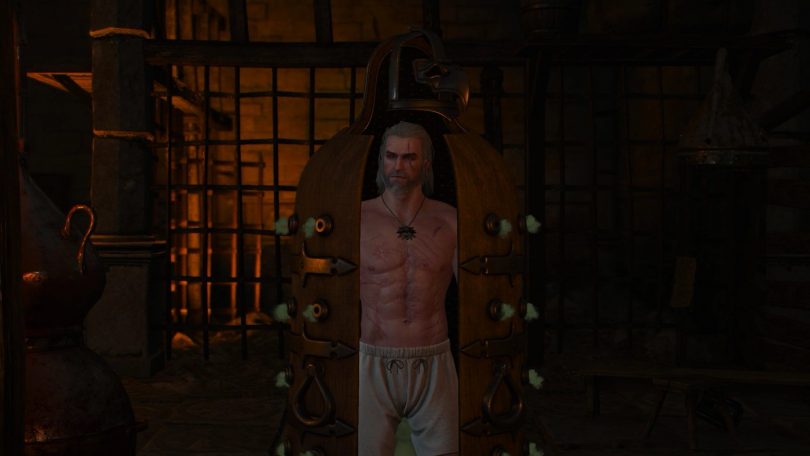
Exactly what Geralt was hoping for. For the process to begin, put the three eggs on the back of the machine, undress, and enter the machine.
Once the processes inside are all finished, Geralt exits the capsule stronger than ever before. You have completed the “Turn and Face the Strange” side quest. You can now use the Mutations system in The Witcher 3! Congratulations.
What happens if you complete the quest in NG+
The Mutations system is developed with NG+ in mind. You don’t have enough skill points to fully develop this system and research all mutations slots in the normal game. It carries over to New Game Plus (NG+).
So, what happens when you complete this quest in NG+? You already have the Mutations System unlocked from the normal game. Completing the quest Turn and Face the Strange grants you an Ability Point in NG+.
How the Mutations System works in The Witcher 3
In the Character screen, press C (on PC) to open the Mutations panel. There are three tiers of mutations. To use mutations, you must research them first. To do this, choose one of the available mutations.

For mutations research to finish successfully, you must devote the required number of Ability Points and mutagens to it.
To develop advanced mutations, you must first develop other, more basic ones. Information about the required types and quantities of both Mutagens and Ability Points can be found in the mutation’s description (hovering over the mutations).
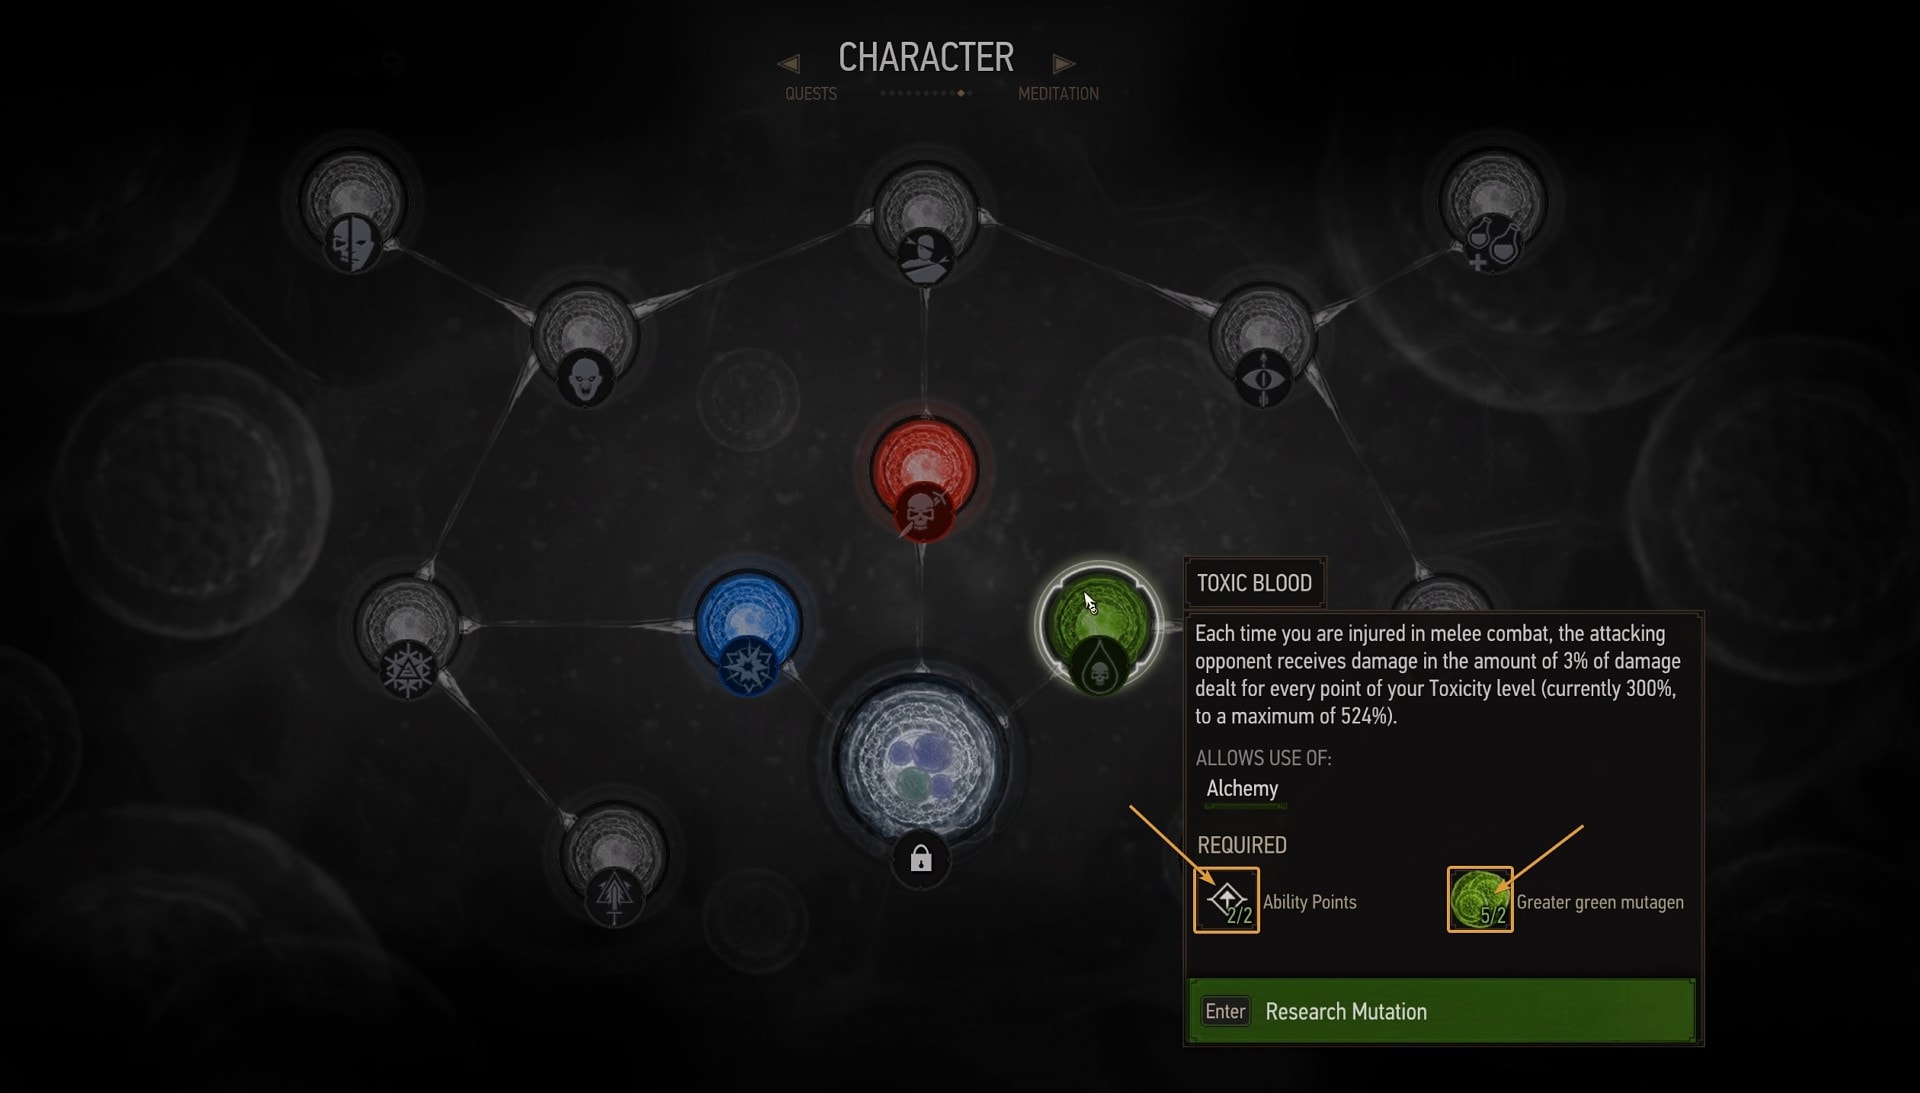
Once a mutation is researched, you must press the corresponding key (Enter on PC) or double-click to activate it. Only one mutation can be active at any given time.
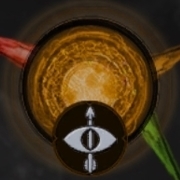
The Strengthened Synapses mutation (the big circle in the middle) improves automatically when you develop other mutations. As it does, it unlocks additional Ability Skills slots in the Character window.
The active mutation is displayed in the right half of the screen, between the four columns of abilities you have active.
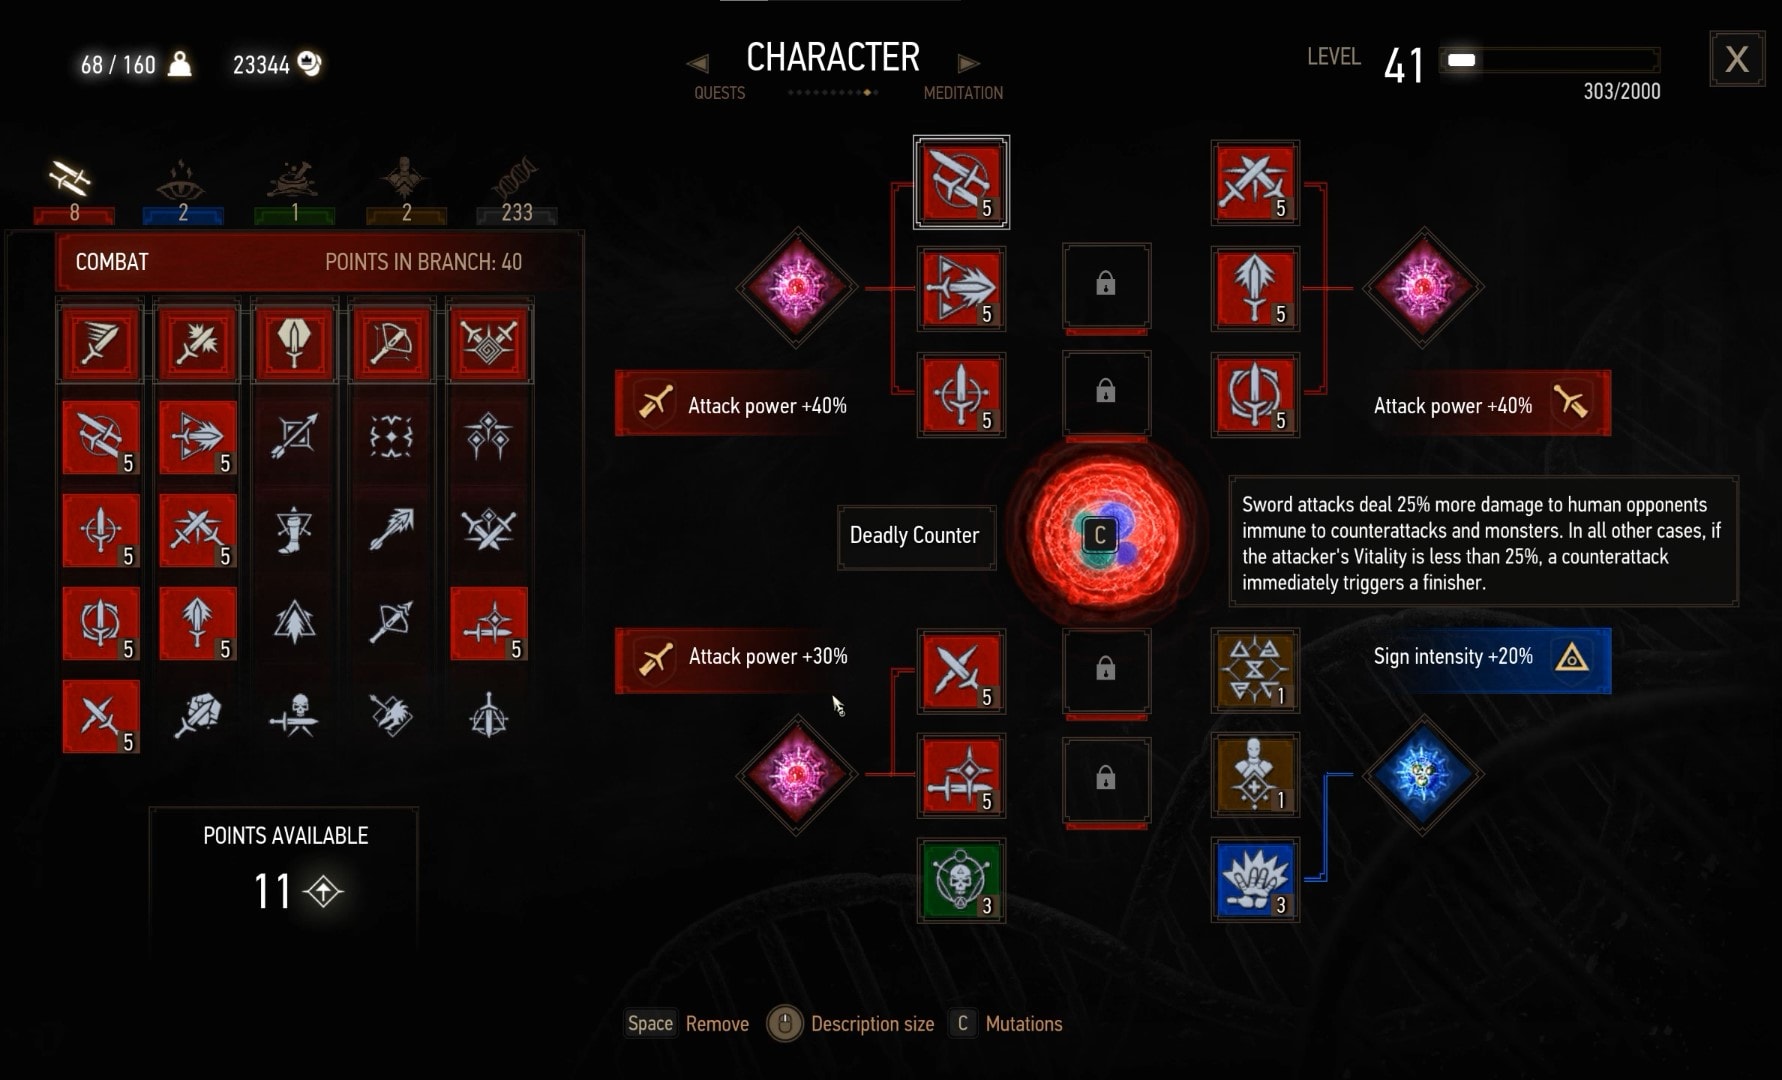
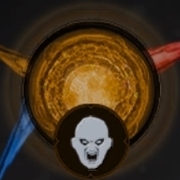
The color of the extra ability you can put in the extra Ability slot must match the color of the active mutation. Advanced mutations, distinguished by their yellow color, require multiple types of mutagens but allow you to use any Abilities from the Red, Blue, and Green groups.
List and Descriptions of all available Mutations
Below is a complete list of all available mutations, sorted by tier. You can learn what each one requires to craft and what its effect is for Geralt in combat.
Tier 1 Mutations (Inner Circle)
Magic Sensibilities (Blue)
Signs can deal critical hits. Their critical hit chance and damage increase with Sign Intensity. Opponents killed by critical hits from Signs explode.
Requirements to research:
Ability Points: 2
Greater Blue Mutagen: 2
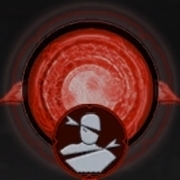
Deadly Counter (Red)
Sword attacks deal 25% more damage to human opponents immune to counterattacks and monsters. In all other cases, if the attacker’s Vitality is less than 25%, a counterattack immediately triggers a finisher.
Requirements to research:
Ability Points: 2
Greater Red Mutagen: 2
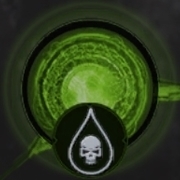
Toxic Blood (Green)
Each time you are injured in melee combat, the attacking opponent receives damage in the amount of 3% damage dealt for every point of your Toxicity level.
Requirements to research:
Ability Points: 2
Greater Green Mutagen: 2
Tier 2 Mutations (Middle Circle)
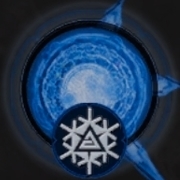
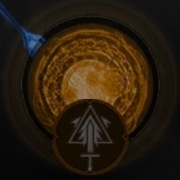
Piercing Cold (Blue)
When the Aard Sign is cast, it additionally has a 30% chance of freezing enemies. This chance scales with your available Adrenaline Points. Enemies knocked down and frozen simultaneously die immediately. Enemies who are not frozen are dealt an additional damage.
Requirements to research:
Ability Points: 3
Greater Blue Mutagen: 3
Adrenaline Rush (Red and Blue)
At start of combat, sword Attack Power and Sign Intensity increase for 30s by 30% for each foe (after first). So, when fighting 11 foes, the bonus is 300%. Once it wears off, sword Attack Power and Sign Intensity dro by 10% for each participating foe after first (modifier cannot exceed 70%. Duration: 30s.
Requirements to research:
Ability Points: 5
Greater Red Mutagen: 2
Greater Blue Mutagen: 3
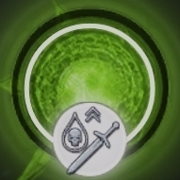
Blood Bath (Red)
Each fatal blow dealt by a sword dismembers the enemy or activates a finisher. Each blow dealt by a weapon in melee combat increases Attack Power by 5% until combat ends (to a maximum of 250%). The bonus is lost if you take damage (not including damage from Toxicity).
Requirements to research:
Ability Points: 3
Greater Red Mutagen: 3
Cat Eyes (Red and Green)
Crossbow damage is now increased (values depend on crossbow used), and crossbow critical hit chance is increased by 50%. Crossbow bolts pierce and knock down or stun opponents. Opponents struck when they have full Vitality lose 15% Vitality.
Requirements to research:
Ability Points: 5
Greater Red Mutagen: 2
Greater Green Mutagen: 3
Euphoria (Green)
Each point of Toxicity increases damage dealt by swords and Sign Intensity.
Requirements to research:
Ability Points: 3
Greater Green Mutagen: 3
Tier 3 Mutations (Outer Nodes)
Conductors of Magic (Red and Blue)
When drawn, magic, unique and witcher swords increase Sign damage dealt by 50% of their own damage dealt.
Requirements to research:
Ability Points: 5
Greater Red Mutagen: 2
Greater Blue Mutagen: 3
Second Life (Red, Blue, Green)
When Vitality reaches 0, you become temporarily invulnerable and regenerate 100% vitality. This effect can only be triggered once every 120s.
Requirements to research:
Ability Points: 7
Greater Red Mutagen: 3
Greater Blue Mutagen: 2
Greater Green Mutagen: 2
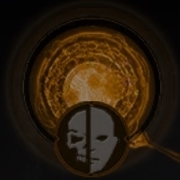
Metamorphosis (Red, Blue, Green)
Applying critical effects to opponents activated a random decoction for 120s with no Toxicity cost. The maximum number of decoctions that can be activated simultaneously by the mutation is 5. Witcher Senses help you see better in dark places.
Requirements to research:
Ability Points: 7
Greater Red Mutagen: 2
Greater Blue Mutagen: 2
Greater Green Mutagen: 3
Mutated Skin (Red and Green)
Each Adrenaline Point decreases damage received by 15% (to a maximum of 45%)
Requirements to research:
Ability Points: 5
Greater Red Mutagen: 2
Greater GreenMutagen: 3
How to get Mutagens Quick and Easy
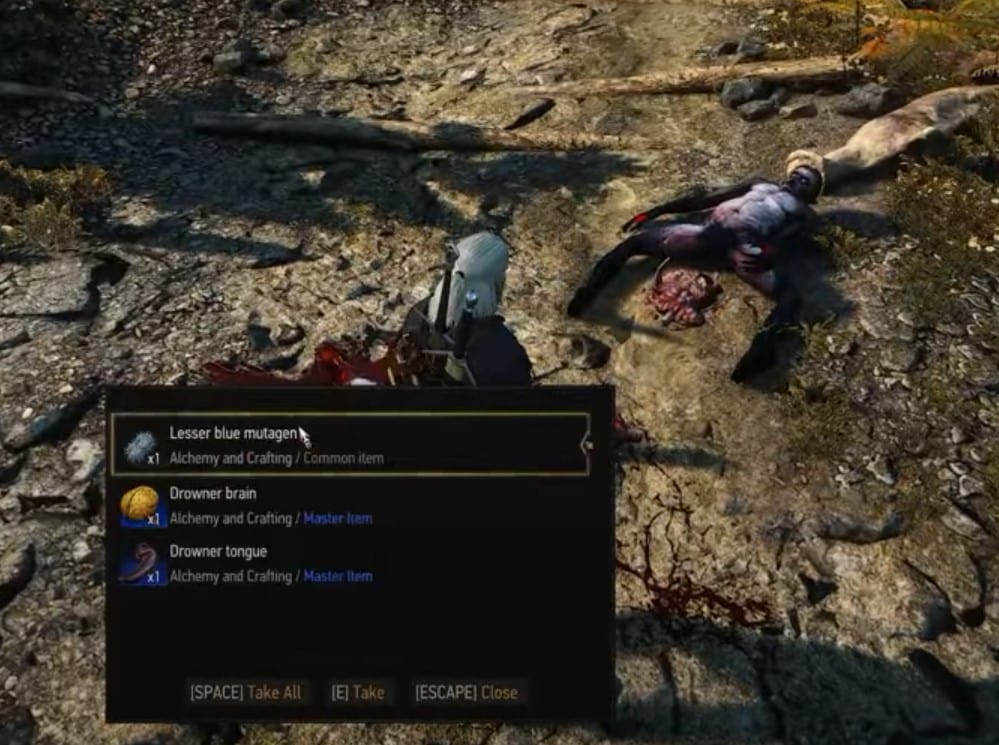
Mutagens are the consumable items you need to spend to research and unlock more mutations in The Witcher 3’s second DLC. They can be looted from enemies you defeat.
The Whale Graveyard
One of the best spots to farm them is at the Whale Graveyard signpost on Ard Skellig, the biggest Island part of the Skellige archipelago. This is on the eastern end of the island.
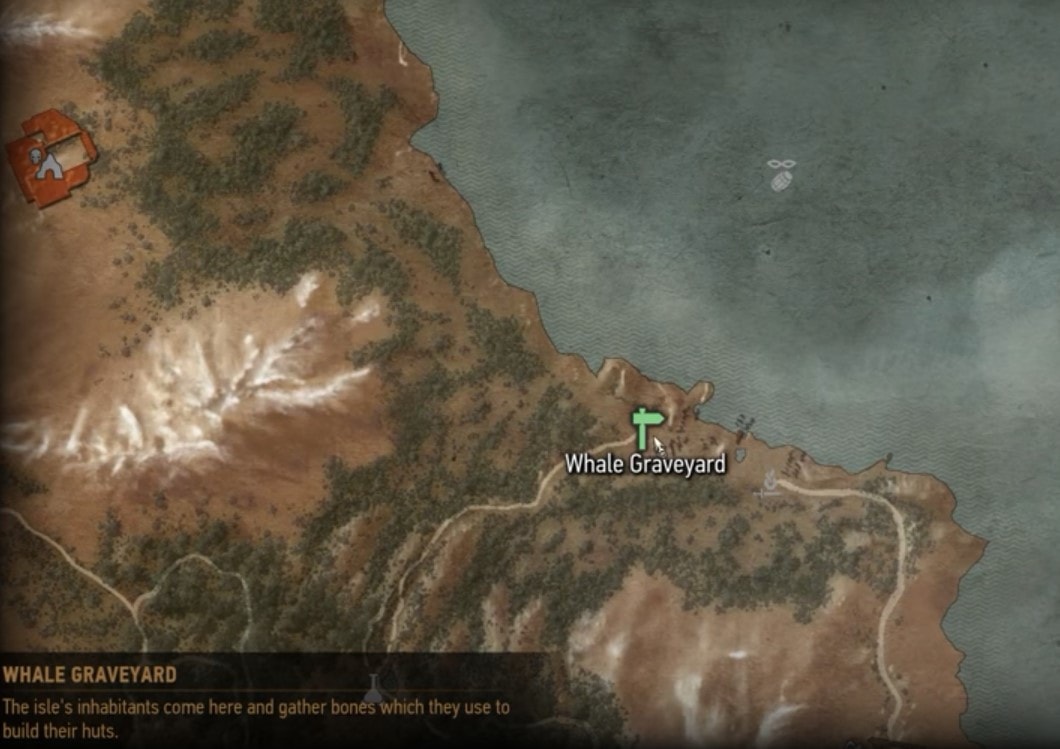
There are four Drawned Dead creatures that constantly respawn each time you meditate. You can farm them for mutagens.
Downwarren
Downwarren is another good spot with respawning creatures you can farm for mutagens. It’s northeast of The Orphans of Crookback Bog and northwest from the Ruined Tower in the swamps of Velen.
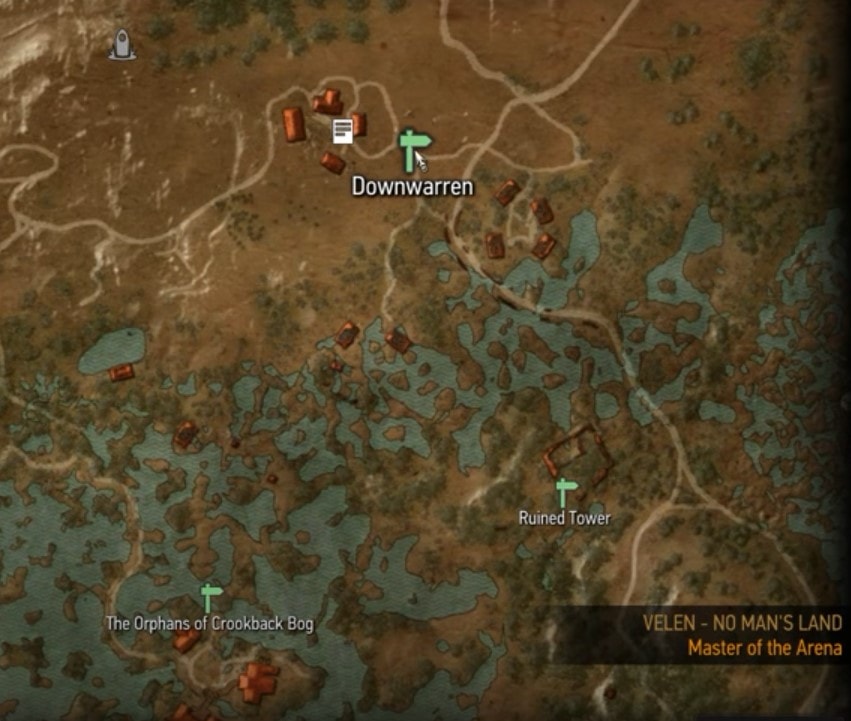
There you will find Wraiths.
You don’t need to farm these creatures. I would advise you to actually play the game the normal way and simply defeat enemies during quests and as you explore.
There are also special mutagens that you will need for some recipes and other purposes. These you can only find on unique creatures.
Great Builds using Mutations
The Mutagen System is more of a New Game Plus feature as you really develop it on your second playthrough of the game in NG+.
I have a couple of builds designed for NG+. You can start building your Geralt with my recommendations at the beginning of NG+, but the builds always start to shine around the middle of the journey as you gain more levels, unlock more Mutations and use all Places of Power.
You can take a look at two great builds I have designed for myself and played through the game with. They are very different from each other as the first one relies mostly on Brute Force and Alchemy Build (Red and Green) and the second one is a build focused on using Signs.
The basic rule is that whatever Abilities you use and slot in the skill slots, that should be the color of your Mutagen. Yelow Mutagens are quite expensive and by the time you get there, you would have more than enough skill points to unlock nearly all Abilities you want to try and now you can mix and match to create an extremely powerful versatile personal build. Or, you know… stick with Red or Green, because in higher difficulties they are the most strongest builds (even in the next-gen update).