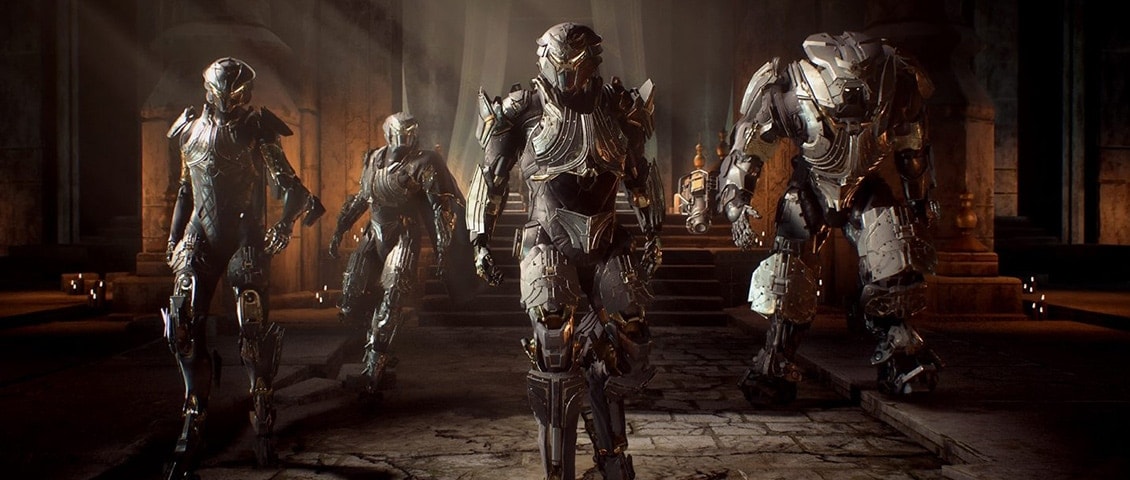
This guide is dedicated to the Tyrant Mine Stronghold – one of Anthem’s end-game re-playable instanced group-based missions. Here you will learn everything you need to know to perform a smooth run – objectives, places, items. And, of course – the final boss tactics!
At the end of the guide you will find several videos – full walkthroughs of the Tyrant Mine Stronghold from different Javelins perspectives.
Please, consider white-listing VULKK.com to help and support the site. Thank you!)
RELATED ► ANTHEM Icetide: Tyrant Mine Guide to All Secrets and Puzzles
HOW TO ACCESS THE TYRANT MINE STRONGHOLD

The Tyrant Mine Stronghold is an end-game mission that requires a team of at least two (up to four) players to complete. Soloing it is not possible by design. It’s also the first Stronghold that is unlocked, pretty early in your leveling process too. It is by far the longest Stronghold, but is easier than The Temple of Scar and The Heart of Rage.
The mission is available in the Academy Ruins and is unlocked as soon as you get to level 7. You can travel to it directly from Fort Tarsis. Jump into your Javelin near the Forge. From the Summary tab choose the Tyrant Mine icon, located to the north-west from Fort Tarsis on the map and start the mission. If you choose a public expedition, you will wait a little bit for the Matchmaking system to team you up with up to three other players and teleport you all inside to begin the mission. If you choose “Quickplay” from the bottom left on your screen, you may join an expedition already on its way.
The total duration is about 40-ish minutes. Based on the team’s experience, Javelins level and gear it could be a bit shorter or take a lot longer. Remember, everybody is still new to the game. Be patient if you have more experience and help your new teammates learn the basics :)
TYRANT MINE OBJECTIVES
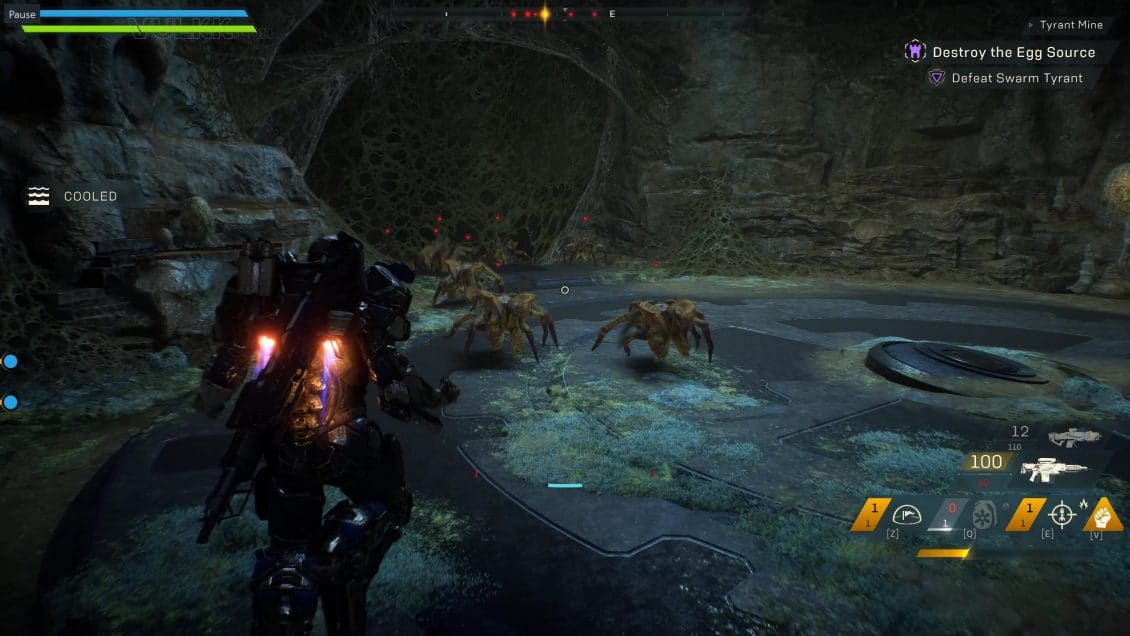
The whole Stronghold includes the silencing of a few relics, killing about a million scars, spiders and other.. things and a final boss at the end. There are several stages, which you have to complete in order to get special rewards. Of course, defeating the final boss grants you the “big loot”. Reminder: Loot in Anthem is based on your current Javelin and its level.
As soon as you enter, a short conversation plays out. You are tasked to “Locate where Scars are producing the Acidic Weapons”.

Fly towards the arrow symbol on your screen. Go carefully through the first tunnel. If you have a Colossus in the group, let them run first with their shields. There are mines on the ground that do significant damage to your Javelin, unless it’s a Colossus.
At the end of the cave, look to your left (north-west). This is where the first relic is and where your first major gated battle will be. Be careful, there are land-mines on the ground right before the first spawn point.
SILENCING THE FIRST RELIC

The first relic requires you to find eight Echoes to silence it. Echoes are spread all over the place. They look like small flashing white balls. To pick them up, simply run over them and they will attach to your Javelin exosuit. Each player is allowed to carry a maximum of three Echoes at a time. Once you pick them up, you have to deliver them back to the Relic.
This is what Echoes look like. The radar in the top middle helps you locate them:

Tip: You do not need to fight all of the scars before you pick up the Echoes, but it is usually the much simpler and easier approach and I do recommend you do exactly that – kill all scar spawns and then pick up the Echoes in the area. All eight Echoes are located ahead of the first Relic – right among the spawn points, meaning a lot of Scars will be waiting for you.
The Grenade Turret is the strongest enemy you will have to take down at the first spawn area:

At the first spawn point, right next to the Relic itself, there are only three spawn locations for Scars and no big elite guys come there. There will be a grenade turret, however. It hits hard.
Scene from the second spawn point – fighting an elite Enforce:

The second spawn area will have a turret and elite Enforcer guys with shields. You need to approach them more carefully. Shields block all incoming frontal damage. The Enforcers’ weak spot is on their back – aim for the red cylinders
SILENCING THE SECOND RELIC

The second relic is to the north-east at the bottom of a lush jungle-like valley. Just follow the directional arrows on the screen. It is at the bottom of a large valley. There will be a lot of Scars and a few Turrets to take down in order to pick up all twelve Echoes in the area.

If you approach the place through the cave, where the arrow would take you to, be careful of the land-mines on the ground. You can opt to enter the valley through the watterfalls on the right of the cave, thus avoiding accidentally blowing up a mine in the cave.
Elite Turrets are on the left side of the valley:

The turrets are on the left-hand side as you enter the valley. There are sniper scars on the right side. If, or actually when, you get targeted by a sniper (red beam), dodge or lose line of sight to avoid receiving a very heavy hit.
I suggest you clear the first wave of scars and bring the eight Echoes to the Relic then. This will activate a second wave of Scars spawning and will unlock the remaining four Echoes. They are inside cages to the very left and right edges of the valley, on the middle level.
The last 4 Echoes are inside these cages. They unlock after you bring the first 8 to the Relic:

Once this phase is completed, right next to the silenced Relic, you will find a chest with fresh juicy loot. Remember, loot in Anthem is personal. You do not share it with your teammates. Everybody gets loot based on their Javelin class and level.

LOCATE THE EGG SOURCE, PART 1
The next part will take you under ground. As you stand next to the treasure chest, turn south and follow the arrow on your screen to reach the next objective and eventful area.
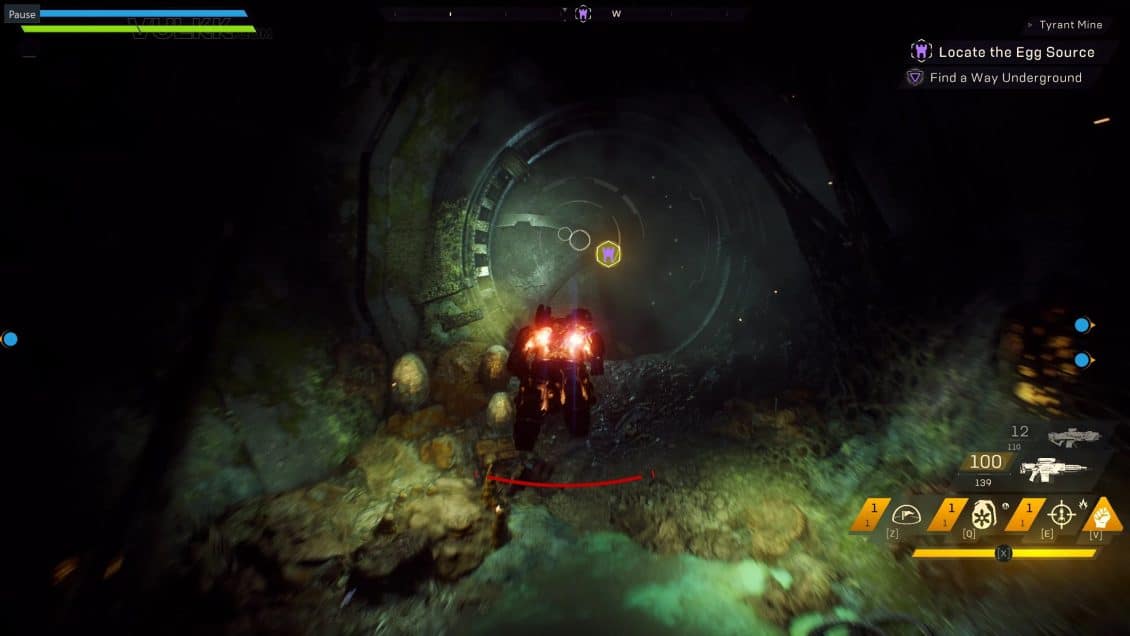
When you reach this door, wait for your full squad to gather. Then the door will unlock. This is a system that the devs use quite often in various group-based instances to try and keep the group together and focused on the same objectives and enemies.
From this point on you will be fighting spiders/scorpions… things with many legs. Shoot and blow up the eggs or they will hatch.
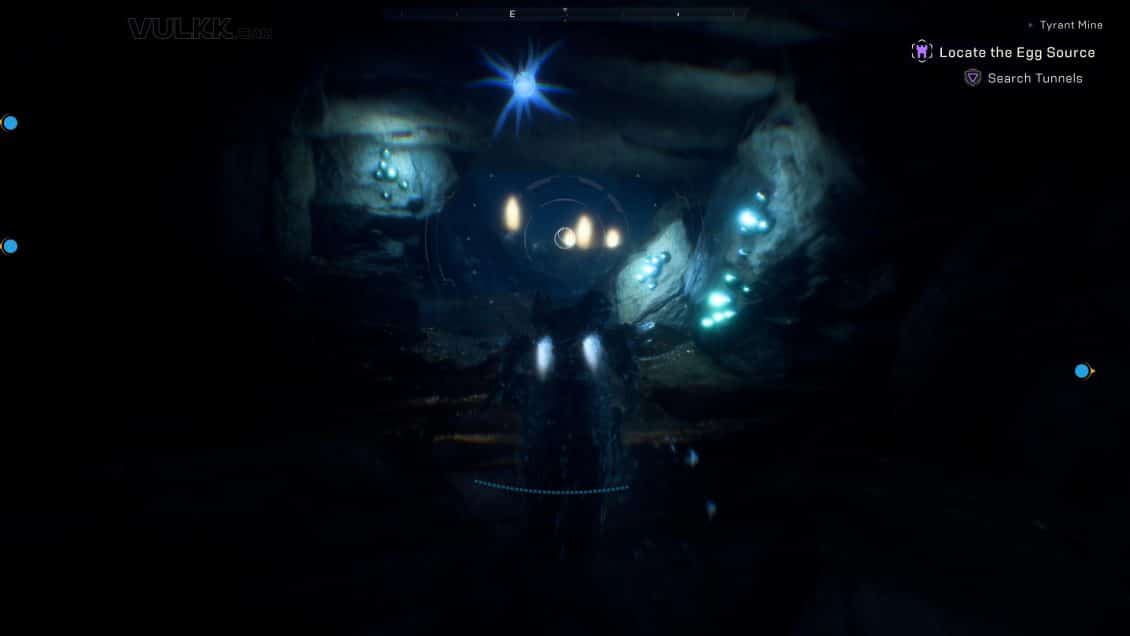
The section under water is a bit tricky when you first go through it. Simply follow the glowing flora, it will guide you to the other end of the underwater tunnel.
After the underwater section, you will arrive to the next eventful zone, where you will have to…
SILENCING THE THIRD RELIC
This one is a bit different. Based on the difficulty, I suggest have one or two players run through the tunnels to the sides (marked with arrows). At the end of each one you will find two Fragments. These items will block your javelin’s ability to fly, so you will have to run back to the platform. While someone is collecting the Fragments, scorpions will keep spawning and attacking the group on the platform. The Fragments can be picked up by holding the pick-up button (F by default on PC).

On top of the platform, as you bring the Fragments, head to one of the lightning balls and hold F to deliver each Fragment.

Once all six Fragments are delivered, you and your team will have to stay on top of the platform while the process of silencing completes.

If someone is outside of the lightning cyrcle, the signal will get weaker and the progress will slow down. During this phase, more scorpions, Scars and nasty creatures will keep spawning from beneath the platform and attempt to climb up through the ramp. Keep killing them until the green bar in the top right is 100% full and the phase is completed.
The Second Treasure Chest spawns at the door that leads you to the next section.

LOCATE THE EGG SOURCE, PART 2
This is the last transition phase. All you have to do is run through the corridors and tunnels until you reach the final zone, where the boss fight will happen. While you run, make sure you blow up eggs and clear off any many-legged “friends” you encounter.

There is one more underwater section. Same as before – follow the glowing things, they will show you the way in the dark waters.
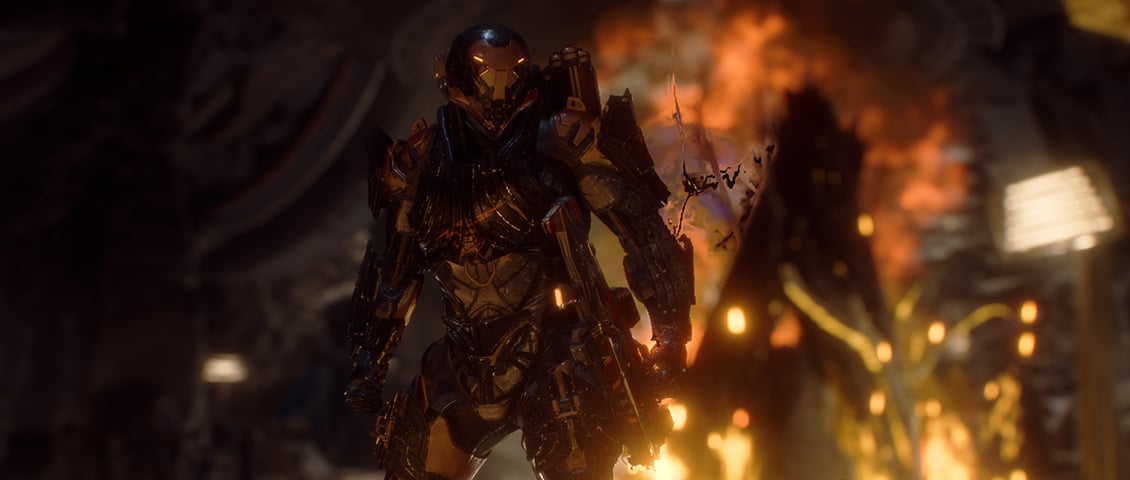
FINAL BOSS FIGHT – DEFEATING THE SWARM TYRANT
This is the final boss and the end of the Stronghold. The mechanics are simple enough, but the execution might be tricky.
At first you will face the giant Swarm Tyrant on its own. Have one of the players tank it, while the rest get to the back and shoot at the weak spots of the monster – the giant fluffy bubbles (sorry, I lack the proper word to describe those :P)

Soon small adds will start spawning. Defeat them quick, preferably with AoE and Combos or they will overrun the tank and the whole group later on.
Did you know that each Javelin class has a unique bonus added to the combos they produce? Here’s a list:
- Ranger – gets a huge crit and damage boost spike on the targer. It’s great for a single target damage dealing.
- Colossus – creates massive AoE explosion effect
- Storm – spreads the effect. In the stream we saw the Storm spreading a freeze effect on multiple targets.
- Interceptor – inherits the effect of the prime ability and creates an aura with it around itself. That allows him to run around for a short time “infecting” other targets nearby
You should keep this in mind when playing end-game content such as this Stronghold. Knowing this is a key to successfully running through the content on higher dificulties!
When the Swarm Tyrant runs off, prepare for a massive wave of adds spawning from one of the caves nearby. You can check where the red dots appear on the compass and head there to meet them with deadly force. Use AoE and carefully placed Combos for maximum effect on them.
The Swarm Tyrant will spawn from the same cave after a while. Make sure you are not in its way when that moment comes or you may get one-shotted.
This will repeat several times. Use your Ultimates as you see fit. I personally prefer to keep mine for the Boss when I am with in the Ranger Javelin.
At the very end there will be something like a soft enrage phase, where waves of adds keep spawning more frequently until you defeat the boss. Once the Swarm Tyrant is down, the expedition is successful and the mission is complete!
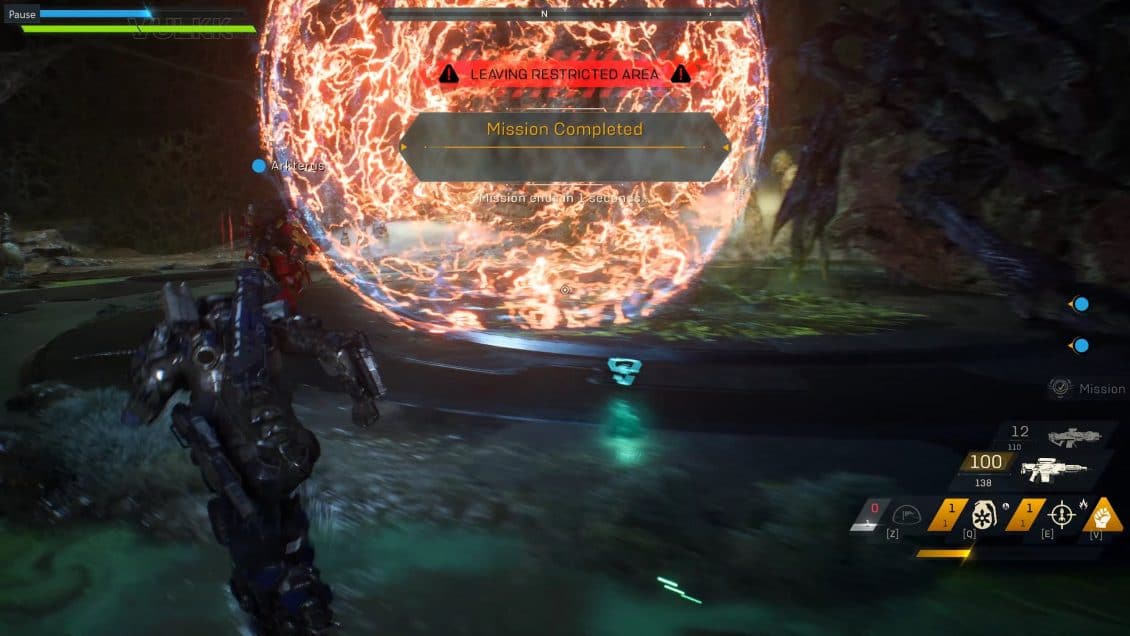
CONGRATULATIONS! Enjoy your loot! :)
VIDEO CLIPS FROM OTHER PERSPECTIVES
RANGER GAMEPLAY
STORM GAMEPLAY (ICE BUILD)
More from ANTHEM!

The Art of Anthem: A Look Beyond the Game
The Art of Anthem is a collection of concept art images depicting the long and interesting development cycle of Anthem – BioWare’s newest IP – a looter shooter Action RPG set in a brand new fictional world, where humanity lives in constant fear and danger! this book will take you on a wonderful journey, but be warned – it contains some minor spoilers. You may want to hold off getting it until you are done with the main storyline.
Should BioWare increase ANTHEM's Loot Drop Rates
BioWare gave us, the Anthem Community, a second chance to experience what it would be like if the chances for good loot to drop were increased “through the roof”. This article combines an overview of what happened shortly before the May 9th Update, the current situation after patch 1.0.3 was released and a mix of a few personal thoughts on what Anthem’s loot system is, could and should be.
ANTHEM is a very different game, says BioWare General Manager
BioWare’s general manager Casey Hudson shared in a blog post a few thoughts of how Anthem’s launch was more rocky than expected and how the company is determined to please the players with constant and useful updates to the game in the months to come. In short – the studio has big plans for the game and wants our support.
ANTHEM Update 1.0.4 Beyond the First Impressions
BioWare’s Anthem Update 1.0.4 was by far the largest of the three client-side patches in terms of new features, fixes and changes over all. But it was met with more hostility than the previous two updates combined. Why? Let’s find out! This article, as the title suggest, is based on my initial and then more in-depth experience and impressions with the game after the changes.
This was my Anthem Tyrant Mine Stronghold Guide. I hope you found it useful and enjoyable to read and watch. For a lot more Anthem, check the NEWS and GUIDES categories and don’t forget to Sign Up for New Posts Notifications from VULKK.com to stay informed about the game!