This guide is dedicated to the Temple of Scar Stronghold – one of Anthem’s end-game re-playable instanced group-based missions. Here you will learn everything you need to know to perform a smooth run – objectives, places, items. And, of course – the final boss tactics!
At the end of the guide you will find several videos – full walkthroughs of the Temple of Scar Stronghold from different Javelins perspectives.
HOW TO UNLOCK THE TEMPLE OF SCARS STRONGHOLD
The Temple of Scars Stronghold is accessible after you complete the “Return to the Heart of Rage” mission from the main storyline. It is an end-game group content, designed to be played by a team of up to four players.

The Stronghold is accessible from Fort Tarsis and the Launch Bay. When you get into your Javelin, select form the menu Strongholds and pick The Temple of Scars. Its entrance is marked on the map.
Available in all difficulties, The Temple of Scars will grand you arguably the best loot for your time and effort. It is the shortest of all three Strongholds released with the launch of Anthem and is probably the easiest one as well (up to Hard – on Grandmaster, Tyrant Mine is the easiest one currently). Its final boss is a bit tricky on higher difficulties, because the many adds become a problem there, but it’s a lot shorter in duration from start to finish compared to the Tyrant Mine and The Heart of Rage.
BLOWING UP THE TURRETS, ALARMS AND GATEKEEPER
As soon as you enter the first larger area, you will start the first encounter with the scar. Although it’s larger than a corridor, the area is extremely narrow and complex when it comes to level vertical design.
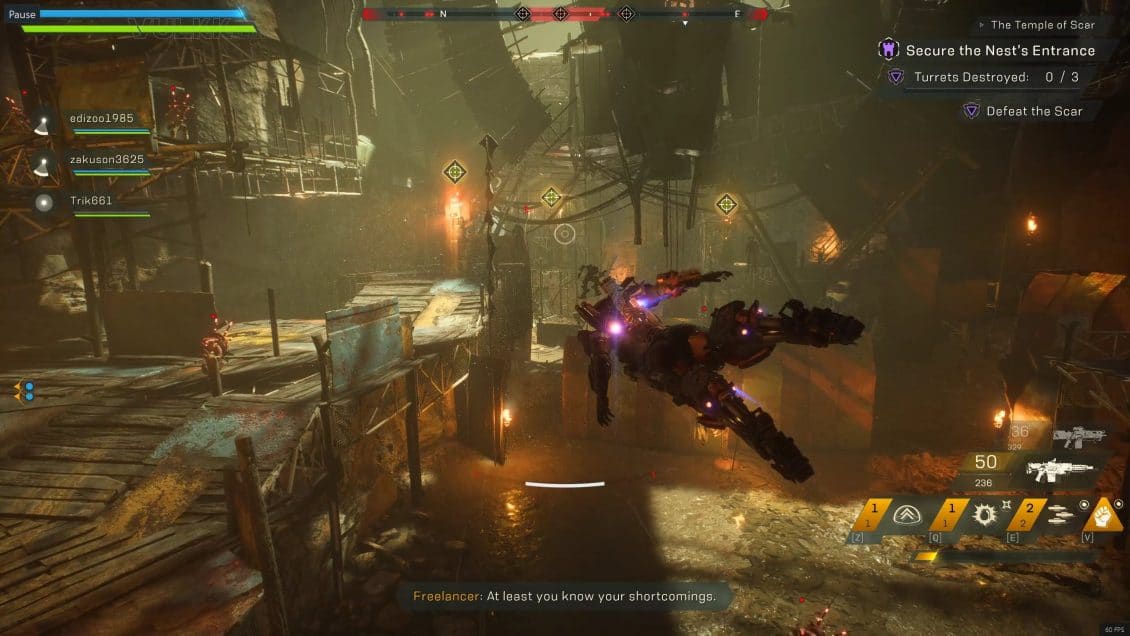
Your first objective are the three turrets. The best way to destroy them fast is for someone to prime them, then have a Ranger detonate the Combo (Rangers have best single target combo effect).
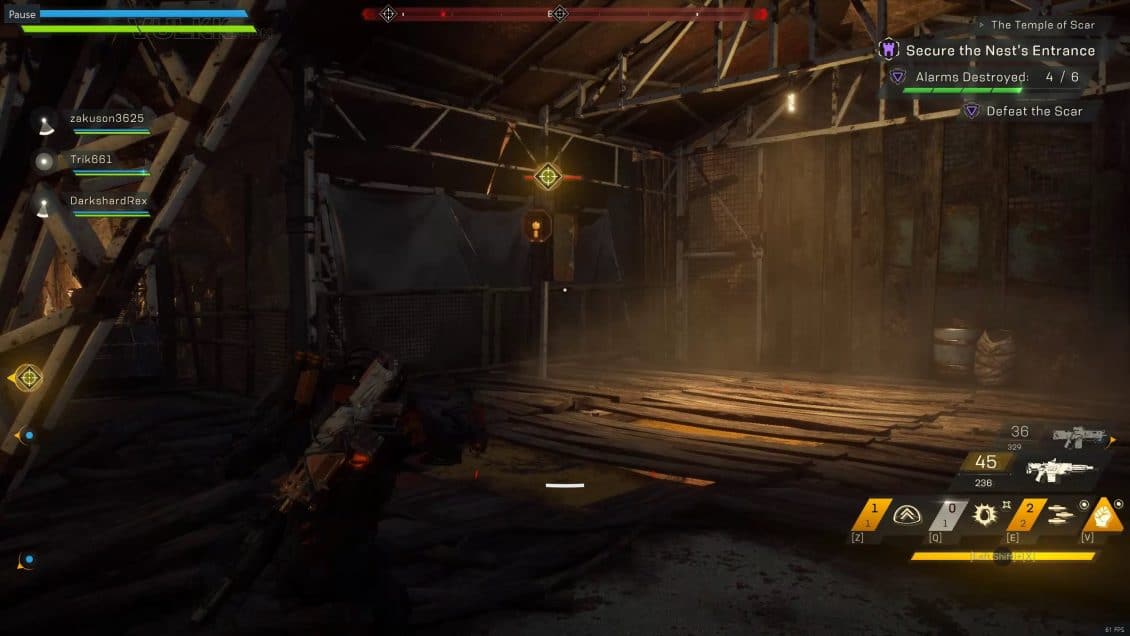
After you clear the remaining Scar, the next objective before you will be to disable the six alarms that are going off like crazy. At this point you can ignore the Scar and just focus on destroying the alarms as quickly as possible.
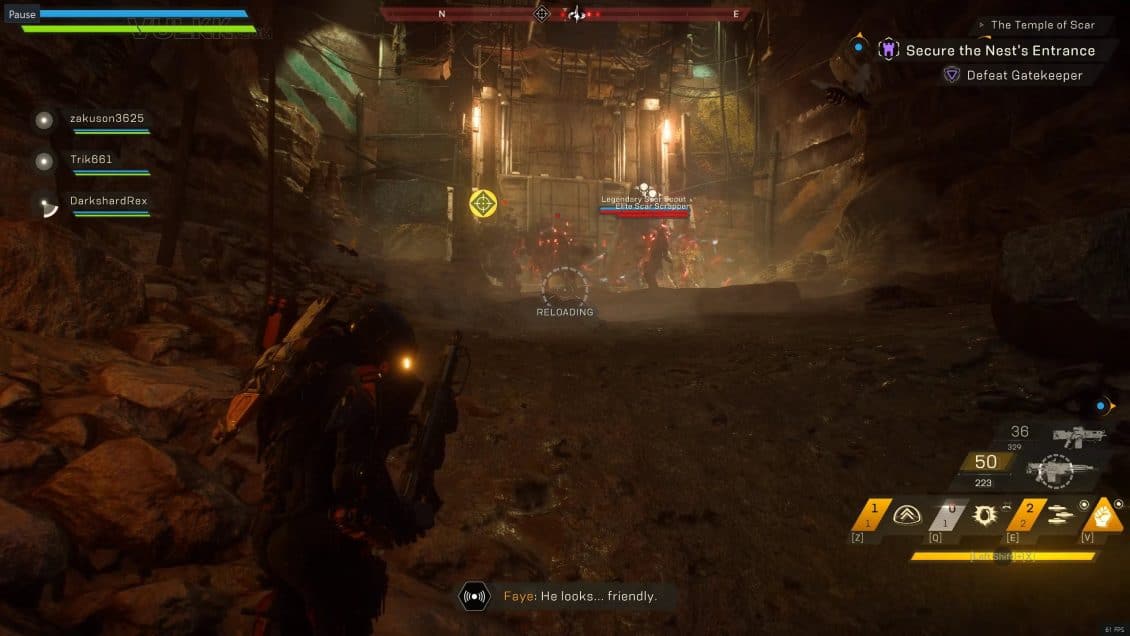
Clear off the remaining Scar in the room and head to the door in the North-Eastern end, where a group of Scar scouts, scrappers and the Gatekeeper will spawn. It is best to kill them all ASAP with massive AoE and focus your strongest attacks on the big guy.
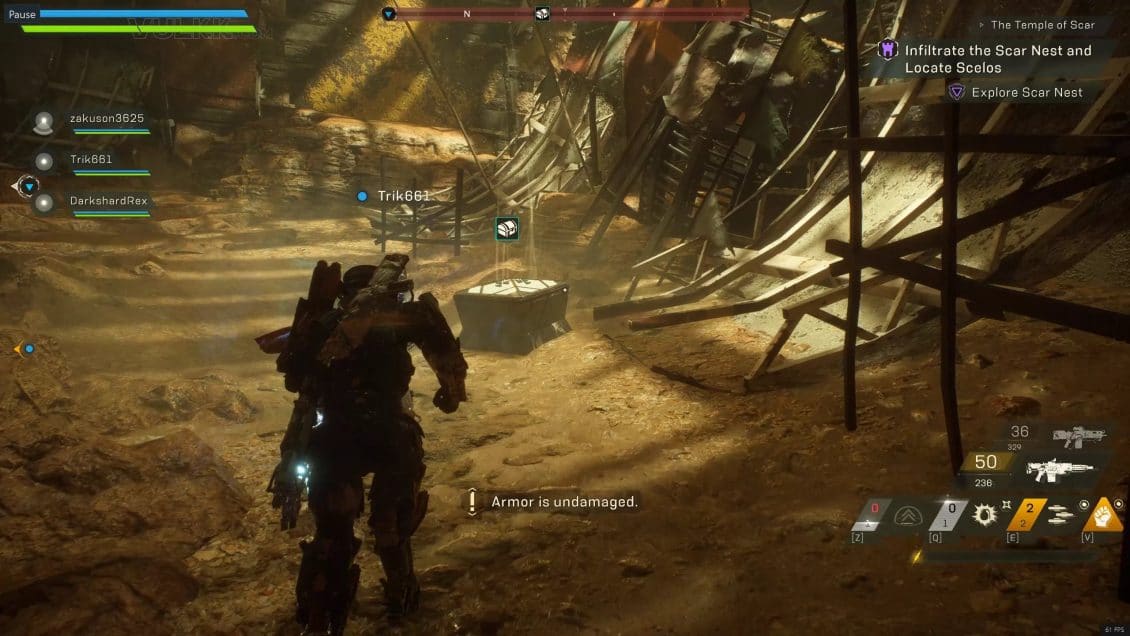
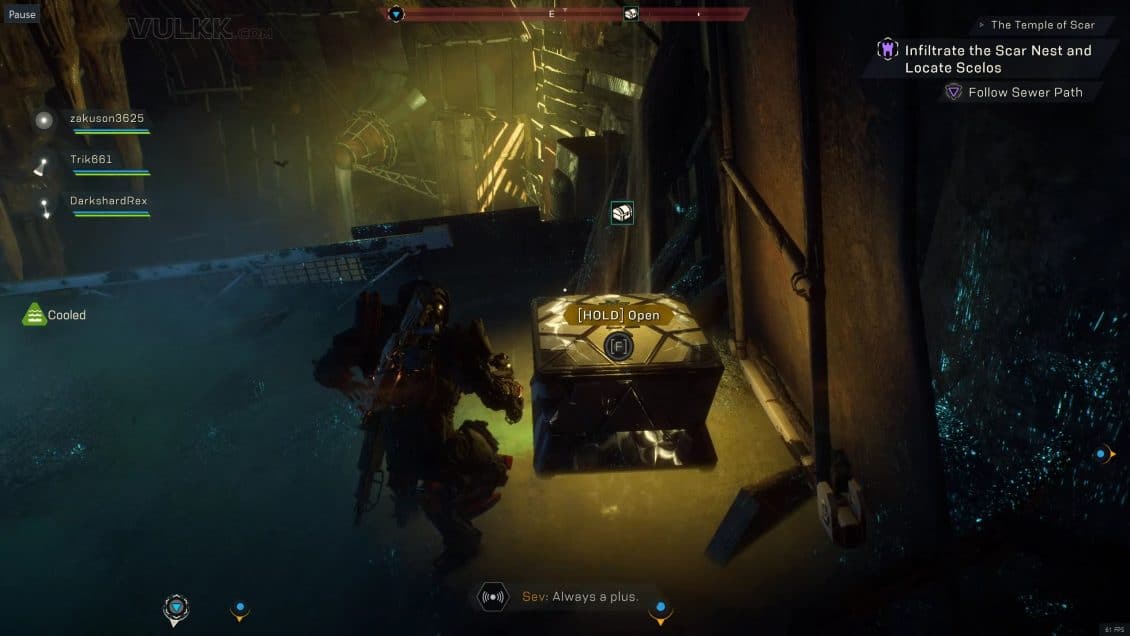
Behind that door is the end of the first encounter and your reward – a treasure chest. After you pick up your loot, follow the marker until you arrive at the second mandatory encounter.
RESTORING POWER TO THE GENERATOR
The second mandatory encounter begins when you arrive at the generator room. When I say room, imagine a large open-ended area of the scar cave, not exactly a room.
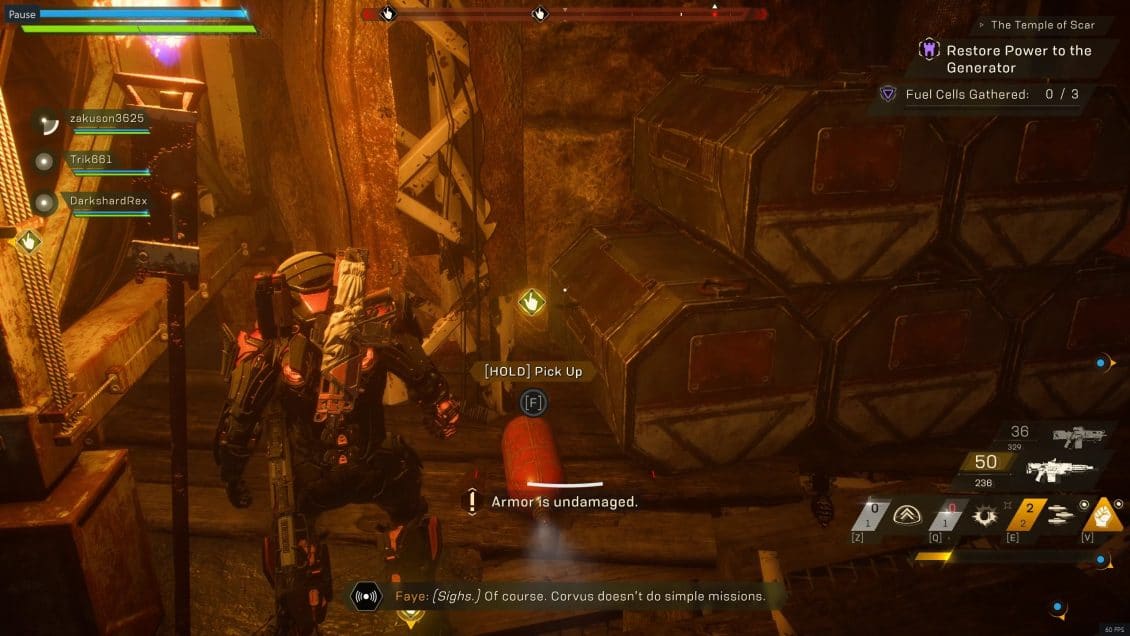
There are three Fuel Cells you need to pick up. You can carry only one at a time and while doing so you wont be able to fly.
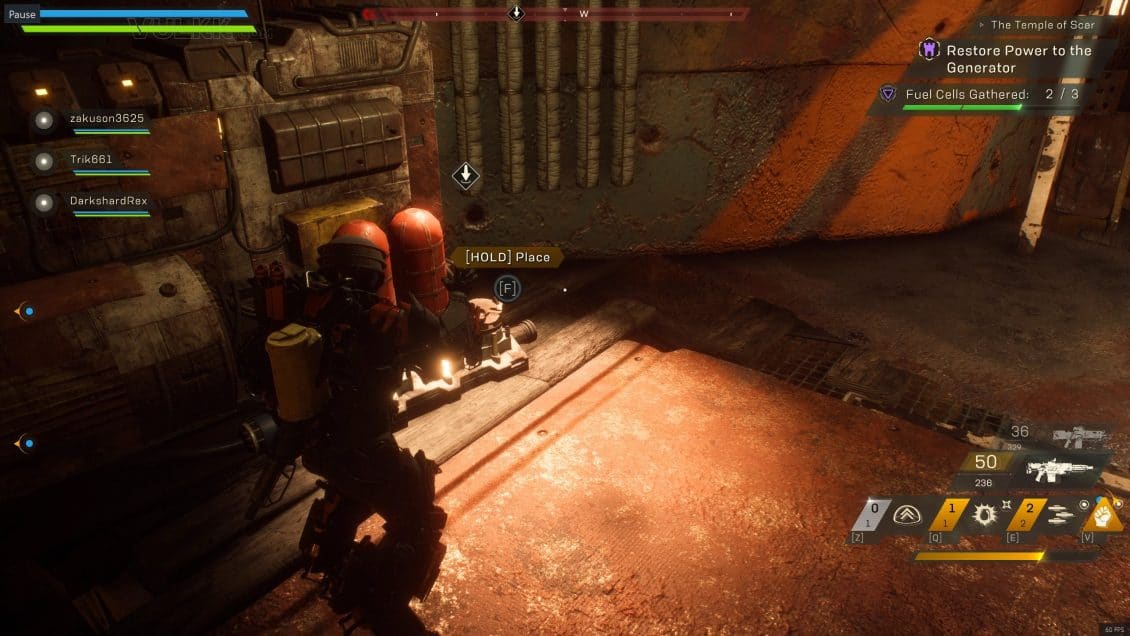
The Generator is in the western end of the room. You have to stand next to it and press the button to deliver the Fuel Cell. Doing that three times will complete the encounter and prompt you to the next transition area.
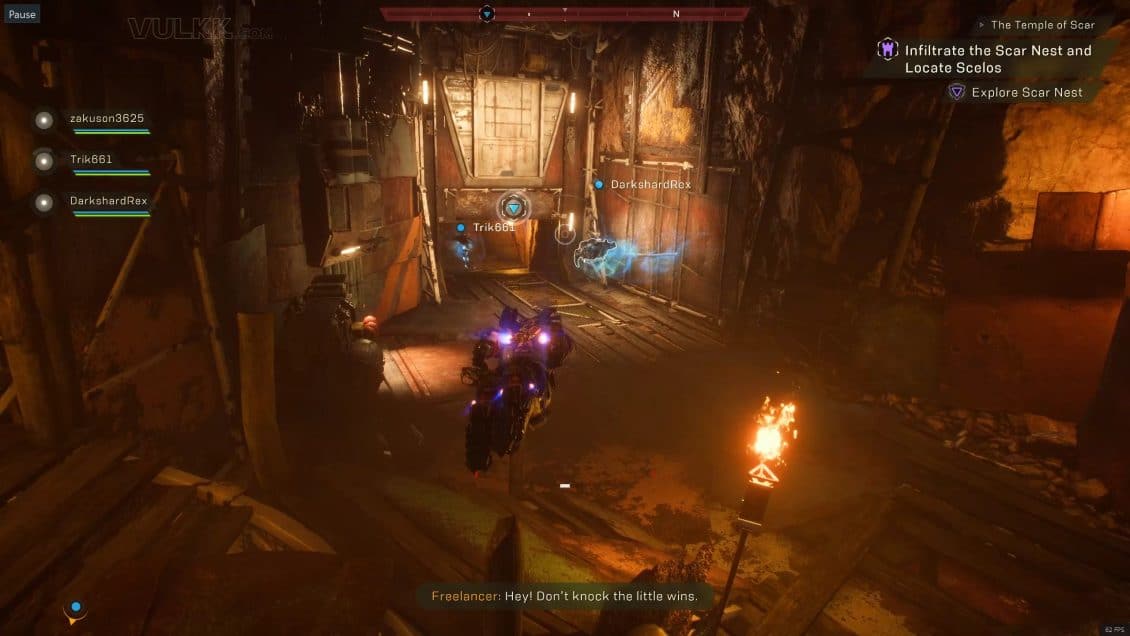
Go through the door in the North-West end of the room to continue forward. You can skip a lot of Scars on your way. It is entirely up to you and your team if you wish to stop and clear the corridors or speed through them all to the next encounter.
DESTROYING THE GATE
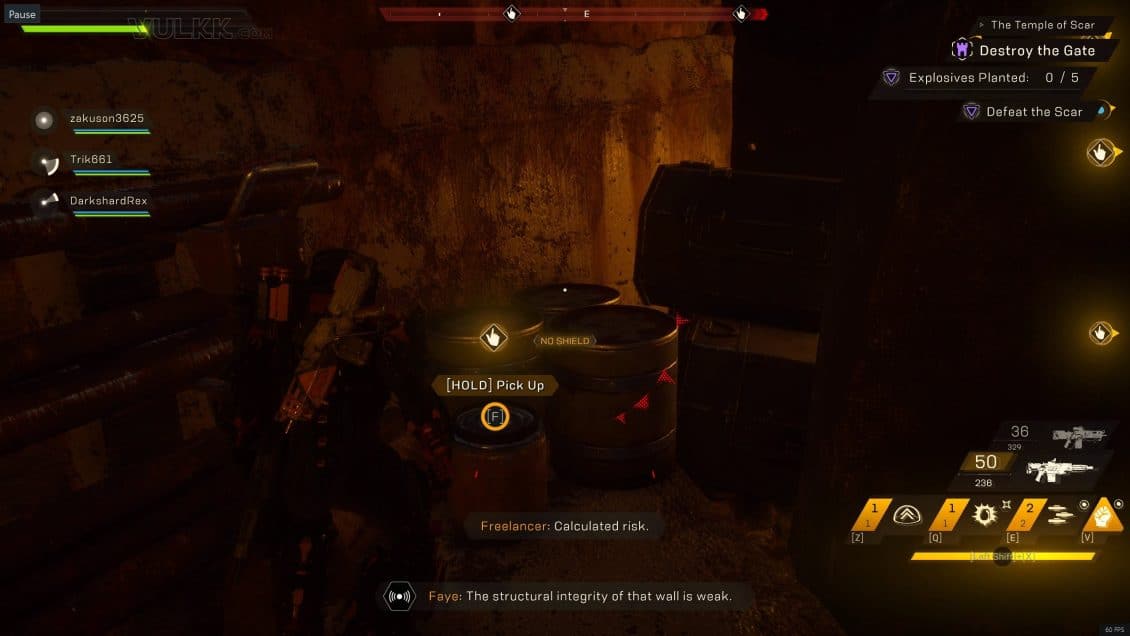
In the next area you have to bring five explosives next to the marked door and plant them there. Once again, you can only carry one at a time and cannot fly while doing so.
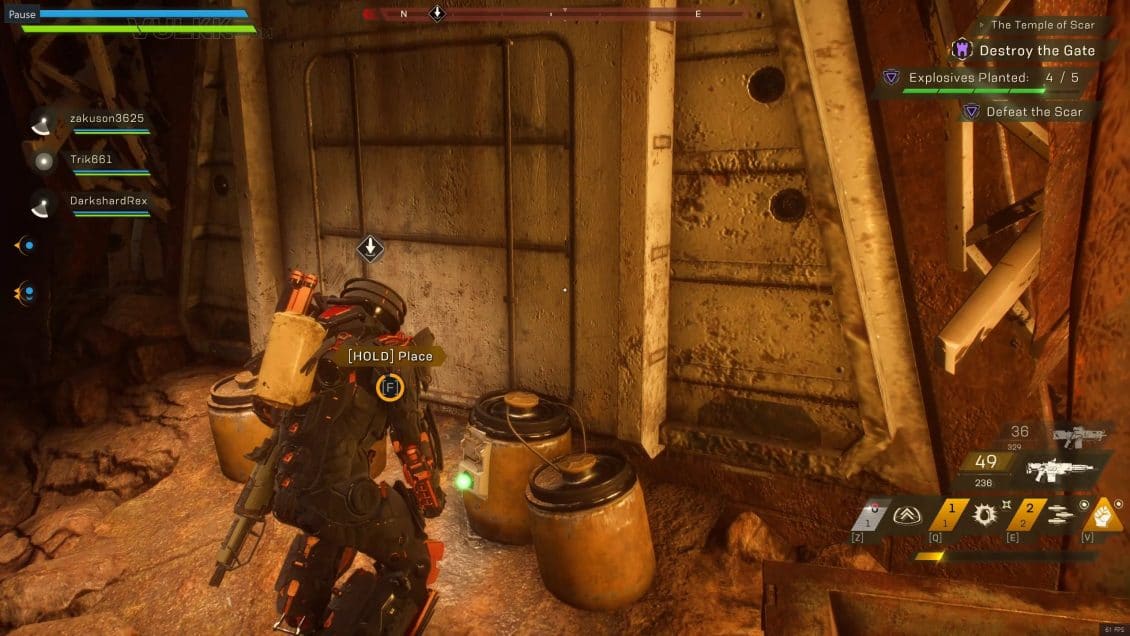
Before you blow up the door, you need to clear the room from the remaining Scar. Be mindful of a short corridor just to the left of the door. There will be a large Scar spawn there. If you catch them early, you can AoE the hell out of them all.
Clearing all enemies will trigger the explosives at the door and you will see the next treasure chest behind it. This is the end of the encounter.
DESTROY TURRETS
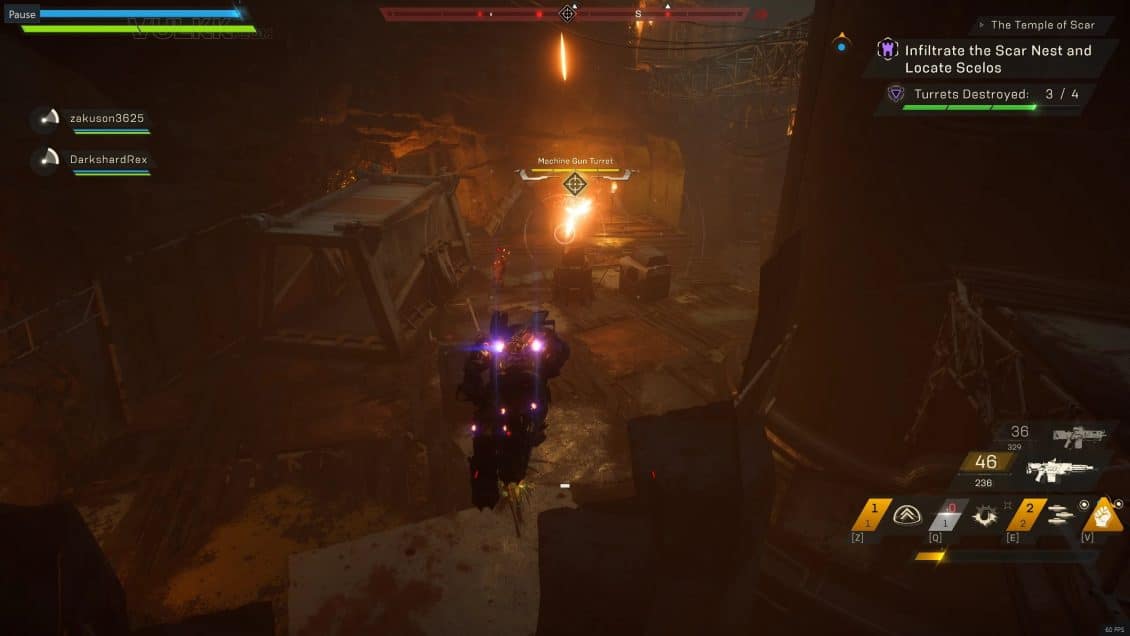
In the next room after you destroy the gate, you will have to destroy another four Turrets. Repeat the same tactic from the first encounter – prime the turrets and detonate them (preferably with a Ranger).
This will open up the door to the next corridor for you. It is located above your head – quite high. The next few corridors are optional – transition phase again.

When you get to here, all you have to do is clear the area of all enemies. Be mindful of the turrets in the top left and right sides of the door.
Welcome to the final boss! He… it (!) is a fun one!
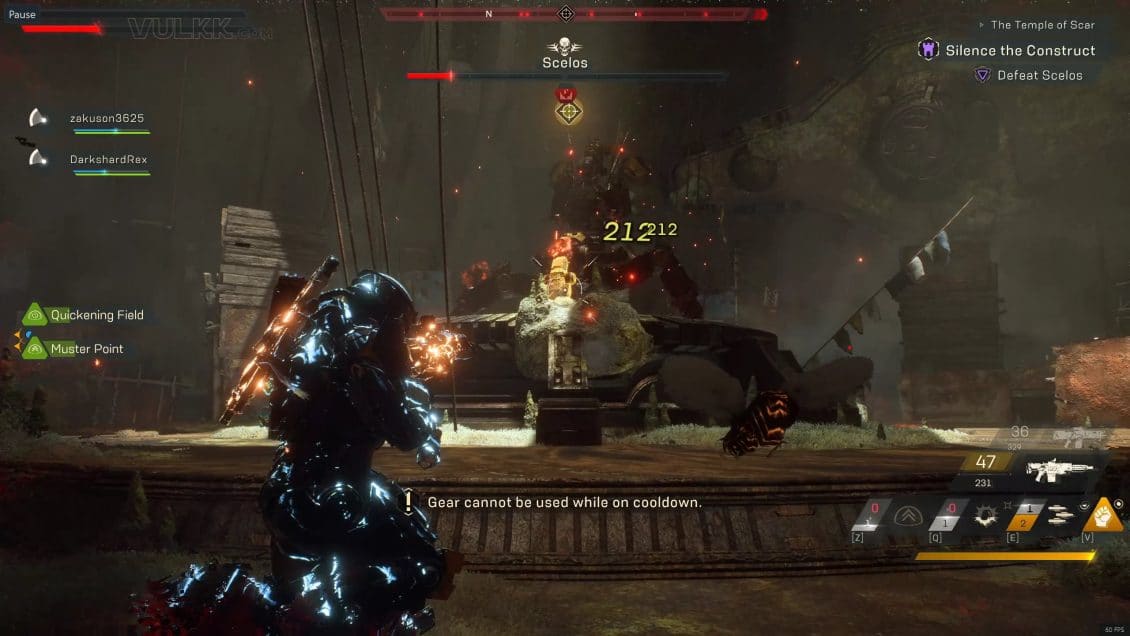
DEFEAT SCELOS (FINAL BOSS)
The final boss fight is in a large circular room with a high ceiling and a lot of objects and line of sight breaking obstacles – they all come into play when things get hot during the battle.

The tank droid is in the middle and is initially shielded. To break his shield you need to disable the three giant spinning fan-things on the walls (generators?). Don’t stand under them. The spinning fins will hit you very hard. To disable them, go to its side and find the weak spot just behind the spinning elements. While disabling the shield sources, make sure to take cover. Scelos might be shielded, but its weapons are fully intact and very deadly.
Each time the shields respawn, you have to take the sources down. Each time that happens, also a group of Scar spawns. As the encounter progresses, the groups become larger and contain more and stronger types of enemies.

Scelos has a very deadly cast attack. It targets someone with a thick red beam and blasts them for a large amount of damage if the player is in sight. Always break line of sight when you are targeted. As a matter of fact, try to always be covered from the tank droid’s attacks. Don’t stay in one place. The room gets filled with all kinds of adds that keep spawning.

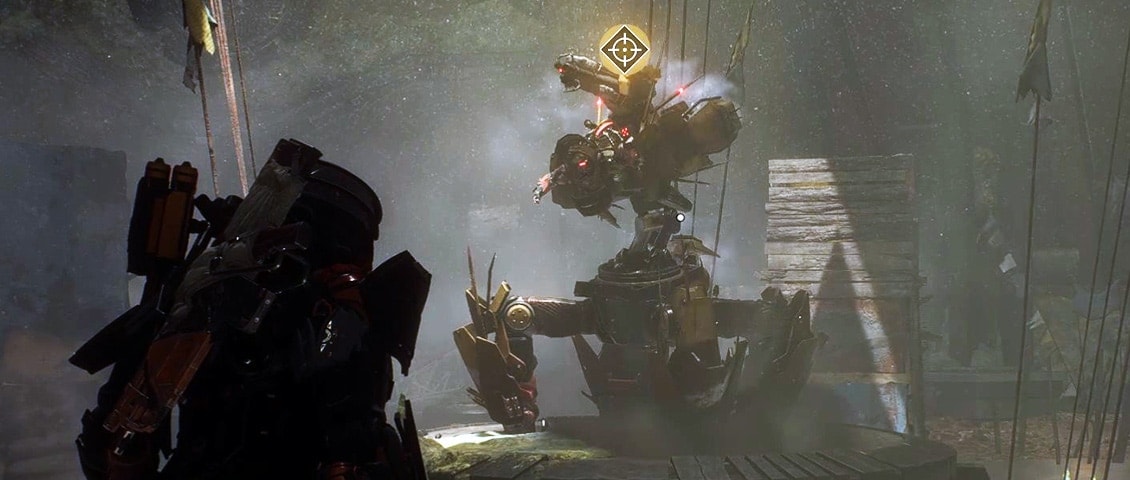
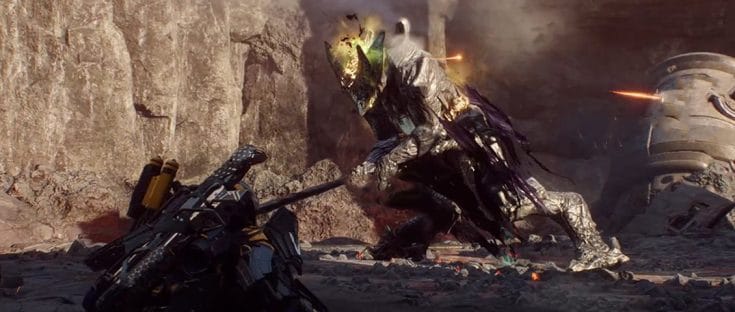
The tank droid has a weak spot, of course. AIm for the bottom part of its legs up to the joints. They flash bright when you target and hit them.
Also, a little hint – when you use the Ranger’s Ultimate ability, it sticks to the best possible target area. In the case of the image above, you can see that my Ultimate ability has automatically captured the weak spot. This can help you when you face a new type of an enemy and are not certain where to hit it.
That’s it! CONGRATULATIONS! Enjoy your loot! after the expedition! Tell me what you got, Make me jealous :)))
VIDEO CLIPS FROM OTHER PERSPECTIVES
RANGER PERSPECTIVE
More coming soon!
This was my Anthem The Temple of Scar Stronghold Guide. I hope you found it useful and enjoyable to read and watch. For a lot more Anthem, check the NEWS and GUIDES categories and don’t forget to Sign Up for New Posts Notifications from VULKK.com to stay informed about the game!
ANTHEM Strongholds Guides

This guide is dedicated to the Tyrant Mine Stronghold – one of Anthem’s end-game re-playable instanced group-based missions. Here you will learn everything you need to know to perform a smooth run – objectives, places, items. And, of course – the final boss tactics!
This guide is dedicated to the The Heart of Rage Stronghold – one of Anthem’s end-game re-playable instanced group-based missions. Here you will learn everything you need to know to perform a smooth run – objectives, places, items. And, of course – the final boss tactics!

This guide is dedicated to the The Sunken Cell Stronghold – one of Anthem’s end-game re-playable instanced group-based missions. Here you will learn everything you need to know to perform a smooth run – objectives, places, items. And, of course – the final boss tactics!