This guide is dedicated to the The Heart of Rage Stronghold – one of Anthem’s end-game re-playable instanced group-based missions. Here you will learn everything you need to know to perform a smooth run – objectives, places, items. And, of course – the final boss tactics!
At the end of the guide you will find several videos – full walkthroughs of The Heart of Rage Stronghold from different Javelins perspectives.Note: The Heart of Rage takes place in the exact same area and is an almost identical copy of the final mission of Anthem’s main storyline! This guide can help you for both the Stronghold and the Return to Heart of Rage mission, but beware of spoilers.
HOW TO ACCESS THE HEART OF RAGE STRONGHOLD
The Heart of Rage is a group-based instanced content from the “Stronghold” category. It is designed for four players and is available in all difficulty modes with no difference to the encounter’s mechanics. Except that in Easy and Normal you can skip or bypass some of them due to the lower amount of incoming damage from mobs.

The Heart of Rage is automatically unlocked as you complete the final mission of the main storyline in Anthem. It actually ends exactly there and is called “Returning to the Heart of Rage”.
Once you have it unlocked, you can access it from the Fort Tarsis and the Launch Bay. Select strongholds from the menu of available activities when you equip your javelin. The entrance is far to the north-west – in the very corner of the map.
The Stronghold is relatively short, compared to the Tyrant Mine, and longer than Temple of Scar, but it is by far the most challenging. The final boss has three stages, but he’s not the most annoying thing. The Fury are. More on that later!
ENTER FREEMARK
As you start your journey into The Heart of Rage, the first encounter is… optional. You can skip the two turrets and fly over them. Behind them in the valley is the first real fight you will have.
Here you have to clear the area before the game lets you pass through. The enemies include a turret, several brutes (be careful of their freezing attacks), valkaries and some trash ground troops.
After you pass through, there will be a short transition phase. You can fly directly to the next mandatory encounter – the Titan.
DEFEAT TITAN
Luckily, I have a very extensive and in-depth Guide on how to fight Titans. The one you will face here is no different. He is big, he is strong and he’s very angry. But all Titans are… it’s in their nature, as the Anthem Lore says.

The Titan’s weak spots are available when he is in an active attack mode. Aim for his hands and the back of his head. The head is the weakest of all and your weapon damage will be more useful there.
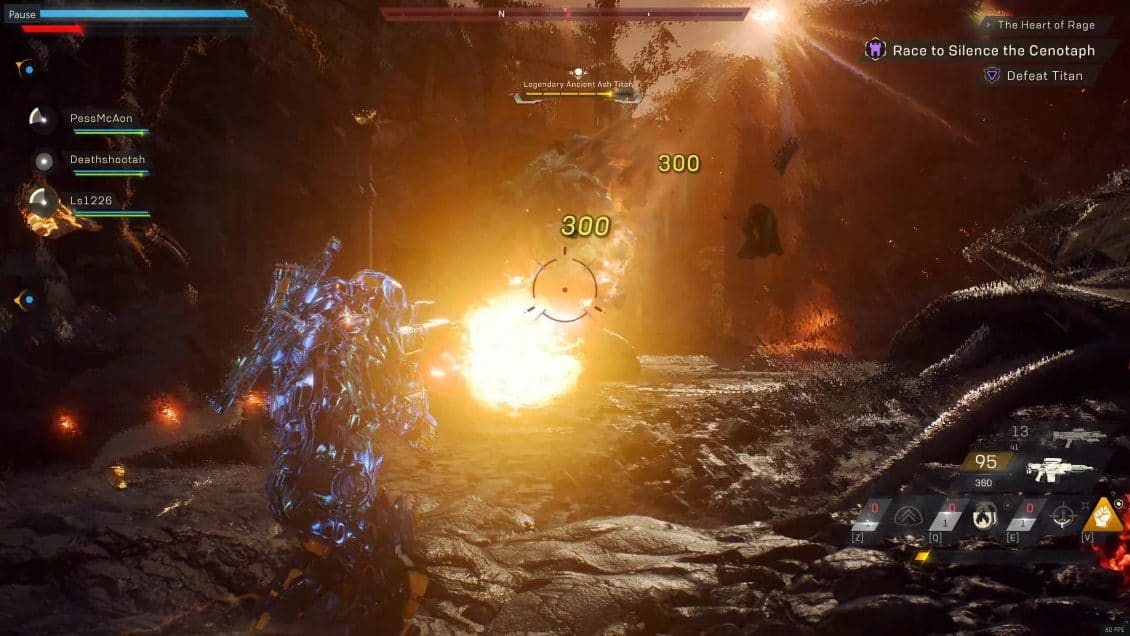
The Titan uses the exact same attacks all Titans do in the open world. He will frequently spawn an energy sphere on or next to each one of the four players. Jump or dodge to the side to avoid taking damage when it explodes.

The Titan also spawns a lot of adds – Ash Elementals. Don’t let them get to you. They explode a second after they reach you. You can either kill them from distance or let them come to you, then quickly run away to avoid the explosion’s blast.
The Titan’s other attacks, that I have detailed explained in the above linked How to Defeat a Titan Guide include: Fire Rings (spawning on ground and one level above – what I call “second floor ring”), flying energy spheres (dodge before they reach you or stay behind an object to avoid getting hit), energy beam (very deadly frontal projectile attack).
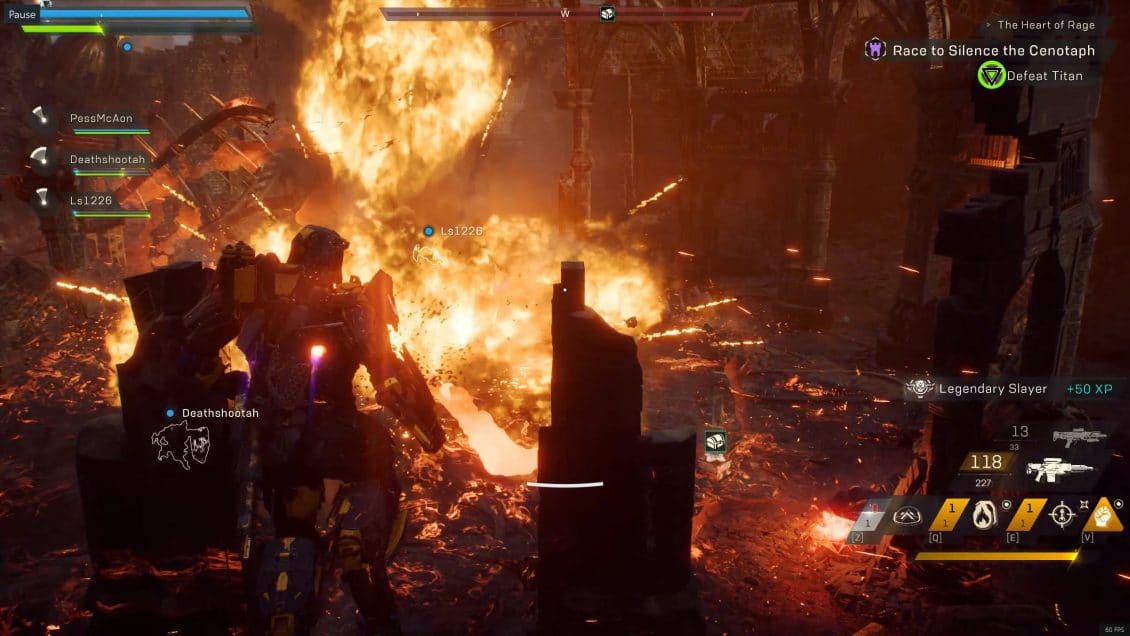
As the Titan is about to die (at ~20% HP), he goes into a berserk mode (or enrage if you prefer) and starts firing all of his attacks one after another and on top of each other. During this you have to get as far away as possible, stay in the air (preferably) and be careful of energy spheres. Wait for the Titan to explode, then drop back down to pick up your first Treasure Chest loot!
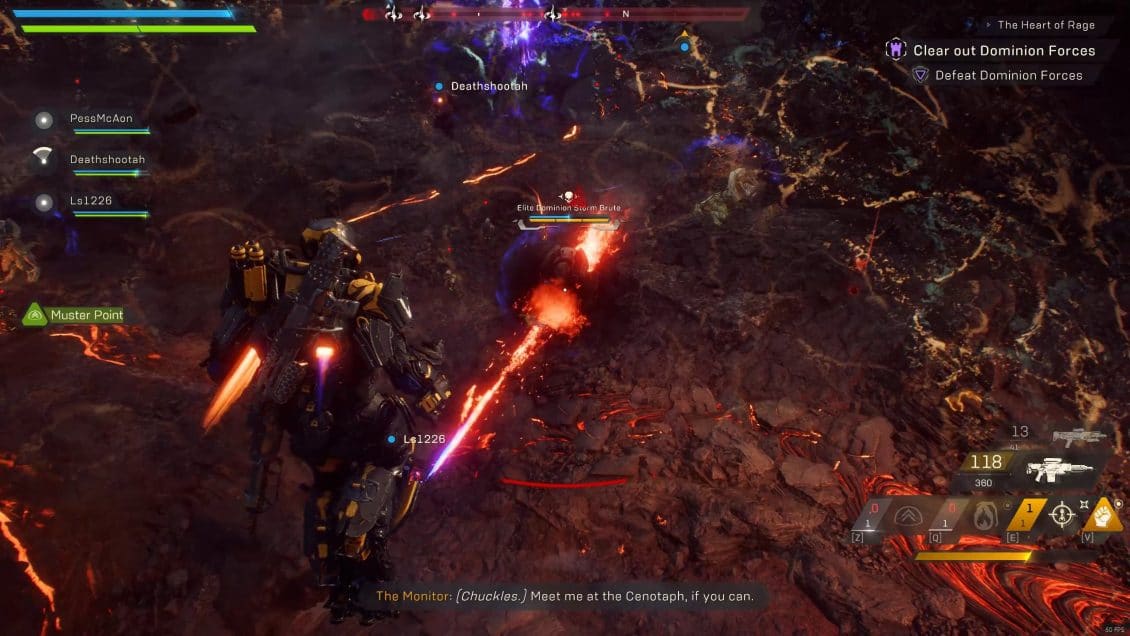
DESTROY THE GROUNDER INTERFERENCE
After that there is a transition phase. Fly to your next marker. As you reach a blocked entrance, you will have to clear some Dominion forces – similar to the first encounter – two turrets, a few valkiries and some ground trash troops.

Just after that is a tricky encounter. You have to destroy the grounder device. Don’t rush to stay in the green ring. A group of Brutes and other Dominion forces will spawn to your right as you enter the area with the grounder device. Defeat the enemies first, then go in the circle and wait for the timer.
SILENCE THE RELIC, DEFEAT DOMINION FORCES

This, in my opinion, is the hardest section of the Stronghold and where many players die. The first part is easy – clear the Dominion Forces and pick up the 10 relics (they are in the air above you) then silence the Relic.

The next phase is what’s really hard. Two Fury spawn. Their lightning attacks are very deadly. Try to be as far from them when they lift up their hands. This is a massive hard hit or even one-shot in Grandmaster difficulties. To avoid this type of attack, watch the Fury very carefully and dodge the particles when they are near you. If you dodge too soon, they may change direction and adapt to your new position. In general you should fight Fury from a distance. Fury tend to teleport, so always be on the move and don’t let them “jump on you” as Haluk would tell you on the radio.
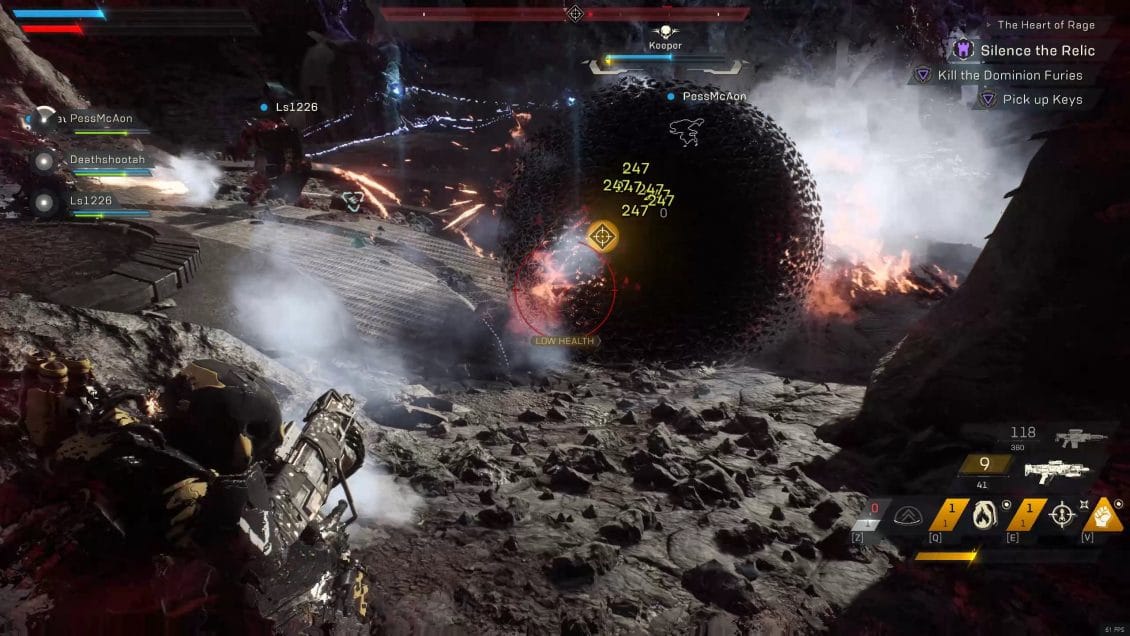
When the Fury hides into a dark-red sphere, hit the bright (red-ish) spots to draw them back out and finish them off. The Fury does the same type of attacks (dark blue/red/purple…ish energy particles that follow their target and move very fast) in “sphere mode” as well.
Fury’s melee attacks are easily predictable and can be avoided if you pay attention. The fury teleports around the area. As soon as you see the teleport animation, dodge and/or move/fly away. This fight is even harder than usual, because the Fury is not alone, there’s two of them.
After you defeat the Fury, they drop two keys which you need to proceed. At the end of this fight you will get your second Treasure Chest from the Stronghold.
DEFEAT THE MONITOR
The final boss fight in the Stronghold plays the same way as it does in the final storyline mission Return to the Heart of Rage. You will fight the Monitor in three stages in three different arenas. In each one he will use a different elemental attack and be immune to it.
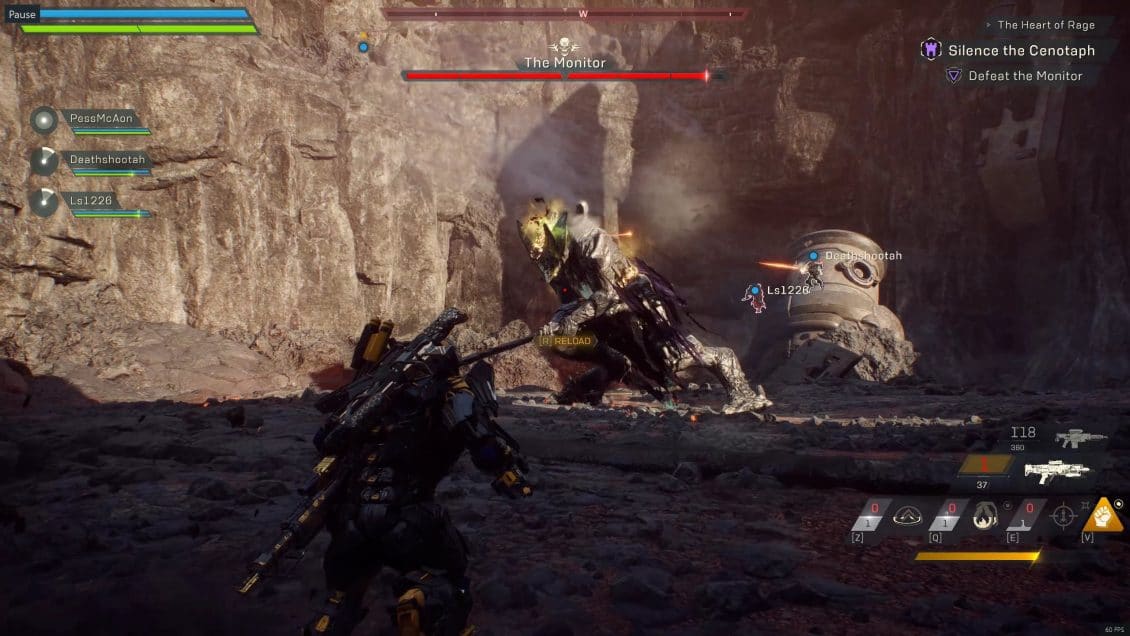
Throughout the whole encounter the Monitor’s weak spots are his hips and his head with the latter one being the most vulnerable (most damage done with a weapon). They are present during the whole fight (with a few very brief and minor exceptions) and, as usual, are glowing to help you notice them.
PHASE ONE
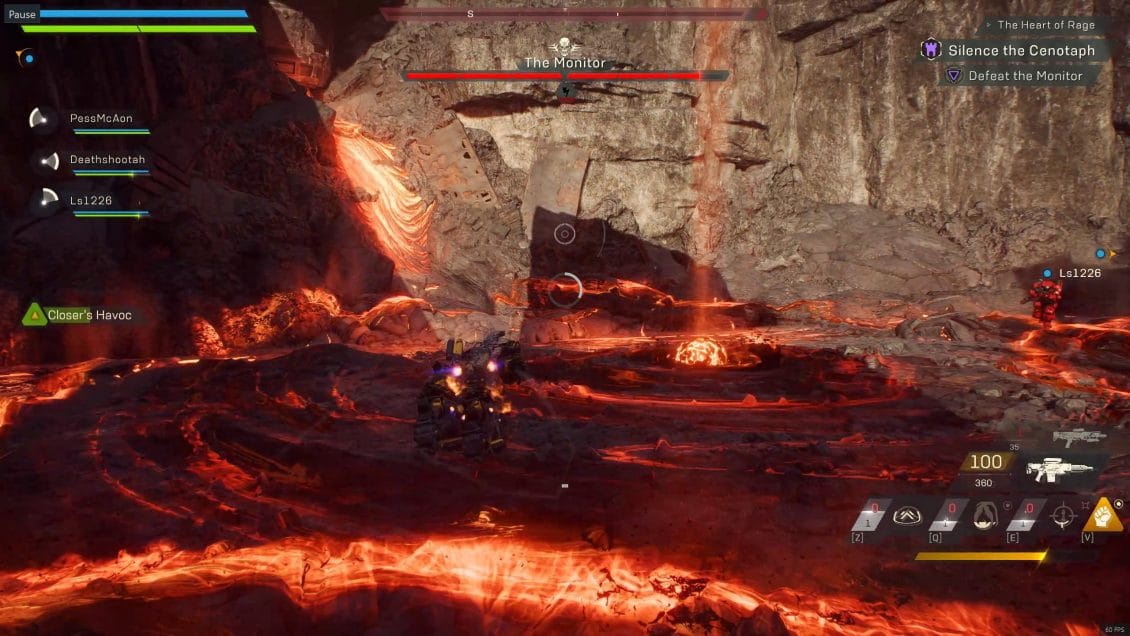
This is the Fire Phase. Here the Monitor will swing his weapon in a large frontal attack. He also spawns fire spheres that explode on spot. His most deadly attack, though, are the fire meteors that he drops around the arena. They have an expanding area of effect marked on the ground with a red circle. The circles overlap, leaving very little space on the ground where you would not take damage when the explosion comes.
You can clear them off with coordinated attacks or simply stay as far away from them as possible when they are about to explode. The explosion is signaled by the Monitor’s rising his hand in the air, then bringing it down to the ground.
At the end of Phase One (75% of The Monitor’s HP), The Monitor will disappear. At this point you have to either be high in the air or very quickly follow him through the tunnel to the next area. If you don’t, a large-scale explosion might one-shot you.
PHASE TWO

This is the Acid Phase. Here you will see five platforms. The acid around them on the floor is not save – as you stand in it, you get an Acid DoT effect. He seems to teleport randomly from time to time from one location to another, not based on players position or aggro.
The Monitor will use ranged Acid attacks and seemingly be immune to that type of damage in this phase. He also spawns Elemental adds – one on each platform. They chase you and explode in your face.
There is no explosion at the end of the phase (50% of The Monitor’s HP). The door is slightly above you on the western wall of the room. Before it opens, you must clear off the remaining Mordan Elementals.
PHASE THREE (FINAL PHASE)

This is the Lightning Phase. It ends when The Monitor is at ~25% of its HP. In this phase you would want to stay above the ground as much as possible. Frequent large-scale lightning circles will spawn and expand to cover almost the whole arena.
If you are not a Storm, I advice you to seek the high ground. There are two objects on the two opposite ends of the arena. Staying on top of them is not always safe as The Monitor also spawns stationary lightning spheres next to you that explode and electrify you.
There are four spheres that are permanently available during this phase – they will not harm you, but will instead give a boost to your weapons for higher damage while you are inside the bubbles. The two on the ground, however, are quite dangerous as they don’t protect you from The Monitor’s attacks.
VIDEO CLIPS FROM OTHER PERSPECTIVES
RANGER PERSPECTIVE
More coming soon!This was my Anthem The Hearts of Rage Stronghold Guide. I hope you found it useful and enjoyable to read and watch. For a lot more Anthem, check the NEWS and GUIDES categories and don’t forget to Sign Up for New Posts Notifications from VULKK.com to stay informed about the game!
ANTHEM Strongholds Guides

This guide is dedicated to the Tyrant Mine Stronghold – one of Anthem’s end-game re-playable instanced group-based missions. Here you will learn everything you need to know to perform a smooth run – objectives, places, items. And, of course – the final boss tactics!

This guide is dedicated to the Temple of Scar Stronghold – one of Anthem’s end-game re-playable instanced group-based missions. Here you will learn everything you need to know to perform a smooth run – objectives, places, items. And, of course – the final boss tactics!

This guide is dedicated to the The Sunken Cell Stronghold – one of Anthem’s end-game re-playable instanced group-based missions. Here you will learn everything you need to know to perform a smooth run – objectives, places, items. And, of course – the final boss tactics!