This is a complete guide to the competitive edition of Heart of Rage Seasonal – one of Anthem’s Strongholds group content. The Icetide Winter event is now live in the game and Heart of Rage is the first “Season Themed” Stronghold. RubyJavelin’s guide will show and explain everything you need to know about all the new mechanics and secrets, related to Icetide.
This guide is written for VULKK.com by RubyJavelin!
► ANTHEM Heart of Rage Stronghold Guide (Classic Edition)
► ANTHEM Update 6.0.2 Changes and Patch Notes
► ANTHEM Icetide: Temple of Scar Guide to all Secrets and Puzzles
► ANTHEM Icetide: Sunken Cell Guide to all Secrets and Puzzles
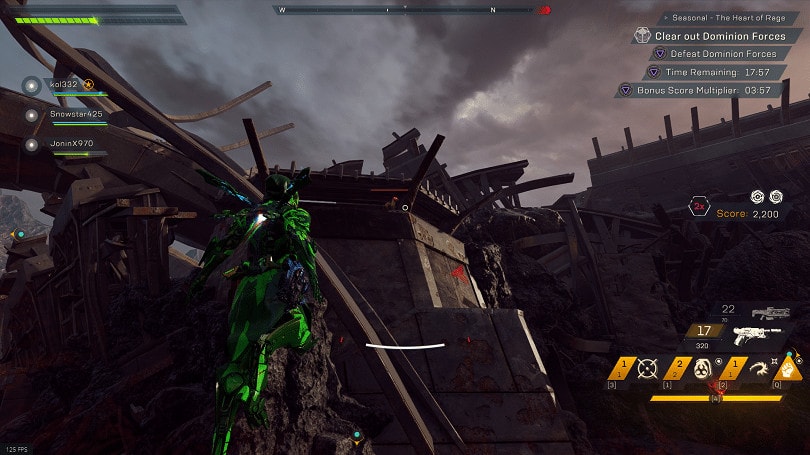
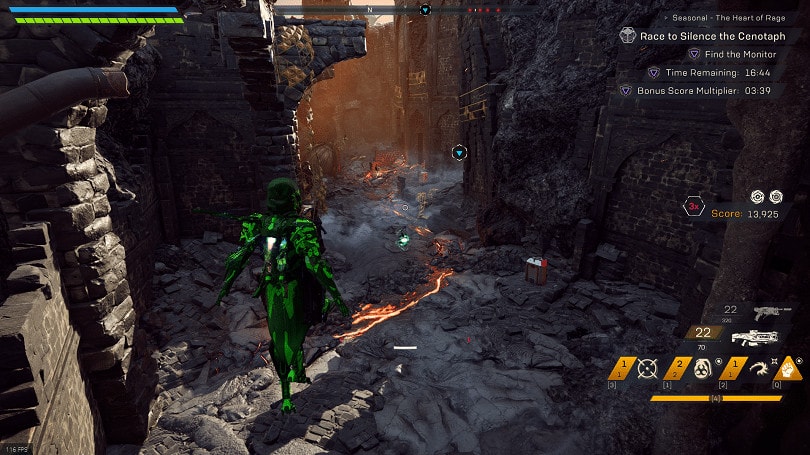
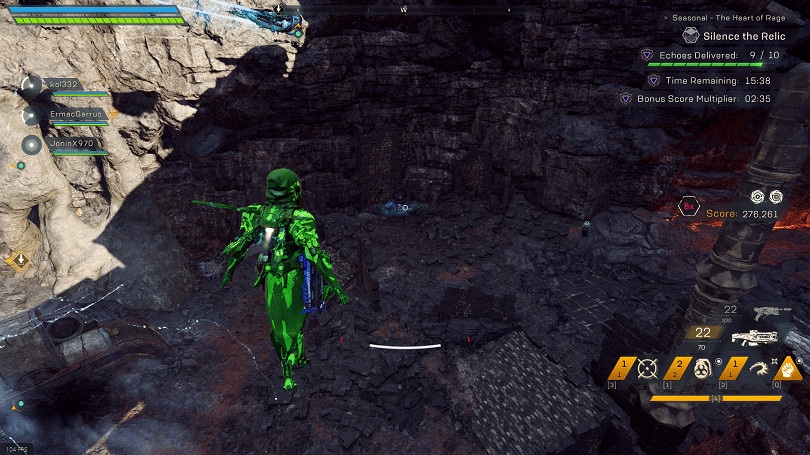
Area One: Chasm and First Arena
This section covers an area up to the first barrier, or the first group of enemies. This area is as simple as can be, but has a few secrets scattered around.
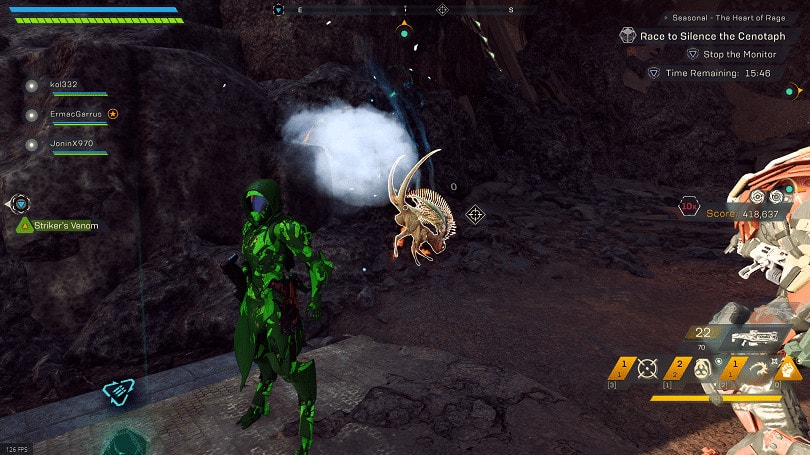
Score Tip: The Wyverns here have to die early, recommend to grab them before moving on to area two, or they will despawn!
I also want to preemptively explain how a certain secret works out, as it’s used a couple times in the stronghold. I’ll refer to them as a Note Trail and basically every narrow passage has one…
These are a line of low value notes, usually a single blue and a trail of green. You have to start at the blue, and the green notes in the chain will successively turn Blue until the final one, which turns purple. Trying to save these for more score will prove to be difficult, and take good pathing to navigate around if the intention is to save them.
Major Secrets
This area is home to two major secrets, a Match Puzzle and and some Orbs that trigger a special spawn. It also has one of four “Grabbit Decoys” needed for a later secret.
Match Puzzle
Just a bit further up the hill from the orange note and dead Wyvern, is a match puzzle. This is a simple puzzle that just has you revealing two tiles at a time until the full 3×4 grid is revealed. This uses the shapes seen throughout other puzzles in the game.
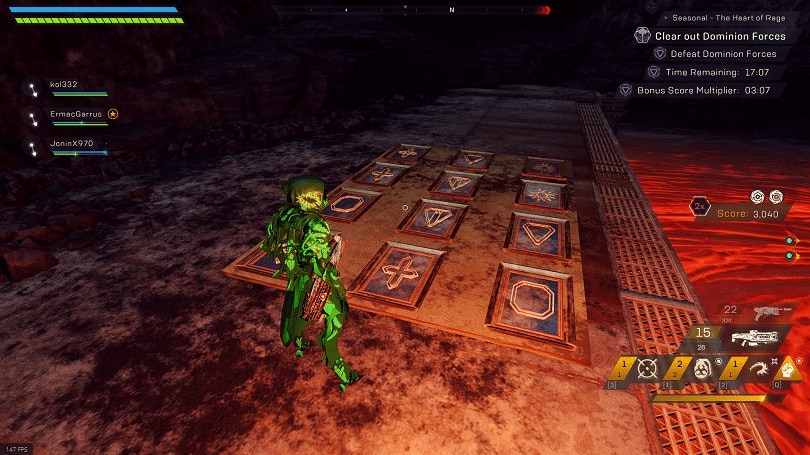
Upon revealing all 12 tiles, the nearby Shaper Sphere will release four special Orange Notes. These notes will always grant 20,000 score, regardless of multiplier. Since it doesn’t matter when you grab it, for quicker currency runs, it’s recommended to grab immediately. For Score runs, you can save it for later as you will need to back track to here anyways.
To solve this in a more time-friendly way… It’s suggested to start from any corner and just work your way down a row or column, or re-flipping a tile if you find it’s match further on. It’s a very quick and consistent approach to solving this puzzle.
Legendary Spawn
This secret is on a timer. The timer starts when you trigger the initial timer just before the wyverns spawn, and goes for approximately three minutes.
It’s highly recommended to complete this secret objective before clearing any enemies in the area. It can time out, or just easily be forgotten. Once the time expires, or the section is complete it will despawn.
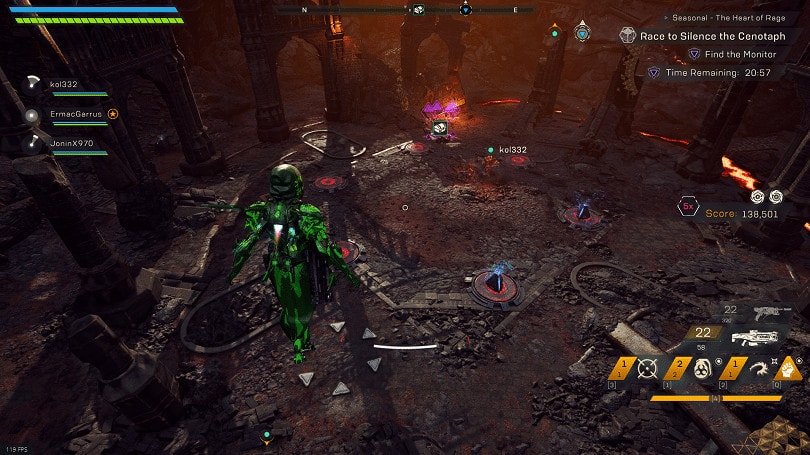
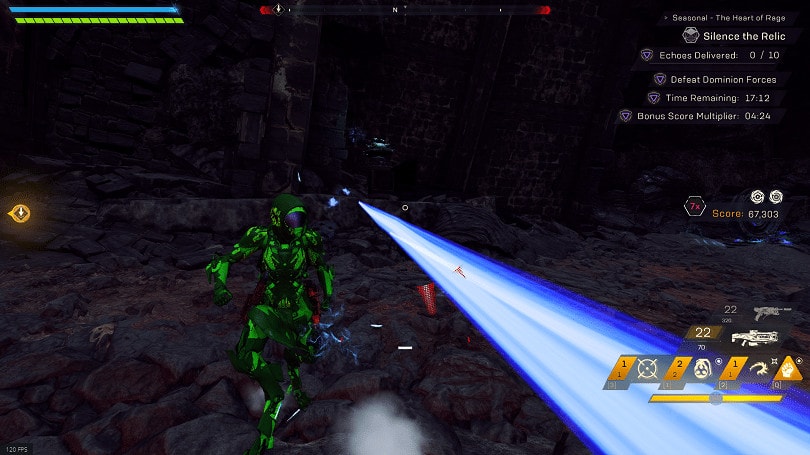
In the arena where you are fighting enemies, there are five dark red orbs. These orbs can be interacted with.
These orbs can be found in the following locations in the room:
The first is in the center of this arena, on top of a small rock.
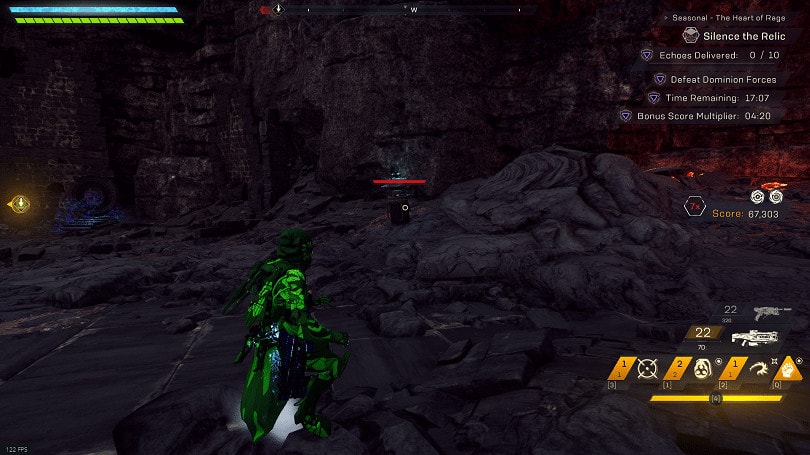
The second is to the Northeast, behind the turret.
The third is in the air to the West.
The Fourth is to the South, between the metal constructs here.
The fifth and final one is tucked into the Southeast Corner, slightly off the ground.
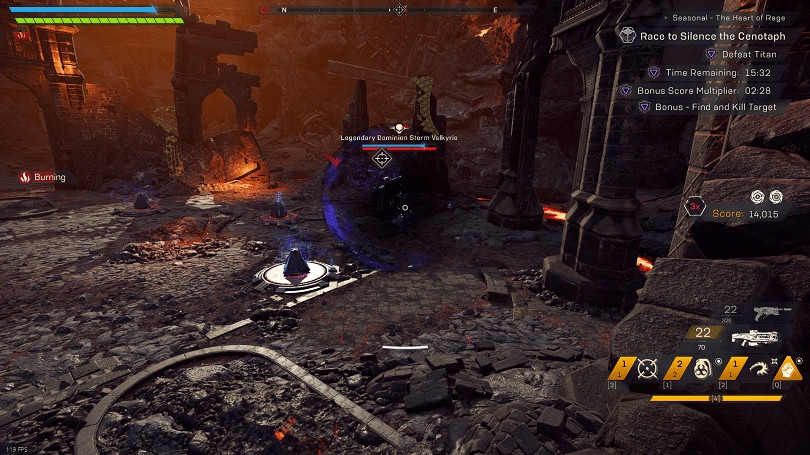
Once all five have been interacted with, this will spawn a Legendary Valkyrie. They are worth a sizeable amount of points and also increase your multiplier.
Grabbit Decoy
Throughout the Stronghold there are a total of four vaguely grabbit looking plushies, which I refer to as Grabbit Decoys. What you get for for breaking all four will be explained later, just prior to the Monitor Fight.
For now, all you need to know is that there are five locations in this first area.
The First location is on a high ledge in the Northwestern metal construct. This one needs to be shot or hit with an ability, as you cannot reach it with melee.
The second is on a Western ledge made of metal, which is most closer to ground level and can be destroyed by any means.
The Third and final location for this is to the North. It sits on a metal construct above the turret that in this corner.
The fourth location is located toward the North side of the area, on the very top of one of the metal spines coming out of the ground.
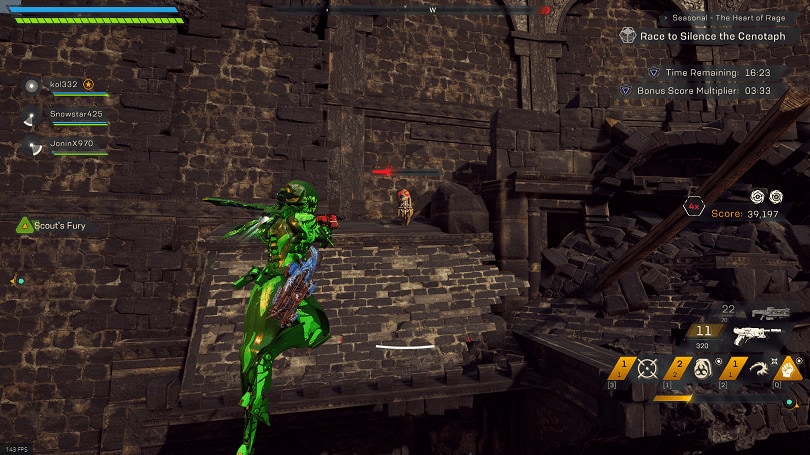
The Fifth location is located just above and to the left of the indicator for the rare spawn. It sits on a small ledge, just before the top of the metal wall on the Eastern side.
Minor Secrets
There’s two Orange notes here at the start, one has a single location the other has three locations very near each other. Both are before the first combat area, so make sure you have a 3x multiplier going into the first arena!
The static Orange note is on a ledge just below the end of the path that lead up to the chasm.
The second orange note spawns near the Dead Wyvern. It will spawn in one of teo locations.
The first is right next to the Dead Wyvern itself, which is as the bottom of the hill to the far left of spawn.
This Dead Wyvern is present in the normal version of the stronghold, but was the one responsible for grounding you at the start of the game’s campaign.
The second location it can spawn is in the air to the Southwest of the Dead Wyvern as well.

The third location it can spawn is just a bit farther up the hill to the East on the opposite side of the puzzle, in the air.
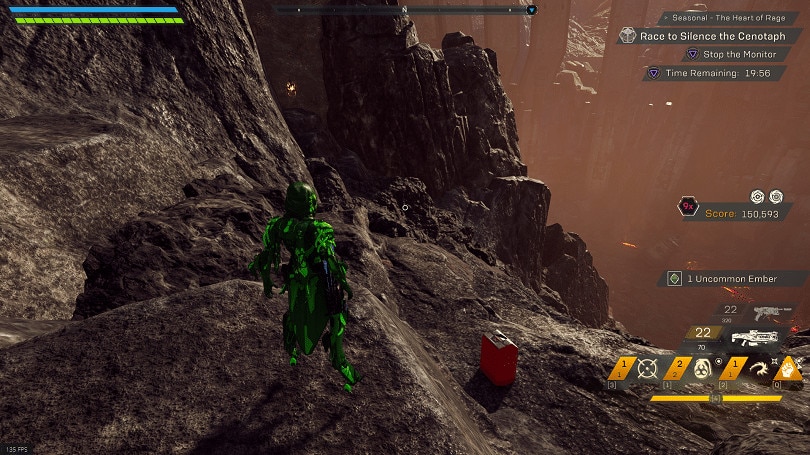
Also along this trail are some red and white containers, which each drop four blue orbs each. There’s also a Note trail, which starts near the bottom of the path, a little ways from the Dead Wyvern. Make sure to start from the Blue note!
AREA TWO: TITAN AND GROUNDER ROOMS
This area as the section title suggest consists of the hall leading to the Titan fight, the Hall to the Grounder Room, the Grounder room itself, and the hall afterwards.
Score Tip: You can get extra points from farming adds from the Titan, but these may not outweigh the time bonus you get for quickly killing him.
Major Secrets
There’s two major secrets here, A small weight puzzle in the Titan Room, as well as another Grabbit Decoy.
Titan Puzzle
Around the Titan’s arena are six pressure plates. These plates can be weighted down by you, an ally or the weights around the room. This Puzzle needs to be completed before killing the Titan. It is deactivated afterwards.
All six plates are located near the titan in the center of the arena. All six weights are located around the outer edge of the arena. The locations of the weights are static, so they’ll be in the same spots every time.
Once all six plates have been weighted, a Legendary Valkyrie will spawn.
Grabbit Decoy
This decoy has four locations it can spawn.
The first is directly above the door you come in, on a ledge. This one needs to be hit from range.
The second spot is near the first. If you turn a bit to the Southwest you you’ll see some stone with metal beams sticking out of it. The decoy rests on the stone, just below these beams.
The third location is to the South side of the room, or essentially the far right corner from where you enter the room. It sits near the bottom of the destroyed building here.
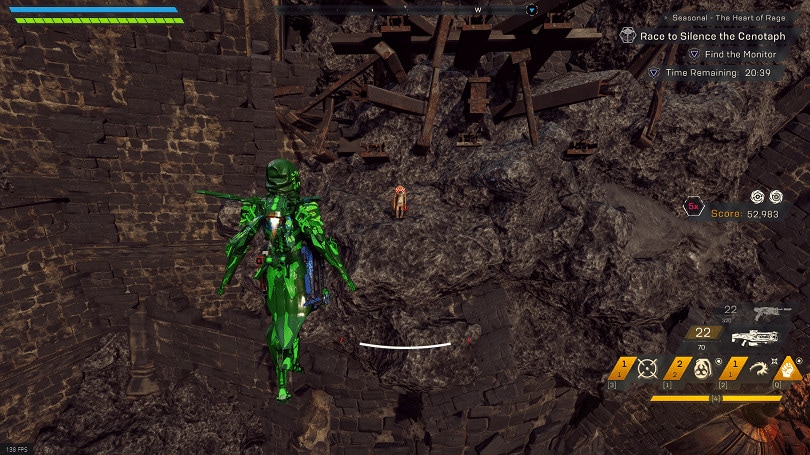
The fourth location is on top of the destroyed scaffolding above the Titan. Its is very hard to see without zooming in, so it was shot once to make the HP Bar visible for the image.
Minor Secrets
Minor Secrets here include a few Orange Notes, and a bunch of breakable boxes filled with notes, similar to those seen previously.
Coming out of the first area, above the lava below are a handful of notes, One Orange, and a Note Trail. Remember to start at the Blue note!
The Orange note can be in one of two places. The first is on the first ledge on the right, on the opposite side of the small wall on this ledge.
The second spot is directly under the cliff as you enter, before the first ledge.
After this is a breakable box, just before the turret and troopers at the end of the path. After this is a hall with two more breakables and and a few more green notes along the path to the Titan.
After the Titan is a short tunnel with a breakable box, and a Note Trail along the path towards the Grounder Room. Don’t forget to start at the Blue note!
There’s another small room along the way that has two Turrets, a few Troopers and a couple Valkyries in it. This room will always have an orange note in one of two locations.
The first is directly to the right of entering the room, along the Western Wall.
The second is directly past the ledge as you enter the room. Simply go straight forward and walk off the ledge and you should fall on it, or at least see it.
Grab This note before clearing the room and continuing to the Grounder Room.
The Grounder Room has nothing of interest in it, so complete the objective and move on.
This hall after the grounder has a couple spawn places for orange notes and a Note Trail. Don’t forget to start at the Blue Note!
The first orange note spot is to the right, tucked along the wall where it first breaks and has a gap.
The second spot it can spawn is under the Arch to the left side of the hall.
The third spot is on the left side of the hall, behind the arch structure.
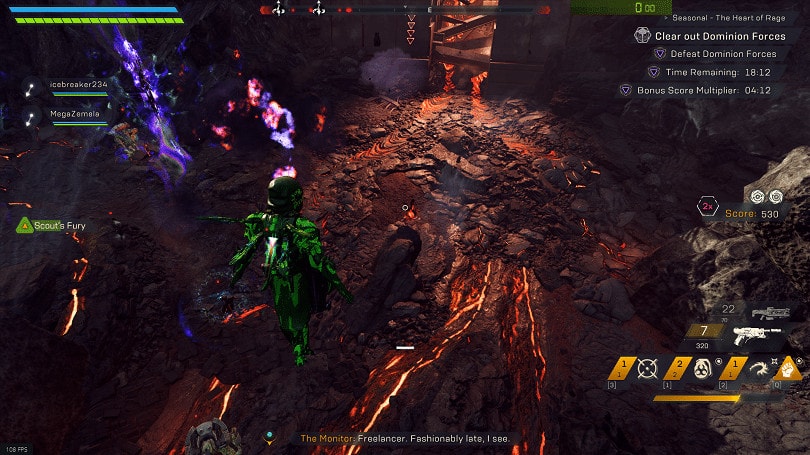
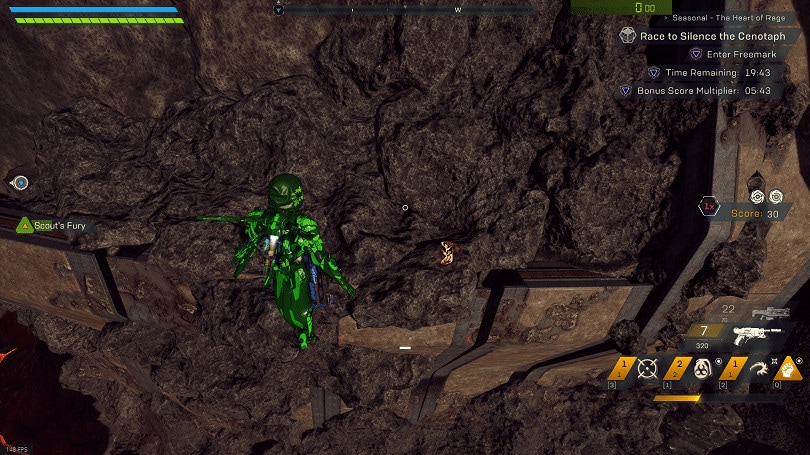
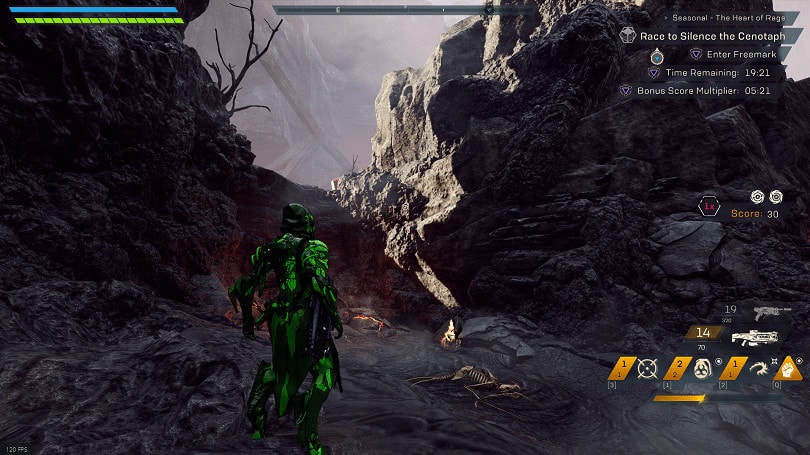
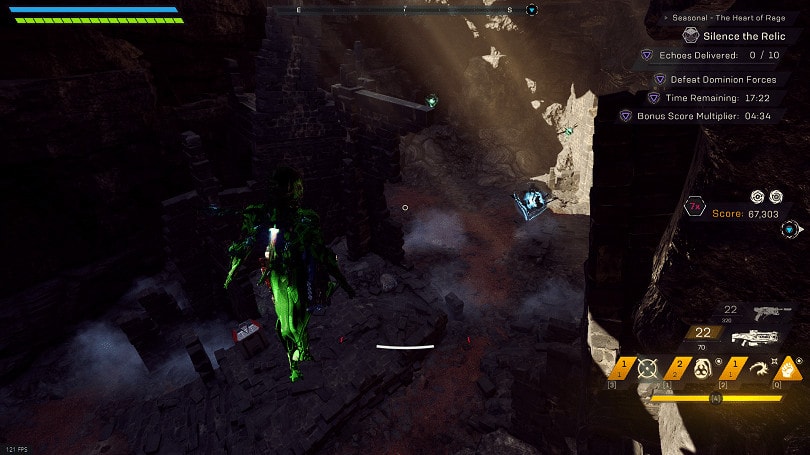
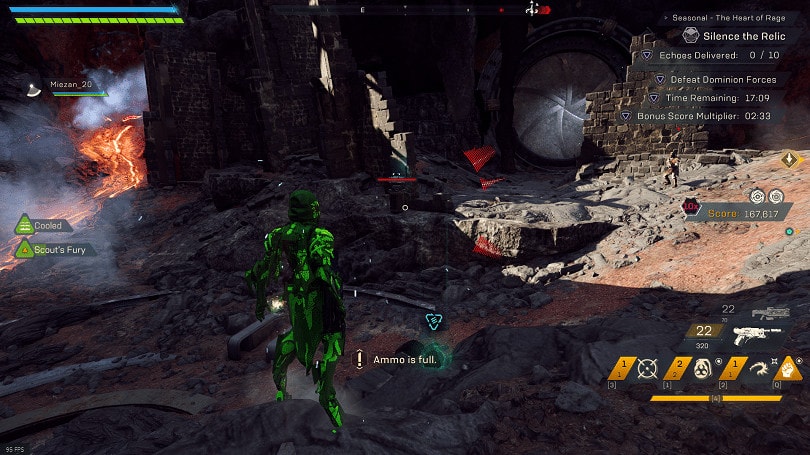
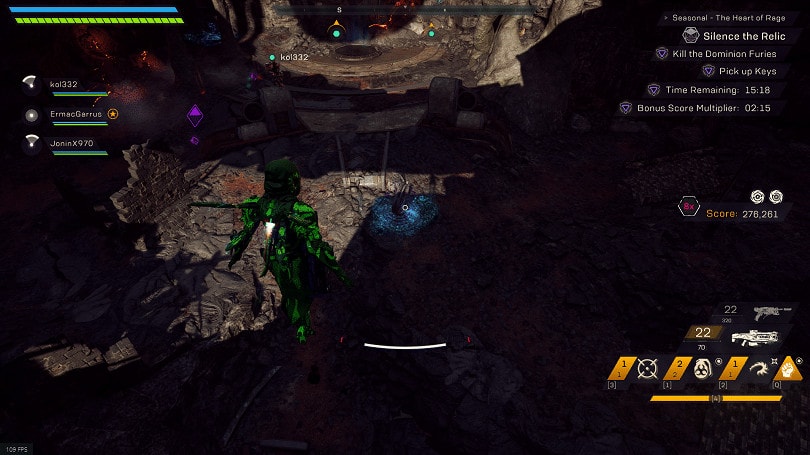
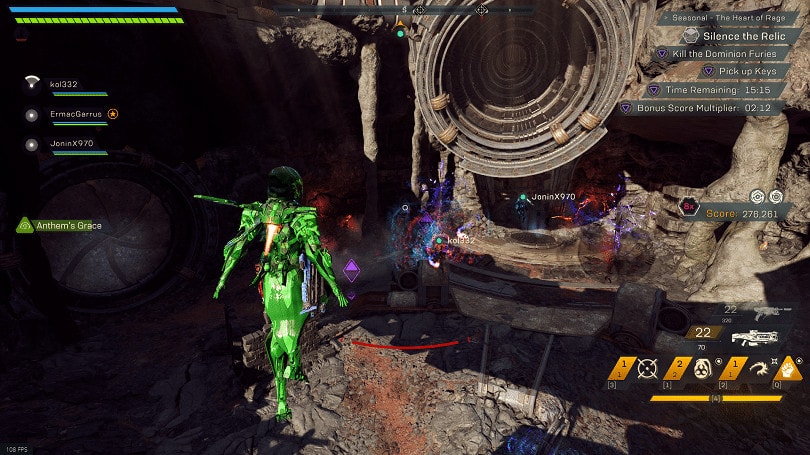
Area Three: Fury Room and Grabbit
Be very careful not to autopilot through here, the echoes have a second function here now! Complete the secret before killing mobs to get more score out of this room.
Major Secrets
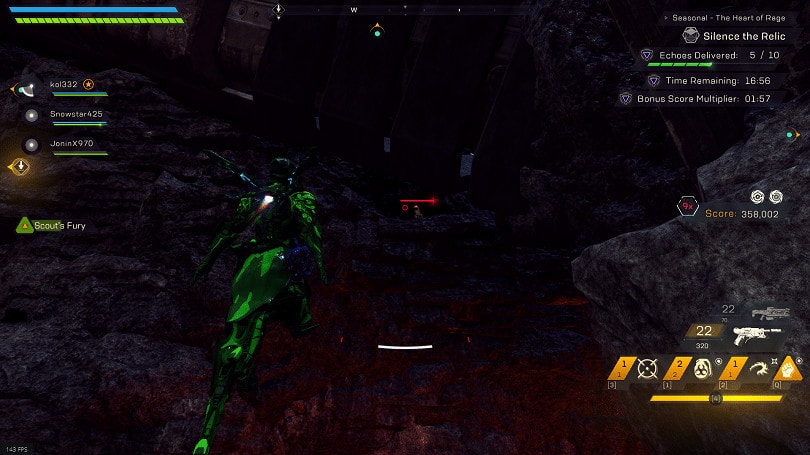
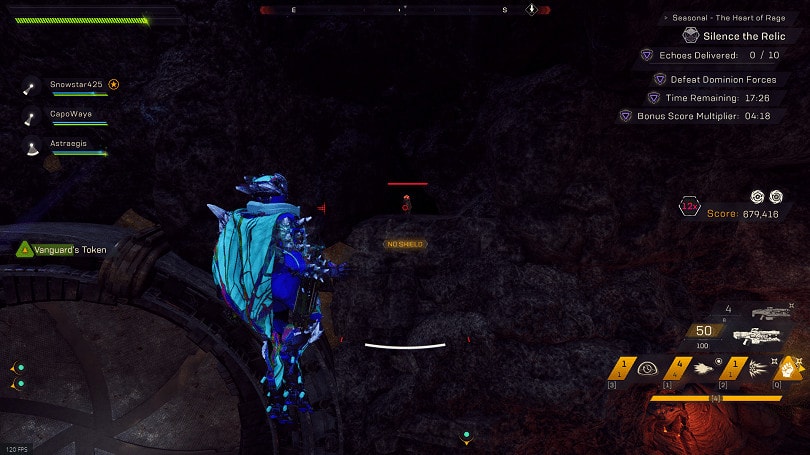
This room has its own little puzzle now. Around the room are a few respawning bombs and some reservoirs. These bombs need to be used to reveal some of the reservoirs, and them all five of them need to have an echo placed in them.
Which reservoirs are revealed or covered is random, as well as which location the bombs are, though they tend to be more static only having five locations. The game will pick two or three of these areas to have a bomb, but they will respawn quickly after being used/destroyed.
To use a Bomb, open your Communication Wheel [B by default on PC], and press the button listed in the middle to drop the Bomb [F by default on PC]. After dropping, the bomb can be manually detonated by damaging it, or letting it detonate manually which takes about 5 seconds.
The locations of the bombs are as follows:
The first is along the North Wall.
The second is along the West Wall.
The third is in the middle, along the thin wall near the East side of the arena.
The fourth is in the middle of the room, near the magma along the floor near a ledge
The fifth location is alongside the small set of stairs to the West (right side of the room when entering), between the stairs and the wall. [Area3Bomb5]
The Reservoirs are static in location, so they will never move. Here are their locations.
The first is directly West, against the wall near the entrance.
The Second is along the North Wall, to the left of the entrance.
The third is in the Eastern Corner, hidden behind the thin walls.
The Fourth is in the center of the arena, usually covered by a bombable rock.
The final one is tucked in the Southern Corner, just past the relic.
Once all five have been revealed and fitted with an Echo, a Legendary Valkyrie will spawn. Killing this Valkyrie will increase your Score Multiplier further
Grabbit Decoy
This is the last randomized decoy in this stronghold, found in the Fury Room. It has five locations.
The first location is directly above the entrance, on a small ledge above the opening you enter from.
The Second location is behind some stone pillars, along the Southeast wall.
The third location is on a high ledge near the top of the Northeast wall.
The fourth location is found inside the bit of broken wall, on the West side near the top of the stairs.
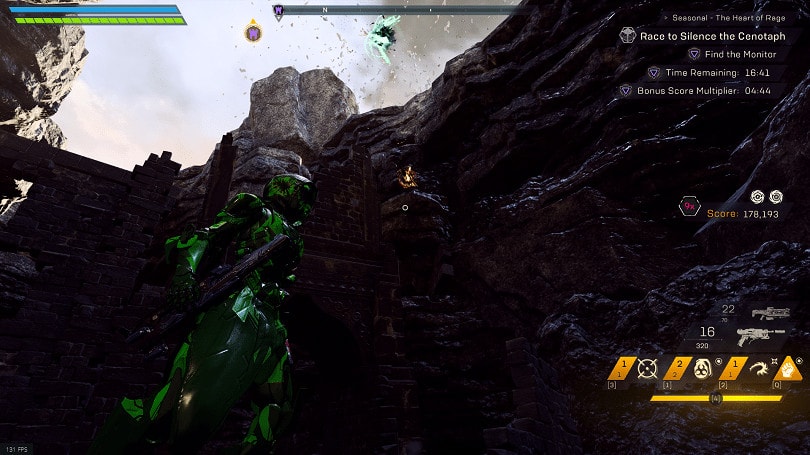
The fifth location is above and to the right of the opening that leads toward the monitor.
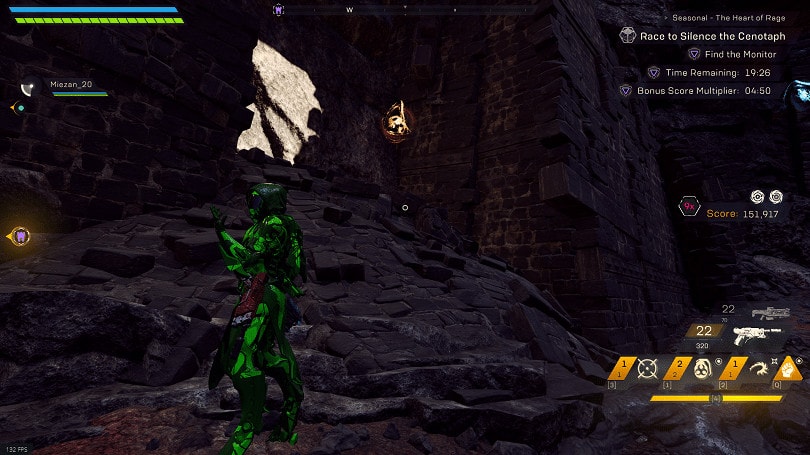
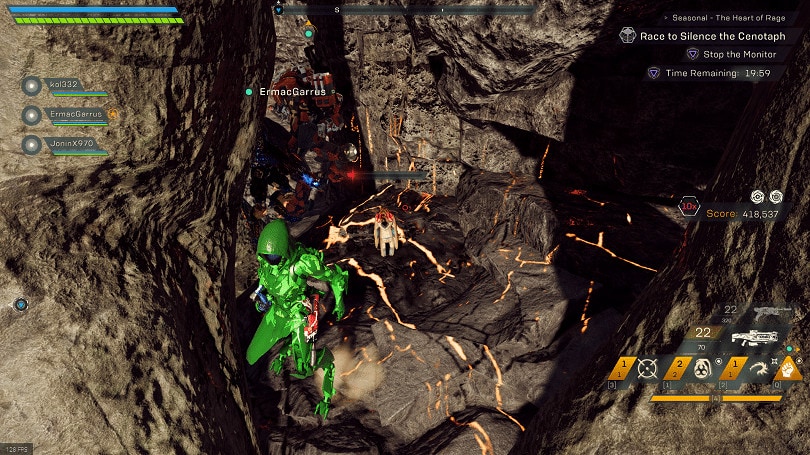
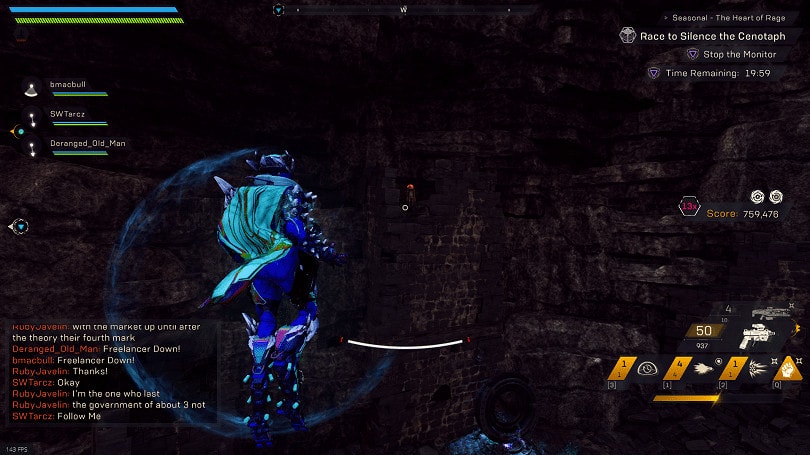
The Golden Grabbit
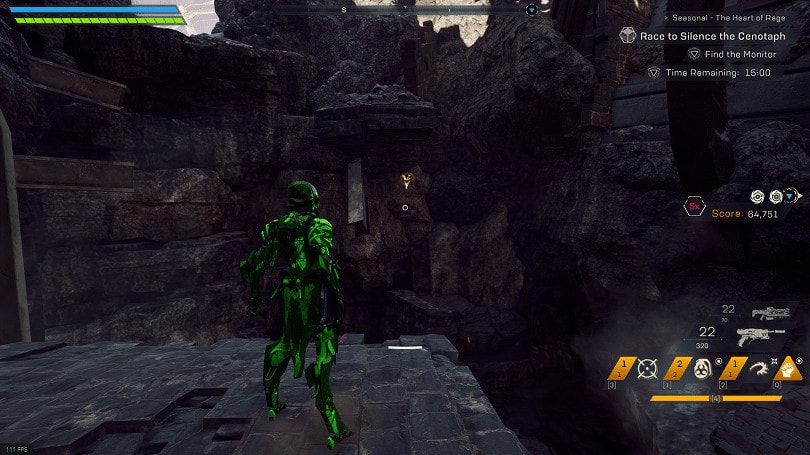
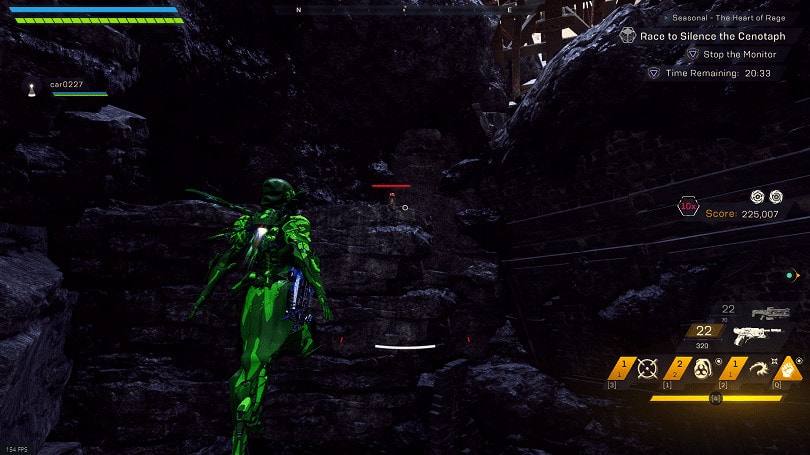
This is what the Decoys have been leading up to. The fourth and final one is just before the Monitor, and above it are four arrows indicating whether or not you found the three other hidden decoys.
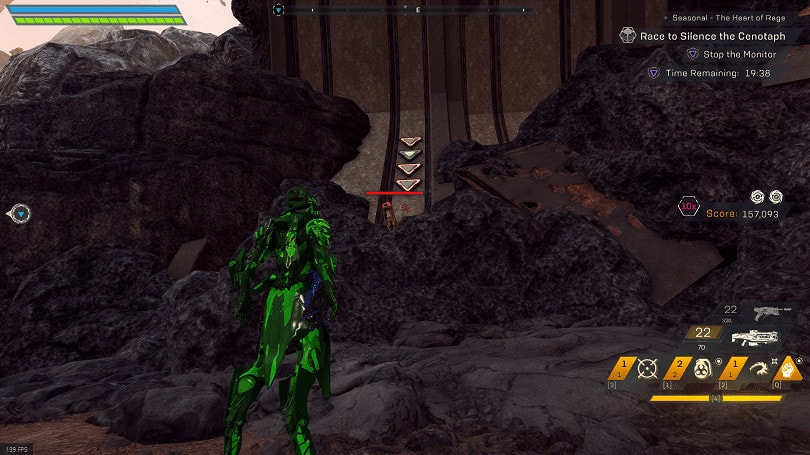
If all arrows but the fourth one are lit green, but the fourth as seen in this image, you’ve found all of them this run and only need to break this final one.
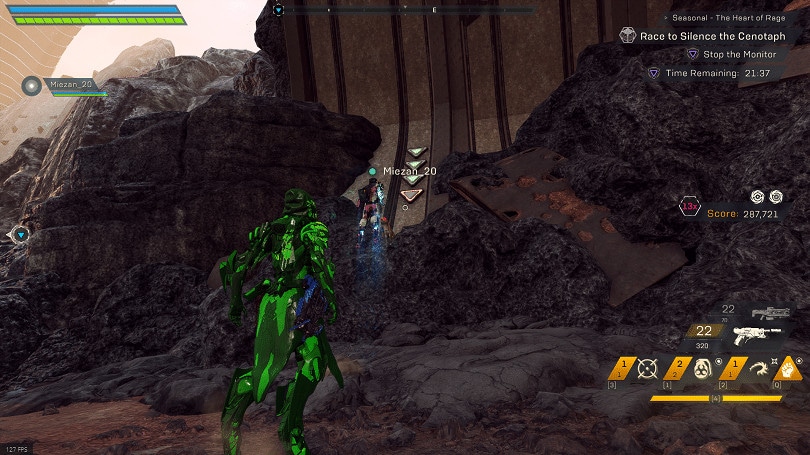
Breaking this fourth and final decoy will will spawn the Golden Grabbit.
He’s a non-aggressive Mini-boss. After he spawn he will run and teleport around the small area until you deplete his health, at which time he teleports away. While he takes damage he will periodically drop green notes. Upon defeat, he drops a few more green orbs, then disappears leaving behind a fountain of green, blue and purple orbs while giving you a HUGE score boost, and increasing your multiplier for the third to final time.
Score Tip: Make sure when you fight him, you are at 13x, as this will ensure you hit the maximum multiplier tied to an achievement for this week of the event… as well as give you the largest score boost.
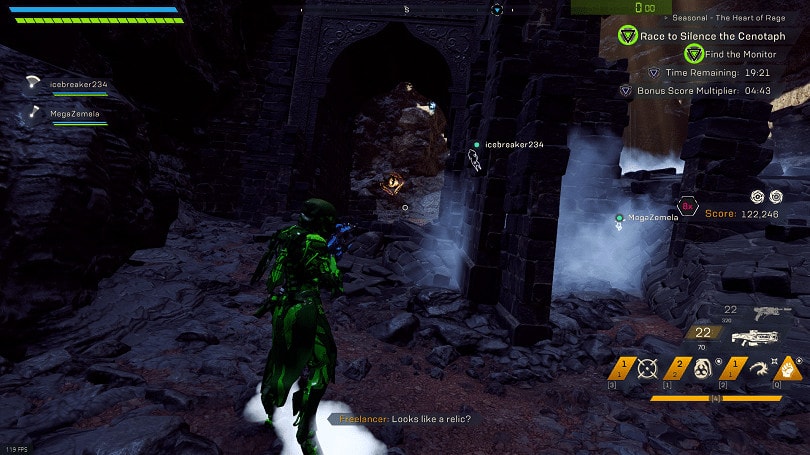
Minor Secrets
This area is pretty low on minor secrets, only having a single breakable box and and single orange note on the left side of the slope before the Monitor.
Make sure you grab this note before taking down the Golden Grabbit, and the box afterwards!
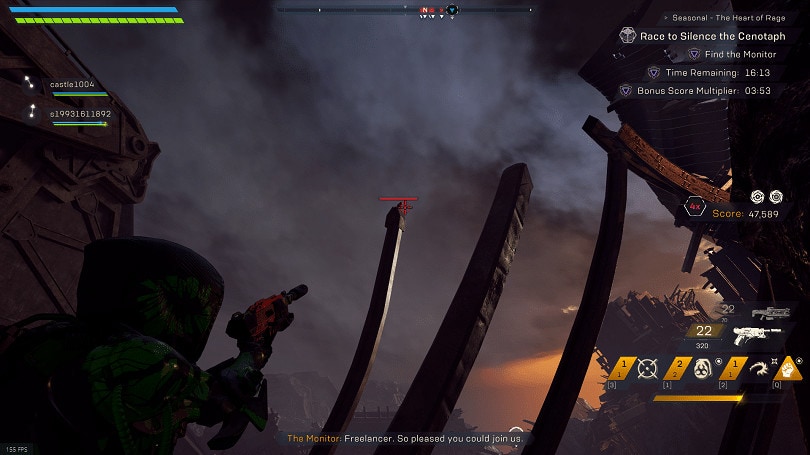
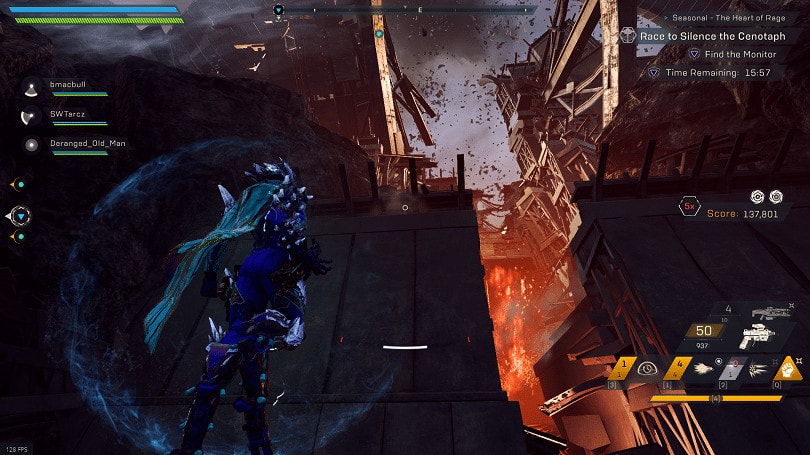
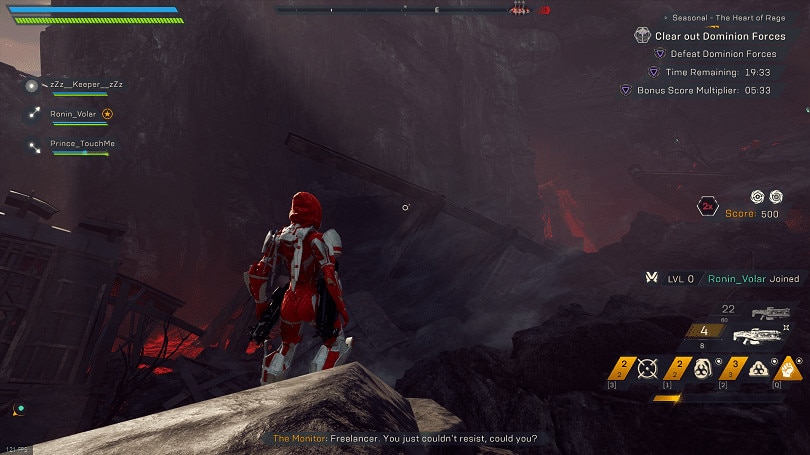
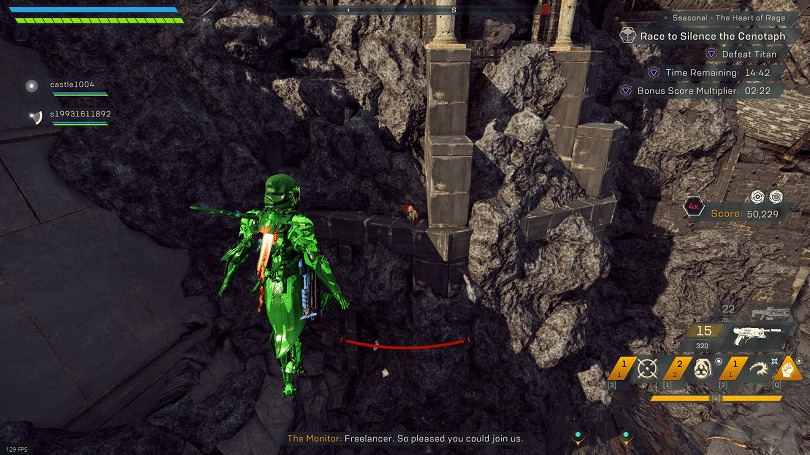
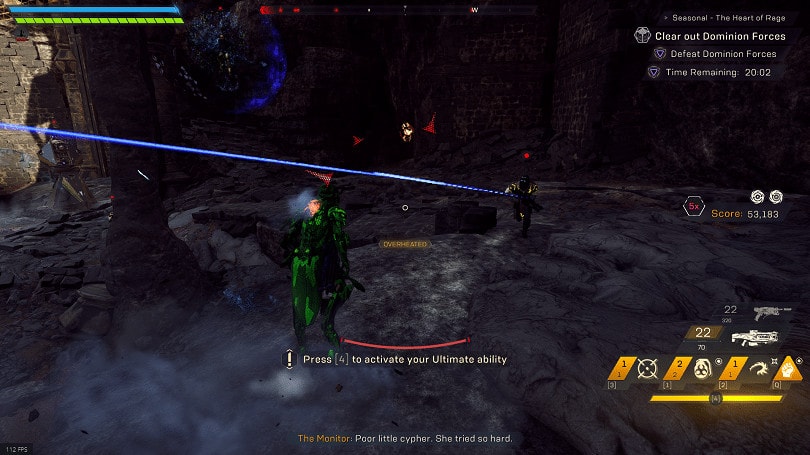
Area Four: The Monitor Fight
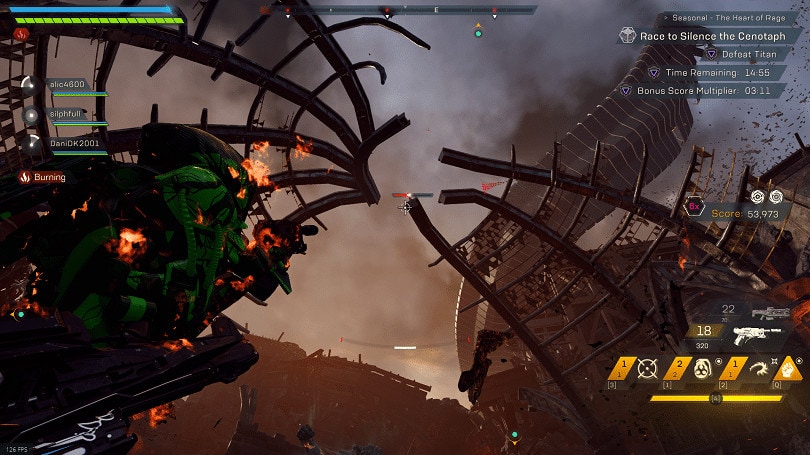
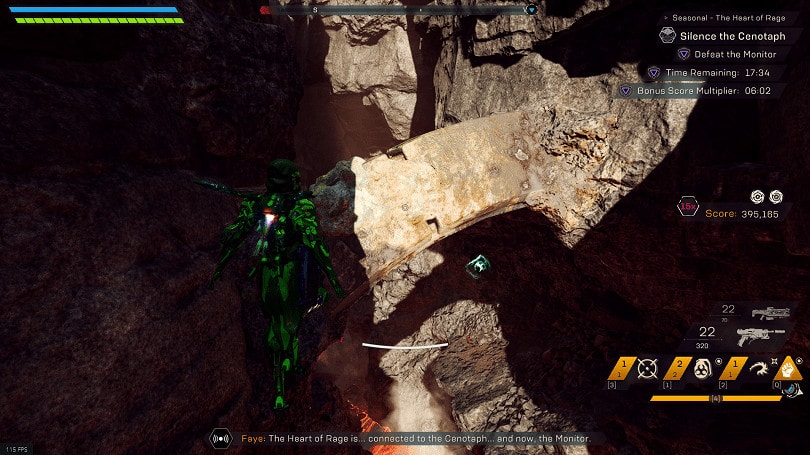
I won’t go into heavy detail on how this fight works, as most should understand it by now. The basic gist of the fight is to hit him in the glowing weak spots on his sides and head, with the one on the back of his head taking the most damage.
Score Tip: Similar to the Titan, the Monitor’s Acid Phase spawn elementals which give additional score. These may or may not be better than the time bonus, so take caution if you want to try to farm score here.
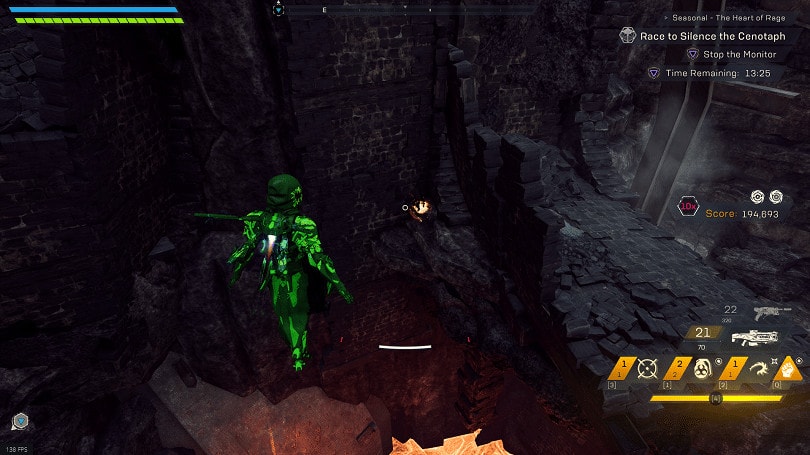
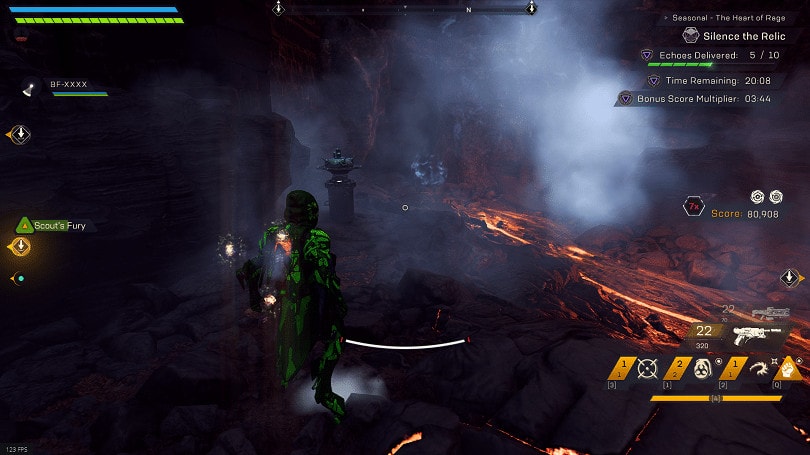
Minor Secrets
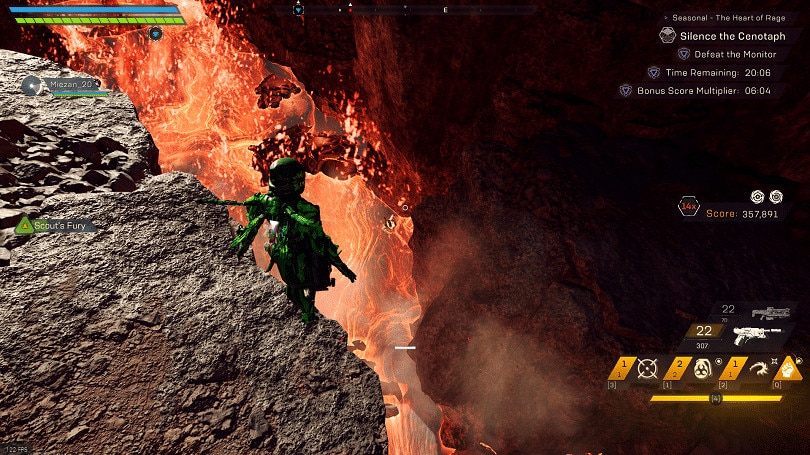
The path to and from the Acid Phase has a Note Trail, as well as an Orange note. Make sure to grab the Orange note before doing the Note trail. This trail is also reversed, which means it’s quicker and easier to grab correctly on the way back from the Acid phase! Please be careful to not mess up the trail for your team on the way there!
Most commonly it is found near the Fire arena, just above the magma, behind the rocks sticking out here.
It will occasionally spawn above this location, hiding behind the arch here at the start of the path.
From Vulkk: Special thanks to RubyJavelin for his relentless work on this guide!