This guide will help you discover and complete all secrets and puzzles in the new version of the Sunken Cell Seasonal Stronghold. The competitive edition was released in the second week of the Winter event “Icetide”. RubyJavelin once again provides you with all the information you need to complete this new challenge. All secrets and puzzle mechanics are explained in great detail with both text and images! If this Stronghold is new to you, refer to the Classic Sunken Cell Guide and you need a more in-depth wakthrough of the core mechanics outside the new puzzles, use the Classic Guide I have linked below. Enjoy!
This Guide is written for VULKK.com by RubyJavelin
Related content:
- ANTHEM 1.6.0 Patch Notes
- ANTHEM Icetide: Temple of Scar Guide to all Secrets and Puzzles
- ANTHEM Icetide: Heart of Rage Guide to all Secrets and Puzzles
- ANTHEM Temple of Scar Guide (Classic Stronghold)
- ANTHEM Sunken Cell Guide (Classic Stronghold)
- ANTHEM Heart of Rage Guide (Classic Stronghold)
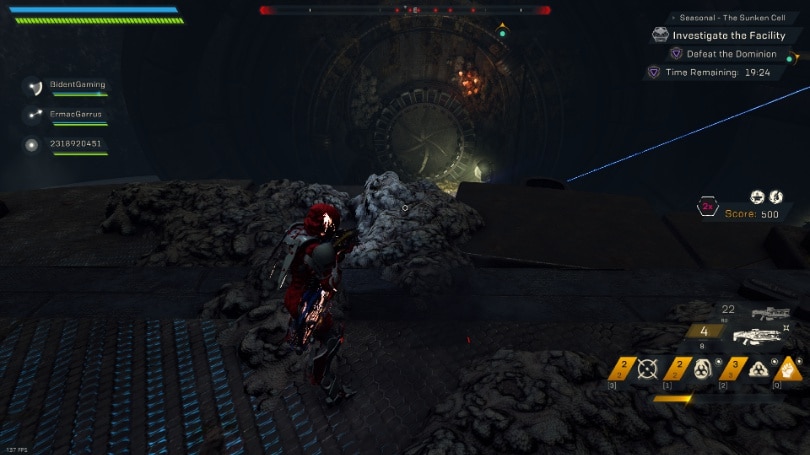
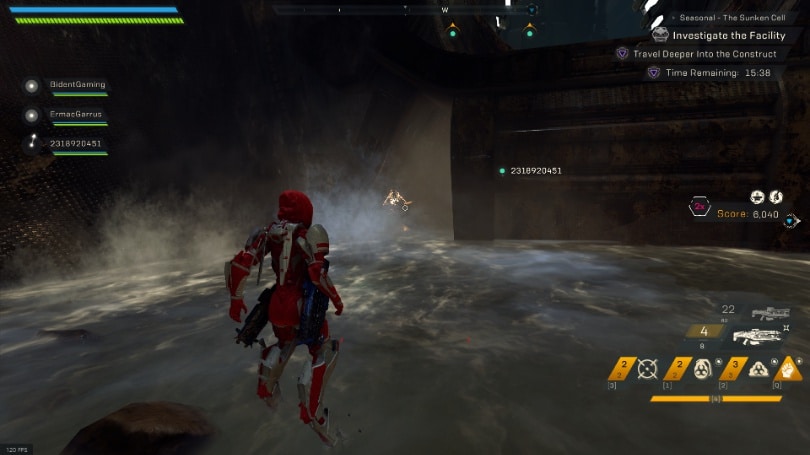
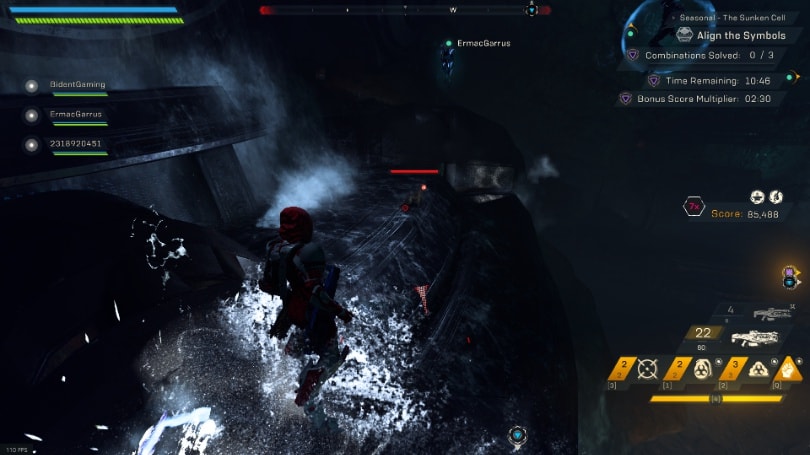
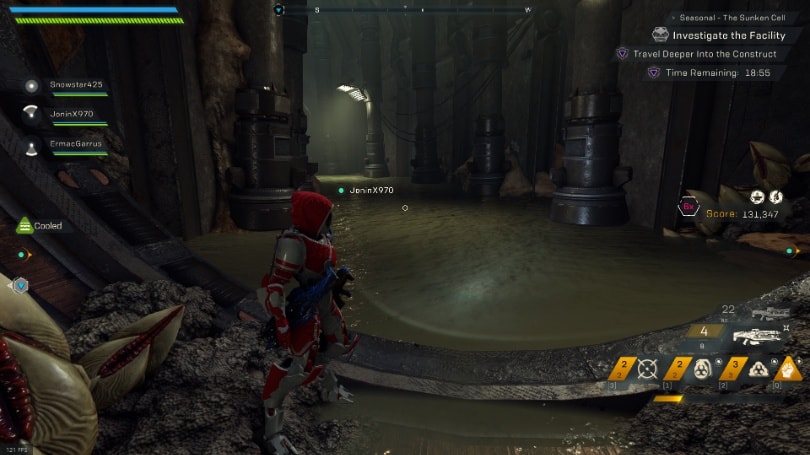
SECTION ONE: GROUNDER ROOM
This section is rather simple in terms of objective, stay in the middle of the room and clear enemies while deactivating the grounder.
Despite the size of this room, there’s not a whole lot going on here and is mostly just minor secrets.
Minor Secrets
In the Grounder Room itself, there appears to be only a single static Orange Note. It’s located on the Eastern ledge above the grounder, so make sure to grab it on the way down, before you get grounded.
The tunnel on the way to the pressure plate room has another orange, a Note trail and a few breakable note boxes.
This note typically spawns below the right side of the door as you enter.
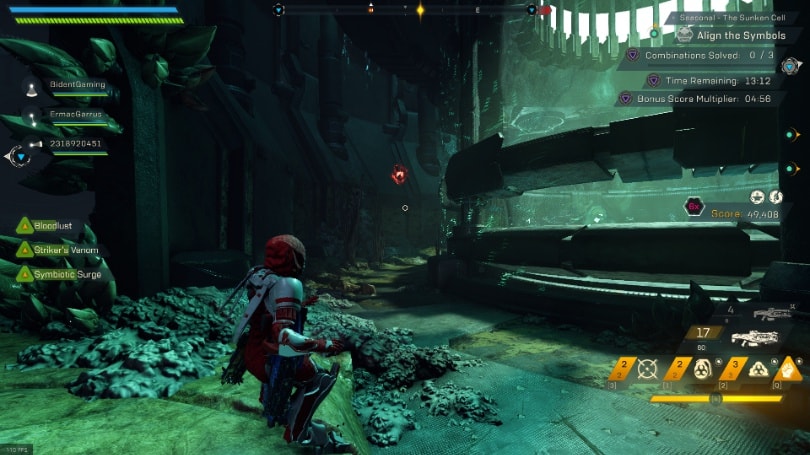
SECTION TWO: PRESSURE PLATE AND CONTROL ROD ROOM
This room is like a mini version of Simon says. Just watch what symbols light up and step on them in the shown order.
This section covers this room, and a bit after. Secrets seem pretty spread out yet.
Major Secrets
Grabbit Decoy
For Major secrets, this area contains the first Grabbit Decoy. I’ve currently found it to be either in this room with the pressure plate puzzle, on a ledge just below the entrance.
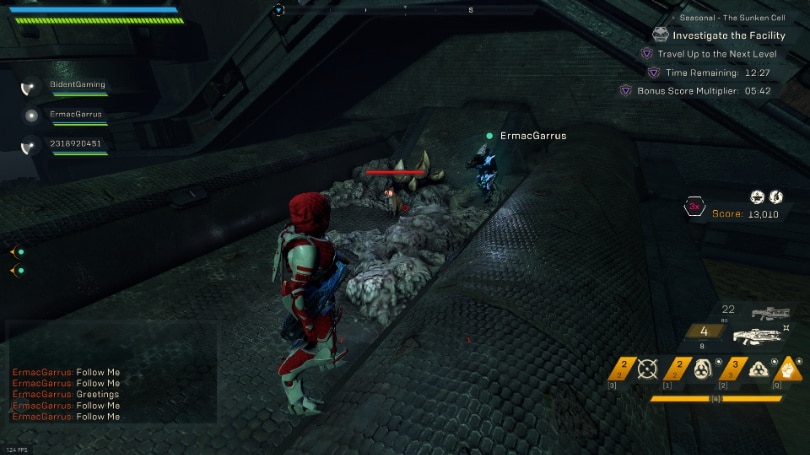
It can also be in the upcoming hallway filled with trooper and brutes, on a ledge on the right (western in this case) side of the room.
In this same hallway, it can also appear on the bit of stone to the east of room’s exit. My friend is standing where the decoy spawned in this image.
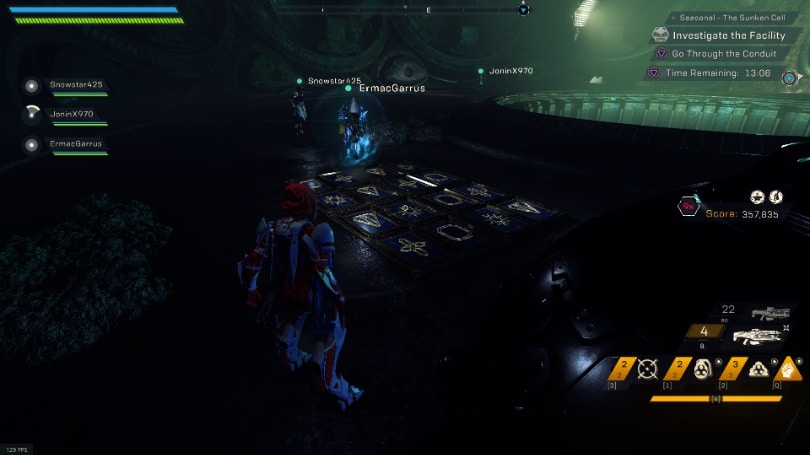
Control Rod Puzzle
Located in the room, is a pattern. You need to match this pattern by submerging the control rods in the proper order.
This pattern can be found in the middle of the room. The lights near the beam in the center tell you exactly which pillars need to go down first.
Match the pattern by activating these pillars first, and the Legendary mob will spawn. Kill it and activate the rest of the pillars to move on.
Minor Secrets
The upper level of this room has a short note trail, but not much else.
Upon heading up to the next level, This first room with the Troopers and brutes has four spawn locations for an Orange Note, in each corner of the room.
The first two, can be found around the back side of the pipe you came up from.
[No image of second one, assumed spawn]
The next two can be found to the sides of the exit door, on the floor.

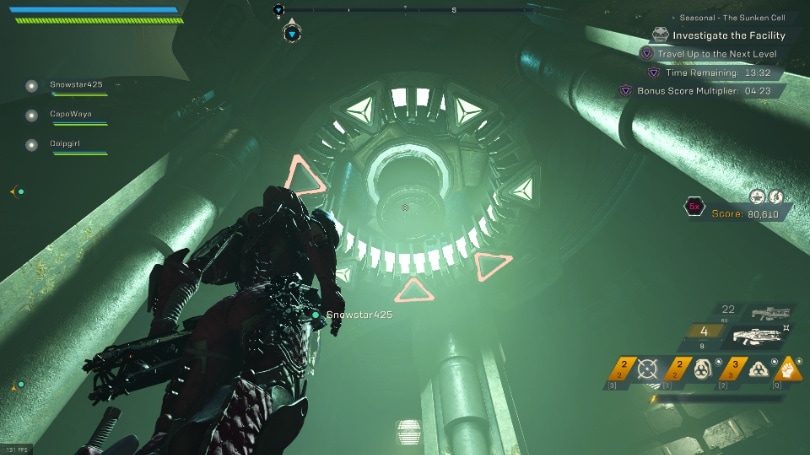
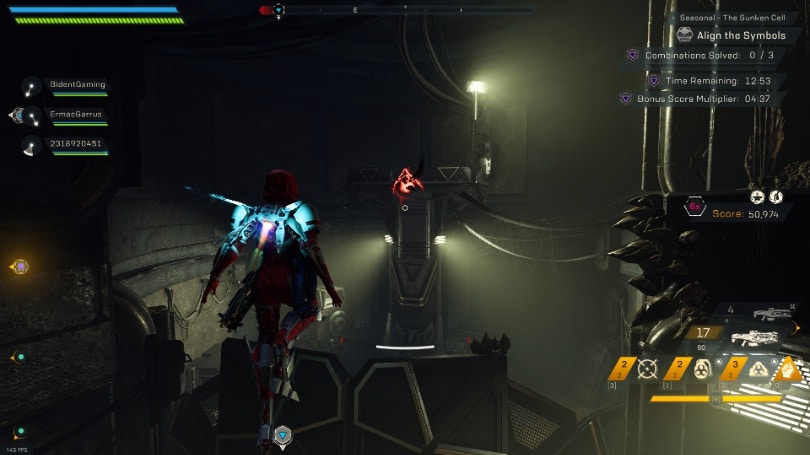
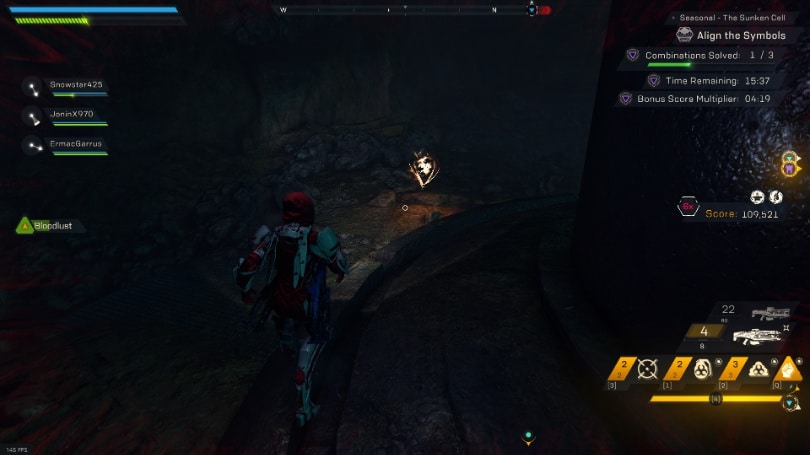
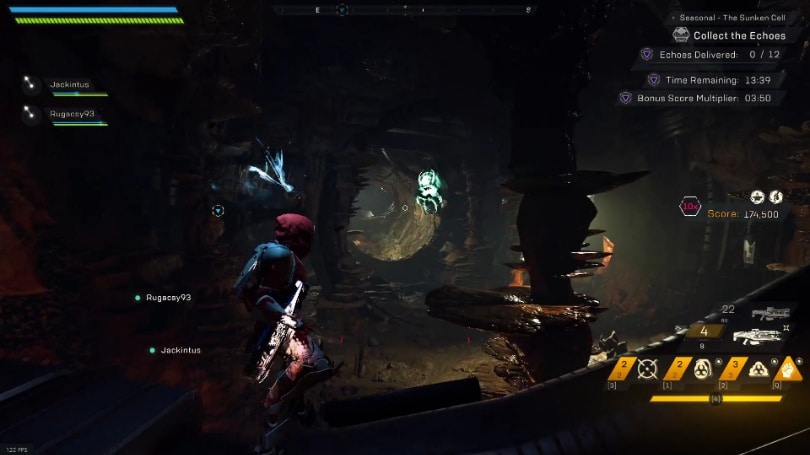
SECTION THREE: ROTATING SYMBOL ROOM
This section covers the area directly after the control rod room up to the Rotating Symbol room.
Another simple puzzle in this section. Pay attention to the symbol in the middle and interact to grab the matching symbols as they rotate past the further one out that you’ve collected.
This is the first area to have additional Major Secrets!
Major Secrets
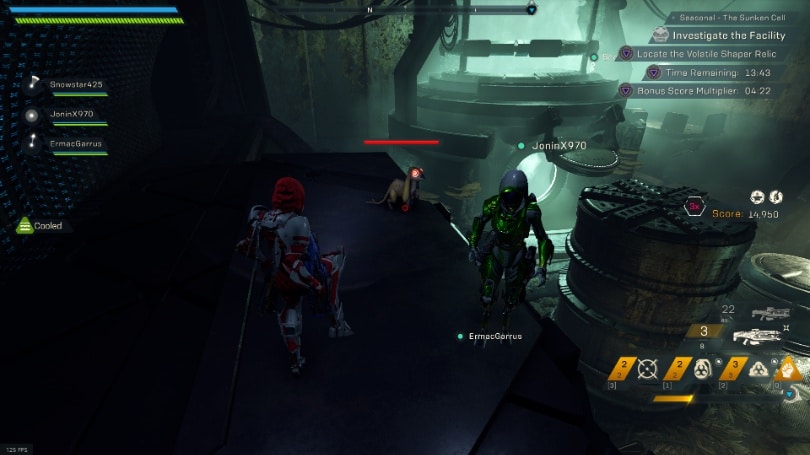
Legendary Spawn
As you enter the Rotating symbol room you should immediately notice the red orb, similar to the first section of the Seasonal Heart of Rage. Collecting all five will also spawn a Legendary Valkyrie or Brute here. It’s worth noting that This bonus boss will despawn when the objective is complete. Clear this one as the first thing you do this this room for the most score!
The red orbs can be found in the following static locations:
The first in straight inside the door, next to the pipe in the center of the room.
The next two are found a level up in this section. The first being on the Eastern side of the room, above a small side area.
The other one on this level can be found on the Western side, floating in the air near the wall.
Finally, there’s two more on the top level. They can be found on top of the metal constructs to the North and South of the pipe in the center of the room.
Grabbit Decoy
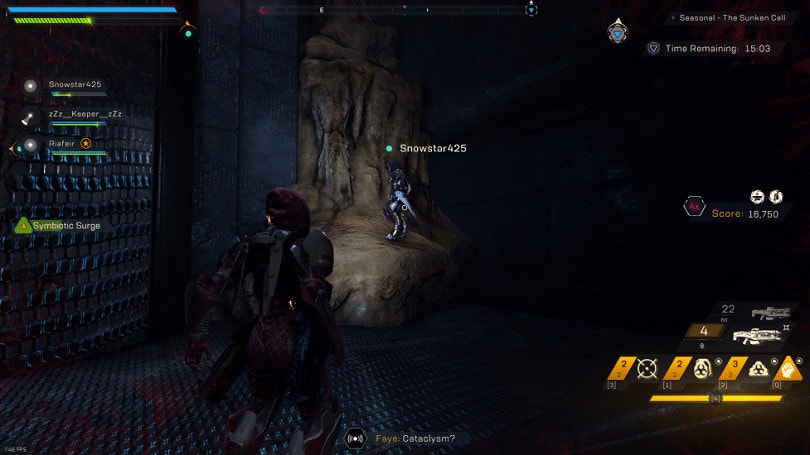
So far this decoy seems to have a singular static location. It can be found atop the waterfall on the South side of the room as you transition between the first and second levels of the room.
I’ve been told it can also spawn on the first level, next to the pipe in the center on the opposite side of the red orb used for the special spawn. I have yet to see it personally, image will be added when spotted!
Minor Secrets
This first room with all the dominion and turrets has an orange note, which currently has 4 known spawns.
The first spawn is on top of large metal construct, near the end of the ramp that leads to the room exit.
The next two are located on either side of the exit, from the middle of the ramp.
The last is located in the air behind the pipe you enter from, on the upper level.
The flooded passage after this has a bit of a tricky note trail through the water. It starts near the beginning of the water, and goes almost straight up after you pass into the next section of the room.
This also has a couple breakable boxes that are found on small platforms above the water as well.
Heading into the Rotating Symbol Room, there’s just an Orange note in this room as far as minor Secrets go.
This note typically spawns near the South Wall, behind you as you make your way up to the second level.

It can also spawn on the top level, also toward the South side.
A third place it can appear is on the Northwest side of the First floor.
There are other spawn locations, however they appear to be much rarer and have been hard to get a spawn for.
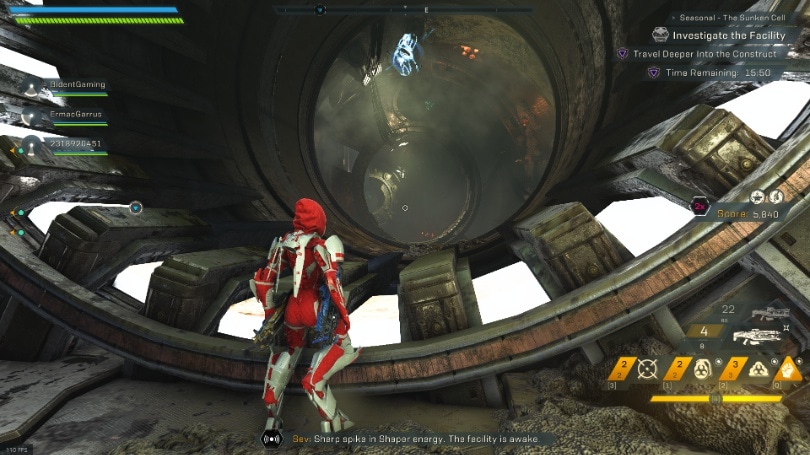
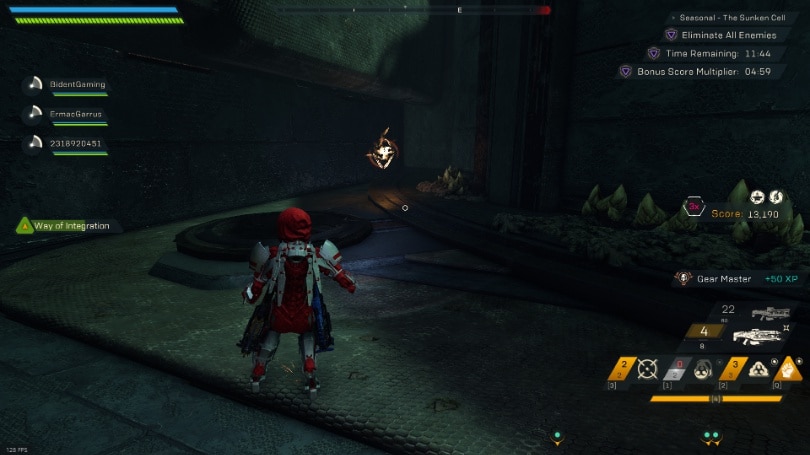
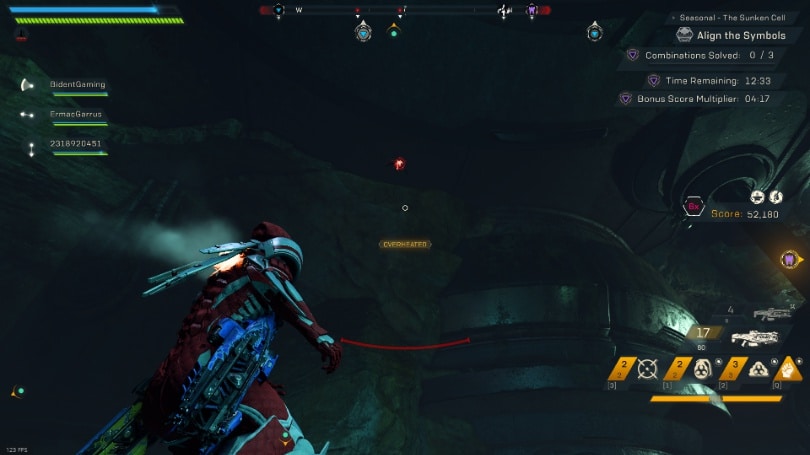
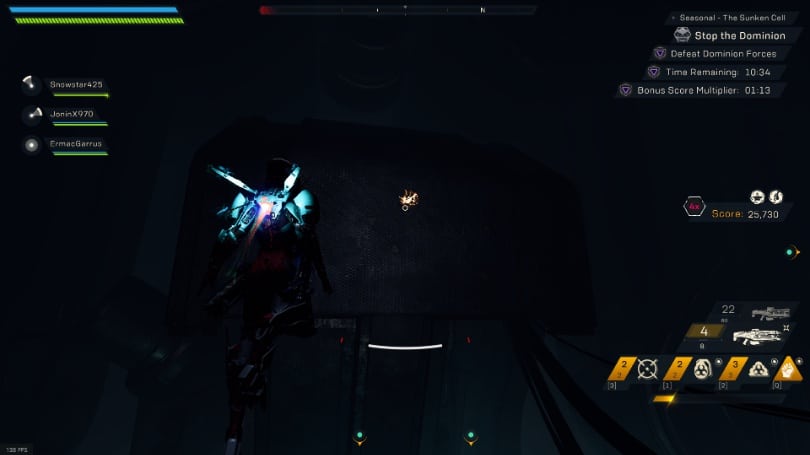
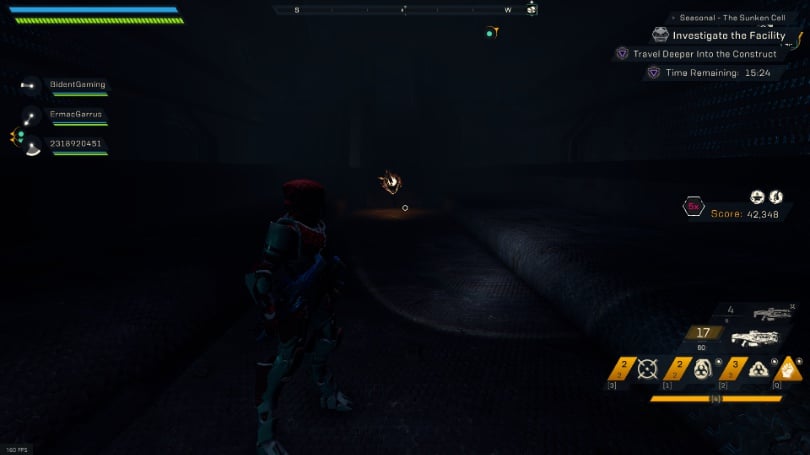
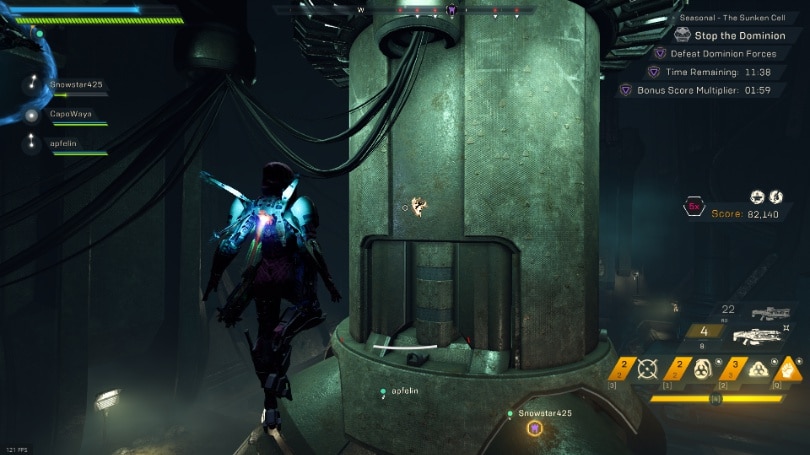
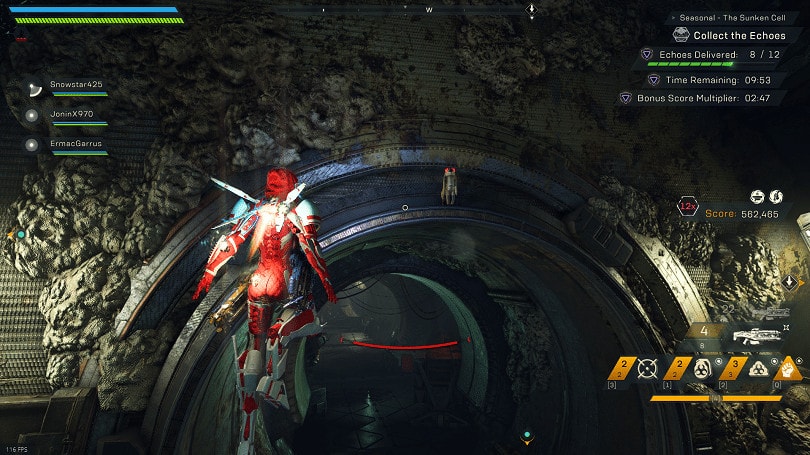
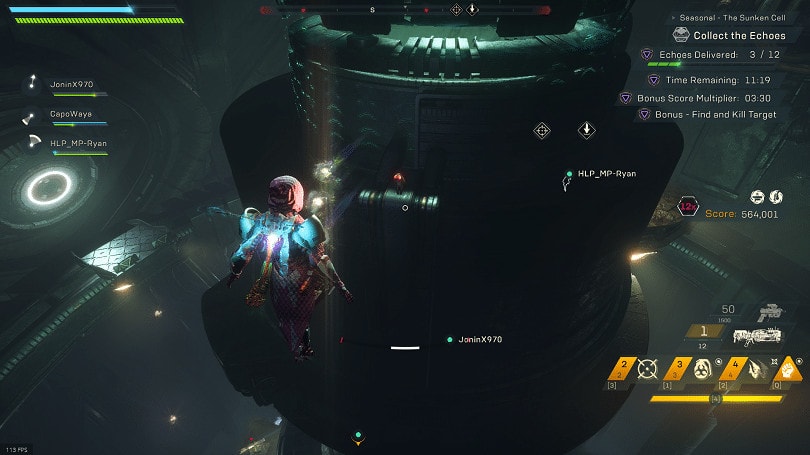
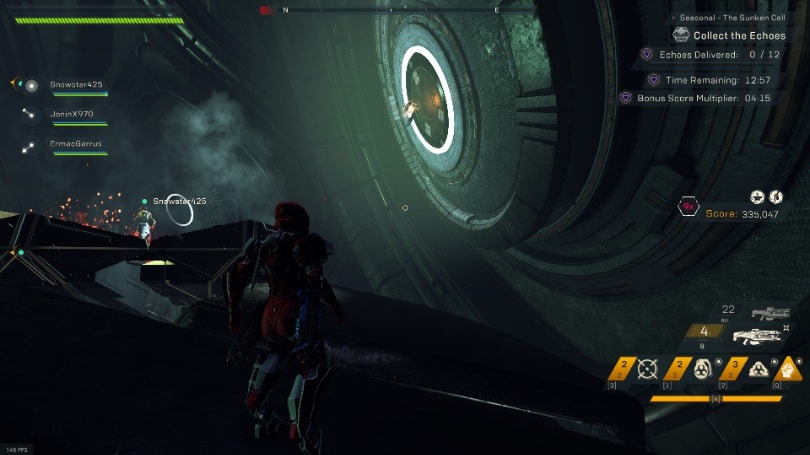
SECTION FOUR: CONDUIT HALL AND ECHO ROOM
The beams in the hall move, take precautions to not get hit, especially on GM2 or GM3 difficulties where it can really hurt!
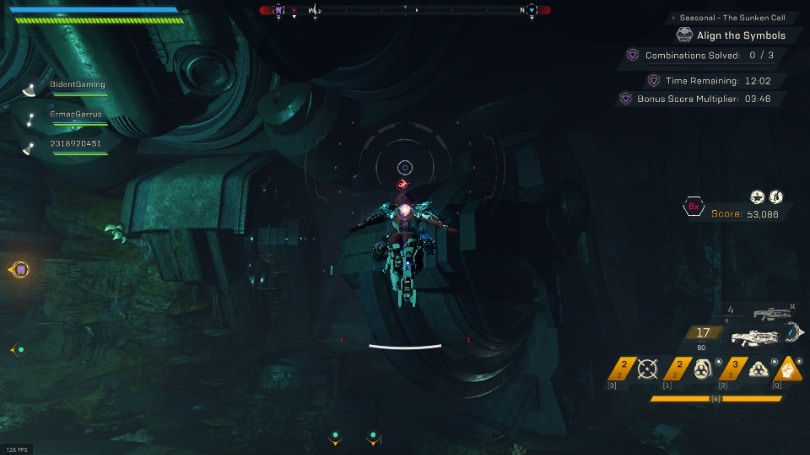
After this short hall, you enter a large, open room filled with Echoes. Collect them and take them up to the relic at the top of the room to complete the primary objective here. Don’t forget to use them in the Major Secret either!
Major Secrets
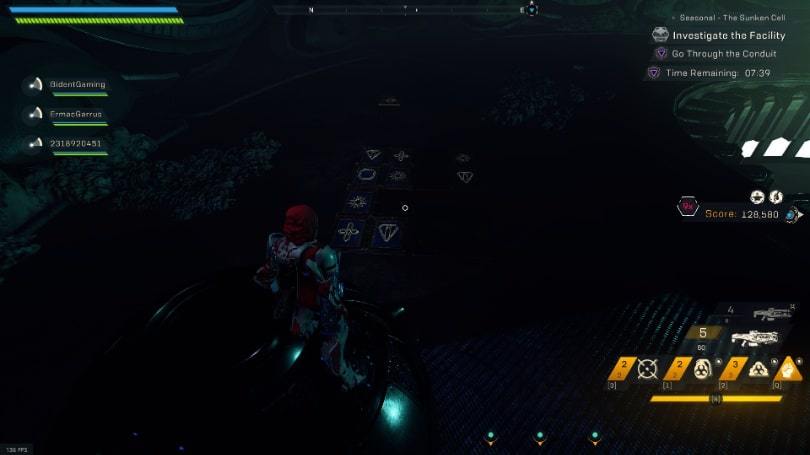
Sudoku Puzzle
Immediately to the West upon exiting the water in the room outside of the Echo room is a small and simple puzzle. It can be called a Sudoku puzzle, because it works similarly, but much smaller, only being 4×4 instead of the typical 9×9.
The directions for this are Simple. Each row and column of the puzzle must have one of each symbol. A bit of logic and reasoning makes this a rather quick puzzle to solve.
There’s a lot of variations that could be listed, but since it follows the same logic, with placements being random.. It’d be far too many images for this guide. I will however show one solution so you have a general idea of what to aim for to solve the puzzle.
Legendary Spawn
The Echo room has a Legendary spawn. To spawn it, you simply need to place echoes into 5 reservoirs around the room. With these not being Covered like the ones in Heart of rage, there’s no need to detail their locations, as they are marked while carrying an Echo.
Grabbit Decoy
The Echo room also has a grabbit decoy, with a few possible locations.
It can often be found directly above the door as you enter.
Or it will be found on one of the slanted pillars directly below. Currently unsure of how many of the pillars it can appear on.
It can also appear on a ledge on the lowest level, on the Southern side of the room.
It will on occasion be found atop the pillar in the middle, on a ledge on the North side.
Minor Secrets
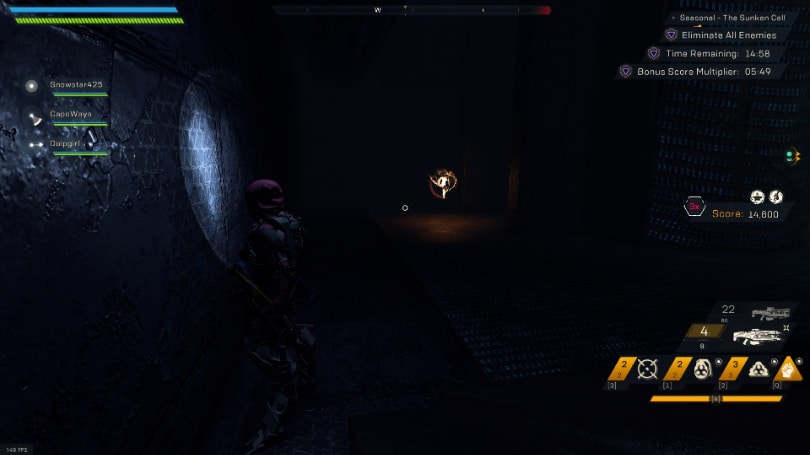
The hallway after you first exit the water has by far the worst Note Trail in the stronghold, which isn’t very straightforward to clear. This also means it’s unlikely to complete this with a random matchmade group currently.
This hall also has as few breakable boxes as well.
The Conduit hall has an orange note, which is usually placed above one of the three small pillars that line the center of the hall.
One of these pillars also commonly has a breakable box, don’t fly past it!
On to the Echo Room, there’s yet another Orange note here in this room. It can be found on the top or bottom level, in front of the white circles.

It can also spawn in a similar way to the North.
SECTION FIVE: THE UNFATHOMED FIGHT
This boss is a much stronger Fury, with much easier to hit weak points. Like most bosses, The Unfathomed does spawn adds while you fight them. It may be worth farming these for additional score, so long as you keep an eye on your timers.
Major Secrets
Golden Grabbit
The final decoy and thus the golden Grabbit can be found in the boss arena. The best tactic to do this quickly and safely is to have a person wait behind for a moment, so you can kill the Golden Grabbit before spawning the boss. It’s worth the bit of extra effort to leave the notes the grabbit drops after it runs away until after the boss has died!

DAY 1 VIDEO WALKTHROUGH
This is a video Ruby recorded on the first day after the Icetide edition of the Sunken Cell Stronghold was released. Don’t forget to subscribe to his channel.
If you have enjoyed this guide, share it with your fellow Freelancers and Javelin Pilots. Don’t forget to thank RubyJavelin for his hard work if you meet him in Bastion!