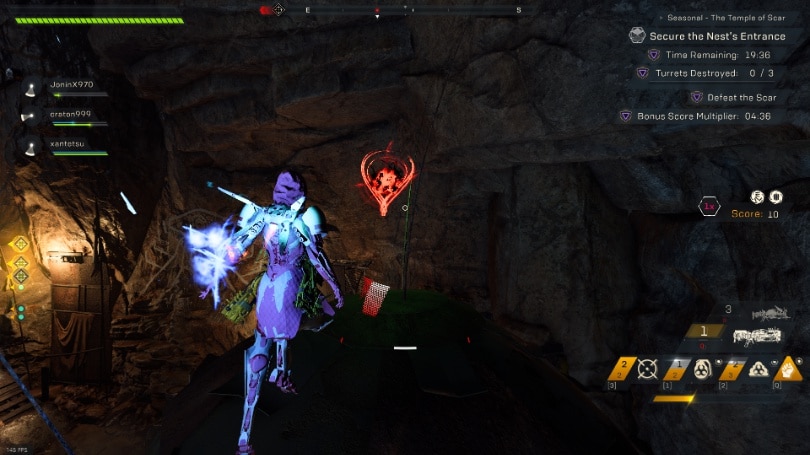
This guide will help you discover and complete all secrets and puzzles in the new version of the Temple of Scar Stronghold. The competitive edition was released in the third week of the Winter event “Icetide”. RubyJavelin once again provides you with all the information you need to complete this new challenge. All secrets and puzzle mechanics are explained in great detail with both text and images! If this Stronghold is new to you, refer to the Classic Temple of Scar Guide and you need a more in-depth wakthrough of the core mechanics outside the new puzzles, use the Classic Guide I have linked below. Enjoy!
This Guide is written for VULKK.com by RubyJavelin
Related content:
- ANTHEM 1.6.0 Patch Notes
- ANTHEM 6.0 Tyrant Mine Guide to all Secrets and Puzzles
- ANTHEM Icetide: Sunken Cell Guide to all Secrets and Puzzles
- ANTHEM Icetide: Heart of Rage Guide to all Secrets and Puzzles
- ANTHEM Temple of Scar Guide (Classic Stronghold)
- ANTHEM Sunken Cell Guide (Classic Stronghold)
- ANTHEM Heart of Rage Guide (Classic Stronghold)
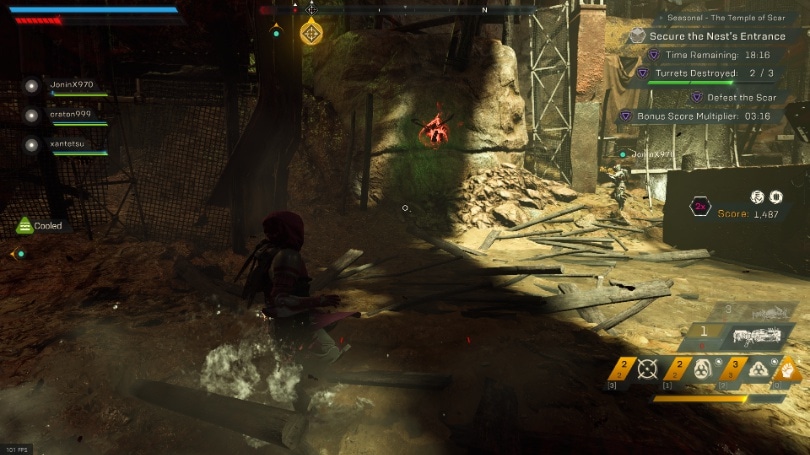
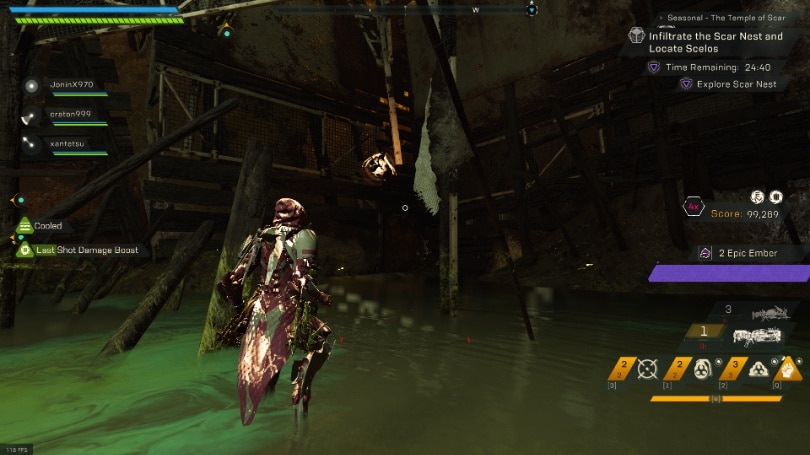
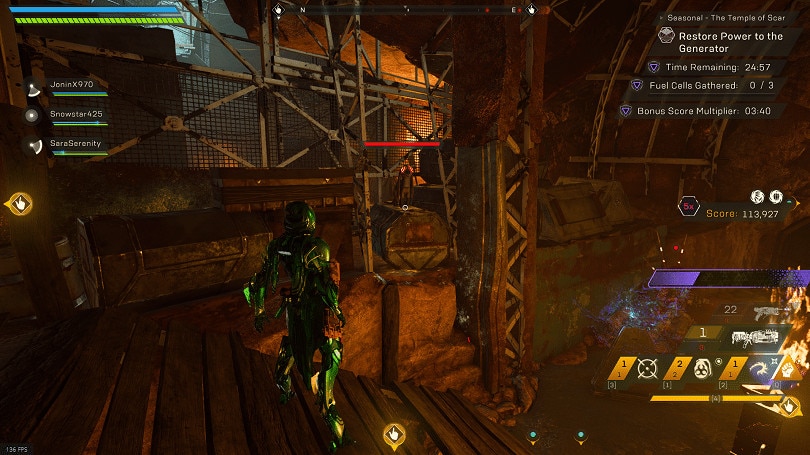
SECTION ONE: ALARM ROOM
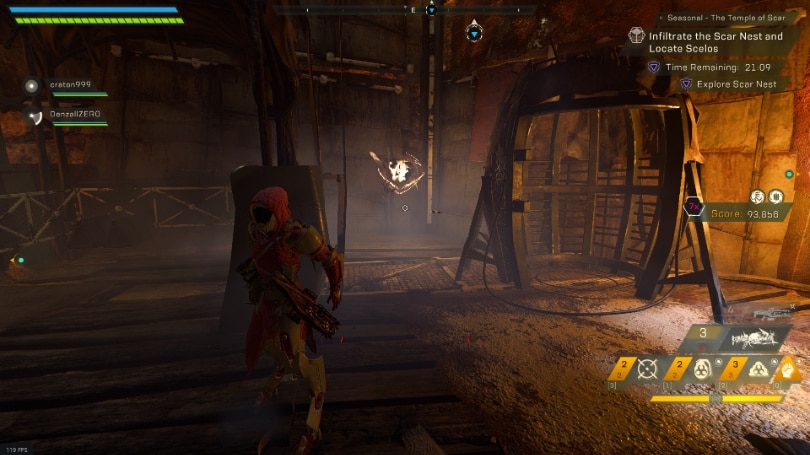
Temple of Scar is pretty packed in my opinion. Quite a bit going on and things tucked into very small spaces to conceal them quite well.
So starting off, we have the Alarm Room. Still the same basic concepts it had before, just more to do this time.
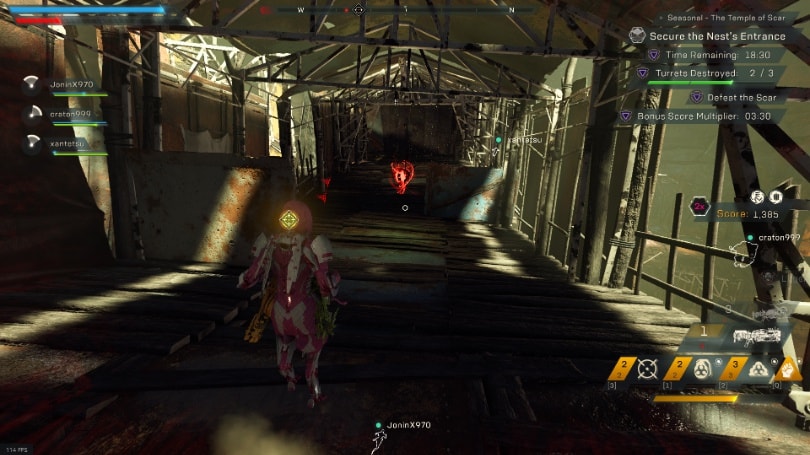
This section covers this room and the hall that leads to the Generator Room.
Major Secrets
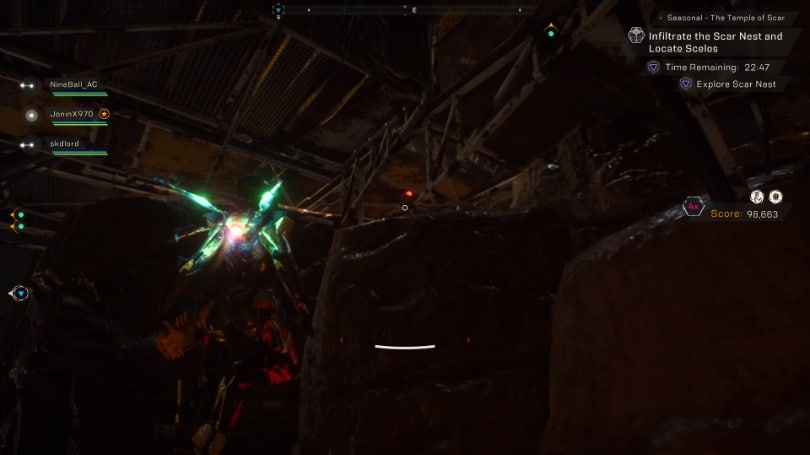
Legendary Spawn
This room has 5 Red Orbs to collect, which will spawn the Legendary mob shortly after. These orbs can be found in the following locations:
The first is to the East of where you enter the room, on top of a hut.
The second is at the bottom of the area, near the North side of the bridge
The Third is in the middle of the bridge on the inside.
The fourth is on the Northwestern side of the bridge, near the turret on the broken bridge.

The last is on the Northeast side of the bridge, next to the ramp that leads inside the bridge.

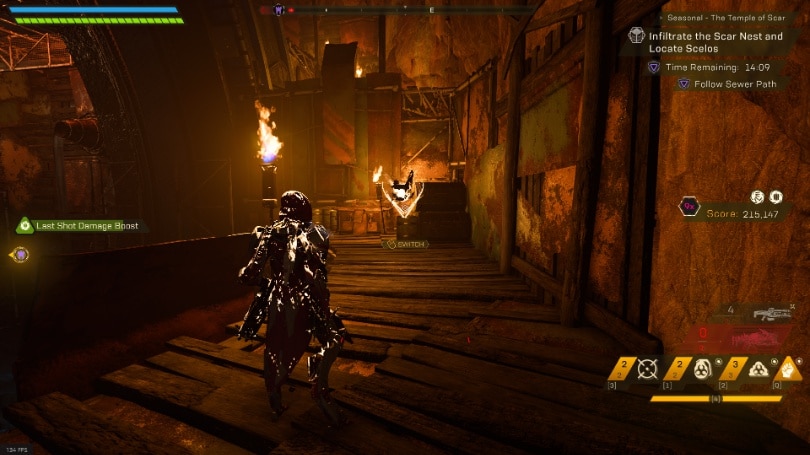
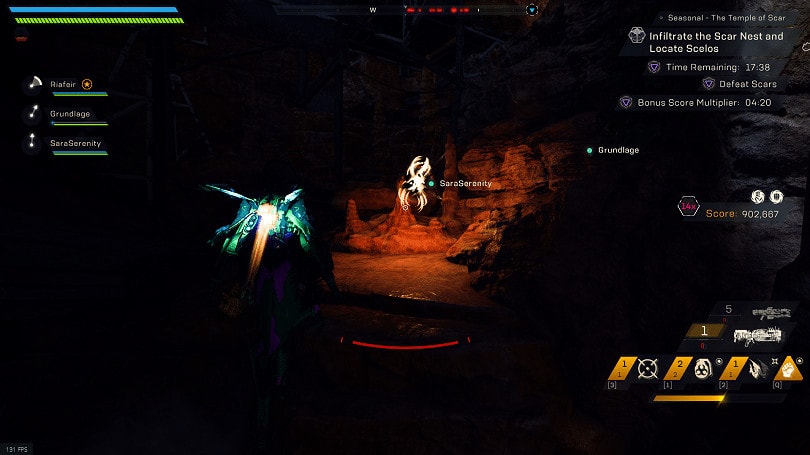
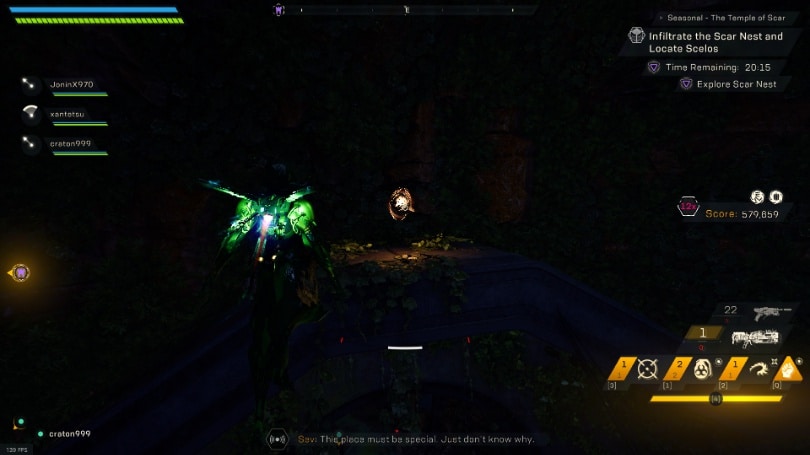
Grabbit Decoy
This Grabbit Decoy currently has five known locations.
The First on on a ledge above the exit door to the East.
The Second in near the entrance, high up on a ledge along the South wall.
The Third in under the small platform before the bridge to the West of the entrance.

The fourth can be found under the eastern side of the bridge, on a small ledge.
The Fifth location is at the bottom of the slope that leads to the Exit, in a corner of the scaffolding here.
Minor Secrets
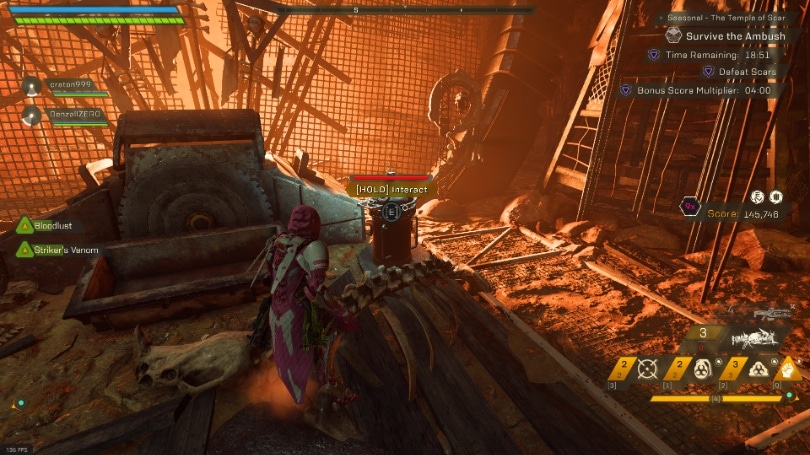
The Orange note for the main section appears to be static so far. I have yet to see it anywhere other than above the middle of the bridge, behind the gear.
The following tunnel contains a Note Trail which goes forward then loops back, a few containers and another Orange Note. This note has three known spawn areas:
The first is on the South side of the bridge, near the large saw and broken javelins.
The Second is in the water, below the bridge.
The Third is just under the ramp on the left side that leads up to the bridge.
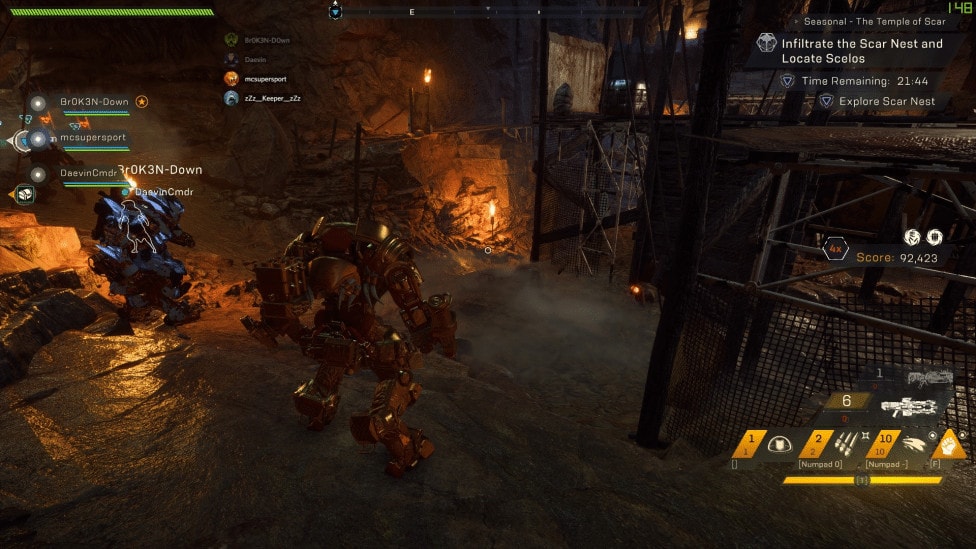
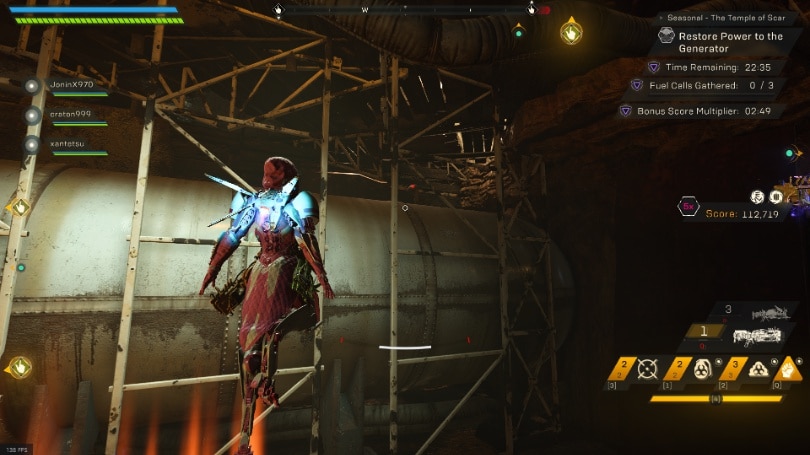
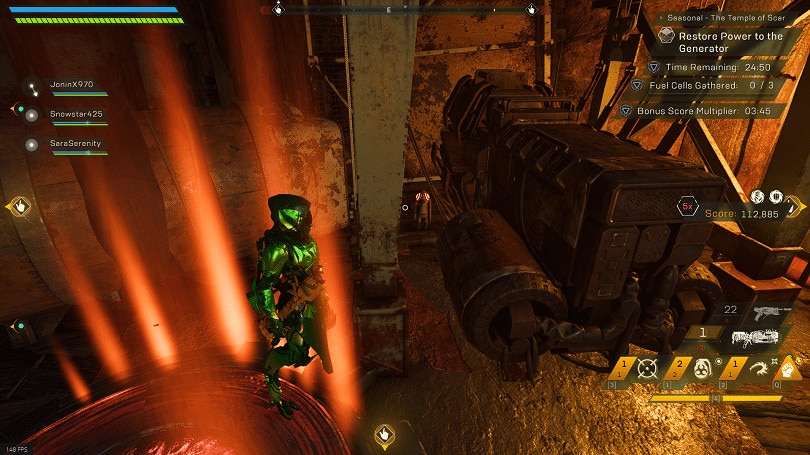
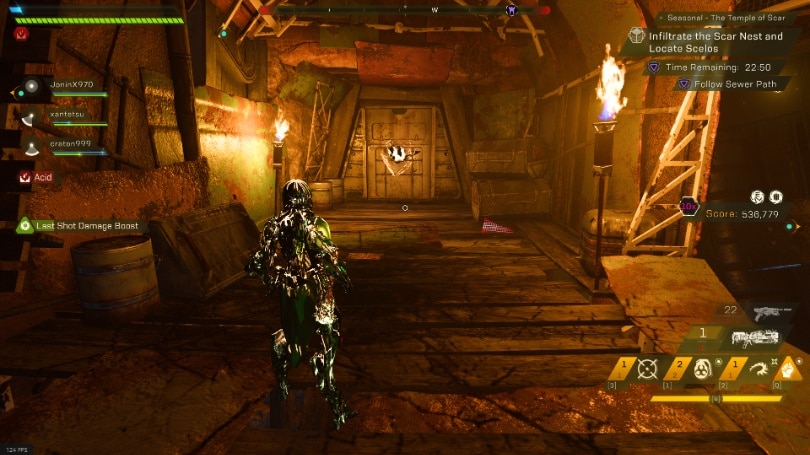
SECTION TWO: GENERATOR ROOM
Going into the major secret for this room, the weights are large enough and have static locations, so they will not be detailed here due to the ease of being found.
This section cover the Generator Room and the hall directly after.
Major Secrets
Legendary Spawn
The legendary spawn here involves taking the four weights found on the upper most level of the and placing them on the pressure plates below. These pressure plates cannot be held activated by players, so all four are needed.
Once all four are in place, the Legendary Mob will spawn. This need to at least be spawned before the main puzzle is finished, or you will miss this!
Grabbit Decoy
This Decoy has five known locations all in this small generator room.
The first in on the North side of the lowest floor, on top of the large tanks along the wall.
The Second is under the first ramp to the South, heading to the upper level. It’s partially obscured by boxes depending on your angle so check carefully!

The Third is on the uppermost floor, tucked between the generator and the nearby wall on the Western side.
The Fourth is on the uppermost level, and sits on top of a crate near the fence wall.
The Fifth is on the lowest level, tucked in the back of a generator on the eastern side.
Minor Secrets
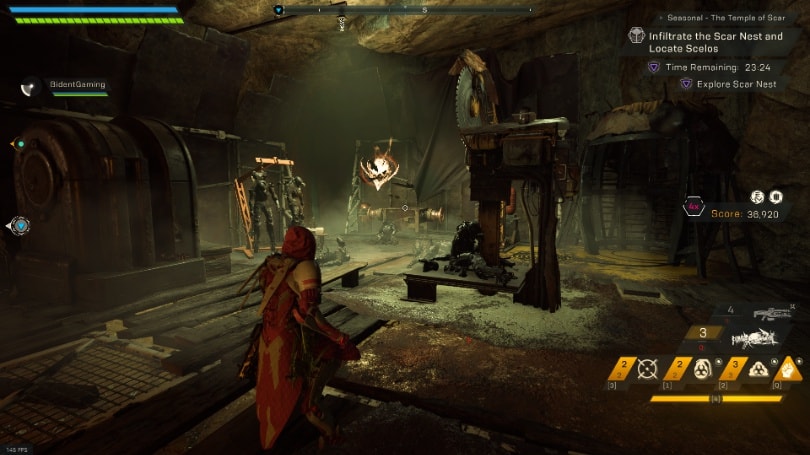
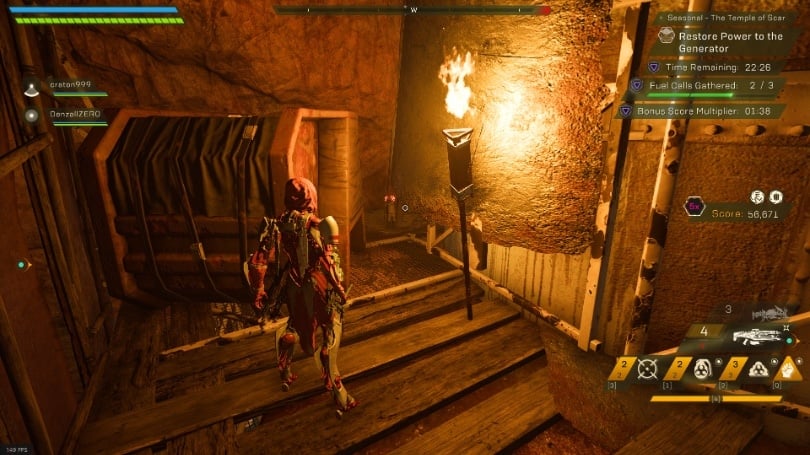
The Generator Room itself doesn’t have any minor secrets, the tunnel after however does quite a few things.
Immediately upon entering the tunnel, you’ll see yet another Note Trail, this one ends in the second section of this tunnel, over the fire pit.. There’s a few scattered breakable boxes here as well, like the previous tunnel.
This area also has an Orange Note, which typically spawns in one of these three locations. They could be other locations, so keep an eye out if they are not seen in these spots!
The first is in the water, directly at the bottom of the first ledge.
The Second is high up on a ledge on the West side of the passage, near the small waterfall here.
The Third spot is on the east side of the small bridge here.

This next section of tunnel also has an Orange Note, this one can spawn in one of the following three locations:
Directly to the East upon entering this section, between a hut and a cage.
The far end of the hall, between the ramp and fire pit.
Just South of the Exit door, on the same walkway.
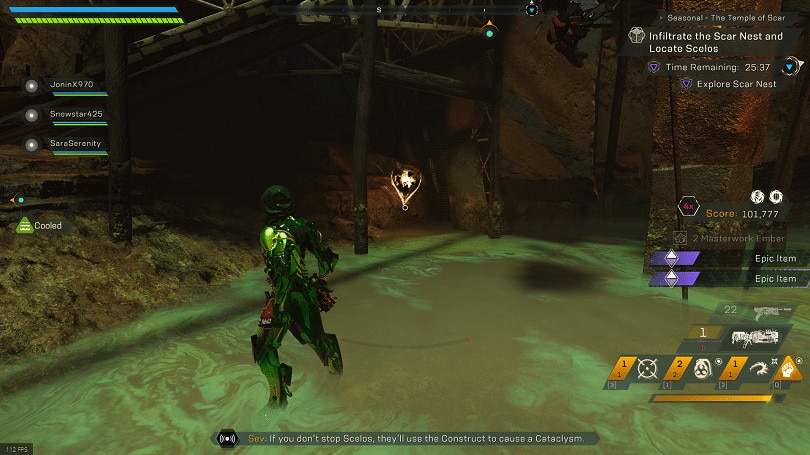
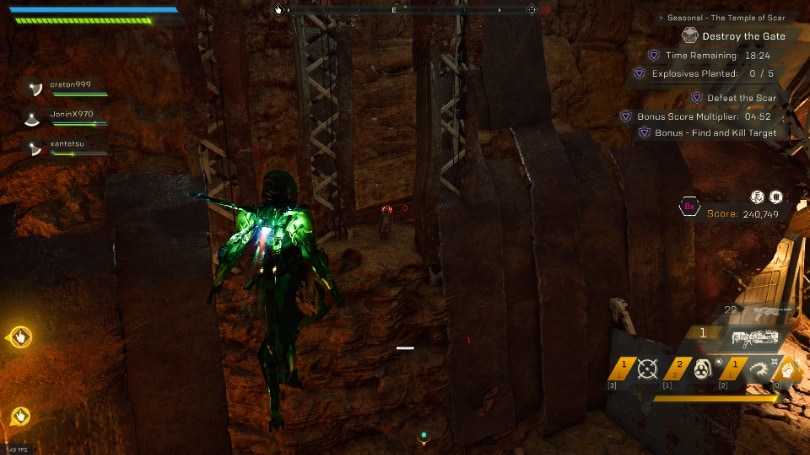
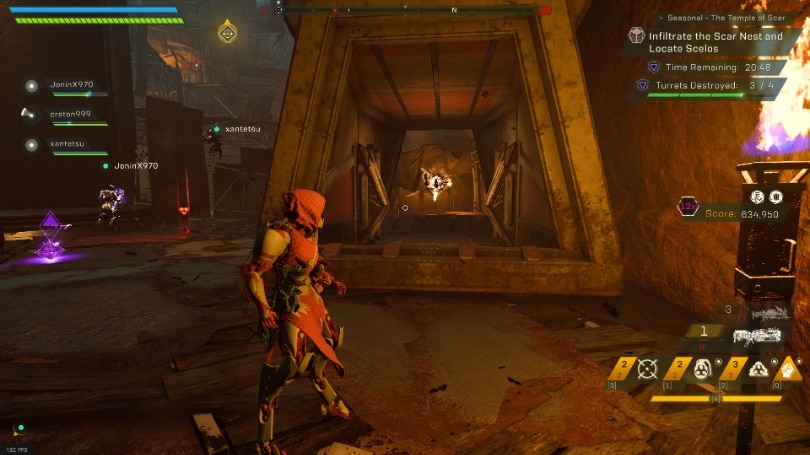
SECTION THREE: DESTROY THE GATE
This section will only be covering the Gate room itself. Everything after is in the next section.
Major Secrets
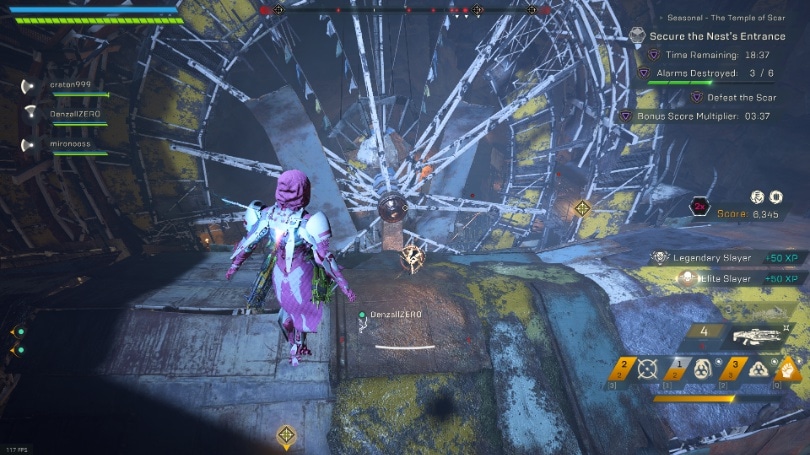
Legendary Spawn
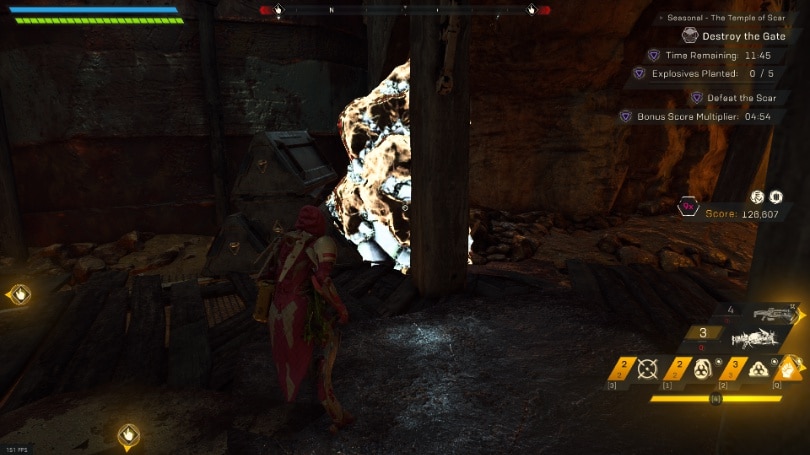
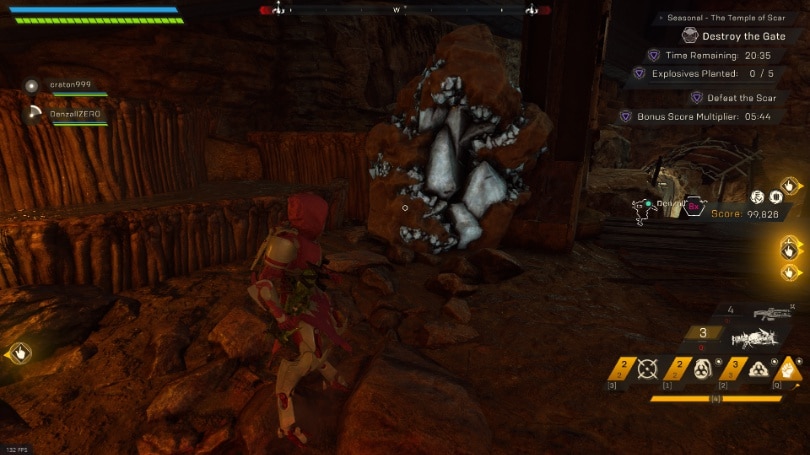
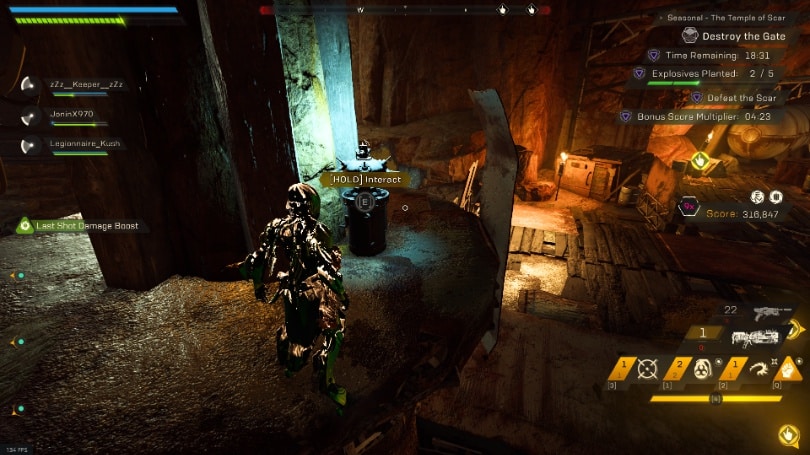
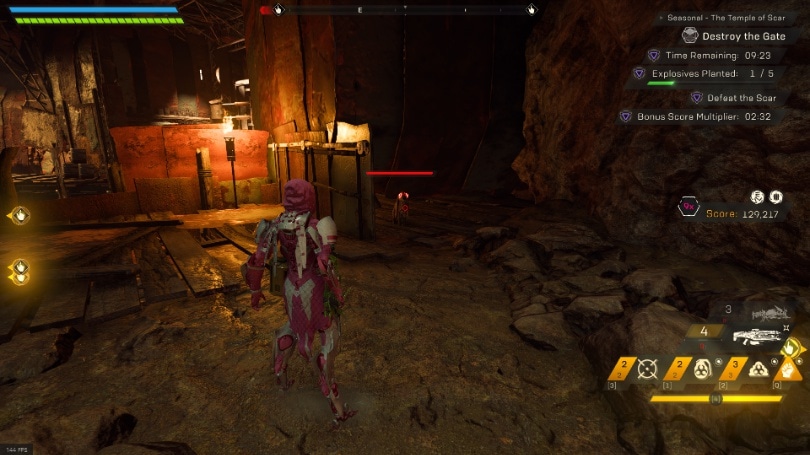
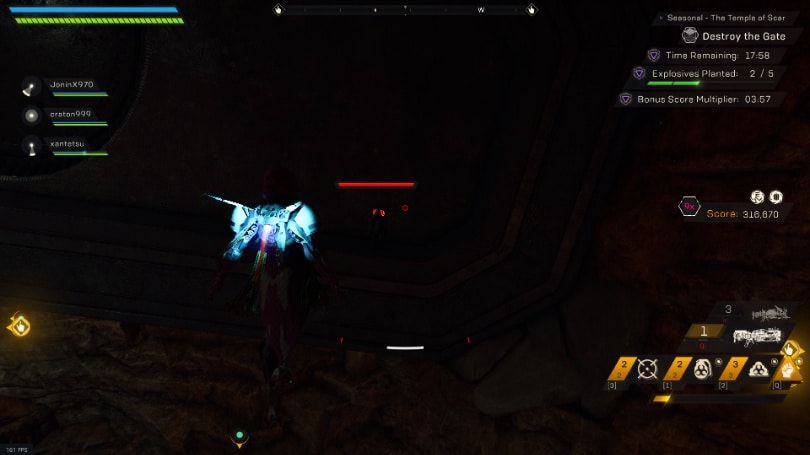
This room now has the addition of five crystals and five or so bombs, with there being one nearby to each Crystal and maybe one extra. These crystals need to be destroyed, nothing to collect just destroyed. There’s a tracker near the center of the room that can help you figure out which ones are missing, but the list below may not be in the correct order currently, but will be updated to be correct at a later time.
The Crystals can be found in these locations:
The first is on the upper level of the North side of the room, above the tunnel.
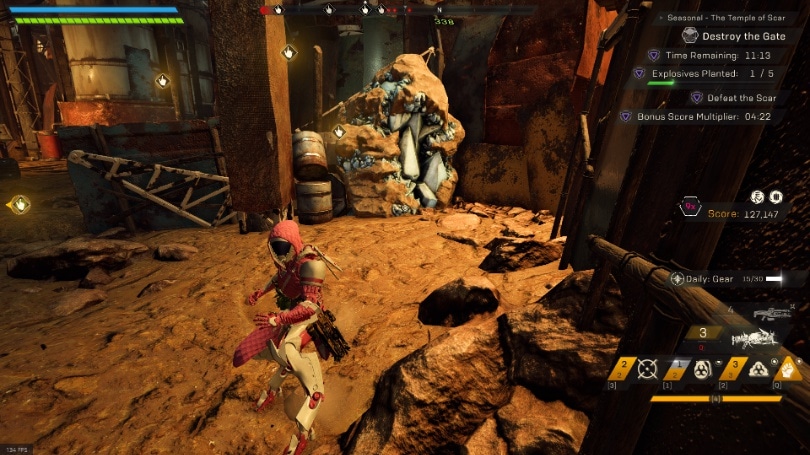
The Second is next to the ramp that lead towards the middle of the room.
The Third is near the pillar in the center of the room.
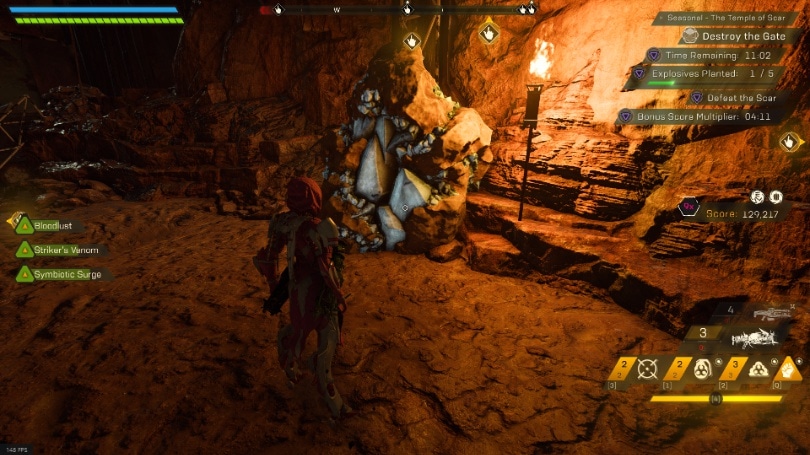
The fourth is located in the SouthWest, near some cages.
The last is on the South side of the room, near the objective bomb
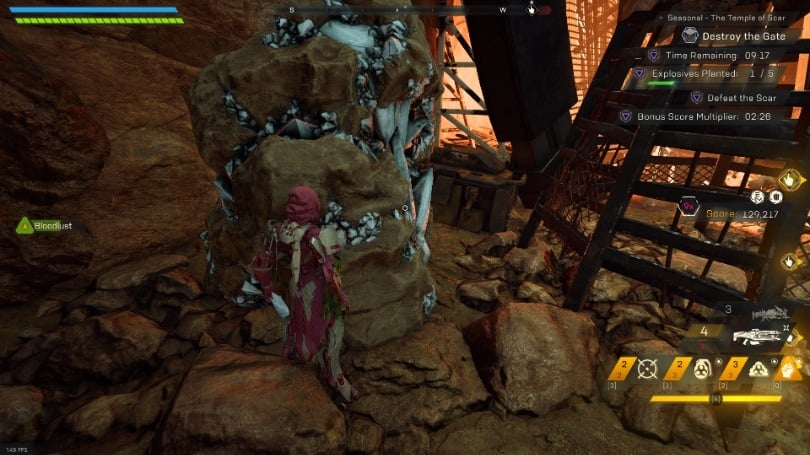
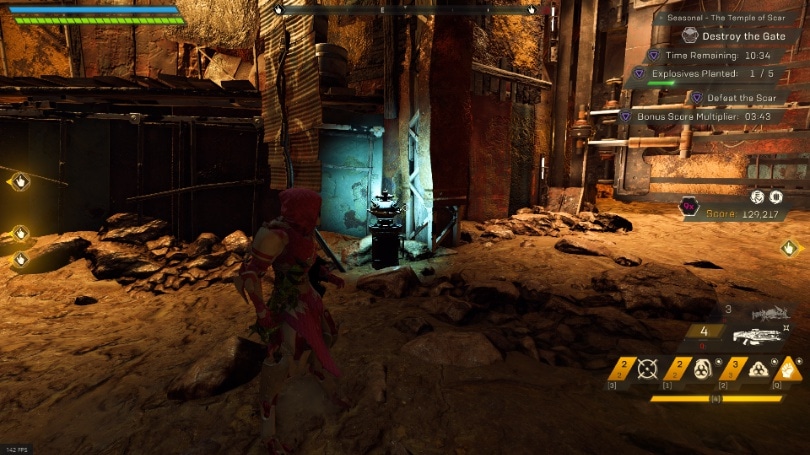
The bombs can be found in these nearby spots.
The first is South of the First Crystal, on a small ledge.
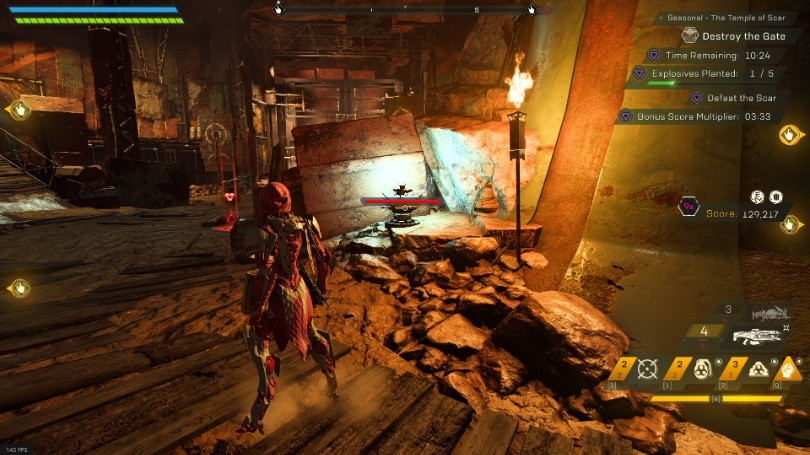
The Second is South of the Second Crystal, just behind some metal panels towards the back of the room.
The Third is near the middle of the room, behind some panels, along the North side of the central pillar.
The fourth is on the South East side of the room, in the area where the first round of Scouts usually spawn.

The fifth is slightly more to the south, near the saw along the wall here.
Grabbit Decoy
This decoy has five currently known locations.
The first is on the ground along the south wall, near a large tank with short wall next to it.
The Second is in the tunnel on the North side, between a tank and some crates.
The Third is directly above the Entrance, on a Metal ledge.
The fourth is on a small ledge along the wall, between the tunnel and exit to the next area.
The Fifth is on a ledge above a generator on the North side of the map.

Minor Secrets
This room doesn’t actually have any minor secrets.
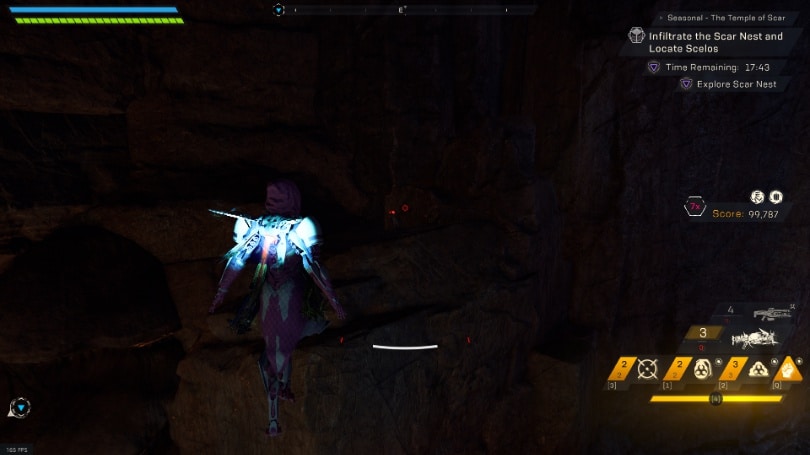
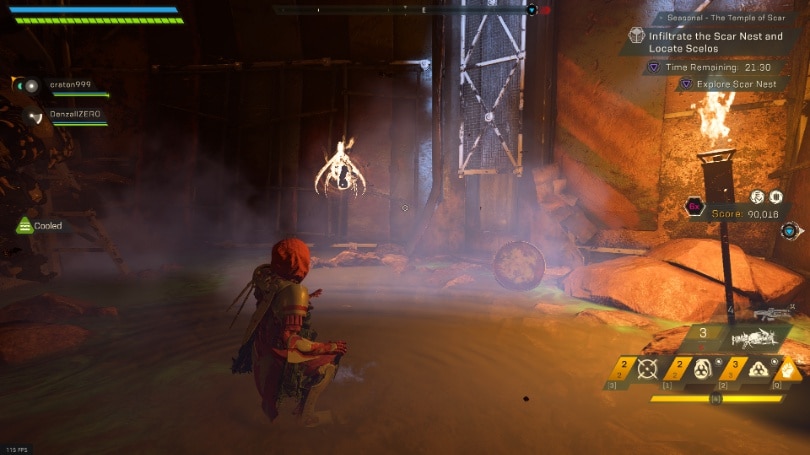
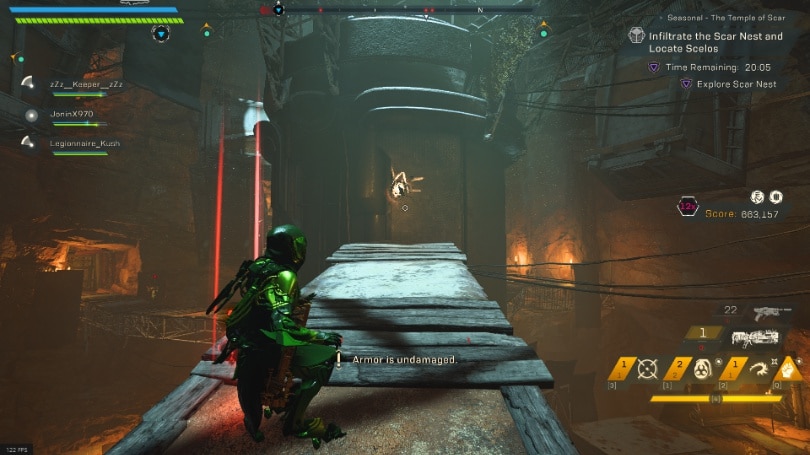
SECTION FOUR: PATH TO SCELOS
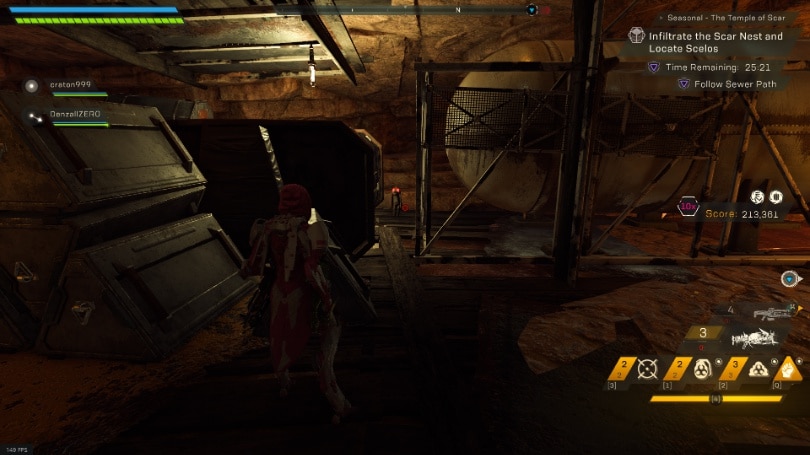
This section covers the next couple tunnel areas on the way to the boss room. There’s a lot of stuff to be done here, so be ready!
Major Secrets
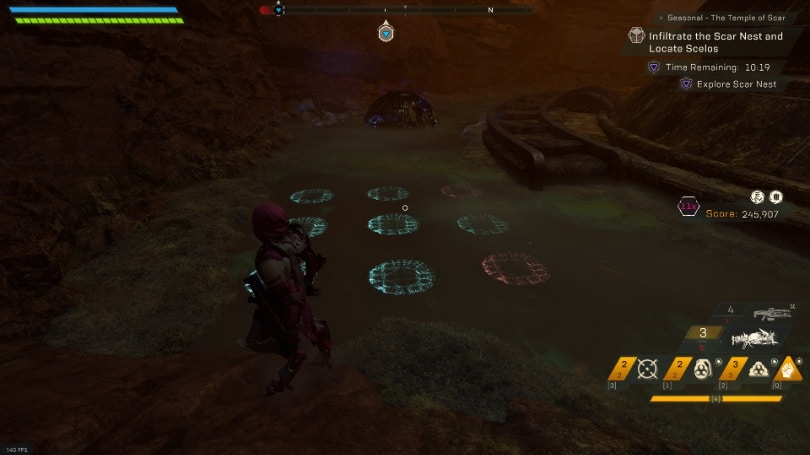
Lights Out Puzzle
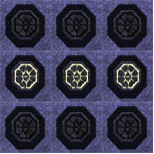
The second tunnel here has the big 20,000 score puzzle for this Stronghold. It can be found at the very bottom and is another logic puzzle. Referred to as a Lights Out puzzle, the goal of this puzzle is simple, light up all 9 switches.
Each switch you step on will change itself and the switches in the, minus diagonals. Most of these can be solved with just two or three switch presses, others can take more. Due to the number of existing starting positions, I cannot detail all of the puzzles, but I will detail how to solve the one used below as an example.
I recommend this online version for testing different combinations or get quick solutions.
I’ll be using images of this version to explain the solution below.
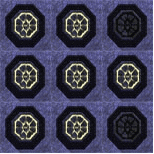
This one in particular is one of the ones that takes more than two to three buttons to solve. From this starting position, only the upper right and lower right are unlit.
Starting Position
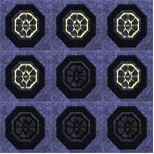
Step One: Upper Left Corner
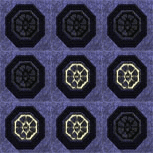
This leaves us with a little squiggly shape.
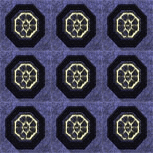
Step Two: Lower Left Corner
This leaves us with a line through the middle.
Step Three: Upper Middle
This leaves us with an arc shape over the top
Step Four: Lower Middle
This solves the puzzle!
You are able to do these four steps in any order basically and get the same result. So it only takes a bit of patience and thought to solve this. Again, the site I recommended can also tell you how to exactly how to solve these as well.
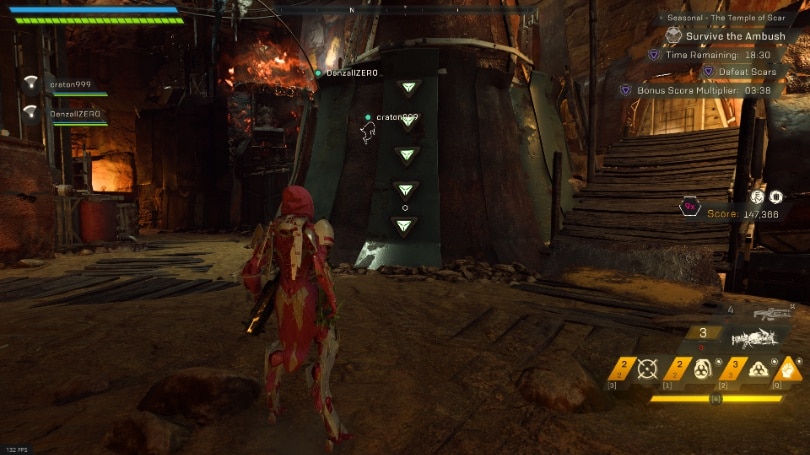
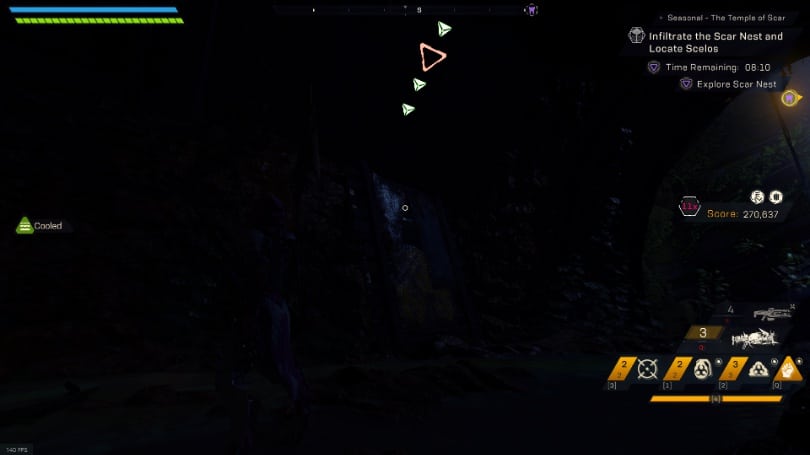
Golden Grabbit
Just before the last area with Scar is a familiar setup, a lone decoy with four arrows above it. If three are lit, destroying this one will spawn the Golden Grabbit. As usual, he increases your multiplier by one, and awards a ton of score.
Minor Secrets
This first tunnel has a few breakable crates and an Orange note. This first Note has two known spawn locations:
First is directly to the East of what you enter the passage, floating just above a walkway.
The Second is on a lower path that leads to a dead end to the West, it can be found at this dead end.
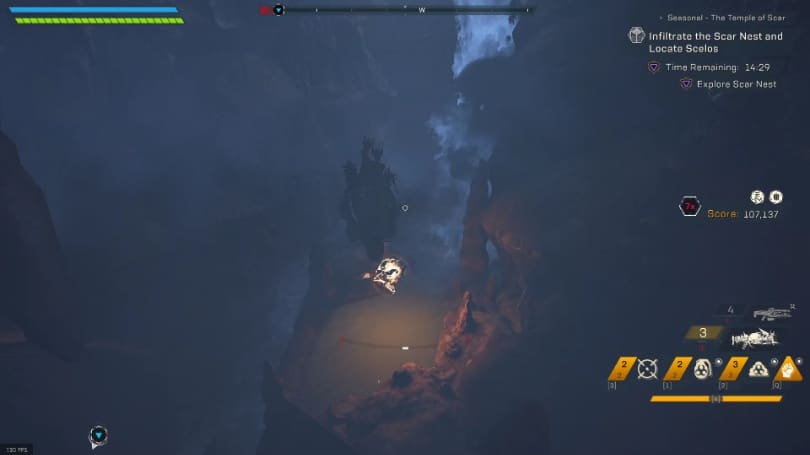
This next vertical section of tunnel has a Note Trail, which just follows the curve of the room, going up slightly as well as some breakable crates and another Orange Note. This note has two known spawn locations:
The first is on the lower level, inside a crate on the West side.
The second is most of the way up the tower in the middle of the room, on a bridge that extends to the South from the pillar.
After this is a very short hall, with just some Scar and some breakable crates. The next hall has both the Golden Grabbit and the final Orange Note for the Stronghold. This note has three known locations:
The first is directly below where the Golden Grabbit spawns, floating just above the water.
The Second in on top of the metal overhang, just above the door as you come in.
The Third is on the other metal platform, just off to the left of where the Golden Grabbit spawns.

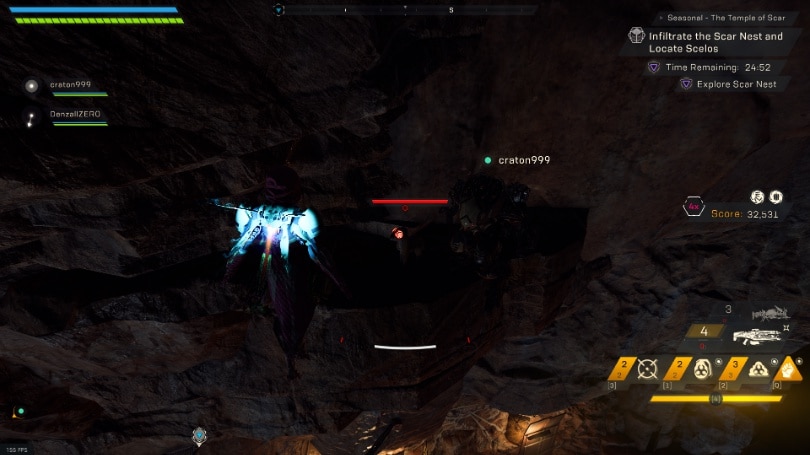
Scelos Fight
Nothing has changed with this fight. Just wanted to make note that you absolutely want to kill his adds. At the full 15x multiplier here, he’ll be spawning in Legendaries that are worth 2,250-2,400 each. This is a very easy ~10k score or more that can be missed by ignoring these!