This Icetide Tyrant Mine guide will help you discover and complete all secrets and puzzles in the new version of the Stronghold. The competitive edition is part of the Winter event “Icetide”. RubyJavelin provides you with all the information you need to complete this new challenge. All secrets and puzzle mechanics are explained in great detail with both text and images! If this Stronghold is new to you, refer to the Classic Tyrant Mine Guide and you need a more in-depth wakthrough of the core mechanics outside the new puzzles, use the Classic Guide I have linked below. Enjoy!
This Guide is written for VULKK.com by RubyJavelin
Note: There are a few of images missing. They are for locations that are known to have items, but haven’t seen them spawned or simply missed them. The description should help you find what you are looking for, though. Images will be added shortly. Check back later for them.
Related content:
- ANTHEM 1.6.0 Patch Notes
- ANTHEM Icetide: Temple of Scar Guide to all Secrets and Puzzles
- ANTHEM Icetide: Sunken Cell Guide to all Secrets and Puzzles
- ANTHEM Icetide: Heart of Rage Guide to all Secrets and Puzzles
- ANTHEM Tyrant Mine Guide (Classic Stronghold)
- ANTHEM Temple of Scar Guide (Classic Stronghold)
- ANTHEM Sunken Cell Guide (Classic Stronghold)
- ANTHEM Heart of Rage Guide (Classic Stronghold)
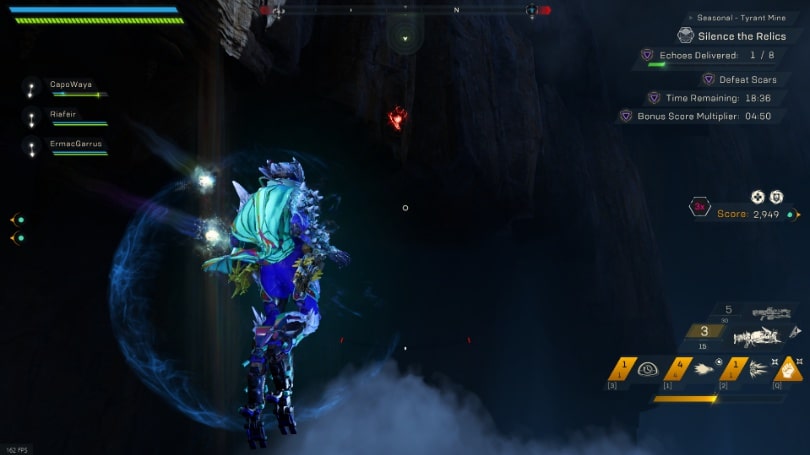
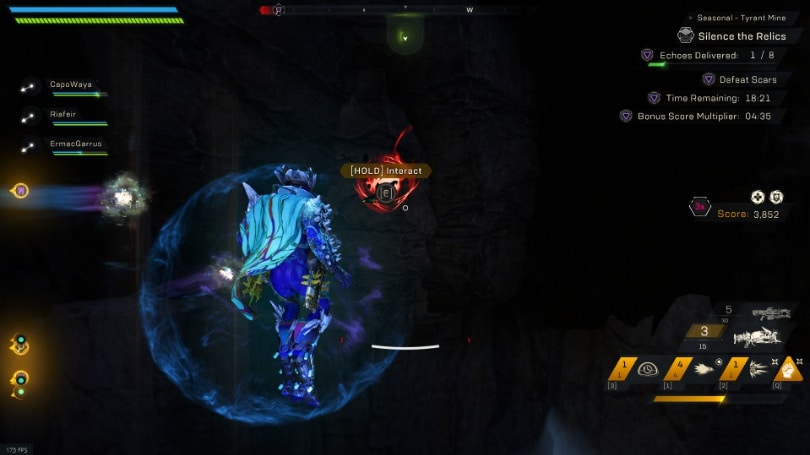
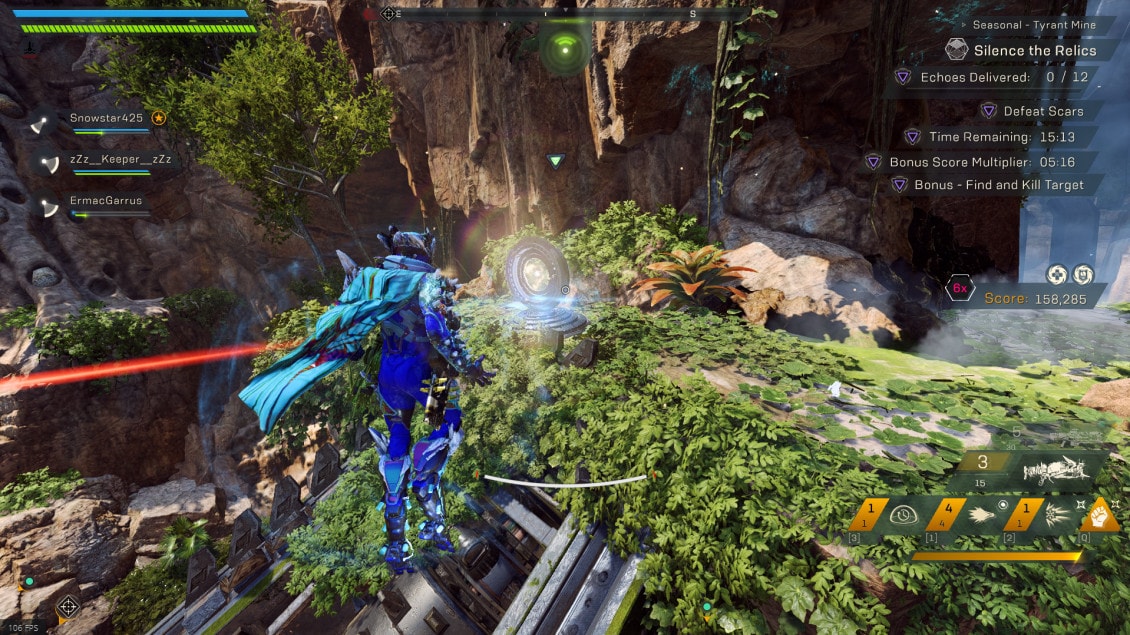
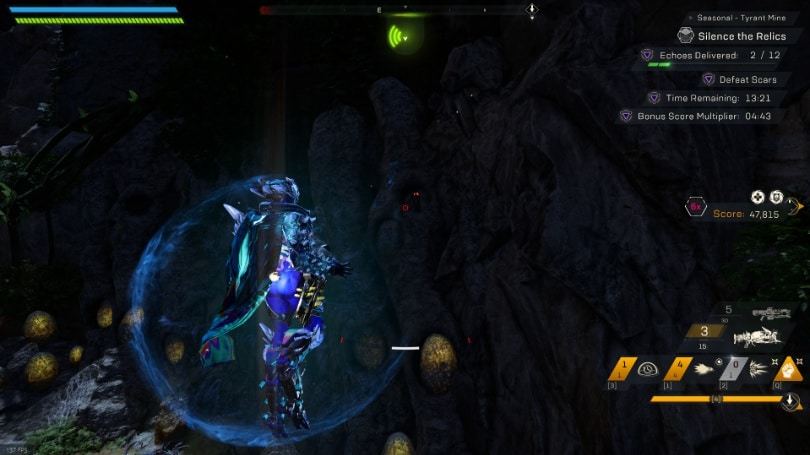
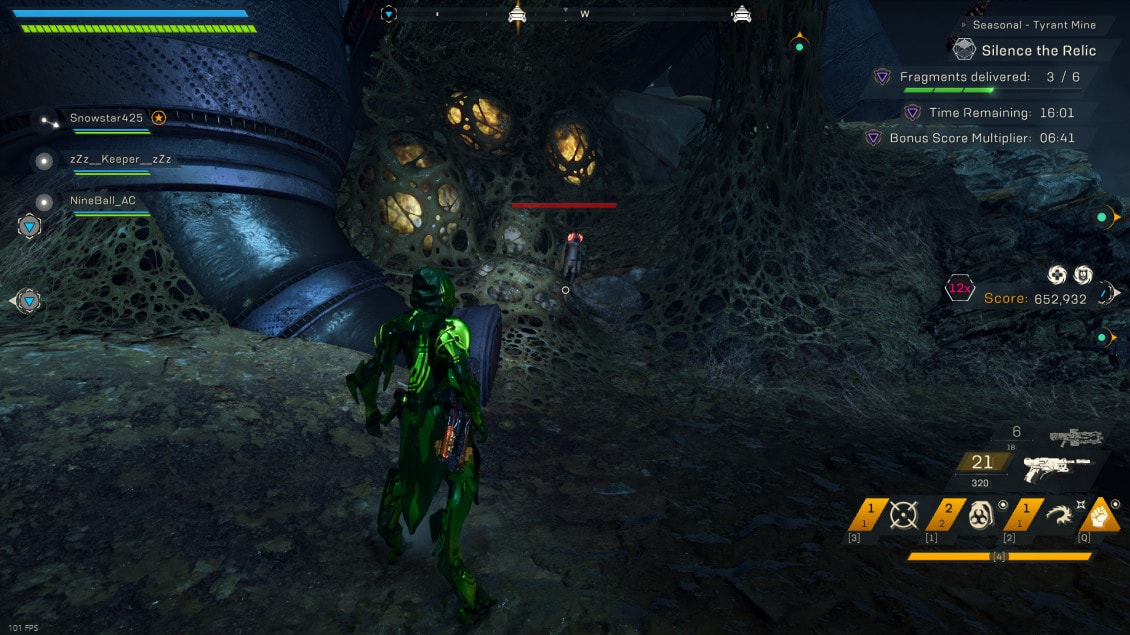
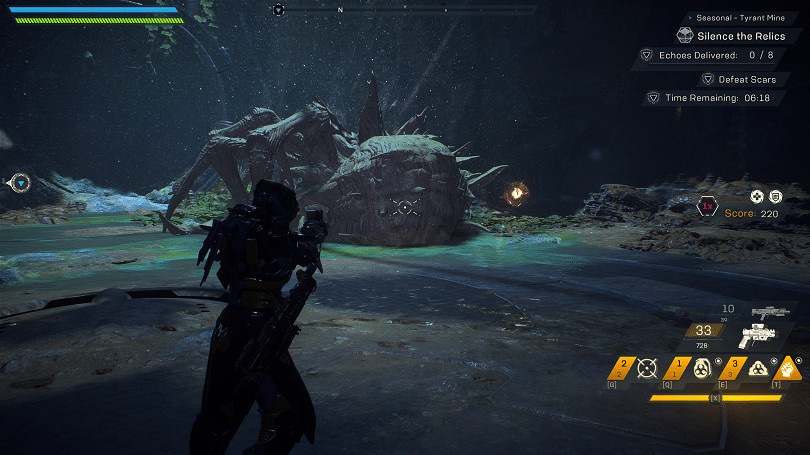
Silence the First Relic
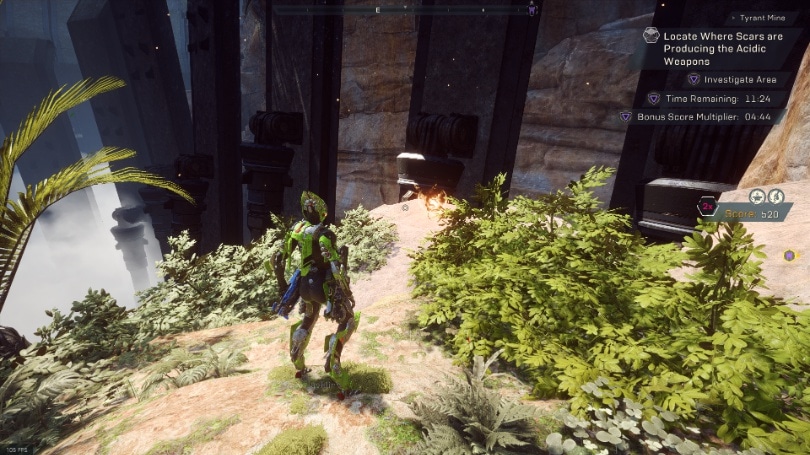
This section covers the area from the start of the Stronghold up to the completion of the first relic.
Major Secrets
Legendary Spawn – Collect the Red Notes
This one is simple, collect the floating Red Notes before the timer on it ends. They’re all above the pit around this entire section of the map.
The first is located towards the Northeast, near the Orange note that sits near the cliff.

The second is found further north, hovering near the metal construct in the middle of the pit.
The Third is found towards the North, between the upper level of the first area and the smaller, mine-filled tunnel of the second.
The Fourth is to the North West of the upper level.
The fifth and final Red Note can be found to the West of the sloped path that leads to the upper area of this section.
Grabbit Decoy Locations
This area has five locations for the Grabbit Decoy. Only one of these will spawn per run, so be sure to check all the locations before moving to the next area. Until new images are taken, this guide will use PTS images which have the decoys replaced by the larger breakable crates which took their place on PTS.
The first location is in the area with the relic, located almost directly above it on a cliff that overhangs to the right.
The second Location is on a small ledge almost directly opposite from the Relic.
The third location is just to the right of the slope that is covered in mines that leads to the upper level.
The fourth location is on the upper level. The far back pillar of stone has a few ledges that face toward where you generally approach from. It sits on one of these ledges.
The fifth location is also on the upper level, along the right side wall.
Minor Secrets
This first section has two Orange notes and a delayed spawn you can use for extra points later
Orange Note Locations
The first Orange Note is always there. As soon as you exit the starting room, look left and it should be sitting right there. This one is always present.
The second note has a variety of spawn locations
As you exit from the cave, head out to the right to the edge of the cliff. The Note can spawn on the rightmost section of this cliff. This appears to be the most common location for the second spawn.
The second is located on the edge to the left of the mine, on the outside of the path that leads up to the second area.
Location 2 is on the metal construct that’s in the middle of the pit. It sits on the corner closest to the second relic area.
Location three is on the lowest level of the area. If you go to the right, and face left from the cliff, there’s a path with mines on it. The Note in on the cliff at the end of this path. You can also drop down to here from the upper level
Delayed Legendary Spawn
This is not a mini boss, just an extra spawn that tends to get missed or saved for later. It spawns on the ledge of this first area, before the metal construct. It’s best to grab after you finish the second relic.
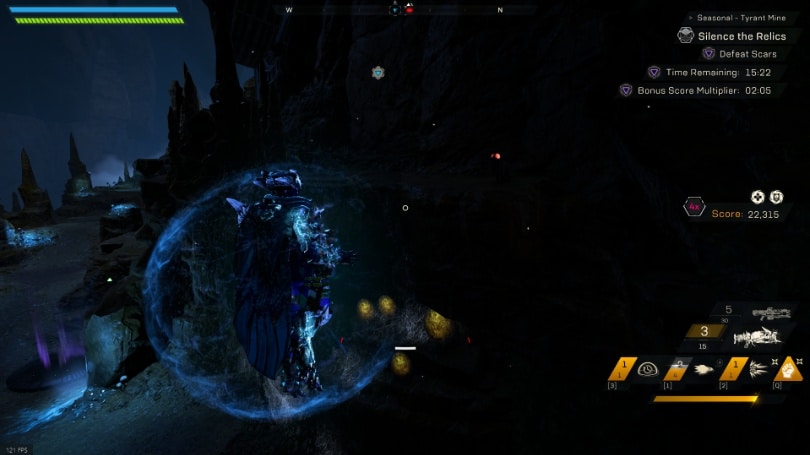
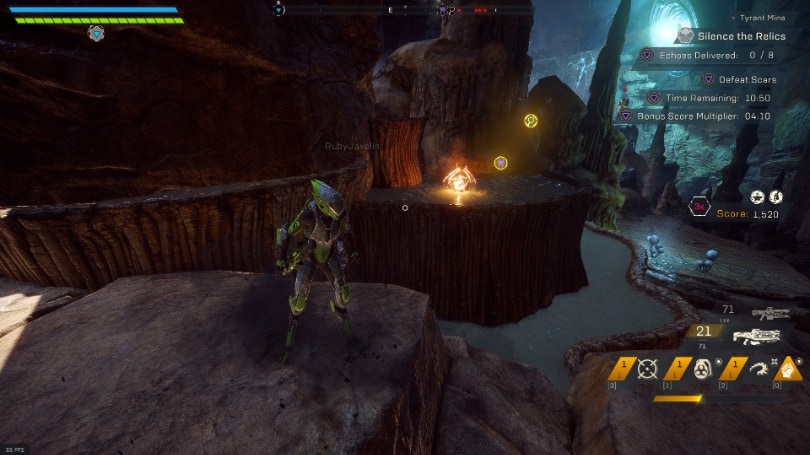
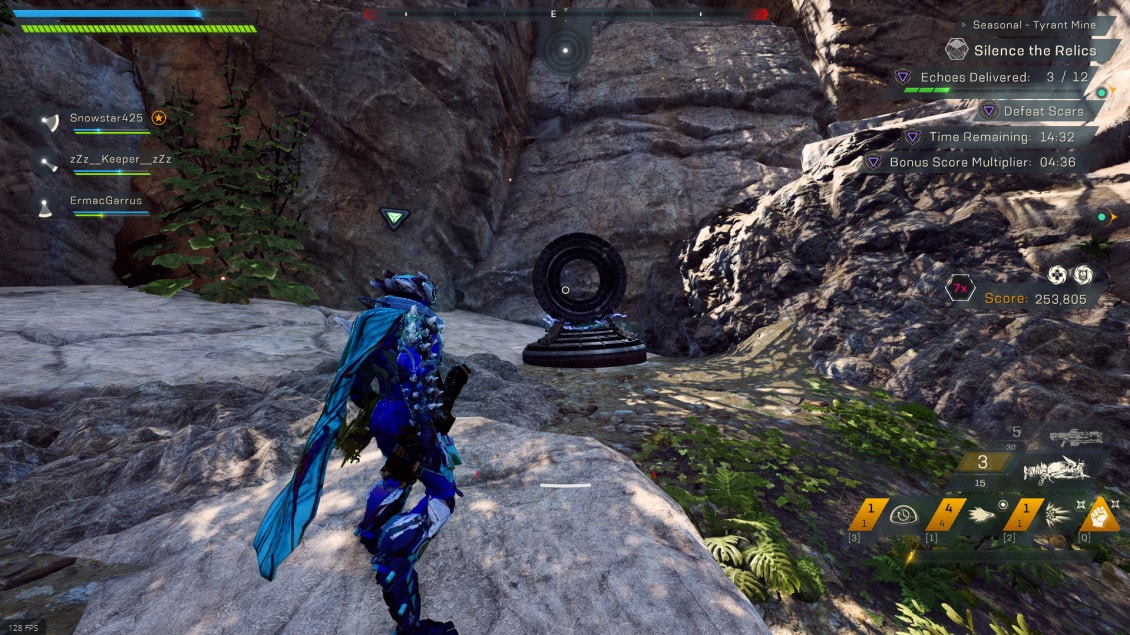
Silence the Second Relic
This section of the Icetide Tyrant Mine guide covers the second relic area, up to the door into the tunnels.
Major Secrets
This area has a Legendary spawn and the second of three Grabbit Decoys.
Legendary Spawn – Deposit Echoes into Reservoirs
This one has you simply placing Echoes into three reservoirs placed around the arena. This need to be done before completely depositing the first 8 echoes. Placing all three will enable the extra mob to spawn alongside the Gatekeeper. Once all three are placed, they can be safely removed as the bonus will stay active. Again worth ~2500 base Score.
The first of these is on the ledge directly above the relic, where an echo can often spawn.
The second is located behind the turrets in the back of the area.
The third is located in a small alcove along the Left wall, near the waterfall.
Grabbit Decoy Locations
There currently appears to be four possible spawn locations for the grabbit decoy.
The first location is above the small tunnel that leads toward the previous area.
The Second location is near the larger tunnel, on a ledge near the opening.

The Third location is on a small, grassy platform near the middle of the arena, between the left most turrets and the Relic.

The last location is on the wall, behind the snipers on the right wall.
[reserving space for #5]
Minor Secrets
Orange Note Locations
This area has a singular orange Note with just a couple few locations.
The first is just behind the turrets on the left side, towards the nearby waterfall.
The second location is in the water on the ground in front of the waterfall on the left side, in a small space between the rocks here.
The third location is near the waterfall in the back (east side) of the room.
Legendary Enforcer Spawn
After collecting the Chest from the second Relic, Take the right exit of the cave, toward the first area. A pair of Scar Scrappers and a Legendary Enforcer will spawn on the cliff of the first relic. It’s best to get it at this time, as it will provide more score, but it can be gotten as soon as the first relic is cleared.
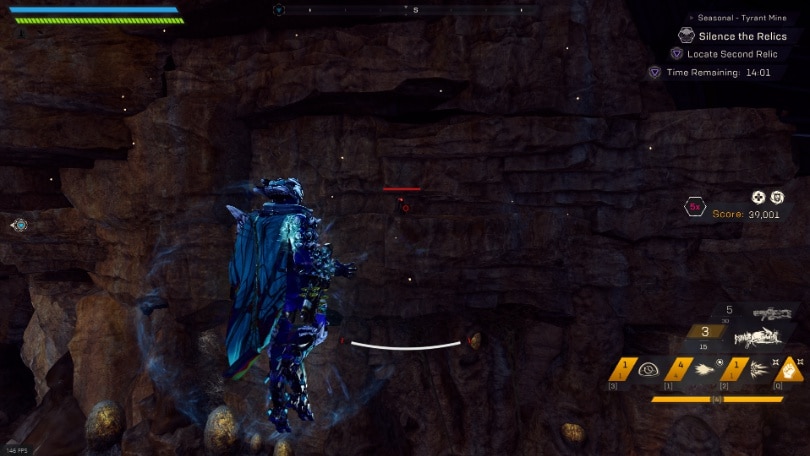
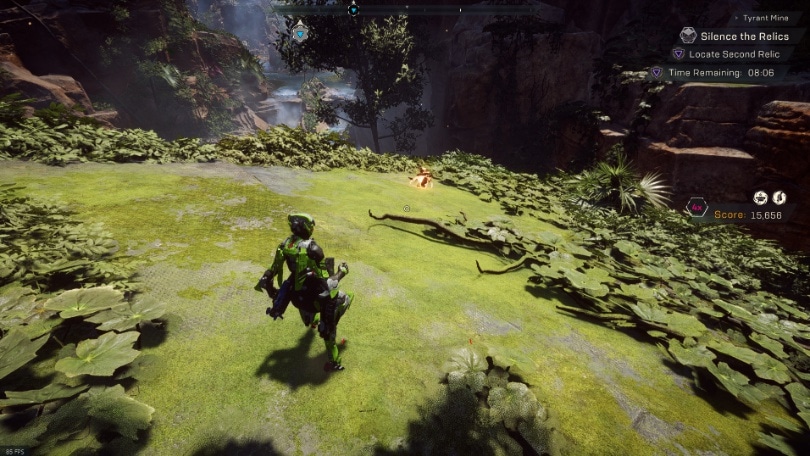
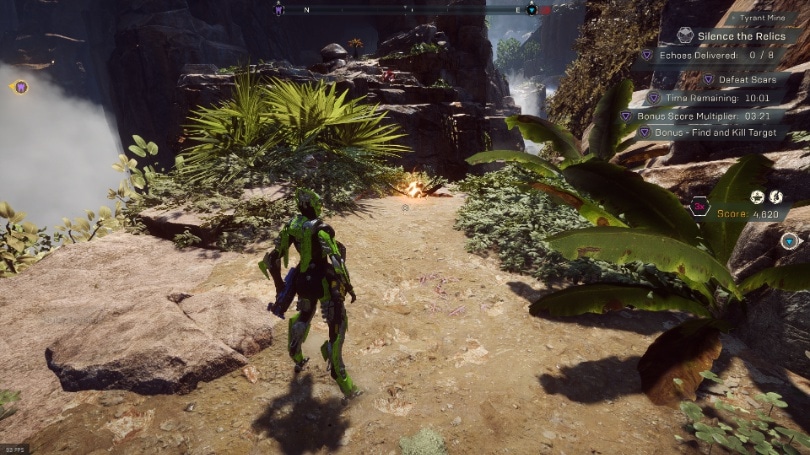
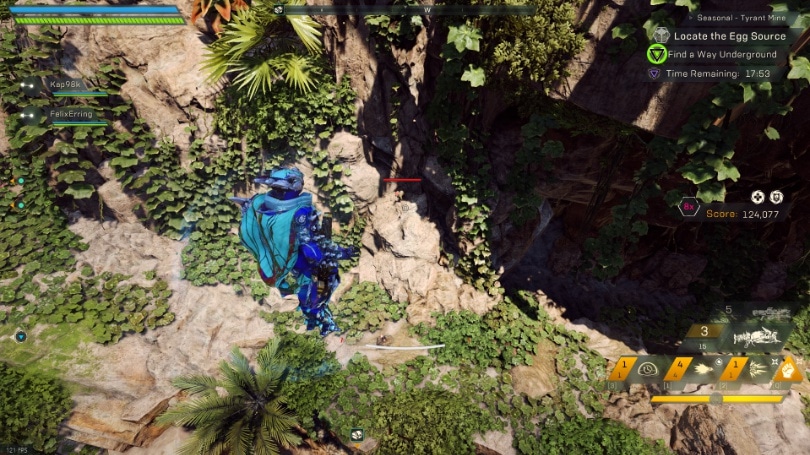
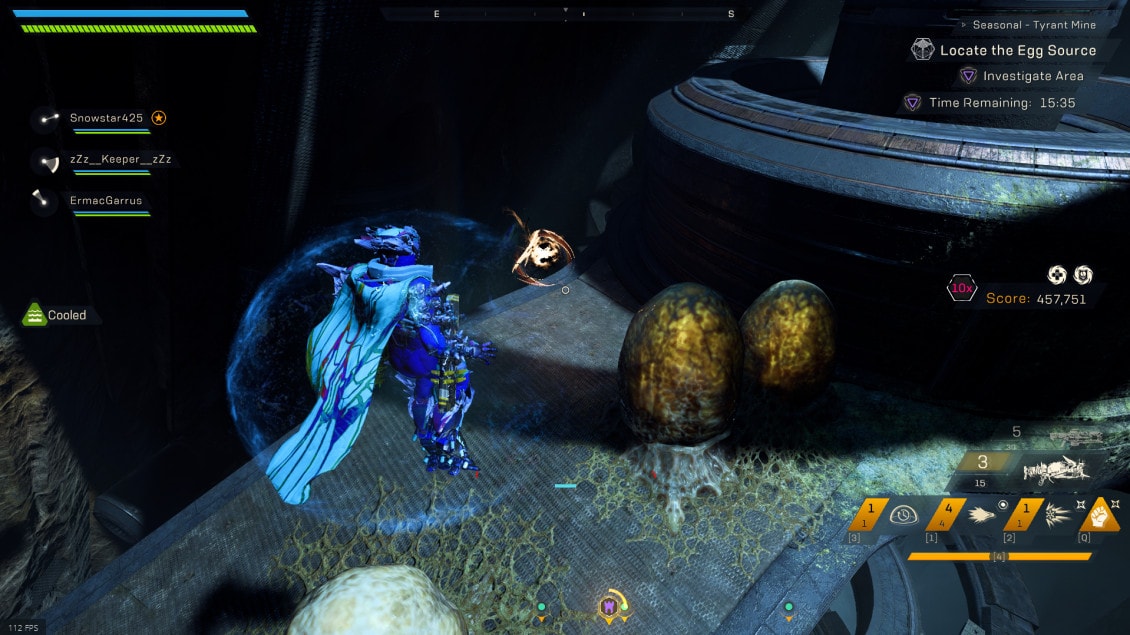
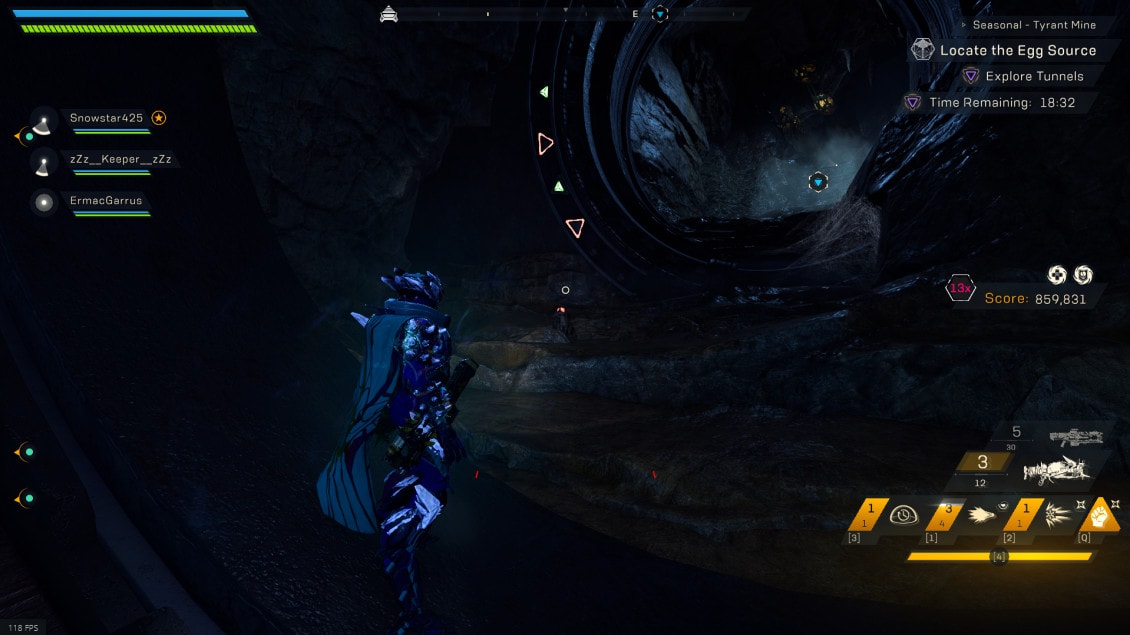
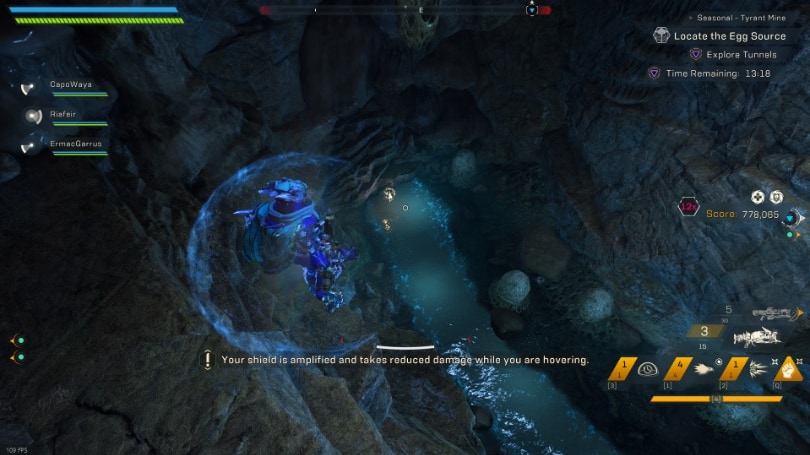
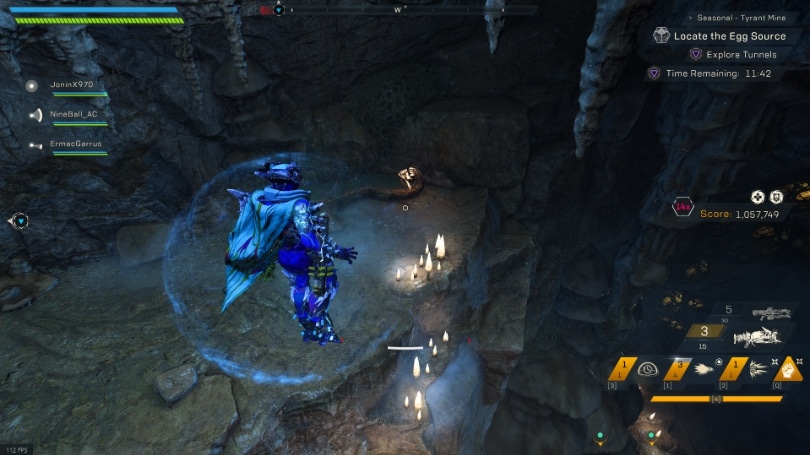
Locate the Egg Source Pt. 1
Giving this its own section, as there’s a few things here on the way to the next section of the Stronghold.
Major Secrets
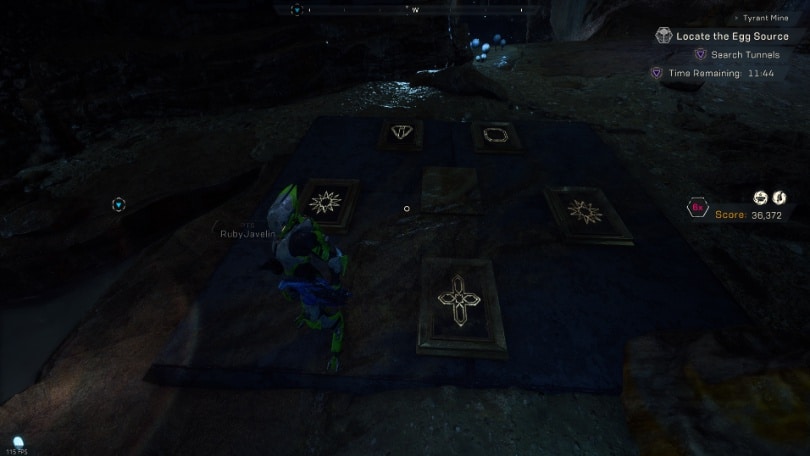
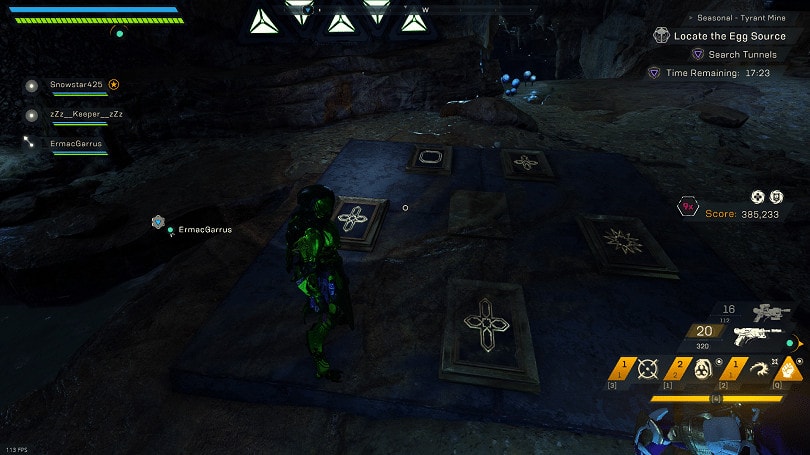
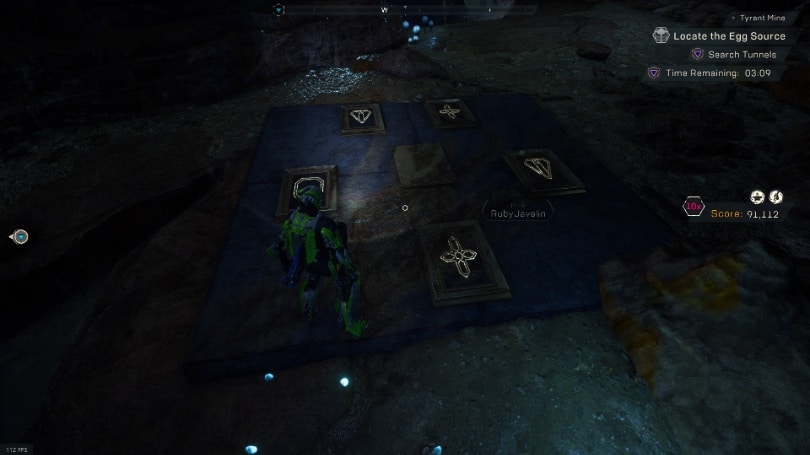
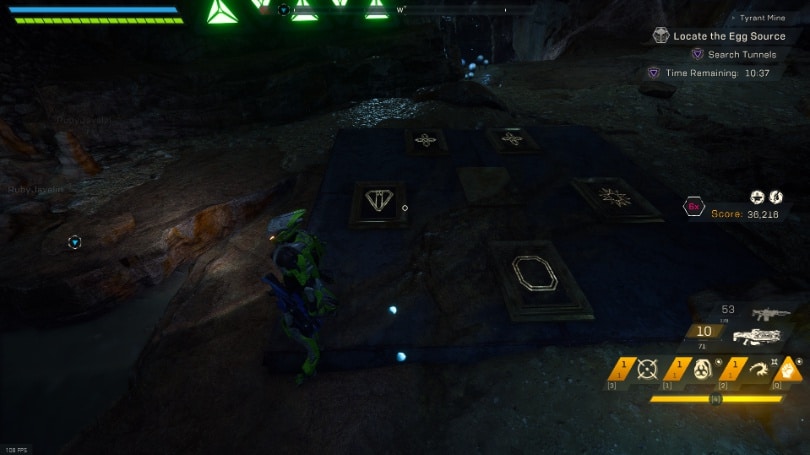
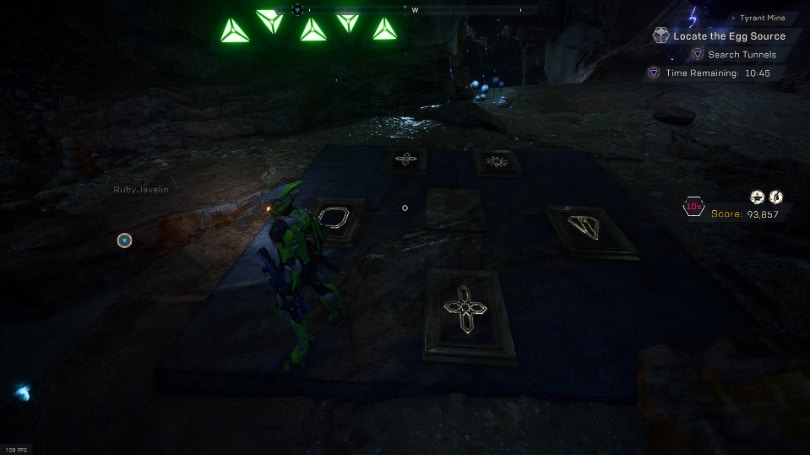
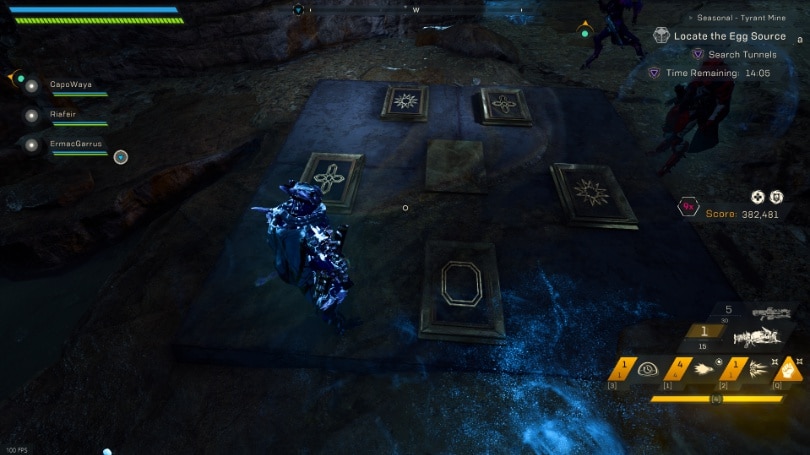
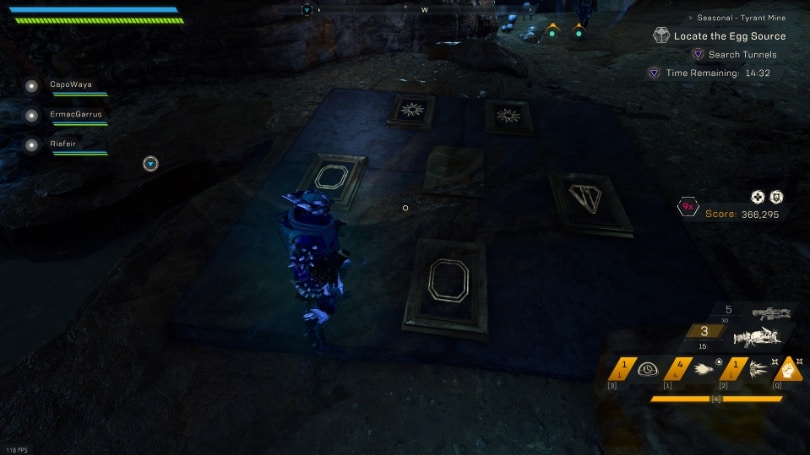
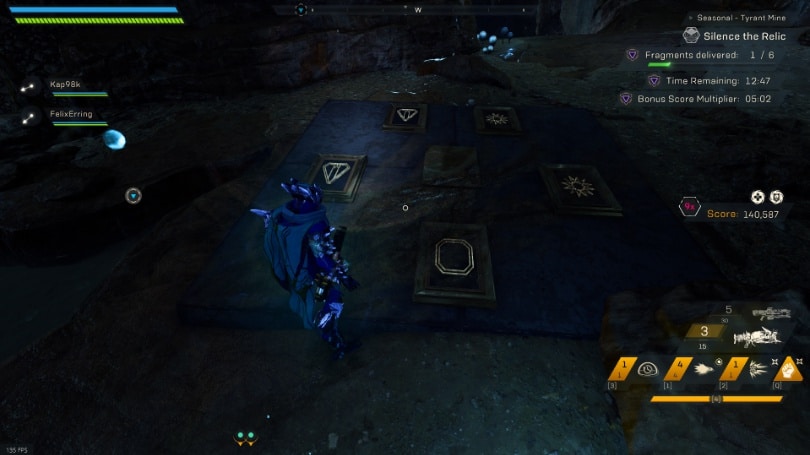
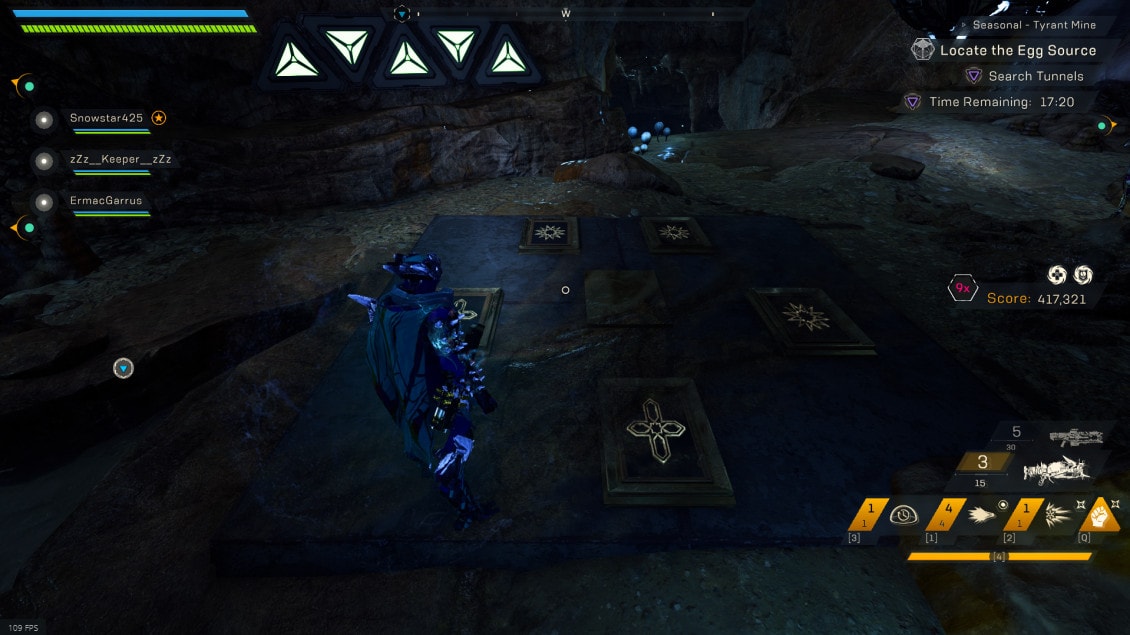
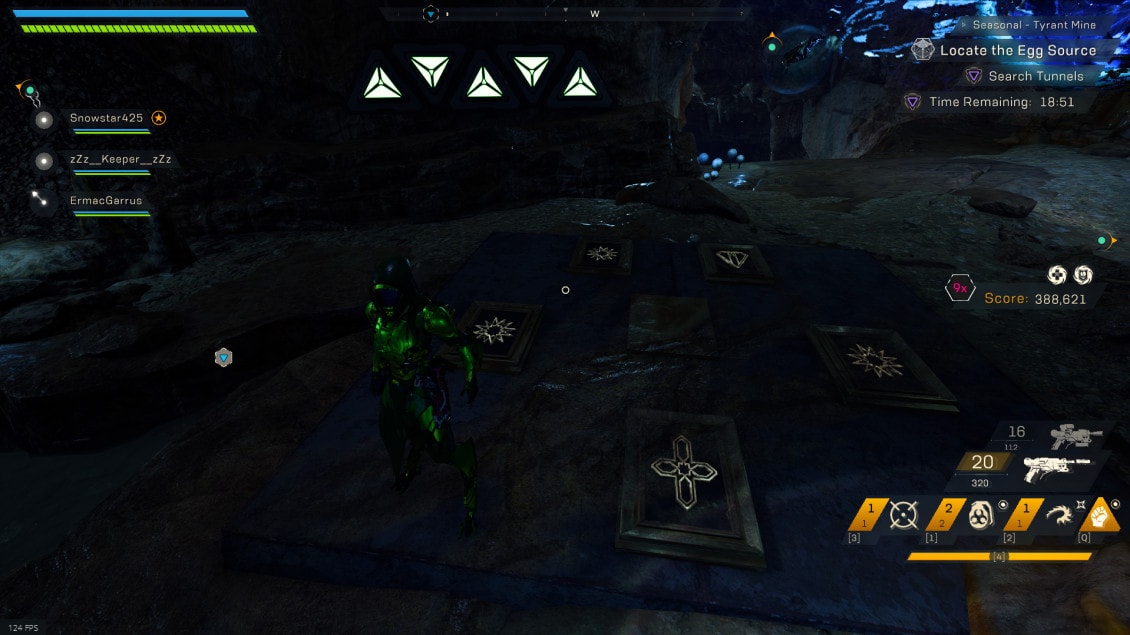
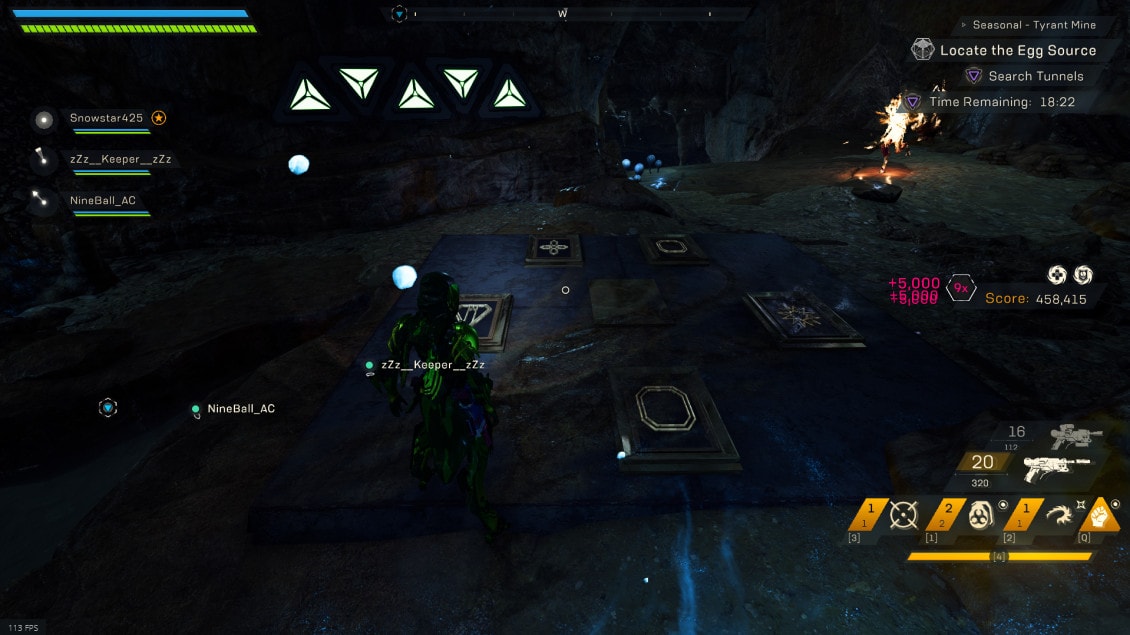
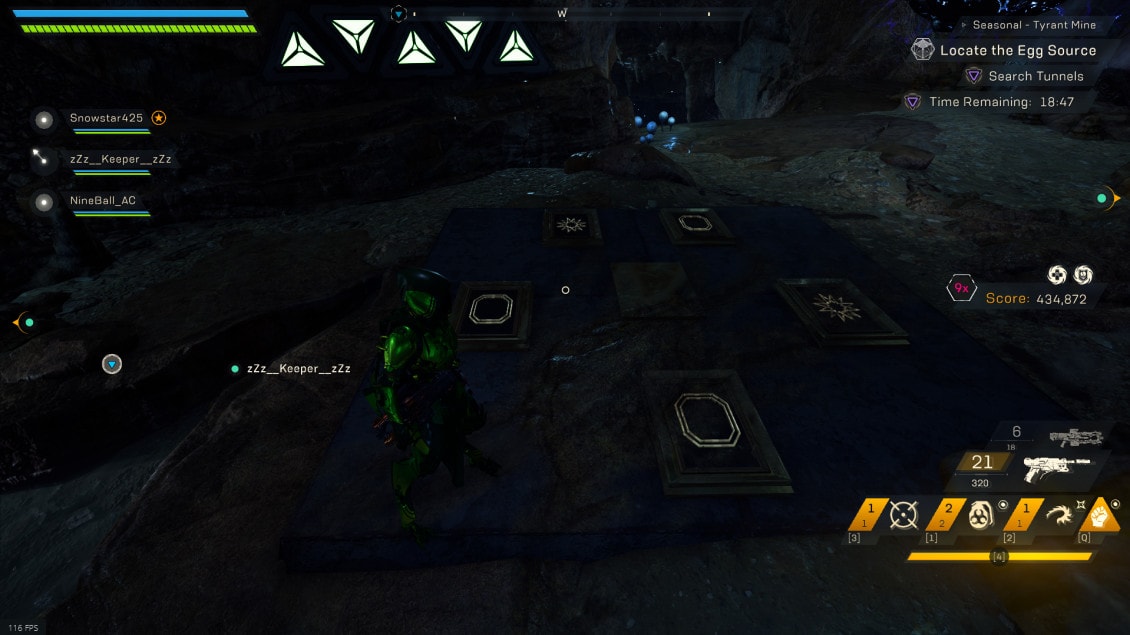
Tile Puzzle
In the tunnel leading up to the underwater section, is a small cave that branches out, way high and to the left of the direction you’d be heading if just flying through normally. In this cave is a puzzle.
This puzzle is a simple tile puzzle, which can be solved through trial and error, but does appear to have a set number of combinations and solutions.
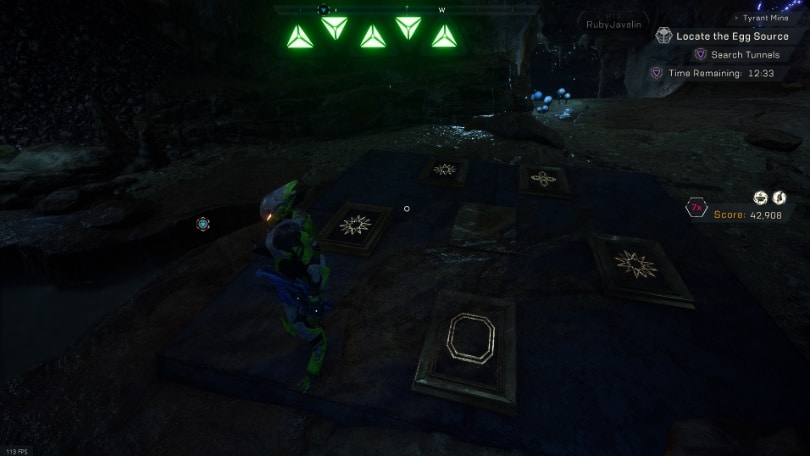
You grab the tiles that are leaning on the wall and place them down. Once all five are placed down, the arrows will light up and tell you how many are correct. A sixth panel will also appear, should you need to swap them.
Here’s the best way I can explain my logic to solving this puzzle:
- Look at the lights, it tells you how many are right. Swap things around.
- If the number of light increases by 1, one of the swaps were right, but the other is still wrong. If it goes up by 2 both swaps are in the correct spot..
- If it goes down by 2, they were correct before the swap, if it goes down by one, then one was in the correct spot.
- If it does not change, there’s two possible things. Either both were incorrect from the start, or swapping them made them swap which was (in)correct.
This awards four Orange notes, each worth 500 base score.. These do not appear to increase combo like the others however. Solving the puzzle however will increase you combo by 1.
All of the known combinations and solutions are as follows..
Combination 1: 2x Star, 1 x Triangle, 1x Cross, 1x Square

Combination 2: 3x Star, 1x Cross, 1x Square
Combination 3: 3x Star, 2x Square
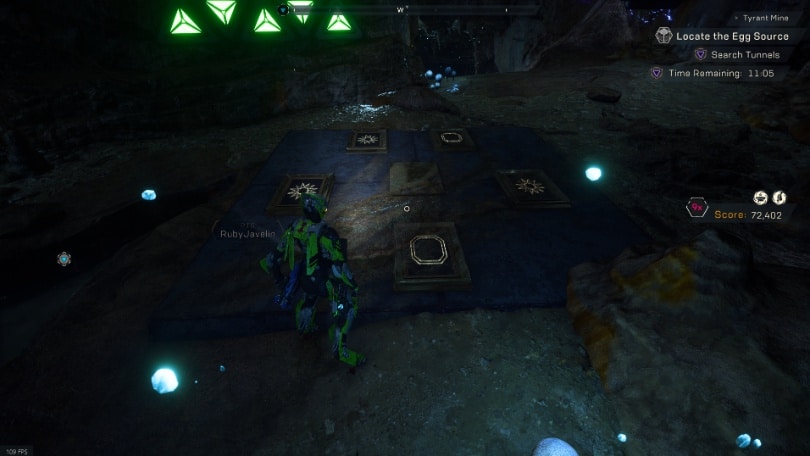
Combination 4: 2x Cross, 2x Triangle 1x Square
Combination 5: 2x Cross, 1x Triangle, 1x Star, 1x Square
Combination 6: 2x Cross, 2x Star, 1x Square
Combination 7: 2x Star, 2x Square, 1x Triangle
Combination 8: 3x Cross, 1x Star, 1x Triangle
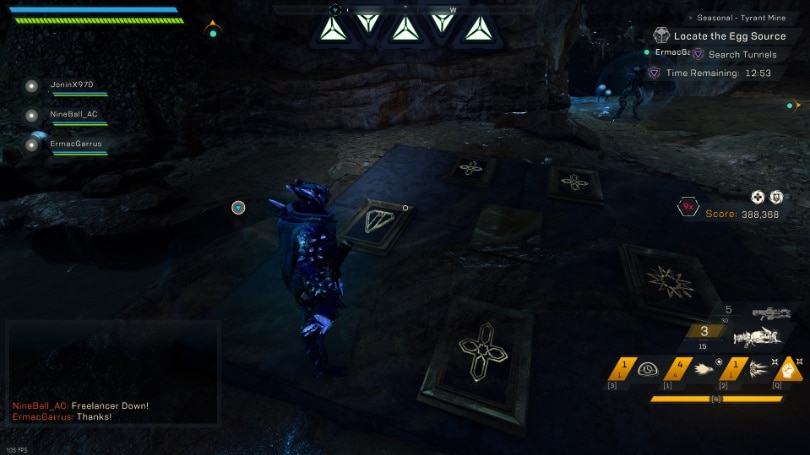
Combination 9: 3x Triangle, 2x Cross
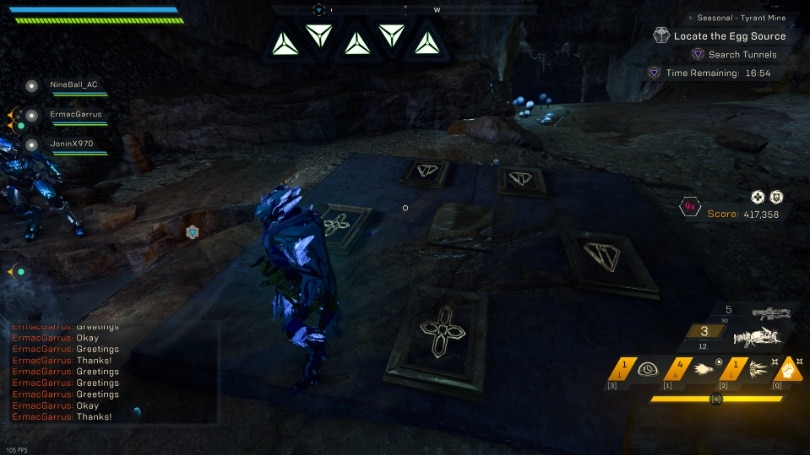
Combination 10: 2x Star, 2x Triangle, 1x Square
Combination 11: 3x Cross, 1x Square, 1x Triangle
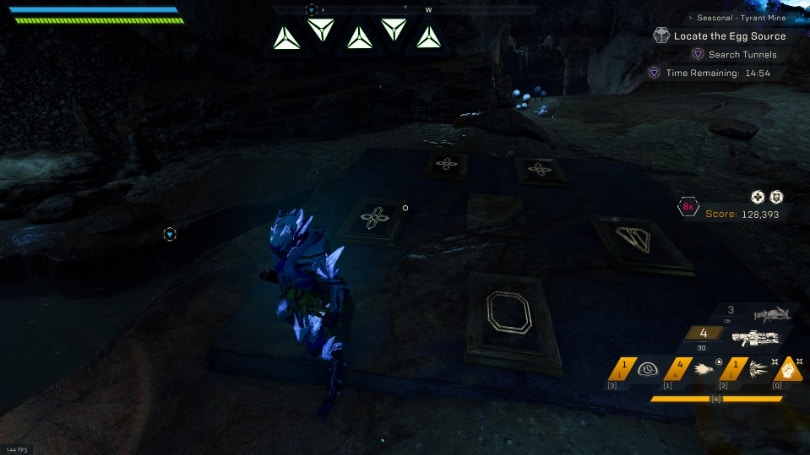
Combination 12: 3x Star, 2x Cross
Combination 13: 3x Cross, 1x Star, 1x Square
Combination 14: 3x Star, 1x Cross, 1x Triangle
Combination 15: 3x Square, 2x Triangle

Combination 16: 2x Square, 1x Cross, 1x Star, 1x Triangle
Combination 17: 3x Square, 2x Star
Minor Secrets
Orange Note Locations
There’s one orange note with a Multiplier increase here, and it has two spawn locations.
The first location is just past the first pack of enemies at the bottom of the drop.
The second location is just before you drop into the water to move to the next section, then follow the water upstream slightly.
Elite Anrisaur
In the first underwater section, there’s a cave along the top of this passage at the very start which leads to a small room with a lone Anrisaur. It’s just a small bit of extra score and not much else.
Skorpion / Scar Room
This is the infamous green circle room. Same objective as always.
Major Secrets
Legendary Spawn – Match Puzzle
There’s a small relic on the floor under the platform in the middle of this room, activating it triggers a puzzle similar to the match puzzles in Sunken Cell. The three icons light up one at a time in the order they need to be activated. Each one Corresponds to a tunnel in this area.
In each tunnel, there is a small pressure plate in the back of them. This only needs to be stepped on and not held. Thankfully, this is made straightforward as the tunnels are simply left to right, when viewing them from the ramp up to the relic platform. Only the order they need to be visited changes each run.
Grabbit Decoy Locations
The decoy here has a handful of locations. A few in the center and one per tunnel to watch for.
The first can be found in the Left tunnel, along the South East wall in the back of the cave.
The Second can be found in the Middle tunnel, along the Northeast wall near the back of the cave.
The third can be found in the Right tunnel, along the Northeast wall, towards the back.
The fourth can be found on the Southeastern stone outcropping in the middle of the room.
The fifth can be found under the ramp that lead up to the relics, amongst the eggs.
Minor Secrets
The first Orange Note for this section is located at the top, before dropping down. It hides behind some Skorpion eggs directly in front of you from the door. This one appears to always be present.
The second orange note for this area has a handful of locations it can spawn
Middle tunnel spawn location.
[SkorpionO2] – missing, will be added soon.
Left Tunnel Spawn location.
[SkorpionO3] – missing, will be added soon.
There’s a spawn in the air, to the northwest side of the room.
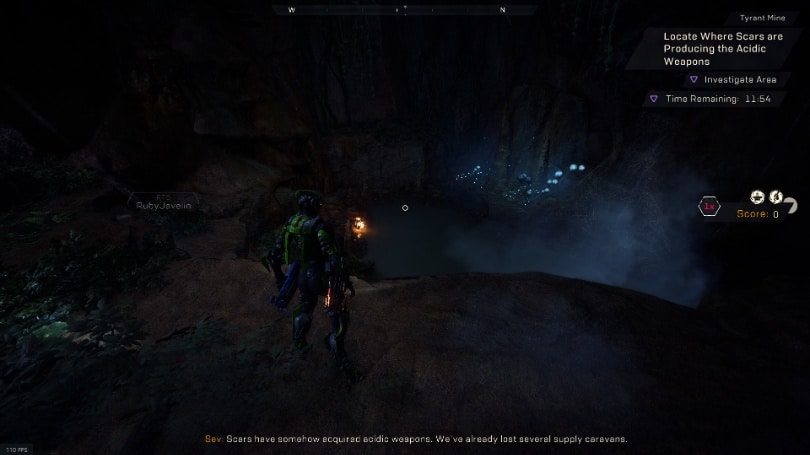
Locate the Egg Source Pt. 2
Everything beyond the Skorpion room up to the Tyrant fight is here.
Major Secrets
Golden Grabbit
Immediately after opening the Door from the Skorpion Room, you’ll notice the final decoy here under some Arrows.
This one will spawn a little further into the tunnel, in a much more open area. Be careful to not mess up the note trail on the way there!
Minor Secrets
There’s a single Orange note here and a Note Trail.
The Orange note seems only have 2 locations so far.
The first location is in the east side of the water that is under the stone bridge in this tunnel.
The second location is near the end of the tunnel on a ledge, just past where the Golden Grabbit spawns.
The Third location is much farther forward, behind the Skorpion Carcass, just before the boss door.
The Note trail starts under the very same bridge, so be extra careful, it’s very easy to miss this starting location and mess up the trail!
The Tyrant Fight
The fight with the Tyrant is unchanged, no secrets here or anything. It might be worth farming a round of Skorpions, but intentionally spawning all of them could end up wasting more score, despite the endless spawns that occur during the Tyrant’s invulnerability phases.
From Vulkk
With the final stronghold now added to the winter event in Anthem, I believe this series of guides is finished too. I would like to thank RubyJavelin for creating the Seasonal Tyrant Mine guide as well as the other guides for the soon-to-be-over Icetide-themed Strongholds.
We are all looking forward to what comes next for Anthem. Whether it is Anthem 2.0, a major update or the next in-game event, you can always find high the latest news, updates, overviews and guides here on VULKK.com!